
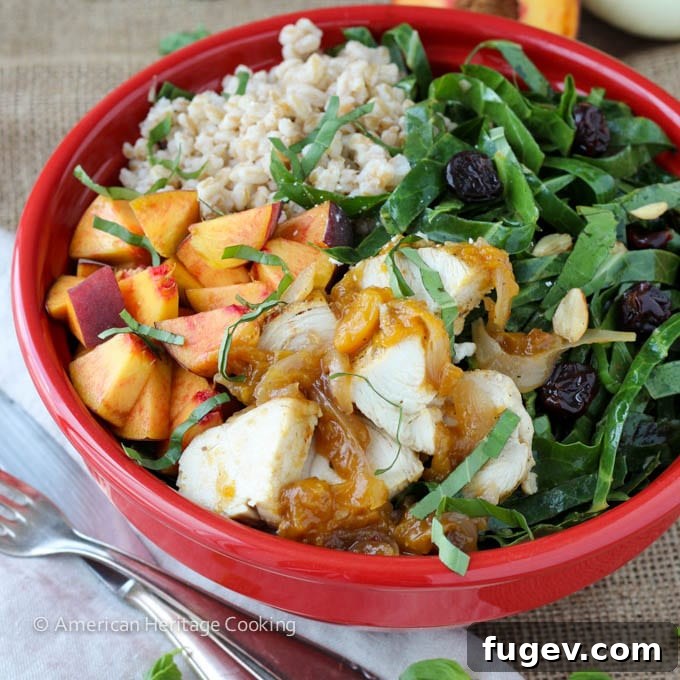
Collard Green Salad with Spicy Vidalia Onion Peach Glazed Chicken: A Southern Twist on Freshness
Step aside, traditional greens! This **Collard Green Salad** revolutionizes how you view a staple of Southern cuisine. Featuring a vibrant base of thinly sliced collard greens, meticulously tossed in a bright, balsamic lemon vinaigrette, this salad is far from ordinary. The greens aren’t just dressed; they’re lovingly marinated, allowing them to soften slightly and shed their raw edge, transforming into a surprisingly tender and flavorful foundation. Crowned with an absolutely divine spicy peach and Vidalia onion glazed chicken, this dish delivers an unforgettable melody of sweet, savory, and subtly spicy notes that will captivate your palate.
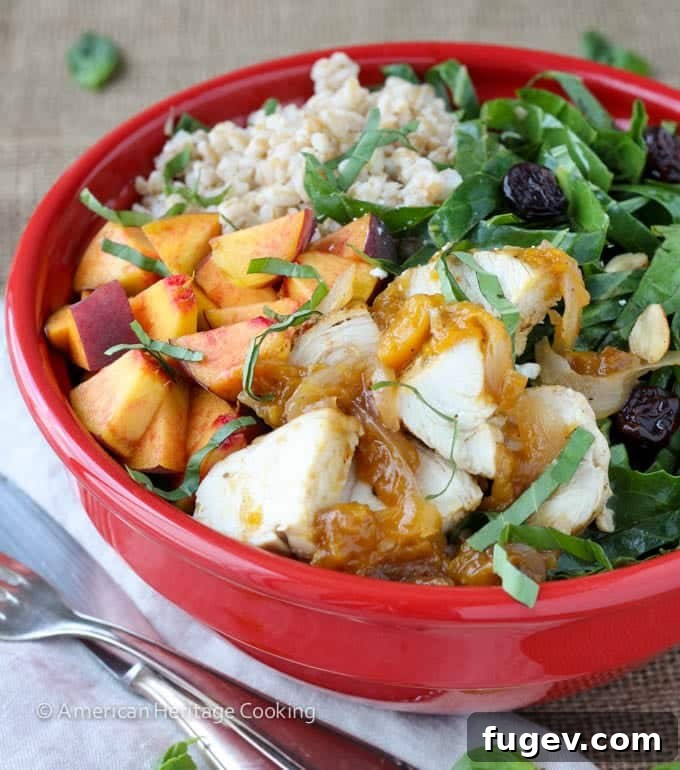
For too long, collard greens have been unjustly relegated to a single, often heavy, buttery side dish. It’s time to liberate this versatile leafy green from its one-dimensional reputation! Today, we’re here to champion collards as the star of a refreshing, wholesome, and incredibly delicious main course salad. This isn’t just a meal; it’s a culinary awakening, showcasing collards in a completely new light – raw, vibrant, and utterly irresistible.
Reimagining Collard Greens: Freshness in Every Bite
Our Sliced Collard Green Salad with Vidalia Onion Peach Glazed Chicken is a celebration of fresh, bold flavors. Each component contributes to a harmonious blend that is both innovative and deeply satisfying. In fact, this salad is so exceptional, it deserves national recognition! Perhaps Georgia, renowned for its peaches and Vidalia onions, should consider this its new official State Salad? Nonsense, you say? There is now! We’re confident that once you taste this masterpiece, you’ll understand its rightful place in the culinary hall of fame. It’s truly a game-changer.
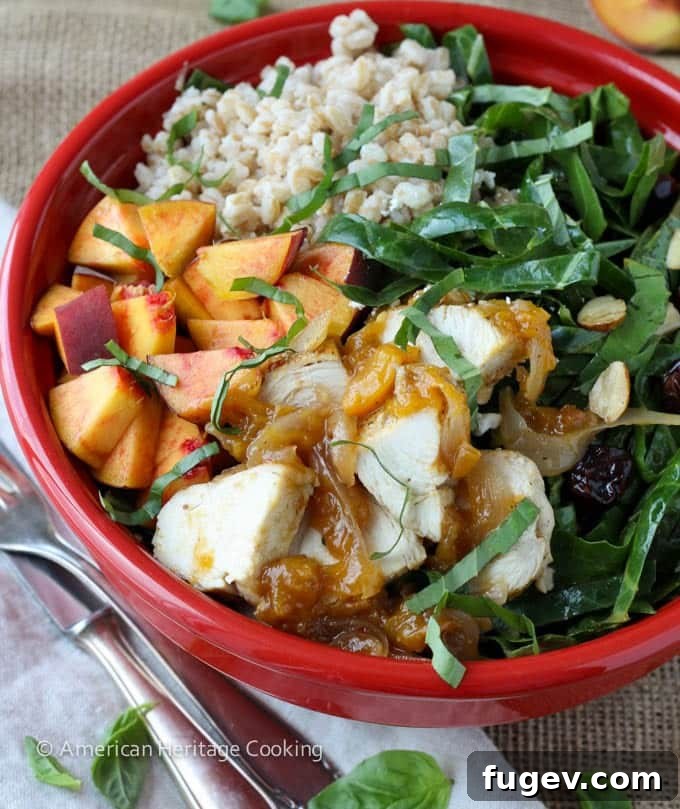
Beyond the tender, marinated collard greens and succulent chicken, this salad is enhanced with thoughtfully chosen additions. Dried tart cherries introduce a delightful burst of sweet-tartness, while a generous sprinkle of crunchy almonds provides a pleasing textural contrast. The finishing touch comes from thinly sliced fresh basil, an herb that effortlessly weaves all the diverse flavors together into a cohesive and aromatic experience. To summarize, prepare your taste buds for an intricate and exciting flavor melody that will have them dancing with every bite!
You might be surprised to find this salad featuring a different preparation of chicken than some of our previous recipes, which have frequently highlighted a stellar Rosemary Grilled Chicken. While that method remains a fantastic way to achieve moist, tender chicken breasts, we continuously explore and perfect new techniques to ensure variety and consistently exceptional results. The chicken preparation for this recipe is just as foolproof and yields equally succulent meat, requiring only one minor additional step that makes all the difference.
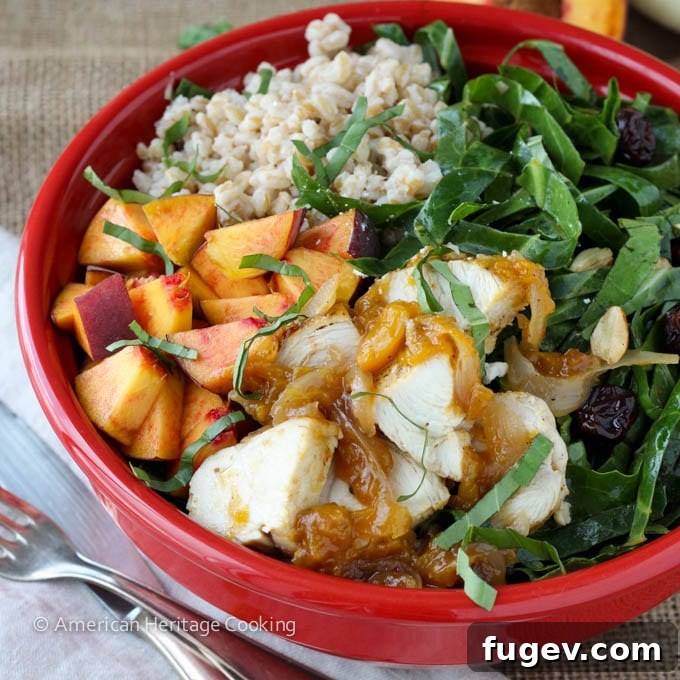
The Irresistible Spicy Peach and Vidalia Onion Glaze
Without a doubt, the star power of this dish truly shines in the spicy, sweet, and tangy glaze. Our obsession with this flavor combination is well-founded! The natural sweetness of ripe peaches, the delicate savory notes of Vidalia onions, and the fiery kick of Thai roasted red chili paste come together in perfect harmony. This incredible blend proves that the most delicious dishes don’t need a myriad of complex ingredients or complicated techniques. Simple, yet profoundly flavorful, this glaze transforms ordinary chicken into an extraordinary centerpiece. It’s the perfect balance of elements for a memorable dinner tonight.
Mastering the Sear-Bake Method for Perfectly Tender Chicken
Achieving perfectly moist and tender chicken breasts can often feel like a culinary challenge, but our “Sear-Bake” method makes it remarkably simple and consistently successful. This technique ensures that your chicken remains juicy and flavorful from the first bite to the last. Here’s a detailed breakdown of each crucial step:
- **Prepare the Chicken:** Begin by thoroughly rinsing your chicken breasts under cold water and patting them completely dry with paper towels. This seemingly small step is vital, as excess moisture on the surface of the chicken prevents a proper, golden-brown sear – the key to locking in flavor and creating a desirable texture.
- **Season Generously and Early:** Prior to cooking, generously season the chicken with kosher salt. Pre-salting isn’t just for flavor; it actively helps to break down the muscle fibers in the chicken, resulting in a significantly more tender outcome. As the saying goes in culinary circles, “Salt early and often.” For this method, salting early is sufficient to achieve excellent results.
- **The Perfect Sear:** Heat your pan (preferably a cast-iron skillet or heavy-bottomed stainless steel pan) over medium-high heat until it’s searing hot. Add a small amount of high-smoke-point oil, then carefully place the seasoned chicken breasts in the hot pan. Searing creates a beautiful, caramelized “skin” on the exterior of the chicken, effectively sealing in all the precious juices without overcooking or burning the delicate meat. We guarantee no burnt chicken on our watch!
- **Glaze for Moisture and Flavor:** Once seared, coat the chicken breasts with your chosen sauce or glaze (in this case, our incredible spicy peach and Vidalia onion glaze). This protective layer further seals in moisture during the baking process and infuses the easily dried-out breast meat with rich, aromatic flavor. While you can use this method without a sauce, the addition of a glaze elevates the chicken to a new level of moist, meltingly tender perfection.
- **The Essential Rest:** After baking, it is absolutely imperative to allow the chicken to rest for at least 10 minutes before slicing or serving. This resting period gives the internal juices, which have been driven to the center during cooking, ample time to redistribute throughout the entire piece of meat. If you cut the chicken prematurely, all those delicious juices will simply run out onto your cutting board, leaving you with tragically dry and disappointing chicken every single time. Patience is truly a virtue here – it’s a non-negotiable step for optimal tenderness and juiciness.
This reliable Sear-Bake method is not exclusive to this dish; its versatility makes it a go-to technique for a variety of chicken preparations. You can find this same method producing succulent results in our Chicken Marinara, Chicken in Cherry Sauce, Maple Chipotle Barbecued Chicken, and Baked Chicken and Shallots recipes.
Assemble Your Culinary Masterpiece
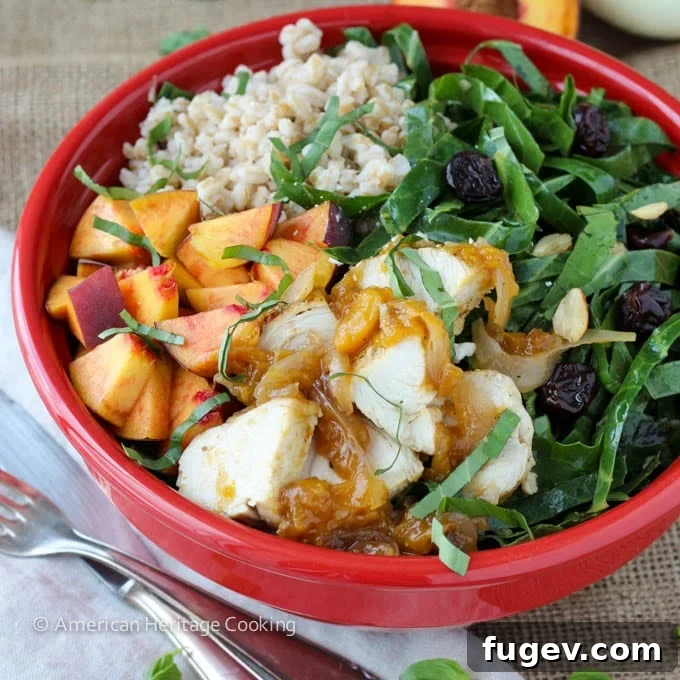
Once your perfectly cooked, glazed chicken has rested and your marinated collard greens are vibrant and tender, it’s time to bring this healthy, flavorful dinner salad together. Arrange the dressed collard greens as a bed on your serving plates, ensuring an even distribution of the tart cherries and crunchy almonds. Slice the glazed chicken against the grain to maximize tenderness and arrange it artfully over the salad. A final flourish of fresh, thinly sliced basil completes the picture, adding an aromatic freshness that ties all the robust flavors together. This dish isn’t just a meal; it’s an experience – a beautiful, healthy, and utterly delicious creation that will redefine your expectations for what a salad can be. Prepare to fall in love with this unique and satisfying dinner!
More Inspiring Recipes for Your Table
Date Night
Spaghetti Squash Lasagna
Easy Side Dish Recipes
Chopped Kale Salad
Sandwich Recipes
Slow Cooker Barbecue Pulled Chicken Sandwiches
Pies and Tart Recipes
Pizza Rustica Recipe
If you tried this recipe and loved it, please leave a 🌟 star rating and let us know how it goes in the comments below. We love hearing from you; your comments truly make our day!
Collard Green Salad with Vidalia Onion and Peach Glazed Chicken
Pin Recipe
Comment
Print Recipe
Ingredients
For the Chicken
- 2 chicken breasts
- kosher salt
- black pepper
For the Glaze:
- ¼ cup champagne vinegar
- 1/3 cup peach preserves
- 1 ½ teaspoons roasted red chili paste
- 1 peach chopped
- ½ small Vidalia onion thinly sliced vertically
For the Salad:
- ½ cup farro uncooked
- 1 teaspoon butter
- ¾ cup water
- 1 bunch Collard Greens approximately 8-10 leaves
- 1/3 cup tart cherries dried
- 2 tablespoons almonds coarsely chopped
- 1 peach chopped
- Goat’s cheese
- basil Thinly sliced
For the Dressing:
- ½ cup balsamic vinegar
- ¼ cup olive oil
- 1 ½ teaspoons Dijon mustard
- 2 pinches kosher salt
- pepper
- 1 lemon juiced
Instructions
-
Preheat your oven to 400°F (200°C).
Cook the Farro:
-
Combine water, farro, butter, and a pinch of salt in a small saucepan. Stir to combine thoroughly.
-
Bring the mixture to a boil over high heat. Once boiling, reduce the heat to a gentle simmer and cover the saucepan. Cook until all the water has been absorbed and the farro grains are plump and chewy, which typically takes approximately 30 minutes.
For the Salad Base:
-
Prepare the collard green salad base while the farro is cooking. This allows the greens ample time to marinate in the dressing, which helps to soften them and mellow out their naturally robust, raw flavor.
-
Thoroughly wash your collard greens. Carefully remove the tough center stalk from each leaf. Stack the prepared leaves neatly on top of each other, then roll them up lengthwise into a tight cylinder. Using a sharp knife, slice this roll as thinly as possible, similar to how you would slice a jelly roll dessert. Place all the delicate strips into a large mixing bowl, tossing gently to separate them into individual ribbons.
-
In a separate bowl or a dedicated salad dressing container, combine the balsamic vinegar, olive oil, Dijon mustard, salt, and pepper. Whisk vigorously or shake well to thoroughly combine and emulsify the ingredients. The mustard will aid in creating a beautifully smooth dressing. Pour approximately 2 tablespoons of this dressing over the collard greens, along with the freshly squeezed juice from 1 lemon. Toss to ensure all the greens are evenly coated. Sprinkle the dried tart cherries and chopped almonds over the greens, then cover the bowl with plastic wrap and refrigerate until you are ready to assemble and serve the salad.
Vidalia Onion and Peach Glazed Chicken:
-
Rinse the chicken breasts and pat them completely dry with paper towels. Season both sides generously with a pinch of salt and freshly ground black pepper. Adjust salt levels to your personal preference.
-
In a small bowl, whisk together the champagne vinegar, peach preserves, roasted red chili paste, an additional pinch of salt, and some freshly cracked pepper. Set this glaze mixture aside.
-
Heat a cast iron skillet or a stainless steel pan over medium-high heat until it is searing hot. Carefully place the chicken breasts in the hot pan and sear for 2 minutes on each side until golden brown. Remove the seared chicken to a plate and tent loosely with foil to keep warm.
-
Add the thinly sliced Vidalia onions and chopped peaches to the same pan. Sauté, stirring frequently to prevent burning, until the onions begin to soften and release their aromatic juices. Pour the reserved peach preserve mixture into the pan and stir almost continuously until the onions are fully soft and the sauce has thickened slightly.
-
Return the seared chicken breasts to the pan, nestling them into the onion and peach mixture. Spoon the glaze generously over the chicken, ensuring every inch is thoroughly coated. At this point, you may insert an individual meat thermometer into the thickest part of each breast for precise temperature monitoring.
-
Transfer the pan to the preheated oven and bake for 8-15 minutes, or until the internal temperature of the chicken reaches 165°F (74°C). Cooking time will vary depending on the size and thickness of your chicken breasts and whether the tenderloin is still attached. Smaller breasts with tenderloins typically cook in about 8 minutes.
-
Once cooked, remove the chicken from the pan and tent loosely with foil. Allow it to rest for a full 10 minutes. We know you’re hungry, but resisting the urge to cut immediately is crucial for juicy chicken. It will be worth the wait!
-
While the chicken rests, you can reduce any remaining sauce in the pan over medium heat, if desired, to achieve a thicker consistency. Use this time to assemble the rest of your individual salads.