
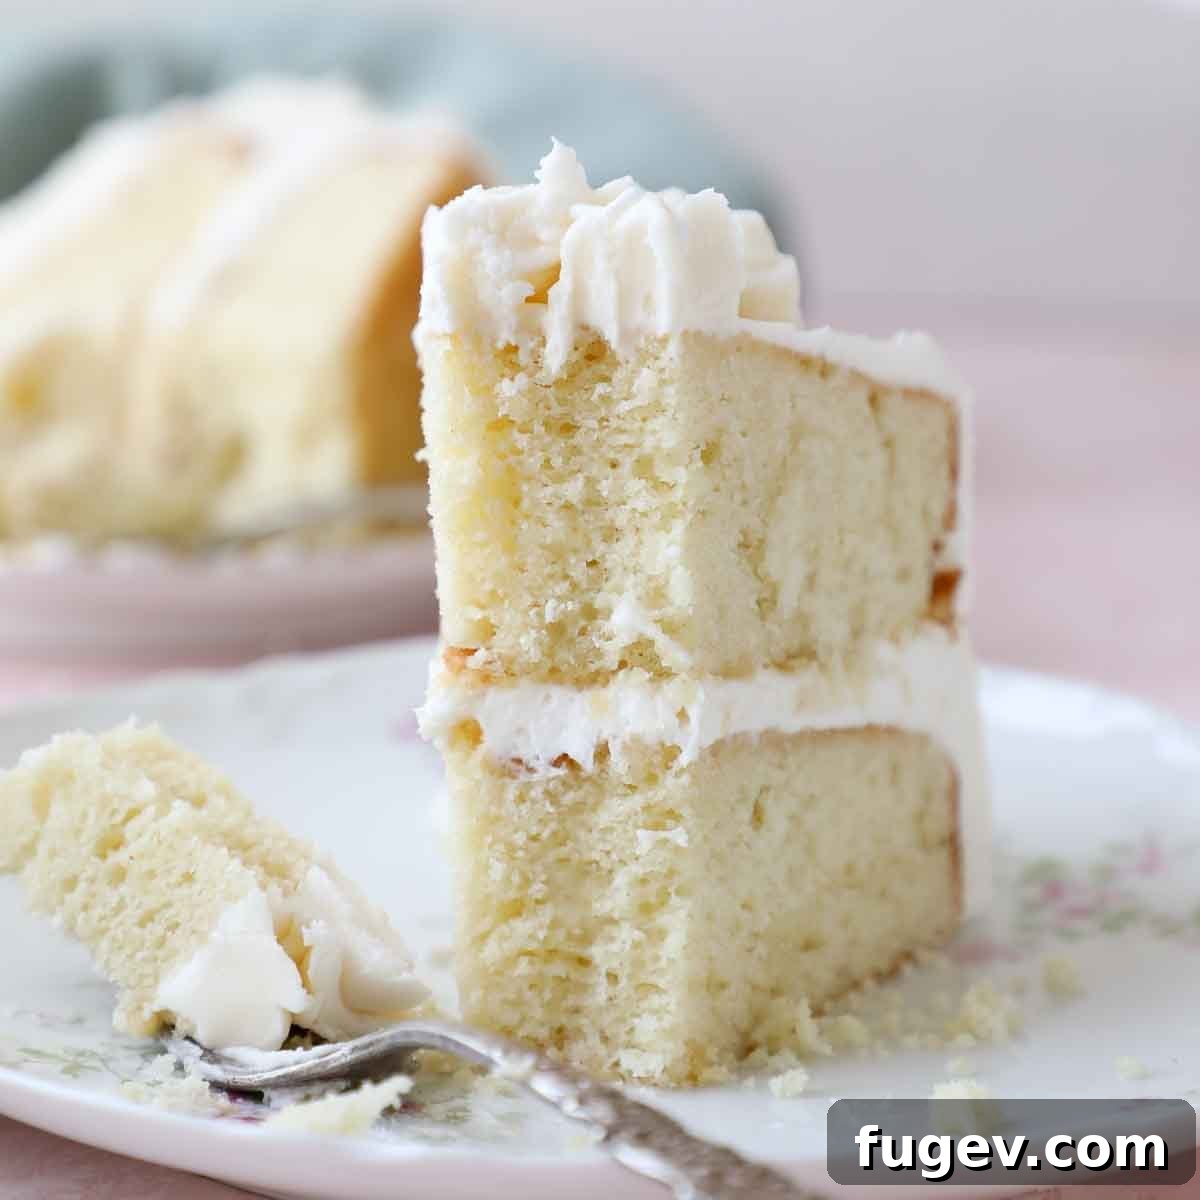
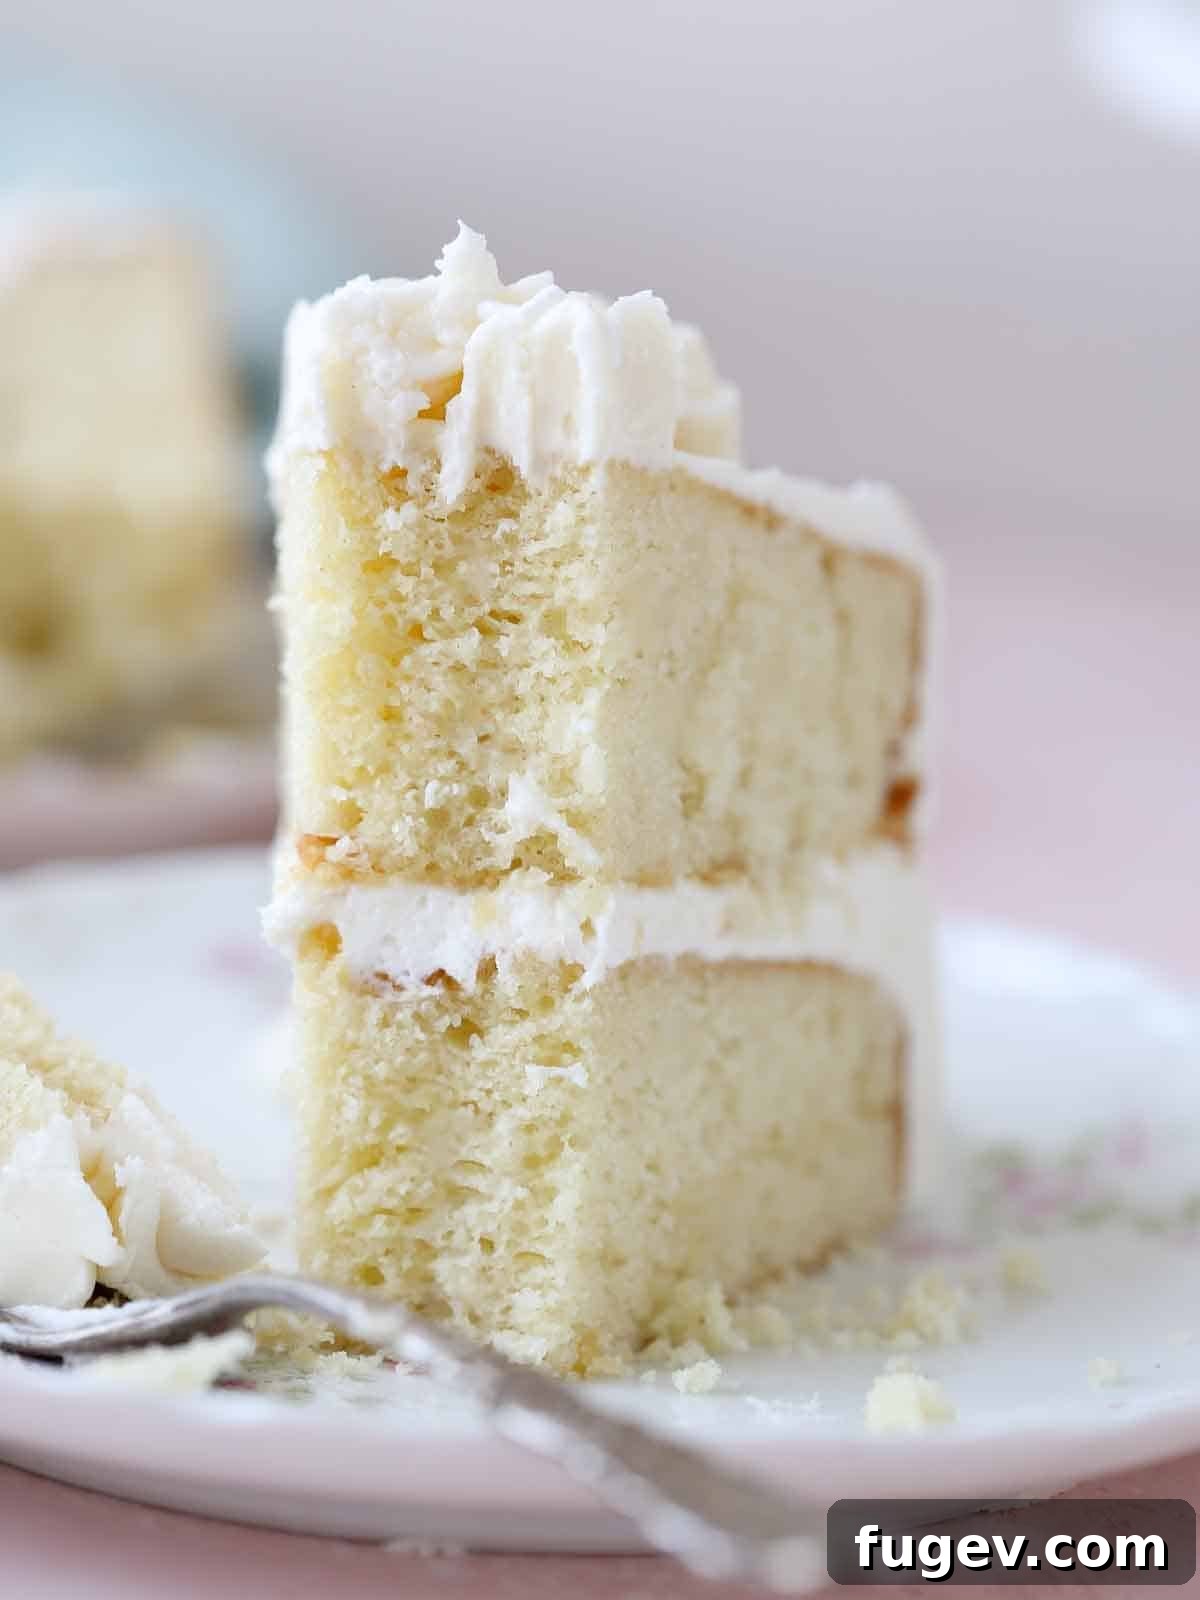
Discover the ultimate moist vanilla cake recipe perfected by a seasoned pastry chef. This delightful layer cake features the secret ingredient of sour cream, ensuring an incredibly tender crumb that stays fresh for days. Crowned with a luxurious, silky vanilla frosting, this easy-to-follow recipe promises a rich, authentic vanilla flavor in every bite. Whether you’re a novice baker or a seasoned pro, prepare to impress with this truly exceptional homemade vanilla cake.
Quick Recipe Overview
A brief glance at what makes this recipe special. For complete details and step-by-step instructions, please scroll down to the full recipe card.
Jump to Full Recipe
Prep Time
45 minutes
Cook Time
20 minutes
Total Time
2 hours
Servings
12 Servings
Difficulty
Easy
Calories *
827 kcal per serving
Technique
Make cake, cool, prepare buttercream, assemble, and frost.
Flavor Profile
Rich, moist vanilla cake with a smooth, luscious vanilla buttercream.
* Based on approximate nutritional values
Summarize & Save this content on
Google AI
Perplexity
Grok
“Delicious!!! Grateful to have found this recipe. I never baked before but decided to make my son’s birthday party cake. Have been practicing this recipe and people are loving it! Thank you and Blessings to you!!!⭐⭐⭐⭐⭐”
Gabriella
As a professional pastry chef, my dedication to perfecting recipes is boundless. This particular moist vanilla cake recipe stands as a testament to over a decade of meticulous development and refinement. It first appeared on my blog as the foundation for an American flag cake and later became the beloved base for my popular funfetti cake recipe! Its consistent performance, yielding a cake with an exceptionally light, fluffy texture and an impeccably moist crumb, has made it a true favorite among my community and family.
Today, this exquisite vanilla cake finally receives the standalone spotlight it truly deserves. I’ve designed this post to showcase it as a classic vanilla layer cake, perfectly paired with my signature vanilla American buttercream frosting recipe. Adorned with delicate swirls and playful sprinkles, it’s a celebration of simplicity and elegance, much like some of my other cherished creations such as the moist yellow cake, the effortless one-bowl chocolate cake, and the sophisticated lemon olive oil cake. This recipe is more than just a cake; it’s a culinary journey to vanilla perfection, designed to bring joy to every occasion.
Table of Contents
- Why This is the Best Vanilla Cake Recipe
- Professional Tips for Making Perfect Vanilla Cake
- Ingredients & Substitutions
- Flavor Variation Ideas
- How to Make Moist Vanilla Cake with Vanilla Buttercream Frosting
- How to Decorate this Vanilla Cake
- Frequently Asked Questions
- Full Moist Vanilla Cake Recipe Card
- Before You Go
Why This is the Best Vanilla Cake Recipe You’ll Ever Bake
- Professional Expertise, Home Kitchen Friendly: This recipe is born from years of professional pastry experience, yet meticulously adapted for the home baker. It utilizes readily available pantry staples and straightforward measurements, making gourmet baking accessible to everyone. You don’t need fancy equipment or advanced techniques to achieve bakery-quality results.
- Unmatched Moisture, Delicate Texture, and Rich Flavor: Our vanilla cake stands out for its incredible moisture and delicate crumb. The secret lies in the careful balance of ingredients, particularly the inclusion of sour cream, which contributes to its luxurious tenderness. Whether baked as a classic 9×13 inch sheet cake, elegant 9-inch round layers, or charming vanilla cupcakes, this recipe consistently delivers a light, moist, and intensely flavorful experience. The creaming method, expertly applied, ensures an airy structure without compromising on moisture.
- A Versatile Canvas for Endless Creativity: Beyond its inherent deliciousness, this vanilla cake recipe is remarkably versatile. It serves as the perfect base for an array of flavor combinations and frostings. Feel free to swap out the vanilla American buttercream for a decadent chocolate buttercream frosting recipe, a sophisticated Italian meringue buttercream, or a rich caramel Swiss meringue buttercream. For an extra layer of delight, consider adding fillings such as a vibrant berry jam, a sweet easy strawberry jam, or a luscious salted caramel sauce between your cake layers. The possibilities for customization are truly limitless!
Professional Tips for Baking the Perfect Moist Vanilla Cake
Achieving a truly exceptional vanilla cake is within your reach with these expert insights. These fundamental techniques, honed in professional kitchens, will elevate your home baking to new heights:
- The Essential Role of Room Temperature Ingredients: This tip cannot be overstated! For a consistently moist, tender cake, all your cold ingredients—butter, eggs, sour cream, and milk—must be at room temperature. When ingredients are at the same temperature, they emulsify beautifully, creating a smooth, homogenous batter that traps air more effectively. This leads to a higher rise and a more even, delicate texture in your final cake. Plan ahead and take them out of the refrigerator at least an hour before you start baking.
- Mastering Butter Temperature for Optimal Texture: While room temperature is key, there’s a fine line with butter. You want your unsalted butter to be cool yet pliable. Ideally, it should register around 68°F (20°C). If your butter is too soft or your kitchen is particularly warm, reduce the creaming time with the sugar. Over-creaming overly soft butter can incorporate too much air, leading to a breakdown in the emulsion and potentially a denser, drier cake. The butter should hold a slight indent when pressed, not be oily or squishy.
- A Simple Syrup Soak: Your Secret to Extended Moisture: For an extra layer of indulgence and extended freshness, a simple syrup soak is a game-changer. To prepare, combine ½ cup of granulated sugar with ½ cup of water in a small saucepan. Bring the mixture to a boil, stirring until the sugar completely dissolves. Once cooled to room temperature, gently brush this syrup over the top of each cake layer before assembly. This simple step adds incredible moisture and keeps your cake tender for days. For a flavor twist, infuse your syrup with a splash of lemon juice, orange juice, or even your favorite liquor like a hint of Bourbon or Grand Marnier.
- Avoid Overmixing: The Enemy of a Tender Crumb: Once you begin adding the dry ingredients, mix only until just combined. Overmixing develops the gluten in the flour, resulting in a tough, chewy cake texture. Instead, mix on low speed until no dry streaks remain, then finish folding gently by hand with a spatula to ensure everything is incorporated without overworking the batter.
- Accurate Measurement, Especially for Flour: Baking is a science, and precise measurements are crucial. For flour, use the spoon-and-level method: spoon flour into your measuring cup until overflowing, then level it off with a straight edge. Do not scoop flour directly with the measuring cup, as this compacts it and can lead to using too much flour, resulting in a dry cake. A kitchen scale provides the most accurate measurements for consistent results.
Essential Ingredients & Smart Substitutions for This Moist Vanilla Cake
Crafting the perfect vanilla cake starts with high-quality ingredients, each playing a vital role in achieving its signature moistness and delicate flavor. Here’s a detailed look at what you’ll need and some helpful substitution tips:
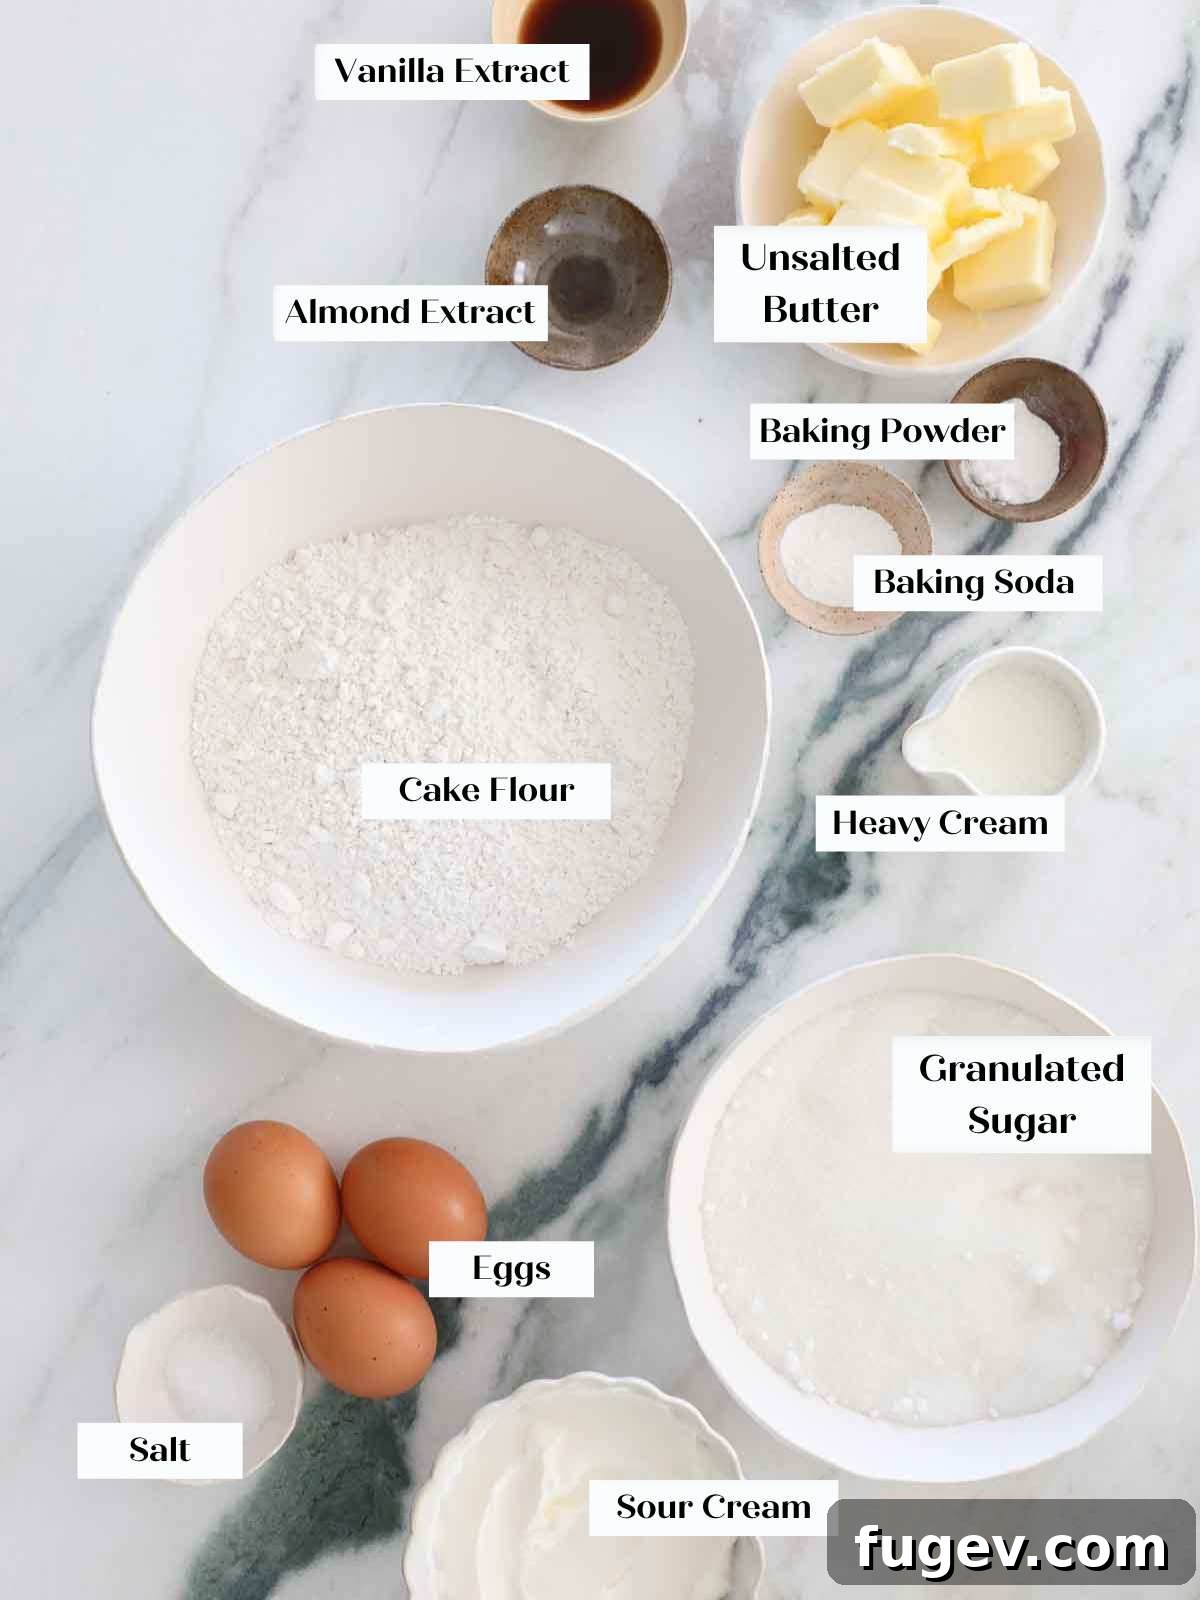
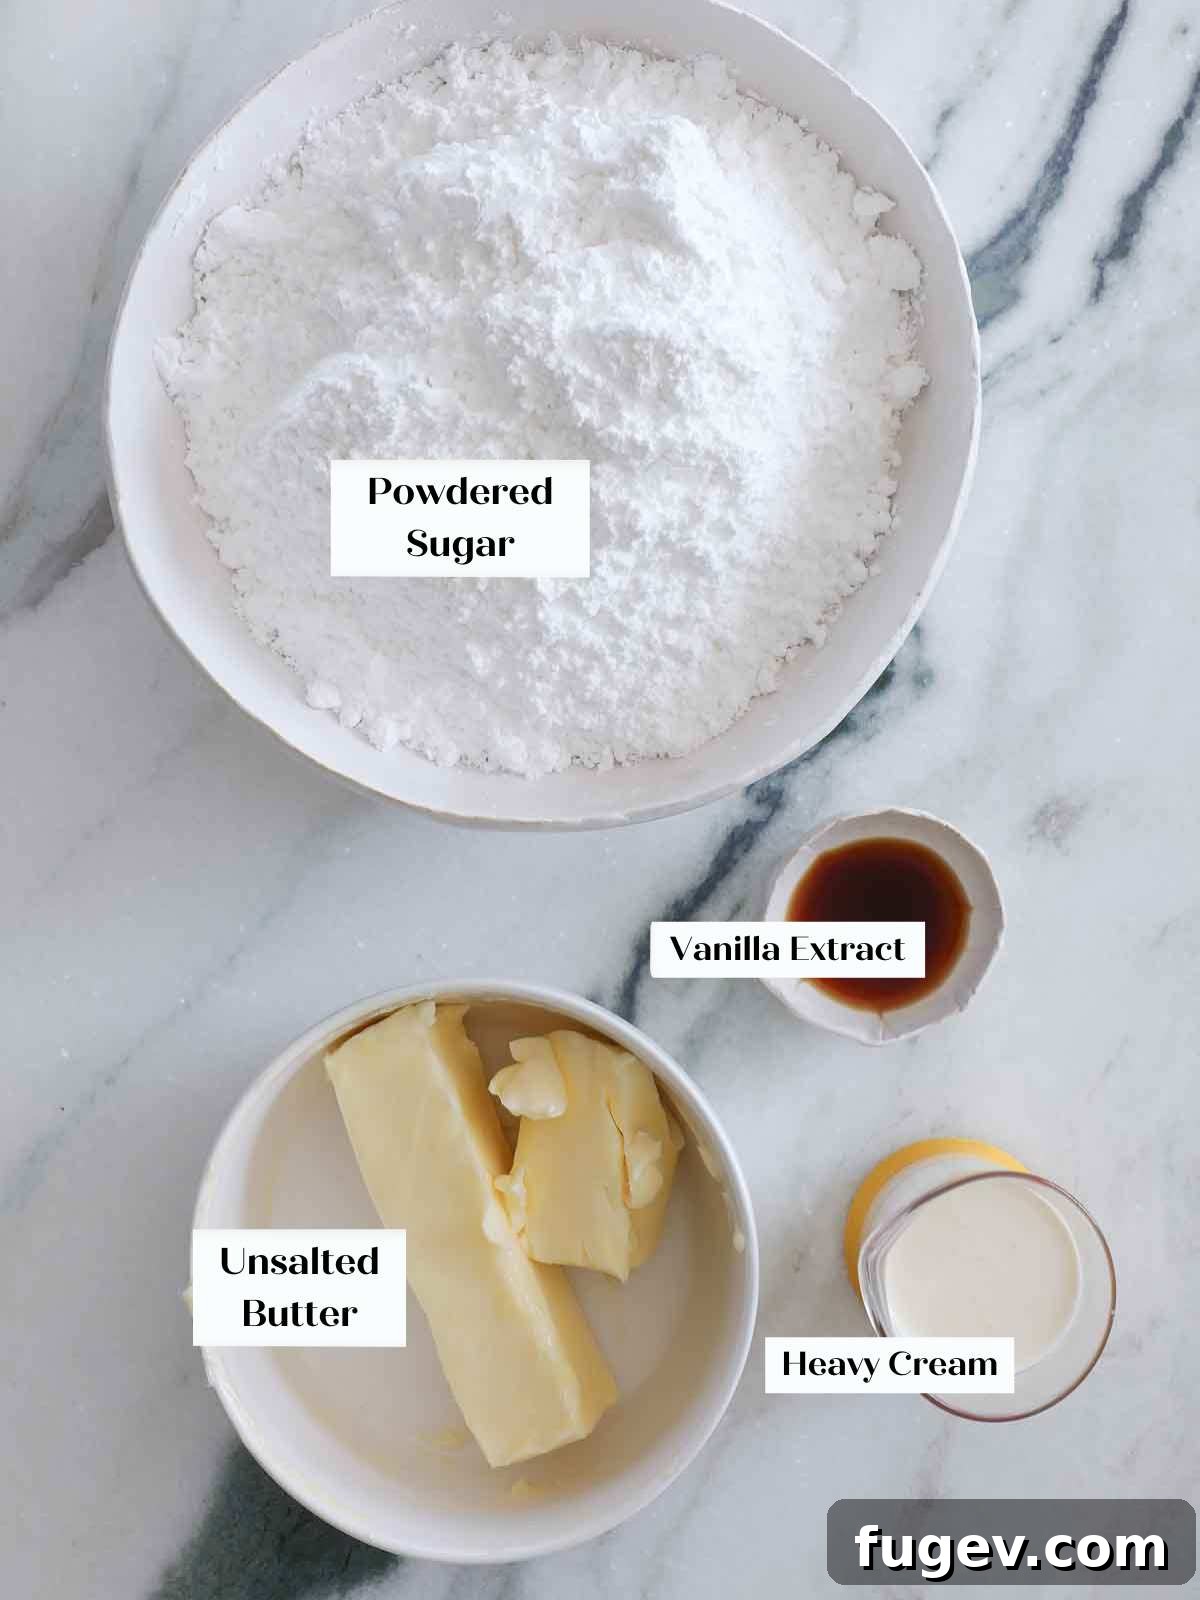
- Unsalted Butter: We use cool but pliable unsalted butter to ensure it incorporates beautifully into the batter. This allows for optimal creaming with the sugar, trapping air to create volume and contributing significantly to the cake’s tender texture and rich flavor. Always use unsalted butter to control the overall saltiness of your bake.
- Granulated Sugar: Beyond sweetness, granulated sugar plays a crucial role in the creaming process, helping to aerate the butter and create a light texture. It also aids in moisture retention, keeping the cake soft and delicious.
- Large Eggs: Whole large eggs are integral to this recipe, providing essential moisture and fat that enrich the cake’s flavor and tenderness. They also act as a leavening agent, contributing to the cake’s structure. Unlike some white cake recipes that rely on whipped egg whites for lightness, this butter-based cake achieves its delicate texture with whole eggs, simplifying the process.
- Vanilla Extract: As the star flavor, your choice of vanilla extract is paramount. Opt for a high-quality pure vanilla extract; it truly makes a difference in the depth and aroma of your cake. I highly recommend Nielson Massey’s vanilla extract for its superior quality and robust flavor profile.
- Almond Extract: Just a hint of almond extract transforms this cake from merely good to absolutely extraordinary, adding a subtle complexity that beautifully complements the vanilla. If you’re not a fan of almond flavor, feel free to omit it without compromising the cake’s quality.
- Sour Cream: This is a key ingredient for achieving the softest, most moist cake imaginable! Full-fat sour cream adds richness and tang, enhancing the cake’s tenderness and ensuring it stays fresh for longer. As a suitable alternative, full-fat Greek yogurt can be used. If neither is available, consider trying my vanilla cupcake recipe, which achieves similar moisture using only whole milk.
- Whole Milk: The fat content in whole milk is essential for contributing to the cake’s decadent flavor and its signature moist, tender crumb. It works in conjunction with the sour cream to create a perfectly balanced liquid component.
- Cake Flour: For an exceptionally light and fluffy vanilla cake, cake flour is non-negotiable. Its lower protein content results in a more delicate texture compared to all-purpose flour. While you can use all-purpose flour in a pinch, expect a slightly denser and less tender result.
- Baking Powder & Baking Soda: This recipe employs a powerful duo of leavening agents: baking powder and baking soda. The baking soda reacts with the acidic sour cream to provide an initial burst of volume, while the double-acting baking powder ensures a steady, even rise throughout the baking process, contributing to the cake’s airy structure.
- Kosher Salt: Always use kosher salt for baking unless otherwise specified. Its larger granules and milder salinity compared to table salt or fine sea salt mean you’ll need to reduce the amount by half if substituting with a different type of salt. Salt is crucial for balancing the sweetness and enhancing the overall flavor profile of the cake.
Refer to the comprehensive recipe card below for precise measurements and detailed ingredient information.
Unleash Your Creativity: Exciting Flavor Variation Ideas for Your Vanilla Cake
This moist vanilla cake recipe serves as a magnificent foundation, inviting endless possibilities for customization. Get ready to mix and match flavor additions to the cake batter, delightful fillings, and luscious frostings to create a unique masterpiece for any occasion!
- Change the Flavor of the Cake Batter:
- Citrus Zest: Infuse a bright, tangy note by adding lemon or orange zest to the granulated sugar before creaming it with butter. The zest oils will release their aroma, permeating the entire cake.
- Different Extracts: Substitute or complement the vanilla with other extracts like pure lemon, orange, peppermint (for a holiday twist), or even a touch of rum extract for a Caribbean flair.
- Funfetti Style: Transform it into a festive Funfetti cake by gently folding in your favorite sprinkles into the batter just before baking. Choose high-quality sprinkles that won’t bleed color.
- Spices: For a warm, comforting profile, try adding a pinch of cardamom, cinnamon, or nutmeg.
- Elevate with a Flavored Simple Syrup Soak:
- Fruity Boost: Enhance the moisture and add a burst of fruitiness by infusing your simple syrup with fresh lemon juice, orange juice, or even a few tablespoons of pureed berries.
- Adult Indulgence: For a sophisticated dessert, replace a portion of the water in your simple syrup with hard liquor such as Bourbon for warmth, Chambord for raspberry elegance, Frangelico for a nutty note, or Grand Marnier for a bright orange kick. This adds a subtle, refined flavor.
- Introduce Delectable Fillings Between the Layers:
- Fruit Jams & Preserves: A thin layer of your favorite jam, such as easy strawberry jam, mixed berry jam, or classic raspberry jam, creates a vibrant contrast to the vanilla. Spread it directly onto the cake layer before adding buttercream.
- Curds & Compotes: For looser or more generous fillings like a bright lemon curd or a homemade fruit compote, pipe a protective “dam” of buttercream around the perimeter of each cake layer. This barrier prevents the filling from squeezing out under the weight of the subsequent layers.
- Rich & Decadent Fillings: Experiment with a smooth chocolate ganache, a sticky-sweet salted caramel sauce, or even a fluffy marshmallow fluff for an indulgent surprise.
- Transform the Frosting Flavor for a New Experience:
- Cream Cheese Classic: A tangy cream cheese buttercream offers a delightful contrast to the sweet vanilla cake.
- Citrusy Zest: Brighten your cake with a refreshing lemon American buttercream.
- Old-Fashioned Goodness: Explore the delicate, cooked flour base of ermine frosting for a less sweet alternative.
- Chocolate Indulgence: Nothing beats the pairing of vanilla cake with a rich chocolate buttercream frosting.
- Meringue Buttercreams: For a lighter, silkier frosting, consider making Italian meringue buttercream or Swiss meringue buttercream. These can be exquisitely flavored with additional vanilla extract, vanilla bean paste, lemon curd, caramel sauce, melted chocolate, or even an easy strawberry sauce. These meringue-based frostings are my personal go-to when making this cake, especially since it’s my husband’s absolute favorite!
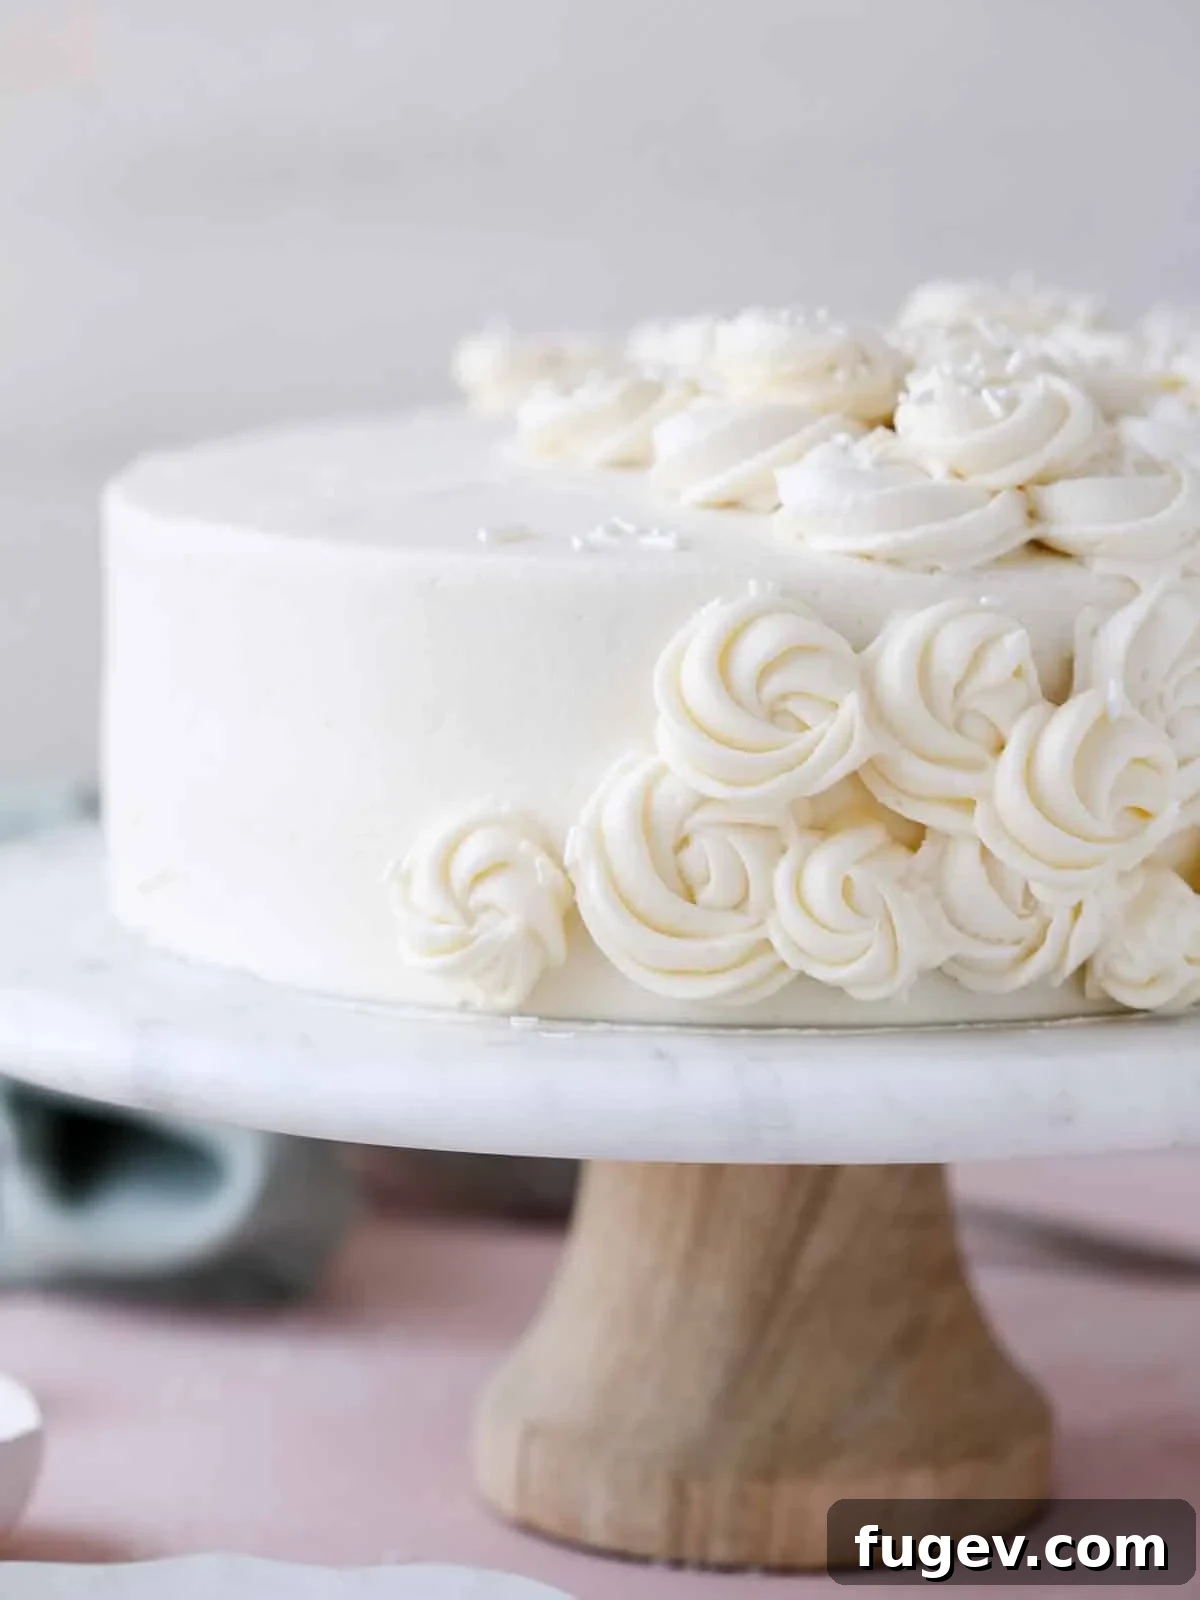
Step-by-Step Guide: How to Make Moist Vanilla Cake with Silky Vanilla Buttercream Frosting
Follow these detailed instructions to create a flawless vanilla cake every single time. Precision and attention to detail are your best friends in baking. You’ll find a complete list of ingredients and precise measurements in the recipe card provided at the end of this article.
Part 1: Making the Perfect Vanilla Cake Layers
Step 1: Prepare Your Baking Environment
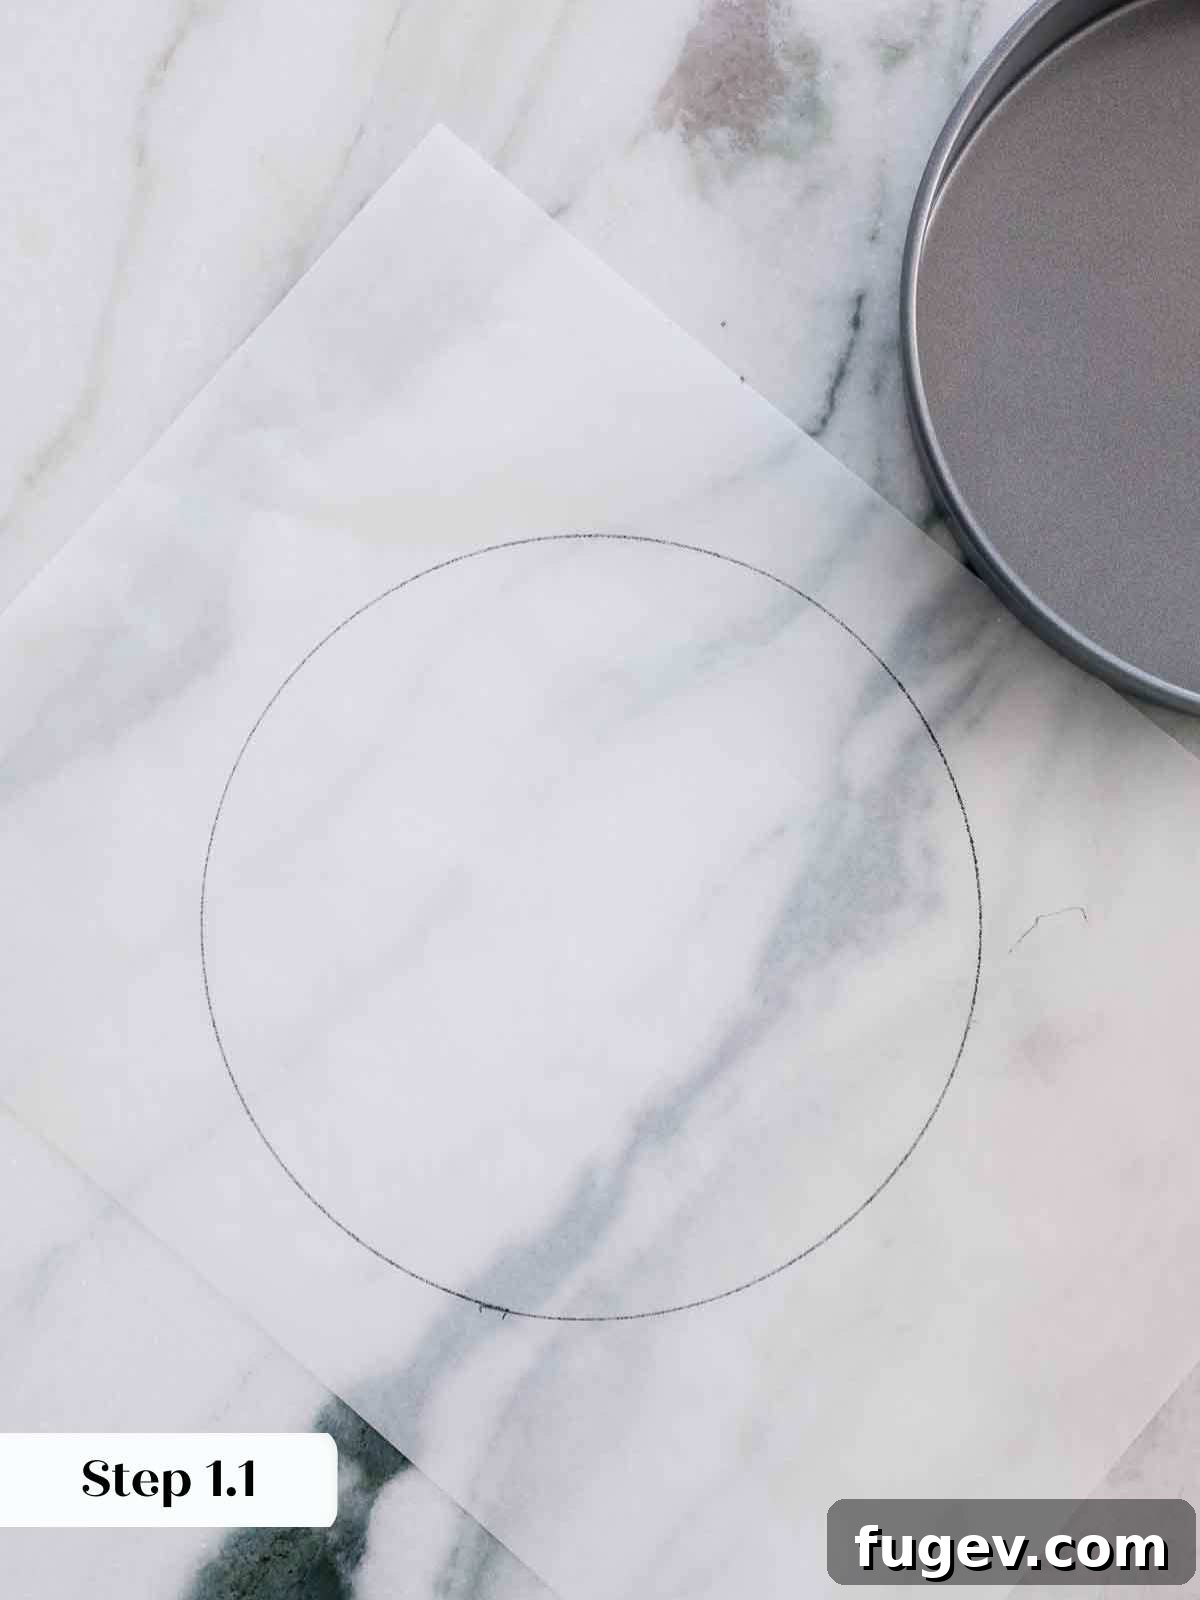
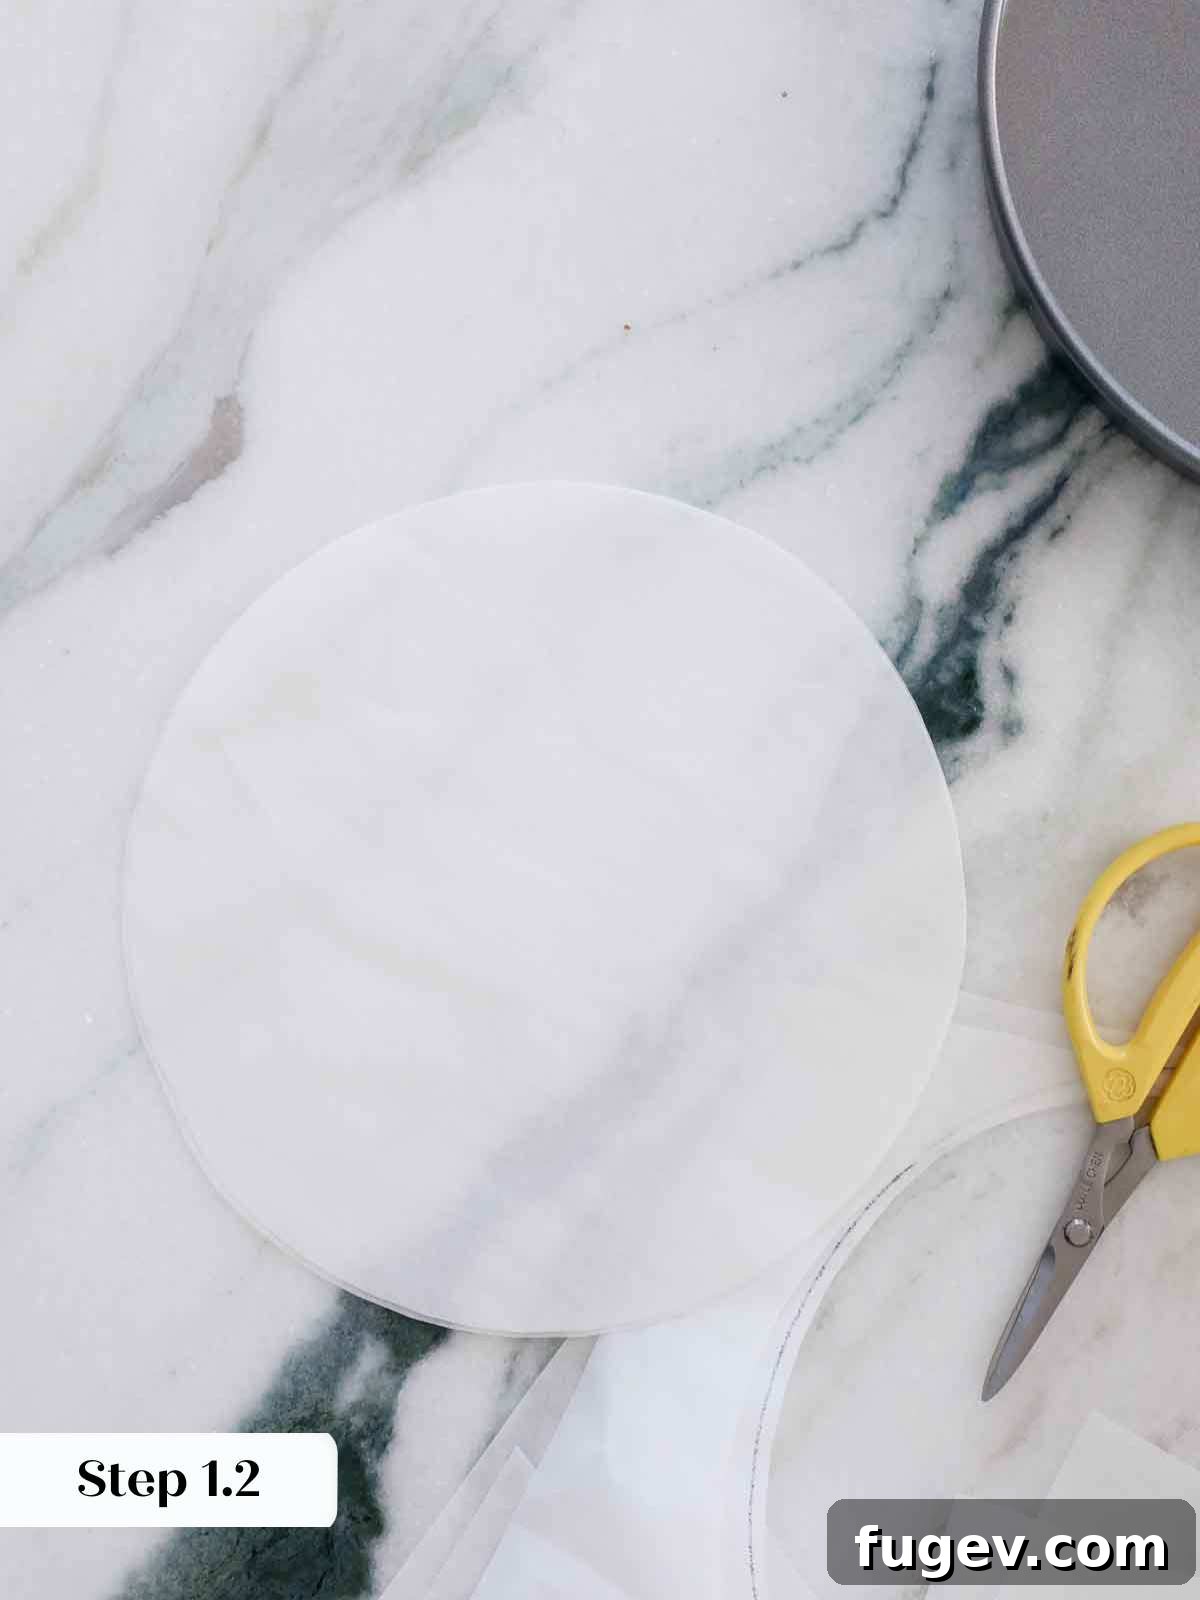
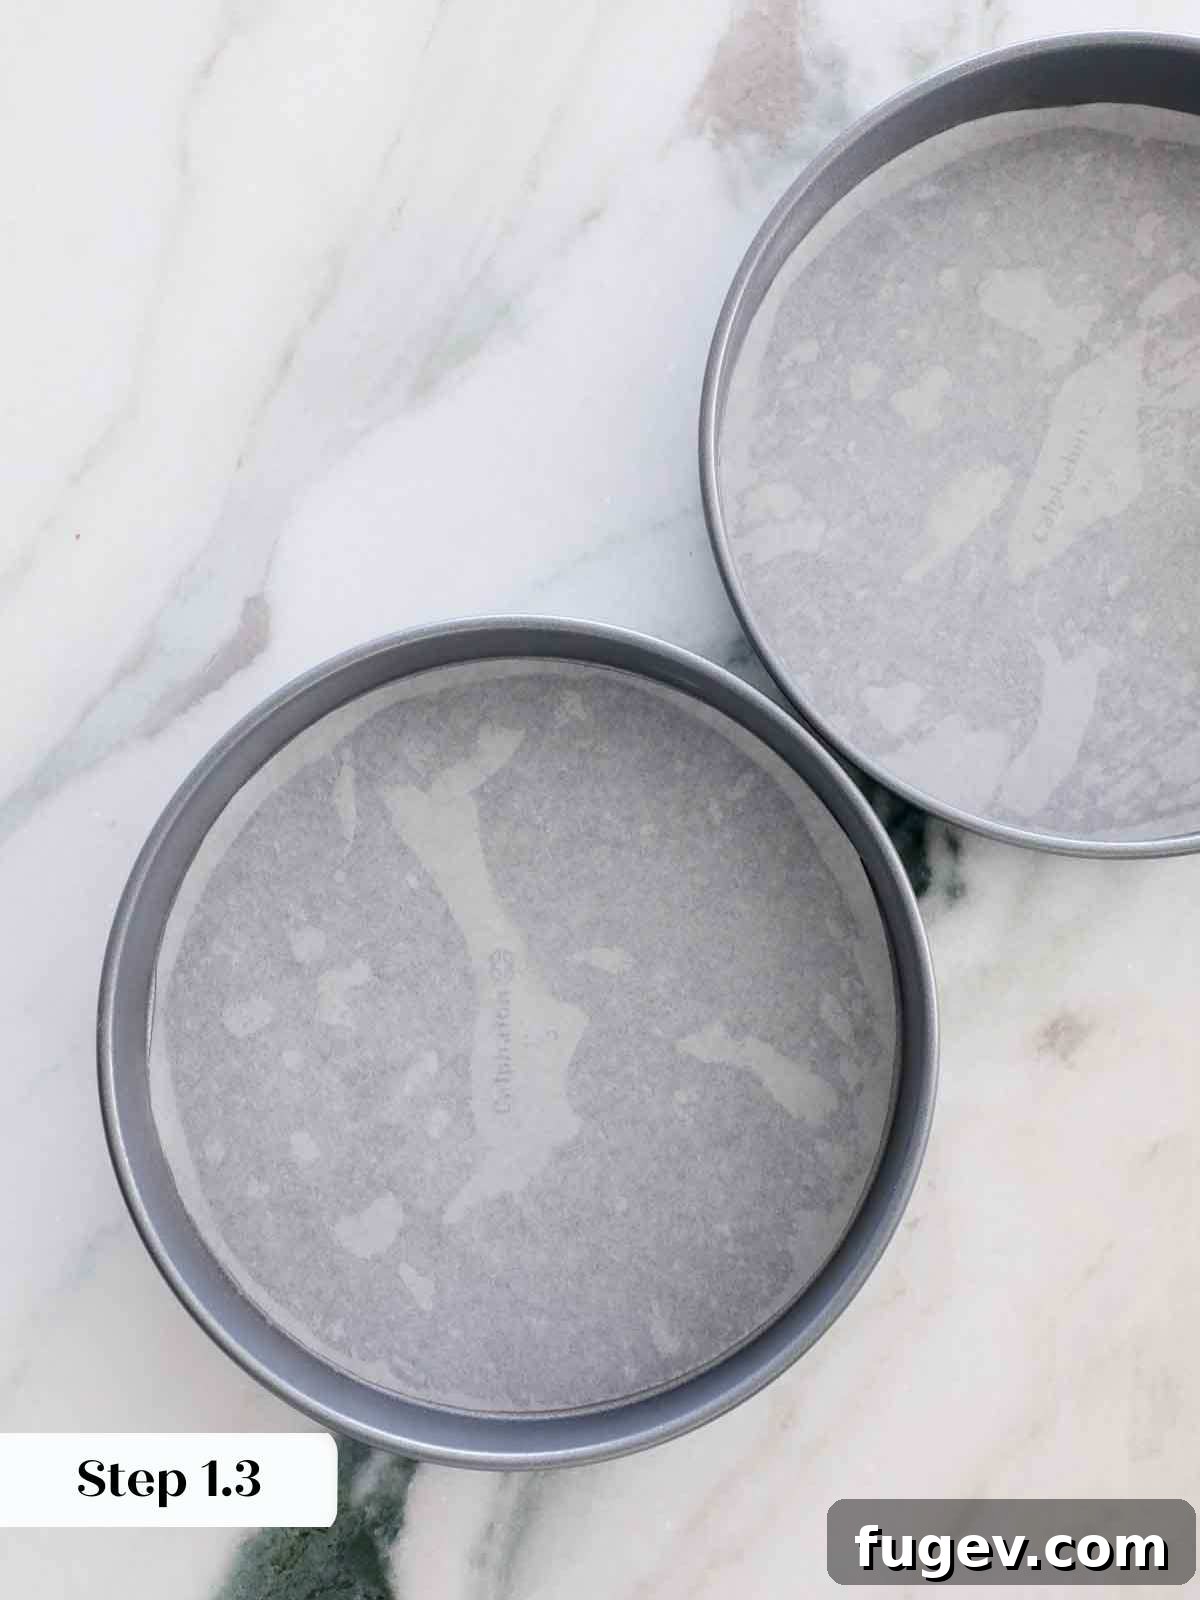
Preheat your oven to 350°F (175°C). This temperature works well for both convection and conventional ovens, though convection may slightly reduce baking time. Prepare two 9-inch round cake pans by lightly coating them with non-stick cooking spray, then lining the bottoms with parchment paper circles. To get a perfect circle, simply trace the base of your pan onto parchment paper with a sharpie, then cut slightly inside the lines. This ensures easy release and prevents sticking.
Pro Tip: Ensure all your ingredients, particularly butter, eggs, sour cream, and milk, are at optimal room temperature. This is crucial for creating a smooth, emulsified batter that yields a tender and moist cake.
Step 2: Combine Dry and Wet Ingredients (Separately)
In a medium bowl, sift together the cake flour, baking powder, baking soda, and kosher salt. Sifting helps to aerate the flour and remove any lumps, ensuring a light texture. In a separate bowl, whisk together the sour cream and whole milk until thoroughly combined. Set both mixtures aside.
Step 3: Cream Butter and Sugar
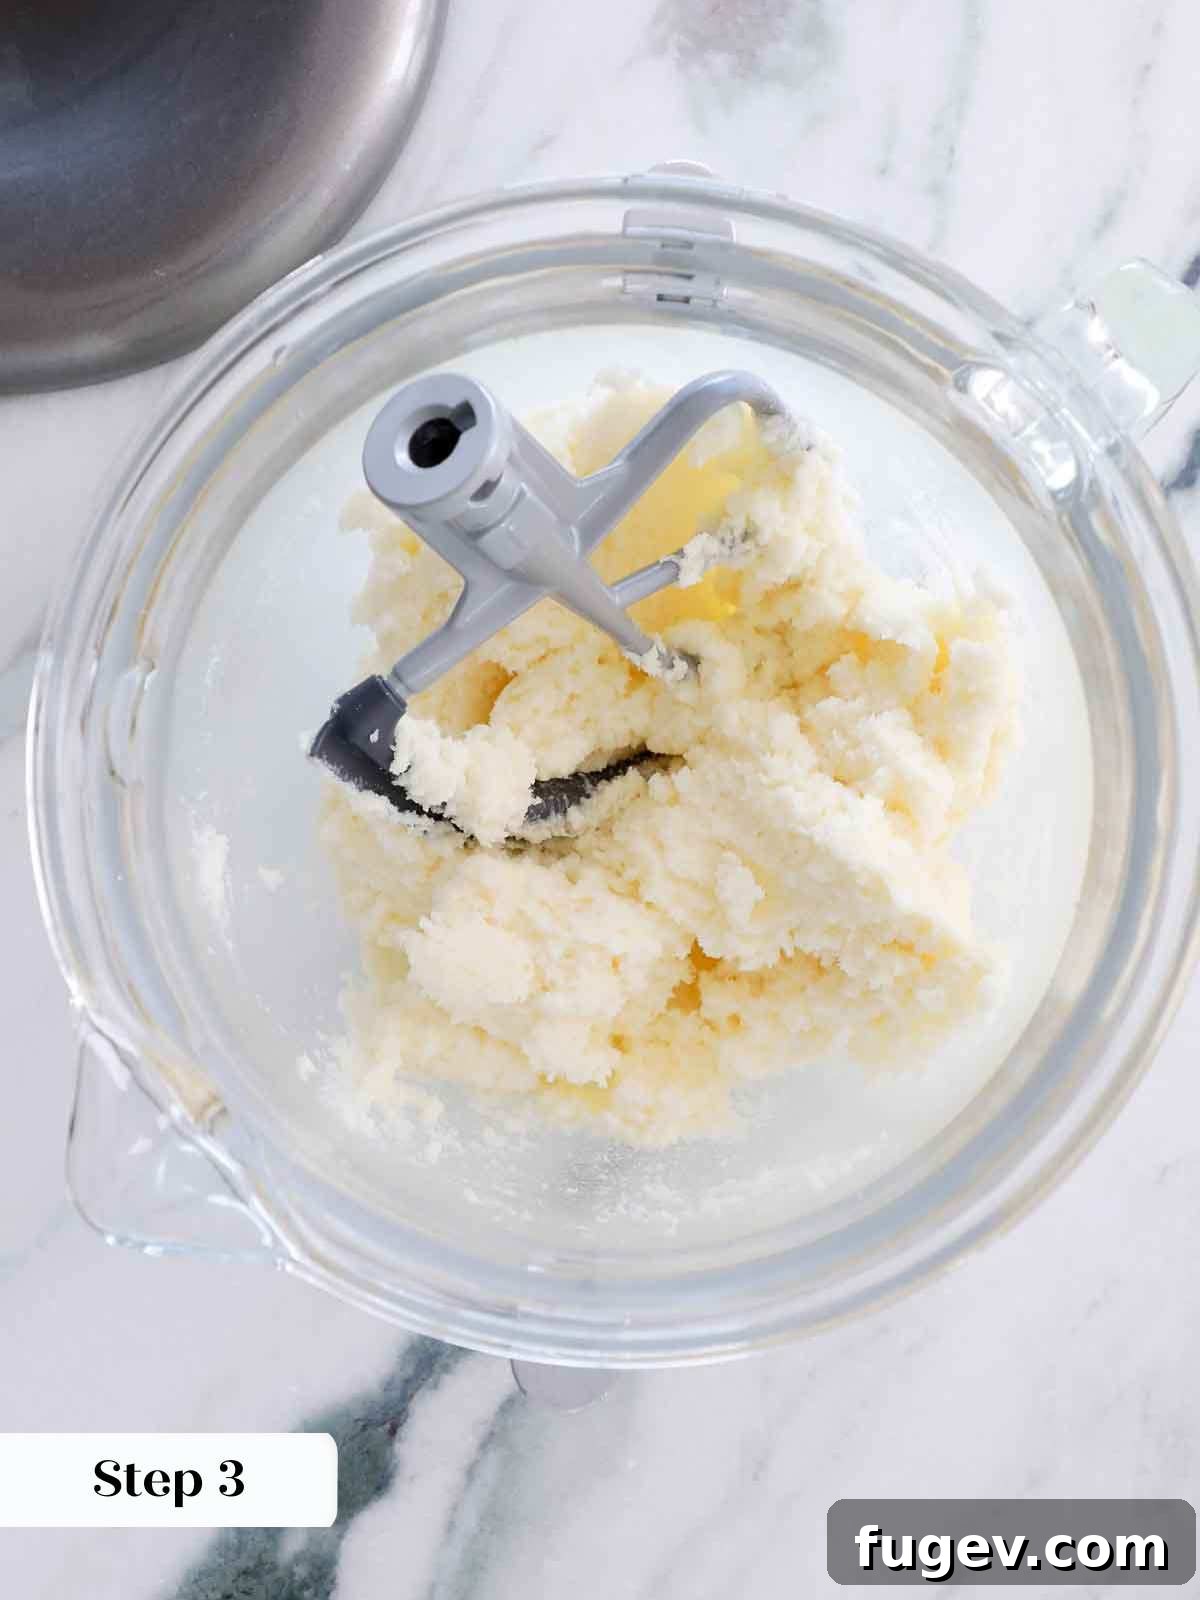
In the bowl of a stand mixer fitted with the paddle attachment (or using a hand mixer with a large bowl), cream the cool yet pliable unsalted butter and granulated sugar together on medium-high speed. Beat until the mixture is visibly lightened in color and fluffy, typically 3-5 minutes. This creaming process incorporates air, which is fundamental to the cake’s structure.
Step 4: Incorporate Eggs and Extracts
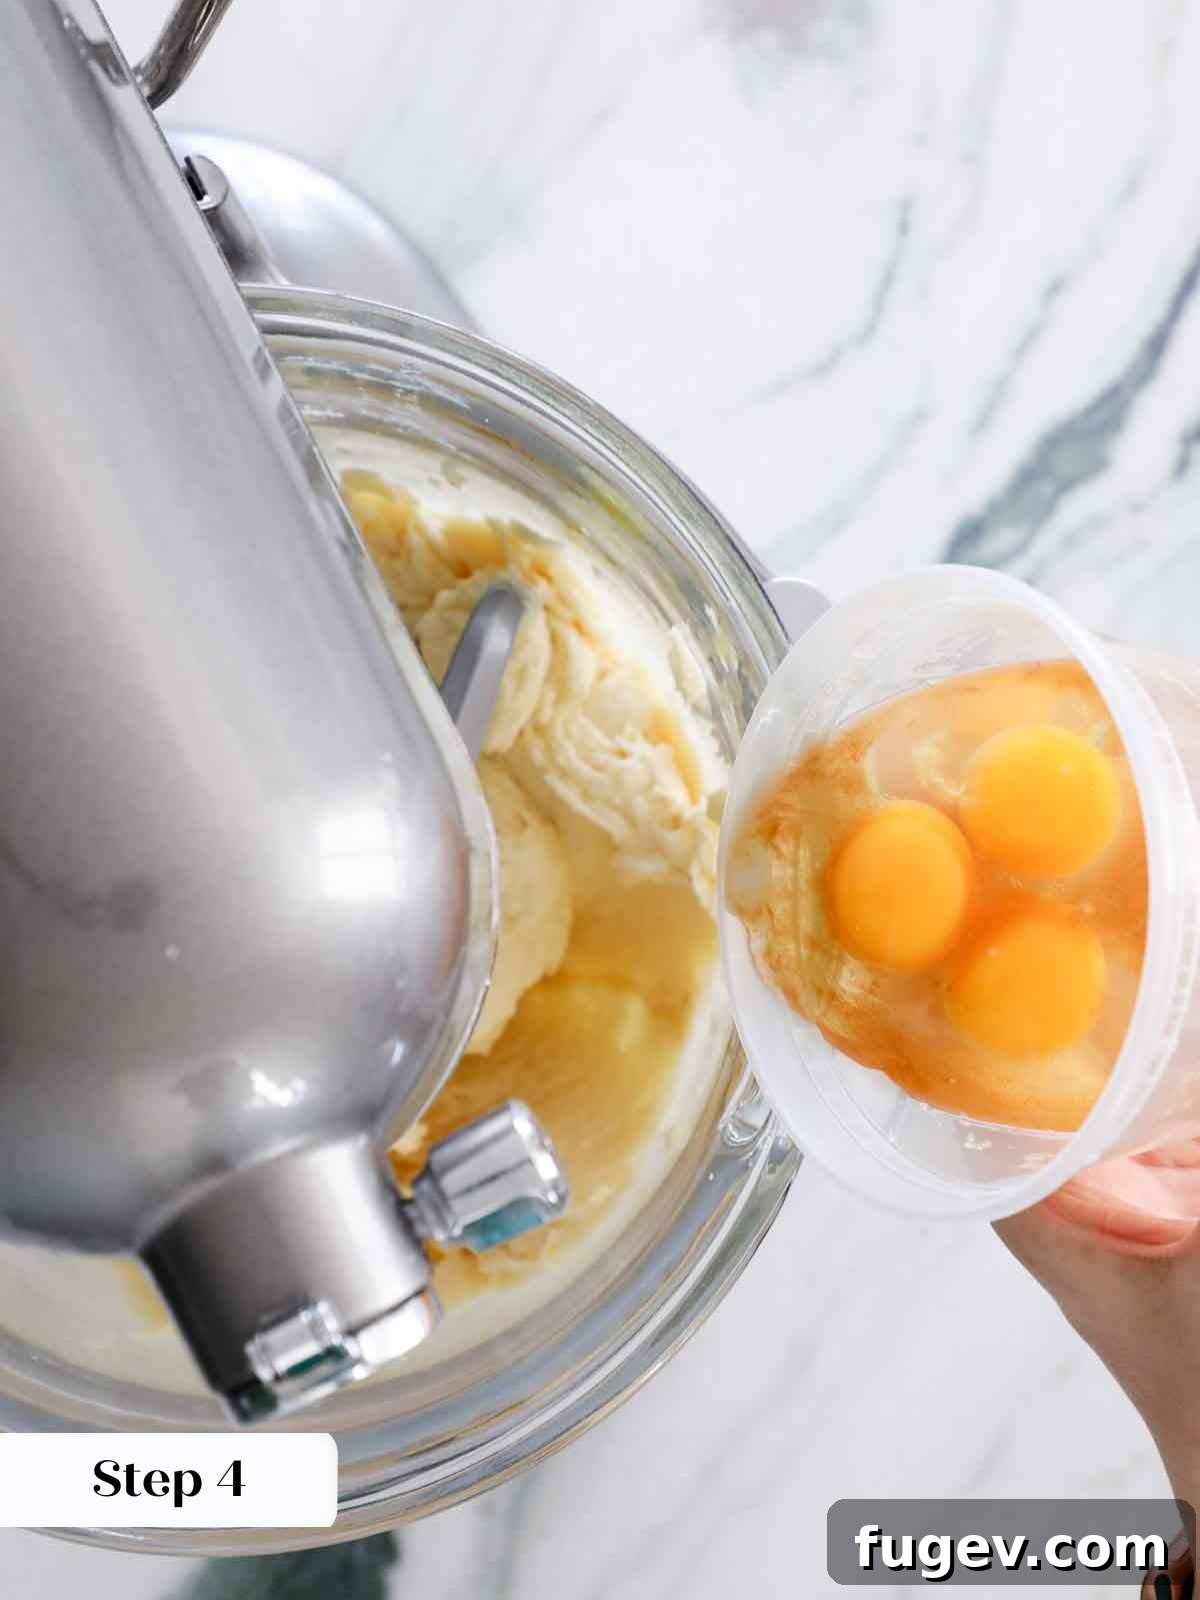
Reduce the mixer speed to medium-low. Add the large eggs one at a time, beating well after each addition until fully incorporated. Scrape down the sides of the bowl as needed to ensure everything is mixed evenly. With the final egg, add the vanilla extract and almond extract (if using). Continue to beat until the extracts are thoroughly combined.
Step 5: Alternate Dry and Wet Additions
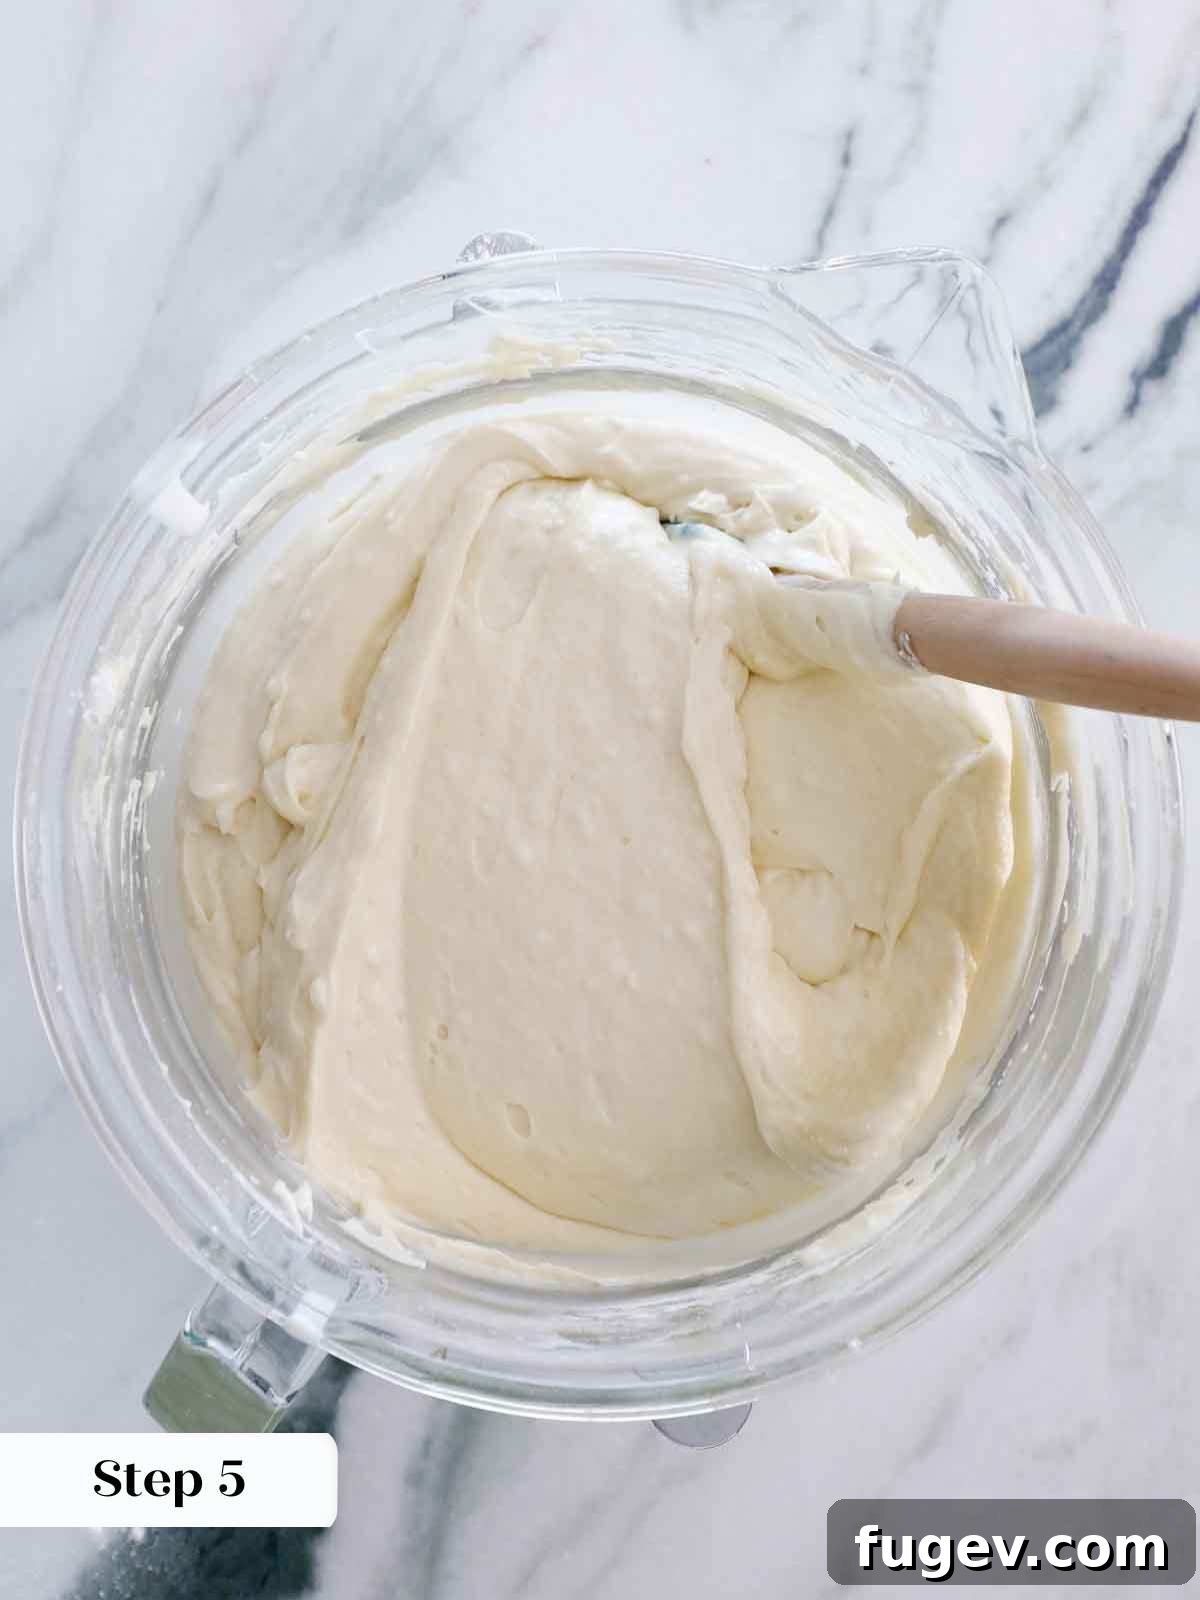
With the mixer on low speed, alternately add the sifted dry ingredients and the sour cream-milk mixture to the butter-egg mixture. Begin and end with the dry ingredients. Add approximately one-third of the dry ingredients, mix briefly until just combined, then add half of the wet mixture, mix, and repeat until all ingredients are incorporated. Be careful not to overmix! Overworking the batter will develop gluten, leading to a tough cake. I often finish the final few folds gently by hand using a spatula to ensure no dry pockets remain without over-developing the gluten.
Step 6: Fill Cake Pans Evenly
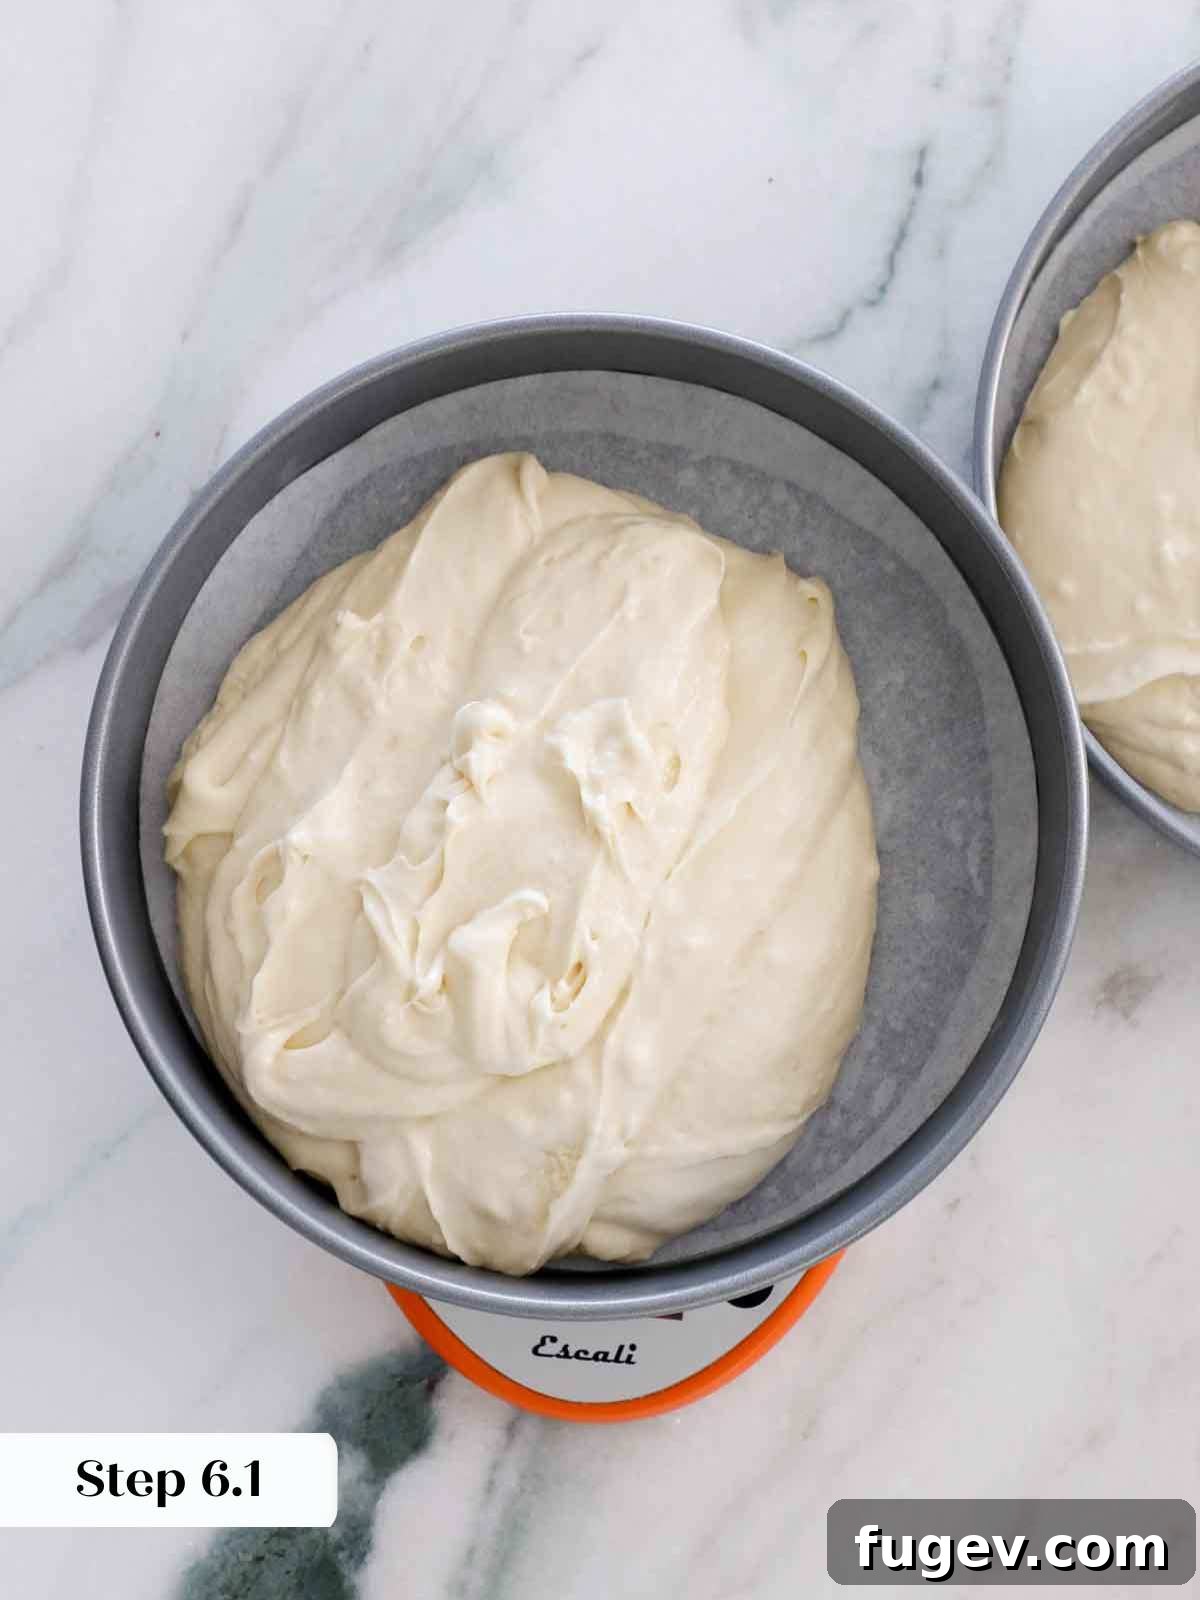
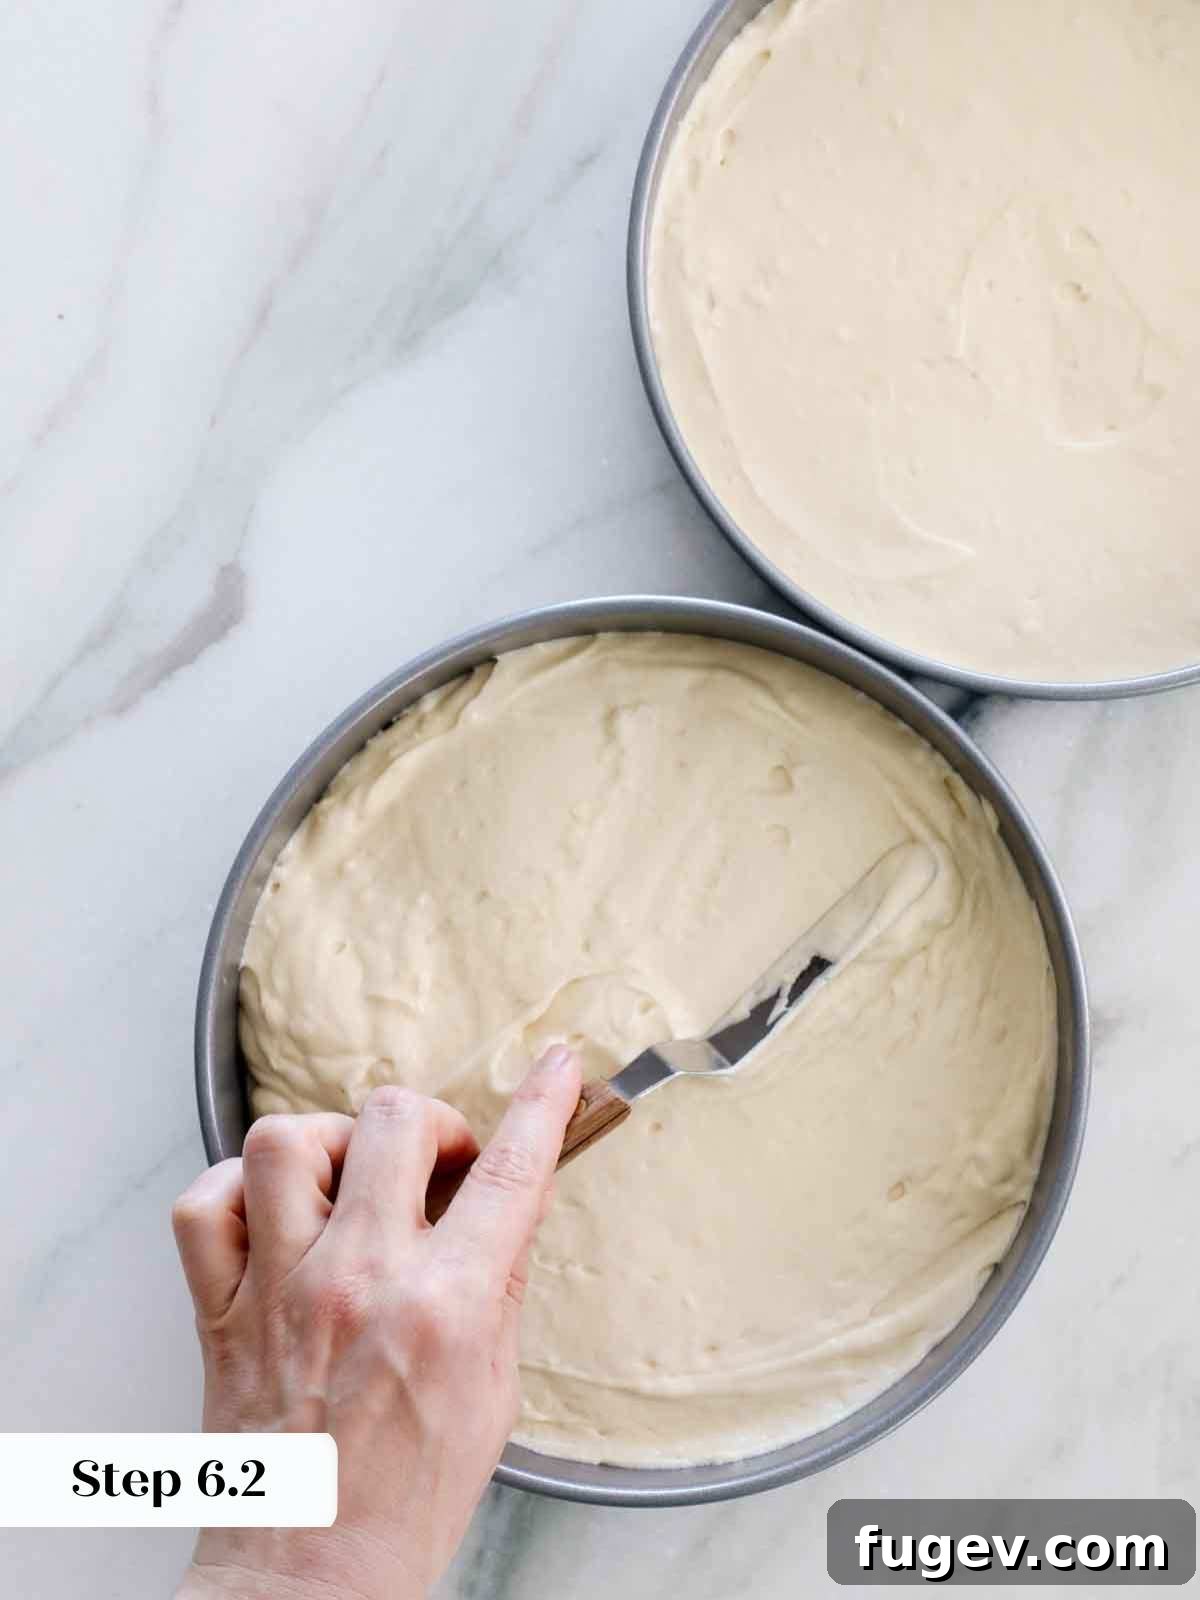
Carefully pour the cake batter into your two prepared 9-inch pans. For perfectly even layers, use a kitchen scale to divide the batter equally between the pans. Each pan should contain approximately 670 grams of batter for two layers. Use an offset spatula to gently spread the batter evenly to the edges of each pan.
Step 7: Bake to Golden Perfection
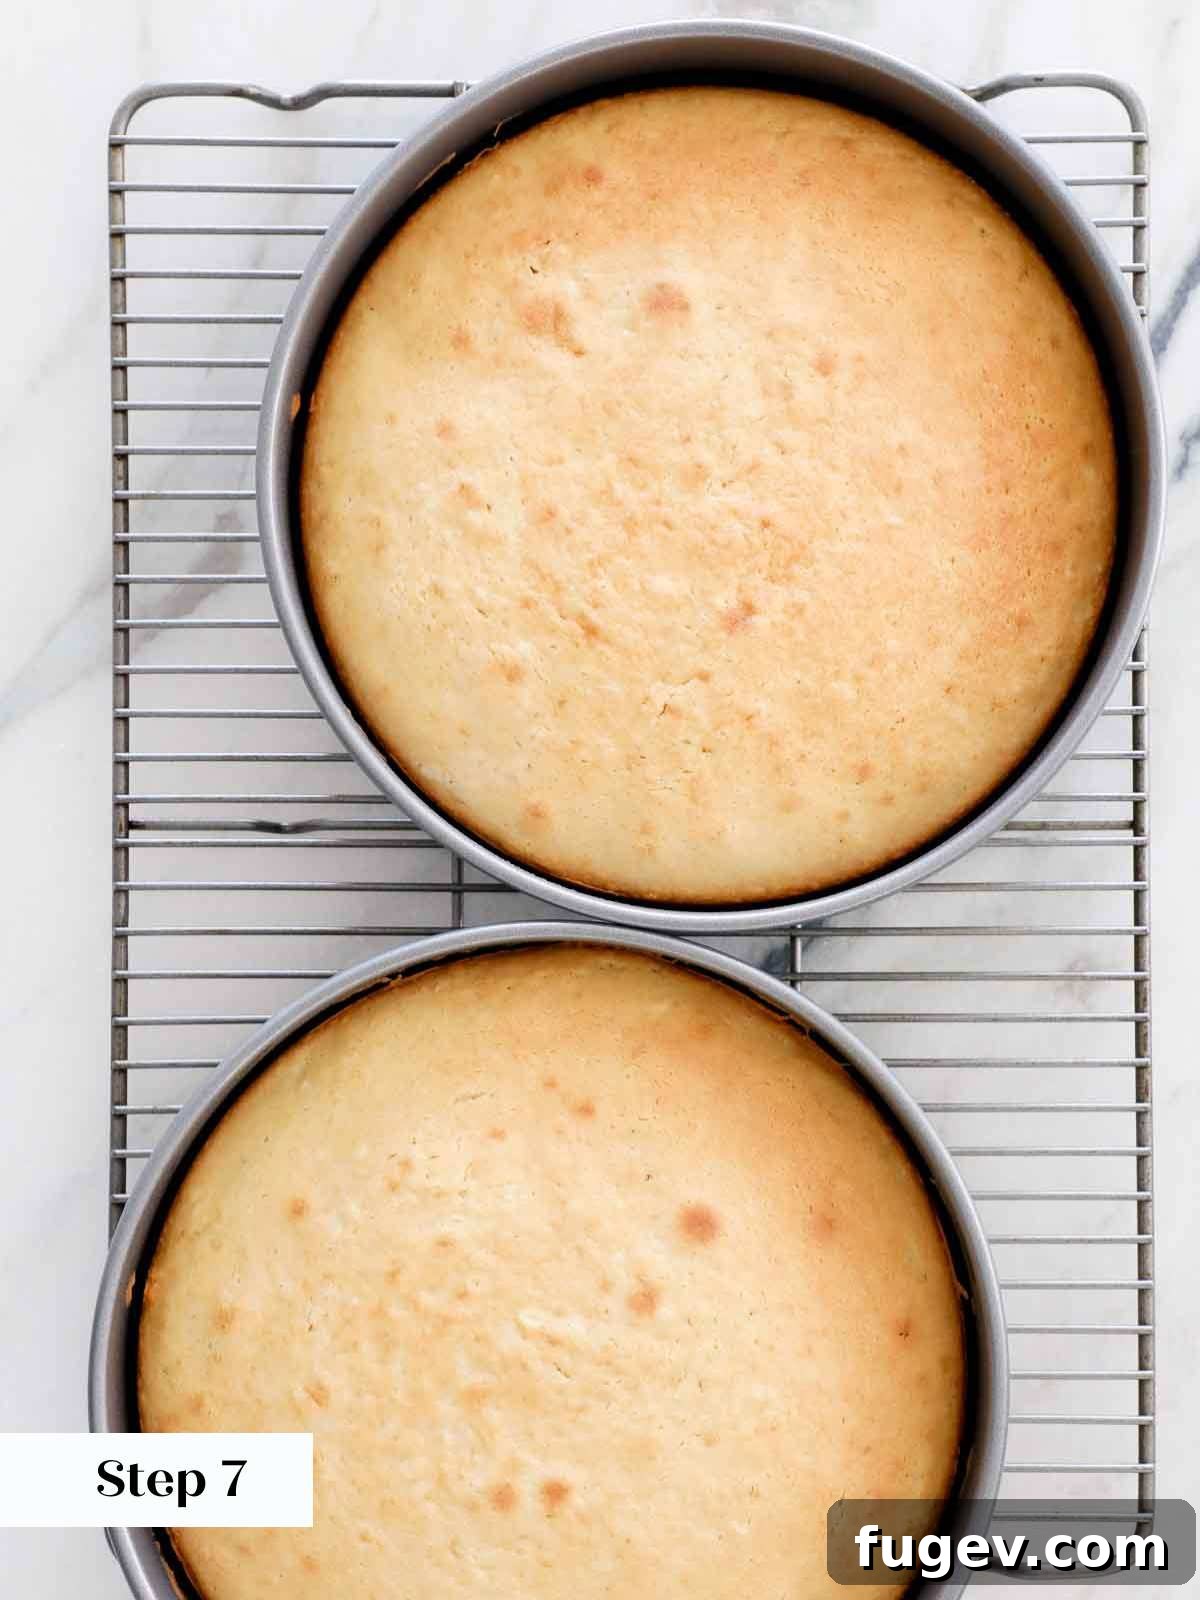
Bake immediately in your preheated oven for approximately 20-25 minutes. Baking time can vary slightly depending on your oven, so keep a close eye on your cakes. The cakes are done when a cake tester or toothpick inserted into the center comes out with a few moist crumbs clinging to it, but not wet batter. Over-baking is the quickest way to a dry cake, so remove them promptly once they reach this stage.
Step 8: Cool Completely
Allow the baked cake layers to cool in their pans for about 10 minutes. This helps them set and makes them easier to handle. After 10 minutes, carefully invert the cakes onto a wire rack. Gently peel off the parchment paper from the bottom of each cake layer. Let them cool completely at room temperature before frosting. Warm cakes will melt your buttercream!
Part 2: Crafting the Silky Vanilla Buttercream Frosting
Step 1: Beat the Butter
In the bowl of a stand mixer fitted with the paddle attachment, beat the softened unsalted butter on medium-high speed until it becomes smooth and slightly lighter in color. This usually takes 2-3 minutes, preparing the butter to incorporate the sugar and other ingredients.
Step 2: Gradually Add Powdered Sugar
Reduce the mixer speed to low. Gradually add the powdered sugar, about ½ cup at a time, allowing each addition to mix in completely before adding the next. This prevents a cloud of sugar from erupting in your kitchen and ensures a smooth consistency.
Step 3: Introduce Vanilla and Blend Smooth
Once all the powdered sugar has been incorporated, add the vanilla extract (and optional vanilla bean seeds for an extra visual and flavor boost). Increase the mixer speed to medium and beat until the buttercream is light, smooth, and fluffy. Scrape down the sides of the bowl to ensure uniform mixing.
Step 4: Whisk to Lightness with Heavy Cream
Switch from the paddle attachment to the whisk attachment on your stand mixer. With the mixer on medium-low speed, slowly pour in the cold heavy cream. Once the cream is incorporated, increase the speed to high and whisk vigorously until the buttercream is exceptionally light, airy, and noticeably white. This step aerates the frosting, giving it a delightful, cloud-like texture.
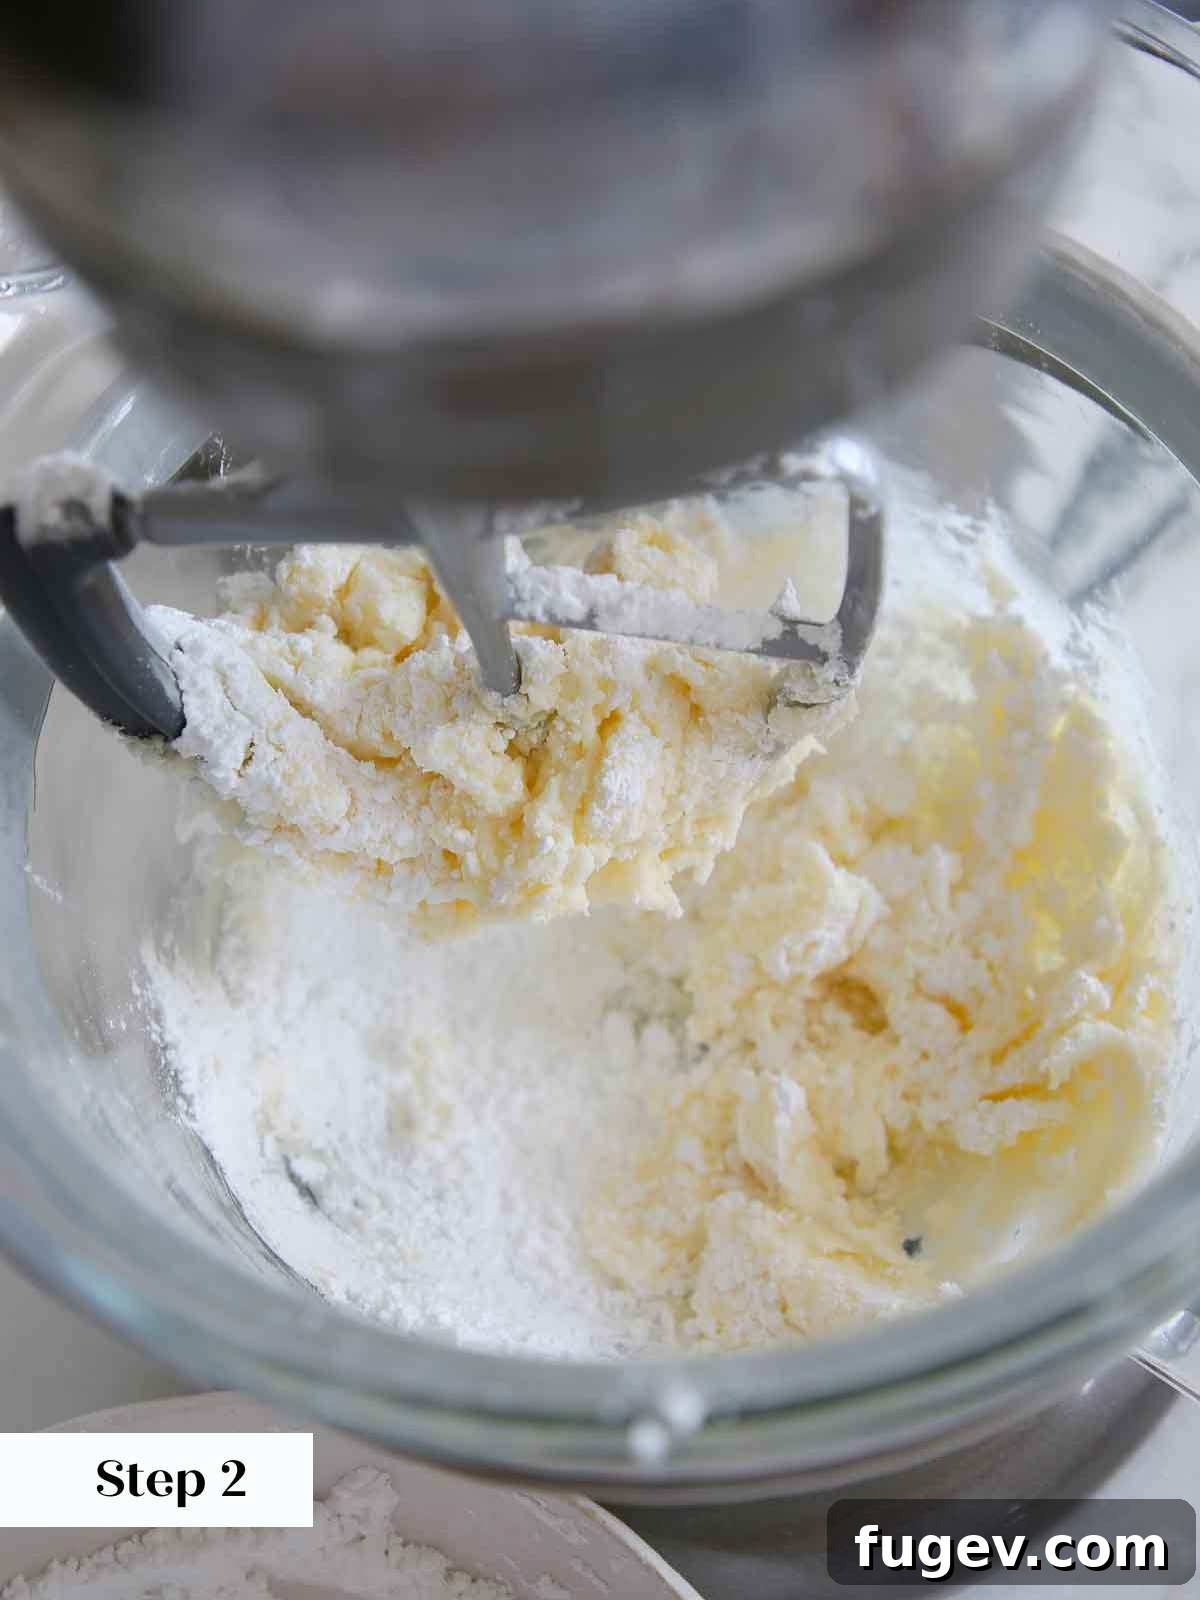
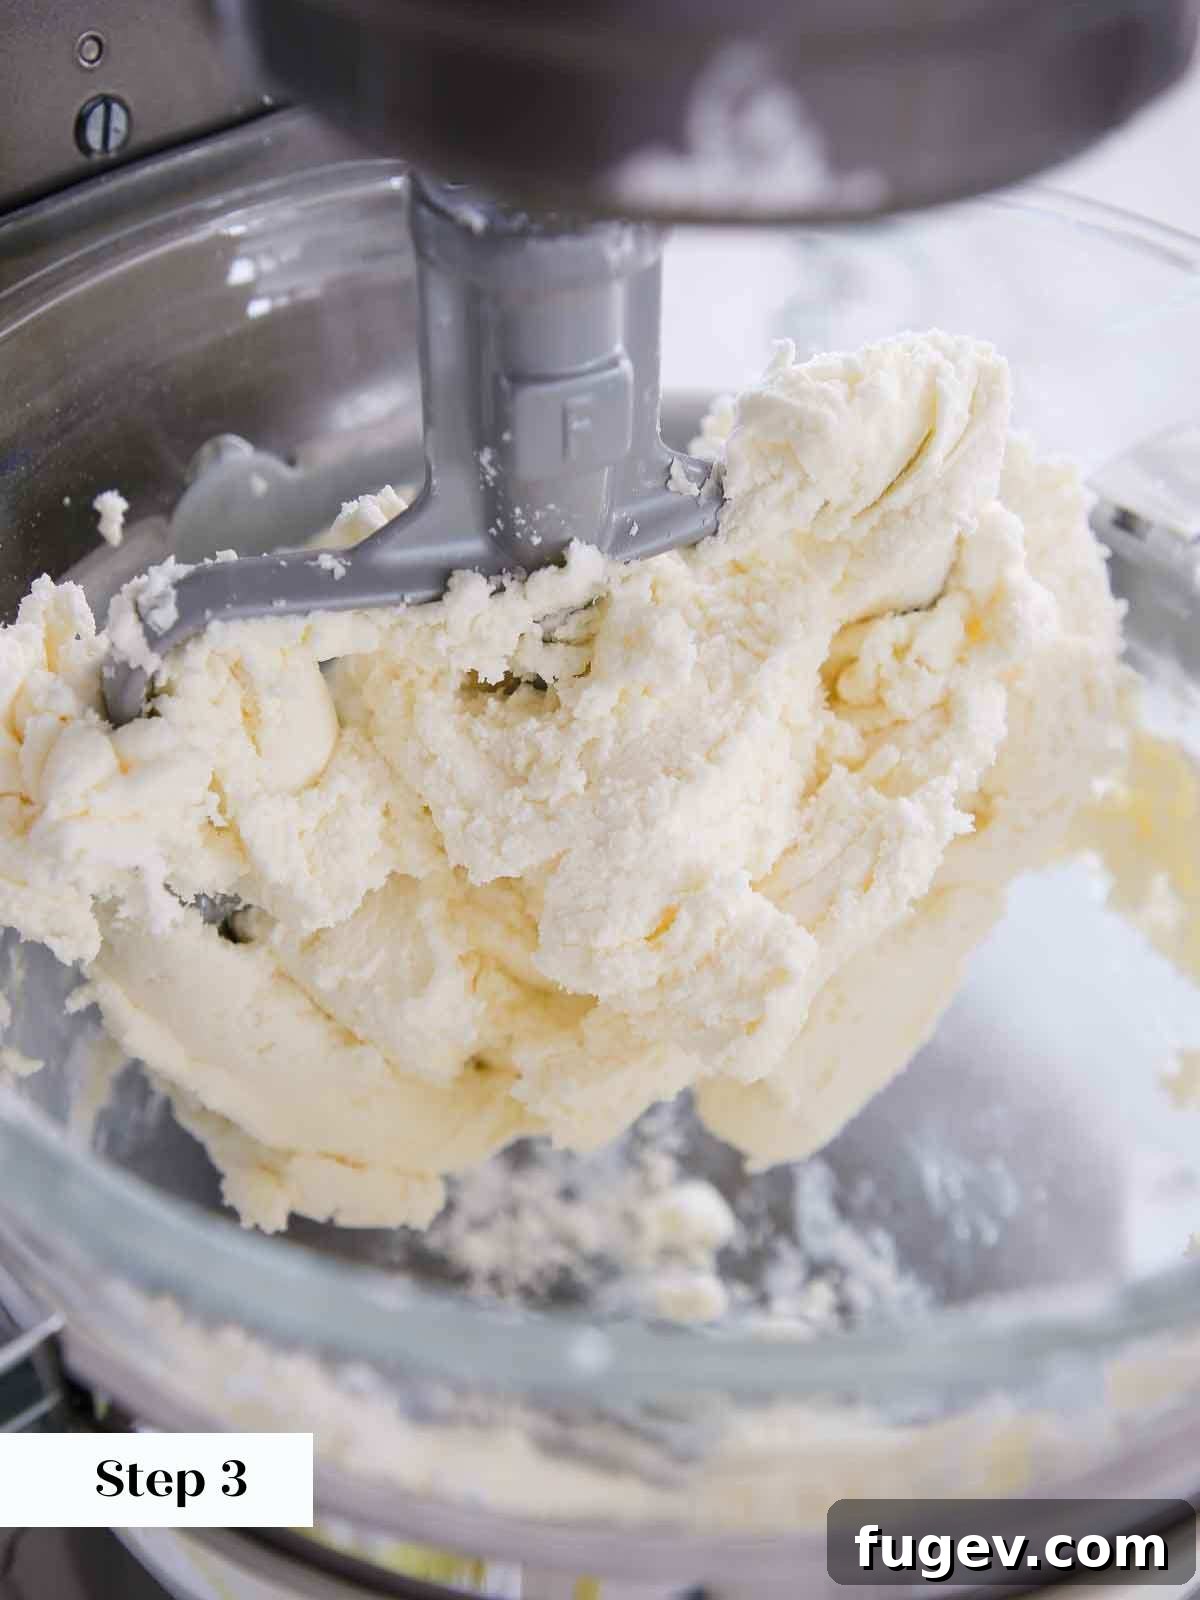
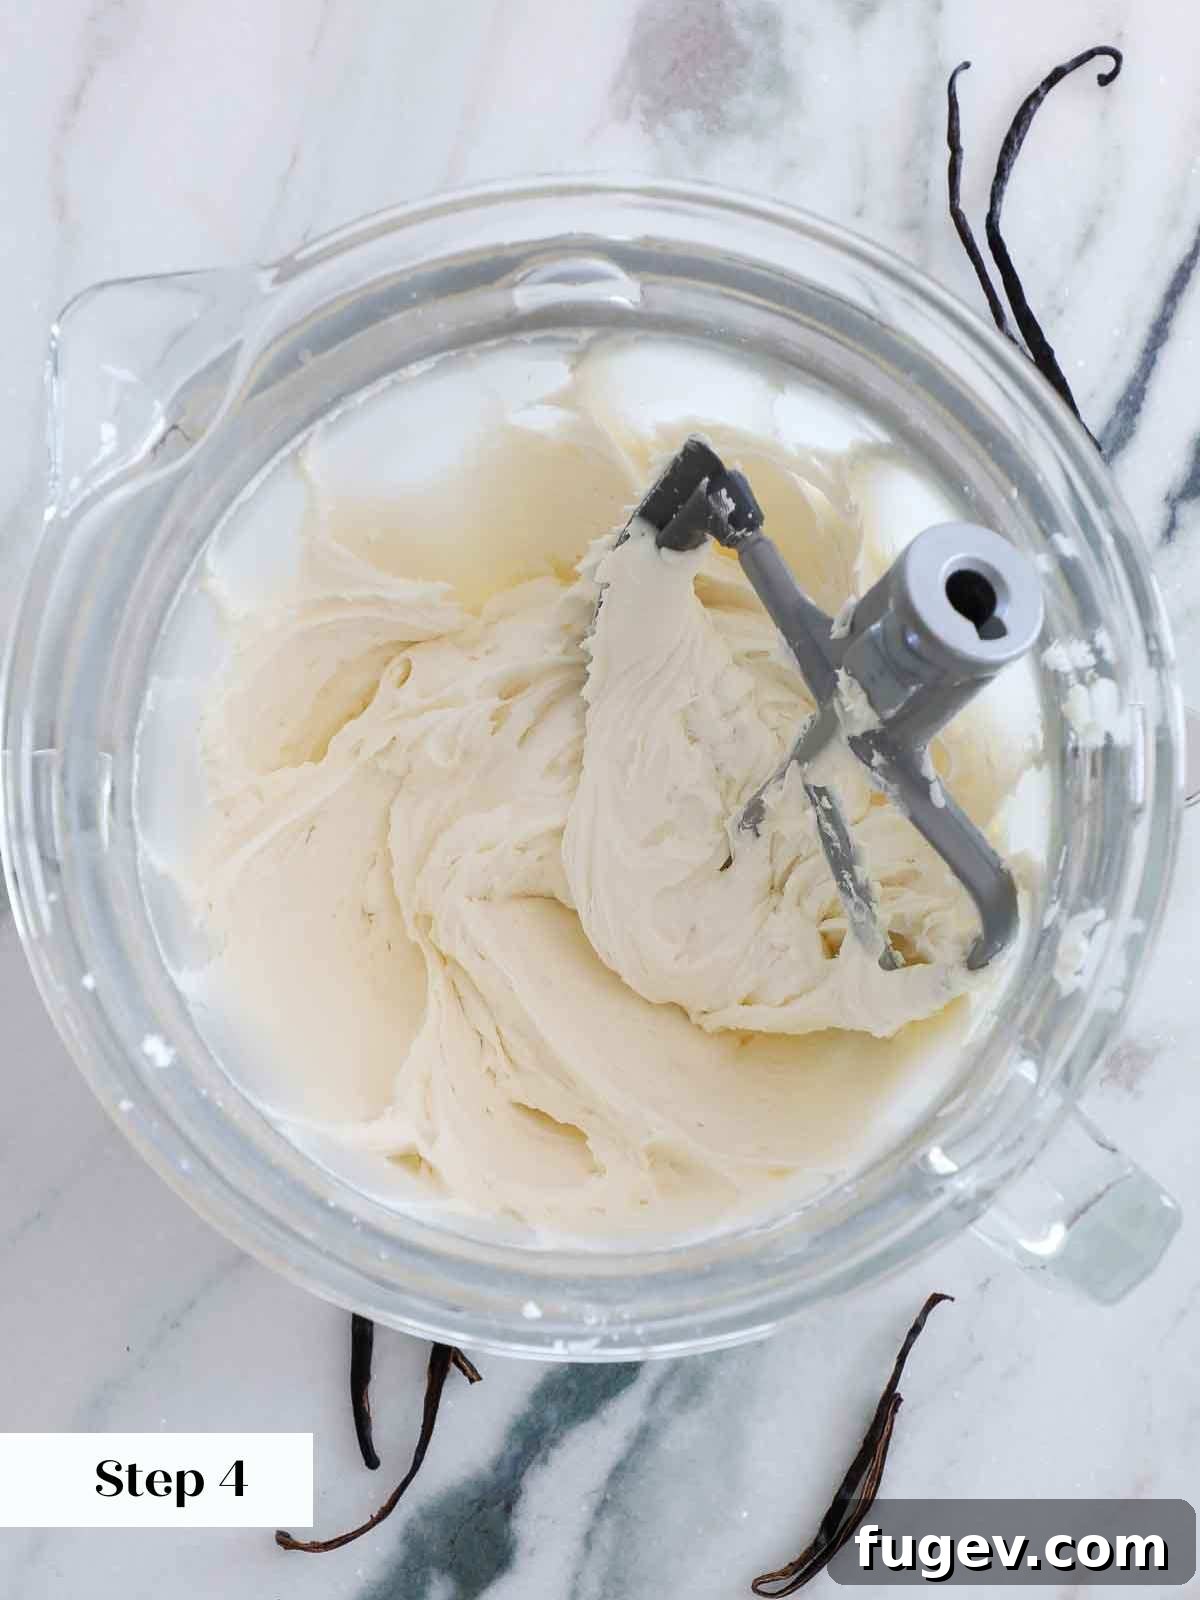
Pro Tip for Ultra-Smooth Buttercream: If you desire a truly flawless, bubble-free finish for your frosted cake, switch back to the paddle attachment after whisking. Mix the buttercream on the lowest speed for an additional 2-3 minutes. This low and slow mixing process helps to push out any trapped air bubbles, resulting in a denser, incredibly smooth buttercream that’s perfect for a polished look. Note that this technique might slightly reduce the overall volume of your buttercream, meaning it might frost fewer cupcakes or cover slightly less cake surface area.
Mastering Cake Decoration: How to Assemble and Frost Your Vanilla Cake Like a Pro
With your perfectly baked cake layers and silky buttercream ready, it’s time to bring your vanilla cake masterpiece to life. Follow these steps for professional-looking assembly and decoration:
Step 1: Secure Your First Layer
Place your first cooled cake layer onto a cake plate, cake stand, or a cake board positioned on a turntable. To prevent the cake from sliding during decoration, apply a small dab of frosting to the center of your plate or board before placing the cake layer. This acts as a “glue.” Once secure, dollop about 1 cup of vanilla buttercream onto the top of this first layer and use an offset spatula to spread it evenly and smoothly to the edges.
Baker’s Trick: A small amount of frosting acts as an anchor, securing your cake board to the turntable and your first cake layer to the board, preventing any frustrating slips while you decorate.
Step 2: Add the Second Layer and Crumb Coat
Carefully place the second cake layer directly on top of the frosted first layer. For a perfectly flat cake top without the need for leveling (which can be wasteful unless you’re making vanilla cake pops), I recommend placing the second layer upside down, so the flat bottom of the cake becomes the top surface. This creates a beautifully level foundation for your final frosting layer.
Spread another 1 cup of buttercream onto this top layer, smoothing it out as before. Next, take a thin layer of buttercream and apply it all around the sides of the cake, pressing it gently into any gaps or seams between the layers. This initial thin layer is called a “crumb coat.” Its purpose is to trap any loose crumbs, ensuring they don’t appear in your final, pristine frosting layer. Don’t worry about perfection at this stage; just aim for a thin, even covering. Once the crumb coat is applied, chill the cake in the refrigerator for at least 30 minutes. This allows the crumb coat to firm up, making the final frosting application much easier and cleaner.
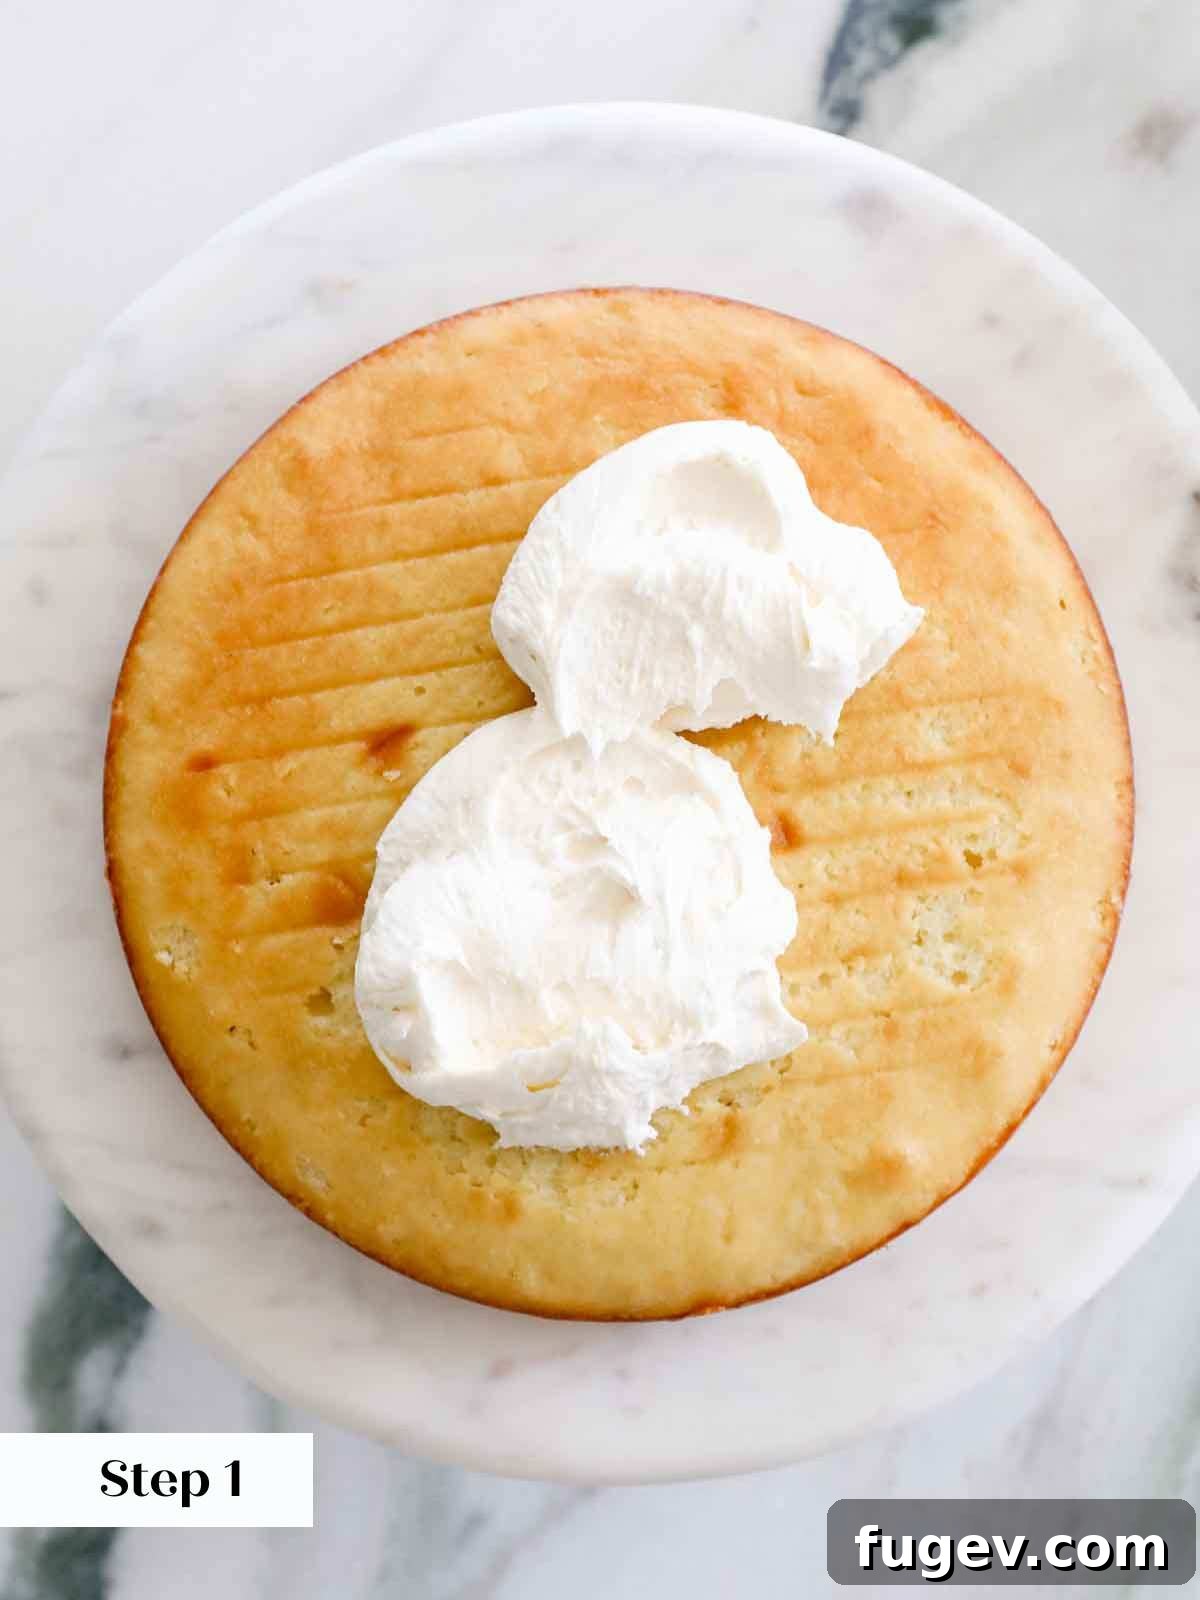
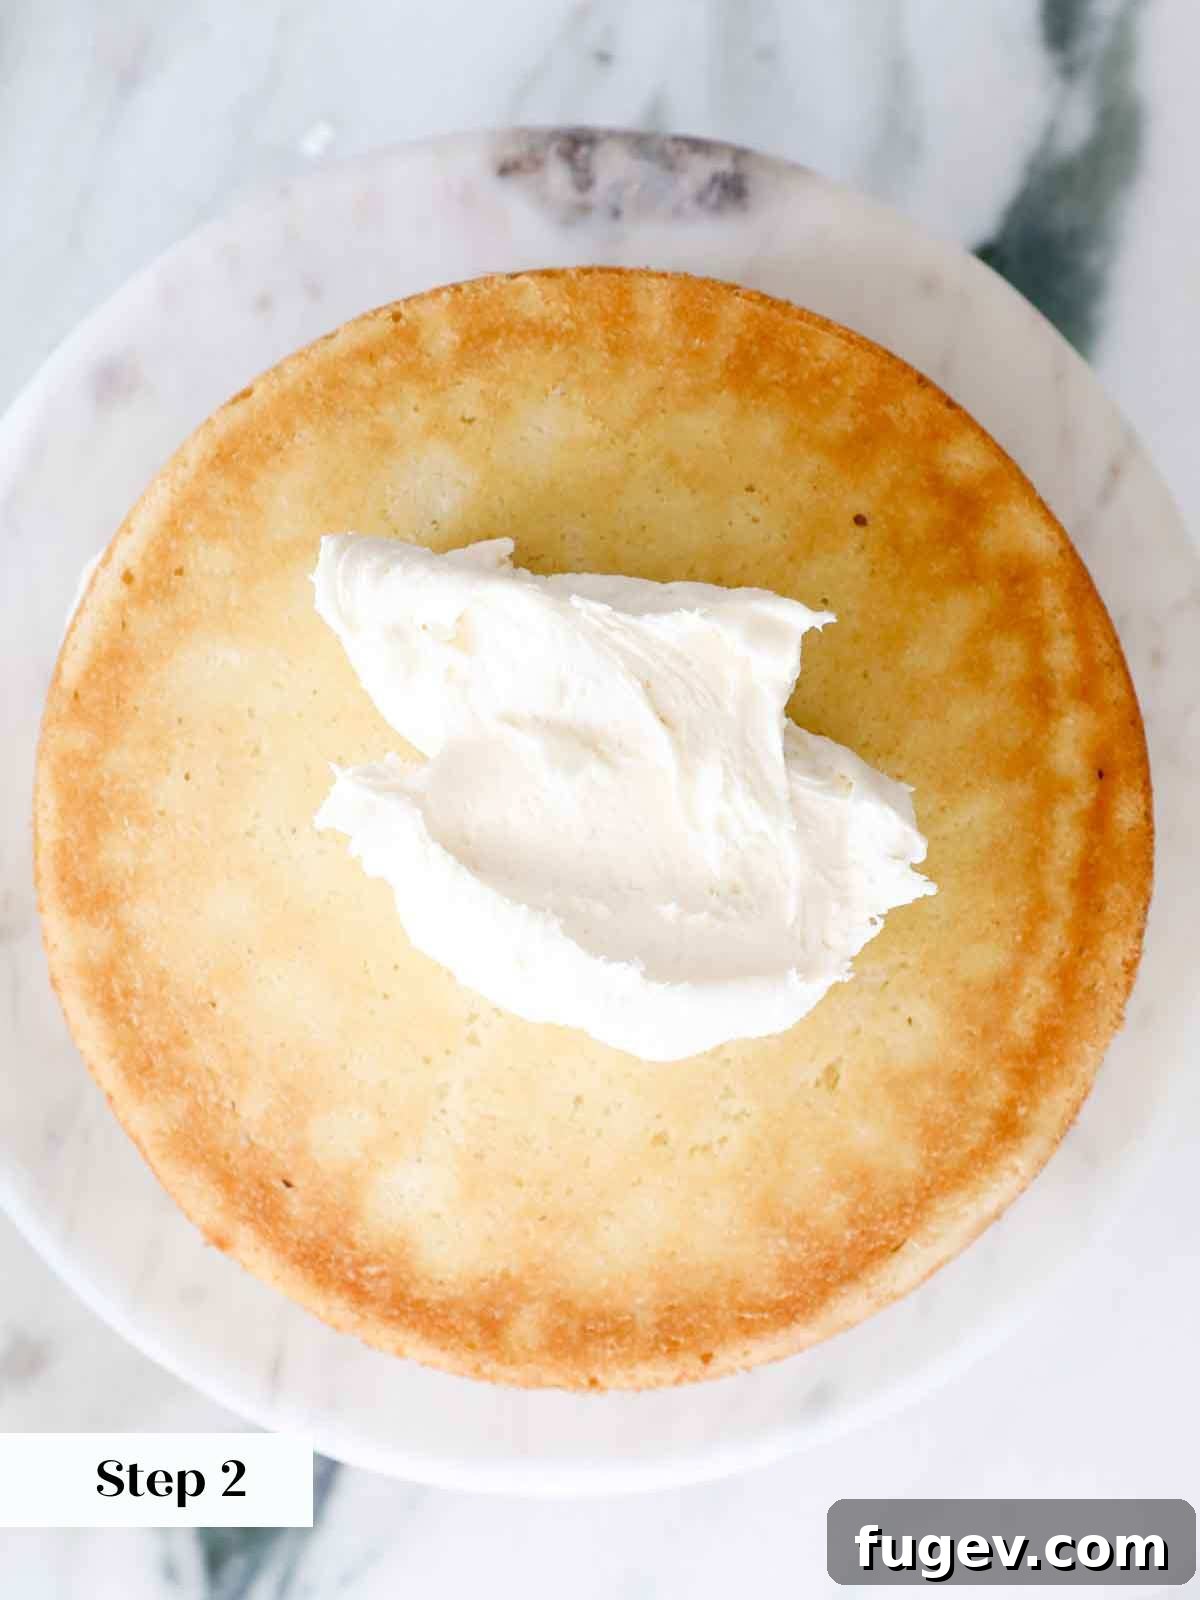
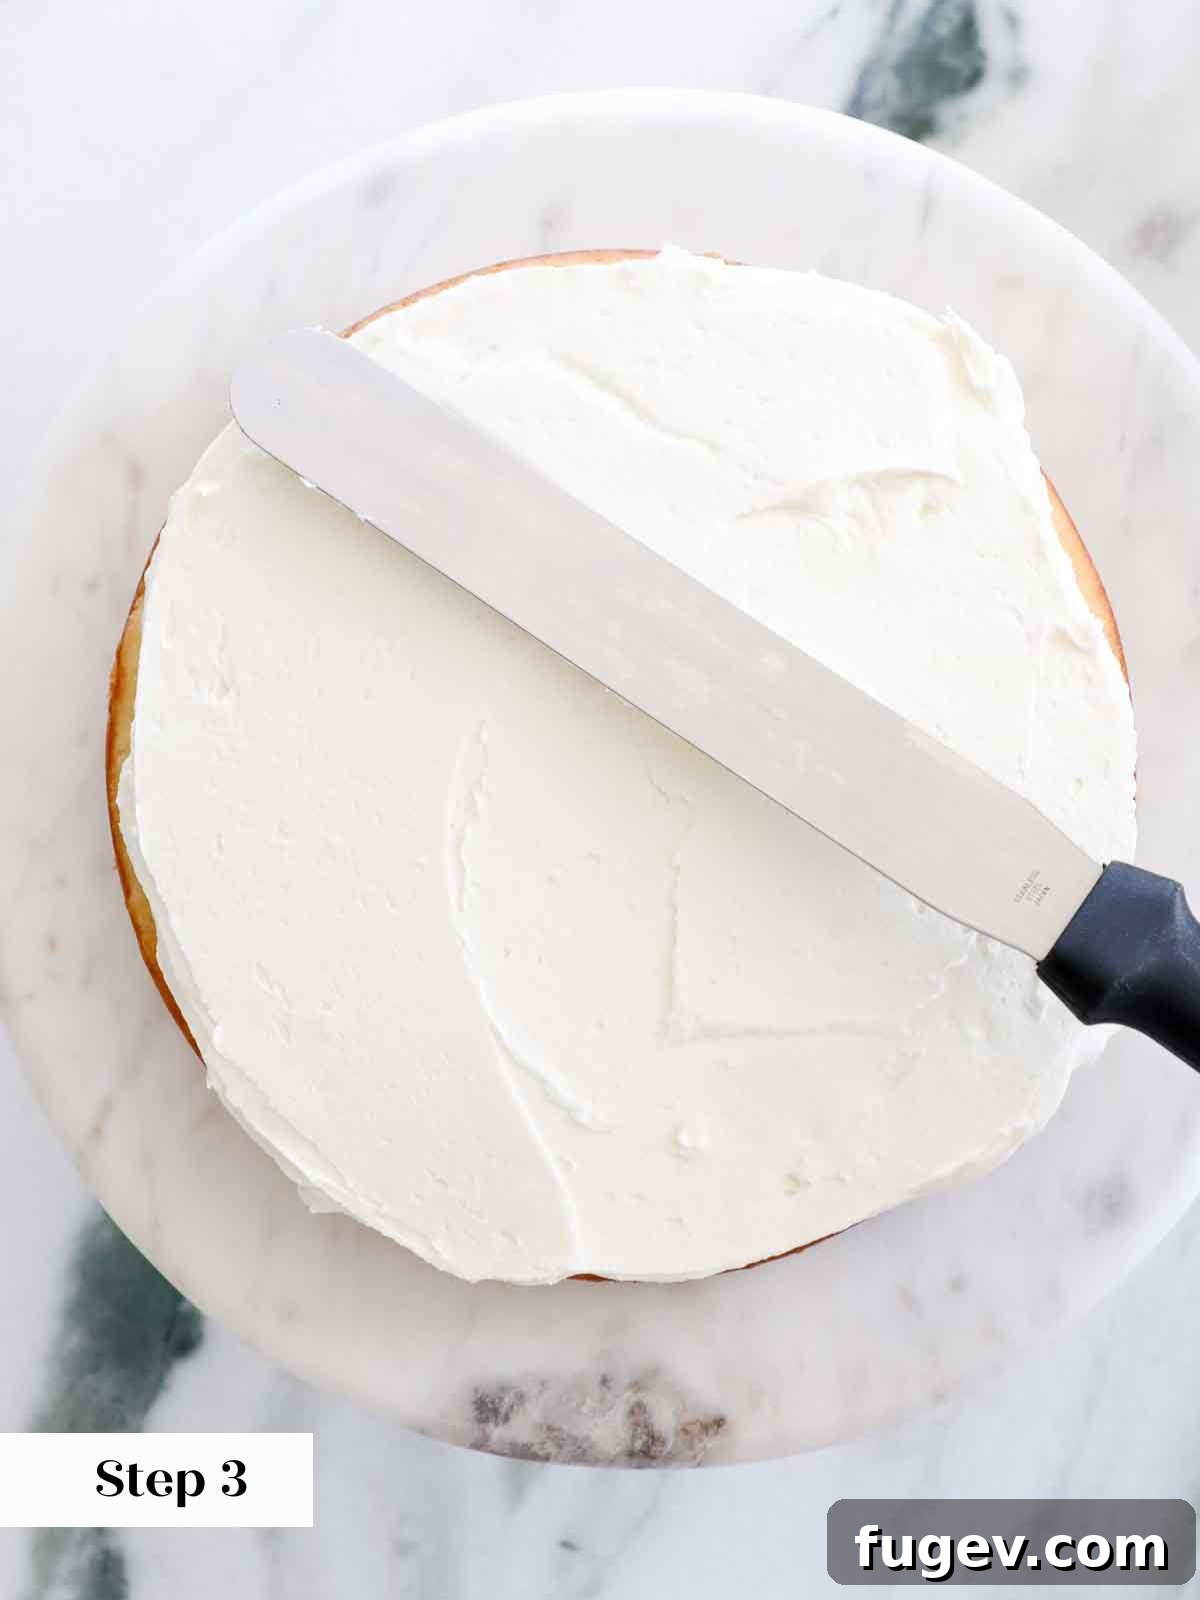
Special Note for Fillings: If you plan to incorporate a luscious filling (like jam or curd) between your cake layers, make sure to chill the cake after adding the second layer and before applying the crumb coat. This allows the “buttercream dam” you piped (to hold the filling) to set firmly, preventing any unwanted leakage.
Step 3: Apply the Final Frosting Layer
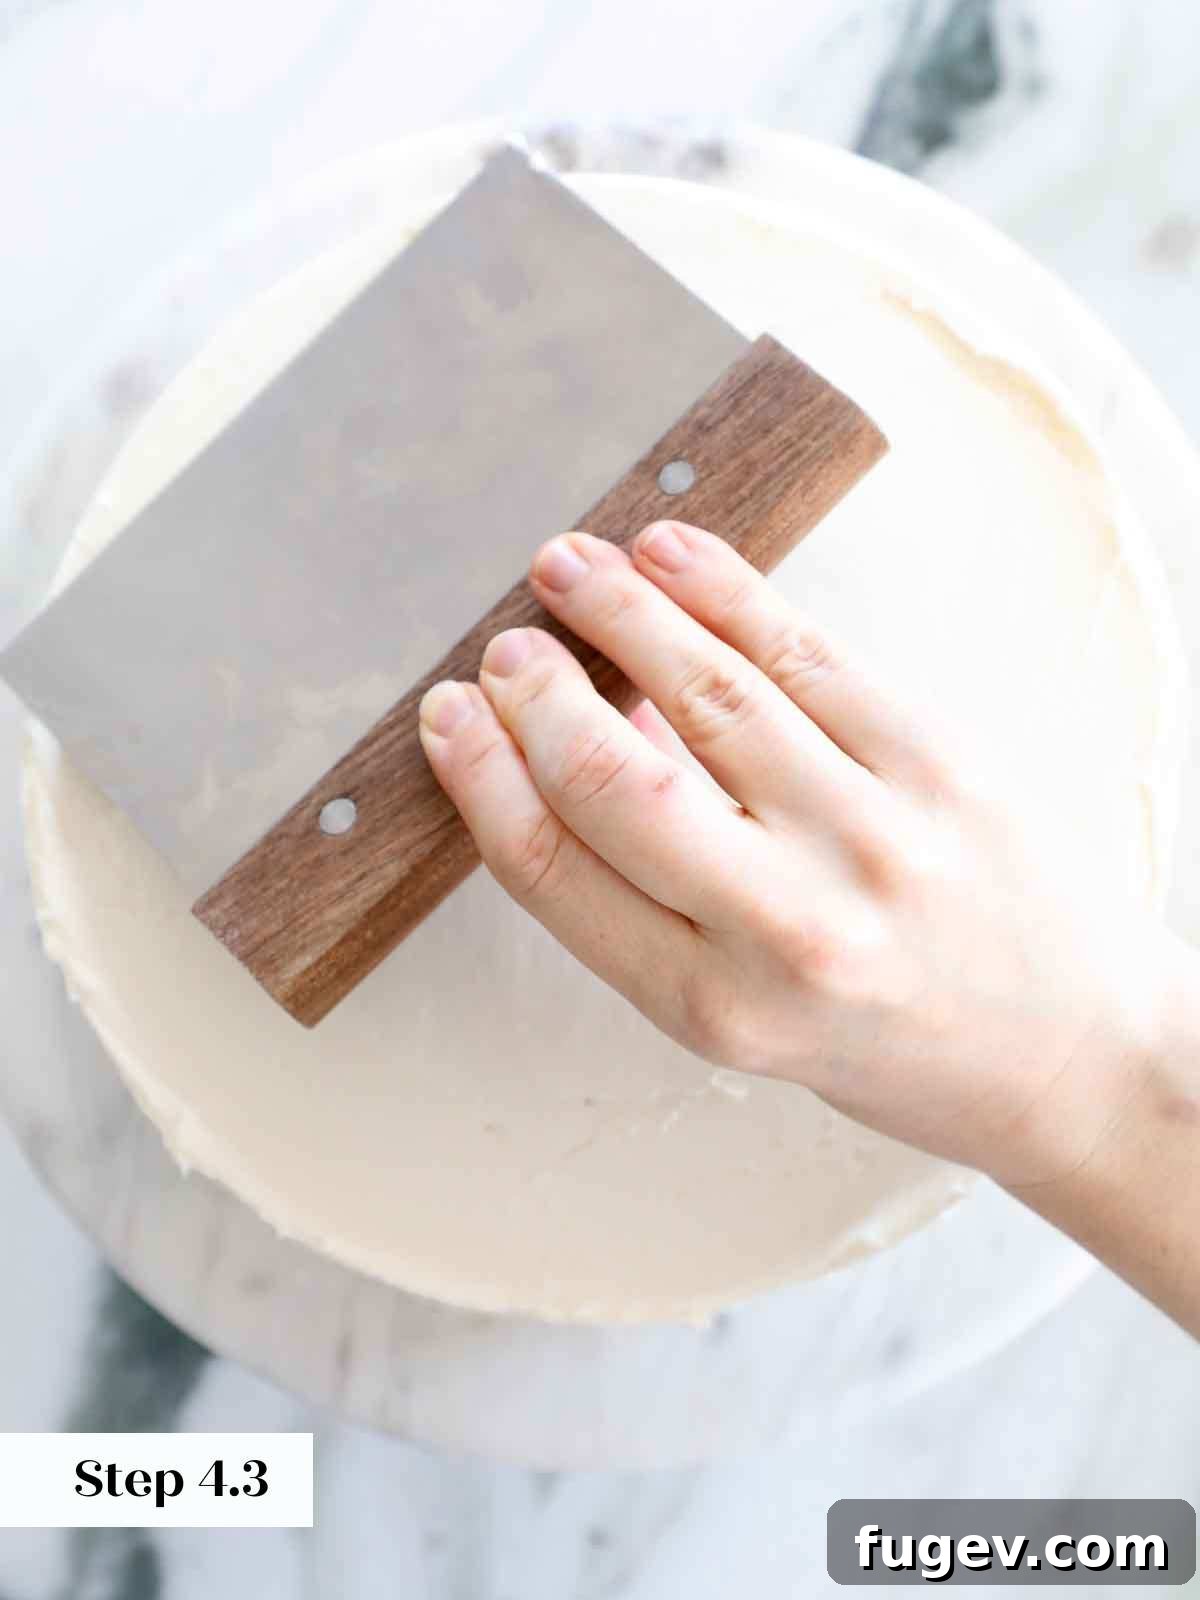
Once your crumb-coated cake is firm from chilling, it’s time for the final, decorative layer of buttercream. Spread the remaining buttercream generously onto the top of the cake, gently smoothing it outwards towards the edges and allowing it to gracefully cascade over the sides. Use your offset spatula to spread and smooth the frosting over the entire surface of the cake, including the sides. For a rustic yet elegant look, you can create decorative swirls with your offset spatula. Alternatively, for a sleek, contemporary finish, use a bench scraper to achieve perfectly smooth sides and a large offset spatula to create a crisp, flat top.
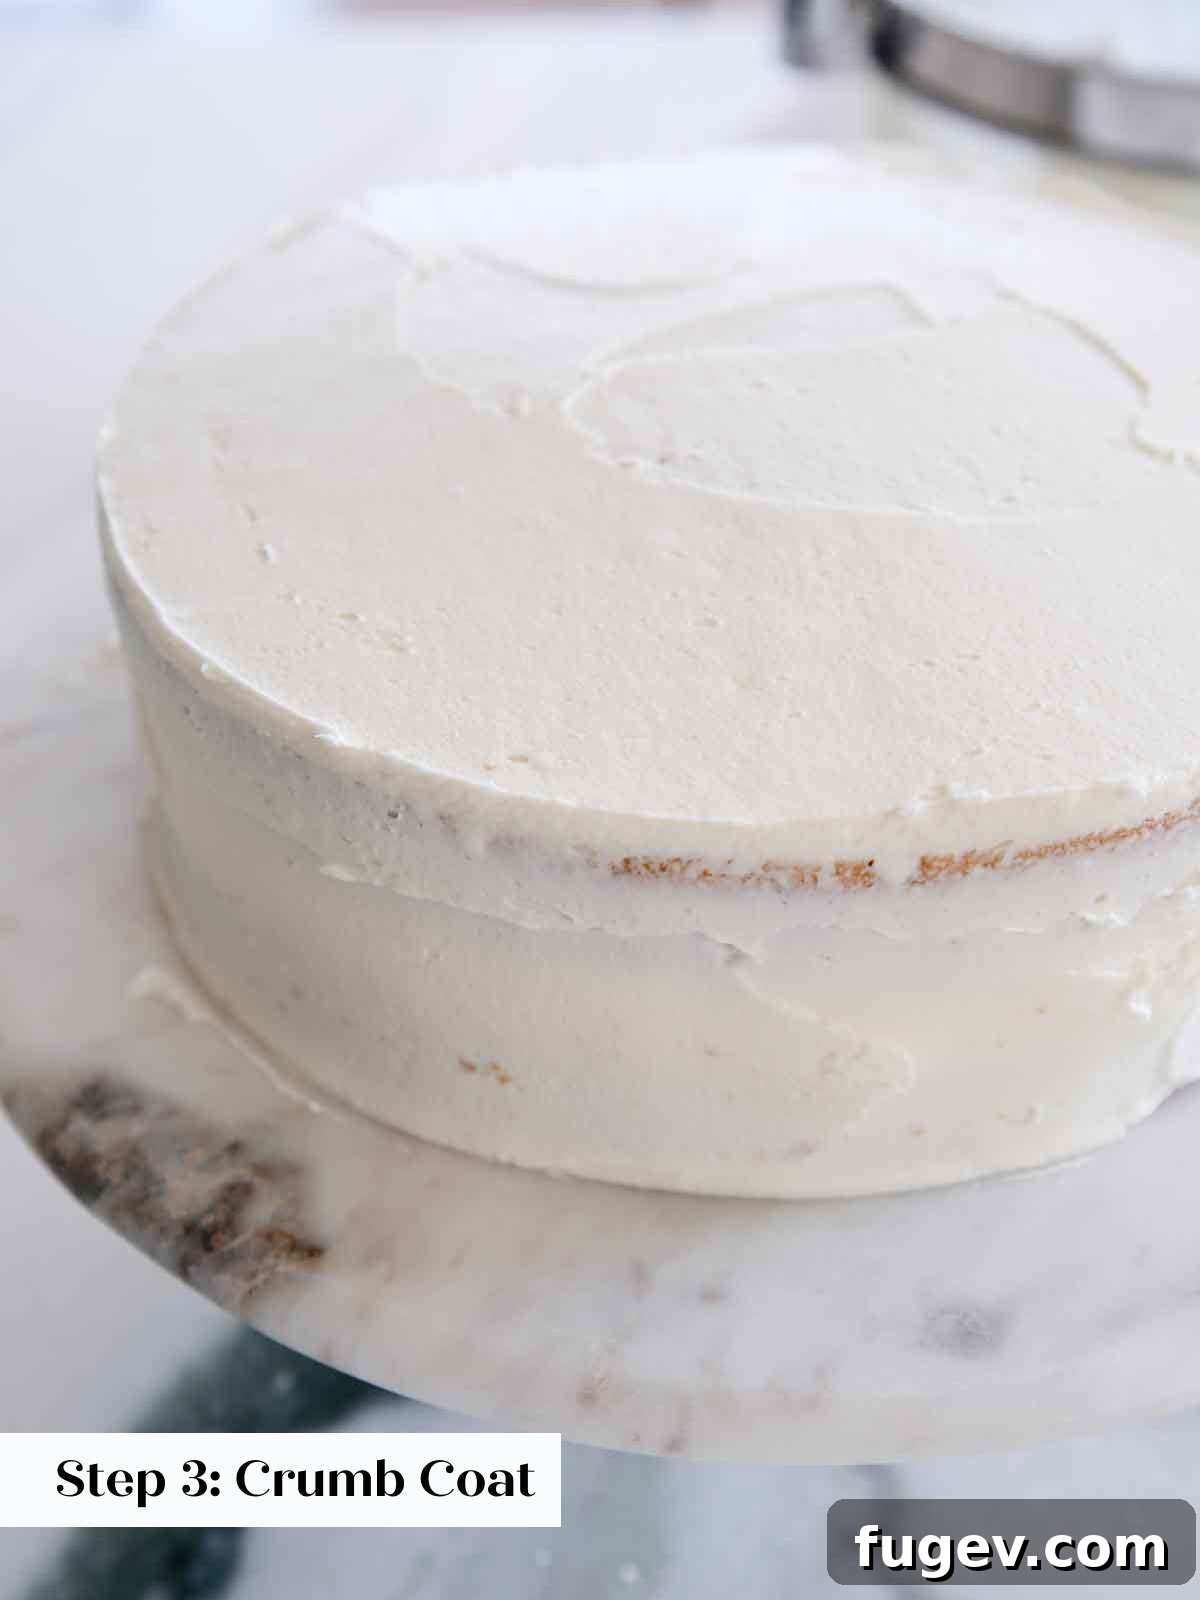
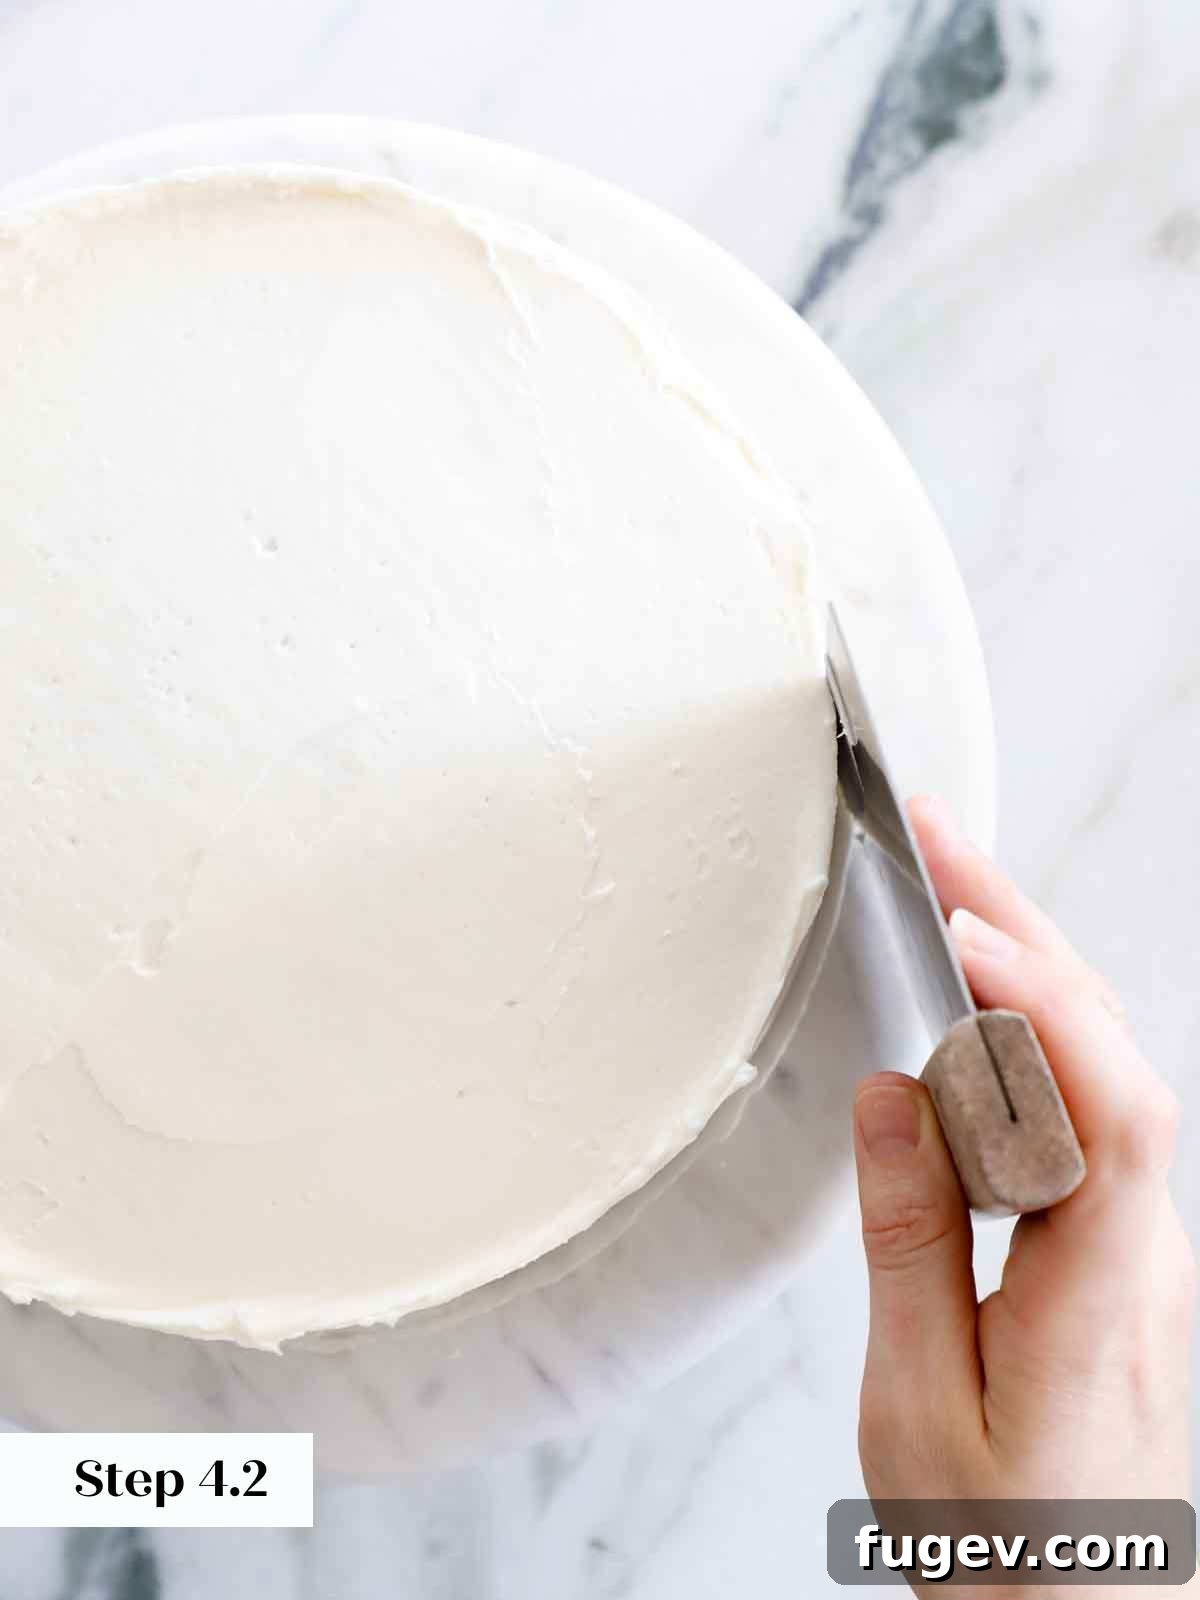
Step 4: Add Decorative Flourishes (Optional but Fun!)
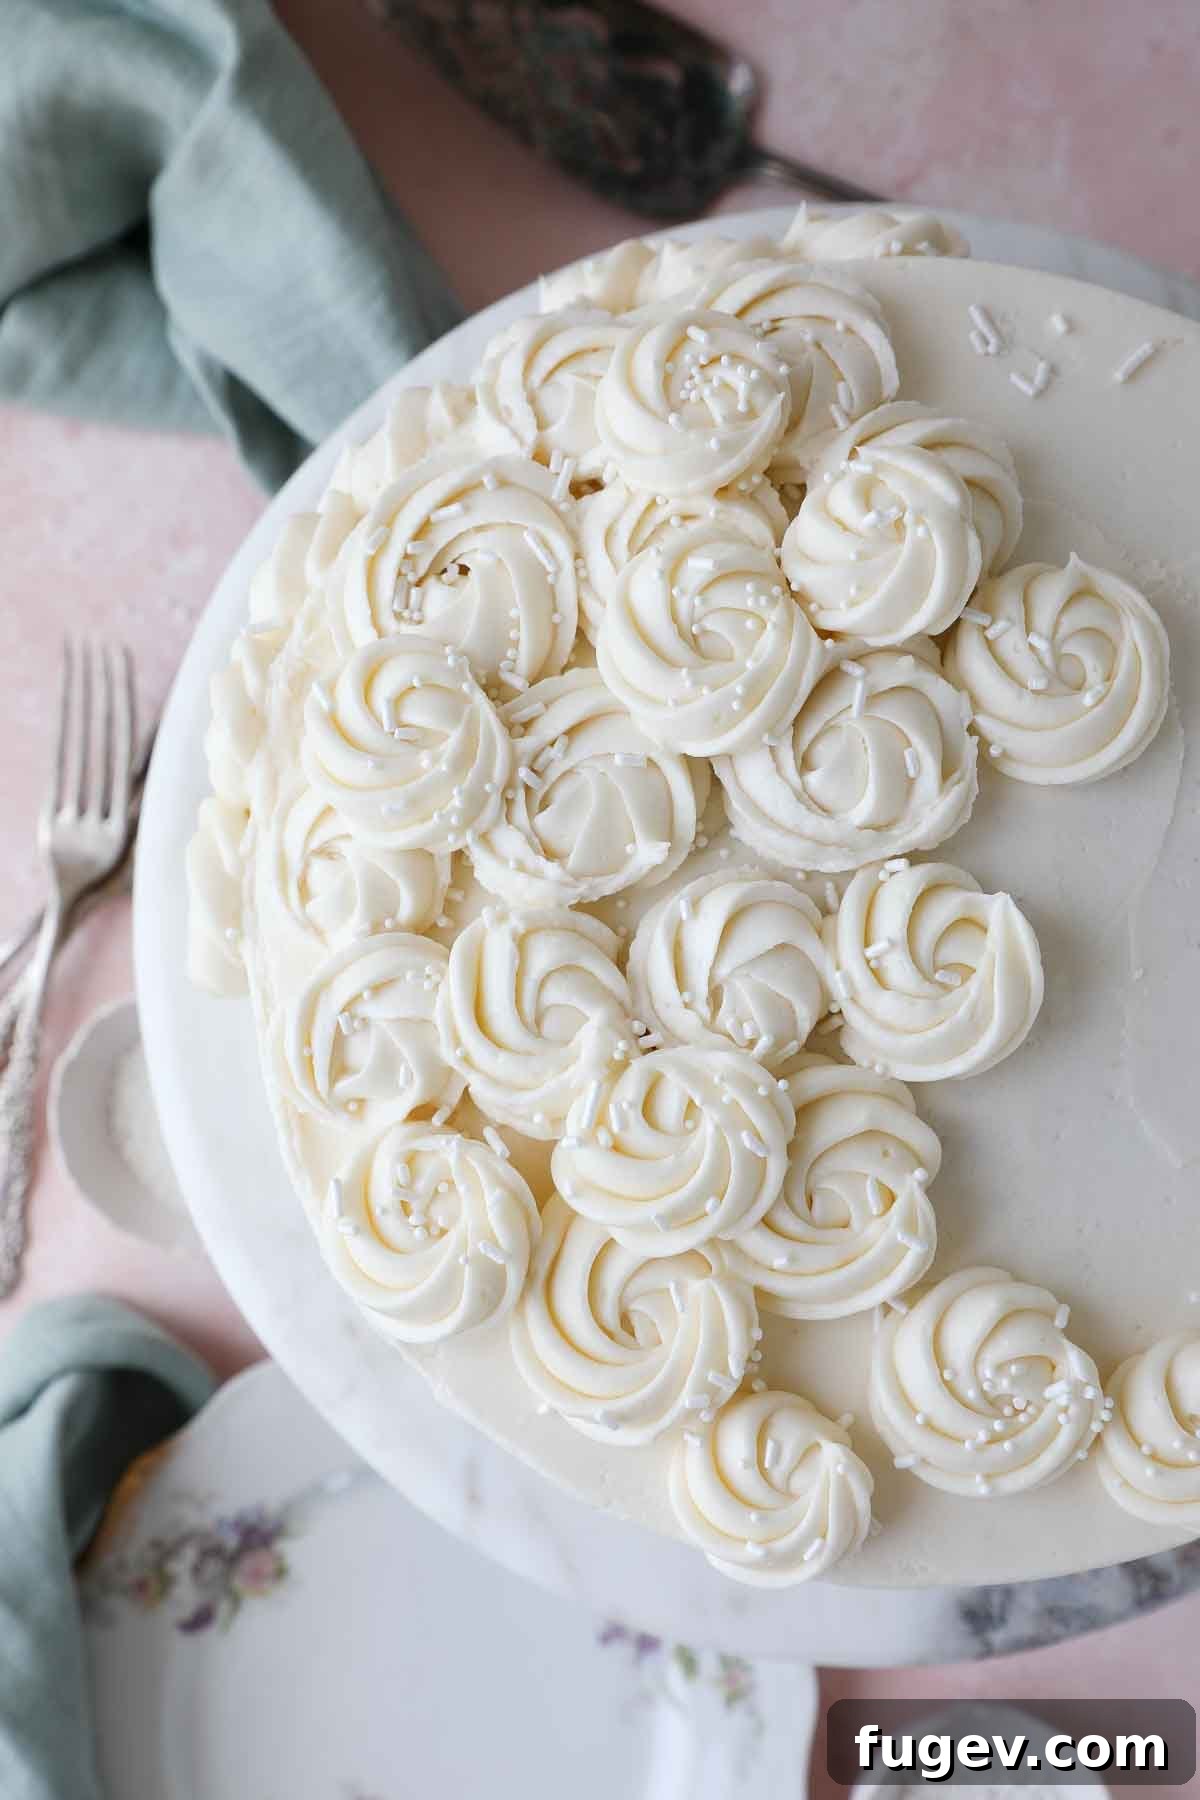
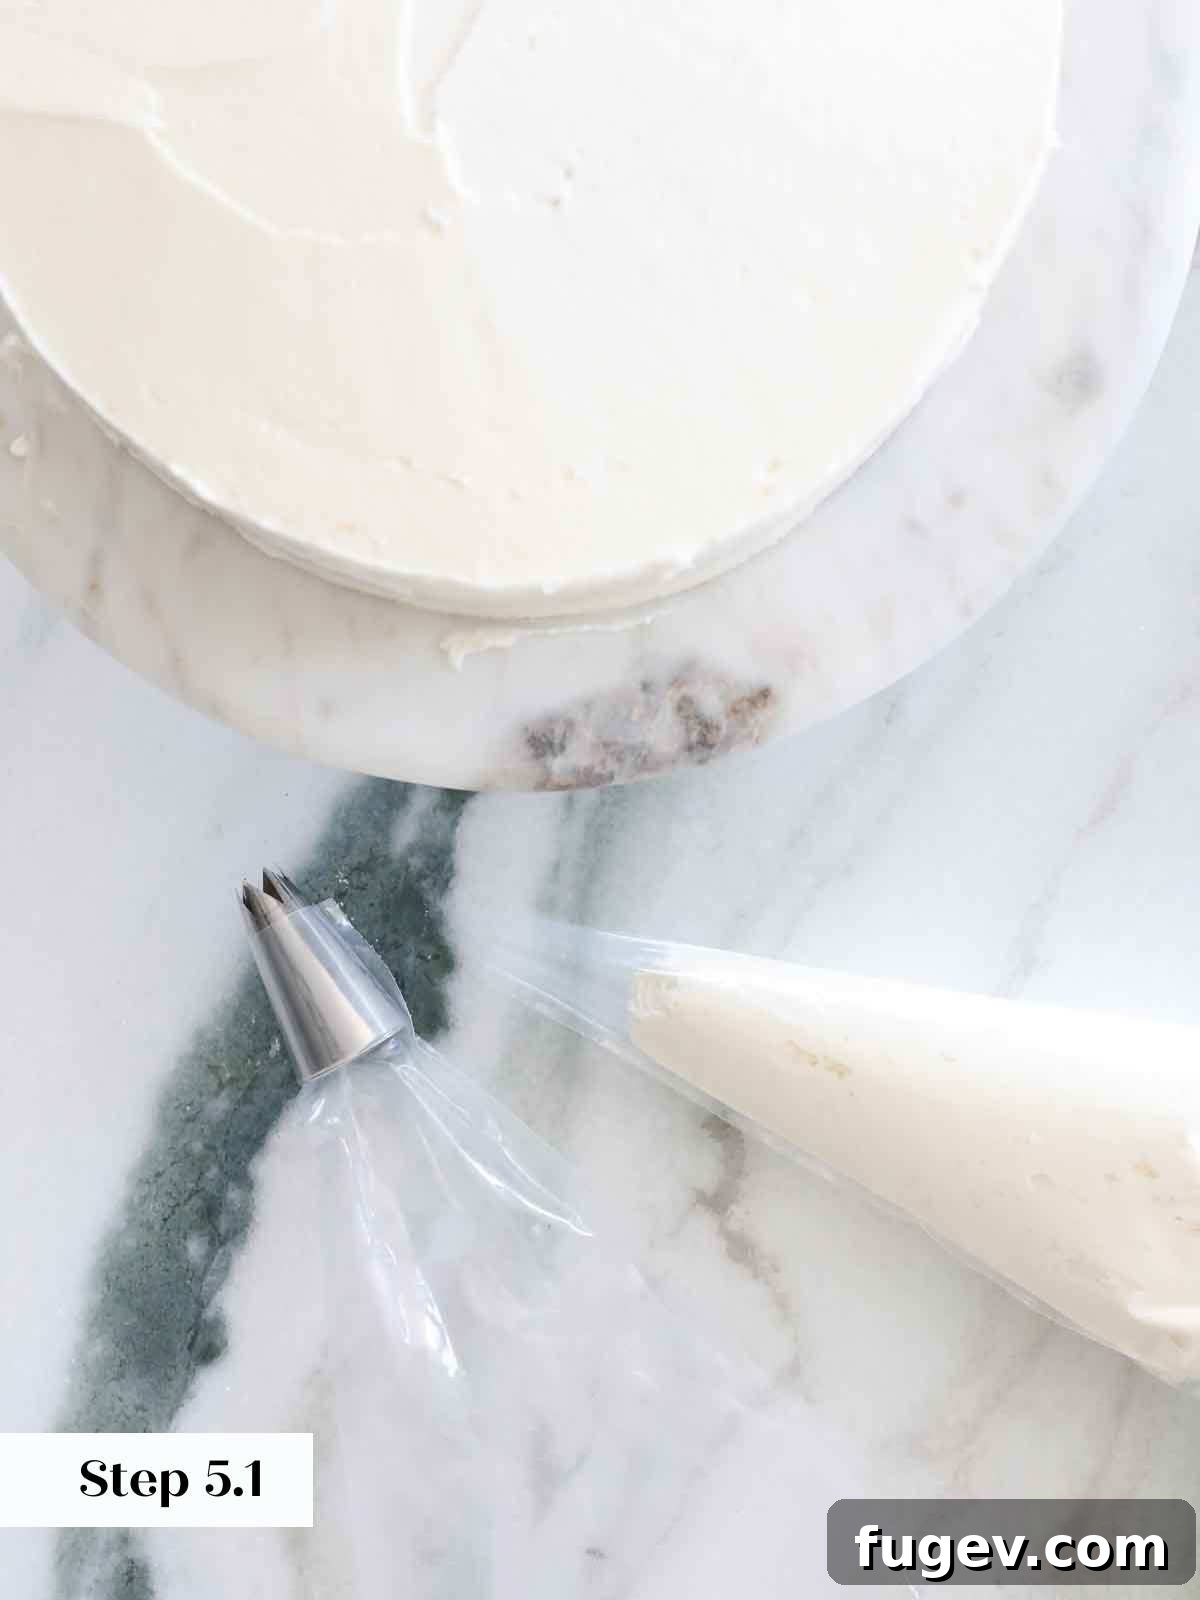
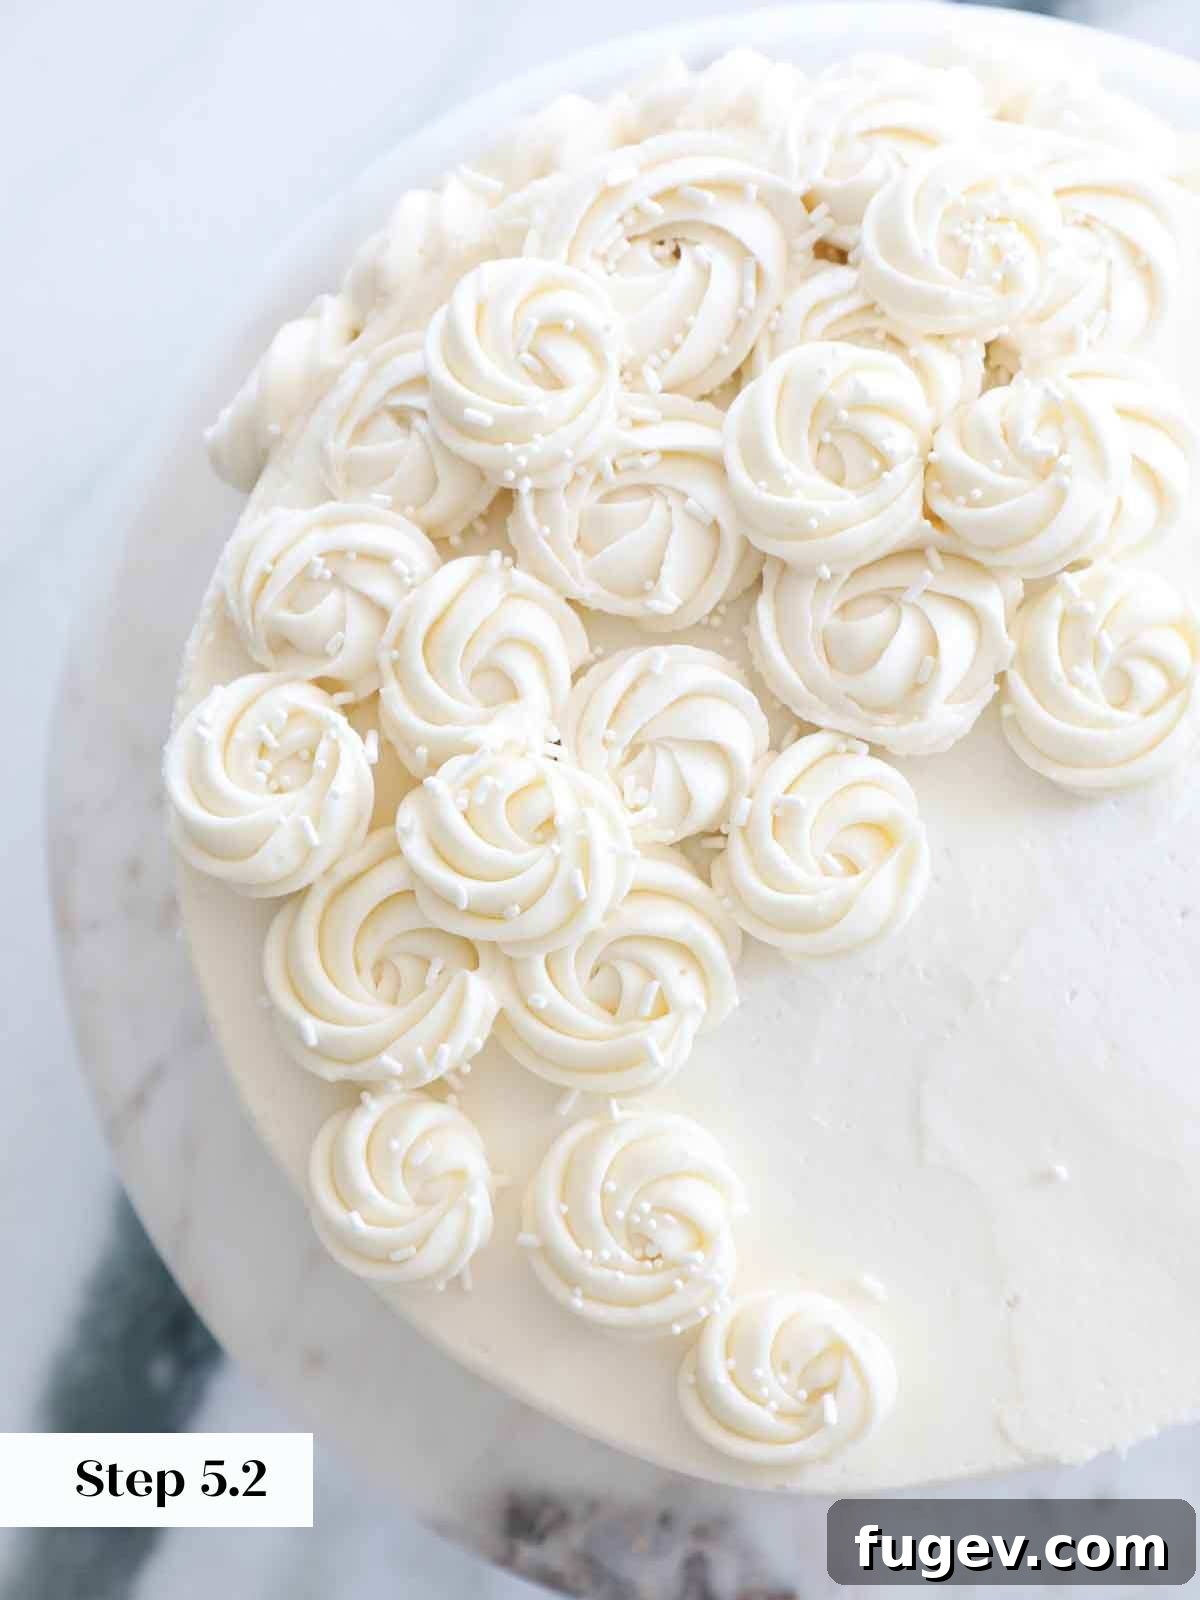
Now for the artistic touch! For this particular cake, I used a closed star tip (Ateco 845) to pipe elegant rosettes along the top edge, creating a beautiful border. You can also experiment with other piping tips to create shells, swirls, or decorative borders that suit your style. Finish by generously sprinkling a mix of colorful sprinkles and classic neutral jimmies over the top for a festive and joyful presentation. Let your creativity shine!
Frequently Asked Questions About Baking Moist Vanilla Cake
To ensure your vanilla cake remains moist and delicious, it’s best to assemble and frost it on the same day it’s baked. Once assembled, wrap the entire cake tightly in plastic wrap or store it in an airtight cake container. It will keep beautifully in the refrigerator for up to 5 days, though its peak freshness and flavor are usually within the first 3 days. Utilizing the simple syrup soak as suggested in our professional tips will significantly extend its moistness up to 5 days. For longer storage, you can wrap the chilled, frosted cake tightly in plastic wrap and then aluminum foil, freezing it for up to a year. This is a fantastic trick for occasions like saving a top tier for a first-anniversary cake! If preparing components in advance, freeze the baked and cooled cake layers separately from the buttercream, then assemble the day before serving for optimal results.
Absolutely! Preparing cakes in advance is a wonderful way to reduce stress, especially for special events. I recommend making each component separately and assembling the cake closer to when you plan to serve it. Bake and cool the cake layers completely, then wrap them tightly in plastic wrap (and optionally foil) and freeze them. They can be stored in the freezer for up to 3 months. The American buttercream frosting can also be made up to a week in advance and stored in an airtight container in the refrigerator, or even frozen for longer periods. When ready to use, allow the buttercream to come to room temperature and then re-whip it in your stand mixer until it’s light and fluffy again, ready for assembly.
Both oil and butter can produce wonderfully moist cakes when used correctly, but they contribute to different textures. Oil-based cakes tend to be incredibly moist due to oil remaining liquid at room temperature, but they often have a denser, more uniform crumb and primarily take on the flavor of other ingredients. Butter-based cakes, like this recipe, offer a rich, complex flavor and a distinctly soft, fluffy texture achieved through the creaming method. The unique combination of creamed butter and the addition of sour cream in this recipe ensures that our vanilla cake delivers both superior moisture and a delightful, airy crumb that melts in your mouth.
Adjusting recipes for different pan sizes or layer counts is easy with a kitchen scale! For the most accurate results, especially when scaling, I always recommend using metric measurements. To make a stunning three-layer cake in standard 9-inch pans, simply multiply all the cake ingredients by 1.5x. For example, if the original recipe calls for 2 cups of flour, you’ll use 3 cups. You could also double the recipe to make thicker layers or even a larger cake. Remember that changing the batter volume will require an adjustment to your baking times. Keep a close eye on the cakes, and use the toothpick test frequently to determine doneness, as thinner or thicker layers will bake faster or slower, respectively.
This versatile vanilla cake is a delight on its own, but it also serves as a perfect companion to various enhancements. My husband’s favorite way to enjoy it is with a generous scoop of homemade vanilla bean ice cream. For a classic pairing, add a drizzle of rich hot fudge or decadent salted caramel sauce. If you prefer a fruity touch, a spoonful of easy strawberry jam (perhaps loosened with a squeeze of lemon juice) or a vibrant easy blueberry sauce works wonderfully. It’s also exceptionally delicious with a dollop of bright lemon curd. For the ultimate dessert experience, try it with creamy chocolate ice cream or, if you’re feeling adventurous, my indulgent salted caramel chocolate ice cream.
Several factors can lead to a dry or crumbly cake. The most common culprits are over-baking (even a few extra minutes can dry it out), inaccurate flour measurement (too much flour, often from scooping directly with the measuring cup), or not using room temperature ingredients. Overmixing the batter can also develop too much gluten, resulting in a tough, dry texture. Ensure your oven temperature is accurate with an oven thermometer, use a kitchen scale for precision, and follow our tips for gentle mixing and proper ingredient temperatures to avoid this common issue.
Absolutely! This versatile vanilla cake batter is perfect for making cupcakes. Simply line a muffin tin with cupcake liners and fill each liner about two-thirds full with batter. The baking time will be significantly shorter for cupcakes, typically ranging from 18-22 minutes, or until a toothpick inserted into the center of a cupcake comes out clean. This recipe should yield approximately 24 standard-sized cupcakes. Frost them with the same silky vanilla buttercream for a delightful individual treat!
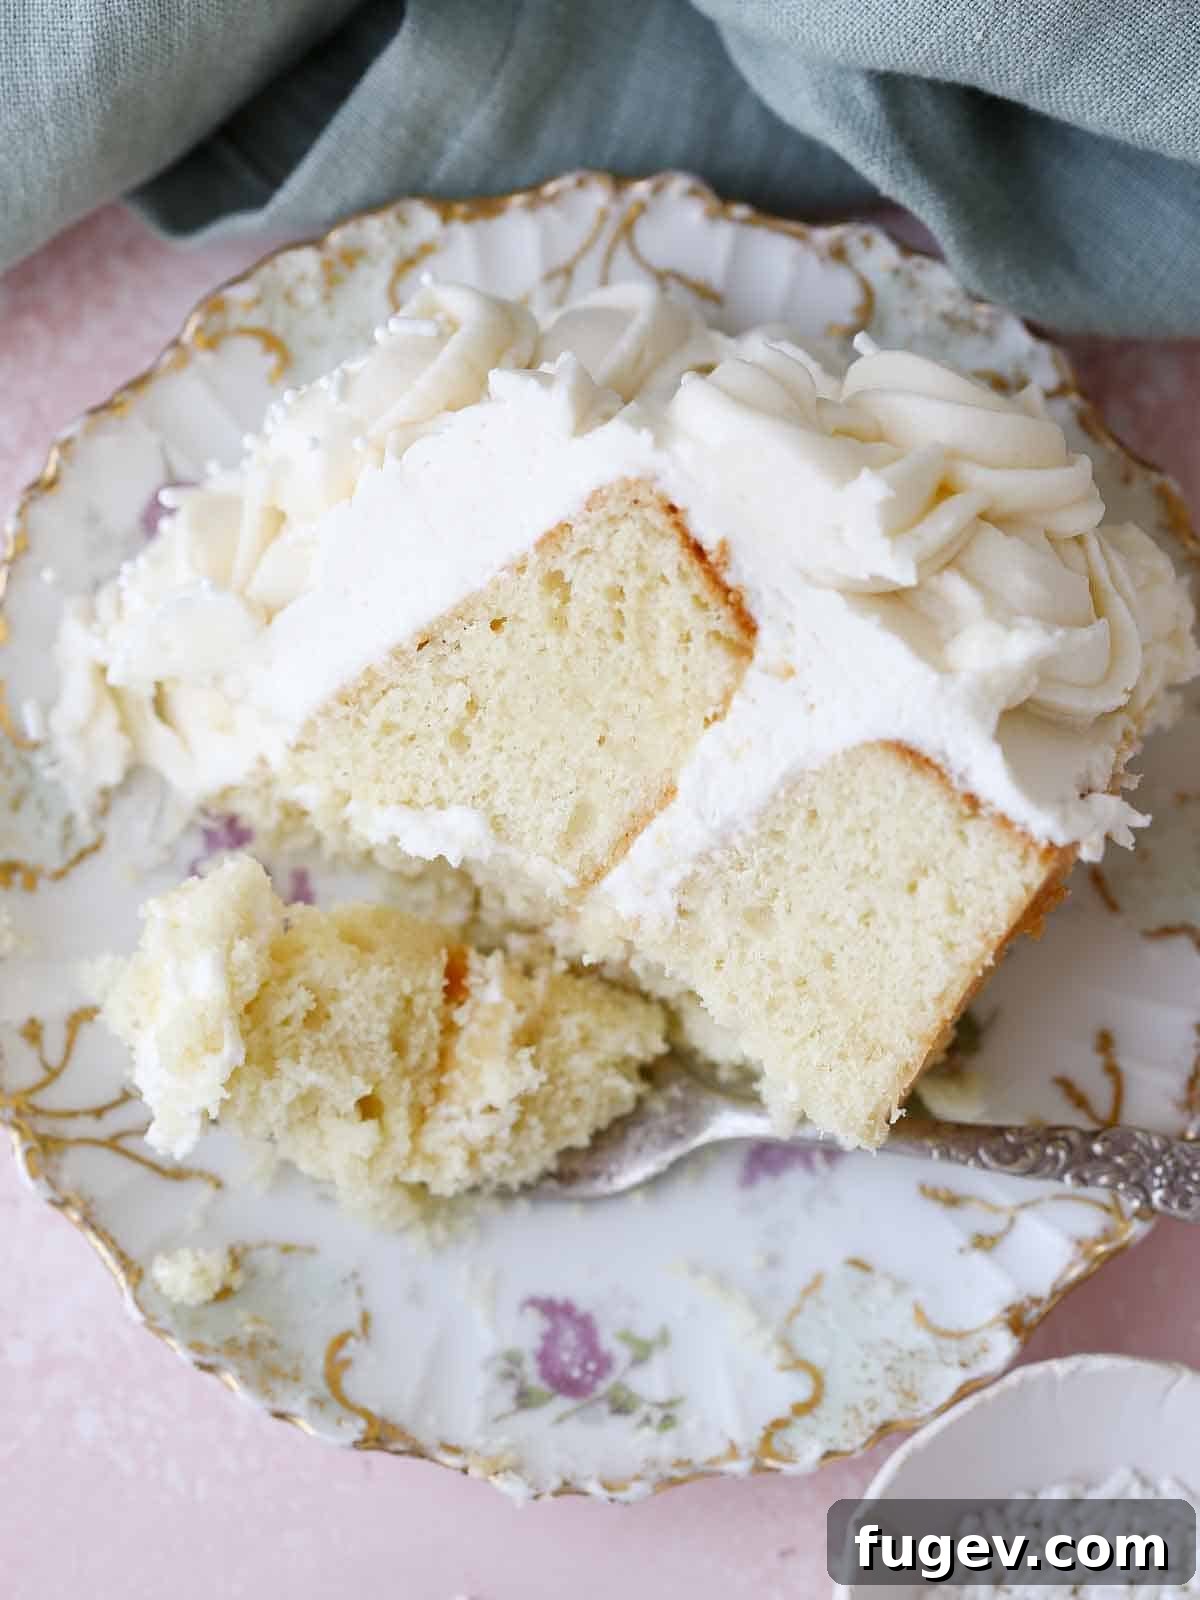
If you tried this moist vanilla cake recipe and absolutely loved it, please take a moment to leave a 🌟 star rating and share your experience in the comments section below. Your feedback truly brightens my day and helps other bakers discover this wonderful recipe!
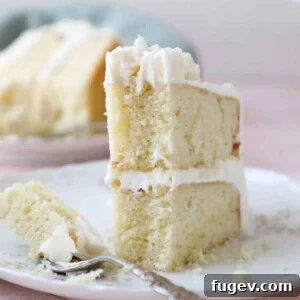
Moist Vanilla Cake
Comment
Print Recipe
Ingredients
For the Cake:
- ¾ cup unsalted butter soft and pliable, room temperature
- 1 ½ cup granulated sugar
- 3 large eggs room temperature
- 1 tablespoon pure vanilla extract
- ½ teaspoons almond extract (optional, for enhanced flavor)
- 1 cup full-fat sour cream room temperature (or Greek yogurt)
- ½ cup whole milk room temperature
- 2 ½ cups cake flour sifted (*see note)
- 1 teaspoons baking powder
- ½ teaspoons baking soda
- 1 ½ teaspoons kosher salt
For the Vanilla Buttercream Frosting:
- 1 ½ cups unsalted butter softened, room temperature
- 6 ¼ cups powdered sugar sifted
- 2 teaspoons pure vanilla extract
- 1/3 cup heavy cream cold
Instructions
For the Cake Layers:
-
Preheat oven to 350°F (175°C) (either convection or regular). Prepare your baking pans as described in “Step 1: Prepare Your Baking Environment” above, lining with parchment paper.
-
Ensure all cake ingredients are at room temperature. In a medium bowl, sift together the cake flour, baking powder, baking soda, and salt. In another bowl, whisk together the sour cream and milk. Set aside both mixtures.
-
In the bowl of a stand mixer fitted with the paddle attachment (or with a hand mixer), cream the butter and granulated sugar together until light and fluffy (3-5 minutes).
-
Add the eggs one at a time, beating well after each addition until fully incorporated. Scrape down the bowl as needed. Add the vanilla extract and almond extract (if using) with the last egg.
-
Alternately add the sifted dry ingredients and the sour cream-milk mixture to the butter-egg mixture, beginning and ending with the dry ingredients. Mix on low speed until just combined, being careful not to overmix. Finish folding gently by hand with a spatula if necessary.
-
Divide the batter evenly between the prepared pans (approx. 670g per pan for two 9-inch layers) and spread with an offset spatula. Bake immediately in the preheated oven for approximately 20-25 minutes, or until a cake tester inserted into the center comes out with a few moist crumbs clinging to it. Do not overbake.
-
Allow the cakes to cool in their pans for 10 minutes, then invert them onto a wire rack. Gently remove the parchment paper from the bottom of each cake and let them cool completely on the rack before proceeding.
To Make the Vanilla Buttercream Frosting:
-
In the bowl of a stand mixer fitted with the paddle attachment, beat the softened unsalted butter on medium-high speed until it’s smooth and slightly lightened in color (2-3 minutes).
-
Reduce the mixer speed to low and gradually add the sifted powdered sugar, ½ cup at a time, ensuring each addition is fully incorporated before adding the next.
-
Once all the sugar is incorporated, add the vanilla extract (and optional vanilla bean seeds) and mix on medium speed until the buttercream is light and smooth.
-
Switch to the whisk attachment. On medium-low speed, slowly pour in the cold heavy cream. Once combined, increase the speed to high and whisk until the buttercream is light, fluffy, and white.
-
PRO TIP: To remove air bubbles for an ultra-smooth finish, switch back to the paddle attachment and mix on low speed for 2-3 minutes. This will result in a denser buttercream, which may yield slightly less volume but offers a beautiful, polished look for frosted cakes.
To Assemble and Decorate the Cake:
-
Place the first cooled cake layer on a cake plate, stand, or board. Secure it with a dab of frosting.
-
Spread about 1 cup of buttercream evenly over the top of the first layer with an offset spatula.
-
Carefully place the second cake layer on top, preferably upside down for a flat surface.
-
Spread another 1 cup of buttercream on top and smooth it out. Apply a thin layer of buttercream around the sides as a crumb coat, pressing into any gaps. Smooth it out and chill the cake for 30 minutes to set the crumb coat. (If adding a filling, chill after placing the second layer and before crumb coating to set your buttercream dam.)
-
Spread the remaining buttercream over the top and sides of the cake. Create decorative swirls with your spatula or use a bench scraper for smooth sides and a large offset spatula for a flat top.
-
For decorative touches, use a closed star tip (like Ateco 845) to pipe rosettes or other designs. Finish with sprinkles if desired.
Video
While the original content featured an embedded video player, this HTML output focuses purely on static content. For a visual guide, please refer to the video available on the original recipe page.
Notes
Yield – This recipe yields a beautiful 2-layer, 9-inch round cake, a single 9×13 inch sheet cake, or approximately 24 standard-sized cupcakes.
Presentation – If you plan to pipe intricate swirls, rosettes, or more elaborate decorations on your cake, I highly recommend making a 1.5 to 2 times batch of the American buttercream frosting. Decorative piping often requires more frosting than you might anticipate to achieve a striking visual impact.
Flavor Variations – Feel free to customize this vanilla cake! Experiment with different extracts (lemon, orange), infuse a flavored simple syrup, or change up the filling and buttercream flavors to suit your taste or occasion.
Storage – For optimal moisture and freshness, it is best to assemble and frost the cake on the same day it is baked. Store the cake wrapped tightly in plastic wrap or in an airtight cake container in the refrigerator for up to 5 days. It is at its peak deliciousness within 3 days. Applying a simple syrup soak (as mentioned in the tips) can extend its moistness to 5 days. For long-term storage, the chilled cake can be wrapped in plastic wrap and then foil, and frozen for up to a year. When preparing in advance, consider freezing individual cake layers and the buttercream separately, then assembling the day before serving for the best results.
Nutrition Information
Before You Go: Explore More Delicious Baking from Our Kitchen
Thank you for joining me on this culinary adventure to bake the perfect moist vanilla cake! I sincerely hope you enjoyed this professional chef-developed recipe and that it becomes a cherished favorite in your home. My passion is creating accessible yet elevated recipes that bring joy to your kitchen.
If you’re eager to continue your baking journey, I invite you to explore more of our delightful creations. Dive into our extensive collection of classic cake recipes, discover charming cupcake recipes perfect for any celebration, or delve deeper into the wonderful world of vanilla with some of my other highly-rated recipes. For a taste of bakery nostalgia, try our copycat Sprinkles vanilla cupcake recipe, savor the rich simplicity of homemade vanilla bean ice cream, or master the elegant foundational sauce, crème anglaise. Happy baking!