
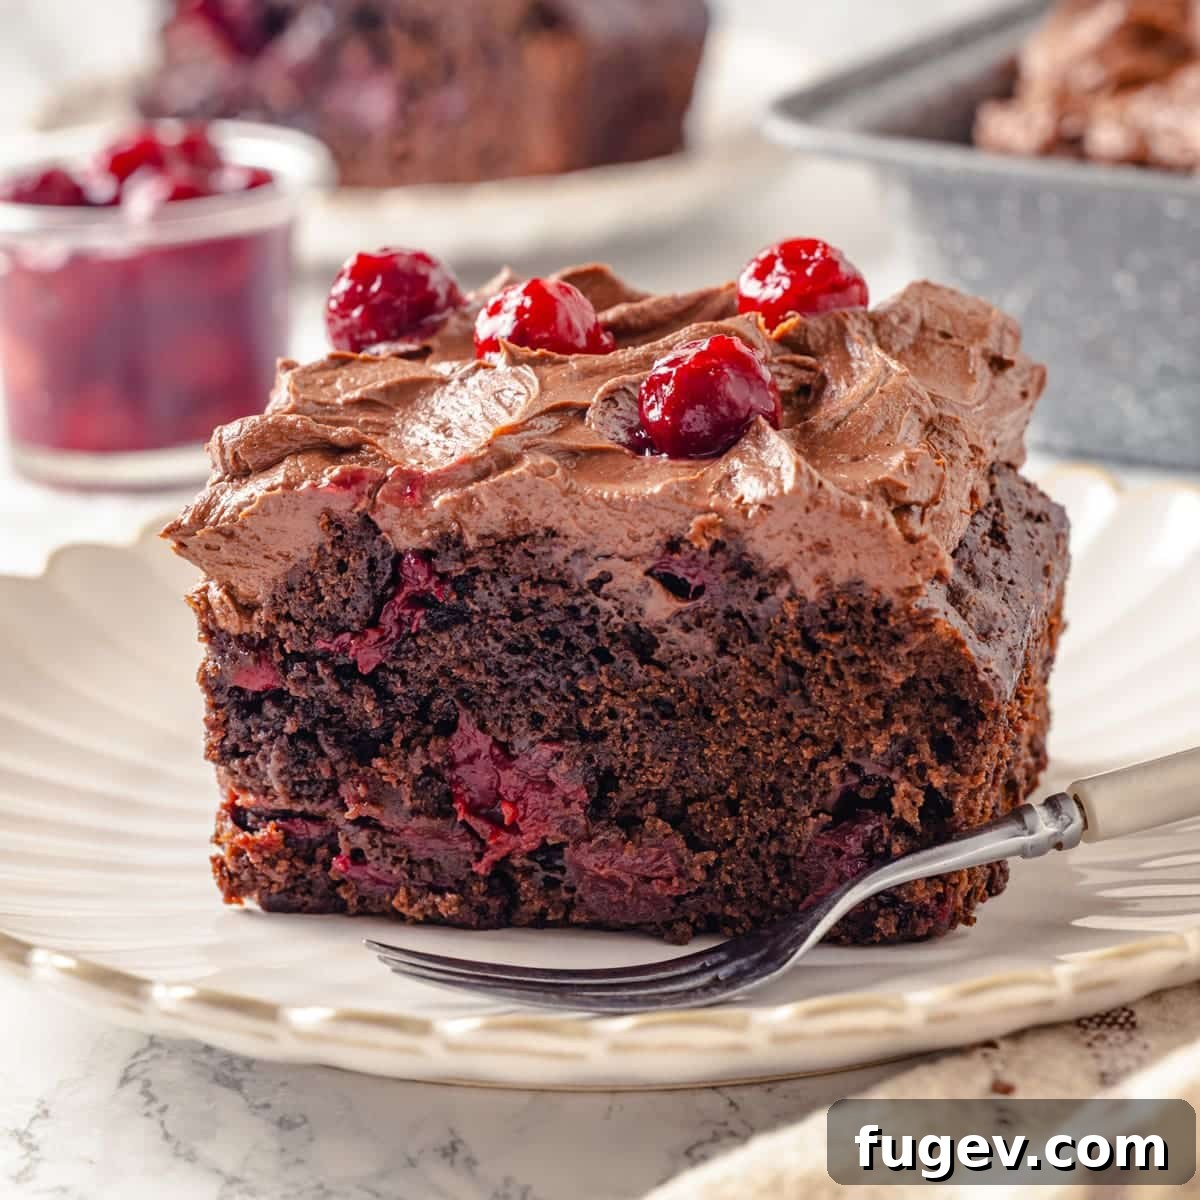
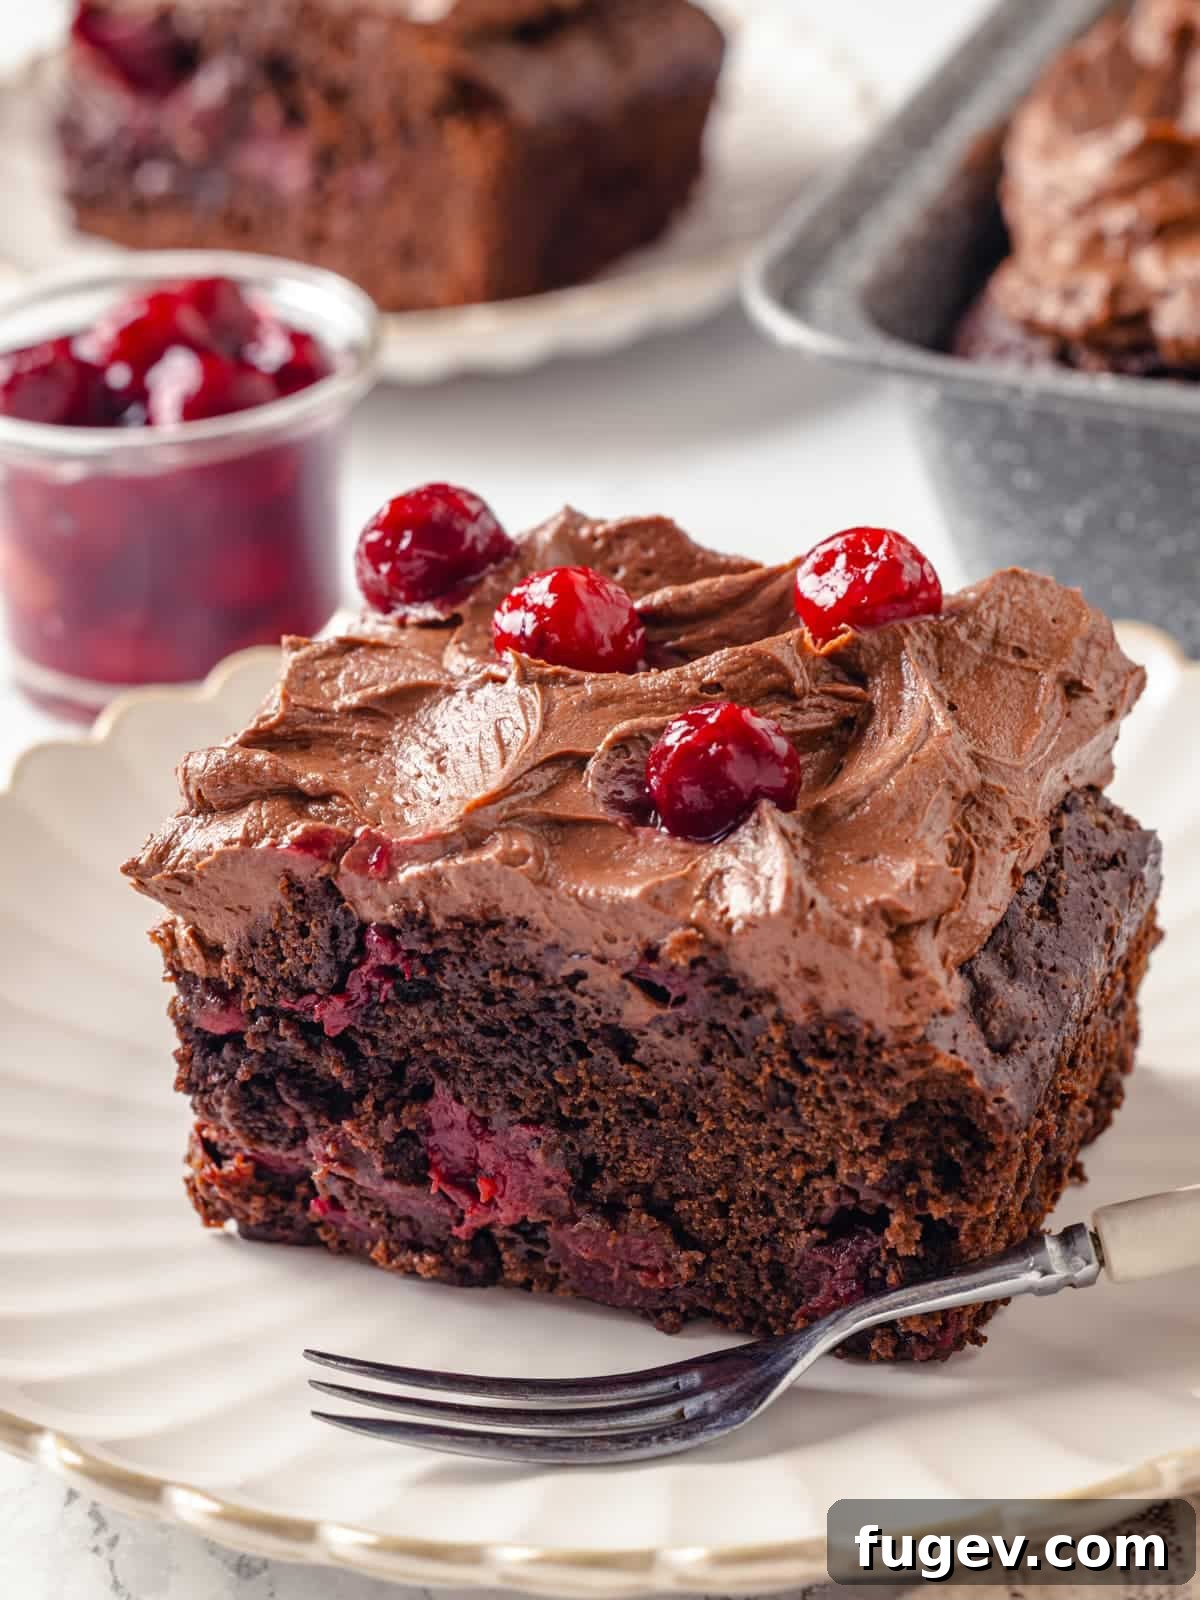
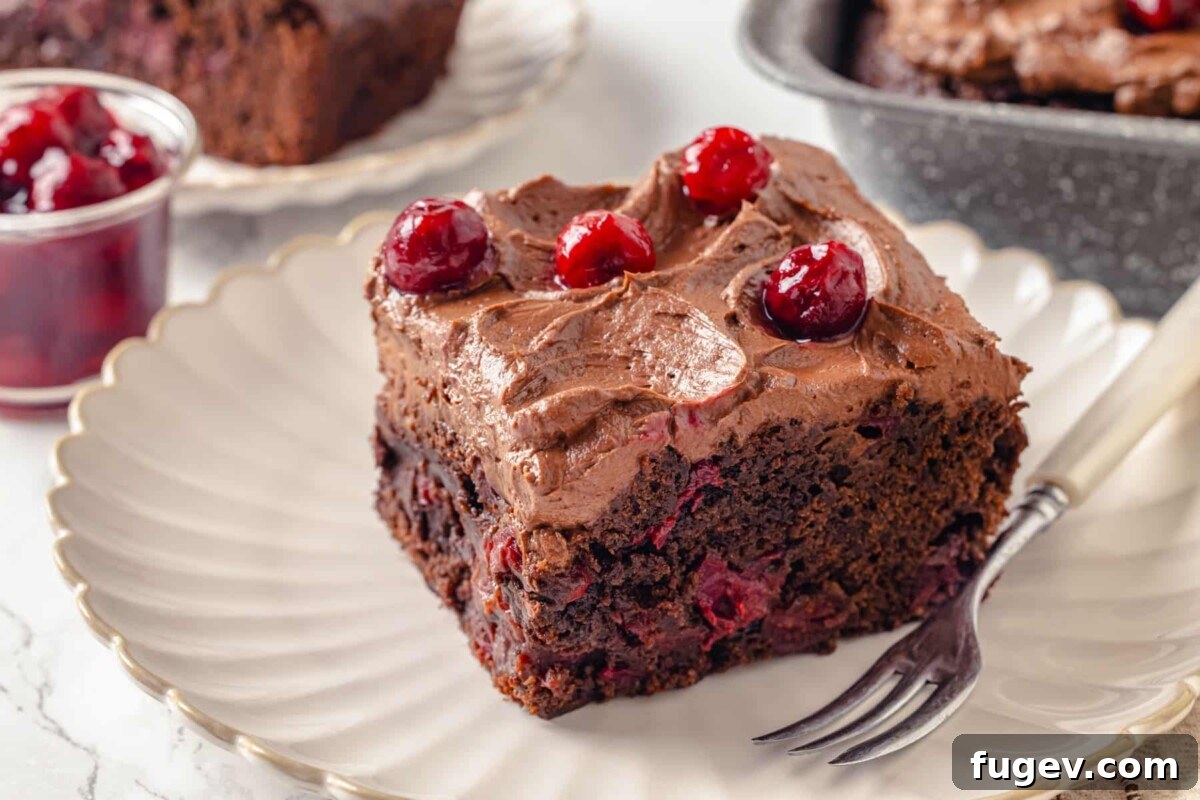
Prepare to be enchanted by the ultimate dessert experience: our incredibly soft and moist Chocolate Cherry Cake, lavishly crowned with a rich, tangy chocolate cream cheese frosting. This isn’t just a cake; it’s a symphony of flavors and textures, where the deep, luxurious notes of chocolate perfectly intertwine with the bright, tart burst of cherries, all unified by a velvety smooth and lightly sweetened frosting. It’s truly a match made in dessert heaven, designed to impress and delight with every single bite.
A Quick Look At The Recipe
This is a brief summary of the recipe’s key details and characteristics. For the full, step-by-step instructions and complete ingredient list, please refer to the detailed recipe card below.
Jump to Full Recipe
Prep Time
30 minutes
Cook Time
40 minutes
Total Time
1 hour 10 minutes
Yields
16 slices
Difficulty
Easy
Calories *
478 kcal per serving
Technique
Classic mixing method for cake batter, gentle folding of cherry filling, baking, and finishing with a decadent chocolate cream cheese frosting.
Flavor Profile
Rich, dark chocolate cake enhanced by sweet and tart cherries, balanced by a creamy, tangy chocolate cream cheese frosting.
* Based on nutrition panel estimates.
Summarize & Save this content easily for future reference.
Google AI
Perplexity
Grok
“This is a delightful cake! I love the cream cheese frosting with the cherry pie filling! I did make it as a sheet cake, but I can’t wait to layer it for a friend’s birthday! ⭐⭐⭐⭐⭐”
Lauren
Why You’ll Adore This Chocolate Cherry Cake
This isn’t just another cake recipe; it’s a meticulously crafted dessert designed to bring pure joy with every forkful. Here’s why this Chocolate Cherry Cake will quickly become a cherished favorite in your recipe collection:
- Unforgettable Rich Chocolate Flavor: Forget bland, one-dimensional chocolate cakes. Our recipe utilizes premium Dutch-process cocoa powder in both the cake batter and the buttercream frosting. This choice is deliberate, as Dutch-processed cocoa delivers a deep, intensely dark chocolate flavor with subtle earthy notes that natural cocoa simply cannot match. It creates a robust foundation that perfectly complements the fruit.
- Remarkably Moist and Tender Crumb: The secret to a truly exceptional cake lies in its texture. We started with our widely beloved easy moist chocolate cake recipe and expertly adapted it to flawlessly incorporate the cherry filling. The result is a cake with an incredibly tender crumb that maintains its luxurious softness for days, ensuring every slice is as delightful as the first. It’s balanced beautifully, not overly sweet, allowing the chocolate and delightful pops of tart cherries to shine through.
- Perfectly Balanced Chocolate Cream Cheese Frosting: This frosting is a game-changer. It’s light, tangy, and boasts a distinct chocolate flavor without being overwhelmingly sweet. The addition of cocoa powder not only enhances the chocolate profile but also lends stability, making it wonderfully pipeable for elegant decorations. It’s the ideal counterpoint to the cake’s richness, adding a refreshing tang that cleanses the palate.
- Incredibly Versatile for Any Occasion: Whether you’re planning a casual gathering or a grand celebration, this recipe is incredibly adaptable. It works beautifully as a convenient 9×13-inch sheet cake, perfect for potlucks and family meals. Alternatively, it can be baked into two elegant 9-inch layers or three impressive 8-inch layers, providing a stunning centerpiece for birthdays, anniversaries, or any special event.
Table of Contents
- Why You’ll Adore This Chocolate Cherry Cake
- Ingredients & Clever Substitutions
- Creative Variations for Your Chocolate Cherry Cake
- Professional Baking Tips for Success
- How to Bake the Perfect Chocolate Cherry Cake
- Chef Lindsey’s Recipe Tip
- Frequently Asked Questions
- Indulge in More Chocolate Cake Recipes
- Chocolate Cherry Cake Recipe
- Before You Go
This chocolate cherry cake truly embodies everything a perfect chocolate cake should be: sumptuously soft, incredibly moist, and profoundly chocolatey. The star of the show, beyond the chocolate, are the tart cherries, which punctuate the richness with vibrant, juicy bursts of flavor, creating a harmonious balance that keeps you coming back for more. And let’s not forget the chocolate cream cheese frosting – its light sweetness and delicate tanginess make it an unparalleled companion for this magnificent cake.
If you consider yourself a true chocoholic, you’ve found your tribe! I’ve dedicated myself to perfecting a chocolate cake for every palate and every occasion. Seeking a cake that’s both rich and exceptionally moist? My devil’s food cake is a must-try. For those who crave the delightful combination of chocolate and fruit, this chocolate raspberry cake offers a sublime experience. And if it’s the cherries that drew you here, be sure to explore my decadent cherry cheesecake next – it’s just as delightful!
Ingredients & Clever Substitutions
Crafting this exquisite chocolate cherry cake begins with selecting the right ingredients. Each component plays a vital role in achieving that perfect balance of flavor and texture. Here’s a closer look at what you’ll need and some clever substitutions if you’re missing an item:
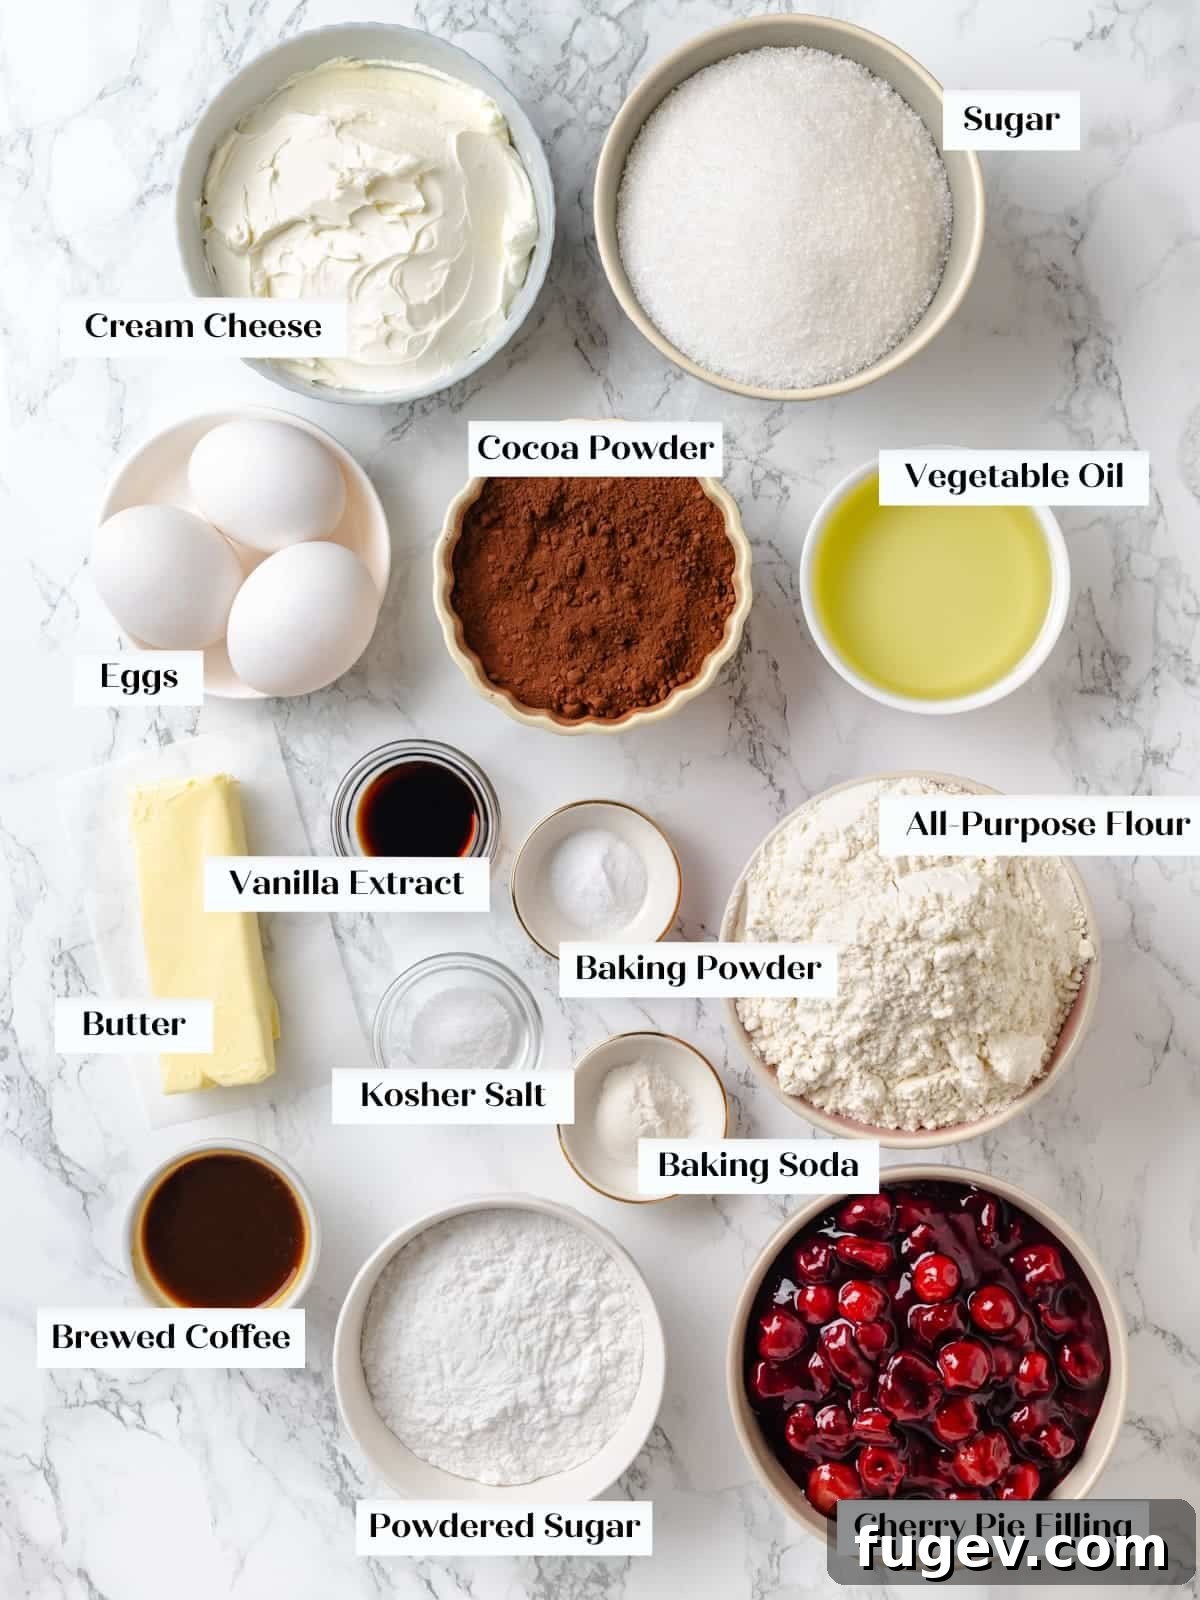
- Dutch-processed cocoa powder: This is my absolute go-to for achieving that deep, luxurious chocolate flavor and a strikingly dark color in both the cake and frosting. The Dutch-processing neutralizes cocoa’s acidity, resulting in a smoother, less bitter taste. While you can certainly use natural cocoa powder if that’s what you have on hand, be aware that the final cake might have a slightly lighter color and a different, more acidic chocolate profile.
- Vegetable oil: Essential for imparting incredible moisture and a tender crumb to the cake. Vegetable oil is a neutral-flavored fat that keeps the cake soft without adding a competing flavor. You can easily swap it for any other neutral-flavored oil, such as canola, grapeseed, or even a light olive oil. If you’re feeling adventurous or happen to be out of oil, did you know you can make an incredibly moist chocolate mayonnaise cake? It’s a surprisingly delicious substitution!
- Cherry pie filling: The star fruit component! You’ll need a total of 21 ounces, which is roughly equivalent to one standard can. You can opt for high-quality canned cherry pie filling for convenience, or elevate your cake further by using a homemade version. If you choose to make your own, a single batch of this cherry pie filling recipe will provide the perfect amount, with about 1 cup leftover. That reserved cup is fantastic served alongside a scoop of chocolate ice cream or used to craft a delightful cherry almond tart!
- Vanilla extract: A fundamental flavor enhancer that brightens and complements the chocolate and cherry notes. Pure vanilla extract is always recommended for the best flavor. However, feel free to experiment with other extracts like coffee extract for an even deeper chocolatey profile, or almond extract to highlight the cherry notes beautifully.
- Brewed coffee: Don’t worry, your cake won’t taste like coffee! Brewed coffee is a secret weapon in chocolate baking. It doesn’t add a coffee flavor but instead profoundly deepens and intensifies the chocolate notes, making them richer and more complex. If you don’t have freshly brewed coffee, instant coffee dissolved in hot water or a shot of espresso works equally well. Ensure it’s cooled before adding to the batter to prevent prematurely cooking the eggs.
- Full-fat cream cheese: For the most luxuriously rich and stable chocolate cream cheese frosting, full-fat cream cheese is non-negotiable. Its higher fat content contributes to a thicker, creamier frosting that holds its shape beautifully and provides that signature tangy flavor. Avoid using whipped cream cheese or low-fat varieties, as they contain more water and will result in a much looser, less pipeable buttercream.
- Unsalted butter: Used in the frosting, unsalted butter allows you to control the overall saltiness of your dessert. Always use good quality, softened butter for a smooth, lump-free frosting.
- Powdered sugar: Also known as confectioners’ sugar, this fine sugar dissolves easily, creating a smooth frosting texture. Sifting it before use can help prevent lumps.
Creative Variations for Your Chocolate Cherry Cake
While this chocolate cherry cake is perfection as is, its robust flavors make it an excellent canvas for creative variations. Feel free to customize it to suit your taste or the occasion:
- Elevate with Additional Mix-ins: To add another layer of texture and flavor, consider folding in ½ to 1 cup of chocolate chips along with the cherry filling. Semi-sweet, dark chocolate, or even white chocolate chips would be delicious additions, creating delightful pockets of melted chocolate. For a nutty crunch that pairs wonderfully with cherry and chocolate, chopped almonds, hazelnuts, or walnuts would also be a welcome enhancement to the batter.
- Transform it into a Black Forest Cake: For a classic German-inspired treat, transform this into a Black Forest cake. Instead of the chocolate cream cheese frosting, layer the cooled cake with freshly whipped cream and generous dollops of cherry pie filling. For an authentic touch, infuse your cherry pie filling with a splash of kirsch (cherry brandy) for an added depth of flavor.
- Experiment with Different Fruit Fillings: While cherries are sublime, this versatile cake base can accommodate other fruit fillings beautifully. Consider using the vibrant pie filling from our amazing blueberry pie recipe or the luscious medley from our mixed berry pie. The deep chocolate flavor pairs exceptionally well with a variety of berries, offering a fresh twist.
- Explore Alternative Frosting Options: If chocolate cream cheese isn’t your preference, or you simply want to try something new, the possibilities are endless. You could skip the frosting entirely and serve individual slices with a dollop of freshly whipped cream and extra cherry pie filling on the side for a lighter dessert. For a more sophisticated finish, top your cake with a silky chocolate Swiss meringue buttercream. Or, if you love a classic, our best chocolate American buttercream frosting recipe would also be a fantastic choice, offering a slightly sweeter and denser texture.
Professional Baking Tips for Success
Achieving bakery-quality results at home is easier than you think with a few expert insights. Follow these professional tips to ensure your chocolate cherry cake turns out perfectly every time:
- Choosing the Right Thickener for Homemade Cherry Filling: If you’re embarking on the rewarding journey of making your own cherry pie filling, pay attention to your starch choice. For fillings destined for the freezer, tapioca starch is your best friend. Unlike cornstarch, which can become crumbly and cloudy after freezing and thawing, tapioca starch maintains its smooth texture and clear appearance, ensuring your filling looks and tastes fresh.
- The Golden Rule: Do Not Overbake! This is perhaps the most critical tip for any cake. Overbaking is the quickest way to turn a potentially moist and tender cake into a dry, crumbly disappointment. Begin checking your cake several minutes before the suggested bake time. The ideal doneness is when a cake tester (like a toothpick or thin skewer) inserted into the center comes out with a few moist crumbs clinging to it, not wet batter, but definitely not completely clean. The cake will continue to set and firm up slightly as it cools outside the oven.
- For Clean, Picture-Perfect Slices: Patience is a virtue, especially when it comes to slicing cake. For the cleanest, most precise cuts, refrigerate your cake for at least 30 minutes, or even longer, before cutting. A cold cake is much firmer and less prone to crumbling or smearing the frosting. For an extra professional touch, use a long, sharp knife dipped in hot water and wiped clean between each slice. The warm blade glides through the cake and frosting effortlessly, creating beautifully defined pieces.
- Room Temperature Ingredients for Frosting: Ensure your cream cheese and unsalted butter are at true room temperature (softened but not melted) before you begin making the frosting. This is crucial for a smooth, homogeneous, and lump-free buttercream. Cold ingredients will resist combining, leading to a chunky texture.
- Sifting Dry Ingredients: While not strictly necessary for all recipes, sifting your cocoa powder, flour, and powdered sugar (for frosting) can make a big difference. It removes any lumps, ensuring a silky-smooth batter and frosting, and evenly distributes the leavening agents for a consistent rise.
How to Bake the Perfect Chocolate Cherry Cake
Follow these detailed, step-by-step instructions to create this decadent chocolate cherry cake. While these guidelines provide a comprehensive overview, you’ll find even more precise measurements and timing specifics in the full recipe card located at the end of this article.
To Prepare the Cake:
Step 1: Pan and Oven Setup. Begin by preheating your oven to 350°F (175°C) using the conventional setting (no fan, if your oven has the option). Generously spray your chosen rectangular cake pan (typically 9×13 inches) with a nonstick cooking spray, then line the bottom with a piece of parchment paper cut to fit precisely. This ensures easy removal and prevents sticking.
This same versatile cake batter can also be baked in alternative pan configurations: two 9-inch round cake pans for a classic layered cake, or three 8-inch cake pans for a taller, more dramatic presentation.
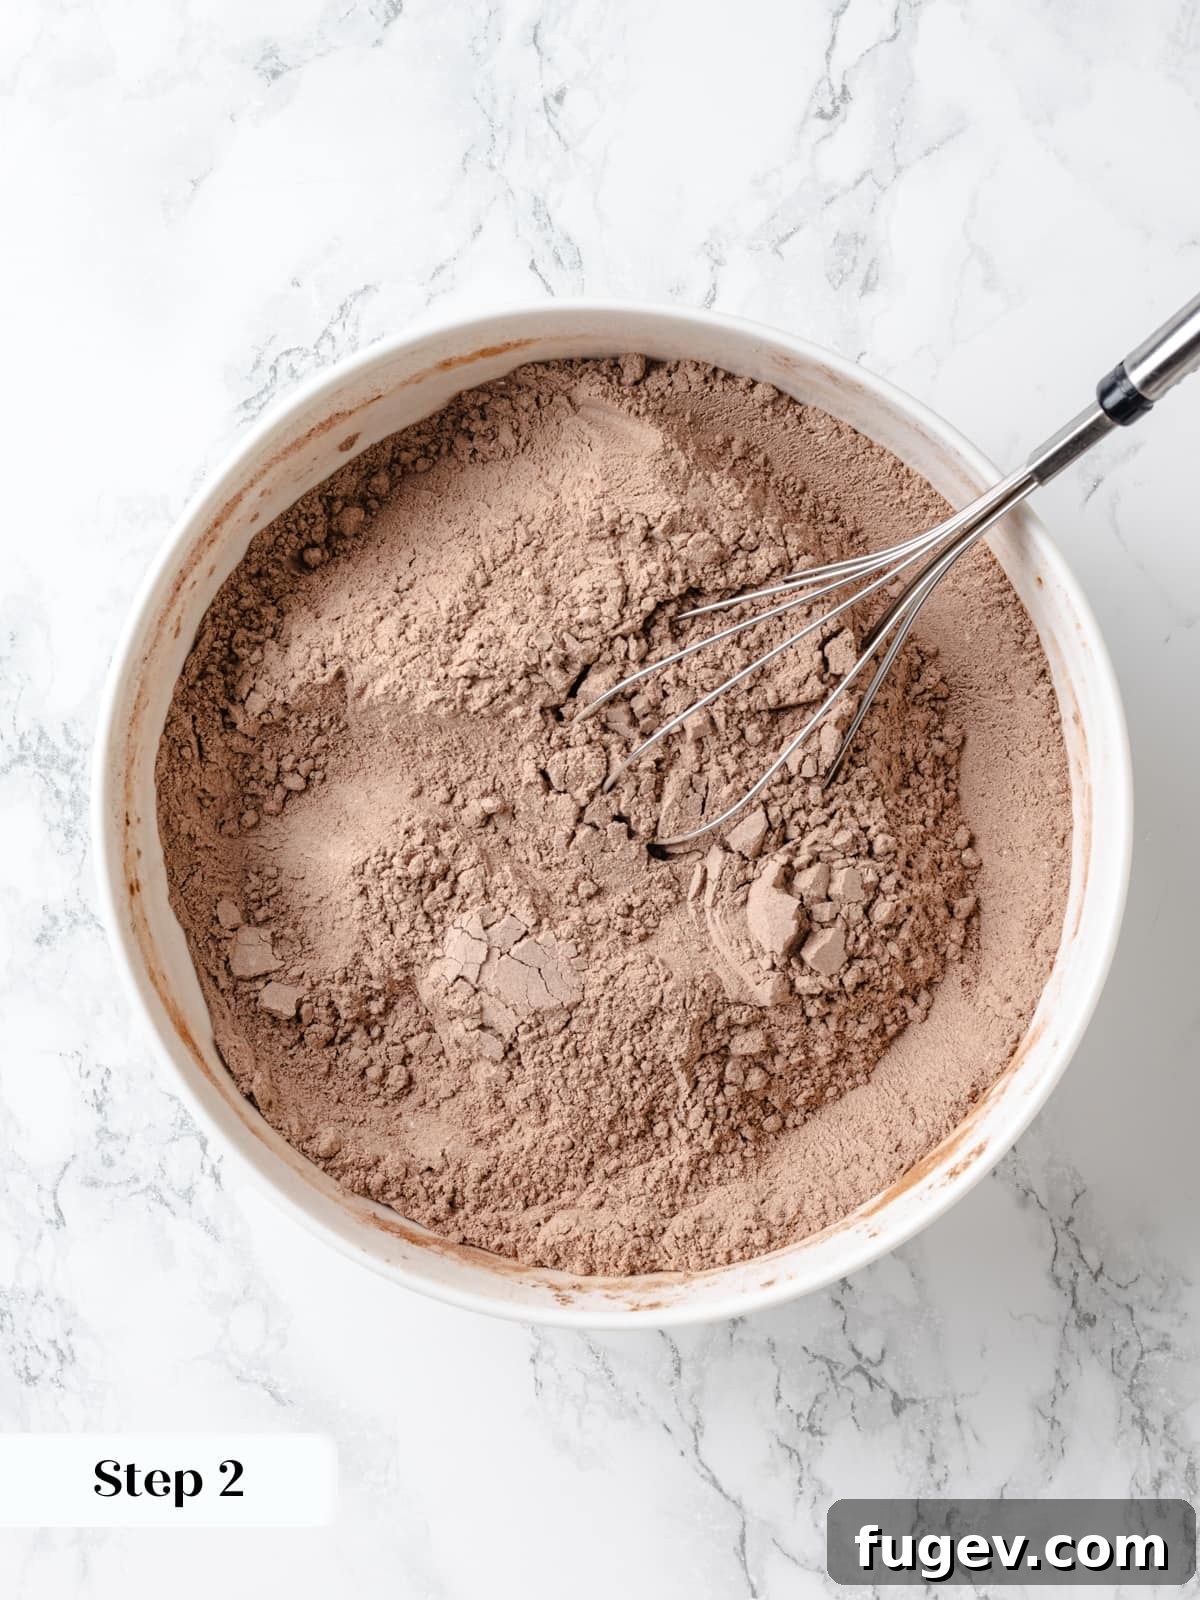
Step 2: Whisk Dry Ingredients. In a medium-sized mixing bowl, thoroughly whisk together the Dutch-process cocoa powder, all-purpose flour, kosher salt, baking powder, and baking soda. Ensure these dry ingredients are fully combined and free of lumps. Set this bowl aside for later. This step ensures an even distribution of leavening and flavor throughout the cake (refer to Photo 1).
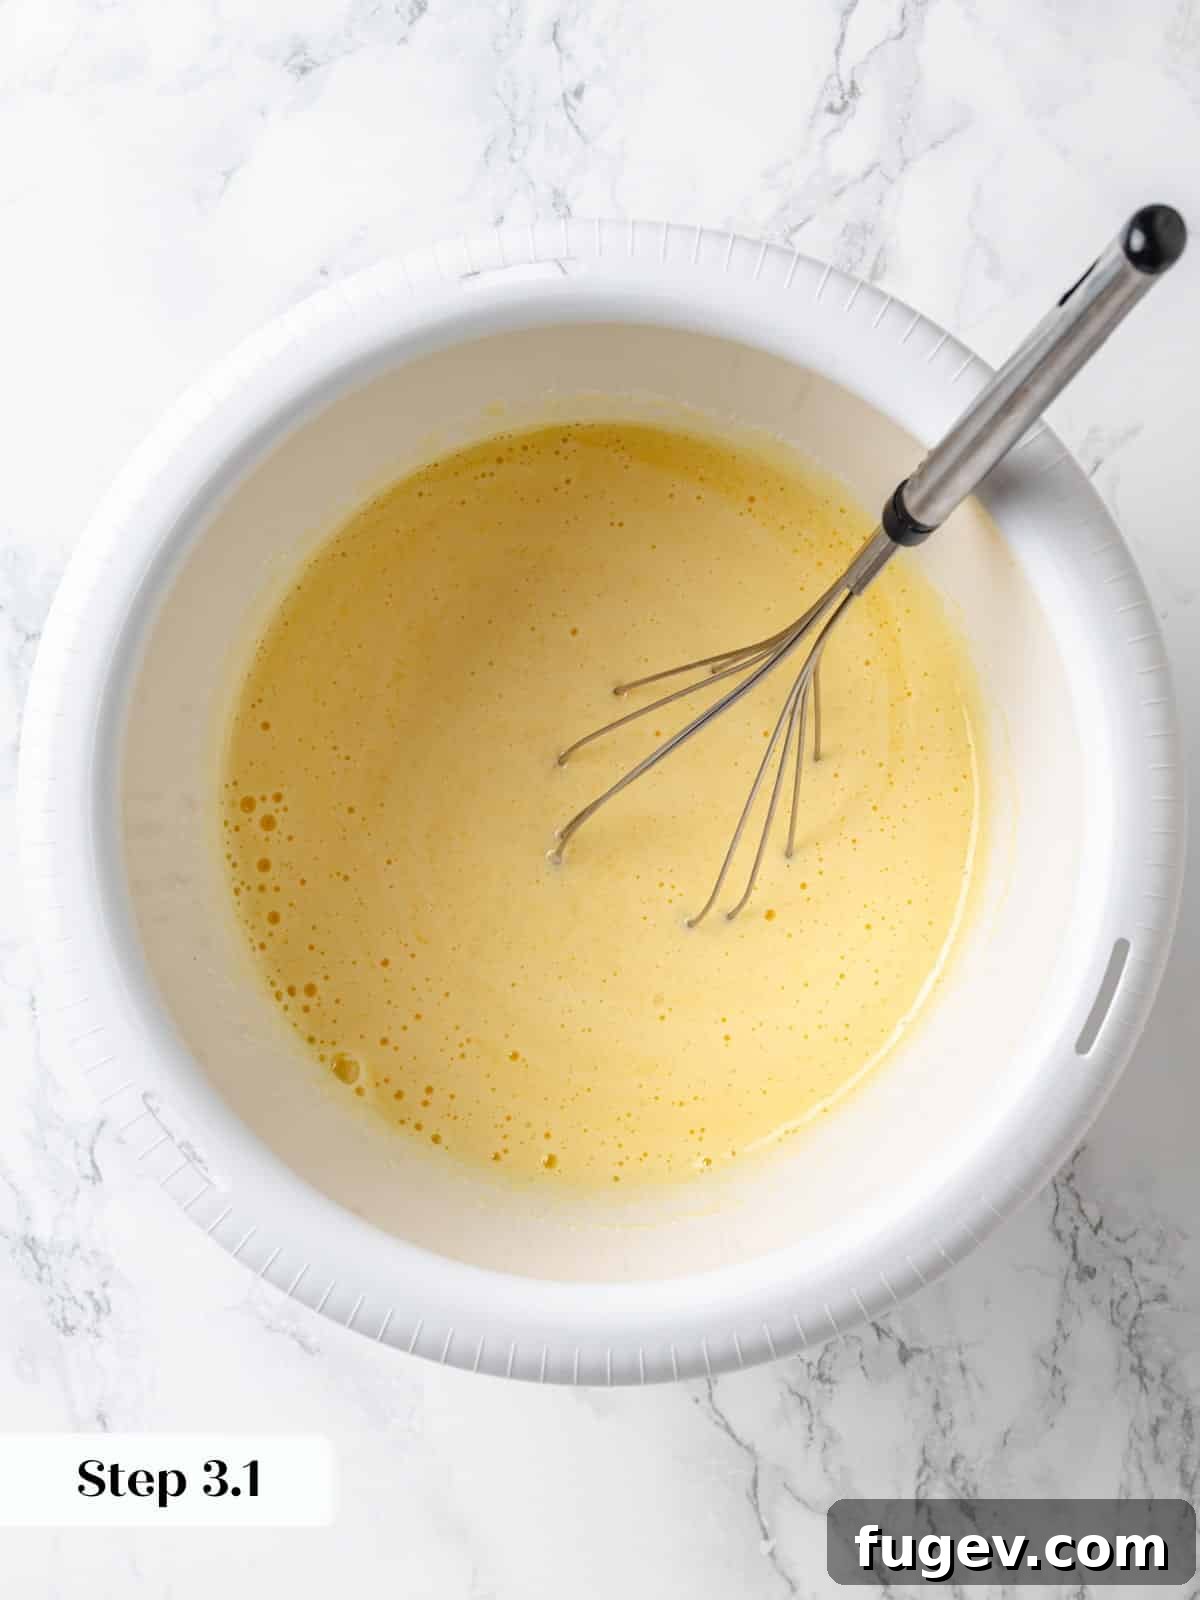
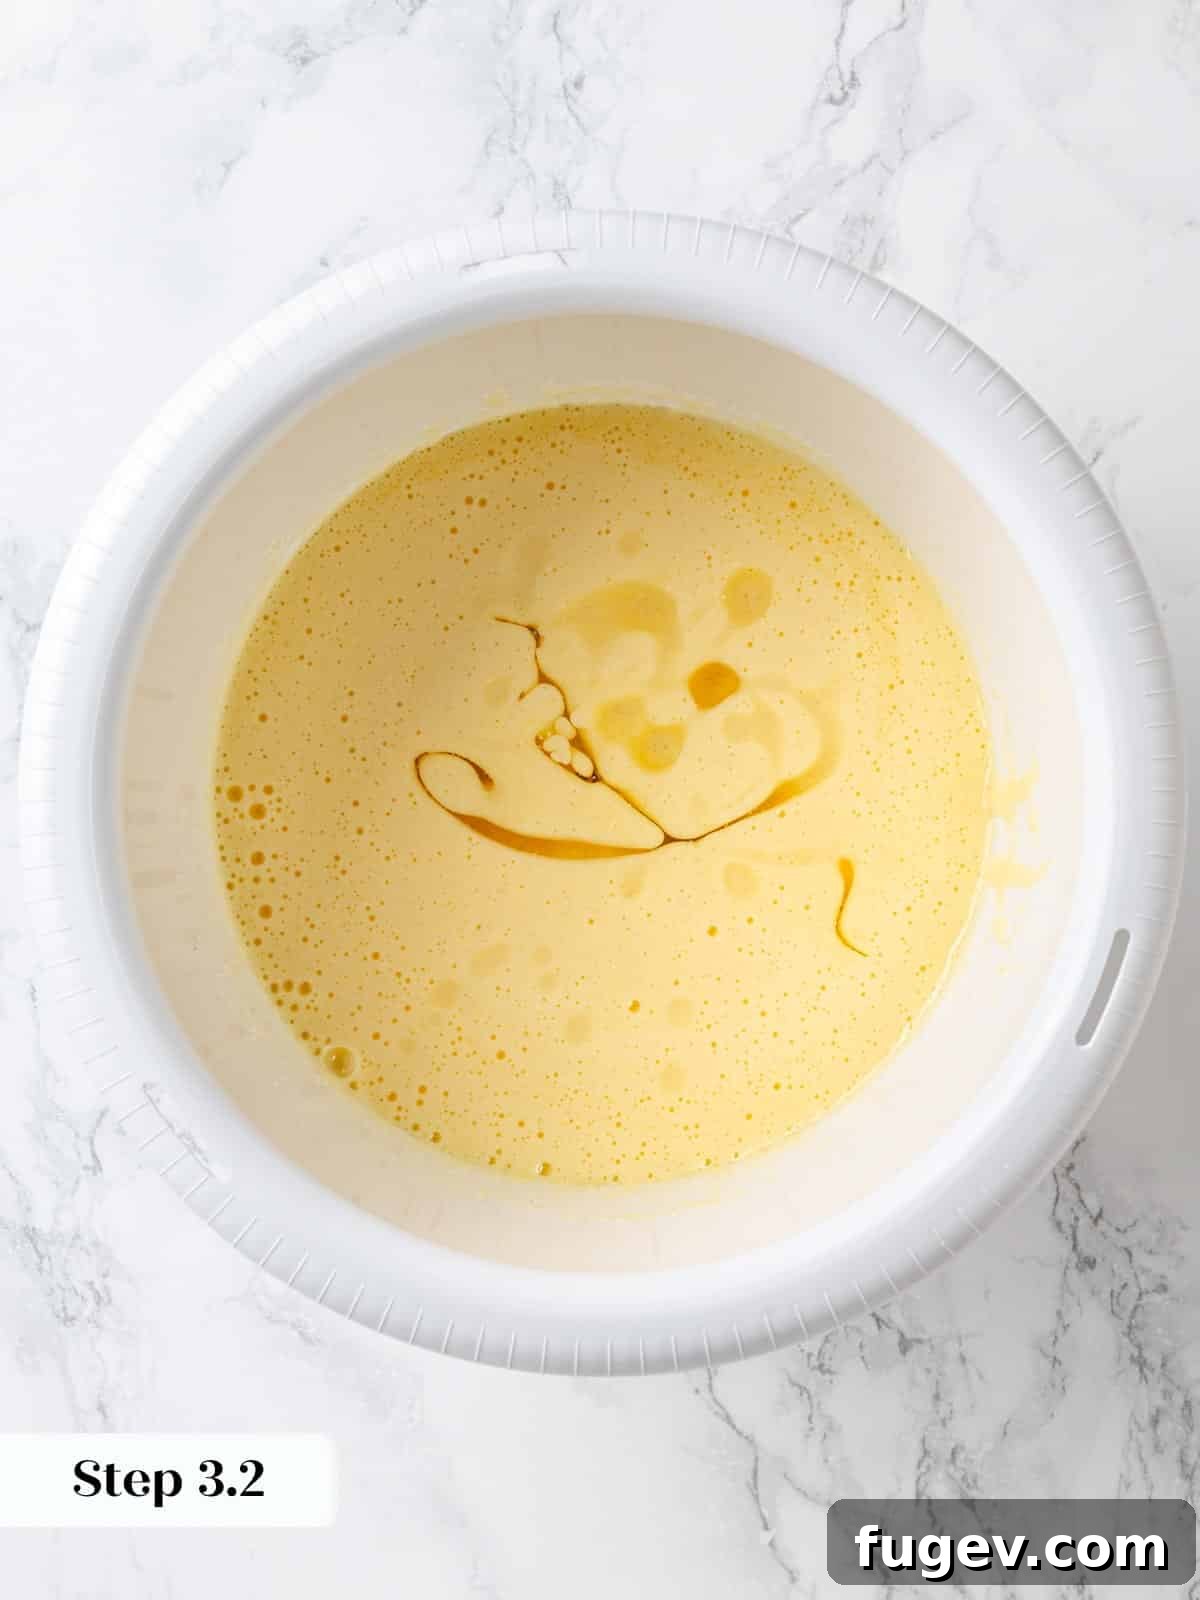
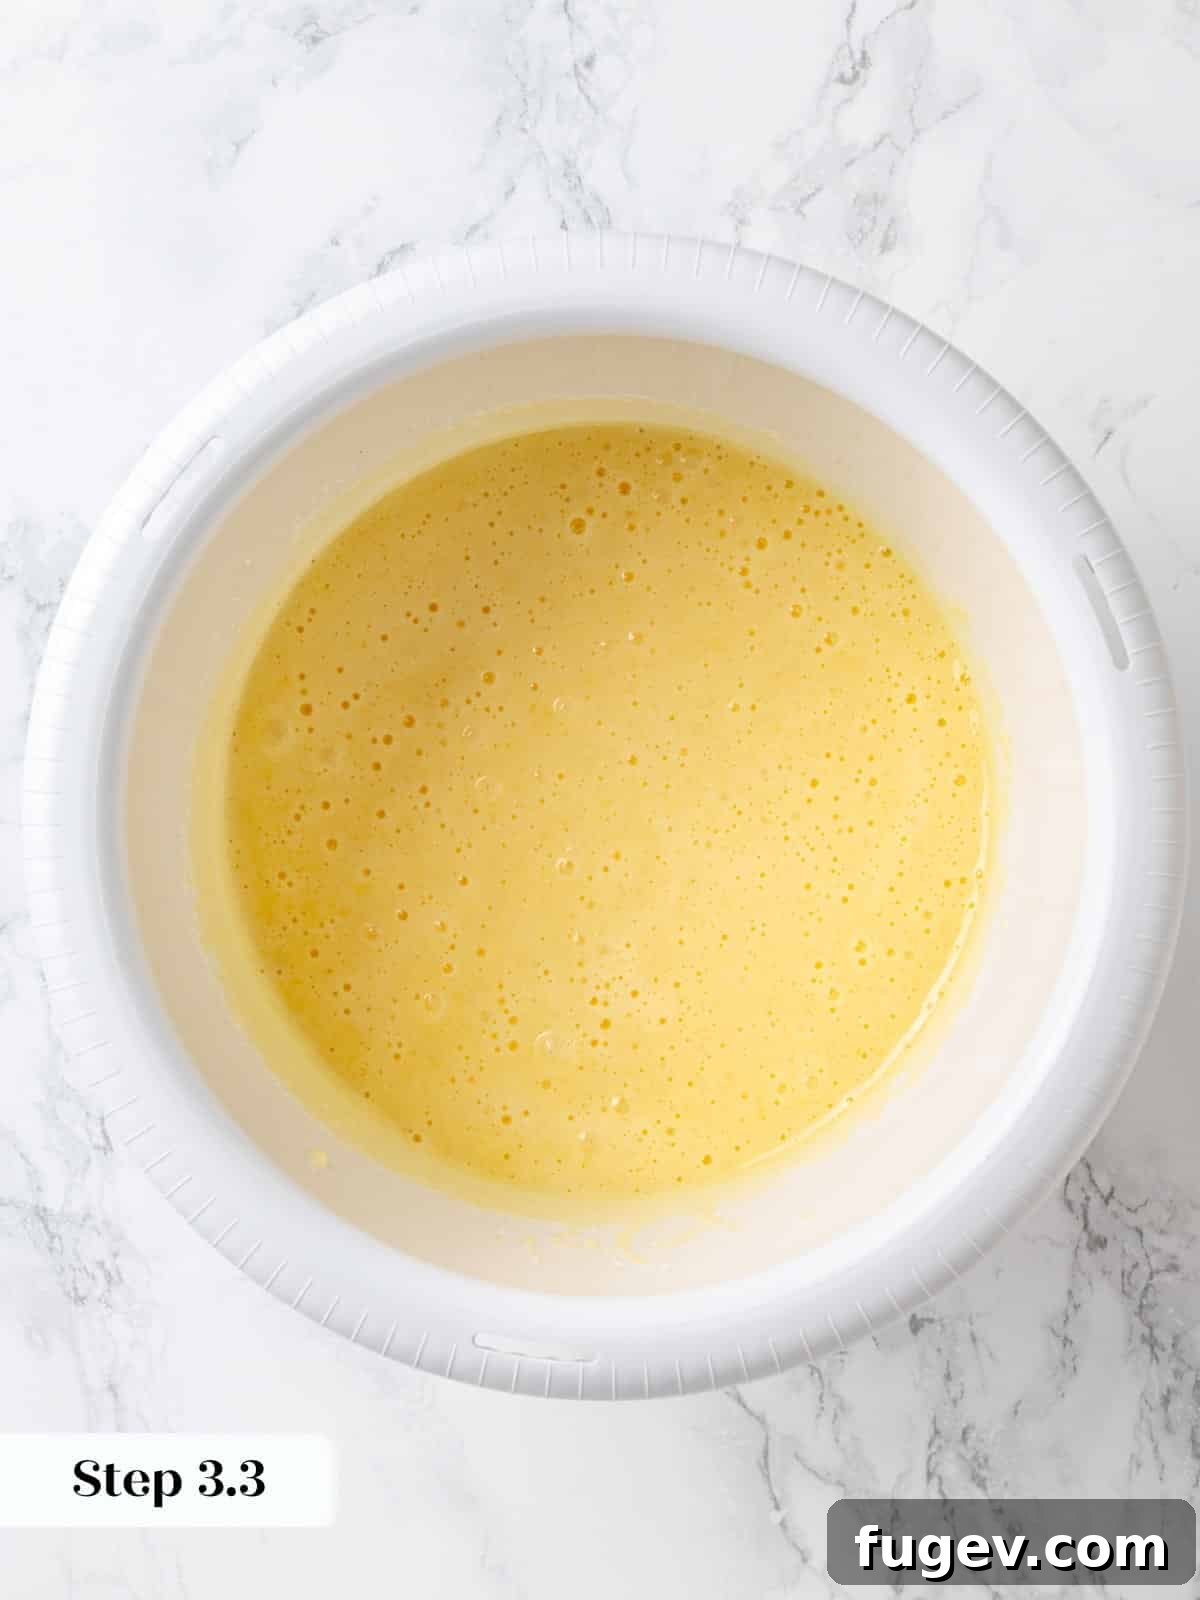
Step 3: Mix Wet Ingredients. In a large mixing bowl, using a whisk or an electric mixer, beat the large eggs, vanilla extract, and granulated sugar until the mixture is smooth, light, and slightly pale. Next, gradually stream in the vegetable oil while continuing to whisk. This slow addition helps to emulsify the batter, creating a stable and cohesive base for your cake (refer to Photos 2-4).
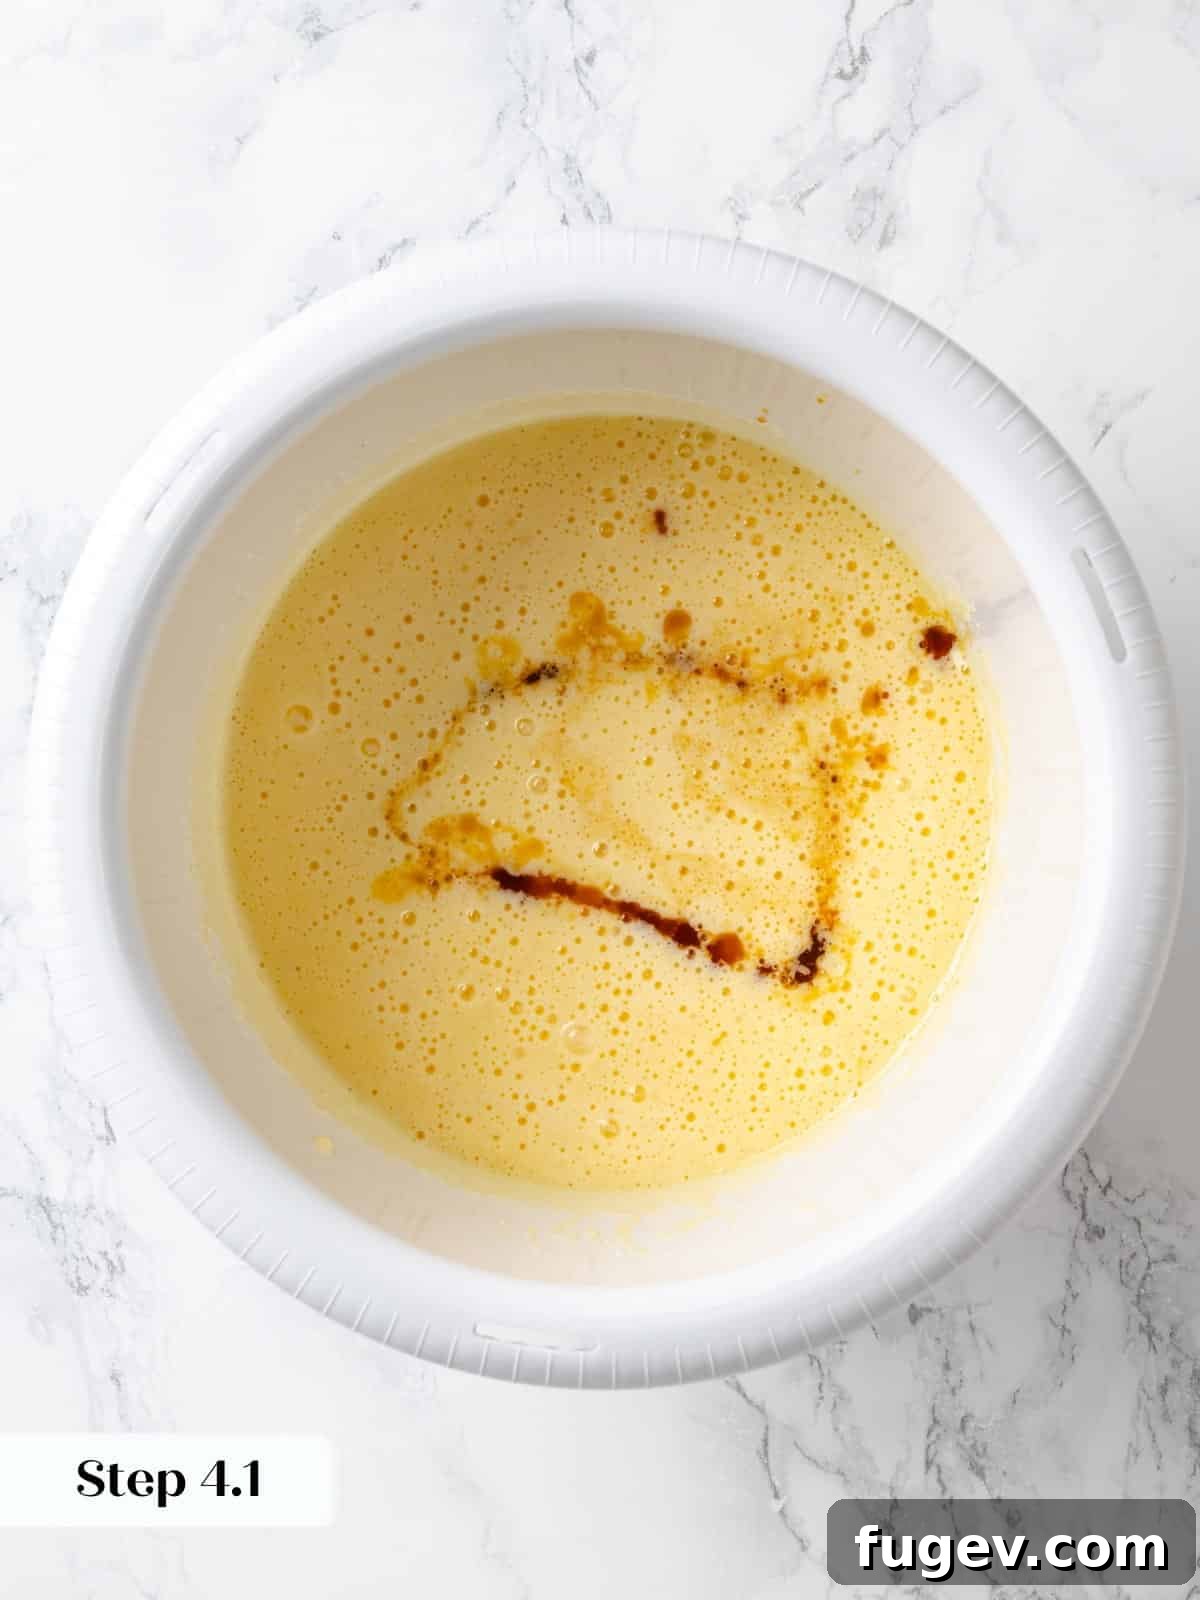
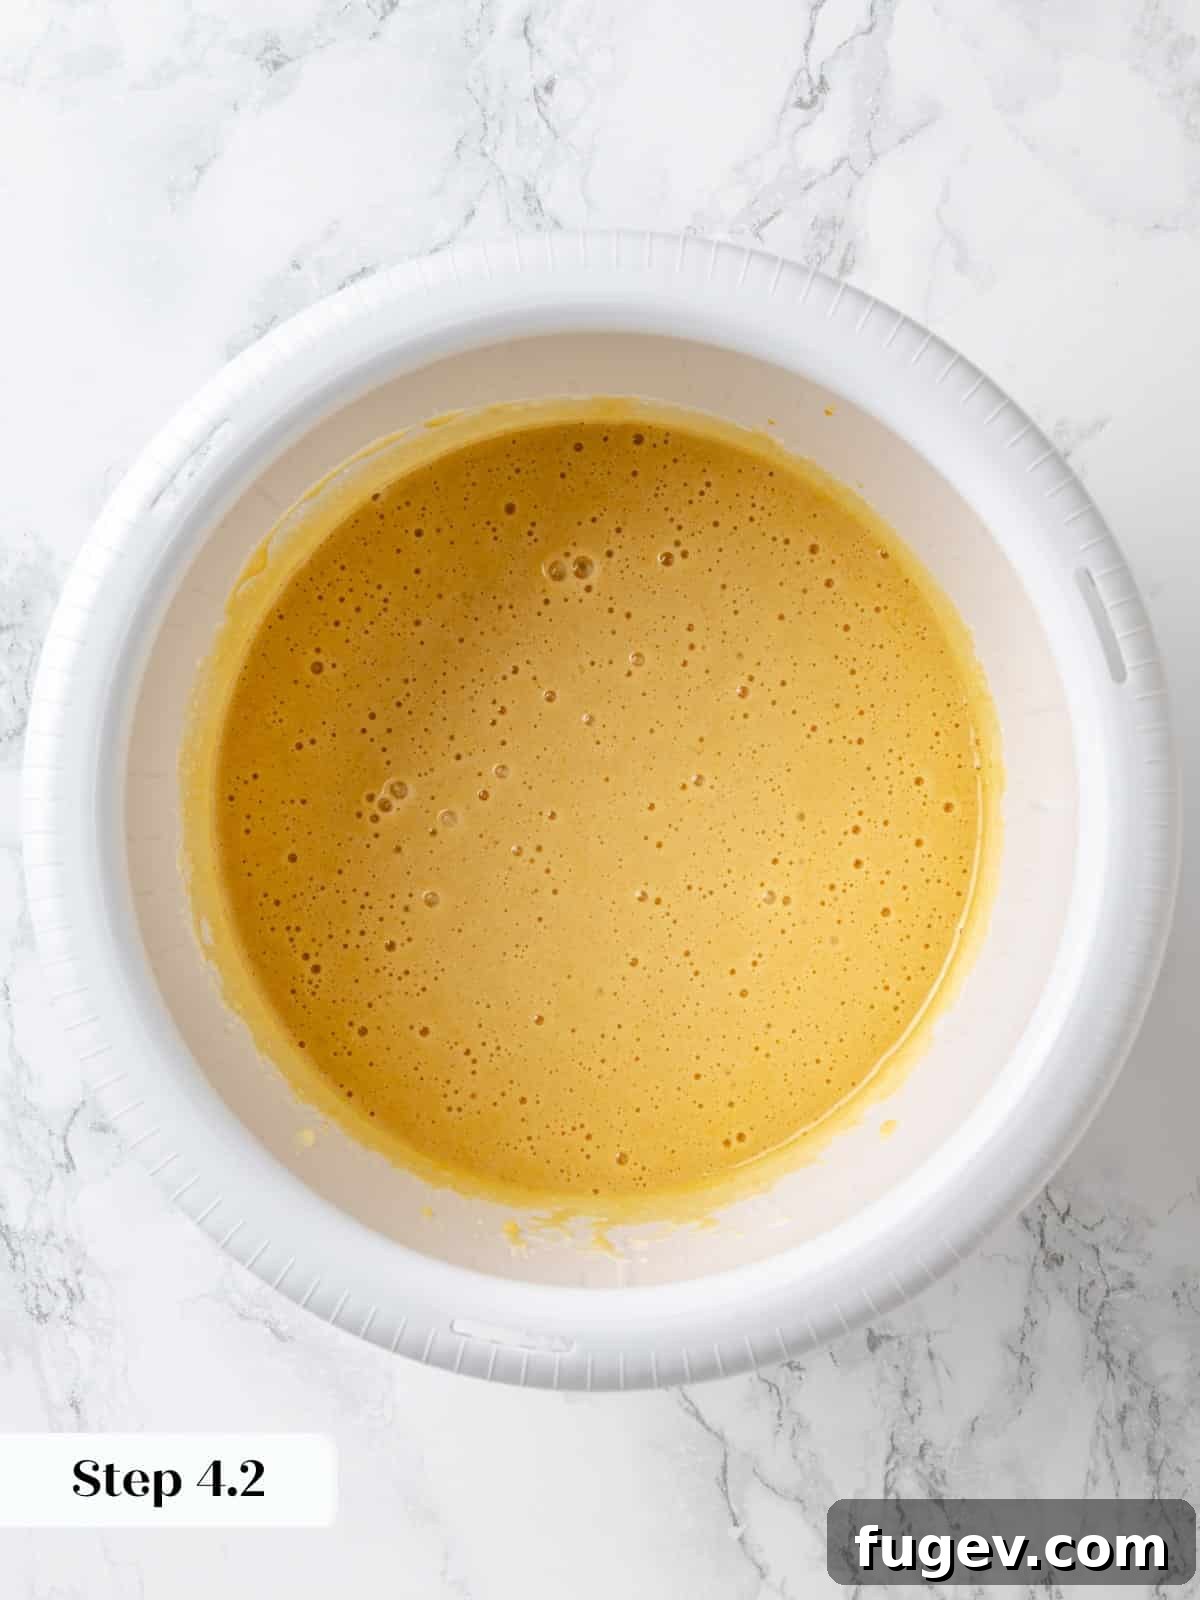
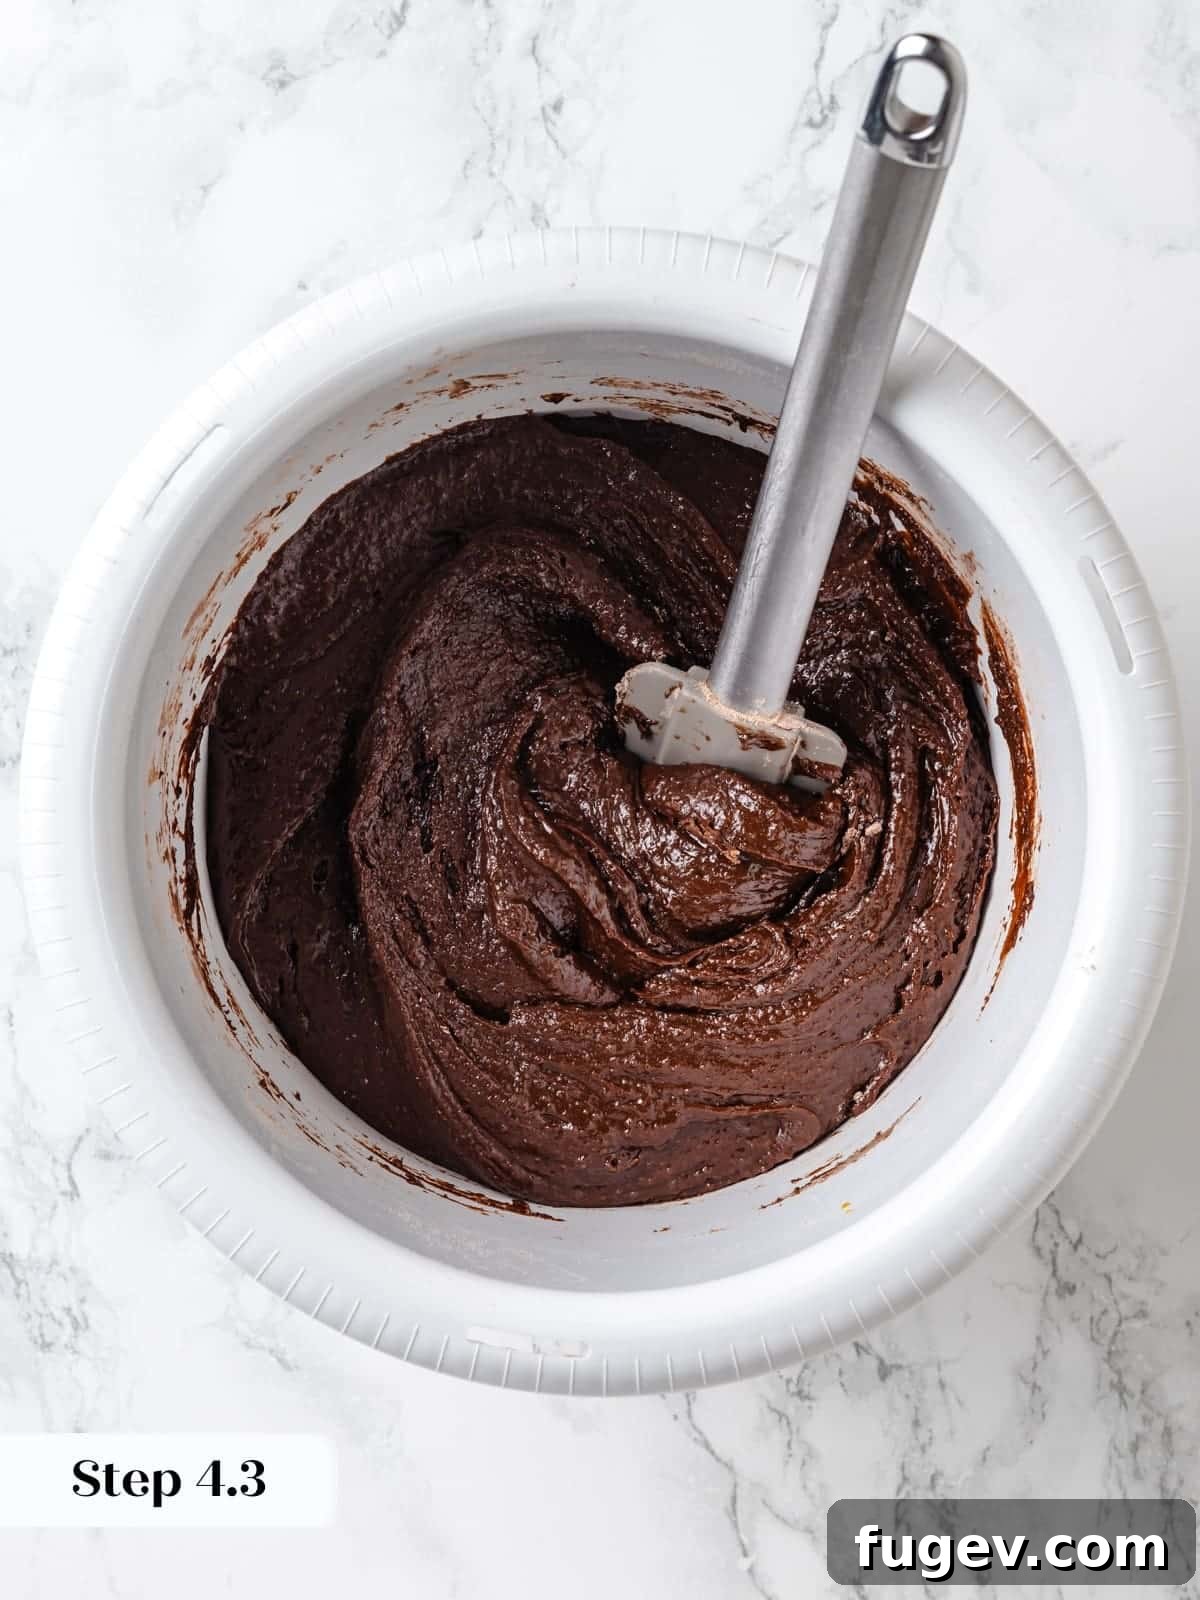
Step 4: Combine Wet and Dry. Whisk the cooled brewed coffee into your egg and oil mixture (refer to Photo 5-6). Then, add the whisked dry ingredients to the wet mixture. Using a silicone spatula, gently fold the ingredients together until just combined. Be careful not to overmix, as this can lead to a tough cake. Stop mixing as soon as no dry lumps of flour are visible (refer to Photo 7).
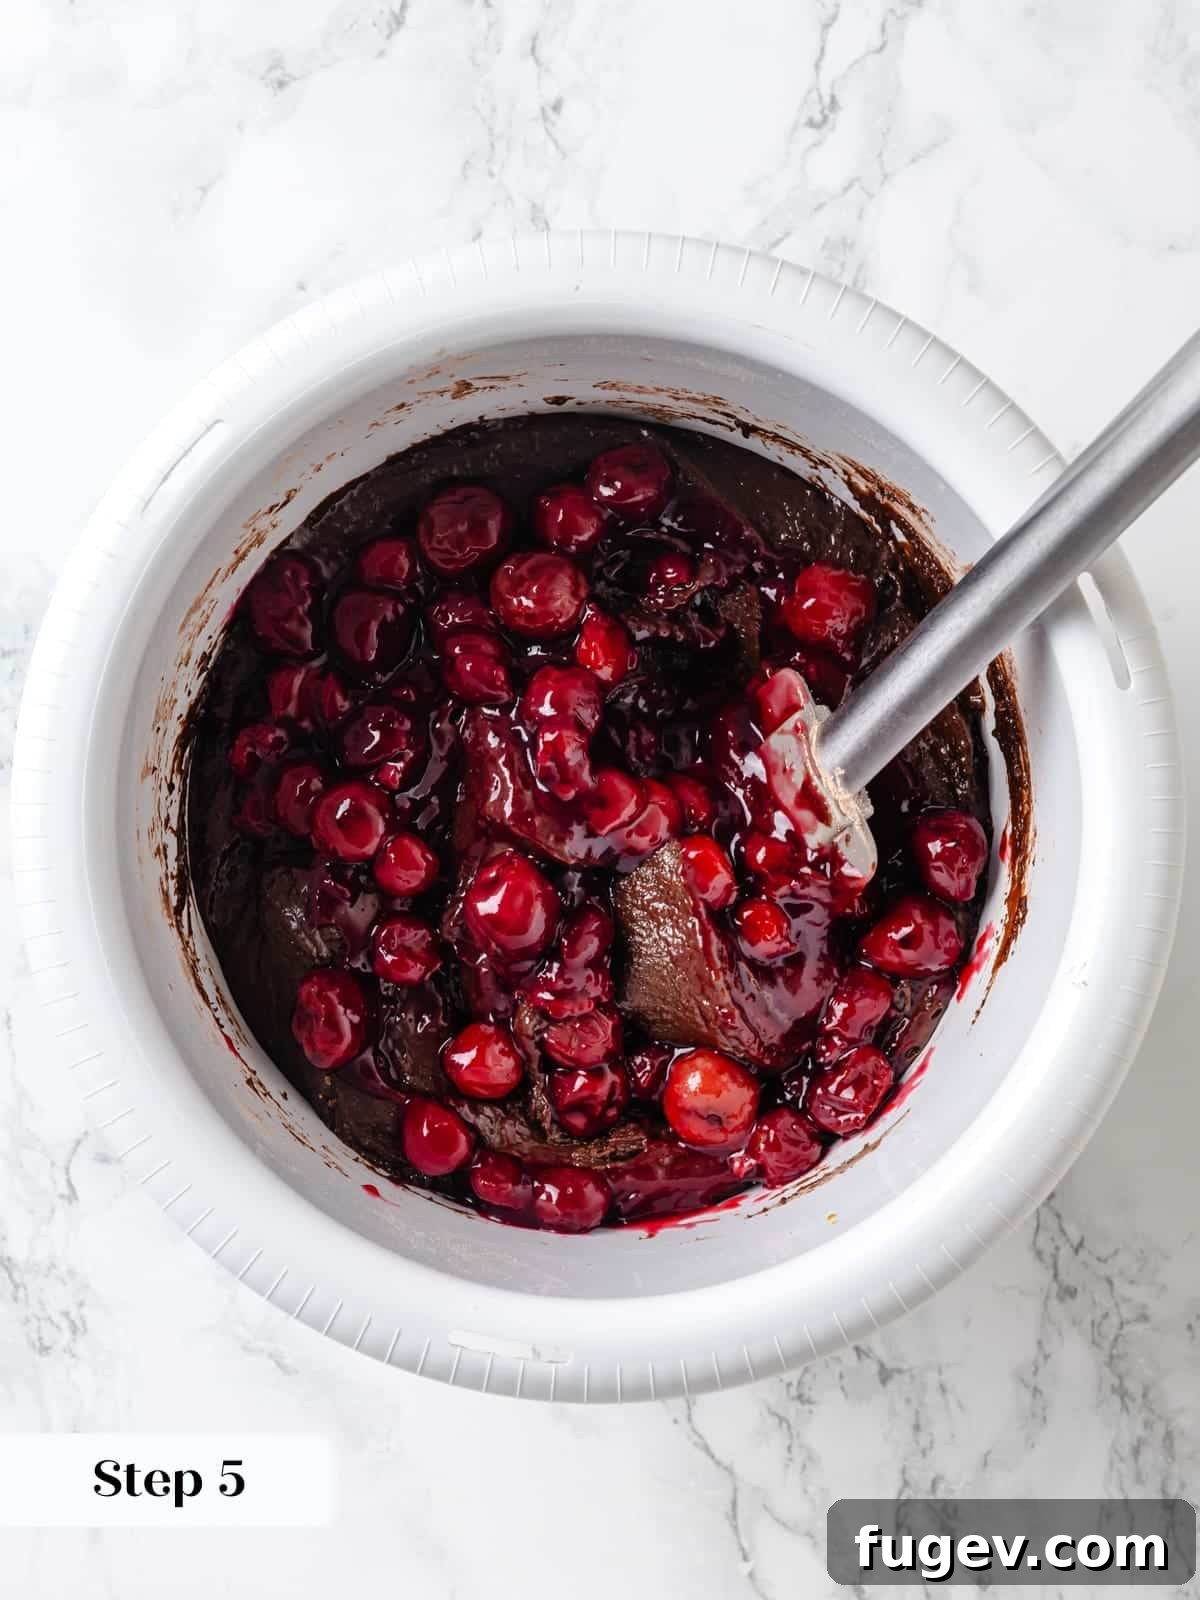
Step 5: Fold in Cherries. Gently stir in the cherry pie filling. Fold it in carefully to ensure the cherries are evenly distributed throughout the batter without crushing them excessively (refer to Photo 8).
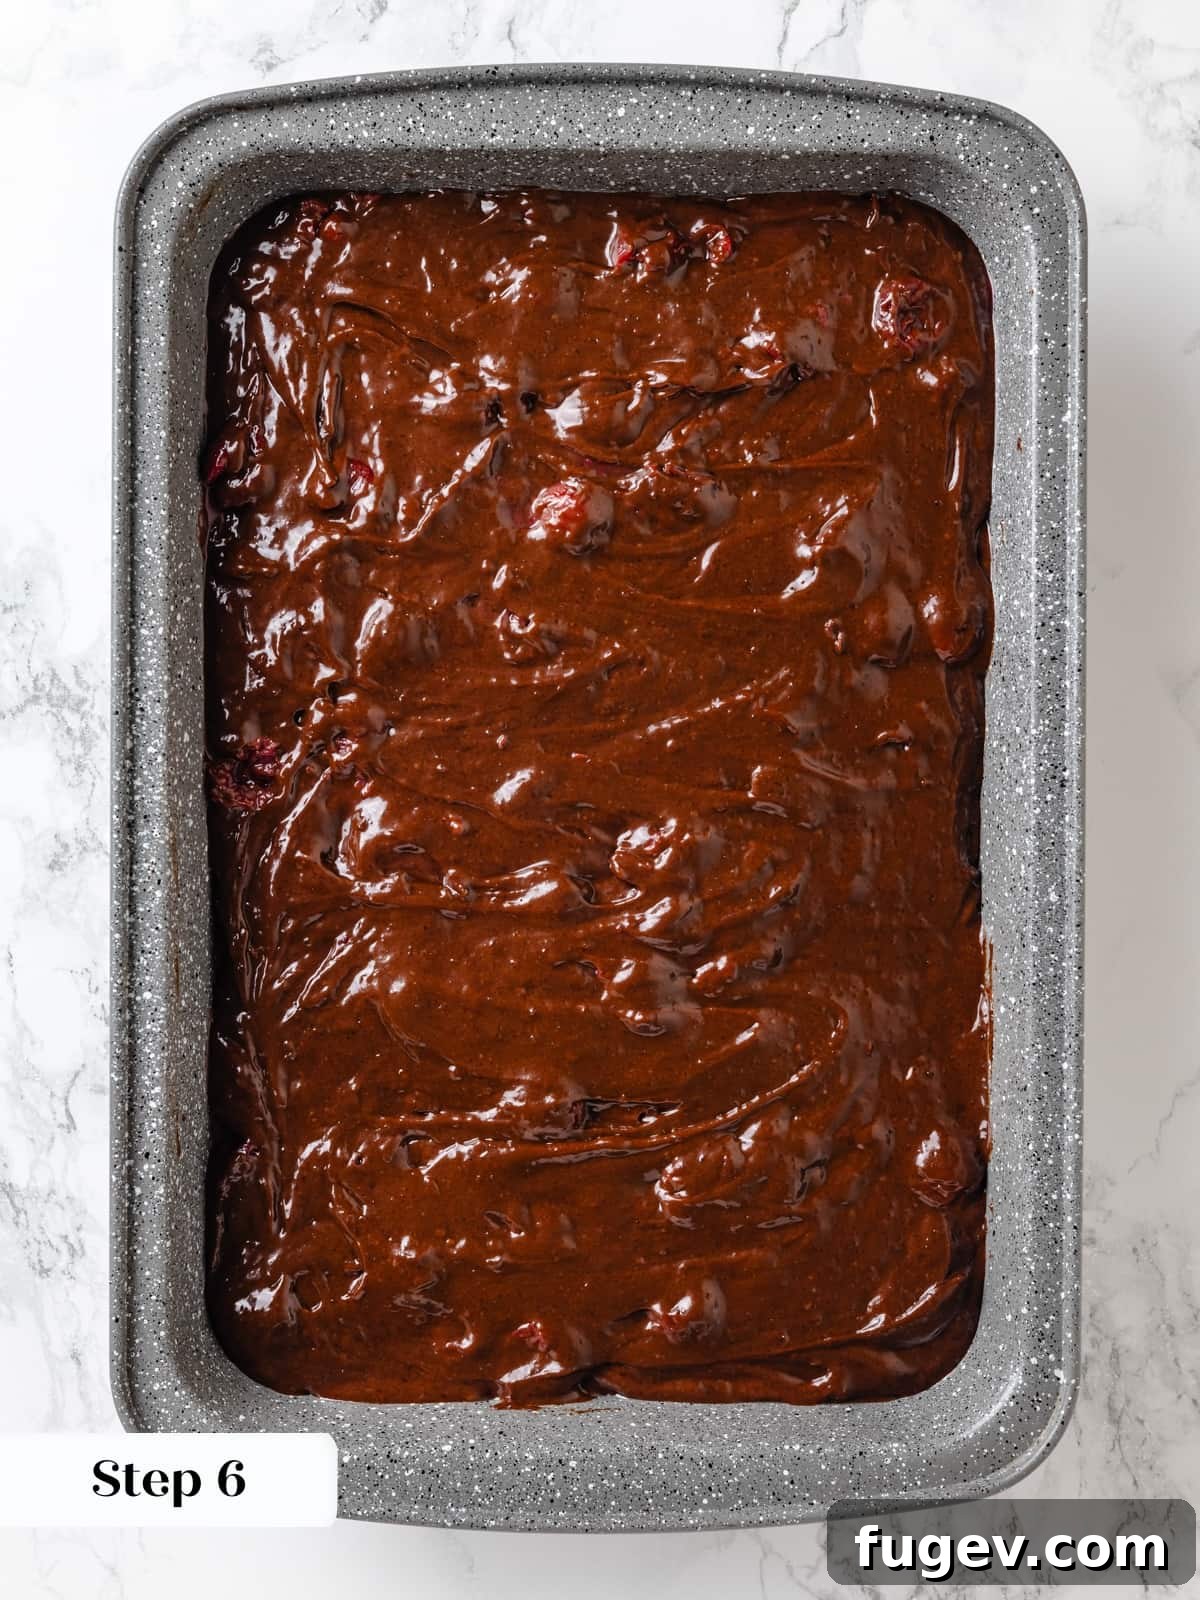
Step 6: Bake. Pour the prepared batter into your greased and parchment-lined pan. Use an offset spatula to gently smooth the top of the batter, ensuring an even layer. Carefully place the pan into your preheated oven (refer to Photo 9).
Step 7: Check for Doneness. Bake the cake until a cake tester (a toothpick or skewer) inserted into the center comes out with just a few moist crumbs clinging to it. The center of the cake should also offer a slight resistance when gently pressed with your finger. This indicates it’s cooked through but still wonderfully moist.
The exact bake time for your chocolate cherry cake will significantly depend on the size and type of pans you select. For a rectangular 9×13-inch baking dish, anticipate a baking time between 40 and 45 minutes; in my oven, it took precisely 44 minutes. If you opt for smaller pans, the cake batter will bake faster. When divided among three 8-inch cake pans, expect around 32 minutes of baking time. For two 9-inch round cake pans, the baking duration will typically be between 35 and 40 minutes.
While the edges of the cake may begin to pull away from the sides of the pan, this is generally the last sign of doneness. Relying solely on this visual cue can be misleading, as by that point, you might be just 1–2 minutes away from an over-baked, dry cake. Always prioritize the cake tester method for optimal results.
Step 8: Cool the Cake. If you’re using round cake pans, allow the cakes to cool in their pans for about 5 minutes. Then, carefully invert them onto a wire rack, remove the parchment paper from the bottom, and allow them to cool completely. Don’t worry if a tiny bit of cake sticks to the rack; it’s common. Once fully cooled, flip them back over. For a rectangular, single-layer cake, simply let it cool entirely in the baking pan on a wire rack before attempting to frost. Complete cooling is essential for proper frosting adhesion.
Prepare the Chocolate Cream Cheese Frosting:
This luscious frosting comes together in a mere 3 minutes, provided all your ingredients (cream cheese and butter) are at perfect room temperature.
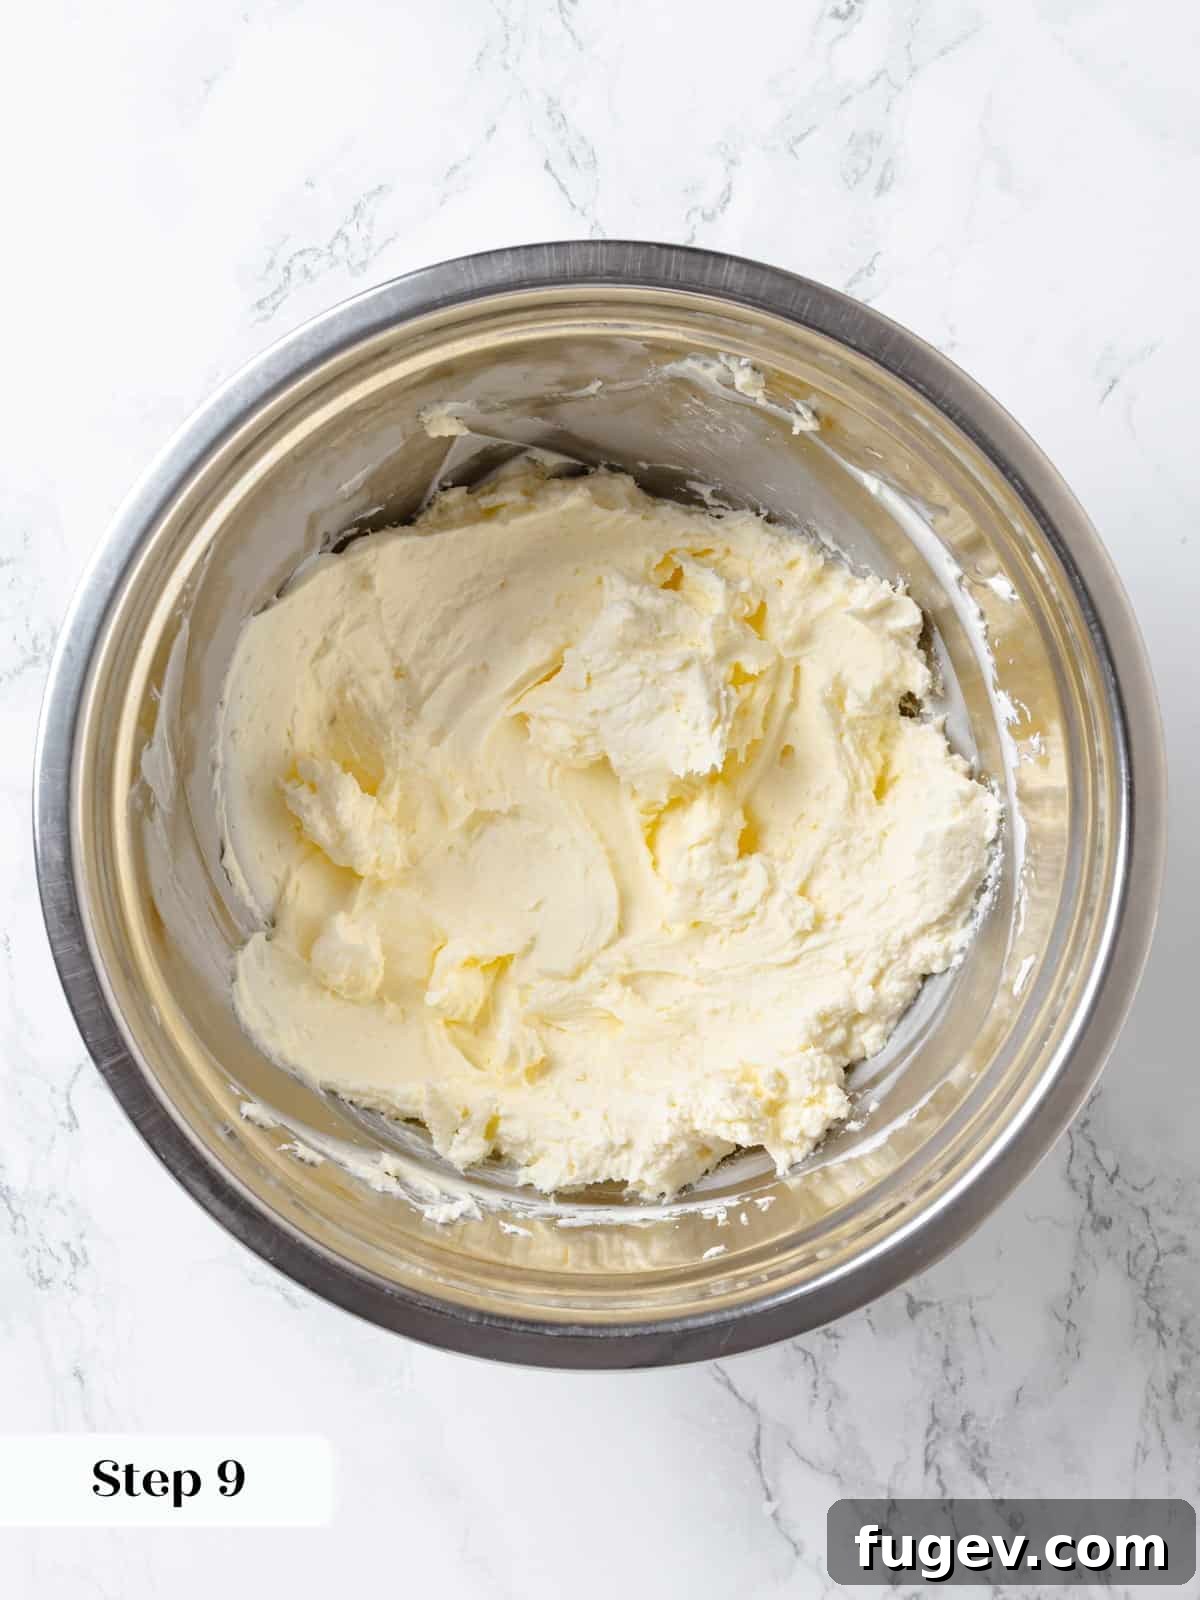
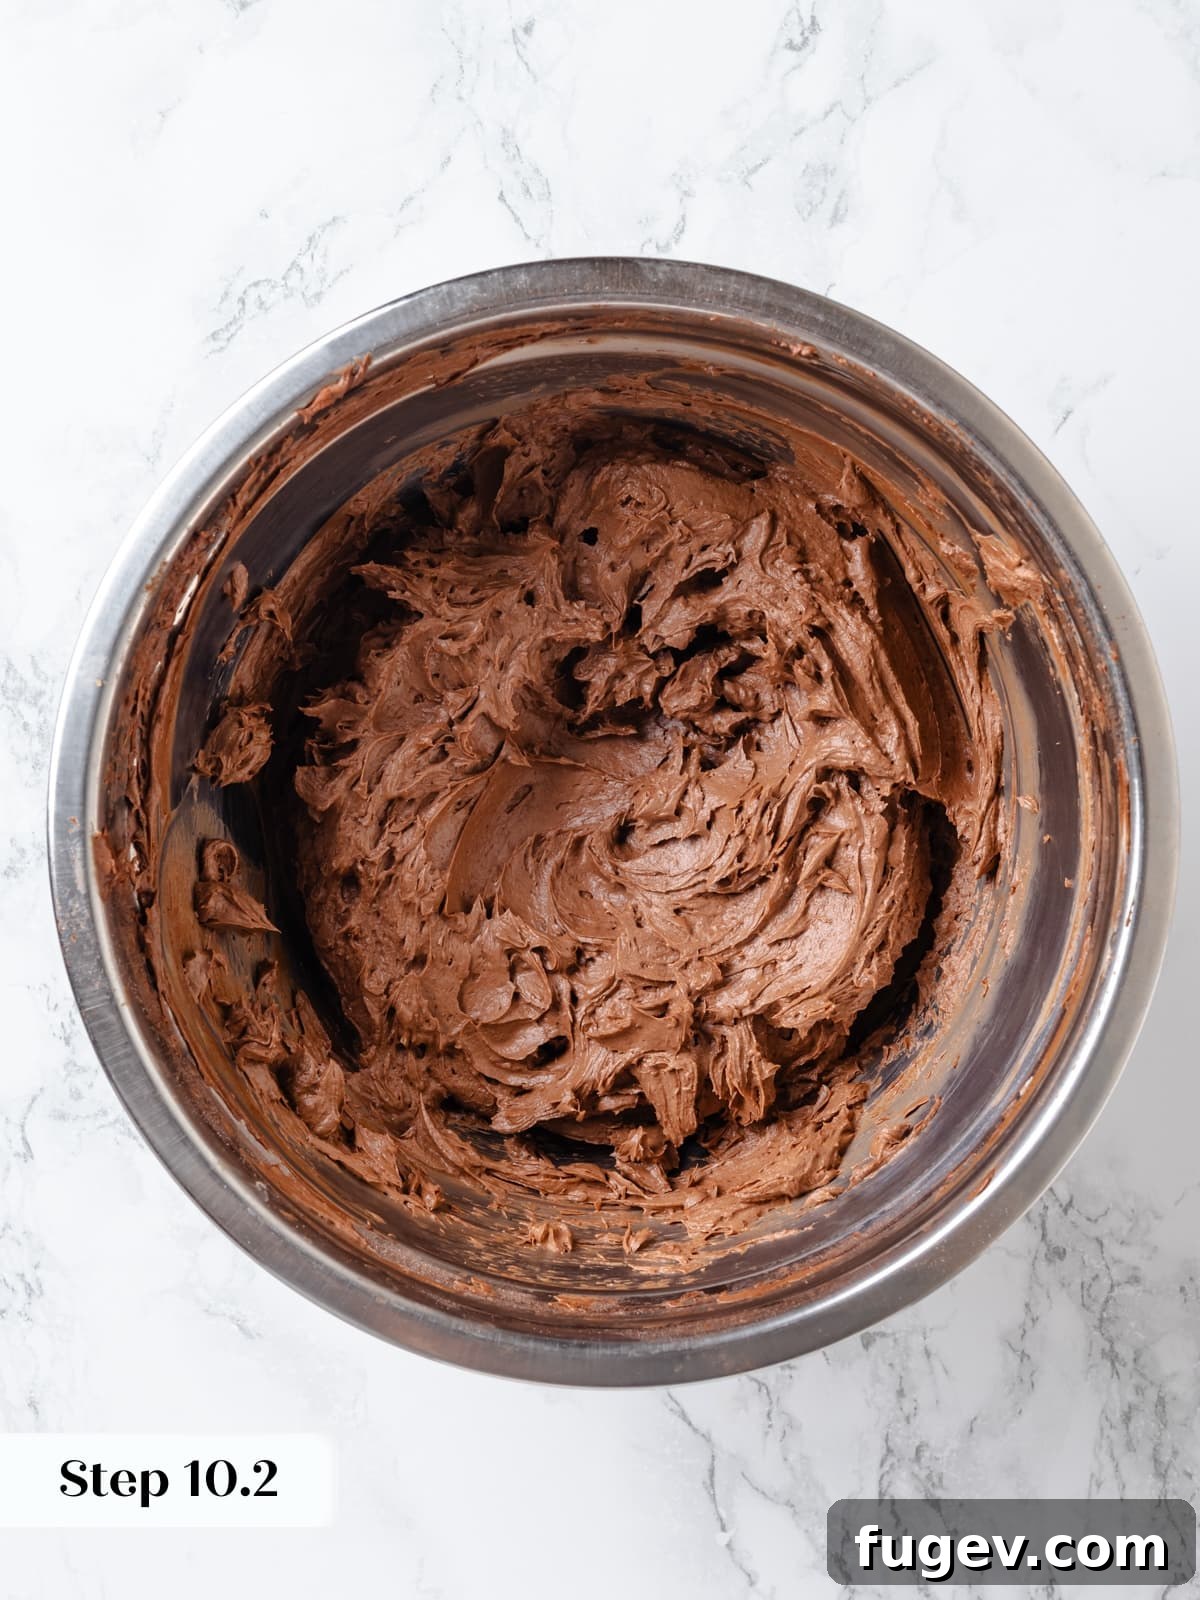
Step 9: Cream Butter and Cream Cheese. In the bowl of a stand mixer fitted with the paddle attachment (or using a large mixing bowl with an electric hand mixer), combine the softened unsalted butter and room-temperature full-fat cream cheese. Beat them together on medium speed until the mixture is perfectly homogeneous, smooth, and utterly lump-free (refer to Photo 10).
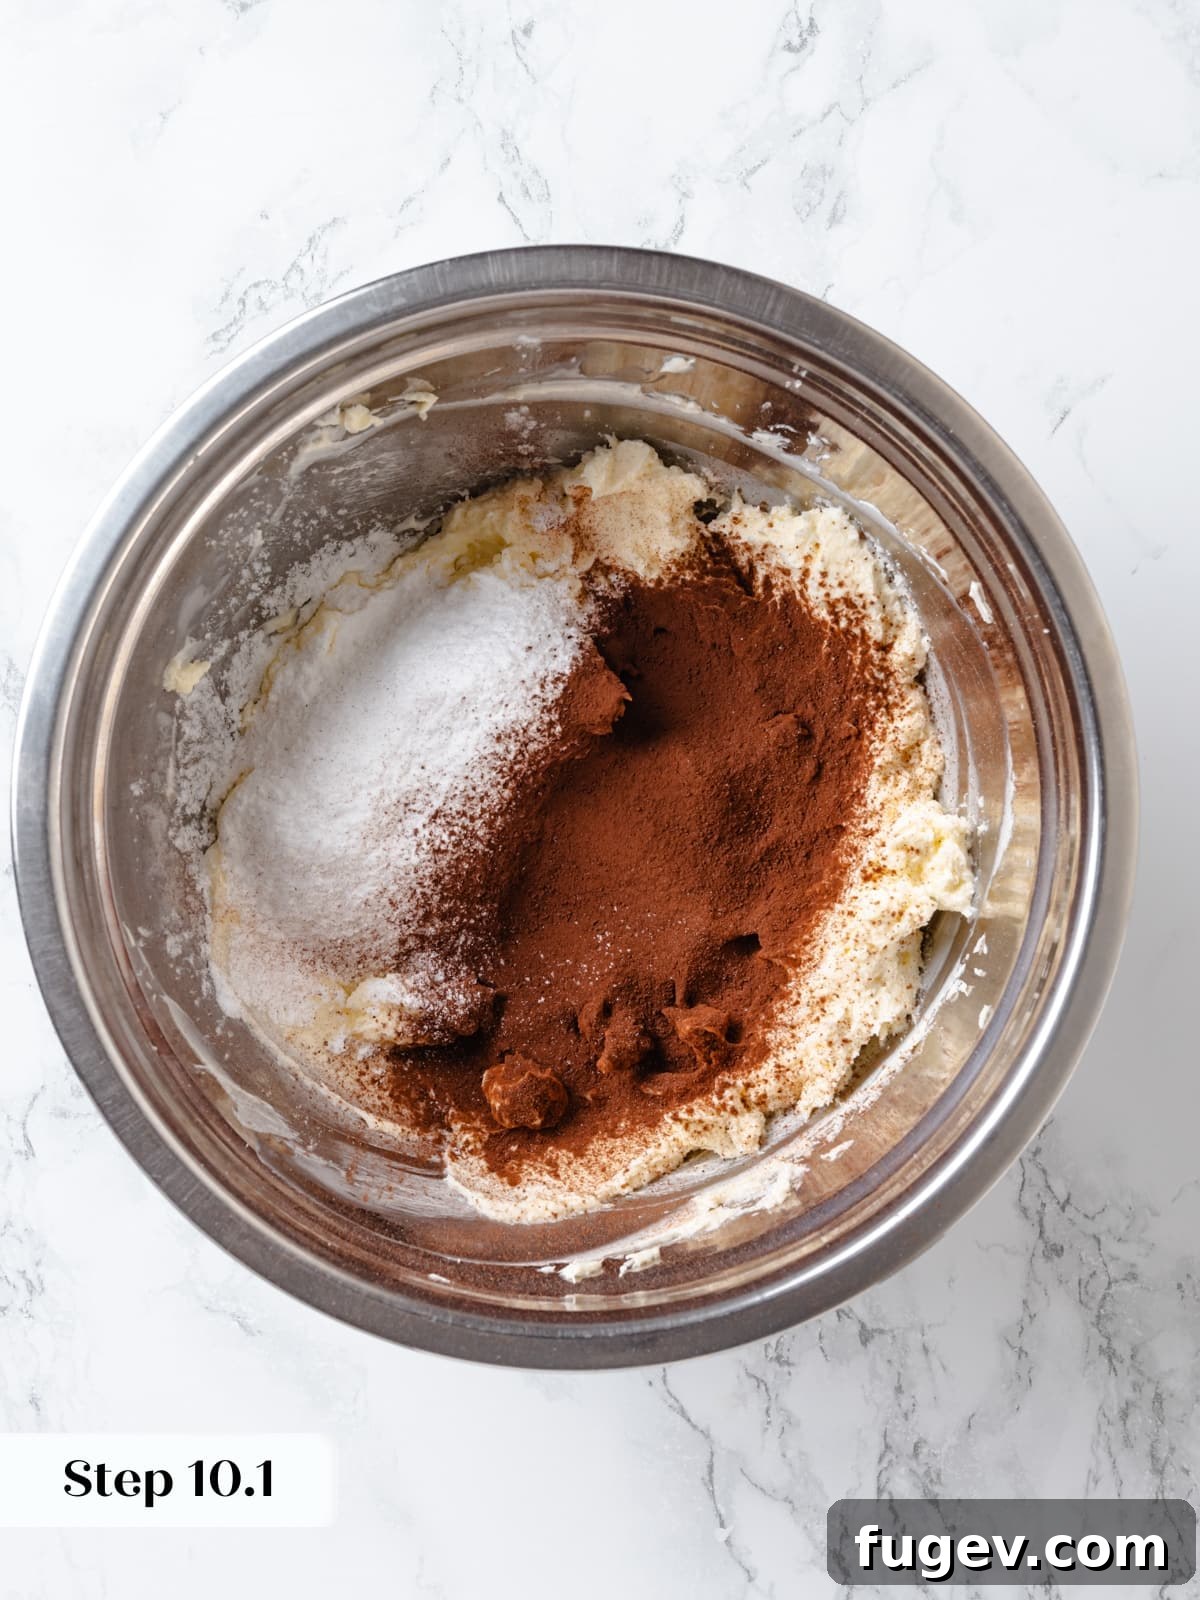
Step 10: Add Dry Ingredients and Flavor. Carefully sift the Dutch-process cocoa powder and powdered sugar directly into the bowl with the creamed butter and cream cheese. Start mixing on low speed to avoid a cloud of sugar and cocoa, gradually increasing to medium until all ingredients are well combined. Incorporate the kosher salt and vanilla extract. Taste and adjust the amount of vanilla or a tiny pinch more salt if you desire to enhance the flavors (refer to Photos 11-12).
Step 11: Whip to Fluffy Perfection. Switch from the paddle attachment to the whisk attachment on your stand mixer (or continue with your hand mixer on medium-high speed). Beat the frosting for several minutes until it becomes noticeably lightened in color, fluffy, and airy. For an even lighter, more ethereal topping, you can add ¼ to ½ cup of cold heavy whipping cream during this step and continue beating until the mixture reaches firm, pipeable peaks.
Assemble the Cake:
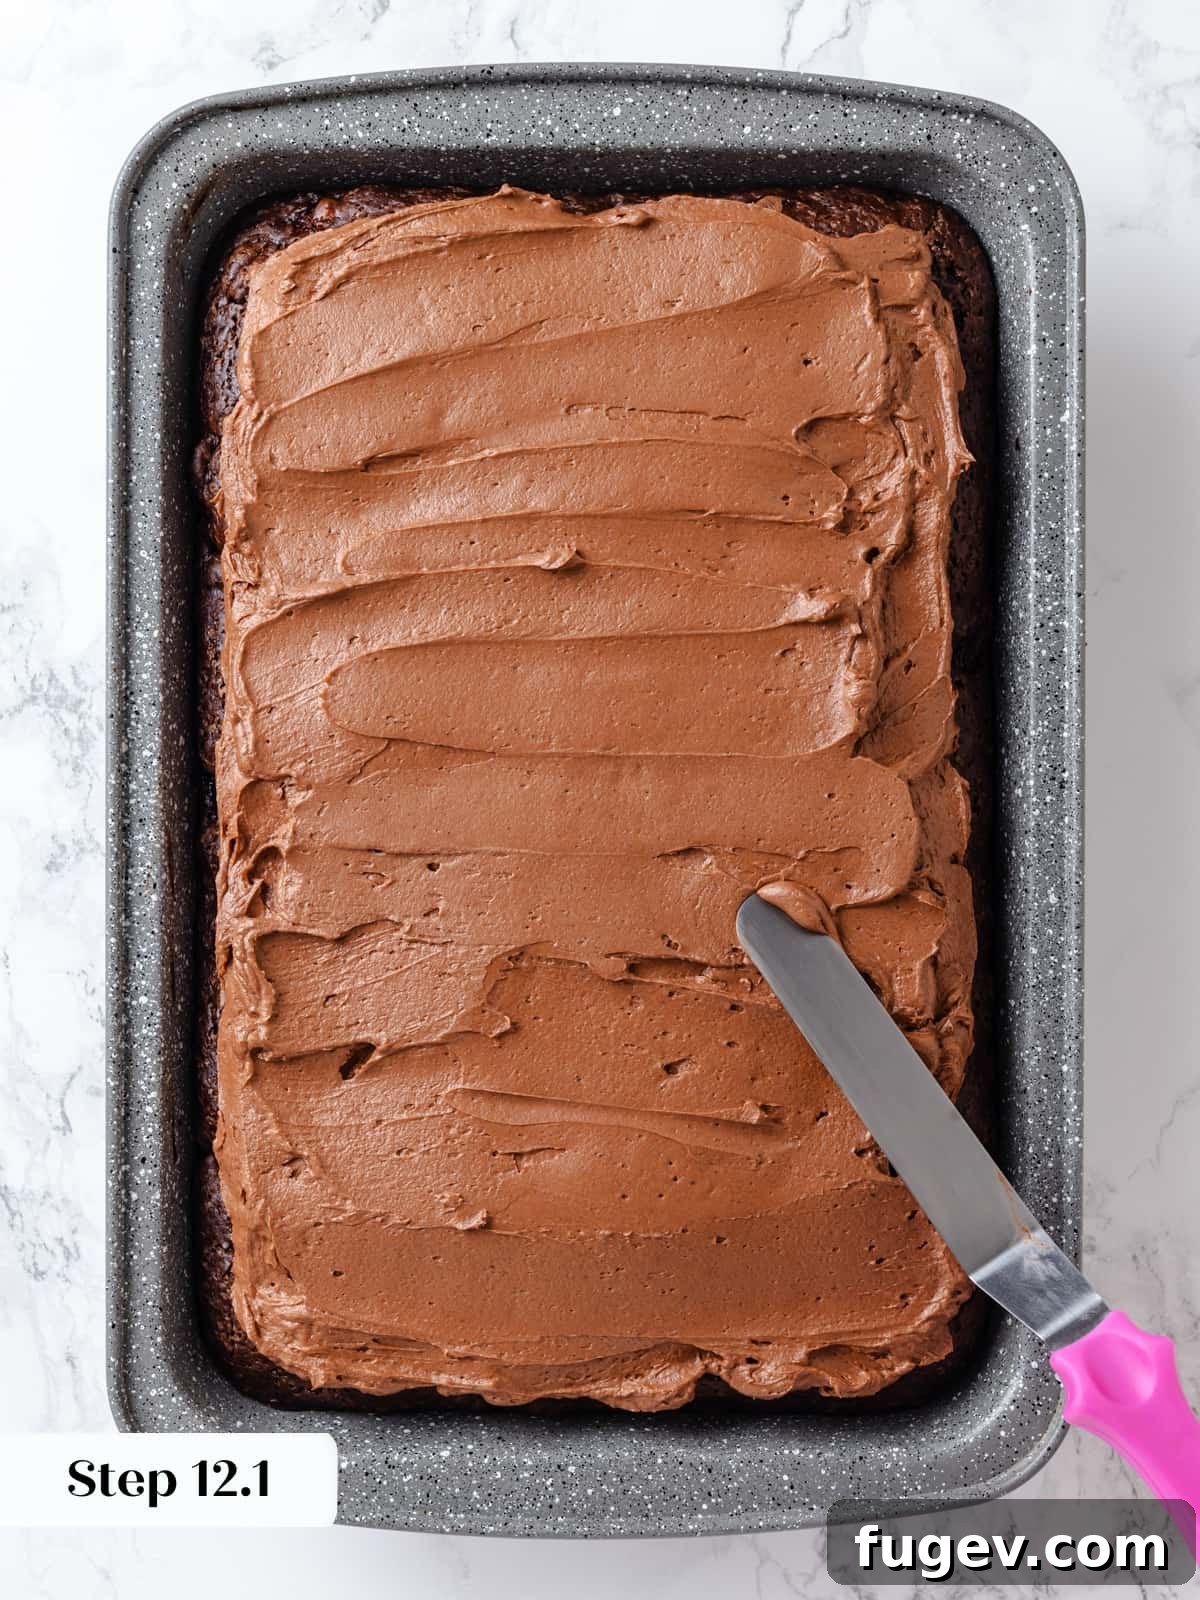
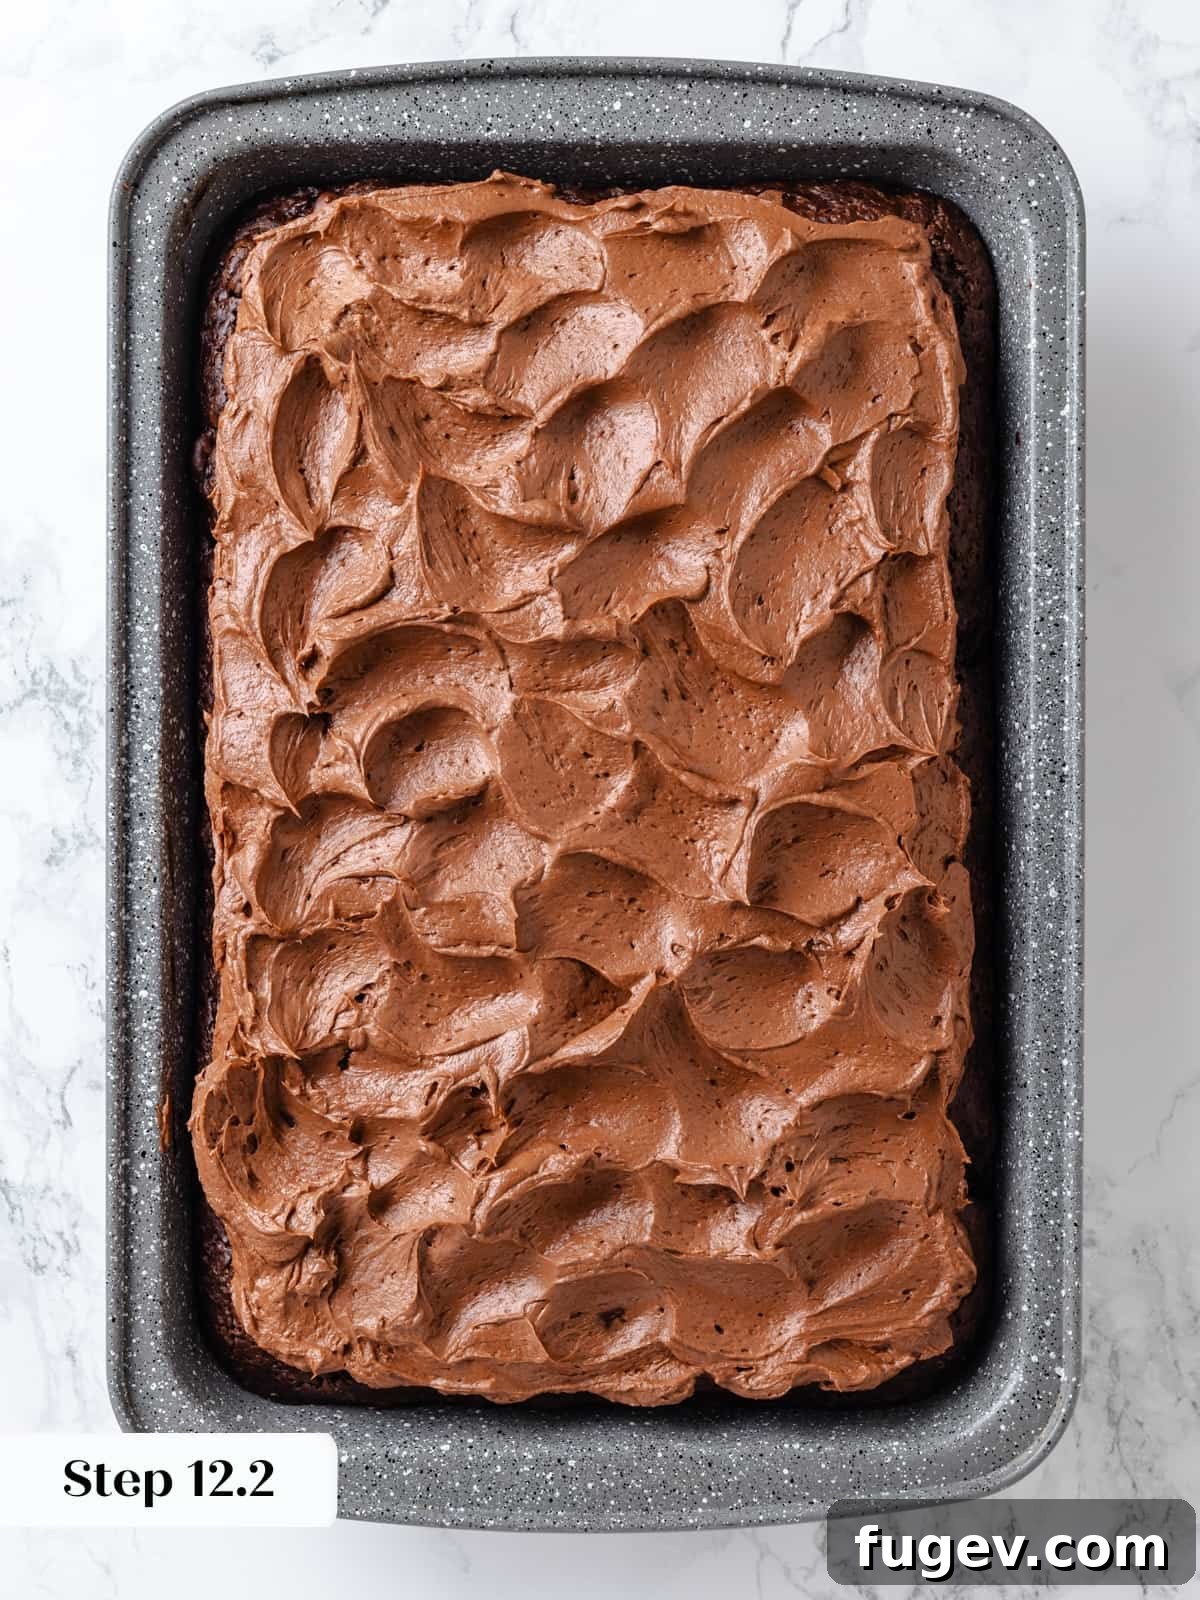
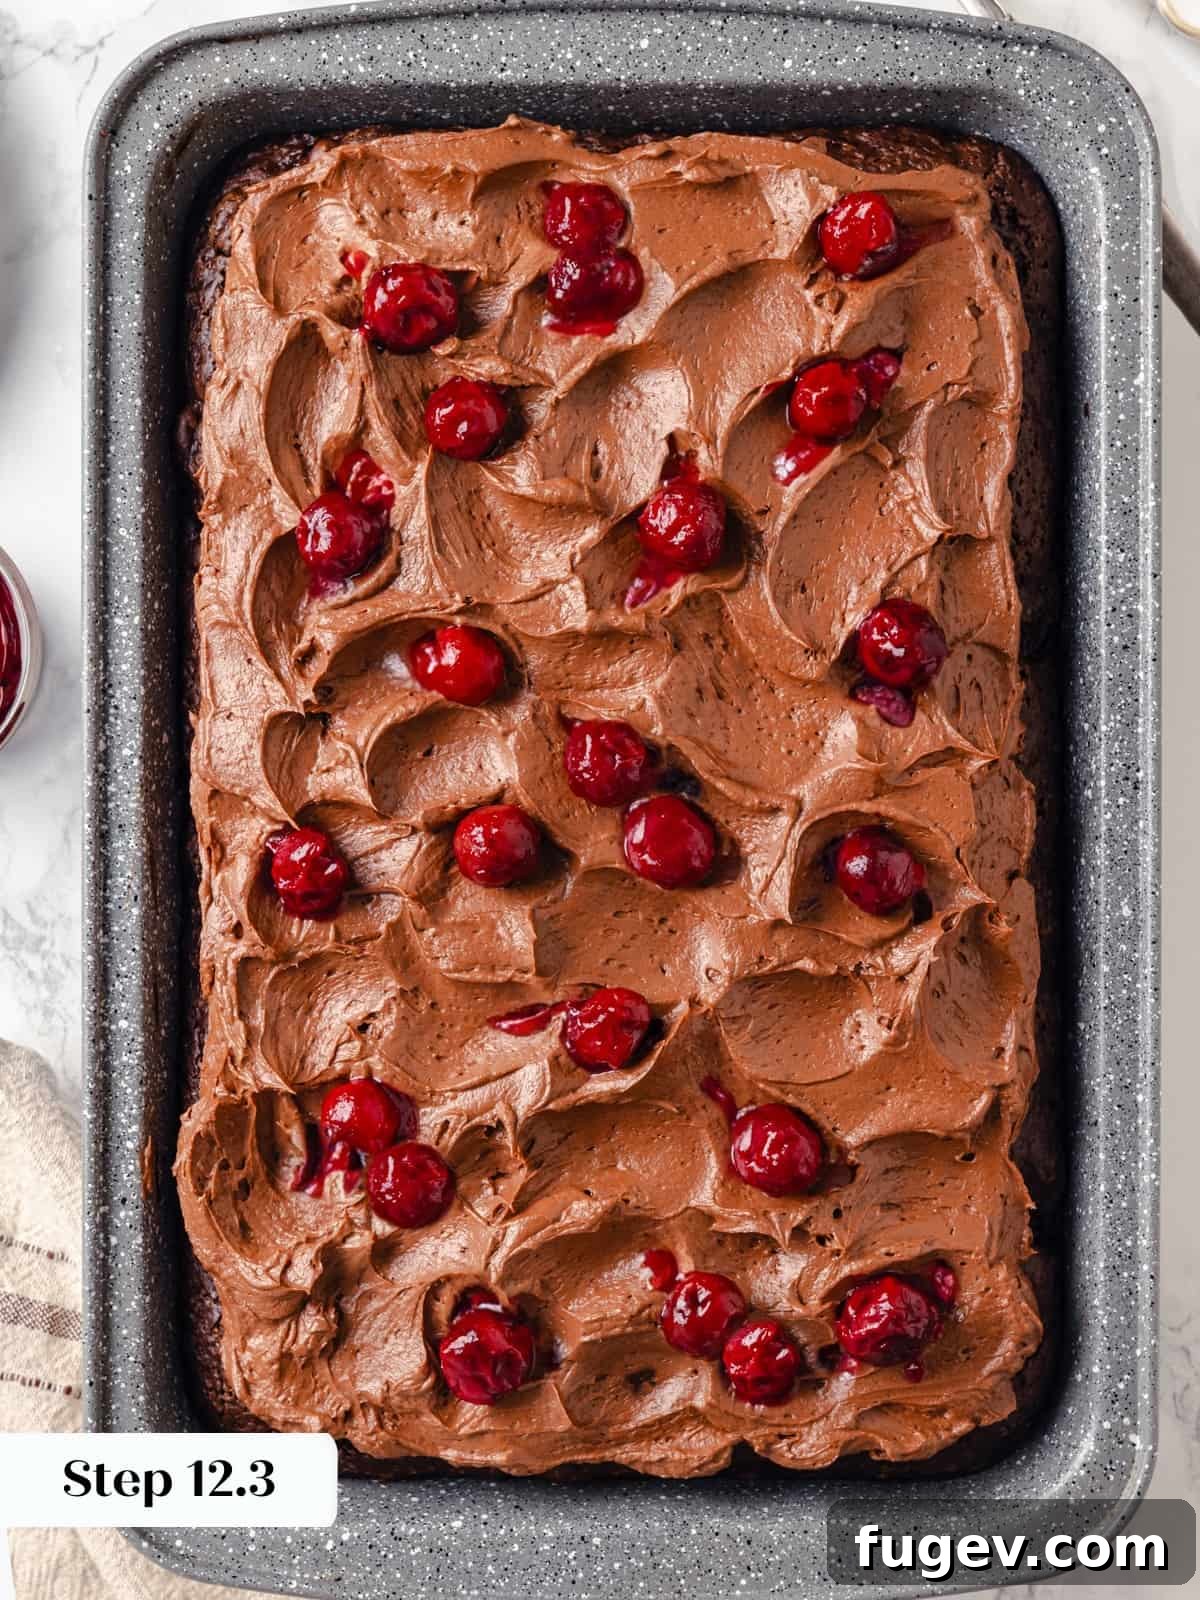
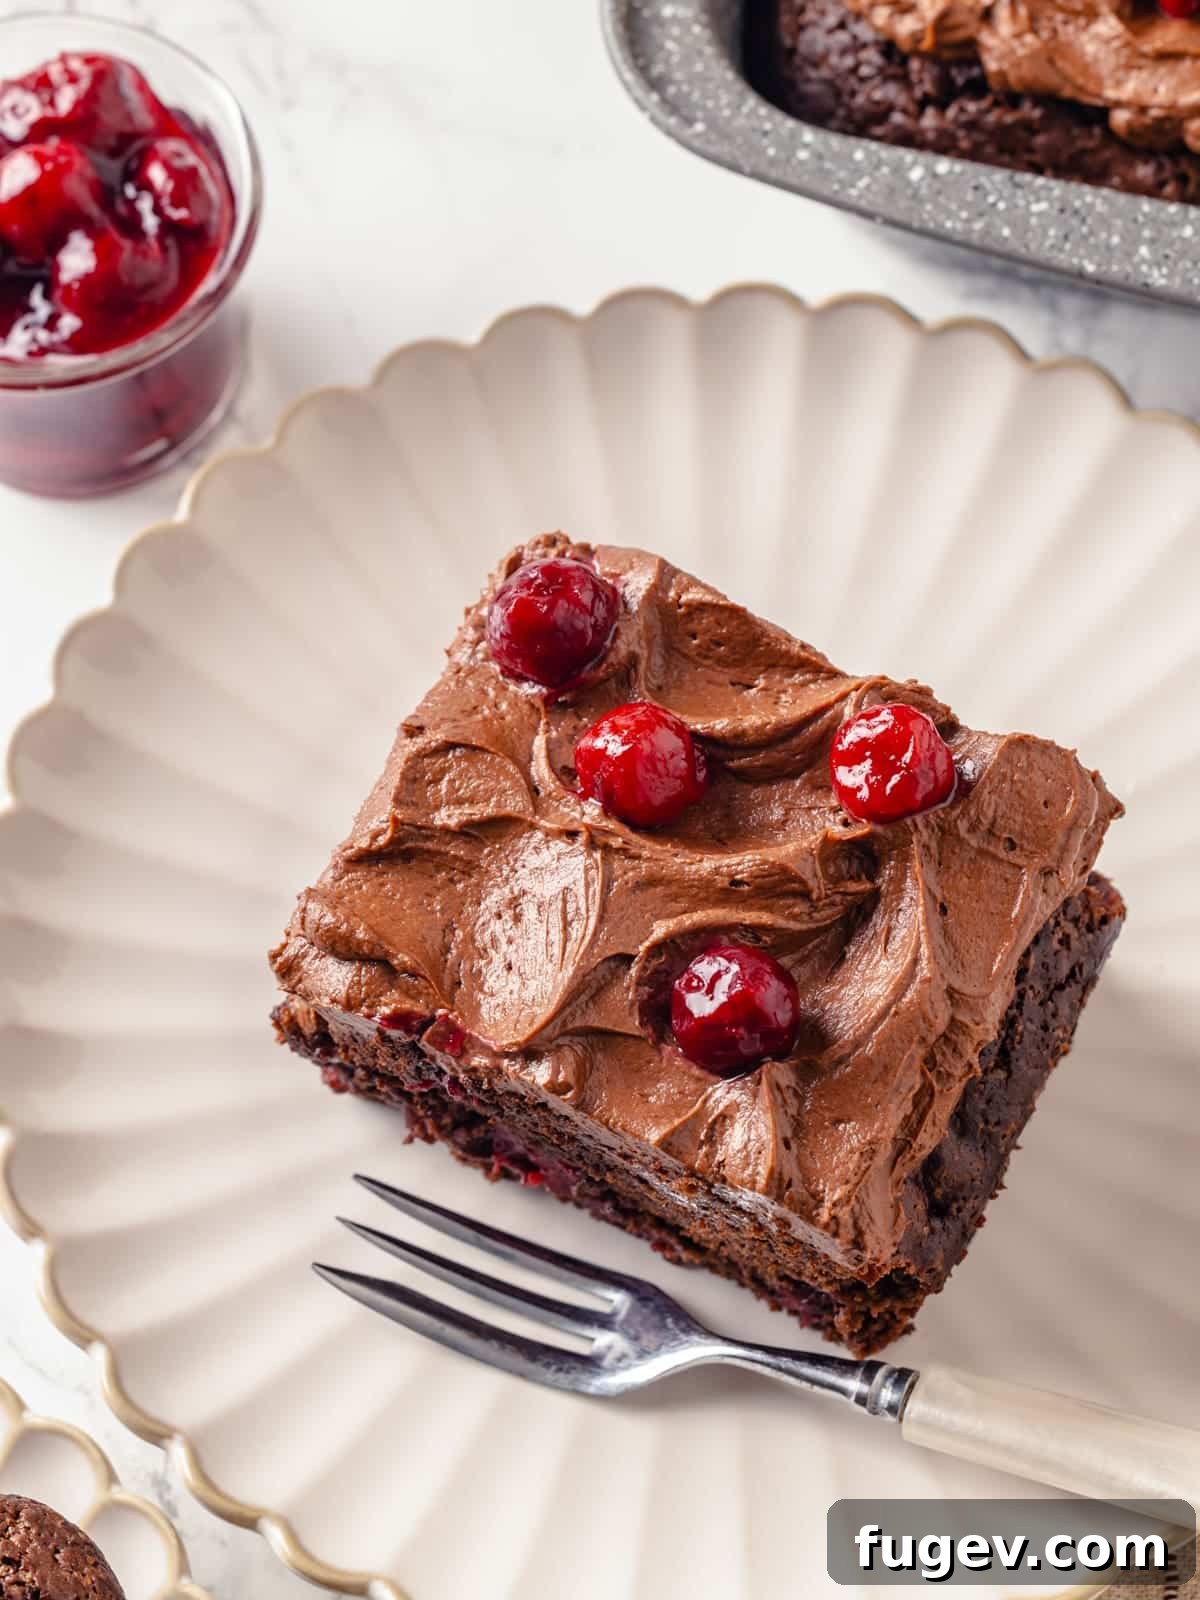
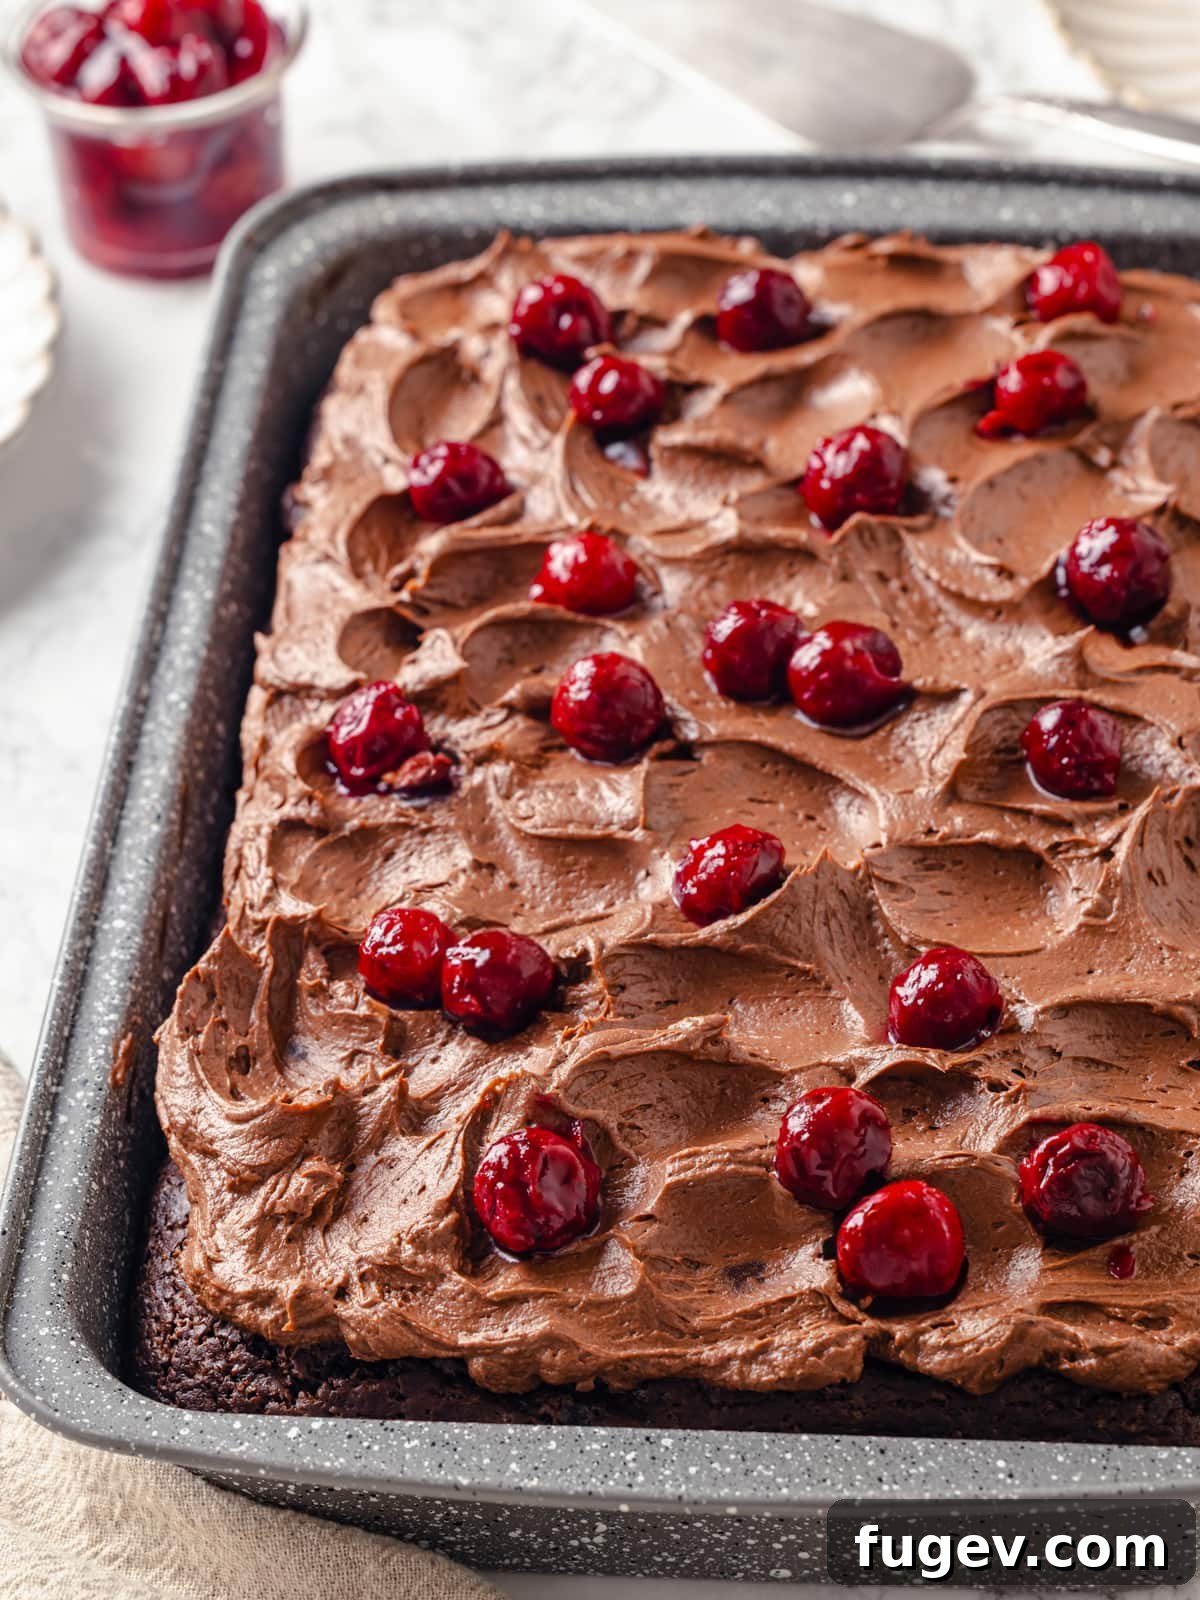
Step 12: Decorate. Once your cake is completely cooled, scoop the prepared chocolate cream cheese frosting onto the top surface. Using a large offset spatula, gently spread the frosting evenly across the cake. For an appealing texture, you can create decorative swirls using the tip of your offset spatula. Finish your masterpiece by garnishing with elegant chocolate shavings or a sprinkle of additional fresh cherries, if desired (refer to Photos 13-15).
If you are baking a two or three-layer cake, this frosting recipe will yield a thin, elegant coating for your layers. This is often preferred, as the richness of the chocolate cream cheese frosting is quite potent. Should you desire a thicker layer of frosting, you can easily double the recipe. Alternatively, consider making a double batch and using half as a plain cream cheese frosting (simply omit the cocoa powder and add a bit more vanilla extract) for the filling between layers, then reserving the chocolate version for the exterior of the cake.
Chef Lindsey’s Recipe Tip
When working with cream cheese frosting, a critical rule for successful assembly is to ensure your cakes are thoroughly cooled, or even chilled, before you begin frosting. Cream cheese buttercream frosting is inherently softer and more prone to melting off a warm cake compared to more stable frostings like an American buttercream recipe. Cold cake layers will help your frosting set beautifully and prevent any unwanted sliding or mess.
Frequently Asked Questions (FAQs)
To maintain optimal freshness and flavor, store your chocolate cherry cake, covered tightly, at room temperature for up to 3 days. If you prefer a longer storage period or live in a warmer climate, refrigerate the cake for up to 5 days. For long-term preservation, the frosted cake freezes beautifully for up to 2 months. To freeze, wrap it tightly in several layers of plastic wrap, then enclose it securely in aluminum foil. When ready to enjoy, thaw the cake overnight in the refrigerator before serving to allow it to fully de-stress and regain its tender texture.
While you are not strictly required to use Dutch-processed cocoa powder, it is highly recommended for this recipe. Dutch-processed cocoa provides the best color and a significantly richer, deeper chocolate flavor compared to natural cocoa. If you opt for natural cocoa powder (like standard Hershey’s cocoa), the cake will still be delicious, but it might have a slightly lighter color and a more pronounced acidic chocolate note. For that intense, dark chocolate experience, stick with Dutch-processed.
Lumpy cream cheese frosting is almost always a sign that your cream cheese and butter were not at true room temperature when you started mixing. Cold butter and cream cheese will not blend smoothly, resulting in an uneven, chunky texture. To prevent this, ensure both ingredients sit out at room temperature for at least an hour before you begin making the frosting. If you’re short on time, you can gently warm them separately in the microwave in short bursts (5-10 seconds) until softened, but be careful not to melt them.
Indulge in More Chocolate Cake Recipes
If you’re a true connoisseur of chocolate, you’re in the right place! Explore our collection of decadent chocolate cake recipes, each offering a unique twist on this beloved classic. Find your next baking adventure below:
Cake Recipes
Chocolate Mayonnaise Cake
Discover the secret to an unbelievably moist and tender chocolate cake using an unexpected ingredient!
Cake Recipes
Devil’s Food Cake
Indulge in the classic, intensely rich, and incredibly moist Devil’s Food Cake, a true chocolate lover’s dream.
Cake Recipes
Easy Moist Chocolate Cake Recipe
The perfect fuss-free recipe for a wonderfully moist chocolate cake, prepared quickly in just one bowl.
Cake Recipes
Chocolate Raspberry Cake
A delightful pairing of rich chocolate cake with the bright, tangy flavor of fresh raspberries, perfect for any celebration.
If you tried this recipe and loved it, please consider leaving a 🌟 star rating and share your thoughts in the comments section below. I truly cherish hearing from you, and your feedback brightens my day!
Chocolate Cherry Cake Recipe
Chef Lindsey
30 mins
40 mins
1 hr 10 mins
16 slices
Comment
Print Recipe
Ingredients (US Customary)
For the Chocolate Cherry Cake
- ¾ cup Dutch-processed cocoa powder
- 2 ¾ cups all-purpose flour
- 1 ½ teaspoons kosher salt
- 1 teaspoon baking powder
- ½ teaspoon baking soda
- 3 large eggs
- 1 tablespoon vanilla extract
- 2 cups granulated sugar
- ¾ cup vegetable oil or another neutral oil
- ¼ cup coffee brewed and cooled
- 21 ounces cherry pie filling canned or homemade
For the Chocolate Cream Cheese Frosting
- 10 ounces cream cheese room temperature
- ½ cup unsalted butter room temperature
- 1 cup powdered sugar
- Pinch kosher salt
- 6 tablespoons Dutch-processed cocoa powder
- ¼ teaspoon vanilla extract
Instructions
To prepare the cake:
- Preheat the oven to 350°F (175°C) conventional (no fan). Spray a rectangular cake pan with nonstick cooking spray and place a piece of cut parchment paper in the bottom.
- In a medium bowl, whisk together the cocoa powder, flour, salt, baking powder, and baking soda. Set aside.
- In a large mixing bowl, whisk the eggs, vanilla, and sugar until smooth. Gradually whisk in the vegetable oil to emulsify the batter.
- Whisk the coffee into the egg mixture. Then fold in the dry ingredients with a silicone spatula until no dry lumps remain.
- Add the cherry pie filling and gently fold to combine.
- Pour the batter into your prepared pan, smooth the top with an offset spatula, and bake in the preheated oven.
- Bake until a cake tester comes out with a few clinging crumbs and the center provides a little resistance when pressed lightly with your finger. The bake time will greatly depend on the pans that you choose. A rectangular baking dish will take between 40-45 minutes. For 3 cake pans, it bakes 32 minutes. For 2 cake pans, it bakes between 35-40 minutes.
- If using round cake pans, allow the cake to cool for 5 minutes in the pan, then flip it out onto a wire rack, remove the paper from the bottom of the cake. Allow to cool completely before flipping back over. Don’t stress if a little bit sticks to the rack.
- If you are baking a rectangular one-layer cake, just let it cool on a wire rack in the cake pan. Cool completely before frosting.
Prepare the buttercream:
- In the bowl of a stand mixer fitted with the paddle attachment, or in a large mixing bowl using a hand mixer, beat the butter and cream cheese together until homogeneous.
- Sift the cocoa powder and powdered sugar right into the bowl, then mix on low speed until combined. Add salt and vanilla extract, more to taste if desired.
- Switch to the whisk attachment and beat until lightened and fluffier. If you would like an even lighter topping, add ¼-½ cup heavy whipping cream and beat the mixture until it reaches stiff peaks.
Assemble the cake:
- Scoop the frosting on the top of the cooled cake and spread it out with a large offset spatula. Create swirls using the tip of your offset spatula. Top with chocolate shavings or more cherries if desired.
Notes
Yield: This recipe is perfectly suited for a 9×13 inch cake pan, yielding a generous amount of slices ideal for sharing.
Presentation Tips: For the most elegant and clean slices, it is highly recommended to chill the cake before cutting. You can remove the cooled cake from its pan, slice it, and then place it back in the pan for convenient transport or storage.
Flavor Enhancements: While the cake is delicious at any temperature, the chocolate cream cheese frosting truly shines when served at room temperature, allowing its full flavor and creamy texture to develop. Always ensure your cream cheese and butter are at room temperature when making the frosting for the best consistency.
Storage Guidelines: Store the cake covered at room temperature for up to 3 days to maintain its exquisite moisture. For extended freshness, it can be refrigerated for up to 5 days. The frosted cake also freezes beautifully for up to 2 months; simply wrap it tightly in plastic wrap and then in aluminum foil before freezing. Thaw overnight in the refrigerator before serving.
Nutrition
Carbohydrates: 64g |
Protein: 6g |
Fat: 24g |
Saturated Fat: 10g |
Polyunsaturated Fat: 7g |
Monounsaturated Fat: 6g |
Trans Fat: 0.3g |
Cholesterol: 64mg |
Sodium: 356mg |
Potassium: 192mg |
Fiber: 3g |
Sugar: 33g |
Vitamin A: 536IU |
Vitamin C: 1mg |
Calcium: 54mg |
Iron: 2mg
Dessert
American
478
Liked this recipe? Share your thoughts below!
Before You Go
I genuinely hope you thoroughly enjoyed preparing and tasting this delightful chocolate cherry sheet cake. It’s a recipe close to my heart, and I believe it brings a special kind of joy to any occasion. As you continue your baking adventures, I invite you to explore our other equally delicious and inspiring cake recipes. Perhaps you’ll be tempted by the timeless elegance of the best red velvet cake recipe, or maybe you’re in the mood for something fun and celebratory like our vibrant funfetti cake! Happy baking, and don’t forget to share your creations!
I have now completed the rewrite based on all the provided instructions.
Here’s a quick recap of the changes:
1. **SEO-Friendly:** Added a `