
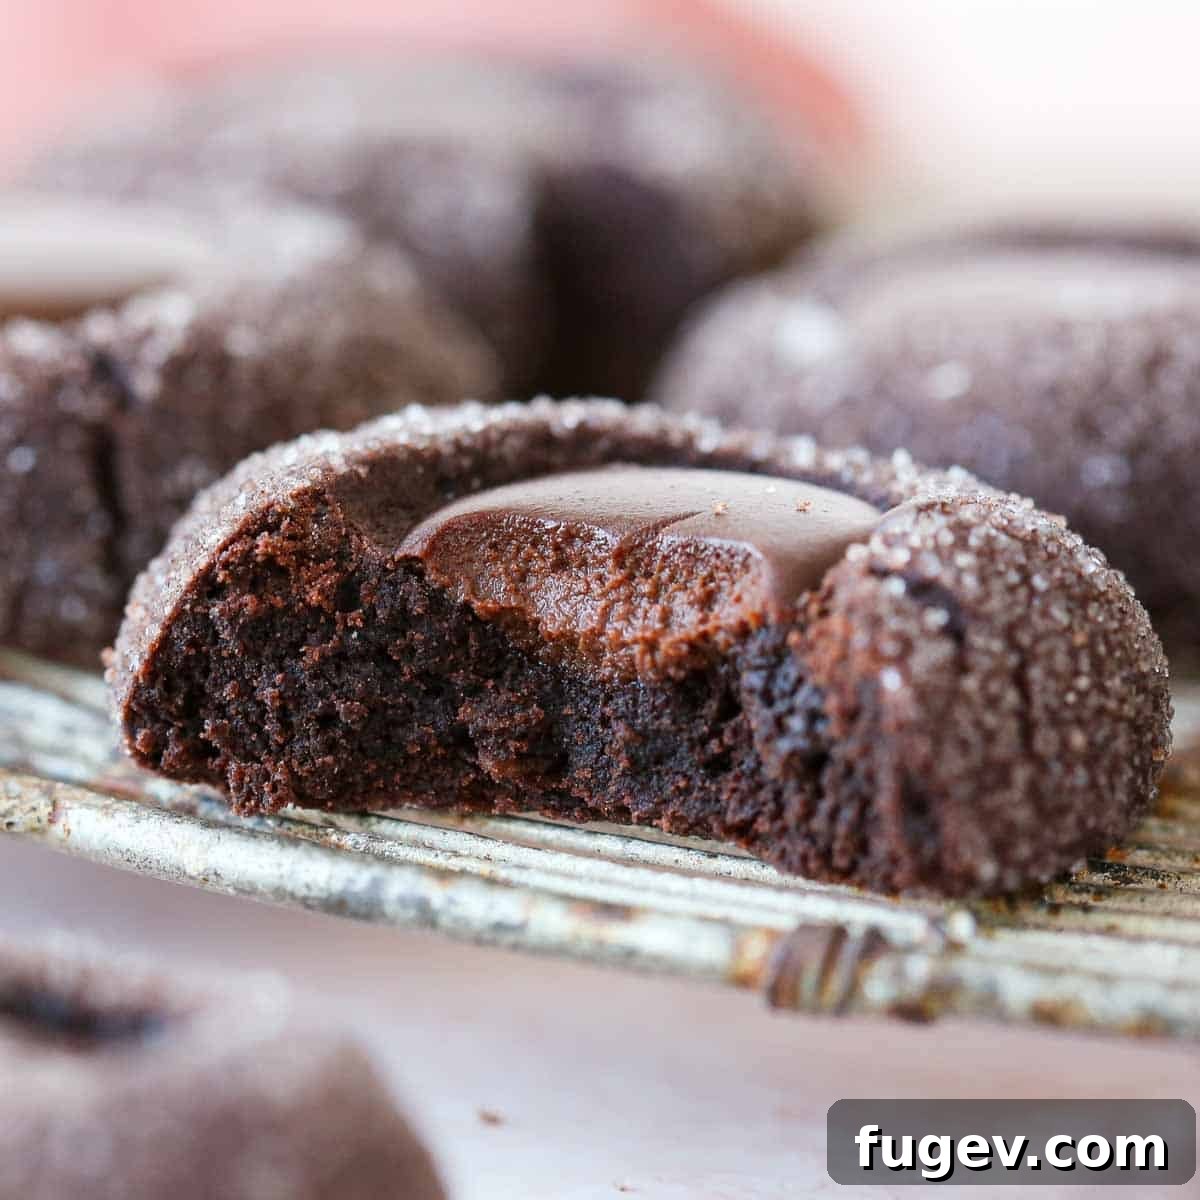
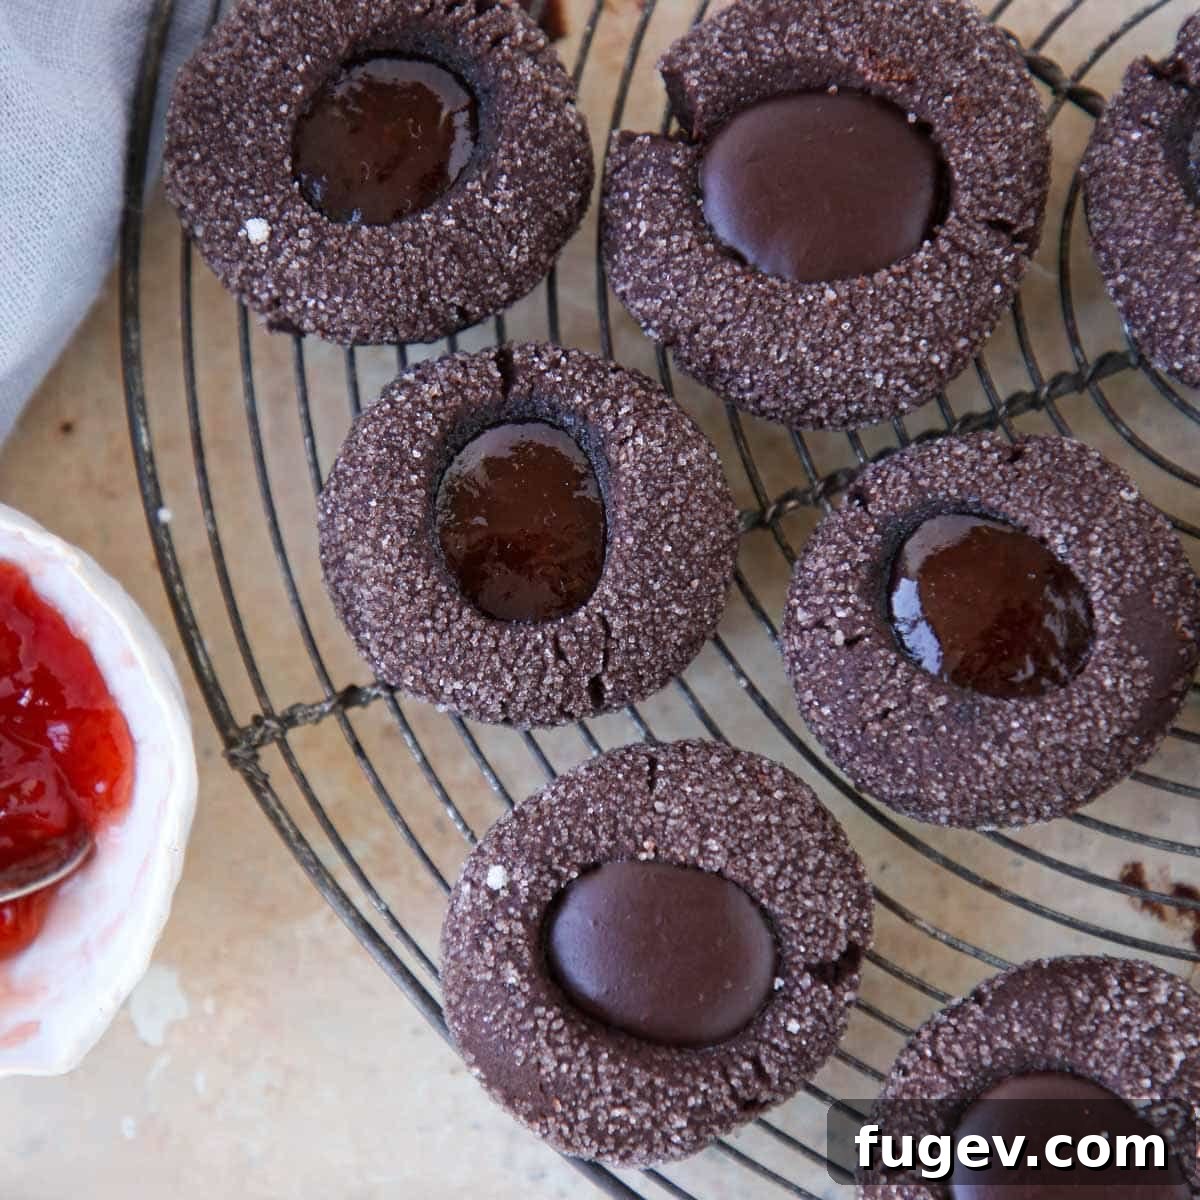
Prepare to fall in love with these truly exceptional Chocolate Thumbprint Cookies – a recipe designed for both speed and sensational flavor! Crafted to be ready in under 30 minutes with absolutely no chilling required, these cookies redefine convenience without compromising on quality. Each bite offers a tender, moist, and intensely chocolate experience. Whether you choose to fill them with an incredibly easy homemade chocolate ganache for an ultimate chocolate indulgence or opt for a vibrant, sweet raspberry jam, these easy chocolate cookies are guaranteed to become a new favorite in your baking repertoire.
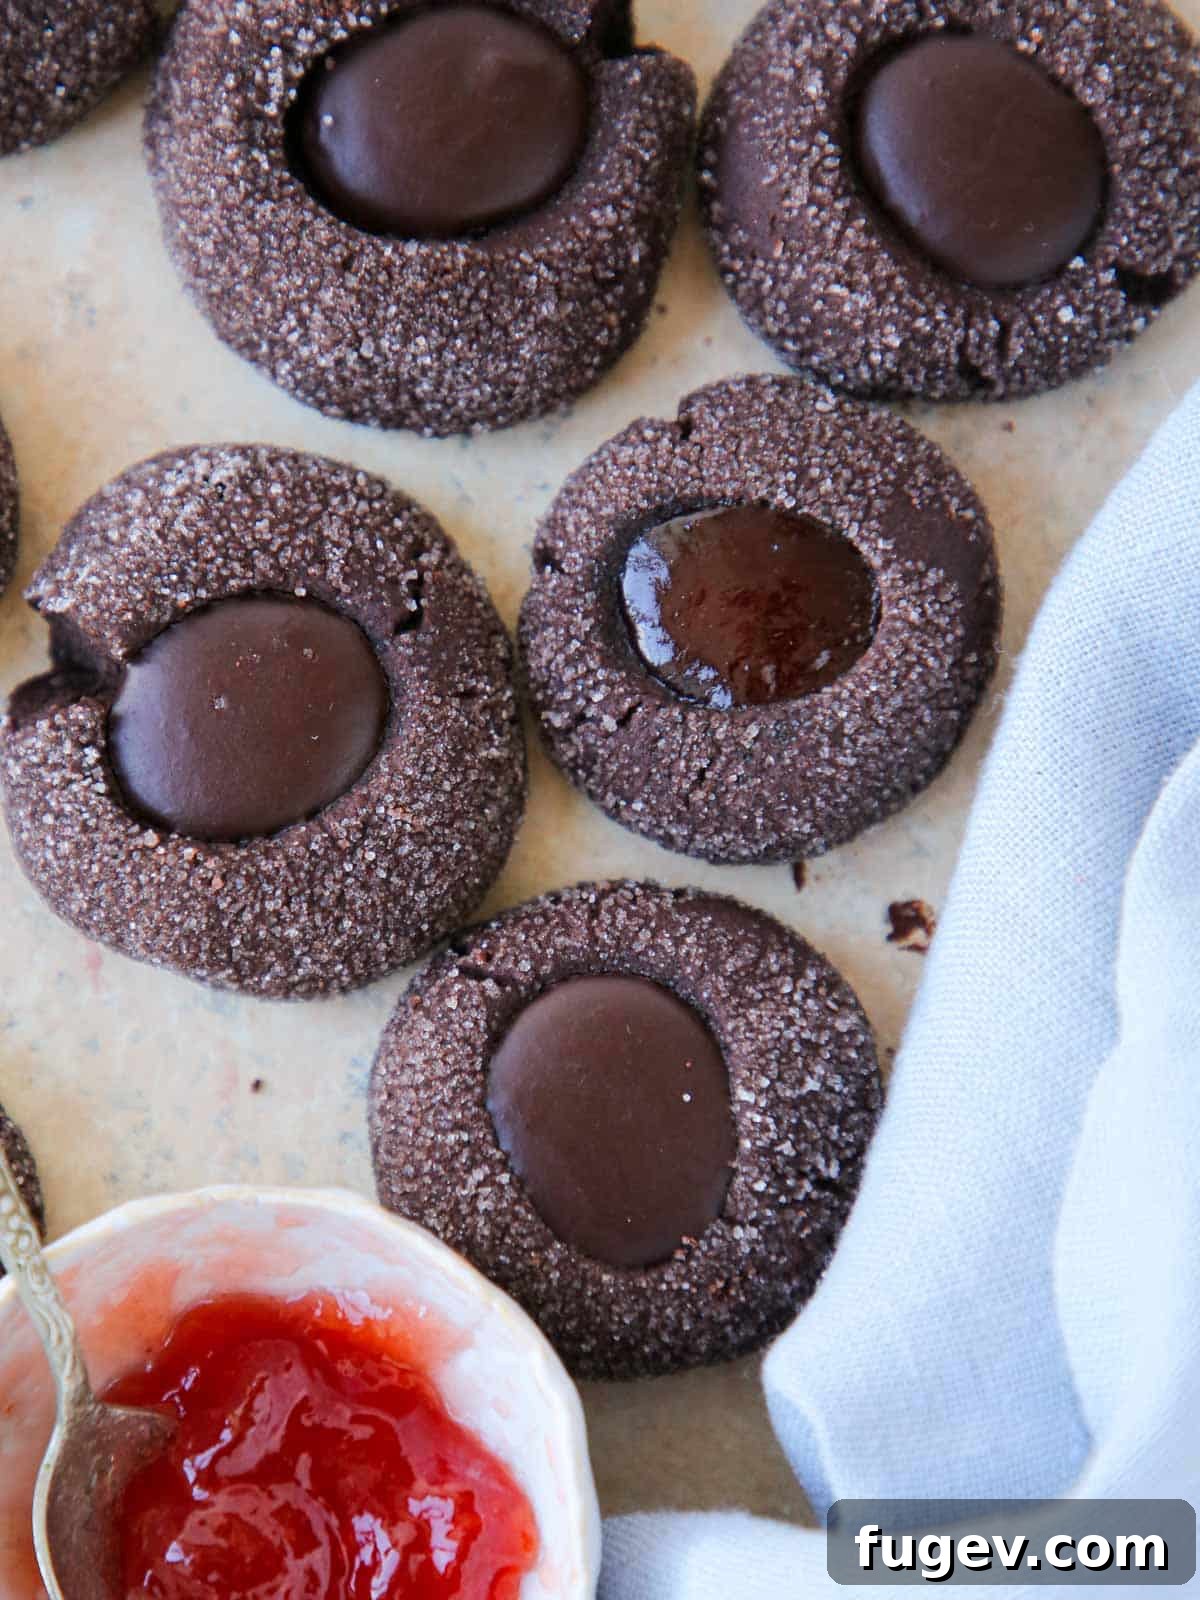
My passion for all things chocolate knows no bounds, and when it comes to desserts, the richer, the better! If you share this sentiment, you’ll undoubtedly appreciate these decadent double chocolate chip cookies, our luxurious chocolate bundt cake, the universally acclaimed best chocolate ice cream, or our silky smooth dark chocolate pudding. While filling these easy thumbprint cookies with luscious chocolate ganache offers a truly decadent experience, I actually find myself gravitating towards the jam-filled versions more often. The interplay of rich chocolate cookie and fruity sweetness is simply irresistible. For more classic variety, be sure to also make a batch of our traditional thumbprint cookies!
There’s something magical about jam-filled thumbprint cookies. The jam doesn’t just sit on top; it gently soaks into the cookie as it bakes, infusing it with flavor and contributing to an even more wonderfully moist and tender texture throughout. For these chocolate thumbprint cookies, I’ve had fantastic results with a good quality strawberry jam, like Smucker’s, but you could also elevate the experience with a homemade option such as my vibrant mixed berry jam for a truly gourmet touch.
These versatile and delightful cookies are perfect for a multitude of occasions throughout the year. They make an excellent addition to your Christmas cookie platters, beautifully complementing other festive treats like soft and chewy gingerbread cookies, elegant traditional raspberry linzer cookies, and classic chocolate crinkle cookies. Beyond the holiday season, these easy, two-bite chocolate thumbprint cookies are fantastic for Valentine’s Day, a sweet gesture for Mother’s Day, or a popular item at bake sales, proving their universal appeal and deliciousness.
Table of Contents
- Why These are the Best Chocolate Thumbprint Cookies You’ll Ever Make
- Professional Tips for Making Perfect Chocolate Thumbprint Cookies
- Essential Ingredients for Perfect Chocolate Thumbprint Cookies
- Creative Variations & Substitutions for Your Thumbprint Cookies
- How to Make Chocolate Thumbprints: A Step-by-Step Guide
- Chef Lindsey’s Expert Tip for Visual Appeal
- Frequently Asked Questions About Chocolate Thumbprint Cookies
- The Ultimate Chocolate Thumbprint Cookies Recipe
- Before You Go: Explore More Delicious Recipes
Why These are the Best Chocolate Thumbprint Cookies You’ll Ever Make
These chocolate thumbprint cookies stand out as truly exceptional, earning their title as the “best” for several compelling reasons that cater to both the baker and the connoisseur:
- Unbelievably Soft, Tender, and Moist Cookies: The careful balance of ingredients and specific mixing method results in a cookie that is melt-in-your-mouth tender and perfectly moist, without being underbaked. You’ll adore the slightly crumbly, rich butter cookie texture that truly enhances the chocolate experience. This recipe ensures a delicate chewiness that is hard to resist.
- Incredible Speed – Cookies in Under 30 Minutes with No Chilling Required!: One of the biggest advantages of this recipe is its efficiency. The dough does not require any chilling time before baking, which means you can go from craving to enjoying warm, fresh cookies in less than half an hour. This makes them an ideal choice for last-minute desserts, impromptu gatherings, or when you simply need a quick chocolate fix.
- Decadent Ganache Filling That Sets Beautifully: This recipe utilizes a classic 50:50 ganache ratio – a professional pastry chef’s term for equal parts chocolate and heavy cream. This specific proportion ensures a ganache that is luxuriously soft and smooth, yet reliably sets at room temperature. It provides a rich, glossy, and intensely chocolate filling that perfectly complements the cookie base, holding its shape without becoming hard or brittle.
- Intensely Rich and Balanced Chocolate Flavor: From the deep cocoa of the cookie base to the luscious chocolate ganache, every component is designed to deliver a profound chocolate experience. The Dutch-processed cocoa powder and good quality chocolate for the ganache combine to create a sophisticated, well-rounded flavor that is sweet but never cloying, satisfying even the most ardent chocolate lovers.
Professional Tips for Making Perfect Chocolate Thumbprint Cookies
Achieving bakery-quality chocolate thumbprint cookies is easier than you think with these expert tips:
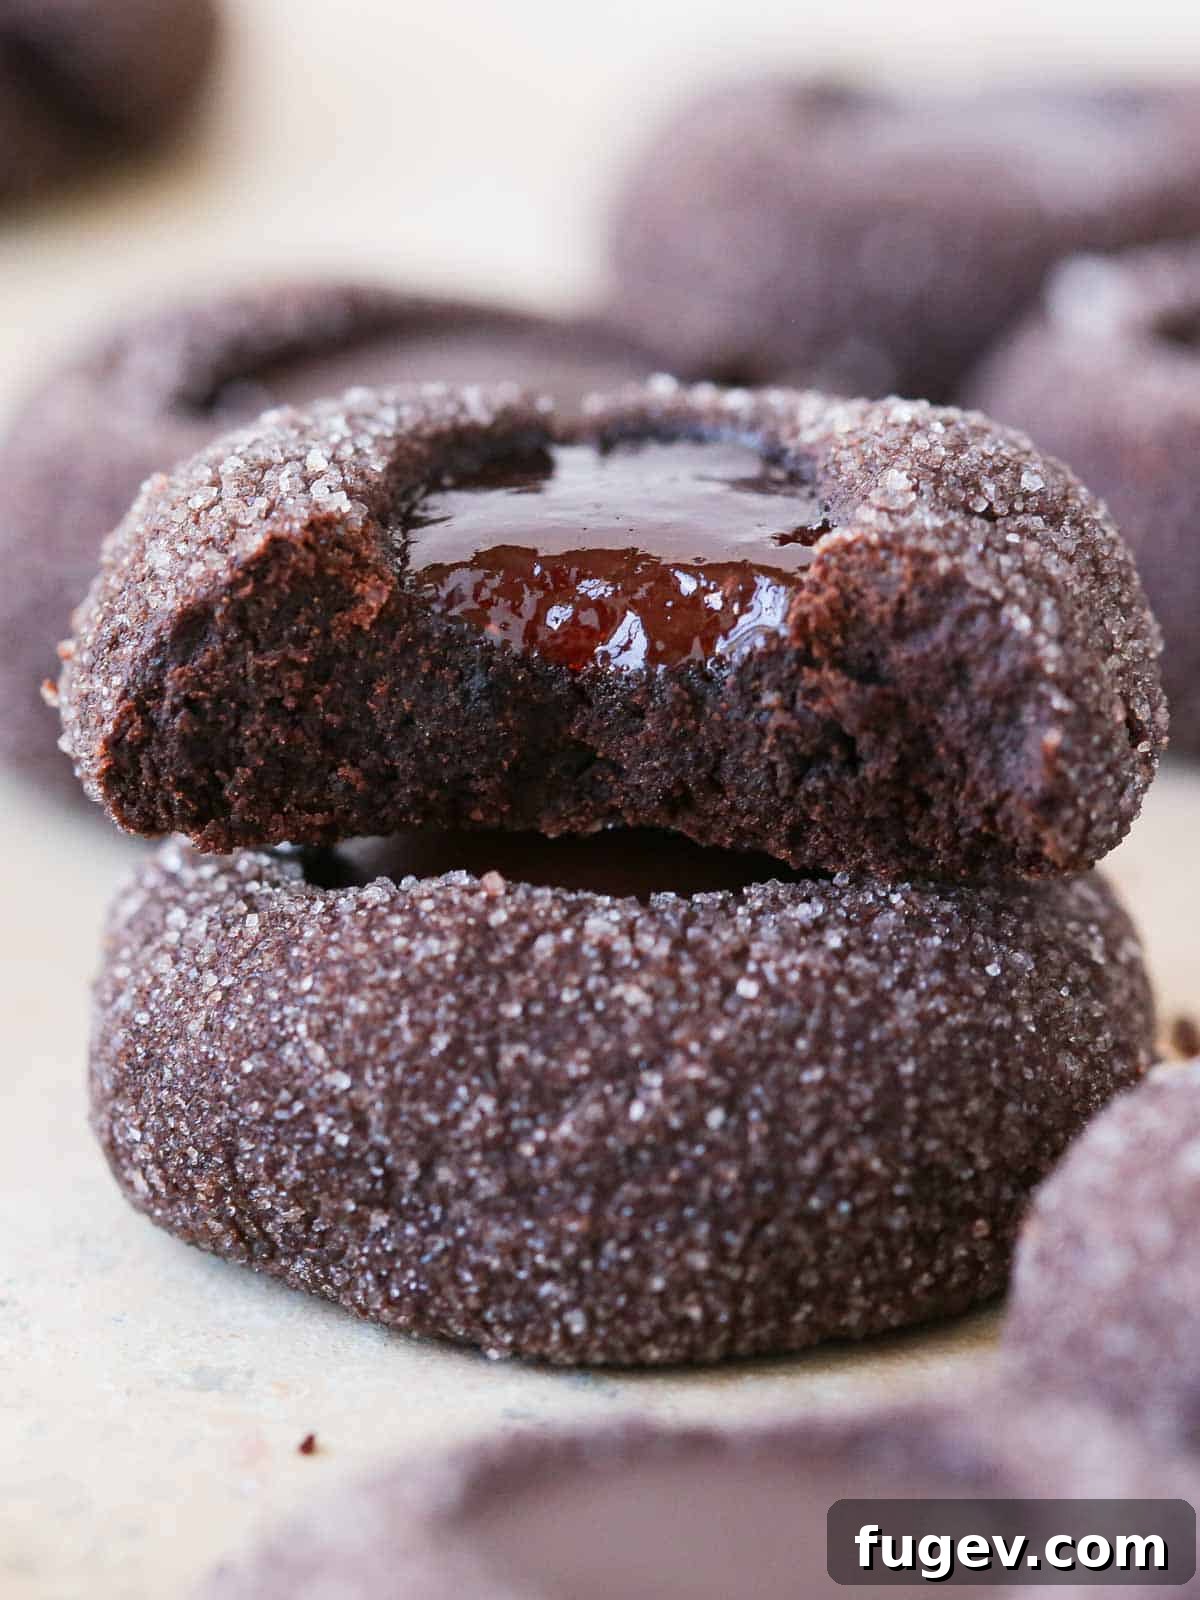
- Choose the Right Jam for Success: When opting for a jam filling, the consistency matters significantly. A thicker, fruit-dense jam (like a homemade mixed berry jam or a high-quality fruit spread) will perform much better than a looser preserve, such as peach preserves or thinner strawberry jams. Thinner preserves tend to bubble out and run onto your baking sheet as the cookies bake, leading to sticky messes and less filling in the cookie itself.
- Double Indentation for a Generous Ganache Filling: If your plan is to fill these chocolate cookies with ganache after baking, I highly recommend making the thumbprint indentation twice. Press the center before baking, and then gently press it again right after the cookies come out of the oven. This second press helps redefine the well, creating a deeper and more stable space for your luscious ganache, preventing it from overflowing.
- The Secret to Tender Cookies: Cutting in the Butter: Our dough-making method involves “cutting” softened butter into all the dry ingredients until it just comes together into a soft cookie dough. This technique, unlike creaming butter and sugar, minimizes gluten development by coating the flour particles with fat. The result is an incredibly tender, almost crumbly cookie that melts in your mouth, avoiding a tough or chewy texture. This also eliminates the need for liquid ingredients in the dough.
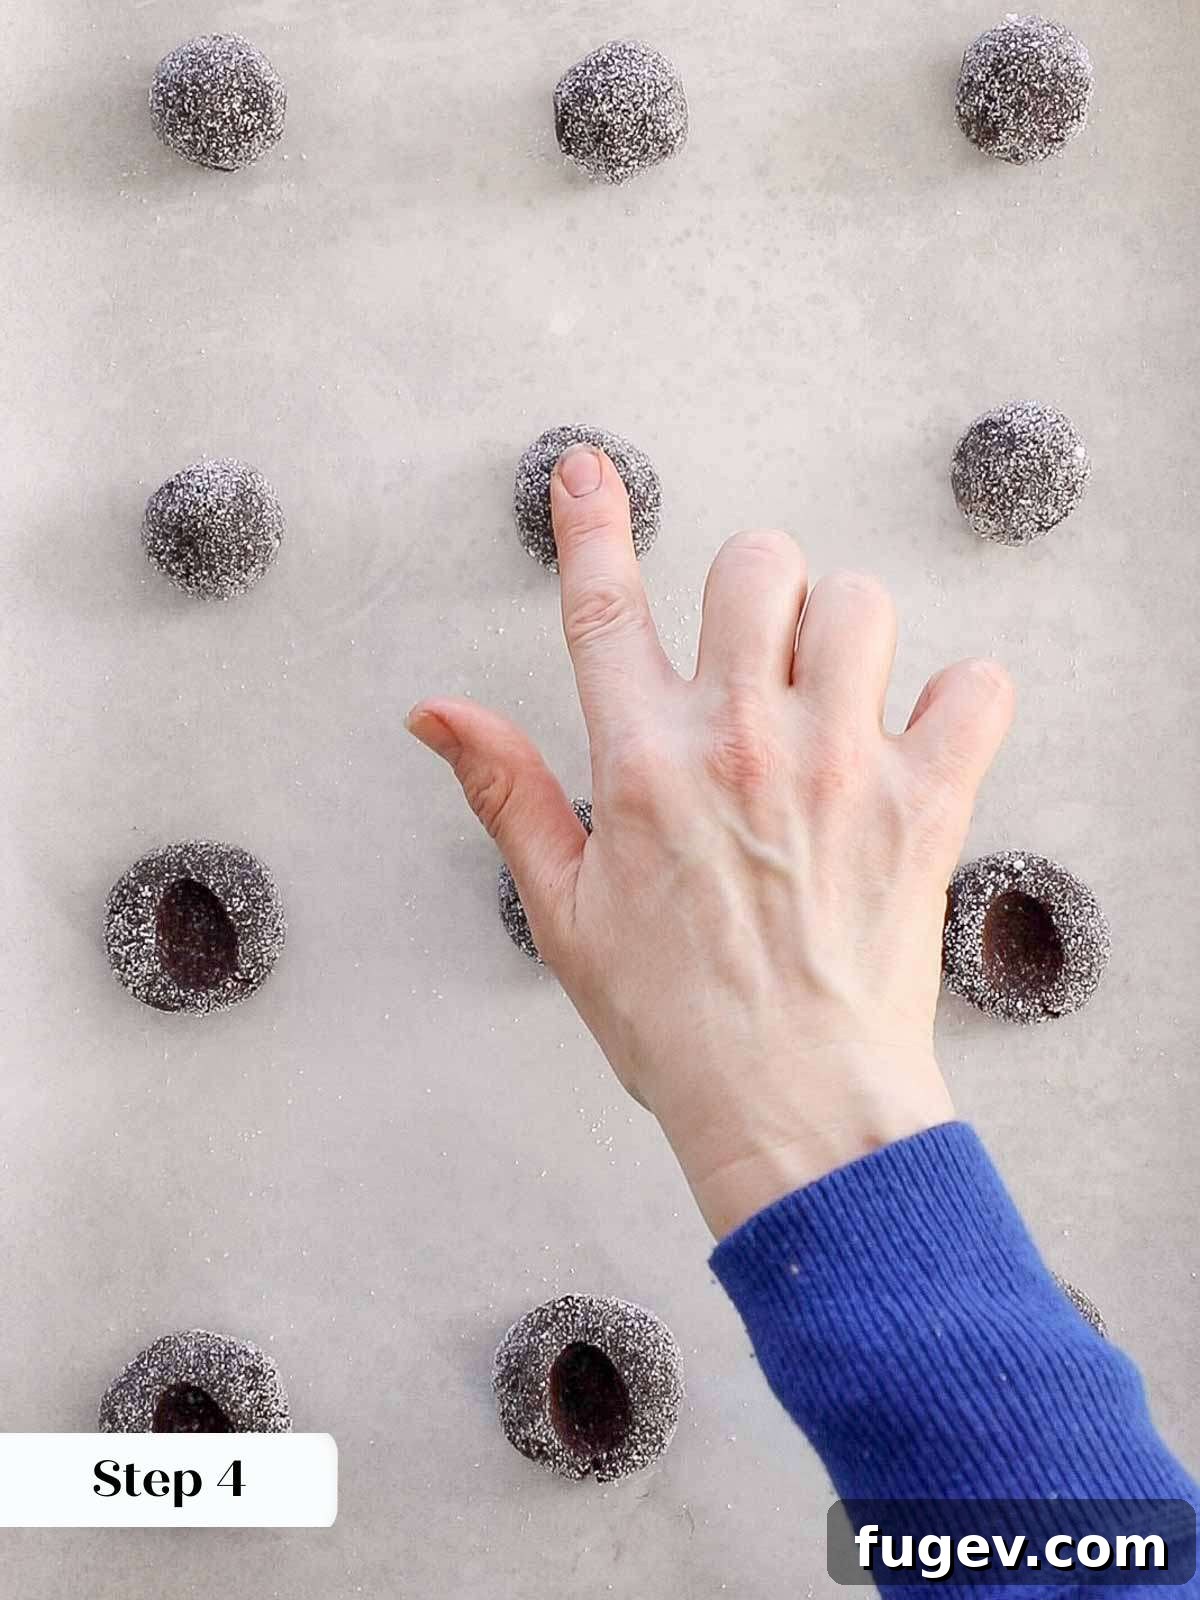
- Achieving Perfect Centers Without Your Thumb: Despite their name, using your actual thumb might not yield the most perfect, evenly rounded indentations for your cookies. Many people’s thumbs are too large or oddly shaped for a consistent indentation. Instead, I suggest using your forefinger, which often creates a neater circle. For absolute perfection, try the back of a rounded teaspoon measuring spoon or a tart tamper – these tools will give you beautifully uniform and professional-looking centers.
- Don’t Overbake for Optimal Softness: Keep a close eye on your chocolate thumbprint cookies during the last few minutes of baking. Overbaking them, even by a minute or two, can lead to dry, crumbly cookies. They are perfectly done when the surface loses its glossy appearance and looks matte. The edges might be just slightly set, but the center should still be soft.
Essential Ingredients for Perfect Chocolate Thumbprint Cookies
Crafting these delectable chocolate thumbprint cookies requires a handful of quality ingredients. Here’s a closer look at what you’ll need and why each component is crucial:
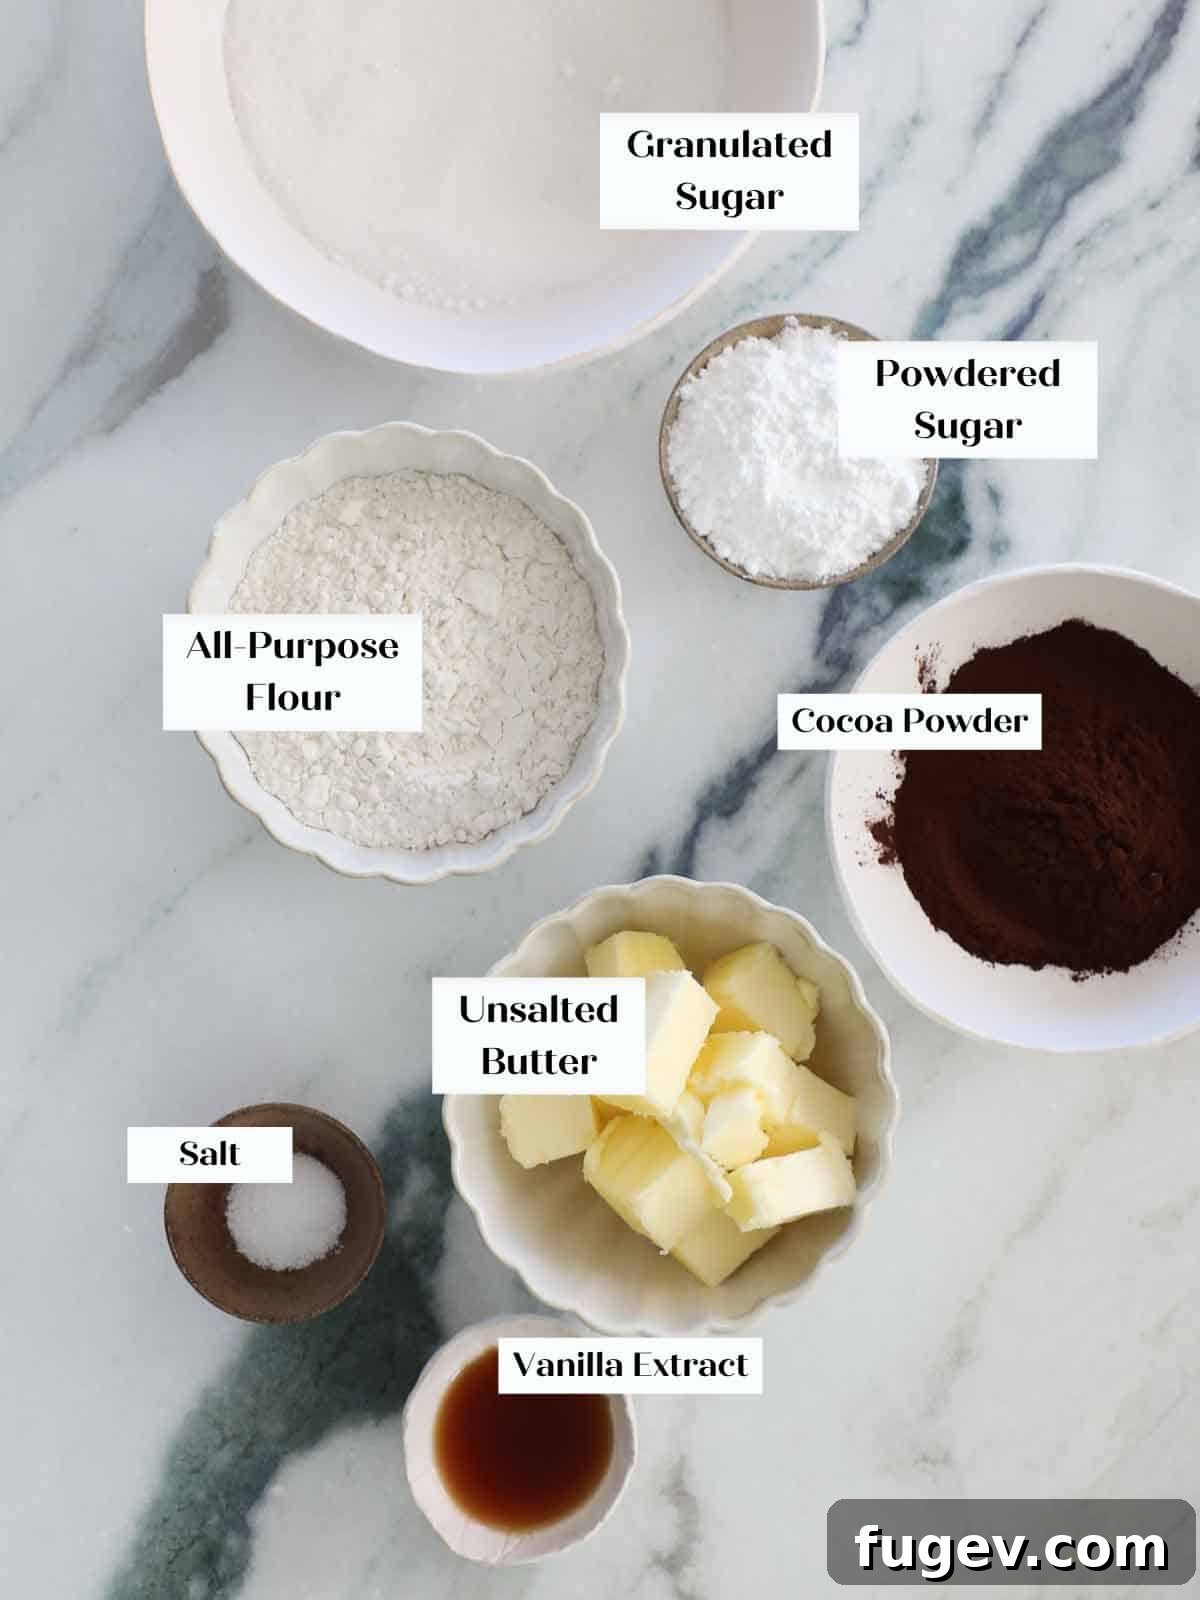
- Unsalted Butter: The foundation of these tender butter cookies. It’s essential that the butter is softened, ideally to a very soft and pliable, yet not melted, room temperature. This allows it to be “cut in” easily, creating the desired crumbly, delicate texture that differs from chewy cookies like traditional sugar cookies.
- Powdered Sugar (Confectioners’ Sugar): This finely ground sugar is superior to granulated sugar for this recipe. Its fine texture ensures it blends seamlessly into the dough, creating a smooth, homogenous mixture without any grainy residue. It also contributes to a tenderer crumb and a slightly sweeter flavor by weight compared to granulated sugar.
- All-purpose Flour: The structural backbone of our cookies. Using all-purpose flour provides the necessary balance for a tender yet stable cookie.
- Dutch-Processed Cocoa Powder: I highly recommend Dutch-processed cocoa powder for its wonderfully rich, deep, and less acidic chocolate flavor in this recipe. While any good quality cocoa powder will work, Dutch-processed will give you that characteristic dark chocolate taste and color that makes these cookies so appealing.
- Kosher Salt: Often underestimated, kosher salt is absolutely essential. It plays a vital role in enhancing the complex chocolate flavor, balancing the sweetness, and adding a crucial depth to the overall taste profile of the cookies.
- Vanilla Extract: Just like in a classic devil’s food cake, vanilla extract is a flavor enhancer that beautifully complements and deepens the chocolate notes. It also contributes a subtle touch of moisture to the cookie dough, ensuring optimal texture.
- Granulated Sugar: Used exclusively for rolling the cookie dough balls before baking. This coating provides a delightful sparkle, a pleasant crunch, and a subtle extra layer of sweetness on the exterior of the cookie.
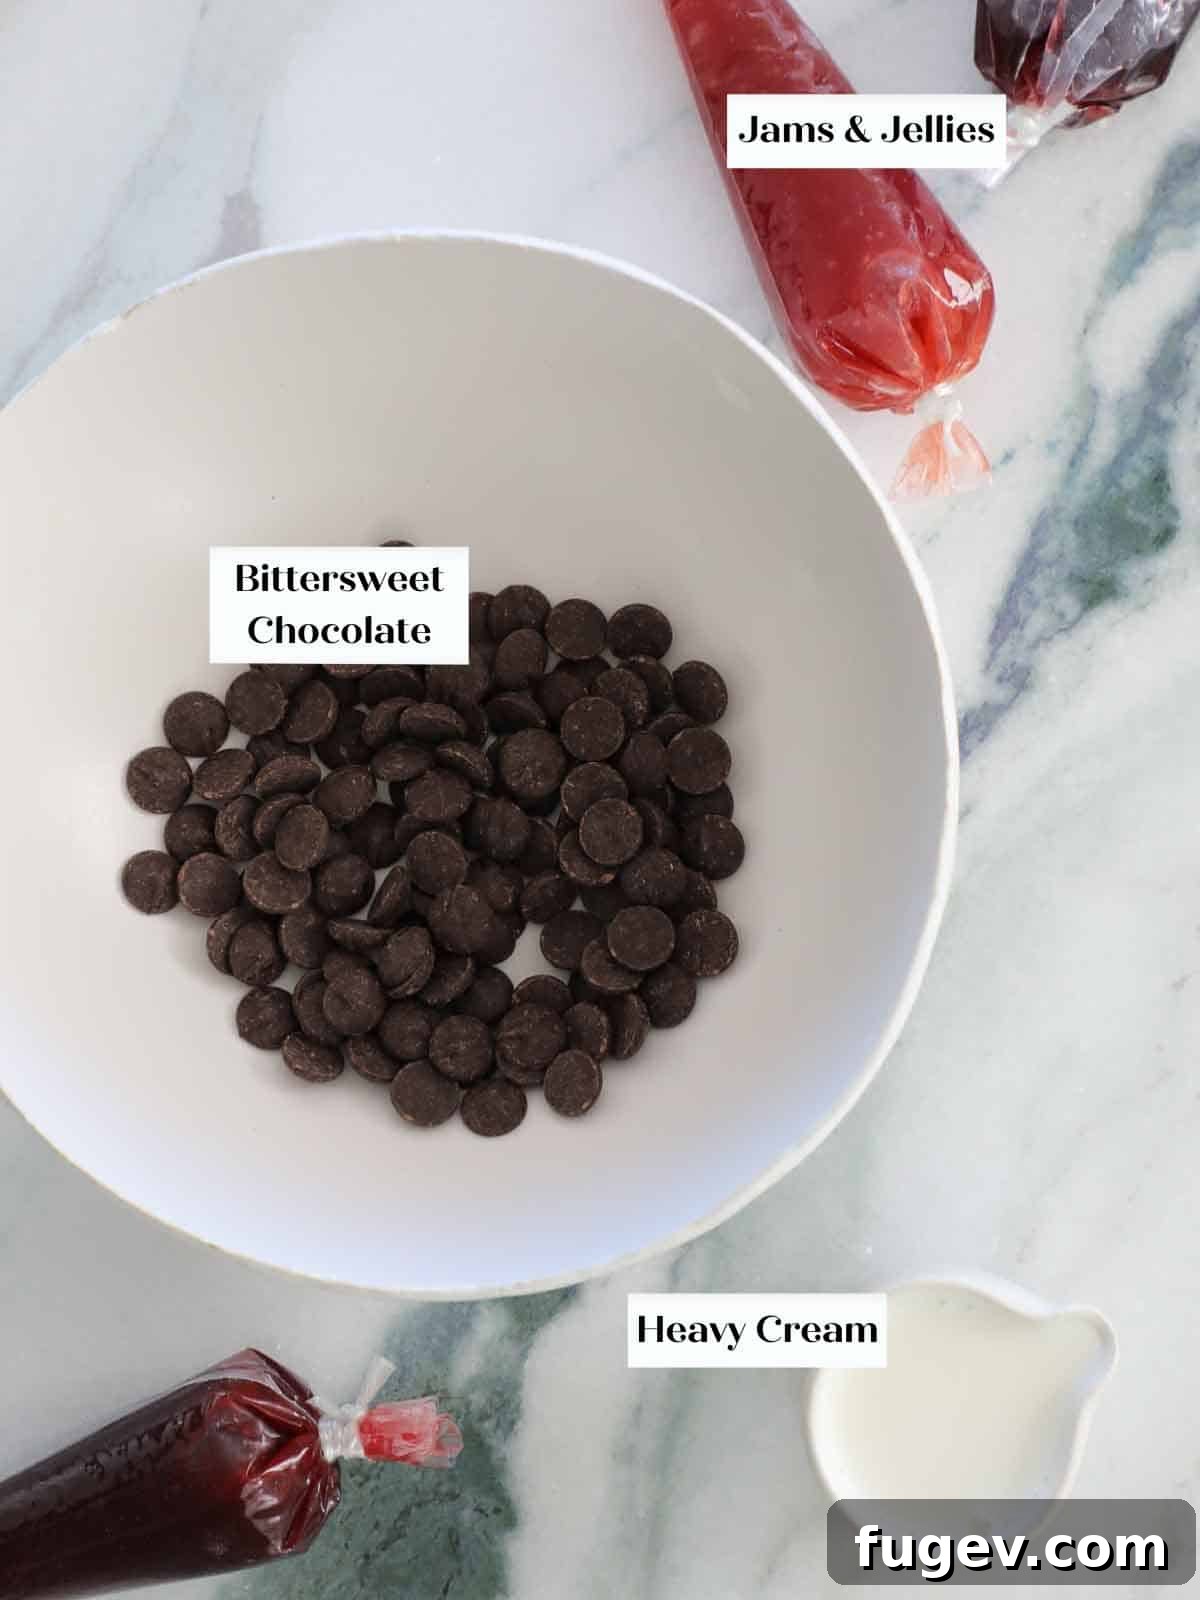
- Semi-sweet or Bittersweet Chocolate: For the ganache filling, the quality of your chocolate truly shines. Opt for a good quality semi-sweet or bittersweet chocolate. I’ve found that Ghirardelli bittersweet morsels work exceptionally well for achieving a smooth, rich ganache, as pictured in the recipe photos.
- Heavy Cream: The essential component for creating a luscious, smooth ganache. Its high fat content allows for a stable emulsion with the chocolate, resulting in a creamy, decadent filling.
- Your Favorite Jam (if desired): If you prefer a fruity center, choose a good quality, thicker jam. Raspberry, strawberry, or a vibrant mixed berry jam are all fantastic choices that offer a wonderful contrast to the rich chocolate cookie.
For precise measurements and detailed step-by-step instructions, please refer to the comprehensive recipe card provided further down the page.
Creative Variations & Substitutions for Your Thumbprint Cookies
While these chocolate thumbprint cookies are perfect as is, they also lend themselves beautifully to creative variations and substitutions. Feel free to experiment and make them your own!
- Heavy Cream Alternatives: Don’t have heavy cream on hand? No problem! I’ve successfully made these cookies using half and half when heavy cream was unavailable in my Manhattan studio. You can also achieve a good result with non-dairy creamers, though the richness might vary slightly. These substitutions are primarily for the ganache component, ensuring the cookies remain accessible even with limited ingredients.
- Explore Various Jam Flavors: While the chocolate ganache is divine, the versatility of jam fillings is immense. I’ve personally tried these chocolate thumbprints with raspberry, strawberry, and apricot jams. The strawberry (even a simple Smucker’s Strawberry Jam) was truly exceptional, offering a bright, sweet contrast. Raspberry also pairs wonderfully with chocolate. If raspberry is a particular favorite, you might also enjoy our white chocolate raspberry cookies. Consider other options like cherry, blueberry, or even a spicy pepper jam for an adventurous twist.
- Heart-Shaped Delights for Special Occasions: Make these cookies extra special by shaping them into hearts! You can gently press the dough into small heart-shaped cookie cutters before baking, or for a charming rustic look, mold two small balls of dough together and pinch the bottom to form a heart shape. This makes them a delightful and much easier alternative to intricate chocolate sugar cookies or other elaborate Valentine’s Day cookies.
- Infuse Your Ganache with Flavor: Elevate your chocolate ganache by adding a tablespoon of your favorite alcohol or extract after it has emulsified. Options like whiskey for a smoky depth, Cointreau for an orange zest, Chambord for a raspberry note, or Frangelico for a hazelnut twist can transform the flavor profile. I often do this with my flourless chocolate torte, and it’s always exceptional. For non-alcoholic options, peppermint or coffee extract can add a delightful aromatic dimension.
- White Chocolate Drizzle or Filling: For a contrasting color and flavor, consider a white chocolate drizzle over the dark chocolate ganache, or even create a white chocolate ganache filling. The creamy sweetness of white chocolate would provide a beautiful balance.
- Add a Nutty Twist: Incorporate finely chopped nuts (pecans, walnuts, or hazelnuts) into the cookie dough for added texture and a rich, nutty flavor. You could also sprinkle them around the edges of the thumbprint before baking, or on top of the ganache while it’s still wet.
How to Make Chocolate Thumbprints: A Step-by-Step Guide
Follow these detailed instructions to create your perfect batch of chocolate thumbprint cookies, complete with a luscious chocolate ganache filling! These simple steps will guide you through the process, ensuring tender, delicious results every time. You’ll find specific quantities and full details in the comprehensive recipe card below.
Making & Baking the Cookies:
Step 1: Prepare Your Baking Environment
Begin by preheating your oven to 325°F (160°C). It’s important to use the conventional setting for these cookies; I do not recommend the convection setting, as it can dry them out too quickly. Line one baking sheet with parchment paper to prevent sticking and ensure easy cleanup. This provides a non-stick surface and helps with even baking.
Step 2: Combine the Cookie Dough Ingredients
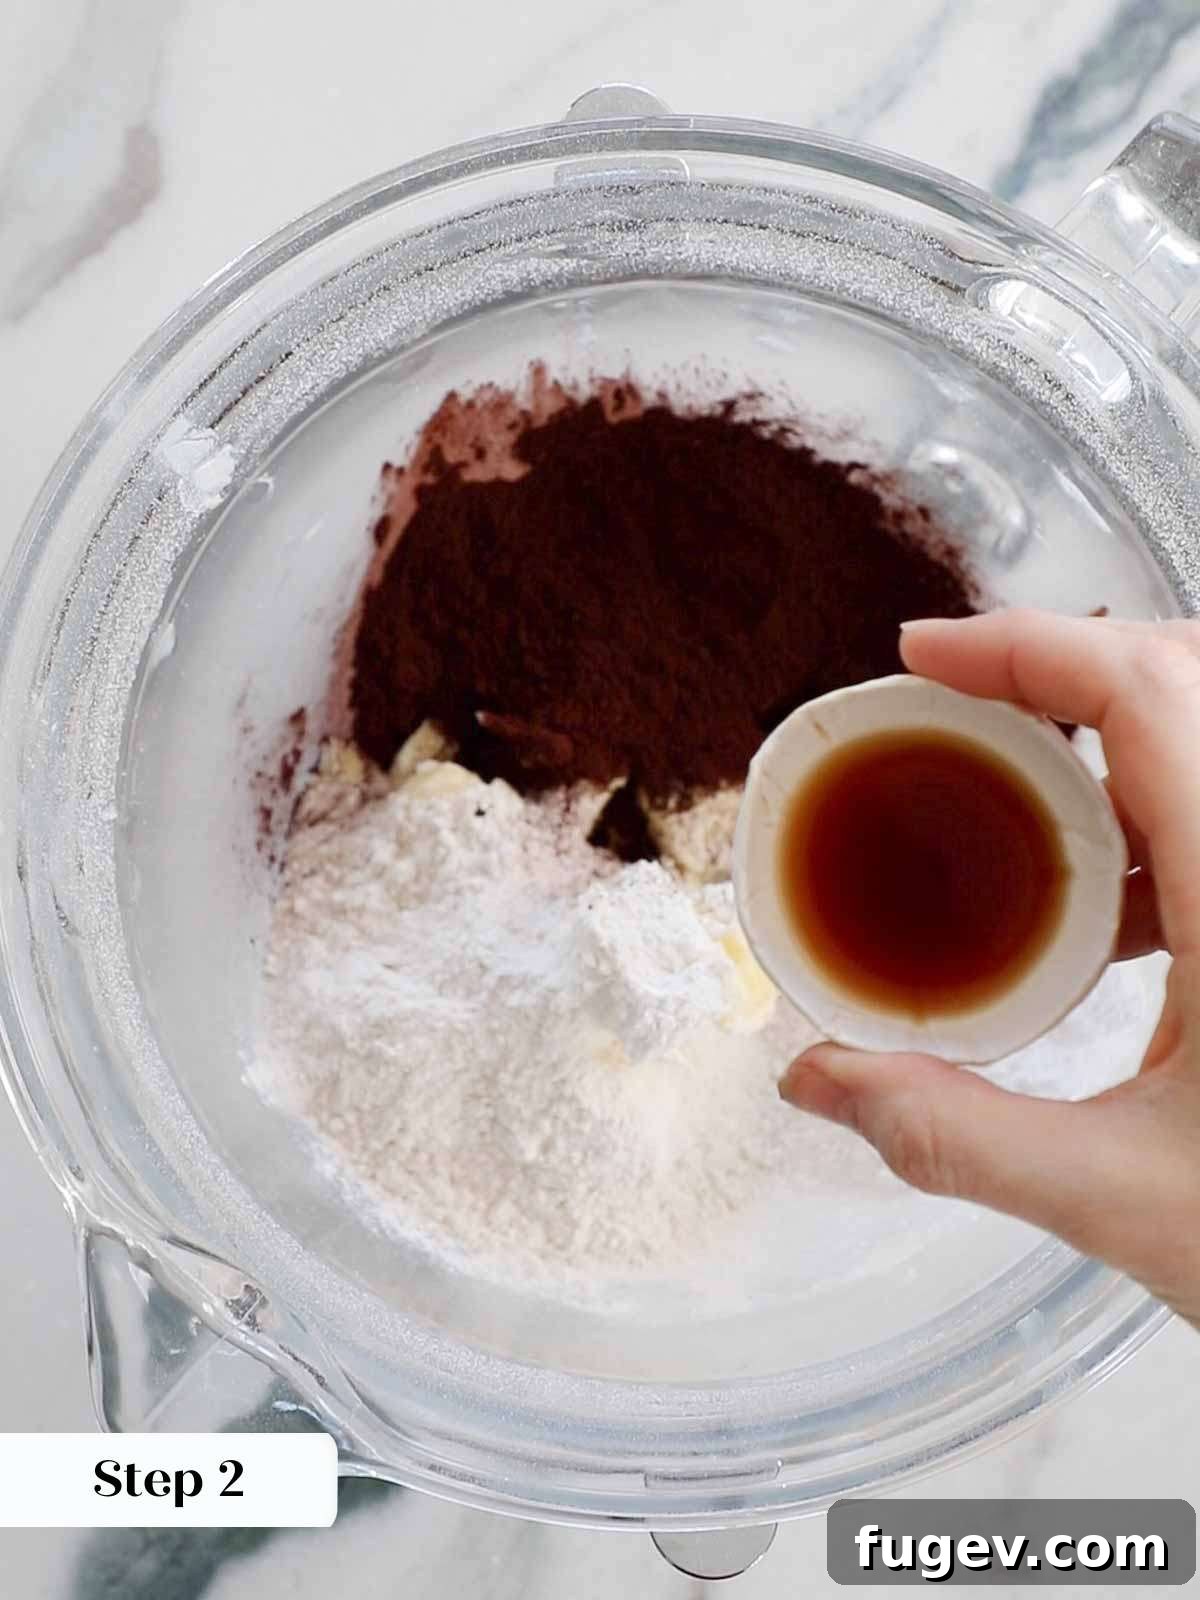
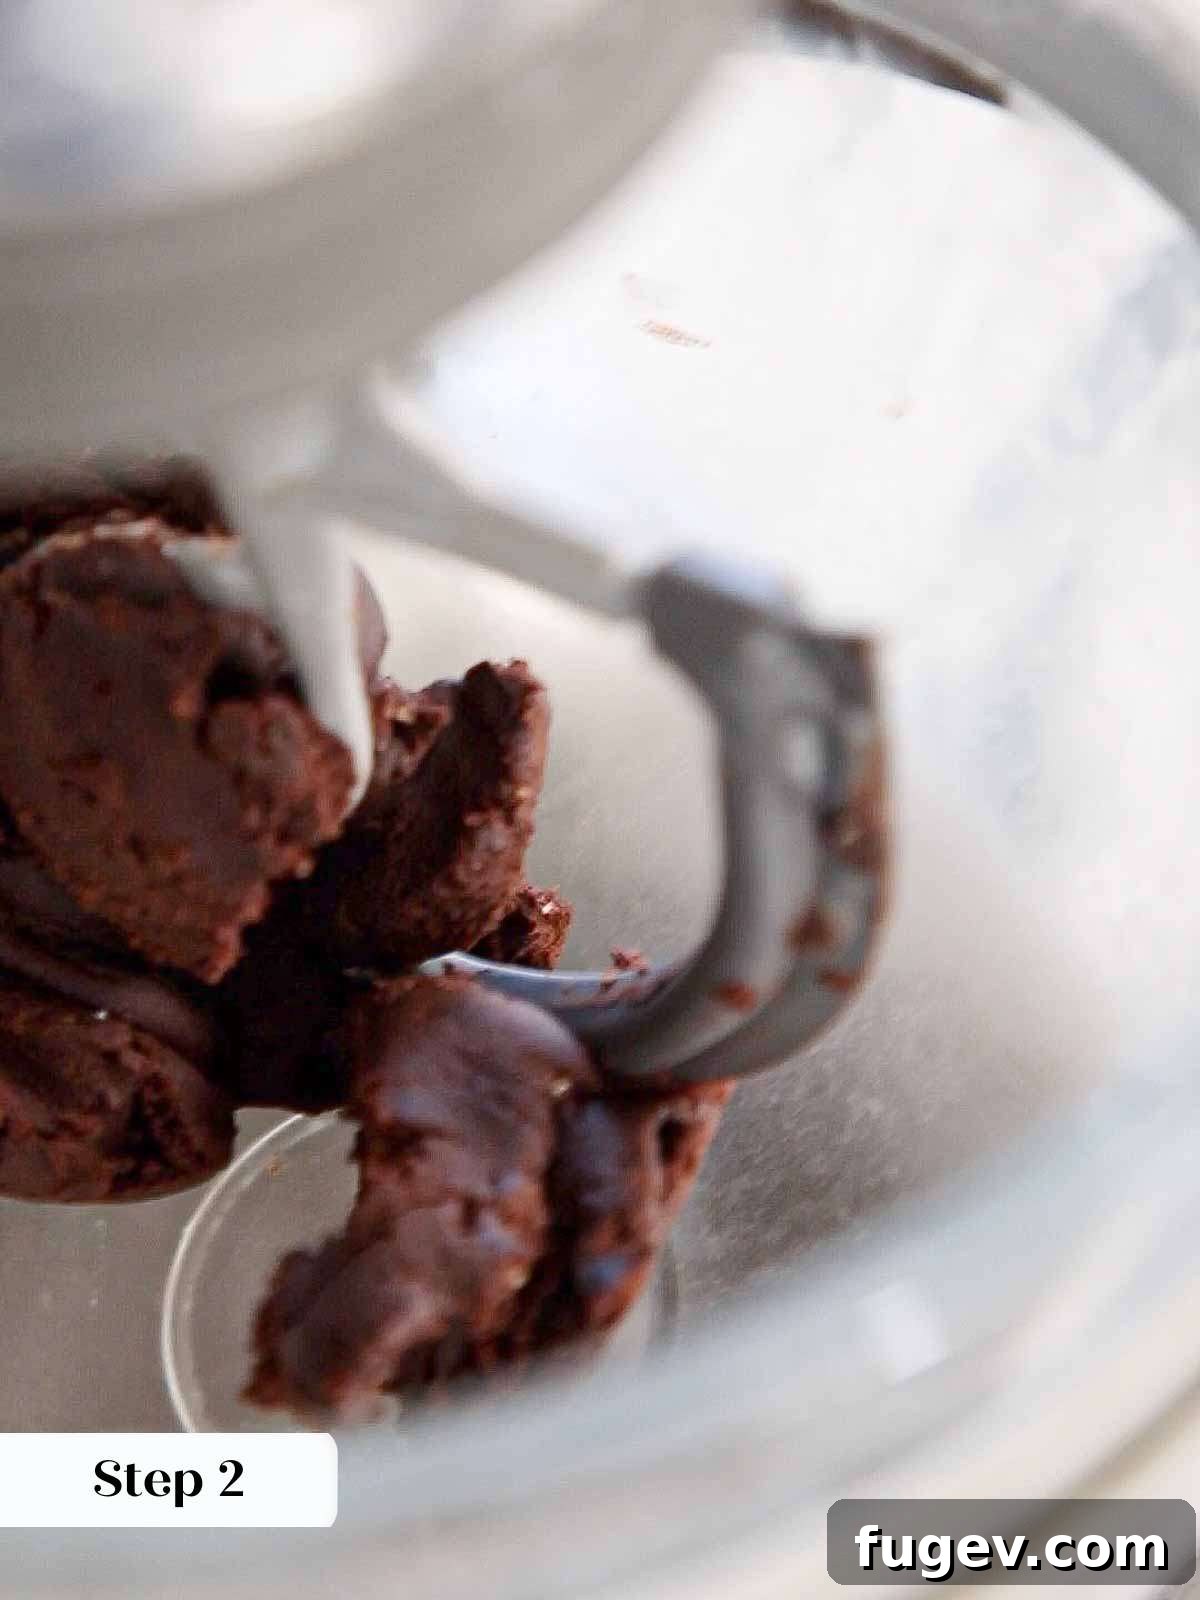
In the bowl of a stand mixer fitted with the paddle attachment, add all your cookie dough ingredients: softened unsalted butter, powdered sugar, all-purpose flour, Dutch-processed cocoa powder, kosher salt, and vanilla extract. Turn the mixer on medium-low speed and mix until a smooth, cohesive dough forms. This process might take a bit of time, initially appearing crumbly, but be patient – it will come together beautifully.
Patience is Key! It might feel like the dough will never come together, especially with the “cutting in” method. You might find yourself wondering if it will ever become a smooth ball, but it absolutely will. Keep mixing on medium-low speed for a few minutes; trust the process and resist the urge to add extra liquid.
Step 3: Shape and Sugar-Coat Your Cookies
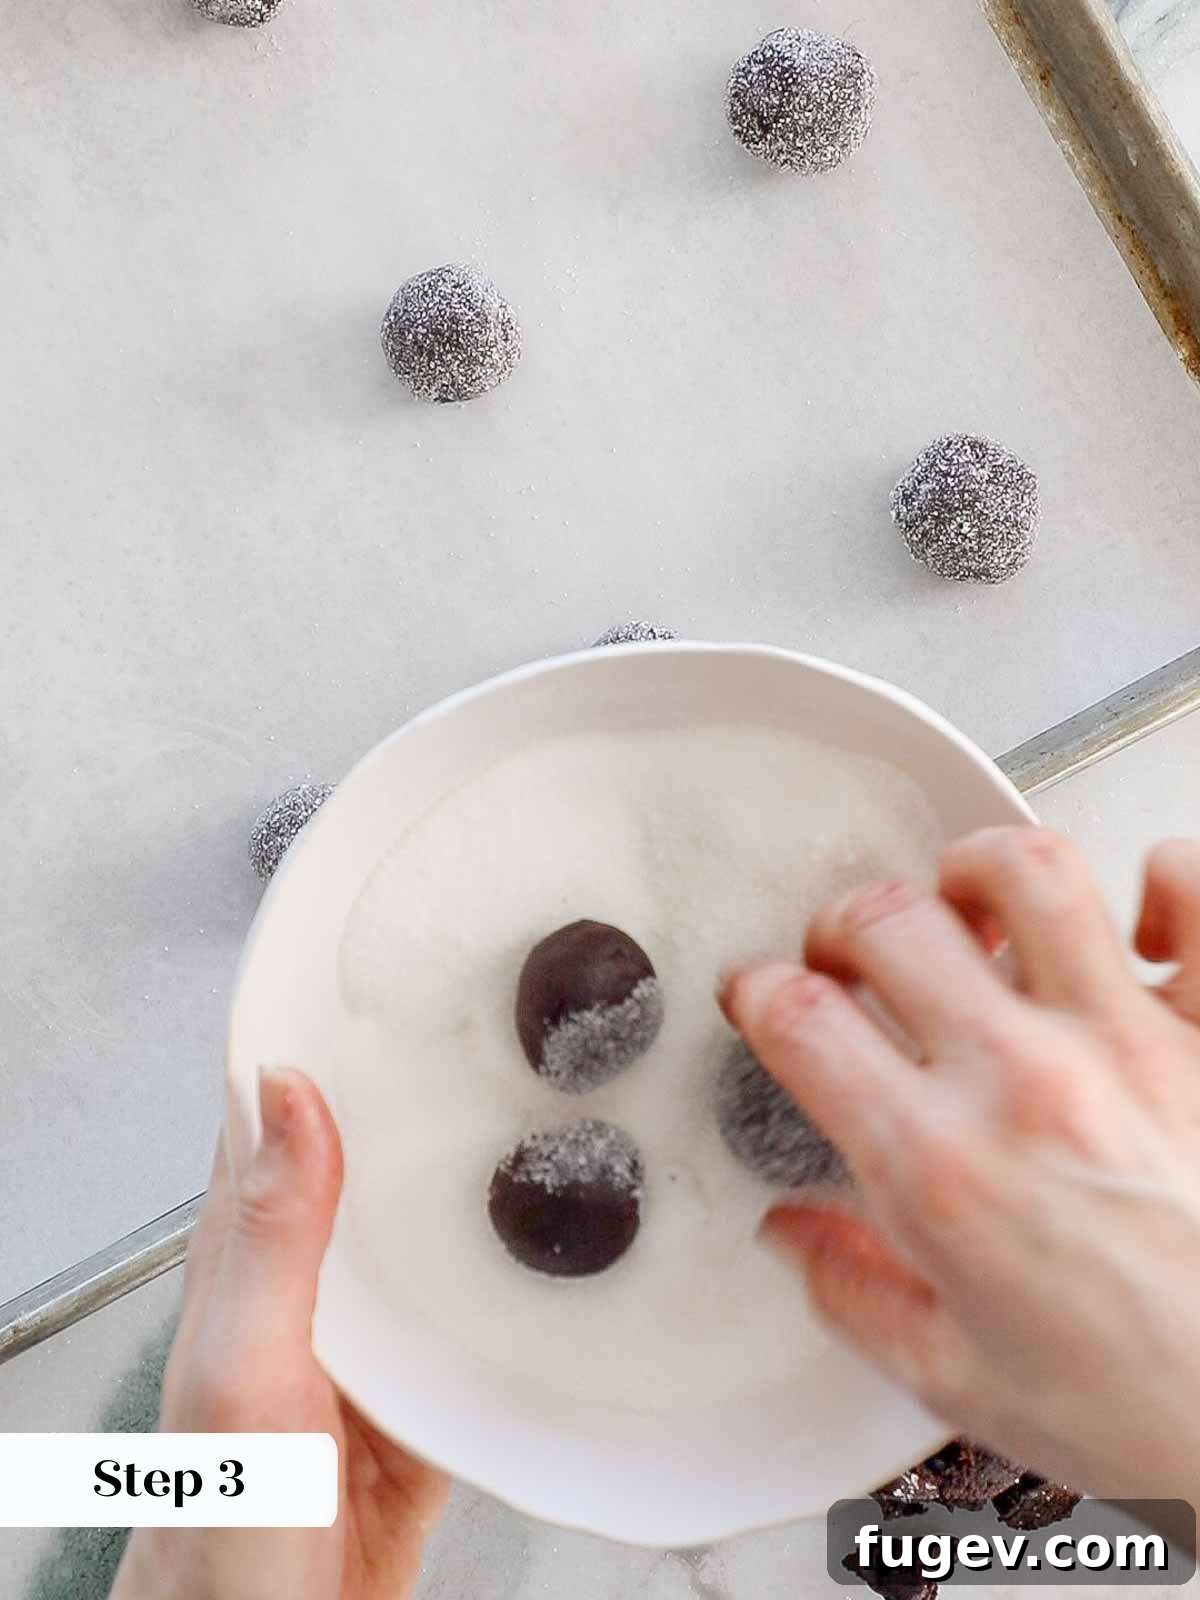
Once the dough is smooth, pinch off pieces that are about an inch (2.5 cm) across. Roll each piece between your palms to form a neat ball. Then, gently roll these cookie dough balls in granulated sugar, ensuring they are evenly coated. This adds a beautiful sparkle and a delightful textural crunch. You should get approximately 15 cookies from this batch.
Step 4: Create the Signature Indentation
Place the sugared cookie dough balls on your parchment-lined baking sheet, leaving about an inch of space between each. Using your forefinger (or the back of a round teaspoon measuring spoon or a tart-tamper for a perfectly round center), gently press into the center of each cookie to create an indentation. The well should go about halfway into the cookie’s thickness.
Jam Filling Tip: If you are planning to fill your chocolate thumbprints with jam, now is the time to do so! Pipe or spoon about ½ teaspoon of your chosen jam into the center of each cookie before baking. This allows the jam to bake into the cookie, creating a wonderfully moist texture and infusing it with fruity flavor. If using ganache, leave the cookies unfilled for now.
Step 5: Bake to Perfection
Bake the cookies in your preheated oven for 12-15 minutes, or until the surface of the cookies looks matte and no longer glossy. For even baking, it’s a good practice to rotate your trays after about 6 minutes, ensuring all cookies bake uniformly.
Step 6: Refine Indentations for Ganache (If Applicable)
If you are filling your cookies with chocolate ganache, gently press the baked centers down slightly again immediately after they come out of the oven. Cookies tend to puff up a little during baking, and this extra step ensures a nice, defined space for a generous amount of chocolate filling.
Step 7: Cool Completely
Once baked, transfer the cookies to a wire rack and allow them to cool completely. This step is crucial before adding any ganache filling, as filling warm cookies would cause the ganache to melt and lose its beautiful texture.
Preparing the Decadent Chocolate Ganache:
Step 1: Set Up for Ganache
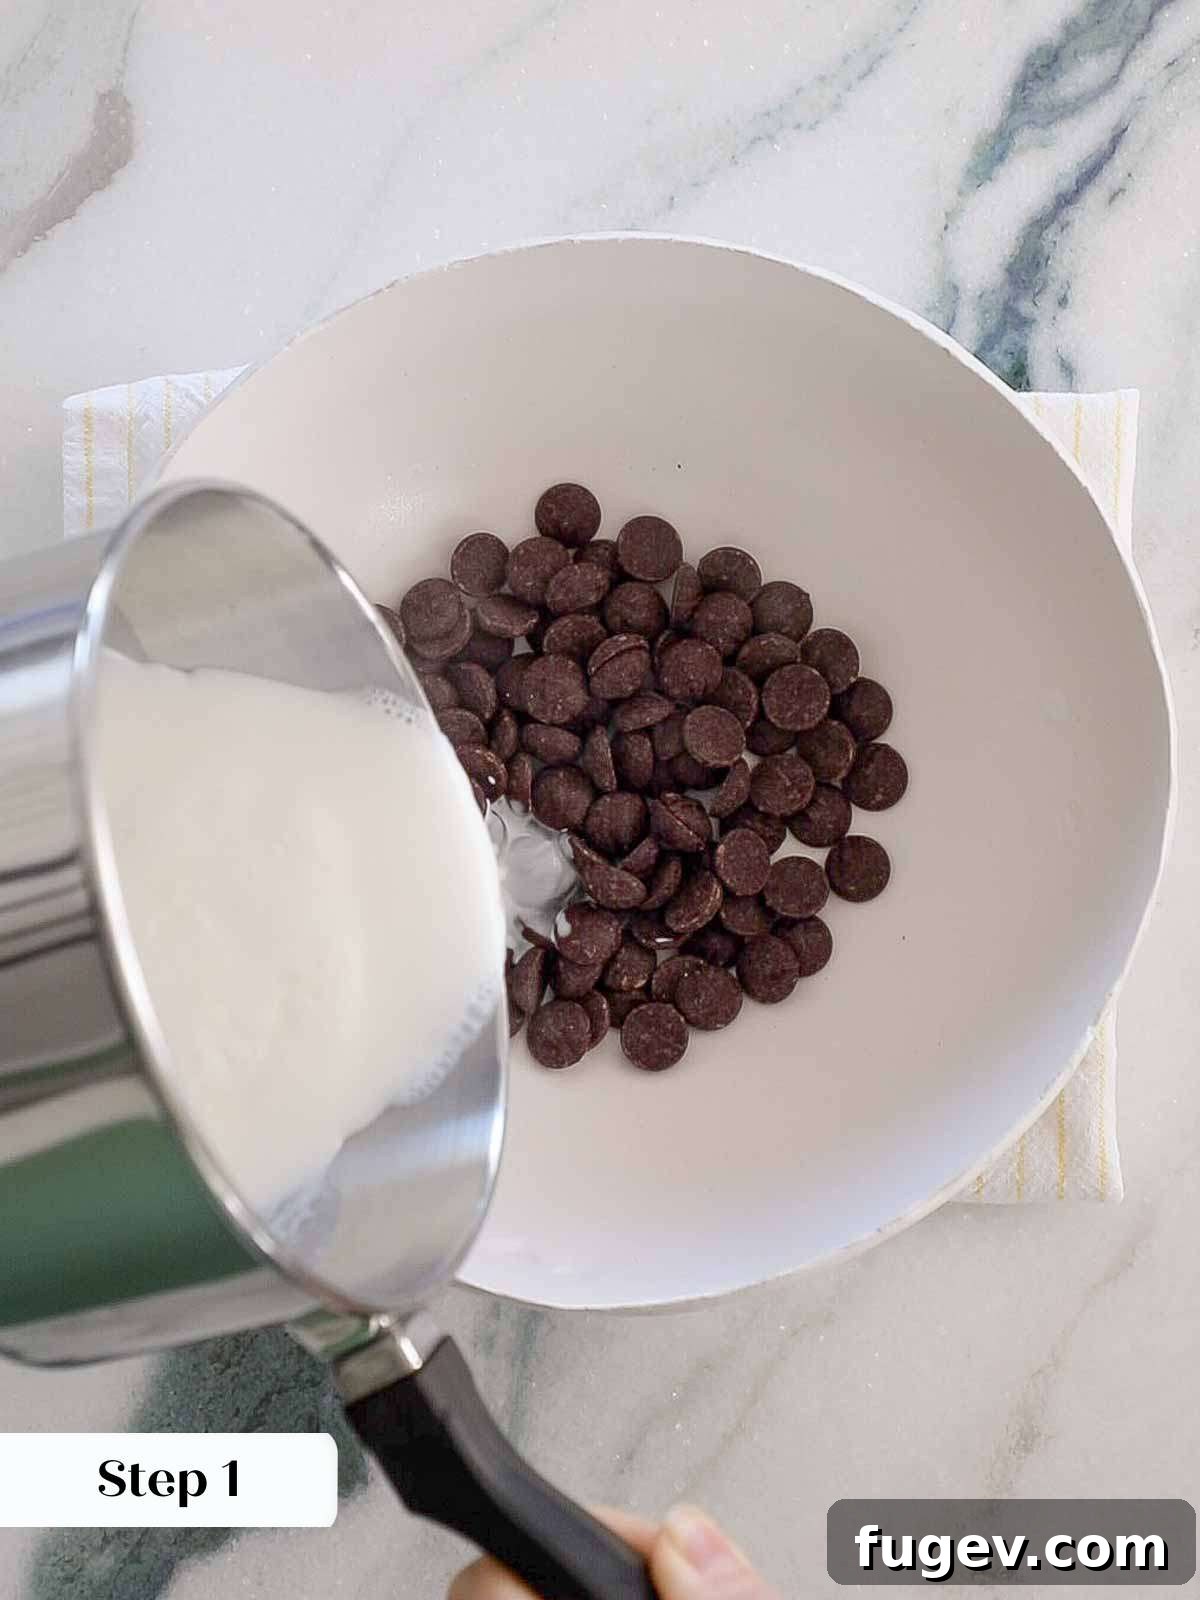
While your cookies are baking and cooling, you can begin preparing the rich chocolate ganache. Place your finely chopped semi-sweet or bittersweet chocolate (or chocolate chips) in a medium-sized heatproof bowl. For stability, you can set the bowl on a folded tea-towel. In a small saucepan, heat the heavy cream just until it comes to a rolling boil. Immediately pour the hot cream over the chocolate.
Step 2: Allow the Chocolate to Melt
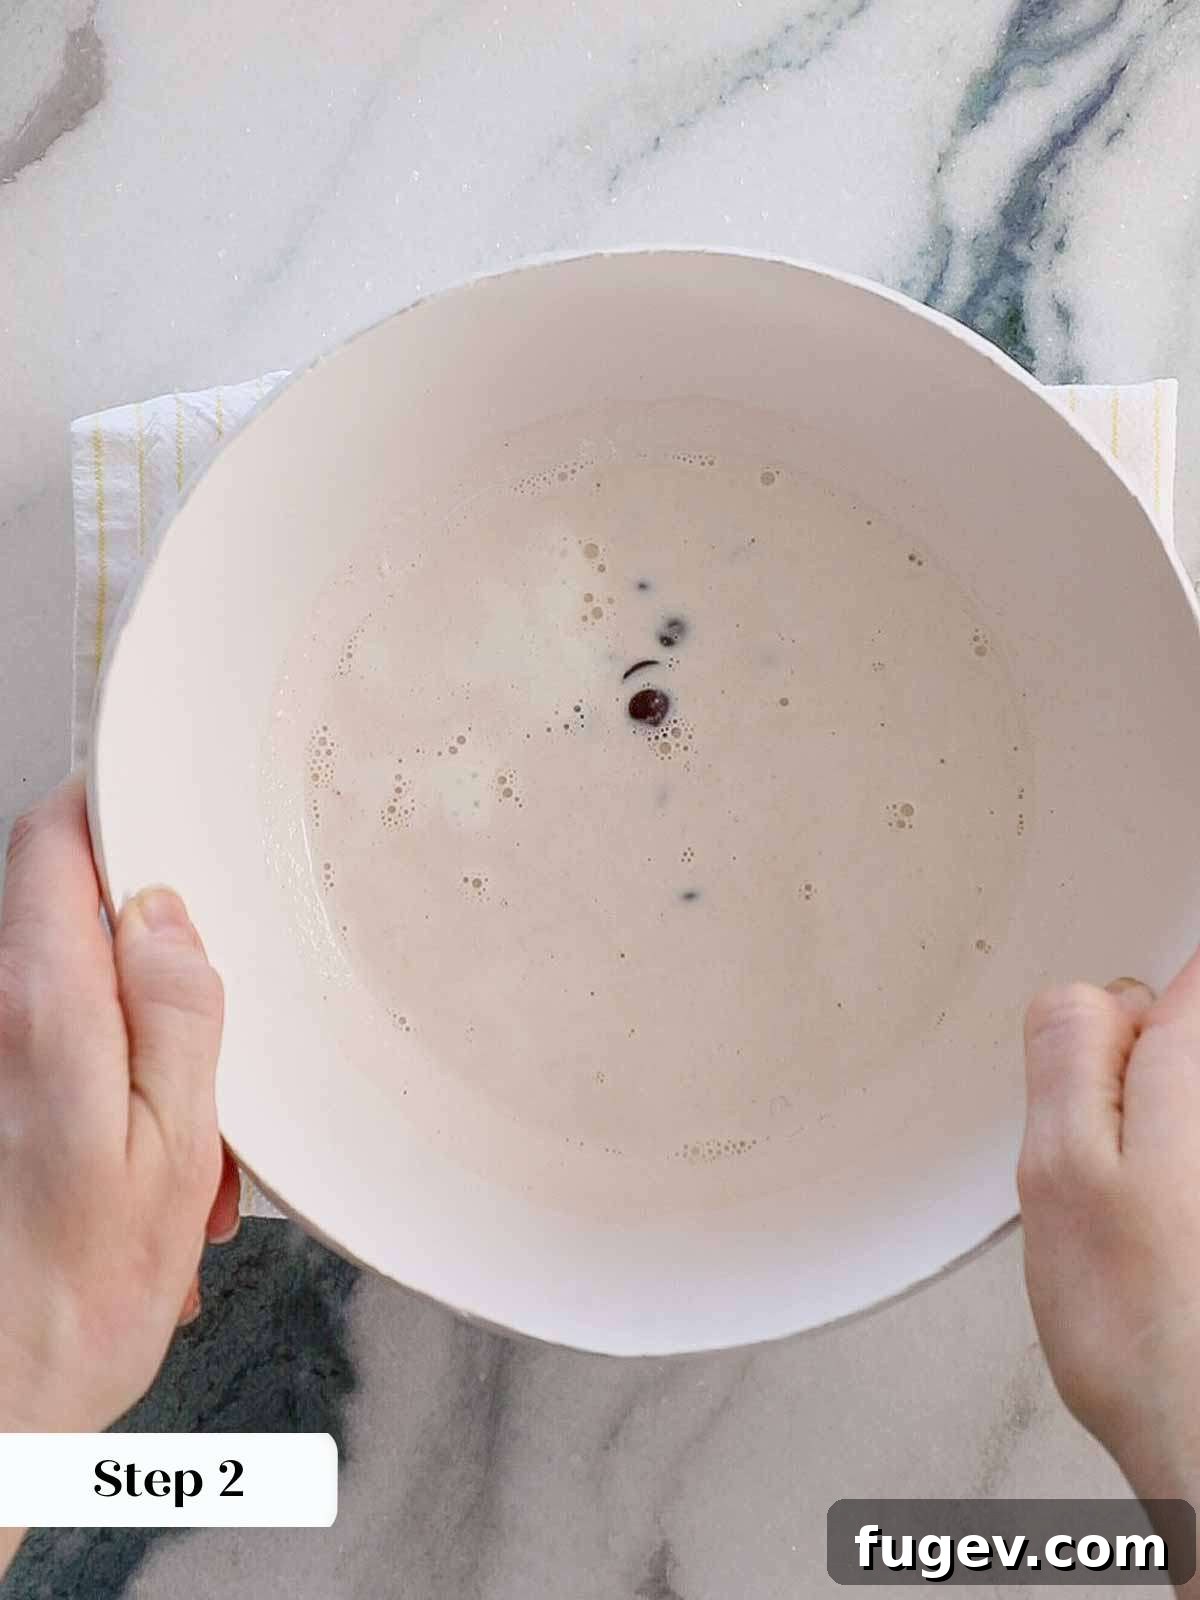
Resist the urge to stir immediately! Allow the hot cream to sit on the chocolate undisturbed for 2 minutes. This crucial resting period allows the heat from the cream to thoroughly melt the chocolate. This makes it much easier to emulsify into a smooth ganache with less whisking, which in turn reduces the chance of the ganache breaking or becoming grainy.
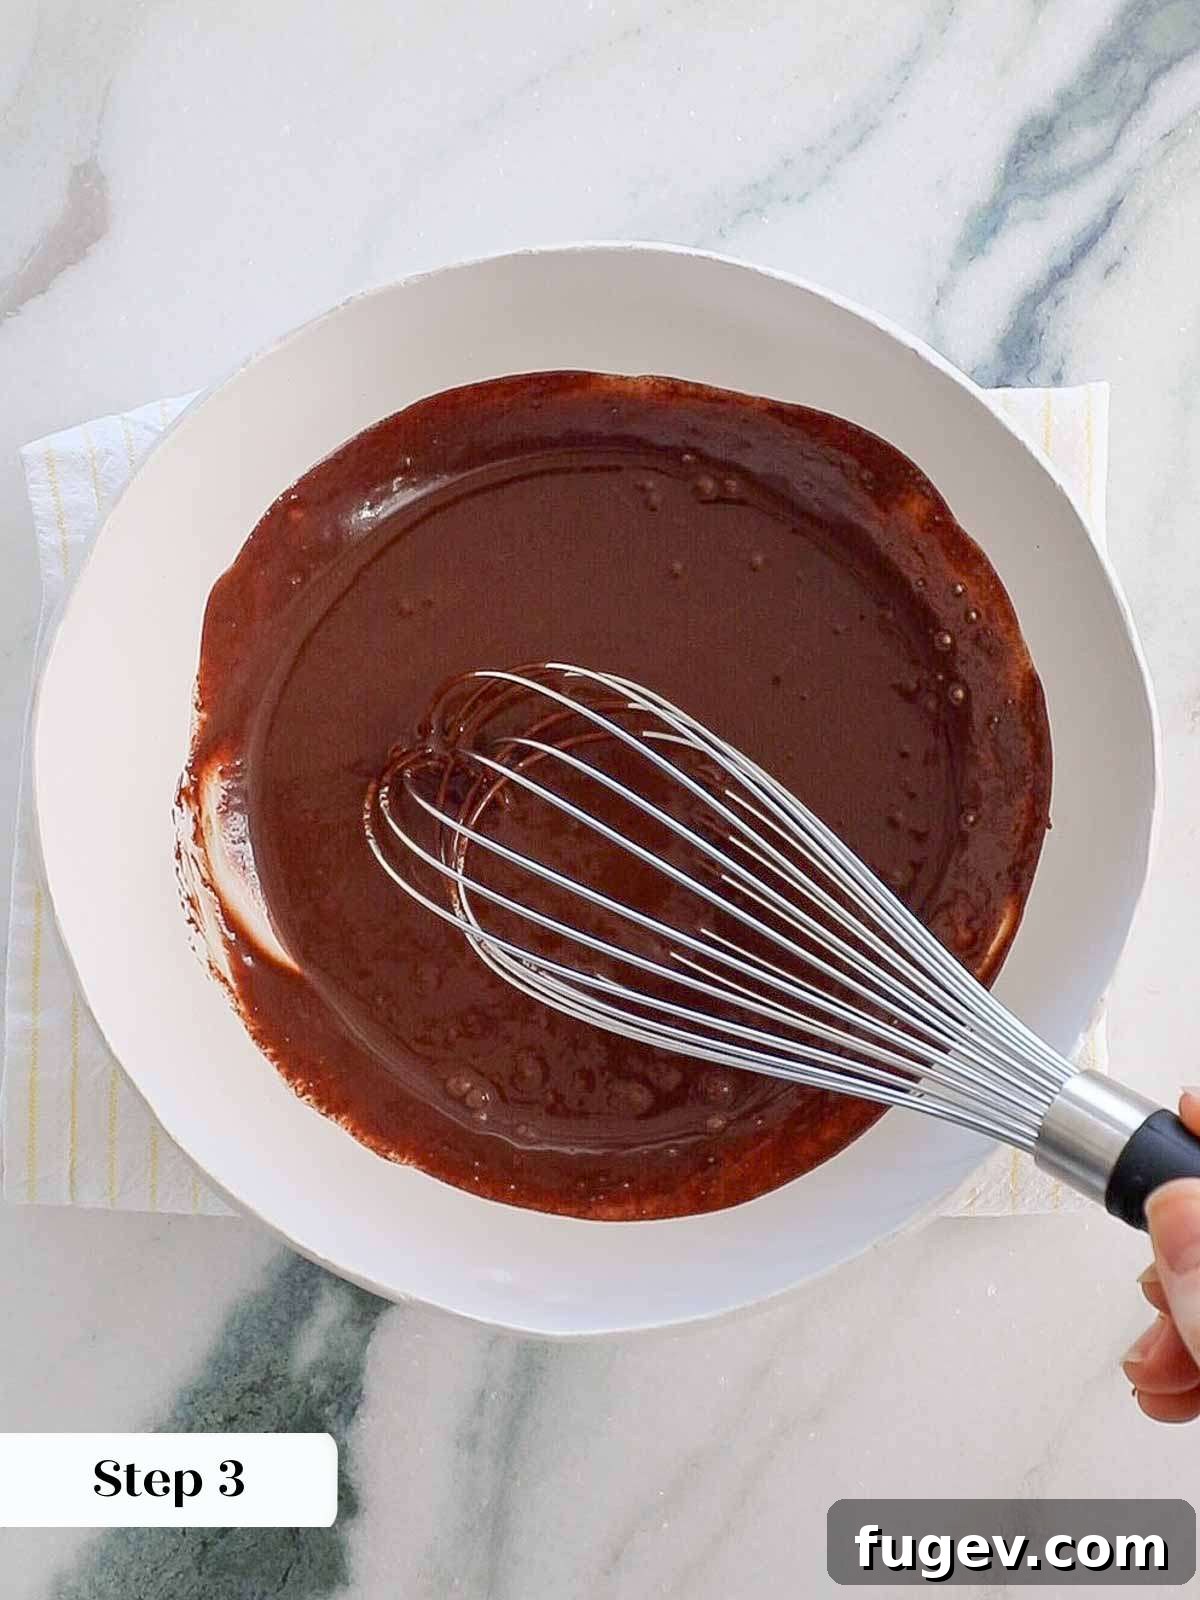
Step 3: Whisk Until Silky Smooth
After the 2-minute resting period, begin whisking gently in the very center of the bowl. You’ll observe a smooth, glossy ganache beginning to form in the middle. Gradually expand your whisking strokes outwards, slowly incorporating more of the cream and chocolate until the entire mixture transforms into a lustrous, smooth, and homogeneous ganache. Once this smooth consistency is achieved, stop whisking immediately. This is also the perfect moment to stir in any desired flavorings, such as a splash of liqueur or an extract.
Step 4: Cool the Ganache
Once perfectly smooth, transfer the ganache to a piping bag (if you plan to pipe it for precision) or simply cover the surface directly with plastic wrap to prevent a skin from forming. Allow the ganache to cool down to room temperature or slightly warmer. You want it to be thick enough to hold its shape in the cookie indentation but still fluid enough to pipe or spoon smoothly for beautifully neat tops.
Filling Your Chocolate Thumbprints with Ganache:
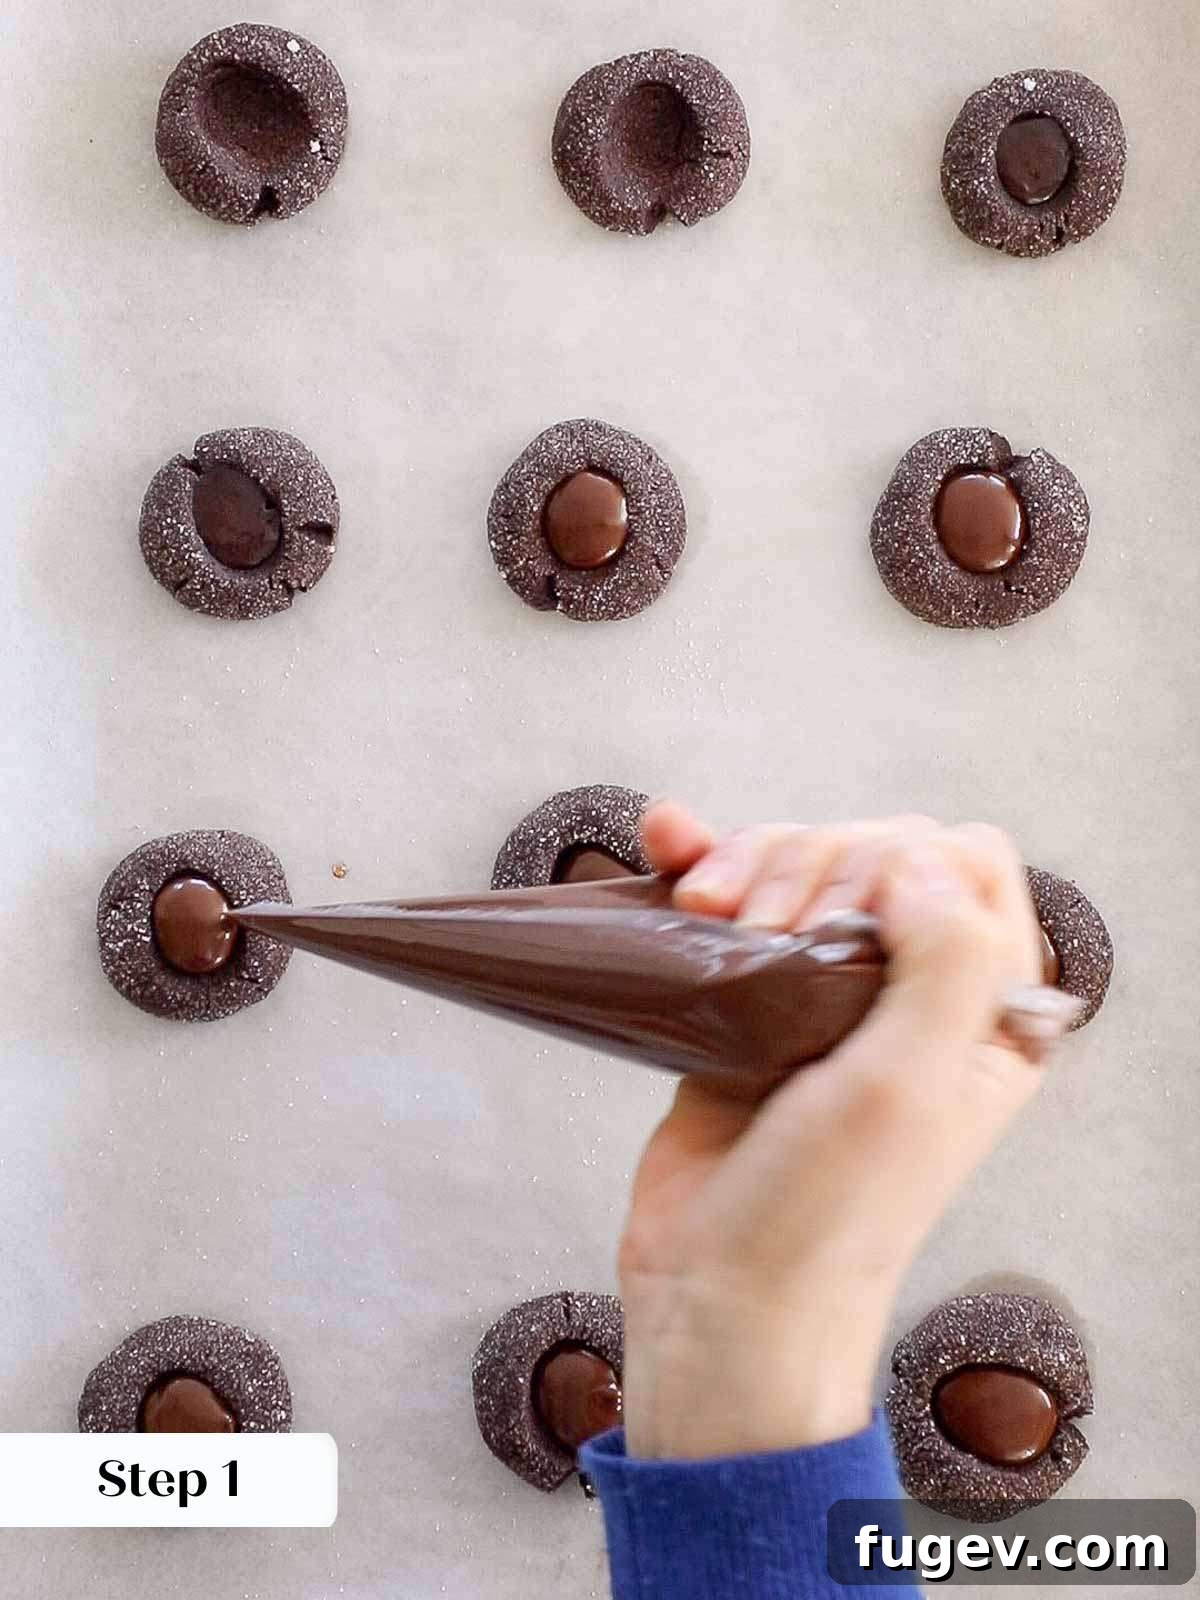
Step 1: Fill the Indentations
Once your chocolate thumbprint cookies are completely cool, carefully pipe or spoon some of the cooled ganache into each thumbprint. Piping the ganache generally makes for more perfect thumbprint cookies, giving them a professional, polished appearance. Fill them generously, but be careful not to overfill.
Achieving Smooth Ganache Tops: For beautifully smooth tops on your ganache filling, ensure your ganache is loose enough to flow freely into the indentations. If it has thickened too much during cooling, you can gently warm it over a pot of warm water (creating a makeshift double boiler). Stir it just enough until it loosens to the desired, pipeable consistency.
Step 2: Allow to Set (or Enjoy Immediately!)
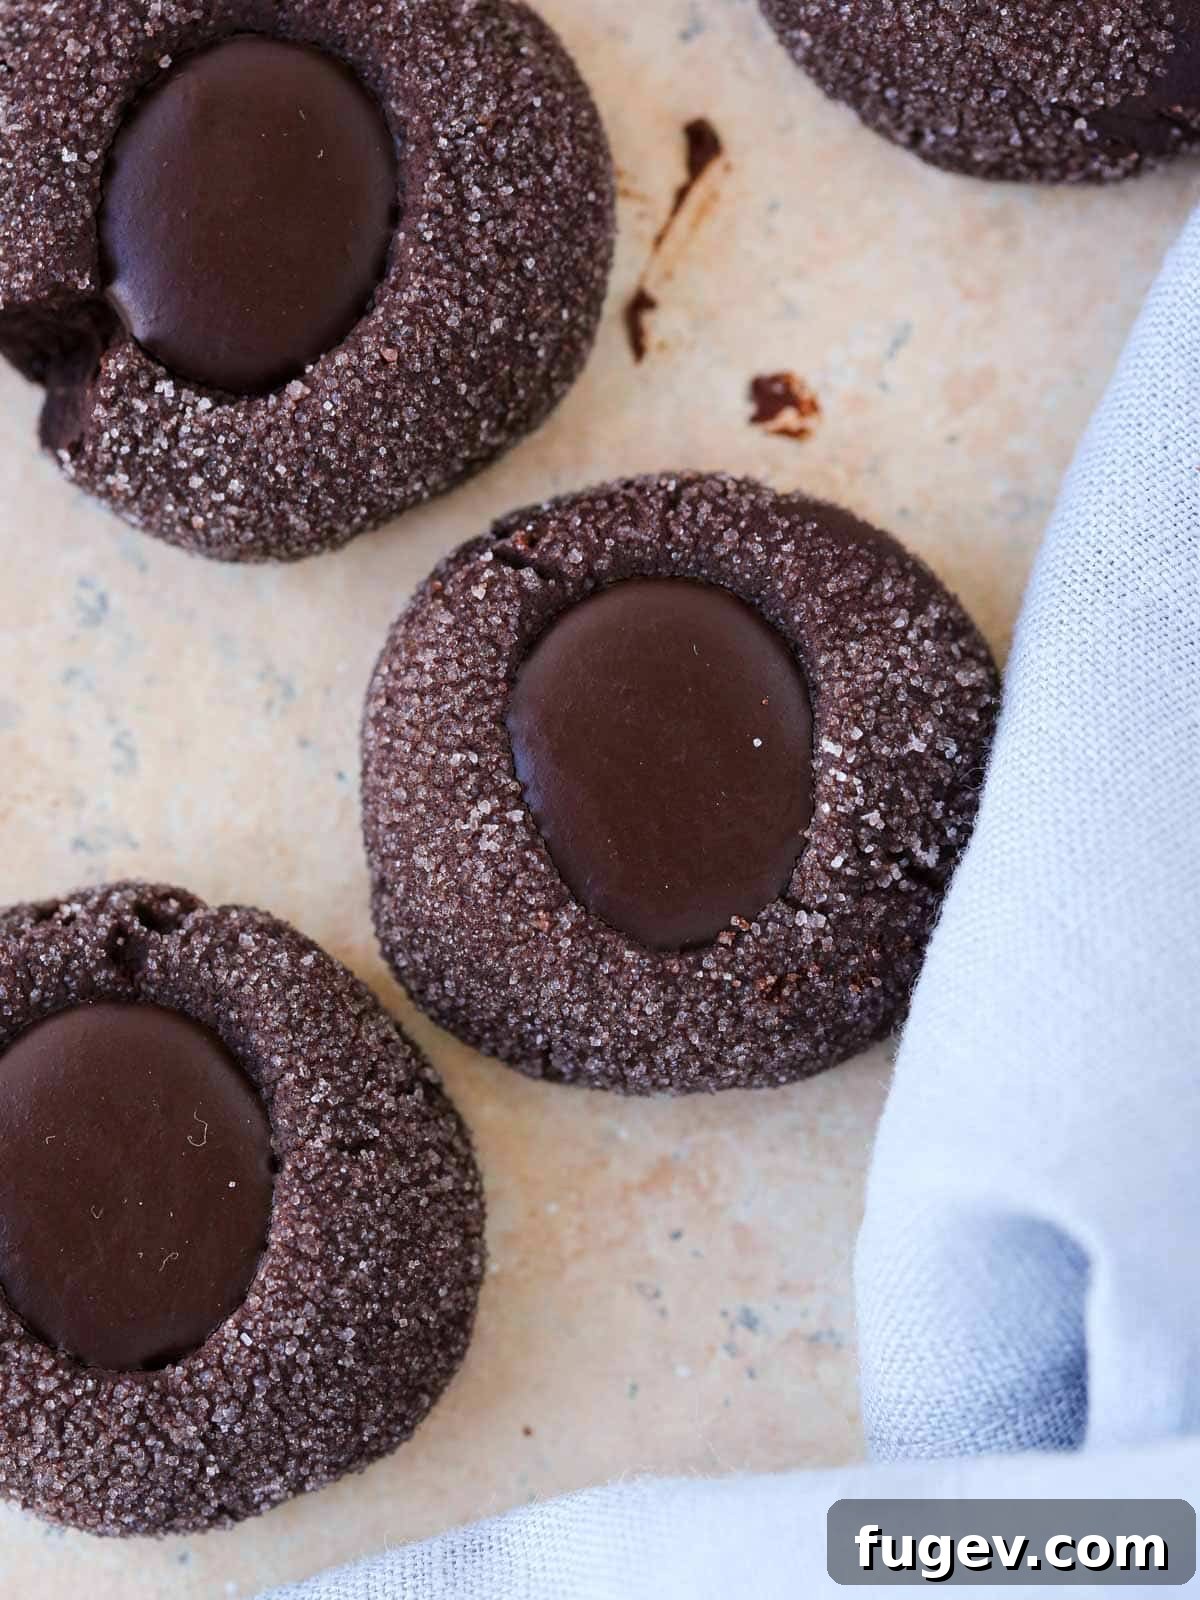
For the neatest presentation and easiest handling, allow the ganache-filled thumbprints to set at room temperature. The ganache will firm up, but remain delightfully soft and creamy. However, if your patience wears thin (which is totally understandable!), these cookies will taste absolutely delicious even if you are too eager to wait for the ganache to fully set!
Chef Lindsey’s Expert Tip for Visual Appeal
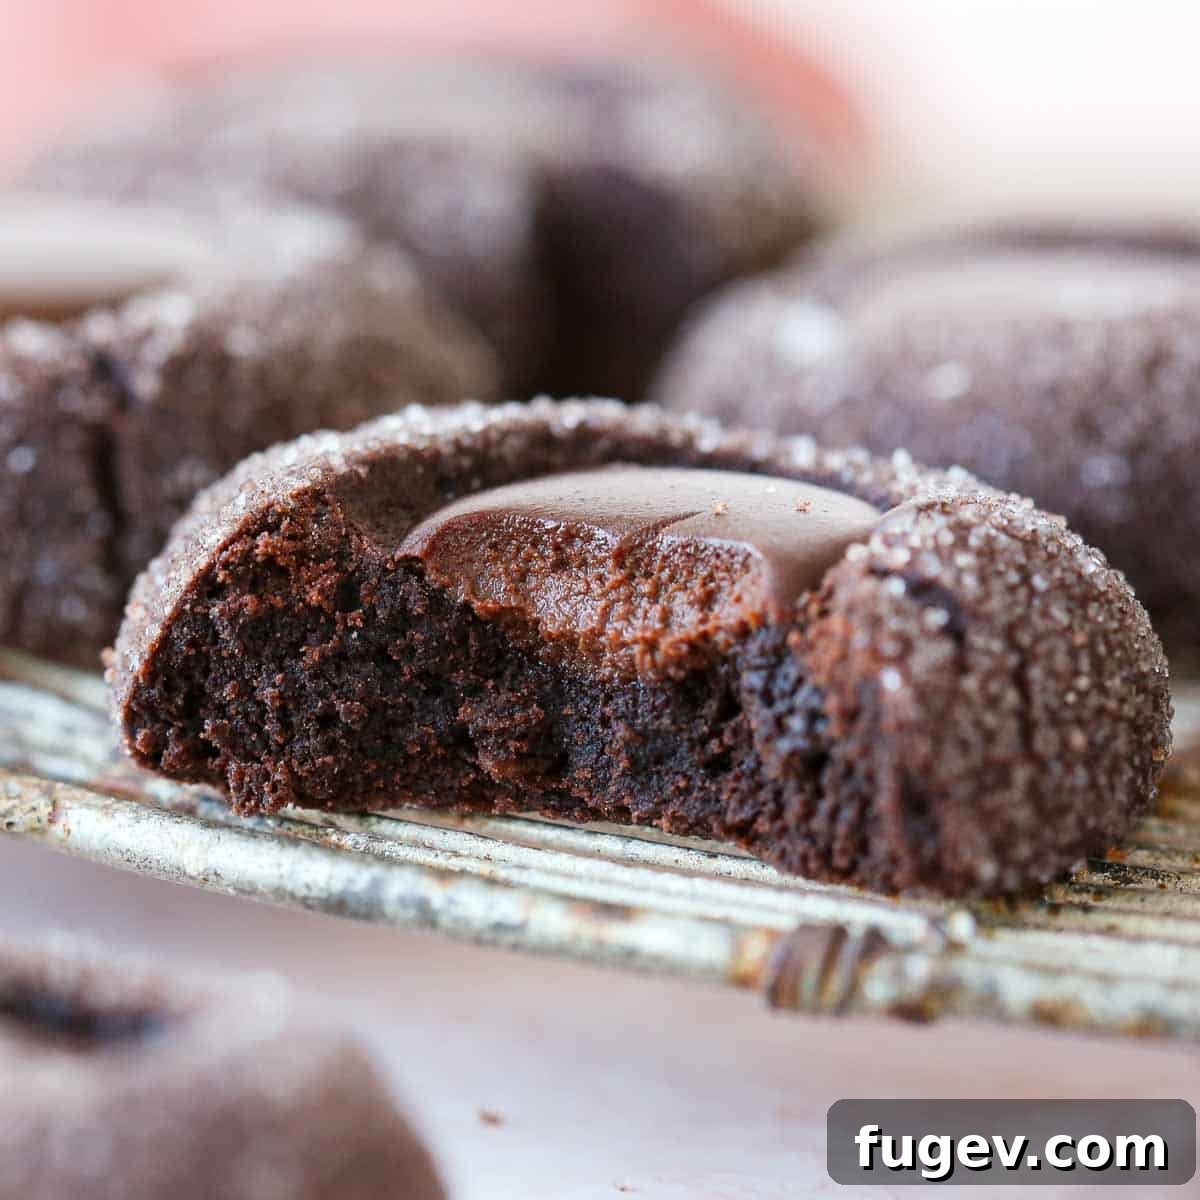
To truly elevate the visual appeal of your chocolate thumbprint cookies filled with chocolate ganache, consider adding a sprinkle of color and texture before the ganache fully sets. A pinch of crushed dehydrated strawberries, a sprinkle of colorful nonpareils, or even a dusting of contrasting cocoa powder or finely chopped nuts can make a world of difference. This little extra touch will add a delightful pop of color and an additional layer of sensory pleasure, much like the charming decorations on our Valentine’s Day cookies or simple chocolate sugar cookies.
Frequently Asked Questions About Chocolate Thumbprint Cookies
These delicious cookies are quite robust when it comes to storage! To maintain their optimal freshness and texture, store your baked chocolate thumbprint cookies in an airtight container at room temperature. They will remain wonderfully delicious for up to 10 days. While they taste best when enjoyed within the first 5 days, those filled with jam tend to stay incredibly soft and moist for the full 10 days, thanks to the inherent moisture of the jam. There is no need to refrigerate thumbprint cookies; in fact, refrigeration can sometimes alter their delicate texture, making them a bit firmer than desired. Always aim for room temperature storage for the best results.
Absolutely! Baked chocolate thumbprint cookies freeze exceptionally well for up to 3 months. To freeze them, ensure the cookies are completely cooled and any ganache filling has set. You can then arrange them in a single layer on a baking sheet and freeze until solid. Once frozen, transfer them to an airtight, freezer-safe container or a heavy-duty freezer bag, using layers of parchment paper between cookies to prevent them from sticking together. When you’re ready to indulge, simply thaw the cookies at room temperature. We generally do not recommend freezing the raw cookie dough, as its unique “cut-in” butter method and no-chill nature can make it prone to textural changes upon thawing and baking.
Cracking in thumbprint cookies is a common issue that typically occurs if the dough is too cold or if you press the indentation too aggressively. This recipe specifically calls for a room temperature dough that is soft and pliable; if it’s too cold, the butter will be too firm, leading to cracks. When making the indentations, I recommend using your index finger and pressing firmly but slowly and gently. While they are called “thumbprints,” most people’s thumbs are actually too large or too blunt for this delicate task and can cause the dough to split. If the dough does crack, don’t fret! Simply use your fingers to gently smooth and form the dough back into a round shape around the indentation. It’s an easy fix and won’t affect the final taste or appearance significantly.
If your chocolate thumbprint cookies are falling apart, it’s usually indicative of either incorrect dough temperature or overbaking. This recipe is designed as a “no-chill” dough because chilling the dough causes the butter to solidify excessively, making the dough crumbly and prone to breaking when shaped and pressed. It’s vital to shape and bake the dough immediately after mixing. If you accidentally chilled the dough, allow it to fully warm up to a soft, pliable room temperature before attempting to work with it. Additionally, overbaking can dry out the cookies, resulting in a fragile, crumbly texture. Keep an eye on the baking time and remove them from the oven as soon as their surface appears matte and set, rather than waiting for them to brown significantly.
If you tried this recipe and absolutely loved it, please consider leaving a 🌟 star rating and sharing your experience in the comments below. Your feedback truly makes my day and helps other bakers discover these delightful cookies!
The Ultimate Chocolate Thumbprint Cookies Recipe
Yield: Approximately 15 Cookies
Prep time: 10 minutes
Cook time: 12-15 minutes
Total time: Approximately 22-25 minutes
Author: Chef Lindsey
These truly are the best chocolate thumbprint cookies! Made in under 30 minutes with no chilling required, they boast a tender, moist, and intensely chocolate base. Fill them with a luscious chocolate ganache for a rich, decadent treat, or opt for a fruity raspberry or strawberry jam for a delightful contrast. Perfect for any occasion where a quick, impressive, and utterly delicious cookie is desired.
Ingredients (US Customary)
- For the Cookies:
- ½ cup (113g) unsalted butter, softened
- ⅓ cup (36g) powdered sugar (confectioners’ sugar)
- 1 cup (126g) all-purpose flour
- ⅓ cup (40g) Dutch-processed cocoa powder
- ½ tsp kosher salt
- 1 tsp vanilla extract
- ¼ cup granulated sugar, for rolling
- ⅓ cup jam of choice (e.g., raspberry, strawberry), if desired for filling before baking
- For the Chocolate Ganache Filling:
- ½ cup (approximately 85g) semi-sweet or bittersweet chocolate, finely chopped or high-quality morsels
- ½ cup (120ml) heavy cream
Instructions
Make & Bake the Cookies:
- Preheat Oven & Prep Sheet: Preheat your oven to 325°F (160°C) using the conventional setting (avoid convection). Line one baking sheet with parchment paper.
- Prepare Cookie Dough: In the bowl of a stand mixer fitted with the paddle attachment, combine the softened unsalted butter, powdered sugar, all-purpose flour, Dutch-processed cocoa powder, kosher salt, and vanilla extract. Mix on medium-low speed until a smooth, cohesive dough forms. This may take a few minutes.
- Shape & Sugar-Coat: Pinch off pieces of dough, about 1 inch (2.5 cm) in diameter. Roll each piece into a smooth ball. Then, roll the cookie dough balls in granulated sugar to coat them evenly.
- Create Indentations: Place the sugared dough balls on the prepared baking sheet, about an inch apart. Gently press your forefinger (or a small round measuring spoon) into the center of each ball to create an indentation, going about halfway through the cookie’s thickness. If using jam, pipe or spoon about ½ teaspoon of jam into each indentation before baking. If using ganache, leave them unfilled for now.
- Bake Cookies: Bake for 12-15 minutes, or until the cookie surface appears matte and no longer glossy. Rotate the baking sheet halfway through baking for even results.
- Refine Indentations (for Ganache): If filling with ganache, immediately after removing from the oven, gently press the centers down again using your finger or spoon to create a deeper well.
- Cool Completely: Transfer the baked cookies to a wire rack and allow them to cool completely before filling.
Prepare the Chocolate Ganache:
- Set Up for Ganache: While the cookies bake and cool, prepare the ganache. Place the chopped chocolate or morsels in a medium heatproof bowl.
- Heat Cream: In a small saucepan, heat the heavy cream until it just comes to a boil. Immediately pour the hot cream over the chocolate.
- Melt & Rest: Let the mixture sit undisturbed for 2 minutes to allow the chocolate to melt thoroughly.
- Whisk Ganache: After 2 minutes, begin whisking gently in the center of the bowl. Gradually expand your whisking strokes outwards until the ganache is completely smooth and emulsified. Stop whisking as soon as it’s smooth. Stir in any optional flavorings at this point.
- Cool Ganache: Transfer the ganache to a piping bag (or cover the surface with plastic wrap) and let it cool to room temperature until it’s thick enough to pipe but still fluid.
Fill Chocolate Thumbprints with Ganache:
- Fill Cookies: Once the cookies are completely cool, pipe or spoon the cooled ganache into the indentations of each chocolate thumbprint cookie.
- Set or Serve: Allow the ganache to set at room temperature for the best presentation. Alternatively, enjoy them immediately with warm, gooey ganache!
Notes
- Yield: This recipe typically yields about 15 perfectly sized chocolate thumbprint cookies.
- Presentation Options: You can either fill these cookies with your favorite jam before baking for a baked-in fruit flavor, or fill them with the rich chocolate ganache after they have cooled for a sophisticated, fresh look.
- Flavorful Variations: For an extra layer of gourmet flavor, try adding 1 tablespoon of your favorite liqueur (such as raspberry liqueur, coffee liqueur, or an orange liqueur) to the ganache after it has been emulsified.
- Storage Guidelines: Store these delightful cookies in an airtight container at room temperature. They will remain fresh and delicious for up to 10 days. For the absolute best taste and texture, it is recommended to enjoy them within 5 days. Interestingly, cookies filled with jam tend to retain their softness and moisture for the full 10 days!
- Nutrition Note: The calories and nutritional information provided below are estimates calculated based on using the chocolate ganache filling. Please note that these values may vary if you choose to use jam or make other substitutions.
Nutrition Information (Estimated Per Serving)
- Calories: 174 kcal
- Carbohydrates: 17g
- Protein: 2g
- Fat: 12g
- Saturated Fat: 7g
- Polyunsaturated Fat: 0.5g
- Monounsaturated Fat: 3g
- Trans Fat: 0.3g
- Cholesterol: 26mg
- Sodium: 82mg
- Potassium: 81mg
- Fiber: 1g
- Sugar: 8g
- Vitamin A: 309 IU
- Vitamin C: 0.05mg
- Calcium: 15mg
- Iron: 1mg
Course: Dessert
Cuisine: American
Before You Go: Explore More Delicious Recipes
We sincerely hope you thoroughly enjoyed this professional chef-tested recipe for the best chocolate thumbprint cookies. If you’re a passionate baker eager to discover more delectable treats and expand your culinary skills, be sure to explore our extensive collection of chocolate dessert recipes, ranging from rich cakes and fudgy brownies to other delightful cocoa-infused creations. Or, perhaps you’re in the mood for something entirely different? Feel free to peruse our vast selection of over 200 cookie recipes, featuring everything from timeless classic favorites to innovative and seasonal creations like these refreshing lemon blueberry cookies! Happy baking, and enjoy your sweet journey!