
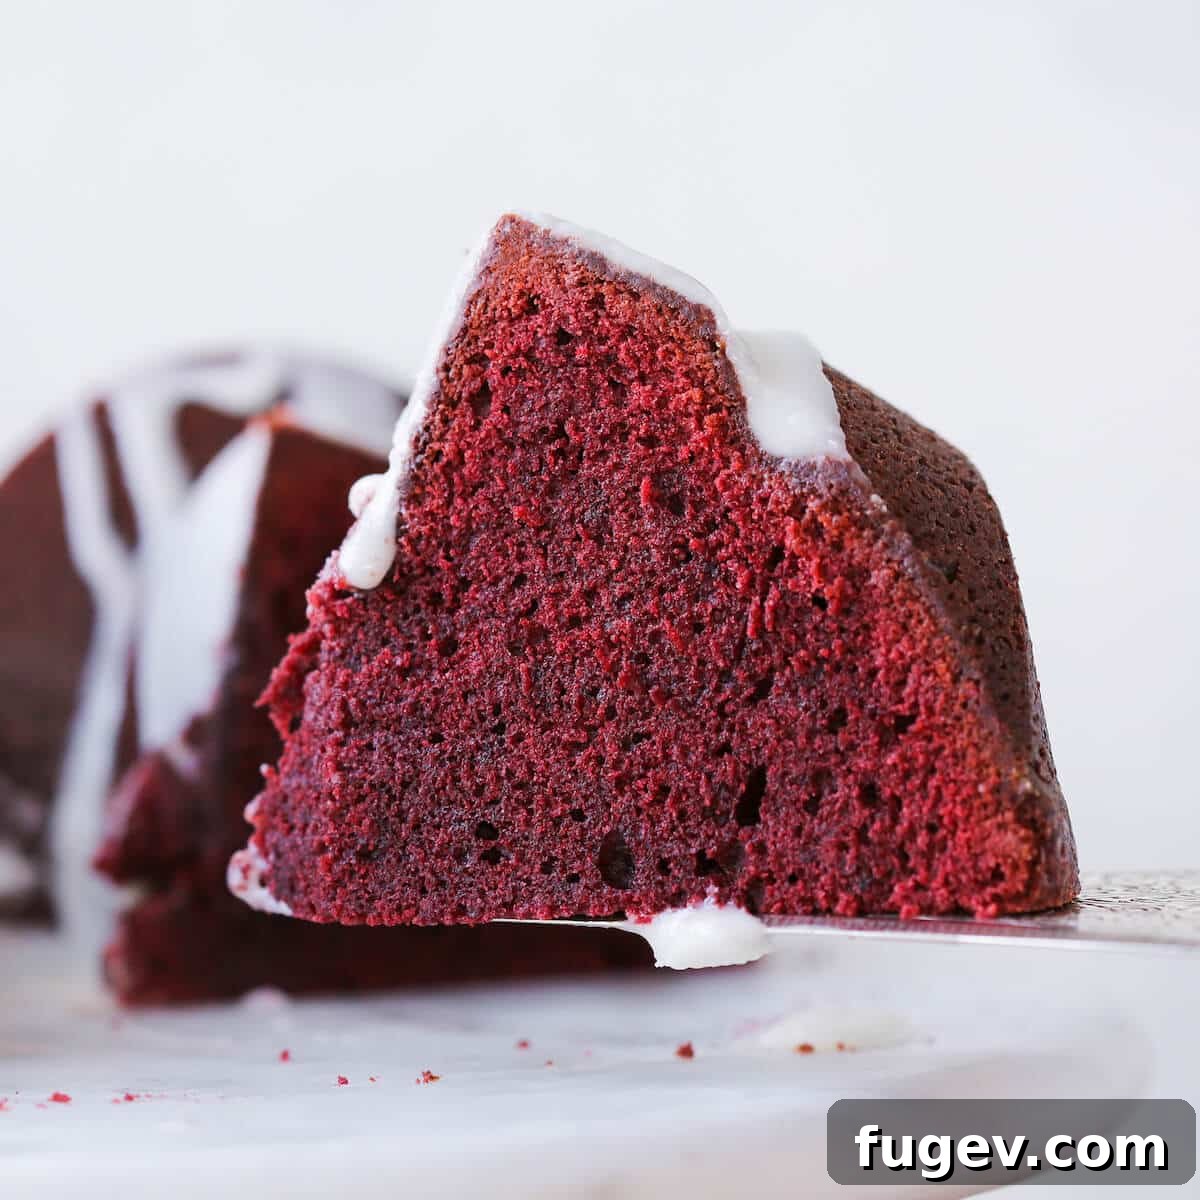
The Ultimate Red Velvet Pound Cake with Irresistible Cream Cheese Glaze
Prepare to be enchanted by this exquisite Red Velvet Pound Cake recipe! Each slice promises a truly moist, wonderfully dense, and incredibly tender experience. It delivers that signature subtle chocolatey flavor, balanced with a decadent richness that is simply irresistible. Crowned with a luxurious cream cheese glaze, this cake locks in moisture and adds a delightful tangy sweetness that elevates it to perfection. Imagine all the beloved flavors of the best red velvet layer cake, now masterfully transformed into a comforting and elegant pound cake!
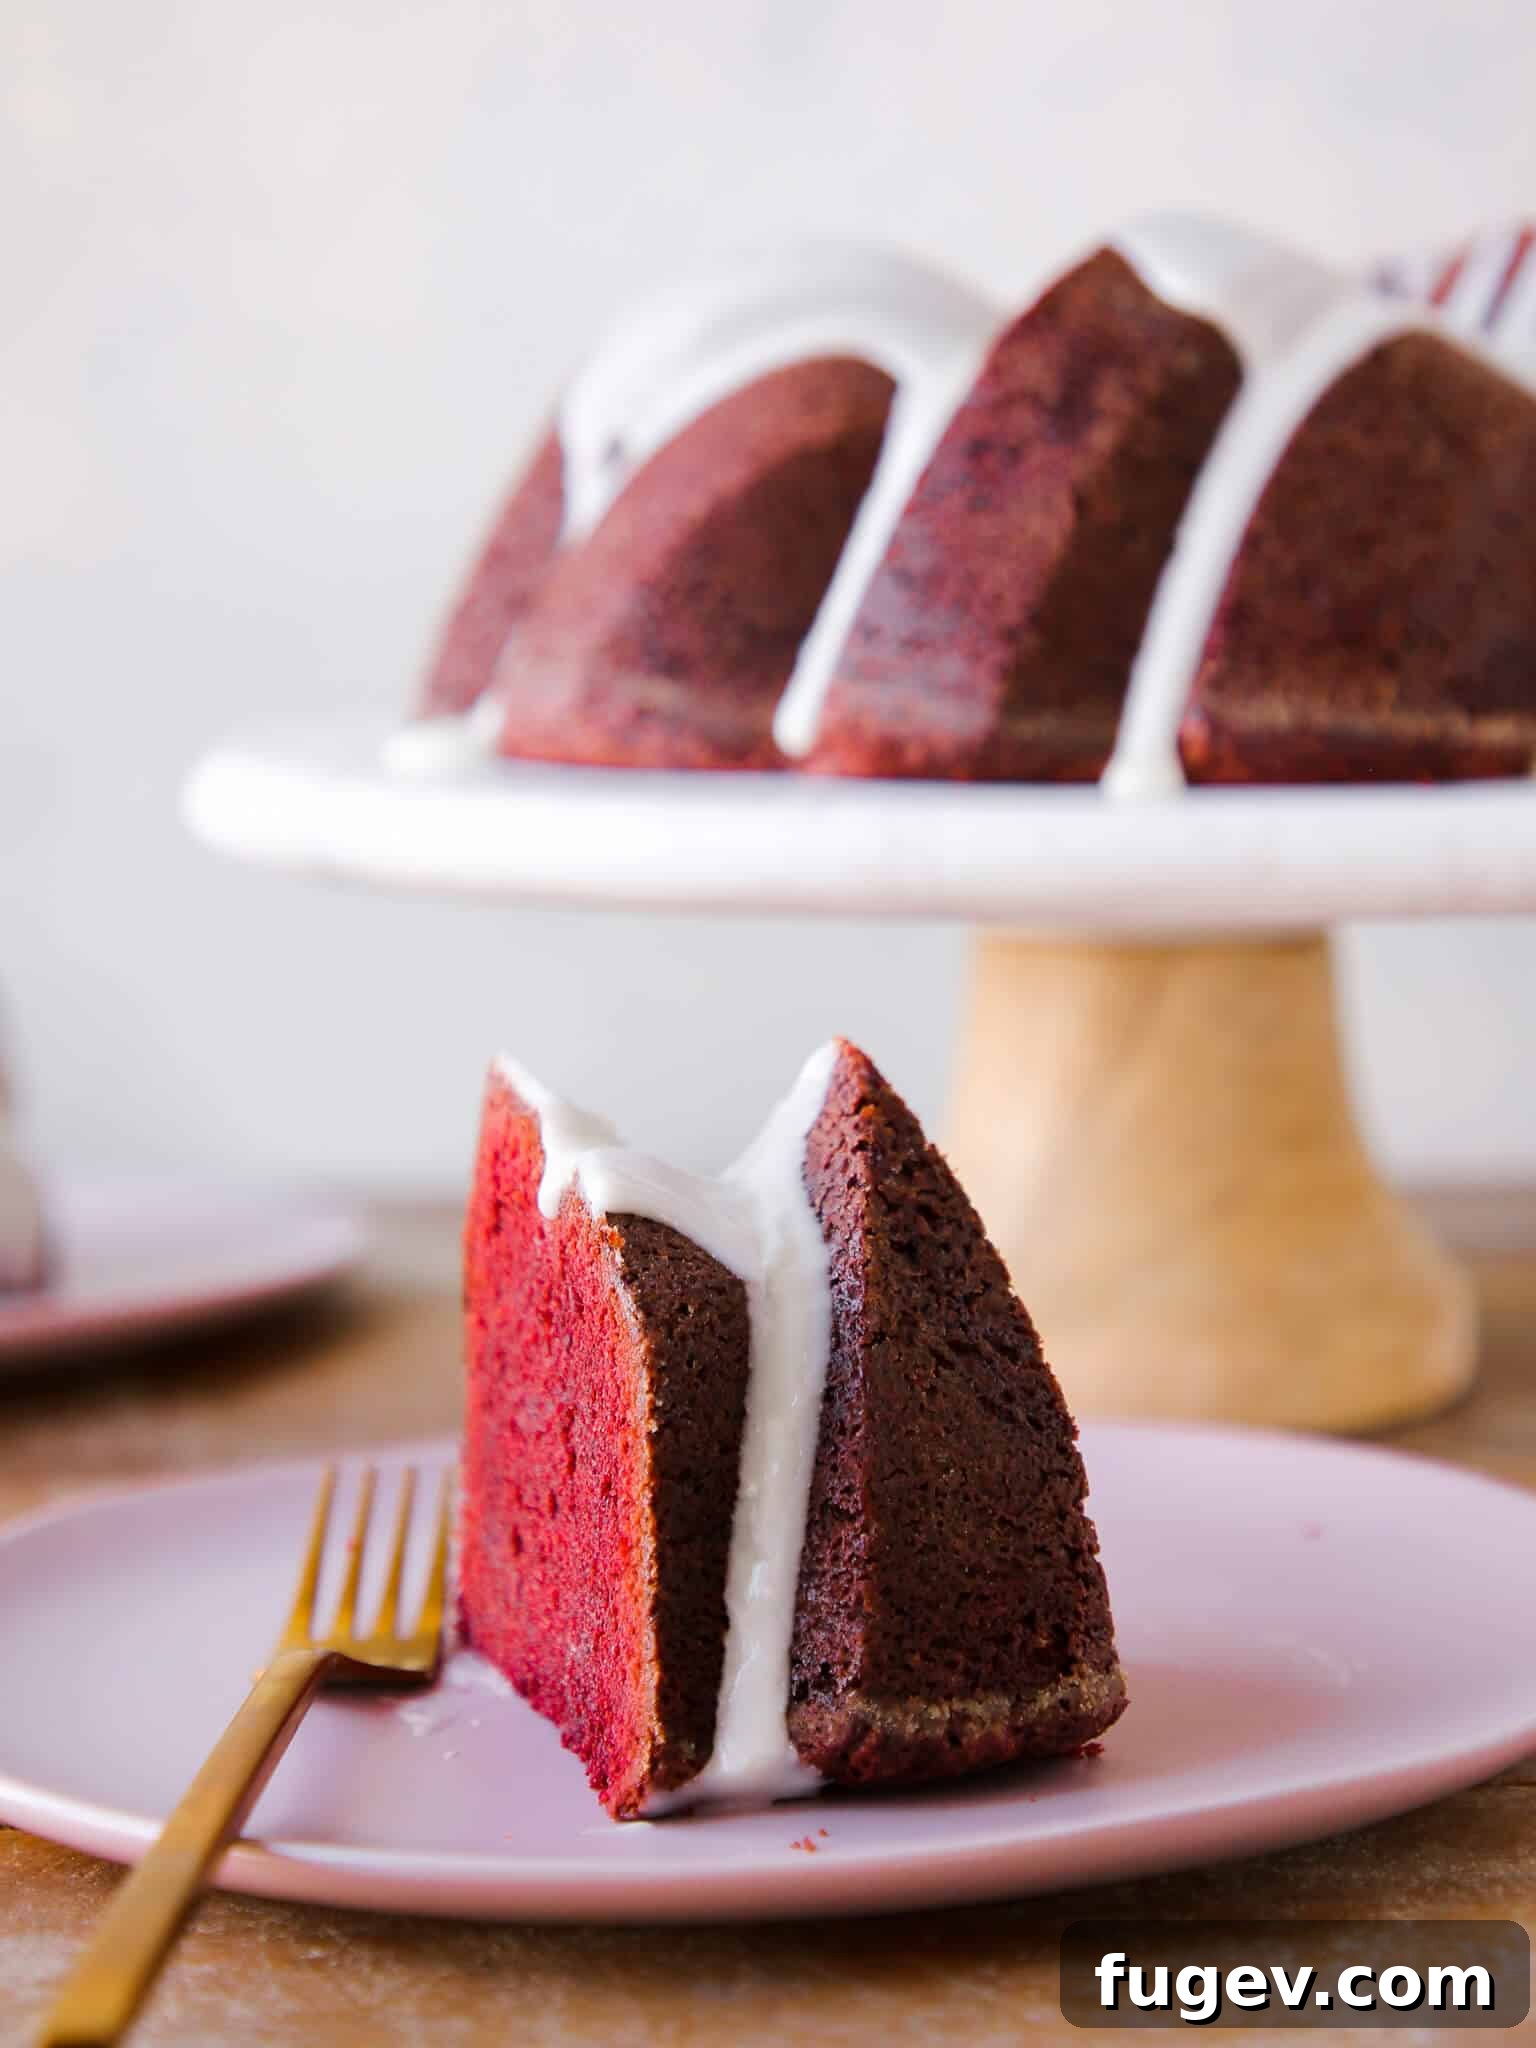
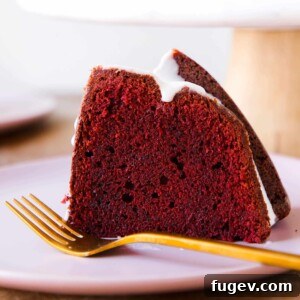
This magnificent red velvet pound cake isn’t just a dessert; it’s a statement. Its striking vibrant red hue, adorned with a beautifully drizzled cream cheese glaze, beckons with every glance. The crumb is mouthwateringly tender, delivering that iconic, sinful red velvet flavor we all know and adore. What’s more, it unmolds flawlessly from its pan, making for a truly impressive presentation. My passion for red velvet runs deep, so much so that I’ve even crafted a delightful red velvet cookie version to satisfy every craving!
I hold a special appreciation for the charm and versatility of bundt cakes. From my comforting Sour Cream Pound Cake to the autumnal Maple Pound Cake, the fruity Cherry Almond Pound Cake, and the rich Chocolate Pound Cake, the possibilities are endless. And if by some miracle there are any leftovers of this red velvet marvel, they can be wonderfully repurposed into a festive red velvet raspberry trifle.
Table of Contents
- Why This Red Velvet Pound Cake is a Must-Try
- Professional Baking Secrets for Pound Cake Perfection
- The Enigma of Red Velvet: Is Its Color Always from Dye?
- Essential Ingredients for Your Red Velvet Masterpiece
- Smart Substitutions for Your Baking Needs
- Creative Variations for Your Cream Cheese Glaze
- Step-by-Step Guide to Crafting Red Velvet Pound Cake
- Chef Lindsey’s Essential Baking Wisdom
- Preventing Sticky Situations: Bundt Cake Pan Preparation
- Frequently Asked Questions About Red Velvet Pound Cake
- Complete Red Velvet Pound Cake Recipe
- Explore More Delicious Recipes
Why This Red Velvet Pound Cake is a Must-Try
This isn’t just another cake recipe; it’s a culinary experience waiting to happen. Here’s why you’ll fall head over heels for this particular Red Velvet Pound Cake:
- A Symphony of Texture and Taste: This cake perfectly marries density with a tender, moist crumb. Each bite offers a delightful contrast: a rich, velvety interior encased by the subtle crunch of the cream cheese glaze. The flavor profile is an exquisite blend of mild cocoa and a gentle tang, creating a truly sophisticated dessert. It’s a classic for a reason, and this recipe elevates it to extraordinary heights.
- Mastered by a Professional Pastry Chef: Rest assured, this recipe is a culmination of extensive testing and refinement by a seasoned pastry chef. I’ve meticulously balanced every ingredient, ensuring flawless ratios measured by both weight and volume. The result is a straightforward, no-fuss, step-by-step process that guarantees professional-level results in your home kitchen every time.
- A Show-Stopping Scarlet Hue: The cake’s brilliant, captivating red color makes it an instant showstopper. It’s perfectly festive for joyous holidays like Valentine’s Day and Christmas, adding a pop of vibrant cheer to any celebration. Yet, its timeless appeal makes it a beloved classic that can be enjoyed and admired year-round, simply because it’s so beautifully delicious.
Professional Baking Secrets for Pound Cake Perfection
Achieving the perfect pound cake texture requires a few professional insights. Follow these tips for a truly exceptional Red Velvet Pound Cake:
- Mastering the Creaming Method: It’s crucial to avoid over-creaming your butter and sugars. The goal for a dense pound cake is to cream them just until they form a thick, cohesive paste. Over-creaming incorporates too much air, leading to a lighter, more cake-like texture rather than the signature dense crumb of a pound cake. This controlled creaming ensures that rich, compact mouthfeel.
- Vigilant Baking for Optimal Moisture: Overbaking is the arch-nemesis of a moist cake. Keep a close eye on your pound cake as it bakes. Even with generous amounts of butter, sugar, and sour cream in the batter, prolonged baking will inevitably lead to a dry cake. Begin checking for doneness at the earlier end of the suggested baking time to prevent this common pitfall.
- The Art of Two-Stage Cooling: Proper cooling is paramount for texture and structural integrity. Allow your cake to cool in its pan for precisely 20 minutes before carefully inverting it onto a wire rack. Cooling fully in the pan allows the delicate structure to set. Cutting the cake while it’s still warm will compress the crumb, resulting in a less desirable texture. Patience during the cooling process is truly a virtue for the perfect pound cake slice.
The Enigma of Red Velvet: Is Its Color Always from Dye?
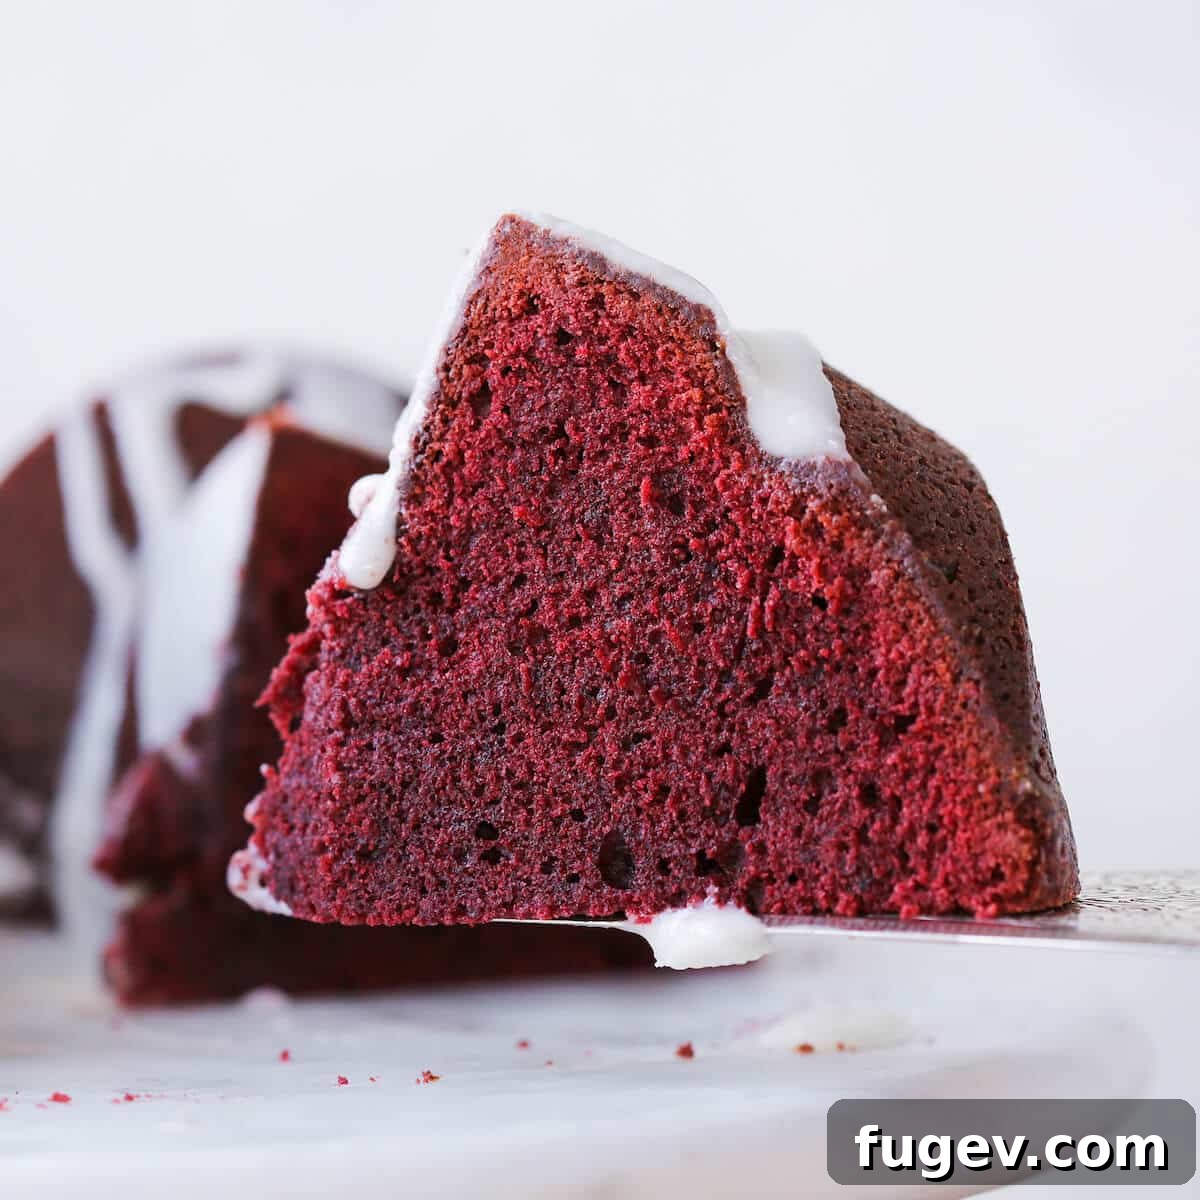
While this particular Red Velvet Pound Cake recipe does utilize red food coloring to achieve its famously rich, vibrant crimson hue, the origin of red velvet cake’s color is a fascinating piece of culinary history. Traditionally, the subtle red or reddish-brown tint in earlier versions of red velvet cake was not due to artificial dyes. Instead, it was a natural chemical reaction that occurred between non-Dutch processed cocoa powder and acidic ingredients, typically white vinegar or buttermilk, which were staples in the original recipes. This reaction would enhance the natural reddish undertones present in certain cocoa powders, creating a beautiful, albeit more subdued, red color. Modern recipes often use red food dye for a more dramatic and consistent color, but understanding its roots adds to the cake’s allure.
Essential Ingredients for Your Red Velvet Masterpiece
Each ingredient in this Red Velvet Pound Cake recipe plays a vital role in creating its signature texture and flavor. Here’s a closer look at what makes this cake so special:
- Unsalted Butter: The foundation of any great pound cake, unsalted butter provides rich flavor and contributes significantly to the cake’s tender crumb. Using unsalted butter allows you to control the overall salt content of the recipe.
- Granulated Sugar: A generous amount of granulated sugar is key, not only for sweetness but also for achieving that tight, fine crumb that melts in your mouth. It helps tenderize the cake and prevents it from becoming tough.
- Light Brown Sugar: Adding light brown sugar introduces a deeper, more nuanced sweetness with subtle caramel notes. Its molasses content also adds extra moisture, enhancing the cake’s overall richness and keeping it incredibly moist.
- Whole Eggs: Eggs are multitaskers in baking, contributing fat for richness, moisture for tenderness, and a touch of leavening. They also help bind the ingredients together, creating a stable and even structure.
- All-Purpose Flour: All-purpose flour provides the perfect balance of gluten to give the pound cake its characteristic dense yet tender texture, without being overly delicate or too chewy.
- Dutch Processed Cocoa Powder: I specifically use Dutch processed cocoa powder in this recipe, much like in my Easy Chocolate Pie Recipe. This type of cocoa has been treated with an alkaline solution, neutralizing its acidity. This results in a darker, milder chocolate flavor, which is ideal for red velvet where the cocoa is meant to be subtle and not overpower the other flavors.
- Kosher Salt: A pinch of kosher salt is essential for balancing and enhancing all the flavors in the cake, preventing it from tasting overly sweet and bringing out the nuances of the cocoa and vanilla.
- Sour Cream: Sour cream is a secret weapon for moisture and tenderness in pound cakes. Its high fat content and relatively low liquid contribute exceptional flavor, lock in moisture, and work to soften gluten development, yielding that incredibly dense, moist, and tender texture. It performs similar magic in my Best Red Velvet Cupcake Recipe!
- Baking Soda: You might notice only a small amount—a mere ¼ teaspoon—of baking soda. While it may seem odd, this tiny quantity is precisely what’s needed. It immediately reacts with the acid present in the sour cream and cocoa powder, providing just enough leavening to give the pound cake a slight lift without altering its dense nature.
- Vanilla Extract: Vanilla extract not only imparts its own beautiful, aromatic flavor but also acts as a flavor booster, intensifying the richness and complexity of other ingredients like brown sugar and cocoa.
- Red Food Dye: The red food dye, along with vanilla, constitutes the primary liquid components in this cake. If you choose to omit it for a more natural approach, it’s crucial to substitute it with an equal amount of another liquid, such as brandy or water, to maintain the correct batter consistency.
- Confectioner’s Sugar: Also known as powdered sugar, confectioner’s sugar is finely ground, making it perfect for smooth glazes and buttercreams. In our cream cheese glaze, it creates that desirable hard, crackled finish, much like in my Donut Glaze Recipe!
- Whole Milk: Used in the glaze, whole milk provides the necessary liquid to achieve the perfect pourable consistency while adding to the richness.
- Cream Cheese: For the ultimate tangy and smooth glaze, I exclusively use original Philadelphia Cream Cheese. Its consistent quality and rich flavor are unmatched for all my baked goods, including decadent frostings and buttercreams.
Please refer to the complete recipe card below for precise measurements and additional details on these high-quality ingredients.
Smart Substitutions for Your Baking Needs
While this recipe is optimized for the listed ingredients, here are some thoughtful substitutions you can consider:
- Cocoa Powder: If Dutch processed cocoa powder isn’t readily available, you can substitute it with standard, natural cocoa powder. The flavor difference will be subtle; natural cocoa is slightly more acidic and can have a brighter chocolate note. However, given the small amount of cocoa in this recipe, the overall impact on the finished taste will be minimal.
- Red Food Dye: For those who prefer to skip artificial coloring, you can replace the red food dye with an equal amount of water to maintain the liquid balance in the batter. If you choose this route, I would highly recommend using standard, natural cocoa powder instead of Dutch processed. Natural cocoa will react with the acid in the sour cream, potentially producing a more traditional, rustic reddish-brown hue in your cake.
- Sour Cream: I always advocate for full-fat dairy in baking, as the fat content significantly contributes to superior texture and a more intense flavor. However, if dietary restrictions require it, low-fat sour cream or even plain Greek yogurt can often be substituted. Be aware that lower-fat versions tend to break more easily when heated or exposed to acid, which might subtly affect the final texture of the cake, making it slightly less rich or moist.
- Cake Flour: For an even finer, slightly lighter crumb (though still dense), you could certainly substitute cake flour for the all-purpose flour. Cake flour has a lower protein content, which results in a more tender product. If using cake flour, be sure to sift it thoroughly before measuring to ensure a lump-free, aerated batter.
Creative Variations for Your Cream Cheese Glaze
While the classic cream cheese glaze is a dream, don’t hesitate to get creative with your cake’s crowning glory:
- Glaze or Full Frosting: This recipe features a delicate drizzle of an easy cream cheese glaze, which offers a beautiful, crackled finish. However, if you crave a more substantial and indulgent topping, you could opt to generously mound the top of your bundt cake with my all-time favorite cream cheese buttercream. Its creamy texture provides a luxurious contrast to the dense cake.
- A Decadent Caramel Version: For a delightful twist, consider a caramel topping. The luscious easy caramel frosting from these caramel cupcakes would be absolutely divine. Alternatively, a simple drizzle of my homemade, warmed salted caramel sauce would add a rich, buttery, and slightly salty counterpoint to the sweet red velvet.
- An Indulgent Chocolate Rendition: Embrace the chocolatey undertones of the red velvet by pairing it with a rich chocolate topping. While it may seem unconventional, don’t underestimate the moistness and deliciousness of a chocolate zucchini bundt cake, particularly its decadent chocolate fudge glaze! This intense fudge glaze would be an exceptionally decadent addition to your red velvet pound cake, creating an irresistible dual-chocolate experience.
Step-by-Step Guide to Crafting Red Velvet Pound Cake
Creating this stunning Red Velvet Pound Cake is a rewarding process. Follow these detailed instructions for baking success. Further details and precise measurements can be found in the recipe card below!
Make Cake Batter:
Step 1: Pan Preparation is Key. Begin by preheating your oven to 325°F (160°C), whether using convection or a standard oven. This precise temperature ensures an even bake. Next, prepare your bundt pan meticulously. Generously spray it with a high-quality non-stick cooking spray, ensuring every crevice is covered. Then, lightly dust the entire interior with all-purpose flour, tapping the pan and rotating it until every inch of the sprayed surface is evenly coated. This step is crucial for an easy release.
Step 2: Combine Dry Ingredients. In a medium-sized mixing bowl, whisk together the all-purpose flour, Dutch processed cocoa powder, baking soda, and kosher salt. Whisk vigorously for about 30 seconds to ensure all ingredients are thoroughly combined and evenly distributed. This prevents pockets of leavening agents or salt in the finished cake.
Step 3: Cream Butter and Sugars. In the bowl of a stand mixer fitted with the paddle attachment, cream together the softened unsalted butter, granulated sugar, and light brown sugar. Beat on medium speed just until a thick, uniform paste forms. This typically takes 2-3 minutes. Avoid over-creaming, as we want to minimize air incorporation for that dense pound cake texture. Next, add the eggs one at a time, beating well after each addition and stopping to scrape down the sides and bottom of the bowl frequently with a rubber spatula to ensure everything is fully incorporated.
Step 4: Incorporate Wet and Dry Alternately. Reduce the mixer speed to low. Begin to alternately add the whisked dry ingredient mixture and the sour cream to the butter-sugar-egg mixture. Start and end with the flour mixture. Add about one-third of the flour, mix briefly until just combined, then add half of the sour cream, mixing until just barely incorporated. Repeat with another third of the flour, the remaining sour cream, and finally the last of the flour. The key is to mix only until the ingredients are just combined before the next addition to prevent overdeveloping the gluten. Your batter will be thick.
Chef’s Streamlined Technique: A little professional secret for efficiency – I often don’t wait for each batch of flour to be fully incorporated before adding the next. Instead, I continuously add the flour and sour cream with both hands, allowing for a more fluid mixing process. However, I always pause the mixer to add the last portion of sour cream and scrape the bowl meticulously with a rubber spatula to ensure every bit of rich sour cream is mixed in.
Step 5: Add Color and Flavor. Once all the dry ingredients and sour cream are fully incorporated, gradually add in the red food dye and vanilla extract. Pour them slowly into the mixer bowl as it runs on low speed. Once added, increase the mixer speed to medium-high for about 30-60 seconds to ensure everything is thoroughly combined and the color is evenly distributed throughout the batter. Your batter should transform into a silky, smooth, and vibrant red consistency.
Pro-Tip for Handling Food Dye: I emphasize adding the red food dye gradually for a practical reason: it’s a significant amount of dye! Pouring it in too quickly can lead to splashes, potentially staining your countertops and clothing. A slow, steady stream ensures a clean and even incorporation.
Bake and Glaze:
Step 6: Bake to Perfection. Carefully pour the finished red velvet batter into your meticulously prepared bundt pan. Use a rubber spatula to gently smooth the top surface of the batter. Place the pan in your preheated oven. Bake until a cake tester, when inserted into the thickest part of the cake, comes out with only a few moist crumbs clinging to it. My oven typically bakes this cake in about 70 minutes, but individual oven variations mean yours could take anywhere from 60 to 85 minutes. Begin checking around the 60-minute mark.
Step 7: Cool and Release. Once baked, remove the cake from the oven and allow it to cool in the pan for precisely 20 minutes. This cooling period is critical; it allows the cake to firm up slightly and pull away from the pan edges. After 20 minutes, carefully loosen the edges of the cake from the pan with a thin paring knife or offset spatula. Then, invert the cake onto a wire rack. Allow the cake to cool completely, undisturbed, on the wire rack before proceeding. This can take several hours, but it’s essential for optimal texture.
Perfectionist’s Trim: If you’re a true perfectionist and your cake has a slight dome or uneven top after cooling, you can gently level it with a serrated knife. Don’t let those delicious scraps go to waste – they’re a chef’s perk!
Step 8: Prepare the Glaze. While your beautiful cake is cooling, it’s the perfect time to prepare the luxurious cream cheese glaze. In a medium bowl, whisk together the confectioner’s sugar, whole milk, and softened cream cheese until the mixture is completely smooth and free of lumps. If the glaze is too thick, add a tiny bit more milk (half a teaspoon at a time) until it reaches a pourable but not watery consistency. If it’s too thin, whisk in a tablespoon more confectioner’s sugar.
Step 9: Drizzle and Serve. Once the cake is completely cooled to room temperature, generously drizzle the prepared cream cheese glaze over the top. Allow the glaze to set for approximately 30 minutes. This setting time allows the glaze to harden slightly, creating that delightful crackled surface. Then, slice into your magnificent Red Velvet Pound Cake and enjoy!
Chef Lindsey’s Essential Baking Wisdom
While pound cake may appear deceptively simple at first glance, its perfection is truly a delicate dance, a precise balance of ingredients. For consistent, professional-quality results, I cannot stress enough the importance of weighing your ingredients with a kitchen scale. The size of eggs can vary significantly, and a “cup” of flour, depending on how it’s scooped and packed, can easily differ by as much as 50 grams from one baker to another. If you must measure by volume, employ the ‘fluff, spoon, and level’ method: fluff your flour in its bag or container, then gently spoon it into your measuring cup until it mounds slightly. Use the straight edge of a knife or an offset spatula to level off the excess, but whatever you do, resist the urge to tap or compress the flour in the cup. This method ensures a more accurate measurement and helps prevent a dense or dry cake.
Preventing Sticky Situations: Bundt Cake Pan Preparation
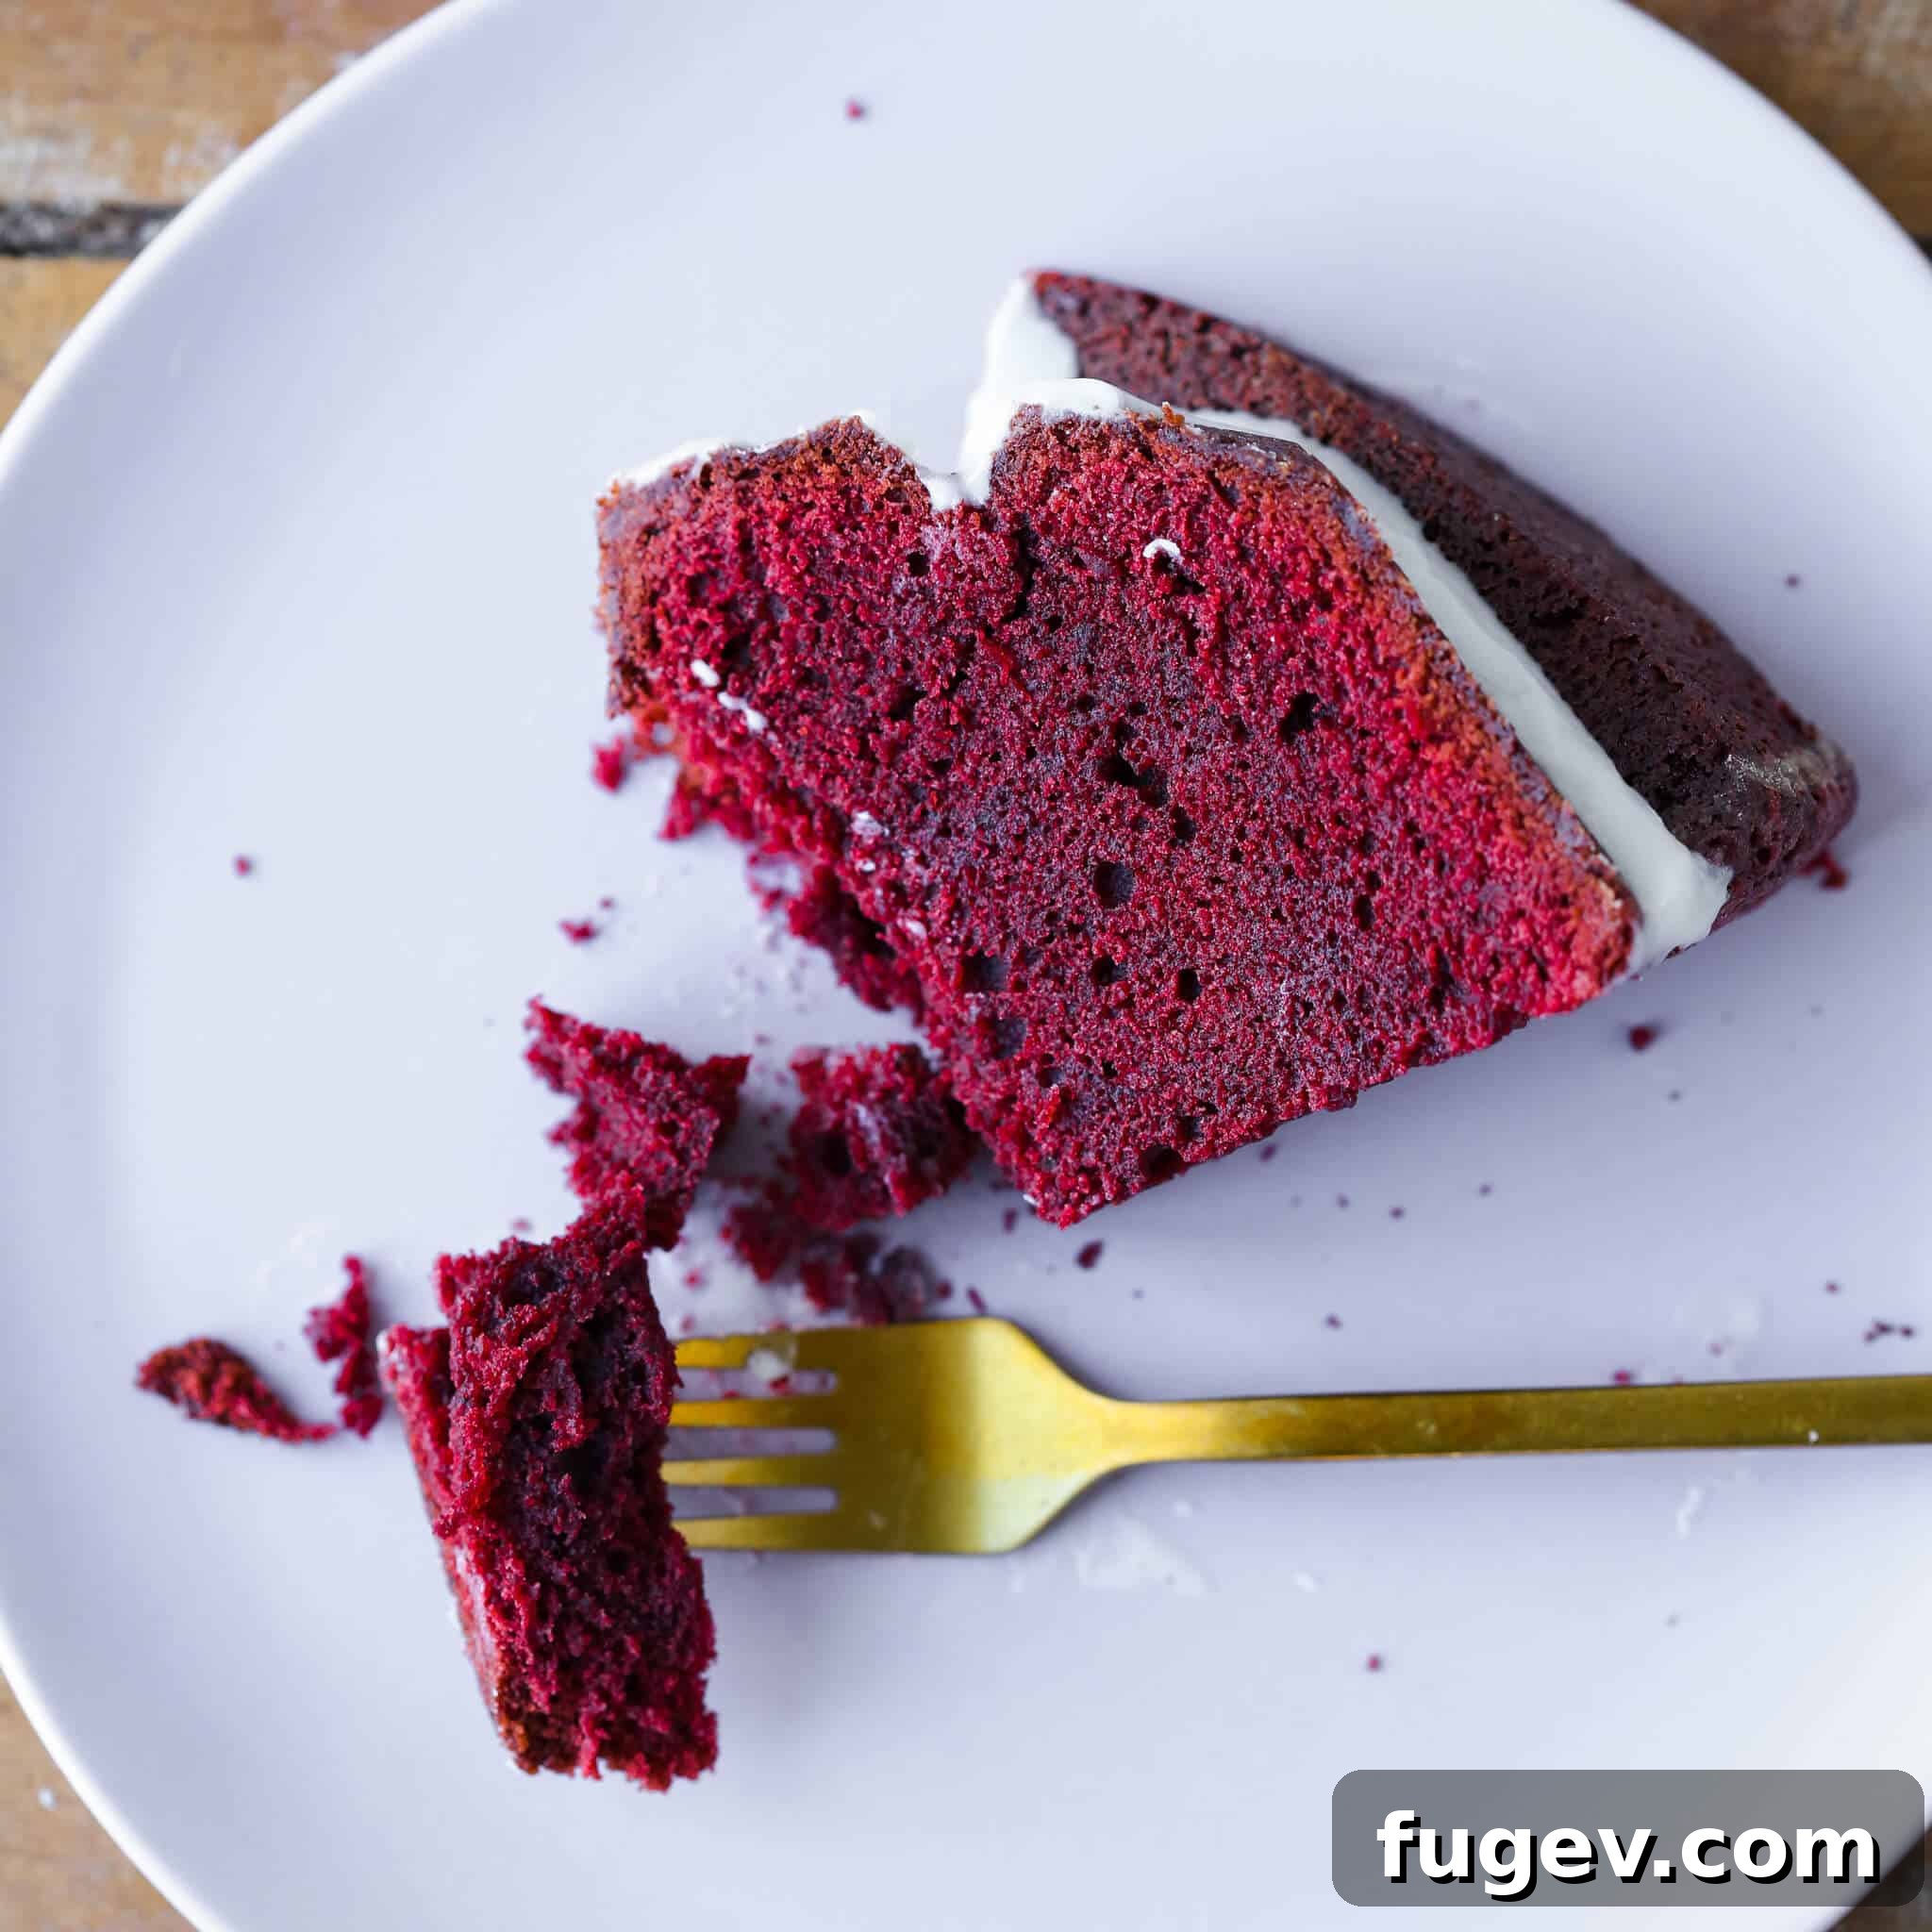
A pristine bundt cake release is the ultimate baker’s triumph, and it all comes down to impeccable pan preparation. Never underestimate the power of a meticulously greased and floured pan, especially when working with a detailed bundt pan like the one I used. Those intricate designs, while beautiful, are prime areas for sticking. To ensure “no cake left behind,” I go the extra mile: after the initial spray and flour dust, I actually add a small amount of extra flour back into the pan and thoroughly tap and rotate it a second time, ensuring every single millimeter of the surface, particularly the small crevices, is completely coated. This creates a foolproof barrier. After coating, tap out any excess flour vigorously. This prevents unsightly “weird patches” or clumps of flour on the exterior of your beautiful, baked cake. A perfectly prepared pan is your guarantee for a smooth, picture-perfect release every single time.
Frequently Asked Questions About Red Velvet Pound Cake
To maintain optimal freshness and moisture, store Red Velvet Pound Cake well wrapped in plastic wrap or in an airtight container. It can be kept at room temperature for up to 5 days. For longer storage, refrigerate for up to two weeks or freeze for an impressive 3 months. For the very best taste and texture, aim to serve the cake within 2 days of baking, or opt for freezing if you plan to enjoy it later.
This pound cake is already incredibly delicious on its own with its thick cream cheese glaze. To elevate the experience, I love serving it with a scoop of creamy vanilla bean ice cream. For chocolate enthusiasts, a warm drizzle of rich fudge sauce will truly amplify its subtle cocoa notes. Alternatively, add a fun and gourmet twist with a swirl of my homemade salted caramel sauce – the salty-sweet combination is simply divine!
This recipe is developed for a standard 10-12 cup bundt pan. If you use a smaller pan, you may have excess batter, and it will overflow. If you use a larger pan, the cake will be shallower and may bake faster. Always fill your chosen pan no more than two-thirds full to allow for rising. Adjust baking time accordingly if you use a different pan size – smaller pans might need slightly less time, larger pans might need more, and different shapes can affect baking consistency.
A dry pound cake is most commonly a result of overbaking. Pound cakes are dense, and it can be tricky to tell when they’re done. Always start checking for doneness at the earliest recommended time. Another factor can be incorrect ingredient measurement, particularly flour. Too much flour (especially if measured by volume and compressed) can absorb too much moisture. Ensuring your butter and sour cream are at room temperature also helps with proper emulsification and moisture retention.
If you tried this recipe and absolutely loved it, please take a moment to leave a 🌟 star rating and share your thoughts in the comments below. Your feedback truly brightens my day!
Red Velvet Pound Cake
Chef Lindsey
20 mins
1 hr
10 mins
1 hr
30 mins
24 people
Comment
Print Recipe
Equipment
-
Detailed Bundt Pan
Ingredients (US Customary)
For the Cake:
- 1 ½ cups unsalted butter
- 2 ¼ cups sugar
- ¾ cups light brown sugar
- 6 eggs
- 2 ½ cups all purpose flour *see note
- 6 ½ tablespoons cocoa powder
- 1 teaspoon kosher salt
- ¼ teaspoon baking soda
- 1 cup sour cream
- 2 teaspoons vanilla extract
- 2 tablespoons red food dye
Cream Cheese Glaze:
- 3 ⅔ cups confectioner’s sugar
- 6 tablespoons milk
- ⅔ cups cream cheese room temperature
Instructions
Make cake batter:
- Preheat the oven to 325°F (160°C) and meticulously prepare your bundt pan. Spray it generously with cooking spray and then dust it with flour, tapping the flour around until every inch is covered for a perfect release.
- In a medium bowl, whisk together the dry ingredients: all-purpose flour, Dutch processed cocoa powder, baking soda, and kosher salt. Whisk well to combine evenly.
- In the bowl of a stand mixer fitted with the paddle attachment, cream together the softened unsalted butter, granulated sugar, and light brown sugar until a thick paste forms (about 2-3 minutes). Beat in the eggs one at a time, ensuring each is fully incorporated before adding the next, and scrape down the sides of the bowl as you go.
- Switch the mixer speed to low. Alternately add the flour mixture and sour cream to the butter mixture, starting and ending with flour. Mix only until each addition is just combined before adding the next to avoid overmixing.
- Once all ingredients are added, gradually pour in the red food dye and vanilla extract. Turn the mixer speed up to medium for 30-60 seconds to ensure everything incorporates evenly. Your finished batter will be silky smooth and vibrantly red.
Bake and glaze:
- Pour the batter into the prepared bundt pan and smooth the top gently with a spatula. Bake in the preheated oven until a cake tester inserted into the center comes out with a few moist crumbs clinging to it. This typically takes 60-85 minutes, with my oven usually taking 70 minutes.
- Let the cake cool in the pan for 20 minutes. After 20 minutes, carefully loosen the edges with a paring knife and invert the cake onto a wire rack. Allow the cake to cool completely to room temperature before glazing (this can take several hours).
- While the cake is cooling, whisk together the confectioner’s sugar, whole milk, and room temperature cream cheese for your cream cheese glaze until smooth and free of lumps.
- Once the cake is completely cooled, generously drizzle the prepared glaze over the top. Allow the glaze to set for about 30 minutes before slicing and indulging in your magnificent Red Velvet Pound Cake!
Video
Notes
Yield: 1, 10-12 cup bundt cake, providing approximately 24 servings.
Flavor Tips: The red food dye and vanilla extract are the primary liquid components in this cake. If omitting the red food dye, ensure to substitute it with an equal amount of another liquid, such as brandy or water, to maintain batter consistency.
Technique : Proper cooling is vital for texture. Let your cake cool for 20 minutes in its pan before inverting it onto a wire rack to cool completely. Cutting the cake while still warm will not allow its crumb to set, resulting in a compressed texture that suffers in quality.
Storage : Store Red Velvet Pound Cake tightly wrapped in plastic wrap or in an airtight container at room temperature for up to 5 days. Alternatively, it can be refrigerated for two weeks or frozen for up to 3 months. For the freshest taste and best texture, it’s recommended to serve the cake within 2 days of baking or freeze it for longer-term enjoyment.
Nutrition
Calories:
388
kcal
|
Carbohydrates:
57
g
|
Protein:
4
g
|
Fat:
17
g
|
Saturated Fat:
10
g
|
Polyunsaturated Fat:
1
g
|
Monounsaturated Fat:
4
g
|
Trans Fat:
1
g
|
Cholesterol:
88
mg
|
Sodium:
241
mg
|
Potassium:
102
mg
|
Fiber:
1
g
|
Sugar:
46
g
|
Vitamin A:
557
IU
|
Vitamin C:
1
mg
|
Calcium:
41
mg
|
Iron:
1
mg
Dessert
American
388
Enjoyed this recipe? Share your thoughts below!
Before You Go: Explore More Delicious Creations
I sincerely hope you savored every moment of baking and enjoying this professional chef-tested Red Velvet Pound Cake recipe. It’s a true labor of love, designed to bring gourmet quality to your home kitchen. Don’t let your culinary journey end here! I invite you to delve into our extensive collection of other delightful, chef-developed Cake Recipes. From classic comforts to innovative delights, there’s always something new and delicious to discover and bake. Happy baking!