
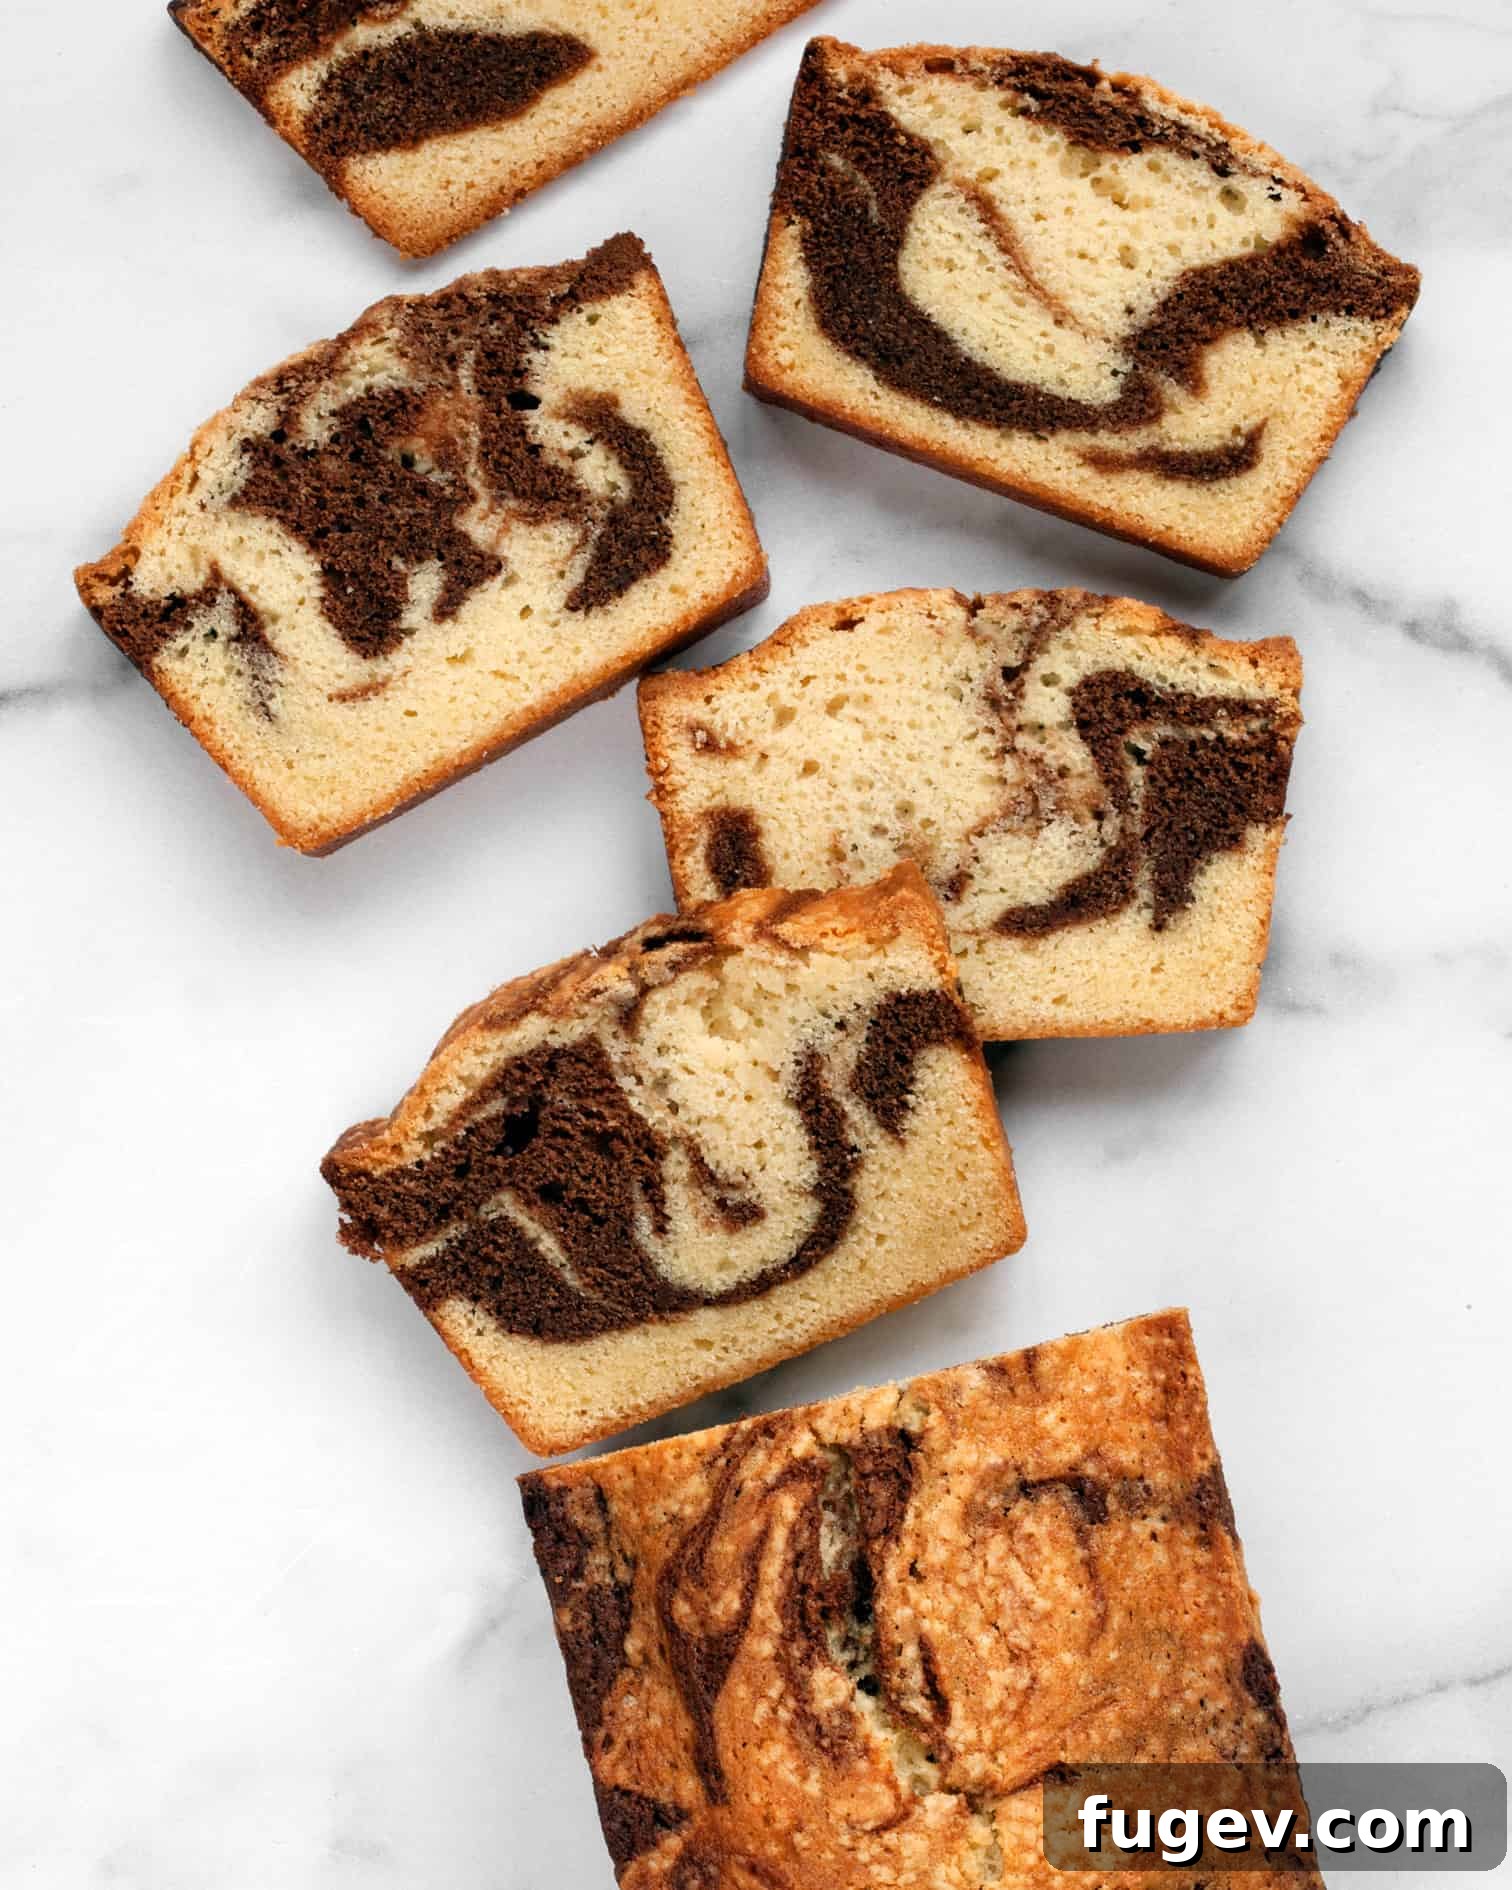
Welcome to the world of classic comfort baking with our irresistible Marble Pound Cake! This timeless dessert, a symphony of vanilla and chocolate swirls, promises a unique experience with every slice. Elegant yet delightfully simple, it’s the perfect treat for any occasion – whether dressed up with a rich chocolate ganache and a scoop of velvety ice cream or enjoyed on its own with a cup of coffee.
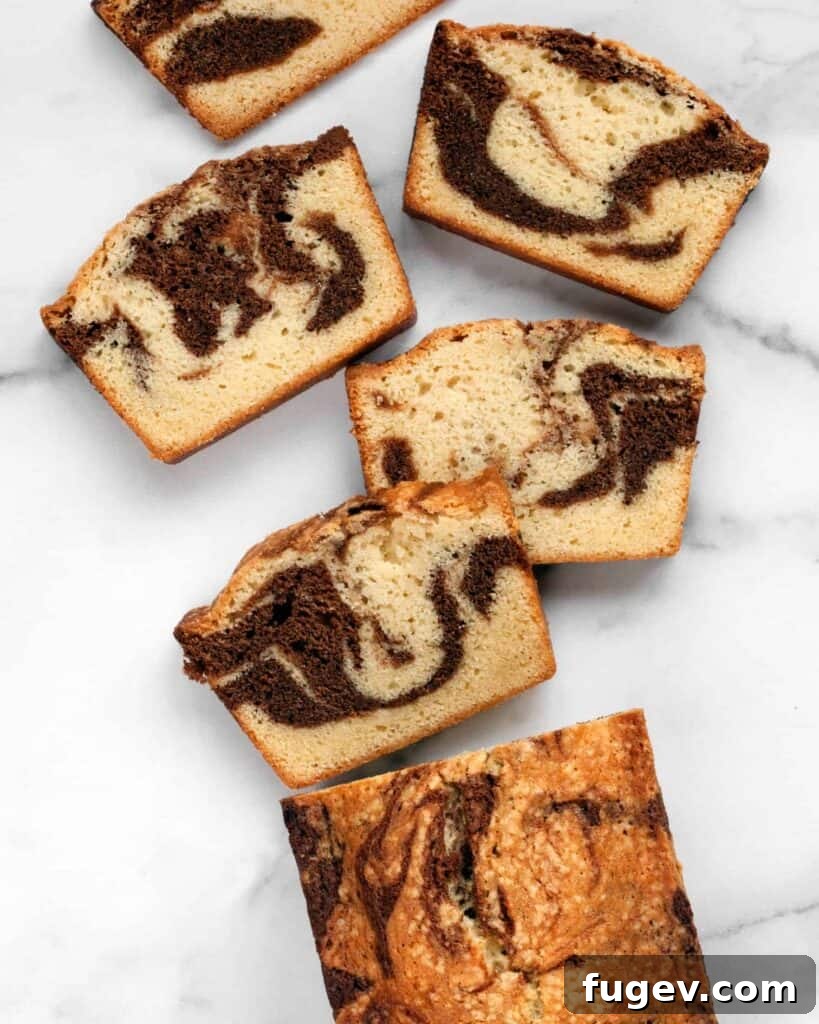
A Sweet Trip Down Memory Lane with Marbled Delights
My culinary journey with marbled cakes began in childhood, specifically with my mom’s legendary pistachio marble bundt cake. It was a revelation, likely my very first introduction to the unique flavor of pistachios. That recipe, surprisingly found inside a pudding box, became a cherished family staple. I still hold onto the tattered wrapper as a small, sweet memento of those carefree days.
There’s something inherently magical about anything marbled – from the delightful twist of chocolate and vanilla soft-serve ice cream to the intricate patterns in a baked cake. The allure, I believe, lies in never having to choose between two beloved flavors. You get the best of both worlds in every bite.
For years, it’s been a personal baking goal to create a truly from-scratch version of that childhood pistachio marvel, one that bypasses cake mixes and instant puddings entirely. However, the thought of it not quite living up to the nostalgic original has always held me back a little. So, for now, I’m perfecting the classic vanilla and chocolate combination, keeping my marble pound cake recipe pure and simple, yet absolutely delicious.
The Unsung Hero: Why Pound Cake Deserves More Credit
With its rich, dense texture and generous amounts of butter and vanilla extract, pound cake often feels underrated. Perhaps it’s because it doesn’t always come adorned with elaborate frosting or multiple layers, or baked in an intricately shaped bundt pan. Yet, this humble cake possesses an unparalleled charm and versatility. Pound cakes are incredibly simple to bake, providing a sturdy and satisfying base that can be effortlessly transformed with a myriad of accompaniments. A simple drizzle of chocolate sauce or a generous scoop of your favorite ice cream can elevate a humble slice into a truly decadent dessert, making it an ideal canvas for culinary creativity.
Baking with Little Hands: A Family Tradition
This particular Marble Pound Cake holds a special place in my family’s heart, especially for my son. For the longest time, he declared he didn’t like cake – a statement that, as a baker, was almost heartbreaking! It took considerable negotiation and encouragement just to get him to take a single bite. I know, it sounds a bit extreme to push cake on a child, but it wasn’t about the cake itself. My husband and I strive to encourage our son to try new foods, activities, and places before forming an opinion. We believe in fostering an adventurous spirit, and sometimes, that means gently nudging him past his initial reluctance.
Thankfully, that marble pound cake changed everything. Now, he’s not just a fan; he’s an enthusiastic assistant in the kitchen! He takes immense pride in helping with the baking process, especially when it comes to creating those beautiful swirls. While I’m usually meticulous about presentation when photographing for the blog, for this cake, we embrace a different philosophy: the bigger the mess, the better the marble! It’s a delightful reminder that sometimes, the most beautiful things emerge from a little bit of glorious chaos, especially when baking with children.
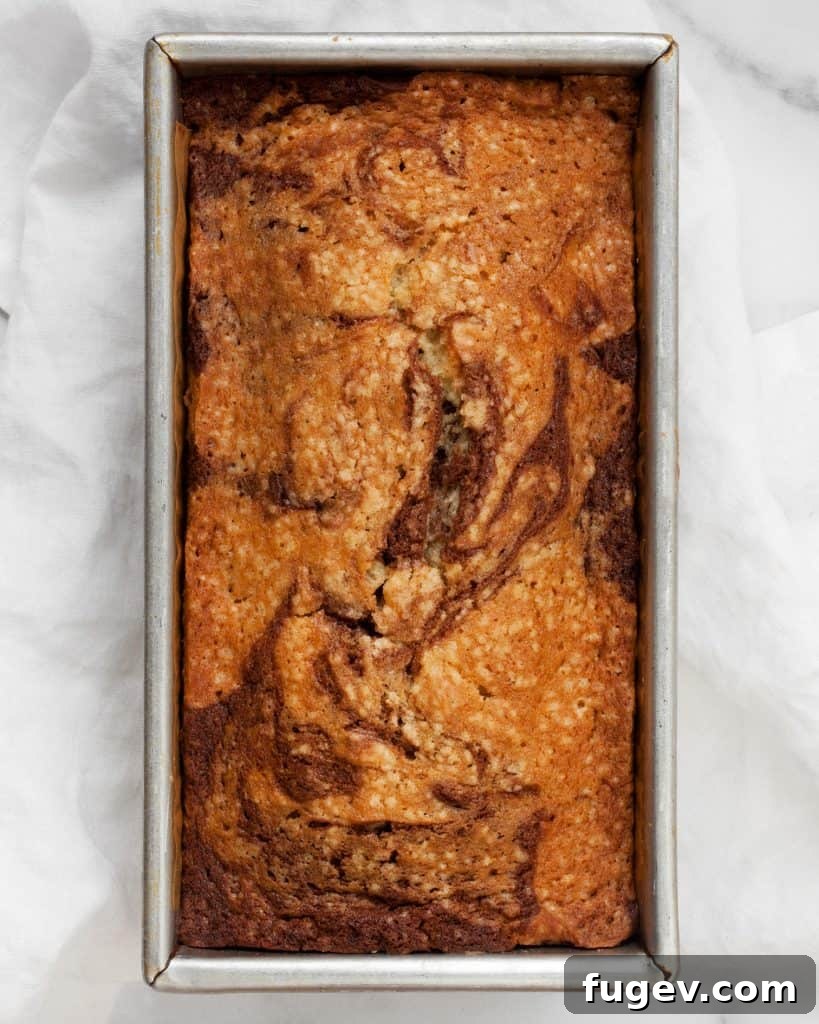
How To Make the Best Homemade Marble Pound Cake
Creating this stunning marble pound cake from scratch is a rewarding experience that yields a moist, tender, and visually appealing dessert. The process is straightforward, ensuring delicious results even for novice bakers. Let’s walk through the steps to achieve that perfect vanilla and chocolate swirl.
First, we prepare our dry ingredients. In a medium bowl, thoroughly combine the all-purpose flour, baking powder, and a pinch of salt. Sifting these ingredients together ensures a light, airy texture and prevents any lumps in your final batter.
Next, we prepare the rich chocolate component. In a small, separate bowl, whisk together the melted unsalted butter and unsweetened cocoa powder until you have a smooth, dark paste. This concentrated cocoa mixture will be gently folded into a portion of the vanilla batter to create the distinct chocolate swirl.
Now, for the heart of the pound cake: the vanilla batter. In a large mixing bowl, using an electric mixer, cream together the softened unsalted butter and granulated sugar until the mixture is light, fluffy, and pale. This creaming process incorporates air, which is crucial for the pound cake’s texture. Gradually beat in the large eggs, one at a time, ensuring each is fully incorporated before adding the next. Finally, stir in the fragrant vanilla extract and the milk until just combined. Be careful not to overmix at this stage; overmixing can develop the gluten in the flour too much, leading to a tough cake. Gently fold the dry ingredients into this wet mixture until no streaks of flour remain.
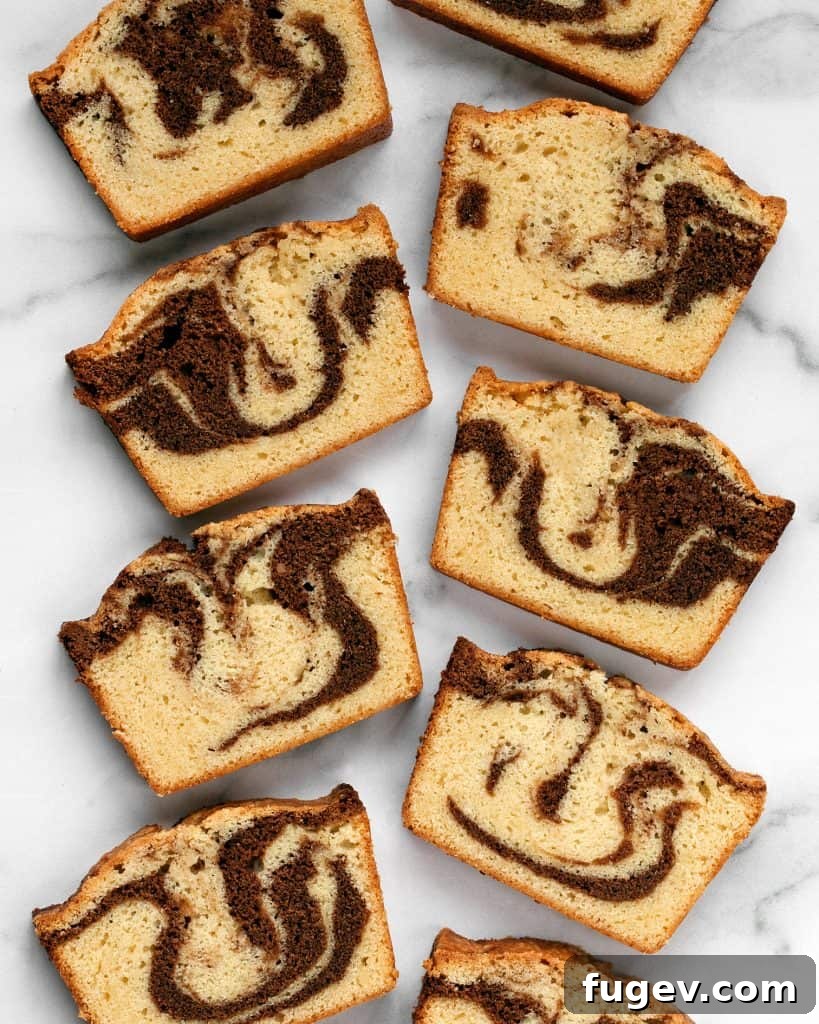
Once you have your foundational vanilla batter, it’s time to create the chocolate batter. Take approximately one cup of the vanilla batter and gently stir it into the prepared cocoa mixture. Mix until a uniform chocolate batter forms.
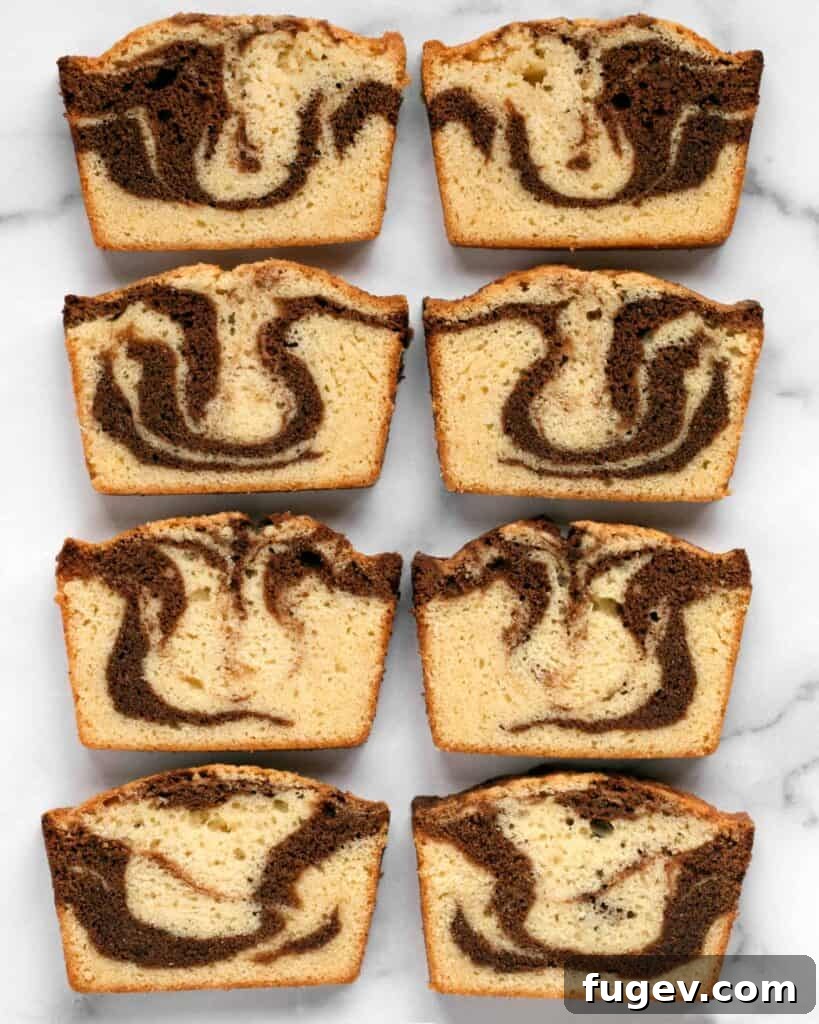
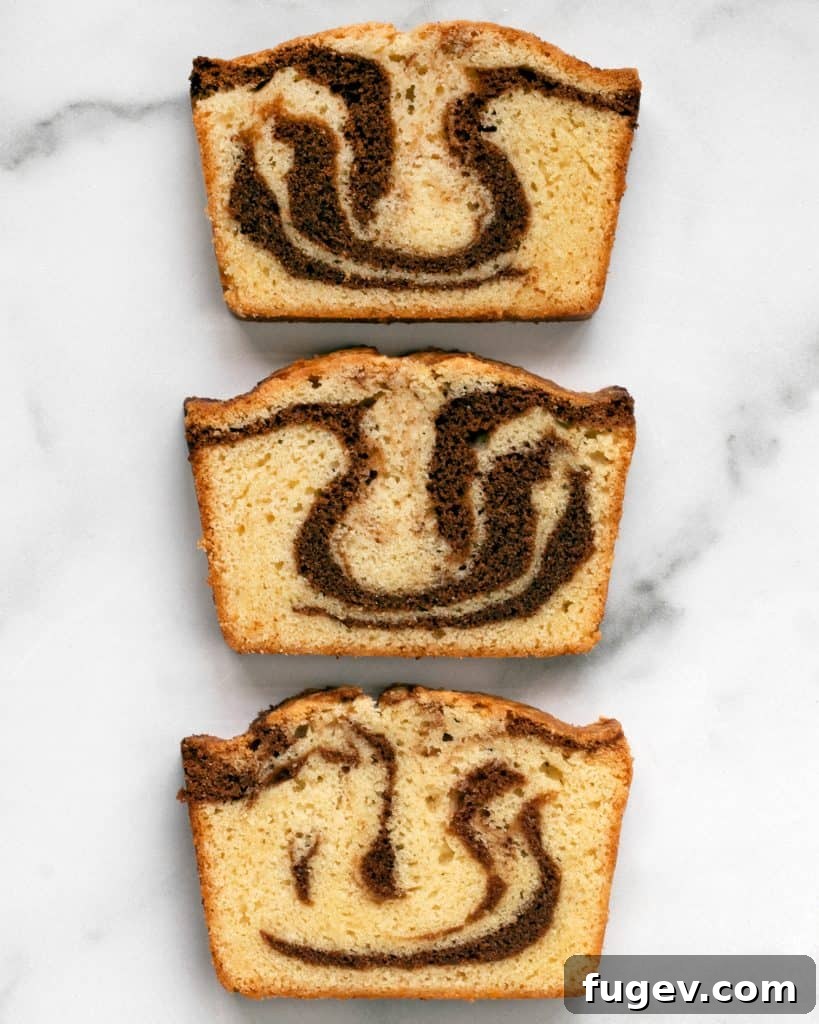
Then comes the most fun part – the marbling! This is where my son often takes the lead. Alternate dollops of the vanilla and chocolate batters into your prepared loaf pan. Don’t worry about perfection; the beauty of marble cake is its organic, unique patterns. Once all the batter is in the pan, take a knife or a skewer and gently swirl it through the batter a few times. Don’t overdo it, or your distinct marble patterns will blend too much. The goal is elegant swirls, not a uniform brown. After the marble loaf cake is baked to golden perfection and cooled, there’s always so much excitement in our kitchen as we slice into it, revealing a different, captivating pattern with each piece. It’s a delightful moment of anticipation and reward that makes the baking process truly special.
Marble Pound Cake
Pin
Ingredients
- Non-stick cooking spray
- 2 cups all-purpose flour
- 2 teaspoons baking powder
- 1/4 teaspoon salt
- 6 ounces unsalted butter at room temperature, plus 3 tablespoons melted
- 2 tablespoons unsweetened cocoa powder
- 1-1/3 cups granulated sugar
- 2 large eggs
- 1 teaspoon vanilla extract
- 1/2 cup milk
Save this recipe
Get it sent to your inbox plus new recipes every week.
Instructions
-
Preheat your oven to 350 degrees F (175 C). Prepare a 9-inch by 5-inch loaf pan by spraying it generously with non-stick cooking spray. For easy removal, line the pan with parchment paper, allowing an overhang on the longer sides. Spray the parchment paper lightly as well.
-
In a medium bowl, whisk together the dry ingredients: all-purpose flour, baking powder, and salt. Set aside. In a separate small bowl, combine the 3 tablespoons of melted butter with the 2 tablespoons of unsweetened cocoa powder, stirring until completely smooth and free of lumps. This creates your rich chocolate paste.
-
In a large mixing bowl, using an electric mixer, beat the 6 ounces of room temperature unsalted butter with the 1-1/3 cups of granulated sugar until the mixture is light and fluffy, about 2-3 minutes. Beat in the 2 large eggs one at a time, ensuring each is fully incorporated before adding the next. Stir in the 1 teaspoon of vanilla extract and 1/2 cup of milk until just combined. Gradually fold the dry ingredients (flour, baking powder, salt mixture) into the wet ingredients until just combined and no streaks of flour remain. Be careful not to overmix.
-
Carefully spoon about 1 cup of the vanilla batter into the prepared cocoa powder mixture. Stir gently until you have a uniform chocolate batter. Now, it’s time to marble: spread about one-third of the vanilla batter evenly into the bottom of your prepared loaf pan. Then, alternate spoonfuls of the chocolate and remaining vanilla batter over the top. Once all the batter is in the pan, gently tap the pan on the counter a few times to help the batter settle evenly. Use a knife or skewer to create elegant swirls by drawing it through the batter a few times in an S-shape or circular motion. Do not over-swirl, or the colors will blend too much.
-
Bake in the preheated oven at 350 degrees F (175 C) for 25 minutes. After 25 minutes, reduce the oven temperature to 325 degrees F (160 C) and continue baking for another 40-45 minutes, or until the cake is golden brown and a toothpick inserted into the center comes out clean. If the top of the cake begins to brown too quickly, loosely cover it with aluminum foil for the remainder of the baking time.
-
Once baked, remove the cake from the oven and let it cool in the loaf pan for 10 minutes. Then, carefully lift it out using the parchment paper overhangs and transfer it to a wire rack to cool completely before slicing and serving.
Notes
Adapted from Food & Wine March 2003.
Nutrition
Nutrition information is automatically calculated, so should only be used as an approximation.
Additional Info
Tips for Baking the Perfect Marble Pound Cake
Achieving a bakery-quality marble pound cake at home is simpler than you might think with a few key techniques. Here’s how to ensure your cake turns out moist, perfectly marbled, and utterly delicious every time:
- Ingredient Temperature is Key: Ensure your butter and eggs are at room temperature. This allows them to cream together more effectively, creating a smoother batter that traps more air, resulting in a lighter crumb. Cold ingredients don’t emulsify properly, which can lead to a dense or greasy cake.
- Don’t Overmix the Batter: Once you add the dry ingredients, mix just until no streaks of flour remain. Overmixing develops the gluten, making the cake tough and dry. A gentle hand is best here.
- Achieving the Perfect Swirl: The secret to beautiful marbling is not to over-swirl. After alternating spoonfuls of vanilla and chocolate batter in the pan, take a knife or skewer and make 2-3 gentle S-shapes or circular motions through the batter. This creates distinct swirls without completely blending the colors. Remember, less is often more for a dramatic marble effect.
- Proper Pan Preparation: Lining your loaf pan with parchment paper that overhangs the sides is a game-changer. This makes lifting the delicate, freshly baked pound cake out of the pan incredibly easy once it’s slightly cooled, preventing sticking and breaking.
- Oven Temperature Matters: Starting at a slightly higher temperature (350°F) helps the cake rise quickly, then reducing it to a lower temperature (325°F) allows the cake to bake through evenly without drying out or burning the edges. If you notice the top browning too quickly, a loose foil tent can protect it.
- Cooling Patience: Resist the urge to slice into your warm pound cake immediately. Allowing it to cool in the pan for 10-15 minutes helps it set and become firmer, making it easier to transfer to a wire rack without breaking. Cooling completely on a wire rack ensures the bottom doesn’t become soggy from trapped steam.
Creative Variations & Serving Suggestions
While the classic vanilla and chocolate marble pound cake is exquisite on its own, its versatility allows for endless customization:
- Flavor Twists: Experiment with different extracts. Almond extract can add a sophisticated note to the vanilla batter, or a touch of coffee extract can enhance the chocolate. You could even try a citrus zest (lemon or orange) in the vanilla for a brighter flavor.
- Luscious Glazes: A simple vanilla or chocolate glaze can add an extra layer of sweetness and moisture. For a quick glaze, whisk powdered sugar with a splash of milk and a drop of vanilla or melted chocolate. Drizzle generously over the cooled cake.
- Toppings Galore: Beyond the classic chocolate sauce and ice cream, consider a dollop of freshly whipped cream, a sprinkle of toasted nuts (like pecans or walnuts), or a medley of fresh berries. A dusting of powdered sugar is always an elegant and simple finish.
- Coffee Pairing: Pound cake, with its dense texture, pairs beautifully with coffee. Serve thick slices alongside your morning brew or as an afternoon pick-me-up.
- Mini Loaves or Muffins: This batter can be easily adapted for mini loaf pans or even muffin tins. Adjust baking times accordingly (mini loaves around 30-40 minutes, muffins 20-25 minutes).
Storing Your Delicious Marble Pound Cake
To keep your marble pound cake fresh and moist for as long as possible, follow these simple storage tips:
- Room Temperature: Store leftover pound cake at room temperature, tightly wrapped in plastic wrap or in an airtight container, for up to 3-4 days. This helps maintain its tender crumb and prevents it from drying out.
- Refrigeration: While not strictly necessary, if you live in a very warm climate or prefer to extend its freshness slightly, you can refrigerate the cake. Wrap it well to prevent it from absorbing odors from other foods. Bring it back to room temperature before serving for the best flavor and texture. It will last about a week in the fridge.
- Freezing for Later: Pound cake freezes beautifully! Once completely cooled, wrap the entire loaf or individual slices tightly in plastic wrap, then an additional layer of aluminum foil. Freeze for up to 2-3 months. To thaw, simply unwrap and let it sit at room temperature for a few hours (for slices) or overnight (for a whole loaf).
Frequently Asked Questions (FAQs)
Here are answers to some common questions about baking marble pound cake:
- Why is my pound cake dry? This is often due to overmixing the batter (which develops too much gluten) or overbaking. Ensure your ingredients are at room temperature and you mix just until combined. Use a toothpick test to avoid overbaking.
- How do I get distinct marble swirls? The key is gentle swirling. After adding the batter in alternating dollops, use a knife or skewer to make a few S-shapes or figure-eights. Don’t go overboard; too much swirling will blend the colors into a muddy brown.
- Can I use a different pan? Yes, you can use a Bundt pan, but you’ll need to adjust the baking time (it might be slightly shorter, around 50-60 minutes). Ensure your Bundt pan is thoroughly greased and floured to prevent sticking. A 9-inch round pan can also work, with similar baking times to a Bundt.
- Can I add nuts or chocolate chips? Absolutely! Fold in about 1/2 to 1 cup of chopped nuts (pecans, walnuts) or chocolate chips into the vanilla batter before combining with the chocolate portion. This adds a lovely texture and extra flavor.
- What kind of cocoa powder should I use? Unsweetened natural cocoa powder works best for a classic chocolate flavor. Dutch-processed cocoa can also be used, which offers a darker color and milder flavor.