
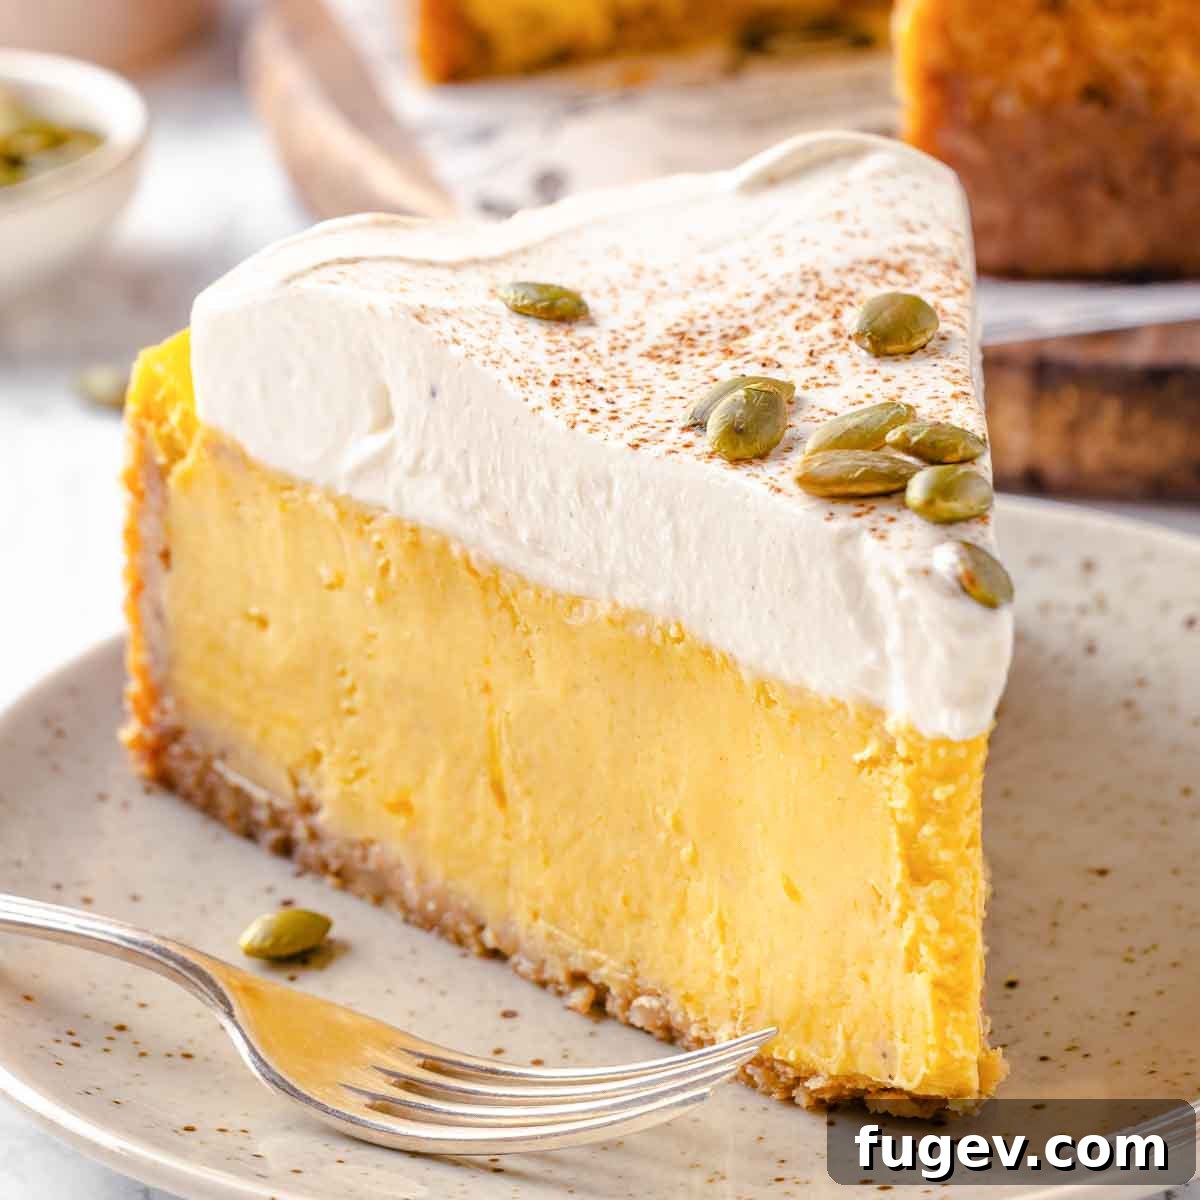
The Ultimate Creamy Pumpkin Cheesecake: Your Go-To Fall Dessert
Prepare to fall in love with this exquisite Pumpkin Cheesecake, a dessert that perfectly embodies the rich flavors and aromatic spices of autumn. Crafted for an unforgettable experience, it features a luxuriously creamy pumpkin filling, infused with a harmonious blend of classic fall spices, all nestled upon a delightfully crisp gingersnap crust. This masterpiece isn’t just a treat; it’s the quintessential centerpiece for your Thanksgiving feast or any cozy fall gathering, promising a slice of pure seasonal bliss with every bite.
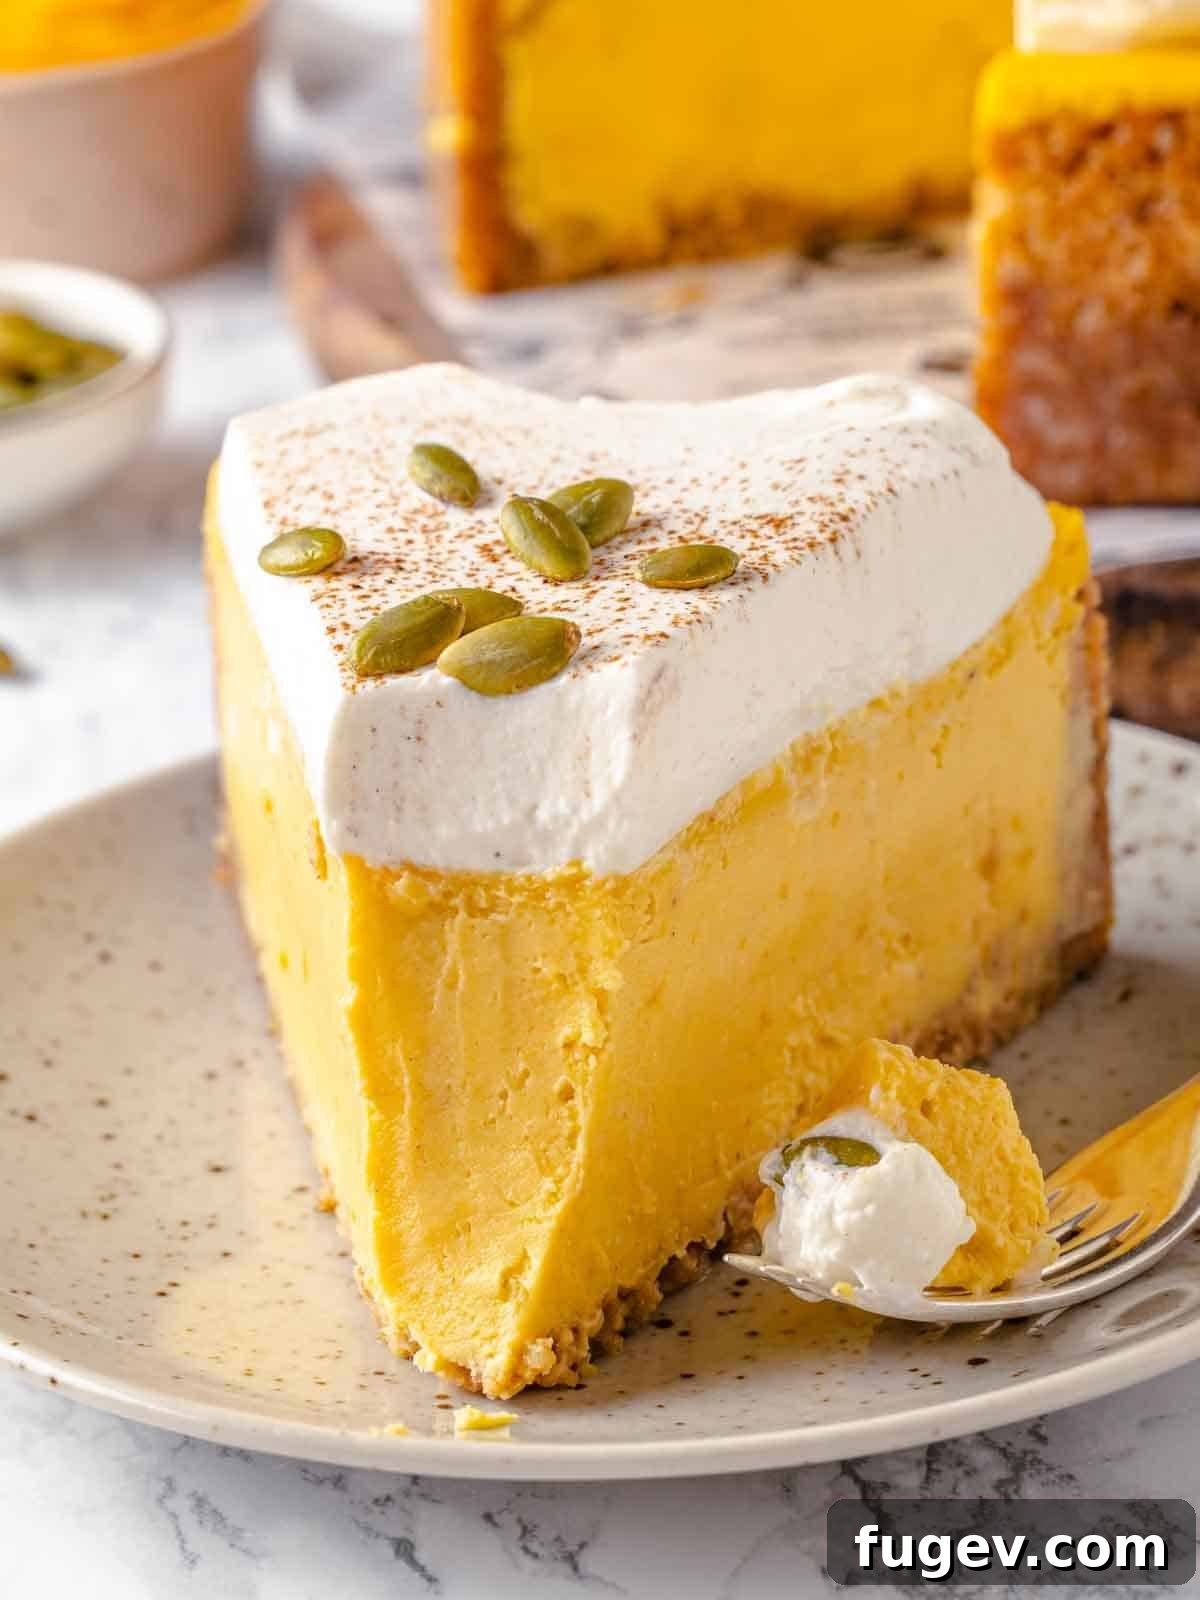
Experience the Best of Both Worlds: Pumpkin Pie Meets New York Cheesecake
Are you ready for a dessert that perfectly marries the comforting essence of traditional pumpkin pie with the unparalleled richness of a classic New York-style cheesecake? This pumpkin cheesecake is designed to be incredibly rich, smooth, and utterly melt-in-your-mouth. It boasts that signature dense, velvety New York cheesecake texture, but bursts with all the beloved flavors and warm spices synonymous with a perfect pumpkin pie. It’s truly a game-changer for anyone who adores both iconic desserts.
As the season of warm spices unfolds, dive deeper into a world of pumpkin perfection with some of my personal favorite pumpkin desserts. Expand your autumn baking repertoire beyond cheesecake with these delectable recipes: Savor the irresistible taste of fried pumpkin donuts, indulge in a slice of moist pumpkin cake, impress with an elegant pumpkin bundt cake, or master the art of the best pumpkin roll recipe. And for those looking to explore savory pumpkin delights, these aromatic pumpkin herb dinner rolls are a must-try!
Table of Contents
- Why You Will Adore This Pumpkin Cheesecake Recipe
- Professional Tips for Baking the Perfect Pumpkin Cheesecake
- Ingredients & Smart Substitutions
- Creative Variations to Try
- Serving Suggestions for Your Pumpkin Cheesecake
- Step-by-Step: How to Make Pumpkin Cheesecake
- Chef Lindsey’s Expert Recipe Tip
- Frequently Asked Questions About Pumpkin Cheesecake
- Full Pumpkin Cheesecake Recipe Card
- Before You Go: Explore More Delights
Why You Will Adore This Pumpkin Cheesecake Recipe
- The Ultimate Gingersnap Crust! This isn’t just any crust; it’s a meticulously crafted foundation of freshly crumbled gingersnap cookies and perfectly toasted walnuts. The warm, spicy notes of the gingersnaps combined with the nutty depth of walnuts create an irresistible crunch and flavor profile that flawlessly complements the smooth, spiced pumpkin filling. Whether you opt for my cherished homemade gingersnaps or a high-quality store-bought variety, this crust sets the stage for perfection.
- Flawless New York Cheesecake Texture. Achieving that iconic New York-style cheesecake texture – dense, incredibly creamy, and utterly smooth – can be challenging, especially with the added moisture from pumpkin puree. After years of testing and perfecting, this recipe delivers precisely that. It’s robust enough to hold its shape beautifully, yet yields a velvety, luxurious mouthfeel that truly melts on your tongue. Forget crumbly or overly soft cheesecakes; this one is pure perfection.
- Pastry-Chef Approved, Foolproof Instructions. With extensive experience baking countless cheesecakes in professional restaurant settings, I’m sharing all my insider tips and tricks. These detailed, step-by-step instructions are designed to guide you to a perfectly baked cheesecake every single time, ensuring a smooth, crack-free top and a consistently creamy interior. You’ll learn the secrets to professional-grade cheesecake results right in your home kitchen.
- Perfectly Balanced Pumpkin Flavor. My goal was to infuse as much authentic pumpkin flavor as possible without compromising the delicate texture of the cheesecake. This recipe strikes that ideal balance. It features the perfect quantity of pumpkin puree, enhanced by a carefully blended pumpkin spice mix, creating a flavor that is distinctly pumpkin-forward, beautifully spiced, and never overwhelming. It’s the taste of autumn, elevated.
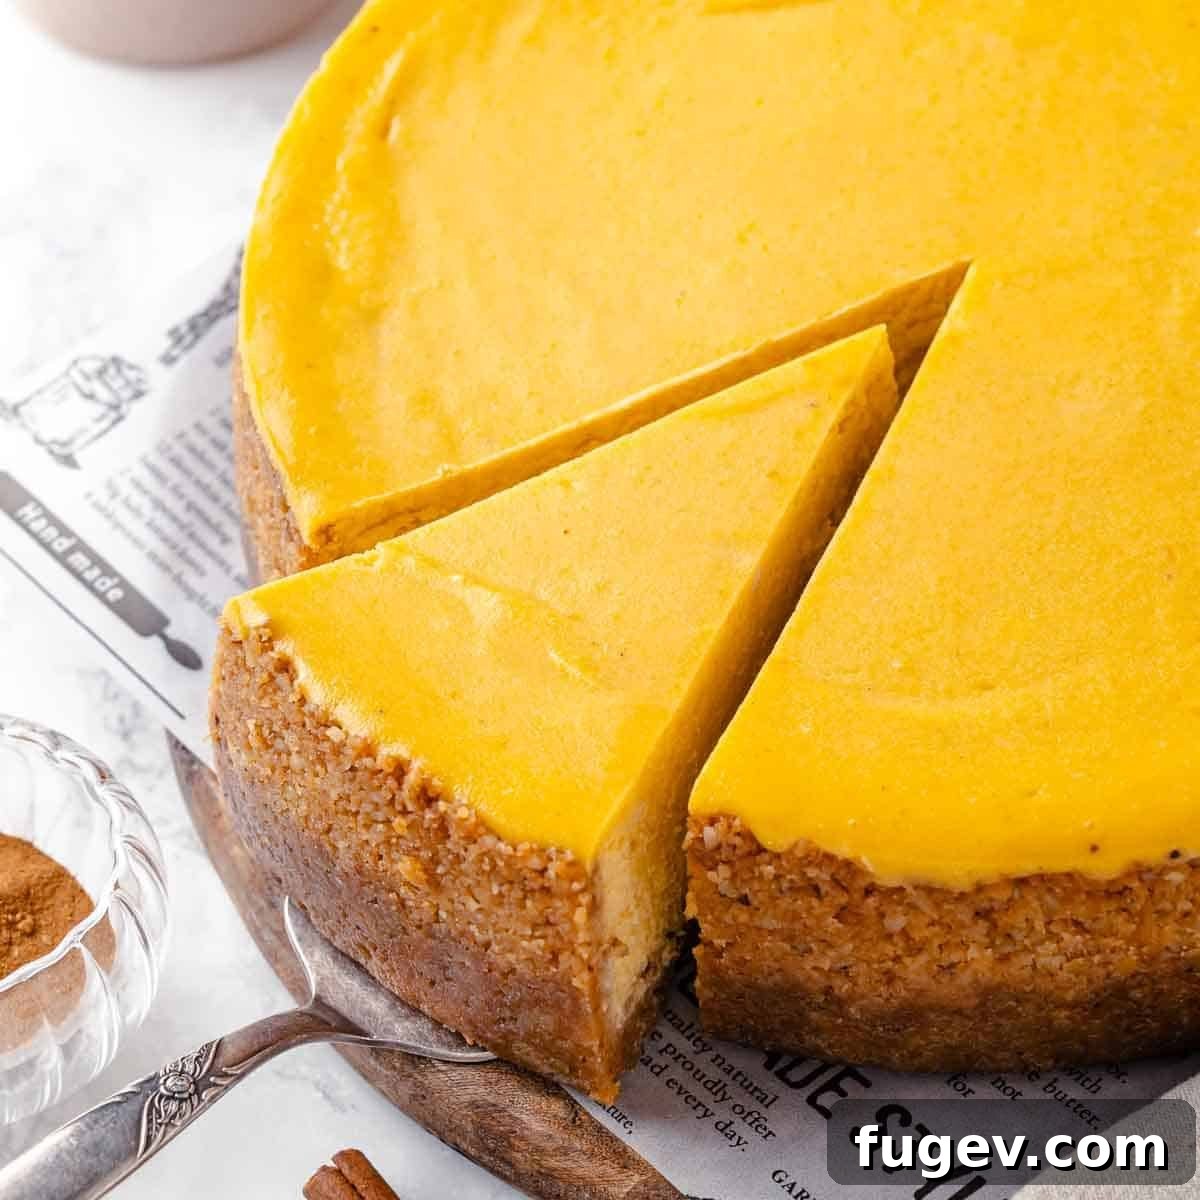
Professional Tips for Baking the Perfect Pumpkin Cheesecake
Creating a truly exceptional pumpkin cheesecake involves a few key techniques that pastry chefs rely on. Follow these expert tips to ensure your cheesecake is flawlessly creamy and crack-free:
- Double Foil for Your Springform Pan: When using a water bath, two overlapping layers of heavy-duty aluminum foil on the outside of your springform pan are your best defense. This double insurance creates a robust barrier, preventing any water from seeping into your crust and making it soggy. Ensure the foil is tightly crimped and extends well above the waterline of your roasting pan.
- All Ingredients Must Be at Room Temperature: This is a non-negotiable step for achieving the silkiest, smoothest cheesecake texture. Room temperature cream cheese, eggs, and heavy cream emulsify properly, blending together seamlessly without lumps. Cold ingredients will resist mixing, resulting in a lumpy batter and a less uniform, potentially crumbly, final texture.
- Optimal Cooling for Best Texture: Once your pumpkin cheesecake is done baking, resist the urge to immediately refrigerate it. Allow it to cool gradually at room temperature on a wire rack for at least 1-2 hours. This slow cooling prevents drastic temperature changes that can cause cracks. After cooling completely at room temperature, transfer it to the refrigerator and chill overnight (at least 8 hours). This extended chilling time is crucial; it allows the cheesecake to fully set, firm up to that perfect New York-style density, and ensures beautifully clean slices.
- Do Not Overmix the Batter: After adding the eggs, mix only until just combined. Overmixing incorporates too much air, which can cause the cheesecake to puff up excessively in the oven and then fall dramatically, leading to cracks and a less dense texture. Mix on low speed and scrape down the bowl frequently.
- The Gentle Water Bath Method: A water bath (bain-marie) is your secret weapon for a creamy, crack-free cheesecake. The steam creates a moist, even baking environment, preventing the edges from baking faster than the center and ensuring a uniform custard-like consistency throughout. Always use hot, not boiling, water, and add it to the roasting pan *after* placing the foil-wrapped springform pan in the oven to minimize splashing.
Essential Ingredients & Smart Substitutions for Your Pumpkin Cheesecake
Crafting the perfect pumpkin cheesecake starts with understanding each ingredient’s role. Here’s a detailed look at what you’ll need and how to make smart substitutions if necessary:
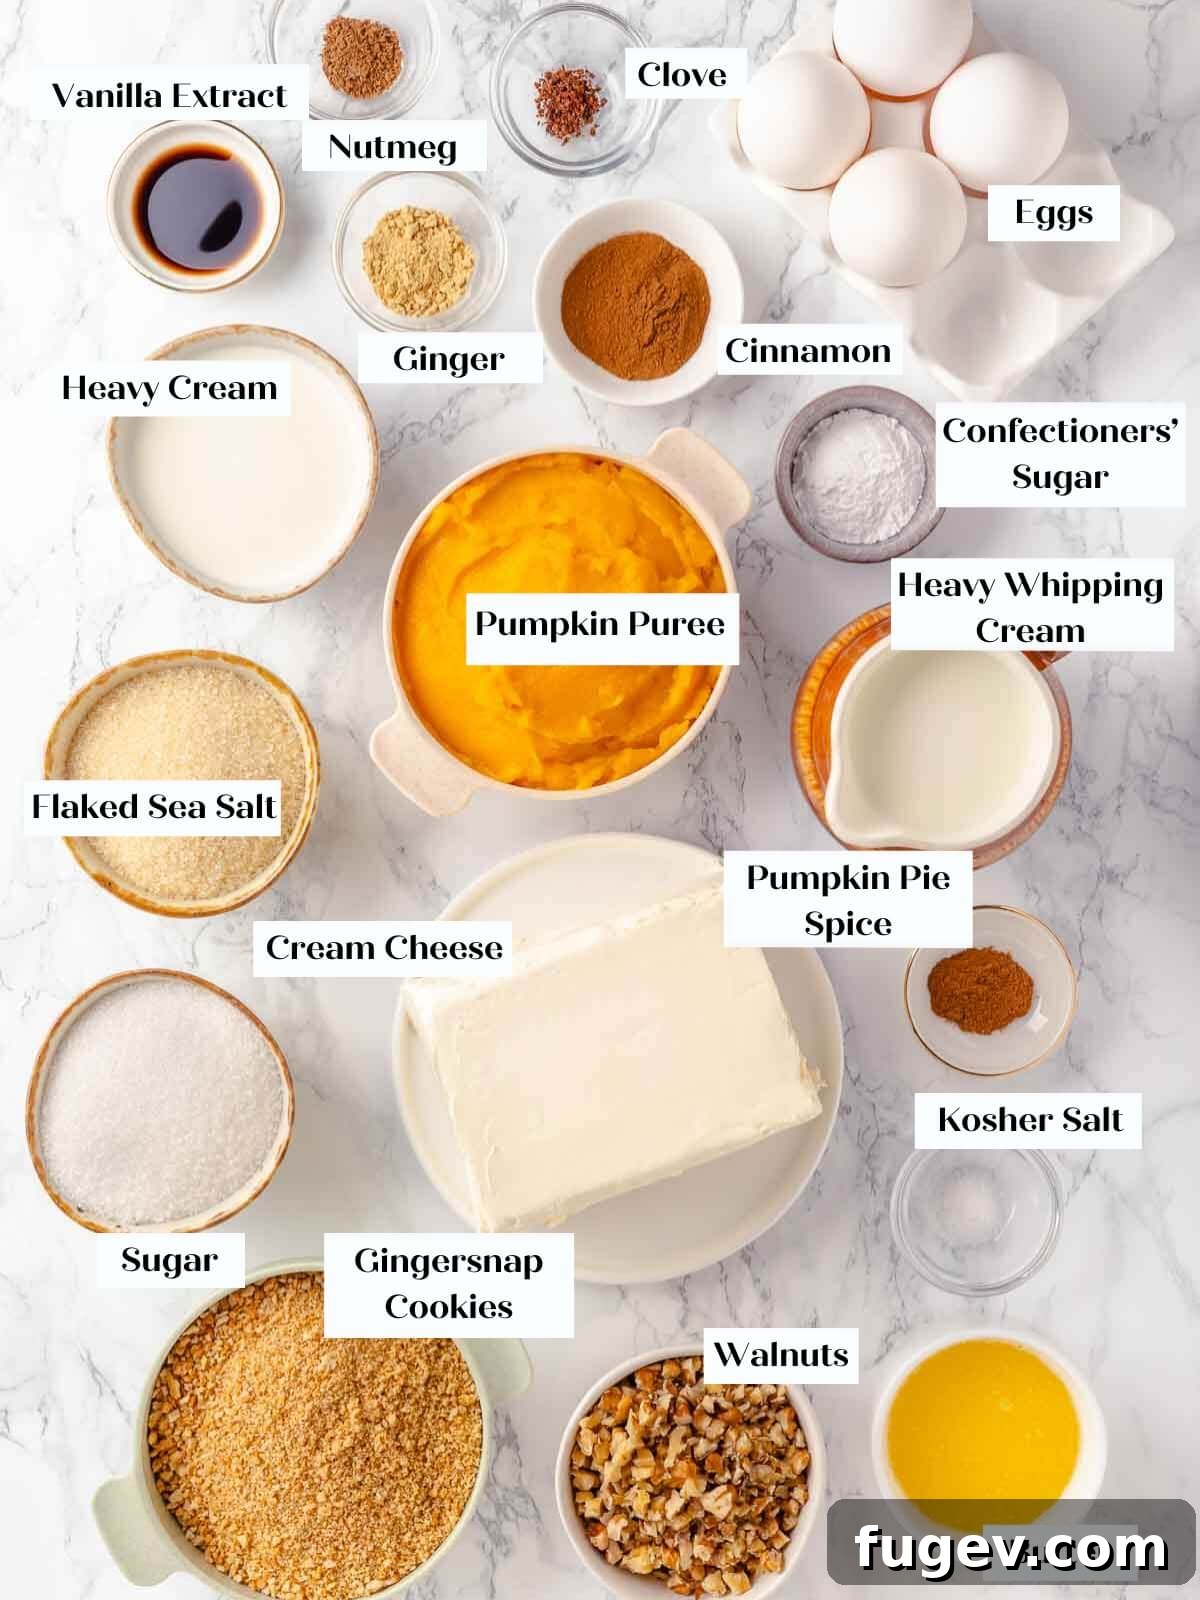
- Gingersnap Cookies: These robust, spicy cookies are the star of our crust, offering a warm, peppery complement to the sweet pumpkin filling. You can easily crush them into fine crumbs using a food processor or by placing them in a large freezer bag and crushing with a rolling pin. If you’re using homemade gingersnaps, which tend to be richer in butter, reduce the melted butter in the crust recipe to ¼ cup. For a change, you could also use graham crackers or digestive biscuits, though the spicy kick will be missed.
- Walnuts: Toasted walnuts add a wonderful earthy depth and extra crunch to the gingersnap crust. They’re an excellent textural contrast. While highly recommended, walnuts can be omitted if you have allergies or prefer a simpler crust. If omitting, be sure to increase the gingersnap crumbs by an equal weight (or about ½ cup more crumbs) to maintain the crust’s volume and texture.
- Unsalted Butter: Essential for binding the crust together and adding richness. Using unsalted butter allows you to control the overall salt content of the recipe.
- Kosher Salt: A pinch of kosher salt in the crust and filling balances the sweetness and enhances all the other flavors. Don’t skip it!
- Cream Cheese: For an authentic New York-style cheesecake, full-fat, brick-style Philadelphia Cream Cheese is my top recommendation. Its high-fat content ensures a dense, incredibly smooth, and rich filling. Avoid whipped cream cheese or cream cheese spreads, as their consistency and water content are unsuitable for baking. Reduced-fat brick-style cream cheese can be substituted, but the cheesecake will be slightly less rich.
- Granulated Sugar: Provides essential sweetness and contributes to the creamy structure of the cheesecake filling.
- Light Brown Sugar: Light brown sugar adds a touch of caramel-like depth and a pleasant, subtle molasses flavor that beautifully complements the pumpkin and spices. Make sure it’s packed when measuring.
- Cinnamon, Clove, Ginger, and Nutmeg: This harmonious quartet of fall spices is what truly transforms the pumpkin puree into an autumnal dream. Each spice plays a vital role: cinnamon provides warmth, ginger a gentle zing, cloves a deep aroma, and nutmeg a comforting richness. Using freshly grated nutmeg (see notes in recipe card) will elevate the flavor significantly!
- Pumpkin Puree: Always opt for pure canned pumpkin puree, not pumpkin pie filling. Pie filling contains added spices and sweeteners, which would throw off the flavor balance of this recipe. I find Libby’s brand to be consistently reliable, but any good quality pure pumpkin puree will work. Ensure it’s not watery.
- Whole Eggs and Egg Yolks: Large eggs are crucial for binding the cheesecake, providing structure, and adding richness. The additional egg yolk is a pastry chef’s secret; it contributes extra fat and richness without introducing excess moisture from egg whites, resulting in an incredibly dense, luxurious, and decadent cheesecake. Too many yolks, however, can lead to an “eggy” flavor, so the balance here is key.
- Heavy Cream: A touch of heavy cream is essential for achieving that silky, smooth texture in the finished cheesecake. It provides just enough liquid to create a luscious consistency. Half and half can be substituted if absolutely necessary, but your cheesecake will be slightly less dense and rich. Milk is not recommended as it’s too thin and will alter the texture significantly.
- Confectioners’ Sugar: Used exclusively for the spiced whipped cream topping, confectioners’ sugar (also known as powdered sugar) dissolves instantly, ensuring a smooth, lump-free whipped cream.
- Vanilla Extract: A splash of vanilla extract enhances all the other flavors, adding a subtle warmth and sweetness that rounds out the overall profile of both the filling and the whipped cream.
For precise measurements and additional details on ingredients, please refer to the comprehensive recipe card below.
Creative Variations to Elevate Your Pumpkin Cheesecake
While this pumpkin cheesecake recipe is perfect as is, it also serves as a fantastic base for creative experimentation. Here are some delightful variations to try:
- Explore Different Crusts: Don’t limit yourself to gingersnaps! A classic graham cracker crust would offer a familiar, buttery foundation, while an Oreo cookie crust (like the one from my chocolate chip cheesecake recipe) would introduce a rich, chocolatey counterpoint to the pumpkin. For a nuttier twist, consider a pecan or almond flour crust.
- Experiment with Toppings: The right topping can transform your cheesecake. Consider a billowy mound of sweet Marshmallow fluff, gently toasted for a s’mores-like effect. A generous dollop of homemade vanilla whipped cream is always a crowd-pleaser. For an extra layer of decadence, drizzle a rich salted caramel sauce over each slice, allowing its sweet and salty notes to meld with the pumpkin spices. You could even incorporate fruit toppings like a cranberry compote for a festive touch.
- Cheesecake Bars or Mini Cheesecakes: For easier serving at parties or to control portion sizes, convert this recipe into bars or mini cheesecakes. Simply press the crust into a 9×13-inch baking pan. Pour the pumpkin cheesecake batter over the crust and bake until it’s set but still has a slight jiggle in the center (like firm Jell-O). Baking in a larger, shallower pan usually means you can skip the water bath and it will bake faster, so keep a close eye on it. For mini cheesecakes, use a muffin tin lined with cupcake wrappers, baking for a shorter duration.
- Add a Swirl: For visual appeal and an extra flavor dimension, swirl in some cream cheese frosting (without pumpkin) or a ribbon of maple syrup or caramel into the pumpkin batter just before baking.
Delicious Ways to Serve Your Pumpkin Cheesecake
- Introduce a Crunchy Element: Textural contrast elevates any dessert. Toast some pecans, walnuts, or almonds until golden and fragrant, then sprinkle them over individual slices. For an even more indulgent crunch, try candied nuts, a delicate pumpkin seed brittle, or a sprinkle of honey granola.
- Pair with a Complementary Sauce: A luscious sauce can beautifully enhance the pumpkin and spice flavors. Drizzle a rich salted caramel sauce or a velvety butterscotch sauce over each slice. For a fruity contrast, an easy blueberry sauce or even cherry preserves can provide a vibrant tang. If you’re a chocolate lover, a warm chocolate fudge sauce can be surprisingly delicious with pumpkin.
- Create a Deconstructed or Layered Dessert: Turn your cheesecake into an elegant layered parfait or trifle. Chop extra cheesecake into small, bite-sized squares. Layer these pieces in glasses with spiced whipped cream (perhaps with a touch of extra cinnamon or nutmeg), candied walnuts, and crumbled gingersnap cookies. This presentation is fantastic for dinner parties and draws inspiration from my delightful maple pumpkin trifle recipe.
- Garnish with Fresh Herbs or Spices: For a sophisticated touch, a small sprig of fresh mint or a light dusting of extra pumpkin pie spice, cinnamon, or even cocoa powder can add visual appeal and an aromatic hint.
Step-by-Step: How to Make the Perfect Pumpkin Cheesecake
Follow these detailed instructions to achieve a consistently perfect, creamy pumpkin cheesecake every time. You’ll find further precise measurements and ingredient quantities in the full recipe card below.
Make the Crust and Prepare the Pan:
Step 1: Begin by preheating your oven to 350°F (175°C) using the conventional setting (no fan/convection, as this can dry out the nuts). Spread your walnuts evenly onto a baking sheet lined with parchment paper. Toast them in the preheated oven for approximately 5-8 minutes, or until they become fragrant and turn a beautiful golden brown. Keep a close eye on them to prevent burning. Once toasted, remove them from the oven and set aside to cool completely.
Step 2: Prepare your 9-inch springform pan for the water bath. This is a critical step to prevent leaks. Tear off two large pieces of heavy-duty aluminum foil. Overlap them slightly and tightly wrap the entire outside of the springform pan, extending the foil up and over the rim. The goal is to create a watertight seal, ensuring absolutely no water can penetrate the pan while the cheesecake bakes in the water bath. Make sure any excess foil is rolled *outward* and upward, away from the base, to prevent it from funneling water directly into your crust.
Step 3: In a food processor, pulse the gingersnap cookies until they form fine, even crumbs. Once the walnuts from Step 1 have cooled completely, add them to the food processor with the gingersnap crumbs and pulse a few more times until they are finely ground and well incorporated with the cookie crumbs. Meanwhile, melt your unsalted butter. You can do this gently on the stovetop over low heat, or carefully in the microwave in 20-second intervals until fully melted.
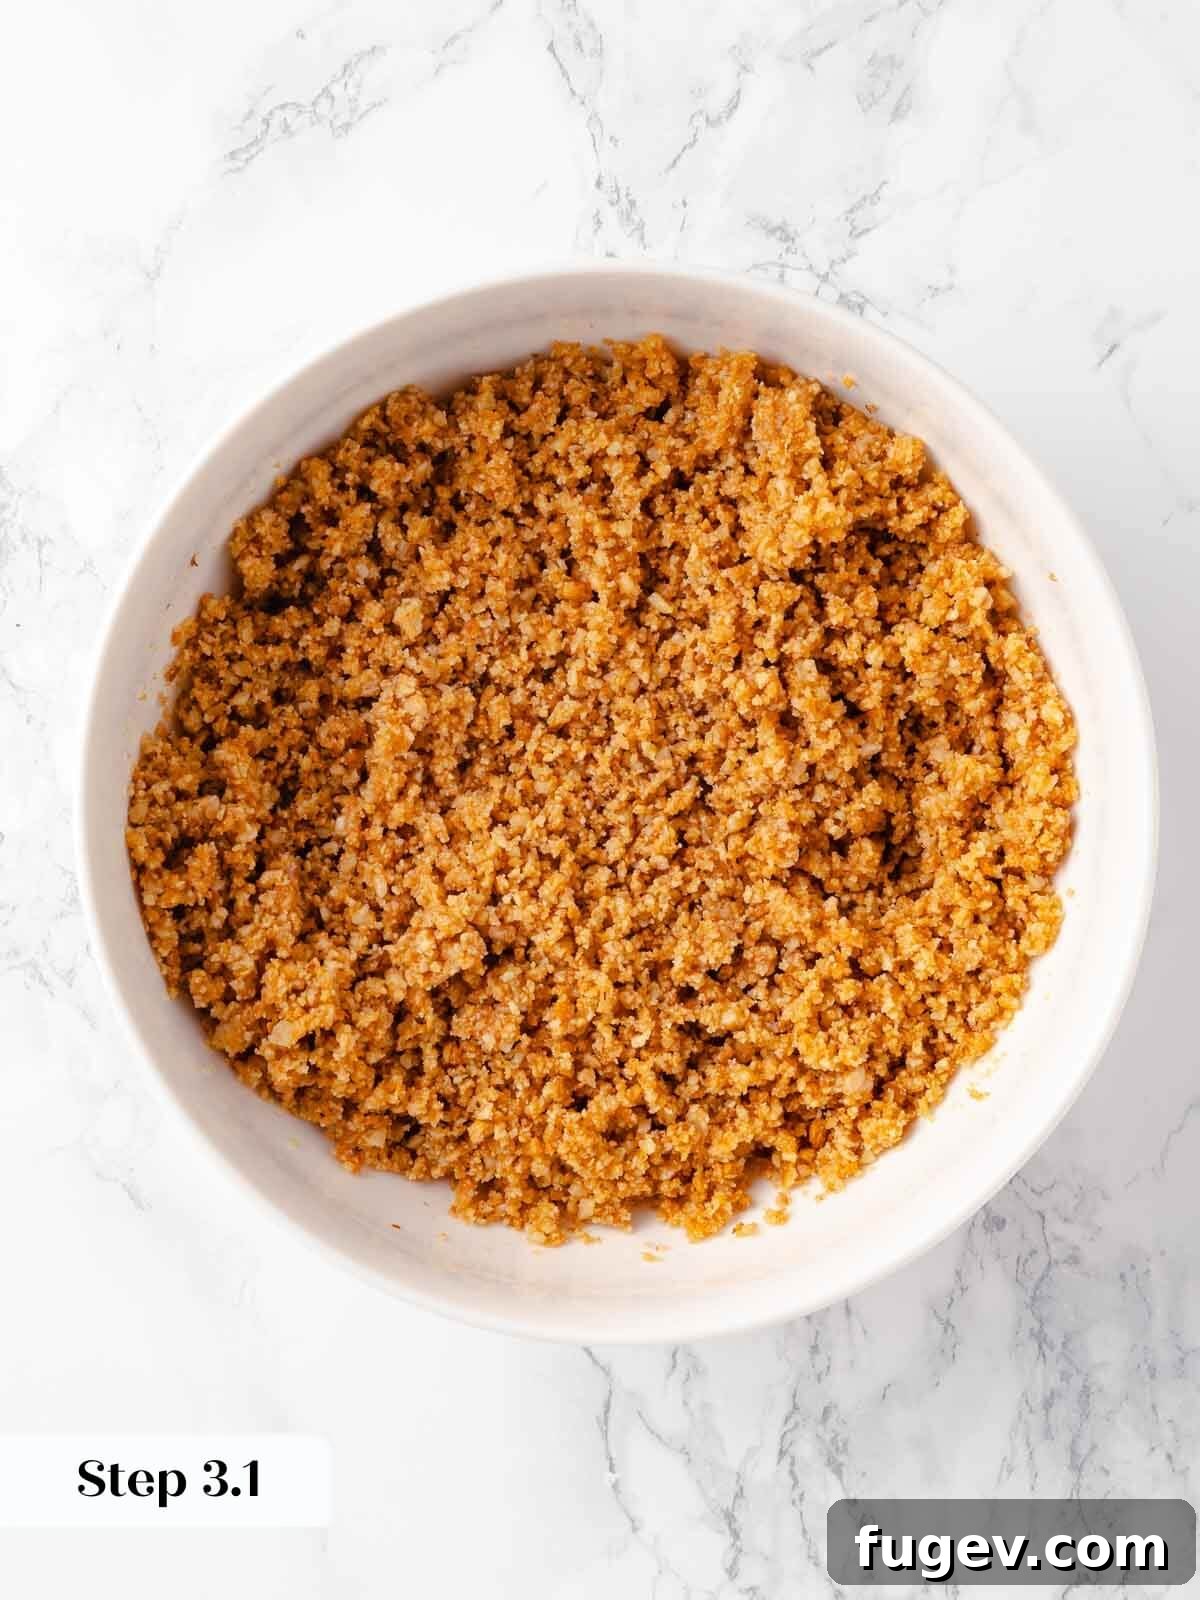
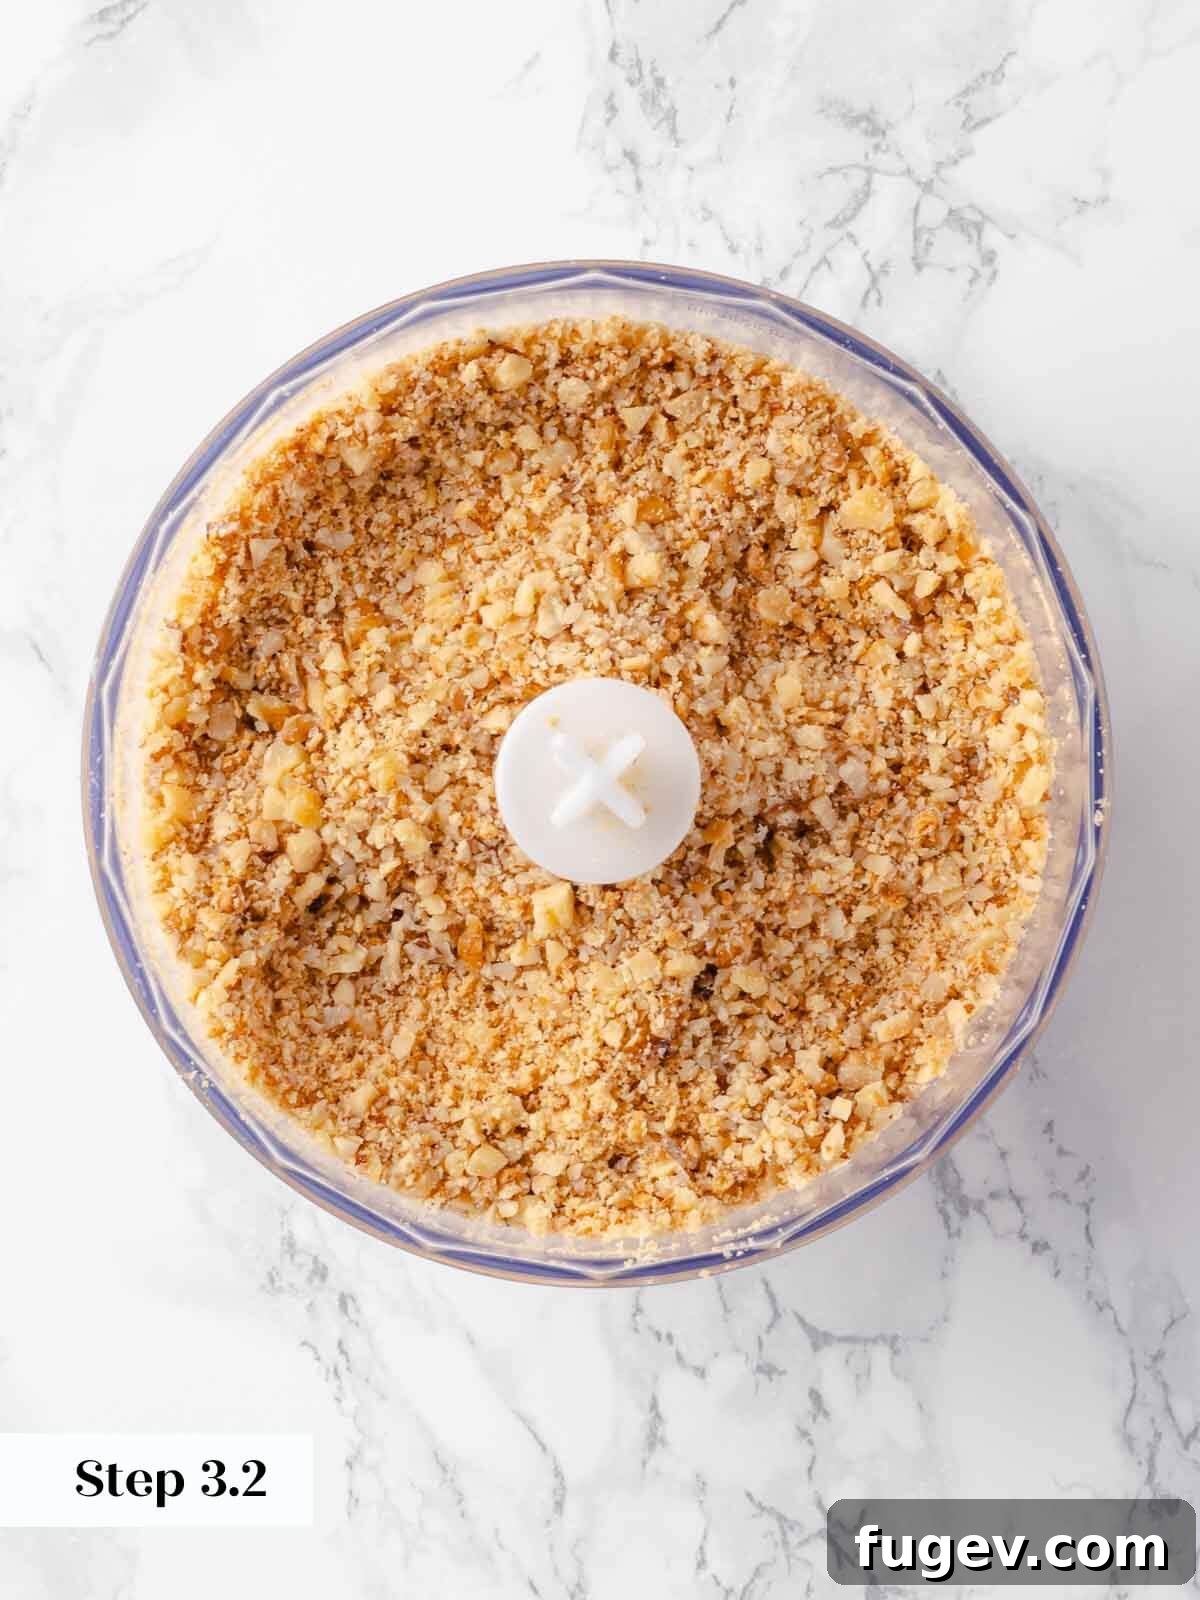
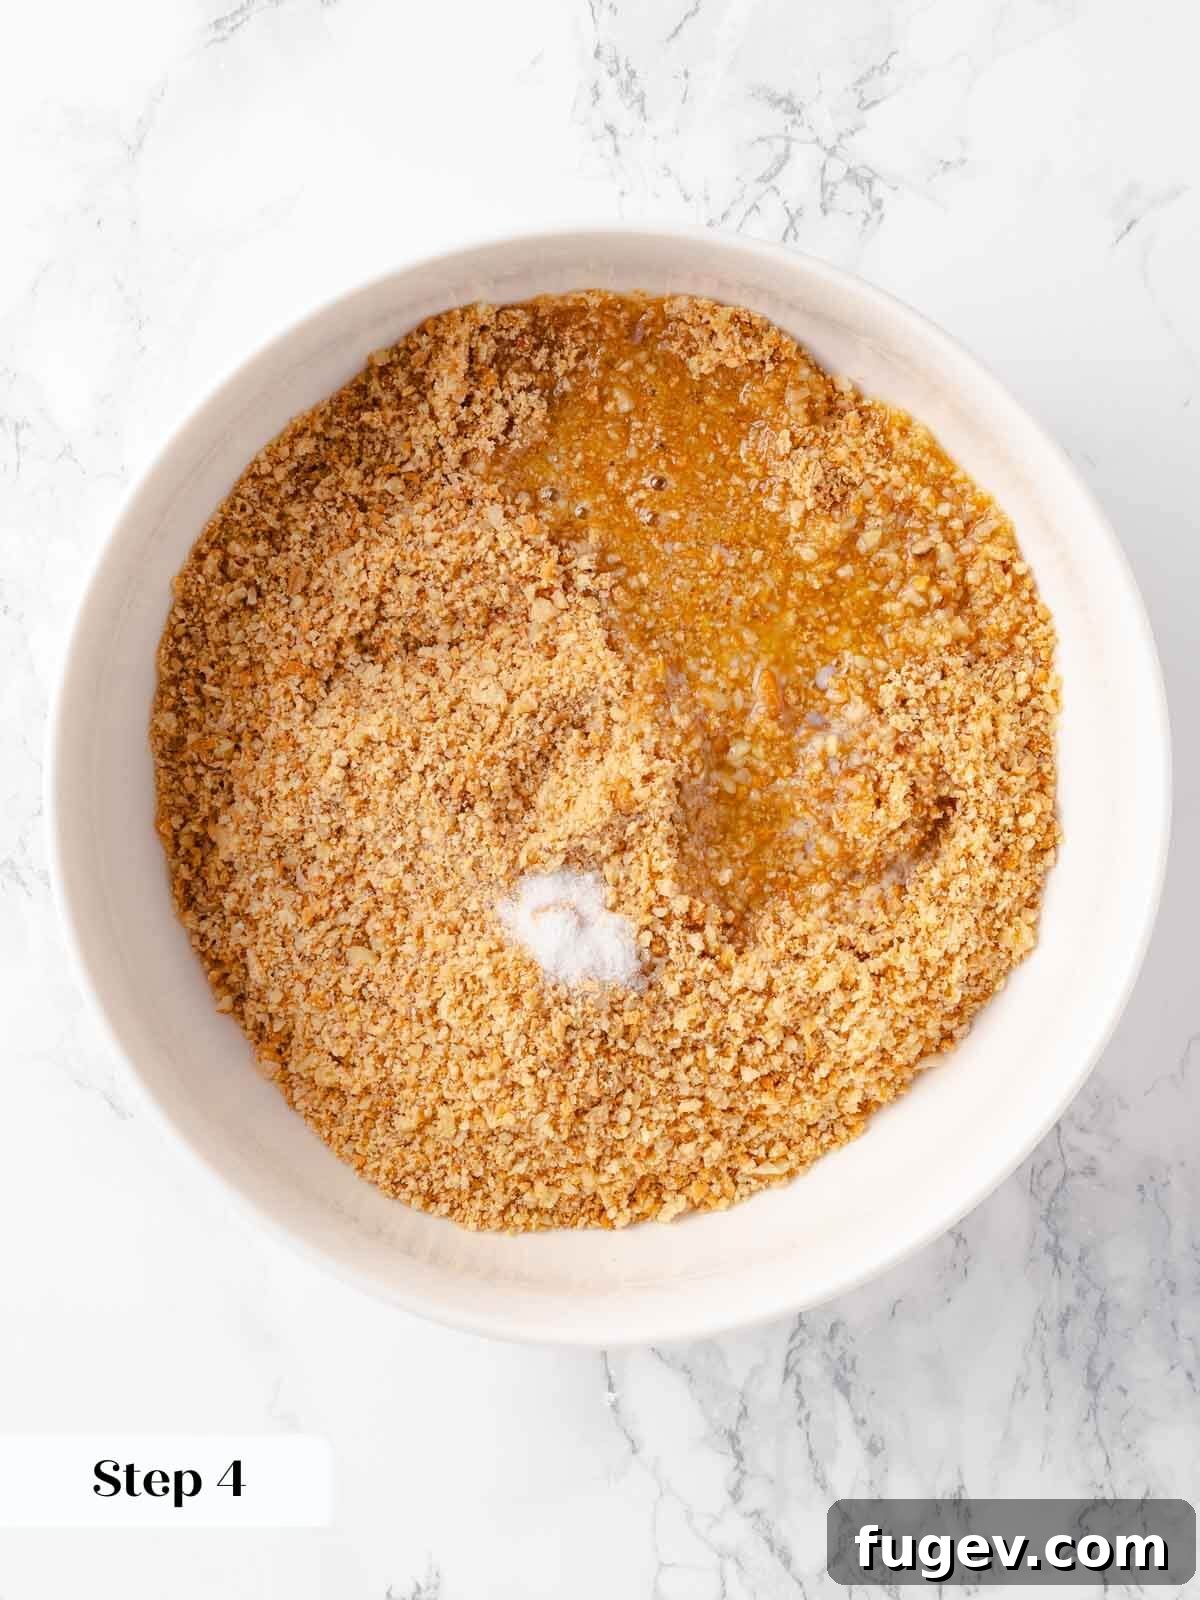
Step 4: In a medium-sized bowl, combine the gingersnap and walnut crumb mixture, the melted butter, and the kosher salt. Mix thoroughly with your hands, pressing and squeezing the mixture to ensure the butter is evenly distributed and creates moist, cohesive clumps. This hands-on method helps achieve the perfect consistency for pressing into the pan.
Chef’s Tip for Mixing Crust: To help the melted butter cool slightly and mix more efficiently, create a small well in the center of your dry crumb mixture. Pour the melted butter directly into this well. Then, use your hand to gradually bring the dry crumbs from the sides into the butter, mixing as you go. This gentle incorporation helps cool the butter and ensures every crumb is coated without overworking.
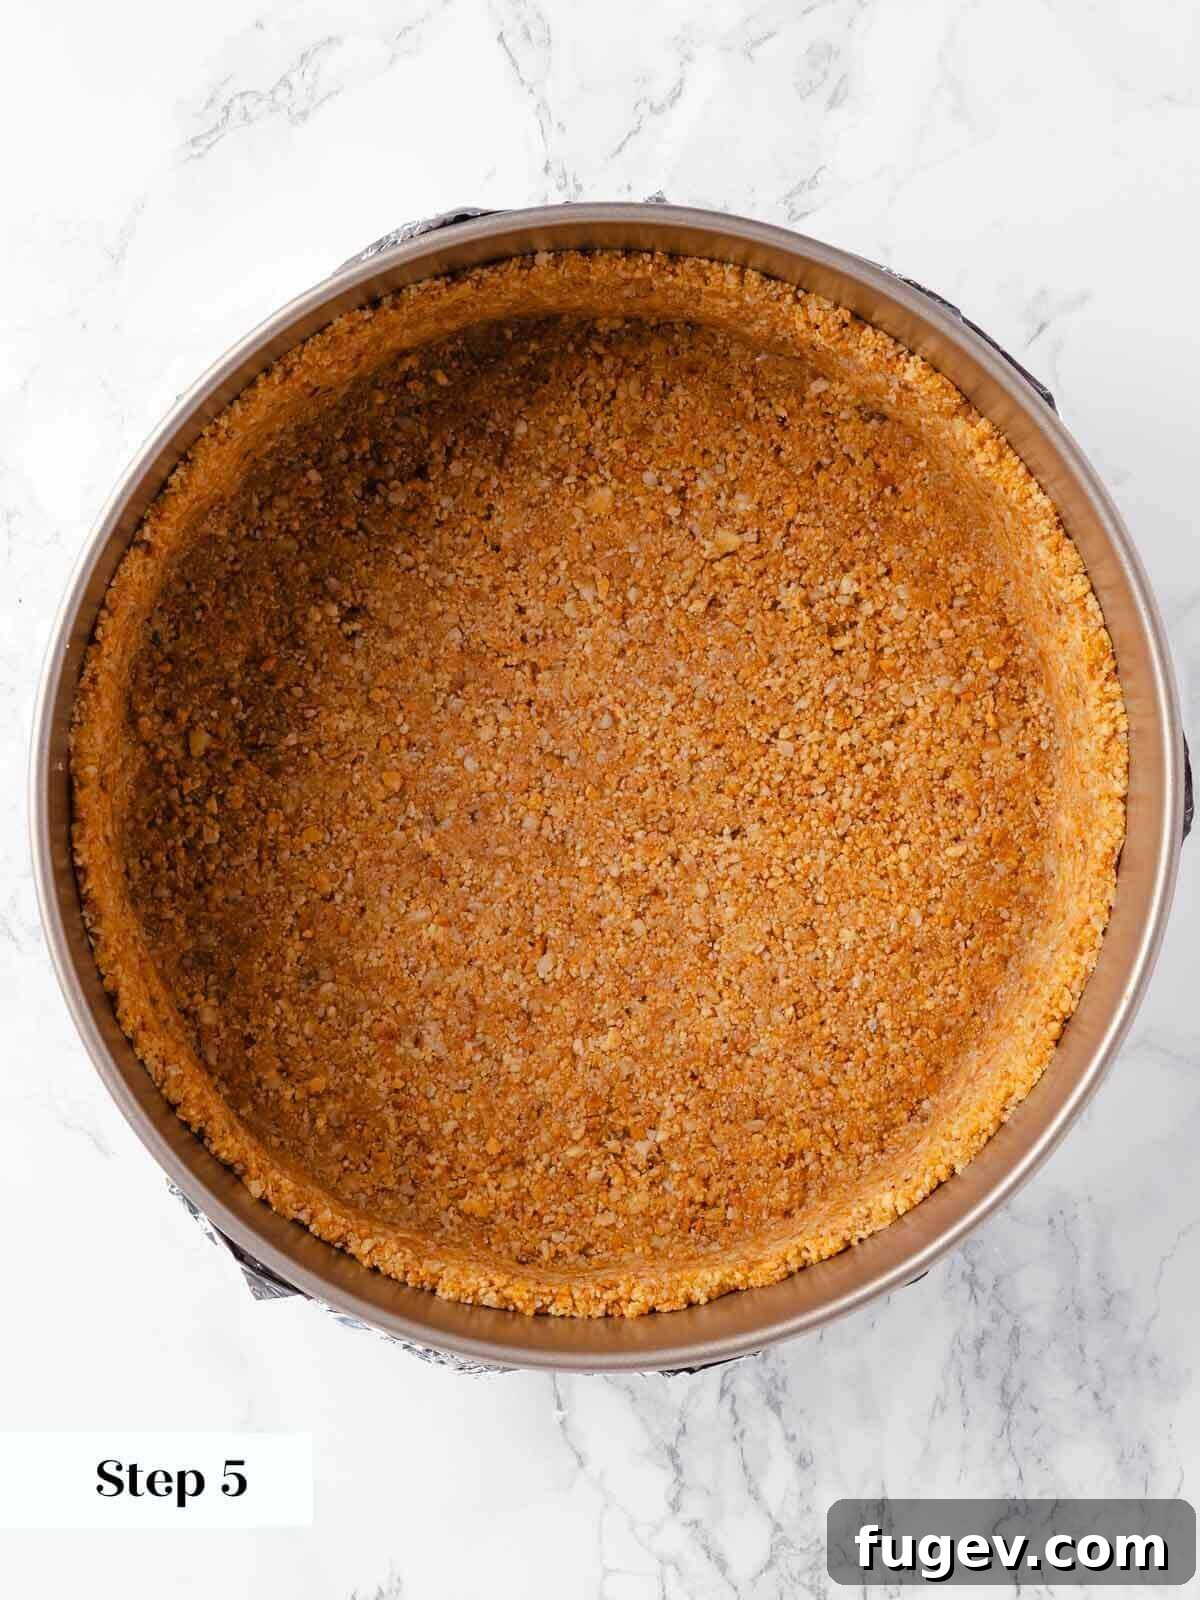
Step 5: Firmly press the crust mixture into the bottom of the prepared springform pan. Use the flat bottom of a measuring cup or your knuckles to create an even, compact layer across the base and about 1 to 1½ inches up the sides of the pan. Bake this crust in the 350°F (175°C) oven for 10 minutes, or until the center appears slightly matte and set. Remove from the oven and allow it to cool completely on a wire rack while you prepare the filling.
Convenience Tip: If you forget to bake the crust ahead of time or if it’s still slightly warm when the batter is ready, don’t worry! You can pour the cheesecake batter into a warm crust. It won’t negatively affect the final result.
Prepare and Bake the Cheesecake:
Step 6: Reduce the oven temperature to 325°F (160°C) for baking the cheesecake filling.
Mission-Critical Temperature Tip: It is absolutely essential that all your cheesecake ingredients—cream cheese, eggs, and heavy cream—are at room temperature. This is the single most important factor for achieving a silky, smooth, and lump-free batter, which directly translates to the perfect final texture. If you’ve forgotten to take them out ahead of time, measure all ingredients into plastic or metal containers. Place them uncovered on a baking sheet on the top rack of your (turned-off, but still warm from crust baking) oven. Place a large roasting pan at the bottom of the oven and pour in boiling water. Close the oven door, and the gentle steam will quickly bring your ingredients to room temperature without cooking them. This quick trick can save your cheesecake!
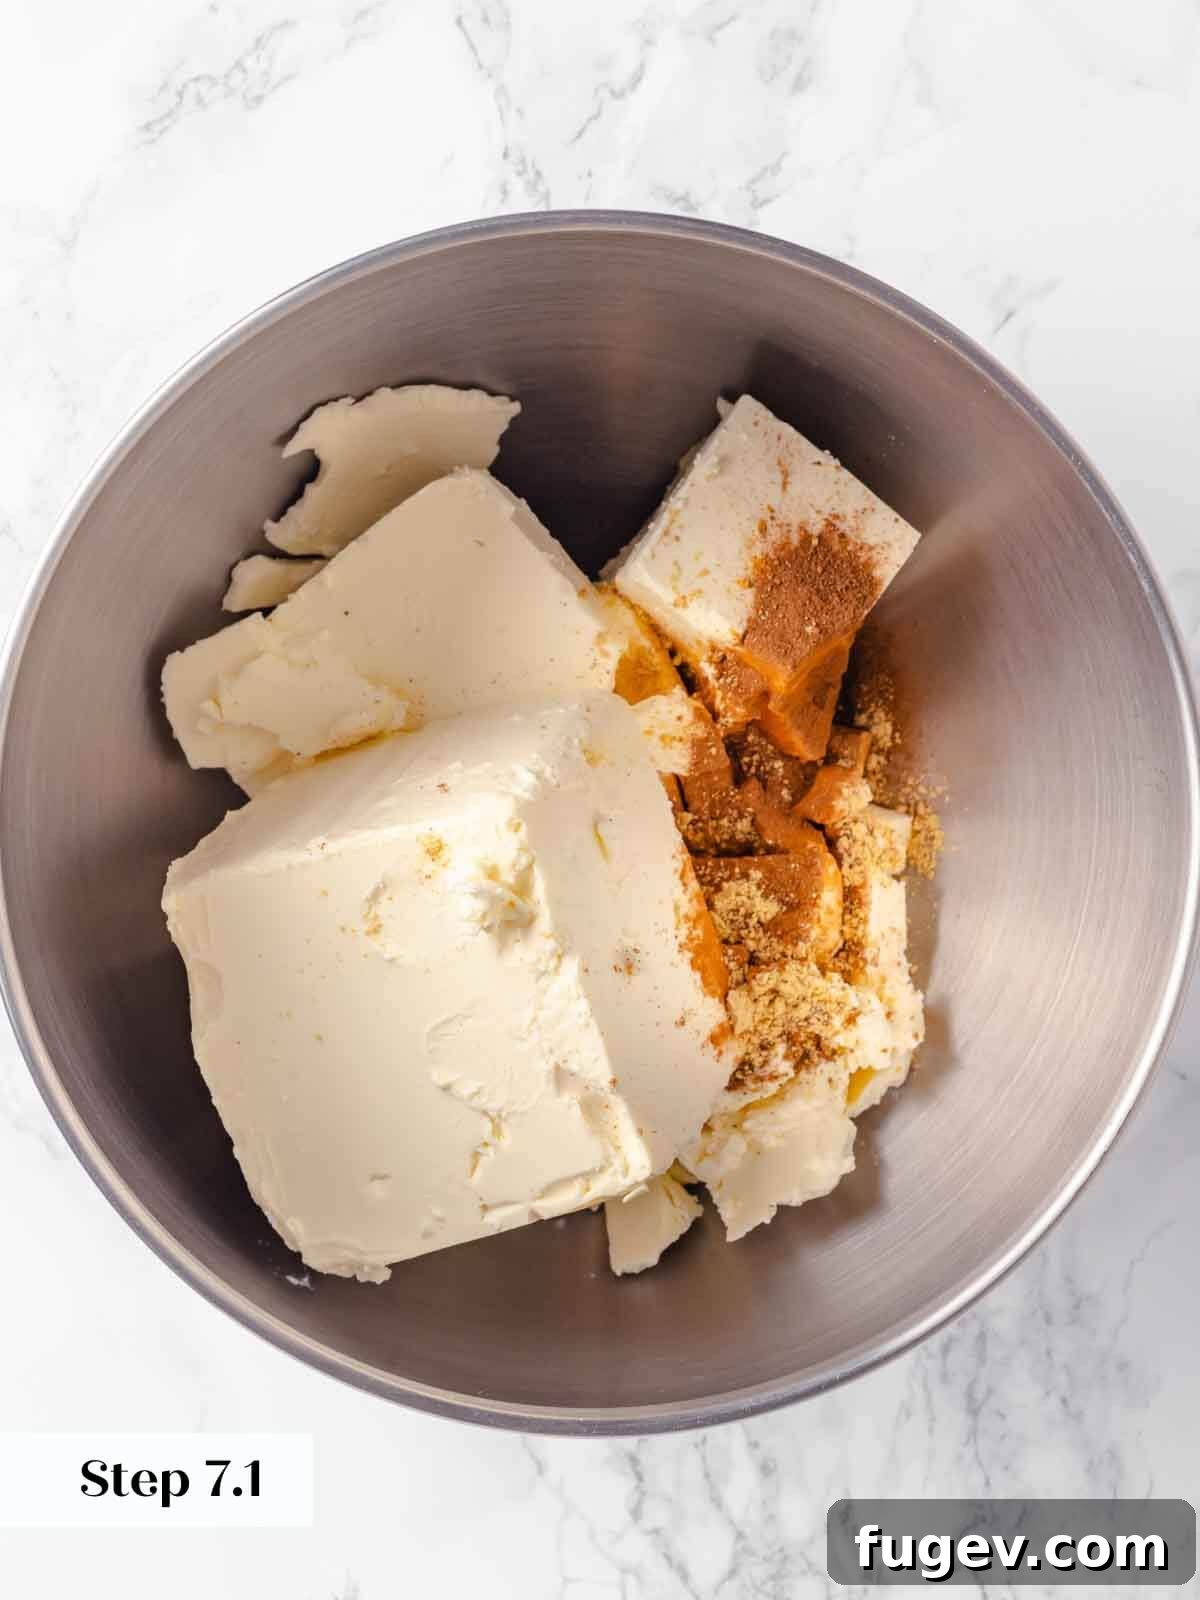
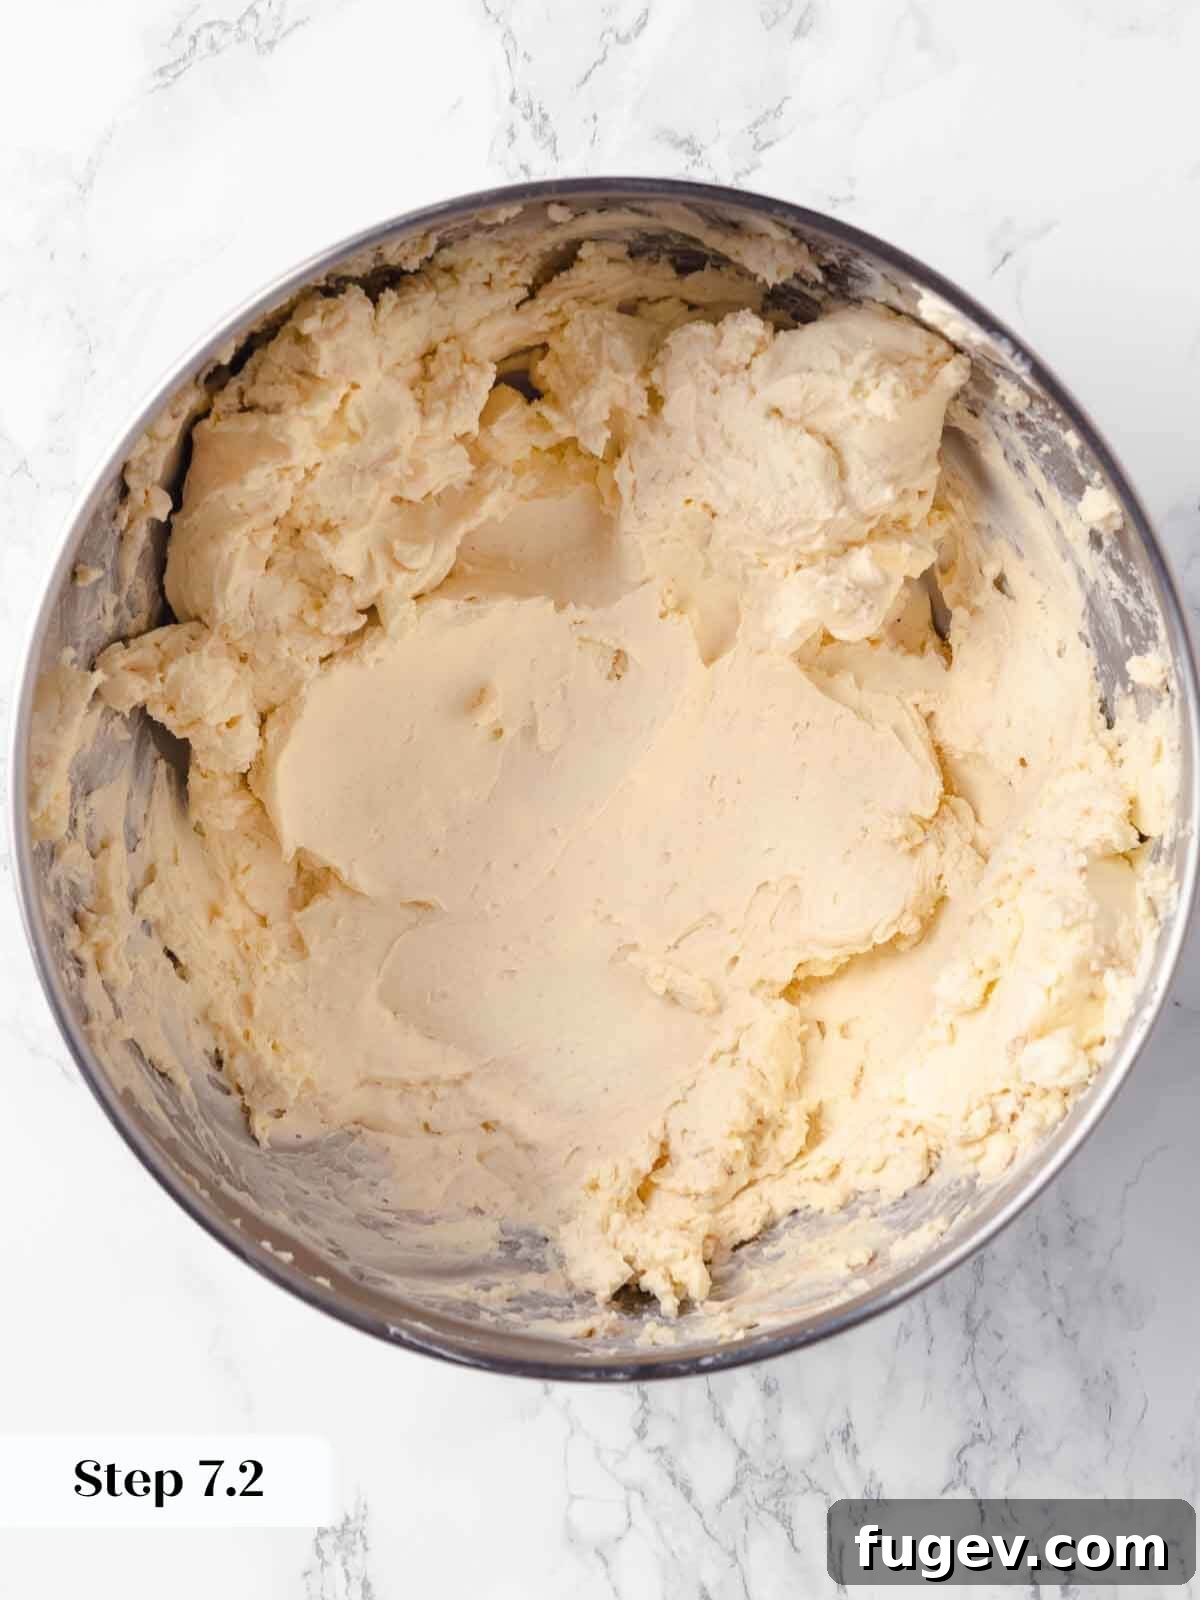
Step 7: In the large bowl of a stand mixer fitted with the paddle attachment, or using a very large bowl with an electric hand mixer, combine the softened cream cheese, all the fall spices (cinnamon, ginger, cloves, and nutmeg), and vanilla extract. Beat these ingredients together on medium speed for at least 3-5 minutes, or until the mixture is incredibly silky, light, creamy, and completely smooth. Scrape down the sides and bottom of the bowl frequently to ensure even mixing and prevent any unmixed lumps.
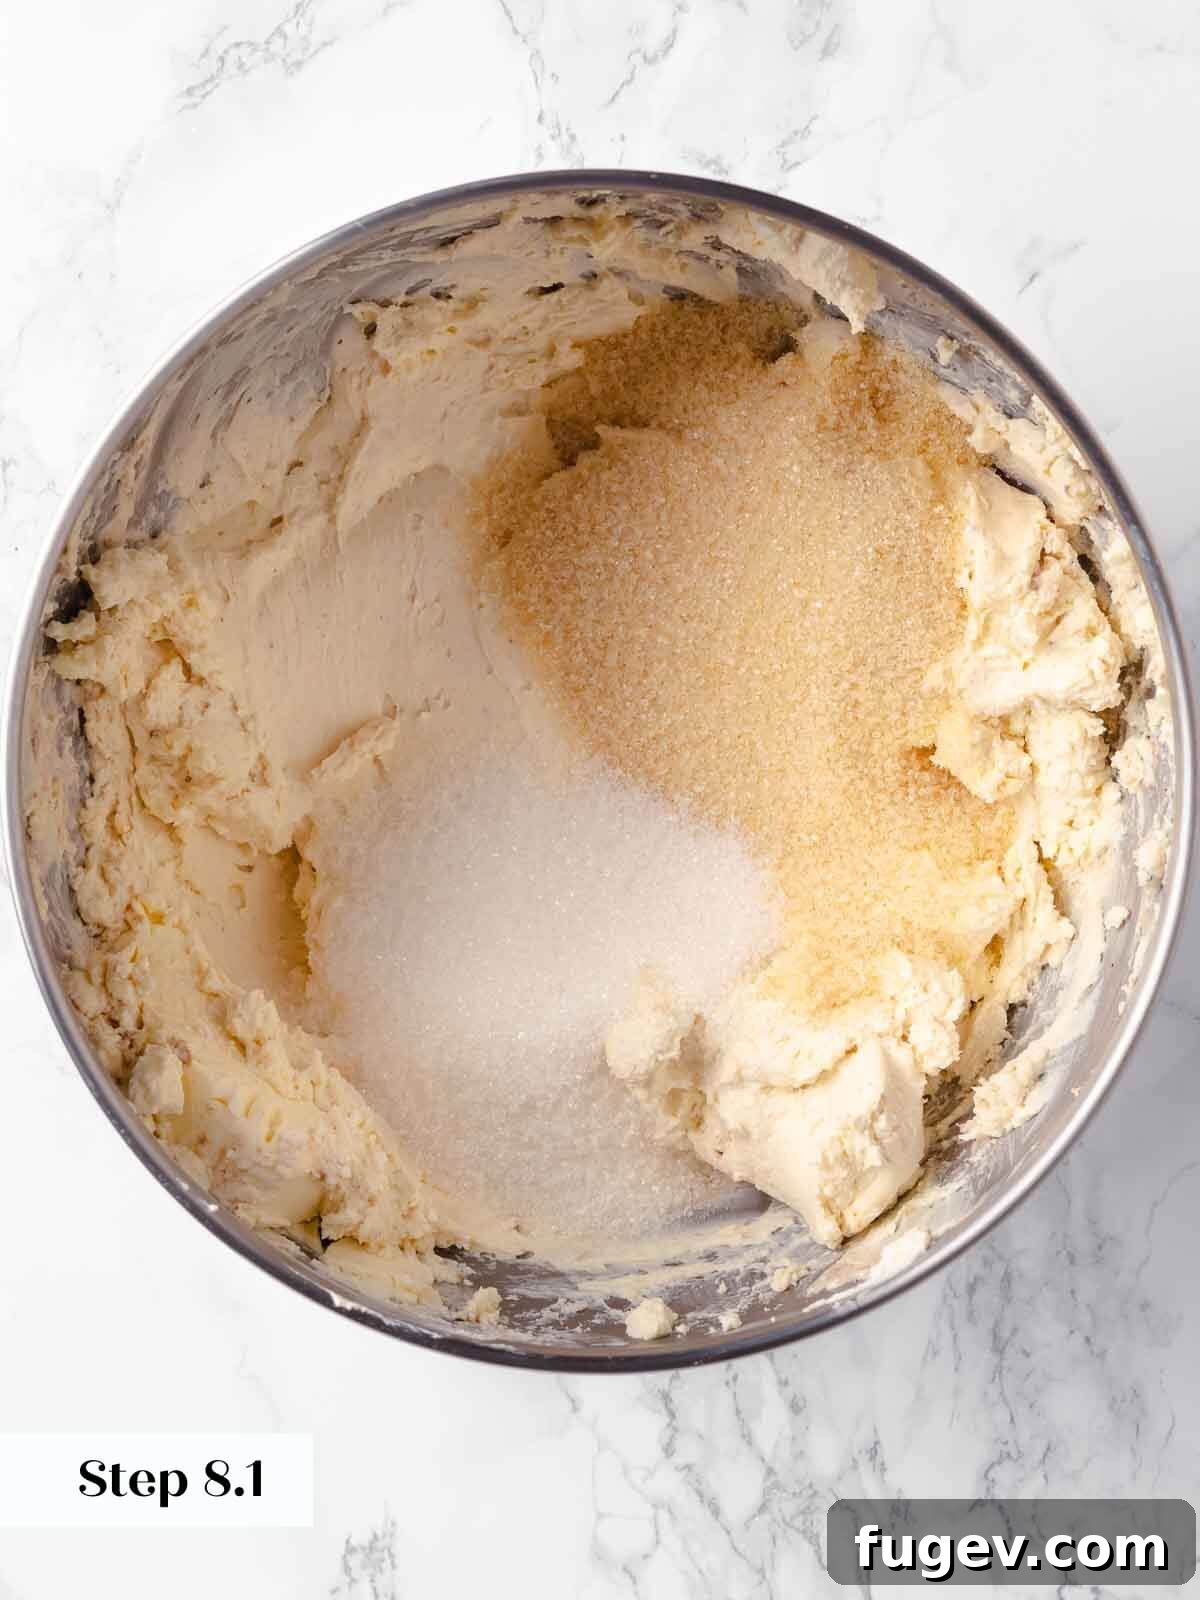
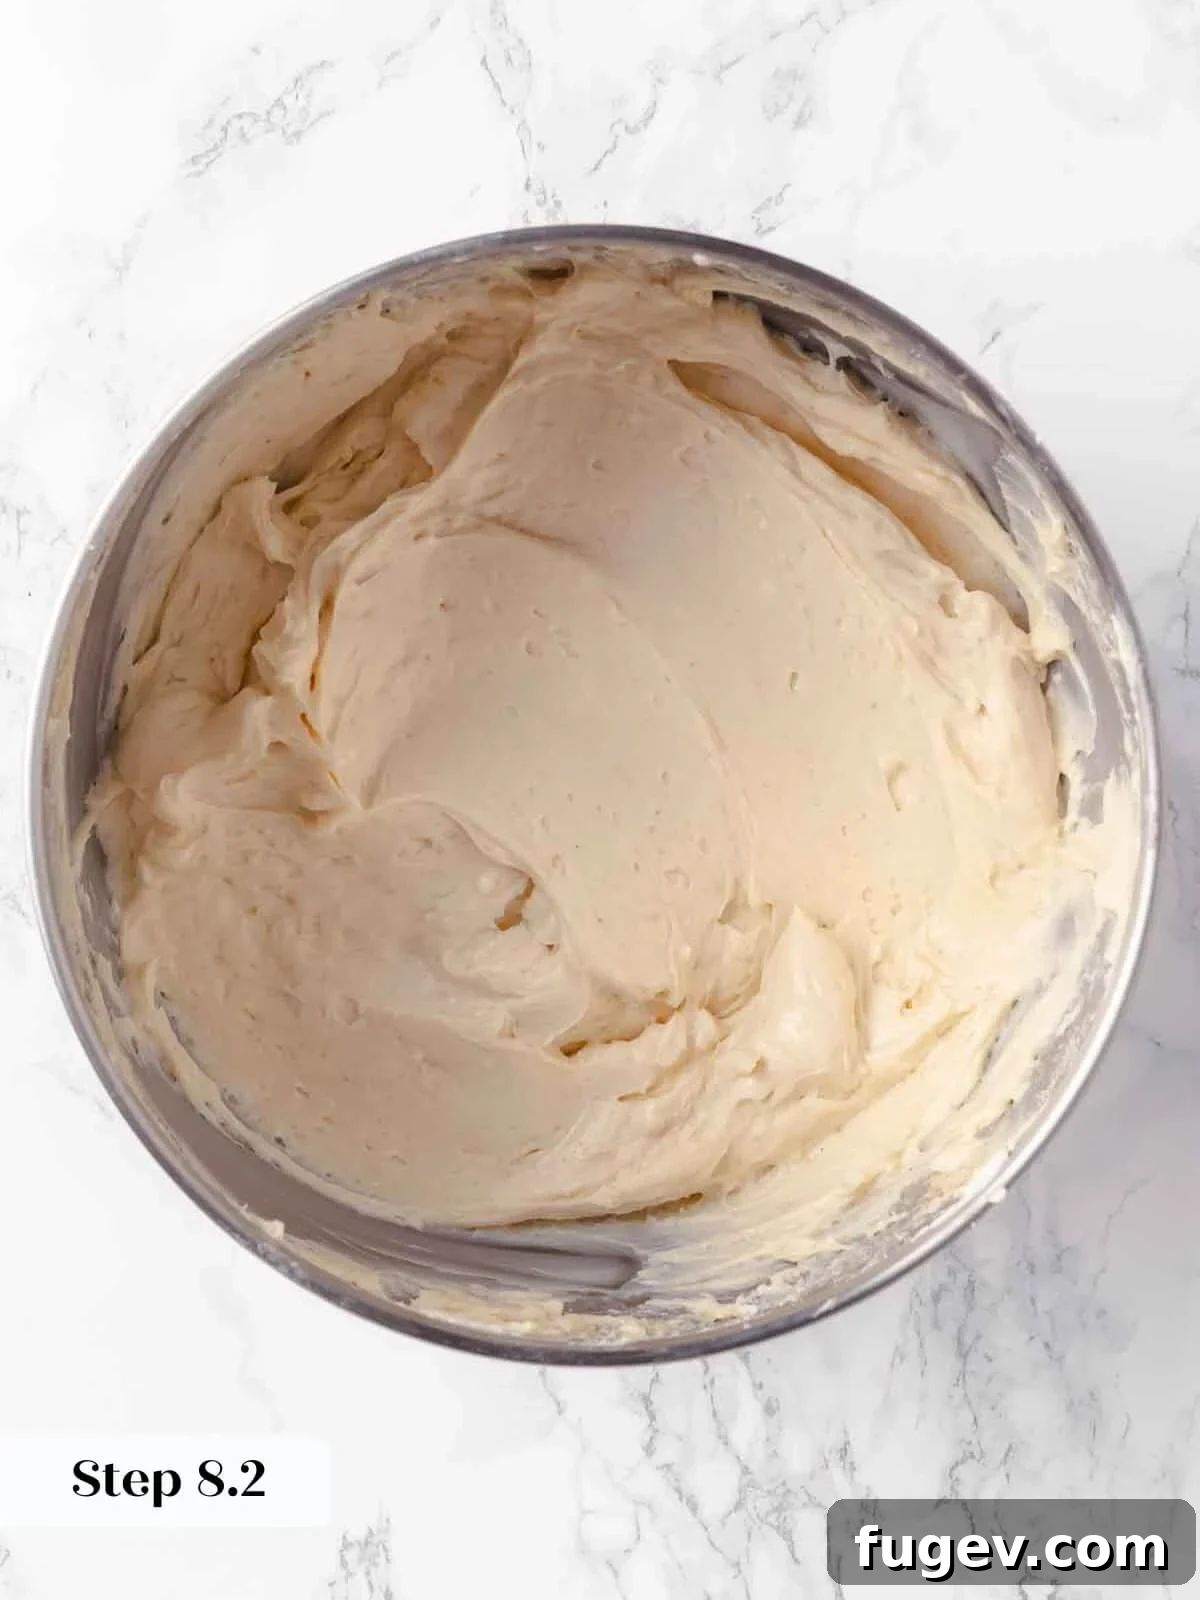
Step 8: Gradually add both the granulated sugar and light brown sugar to the cream cheese mixture. Continue beating on medium speed for at least 3 full minutes. This extended beating time is crucial to ensure that all sugar granules fully dissolve into the cream cheese, which contributes significantly to the smooth, luxurious texture of the finished cheesecake. Again, stop and scrape down the sides and bottom of the bowl multiple times to ensure everything is thoroughly incorporated.
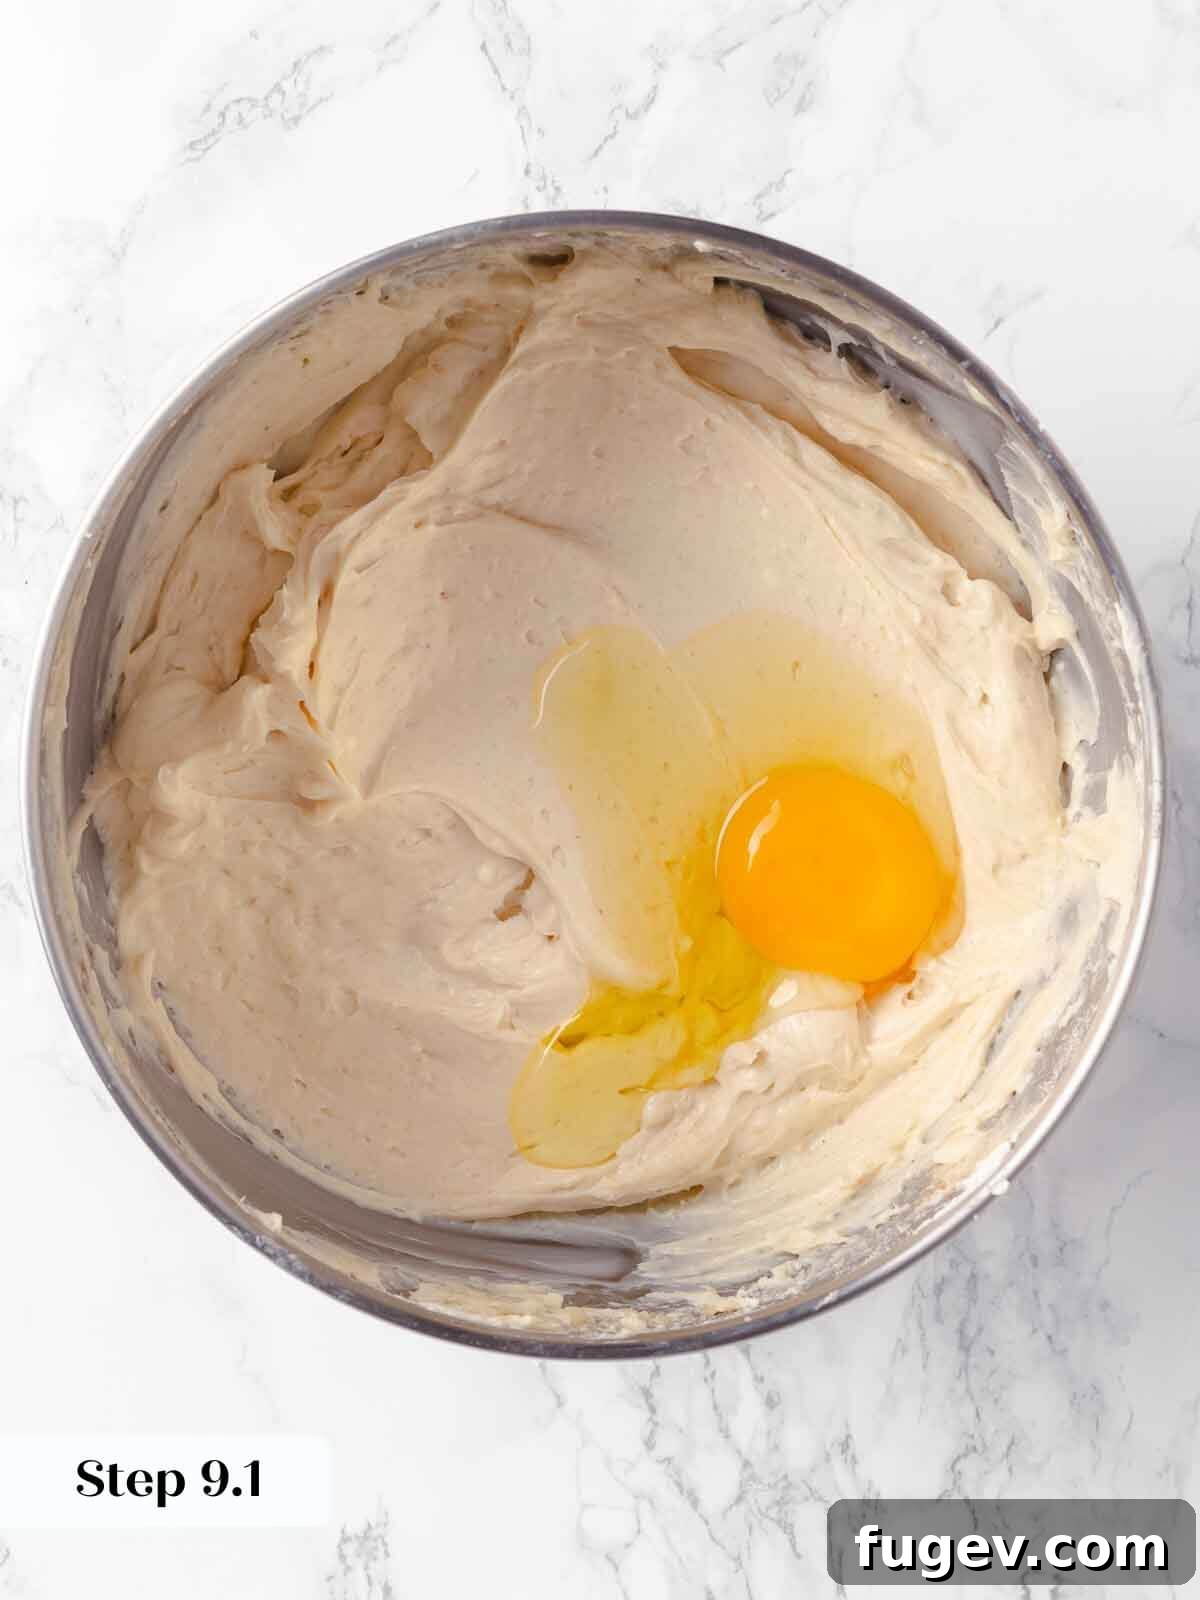
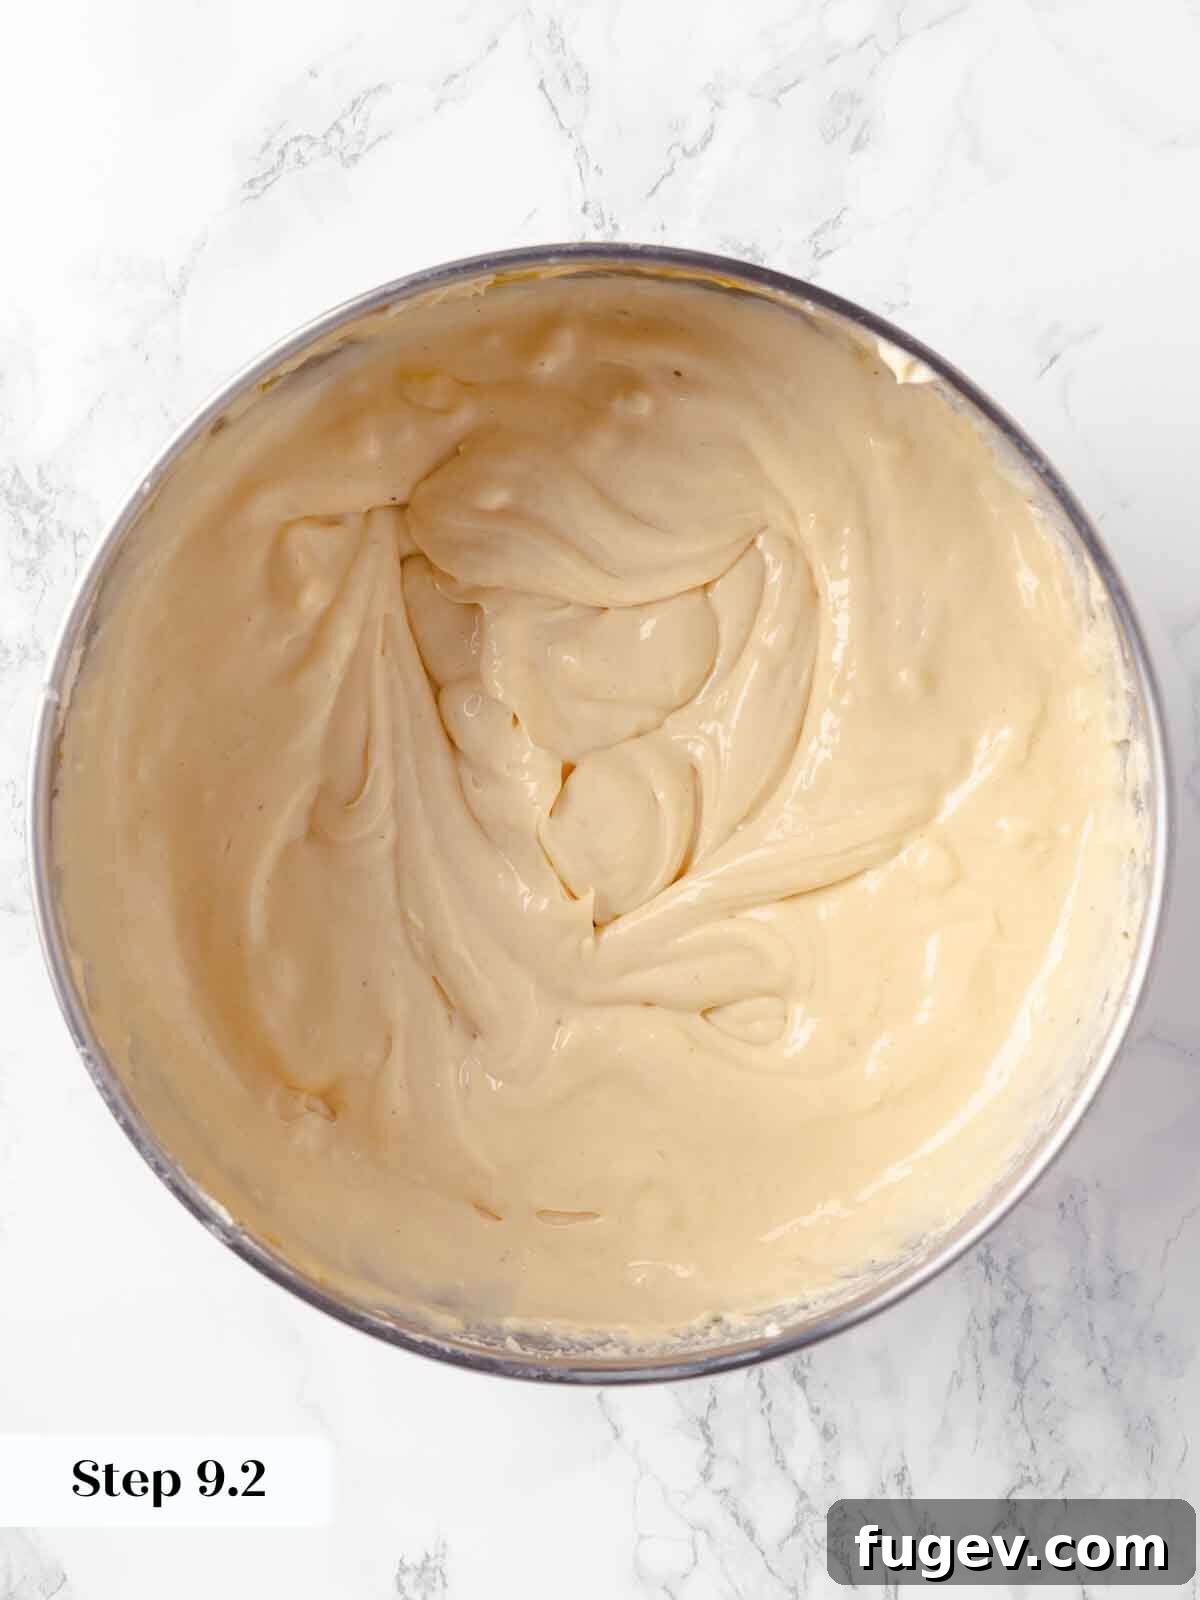
Step 9: Add the large eggs one at a time, beating just until each egg is fully incorporated before adding the next. This prevents overmixing and excess air incorporation. Add the single egg yolk along with the third whole egg. Continue to beat gently until just combined after the final egg addition. Remember, minimal mixing once eggs are added is key to preventing cracks.
Preventing Lumps and Ensuring Smoothness: To guarantee your cheesecake batter is perfectly uniform, make it a habit to frequently scrape down the edges and the bottom of your stand mixer bowl with a rubber spatula. Any unmixed cream cheese, sugar, or egg clinging to the bowl can lead to an inconsistent texture in your final cheesecake. A thoroughly scraped bowl ensures every component is beautifully integrated.
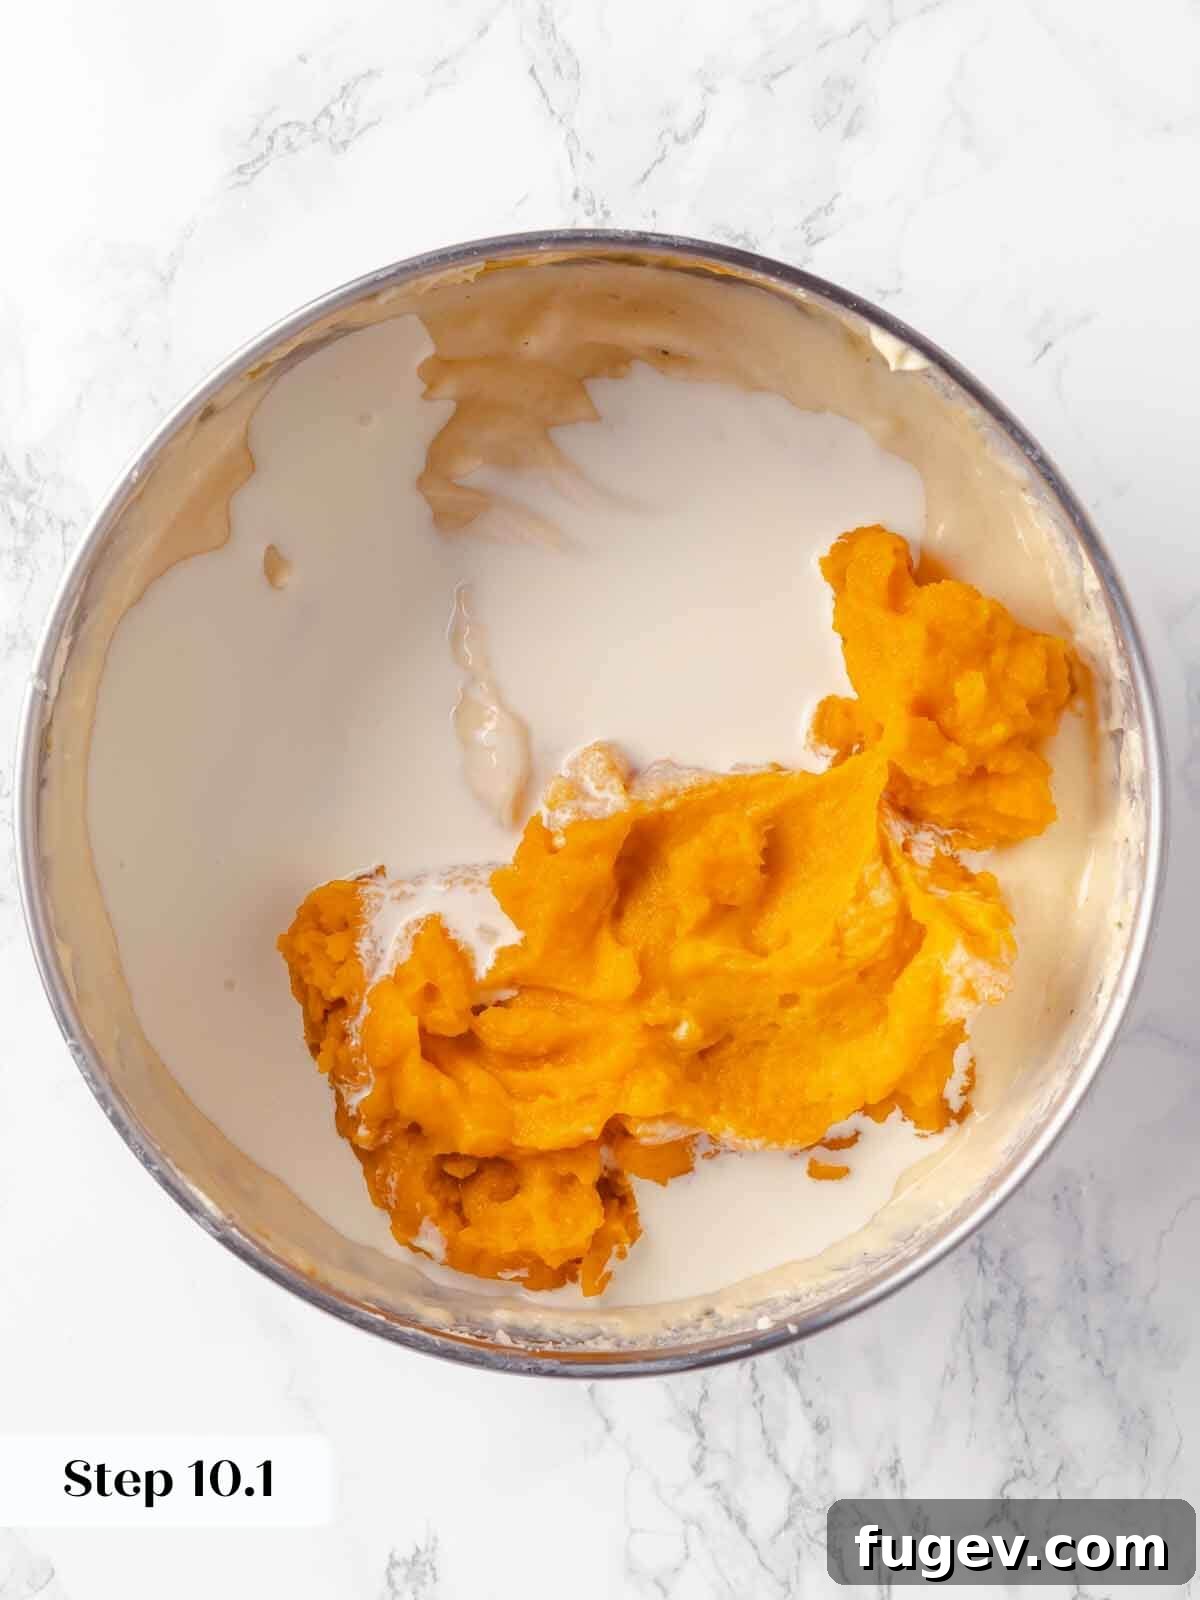
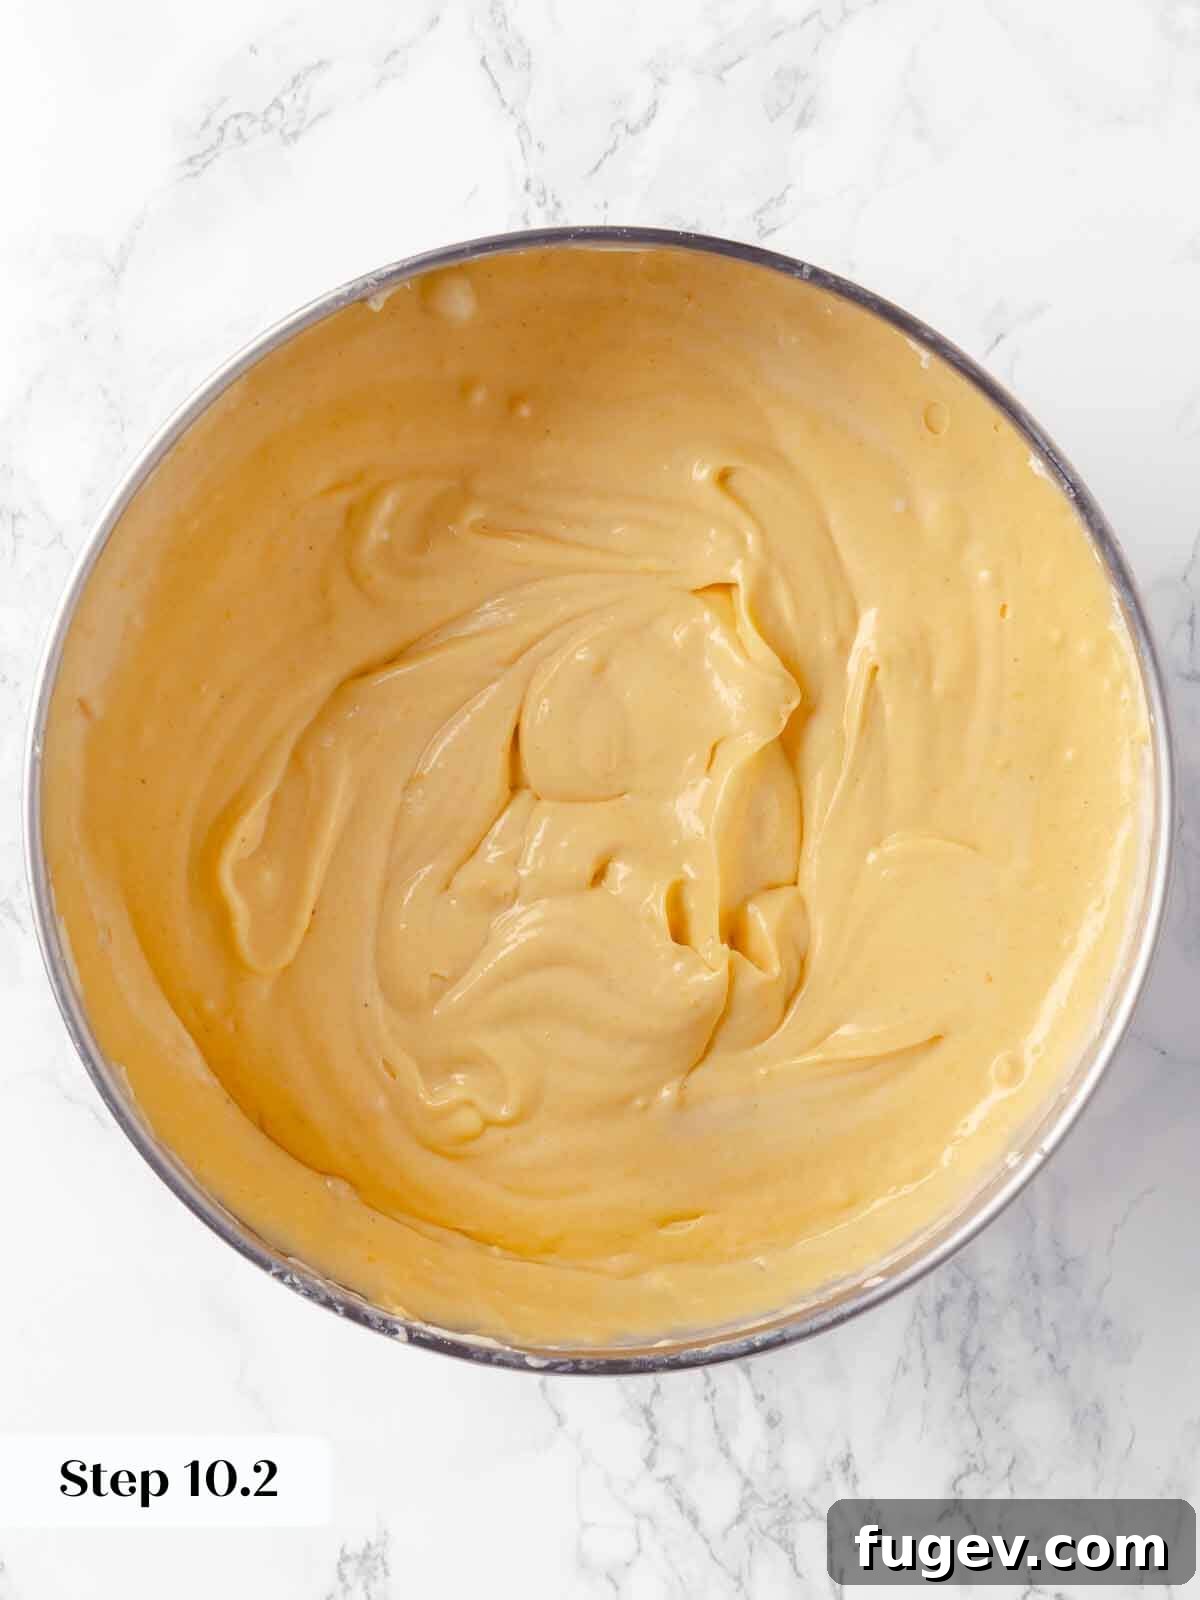
Step 10: Add the pumpkin puree and heavy cream to the batter. Start the mixer on a very low speed to avoid splashes, then gradually increase the speed to medium-low. Mix just until these ingredients are fully combined and no streaks of pumpkin or cream are visible. Overmixing at this stage can also incorporate too much air, so mix only until homogenous.
Ensuring Smooth Pumpkin Integration: To guarantee an absolutely smooth pumpkin cheesecake filling without any clumps of puree, consider immersion blending or whisking the pumpkin puree and heavy cream together in a separate bowl *before* adding them to the cream cheese mixture. This pre-mixing step helps break down any potential pumpkin lumps and ensures a flawlessly smooth final batter.
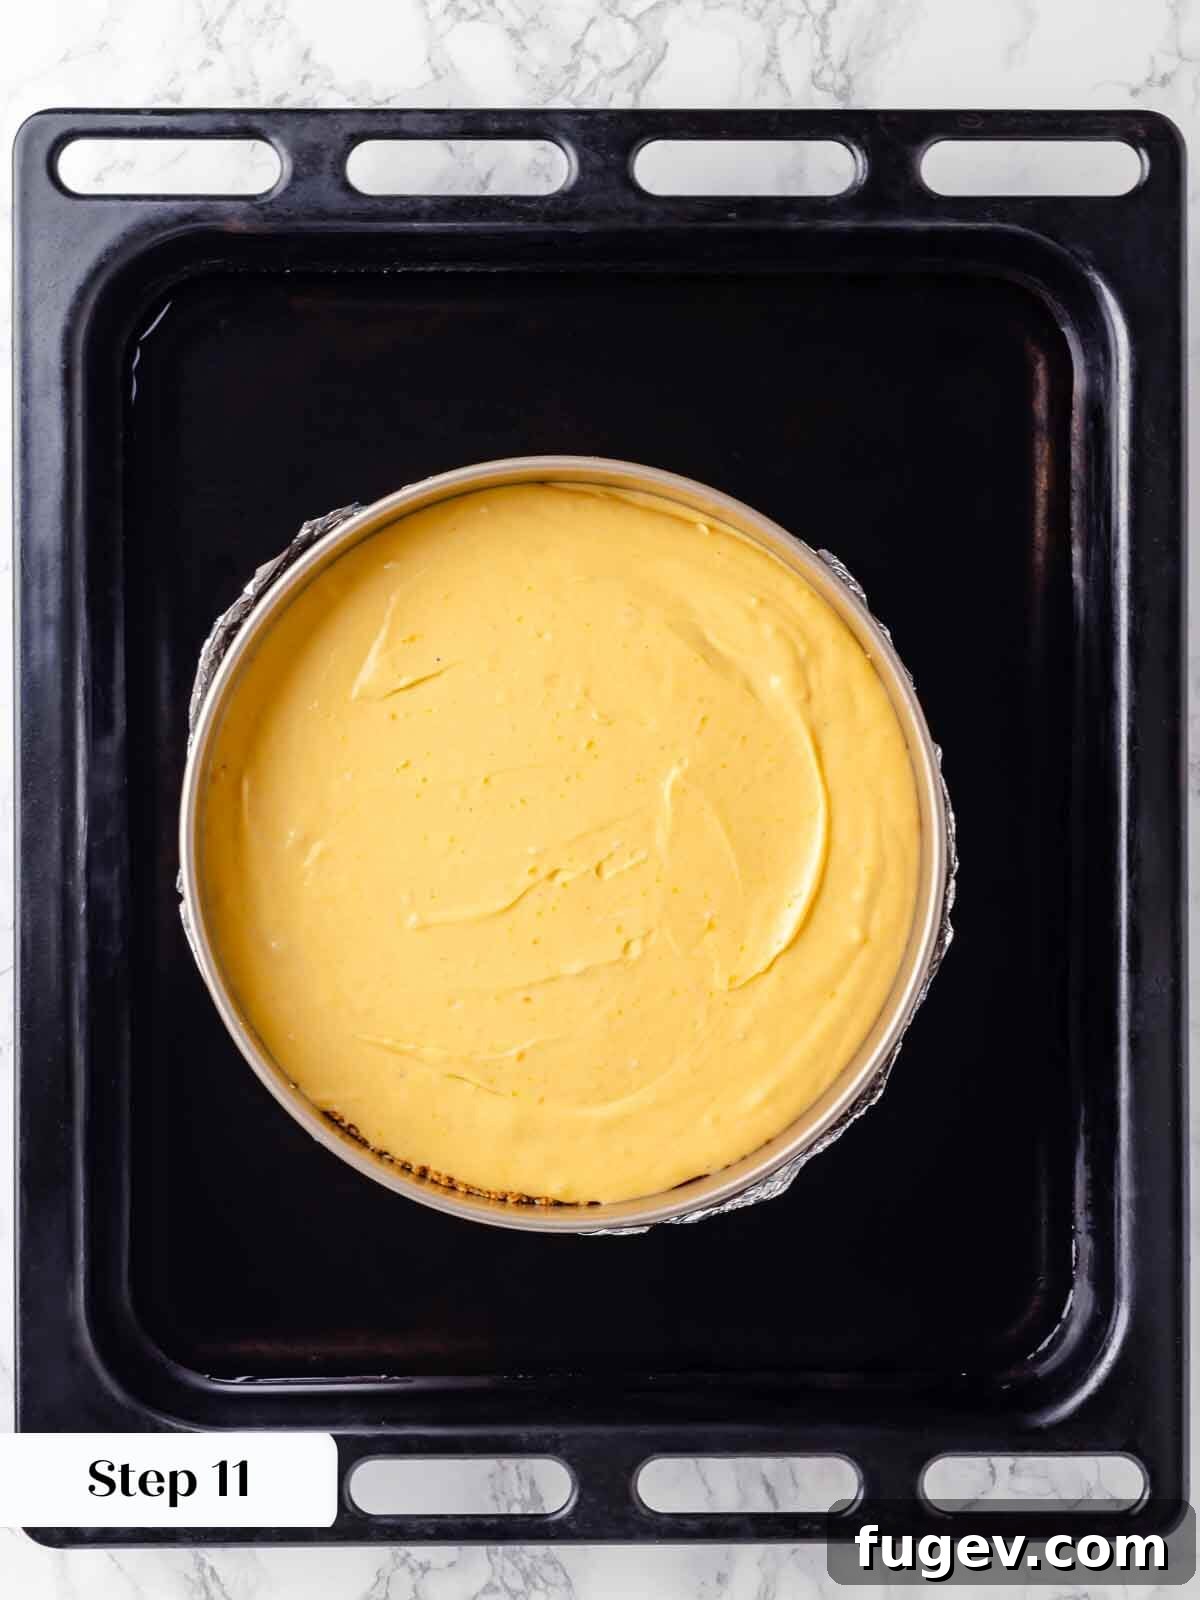
Step 11: Carefully pour the smooth pumpkin cheesecake filling into your prepared and cooled gingersnap crust in the foil-wrapped springform pan. Now, prepare your water bath. I find a large, sturdy roasting pan works best for this. Place the baking pan with the springform nested inside directly into the center of the roasting pan. Then, and only then, carefully pour hot (but not boiling) water into the roasting pan, ensuring the water comes up about halfway to two-thirds of the way up the sides of the springform pan. This method significantly reduces the risk of water splashing into your cheesecake before it even begins to bake!
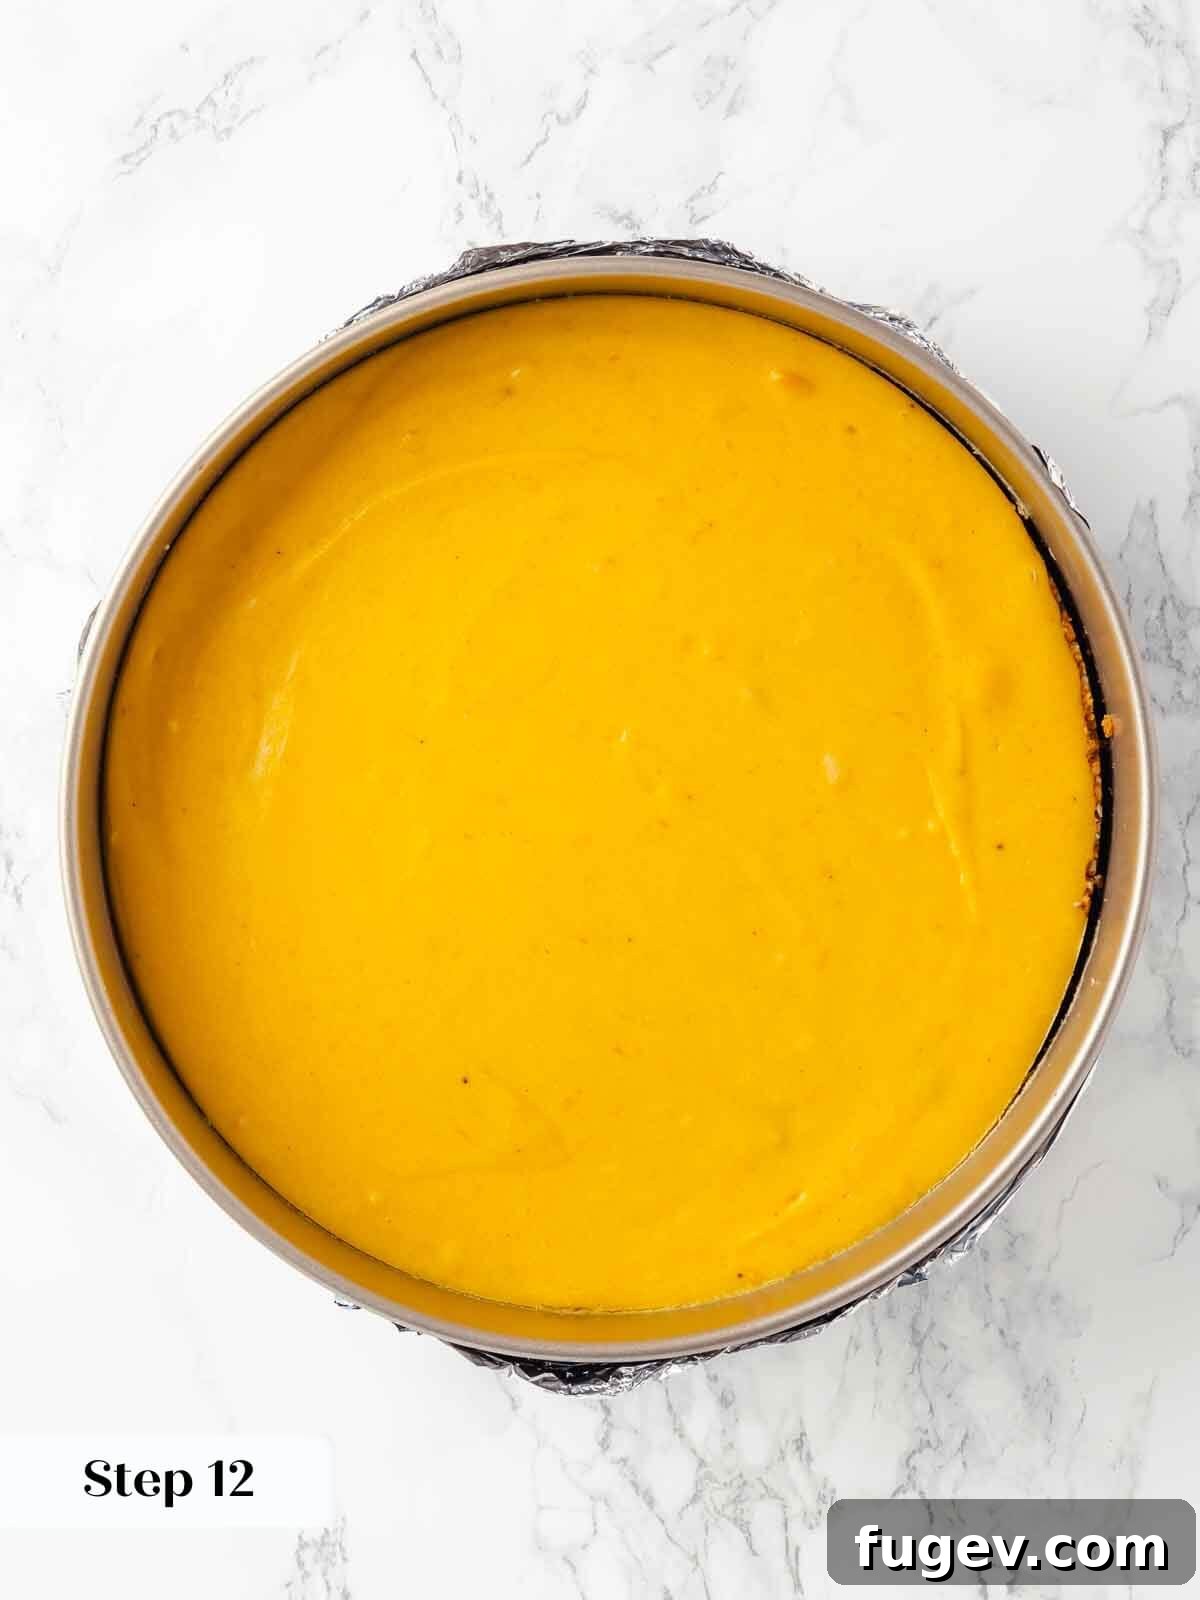
Step 12: Carefully transfer the roasting pan with the cheesecake (and water bath) to your preheated 325°F (160°C) oven. Bake for approximately 1 hour and 40 minutes. The cheesecake is done when the edges appear set and firm, but the very center (about 2-3 inches in diameter) still has a slight, cohesive wobble, like firm Jell-O. It should move as one unit, not appear liquid or loose. The cake will likely puff slightly during baking. Avoid the temptation to open the oven door during the first hour of baking, as sudden temperature drops can cause cracks.
Patience is Key: For the first hour of baking, resist the urge to open your oven door, no matter how curious you are! The cheesecake needs a consistent, stable temperature to properly set and rise. Opening the door too early can cause a sudden drop in temperature, leading to deflation and, you guessed it, cracks on the surface of your beautiful cheesecake.
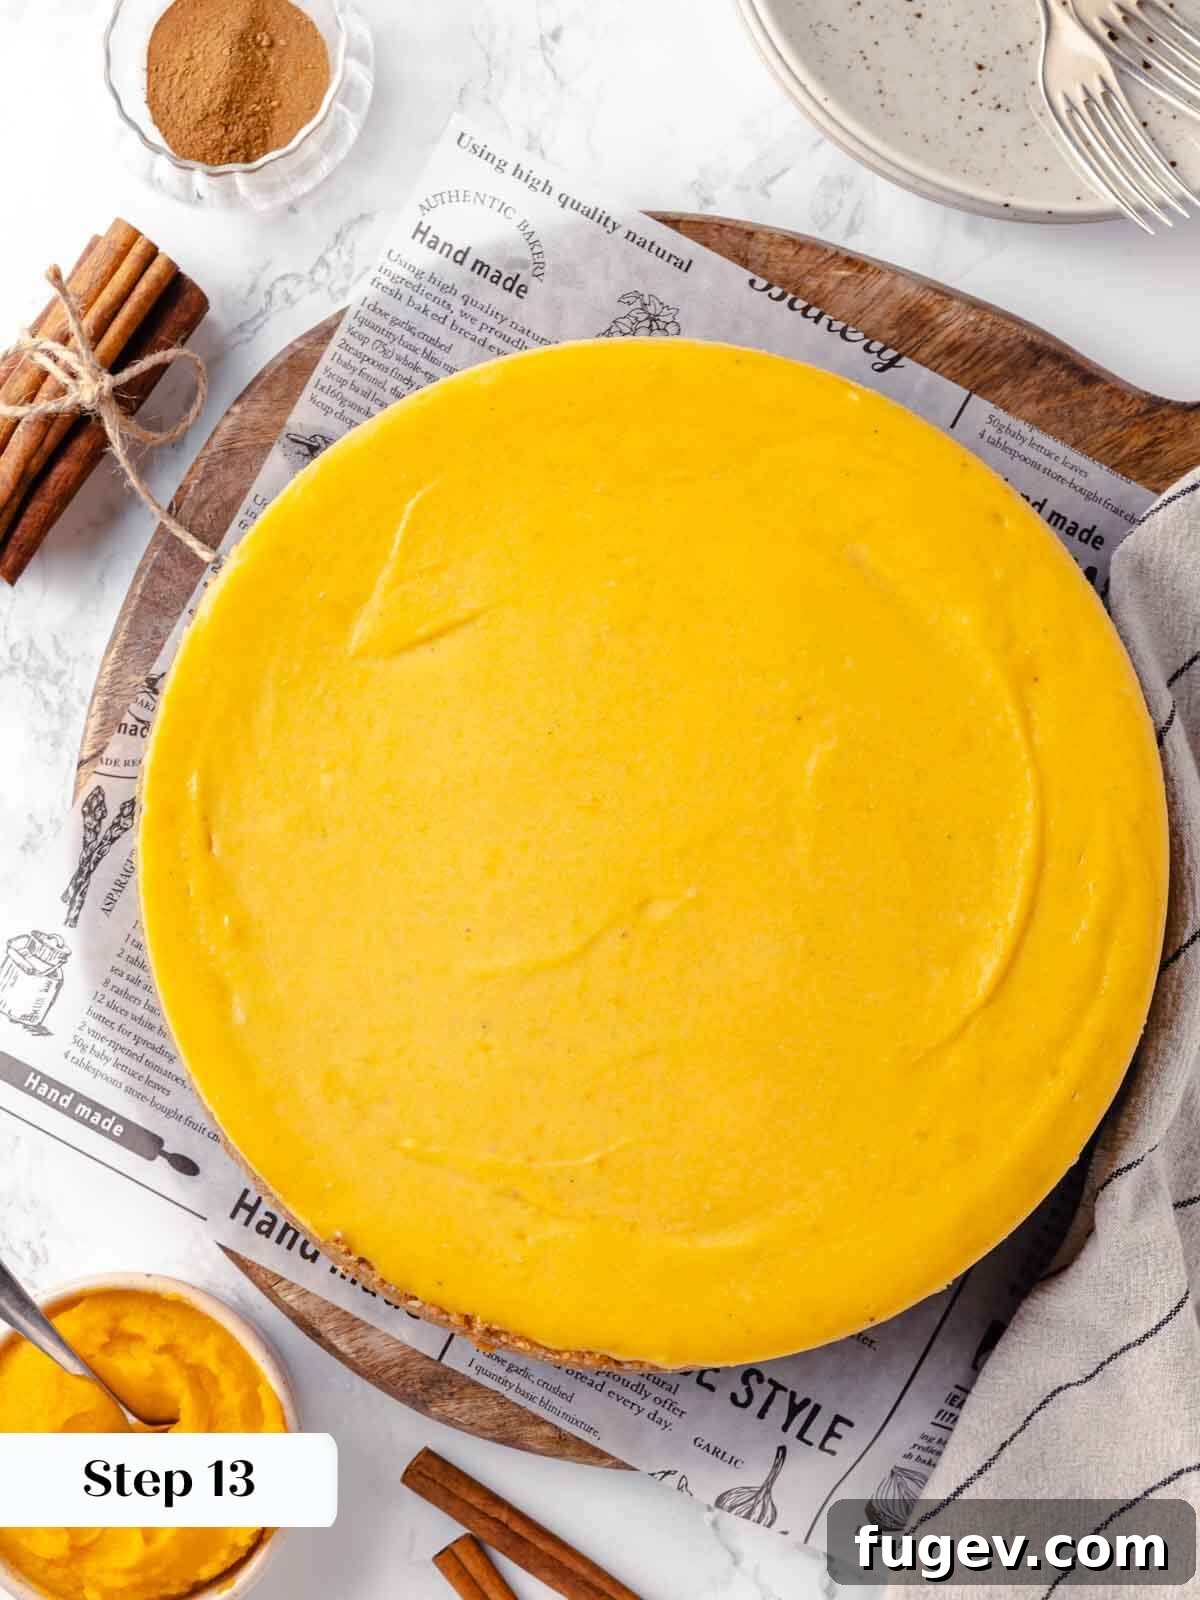
Step 13: Once baked, very carefully remove the entire roasting pan from the oven. Gently lift the springform pan out of the water bath and place it onto a wire rack to begin cooling. Allow it to cool at room temperature for at least 1-2 hours. Carefully remove the water bath from the oven and discard the water.
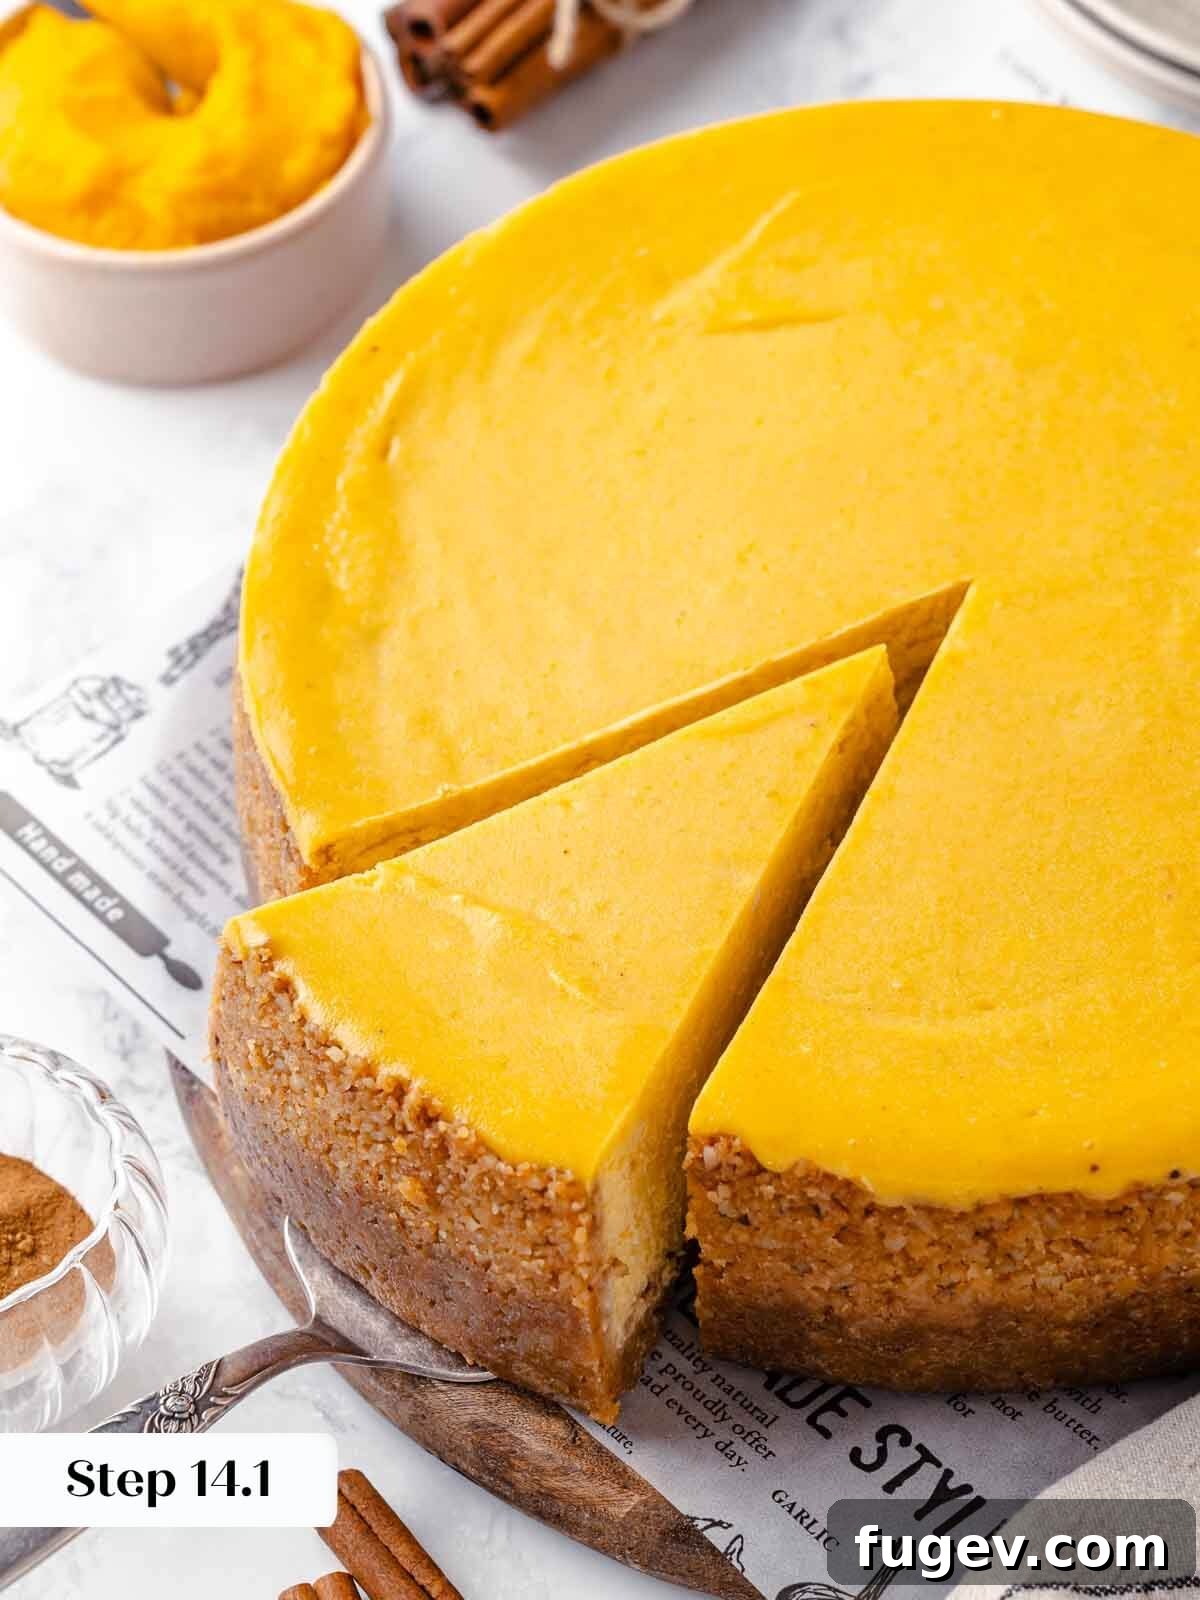
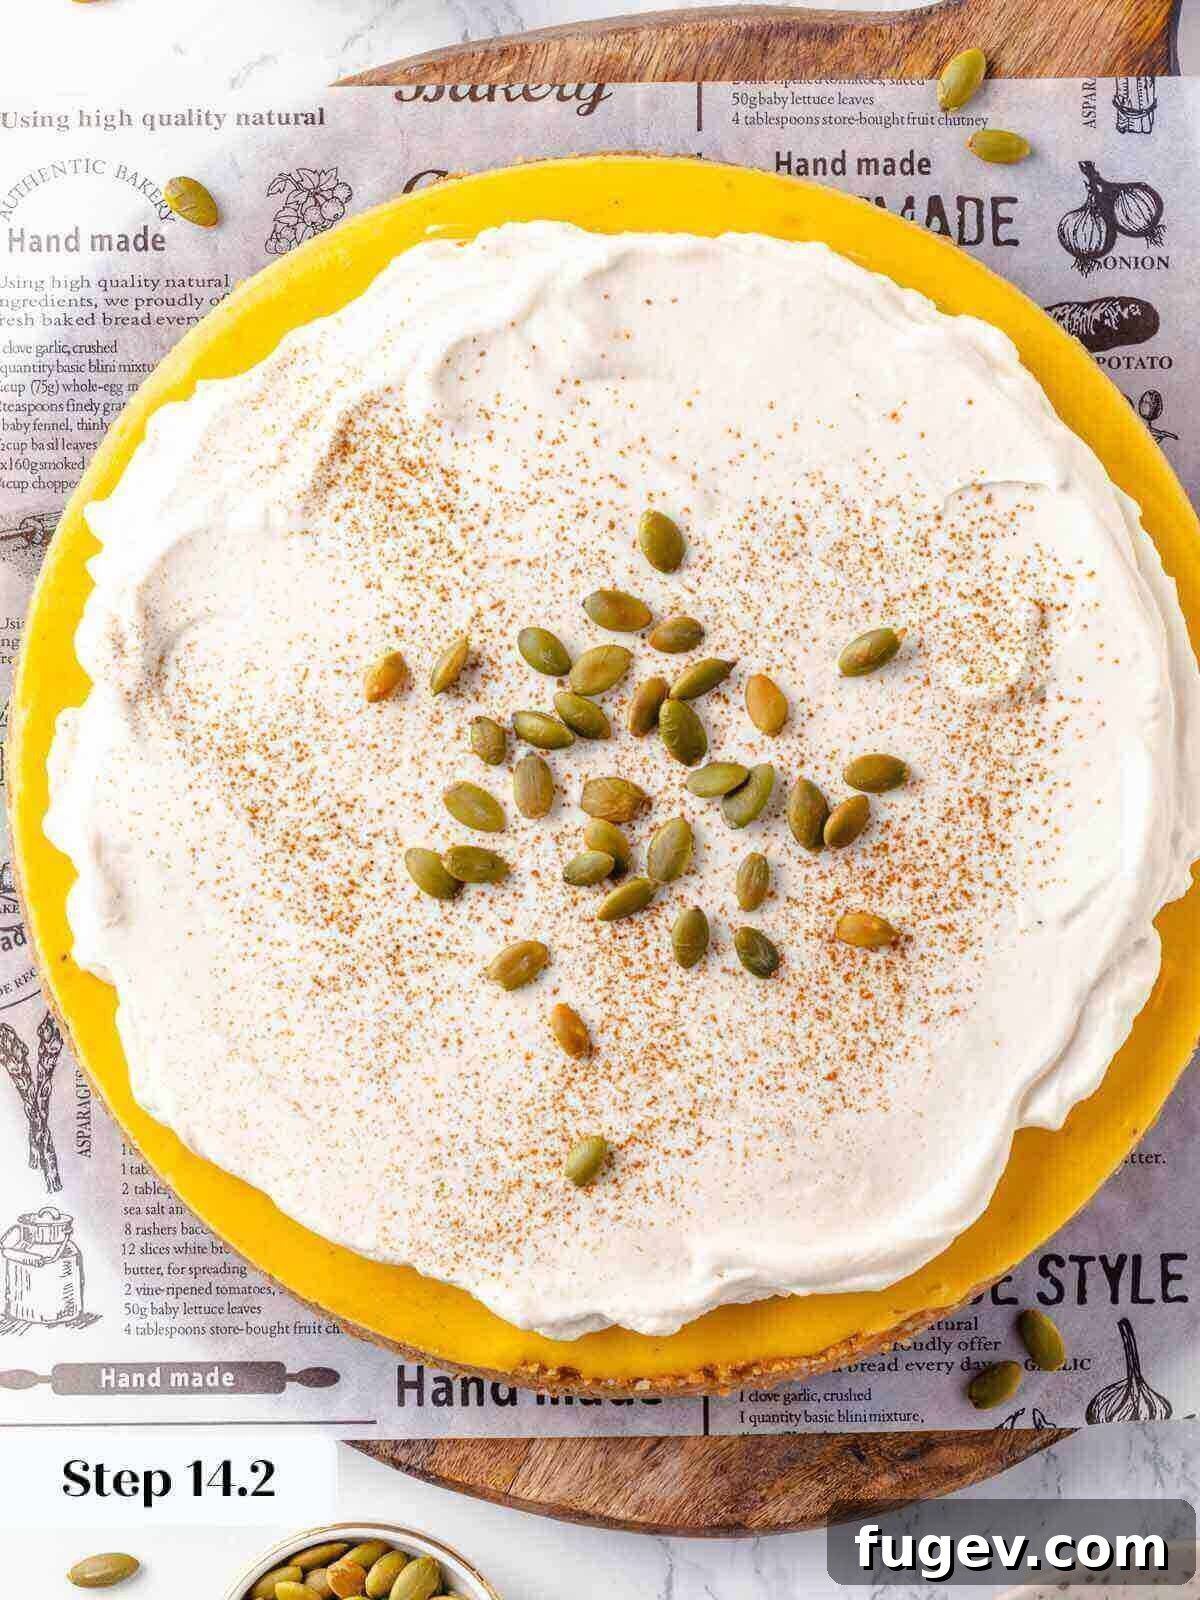
Step 14: Once the cheesecake has cooled completely to room temperature, cover the springform pan loosely with plastic wrap. Transfer it to the refrigerator and chill for at least 2 hours, but ideally overnight. Chilling overnight is highly recommended as it allows the cheesecake’s texture to fully set and firm up, ensuring the most dense, creamy, and sliceable results. Serve your perfectly chilled pumpkin cheesecake with a generous dollop of freshly made spiced whipped cream, perhaps with an elegant dusting of extra cinnamon or nutmeg on top for a beautiful finish.
Chef Lindsey’s Expert Recipe Tip: Prevent Cracks with Gradual Cooling
One of the most common issues home bakers face with cheesecakes is cracking. This often occurs due to abrupt temperature changes. To minimize the risk and ensure a perfectly smooth, unblemished surface, implement a gradual cooling method: after the cheesecake has finished baking, turn off the oven but leave the cheesecake inside, still in its water bath. Prop the oven door open slightly with a wooden spoon. Let the cheesecake cool in the gradually decreasing oven temperature for an additional hour or even longer. This slow descent in temperature allows the cheesecake to set gently and evenly, preventing the sudden contraction that causes those unsightly cracks. It’s a simple trick that yields professional results.
Frequently Asked Questions About Pumpkin Cheesecake
Once your cheesecake has fully cooled and chilled, wrap it tightly in several layers of plastic wrap. It will stay fresh in the refrigerator for up to 7-10 days. For longer storage, cheesecake freezes beautifully! Wrap individual slices or the entire cheesecake (if uncut) tightly in plastic wrap, then an additional layer of aluminum foil. Freeze for up to 3 months. To thaw, simply unwrap it (to prevent condensation from soaking the crust) and place it in the refrigerator overnight, or let it sit at room temperature for a few hours. Never use the microwave or oven to thaw, as this will compromise the delicate texture.
Most standard store-bought pie crusts come in a 9-inch pie tin, which is often too shallow to accommodate the generous amount of filling in this recipe. Using a shallow crust might lead to overflow during baking. If you wish to use a store-bought crust, you might need to divide the cheesecake batter in half and make two smaller cheesecakes, or consider using the crust for mini cheesecakes where the depth isn’t as critical. Always check the crust depth to ensure it can hold the volume of batter specified.
While you can technically chill the pumpkin cheesecake for 4-5 hours, for the absolute best results—a dense, perfectly set texture and clean, effortless slices—chilling it overnight (at least 8 hours) in the refrigerator is highly recommended. This extended chilling period allows the flavors to meld and the structure to firm up completely, ensuring a truly professional and delightful eating experience.
Cheesecakes commonly crack due to sudden temperature changes during baking or cooling, or from overmixing the batter. Overmixing incorporates too much air, causing the cheesecake to rise excessively and then fall, creating cracks. Drastic shifts in temperature when removing the cheesecake from the oven or water bath too quickly can also cause the surface to contract and split. Following the gradual cooling tips in this recipe, such as leaving it in the oven with the door ajar, significantly reduces this risk.
While fresh pumpkin puree offers a lovely flavor, it tends to have a much higher water content and can be less consistent than canned puree. If you choose to use fresh pumpkin, you’ll need to cook it until very tender, then thoroughly drain and even press out as much excess moisture as possible to prevent a watery cheesecake. It’s often recommended to roast the pumpkin first to concentrate its flavor. For consistent results and ease, canned pure pumpkin puree is generally preferred for cheesecake recipes.
This recipe is developed for a standard 9-inch springform pan. Using a different size might alter baking times and could affect the height and consistency of the cheesecake. If you opt for a larger pan (e.g., 10-inch), the cheesecake will be shallower and may bake faster; a smaller pan (e.g., 8-inch) will result in a taller cheesecake requiring a longer baking time. Always adjust baking times and monitor for doneness carefully if changing pan sizes.
If you tried this recipe and absolutely loved it, please leave a 🌟 star rating and share your experience in the comments section below. I truly appreciate hearing from you, and your feedback makes my day!
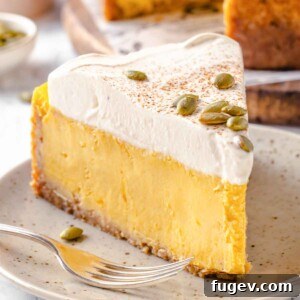
Pumpkin Cheesecake
Chef Lindsey
30
1
40
2
16 people
Comment
Print Recipe
Ingredients
Crust:
- 1½ cups old fashioned gingersnap crumbs
- ¾ cups walnut pieces toasted, ground or finely chopped
- 6 tablespoons unsalted butter melted
- ¼ teaspoon kosher salt
Pumpkin Filling:
- 32 ounces cream cheese room temperature, full fat, brick style
- 1 teaspoon vanilla extract
- 1 cup granulated sugar
- ¾ cup light brown sugar packed
- 2 teaspoons ground cinnamon
- 1 ½ teaspoons ground ginger
- ¼ teaspoon ground cloves
- ½ teaspoon nutmeg freshly grated**
- 15 ounces pumpkin puree 1 can
- 3 large eggs
- 1 egg yolk
- ½ cup heavy cream
Spiced Whipped Cream:
- 2 cups heavy whipping cream
- ½ teaspoon pumpkin pie spice or cinnamon
- 1 tablespoon confectioners’ sugar
Instructions
Make the crust and prepare the pan:
-
Preheat the oven to 350°F conventional (no fan). Then, spread the walnuts onto a baking sheet lined with parchment paper. Toast them until they are golden brown; this should take about 5-8 minutes. Set aside to cool.
-
Line the outside of the springform pan with a layer of aluminum foil. The goal is to ensure no water gets in while the cheesecake is baking. Extra-large sheets of foil work best, but you can overlap 2 pieces of foil and roll them to create a seal. Be sure to roll any excess foil outward, or you will just direct the water into your crust.
-
Pulse gingersnaps in a food processor until the cookies form fine crumbs. Then, pulse in the cooled walnuts. Melt the butter either on the stovetop over a pot of water or in the microwave.
-
Combine the cookie crumb mixture, melted butter, and salt in a bowl. Mix very well with your hand, squeezing to create clumps.
-
Press the crust into the springform pan and up the sides. Bake 350°F for 10 minutes or until the center looks matte. Remove from the oven and allow to cool.
Prepare and Bake the Cheesecake:
-
Preheat the oven to 325°F conventional.
-
In the bowl of a stand mixer fitted with the paddle attachment or a very large bowl with an electric hand mixer, beat the cream cheese, spices, and vanilla extract on medium speed until silky, creamy, and smooth.
-
Add both sugars to the cream cheese and beat until no granules are visible. This will take at least 3 full minutes.
-
Add the eggs one at a time and beat well after each addition. Add the egg yolk with the third egg.
-
Add the pumpkin puree and heavy cream and mix to combine. Start the mixer on low, then increase the speed.
-
Pour pumpkin cheesecake filling into the prepared crust. I find a large roasting pan works best for the water bath. Place the baking pan with the springform nested inside in the oven, then pour hot (not boiling) water inside of the pan about halfway up the sides of the cake pan. This reduces the risk of getting water in your cheesecake before you even start!
-
Bake in the preheated oven for 1 hour and 40 minutes or until set but still wobbly. The cake will puff slightly and jiggle like jello but not look loose in the center. You know how Jello moves in one cohesive unit? It should look like that.
-
Carefully remove the springform pan from the water bath and place it on a wire rack to cool completely. Then, carefully remove the water bath from the oven and pour it out.
-
Refrigerate the cheesecake in the pan for at least 2 hours or overnight. Overnight is best because the texture will completely set. Serve with a dollop of spiced whipped cream—maybe with some additional spice dusted on top!
Notes
Yield – 9-inch springform pan.
Presentation – Dip a knife into hot water, wipe clean, and slice. Do this with every cut for the perfect slice every time.
Technique – The most important thing is that your ingredients are at room temperature for the best texture.
Storage – Store cooled cheesecake well wrapped in plastic wrap for up to 10 days or frozen for up to 3 months.
Nutrition
Calories: 559kcal
|
Carbohydrates: 39g
|
Protein: 8g
|
Fat: 43g
|
Saturated Fat: 24g
|
Polyunsaturated Fat: 5g
|
Monounsaturated Fat: 11g
|
Trans Fat: 0.2g
|
Cholesterol: 153mg
|
Sodium: 301mg
|
Potassium: 258mg
|
Fiber: 2g
|
Sugar: 29g
|
Vitamin A: 5639IU
|
Vitamin C: 1mg
|
Calcium: 120mg
|
Iron: 2mg
Dessert
American
559
Before You Go: Explore More Delicious Recipes!
I sincerely hope you’ve enjoyed mastering this professional chef-tested pumpkin cheesecake recipe. This dessert is truly a labor of love, designed to bring joy to your kitchen and your table. Don’t stop your culinary journey here! I invite you to explore our wide array of other delicious, chef-developed cake recipes, each crafted with the same attention to detail and passion for flavor. Happy baking!