
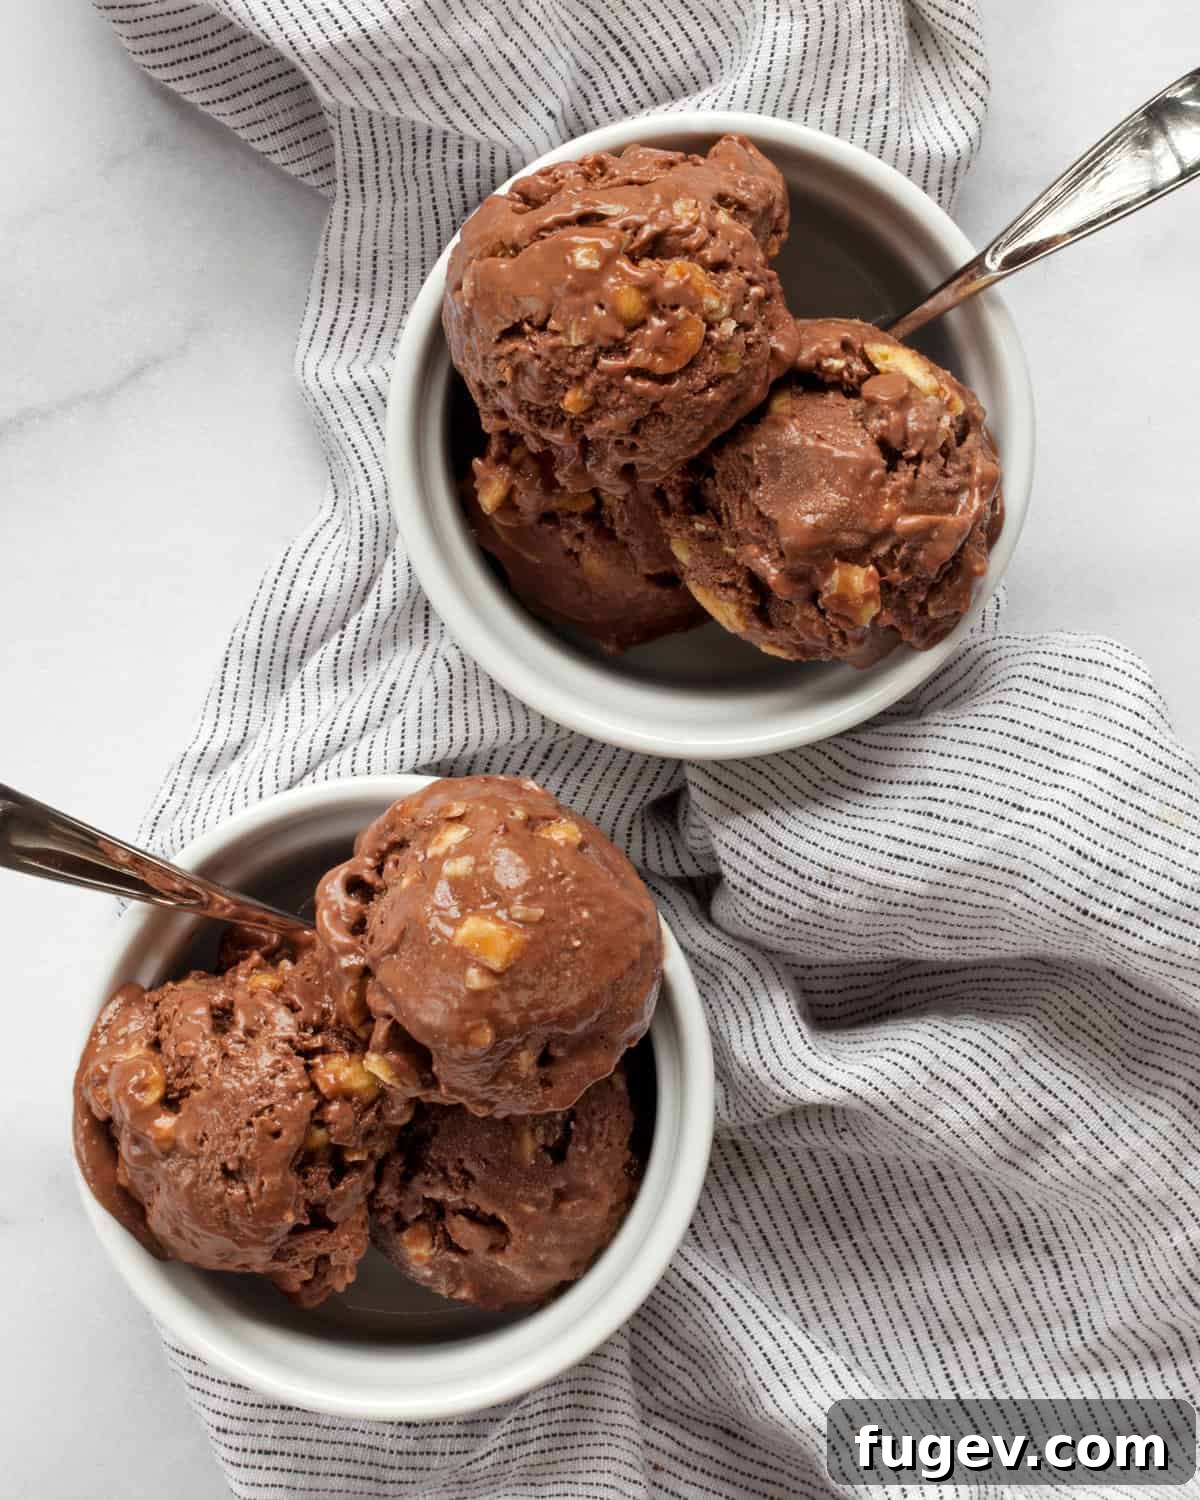
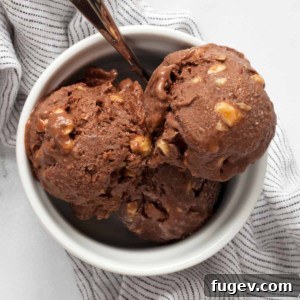
Indulge in the ultimate guilt-free treat with this incredible vegan chocolate nice cream. Forget the fancy equipment – you don’t need an ice cream maker for this luscious dessert! Combining the rich flavors of chocolate with creamy peanut butter, naturally sweet bananas, and a satisfying crunch from salted roasted peanuts, this recipe is a true game-changer. It’s not just easy to make at home; it’s also a wonderfully healthy and refreshing dessert option that caters to your sweet tooth without any dairy or added sugar.
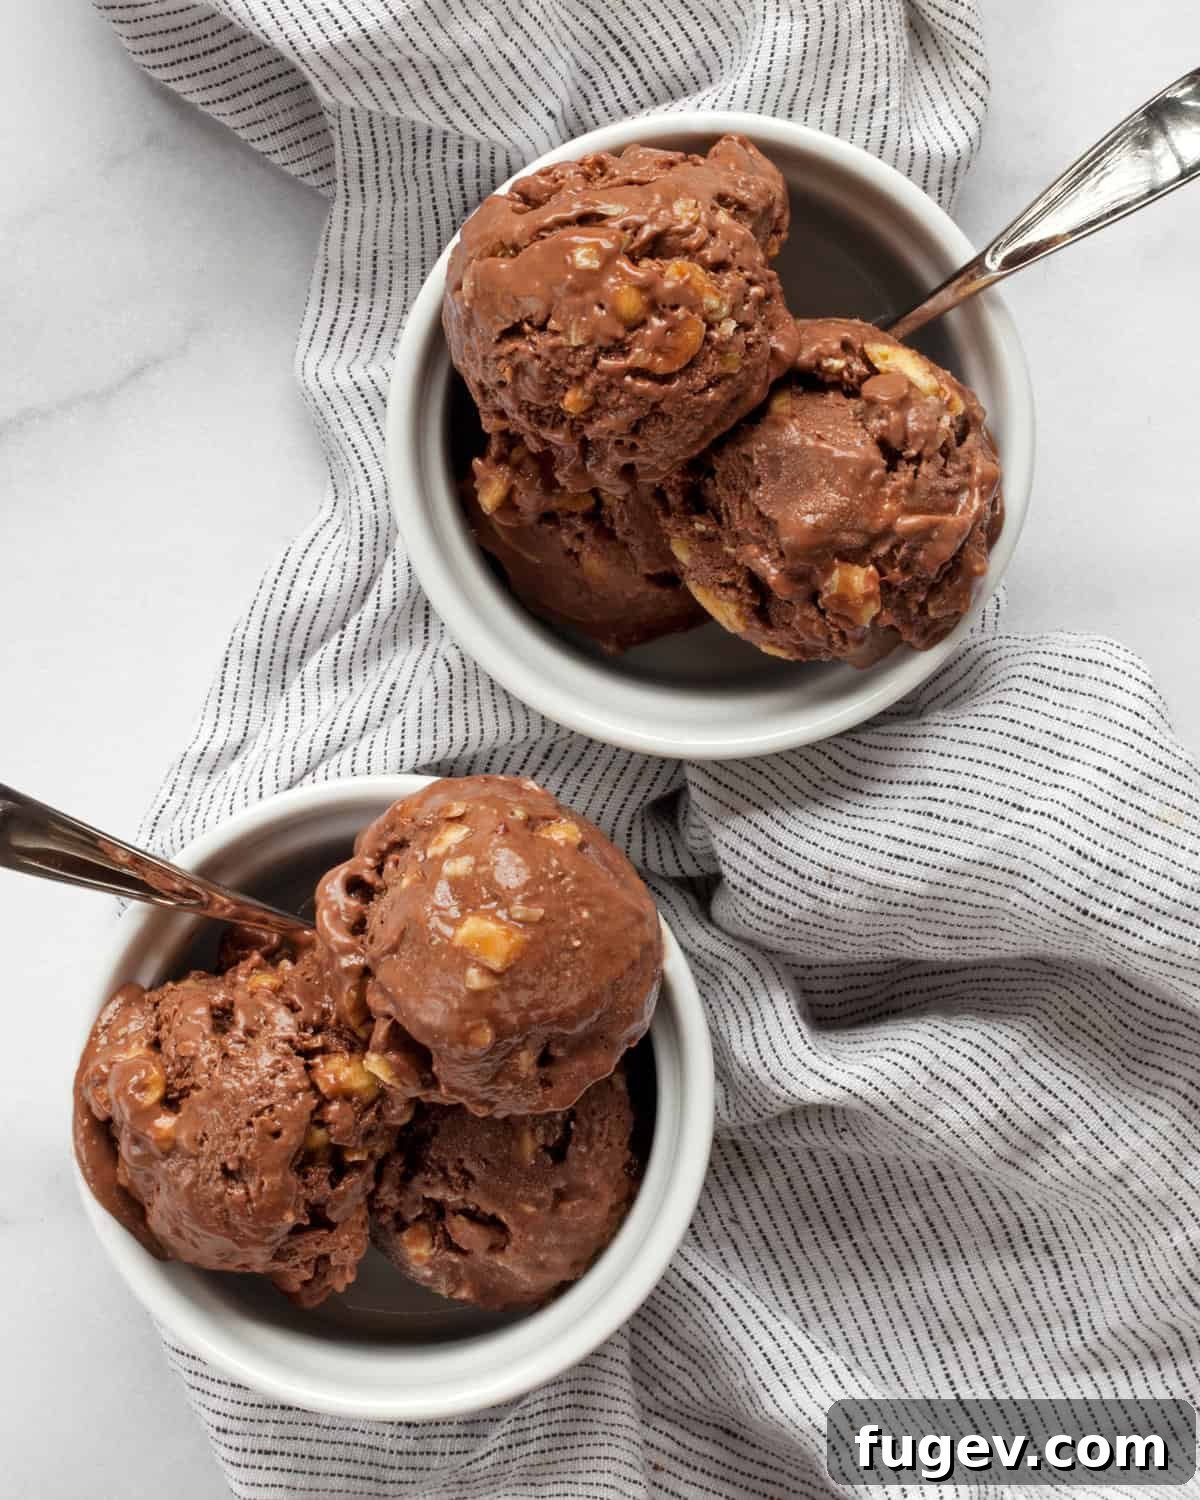
Table of Contents
- A Sweet Craving Solution: Introduction to Nice Cream
- What Makes Nice Cream So Nice?
- Essential Ingredients & Smart Substitutions
- Simple Tools for a Super Creamy Treat
- How To Make Salted Peanut Chocolate Nice Cream: Your Step-by-Step Guide
- Tips for Storage and Perfect Scoopability
- Elevate Your Nice Cream: Optional Additions & Serving Suggestions
- Frequently Asked Questions (FAQ)
- More Delightful Nutty Dessert Recipes
- Salted Peanut Chocolate Nice Cream Recipe
A Sweet Craving Solution: Introduction to Nice Cream
As someone constantly battling a relentless sweet tooth, the allure of ice cream is undeniable. My daily stroll past the local ice cream parlor, with its bustling activity, often ignites those familiar cravings. My son and I even have a playful routine of guessing how many patrons are inside enjoying a sweet, frozen delight. With warmer weather enhancing the appeal of all things creamy and frozen, I decided to bring the ice cream parlor experience into my own kitchen, but with a healthier twist.
In pursuit of delicious balance, I’ve perfected this incredibly simple, 5-ingredient vegan chocolate nice cream. It perfectly satisfies my desire for a lighter dessert, especially since I’m utterly smitten with the classic chocolate peanut butter combination. This recipe delivers all the decadence you expect from ice cream, without the dairy, added sugar, or the need for an expensive machine. It’s a testament to how wholesome ingredients can create truly extraordinary flavors.
What Makes Nice Cream So Nice?
You might occasionally encounter the term “nice cream” and wonder about its origins. It’s more than just a playful name; it’s a clever rebranding for a healthier, often plant-based frozen dessert. At its core, nice cream is a vegan, dairy-free alternative to traditional ice cream, distinguished by its reliance on natural sweeteners rather than refined sugar. In this particular recipe, the star sweetener is the humble, yet powerful, ripe banana.
Yes, those forgotten, spotty bananas on your counter are culinary gold! Instead of solely relegating them to banana bread, let them transform into something truly magical. Nice cream is typically made by blending frozen bananas into a creamy, soft-serve consistency. This natural fruit base provides not only sweetness but also an incredibly smooth and rich texture, mimicking conventional ice cream without any dairy. The addition of salted peanuts and peanut butter introduces a wonderful savory counterpoint, proving once again that the combination of nuts and chocolate is simply unbeatable.
Beyond its delicious taste, nice cream offers numerous benefits. It’s naturally lower in calories and fat compared to traditional ice cream, rich in potassium from the bananas, and a great way to enjoy a sweet treat while sticking to a plant-based diet. It’s a dessert that truly makes you feel good from the inside out.
Essential Ingredients & Smart Substitutions
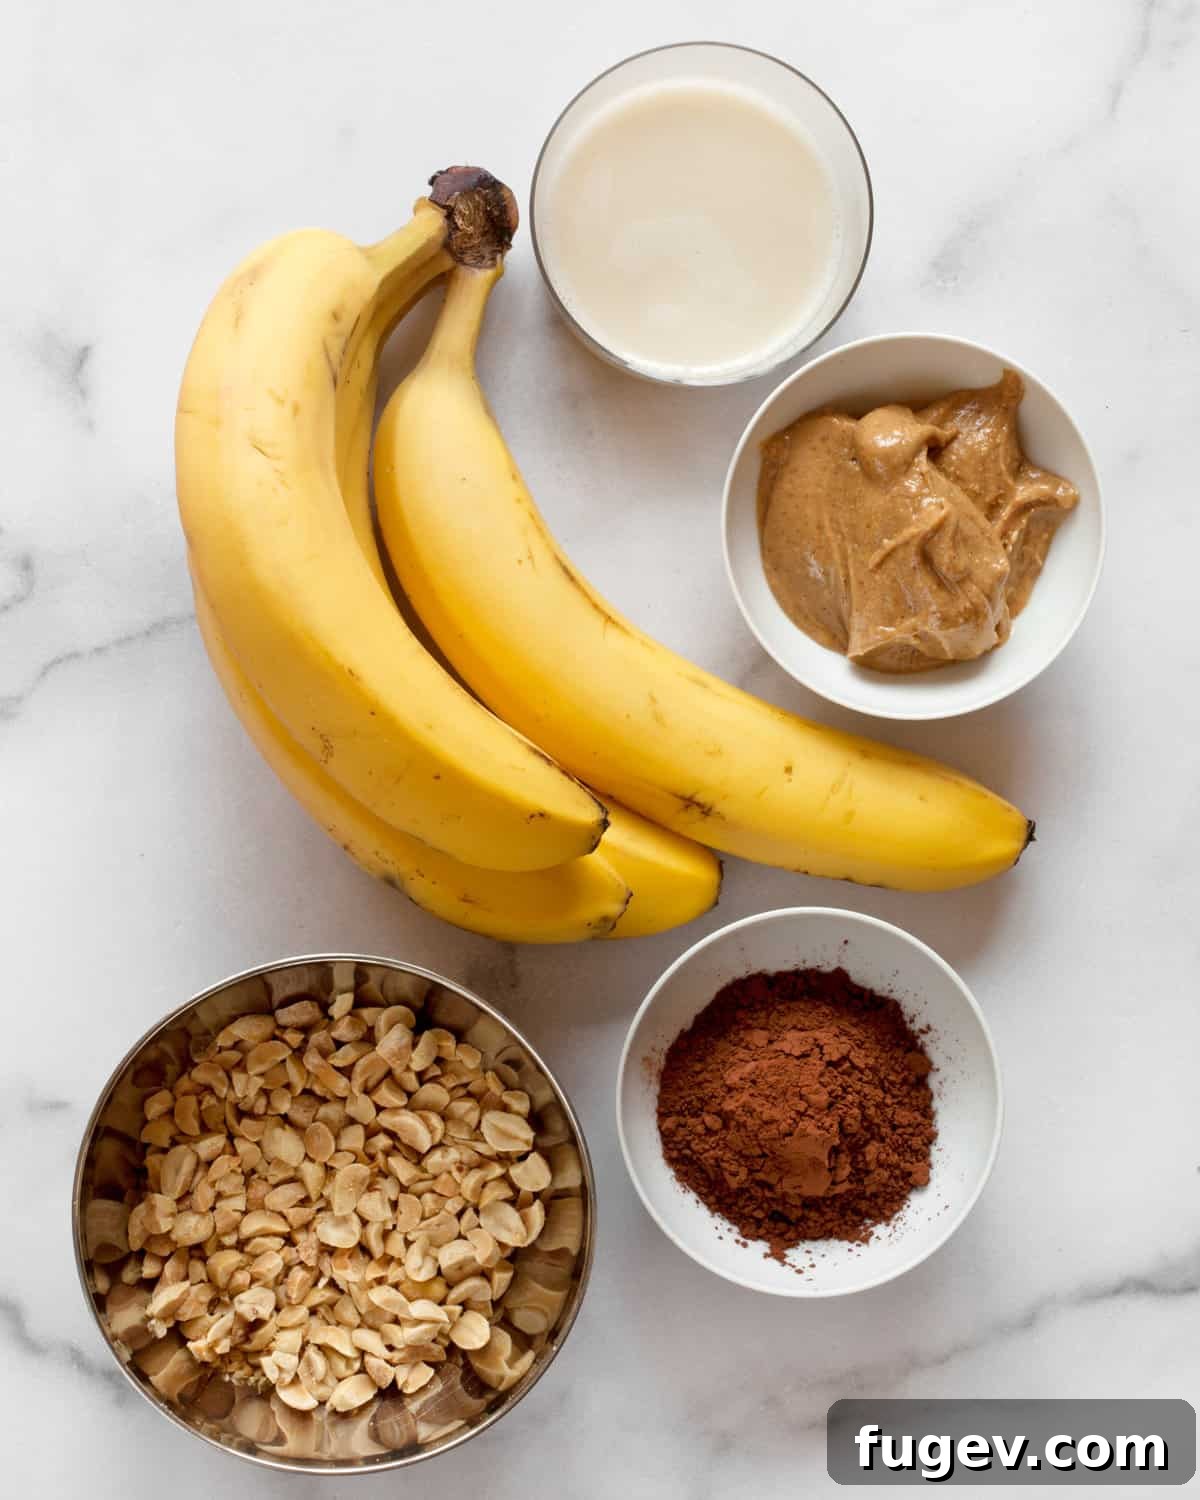
Crafting this delightful chocolate nice cream requires just a handful of simple ingredients. Each plays a crucial role in achieving that perfect creamy texture and rich flavor:
- Bananas: The foundation of our nice cream. Ripeness is absolutely crucial here. Look for bananas with plenty of brown spots on their peel; they should also have a distinct, sweet banana aroma. The riper the banana, the sweeter it will be, reducing the need for any added sugars. This natural sweetness is key to the recipe’s healthy profile. Using underripe bananas will result in a less sweet and potentially icier nice cream.
- Cocoa Powder: This provides the deep, rich chocolate flavor that makes this nice cream so irresistible. Use unsweetened cocoa powder to control the sweetness and achieve a truly intense chocolate experience.
- Plant-Based Milk: Essential for helping the mixture blend into a smooth, creamy consistency. To keep the nice cream vegan and dairy-free, opt for plant-based milk. My top recommendations are unsweetened almond milk or oat milk, both of which blend beautifully without overpowering the other flavors. Soy milk or cashew milk can also work well, offering slightly different nuances in creaminess.
- Natural Peanut Butter: A staple in my kitchen, natural peanut butter adds incredible creaminess, richness, and a savory depth that perfectly complements the chocolate. I always choose brands where the only ingredients are peanuts and salt, avoiding added sugars or oils. If you prefer, or have a peanut allergy, almond butter is an excellent substitution, providing a similar texture and nutty flavor profile.
- Salted Roasted Peanuts: These are stirred in at the end to provide a fantastic textural contrast and a delightful salty kick. The salt enhances the sweetness of the bananas and chocolate, creating a balanced flavor profile. If you choose to substitute with almond butter, consider using salted roasted almonds for a cohesive flavor pairing. Finely chopping them ensures they distribute evenly and provide crunch in every bite.
Simple Tools for a Super Creamy Treat
One of the best aspects of this recipe is its simplicity when it comes to equipment. You won’t need any specialized ice cream makers or churning devices. The magic truly happens with just one primary kitchen appliance:
- A Reliable Food Processor or High-Speed Blender: This is the most crucial piece of equipment. You need a powerful machine with a sharp blade that can handle frozen ingredients and process them into an incredibly smooth, creamy puree. Brands like a Vitamix or a sturdy food processor are ideal, as they can break down the frozen banana chunks without struggling. The goal is to achieve a consistency akin to soft-serve ice cream before freezing.
- Spatula: Essential for scraping down the sides of your food processor or blender bowl/pitcher during processing, ensuring all ingredients are thoroughly incorporated.
- Freezer-Safe Container with Lid: To freeze your nice cream until it reaches the perfect scoopable consistency. An airtight container prevents freezer burn.
The beauty of using bananas and peanut butter in this recipe is their natural ability to create a thick, creamy base. Unlike traditional ice cream, which requires constant churning to prevent ice crystals from forming, the high pectin content in bananas, combined with the fats in peanut butter, yields a naturally smooth mixture. This eliminates the need for an ice cream maker entirely, making this a truly accessible and fuss-free homemade dessert.
How To Make Salted Peanut Chocolate Nice Cream: Your Step-by-Step Guide
Making this incredible vegan chocolate nice cream is a straightforward process. Follow these simple steps for a perfectly creamy and flavorful frozen dessert:
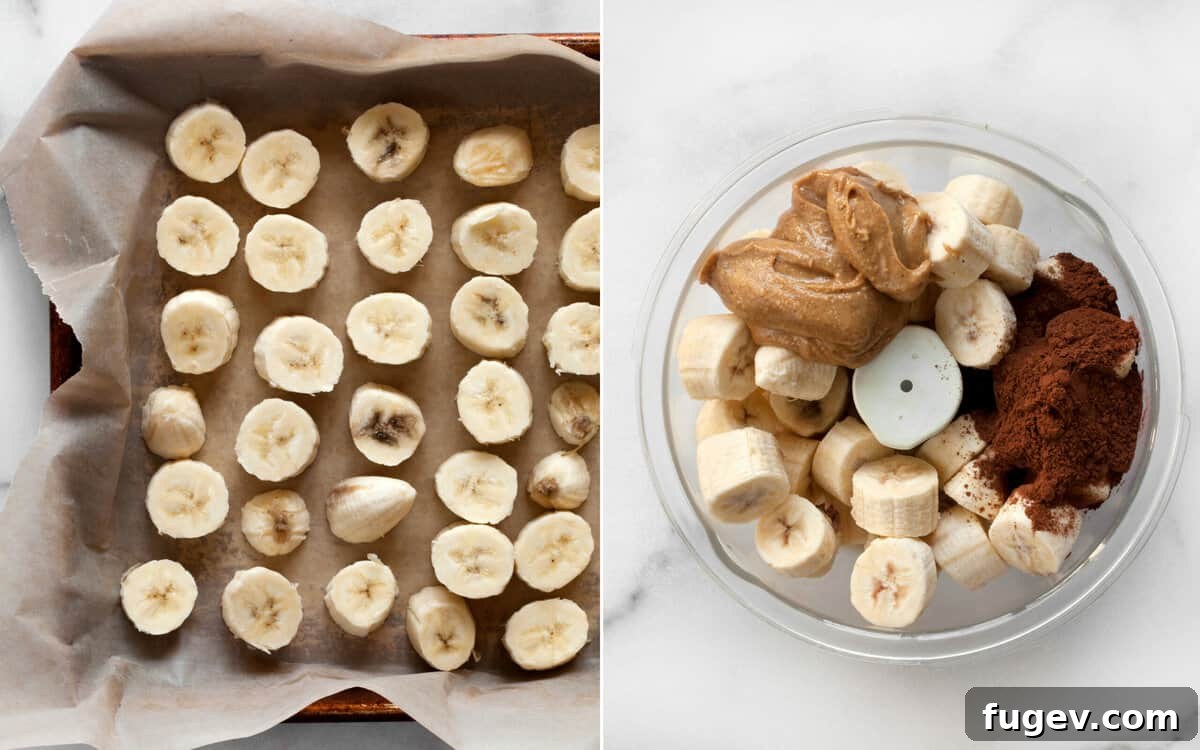
- Prepare and Freeze the Bananas: Begin by peeling your ripe bananas and cutting them into approximately 1-inch thick chunks. Arrange the banana pieces in a single layer on a baking sheet lined with parchment paper or waxed paper. This prevents them from sticking together as they freeze. Place the baking sheet in the freezer for at least 4-6 hours, or ideally overnight, until the banana chunks are completely solid. Once frozen solid, you can transfer them to an airtight freezer bag or container for more compact storage, making them ready whenever a nice cream craving strikes.
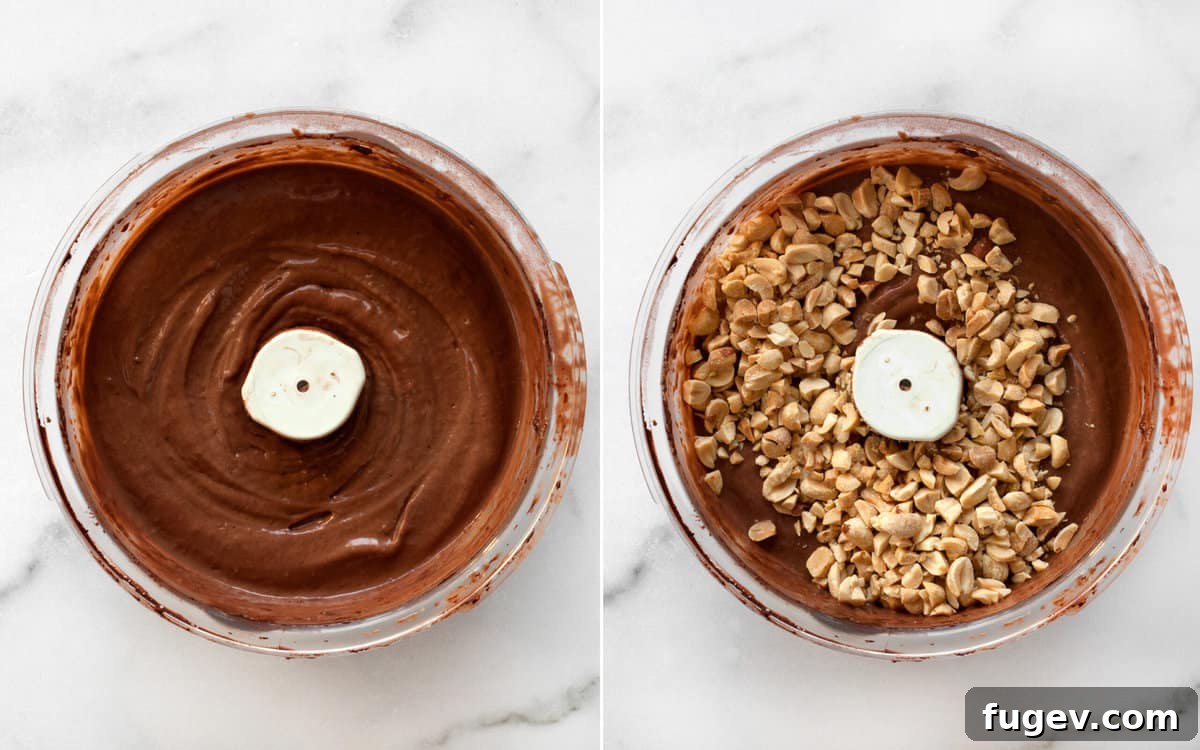
- Blend Until Smooth: Once your banana chunks are fully frozen, transfer them to the bowl of a powerful food processor or a high-speed blender. Add the cocoa powder, your chosen plant-based milk, and the creamy natural peanut butter. Secure the lid and begin processing. This step requires a bit of patience! The mixture will initially look crumbly, but as you continue to blend, the frozen bananas will break down and transform. You will likely need to stop the machine several times, push the mixture down, and scrape the sides of the bowl or pitcher with a spatula to ensure everything is evenly incorporated. Continue blending until the mixture is incredibly smooth and creamy, resembling a thick soft-serve ice cream. This can take anywhere from 3 to 7 minutes depending on your appliance.
- Stir in the Peanuts: Once you’ve achieved that perfect smooth, soft-serve consistency, it’s time to add the chopped salted roasted peanuts. The easiest way to incorporate them without over-blending is with a quick pulse on your food processor or blender – just 1 or 2 pulses should do the trick. Alternatively, you can transfer the mixture to a bowl and fold in the peanuts by hand with a spatula. You want to mix them in so they are distributed throughout, but still retain their crunchy texture.
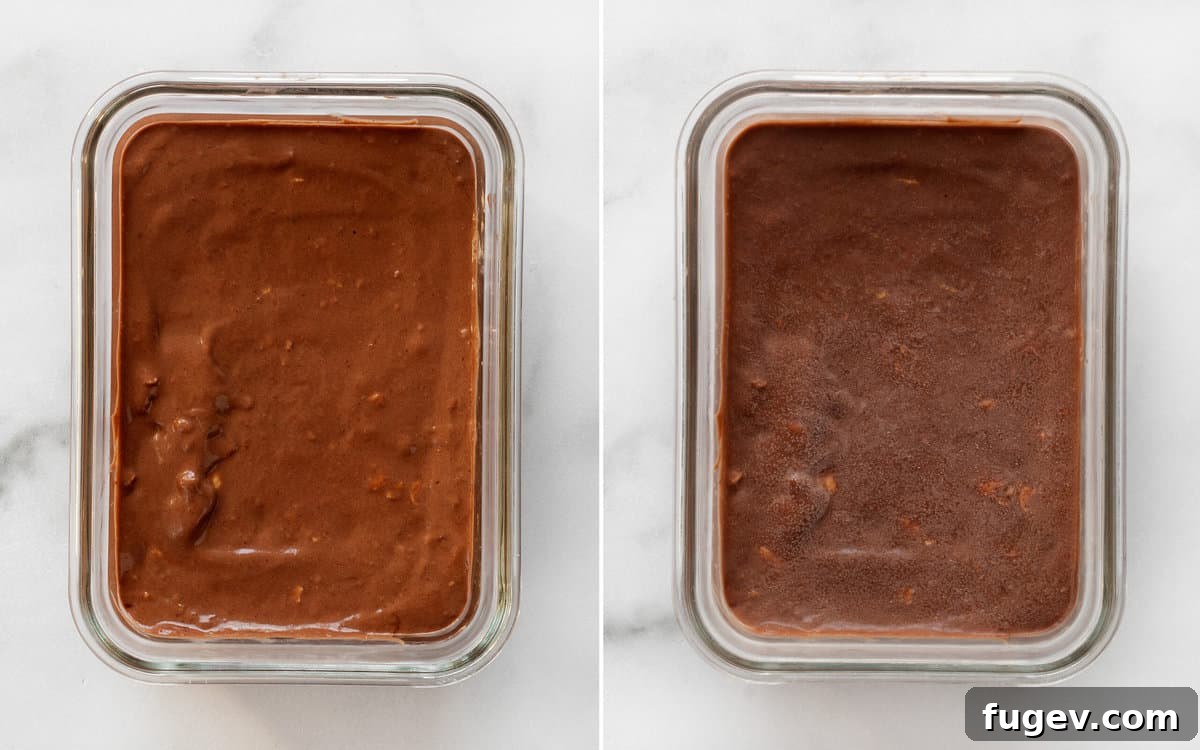
- Freeze to Firmness: Spoon the freshly made nice cream into a freezer-safe container with an airtight lid. Smooth out the top with a spoon or spatula. Place the container in the freezer for an additional 1-2 hours. This brief freezing period allows the nice cream to firm up to a scoopable consistency, much like traditional ice cream. If you freeze it for longer than 2 hours, it may become very hard.
Tips for Storage and Perfect Scoopability
To ensure your vegan chocolate nice cream is always at its best, proper storage and serving techniques are key:
- Initial Freezing: After blending, freeze the nice cream for 1-2 hours to achieve a scoopable, yet firm texture. This is ideal for immediate enjoyment.
- Longer Storage: If you plan to store the nice cream for longer, transfer it to an airtight freezer-safe container. This will help prevent freezer burn and keep it fresh for up to 1-2 weeks.
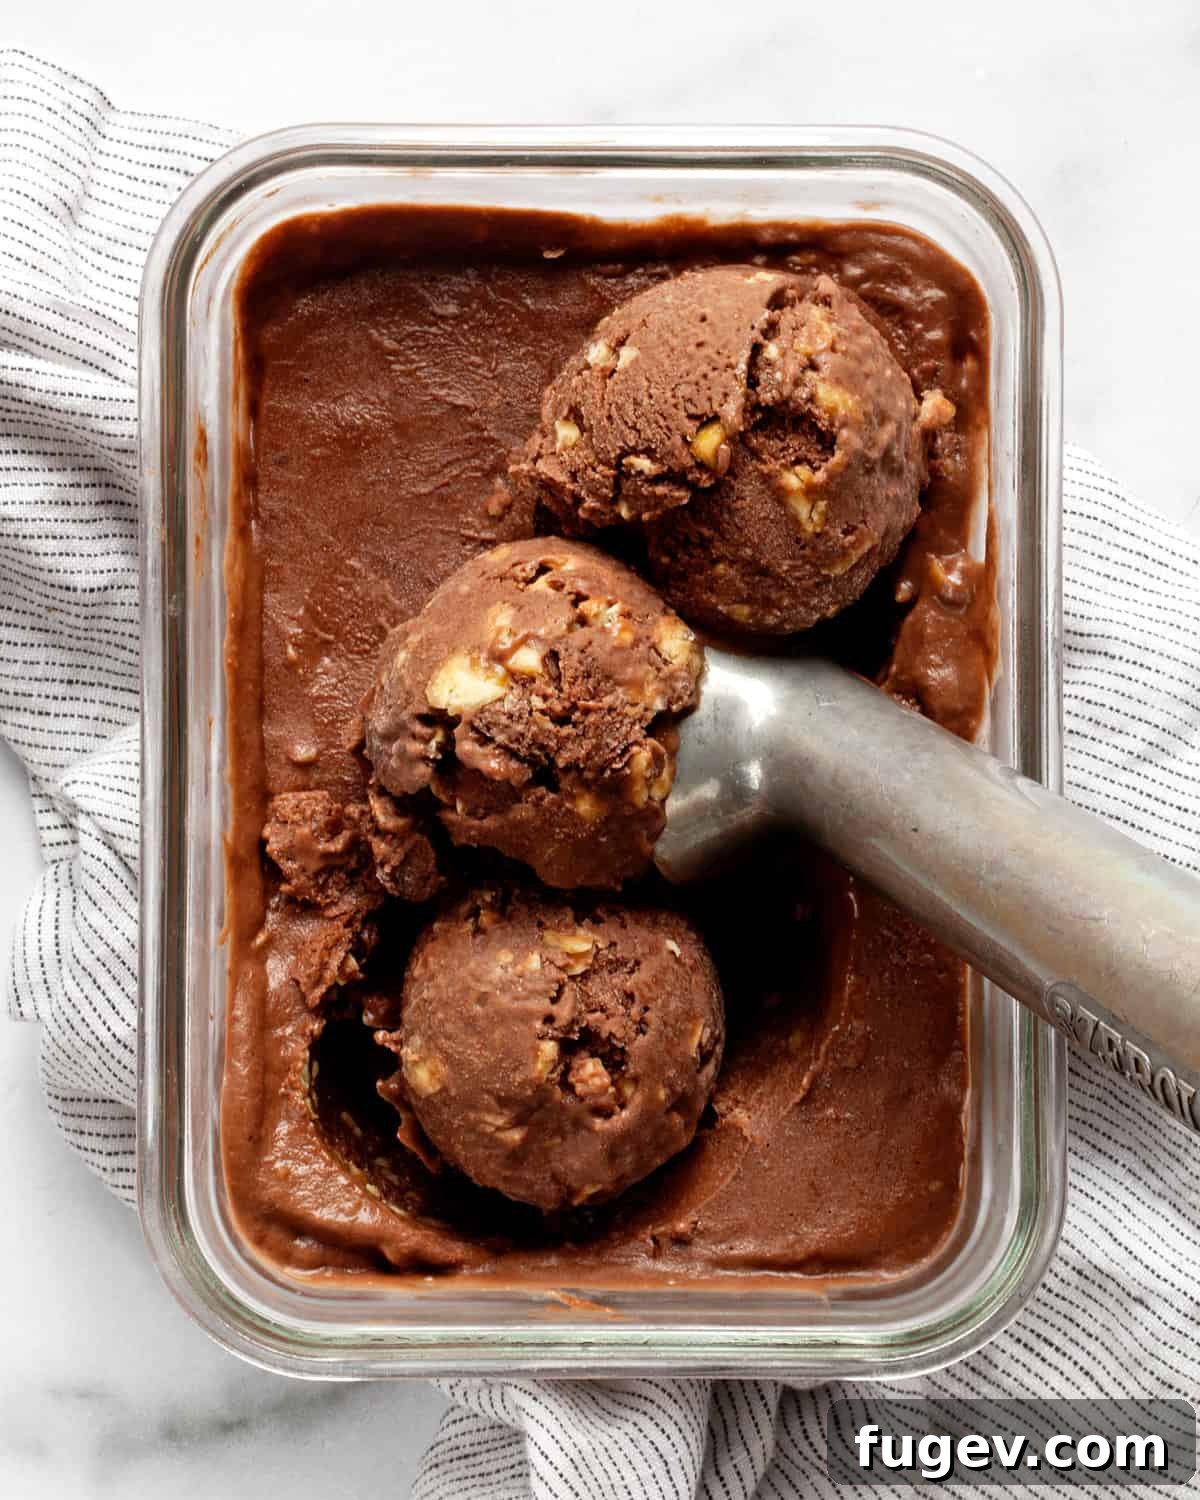
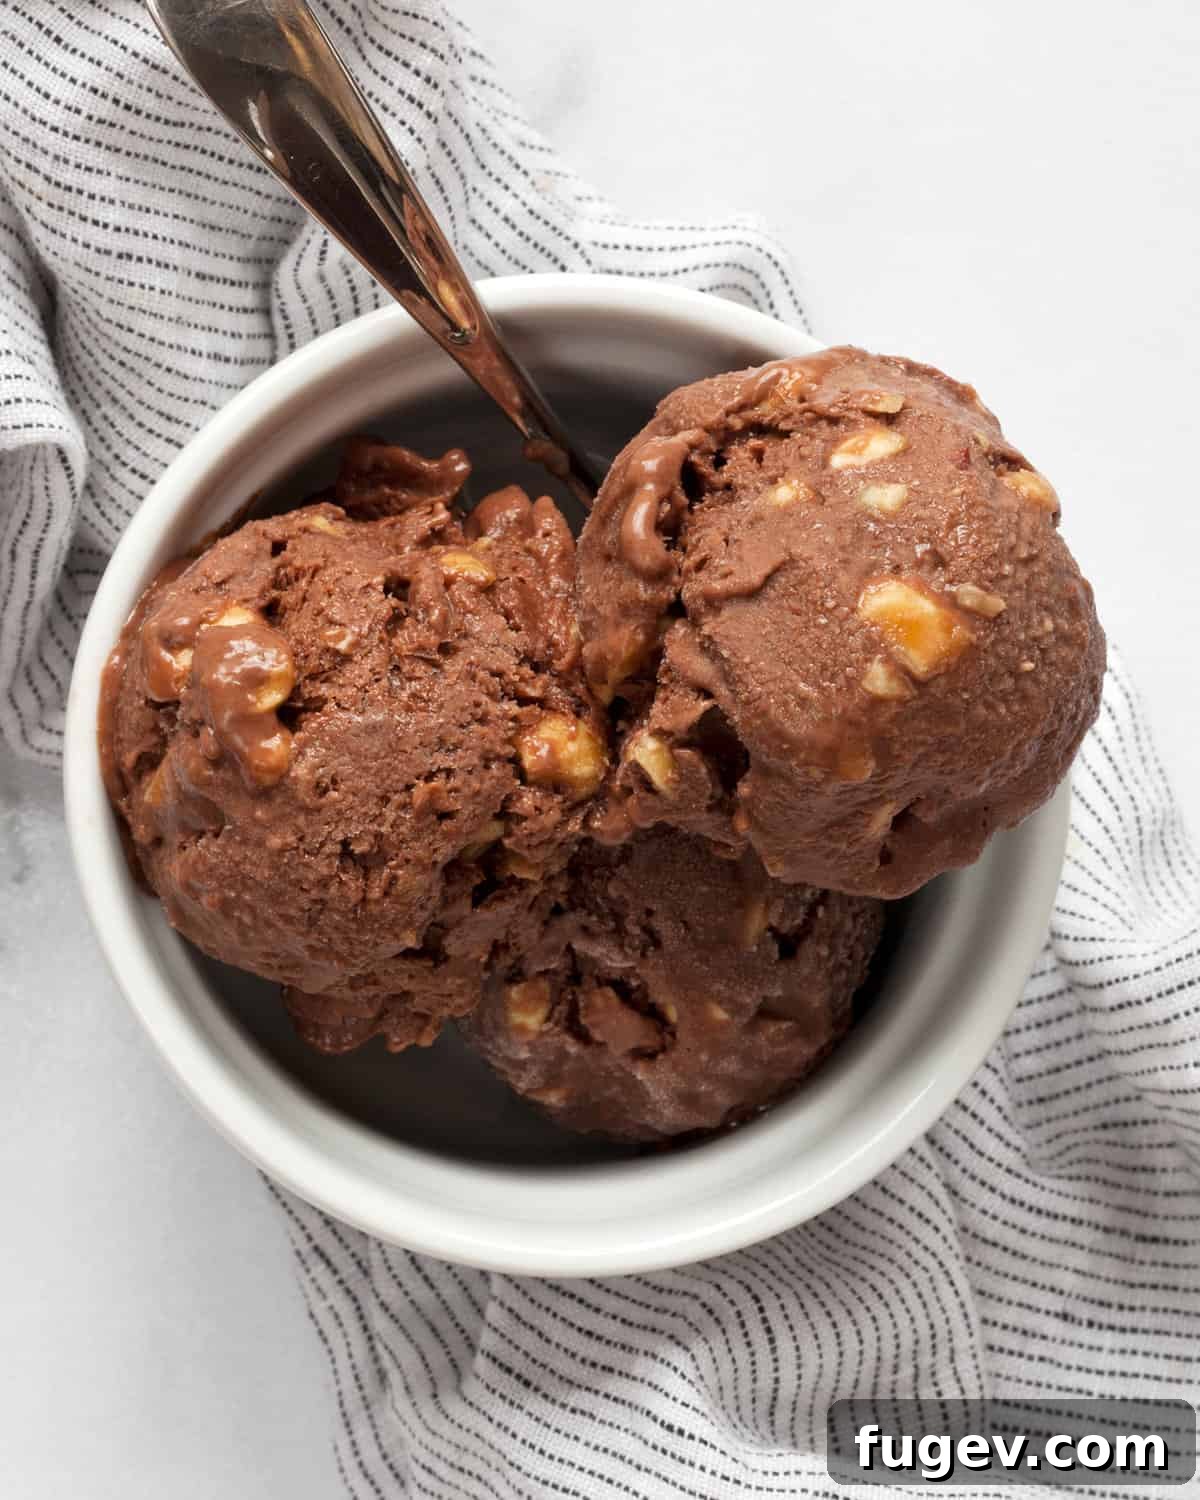
- Achieving Perfect Scoopability: Nice cream, especially when made solely with bananas, can become quite hard after prolonged freezing. To get that ideal scoopable consistency, simply remove it from the freezer about 10-20 minutes before serving. Let it sit at room temperature to soften slightly. The exact time will depend on how long it has been frozen and your room’s temperature. You’ll know it’s ready when your scoop can glide through smoothly.
- Preventing Ice Crystals: For the creamiest results, minimize the amount of air in your storage container by pressing a piece of parchment paper or plastic wrap directly onto the surface of the nice cream before putting the lid on.
Elevate Your Nice Cream: Optional Additions & Serving Suggestions
No ice cream experience is complete without some exciting additions! Here are some fantastic ideas to customize and enhance your salted peanut chocolate nice cream:
- Chocolate Chips or Chunks: To truly transform this into a salted peanut chocolate chip nice cream, fold in some chopped bittersweet chocolate or vegan chocolate chips. Be mindful that if you add more than a couple of tablespoons, the texture will become quite chunky, especially with the existing peanuts. For a different twist, you could even swap out the peanuts entirely and replace them with a quarter cup of chopped chocolate, then add a 1/4 teaspoon of sea salt to maintain that delightful salty balance.
- Chocolate Sprinkles: A classic and festive addition! While they don’t add much in terms of richness, sprinkles bring a fun visual element and a slight textural crunch. For a more intense chocolate flavor, consider shaved or finely chopped chocolate instead.
- Extra Salted Peanuts: You can never have too many peanuts! Finish your scoops with a generous sprinkle of whole or halved salted peanuts. This provides a different size and texture from the peanuts already mixed into the nice cream, enhancing the nutty experience.
- Chocolate Sauce or Magic Shell: A drizzle of vegan chocolate sauce or a homemade magic shell (made with melted chocolate and coconut oil) is always a fantastic idea for an extra layer of chocolatey goodness.
- Cookies: Pair your nice cream with your favorite vegan cookies! Crumble them over the top or serve alongside. Some great options include these cinnamon-spiced chocolate chip cookies for a warm, comforting contrast.
- Fresh Fruit: The freshness of berries beautifully complements chocolate and nuts. Consider serving with juicy raspberries, sweet cherries, or sliced strawberries for a burst of natural flavor and color.
- Coconut Flakes: Toasted coconut flakes can add another layer of texture and a tropical hint.
Frequently Asked Questions (FAQ)
- Can I use frozen bananas that aren’t very ripe?
- While you technically can, it’s highly recommended to use very ripe bananas (with brown spots). Ripe bananas are naturally sweeter and blend into a creamier consistency. Less ripe bananas will result in a less sweet and potentially icier nice cream, requiring more plant milk to blend, which can dilute the flavor.
- How long does homemade nice cream last in the freezer?
- When stored in an airtight container, this nice cream will last in the freezer for up to 1-2 weeks. Beyond that, the texture may start to degrade, becoming harder and potentially developing some ice crystals.
- What if my nice cream is too hard to scoop?
- Nice cream tends to freeze quite solid. Simply remove it from the freezer and let it sit at room temperature for 10-20 minutes before attempting to scoop. This brief softening period will make it much easier to serve.
- Can I make this nut-free?
- Yes! For a nut-free version, substitute the peanut butter with a seed butter like sunflower seed butter (SunButter) and omit the chopped peanuts, or replace them with roasted seeds (like pumpkin or sunflower) for crunch. Always check labels to ensure seed butter is made in a nut-free facility if allergies are severe.
- Is this recipe suitable for meal prepping?
- Absolutely! You can prepare and freeze the banana chunks in advance, making the nice cream assembly quick and easy. The finished nice cream also stores well for a week or two, making it a convenient healthy dessert to have on hand.
More Delightful Nutty Dessert Recipes
If you’re a fan of the rich, comforting flavors of nuts in your desserts, you’ll love these other recipes:
- Vegan Roasted Banana Tahini Ice Cream
- Milk Chocolate Almond Brownies
- Flourless Peanut Butter Chocolate Cookies (gluten-free)
- Peanut Butter M&M Cookies
- Chocolate Chip Walnut Skillet Cookie
- Homemade Peanut Butter Cups
Salted Peanut Chocolate Nice Cream
No ratings yet
Print Recipe
This easy vegan chocolate nice cream requires no ice cream maker and features ripe bananas, creamy peanut butter, and crunchy salted roasted peanuts for a healthy, satisfying homemade dessert.
Ingredients
- 4 large ripe bananas, peeled and cut into chunks
- 2-1/2 tablespoons unsweetened cocoa powder
- 1/4 cup almond milk or oat milk
- 1/4 cup creamy natural peanut butter
- 1/2 cup chopped salted roasted peanuts
Instructions
- Cut the ripe bananas into chunks and freeze them until completely firm (at least 4-6 hours or overnight). For best results, spread them on a parchment-lined baking sheet to prevent sticking before freezing.
- Combine the frozen banana chunks, cocoa powder, plant-based milk, and creamy natural peanut butter in a powerful food processor or high-speed blender. Puree until the mixture is completely smooth and creamy, resembling a thick soft-serve ice cream. You may need to stop the machine and scrape down the sides with a spatula several times during this process.
- Add the chopped salted roasted peanuts to the smooth nice cream mixture. Pulse the food processor or blender 1-2 times, or stir by hand, to incorporate the peanuts without over-blending them.
- Transfer the nice cream into an airtight, freezer-safe container. Freeze for an additional 1-2 hours until it reaches a firm, scoopable consistency.
Notes
This recipe yields approximately 2-1/2 cups of nice cream.
If the nice cream becomes too hard after prolonged freezing, simply let it soften at room temperature for 10-20 minutes before scooping into bowls.
Nutrition Facts
Carbohydrates: 34g |
Protein: 10g |
Fat: 18g |
Saturated Fat: 3g |
Polyunsaturated Fat: 5g |
Monounsaturated Fat: 8g |
Sodium: 104mg |
Potassium: 673mg |
Fiber: 6g |
Sugar: 16g |
Vitamin A: 76IU |
Vitamin C: 10mg |
Calcium: 52mg |
Iron: 1mg
Nutrition information is automatically calculated and should be used as an approximation.
Additional Info
Did you make this recipe?
Mention @lastingredient on Instagram and tag it #lastingredient!