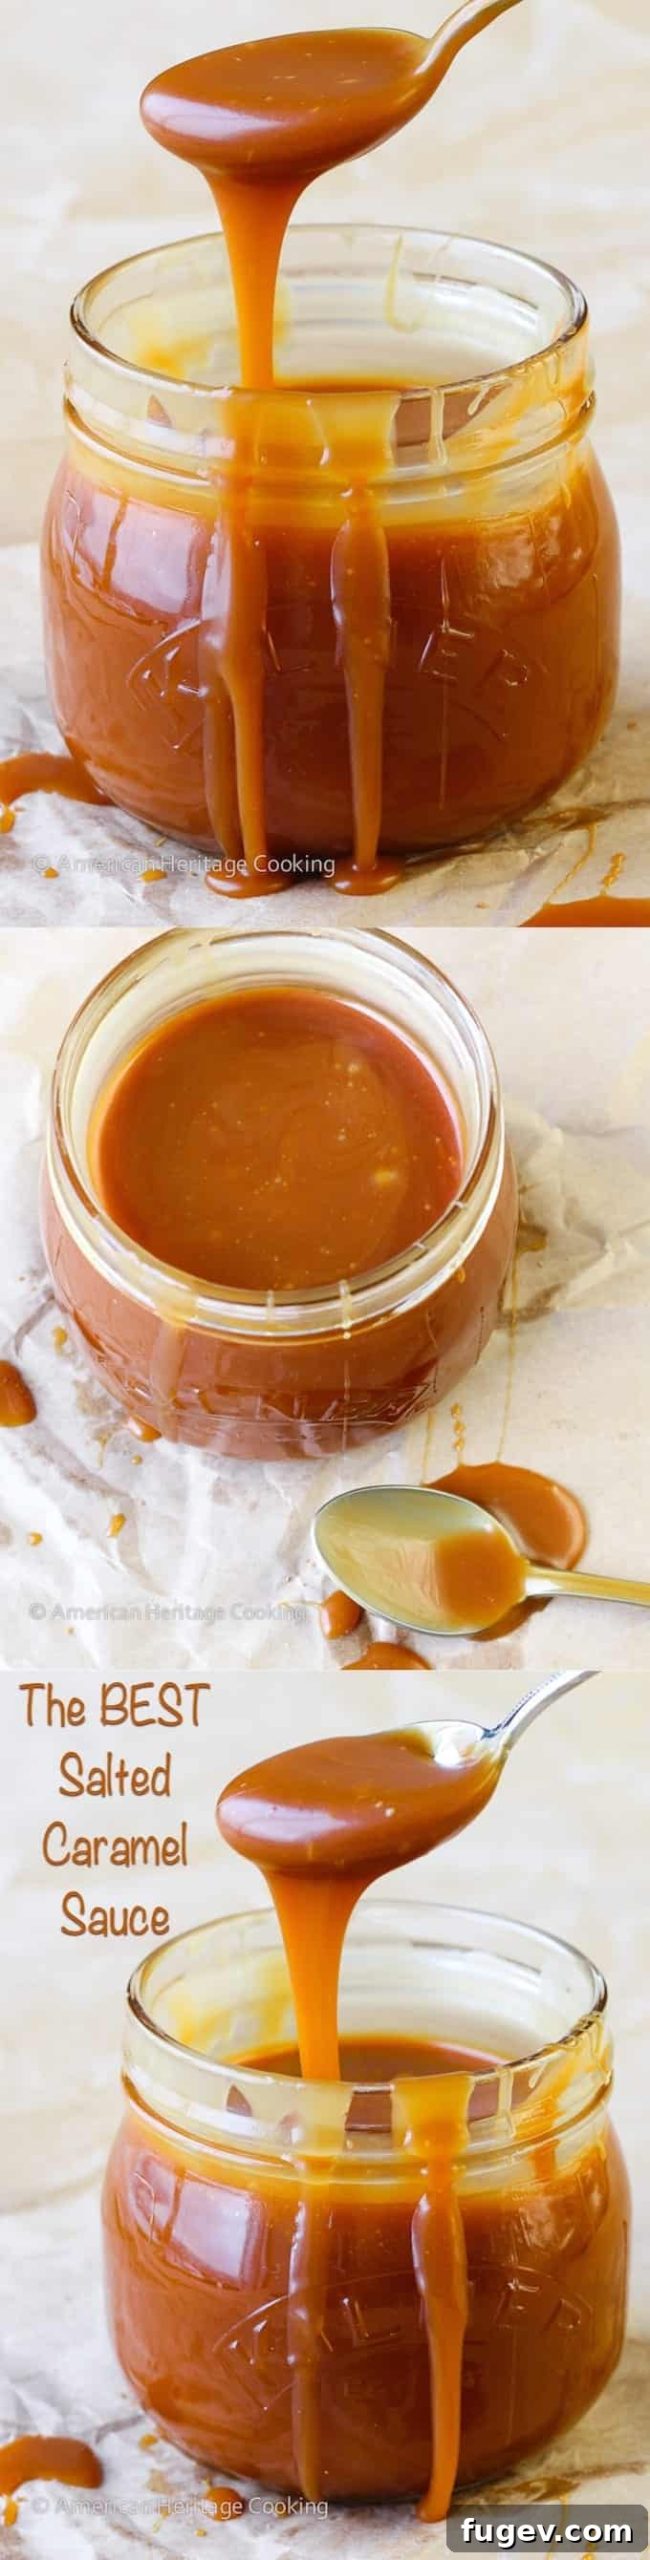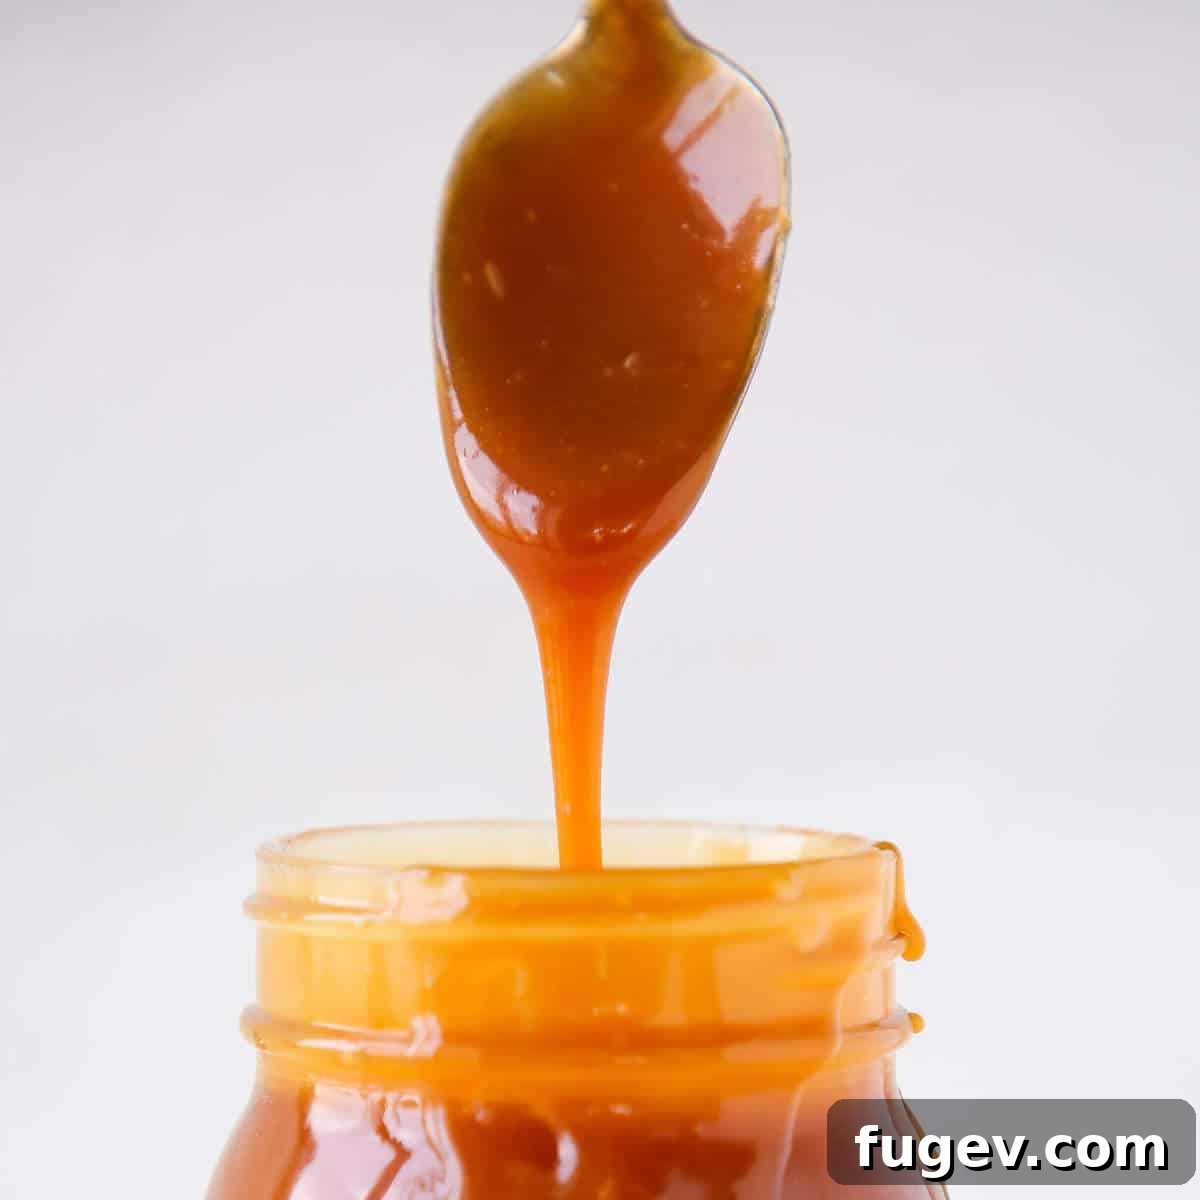
Welcome to the definitive guide for crafting an irresistibly thick, unbelievably easy, and utterly delicious Salted Caramel Sauce right in your own kitchen! This isn’t just any caramel recipe; it’s a professional chef’s secret, perfected over years, using only 5 simple ingredients. In under 15 minutes, you’ll create a velvety smooth sauce that far surpasses any store-bought alternative. Whether you’re enhancing bars, tarts, and cakes, or simply drizzling it over your favorite ice cream, this recipe promises the best salted caramel you’ve ever tasted.
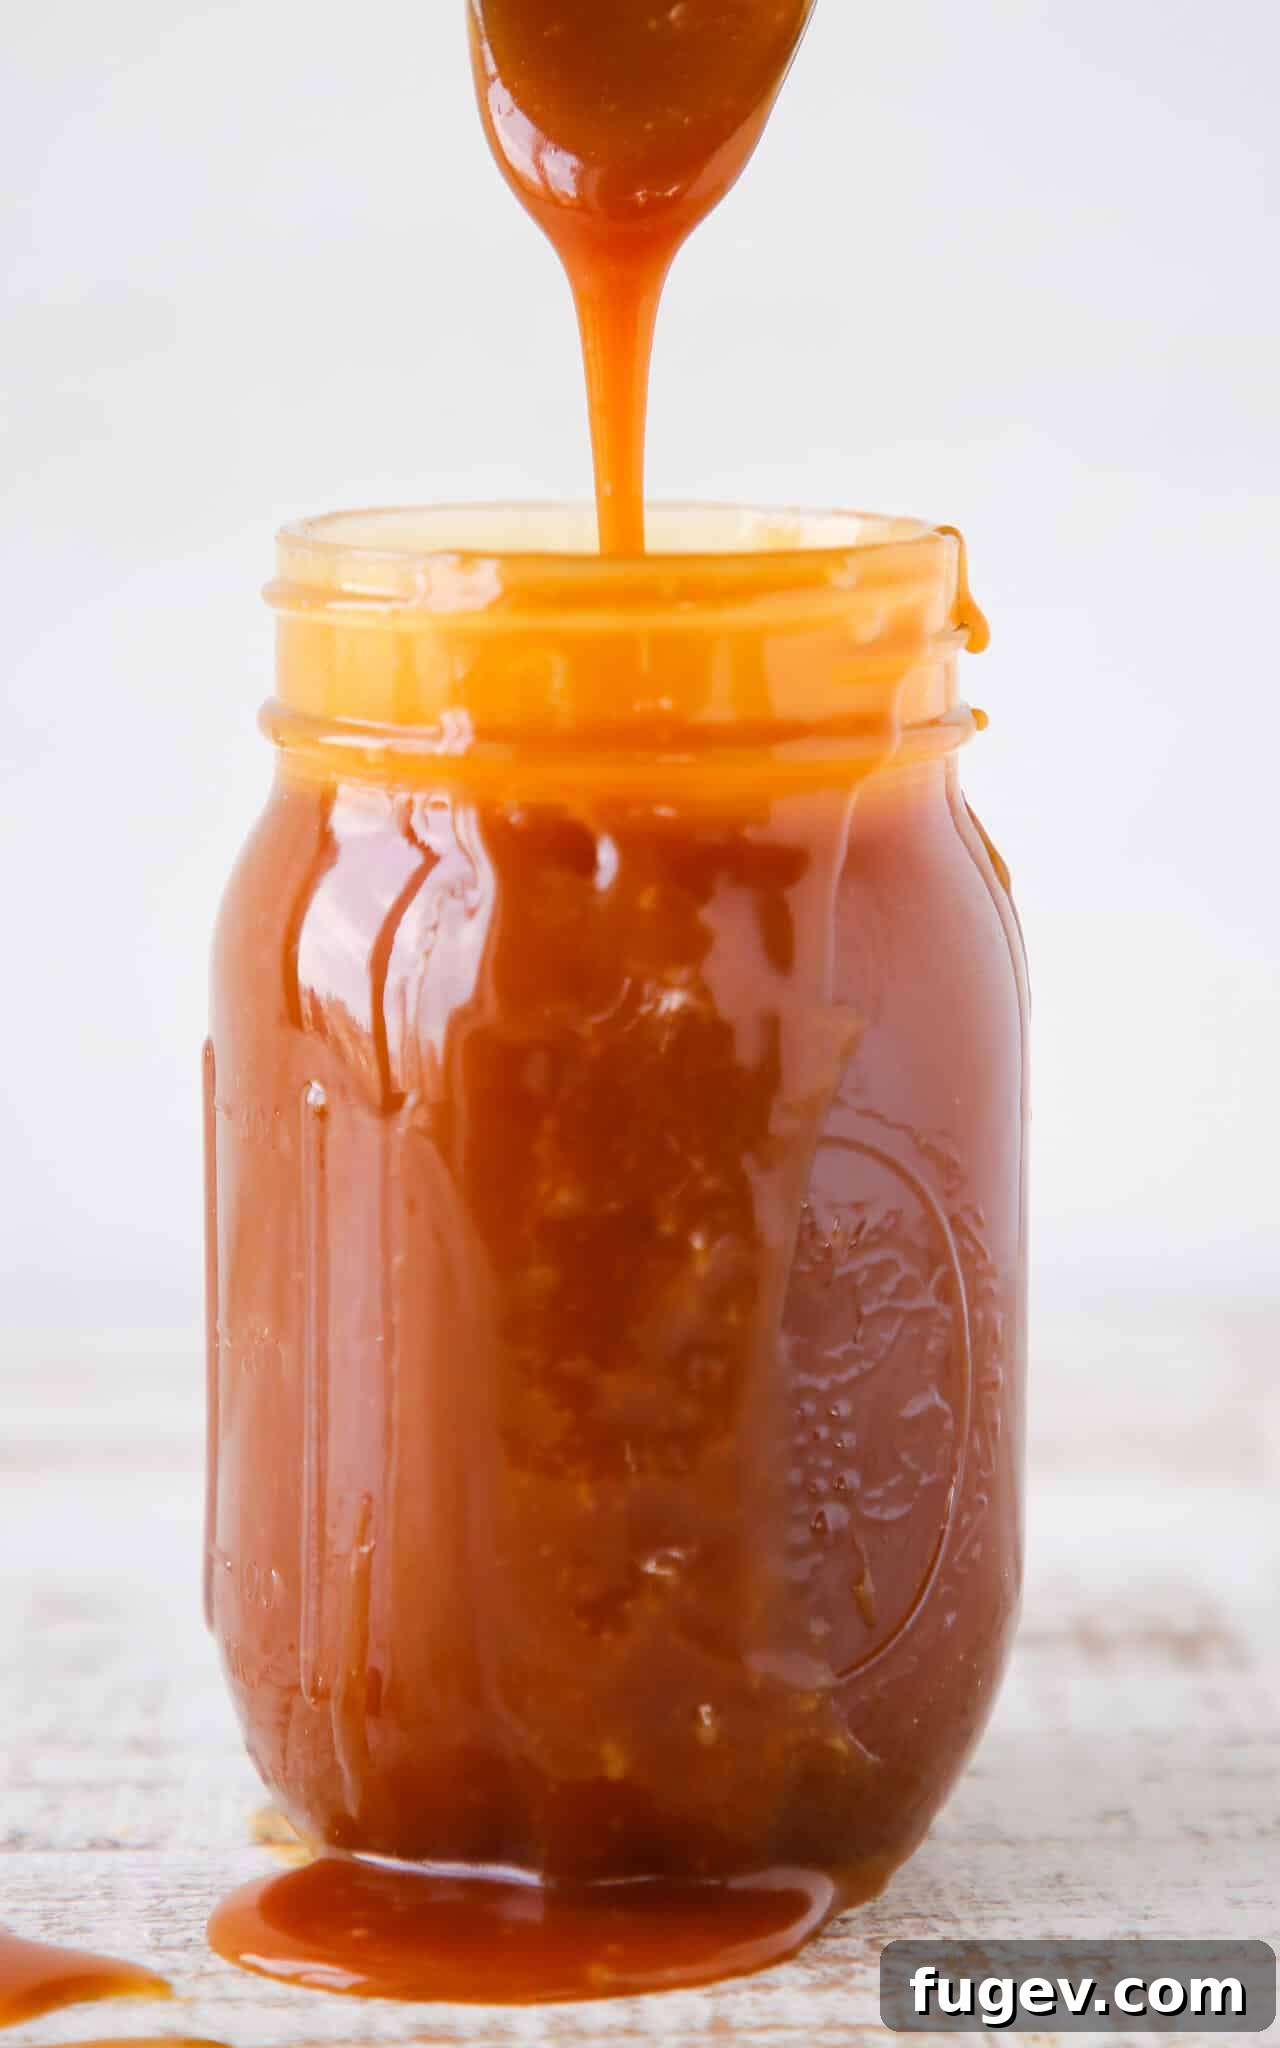
A Quick Look At The Recipe
This is a brief summary of the recipe. Jump to the detailed recipe below to get the full instructions and ingredient list.
Jump to Recipe
Prep Time
2 minutes
Cook Time
13 minutes
Total Time
15 minutes
Servings
18 people
Difficulty
Moderate
Calories *
121 kcal per serving
Technique
Dry caramel: caramelize sugar, add cream and butter, cool and store.
Flavor Profile
Rich, balanced salted vanilla caramel sauce.
* Based on nutrition panel
Summarize & Save this content on
google ai
perplexity
grok
Your caramel is the first one I ever made. (Years ago, before you went to culinary school!) I used the “wet” method. Was it scary at first… sure, a lot of things worth doing are.
Anyway, well worth the time making your own caramel. And just in time for the holidays. It makes a great gift as well. ⭐⭐⭐⭐⭐Nikky P
This versatile salted caramel sauce recipe is expertly crafted using the dry caramel method, resulting in a beautifully thick sauce. Its robust consistency makes it ideal for a multitude of culinary applications, from enriching baked goods like caramel chocolate chip blondies, to swirling into luxurious buttercreams such as this caramel Swiss meringue buttercream, or even elevating classic custards like crème caramel. Of course, it’s also absolutely divine drizzled simply as a topping on nearly any dessert!
Embark on your caramel-making journey with confidence as I share all my professional tips and tricks, honed in bustling restaurant kitchens. This guide will help you achieve perfect, glossy caramel every single time. Moreover, I’ll equip you with the knowledge to troubleshoot and fix common caramel mishaps, because even seasoned chefs have “bad caramel days” – and knowing how to recover is a true culinary superpower.
Table of Contents
- Why This is the Best Salted Caramel Recipe
- Professional Tips for Making Caramel Sauce
- Essential Ingredients for Perfect Caramel
- Creative Caramel Variations
- How to Use Your Homemade Caramel Sauce
- Mastering the Dry Caramel Method
- How to Make a Wet Caramel Method
- Chef Lindsey’s Recipe Tip: Flavor Intensity
- Frequently Asked Questions About Caramel
- Salted Caramel Sauce Recipe
- Before You Go
Why This is the Best Salted Caramel Recipe
- Unrivaled Thickness and Pourability: Unlike many runny caramel sauces, this recipe yields a luxurious, thick consistency that is still perfectly pourable. This makes it incredibly versatile – robust enough to be baked directly into various recipes without thinning out your batters, yet wonderfully fluid for drizzling over your favorite desserts, ensuring a satisfyingly rich experience with every bite.
- Culinary School Approved, Restaurant Perfected: This isn’t just a home cook’s experiment; this salted caramel recipe was developed and perfected in professional restaurant kitchens by Chef Lindsey. Its reliability, adaptability, and ability to be scaled for large batches make it a staple in any serious pastry repertoire. You’re getting tried-and-true techniques from a culinary expert.
- Exquisitely Balanced Flavors: Many caramel recipes rely heavily on excessive butter or cream, resulting in a sauce that tastes overly rich or one-dimensional. My recipe is meticulously balanced, ensuring that the distinct notes of caramelized sugar, the perfect touch of salt, and the creamy backdrop come together in perfect harmony. It’s a symphony of sweet and savory that will delight your palate without being cloying.
Professional Tips for Making Caramel Sauce Like a Pro
Making caramel might seem intimidating, but with a few professional insights, you’ll master it in no time. Here are Chef Lindsey’s golden rules for perfect caramel:
- Always Remember, You Are in Control: The most crucial rule of caramel making is understanding that you dictate the process. You control the heat of your stove, and by extension, you control how quickly or slowly your sugar caramelizes. Don’t let the bubbling sugar intimidate you; adjust the heat as needed to maintain a steady, controlled cook.
- Embrace Uneven Melting – It’s Normal!: Don’t panic when you observe sugar caramelizing at different rates within the same pot. It’s perfectly normal to see some parts turn dark amber while other sugar crystals remain unmelted. This frequently occurs. Simply embrace it: gently stir or swirl the unmelted sugar granules into the already melted, hotter pockets. This action not only helps dissolve the remaining sugar but also slightly lowers the temperature of the hotter areas, preventing them from burning.
- Pre-heat Your Wet Ingredients: To prevent your hot, caramelized sugar from seizing and hardening, it’s vital to bring your butter, heavy cream, vanilla, and salt mixture to a gentle boil *before* adding it to the caramel. This ensures that when the warm cream mixture meets the hot sugar, the temperature shock is minimized, resulting in a smooth, cohesive sauce.
- Don’t Fear the Caramel, Respect It: While caution is paramount when working with extremely hot sugar (which can reach upwards of 340°F or 170°C), don’t let fear paralyze you. Fear can lead to erratic movements or hesitation, which are the last things you want around boiling sugar. Take sensible precautions – use a long-handled whisk and keep a safe distance – but approach the process calmly and methodically. The worst-case scenario is that your sugar gets too dark, and you simply start over. It’s a learning experience!
- Whisk Vigorously When Adding Liquid: When it’s time to incorporate your hot cream and butter mixture into the caramelized sugar, use the longest-handled whisk you own – definitely not a mini-whisk! Pour the liquid in slowly and steadily while continuously whisking. This constant agitation is key; it helps to emulsify the mixture, calms the vigorous bubbling reaction, and prevents the caramel from seizing or separating.
- Transfer to a Heat-Proof Bowl Immediately: Once your cream/butter mixture is fully incorporated, promptly pour the hot caramel into a separate heat-proof glass, ceramic, or metal bowl. Leaving the caramel in the hot pot, especially a heavy-bottomed one, will allow carryover cooking to continue, causing your caramel to darken further, potentially leading to a burnt flavor. This is particularly crucial for larger batches.
- Practice Leads to Perfection (and Personal Preference): Caramel making is a skill refined through practice. Sometimes, you won’t truly understand what “too dark” means until you’ve pushed the boundaries a little. Experiment with different shades of amber to discover your preferred flavor profile. Much like Goldilocks, you’ll eventually find your “just right” – not too light (which can be overly sweet), not too dark (which can be bitter), but perfectly balanced. This hands-on experience is the best teacher.
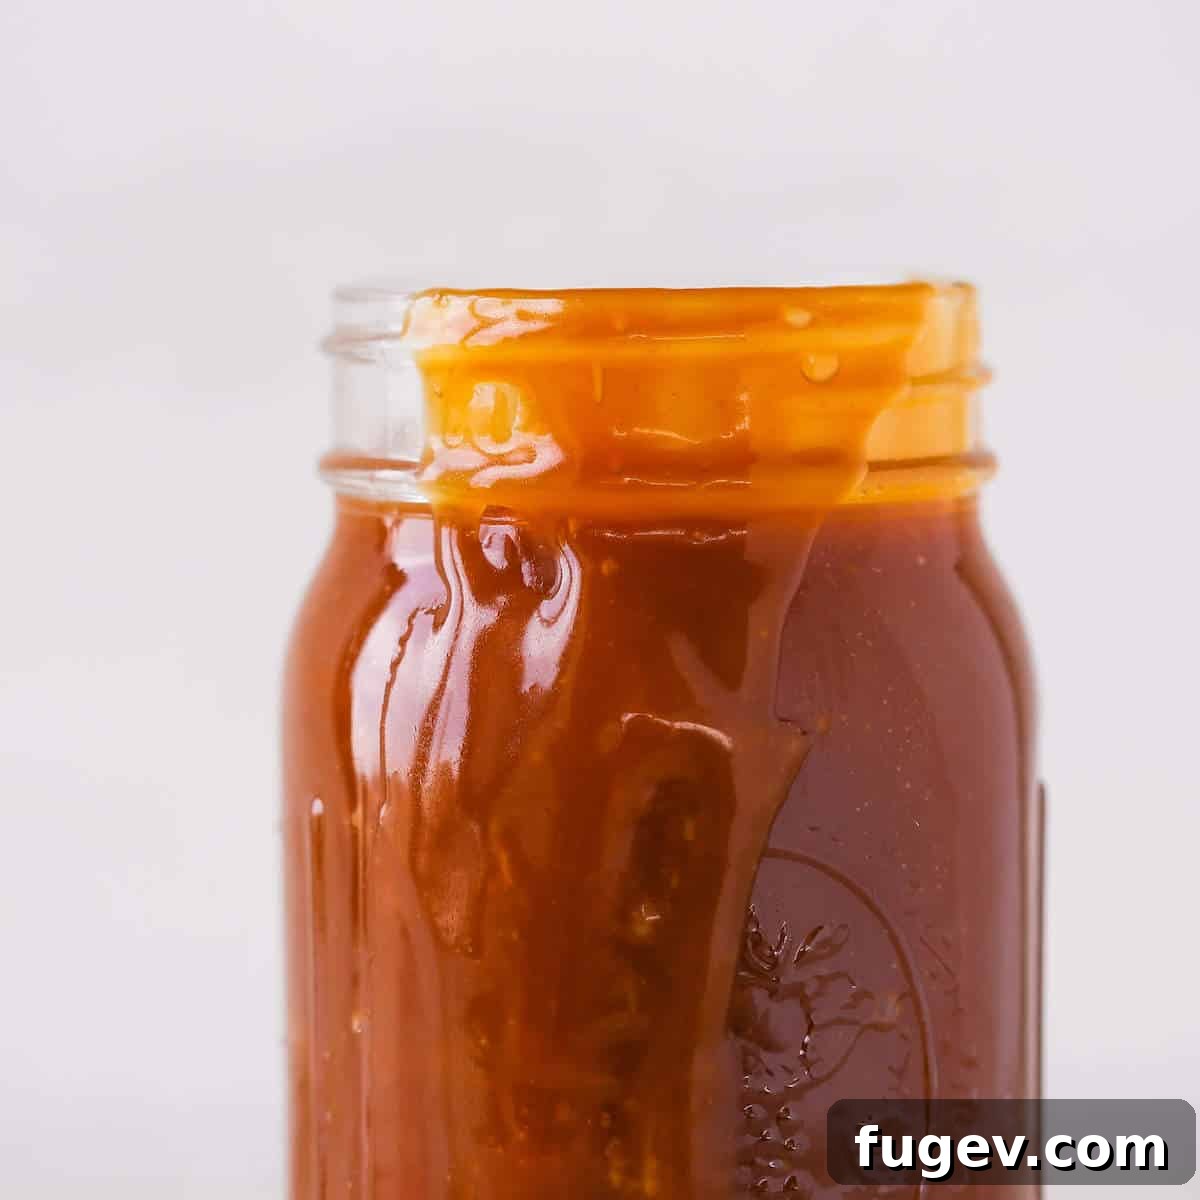
Essential Ingredients for Perfect Salted Caramel Sauce
Crafting exceptional salted caramel requires only a handful of quality ingredients. Each plays a vital role in achieving that perfect texture and flavor:
- Unsalted Butter: This recipe specifically calls for unsalted butter, allowing precise control over the overall saltiness, especially since additional salt is incorporated. While you could use salted butter, it’s a bit of a gamble, as the salt content varies by brand and you risk an overly salty sauce. The butter contributes to the sauce’s richness, adds a beautiful sheen, and helps create a smooth, luscious mouthfeel.
- Heavy Cream: The heavy cream is indispensable for both flavor and texture. It transforms the intensely hot caramelized sugar into a smooth, pourable sauce, providing a luxurious creaminess that balances the sweetness. Full-fat heavy cream (at least 36% fat) is crucial for the best results; avoid lighter creams or milk substitutes, as they may not provide the necessary richness or stability.
- Vanilla Extract: I am a strong believer in the subtle yet profound depth that pure vanilla extract brings to salted caramel. It enhances the overall aroma and adds a layer of sophisticated sweetness. However, if you prefer a truly “pure” salted caramel experience where the sugar and salt flavors shine brightest, you can certainly omit it without compromising the core recipe. For an even more intense vanilla flavor, consider using vanilla bean paste or a scraped vanilla bean.
- Kosher Salt: Many recipes suggest fancy fleur de sel or flaky sea salt, and while delightful as a finishing sprinkle, I find kosher salt superior for incorporating directly into the sauce. Its coarser grains dissolve more consistently, ensuring a uniform salt distribution without any overpowering “sea salt” taste. Kosher salt perfectly amplifies the caramel’s sweetness, creating that irresistible sweet-and-salty dynamic. Regular table salt can also be used, but adjust the quantity slightly as it is finer and more potent.
- Granulated Sugar: The foundation of all caramel. Use standard granulated sugar. While different sugars can produce different flavor profiles (e.g., brown sugar for a molasses note), classic salted caramel relies on the pure sweetness and clean caramelization of granulated sugar.
Refer to the recipe card below for the precise measurements and quantities for each ingredient.
Creative Caramel Variations to Elevate Your Sauce
Once you’ve mastered the basic salted caramel sauce, the possibilities for customization are endless. Here are a few ways to experiment and tailor the recipe to your taste:
- Adjusting Consistency for Different Uses: This recipe provides a wonderfully thick sauce, perfect for baking. However, if you desire a looser, thinner caramel – perhaps for a delicate drizzle or a lighter topping – simply add a little more heavy cream. I recommend starting with an additional ¼ cup of heavy cream, stirring it in after the initial cream mixture has been fully incorporated. Add it slowly until you reach your desired pourable consistency. Be cautious not to add too much, as it can dilute the rich flavor.
- Exploring Unique Flavor Profiles with Acid: For a bright, tangy caramel that beautifully tempers the sweetness, consider replacing some or all of the heavy cream with an acidic liquid. Lemon juice, orange juice, or even apple cider can create a delightful “gastrique”-style caramel. This results in a vibrant sauce that offers a refreshing contrast. If you opt for this variation, be sure to reduce the amount of added salt, as the acidity will inherently cut through some of the richness. I often finish these gastrique-inspired caramels with a touch of butter at the end for added silkiness and a well-rounded flavor.
- Infusing Aromas and Spices: Elevate your caramel with aromatic infusions. This method is ideal for incorporating whole spices like cinnamon sticks, star anise, cardamom pods, or even spent vanilla bean pods. After preparing the basic caramel sauce, add your chosen spice(s) directly to the warm sauce. Gently reheat the mixture together over low heat, then remove it from the heat, cover the pot, and allow it to steep for at least 30 minutes, or even longer for a more intense flavor. Taste as you go, as some spices can be quite potent. Strain the spices out before storing. Unexpected spices like a hint of smoked paprika or black pepper can also create intriguing results!
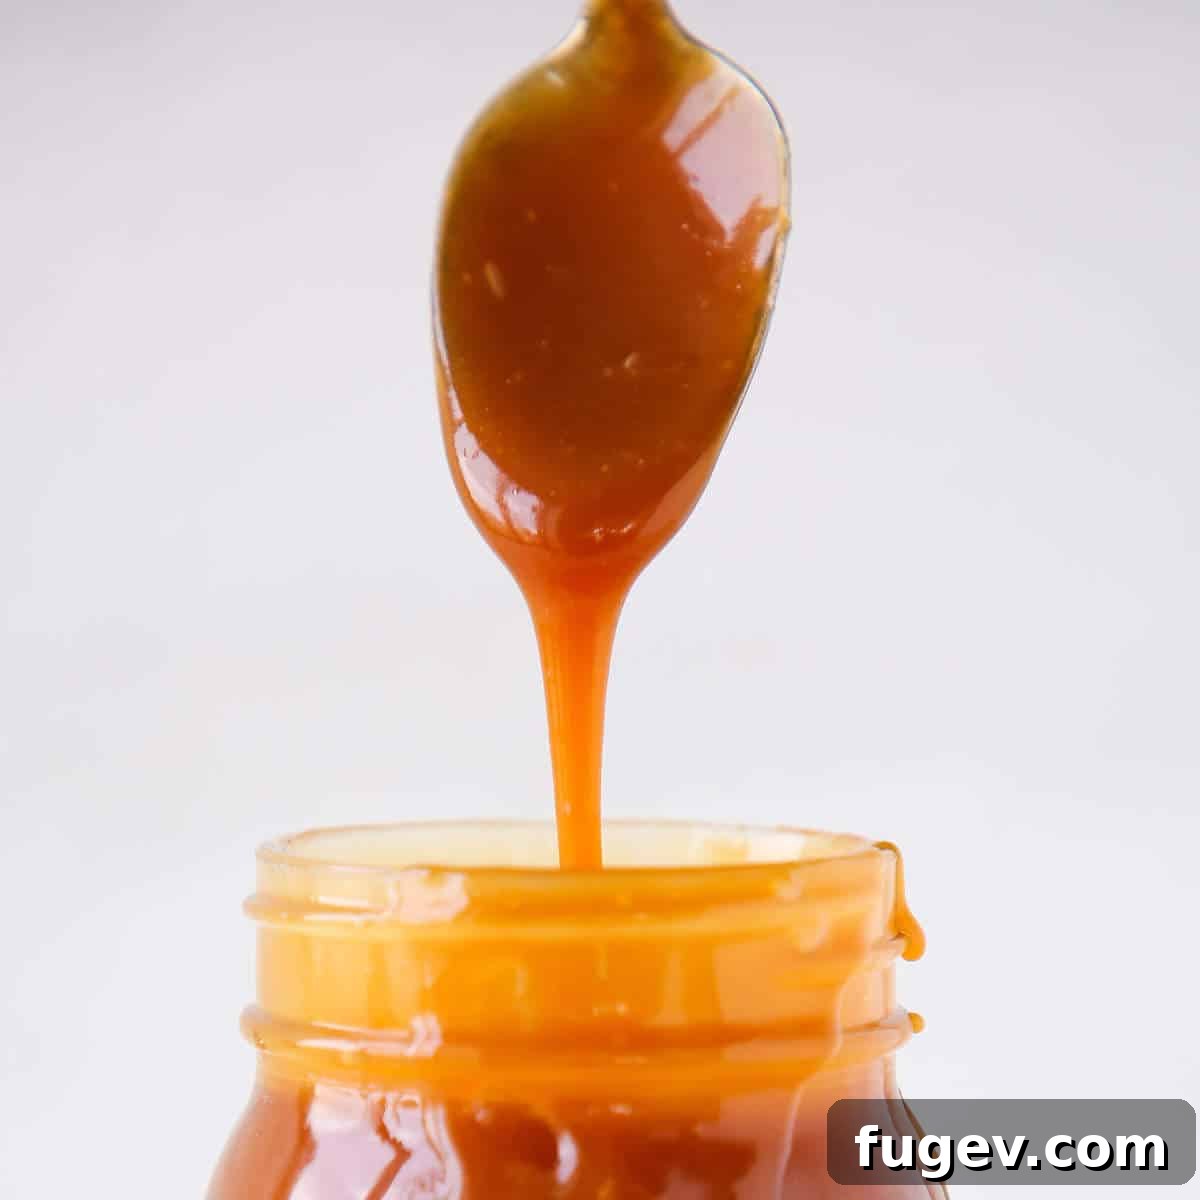
How to Use Your Homemade Caramel Sauce: Endless Possibilities
This exquisite salted caramel sauce is incredibly versatile, making it a valuable addition to your culinary arsenal. Here are myriad ways to incorporate its rich, sweet, and salty goodness into your desserts and beyond:
- Baked Directly into Cookies, Cakes & More! The inherent thickness of this caramel sauce makes it exceptionally stable for baking. It won’t over-liquefy or compromise the texture of your batter, making it perfect for swirling into these chocolate caramel cupcakes, layering in caramelitas, infusing caramel butter bars, enhancing a caramel apple tart, or adding gooey pockets to caramel chocolate chip blondies!
- Luxurious Topping for Cakes, Tarts, & Ice Cream: Elevate almost any dessert with a generous drizzle of this gorgeous salted caramel. Pour it warm over a slice of caramel molasses pound cake, create elegant swirls on chocolate cheesecake, add a sophisticated finish to buttermilk panna cotta, or bring extra pizzazz to a classic vanilla cake. It’s also the ultimate upgrade for your ice cream sundaes!
- Flavor Transformer for Buttercreams and Custards: Infuse your favorite frostings and creams with the irresistible taste of caramel. Use it to flavor a decadent caramel Swiss meringue buttercream or the easy caramel buttercream featured in these caramel apple cupcakes. Beyond buttercreams, imagine it stirred into a silky caramel pastry cream or a comforting caramel pudding for an unforgettable treat.
- Delicious Fillings and Swirls: This sauce makes an incredible filling or a visually appealing swirl. Fill cupcakes, like these delightful caramel cupcakes, with a generous dollop. Swirl it into homemade ice cream, such as our rich chocolate caramel ice cream, for ribbons of flavor. Or, create quick and easy desserts like salted caramel tartlets for an impressive finish.
How to Make Homemade Salted Caramel Sauce: The Dry Caramel Method
The dry caramel method involves melting sugar directly in a pot without any added water. This technique can be quicker and results in a more intensely flavored caramel. Follow these steps carefully for a perfect outcome:
Further details, precise measurements, and a printable recipe can be found in the recipe card below.
Step 1: Prepare Your Cream Mixture
In a small, separate saucepan, combine your heavy cream, unsalted butter (cut into pieces), vanilla extract, and kosher salt. Place this saucepan over medium heat and bring the mixture just to a boil, then immediately remove it from the heat and set it aside. Keeping it warm ensures it won’t seize the hot caramel later.
Step 2: Begin Caramelizing the Sugar
Choose a heavy-bottomed pot with high sides – this is crucial for even heat distribution and to contain the bubbling. Place it over medium-high heat. Start by sprinkling a thin, even layer of granulated sugar across the bottom of the pot. As this first layer begins to melt and liquefy, sprinkle another thin layer of sugar over the melted portion. Continue this process until all your sugar is in the pot. This staggered approach helps the sugar melt more evenly. As sections begin to melt into a golden syrup, gently stir with a wooden spoon or heat-proof spatula, breaking up any initial clumps that form.
Troubleshooting Undissolved Sugar: If, despite your best efforts, you still find a few stubborn undissolved sugar pieces when your caramel reaches a deep amber color, don’t fret! Simply strain the finished caramel through a fine-mesh sieve into your storage container. A small setback like this won’t ruin your beautiful sauce.
Step 3: Develop the Caramel Color and Flavor
Continue to stir the melting sugar, ensuring you distribute it into any hot spots in the pot. Use the already melted sugar to help dissolve the remaining granules. Once all the sugar has completely melted and a liquid syrup forms, stop stirring. From this point, you will gently swirl the pot frequently to ensure even cooking, but avoid stirring with a spoon. Watch carefully as the syrup transitions from pale yellow to golden, then to a beautiful dark amber color. This color development is where the rich, complex caramel flavor truly forms.
Judging Caramel Color: Sometimes, judging the exact color of the caramel in a deep pot can be tricky. For a clearer view, gently tilt the pot towards you. This creates a thinner layer of caramel against the side, allowing you to more accurately assess its hue. A medium amber is perfectly acceptable for a sweeter, lighter caramel, but I prefer to take mine to a deep amber, right when it just begins to smoke faintly but before you detect any burnt aroma. This yields a wonderfully complex, less sweet caramel.
Step 4: Incorporate the Cream Mixture
As soon as your caramel reaches the desired dark amber color, immediately remove the pot from the heat and place it on a heat-proof trivet or a folded kitchen towel. Now, slowly and carefully pour your prepared, warm cream/butter mixture into the hot caramel while constantly and vigorously whisking. It will bubble up aggressively, so maintain a safe distance and be cautious of steam. Do not pour the cream in too fast, or it could overflow or burn you. Don’t let the intense bubbling alarm you; just keep whisking steadily. The whisking action helps to calm the caramel and integrate the liquids smoothly.
Step 5: Cool and Store
Once all the liquid is thoroughly incorporated and you have a smooth, unified sauce, immediately pour the caramel into a heat-safe bowl (glass, ceramic, Pyrex, or metal are all suitable). This stops the cooking process and prevents the caramel from darkening further. Allow the caramel to cool completely to room temperature. As it cools, it will thicken considerably. Once fully cooled, transfer it to your chosen airtight storage container.
How to Make a Wet Caramel Method (with Water & Corn Syrup)
The wet caramel method involves adding water to the sugar at the start, which helps dissolve the sugar crystals more evenly and can prevent crystallization. The addition of corn syrup is optional but highly recommended for its anti-crystallization properties, making this method generally more forgiving, especially for larger batches. This is often the preferred method in professional kitchens for its consistency.
- Step 1: Prepare Your Cream Mixture (Same as Dry Method)
In a small pot, combine the cream, butter, vanilla extract, and salt. Bring this mixture just to a boil over medium heat, then set aside to keep warm. - Step 2: Prepare the Sugar Syrup
Pour the granulated sugar into a heavy-bottomed pot with high sides. Gently shake the pot to distribute the sugar in an even layer across the bottom. Carefully pour a small amount of water (approximately ¼ cup) around the edges of the sugar. Gently stir the sugar and water to hydrate all the sugar, being extra careful to avoid splashing any sugar crystals onto the sides of the pot. If any sugar crystals do stick to the sides, use a clean pastry brush dipped in water or a damp, folded paper towel to wash them down. Don’t worry about the exact amount of water, as it will all evaporate during cooking. - Step 3: Add Corn Syrup (Optional) and Cook Sugar Syrup
If using, pour ¼ cup of light corn syrup into the sugar-water mixture. Turn the burner to medium-high heat. Allow the sugar syrup to come to a full boil without disturbing it initially. Once boiling, you can gently swirl the pot occasionally. Crucially, *do not stir* with a spoon once the syrup is boiling, as this can introduce crystals and lead to a grainy caramel. Swirling allows you to redistribute the syrup and manage hot spots effectively. - Step 4: Continue Cooking to Dark Amber
Continue to cook the sugar syrup, swirling occasionally, until it reaches a beautiful dark amber color. Just like with the dry method, watch for that faint wisp of smoke as it nears its ideal depth of flavor. - Step 5: Incorporate the Cream Mixture
Remove the pot from the heat and place it on a trivet or folded towel. Slowly pour in your warm cream/butter mixture while continuously whisking vigorously. Be mindful of the bubbling and steam, keeping a safe distance. The whisking helps to create a smooth, emulsified caramel. - Step 6: Cool and Store
Once all the liquid is fully incorporated, pour the finished caramel into a heat-safe bowl. Allow it to cool completely to room temperature, at which point it will thicken significantly. Then, transfer it to your preferred storage container.
Chef Lindsey’s Recipe Tip: Achieving Your Ideal Caramel Flavor Intensity
The beauty of homemade caramel lies in your ability to control its flavor intensity. There’s a sliding scale of acceptable caramel flavor, ranging from a very light-colored, subtly sweet caramel to the almost burnt, dark, sultry caramel that I personally prefer. For me, the sweet spot is when the sugar turns a deep, rich amber color, and there’s just the slightest hint of a toasty, almost burning scent when you gently waft the vapors (much like you’d test chemicals in a middle school chemistry class!). This is the moment I add the butter and cream, as it ensures a complex, profound caramel flavor that’s wonderfully nuanced and not overly sweet.
Frequently Asked Questions About Homemade Caramel Sauce
Once your homemade salted caramel sauce has cooled completely, transfer it to an airtight container. It can be stored at room temperature for up to one month, refrigerated for up to two months, or frozen indefinitely for longer-term storage. While it remains safe to eat when frozen, it will gradually lose some of its fresh taste, so it’s best to enjoy it within a few months for optimal flavor.
To thaw frozen caramel, simply place it in the refrigerator overnight or at room temperature. For quicker thawing and reheating, microwave it at 50% power in 30-second intervals, stirring thoroughly with a silicone spatula after each interval until it reaches a smooth, pourable consistency.
Absolutely, you can scale this recipe to make larger batches of caramel sauce. The primary limiting factor will be the size of your pot; ensure it has high sides to accommodate the significant bubbling that occurs when the cream and butter are added. Overfilling could lead to dangerous overflows. When making large batches, I personally prefer the wet caramel method because it offers greater control and more consistent results, allowing for a more hands-off approach during the initial sugar cooking phase, which is invaluable in a professional setting.
It’s also crucial to account for carryover cooking when dealing with larger volumes of caramel. The residual heat will continue to caramelize the sugar even after it’s removed from the stove. To mitigate this, I recommend pouring larger batches into a long, flatter container, like a baking dish. This increases the surface area, allowing the caramel to cool down much faster and preventing it from becoming too dark or developing a burnt flavor.
The fundamental difference between the wet and dry caramel methods lies in the initial step: the wet method involves adding water, and sometimes light corn syrup or glucose, to the sugar before caramelization begins. This water helps dissolve the sugar more evenly and reduces the risk of crystallization. In contrast, the dry method caramelizes sugar directly in a dry pot. A critical distinction in technique is that with a wet caramel, it is imperative to swirl the pot gently, never stir, once the syrup is boiling, to prevent crystallization. The wet caramel method is often favored in professional kitchens because it offers more control, is less prone to crystallization, and allows chefs to multitask while the sugar syrup cooks slowly and reliably.
Butter plays several crucial roles in creating a superior caramel sauce. Firstly, it contributes to a looser, more pourable consistency, making the sauce more versatile for various applications. Secondly, it enriches the flavor profile, adding a creamy, savory depth that perfectly complements the caramelized sugar. Lastly, butter significantly enhances the mouthfeel, giving the caramel a silky, smooth, and utterly luxurious texture that coats the palate beautifully.
A grainy caramel sauce is usually caused by crystallization of sugar. This can happen for several reasons: if sugar crystals were splashed onto the sides of the pot and didn’t dissolve back into the syrup (especially in the wet method, where stirring can trigger this); if the sugar mixture seized while caramelizing due to a rapid temperature drop (often from adding cold cream to hot sugar); or if the sugar wasn’t cooked long enough to fully melt and caramelize (resulting in a lighter color and lingering sugar crystals). Ensuring your wet ingredients are warm and whisking continuously during incorporation are key to preventing graininess.
While a candy thermometer can indicate when you’ve reached specific sugar stages, it is generally not essential for making caramel sauce and can even be a distraction. For caramel, visual cues are far more important than exact temperatures. The color of the cooking sugar will tell you everything you need to know about its stage of caramelization and flavor development. Learning to trust your eyes (and nose for that slight toasted aroma) will make you a more intuitive and successful caramel maker than relying solely on a thermometer.
If you tried this recipe and loved it, please leave a 🌟 star rating and let me know how it goes in the comments below. I love hearing from you; your feedback makes my day!
Salted Caramel Sauce
Saved
Pin Recipe
Comment
Print Recipe
Ingredients
- 4 tablespoons unsalted butter cut into pieces
- ¾ cup heavy cream
- ½ teaspoon vanilla extract
- ¼ tablespoon kosher salt
- 1 ½ cups granulated sugar
Instructions
Dry Caramel Method
-
In a small pot, combine heavy cream, butter, vanilla extract, and salt. Bring this mixture just to a boil over medium heat, then immediately remove from the heat and set aside to keep warm.
-
Heat a heavy-bottomed pot with high sides over medium-high heat. Begin by sprinkling granulated sugar over the bottom in a thin layer. As this layer begins to melt and turn liquid, sprinkle some more sugar over it. Continue sprinkling in layers until all the sugar is in the pot. As parts begin to melt, gently stir with a wooden spoon, breaking up any clumps that form.
-
Continue stirring to distribute the sugar into any hot spots, using the already melted sugar to help dissolve the remaining crystals. Once all the sugar has melted, stop stirring. From this point, gently swirl the pot until a dark amber color is achieved.
-
If you have difficulty judging the caramel’s color, tilt the pot towards you to create a thinner layer, which makes it easier to assess. A medium amber is acceptable, but for a richer, less sweet caramel, aim for a deep amber – this is typically when it just begins to smoke faintly but before it smells burnt.
-
Remove the pot from the heat and place it on a trivet or folded towel. Slowly pour your warm cream/butter mixture into the hot caramel while constantly and vigorously whisking. The mixture will bubble up aggressively; maintain a safe distance and be cautious of steam. Do not pour too fast. Keep whisking to calm the caramel and incorporate the liquids smoothly.
-
Once all the liquid is incorporated and the sauce is smooth, pour it immediately into a heat-safe bowl (glass, ceramic, pyrex, or metal are all suitable). Allow it to cool completely to room temperature, at which point it will thicken significantly. Then, transfer it to your chosen airtight storage container.
Wet Caramel Method
-
To make this recipe using the wet caramel method, you will add ¼ cup of water and an optional ¼ cup of light corn syrup at the beginning. The corn syrup is highly recommended as it effectively helps prevent sugar crystallization.
-
In a small pot, combine cream, butter, vanilla, and salt. Bring this mixture just to a boil, then remove and set aside to keep warm.
-
Pour the granulated sugar into a heavy-bottomed pot with high sides. Shake the pot to distribute the sugar in an even layer. Pour the water around the edges and stir gently to hydrate all the sugar. Stir carefully to ensure no sugar crystals stick to the sides of the pot. If any sugar does get on the sides, use a clean pastry brush or a damp folded paper towel to wash it down with water. The amount of water is not critical, as it will all evaporate.
-
If using, pour the corn syrup into the sugar-water mixture. Turn the burner to medium-high heat. Allow the sugar syrup to come to a boil before disturbing it. Once boiling, gently swirl the pot occasionally but *do not stir*. Swirling helps redistribute the caramel around the pot and manages hot spots.
-
Continue to cook and occasionally swirl until the syrup achieves a dark amber color.
-
Remove the pot from the heat and place it on a trivet or folded towel. Slowly pour in your warm cream/butter mixture while constantly and vigorously whisking. The mixture will bubble up aggressively; maintain a safe distance and be cautious of steam. Do not pour too fast. Keep whisking.
-
Once all the liquid is incorporated and the sauce is smooth, pour it into a heat-safe bowl. Allow it to cool completely to room temperature, then pour into your chosen storage container.
Video
Notes
Flavor Tips – For a deep, rich caramel that is wonderfully complex and not overly sweet, ensure you take the sugar syrup to a very dark amber color. It should just begin to smoke faintly before you add your cream mixture.
Variations – You can adapt this recipe to the wet caramel method by initially adding ¼ cup of water and an optional ¼ cup of light corn syrup to the sugar. The corn syrup significantly helps to prevent crystallization, making the process more stable.
Storage – Allow the caramel to cool completely to room temperature before storing. Transfer to an airtight container. It keeps well at room temperature for up to a month, in the refrigerator for up to 2 months, or frozen for longer periods.
Nutrition
Carbohydrates: 17g |
Protein: 0.3g |
Fat: 6g |
Saturated Fat: 4g |
Polyunsaturated Fat: 0.3g |
Monounsaturated Fat: 2g |
Trans Fat: 0.1g |
Cholesterol: 18mg |
Sodium: 100mg |
Potassium: 11mg |
Sugar: 17g |
Vitamin A: 224IU |
Vitamin C: 0.1mg |
Calcium: 8mg |
Iron: 0.02mg
Like this? Leave a comment below!
Before You Go
We hope you thoroughly enjoyed this professional chef-tested and perfected recipe for homemade salted caramel sauce. May it bring a touch of culinary magic to your kitchen! Don’t forget to explore our other delicious, chef-developed dessert topping and sauce recipes to further elevate your sweet creations.