
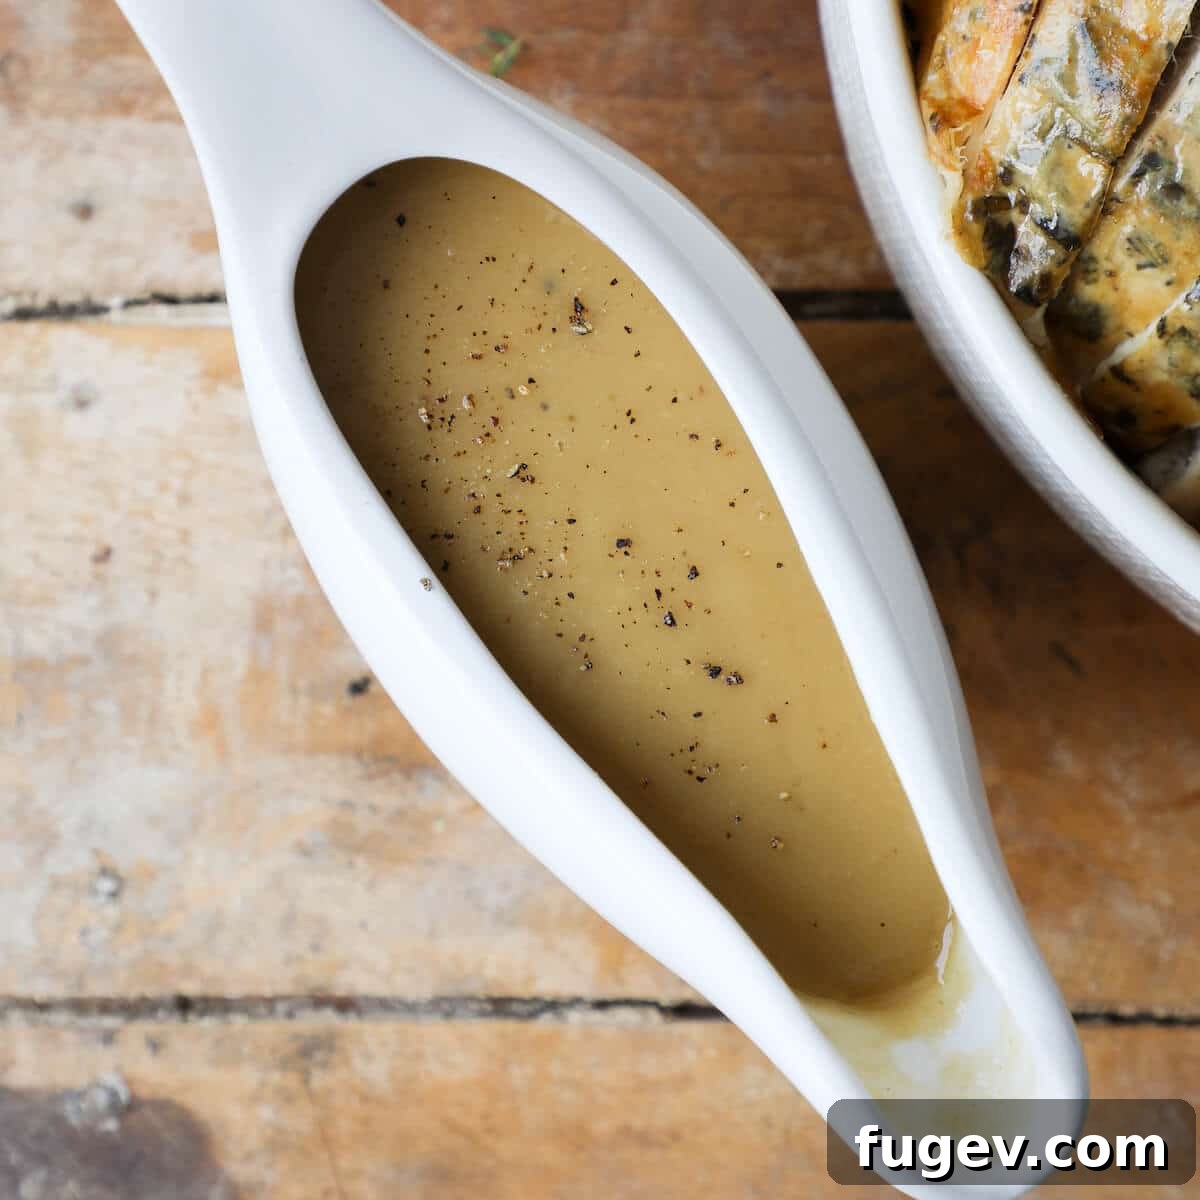
How to Make Gravy from Drippings: A Professional Chef’s Guide to Perfect Homemade Gravy
Transform your roast pan drippings into a luscious, savory gravy with this expert guide. A professional chef reveals the time-honored techniques to create a thick, rich, and robust gravy that elevates any meal. Whether you’re carving a perfectly roasted chicken, a magnificent holiday turkey, or a succulent roast beef, these simple steps will ensure a flawless accompaniment. Even if you don’t have drippings, you can still whip up an equally delicious homemade gravy using butter – making this recipe incredibly versatile for every home cook.
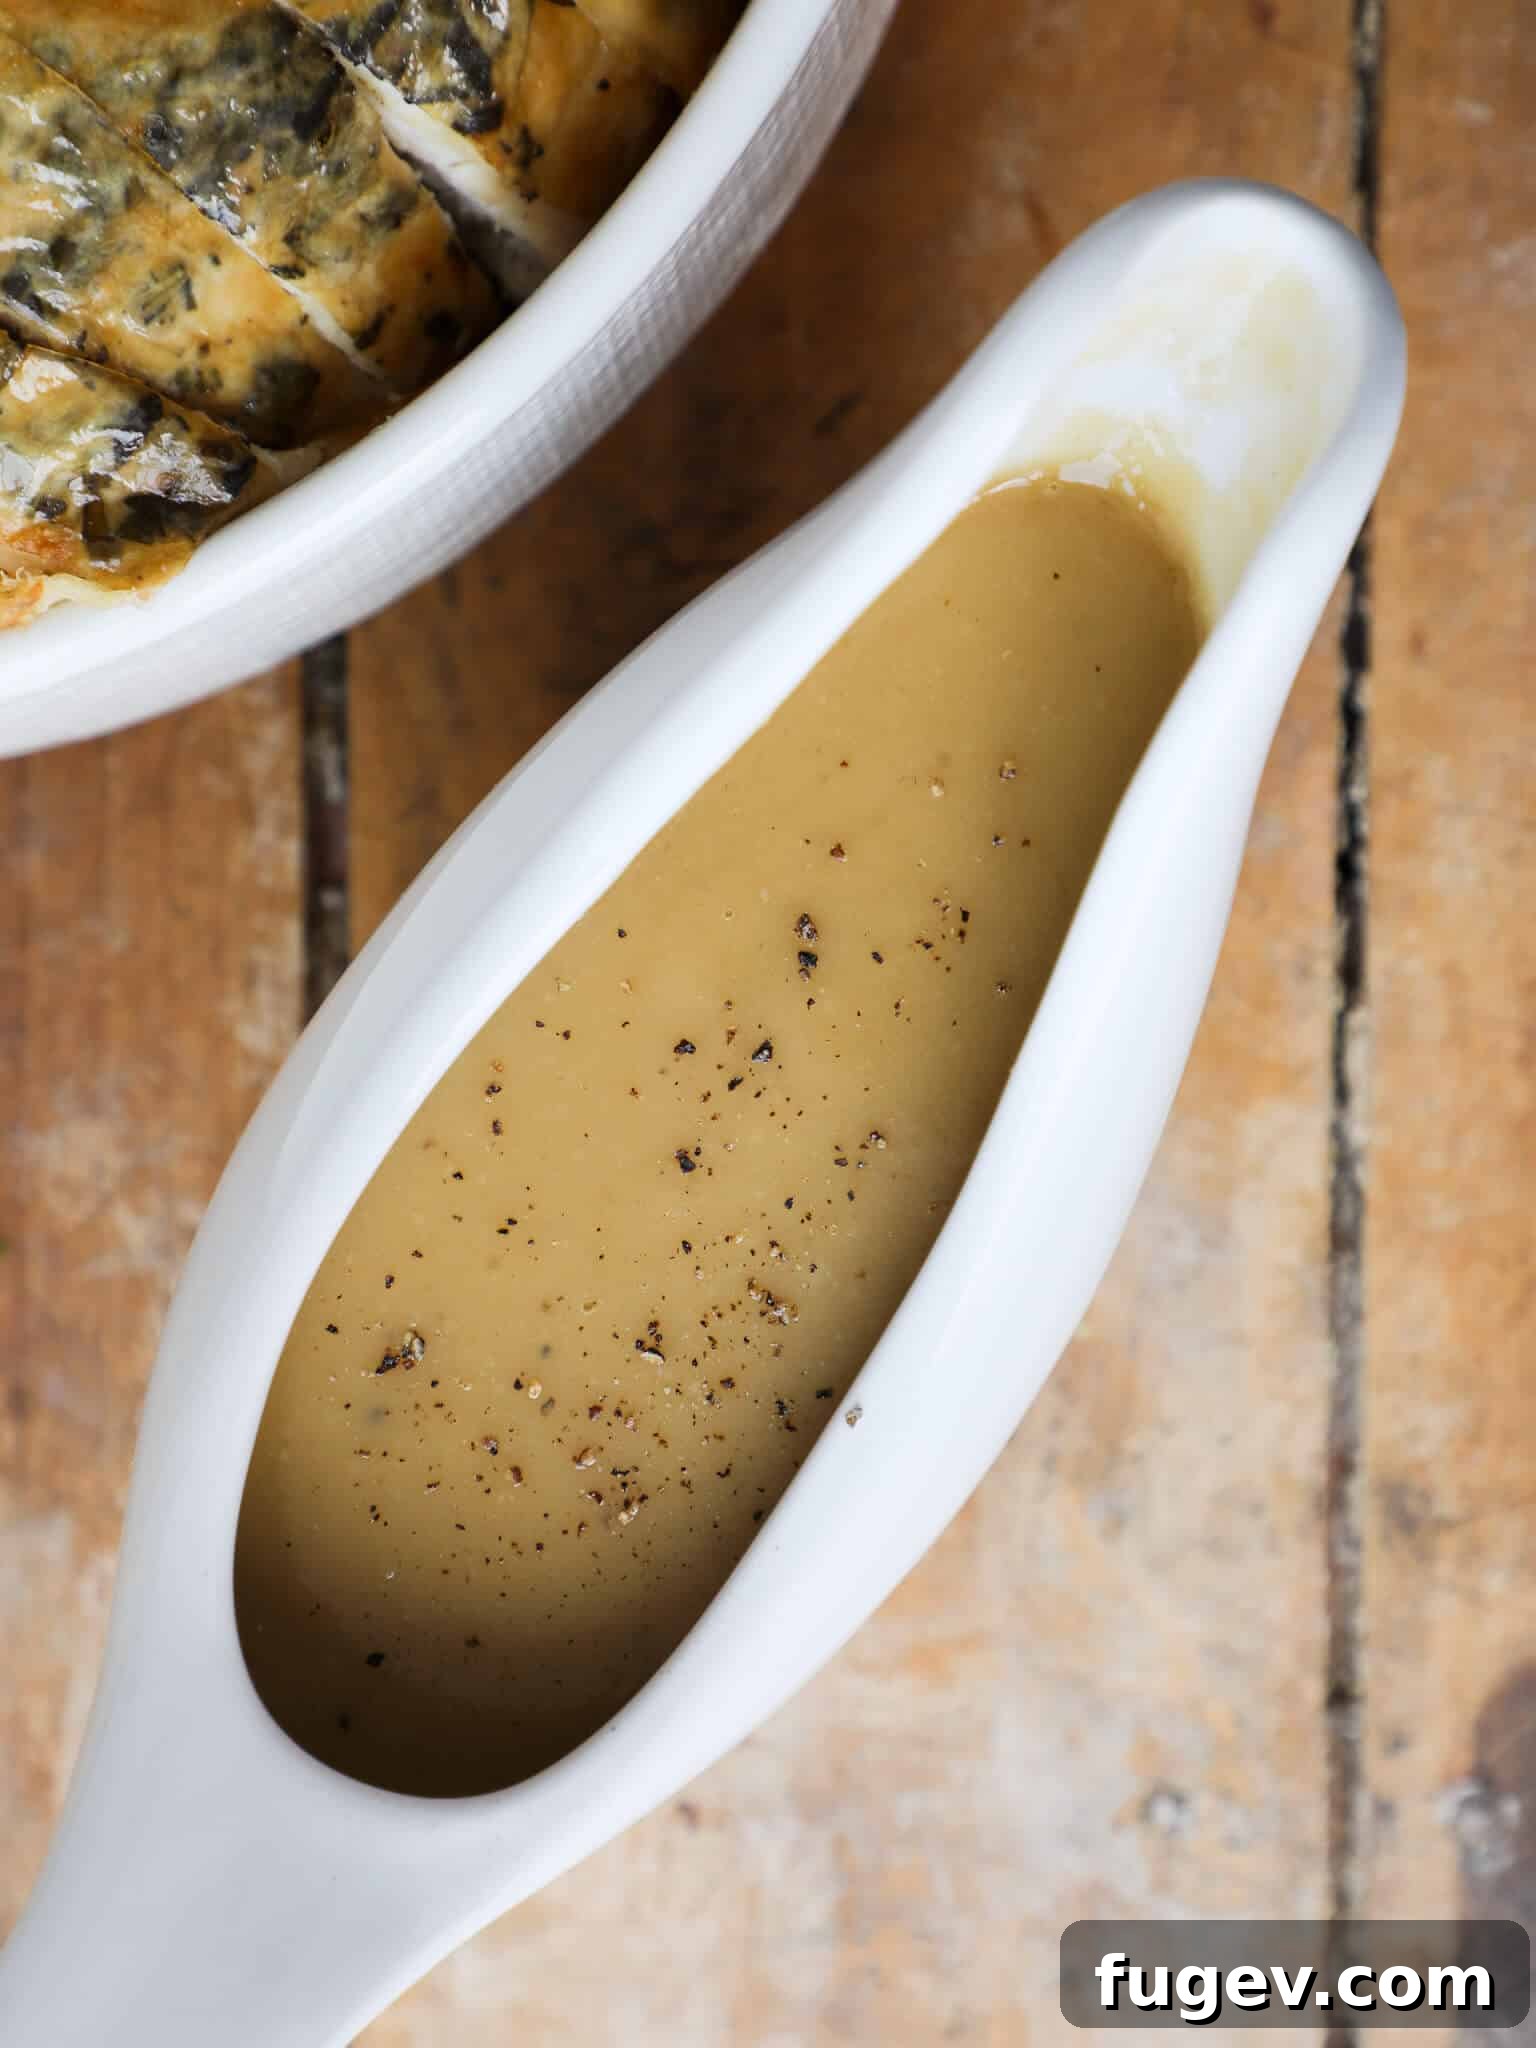
Crafting a smooth, intensely flavorful gravy might seem daunting, but it’s far easier than you think! This fundamental recipe empowers you to create exceptional gravy from the savory pan drippings of roasted chicken, tender turkey, flavorful roast beef, or even succulent pork. Imagine enhancing your family meals and holiday feasts with a gravy that tastes like it came straight from a gourmet kitchen.
Gravy isn’t just a side dish; it’s a culinary cornerstone. It’s an indispensable component of both a beloved traditional Thanksgiving dinner and an effortless Thanksgiving menu. Beyond the holidays, this versatile sauce is phenomenal drizzled generously over creamy mashed potatoes, flaky buttermilk biscuits, or any roasted meat, adding a layer of comfort and richness that transforms ordinary dishes into extraordinary culinary experiences.
Table of Contents: Your Guide to Perfect Gravy
- The Mystery of Lumpy Gravy Solved
- Essential Ingredients for Homemade Gravy
- Step-by-Step: How to Make Gravy from Drippings
- Versatile Substitutions for Any Occasion
- Frequently Asked Questions About Gravy
- Easy Gravy from Pan Drippings Recipe Card
- Gravy Serving and Storage Tips
- Before You Go: Explore More Delicious Recipes!
The Mystery of Lumpy Gravy Solved: Achieving Silky Smooth Perfection
Lumps in gravy can be frustrating, but understanding their causes is the first step to achieving a consistently silky-smooth sauce. There are typically two main culprits behind a lumpy gravy, both easily avoidable with a bit of care and technique:
- **Adding Liquid Too Quickly to the Roux:** The most common mistake is pouring your stock or broth into the flour-and-fat roux too rapidly. This sudden introduction of liquid can shock the flour, causing it to clump before it has a chance to fully hydrate and dissolve smoothly. The key is patience: slowly whisk in the stock, about ½ cup at a time. This gradual process allows the flour in the roux to gently loosen and emulsify with the liquid, ensuring a perfectly smooth, lump-free gravy.
- **Attempting to Thicken with Dry Flour:** Never add dry flour directly to hot liquid to thicken gravy. Flour particles immediately clump together when exposed to hot liquid, forming unyielding lumps that no amount of whisking can effectively break down. Always start with a roux (a cooked mixture of fat and flour) to create a stable thickener. If your gravy isn’t thick enough, resist the urge to sprinkle in more flour; instead, consider making a separate cornstarch slurry or a small, fresh roux on the side to incorporate.
By mastering the slow addition of liquid to your roux and avoiding dry flour as a direct thickener, you’ll be well on your way to creating professional-quality gravy every single time.
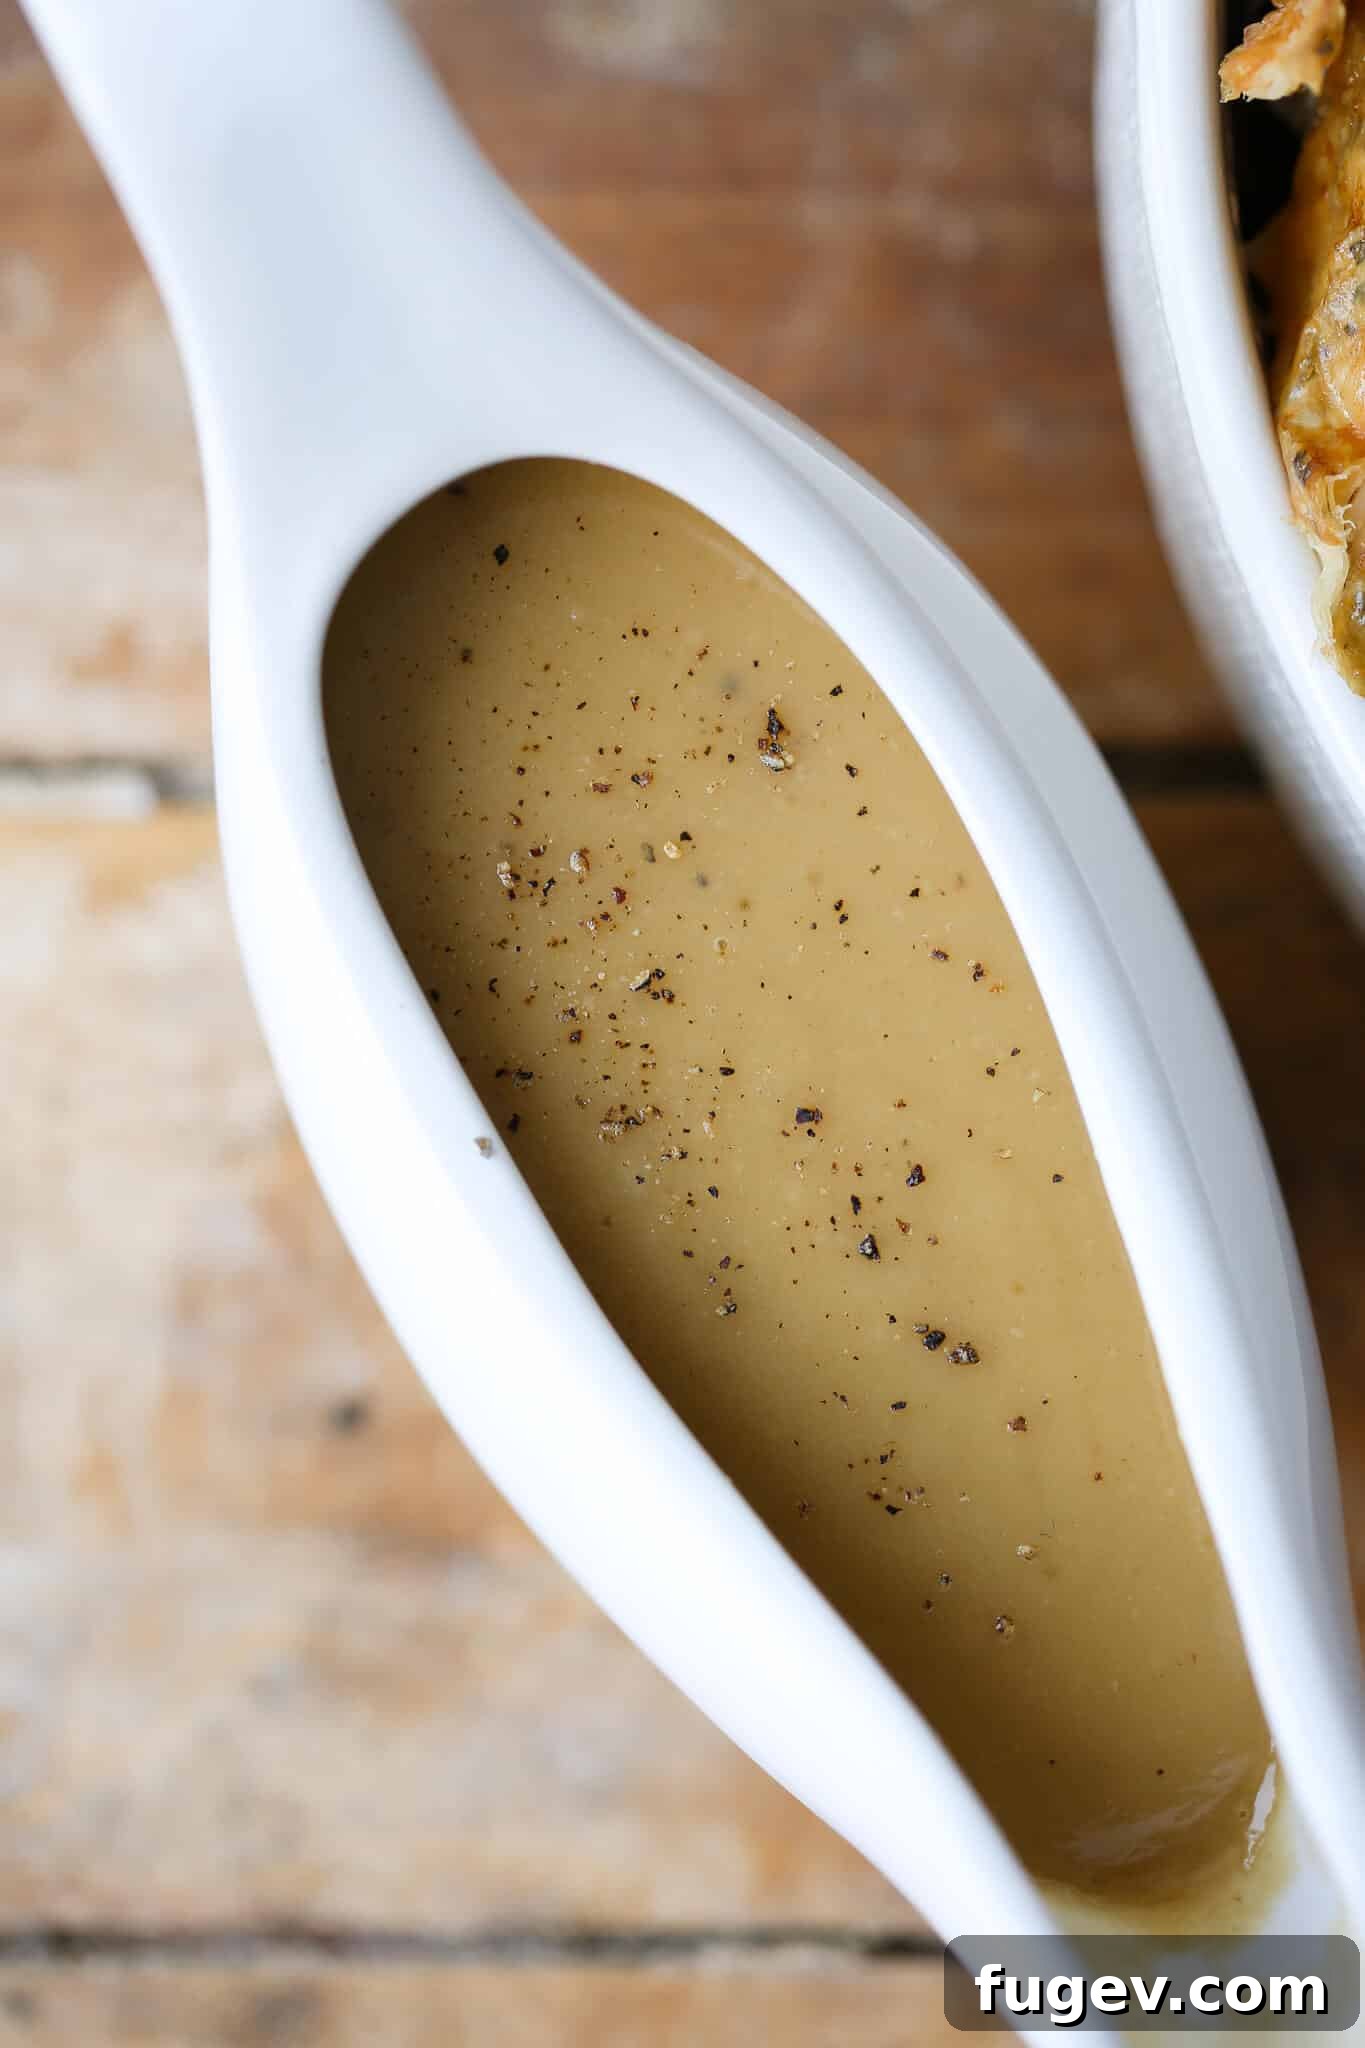
Essential Ingredients for Homemade Gravy: Building Blocks of Flavor
Creating an exceptional homemade gravy requires just a few key ingredients, each playing a crucial role in developing that rich, savory depth. Here’s a closer look at what you’ll need and why:
- Pan Drippings: The Foundation of Flavor
These precious juices are the heart and soul of your gravy, infusing it with the concentrated flavor of your roasted meat. Whether from roasted chicken, turkey, a savory roast beef, or tender pork, pan drippings contain both rendered fat and flavorful browned bits (fond). To maximize your drippings and prevent them from burning, always add about a cup of stock or water to the bottom of your roasting pan before cooking, and replenish as needed to keep the surface covered. This ensures those incredible browned bits release easily, forming the base of your rich gravy.
- Chicken or Turkey Stock: The Liquid Gold
Stock forms the bulk of your gravy, carrying and enhancing the flavors. I highly recommend using my homemade chicken broth recipe for unparalleled flavor. Alternatively, opt for an unsalted organic chicken stock from the store. Many commercial stocks are high in sodium, which can make your gravy overly salty when combined with already seasoned pan drippings. Using unsalted or low-sodium stock gives you full control over the final seasoning. Don’t miss my tutorial on homemade chicken stock for tips; just like in my Best French Onion Soup, homemade stock truly elevates the comfort level to ‘out of this world’!
- All-Purpose Flour: The Classic Thickener
The traditional and most reliable way to thicken gravy is by creating a roux, which is a cooked mixture of fat (from your drippings or butter) and flour. All-purpose flour is the most common choice simply because it’s readily available in most kitchens. However, feel free to use whole-wheat flour or bread flour if that’s what you have on hand; the thickening properties will remain consistent.
- Kosher Salt: The Flavor Amplifier
Salt is more than just a seasoning; it’s a flavor enhancer that pulls all the individual notes of your gravy together, creating a harmonious and balanced taste. Always adjust to your preference, tasting as you go. While individual tastes vary, I strongly advise against omitting salt entirely, as it’s crucial for bringing out the full depth of flavor.
- Freshly Cracked Black Pepper: A Hint of Warmth
Freshly cracked black pepper adds a subtle warmth and a touch of piquant depth to your gravy. The quantity is entirely up to your personal taste – add a generous amount for a noticeable kick, or just a pinch for a mild complement. Freshly ground pepper always offers superior flavor compared to pre-ground varieties.
Step-by-Step: How to Make Gravy from Drippings – A Chef’s Method
Follow these detailed instructions to create a restaurant-quality gravy right in your own kitchen. This method ensures a rich flavor and a silky-smooth texture, making you a gravy master.
- **Prepare Your Roasting Pan and Collect Drippings:**
After your roast (chicken, turkey, beef, or pork) is cooked and removed from the pan, place the roasting pan directly over one or two stovetop burners set to medium-low heat. Add about 1 cup of chicken or turkey stock to the pan. Bring it to a gentle boil, then use a wooden spoon or spatula to carefully scrape up all the browned bits (fond) from the bottom of the pan. These caramelized bits are packed with flavor! Pour this flavorful liquid through a fine-mesh sieve into a heatproof bowl or large measuring cup to remove any solids or impurities. Let it sit for a few minutes to allow the fat to separate and rise to the surface.
- **Skim and Measure the Fat:**
Once the fat has clearly separated and formed a layer on top of the liquid, carefully skim off ¼ cup of the rendered fat. A small ladle or a fat separator works perfectly for this. If you don’t have enough pan fat, don’t worry! Simply make up the difference with an equal amount of melted butter to reach the ¼ cup total. Discard any excess fat, but keep all the flavorful stock.
- **Prepare Your Roux (The Thickener):**
In a medium saucepan, combine the ¼ cup of reserved fat (or butter) with ¼ cup of all-purpose flour. Place the saucepan over medium heat. Using a flat-bottomed whisk, continuously whisk the fat and flour together to create a smooth paste. This mixture is called a roux, and it’s essential for thickening your gravy without lumps. Continue cooking and whisking the roux for at least 1 minute after it comes to a boil, or until it achieves a nice golden-brown color. A slightly darker roux will yield a richer, nuttier flavor, while a lighter roux will result in a milder gravy.
- **Slowly Whisk in the Stock:**
This is the most critical step for lump-free gravy. While continuously whisking the hot roux, slowly pour in the flavorful stock from your roasting pan, adding it about ½ cup at a time. The mixture will initially be very thick, but as you continue to whisk and add more liquid, it will gradually loosen and smooth out. You will need approximately 2 cups of stock in total, though you might adjust slightly based on desired consistency and initial drippings volume. Continue whisking until all the stock is incorporated and the gravy is smooth.
- **Simmer, Season, and Serve:**
Bring the gravy to a gentle simmer over low to medium heat. Allow it to simmer for a few minutes, whisking occasionally, until it reaches your desired thickness. Remember, gravy will continue to thicken slightly as it cools. Taste the gravy and adjust the seasoning with kosher salt and freshly cracked black pepper as needed. Serve your perfect homemade gravy immediately, or cool it completely before storing.
Versatile Substitutions for Any Occasion: Customizing Your Gravy
This gravy recipe is incredibly adaptable, allowing you to tailor it to your specific needs or whatever ingredients you have on hand. Don’t be afraid to experiment!
- Stock Variations: Matching Flavor Profiles
The type of stock you use significantly impacts the final flavor. For beef or lamb dishes, opt for rich veal or beef stock. When serving poultry like chicken or turkey, stick with chicken or turkey stock for a harmonious blend. You can even use vegetable stock for a vegetarian-friendly option, though the depth of flavor will differ from meat drippings.
- Fat Alternatives: When Drippings Are Scarce
No pan drippings? No problem! If you don’t have enough drippings, or perhaps you’re making gravy without roasting a whole bird, unsalted butter is an excellent substitute. Simply melt the butter and use it in equal parts with flour to create your roux. This yields a wonderfully rich and flavorful gravy in its own right.
- Flour Choices: Use What You Have
While all-purpose flour is standard, don’t hesitate to use other flours if that’s what’s available. Whole-wheat flour adds a slightly nutty flavor and denser texture, while bread flour will also work effectively for thickening. The key is maintaining the proper fat-to-flour ratio for the roux.
- Herbs and Aromatics: Elevate Your Gravy
Consider adding fresh herbs like thyme, rosemary, or sage to your stock while simmering, or even a bay leaf, for an extra layer of aroma and taste. A splash of dry white wine or sherry deglazed into the pan drippings before adding stock can also introduce a delightful complexity.
Frequently Asked Questions About Gravy
Proper storage is key to enjoying your delicious homemade gravy for longer. Store cooled gravy in an airtight container in the refrigerator for up to 1 week. For longer storage, you can freeze it in zip-top freezer bags or freezer-safe containers for up to 2 months. Thaw in the refrigerator overnight before reheating.
Absolutely! This recipe is easily scalable. You can make as large a batch as you need. The most important thing is to maintain the correct proportions for the roux (equal parts fat and flour) to ensure proper thickening. If you find yourself short on pan drippings for a larger batch, supplement with melted butter to achieve the necessary fat quantity. Remember, a larger volume will take longer to come to a simmer and thicken.
The best way to reheat homemade gravy is gently on the stovetop. Slowly warm it in a saucepan over low heat, whisking constantly to ensure it heats evenly and prevents scorching. Bring the gravy to a gentle boil. If it’s too thick after reheating, gradually whisk in additional chicken or turkey stock, or even water, a tablespoon at a time, until the desired consistency is reached. You can also reheat it carefully in the microwave, stirring frequently, but stovetop reheating usually yields a smoother result.
If your gravy turns out thinner than desired, the best way to thicken it further is by using a cornstarch slurry. Mix 1 teaspoon of cornstarch with 2 teaspoons of cold water in a small bowl until smooth. Slowly whisk this slurry into your hot, simmering gravy. Bring the gravy back to a boil and let it simmer for at least one minute to cook out the starchy taste and allow it to thicken. If it’s still not thick enough, repeat the process with another small slurry. Other starch options like arrowroot, tapioca flour, or potato starch can be used in the same manner.
Yes, gravy is an excellent make-ahead component for any meal, especially during busy holidays. Prepare it completely, then cool it rapidly (e.g., in an ice bath) and store it in the refrigerator for up to 3-4 days, or freeze it for up to 2 months. Reheat gently following the instructions above, adding more stock if needed to thin to the perfect consistency.
If your gravy appears too greasy, it means you might have incorporated too much fat. You can easily remedy this by chilling the gravy. As it cools, the fat will solidify on top, allowing you to easily skim it off. Alternatively, you can use a fat separator during the initial drippings collection to ensure only the flavorful stock, not excess fat, is used.
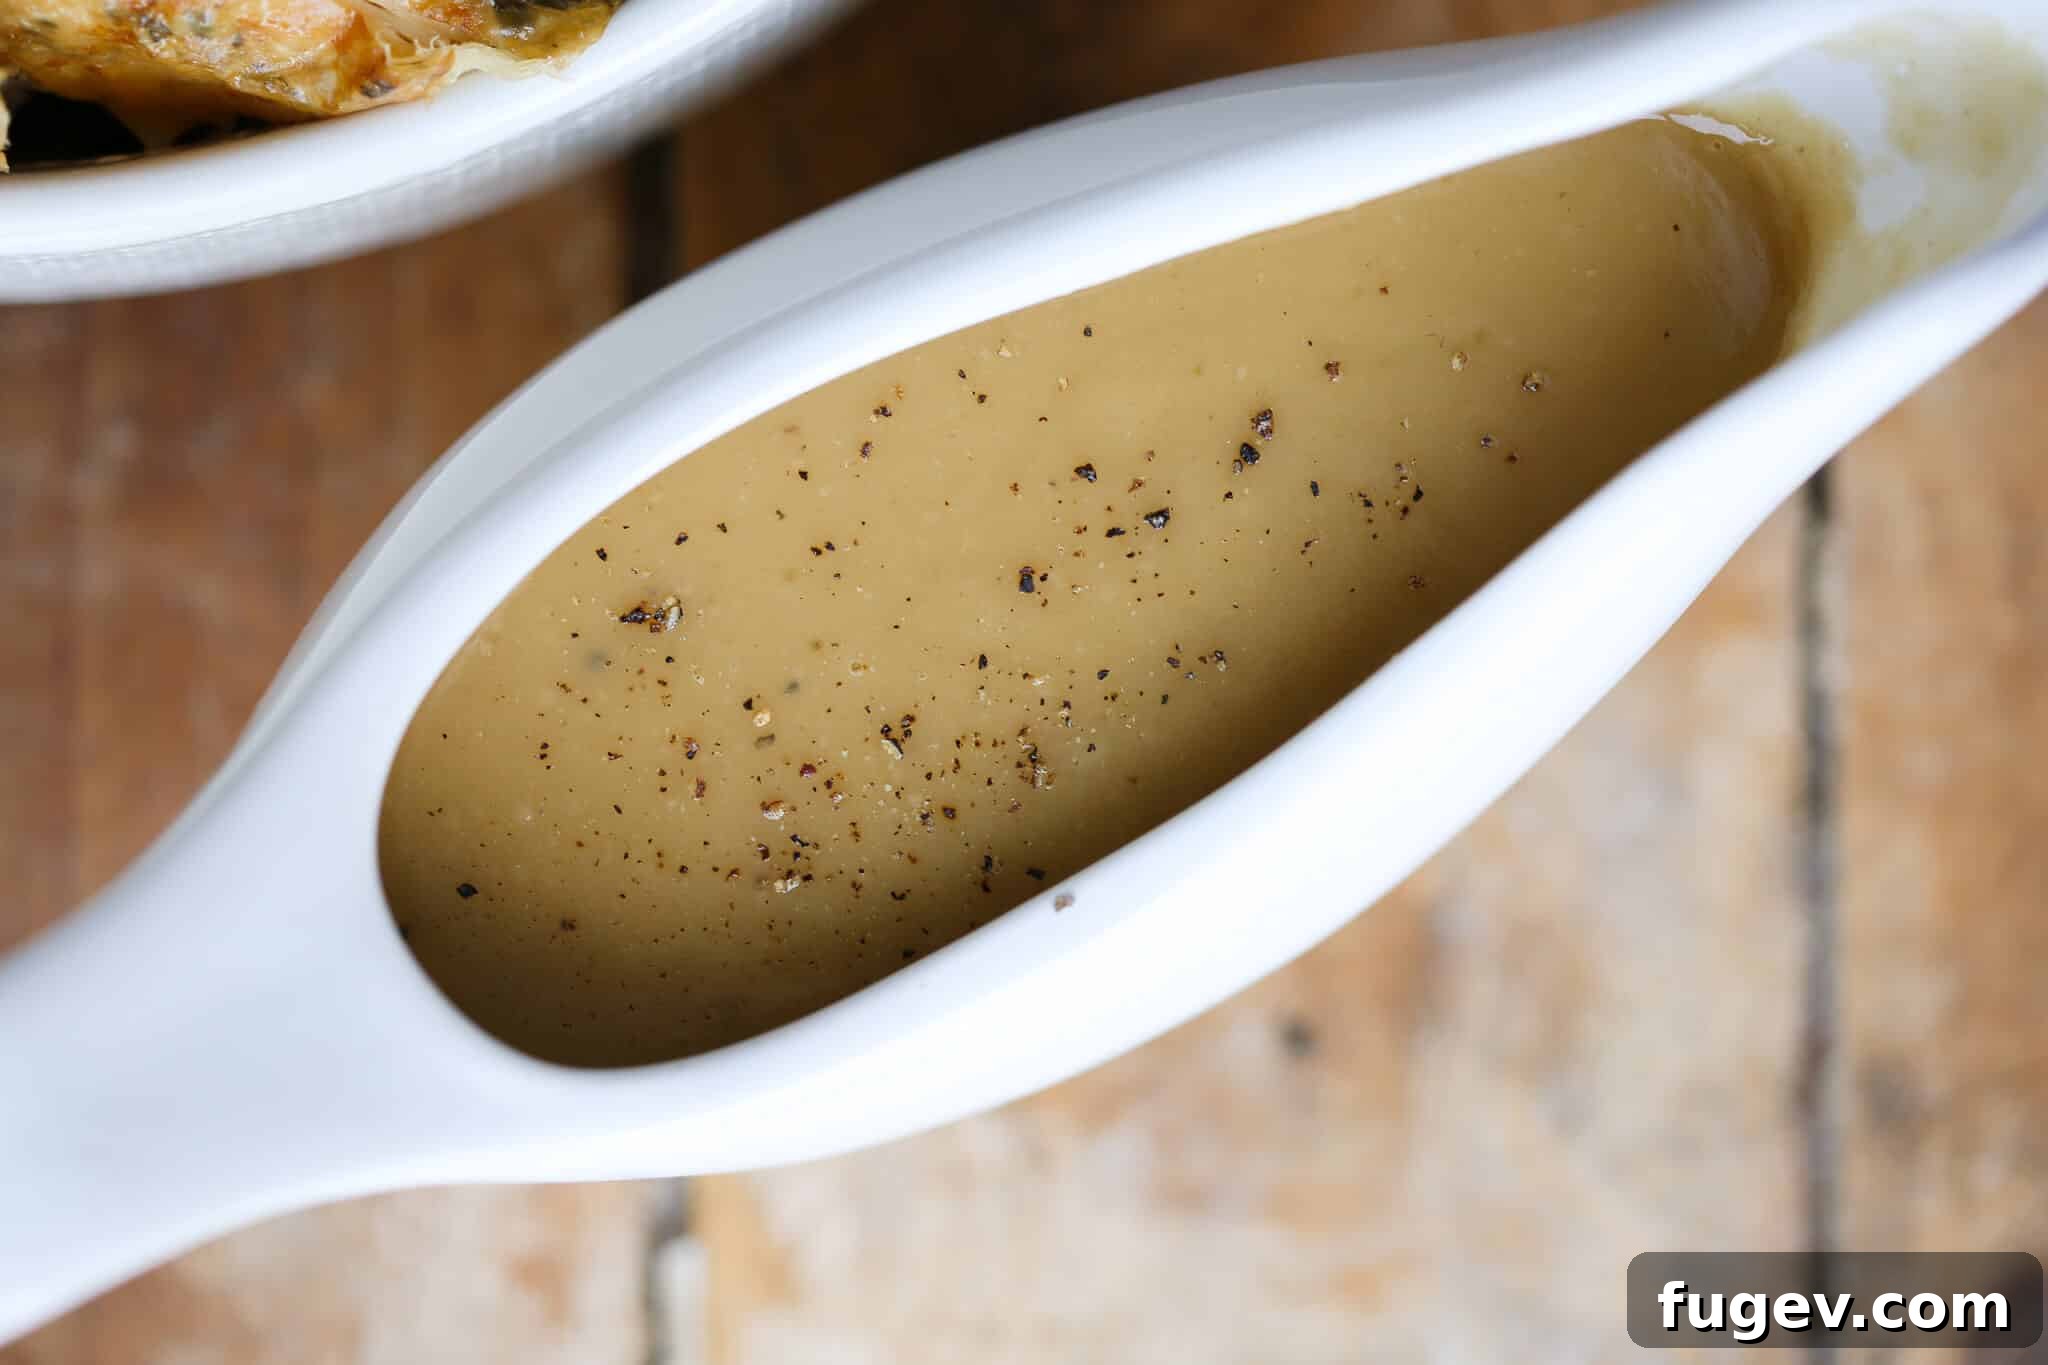
If you tried this recipe and loved it, please leave a 🌟 star rating and share your experience in the comments below. Your feedback truly makes my day!
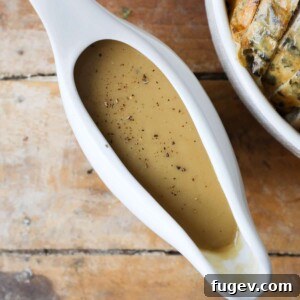
Easy Gravy from Pan Drippings
Chef Lindsey
A professional chef’s straightforward recipe for making rich, lump-free gravy from pan drippings. Perfect for chicken, turkey, or any roast, this versatile gravy can also be made with butter for an equally delightful homemade experience.
20 mins
20 mins
2 cups
Pin Recipe
Comment
Print Recipe
Ingredients
- Pan drippings from a turkey, chicken, roast beef, or pork
- 1 cup Chicken Stock or turkey stock, more as needed
- ¼ cup Fat skimmed from pan drippings (or melted butter)
- ¼ cup All-Purpose Flour
- Kosher salt to taste
- Black Pepper to taste
Instructions
-
**Prepare Pan Drippings:** After removing your roast, place the pan over medium-low heat. Add 1 cup of stock and scrape up all browned bits from the bottom. Strain the liquid into a bowl and let fat separate.
-
**Skim Fat:** Skim off ¼ cup of fat from the drippings. If you don’t have enough, use melted butter to make up the difference. Discard excess fat, reserving about 2 cups of stock.
-
**Make the Roux:** In a saucepan, combine ¼ cup reserved fat and ¼ cup flour. Whisk continuously over medium heat until golden brown and cooked for at least 1 minute.
-
**Add Stock Slowly:** Gradually whisk in the reserved stock, about ½ cup at a time, into the roux. Whisk constantly to prevent lumps until all stock is incorporated and gravy is smooth.
-
**Simmer & Season:** Bring to a gentle simmer and cook for a few minutes until desired thickness is reached. Season with kosher salt and black pepper to taste. Serve immediately or store.
Video Tutorial
Nutrition Information
Calories: 335kcal | Carbohydrates: 16g | Protein: 5g | Fat: 29g | Saturated Fat: 23g | Polyunsaturated Fat: 1g | Monounsaturated Fat: 4g | Cholesterol: 4mg | Sodium: 172mg | Potassium: 143mg | Fiber: 0.4g | Sugar: 2g | Vitamin A: 4IU | Vitamin C: 0.2mg | Calcium: 6mg | Iron: 1mg
Condiments, Sauce
American, Classic
Like this? Leave a comment below!
Gravy Serving and Storage Tips
Once your exquisite homemade gravy is ready, it’s time to enjoy it! Drizzle it generously over creamy mashed potatoes, fluffy buttermilk biscuits, or alongside any roasted meat like chicken, turkey, or prime rib. Gravy also pairs beautifully with stuffing, meatloaf, or even breakfast items like sausage and eggs. For best flavor and safety, serve immediately.
Any leftover gravy can be stored efficiently. Transfer cooled gravy to an airtight container and refrigerate for up to 3-4 days. For longer preservation, pour it into freezer-safe bags or containers and freeze for up to 2 months. Thaw frozen gravy in the refrigerator overnight before gently reheating on the stovetop over low heat, whisking constantly and adding a splash of stock if it becomes too thick.
Before You Go: Explore More Delicious Recipes!
Now that you’ve mastered the art of making perfect gravy, why not explore more chef-developed recipes to complete your culinary repertoire? Check out our other delectable Sauces and Condiment Recipes, including my highly acclaimed best pizza sauce recipe. This fantastic gravy is also a cornerstone for a memorable traditional Thanksgiving dinner menu or an easy Thanksgiving feast. Happy cooking!