
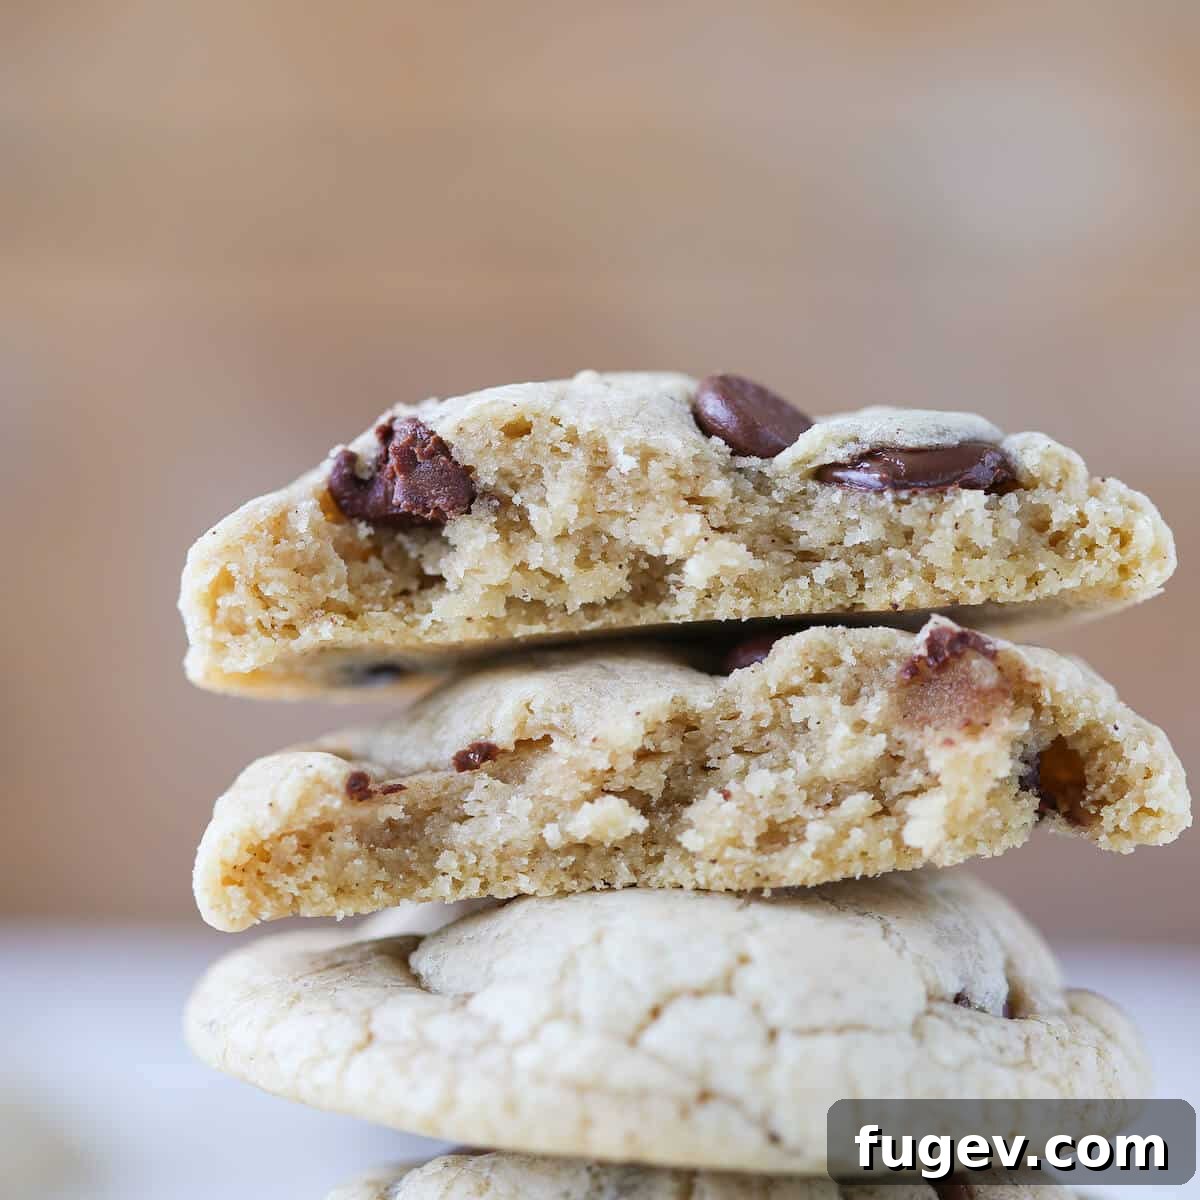
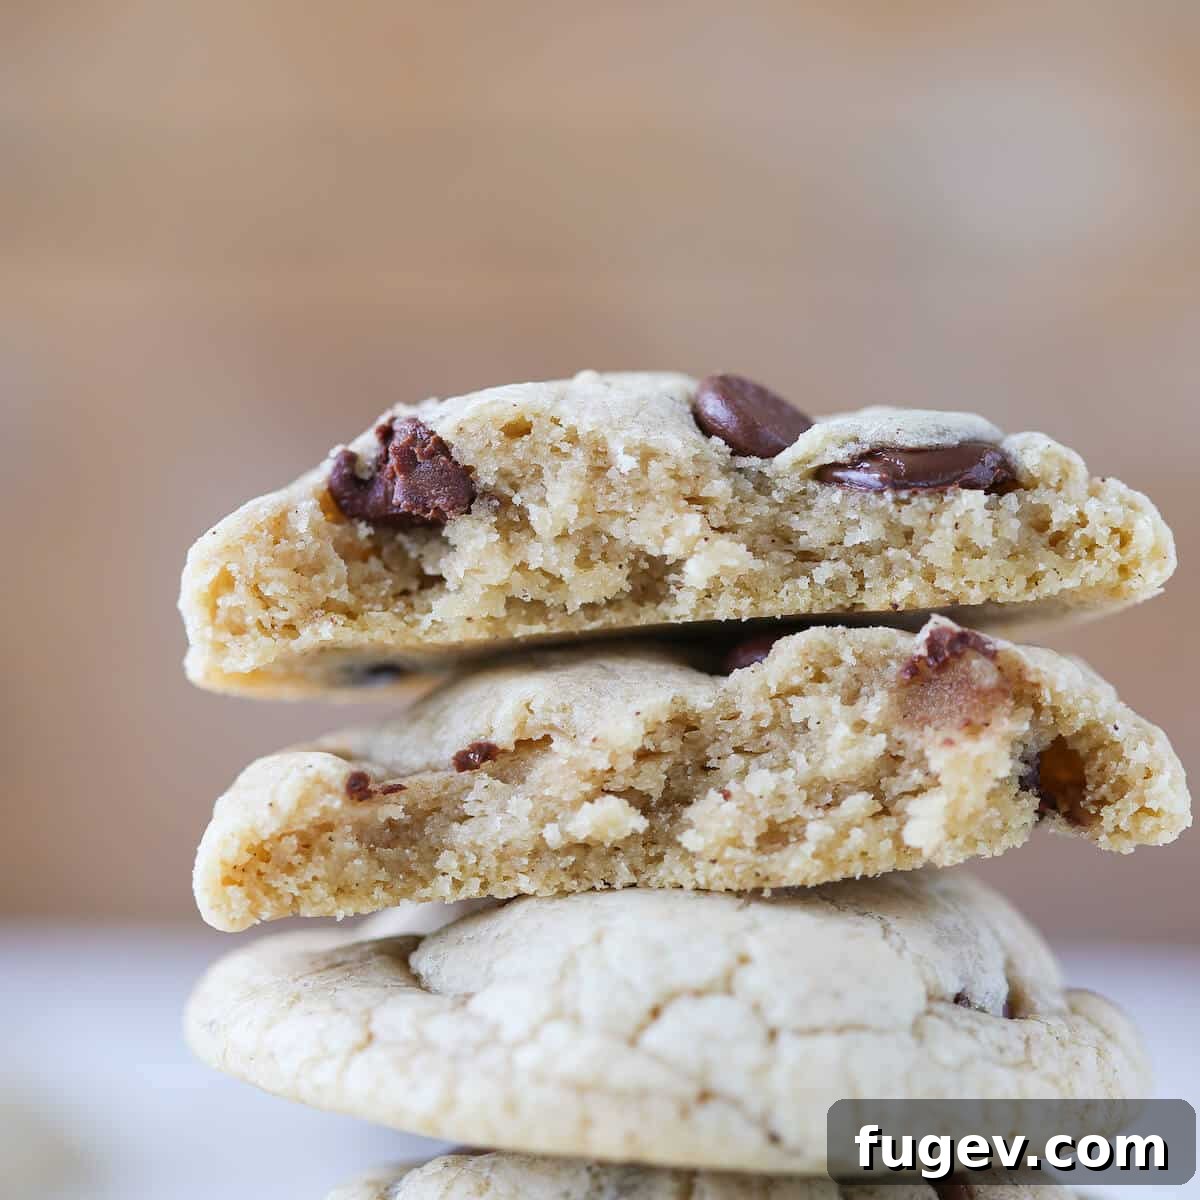
Prepare to elevate your cookie game with these truly exceptional Brown Butter Chocolate Chip Cookies. Far from ordinary, these cookies are a masterpiece of texture and flavor, combining the nuanced, nutty depth of browned butter with the tender chewiness imparted by cream cheese. Each bite delivers a harmonious blend of sweetness and a sophisticated toasted aroma, generously studded with a delightful duo of semi-sweet and bittersweet chocolate chips. If you’ve been searching for a chocolate chip cookie that stands out from the crowd, your quest ends here.
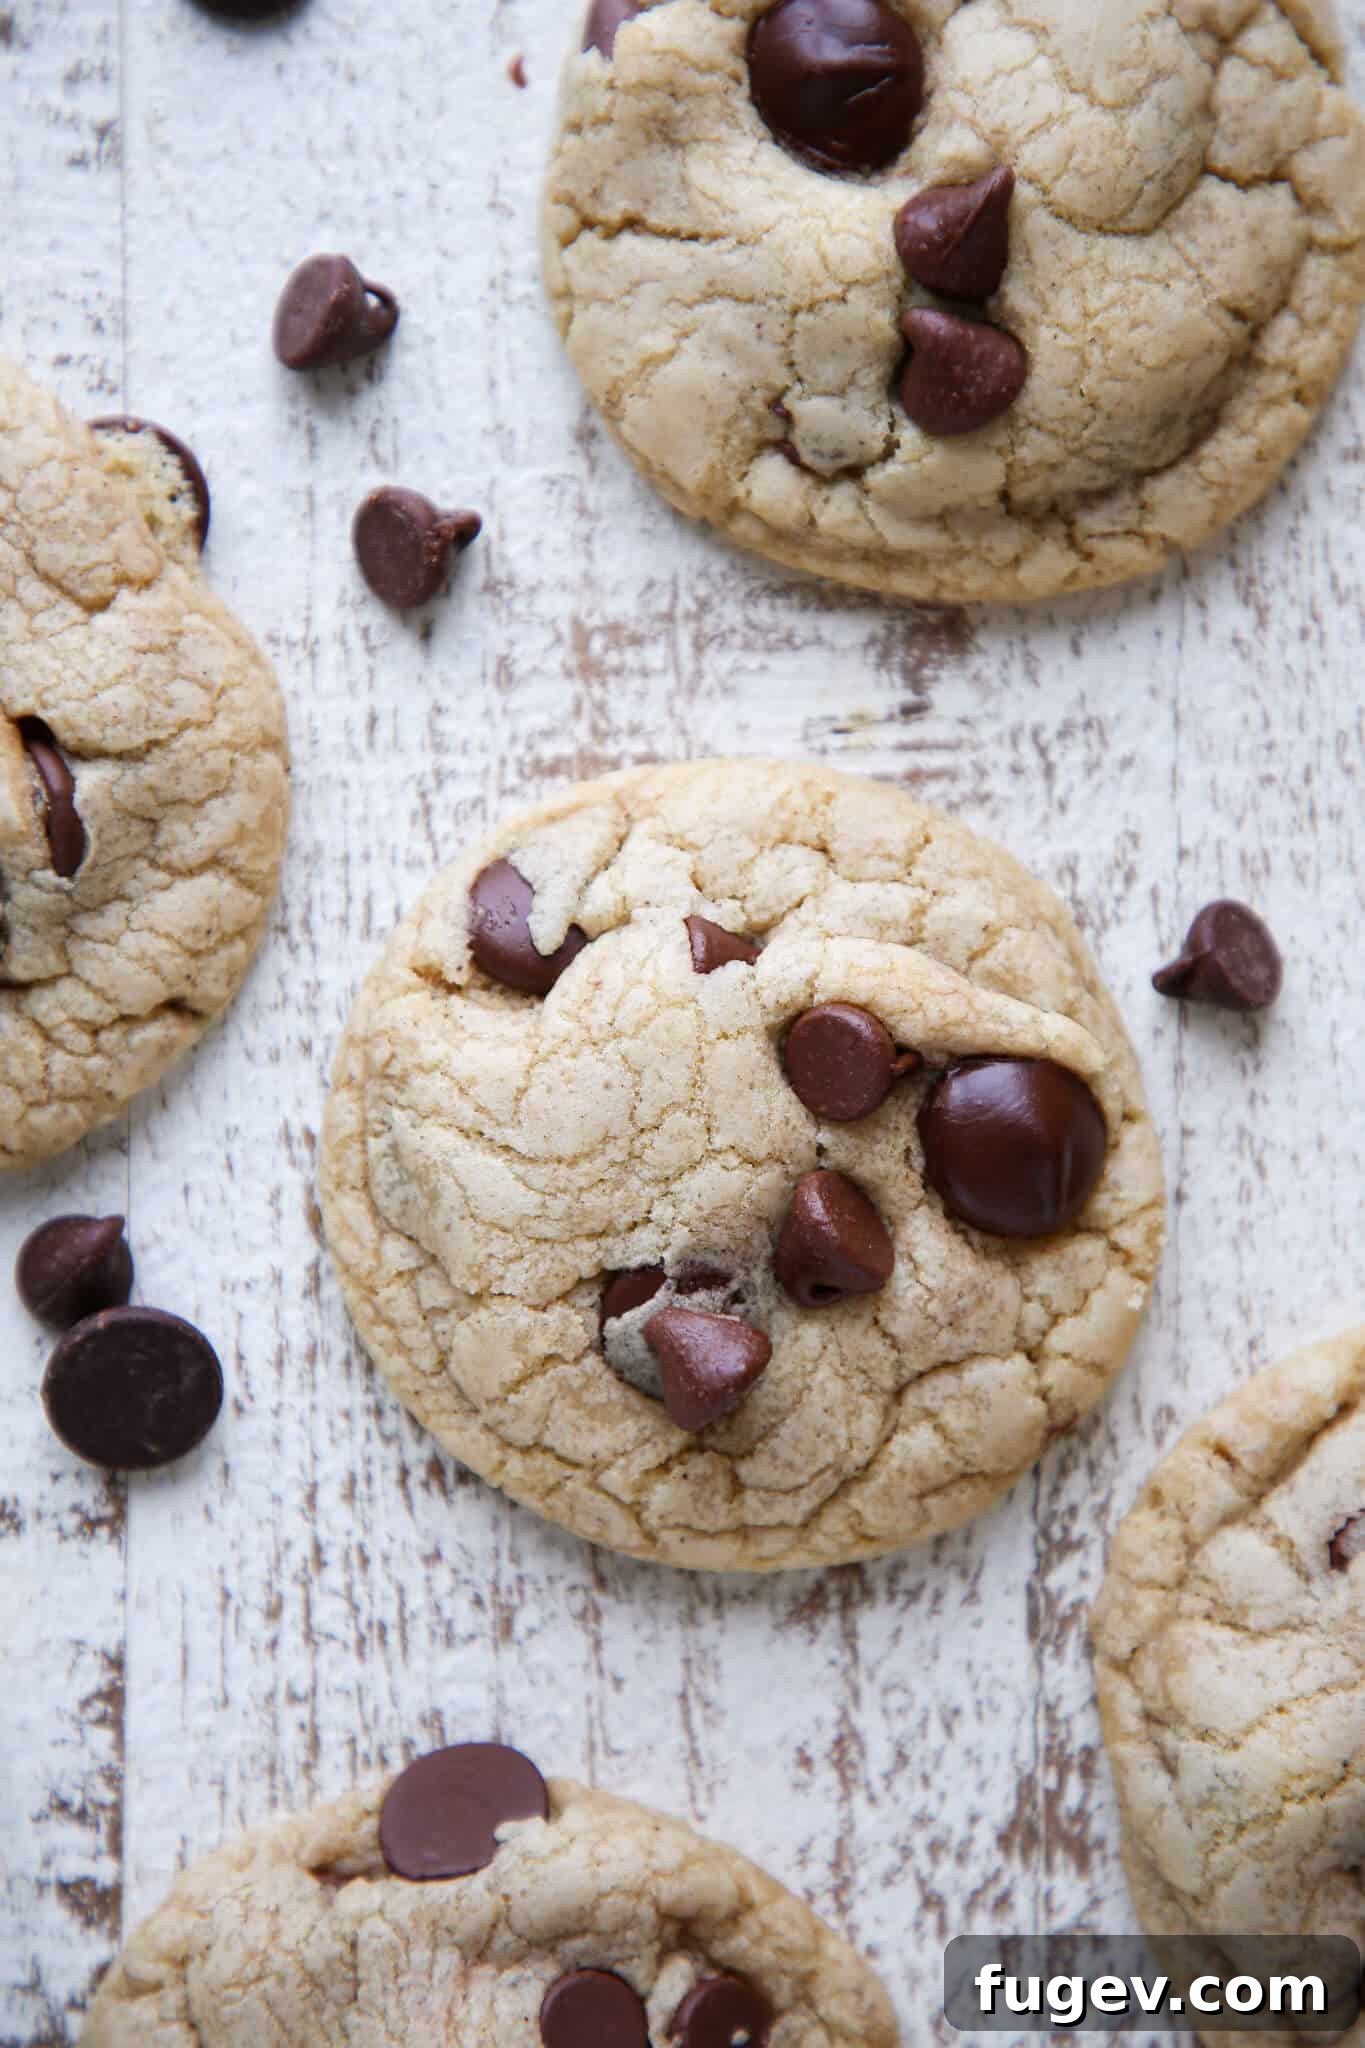
As a chef, it’s hard to play favorites among my culinary creations, especially when it comes to the vast and beloved world of chocolate chip cookies. However, every baker has their top picks, and these brown butter chocolate chip cookies undoubtedly earn a spot in my personal top three. They stand proudly alongside my thick chocolate chip cookies and the undeniably sensational cream cheese chocolate chip cookies. What sets these three apart, and what makes this brown butter version particularly special, is their consistent ability to deliver an incredibly soft, wonderfully chewy texture and an abundance of melty chocolate that the dough can barely contain.
The magic truly begins with perfectly browned butter. This isn’t just a fancy step; it’s a transformative process. When butter is slowly heated, its milk solids toast to a beautiful golden brown, releasing an incredible aroma that instantly brings to mind toasted hazelnuts. This is why, in French cuisine, brown butter is exquisitely named beurre noisette, literally meaning “hazelnut butter.” This rich, nutty flavor is subtle yet profound, elevating the humble chocolate chip cookie to an entirely new level of gourmet deliciousness. Allowing this browned butter to cool and resolidify before incorporating it into the dough is a critical step, ensuring a pillowy soft cookie with that coveted chewy center.
Table of Contents
- Why These Are The Best Brown Butter Chocolate Chip Cookies
- The Art of Perfect Brown Butter: Professional Tips
- Essential Ingredients for Irresistible Cookies
- Creative Variations & Smart Substitutions
- How Long to Brown Butter for Cookies?
- Step-by-Step Guide: How to Make Brown Butter Chocolate Chip Cookies
- Chef Lindsey’s Pro Baking Tip
- Frequently Asked Questions About Brown Butter Cookies
- Brown Butter Chocolate Chip Cookies Recipe Card
- Explore More Delicious Recipes
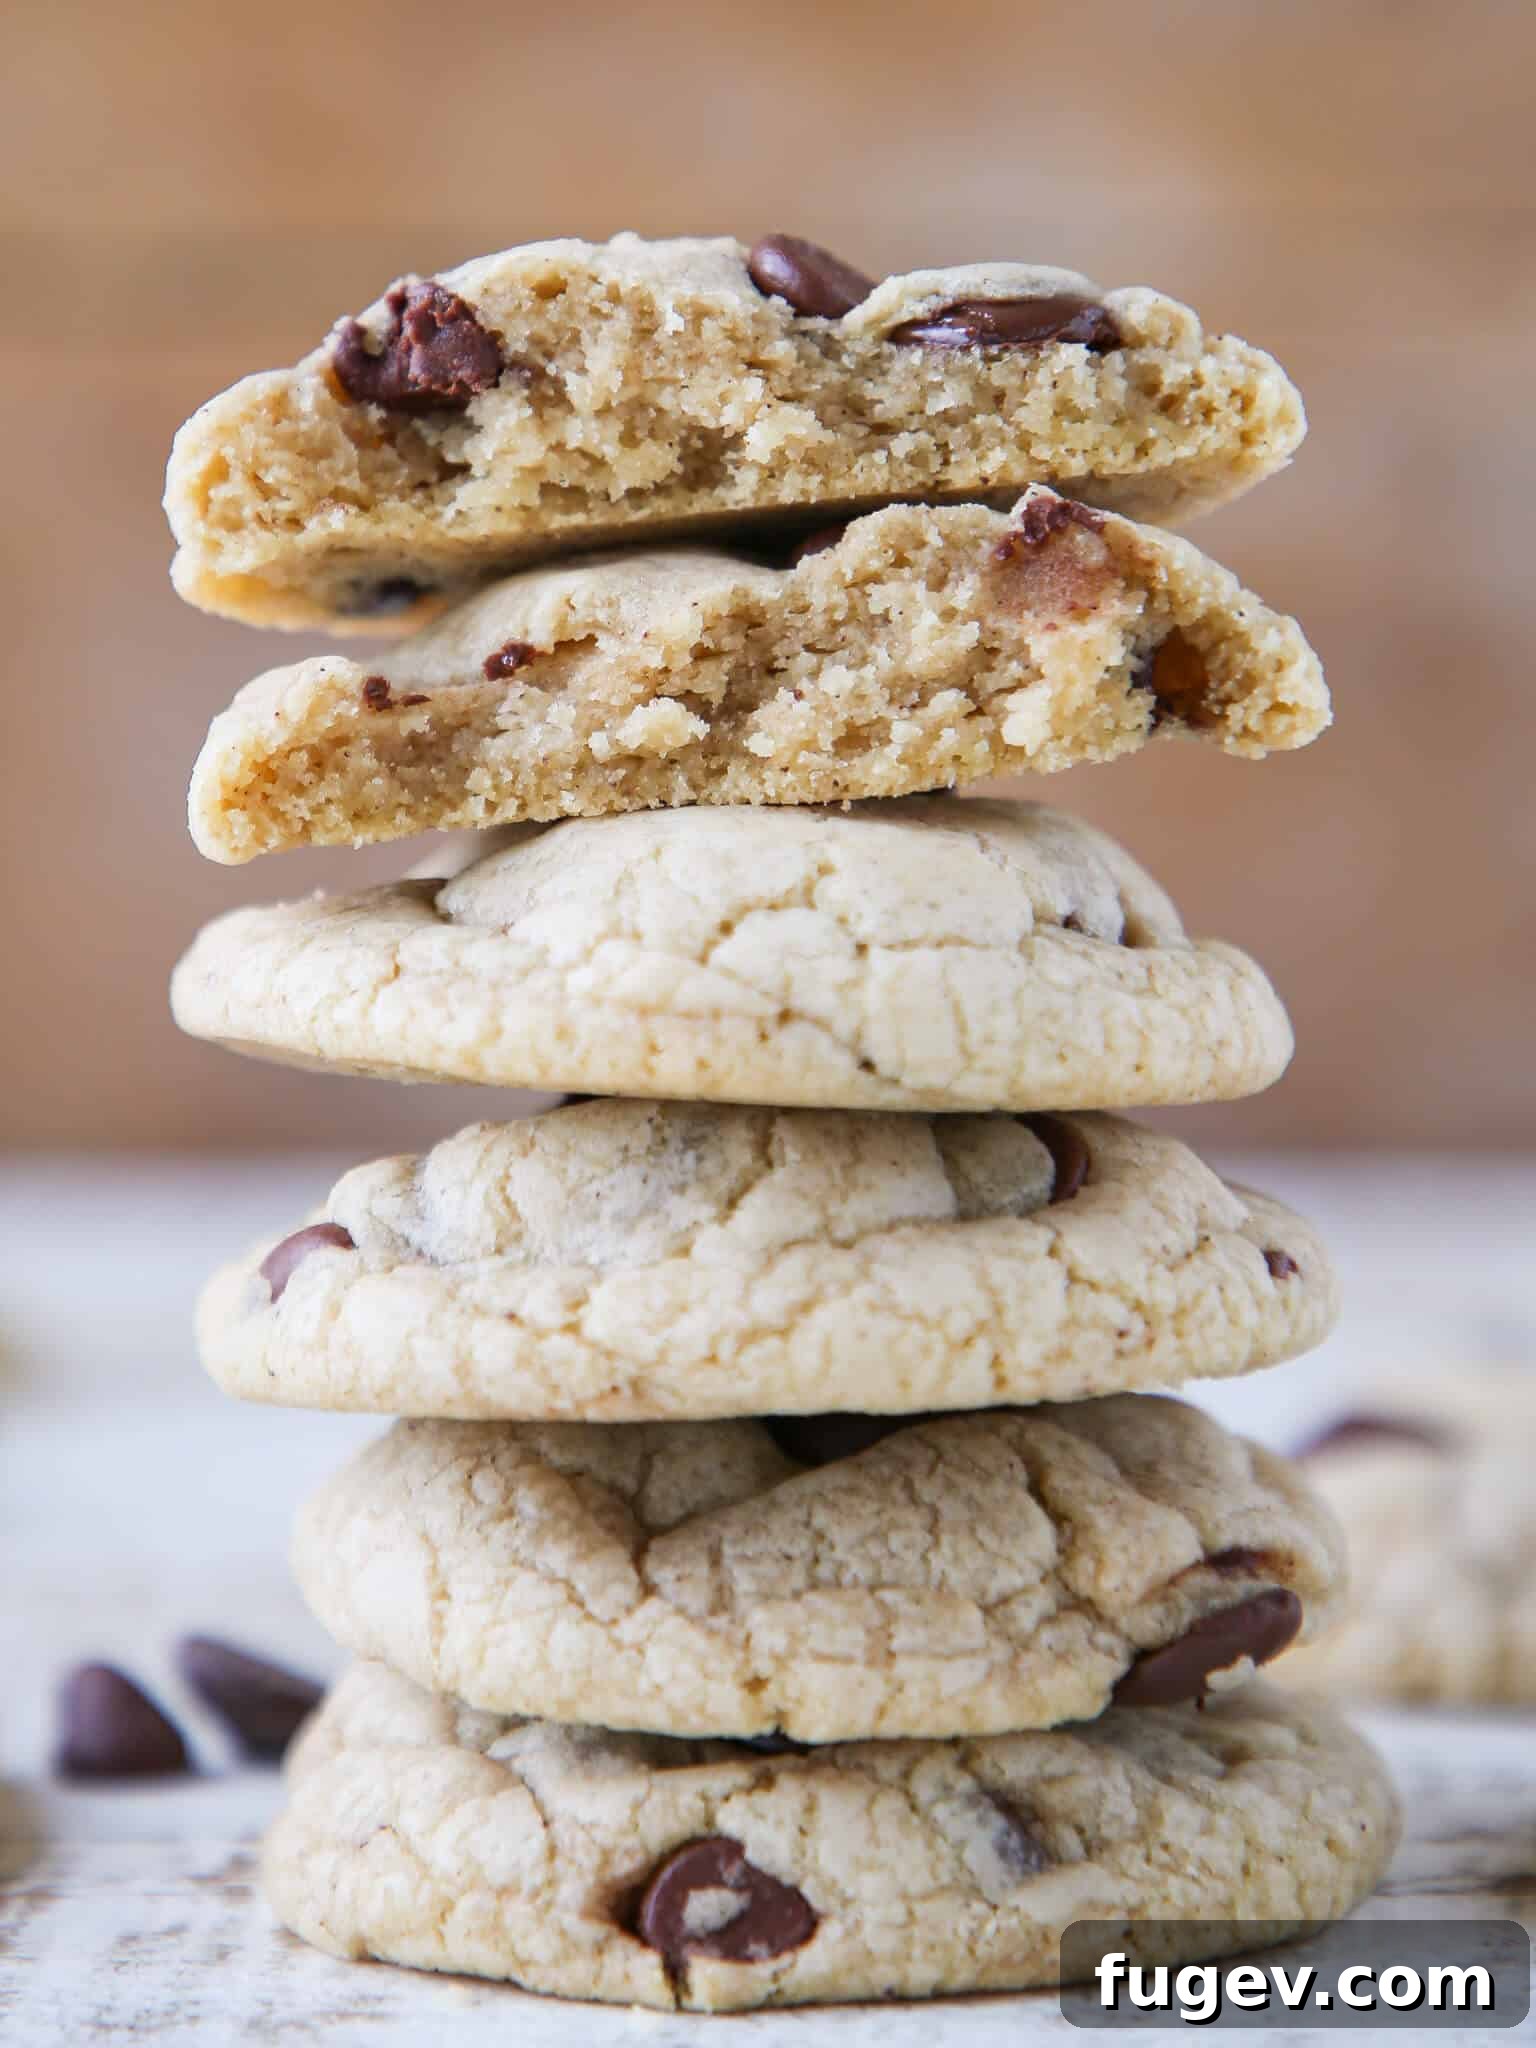
Why These Are The Best Brown Butter Chocolate Chip Cookies
-
Unfussy, Professional Measurements & Instructions: Many recipes for brown butter cookies introduce unnecessary complexity, often suggesting you measure the butter *after* browning it to account for moisture loss. In my experience, this step is simply overcomplicated for the home baker and doesn’t significantly impact the final result. My method streamlines the process, ensuring consistent deliciousness without the fuss, allowing you to enjoy the baking process and the incredible outcome without added stress. We measure the butter once, before browning, keeping the instructions clear and approachable while still yielding professional-grade results.
-
Cream Cheese for Unrivaled Chewiness: The inclusion of cream cheese is a game-changer in these cookies. When combined with the re-solidified brown butter, cream cheese works wonders to create an incredibly soft and profoundly chewy texture that lasts. Unlike cookies that rely on being slightly underbaked for chewiness, these achieve their perfect consistency reliably, every time. The cream cheese also contributes a subtle tang that beautifully balances the sweetness of the sugars and chocolate, adding another layer of complexity to the flavor profile.
-
Outstanding Depth of Flavor: These cookies are a symphony of flavors, meticulously crafted for a rich and satisfying experience. The primary notes come from the toasted brown butter and the creamy tang of cream cheese. But the flavor journey doesn’t stop there. We layer in a generous amount of pure vanilla extract, the complex caramel notes of brown sugar, and a dynamic duo of semi-sweet and bittersweet chocolate chips. This thoughtful combination ensures every bite is packed with a delicious, multi-dimensional taste that will leave you reaching for another.
The Art of Perfect Brown Butter: Professional Tips
Achieving that signature nutty flavor and a pillowy soft texture in your chocolate chip cookies hinges on mastering the art of browning butter. The key is to transform the butter into its “beurre noisette” state and then allow it to cool and become solid again. Here are my professional tips to guide you:
-
Cook the Butter Over Medium-Low Heat: Patience is a virtue when browning butter. It’s incredibly tempting to crank up the heat to speed things along, but doing so is a common mistake that can lead to uneven browning or, worse, burnt milk solids. High heat causes the butter to brown too quickly, burning some solids before others even begin to toast, resulting in a bitter flavor rather than the desired nutty richness. A steady medium-low heat allows the butter to cook gently, ensuring all the milk solids brown evenly and develop that ideal toasted hazelnut aroma and color.
-
Stir the Butter While Browning: Throughout the browning process, make sure to stir the butter every so often, ideally with a heat-proof silicone spatula. This action is crucial for several reasons: it prevents the milk solids from sticking and burning at the bottom of the pan, promotes even browning, and helps more moisture evaporate. By continuously scraping up the browning bits from the bottom, you encourage a uniform development of flavor and prevent scorching, leading to a perfectly golden, intensely flavorful brown butter.
-
Pour Immediately into a Clear or White Bowl: Once your butter reaches the desired golden-brown color and emits a rich, nutty fragrance, promptly remove it from the heat and pour it into a clear or white bowl. The residual heat in the saucepan can continue to cook the butter, potentially leading to over-browning or burning. A clear or white bowl is ideal because it allows you to accurately assess the color of the butter and ensure it’s precisely the shade you want. If it looks too light or only smells like regular melted butter, don’t hesitate to return it to the saucepan for a little more gentle cooking. This step also kickstarts the cooling process, which is essential before incorporating it into your cookie dough.
Essential Ingredients for Irresistible Cookies
Every ingredient in this recipe plays a vital role in creating the ultimate brown butter chocolate chip cookie. Understanding their purpose will not only make you a better baker but also help you troubleshoot and adapt the recipe.
-
All-Purpose Flour: This forms the foundational structure of our cookies. Its moderate protein content provides enough gluten to give the cookies shape and a satisfying chew without making them tough.
-
Cake Flour: The secret weapon for an unbelievably soft and tender crumb! Cake flour has a lower protein content and a finer texture than all-purpose flour. It’s also often chlorinated, which weakens its gluten-forming proteins, resulting in a more delicate cookie that melts in your mouth.
-
Baking Soda: A leavening agent that reacts with acidic ingredients (like brown sugar) to produce carbon dioxide gas. This gas creates air pockets, contributing to the cookie’s rise and texture. It also helps with browning.
-
Baking Powder: Another leavening agent, but it’s double-acting, meaning it creates gas twice: once when mixed with wet ingredients and again when heated in the oven. The combination of baking soda and baking powder provides optimal lift and a perfectly soft center.
-
Kosher Salt: More than just a seasoning, salt is crucial in baking. It balances the sweetness, enhances the rich flavors of the butter and chocolate, and even strengthens the gluten structure slightly for a better chew.
-
Cornstarch: A fantastic addition for achieving that perfect thick and chewy cookie texture. Cornstarch helps to inhibit gluten development, keeping the cookies tender, while also absorbing moisture, which prevents them from spreading too much and ensures they remain wonderfully plump and chewy.
-
Unsalted Butter: The star of the show! Using unsalted butter is paramount in baking as it gives you complete control over the salt content in your recipe. For these cookies, we’re browning it to unlock its incredible nutty flavor. Measuring the butter before browning simplifies the process, and we account for any moisture loss in the overall recipe balance.
-
Cream Cheese: This is the secret ingredient for unparalleled softness and chewiness. Cream cheese introduces additional fat and moisture to the dough, preventing the cookies from drying out and ensuring a consistently tender crumb. Beyond texture, it adds a delightful subtle tang that beautifully complements the rich, sweet notes of brown butter and chocolate. Always opt for full-fat, block cream cheese; whipped or reduced-fat varieties contain too much air or water and won’t yield the desired results.
-
Light Brown Sugar: This provides both sweetness and essential moisture. The molasses content in light brown sugar contributes to a softer, chewier cookie and infuses it with a rich, caramel-like flavor. Packed brown sugar helps achieve the correct consistency. While light brown sugar is preferred for its balance, dark brown sugar can be used for an even deeper molasses flavor.
-
White Sugar: Granulated sugar contributes to the crisp edges and contributes to the spread of the cookie. It provides pure sweetness and helps with the overall structure. A careful balance of brown and white sugar is key to achieving cookies that are both chewy and maintain a good shape, preventing them from spreading too thinly.
-
Whole Eggs: Eggs serve multiple crucial functions. They add fat (from the yolk) for richness and moisture, contributing to the chewy texture. The proteins in eggs help bind the ingredients together and provide structure. Beating them into the butter and sugar mixture also incorporates air, which acts as a leavening agent, giving the cookies a lovely lift and contributing to their pillowy texture.
-
Vanilla Extract: A non-negotiable flavor enhancer. Vanilla extract deepens and rounds out all the other flavors, especially the chocolate and brown butter, adding a warm, aromatic note that is essential for a truly outstanding cookie.
-
Semi-Sweet Chocolate Chips: These provide the classic, comforting chocolate flavor we all adore. Semi-sweet chocolate chips offer a balanced sweetness and melt beautifully, creating those irresistible pockets of gooey chocolate within each cookie.
-
Bittersweet Chocolate Chips: The addition of bittersweet chocolate chips (around 60% cacao) is key to balancing the overall sweetness of the cookies. Their deeper, more intense chocolate flavor provides a wonderful contrast, preventing the cookies from being overly sweet. Moreover, bittersweet chocolate tends to melt into luscious, ribbons of chocolate that give you that iconic “chocolate pull” when you break a warm cookie in half.
See the recipe card below for precise quantities and full instructions.
Creative Variations & Smart Substitutions
This recipe for brown butter chocolate chip cookies is wonderfully versatile. Feel free to experiment with these delicious variations or make smart substitutions based on what you have on hand.
-
Customize Your Chocolate Chips: While a mix of semi-sweet and bittersweet is my favorite, don’t hesitate to play around! Use all bittersweet chocolate chips for a more intense cocoa flavor, or opt for dark chocolate chips. For a fun twist, chop up your favorite chocolate bar for varied textures, or even throw in some colorful M&Ms for a pop of color and candy crunch. Sometimes, I even use milk chocolate chips, as seen in these delightful pumpkin chocolate chip cookies!
-
Embrace the Nutty Flavor with Added Nuts: To further enhance the already incredible brown butter flavor, consider adding a handful of chopped nuts. Toasted walnuts or pecans would provide a lovely crunch and earthy note. For a truly decadent experience that complements the “beurre noisette” profile, try adding toasted hazelnuts. Toasting the nuts before adding them will deepen their flavor and improve their crunch.
-
Cream Cheese Alternatives: Cream cheese is fundamental to the unique soft and chewy texture of these specific cookies. If you find yourself without it, or prefer to omit it, I would highly recommend making my bakery-style chocolate chip cookies instead and then browning the butter specified in that recipe. That recipe is designed to produce fantastic results without cream cheese and uses more standard pantry items. Directly substituting cream cheese in this recipe is not recommended, as it will significantly alter the texture.
-
Cake Flour Substitution: If you don’t have cake flour, you can substitute it with an equal amount of all-purpose flour. However, be aware that this will slightly change the cookie’s final texture. Cake flour, with its lower protein content and added cornstarch, contributes to an exceptionally soft and tender crumb. Using only all-purpose flour will still yield delicious cookies, but they might be slightly less tender and a bit chewier.
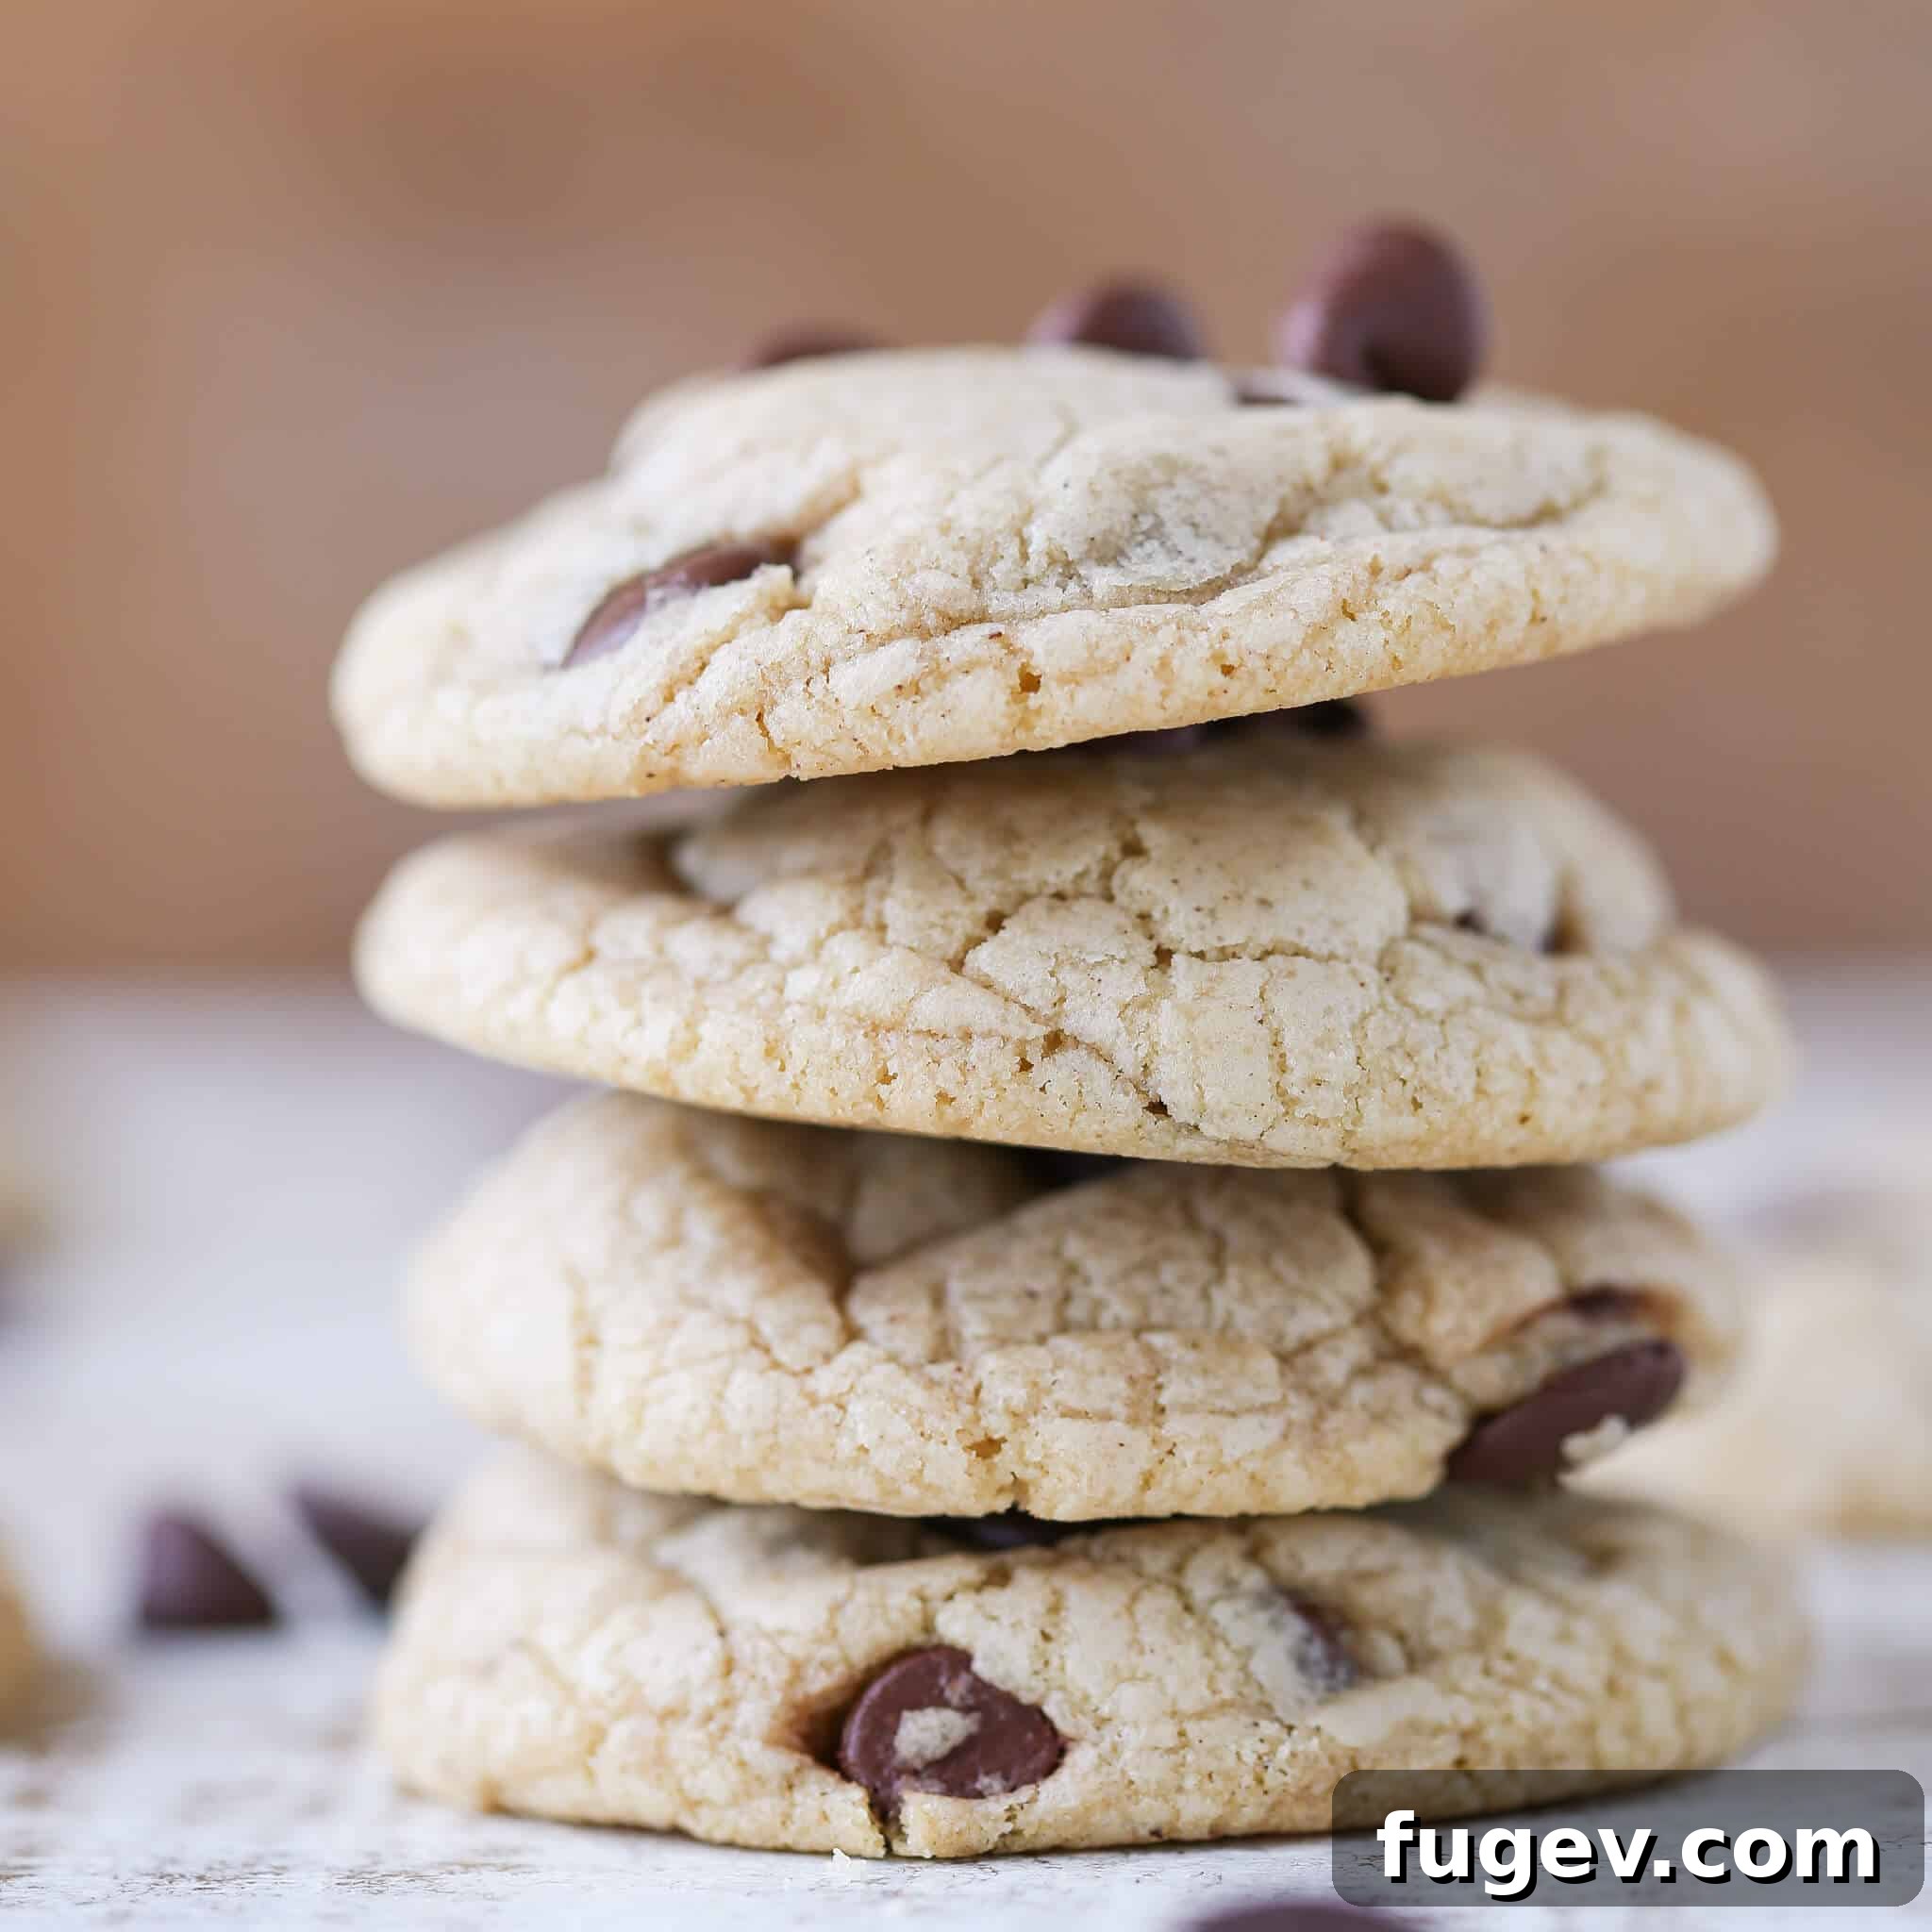
How Long to Brown Butter for Cookies?
One of the most common questions about brown butter is regarding the timing. In this recipe, I advocate for measuring the butter *before* it’s browned, which simplifies the process and removes unnecessary stress. The goal isn’t to brown it for a specific duration, but rather to observe its transformation. You’re looking for visual cues and an aromatic signature.
Brown your butter until it reaches a rich, deep golden-brown hue. As it cooks, you’ll notice small, sediment-like flecks appearing at the bottom of the pan; these are the milk solids, and they are the source of that incredible nutty flavor. More importantly, trust your nose! The butter should emit a distinct, delightful nutty aroma, reminiscent of toasted hazelnuts. Don’t stress over a timer – focus on these sensory indicators. Once you believe it’s ready, immediately pour it into a clear or white bowl. This allows you to inspect the color accurately and stop the cooking process. If it’s still too pale or merely smells like melted butter, return it to the pan and continue browning gently until it achieves that perfect golden color and intoxicating aroma.
Step-by-Step Guide: How to Make Brown Butter Chocolate Chip Cookies
Follow these detailed instructions to create chewy, nutty brown butter chocolate chip cookies that will impress everyone. Remember, patience with the butter and chilling phases will yield the best results!
Brown the Butter:
Step 1: In a light-colored saucepan (to better observe color changes), melt the unsalted butter over medium-low heat. Continue to cook, swirling the pan occasionally and stirring with a silicone spatula. Keep a close eye on it as the butter transitions from melted to foamy, then to a clear golden liquid, and finally, watch for the milk solids at the bottom to turn a beautiful golden brown. You’ll notice a delightful, nutty fragrance emerging, similar to toasted hazelnuts. Once the butter is a rich amber color with brown bits at the bottom and smells incredibly nutty, immediately transfer it to a separate, clear, heat-proof bowl. Ensure you scrape all those flavorful brown bits from the bottom of the pan into the bowl, as they are essential for the cookie’s depth of flavor. Allow it to cool completely and resolidify to a soft, spreadable consistency at room temperature, which can take a couple of hours or more depending on your room temperature.
Chef’s Tip for Browning Butter: Stirring the butter frequently and scraping the bottom of the pan will help the milk solids brown more evenly and prevent them from burning. This meticulous attention ensures a more consistently flavorful brown butter, as burnt solids can impart an undesirable bitter taste to your cookies. Patience here is key to unlocking the true “beurre noisette” magic!
Step 2: Dry Ingredients Preparation: In a large mixing bowl, combine the all-purpose flour, cake flour, baking soda, baking powder, cornstarch, and kosher salt. Use a whisk to thoroughly combine these ingredients, ensuring that the leavening agents and salt are evenly distributed throughout the flours. This step is crucial for uniform rise and flavor in your cookies. Set this bowl aside.
Step 3: Creaming Wet Ingredients: Once your browned butter has fully cooled and resolidified back to room temperature (it should be solid but still soft and pliable, like softened regular butter), transfer it to the bowl of a stand mixer fitted with the paddle attachment. Add the softened cream cheese, light brown sugar, and granulated sugar. Beat this mixture on medium-high speed for 3-4 minutes until it becomes light, fluffy, and creamy. This creaming process incorporates air, which contributes to the cookies’ texture. Next, add the eggs one at a time, beating well after each addition until fully incorporated. Incorporate the vanilla extract with the second egg. Make sure to scrape down the sides and bottom of the bowl as necessary during this process to ensure all ingredients are thoroughly mixed.
Mixing Insight: Regularly scraping down the sides of your mixing bowl is a small but critical step that ensures all ingredients are uniformly combined, preventing pockets of unmixed flour or sugar and guaranteeing a consistent cookie dough.
Step 4: Incorporating Dry into Wet: Reduce the mixer speed to low. Gradually add the prepared flour mixture to the wet ingredients. I recommend adding it in 4-5 small additions, allowing the flour to be mostly incorporated after each addition before adding the next. This prevents overmixing and ensures a tender cookie. Overmixing the flour can develop too much gluten, resulting in tougher cookies. Continue to scrape down the bowl as needed to ensure a homogenous dough.
Step 5: Add the Chocolate Chips: Finally, add both the semi-sweet and bittersweet chocolate chips to the dough. You can either use the mixer on its lowest speed for a few seconds until just combined, or gently fold them in by hand with a sturdy wooden spoon or spatula. Be careful not to overmix at this stage; you just want the chocolate evenly distributed throughout the dough.
Crucial Chilling for Optimal Texture: For the absolute best results – thick, chewy, and rich – these cookies truly benefit from refrigeration overnight. Even though we re-solidify the brown butter, its molecular structure is different from fresh room-temperature butter, and chilling allows the fats to fully firm up, preventing excessive spreading. This crucial step deepens the flavors, leading to a superior cookie texture that holds its shape beautifully. If you’re short on time, a minimum of 2 hours in the refrigerator is essential.
Step 6: Prepare for Baking: When you’re ready to bake, preheat your oven to 350°F (175°C). Line several baking sheets with parchment paper or a silicone baking mat (like a Silpat). This prevents sticking and promotes even baking.
Step 7: Scoop & Bake: Scoop or roll the chilled cookie dough into balls, each approximately the size of a golf ball (about 2 tablespoons). Place them on the prepared baking sheets, ensuring they are spaced about 2 inches apart to allow for proper spreading without merging. Bake for 10-12 minutes, or until the edges begin to turn a light golden brown and appear set. The centers of the cookies will still look somewhat matte and soft – this is exactly what you want for a chewy interior. Do not overbake!
Step 8: Cooling Process: Once baked, remove the baking sheets from the oven and let the cookies cool on the sheets for about 5 minutes. This allows them to finish baking slightly and firm up before being moved. After 5 minutes, carefully transfer the cookies to a wire rack to cool completely. It’s challenging, but resist the urge to eat them too soon! If you bite into a cookie while it’s still very warm, it might seem underdone or too soft. The texture develops as they cool, revealing that perfect chewy brown butter goodness.
Chef Lindsey’s Pro Baking Tip
This cookie dough is an absolute dream for freezing! Once you’ve mixed the dough and chilled it, roll it into individual cookie dough balls, then place them on a baking sheet lined with parchment paper and freeze until solid. Transfer the frozen dough balls to an airtight freezer-safe bag or container, and they’ll keep for up to 3 months. When a cookie craving strikes, simply bake them directly from frozen. Just add an additional 3-7 minutes to the baking time, depending on the size of your cookies, until the edges are golden and the centers are set but still soft. Freshly baked cookies on demand, anytime!
Frequently Asked Questions About Brown Butter Cookies
Proper storage ensures your cookies stay fresh and delicious. Baked cookies can be stored in an airtight container at room temperature for up to 3 days, or refrigerated for up to 10 days to prolong their freshness. For longer enjoyment, baked cookies can be frozen in an airtight container for up to 1 month. For the freshest possible cookies long-term, I recommend storing the unbaked, rolled cookie dough balls in the freezer for up to 3 months. This way, you can bake them directly from frozen whenever a craving hits, enjoying warm, fresh cookies with minimal effort.
Absolutely, baking from frozen dough is a fantastic option for convenience! Simply place the frozen cookie dough balls on a prepared baking sheet and bake as directed, adding an additional 3-7 minutes to the baking time, depending on the size of your cookies. Look for the same doneness cues: edges that are golden and set, and centers that still look slightly matte and soft. There’s no need to thaw the dough beforehand.
Browning butter is a transformative step that dramatically enhances the flavor of your cookies. It imparts a rich, complex, nutty, and slightly caramel-like flavor, often described as ‘hazelnut butter’ (beurre noisette). In terms of texture, using browned butter, especially when re-solidified and creamed, contributes to a wonderfully chewy interior and subtly crisp edges. While melted browned butter can sometimes lead to thinner, chewier cookies, allowing it to cool and firm up, as in this recipe, helps maintain a thicker, more pillowy texture.
Brown butter cookies can sometimes turn out greasy if the butter wasn’t cooled sufficiently before being incorporated into the dough. When hot or overly warm melted butter is added, it can prevent proper emulsion with the sugars and eggs, leading to a greasy texture in the final cookie. In this recipe, we specifically cool the brown butter until it re-solidifies to room temperature. This crucial step ensures the butter can be properly creamed with the sugars and cream cheese, resulting in a perfectly textured, non-greasy cookie. Even if you use melted brown butter (not hot), it’s important that it’s at least at room temperature to avoid greasiness.
If you tried this recipe and absolutely loved it, please take a moment to leave a 🌟 star rating and share your thoughts in the comments below. Your feedback truly makes my day and helps other bakers discover this incredible recipe!
Brown Butter Chocolate Chip Cookies
Chef Lindsey
20 minutes
12 minutes
2 hours
2 hours 32 minutes
36 Cookies
Comment
Print Recipe
Ingredients US Customary | Metric Servings: 1x | 2x | 3x
- 3 cups all-purpose flour
- 1 cup cake flour
- 1 teaspoon baking soda
- 1 teaspoon baking powder
- 2 teaspoons cornstarch
- ¾ teaspoon kosher salt
- 1 ¼ cups butter unsalted
- ¼ cup cream cheese not whipped, preferably full-fat block
- 1 ½ cups light brown sugar packed
- 1 cup granulated sugar
- 2 whole eggs
- 1 tablespoon vanilla extract
- 1 cup semi-sweet chocolate chips I love Ghirardelli
- ½ cup bittersweet chocolate chips 60% I love Ghirardelli
Instructions
-
Brown your Butter: In a light-colored saucepan, melt the butter over medium-low heat. Continue to cook and swirl, stirring occasionally, until the butter turns a rich golden brown, brown bits stick to the bottom of the pan, and it smells delightfully nutty. Immediately transfer the browned butter, including all the delicious brown bits, to a clear, heat-proof bowl to cool completely and resolidify to a soft, room-temperature consistency. This can take several hours.
-
Combine Dry Ingredients: In a large bowl, whisk together the all-purpose flour, cake flour, baking soda, baking powder, cornstarch, and kosher salt until well combined. Set aside.
-
Cream Butter, Cream Cheese, and Sugars: Once the browned butter has cooled and re-solidified to a soft, room-temperature state, combine it with the softened cream cheese, light brown sugar, and granulated sugar in the bowl of a stand mixer fitted with the paddle attachment. Beat on medium-high speed for 3-4 minutes, until the mixture is creamy, light, and fluffy. Add the eggs one at a time, beating well after each addition. Incorporate the vanilla extract with the second egg. Remember to scrape down the sides of the bowl as needed to ensure even mixing.
-
Mix in Dry Ingredients: Reduce the mixer speed to low. Gradually add the dry flour mixture to the wet ingredients in 4-5 additions, allowing most of the flour to be incorporated from the previous addition before adding more. This prevents overmixing. Scrape down the bowl as necessary to ensure a uniform dough.
-
Add Chocolate Chips: With the mixer on its lowest speed or by hand with a wooden spoon, gently fold in both the semi-sweet and bittersweet chocolate chips until just evenly distributed throughout the dough. Avoid overmixing.
-
Chill the Dough: This step is critical for thick, chewy cookies. Cover the dough and refrigerate it overnight (ideally 8-12 hours). If time is short, chill for at least 2 hours. The re-solidified brown butter needs this time to firm up again, which helps prevent the cookies from spreading too much and enhances their flavor.
-
Preheat Oven & Prep Baking Sheets: When ready to bake, preheat your oven to 350°F (175°C). Line several baking sheets with parchment paper or silicone baking mats.
-
Scoop & Bake: Scoop or roll the chilled cookie dough into balls, roughly the size of a golf ball. Place them about 2 inches apart on the prepared baking sheets. Bake for 10-12 minutes, or until the edges are lightly golden brown and set. The centers will still appear matte and quite soft – this indicates a perfect chewy cookie that isn’t overbaked.
-
Cool Completely: Remove the baking sheets from the oven and let the cookies cool on the sheets for 5 minutes. This allows them to finish setting up. Then, transfer them to a wire rack to cool completely. Resist the urge to eat them too soon, as the texture fully develops upon cooling. Enjoy!
Notes
Variations: Experiment by adding chopped nuts like toasted walnuts, pecans, or hazelnuts to complement the nutty brown butter flavor. You can also mix up the chocolate types, using all dark chocolate or even white chocolate chips for a different profile.
Storage: Store baked cookies in an airtight container at room temperature for up to 3 days, or refrigerate for up to 10 days. Baked cookies can be frozen for up to 1 month. For ultimate freshness and convenience, freeze rolled cookie dough balls for up to 3 months and bake from frozen (add 3-7 minutes to baking time).
Nutrition
Carbohydrates: 29g |
Protein: 2g |
Fat: 10g |
Saturated Fat: 6g |
Polyunsaturated Fat: 1g |
Monounsaturated Fat: 2g |
Trans Fat: 1g |
Cholesterol: 28mg |
Sodium: 156mg |
Potassium: 79mg |
Fiber: 1g |
Sugar: 17g |
Vitamin A: 234IU |
Vitamin C: 1mg |
Calcium: 32mg |
Iron: 1mg
Dessert
American
216
Explore More Delicious Recipes
I genuinely hope you enjoyed baking and savoring this professional chef-tested recipe for Brown Butter Chocolate Chip Cookies. These cookies are a testament to how simple ingredient enhancements can lead to extraordinary results. If you loved them, I encourage you to delve deeper into our collection of other delightful, pastry chef-created cookie recipes. Perhaps you’ll find your next favorite treat, like my decadent Red Velvet Cookies with Cream Cheese Frosting. Happy baking, and happy eating!