
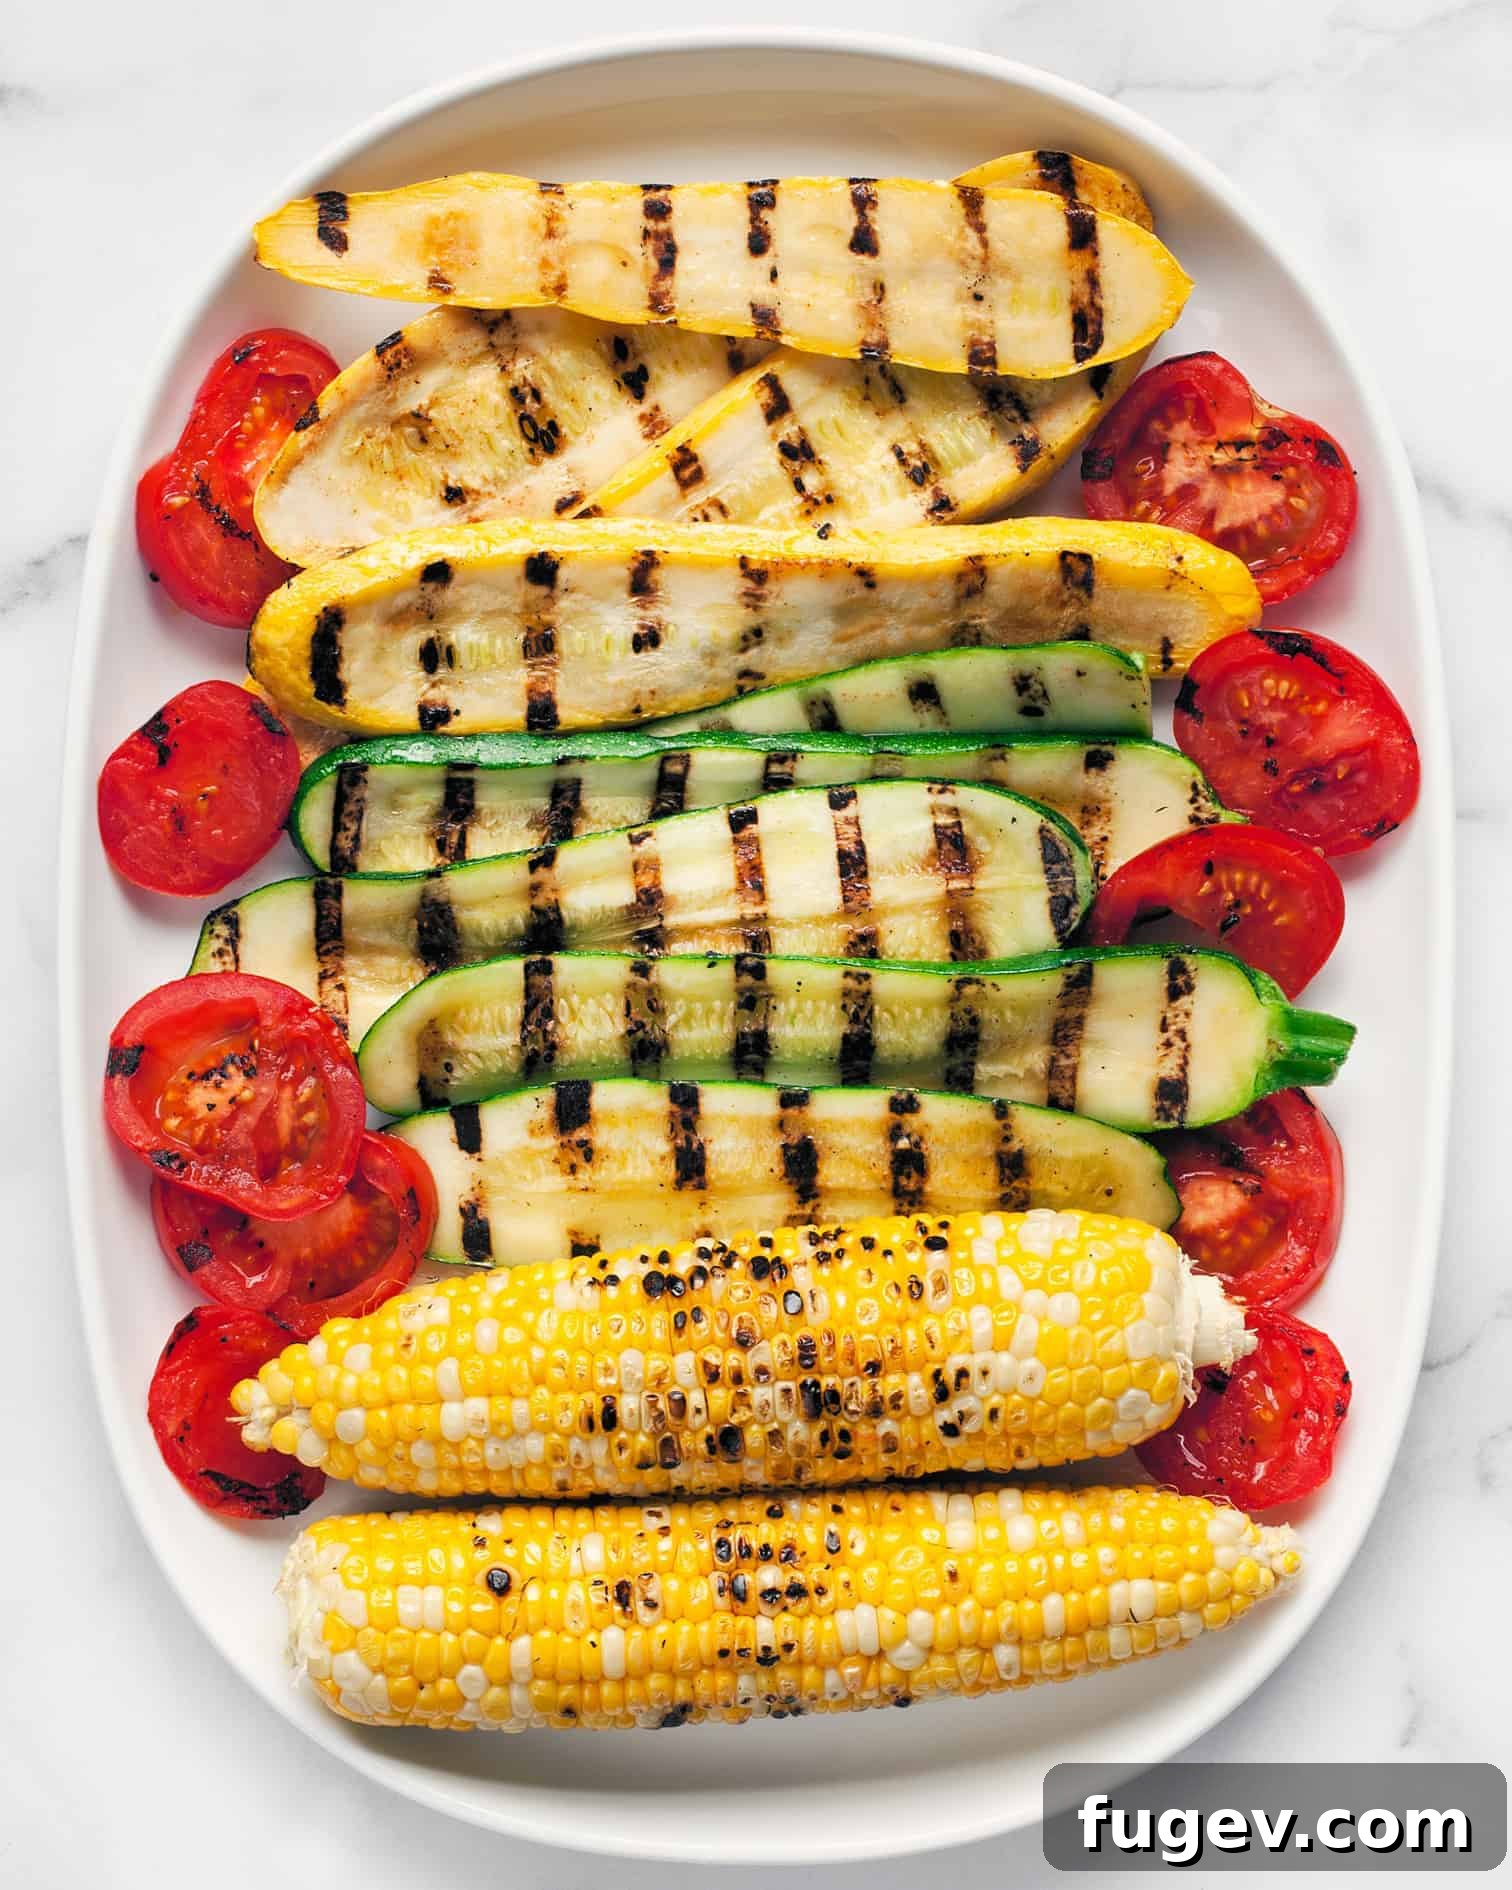
Craving the delicious char and smoky flavor of grilled vegetables but don’t have an outdoor grill? Or perhaps the weather simply isn’t cooperating? You’re in luck! A stove top grill pan offers an exceptional solution, bringing the joy of grilling right into the comfort of your kitchen. This versatile piece of cookware allows you to create beautifully grilled veggies and fruits with those signature grill marks, all year long, without stepping outside. Say goodbye to the limitations of an outdoor grill and hello to convenient, flavorful indoor grilling!
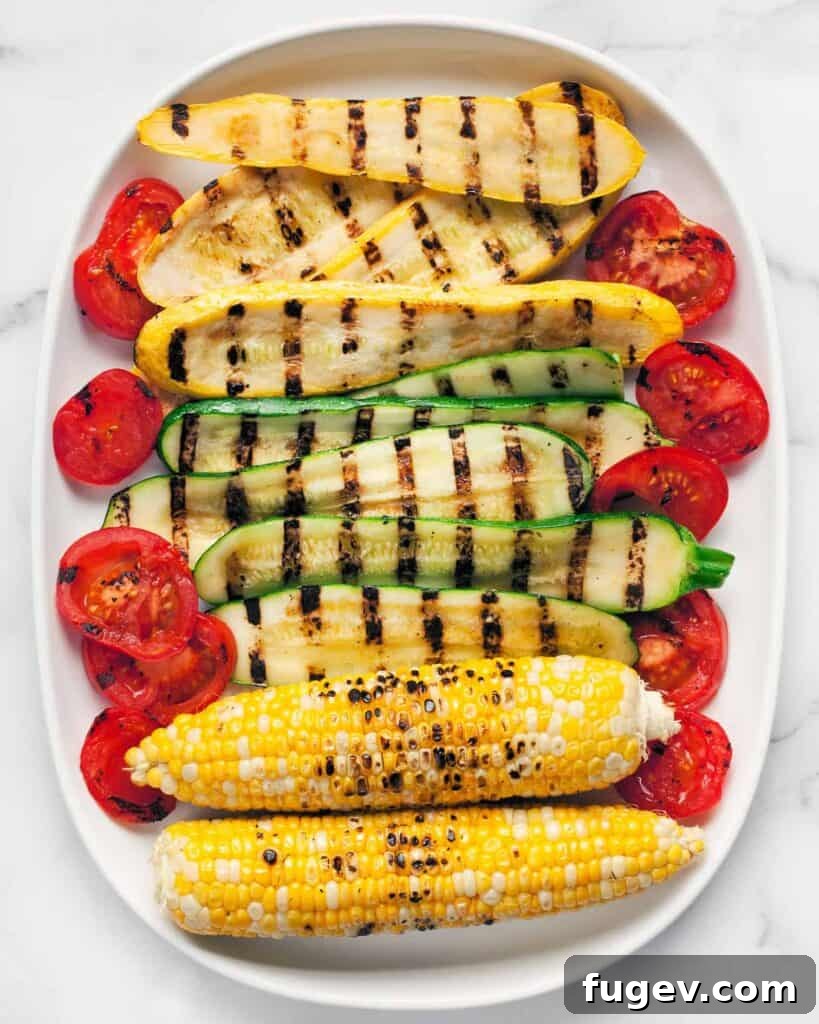
Table of Contents
- Embrace the Convenience of Indoor Grilling
- Understanding How Stove Top Grill Pans Work
- Choosing the Right Stove Top Grill Pan for You
- Unlocking Authentic Smoky Flavor Indoors
- Mastering Indoor Vegetable Grilling: A Step-by-Step Guide
- The Best Vegetables for Stove Top Grilling
- Cleaning and Maintaining Your Stove Top Grill Pan
- Creative Ways to Serve Your Grilled Vegetables
- Stove Top Grilled Vegetables Recipe
Growing up in suburban Cincinnati, my childhood vision of adult life always included a house with a sprawling yard. It was all I knew. While we visited bustling metropolises like New York City, I never truly grasped that families built lives and homes within the vibrant confines of Manhattan. Fast forward a couple of decades, and here I am – a quintessential city dweller. My husband, son, and I now call a multi-unit building in Chicago home.
We may not have a patch of grass to call our own, but we are incredibly fortunate to boast a lovely outdoor deck that basks in abundant sunshine. And the best part? No lawn maintenance required! The true centerpiece of that deck, however, isn’t the comfy patio furniture or the thriving container garden. It is, without a doubt, the grill. You can find me out there, come rain or shine, sometimes even armed with an umbrella and a heavy coat, determined to get my grilling fix.
Embrace the Convenience of Indoor Grilling
Many of my cherished summer recipes revolve around the grill. Just the other day, my mom, who doesn’t have an outdoor setup, asked me for alternatives. I knew she couldn’t be the only one facing this delicious dilemma, so I decided it was time to share the secrets of grilling vegetables indoors without a traditional grill. This guide is your ultimate resource for achieving those coveted grill marks and tender, flavorful results right on your stove top.
Stove top grill pans are a fantastic and practical alternative, sitting directly on your burner to mimic the intense, direct heat of an outdoor grill. While I typically reserve outdoor grilling for larger cuts of meat like burgers, steaks, or chicken breasts, these special pans are perfect for quick-cooking seafood, like shrimp, and absolutely ideal for a wide array of vegetables and fruits. The convenience of indoor grilling means you can enjoy the taste of summer cookouts any day of the week, regardless of the weather or your living situation.
Understanding How Stove Top Grill Pans Work
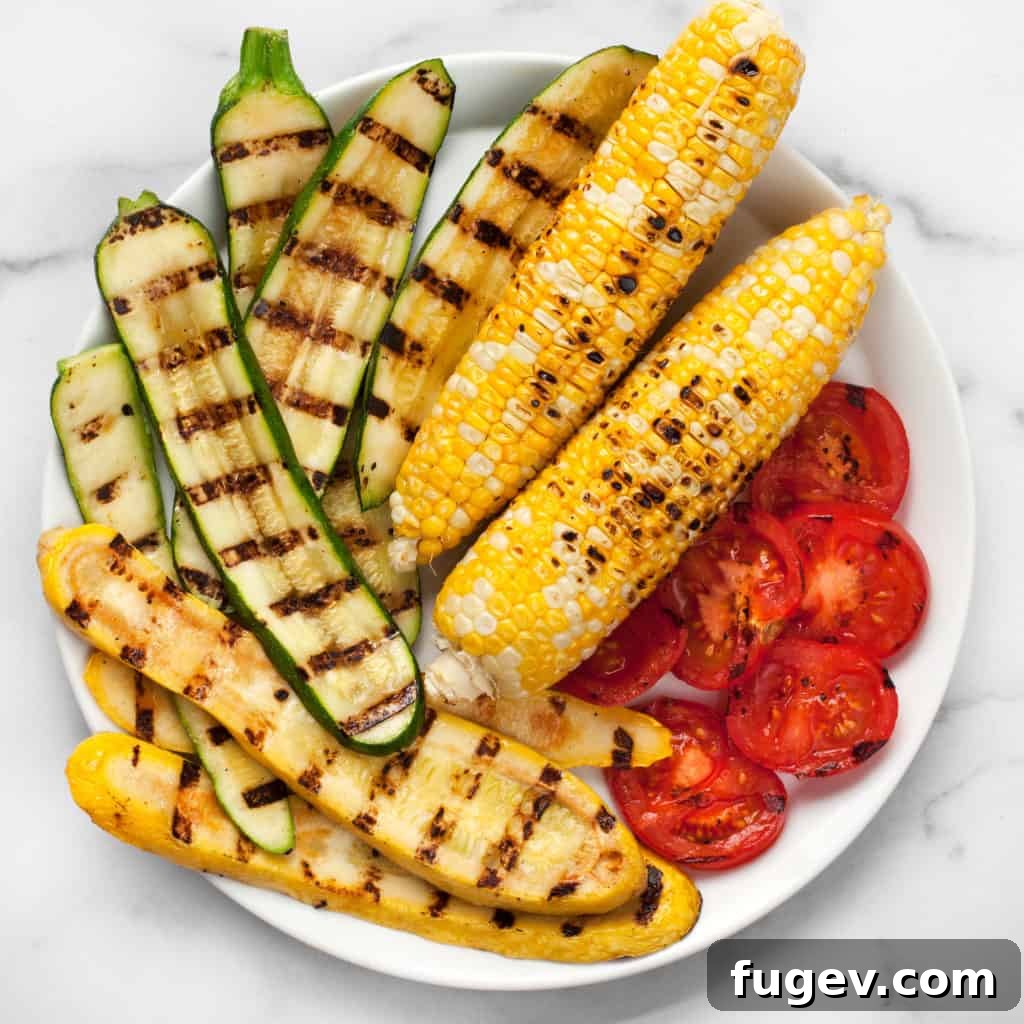
At its core, a stove top grill pan operates much like any other frying pan or skillet in your kitchen, but with one key distinguishing feature: its prominent, raised ridges. These ridges are crucial to the grilling process. When the pan heats up on your burner, these ridges become intensely hot. As food makes contact with them, it sears, creating the characteristic grill marks and a delicious caramelized crust, while the valleys between the ridges allow excess fats and juices to drain away.
The principle is simple: high heat, direct contact, and excellent heat retention. It’s paramount to ensure your grill pan is thoroughly preheated before you introduce any food. A properly hot pan is essential for achieving those beautiful, distinct grill marks and preventing your food from steaming instead of searing. This intense, dry heat is what gives grilled food its unique texture and flavor profile, even when cooked indoors.
Choosing the Right Stove Top Grill Pan for You
Investing in a good grill pan doesn’t have to break the bank, with prices typically ranging from $30 to over $100, depending on its size, brand, and material. Understanding the different types available will help you select the perfect pan for your culinary needs.
Types of Grill Pans: Materials and Features
- Cast Iron: Revered for its exceptional heat retention and even heat distribution, cast iron grill pans are a favorite among many home cooks. They get incredibly hot and stay hot, which is perfect for searing and achieving deep, consistent grill marks. While they require seasoning and specific cleaning methods, their durability and cooking performance are unmatched. Many cast iron grill pans come in a skillet-style with a sturdy handle, making them easy to maneuver.
- Anodized Aluminum: Often heavy gauge, anodized aluminum pans are lighter than cast iron and typically heat up faster. They are durable and often feature a non-stick coating. While they might not retain heat quite as long as cast iron, they offer excellent conductivity and are generally easier to clean.
- Non-Stick Coating: Many grill pans, especially those made from aluminum, come with a non-stick surface. This feature is a huge plus for easy food release and hassle-free cleanup, requiring less oil during cooking. However, it’s important to use appropriate utensils (silicone or wood) to avoid scratching the coating.
Size and Design Considerations
Grill pans come in various shapes and sizes. You’ll find single-burner square or round pans, as well as larger rectangular pans designed to span two burners. Personally, I lean towards a smaller grill pan that fits over a single burner. While a larger pan offers more cooking surface, I’ve found that the heat tends to be more consistent and even across a smaller pan. I prefer to cook vegetables in batches, ensuring each piece gets perfectly grilled, rather than risking uneven cooking on a larger surface where hot spots can be an issue. Plus, a smaller pan is much easier to store!
My current stove top grill pan boasts a non-stick coating, which truly simplifies the post-cooking cleanup process. This ease of maintenance is a significant factor in making indoor grilling a regular, enjoyable part of my cooking routine.
Unlocking Authentic Smoky Flavor Indoors
There are grilling purists who argue that nothing can truly replicate the distinct taste achieved from a charcoal grill. While it’s true that the deep, natural smoke of charcoal is unique, you can absolutely achieve a wonderfully smoky and delicious flavor profile in your indoor grilled dishes. The key lies in strategic seasoning and preparation.
Spices and Dry Rubs
My secret weapon for infusing that coveted smoky essence into indoor grilled vegetables is a thoughtful blend of dried spices. Instead of relying on artificial flavorings like liquid smoke, which can often taste synthetic, I turn to a rich mix of aromatic herbs and spices. My go-to blend typically includes:
- Cumin: Adds an earthy, warm depth.
- Smoked Paprika: This is a game-changer! It provides a rich, sweet, and authentic smoky flavor without any actual smoke. Ensure you choose “smoked” paprika, not just regular paprika.
- Red Pepper Flakes: A tiny pinch adds a subtle warmth and zing, complementing the other spices.
- Kosher Salt and Freshly Ground Black Pepper: Essential for enhancing all other flavors and bringing out the natural sweetness of the vegetables.
This blend, tossed with a little olive oil and your chosen vegetables, creates a wonderfully aromatic and flavorful foundation that beautifully mimics the experience of outdoor grilling.
Liquid Marinades and Sauces
Beyond dry rubs, liquid marinades and glazes are also fantastic options for flavoring your veggies. A good marinade not only adds flavor but can also tenderize certain vegetables and help prevent sticking. Consider marinades with ingredients like soy sauce, balsamic vinegar, garlic, ginger, herbs, and a touch of something sweet like honey or maple syrup. Apply marinades for at least 30 minutes, or up to a few hours for firmer vegetables, before grilling. Brushing vegetables with a savory sauce or glaze during the last few minutes of grilling can also add a delightful finish and an extra layer of flavor.
Mastering Indoor Vegetable Grilling: A Step-by-Step Guide
Achieving perfect indoor grilled vegetables is all about technique, starting with the right pan and proper preparation. Here’s how to get those beautiful grill marks and tender, flavorful results every time.
1. Preheat with Precision
As I mentioned, preheating is absolutely crucial for a grill pan. You want it screaming hot when those vegetables make their initial contact to ensure a proper sear and those desirable grill marks. The preheating time will vary slightly depending on your pan’s material:
- Cast Iron Pans: These take a little longer to heat up but retain heat exceptionally well. Allow 5-7 minutes over medium-high heat.
- Anodized Aluminum/Non-Stick Pans: These heat up faster. 4-5 minutes over medium-high heat is usually sufficient.
I typically start preheating over medium-high heat for 4-5 minutes. If I crank the stove all the way to high from the start, things tend to burn too quickly. It’s easier to gradually increase the temperature if needed rather than trying to cool down an overheated pan.
2. Test the Temperature
How do you know if your pan is hot enough? A simple flick of water is a classic test: a few drops of water should sizzle vigorously and evaporate almost immediately on contact, producing steam. If the water just sits there or slowly bubbles, your pan isn’t ready.
Another excellent, albeit slightly dramatic, method is to use a “sacrificial vegetable.” Think of it like the first pancake on a griddle – it rarely comes out perfect. Start by grilling a single strip of zucchini or a small piece of bell pepper. This allows you to gauge the temperature and cooking speed, ensuring you can adjust the heat as necessary to achieve perfect grill marks and the right amount of char before committing a whole batch.
3. Prepare Your Vegetables
Wash and thoroughly dry your vegetables. Excess moisture will steam rather than sear, hindering grill marks. Cut vegetables into uniform, manageable pieces that are not too thick (aim for about 1/4 to 1/2 inch) to ensure even and relatively quick cooking. Thicker cuts will take longer and might not cook through evenly on a stove top pan.
4. Season and Oil Liberally
In a large bowl, toss your prepared vegetables with a good quality olive oil and your chosen spice mix (like my smoky cumin, smoked paprika, red pepper flakes, salt, and pepper blend). Ensure every piece is lightly coated with oil and seasonings. Oiling the vegetables directly helps create a beautiful crust and prevents sticking, rather than oiling the pan, which can cause excessive smoke.
5. Grill in Batches
Once your pan is hot and your veggies are seasoned, place them on the ridges. Crucially, do not overcrowd the pan. Grilling in batches is key to success. Overcrowding lowers the pan’s temperature, leads to steaming, and prevents good grill marks. Give each piece enough space to make direct contact with the hot ridges. You might need to adjust the heat up or down slightly as you cook to maintain optimal temperature.
6. Flip for Perfect Marks
Allow the vegetables to cook undisturbed for a few minutes on one side until distinct grill marks appear. Then, use tongs to flip them to an uncooked side. For crosshatch marks, you can rotate the vegetable 90 degrees after the first set of marks appear, then flip to the other side. Cook until tender-crisp and nicely charred. Cooking times will vary by vegetable type and thickness; keep a close eye on them to prevent burning.
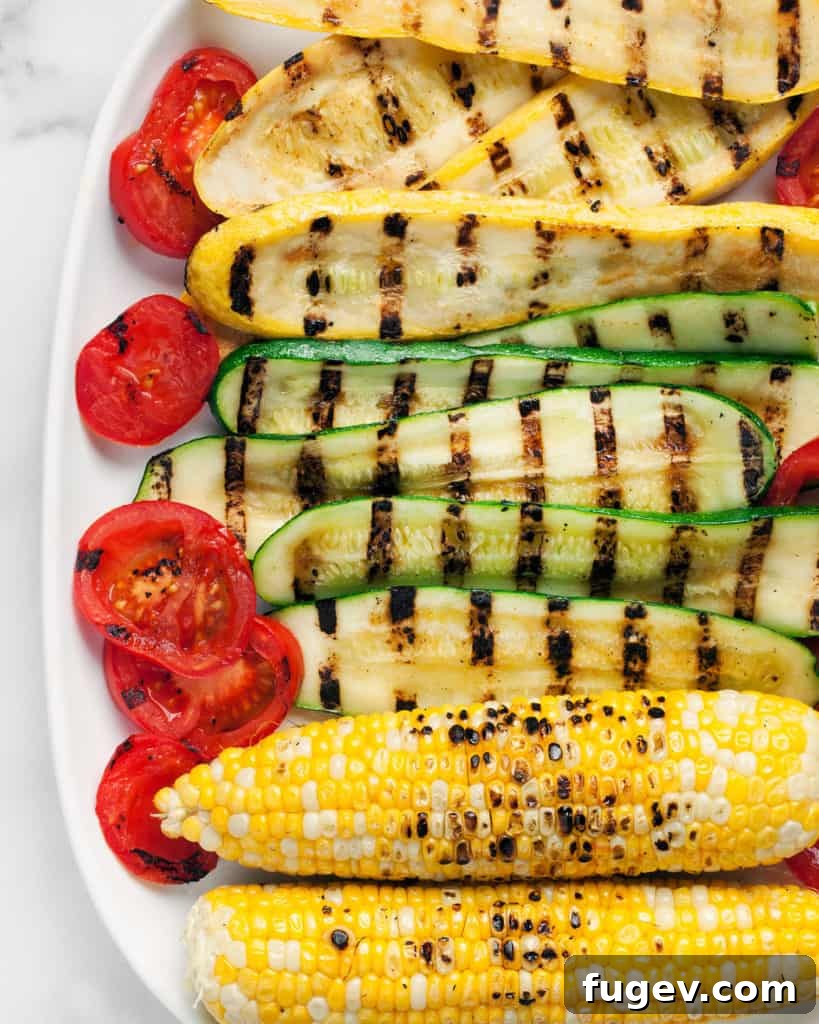
The Best Vegetables for Stove Top Grilling
Almost any vegetable can be grilled on a stove top pan, but some truly shine with this method, offering fantastic flavor and texture. Here are some top picks:
- Zucchini: Slice lengthwise into 1/4-inch thick strips. Grills quickly to tender perfection with beautiful marks.
- Yellow Squash: Similar to zucchini, slice lengthwise for quick cooking and a mild, sweet flavor.
- Corn on the Cob: Shuck the corn and grill whole or cut into thick rounds. The kernels get slightly charred and sweeter.
- Tomatoes: Firm, medium to large tomatoes (like Roma or beefsteak) cut into 1/4-inch thick slices are excellent. They soften beautifully and develop a concentrated flavor.
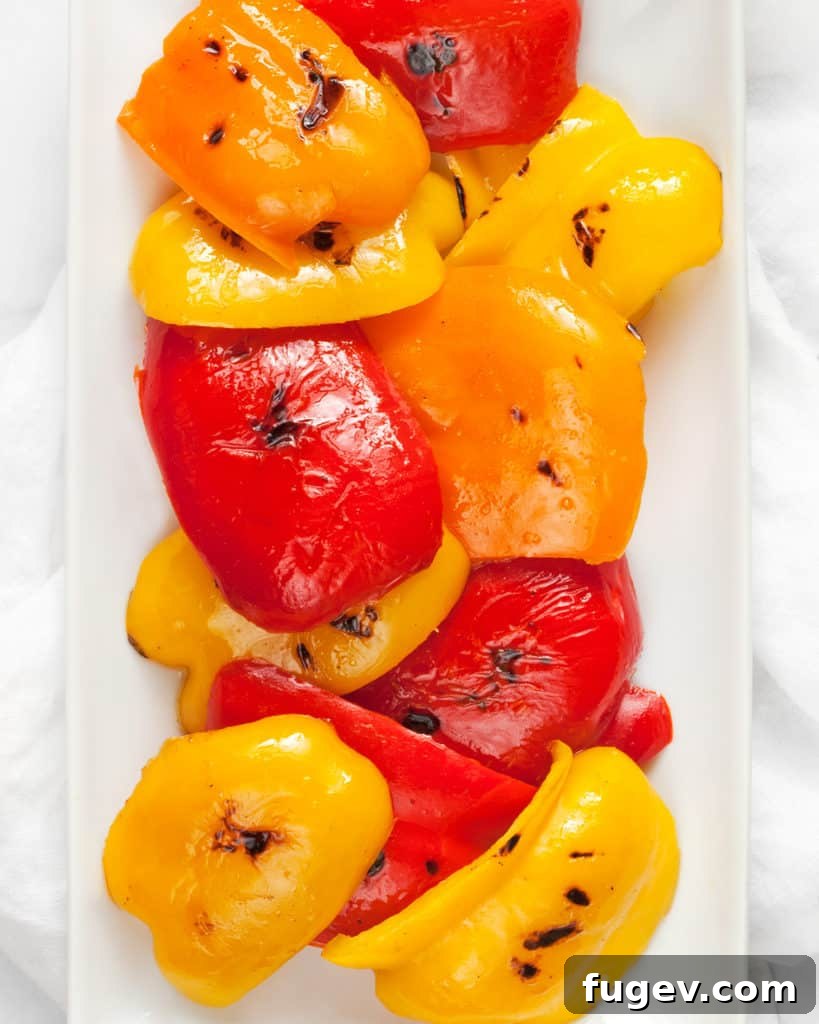
- Bell Peppers: Cut into wide, flat strips. They become wonderfully sweet and smoky, perfect for fajitas or salads.
- Asparagus: Trim the woody ends and grill whole spears until tender-crisp.
- Eggplant: Slice into 1/4 to 1/2-inch rounds or planks. A classic grilling vegetable, it absorbs smoky flavors beautifully.
- Onions: Thick slices or wedges of red or sweet onions soften and caramelize, adding a sweet and pungent note.
- Mushrooms: Large portobello caps or thick slices of cremini mushrooms are fantastic for grilling, absorbing flavor and developing a meaty texture.
Cleaning and Maintaining Your Stove Top Grill Pan
Proper cleaning is essential for maintaining your grill pan’s performance and longevity. The cleaning method depends largely on whether your pan is non-stick or cast iron.
For Non-Stick Grill Pans:
Never put your non-stick grill pan in the dishwasher, as the harsh detergents and high heat can damage the coating over time. Instead, hand wash it using warm water and a mild dish soap. There’s absolutely no need for abrasive sponges or scrubbers, which can easily scratch and ruin the non-stick finish. A soft sponge or cloth is all you need. For any stubborn bits of food, let the pan soak in warm, soapy water for a few minutes to loosen them, then gently wipe clean. Ensure it’s thoroughly dried before storing to prevent water spots.
For Cast Iron Grill Pans:
Cast iron requires a slightly different approach to preserve its seasoning and prevent rust. Avoid using harsh soaps that can strip away the pan’s natural seasoning. Here’s a proven method:
- Loosen Food Particles: After cooking, let the pan cool slightly, but while it’s still warm, add a small amount of water to the pan and place it back on a low burner to bring the water to a gentle boil. The hot water will effectively steam and loosen any stuck-on food particles.
- Scrape Gently: Turn off the heat and let the water cool a bit. Then, using a silicone or stiff nylon spatula (avoid metal spatulas which can scratch), gently push off any stubborn food bits.
- Rinse and Dry: Pour out the water and rinse the pan under hot water. Avoid cold water, as a drastic temperature change can warp cast iron.
- Dry Thoroughly: This is critical! Immediately dry the pan completely with a clean towel. Any residual moisture can lead to rust. For extra assurance, you can place the dry pan back on a low burner for a minute or two to evaporate any remaining moisture.
- Re-season (Optional but Recommended): From time to time, you may need to re-season your cast iron pan. This involves applying a very thin layer of cooking oil and heating it, which helps maintain its non-stick properties and protects against rust.
Creative Ways to Serve Your Grilled Vegetables
Once you’ve mastered the art of indoor grilling, the possibilities for serving your delicious vegetables are endless. Grilled vegetables add incredible flavor, texture, and a healthy boost to almost any meal. Here are a few of my favorite ways to enjoy them:
- In Salads: Transform a simple green salad into a gourmet meal by adding warm, smoky grilled zucchini, bell peppers, or corn. They pair beautifully with a light vinaigrette or a creamy dressing.
- On Sandwiches and Wraps: Layer grilled vegetables into your favorite sandwiches or wraps for a burst of flavor and a healthy filling. They are particularly good with hummus, pesto, or a touch of goat cheese.
- Paired with Grains: Toss grilled vegetables with quinoa, couscous, farro, or orzo for a satisfying and nutritious side dish or light main course. The grilled flavors complement earthy grains wonderfully.
- As a Side Dish: Simply serve them alongside grilled tofu, chicken, fish, or your main protein for a colorful and flavorful accompaniment.
- In Burrito Bowls: Create vibrant and healthy burrito bowls with a base of rice, beans, salsa, avocado, and a generous topping of grilled bell peppers, corn, and zucchini.
- With Pasta: Mix chopped grilled vegetables into your favorite pasta dishes. They add depth and freshness to both hot and cold pasta salads.
- As a Topping for Pizza or Flatbread: Arrange grilled veggies over a homemade pizza or flatbread with your favorite cheeses and sauces for a unique and delicious twist.
Experiment with different combinations and seasonings to discover your own favorite ways to incorporate these versatile grilled delights into your meals!
Stove Top Grilled Vegetables Recipe
By: Paige Adams
Prep Time: 10 mins
Cook Time: 12 mins
Total Time: 22 mins
Servings: 4
A stove top grill pan is an excellent tool for cooking a variety of vegetables and fruits indoors, bringing a delightful grilled flavor to your kitchen any time of year. This recipe guides you through grilling some of the best vegetables to achieve perfect grill marks and tender, smoky results without an outdoor grill.
Ingredients
For the Smoky Spice Mix:
- 1 teaspoon cumin
- 1/2 teaspoon smoked paprika
- Pinch of red pepper flakes (adjust to your spice preference)
- 1 teaspoon kosher salt
- 1/4 teaspoon black pepper
For the Vegetables:
- 2 ears of corn, shucked
- 1 medium zucchini, cut lengthwise into 1/4-inch-thick slices
- 1 medium yellow squash, cut lengthwise into 1/4-inch-thick slices
- 2 medium to large tomatoes, cut into 1/4-inch-thick slices
- 1-2 bell peppers (any color), cut into 3-inch wide strips
- 2 tablespoons olive oil (or more as needed)
Instructions
- Preheat the Grill Pan: Place a stove top grill pan over medium-high heat and allow it to preheat thoroughly for 4-5 minutes. Ensure it is very hot before adding any vegetables.
- Prepare Spice Mix: In a small bowl, combine the cumin, smoked paprika, red pepper flakes, kosher salt, and black pepper. Stir well to create your smoky seasoning blend.
- Season Vegetables: In a large bowl, toss the prepared vegetables (corn, zucchini, yellow squash, tomatoes, bell peppers) with olive oil until lightly coated. Then, sprinkle the spice mix over the vegetables and toss again, ensuring they are evenly seasoned.
- Check Pan Temperature: To confirm the grill pan is hot enough, flick a few drops of water onto its surface. The water should immediately sizzle and produce steam.
- Test First Piece: For best results, start by grilling a single slice of zucchini or yellow squash, or a small bell pepper strip, to test the pan’s temperature. This allows you to adjust the burner heat as needed before cooking the main batch.
- Grill in Batches: Place the seasoned vegetables on the hot grill pan, making sure not to overcrowd it. Cook in batches, allowing each piece enough space to achieve proper searing and grill marks.
- Flip for Grill Marks: Grill each side of the vegetables until distinct grill marks appear and the vegetables are tender-crisp. Cooking times will vary depending on the vegetable:
- Corn: Grill the shucked corn, turning periodically, until grill marks appear on all sides, about 10-12 minutes total.
- Zucchini and Yellow Squash: Grill slices for approximately 3-4 minutes per side, until tender with visible grill marks.
- Bell Peppers and Tomatoes: Grill strips and slices for about 2-3 minutes per side, until softened with nice grill marks.
- Serve Immediately: Remove grilled vegetables from the pan and serve warm as a delicious side dish, in salads, or as part of your favorite meal.
Notes
The overall cooking time will depend on the type and quantity of vegetables you are grilling, as well as their thickness. Always keep an eye on your pan and vegetables to prevent burning and ensure even cooking.
Nutrition
Calories: 93kcal | Carbohydrates: 13g | Protein: 4g | Fat: 4g | Saturated Fat: 1g | Polyunsaturated Fat: 1g | Monounsaturated Fat: 3g | Sodium: 598mg | Potassium: 801mg | Fiber: 4g | Sugar: 9g | Vitamin A: 2899IU | Vitamin C: 119mg | Calcium: 47mg | Iron: 2mg
Nutrition information is automatically calculated and should only be used as an approximation.
Additional Info
Course: Side Dishes
Cuisine: American