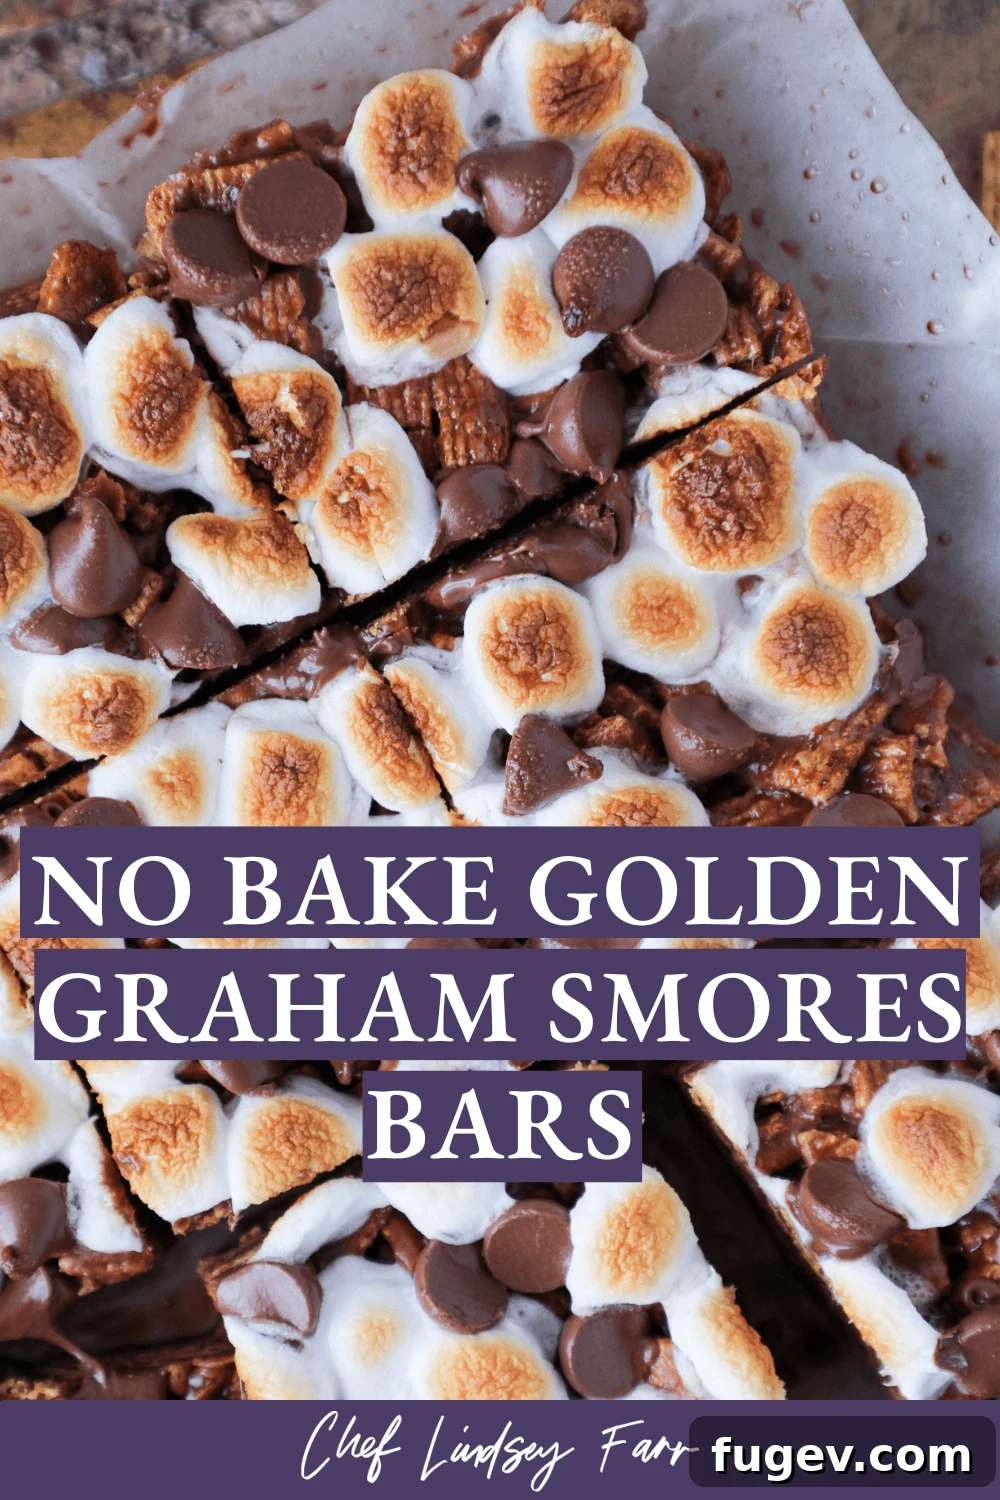
Easy No-Bake Toasted Marshmallow Golden Graham S’mores Bars: A Campfire Classic, Simplified
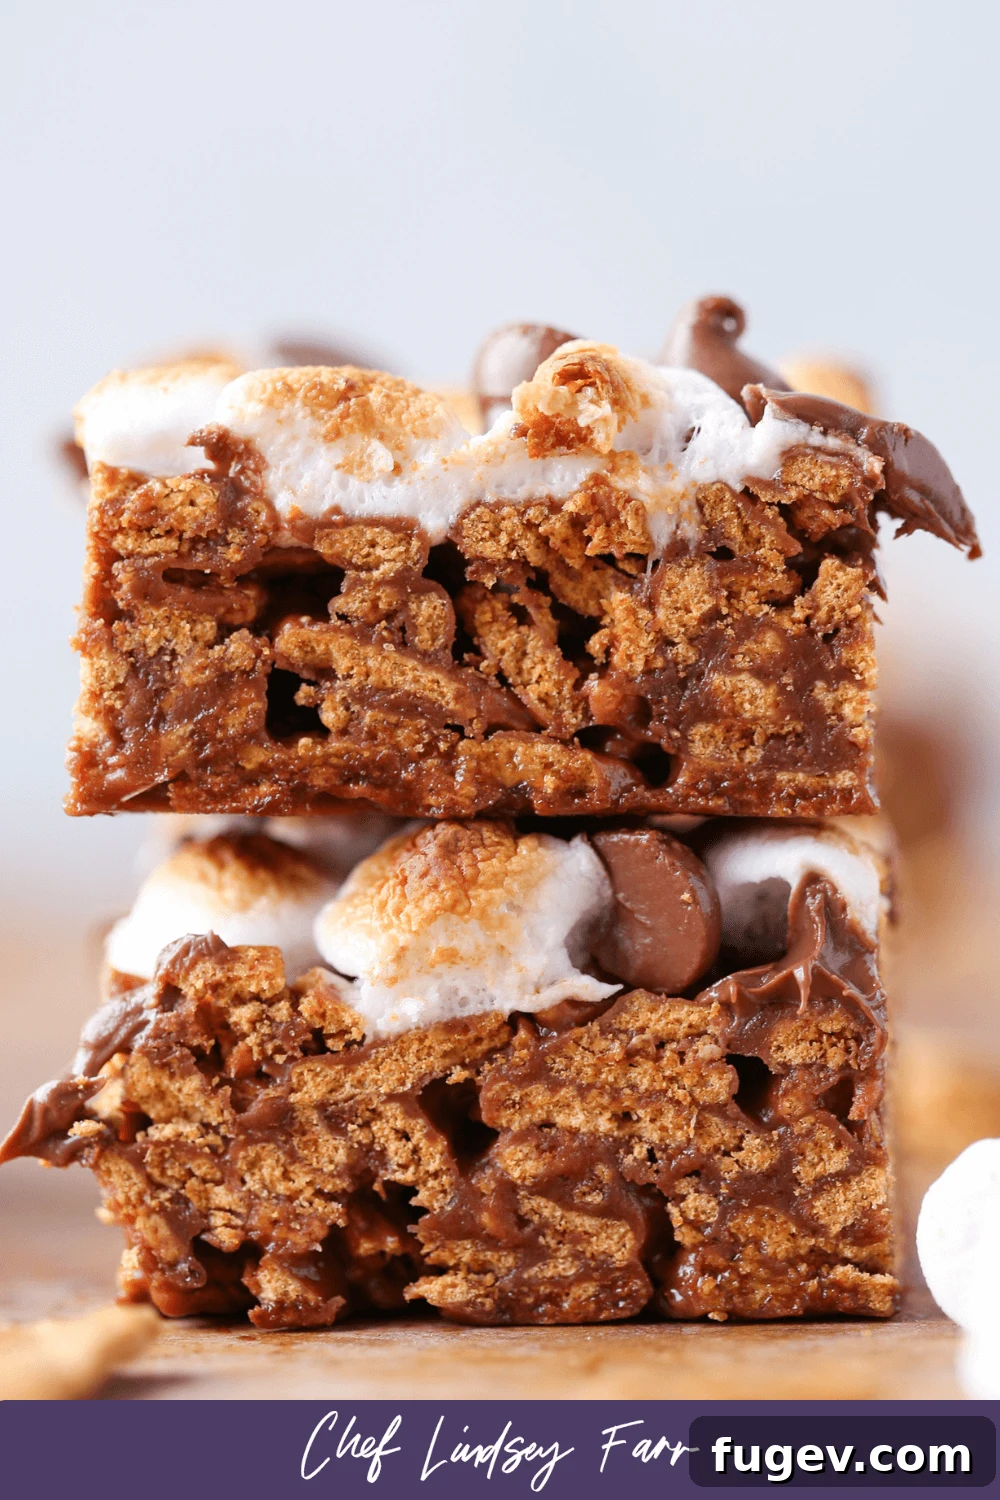
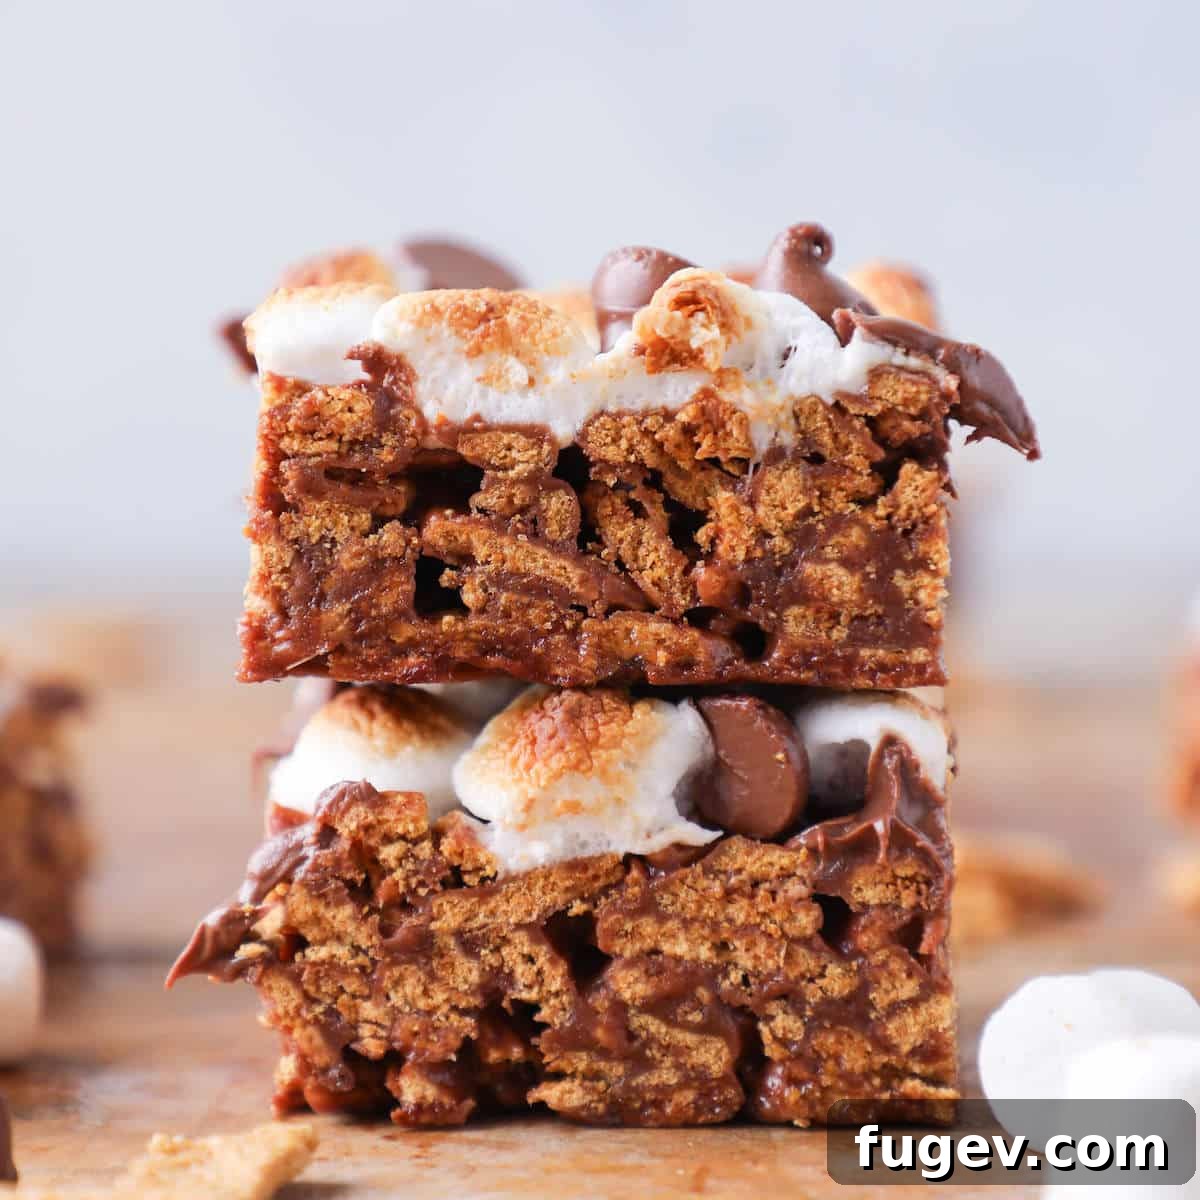
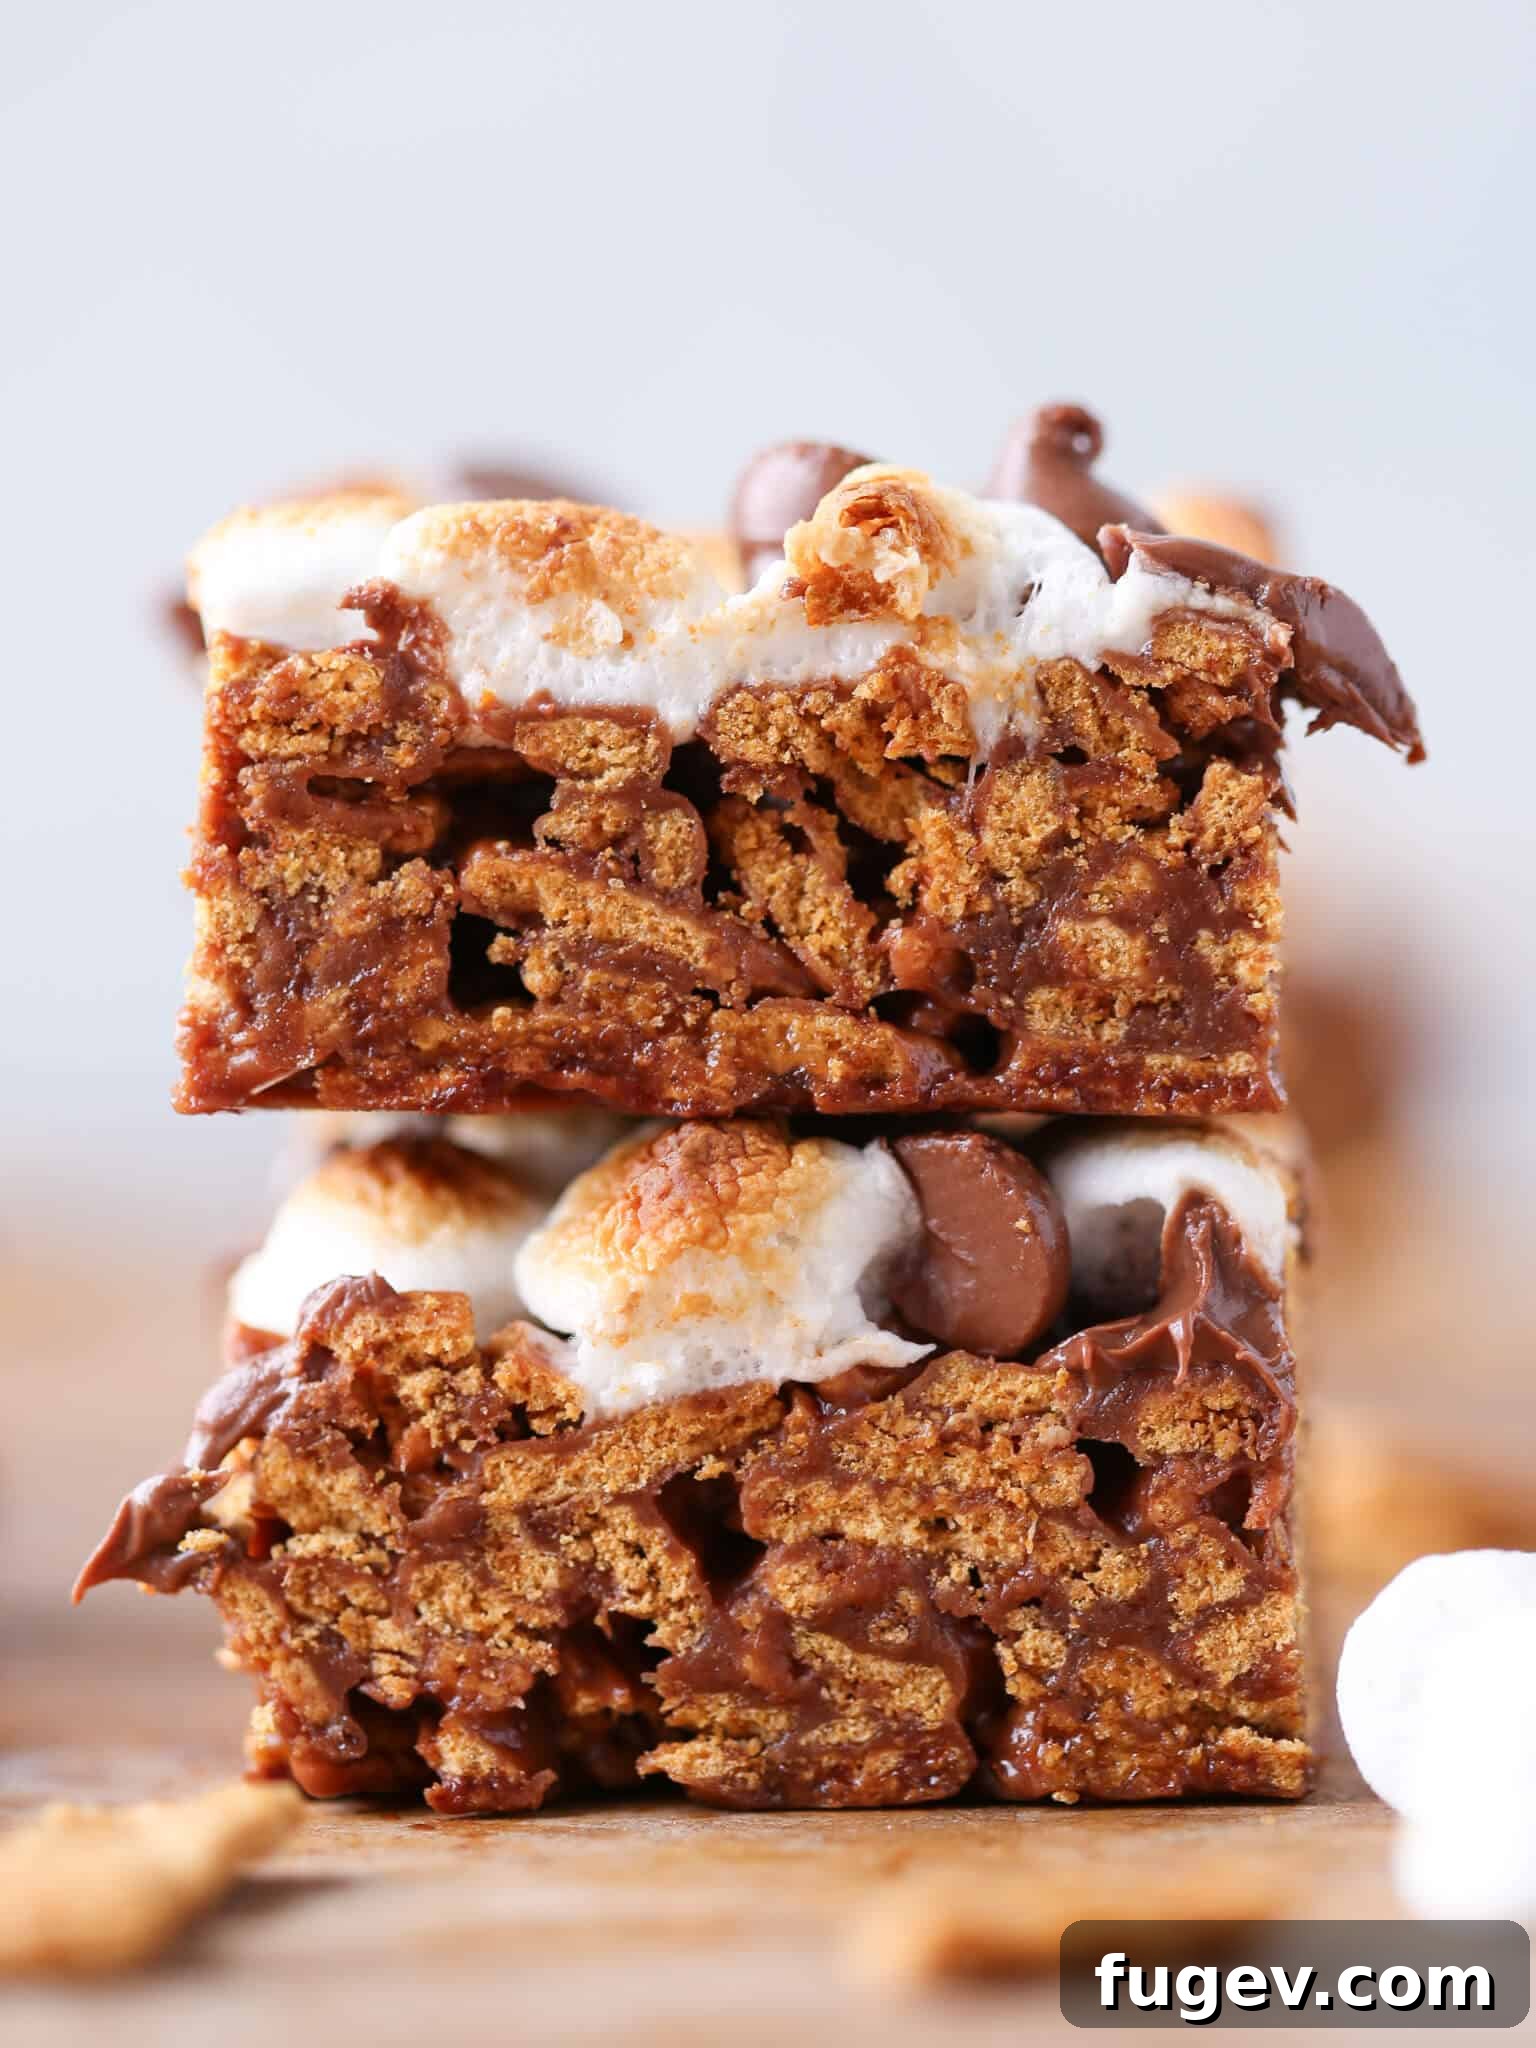
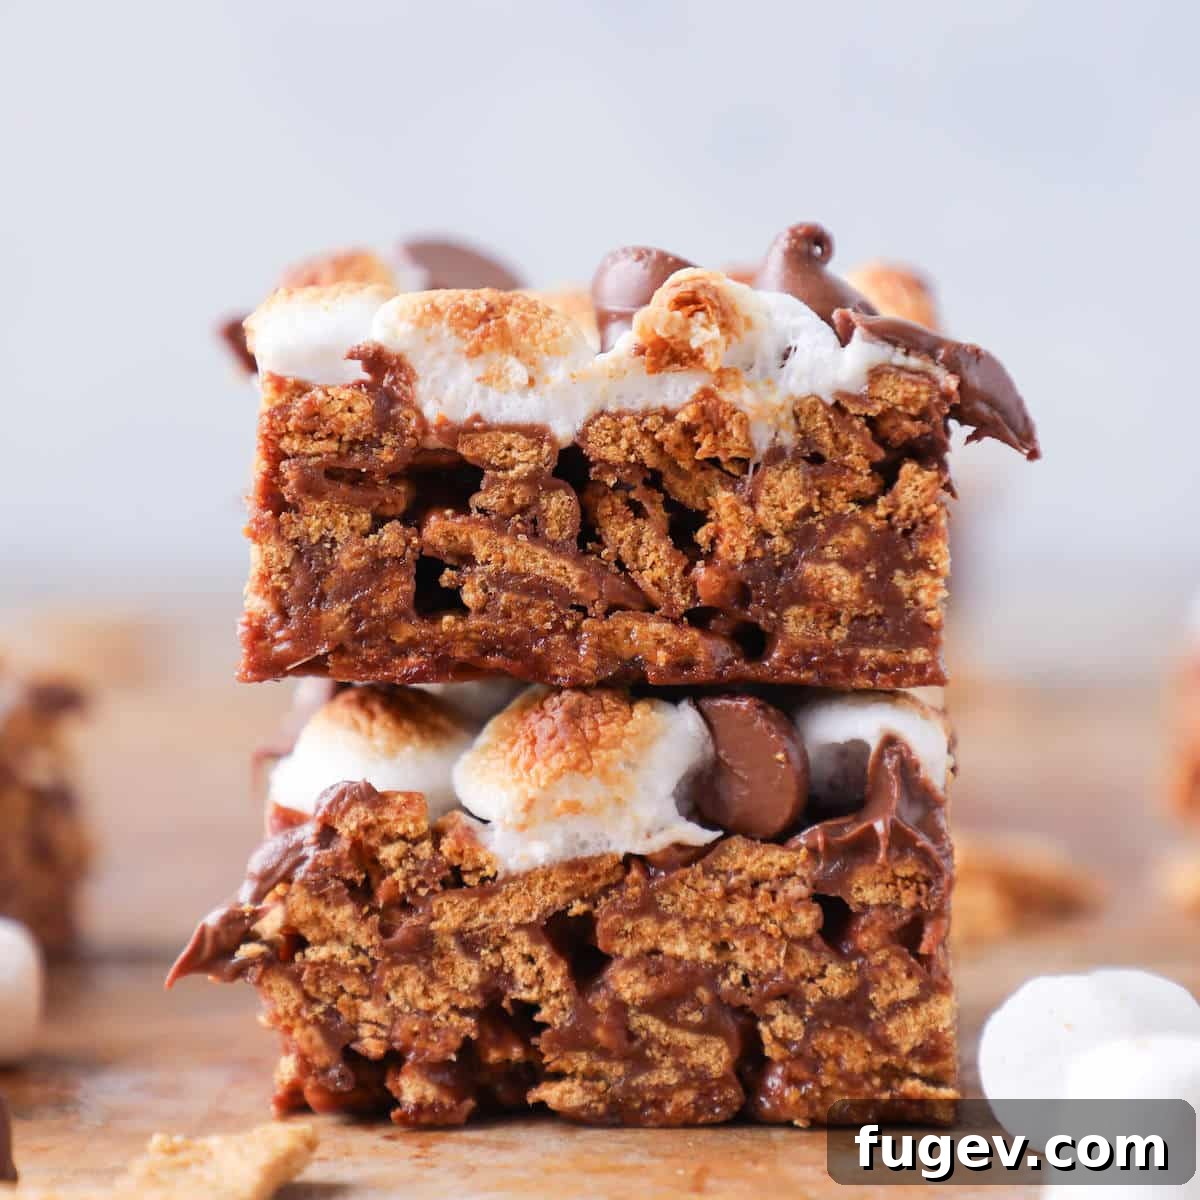
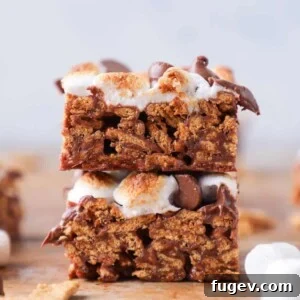
Imagine the irresistible crunch of Golden Grahams cereal, perfectly complemented by a rich, melt-in-your-mouth coating of toasted marshmallow and creamy milk chocolate. These easy, no-bake Golden Graham S’mores Bars offer just that, with a subtle caramel flavor note from the expertly toasted marshmallows that sets them apart. This recipe isn’t just simple; it’s a game-changer for anyone craving that classic s’mores taste without the hassle of a campfire or a lengthy baking process.
Recipe at a Glance
This section provides a brief overview of the recipe. For comprehensive instructions and details, please scroll down to the full recipe card.
- Prep Time: 10 minutes
- Cool Time: 30 minutes
- Total Time: 40 minutes
- Servings: 9 delightful bars
- Difficulty: Effortlessly Easy
- Calories per serving: Approximately 309 kcal *
- Key Technique: Create a cereal bar base, press into a pan, adorn with chocolate and marshmallows, broil briefly for toasting, then cool and enjoy.
- Flavor Profile: A harmonious blend of toasted marshmallow, rich milk chocolate, and the comforting taste of Golden Grahams in a convenient no-bake format.
* Based on the provided nutrition panel.
Jump to Full Recipe Details
YUM!!! Love the taste of the toasted marshmallows! Great technique to add campfire taste. The grandkids are gonna love these; everything they like! Golden Graham Cereal and S’mores!⭐⭐⭐⭐⭐
Cin H.
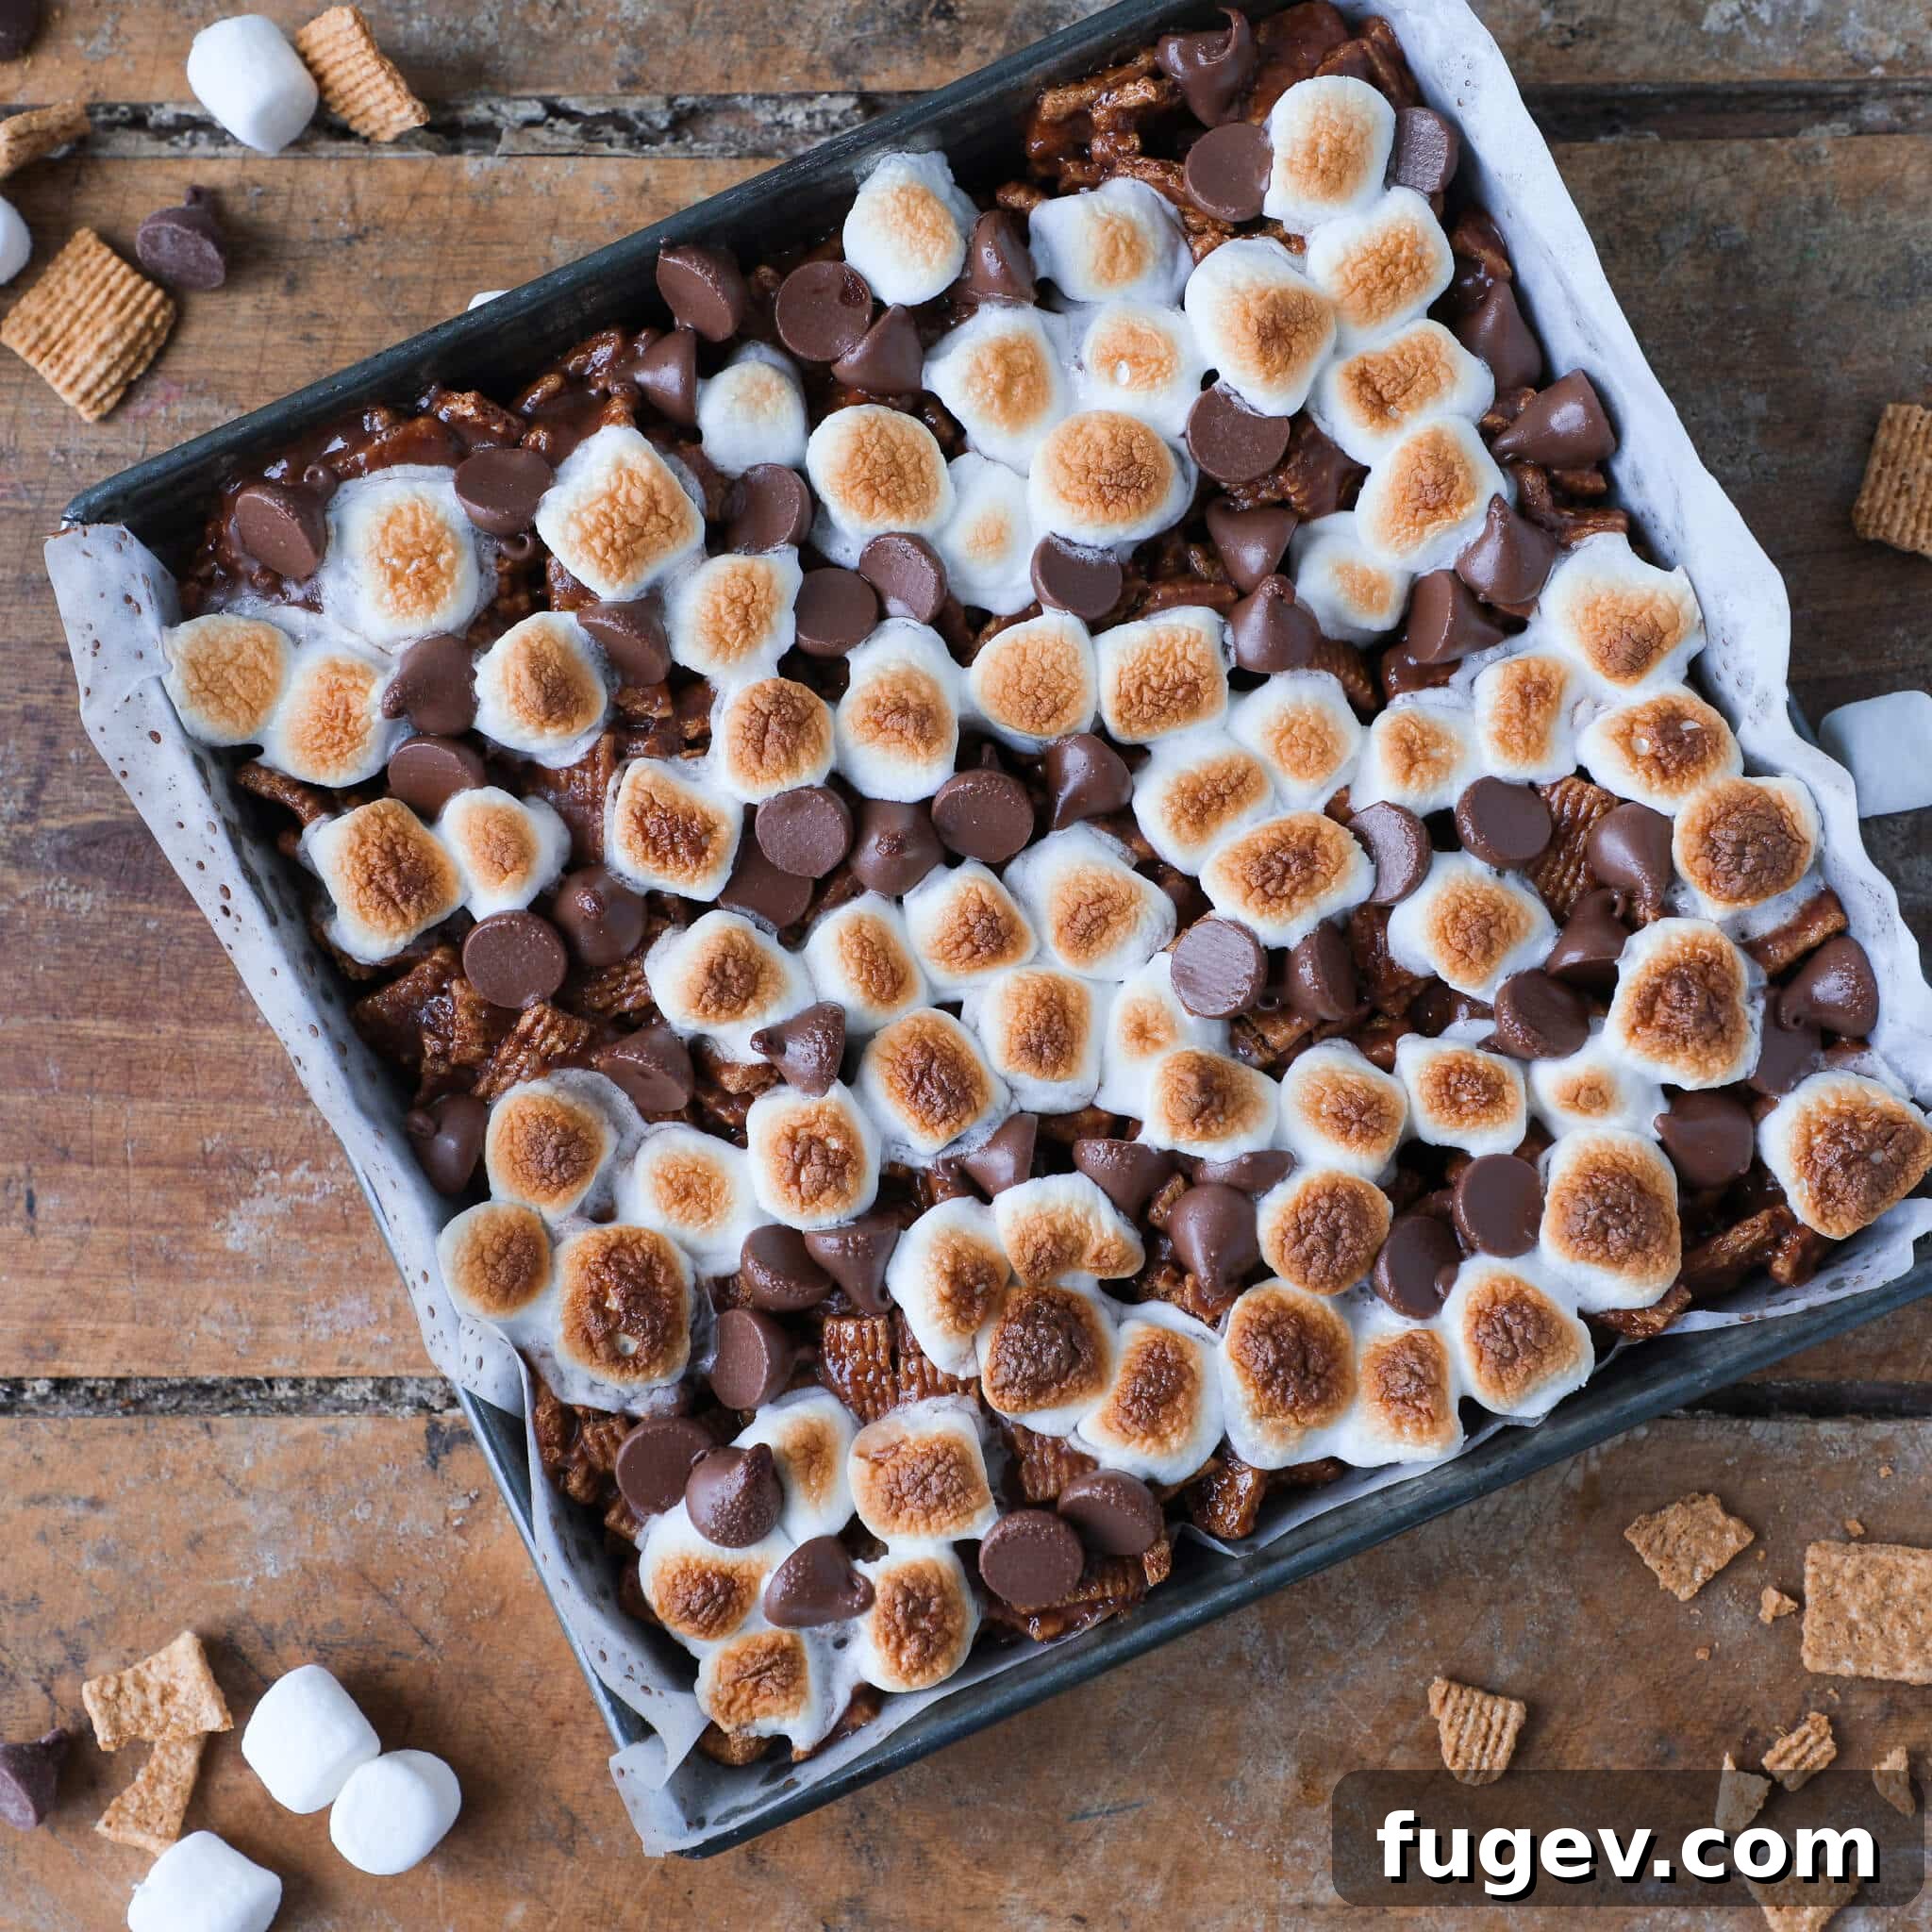
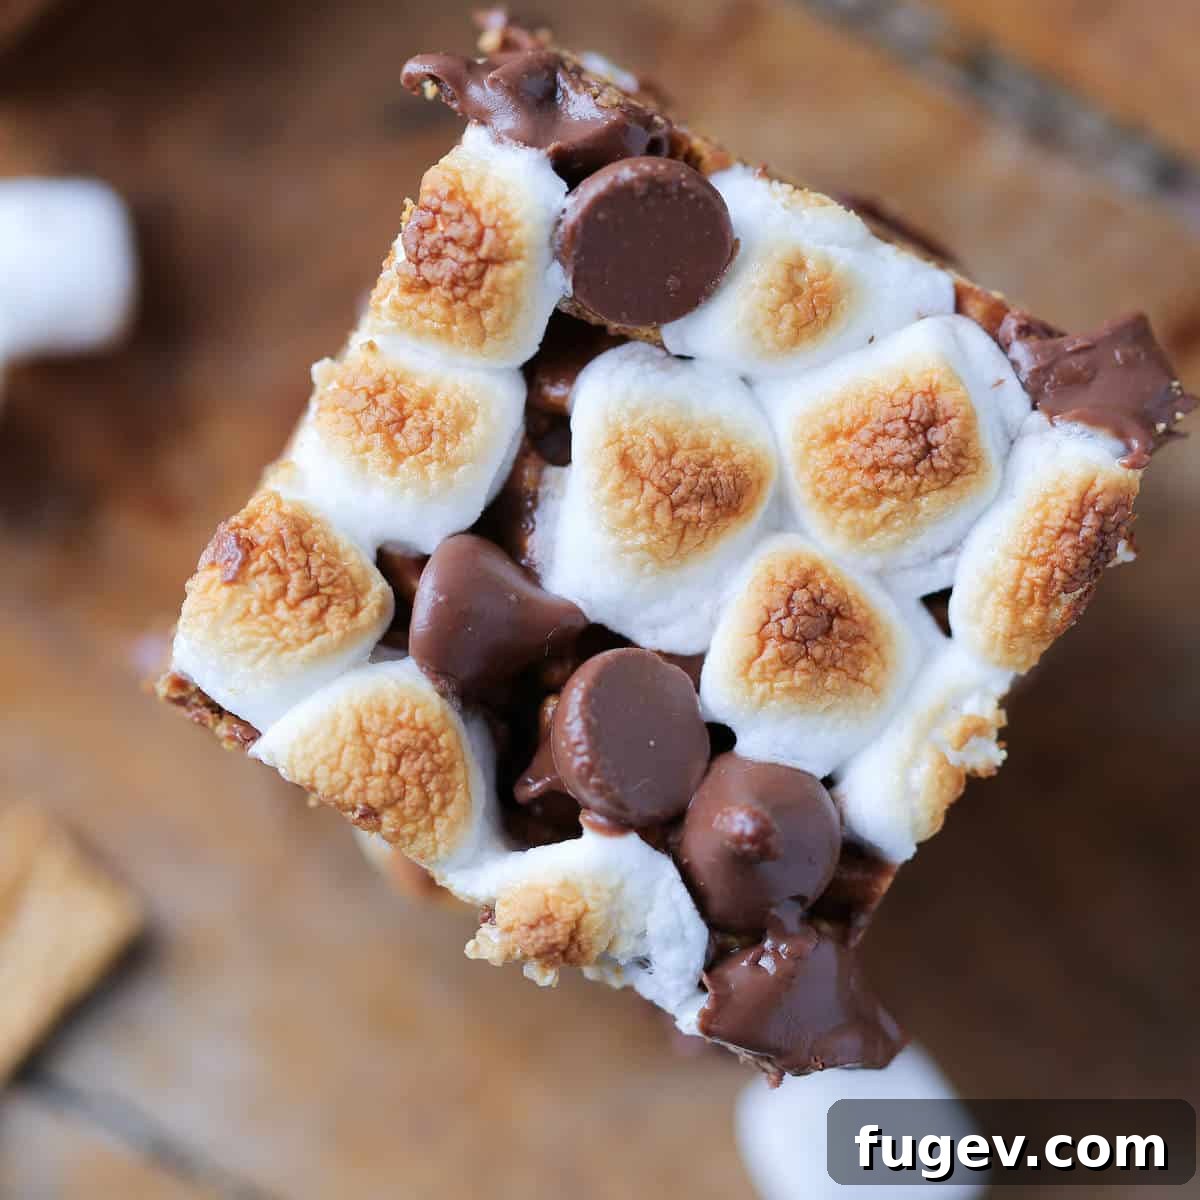
As the grand finale of S’mores Week, these Toasted Marshmallow Golden Graham S’mores Bars truly shine. While every chocolatey, marshmallowy creation has been a joy, these bars offer an unparalleled experience. My unique method involves toasting the mini marshmallows before incorporating them into the rich chocolate-butter mixture. This simple yet impactful step unlocks a depth of flavor, infusing every morsel with that authentic, smoky, caramelized taste reminiscent of s’mores made over a crackling fire. The result? All the irresistible goodness of s’mores, perfectly encapsulated in an easy, no-bake treat that’s ready in a flash!
The Irresistible Allure of Toasted Marshmallow Golden Graham S’mores Bars
It’s rare for me to play favorites when it comes to desserts, but these Toasted Marshmallow Golden Graham S’mores Bars undeniably captured my heart. While I’ve shared many beloved s’mores-inspired recipes, including chewy options like my Chewy S’mores Crumble Bars, delightfully gooey ones like Ooey Gooey S’mores Bars, refreshing Toasted Marshmallow S’mores Ice Cream, and even elegant Mini S’mores Cheesecakes, these no-bake bars offered a revelation in both simplicity and sheer addictiveness. Their shocking ease of preparation combined with an extraordinary flavor profile makes them an instant classic.
Why the Toasted Marshmallow Step is Non-Negotiable
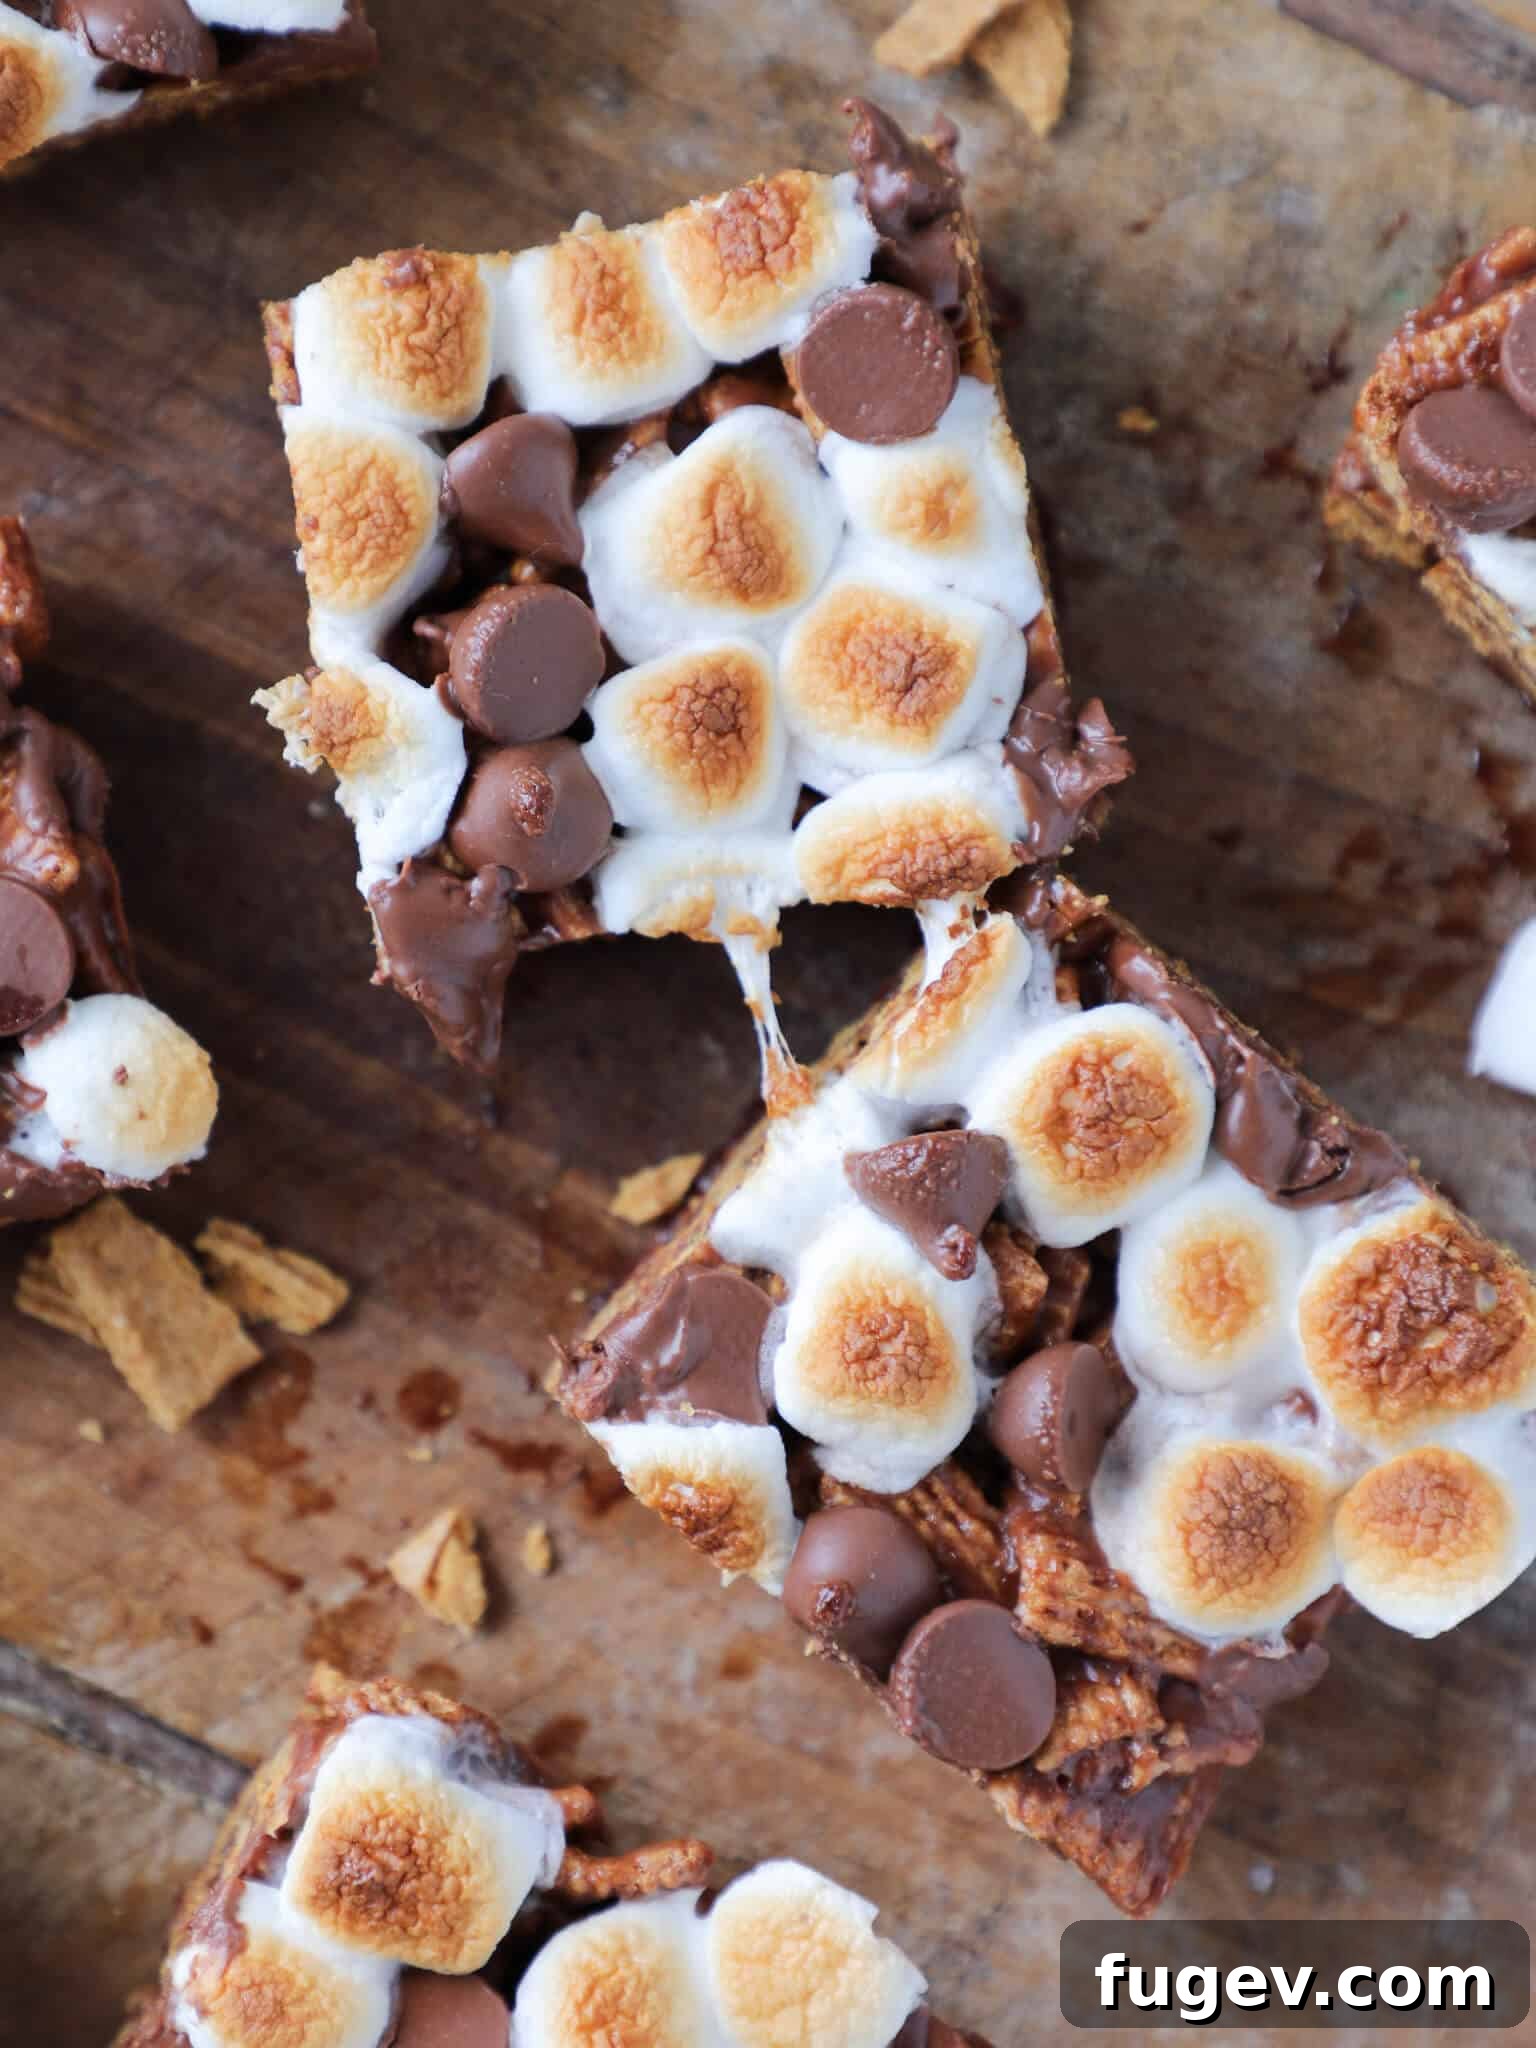
The secret weapon in this recipe is undoubtedly the toasted marshmallows. This isn’t just a decorative touch; it’s a flavor enhancer. By giving a significant portion of your marshmallows a brief stint under the broiler, you initiate a caramelization process that deepens their sweetness and adds a distinctive, slightly smoky note. This transforms the humble marshmallow from merely sweet to something with a complex, nuanced flavor that truly mimics the experience of campfire s’mores.
Achieving this perfect toast is surprisingly simple, provided you use the right technique. Generously buttered parchment paper is your best friend here. By spreading a thin layer of butter on the parchment before arranging your marshmallows, you ensure they brown beautifully without sticking. A quick 10-30 second watch under the broiler is all it takes. Yes, it involves the broiler, but in my culinary rulebook, a few fleeting seconds under direct heat doesn’t qualify as “baking.” Hence, these remain gloriously no-bake!
The Appeal of Cereal-Based Desserts
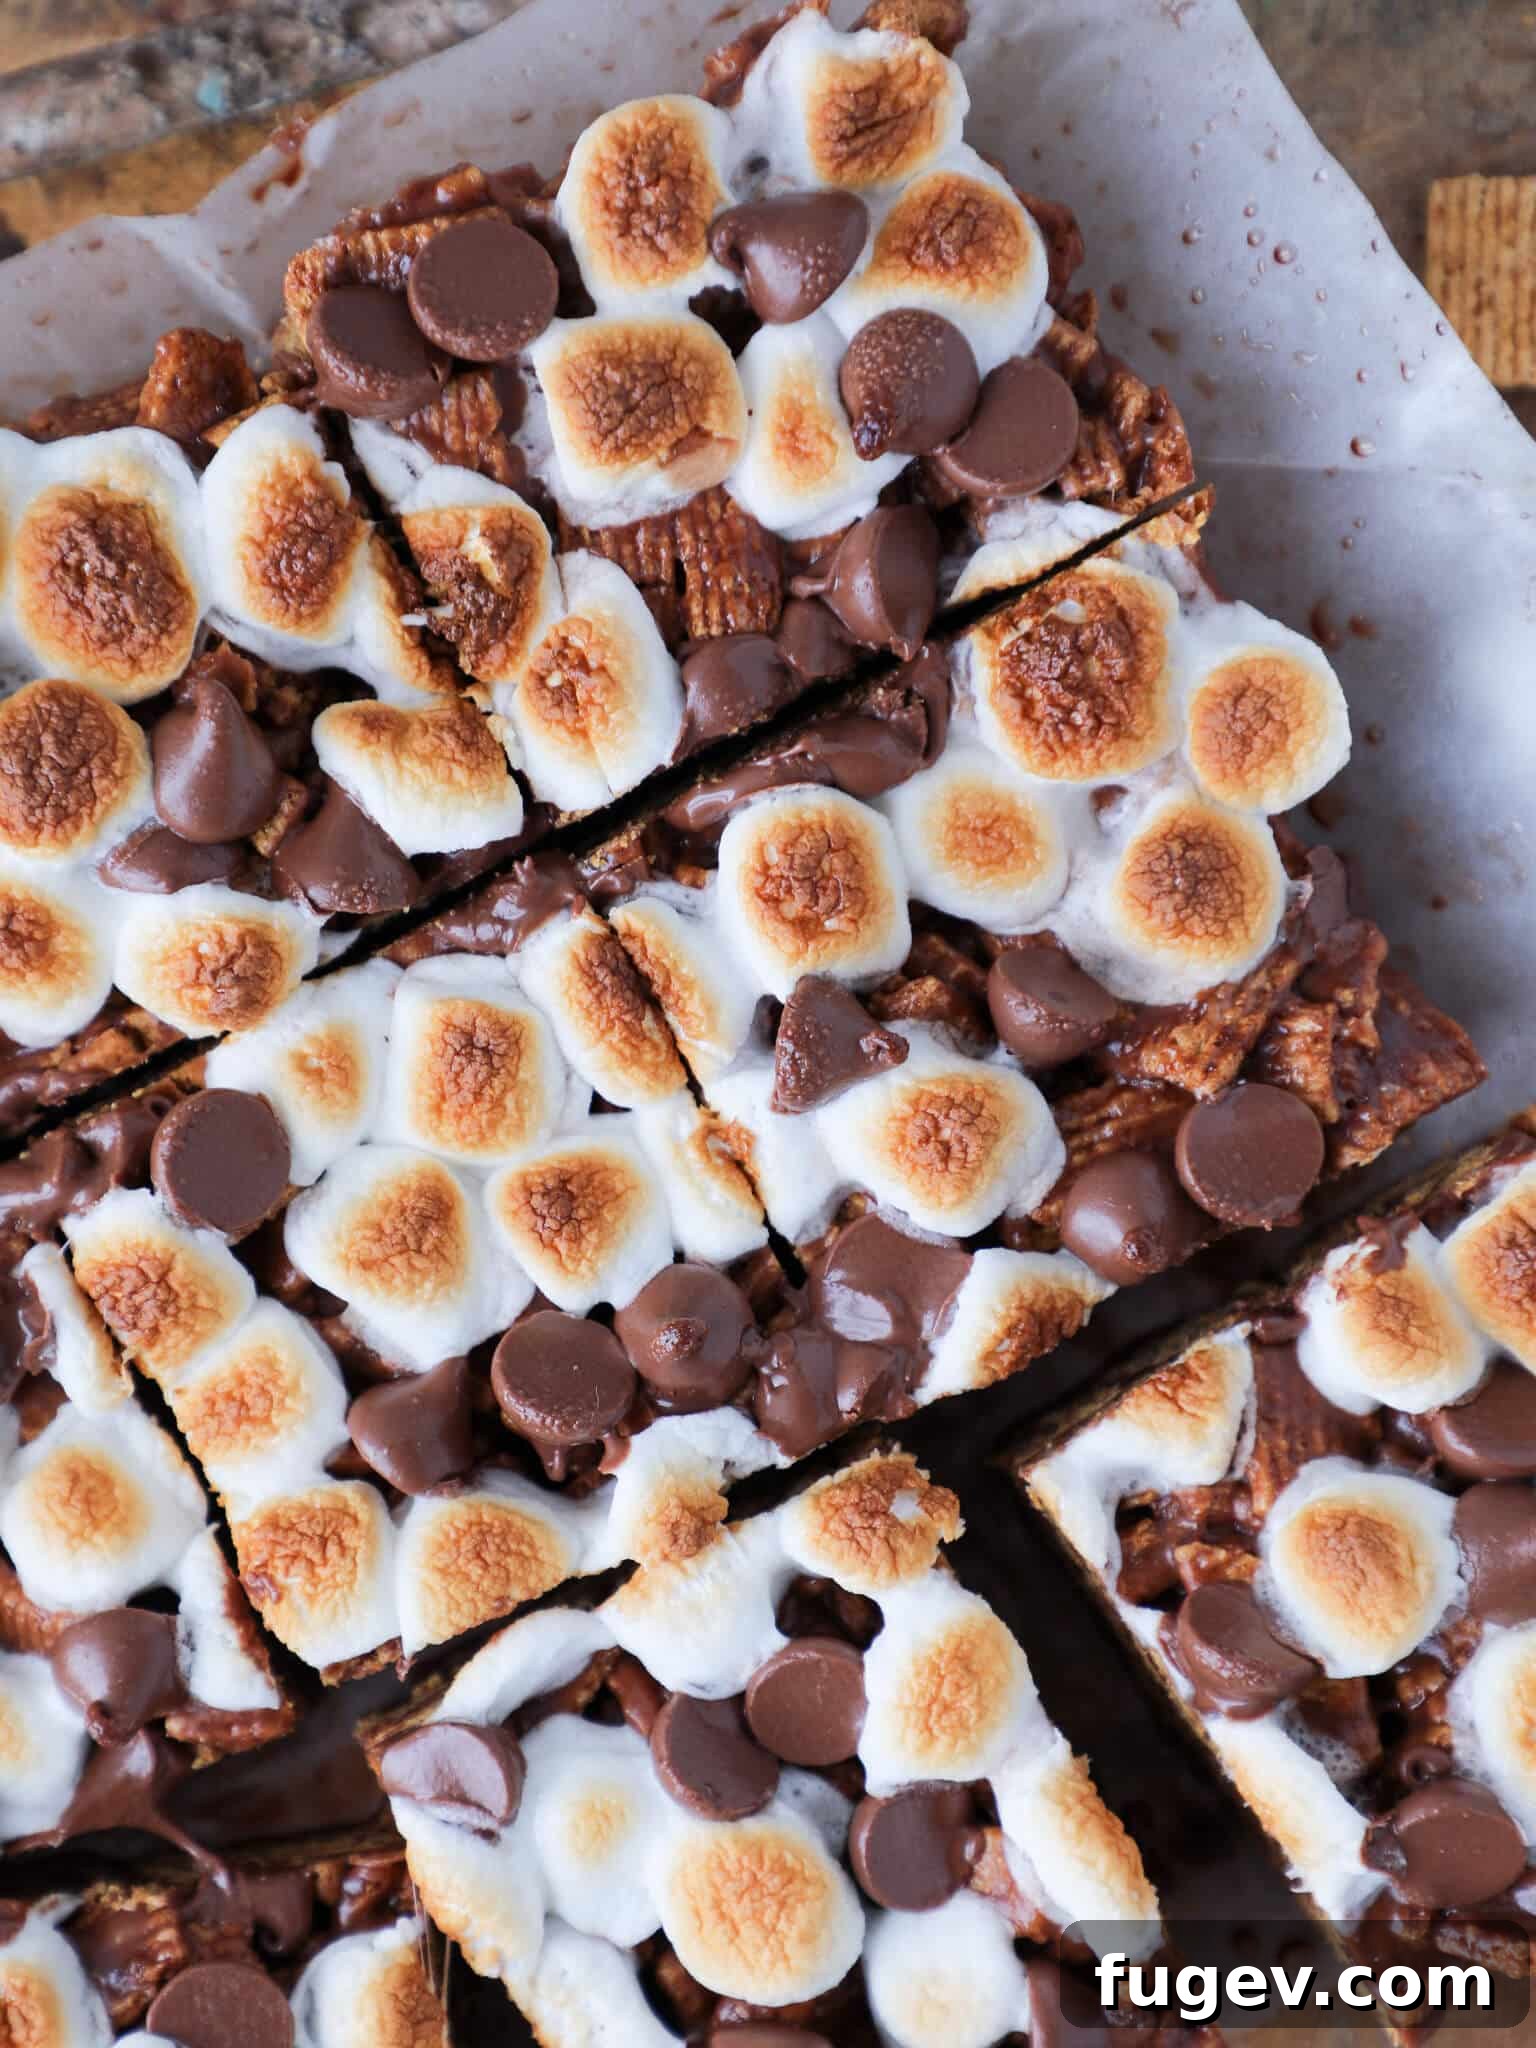
If you’re as fond of incorporating crunchy cereals into your dessert repertoire as I am, then you’re in for a treat with these s’mores bars. The Golden Grahams provide an incredible textural contrast to the soft, chewy marshmallow-chocolate binder, making each bite an adventure. For those who love this innovative approach to sweets, I highly recommend exploring other cereal-infused delights, such as my vibrant Fruity Pebble Baked Donuts or the equally tempting Samoa No-Bake Cereal Bars.
My Stance on Corn Syrup (And Why It’s Not in This Recipe)
One notable difference between my recipe and many others for Golden Graham S’mores Bars is the complete absence of corn syrup. My personal preference is to avoid it where possible, and in this recipe, I’ve found it simply isn’t needed to achieve a fantastic result. However, this means there’s a crucial tip to remember: you must mix the Golden Grahams into the chocolate-marshmallow concoction as swiftly as humanly possible. Without corn syrup, the mixture will thicken and set more rapidly, so quick work ensures every graham cracker piece is perfectly coated and integrated.
Should you desire the textural qualities or extended workability that corn syrup offers, feel free to add it. A single tablespoon is usually sufficient, though some recipes suggest up to two. Ultimately, the choice is yours, but I assure you, these bars are absolutely divine without it.
Toasted Marshmallow Golden Graham S’mores Bars: The Complete Recipe
5 from 9 ratings
Toasted Marshmallow Golden Graham Smores Bars
Chef Lindsey
10
30
40
9 people
Comment
Print Recipe
Ingredients
- 3 ½ cups Golden Grahams™ Cereal
- ¾ cup milk chocolate chips (high quality, Ghirardelli recommended)
- 3 tablespoons unsalted butter
- pinch of kosher salt
- 3 cups mini marshmallows (for the base mixture, to be toasted)
- ½ teaspoon pure vanilla extract
- ½ cup mini marshmallows (for topping the bars)
- ¼ cup chopped milk chocolate chips (for topping the bars)
Instructions
-
Step 1: Prepare for Toasting Marshmallows. Preheat your broiler, positioning the top oven rack as close to the coils as safely possible. Lightly butter an 8” x 8” baking dish (ensure it’s broiler-safe if you intend to toast the top marshmallows in it). Next, prepare a separate heavy-gauge baking sheet for toasting the initial batch of marshmallows. Line it with parchment paper, securing it with a small dab of butter in the center of the pan. Generously butter the entire surface of the parchment paper (your hands or a pastry brush work best). Spread 3 cups of mini marshmallows in a single, even layer on the buttered parchment.
-
Step 2: Toast the Marshmallows. Place the baking sheet with marshmallows under the preheated broiler. Position it as close to the coils as you can without touching them. **Crucially, watch these mini marshmallows constantly!** They can go from perfectly golden to burnt in a mere 10-30 seconds, depending on your broiler’s intensity. Remove them immediately once they reach your desired level of golden toastiness and set aside.
-
Step 3: Melt Chocolate and Butter. In a large, microwave-safe bowl, combine the 3 tablespoons of butter, ¾ cup of milk chocolate chips, and a pinch of kosher salt. Microwave on 50% power in 30-second intervals, stirring thoroughly after each interval, until the mixture is completely melted and smooth.
-
Step 4: Incorporate Toasted Marshmallows and Vanilla. Add the previously toasted (3 cups) mini marshmallows to the melted chocolate mixture. Return the bowl to the microwave and continue to heat on 50% power in 30-second intervals, stirring after each, until the marshmallows are fully melted and the entire mixture is smooth and cohesive. Stir in the ½ teaspoon of pure vanilla extract until well combined.
-
Step 5: Combine with Golden Grahams. Pour the 3 ½ cups of Golden Grahams™ cereal into the warm chocolate-marshmallow mixture. Mix as quickly as possible, ensuring all the cereal pieces are evenly coated and integrated. Remember, the mixture will thicken rapidly without corn syrup.
-
Step 6: Press into Pan. Transfer the cereal mixture into your prepared 8” x 8” baking dish. Use a buttered wooden spoon or lightly buttered hands to firmly and evenly press the mixture into the bottom of the pan, creating a compact layer.
-
Step 7: Top and Final Broil. Sprinkle the remaining ½ cup of mini marshmallows and ¼ cup of chopped milk chocolate chips evenly over the surface of the pressed bars. Adjust your oven rack to accommodate the baking dish, then return it under the broiler. Broil until the top layer of marshmallows is beautifully golden and toasted. Again, exercise extreme caution and watch continuously to prevent burning.
-
Step 8: Cool and Serve. Allow the bars to cool at room temperature for at least 30 minutes before cutting into squares and serving. For optimal texture and pliability, store any leftover bars covered at room temperature.
Notes
Chef’s Recommendation: These bars are so addictively good, I strongly suggest doubling the recipe. You’ll be glad you did!
Nutrition
Calories: 309 kcal | Carbohydrates: 51g | Protein: 3g | Fat: 11g | Saturated Fat: 5g | Polyunsaturated Fat: 1g | Monounsaturated Fat: 2g | Trans Fat: 1g | Cholesterol: 14mg | Sodium: 281mg | Potassium: 64mg | Fiber: 1g | Sugar: 27g | Vitamin A: 117IU | Calcium: 29mg | Iron: 1mg
Expert Tips for Making the Best No-Bake S’mores Bars
- Generously Grease Everything: Butter is your ally! Ensure parchment paper for marshmallow toasting, your baking dish, and even your hands (if using them to press the mixture) are well-buttered. This prevents sticky situations.
- Never Leave the Broiler Unattended: Marshmallows can incinerate in seconds. Stay vigilant during both toasting phases, keeping a close eye to pull them out the moment they reach a golden hue.
- Speed is Essential for Mixing: Without corn syrup, the chocolate-marshmallow mixture sets quickly. Have your Golden Grahams measured and ready to dump in and mix immediately for optimal coating.
- Invest in Quality Chocolate: The better your milk chocolate chips, the richer and smoother your bars will taste. Brands like Ghirardelli make a noticeable difference.
- Press Firmly and Evenly: A well-compacted base ensures your bars hold together beautifully when sliced and have a satisfyingly dense chew.
- Patience During Cooling: Resist the urge to cut into them too soon! Allowing the bars to cool completely for at least 30 minutes (or longer) ensures they set properly and maintain their shape.
Creative Variations & Customizations
While these bars are fantastic as written, don’t hesitate to unleash your inner chef and customize them:
- Chocolate Swaps: Experiment with semi-sweet or dark chocolate chips for a less sweet, more intense flavor. White chocolate chips could also offer a creamy alternative.
- Nutty Additions: Fold in chopped peanuts, pecans, or almonds with the Golden Grahams for an extra layer of crunch and nutty flavor.
- Colorful Sprinkles: Before the final broil, sprinkle some colorful sprinkles on top for a festive look, perfect for birthdays or holidays.
- Cereal Alternatives: While Golden Grahams are ideal, feel free to try other cereals like Rice Krispies for a lighter bar, or even Cinnamon Toast Crunch for a spicy twist.
- Caramel Drizzle: For an extra decadent treat, drizzle warm caramel sauce over the cooled bars just before serving.
- Extra Chocolate Drizzle: Melt a bit of additional milk or white chocolate and drizzle it decoratively over the cooled bars for an elegant finish.
Storage and Make-Ahead Instructions
These No-Bake Golden Graham S’mores Bars are at their best when enjoyed within 2-3 days of preparation. To maintain their delicious texture and freshness:
- Room Temperature is Key: Store the bars in an airtight container at room temperature. Refrigerating them can cause them to harden excessively.
- Prevent Sticking: If you need to stack the bars, place a sheet of parchment paper between each layer to prevent them from adhering to one another.
- Perfect for Planning Ahead: These bars are an excellent make-ahead dessert for parties, potlucks, or any event where you need a crowd-pleasing treat ready in advance.
Frequently Asked Questions (FAQs)
- Can I skip the step of toasting the marshmallows?
- While you technically *could*, I strongly advise against it! The toasting process adds an incredible depth of caramel flavor and that authentic campfire essence that truly elevates these bars. If you absolutely require a recipe with absolutely zero heat, my no-bake blueberry cheesecake bars are a fantastic alternative.
- Why does this recipe not use corn syrup?
- I prefer to avoid corn syrup in my recipes when it’s not strictly necessary. While corn syrup helps keep mixtures pliable for longer, I’ve found these bars are perfectly delicious and hold their shape beautifully without it. The main implication is that you’ll need to work quickly when mixing the cereal into the marshmallow-chocolate base.
- My marshmallows burned under the broiler. What went wrong?
- Broilers are incredibly powerful and can burn marshmallows very quickly. This usually happens if they were too close to the heating element or left in for too long. The key is to watch them *constantly* – literally for seconds – and remove them the moment they turn golden brown. Don’t walk away!
- How can I prevent the mixture from sticking to my hands or spoon?
- The best trick is to lightly butter your hands or the back of a wooden spoon before pressing the mixture into the pan. A light coating of cooking spray can also work in a pinch.
- Can I substitute Golden Grahams with another type of cereal?
- While Golden Grahams are iconic for their s’mores-like taste, you can certainly experiment! Crispy rice cereal (like Rice Krispies) or even a variety of Chex cereal would likely work well and offer a different texture. Just be aware that the flavor profile will shift.
I am confident that you will adore how effortlessly these bars come together and how utterly delicious they are. And seriously, take my advice: double this recipe. These disappear remarkably fast, and you’ll undoubtedly be glad to have extra on hand! Enjoy this delightful taste of campfire magic, without the campfire!
Enjoyed this recipe? Leave a comment below!
Your feedback is invaluable and helps other home bakers discover new favorites. Share your experience!