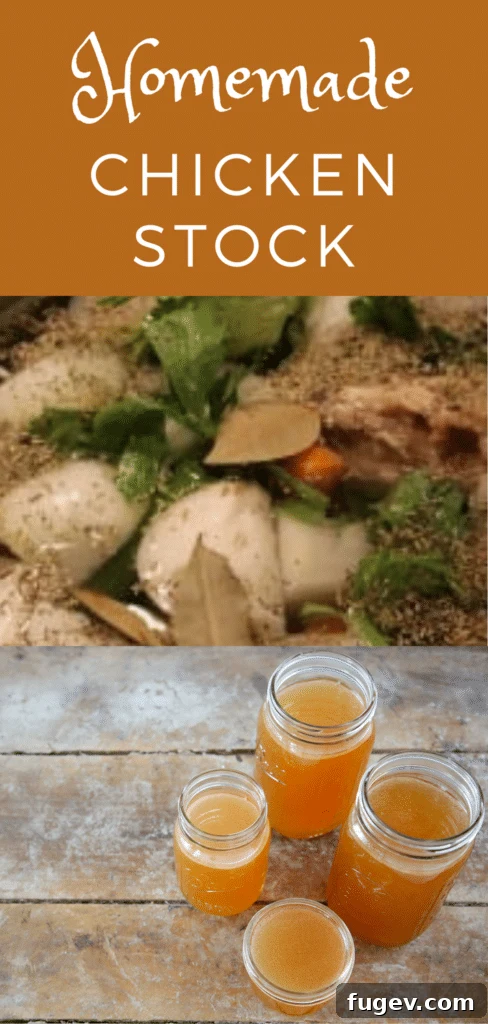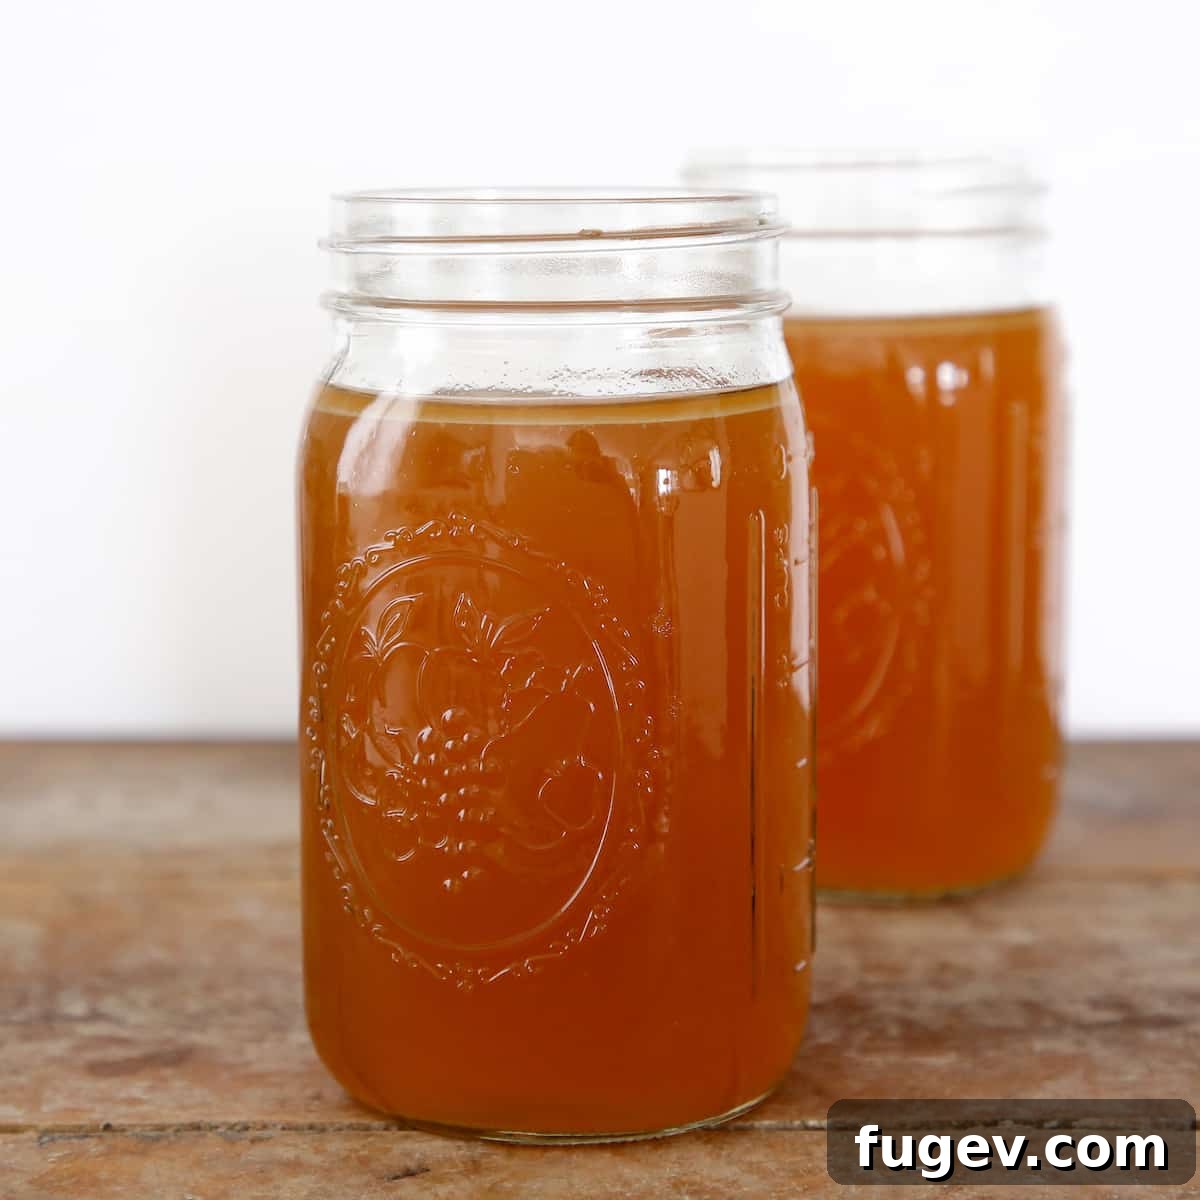
There’s simply no comparison to the incredible depth of flavor and nourishing qualities of homemade chicken broth. This essential culinary building block will undeniably elevate your soups, sauces, and countless other dishes, transforming them from good to truly extraordinary. In this comprehensive guide, I’ll share my perfected homemade chicken broth recipe, ideal for everything from comforting chicken noodle soup to elegant pan sauces.
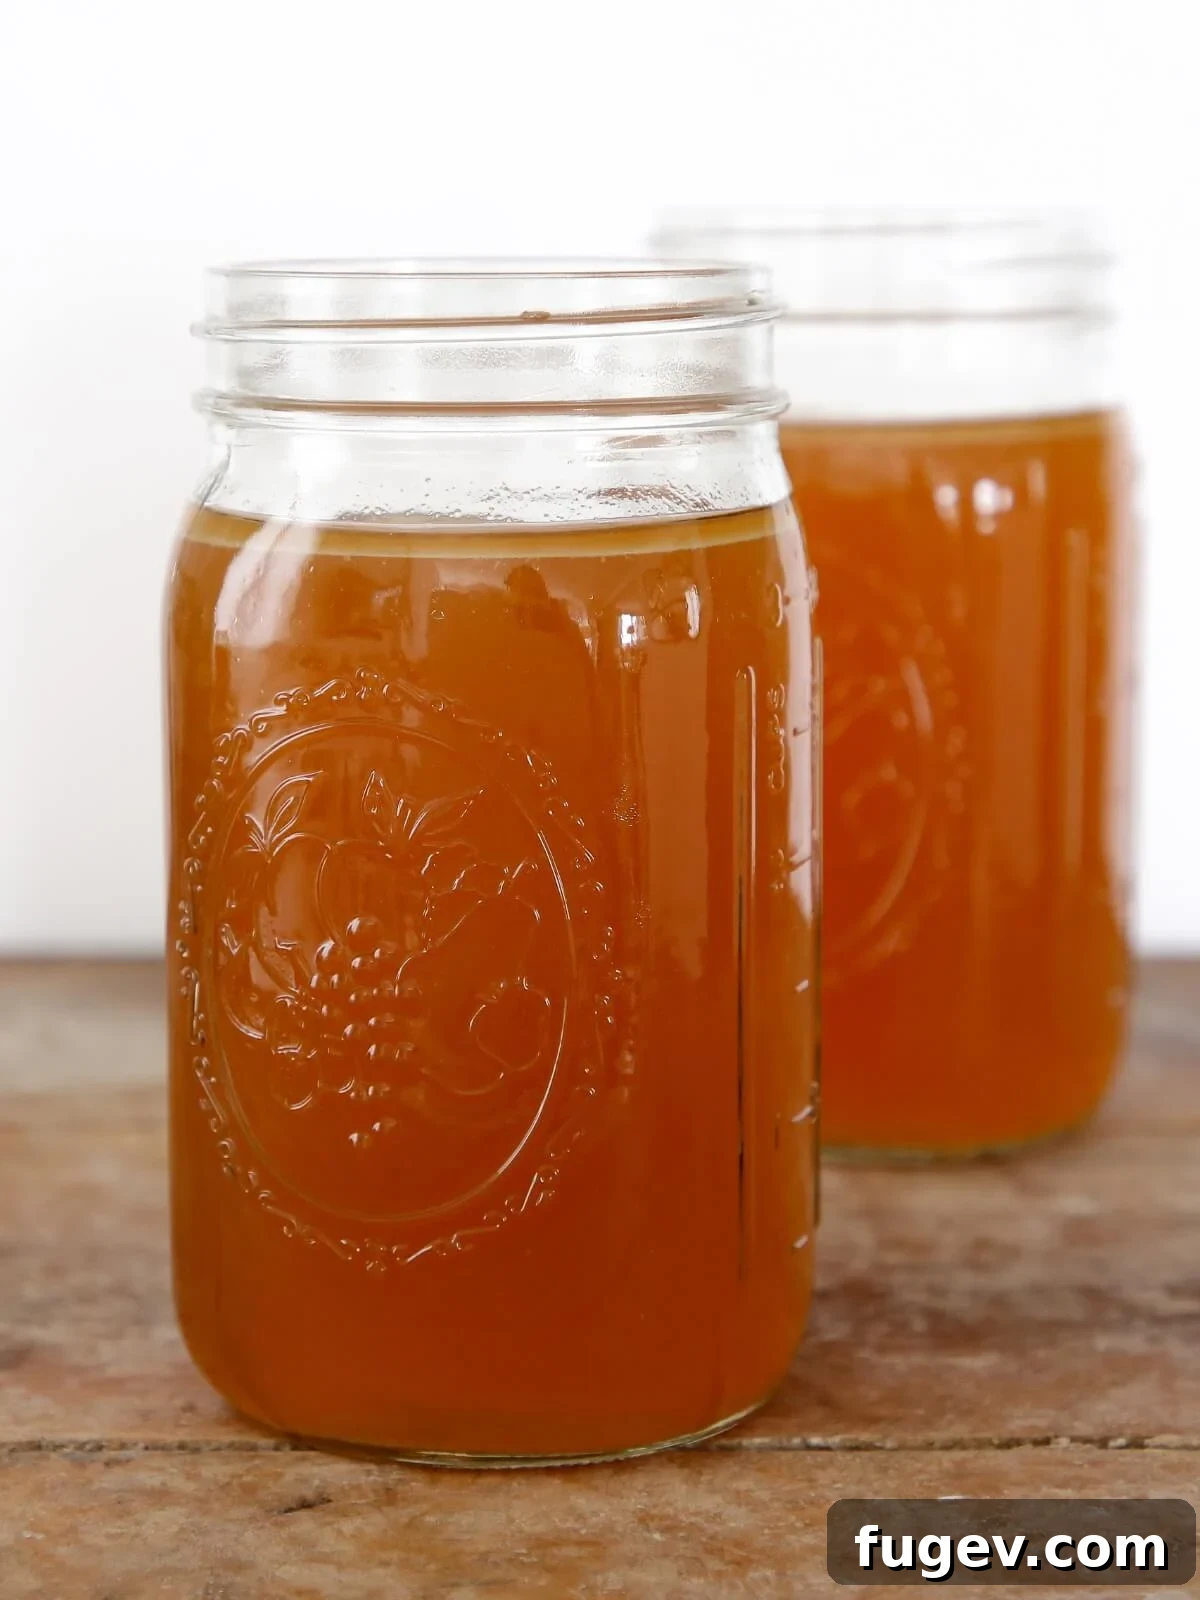
This isn’t just a recipe; it’s the secret to the most deeply flavorful, soul-satisfying chicken broth you’ll ever create. I’m talking about that hearty, restorative liquid renowned for curing colds and providing a foundational richness that only a slow-simmered homemade broth can deliver. Once you experience the difference, you’ll never go back to store-bought. Use this liquid gold as the base for homemade chicken noodle soup, a vibrant tomato pasta sauce, a succulent one-dish roasted chicken and vegetables, my hearty ground turkey soup recipe, or to craft a quick, flavorful pan sauce.
One of my favorite professional hacks is an ingenious method for freezing perfectly portioned homemade chicken broth: silicone ice cube trays. Imagine freezing this beautiful, rich broth in convenient cubes, allowing you to thaw the exact amount needed for any recipe with zero waste and maximum efficiency!
Table of Contents
- Why You Will Love Homemade Chicken Broth
- The Health and Economic Benefits of Homemade Broth
- Professional Tips for Making Exceptional Chicken Broth
- Essential Ingredients for the Best Broth
- Exciting Variations and Flavor Boosters
- Step-by-Step: How to Make Chicken Broth
- Chef Lindsey’s Recipe Tip: Freezing for Future Use
- Frequently Asked Questions About Chicken Broth
- Homemade Chicken Broth Recipe Card
- Before You Go
Why You Will Love Homemade Chicken Broth
Once you experience the superior taste and texture of homemade chicken broth, you’ll understand why it’s a staple in professional kitchens and home cooking alike. Here are just a few reasons why you’ll fall in love with making your own:
- Unrivaled Flavor Control: Unlike many commercial broths, our homemade recipe isn’t overloaded with sodium. The rich, savory profile comes naturally from the slow extraction of flavors from chicken, vegetables, and aromatic spices, giving you complete control over the seasoning.
- Incredibly Flavorful and Aromatic: Simmered patiently for hours, this broth develops a profound depth of flavor that is simply unmatched. The longer the gentle simmer, the more complex and concentrated the flavors become, creating a truly exquisite base for your culinary creations.
- Surprisingly Simple to Make: Don’t let the incredible results intimidate you. The process is remarkably straightforward: combine chicken bones and meat with fresh vegetables and seasonings in a large pot, let it gently simmer for several hours, then strain. It’s mostly hands-off cooking!
- Purity and Transparency: With homemade broth, you know exactly what goes into your food. No artificial flavors, colors, or preservatives—just wholesome, natural ingredients.
The Health and Economic Benefits of Homemade Broth
Beyond its exceptional taste, homemade chicken broth offers significant advantages for your health and your wallet. It’s a fantastic way to utilize leftover chicken bones and vegetable scraps, transforming them into a nutritious and flavorful liquid that would otherwise go to waste.
- Nutrient-Dense Elixir: Slow simmering extracts valuable minerals like calcium, magnesium, phosphorus, and potassium from the bones, along with collagen. Collagen breaks down into gelatin, which is known for supporting gut health, joint function, and even healthy skin and hair. This makes homemade broth a natural superfood.
- Cost-Effective Cooking: Making broth at home is incredibly economical. Instead of buying expensive cartons of broth, you can transform what might otherwise be discarded (chicken carcasses, vegetable trimmings) into a valuable ingredient. This practice aligns perfectly with a “waste not, want not” philosophy.
- Immune System Support: The warm, nutrient-rich liquid is legendary for its comforting and healing properties, particularly during cold and flu season. It helps hydrate the body and provides easily digestible nutrients.
Professional Tips for Making Exceptional Chicken Broth
Achieving restaurant-quality chicken broth at home is easier than you think with these expert tips:
- Always Double the Recipe: I strongly recommend making a larger batch. Since the process involves simmering for several hours, doubling the recipe ensures you have plenty of rich broth to freeze and use in future recipes, such as Chicken Paprikas with Homemade Spaetzle, without needing to repeat the long cooking process too often. It’s an investment in future delicious meals!
- Embrace Patience for Maximum Flavor: The secret to truly flavorful broth lies in low and slow simmering. While the broth cooks, there’s no need to constantly monitor it, so you’re free to tackle other tasks. Allow the broth to simmer gently for the full recommended time—or even longer, up to 8 hours—to extract every last bit of savory goodness.
- Freeze Your Chicken Scraps: Don’t discard bones from roasted chickens, chicken thighs, or drumsticks. Instead, collect them in a freezer-safe bag. Once you have enough, they become the perfect foundation for your next batch of homemade broth or stock, turning kitchen waste into culinary treasure.
- Ensure Adequate Water Coverage: It’s crucial that all your chicken bones and vegetables are fully submerged in water. Add an extra inch or two beyond that, as the liquid will naturally reduce and concentrate during the long simmering process. This ensures maximum flavor extraction.
- Skim for Clarity: During the initial stages of simmering, foam and impurities will rise to the surface. Gently skim these off with a ladle or spoon. This step is key for achieving a clear, appealing broth.
- Roast Bones for Deeper Flavor (Optional): For an even richer, darker, and more intensely flavored broth, consider roasting your chicken bones and any raw vegetables (like onions and carrots) in the oven until lightly browned before adding them to the pot. This caramelization adds wonderful depth.
- Rapid Cooling is Key: After straining, it’s important to cool your broth as quickly as possible to prevent bacterial growth. Divide it into smaller containers and place them in an ice bath before refrigerating, or simply let it cool on the counter for an hour or two before transferring to the fridge.
Essential Ingredients for the Best Broth
The beauty of homemade chicken broth lies in its simplicity and the quality of its core ingredients. Here’s what you’ll need to create a truly spectacular broth:
- Chicken Bones: The foundation of our broth! Use bones and any leftover meat from one medium roast chicken. This could be a convenient store-bought rotisserie chicken, or even better, bones from a home-cooked roasted chicken. You can also use raw chicken bones (backs, necks, wings) or a whole chicken carcass that you have deboned yourself. For a visual guide, check out my YouTube tutorial on how to debone a whole chicken!
- Celery: Approximately three celery ribs are perfect for this recipe. Feel free to include the leaves and inner, paler stalks; they add a delightful aromatic depth. I often save the tops of my celery stalks specifically for making stock. You can find whole celery stalks at your local grocery store or order online.
- Carrots: I always opt for classic orange carrots. While colorful varieties like purple carrots are beautiful, they can tint your broth a less appealing color. Carrots provide a natural sweetness that balances the savory notes of the chicken.
- Onions: Yellow or sweet onions are my top choices for this broth. They impart a foundational sweetness and savory base without overpowering other flavors. These are also my go-to onions for my Best French Onion Soup!
- Bay Leaves: Dried bay leaves are essential for their subtle, herbal notes, reminiscent of thyme and oregano. Avoid fresh bay leaves, as their flavor can sometimes be more bitter in long-cooked broths.
- Rosemary: I prefer to gently crush dried rosemary before adding it to further release its fragrant, piney aroma into the broth. While fresh rosemary can be used, dried works perfectly well, especially in such small quantities.
- Thyme: Similar to rosemary, dried thyme is highly recommended for its earthy, slightly minty notes. Fresh thyme can be substituted if you have it on hand.
- Peppercorns: Whole black peppercorns, such as Malabar, are ideal. They add a gentle warmth and subtle spice without being overly pungent. I advise against using green or pink peppercorns, as their flavor profiles are quite different.
- Salt: I always use kosher salt. It has a larger crystal size than table salt, making it less concentrated by volume and easier to control seasoning as you taste and adjust throughout the cooking process.
Exciting Variations and Flavor Boosters
Once you’ve mastered the basic recipe, feel free to experiment and customize your broth to suit your taste preferences and specific culinary needs:
- For a Thicker, Gelatinous Broth (Chicken Feet): If you desire a broth with a richer mouthfeel and higher collagen content (perfect for sauces and gravies), consider adding 1-2 pounds of chicken feet to your pot. Their high collagen breaks down beautifully, creating a naturally thicker, more luscious final product.
- Expand Your Aromatic Profile: Don’t be afraid to experiment with other dried herbs and spices. Try a pinch of oregano, a sprig of fresh parsley (added in the last hour of simmering), a few whole coriander seeds, or a small piece of fresh ginger for an Asian-inspired twist. Garlic cloves, smashed but unpeeled, also add wonderful depth.
- Electric Pressure Cooker / Instant Pot Method: For a significantly faster broth, an electric pressure cooker or Instant Pot is a game-changer. Simply add all ingredients to the pot, seal, bring to high pressure, and cook for approximately 45-60 minutes. Allow for a natural pressure release for the best flavor extraction. This method reduces cooking time from hours to under two hours total!
- Spice it Up: For a spicier kick, add a few dried chili flakes or a whole dried chili pepper during simmering.
- Umami Boost: A small piece of kombu (dried kelp) or a few dried shiitake mushrooms can add an incredible layer of umami to your broth. Remove them before straining if you prefer.
Step-by-Step: How to Make Chicken Broth
Follow these simple, clear instructions to create a flawless batch of homemade chicken broth every single time. Detailed measurements are provided in the recipe card below!
- Step 1: Combine Ingredients and Begin Simmering. Place all your chicken bones, meat scraps, chopped vegetables, and herbs into a large, heavy-bottomed pot or Dutch oven. Pour in enough cold water to fully cover the ingredients by at least an inch or two. Bring the mixture to a gentle boil over medium-low heat. Once boiling, reduce the heat immediately to a low simmer, cover the pot, and let it cook for at least 3 hours, and ideally up to 6 hours for maximum flavor extraction. Remember to skim off any foam that rises to the surface during the first 30 minutes.
- Step 2: Initial Straining for Coarse Solids. After simmering, remove the pot from the heat. Begin the straining process by first scooping out all the large pieces of chicken and vegetables with a slotted spoon. Place these solids into a large colander positioned over a sturdy bowl. Next, carefully pour the remaining liquid directly through the colander to catch any smaller pieces. Set the colander aside over a separate clean bowl to allow any residual broth to drip out.
- Step 3: Fine Straining for a Clear Broth (Optional but Recommended). For a beautifully clear and refined broth, place a piece of cheesecloth (folded into several layers) over the top of the original pot and secure it with a rubber band or twine. Slowly and carefully pour the broth that has collected in the bowls through the cheesecloth-lined pot. This extra step removes even the finest sediment, resulting in a sparkling clear stock.
- Step 4: Extract Every Last Drop. Once the broth has drained through the cheesecloth, carefully remove the cheesecloth and its contents. Gently squeeze any remaining liquid from the strained vegetables and cheesecloth directly into the pot of broth. Discard the spent solids.
- Step 5: Chill and Skim Fat. Allow the broth to cool to room temperature on the stovetop (this can take a couple of hours). Once cooled, transfer the broth to airtight containers and refrigerate overnight. As it chills, the fat will solidify and rise to the surface, making it easy to skim off and discard with a spoon the next morning. This step reduces fat content and results in a cleaner-tasting broth.
- Step 6: Serve or Store. Your rich, homemade chicken broth is now ready to be heated and served, or stored for future culinary adventures!
While there might seem like easier ways to strain your broth, this two-step method ensures you capture every single flavorful drop and achieve optimal clarity. As my grandmother always said, “Waste not, want not!”
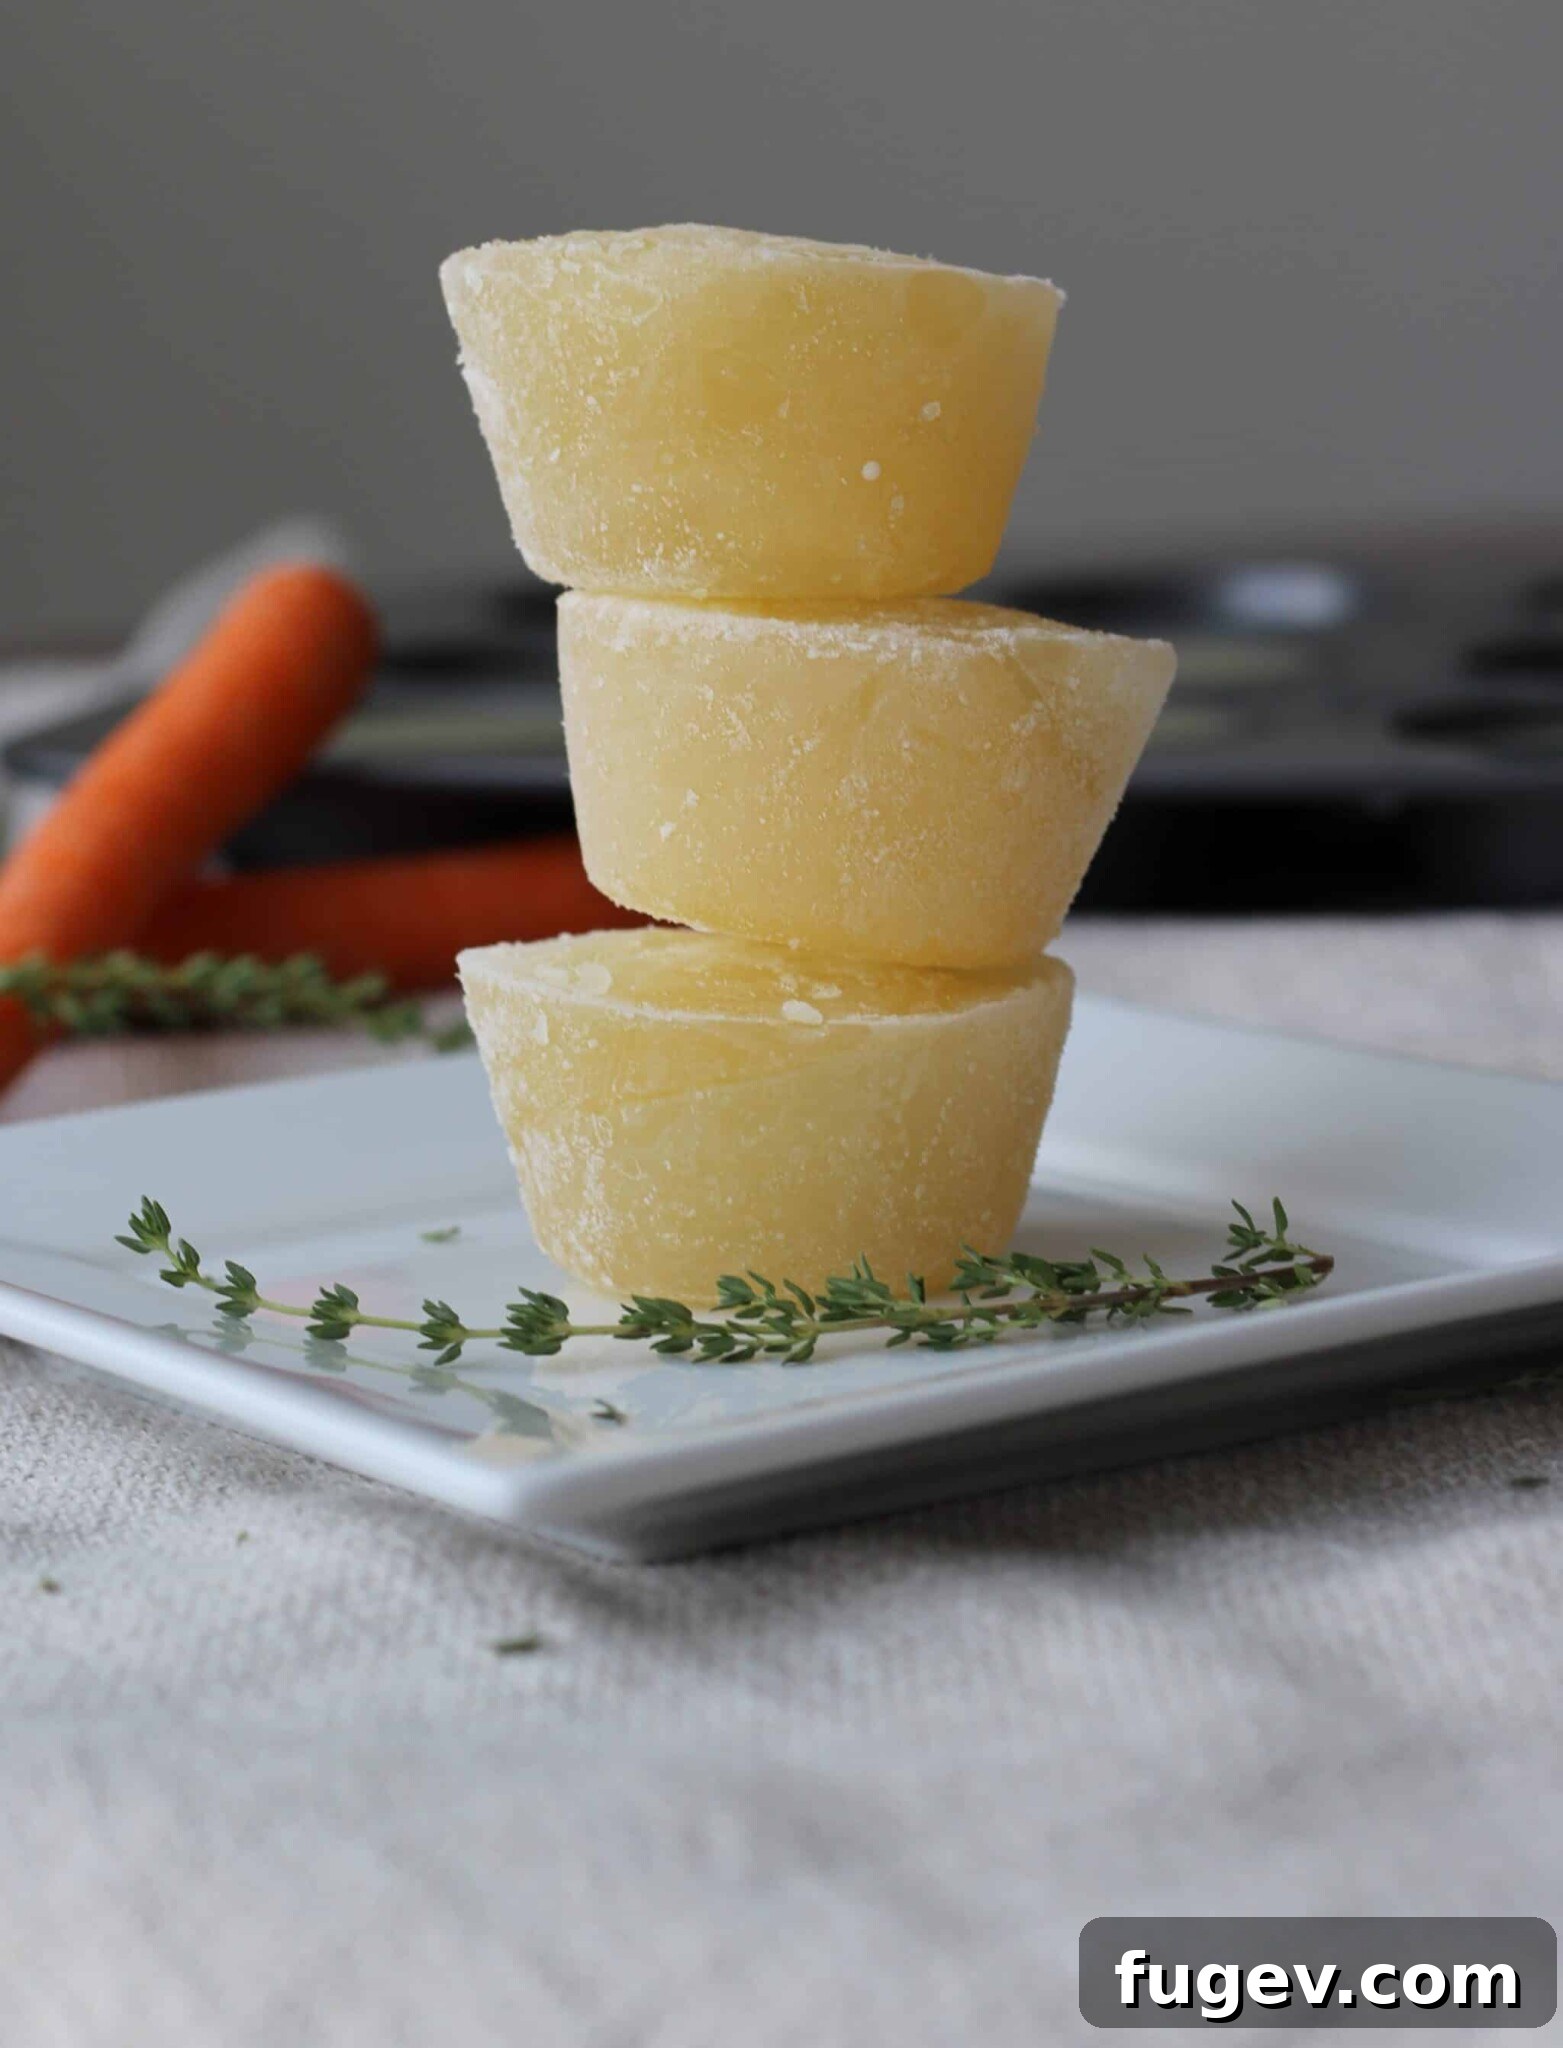
Chef Lindsey’s Recipe Tip: Freezing for Future Use
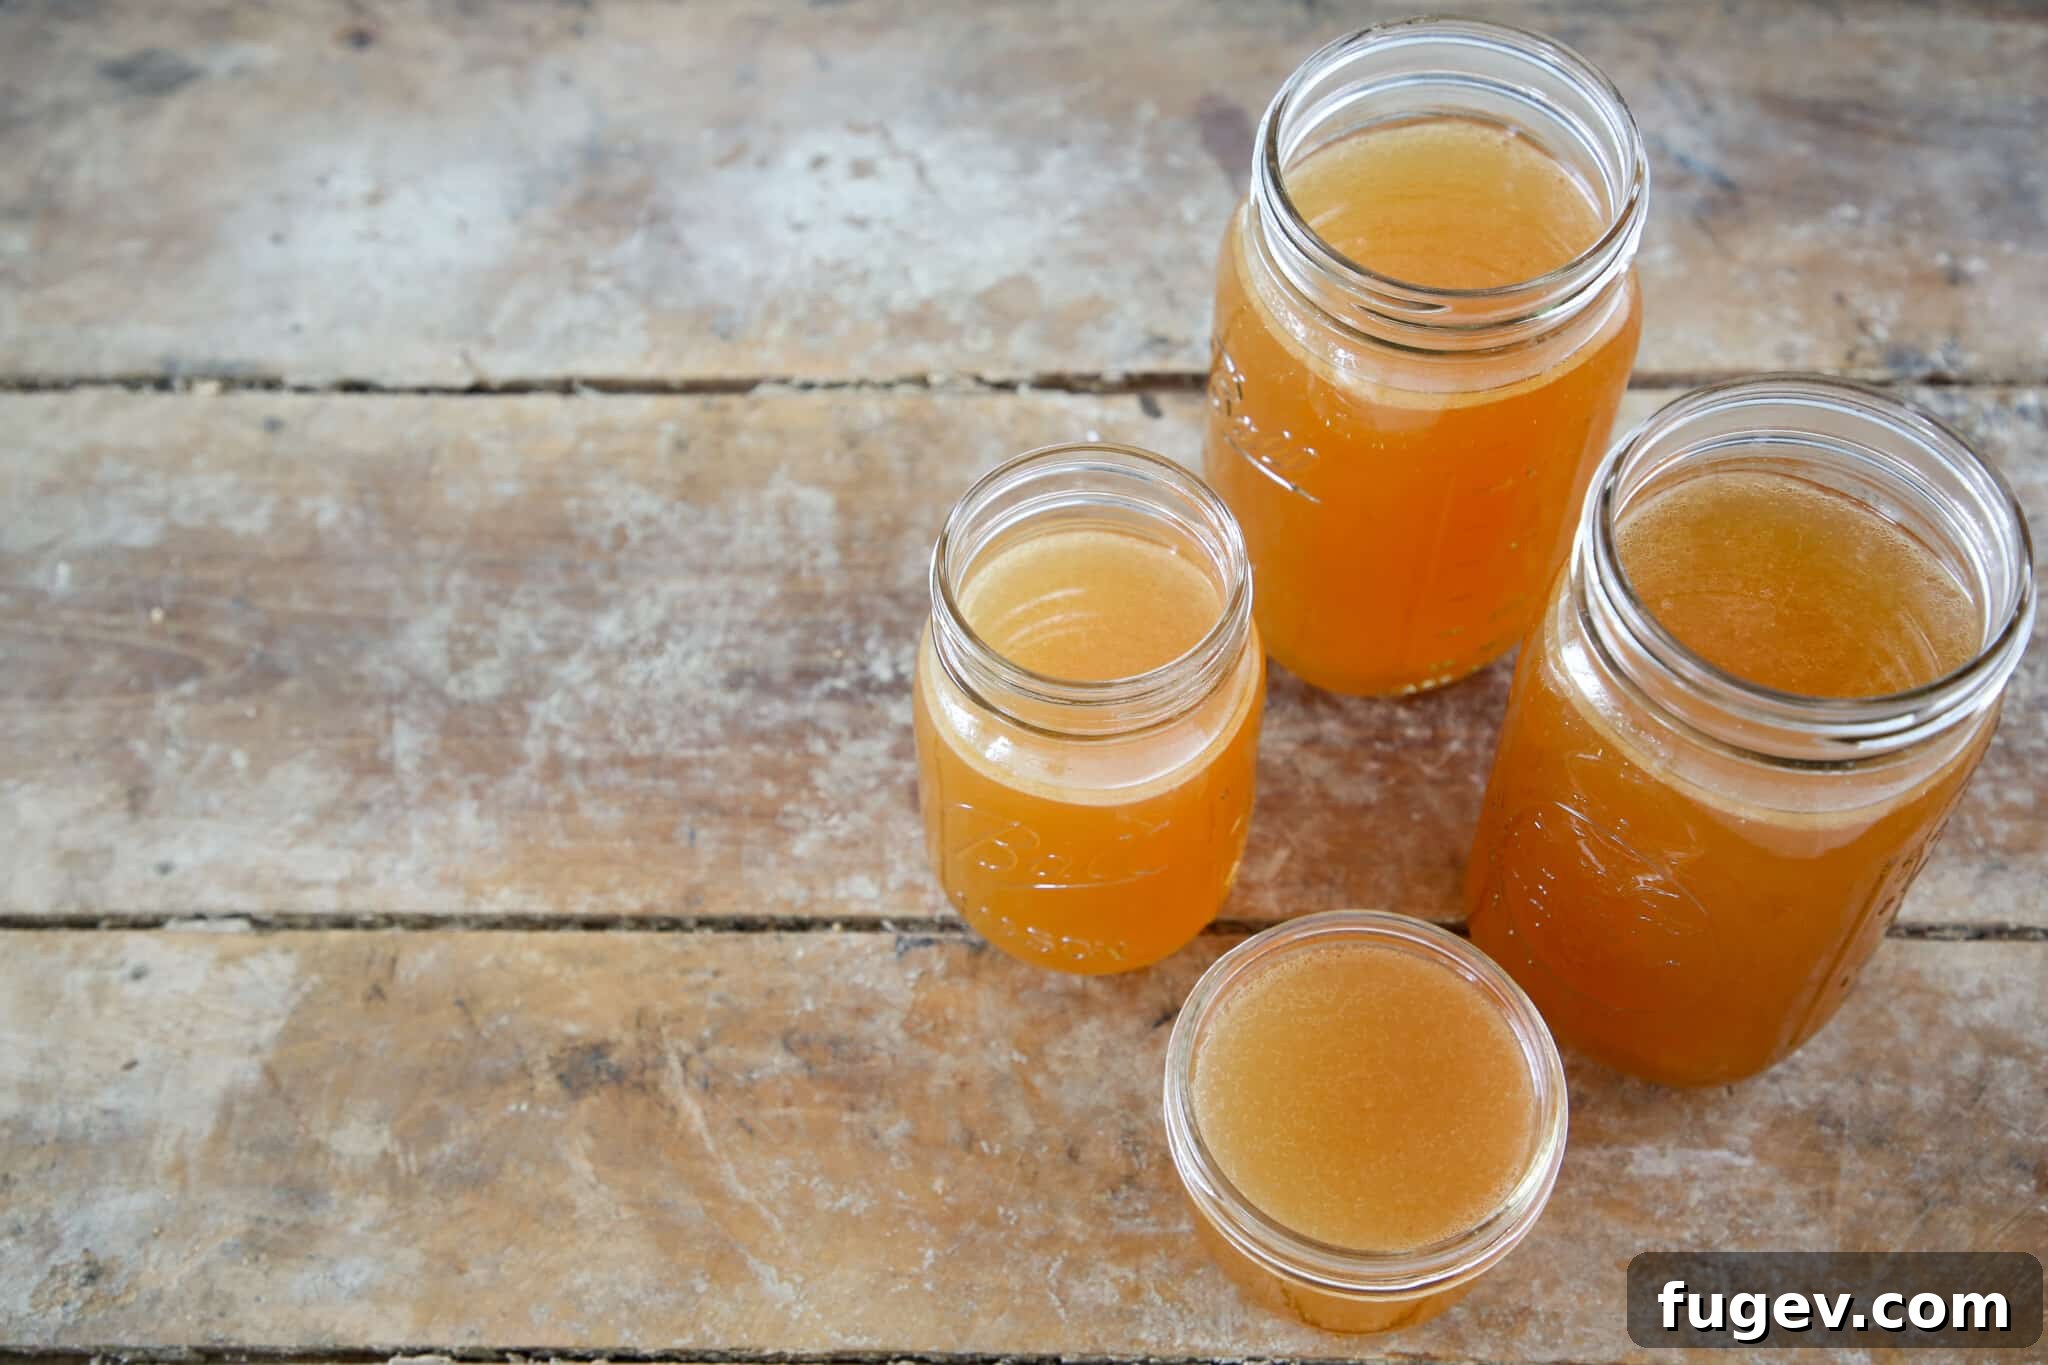
To perfectly portion your homemade chicken broth for freezing, silicone ice cube trays are your best friend! I personally use a variety of sizes – some trays that hold 2 tablespoons per cube and others that hold ½ cup. Once the broth is completely cooled, fill the trays and freeze them solid. After freezing, you can either keep them in the trays or pop out the frozen cubes and transfer them to a larger freezer-safe bag or container. This method provides perfectly portioned chicken broth, ready to thaw and use in any recipe without waste!
For larger portions, consider freezing broth in muffin tins (each cavity holds approximately ½ cup) or small deli containers. Once frozen, transfer these solid pucks of broth to a freezer bag. This makes meal prep a breeze!
Frequently Asked Questions About Chicken Broth
Store your cooled homemade chicken broth in an airtight jar or container in the refrigerator for up to 5 days. For longer storage, chicken broth freezes beautifully. Allow it to cool completely before transferring to freezer-safe containers. Frozen chicken broth maintains its quality for up to 6 months.
Chicken stock and chicken broth are very similar culinary liquids, but they have subtle distinctions. Generally, chicken stock is made primarily from bones, which contribute more gelatin and result in a richer, thicker mouthfeel. Chicken broth, on the other hand, is made using a combination of both meat and bones, often with a shorter cooking time, yielding a lighter, more savory flavor. Stock is typically considered an ingredient to build other dishes, while broth can be enjoyed on its own as a finished product.
To reheat chicken broth, simply transfer it to a stockpot or saucepan. Bring the broth to a gentle boil, then reduce the heat to a simmer and allow it to warm through completely before serving or incorporating into a recipe.
Absolutely, without a doubt! The unparalleled depth of flavor, nutritional benefits, and satisfaction you achieve from slowly simmering homemade chicken broth far outweigh the time investment. The recipe itself is quite simple; the main “effort” is just passive simmering time, during which you can go about your day. The results are truly transformative for your cooking.
While you can theoretically reuse bones, the flavor and nutritional extraction will be significantly diminished in a second round. For the richest, most flavorful, and nutrient-dense broth, it’s best to use fresh bones for each batch.
If you tried this recipe and loved it, please consider leaving a 🌟 star rating and share your experience in the comments below. I truly cherish hearing from you; your feedback makes my day!
Homemade Chicken Broth
Chef Lindsey
10
3-6
3 10
4 quarts (approx.)
Comment
Print Recipe
Ingredients
- 1 lb chicken bones leftover from 1 medium chicken (roasted or raw carcass)
- 3 celery ribs with leaves cut into 2-inch pieces
- 2 carrots cut into 2-inch pieces
- 2 onions quartered
- 2 dried bay leaves
- ½ teaspoon dried rosemary crushed
- ½ teaspoon dried thyme heaping
- 8 whole black peppercorns
- Approximately 2-3 quarts cold water (enough to cover ingredients + 1 inch)
- Pinch kosher salt (to taste, adjust at the end)
Instructions
-
Place all ingredients into a large pot or Dutch oven. Add enough cold water to cover the ingredients by at least an inch. Bring the mixture to a boil over medium-low heat. Once it reaches a boil, reduce the heat to a very low simmer, cover the pot, and cook for at least 3 hours and up to 6 hours. Skim off any impurities that rise to the surface during the first 30 minutes of simmering.
-
Strain the broth using a two-step process. First, use a slotted spoon to scoop out all the large pieces of chicken and vegetables and place them in a large colander positioned over a bowl. Next, carefully pour the remaining liquid through the colander. Set the colander aside over another bowl to continue dripping.
-
For a clearer broth (optional but recommended), place several layers of cheesecloth over the top of your original pot and secure it with a rubber band. Slowly pour all the broth that has drained from the colander through the cheesecloth. This step removes fine sediment, resulting in a beautifully clear stock.
-
Once all the liquid has passed through, remove the cheesecloth. Gently squeeze any remaining liquid from the strained solids in the cheesecloth back into the broth before discarding them.
-
Allow the broth to cool to room temperature. Then, transfer it to airtight containers and refrigerate overnight. This allows the fat to solidify on top, making it easy to skim off and discard for a leaner broth.
-
Once fat is skimmed, heat and serve, or freeze for later use! Adjust salt to taste before serving.
Freezing Perfect Portions
-
Pour ½ cup of cooled broth into each muffin cup of a standard muffin tin. Place the muffin tin in the freezer for about 2-4 hours, or until completely frozen.
-
Once frozen, invert the muffin tin over a clean sink. Briefly run warm water over the back of the tin to loosen the frozen broth cups. Immediately pick them up and transfer them to a freezer-safe bag to prevent excess melting.
-
Place the freezer bag in the freezer. Repeat this process until all your broth has been frozen into convenient portions.
-
To thaw: Place the desired number of frozen broth cups into a Pyrex measuring cup or microwave-safe bowl. Thaw them in the microwave on half power until just melted, or gently warm in a saucepan on the stovetop.
Video
Notes
Electric Pressure Cooker – You can absolutely make this broth in your Instant Pot or electric pressure cooker. Just add all the ingredients to the pot, secure the lid, bring it up to high pressure, cook for about 45 minutes, then use the natural release method.
Storage – Store leftover chicken broth in an airtight container in the fridge for up to 5 days. You can also freeze chicken broth for up to 6 months in freezer-safe containers or portioned cubes.
Nutrition
Carbohydrates: 9g |
Protein: 1g |
Fat: 1g |
Saturated Fat: 1g |
Polyunsaturated Fat: 1g |
Monounsaturated Fat: 1g |
Sodium: 71mg |
Potassium: 260mg |
Fiber: 2g |
Sugar: 4g |
Vitamin A: 5240IU |
Vitamin C: 7mg |
Calcium: 53mg |
Iron: 1mg
Before You Go
I genuinely hope you savored this professional chef-tested recipe for homemade chicken broth. It’s a foundational skill that will transform your cooking and add incredible richness to your meals. Don’t stop here – explore our other delicious, chef-developed soup and stew recipes to put your exquisite homemade broth to good use!