
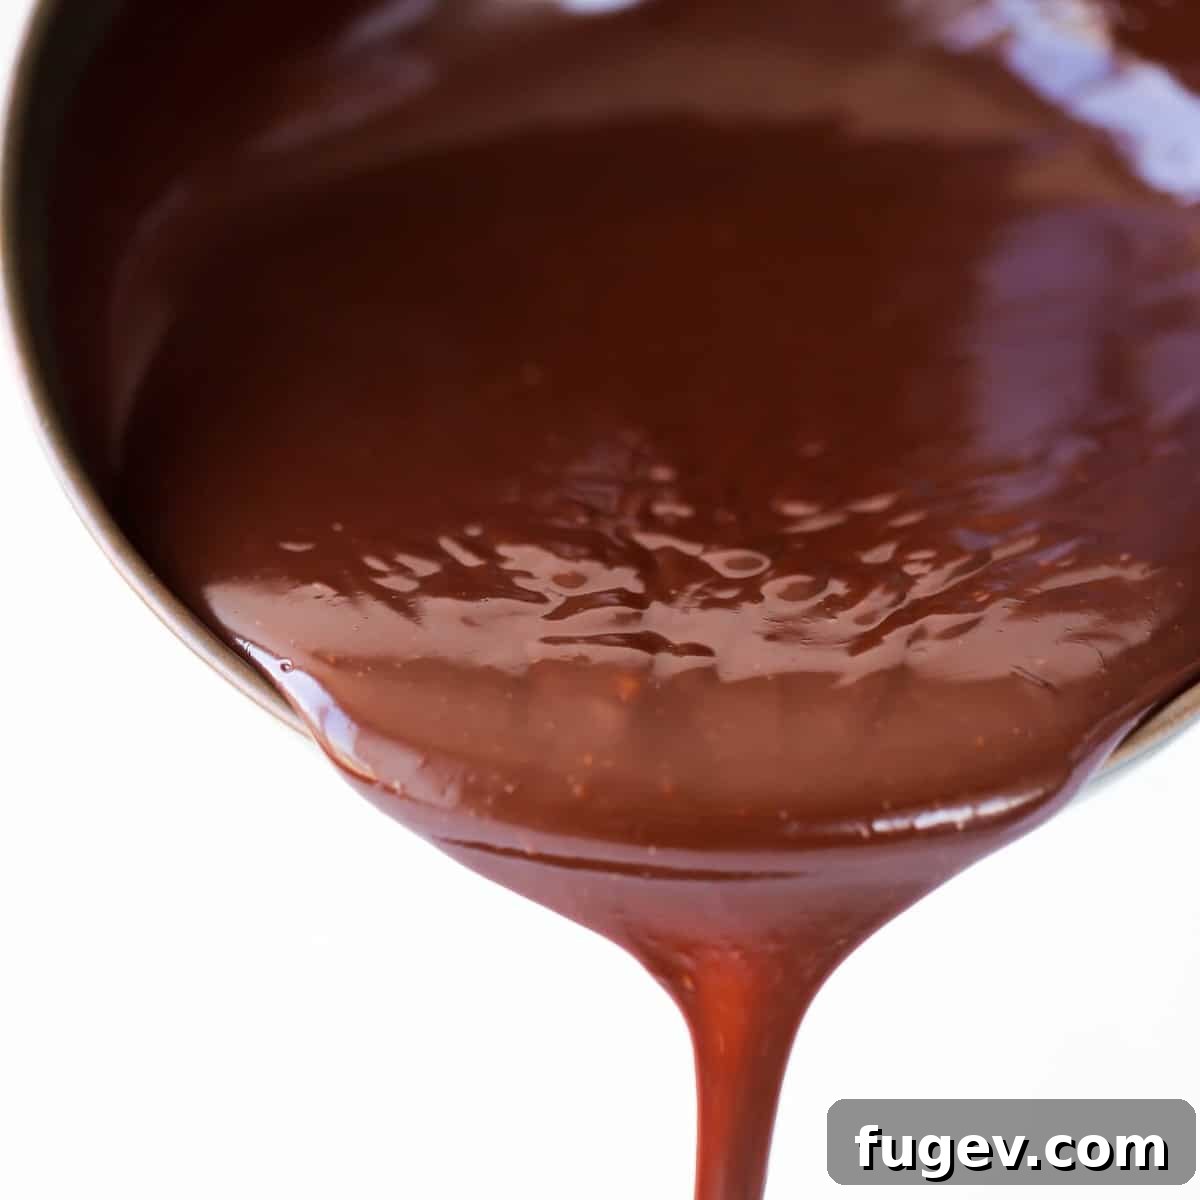
Discover the secrets to crafting a truly professional chocolate ganache recipe – a rich, velvety smooth creation that’s as versatile as it is delicious. From a pastry chef’s kitchen to yours, this comprehensive guide will equip you with the knowledge to make impeccable ganache every time. Learn how to effortlessly adapt it for various uses, master essential troubleshooting techniques, and unlock a world of decadent possibilities.
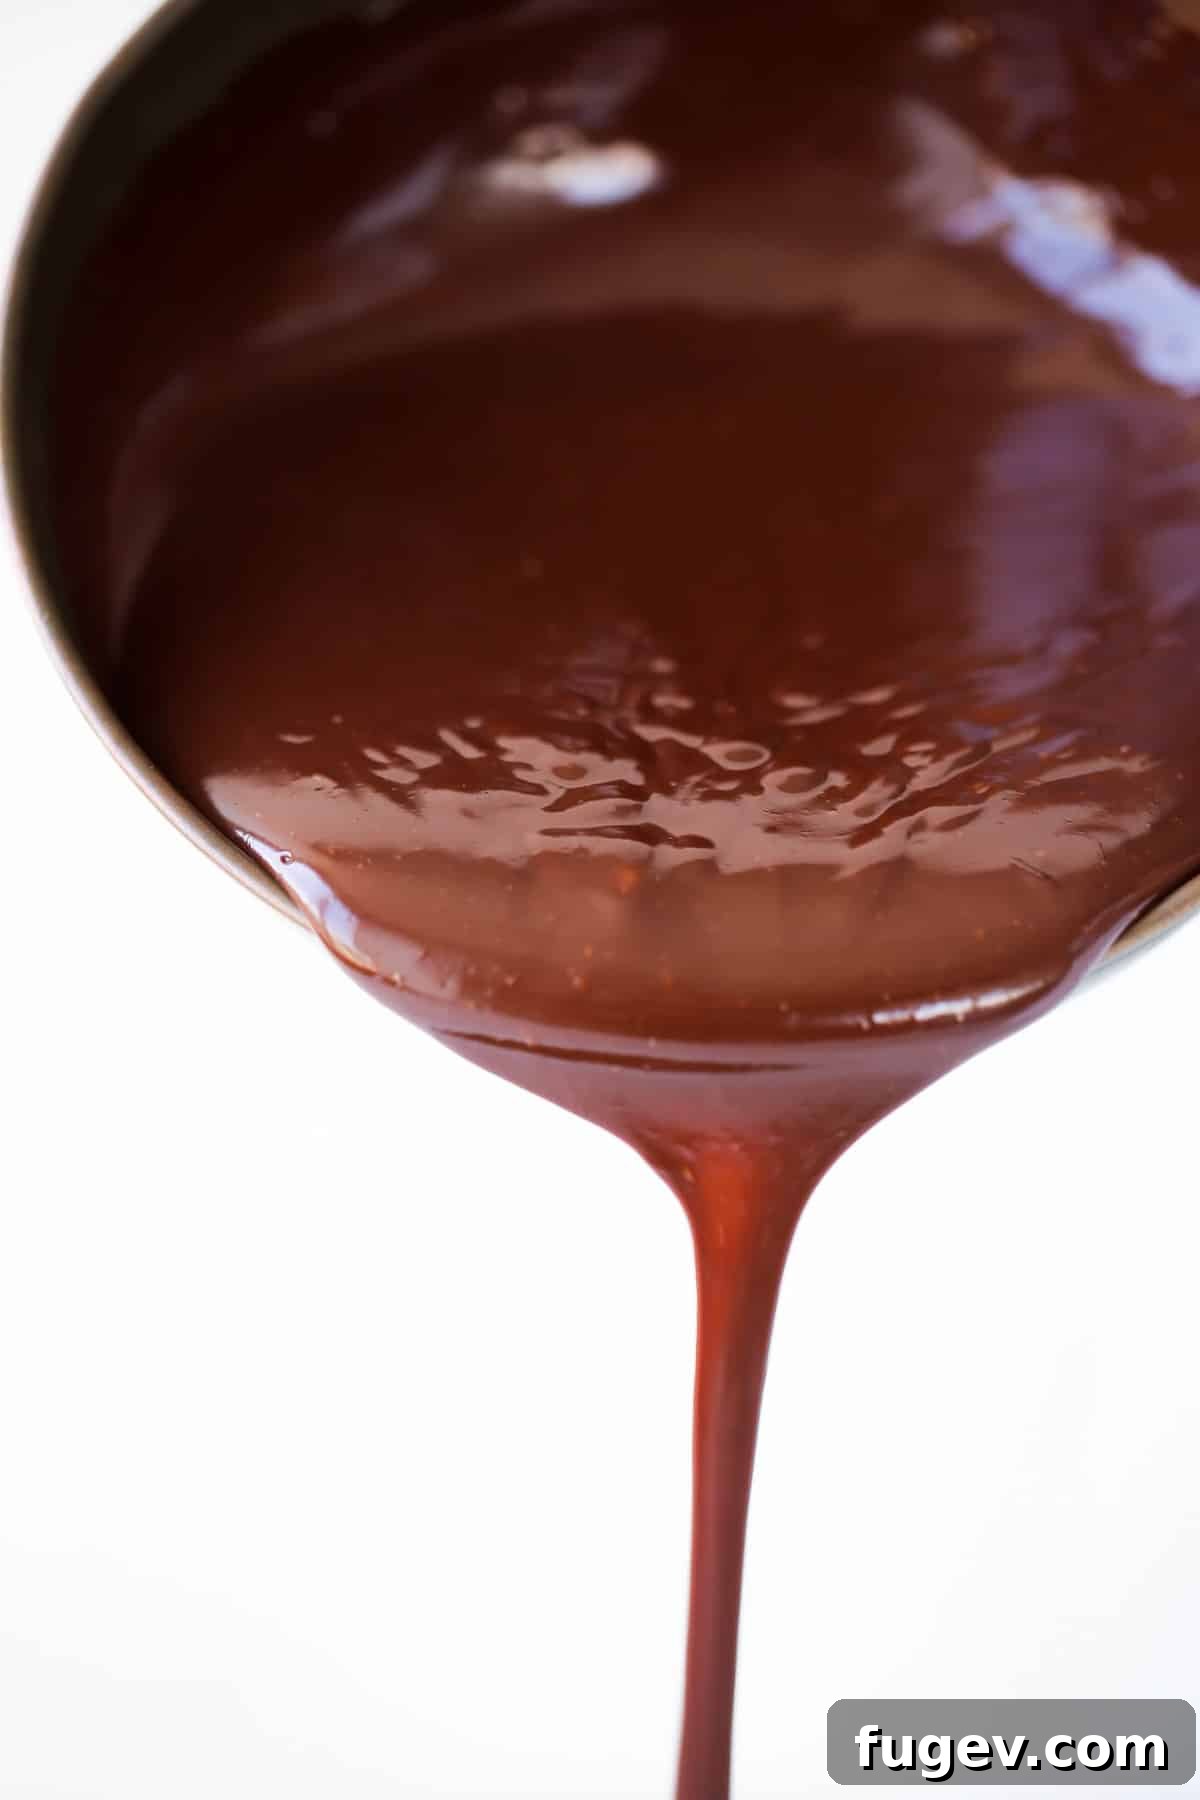
Chocolate ganache is a fundamental technique in pastry arts, so deceptively simple that many professional chefs don’t even have a written recipe for it. In culinary school, we delved deep into the nuances: understanding different types of ganache, the critical role of varying ratios, and how to expertly adapt these ratios based on the specific type of chocolate used and its intended application. This guide will distill all that professional knowledge, ensuring you too can create perfect ganache without needing to consult a recipe card every time.
Before diving into the ganache-making process, a basic understanding of chocolate itself is essential. Chocolate, at its core, is a complex structure of cocoa butter crystals. When you create ganache, you are essentially melting these existing crystalline structures and then carefully realigning them, emulsifying them with liquid. The melted chocolate and cream form a stable emulsion, which then re-sets into a new, looser structure, the firmness of which is determined by the amount of liquid added. For a deeper dive into chocolate’s intricate crystalline nature, explore my How to Temper Dark Chocolate post.
Another crucial factor to grasp about chocolate, especially when making ganache, is its “liquidity.” This term refers to how fluid the chocolate becomes when melted, which is largely influenced by the amount of cocoa butter added by manufacturers. Premium chocolate manufacturers often adjust cocoa butter content to fine-tune the texture and fat profile of their products. A higher cocoa butter content results in greater liquidity, making the melted chocolate looser and more fluid. While this can simplify tempering and contribute to a desirable mouthfeel, it directly impacts the final consistency of your ganache. Consequently, if you use a high-liquidity chocolate with a standard ganache ratio, your ganache might be noticeably looser than one made with a lower-liquidity chocolate, such as typical baking chocolate chips which often contain additives that thicken them.
Table of Contents
- Why This is the Ultimate Chocolate Ganache Recipe
- Professional Tips for Flawless Chocolate Ganache
- Essential Ingredients for Perfect Ganache
- How to Adapt Your Chocolate Ganache Recipe
- Creative Ways to Use Chocolate Ganache
- Step-by-Step: How to Make Silky Chocolate Ganache
- Frequently Asked Questions About Ganache
- Simple Chocolate Ganache Recipe
- Beyond the Ganache: Explore More Desserts
Why This is the Ultimate Chocolate Ganache Recipe
- Achieve Unrivaled Silky Smoothness and Ideal Set: This recipe, built on a foundational 1:1 ratio (by weight), consistently yields a ganache that is luxuriously silky and sets beautifully – soft enough to spoon, yet firm and sliceable when chilled. The carefully balanced proportions ensure a stable emulsion, preventing graininess and separation, resulting in a perfectly smooth texture that melts exquisitely in your mouth.
- Effortlessly Adaptable for Any Culinary Vision: Far from a one-trick pony, this ganache recipe is a master of transformation. Easily reduce the heavy cream for a thick, pipeable ganache perfect for truffles or firm fillings. Increase the cream for a pourable, glossy glaze ideal for drip cakes. The base recipe is also a blank canvas for flavor and texture enhancements; incorporate alcohol, extracts, softened butter for added richness, or corn syrup for an enduring shine and softness, even under refrigeration.
- Incredibly Versatile for a Multitude of Desserts: The applications for this professional-grade ganache are virtually endless. Use it as a decadent topping for fudgy brownies, a rich filling for chocolate thumbprint cookies, or as an elegant frosting for a moist chocolate zucchini cake. It serves beautifully as a pristine glaze, a luscious tart filling, or even as the base for exquisite homemade chocolates. Its adaptability makes it an indispensable tool in any baker’s repertoire.
Professional Tips for Flawless Chocolate Ganache
- Allow Hot Cream to Do the Heavy Lifting: The most common mistake home bakers make is rushing the melting process. By giving the hot heavy cream ample time to gently melt the chocolate, you significantly reduce the amount of whisking needed. This passive melting technique is crucial because excessive or aggressive whisking can introduce air, leading to crystallization and a grainy texture. It also ensures every piece of chocolate is fully incorporated, preventing stubborn, unmelted bits from ruining the smooth emulsion. Let patience be your guide here.
- Whisk Consistently in a Single Direction: Remember the intricate chocolate crystal structures we discussed? Whisking in one consistent direction helps encourage the formation of desirable, stable crystal structures within the ganache. This focused motion aids in creating a perfectly smooth and stable emulsion, dramatically reducing the risk of the ganache “seizing” or breaking, where the cocoa butter separates from the other solids, resulting in an oily, grainy mixture. Maintain a steady, gentle rhythm.
- Know When to Stop — Less is More: Once your chocolate has fully melted and the ganache has achieved a smooth, homogenous, and beautifully emulsified consistency, stop whisking immediately. Over-whisking past this point can introduce too much air, which can lead to a dull finish, or worse, cause the emulsion to break, resulting in an oily, separated ganache. If incorporating extracts, liqueurs, or softened butter, add them at the very end and whisk just enough to combine thoroughly, preserving the ganache’s pristine structure.
- Account for Any Additions and Their Impact: When modifying your ganache with liquid flavorings such as alcohol, coffee, or fruit purées, remember that these additions will alter the overall liquid content and, consequently, the final consistency. For example, adding 2 tablespoons of Bourbon will significantly soften the ganache. To maintain your desired firmness, consider slightly reducing the initial amount of heavy cream by 1-2 tablespoons to compensate for the extra liquid introduced by your flavorings. This thoughtful adjustment ensures your ganache sets perfectly every time.
Essential Ingredients for Perfect Ganache
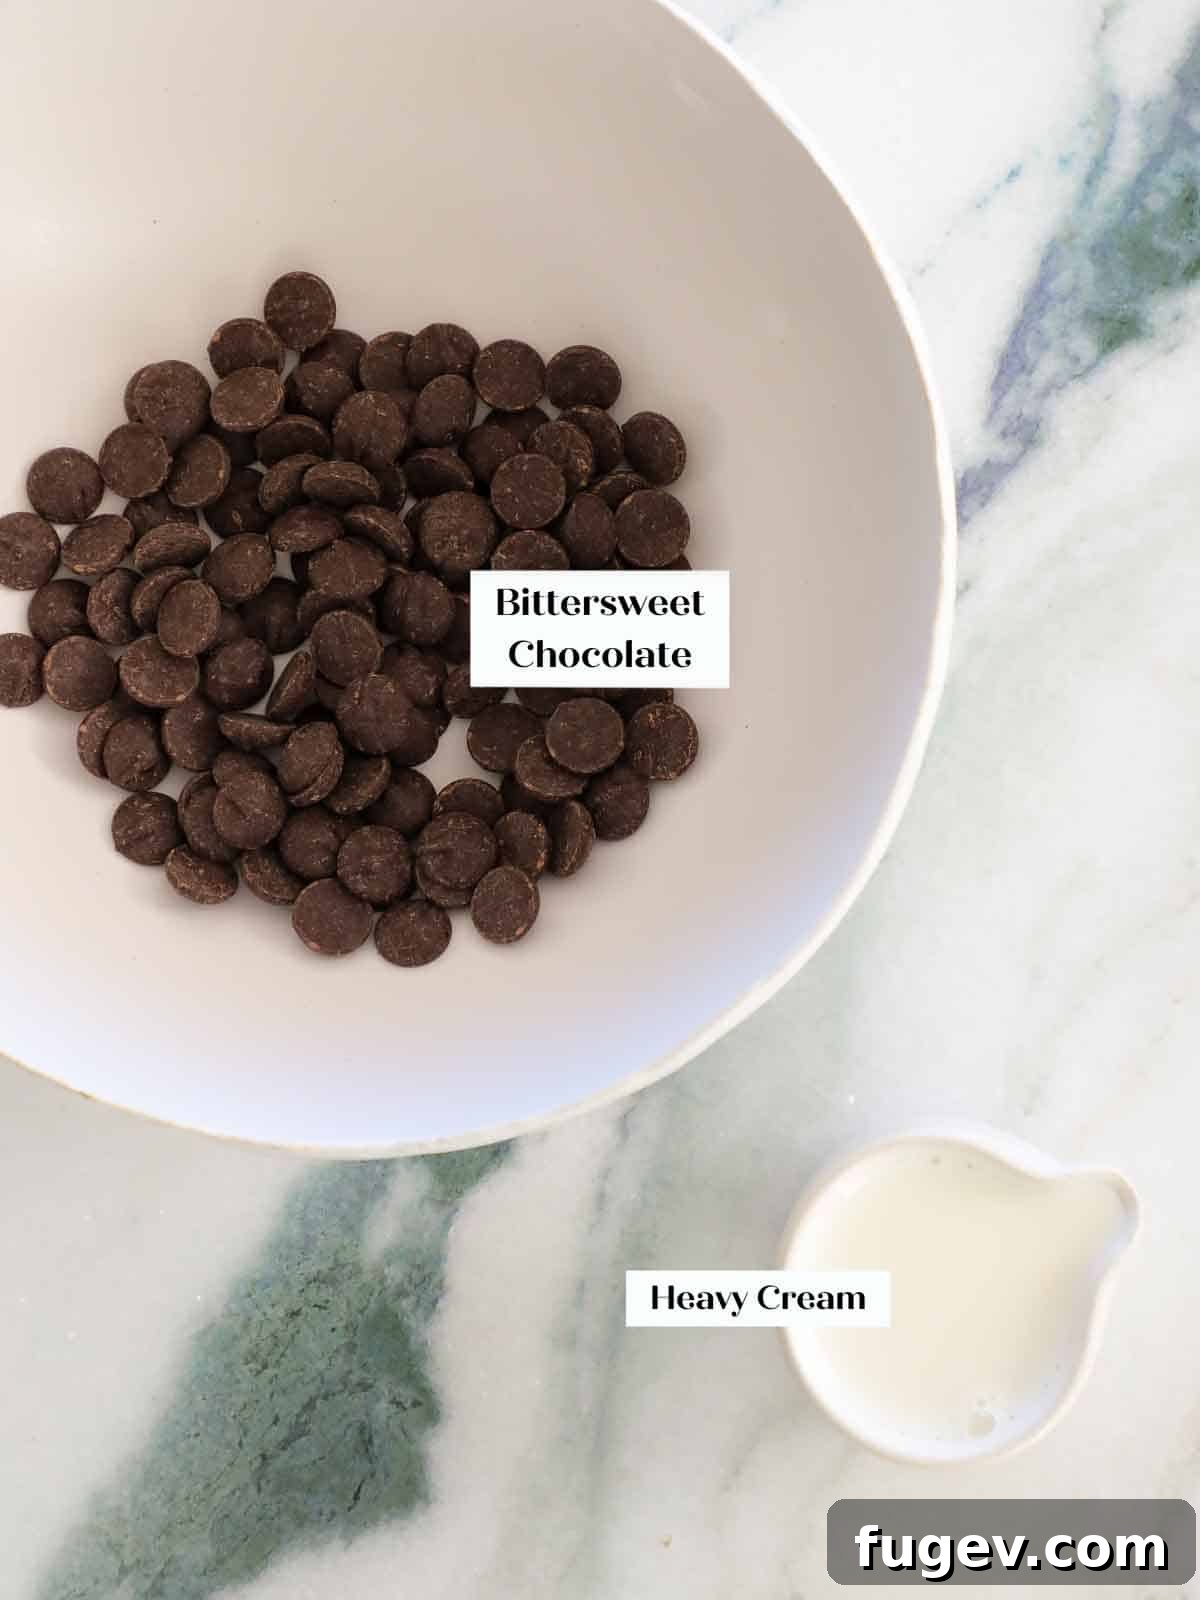
- Chocolate: The Foundation of Flavor and Texture: The type and quality of chocolate are paramount to your ganache’s success. For a rich, dark chocolate ganache, opt for chocolate with a cocoa percentage between 54% and 100%. Be aware that baking chocolate bars with over 75% cocoa solids often have a lower fluidity due to less added cocoa butter, which means you might need to slightly increase the heavy cream to achieve the same luscious, soft consistency. Conversely, standard semi-sweet chocolate chips frequently contain stabilizers and less cocoa butter, making them inherently thicker and requiring a slight adjustment in cream. For superior flavor and texture, invest in high-quality couverture chocolate from reputable brands like Ghirardelli, Guittard, Valrhona, or Scharffen Berger. These brands offer a smoother melt and a more refined finished product, elevating your ganache to gourmet status.
- Heavy Cream: The Key to Richness and Stability: The luxurious richness and incredibly smooth mouthfeel of ganache come primarily from the high fat content in heavy whipping cream. This fat is not only responsible for the decadent taste but also plays a vital role in stabilizing the emulsion, preventing the ganache from breaking or separating. While heavy whipping cream (typically around 40% fat) is ideal, you can use light whipping cream (around 35% fat) or even half-and-half in a pinch. However, with lower fat content, you must be gentler during the whisking process to maintain the emulsion’s integrity. For instance, I successfully used half-and-half in the ganache for my chocolate thumbprints, achieving a delightful result, but it required careful handling. The higher the fat content, the more robust and stable your ganache emulsion will be.
For precise measurements and quantities, please refer to the detailed recipe card below.
How to Adapt Your Chocolate Ganache Recipe
The fundamental method for making ganache remains consistent, but its true magic lies in its adaptability. Once you’re comfortable with the basic process, you can confidently adjust ratios, experiment with different chocolate varieties, or introduce a myriad of additions to customize your ganache. Use the following guidelines to unlock endless possibilities.
- Tailoring for Different Chocolate Types: While a 1:1 ratio generally works well for semi-sweet or bittersweet chocolate (typically anything over 54% cocoa solids), you’ll need to modify the cream quantity for milk and white chocolate. Both milk and white chocolates usually contain more cocoa butter and milk solids than dark chocolate. This increased fat and solid content makes them naturally softer when melted, meaning you’ll need to reduce the amount of cream to achieve a comparable firm set. A common starting point for milk chocolate might be 2 parts chocolate to 1 part cream, and for white chocolate, closer to 3 parts chocolate to 1 part cream, adjusting as needed for your desired consistency.
- Achieving Your Desired Consistency: The ratio of chocolate to cream is your primary tool for controlling ganache texture. For a looser, pourable ganache that sets soft but not sliceable (perfect for glazes), increase the amount of cream slightly. For a firmer, sliceable ganache ideal for truffles or sturdy fillings, reduce the cream, using as little as half the amount of cream to chocolate (e.g., 2 parts chocolate to 1 part cream). You can also achieve a softer, more fluid ganache by incorporating 1-2 tablespoons of alcohol, as demonstrated in my popular Bourbon Truffles, where the alcohol contributes to a smoother, melt-in-your-mouth texture.
- Infusing and Changing Ganache Flavor: Beyond altering the base chocolate, you can transform your ganache’s flavor profile with various additions. Classic choices include extracts like pure vanilla, refreshing peppermint, or robust coffee extract. For an adult twist, introduce liqueurs or spirits such as whiskey, aromatic Grand Marnier, or sweet Amaretto. For a bright, citrusy note, try adding concentrated (reduced) orange juice. Alternatively, infuse the heavy cream before mixing with the chocolate; steep zest (orange, lemon), whole spices (cinnamon stick, star anise), espresso powder, or even high-quality tea leaves in the warm cream, then strain before pouring over the chocolate.
- The Magic of Butter and Corn Syrup: These two additions can significantly enhance your ganache. Adding a small amount of softened, unsalted butter at the very end of the emulsification process (after the main ganache is smooth) can create a thicker, even richer, and more luscious ganache with an extra silky sheen. Whisk it in gently until just incorporated to prevent it from fully melting and separating. Corn syrup (or glucose syrup) is a fantastic secret ingredient often used by pastry chefs to keep ganache incredibly soft and pliable, even when refrigerated. It also imparts a beautiful, glossy sheen, making it perfect for elegant cake toppings or glazes. I rely on corn syrup in my Chocolate Tarts for both its softening and aesthetic benefits, ensuring a perfectly smooth, non-cracking finish.
Creative Ways to Use Chocolate Ganache
- As an Indulgent Filling: The standard ganache recipe, as written below, makes an exceptional and straightforward filling for elegant layer cakes or fluffy cupcakes, just like I used in my Chocolate Cupcake Recipe. For an even softer, more yielding consistency—perfect for a truly decadent center—consider adding a touch more cream and corn syrup, a technique I employed for my luxurious Devil’s Food Cake. This recipe is also impeccably suited for filling delicate thumbprint cookies, offering a rich chocolatey burst with every bite.
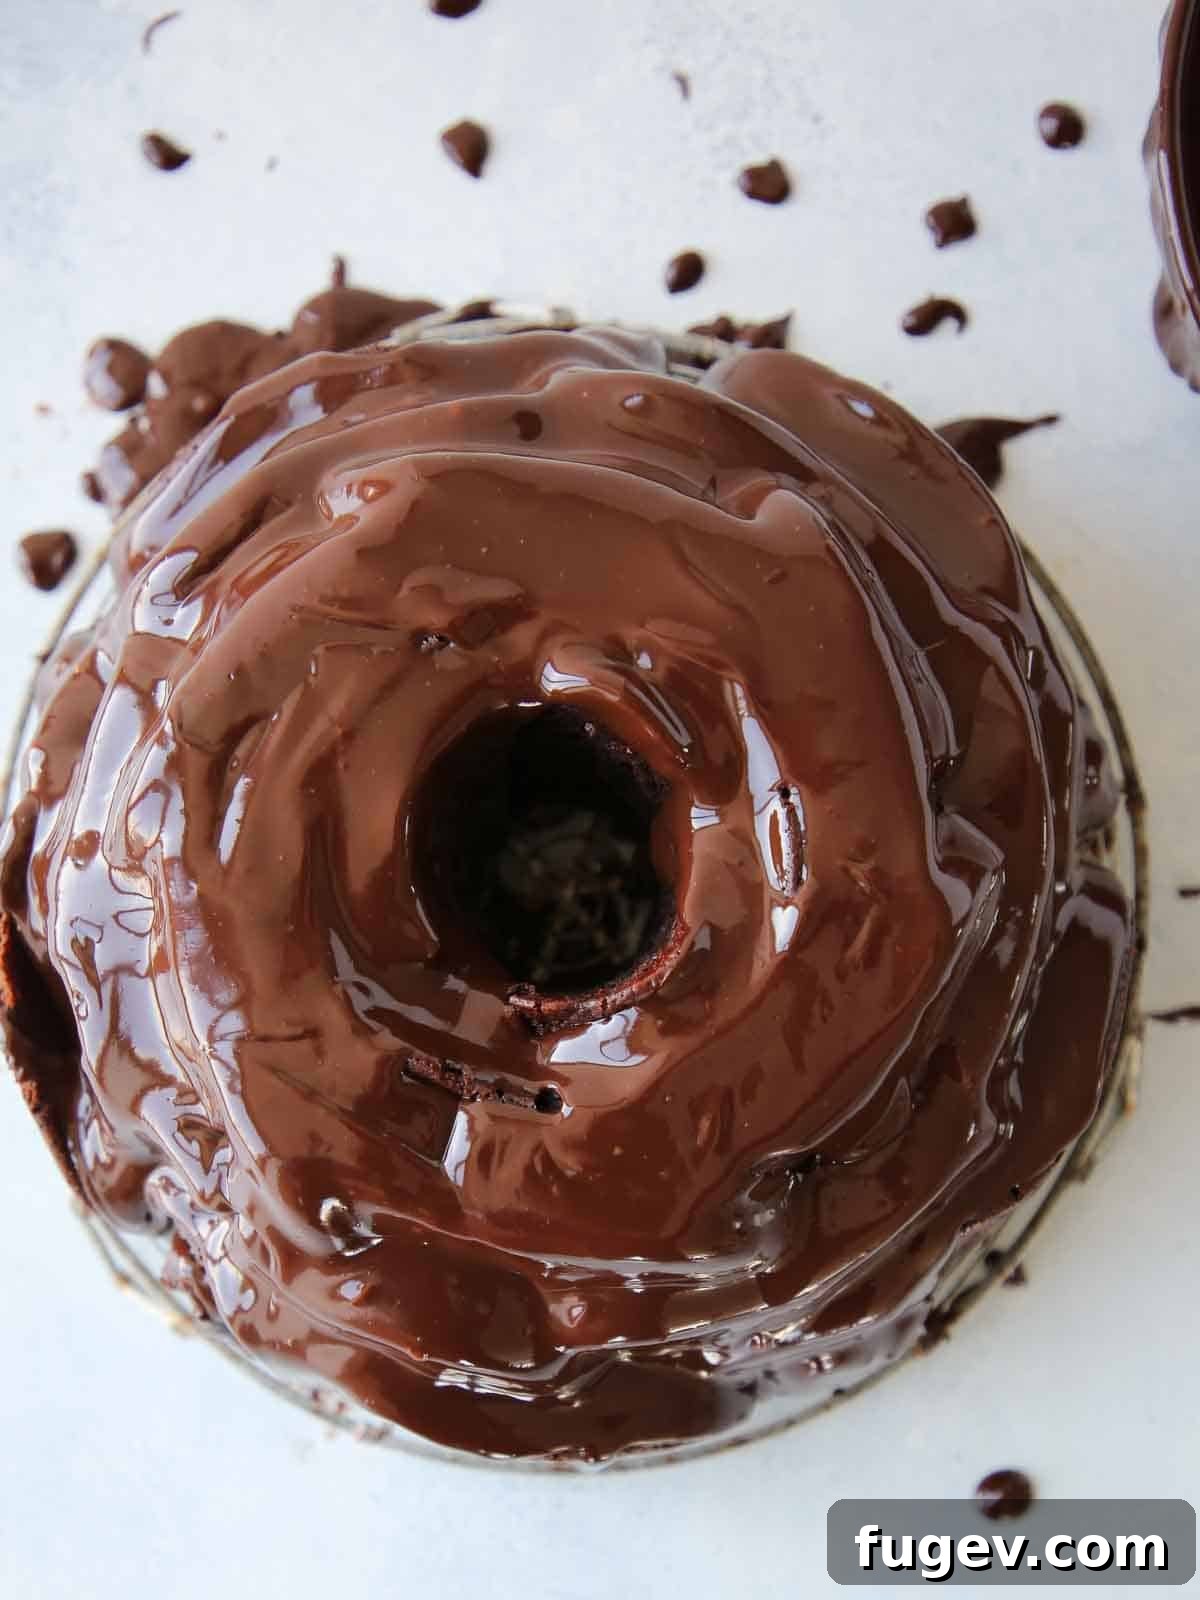
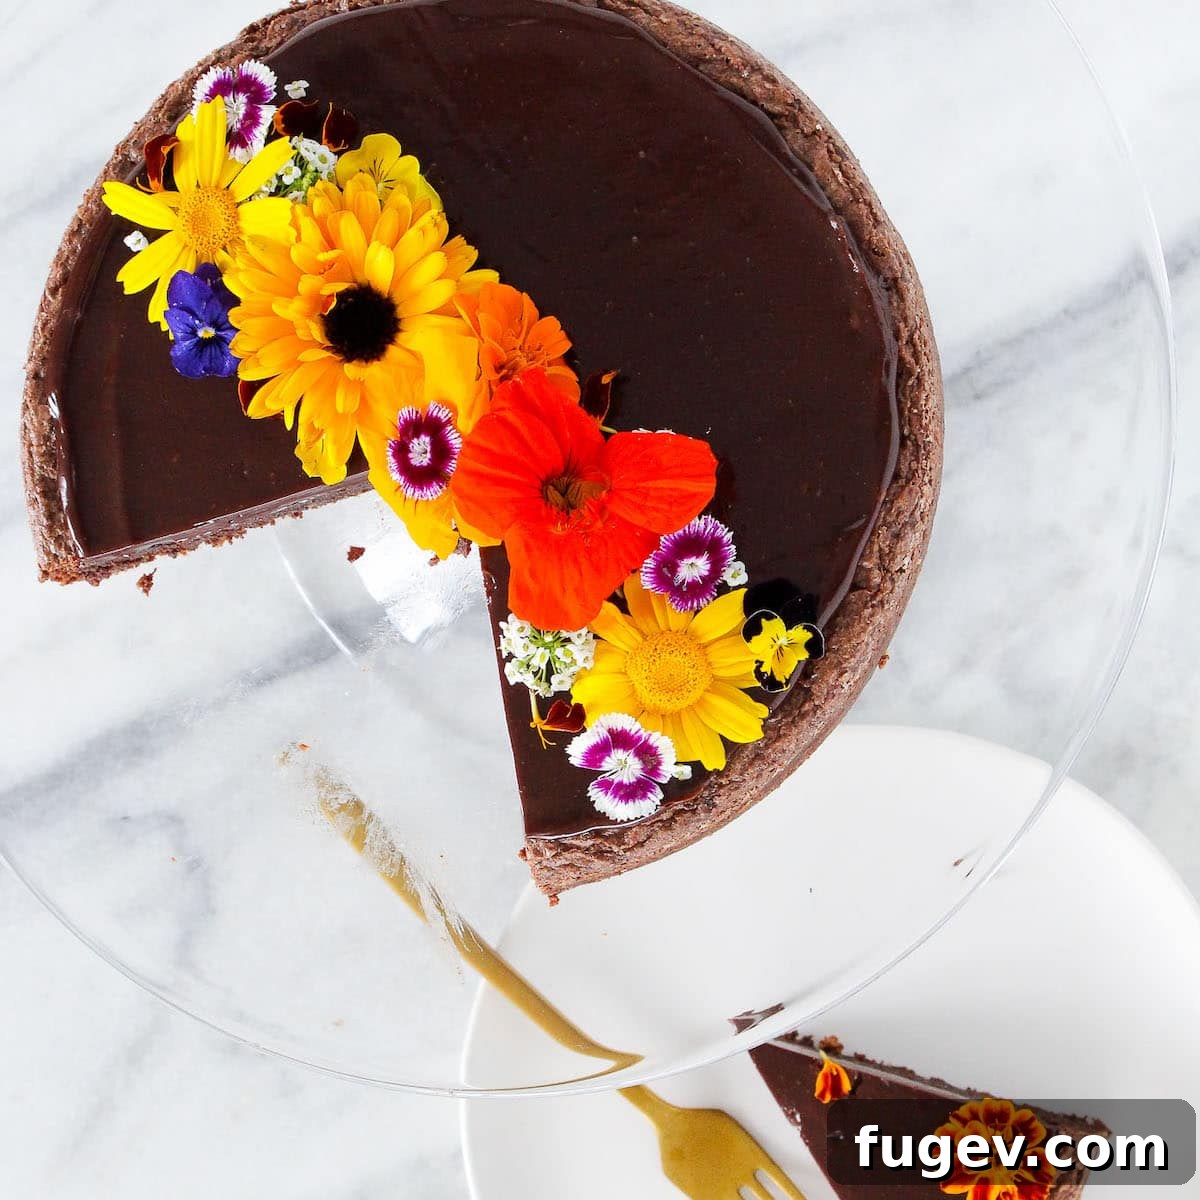
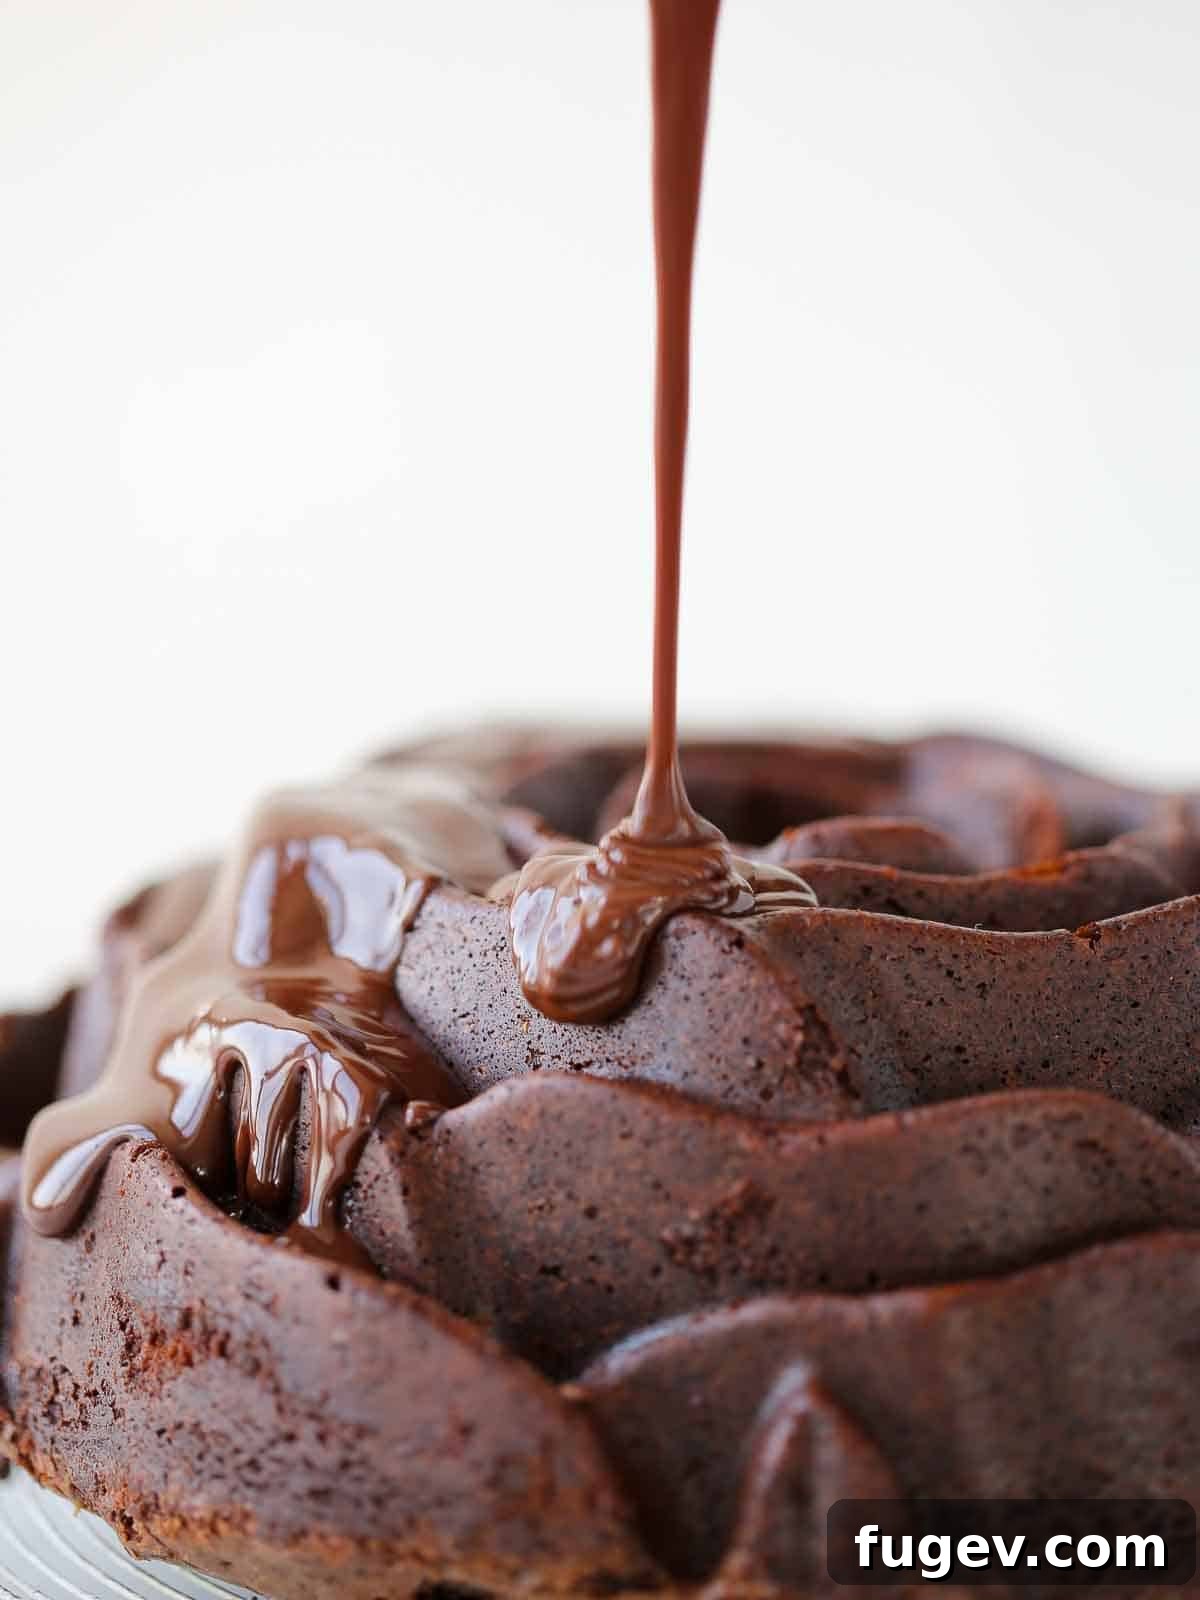
- For Stunning Cake Toppings and Glazes: Transform any cake into a masterpiece with ganache. Pour it lavishly over the entire surface of a grand dessert like this exquisite Flourless Chocolate Torte or a creamy Chocolate Cheesecake. Alternatively, use it for decorative drizzles, creating beautiful patterns on a Chocolate Bundt Cake or a rustic Chocolate Zucchini Cake. For a popular drip cake effect, allow it to cool slightly before pouring, letting it cascade artfully over the edges. It’s absolutely divine on a classic Chocolate Cake, adds a sophisticated layer to Red Velvet Cake, or provides an unexpected, delightful contrast in a Vanilla Cake. Once cooled and slightly firmed, you can also whip it or simply spread it on as a rich chocolate ganache frosting.
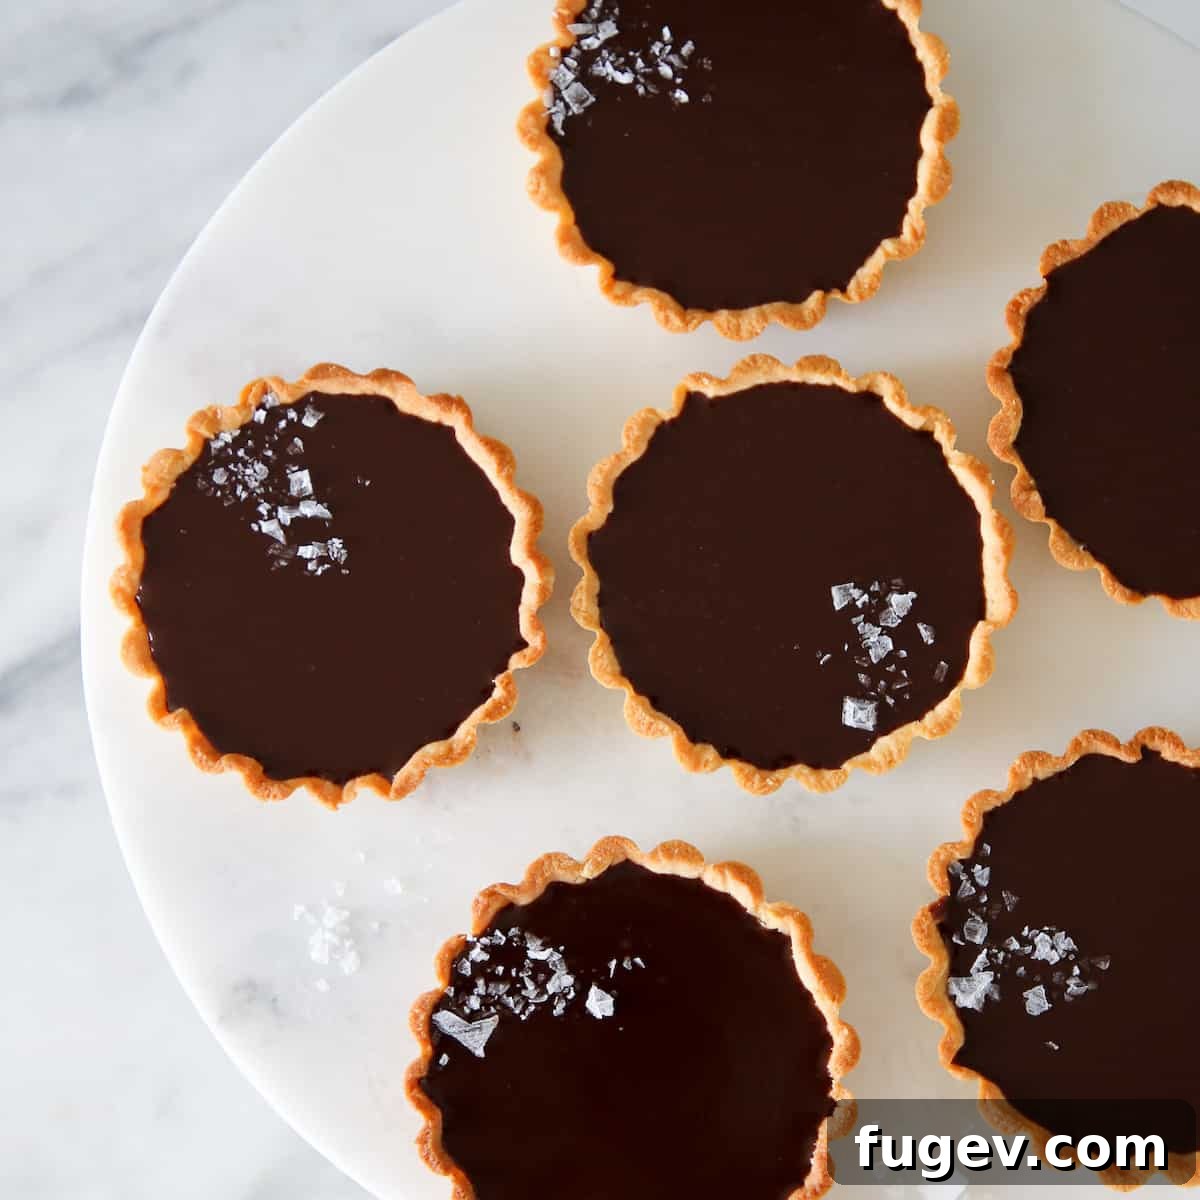
- As a Decadent Tart or Pie Filling: Ganache truly shines as the star filling in tarts and pies. It can be the sole, luscious layer, as seen in these delightful Mini Salted Chocolate Tarts, or integrate as one exquisite component among many, such as in my unique No-Bake Whiskey S’mores Pie. Elevate the flavor profile by pairing it with diverse tart shells: try my nutty Almond Flour Tart Crust, a classic Pâte Sucrée, or a simple yet effective No-Bake Graham Cracker Crust.
- Crafting Luxurious Whipped Chocolate Ganache: For an ethereal, cloud-like frosting or filling, transform your chilled ganache into a whipped masterpiece. Simply refrigerate the prepared ganache until it’s firm, then transfer it to the bowl of a stand mixer fitted with a whisk attachment (or use a hand mixer). Whip on medium-high speed until it becomes light, fluffy, and significantly lighter in color. This creates a wonderfully aerated texture, perfect for piping or spreading. Use it immediately, as whipped ganache will continue to firm up as it sets.
- Creating Simple, Elegant Candies: Did you know that luxurious rolled chocolate truffles are essentially just chilled, solidified ganache? This recipe is your gateway to crafting your own gourmet confections! Try your hand at dipping (or enrobing) these exquisite Chocolate Bourbon Truffles, or master the art of simple rolled truffles, perhaps with a twist, like these irresistible Nutella Truffles. Garnish with cocoa powder, chopped nuts, or sprinkles for a personalized touch.
- The Ultimate Dessert Dip: For an easy yet impressive dessert, warm your chocolate ganache slightly until it’s perfectly dippable. Serve it alongside an array of delectable accompaniments: fresh strawberries, slices of fudgy brownies, fluffy marshmallows, banana chunks, or other seasonal fruits. It’s a versatile crowd-pleaser that requires minimal effort and delivers maximum chocolate satisfaction.
Step-by-Step: How to Make Silky Chocolate Ganache
Follow these precise instructions to create a soft ganache that achieves a firm, yet easily sliceable consistency once refrigerated. Detailed measurements are provided in the recipe card below.
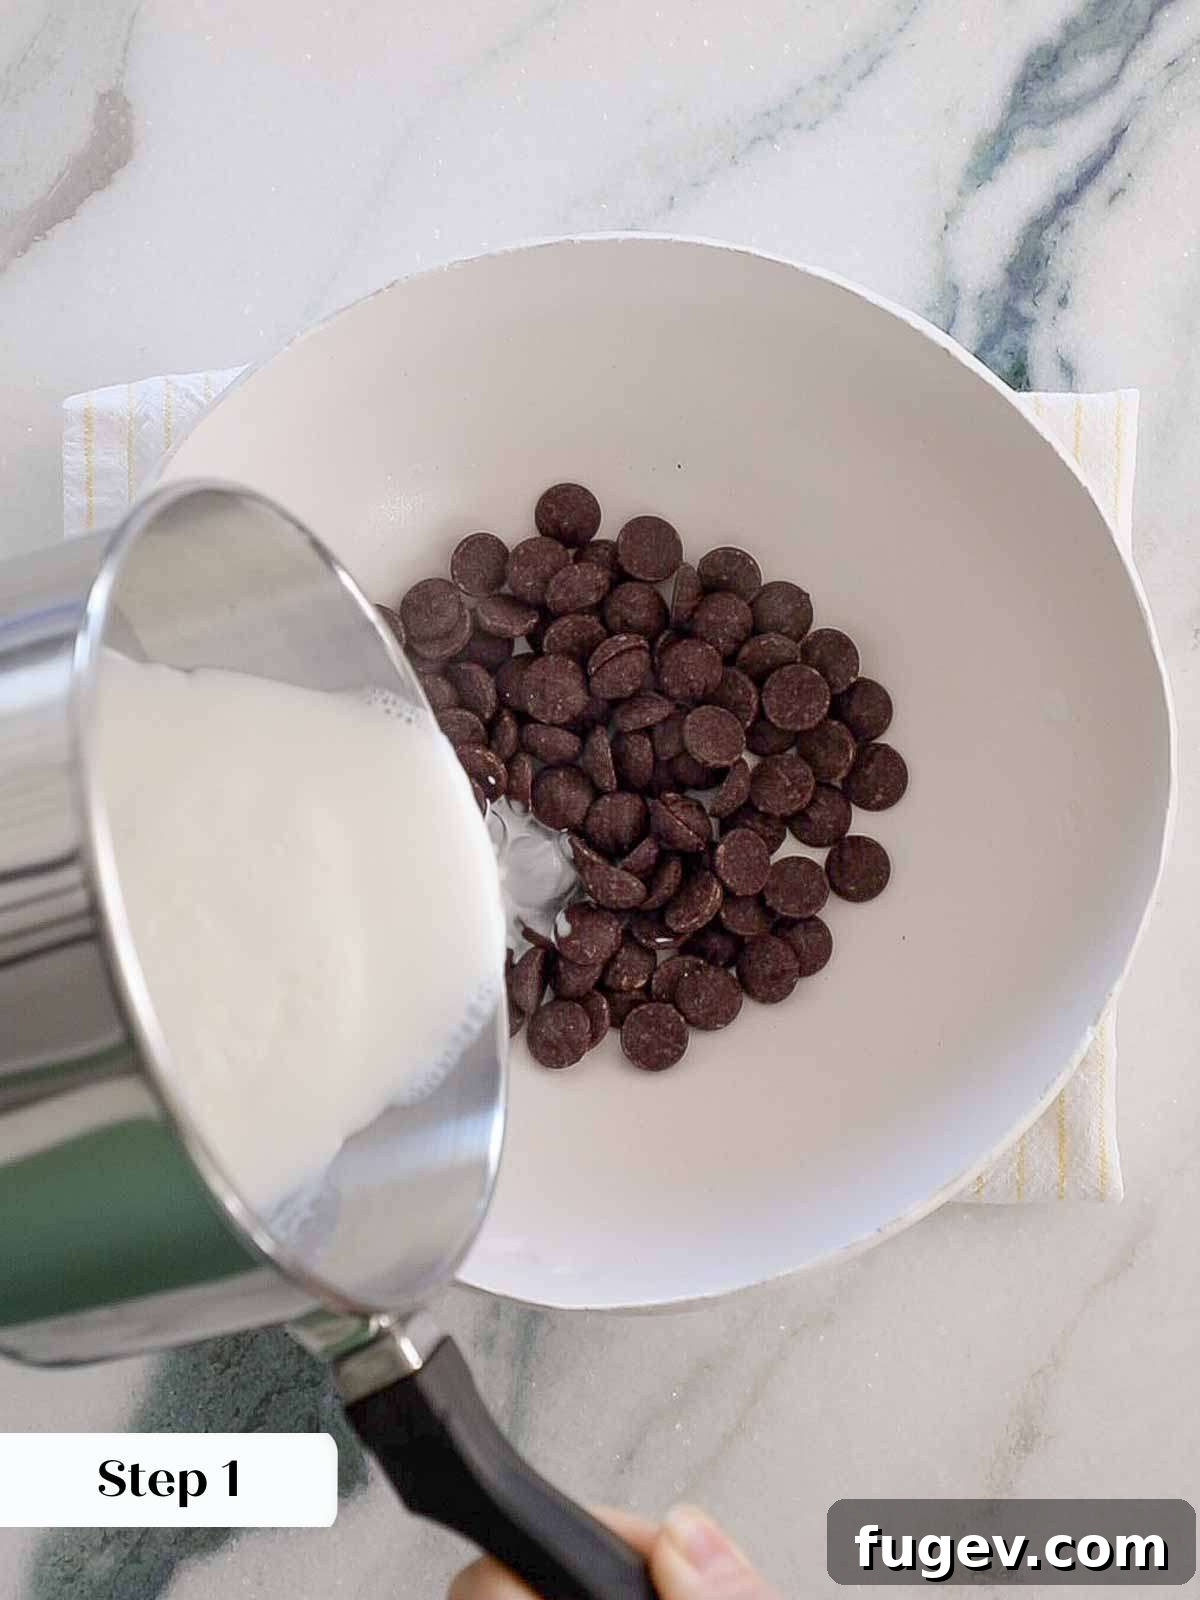
Step 1: Prepare Your Chocolate and Cream. Begin by placing your finely chopped chocolate or chocolate chips into a medium-sized, heat-proof bowl. For optimal stability, set this bowl on a folded tea-towel; this prevents it from sliding around and also helps insulate the bowl, keeping the chocolate warm. If your recipe calls for salt or corn syrup, add these directly to the chocolate in the bowl now. In a separate small saucepan, heat the heavy cream just until it begins to gently simmer and tiny bubbles appear around the edges – do not allow it to come to a rolling boil. Immediately pour the hot cream over the chocolate.
It’s crucial not to let the cream boil vigorously. Boiling will cause the cream to reduce and evaporate some of its water content, resulting in a ganache that is unexpectedly thicker and potentially grainy. A gentle simmer is all that’s needed.
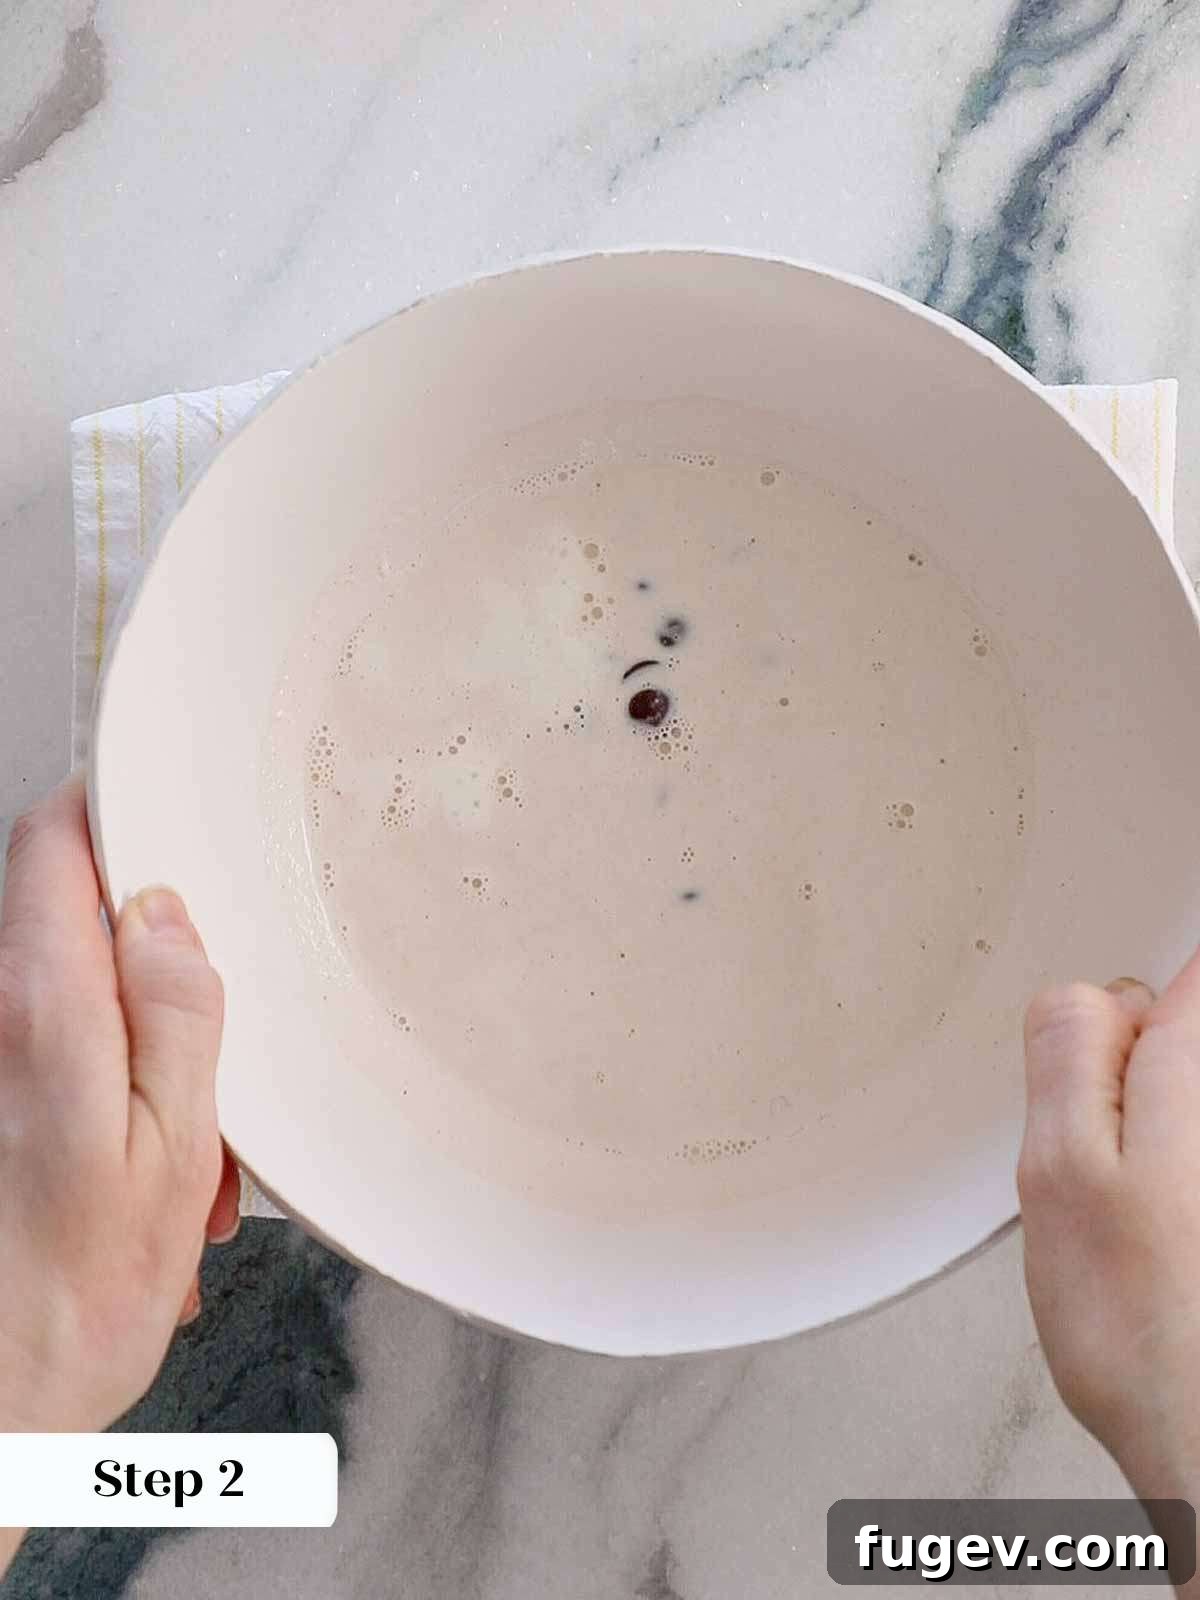
Step 2: Allow the Chocolate to Melt Undisturbed. Once the hot cream has been poured over the chocolate, resist the urge to stir. Instead, let the mixture sit completely undisturbed for a full 2 minutes. This crucial resting period allows the residual heat from the cream to thoroughly melt the chocolate pieces evenly and gently. This passive melting process is key to achieving a smooth, stable emulsion with minimal whisking later, significantly reducing the chance of your ganache breaking. After pouring the cream, you can gently shake the bowl slightly to ensure all the chocolate pieces are fully submerged and covered by the hot cream, even with lower cream ratios.
Ensuring all chocolate is covered by hot cream is vital for uniform melting. If using a small amount of cream, choose a bowl that allows the cream to pool sufficiently to submerge the chocolate. This makes the initial melting more efficient.
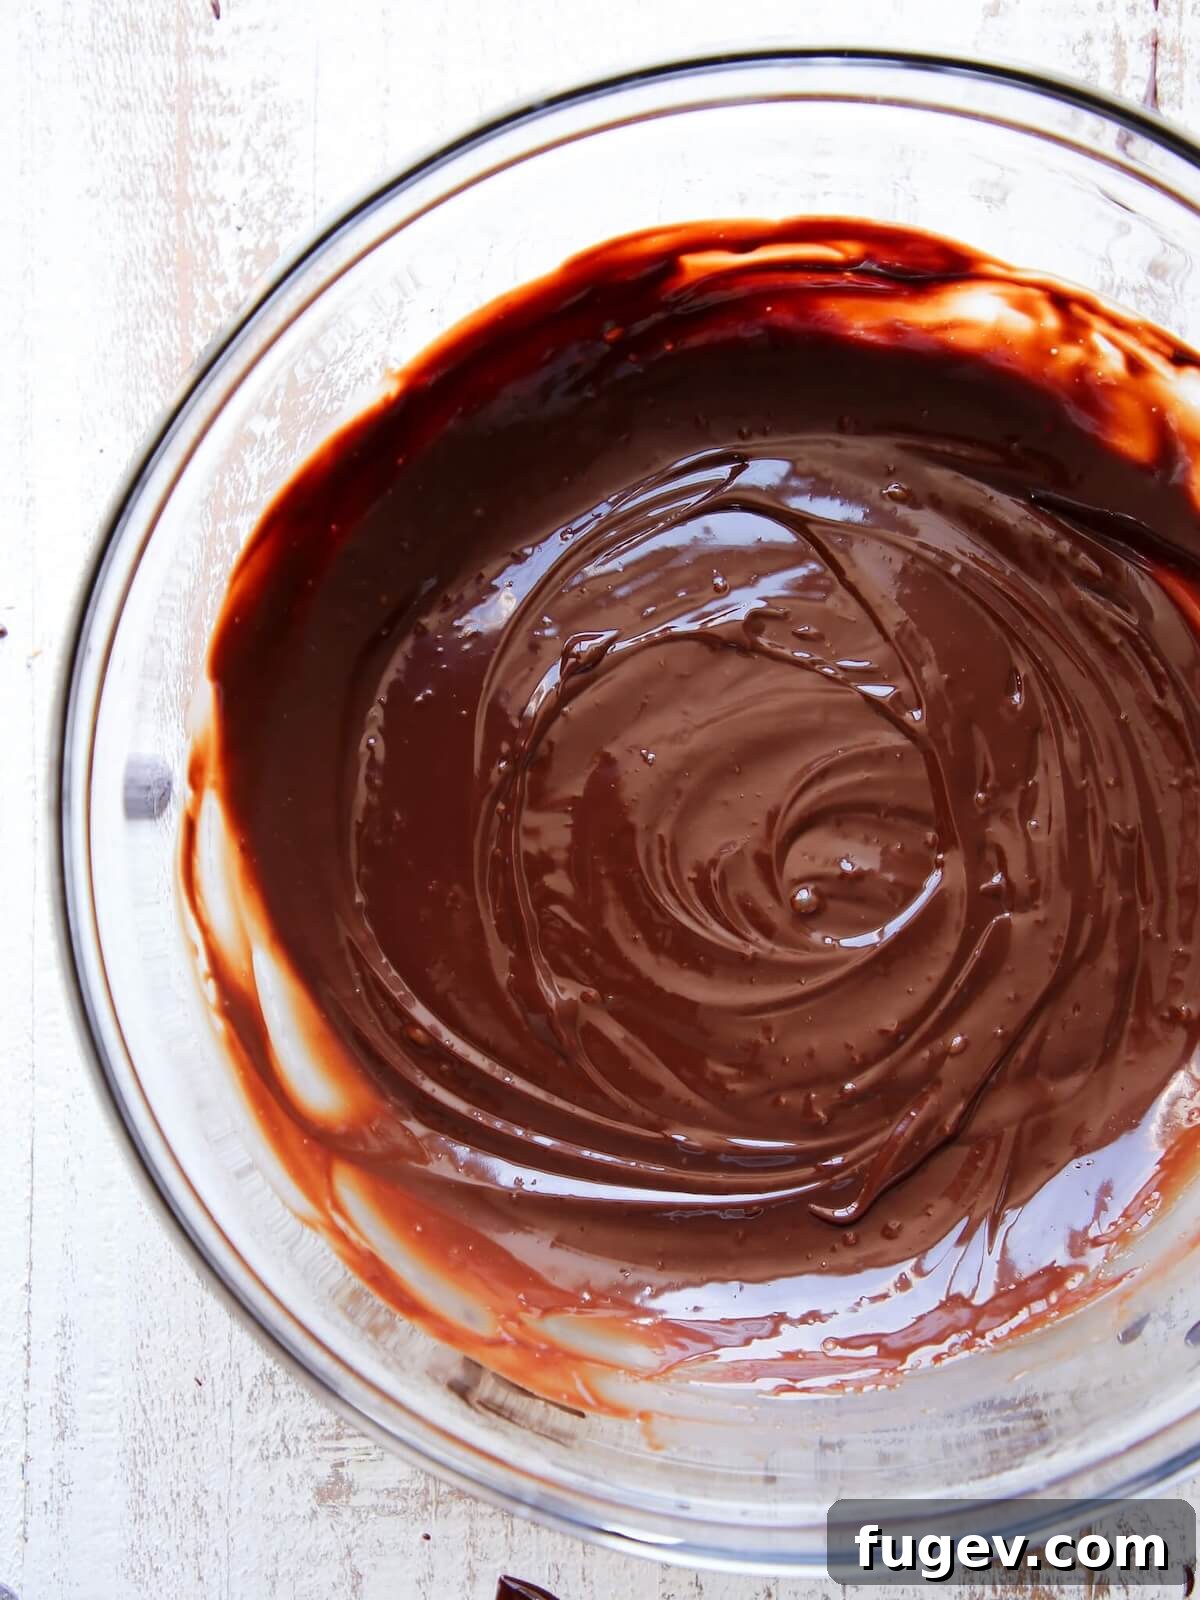
Step 3: Begin the Emulsification Process. After the 2-minute resting period, take a whisk and begin stirring gently in the very center of the bowl. Maintain a consistent, singular direction (e.g., clockwise) as you whisk. You’ll observe a smooth, glossy ganache beginning to form in the center. As this central emulsion develops, gradually broaden your whisking strokes, slowly incorporating the surrounding cream into the rich chocolate mixture. Continue whisking until the entire mixture transforms into a uniform, smooth, and beautifully emulsified ganache. The moment it reaches this perfect consistency, stop whisking immediately to prevent over-aeration.
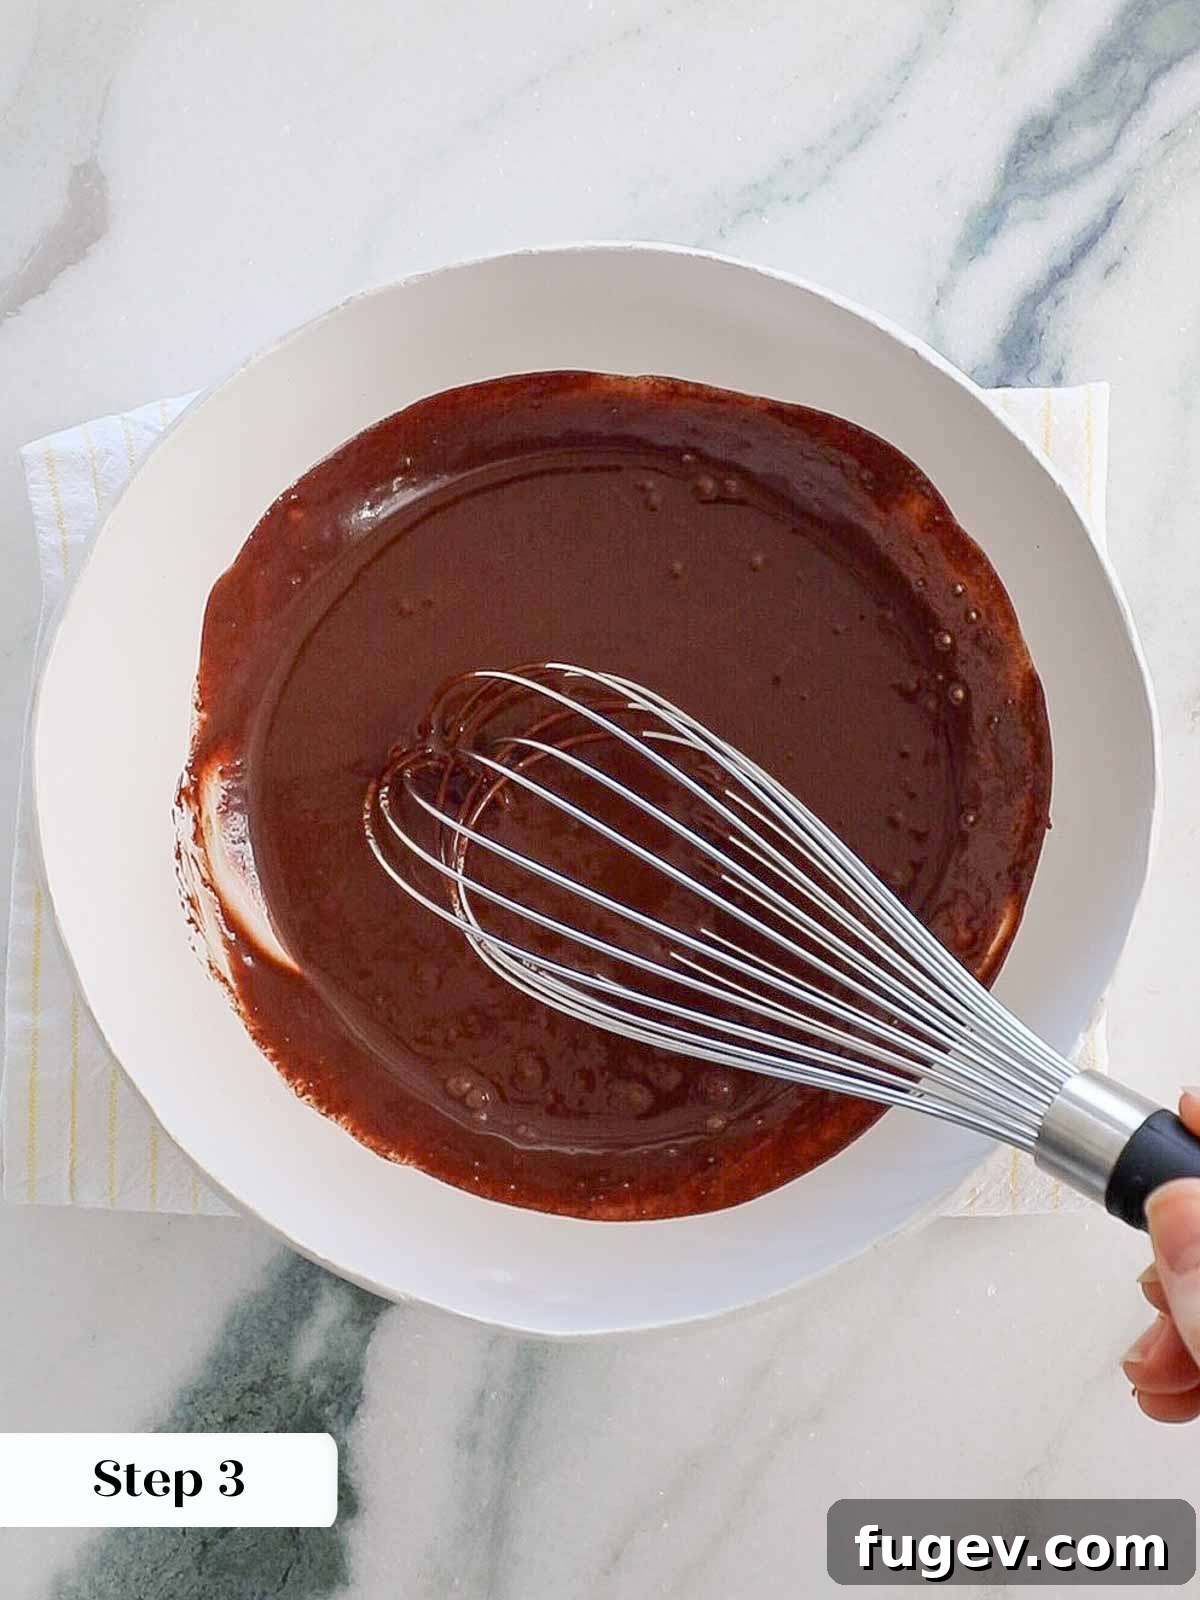
Step 4: Incorporate Flavorings (Optional). At this stage, your ganache is ready for any desired flavor additions. Gently whisk in extracts, liqueurs, or softened butter until they are just combined. Avoid aggressive whisking to maintain the ganache’s smooth texture and stable emulsion.
Step 5: Cool and Prepare for Use. Depending on your intended application, transfer the finished ganache to a piping bag for precise work, or cover the surface directly with plastic wrap to prevent a skin from forming. Allow it to cool gradually at room temperature until it reaches the desired consistency – whether that’s warm and pourable, slightly cooled for spreading, or fully chilled and firm for shaping.
Frequently Asked Questions About Ganache
If your ganache appears separated, grainy, or oily with visible fat globules, its emulsion has likely broken. First, try gently whisking in 1-2 tablespoons of cold heavy cream; the cold fat can sometimes help re-emulsify the mixture. If this doesn’t work, refrigerate the ganache for about an hour until it firms up slightly. Then, gently reheat it in a heat-proof bowl set over a pot of simmering water (bain-marie). Do not let it melt completely or directly on high heat. Remove it from the heat once it starts to soften around the edges, then whisk very gently from the center outwards to encourage a smooth re-emulsification. Patience and gentle heat are key here.
The most fundamental and common formula for ganache involves equal parts chocolate and heavy cream. This is ideally measured by weight for precision, but equal parts by volume (cups) will also yield excellent results for most applications. For a looser, pourable, soft-setting ganache (not sliceable), slightly increase the amount of cream. Conversely, for a firmer, more stable, and sliceable ganache, reduce the cream, using as little as half the amount of cream to chocolate (e.g., 2 parts chocolate to 1 part cream by weight).
The final firmness of chocolate ganache is directly determined by its chocolate-to-cream ratio, the type of chocolate used, and the ambient temperature. A typical 1:1 ratio ganache will set to a soft, yet firm enough consistency to slice cleanly when refrigerated. To achieve a harder ganache, you should use less cream (e.g., a 2:1 chocolate to cream ratio), opt for a chocolate with a higher cocoa percentage (which generally contains less cocoa butter and sets firmer), or choose a chocolate with naturally lower liquidity.
The terms “heavy cream” and “heavy whipping cream” are often used interchangeably and are generally suitable for ganache, though their precise fat percentages can vary slightly by brand and region. Heavy whipping cream typically contains about 36-40% milk fat, while some products simply labeled “heavy cream” might be closer to 35%. For ganache, this slight difference usually doesn’t have a drastic impact on the final outcome. However, it’s worth noting that a higher fat content generally contributes to a more stable and robust emulsion, resulting in a slightly richer and more forgiving ganache.
Due to its heavy cream content, prepared ganache should be refrigerated if not used within 24 hours (or sooner if your kitchen is particularly warm). When stored properly in an airtight container in the refrigerator, ganache can maintain its quality for up to 10 days. For best results, allow refrigerated ganache to come to room temperature or gently rewarm it before use to restore its ideal consistency. Freezing ganache is generally not recommended as it can cause the emulsion to separate or break upon thawing, leading to an undesirable texture.
If you tried this professional chef-approved ganache recipe and loved it, please take a moment to leave a 🌟 star rating and share your experience in the comments below. Your feedback truly brightens my day!
How to Make Chocolate Ganache
Comment
Print Recipe
Ingredients
- 3 ounces semi-sweet or bittersweet chocolate chopped or morsels (about ½ cup)
- ½ cup heavy whipping cream
Instructions
-
Place chopped chocolate or chocolate chips in a medium bowl set on a folded tea-towel. Add any salt or corn syrup at this point. Heat cream in a small saucepan just until it comes to a boil then pour over the chocolate.
-
Allow the cream to sit on the chocolate undisturbed for 2 minutes. This melts the chocolate and helps to easily emulsify the ganache with less whisking, reducing the chance of it breaking.
-
After pouring the cream, gently shake the bowl to ensure all chocolate is covered. This can be more challenging with lower cream ratios but is still achievable with the right bowl.
-
Begin whisking in one consistent direction in the center of the chocolate until a smooth ganache starts to form. Gradually enlarge your whisking strokes to incorporate more cream. Stop whisking once a smooth ganache has formed.
-
Add any desired flavorings at this point. Whisk just enough to incorporate them without overworking the ganache.
-
Transfer the ganache to a piping bag or cover its surface with plastic wrap, then allow it to cool to the desired temperature and consistency for its intended use.
Notes
Variations – After emulsifying the ganache, whisk in 1-2 teaspoons of your favorite extract (vanilla, peppermint, almond), 1-2 tablespoons of liqueur (Grand Marnier, rum, Kahlúa), or a concentrated fruit juice for an enhanced flavor profile.
Storage – Store prepared ganache in an airtight container in the refrigerator for up to 10 days. It can also be kept at room temperature for up to 24 hours in a cool environment. Freezing ganache is not recommended, as it often separates and loses its smooth texture upon thawing.
Nutrition
Beyond the Ganache: Explore More Desserts
I sincerely hope you’ve enjoyed mastering this professional chef-created chocolate ganache recipe. Now that you’ve unlocked the secrets to perfectly smooth and versatile ganache, the dessert world is your oyster! Continue your culinary journey by perusing all our exquisite chocolate dessert recipes. Or, if you’re feeling inspired, dive headfirst into our extensive collection of cake recipes, delightful cupcake recipes, or refreshing ice cream recipes – many of which would be perfectly complemented by a luscious ganache filling or topping!