
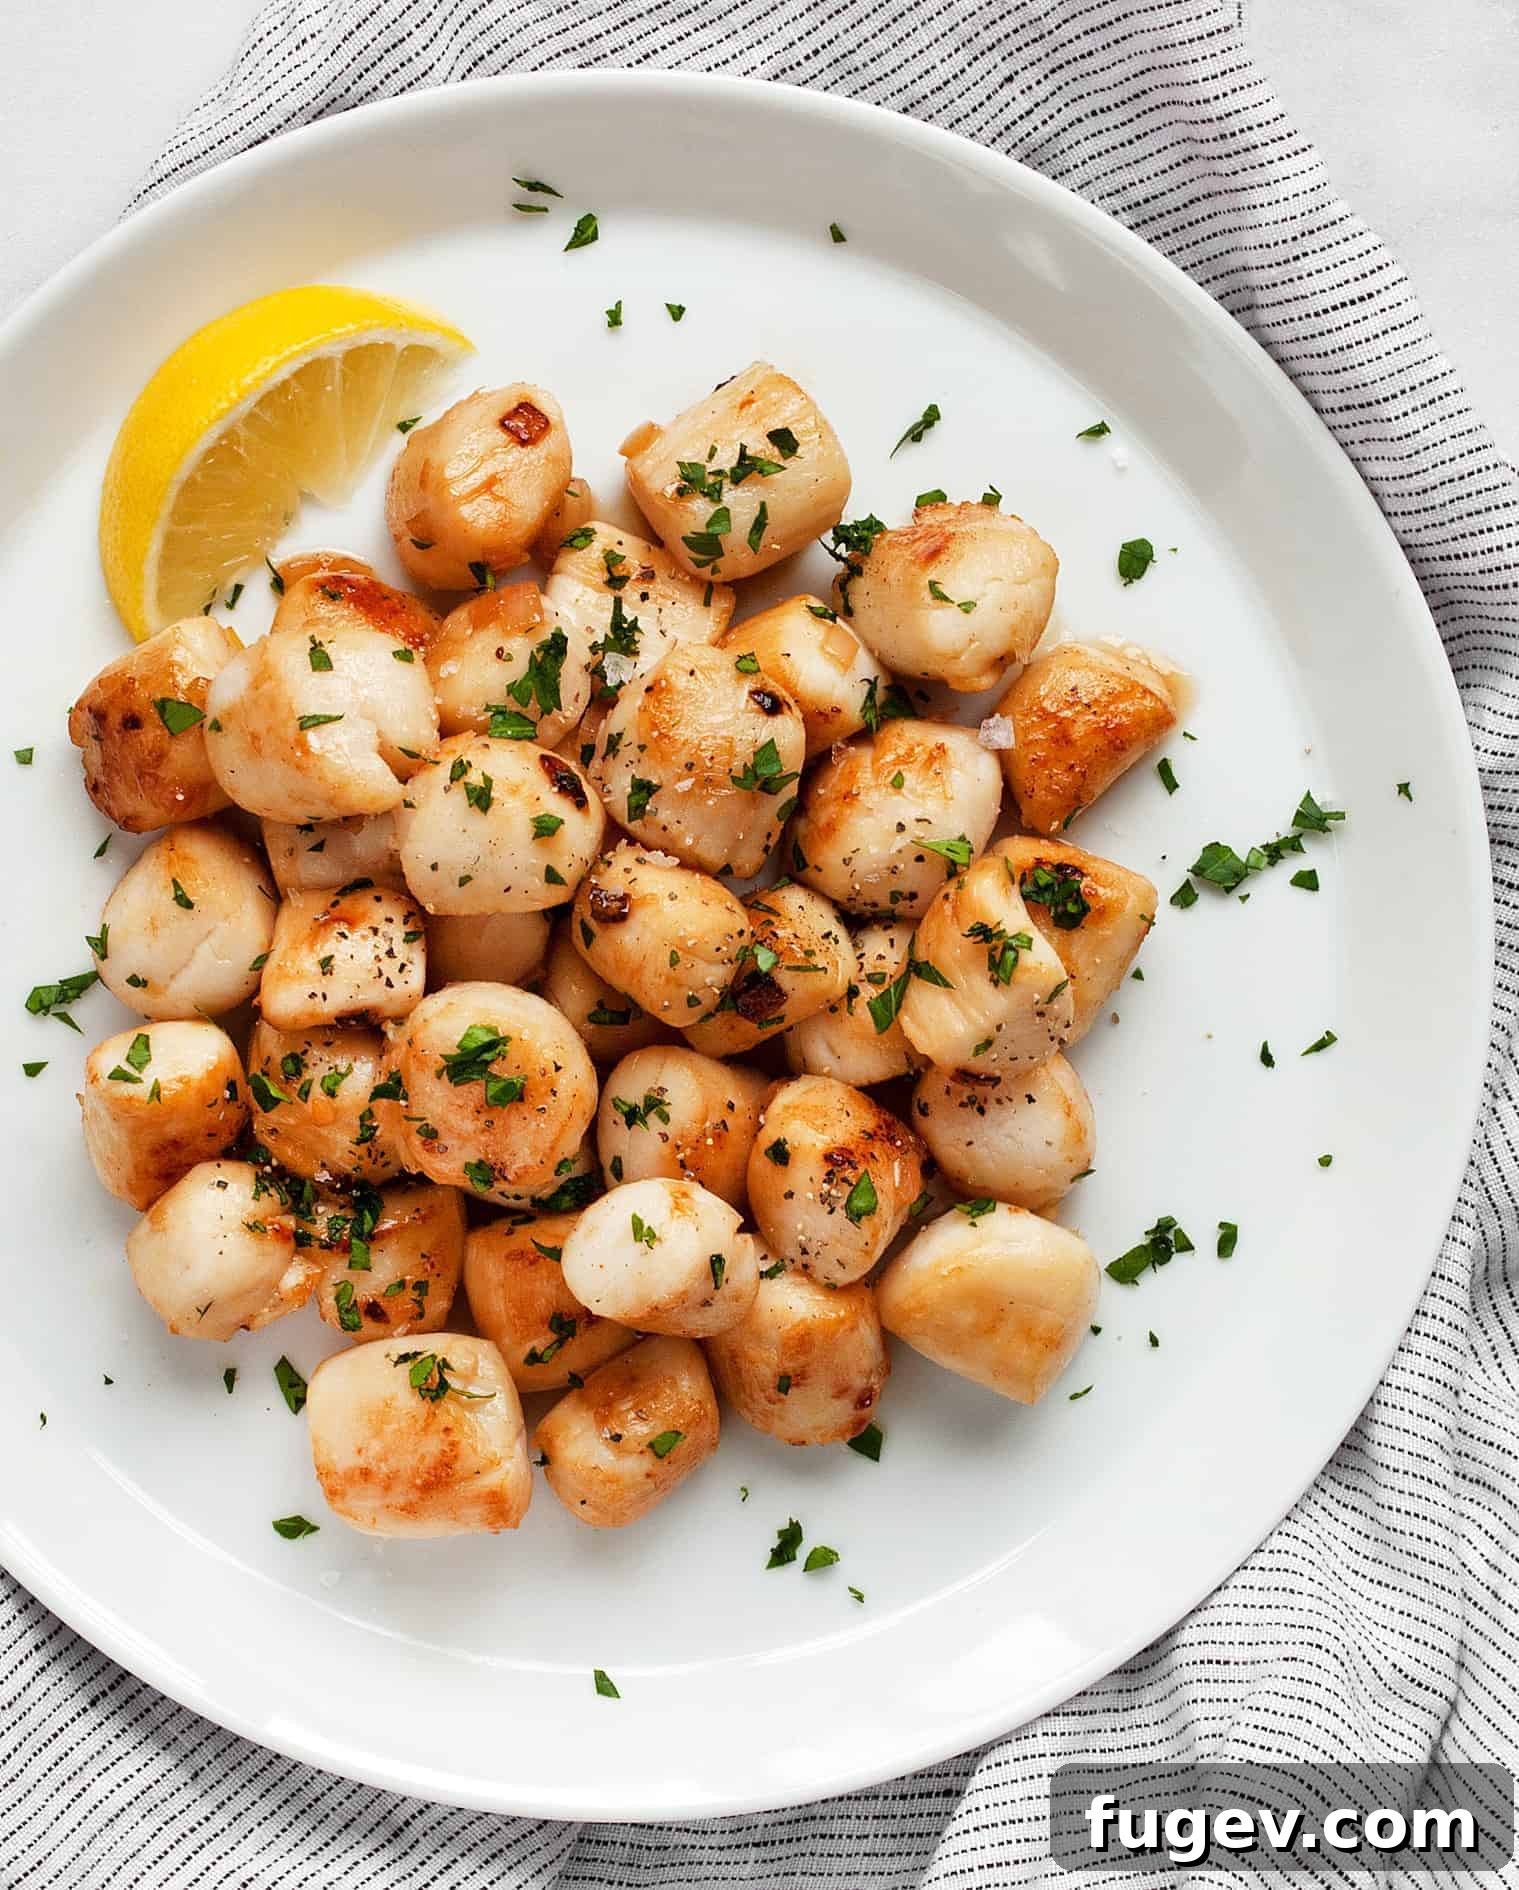
Experience the sheer delight of perfectly seared bay scallops, an incredibly easy and elegant dish that transforms simple ingredients into a gourmet experience. With just a handful of fresh ingredients, these delicate morsels cook to a beautiful golden brown in mere minutes, making them an ideal appetizer for entertaining or a quick, luxurious weeknight meal. Prepared in a harmonious blend of rich olive oil, creamy butter, and aromatic shallots, these scallops are finished with a vibrant squeeze of fresh lemon juice, elevating their natural sweetness and creating a truly restaurant-worthy presentation right in your own kitchen.
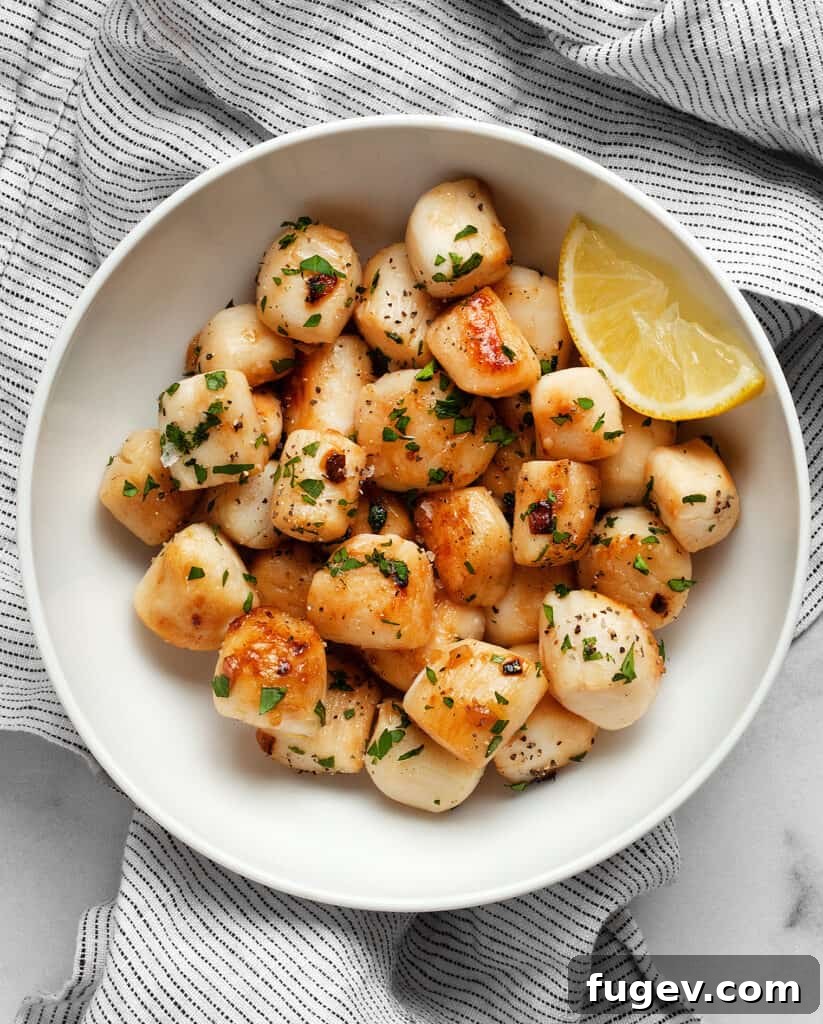
Table of Contents
- The Seasonal Delight of Scallops
- Understanding Bay Scallops: Bay vs. Sea Scallops
- Sourcing the Best Nantucket Bay Scallops
- Essential Ingredients for Perfectly Seared Scallops
- Mastering the Technique: How To Cook Nantucket Bay Scallops
- What To Serve With Scallops: Pairing Suggestions
- Leftovers and Storage: Enjoying Scallops Later
- Expert Tips for Flawless Scallops
- Seared Bay Scallops Recipe
The Seasonal Delight of Scallops
When most people think of seasonal ingredients, their minds often jump to vibrant fruits and crisp vegetables. However, the world of seafood offers its own captivating seasonal rhythms, bringing forth exquisite delicacies at their peak. While the winter months might seem like a quiet period for fresh produce, it’s actually a prime time for certain ocean treasures, particularly bay scallops.
Living far from the coast in Chicago, I sometimes feel a disconnect from the excitement surrounding seasonal saltwater delights. Yet, the allure of fresh, in-season seafood transcends geographical boundaries. There’s a special joy in knowing that even as we await the return of spring’s garden bounty, the ocean provides its own incredible harvest. It’s during this annual culinary lull that specific seafood, like the highly prized Nantucket Bay scallops, truly shines, offering a taste of coastal elegance no matter where you are.
Understanding Bay Scallops: Bay vs. Sea Scallops
Bay scallops, from November to March, are at their absolute best, making winter an ideal time to savor their exceptional flavor and texture. Unlike their larger, deep-water cousins, sea scallops, bay scallops are typically hand-caught in shallow, cold coastal waters. This meticulous harvesting method often contributes to their premium quality and delicate nature.
The primary distinction between bay scallops and sea scallops lies in their size. Sea scallops are considerably larger, often reaching up to two inches in diameter, with a more robust texture and a milder, slightly brinier flavor. Bay scallops, on the other hand, are significantly smaller, usually no more than half an inch across. Their petite size is not merely a visual difference; it translates directly into a remarkably sweeter flavor and a more tender, almost melt-in-your-mouth texture that connoisseurs adore. This inherent sweetness and tenderness make bay scallops particularly desirable for quick searing, where their delicate qualities can be fully appreciated.
Sourcing the Best Nantucket Bay Scallops
Just last week, during a routine grocery trip, I was thrilled to discover Nantucket Bay scallops featured as a special at the fish counter. For anyone with a connection to the East Coast, especially areas like Massachusetts, Nantucket Bay scallops hold a revered status. My husband, who hails from the region, introduced me to their exquisite taste years ago during our family visits, and I’ve been utterly captivated ever since.
When it comes to preparing seafood, especially delicate items like scallops, my golden rule is simplicity. The goal is never to mask the natural flavor but to enhance it with carefully selected ingredients. For these prized bay scallops, a combination of shallots, fresh lemon, good quality butter, and a splash of dry white wine creates a light, bright, and perfectly balanced profile. This thoughtful pairing adds just the right amount of acidity and aromatic depth without overwhelming the scallops’ inherent sweetness. There’s truly no need for heavy, complicated sauces that would drown out the delicate essence of fresh seafood. Treating fish with respect and restraint allows its natural goodness to shine through, creating a truly memorable culinary experience.
To ensure you’re getting the freshest and highest quality bay scallops, always look for those labeled “dry-packed.” Wet-packed scallops are typically soaked in a phosphate solution, which makes them absorb water, increasing their weight (and price) and making it harder to achieve a good sear. Dry-packed scallops, however, have not been treated and will brown beautifully, developing that coveted caramelized crust. Fresh scallops should have a sweet, ocean-like smell, not a strong “fishy” odor, and their color should be creamy white to light pink, with a firm, moist texture.
Essential Ingredients for Perfectly Seared Scallops
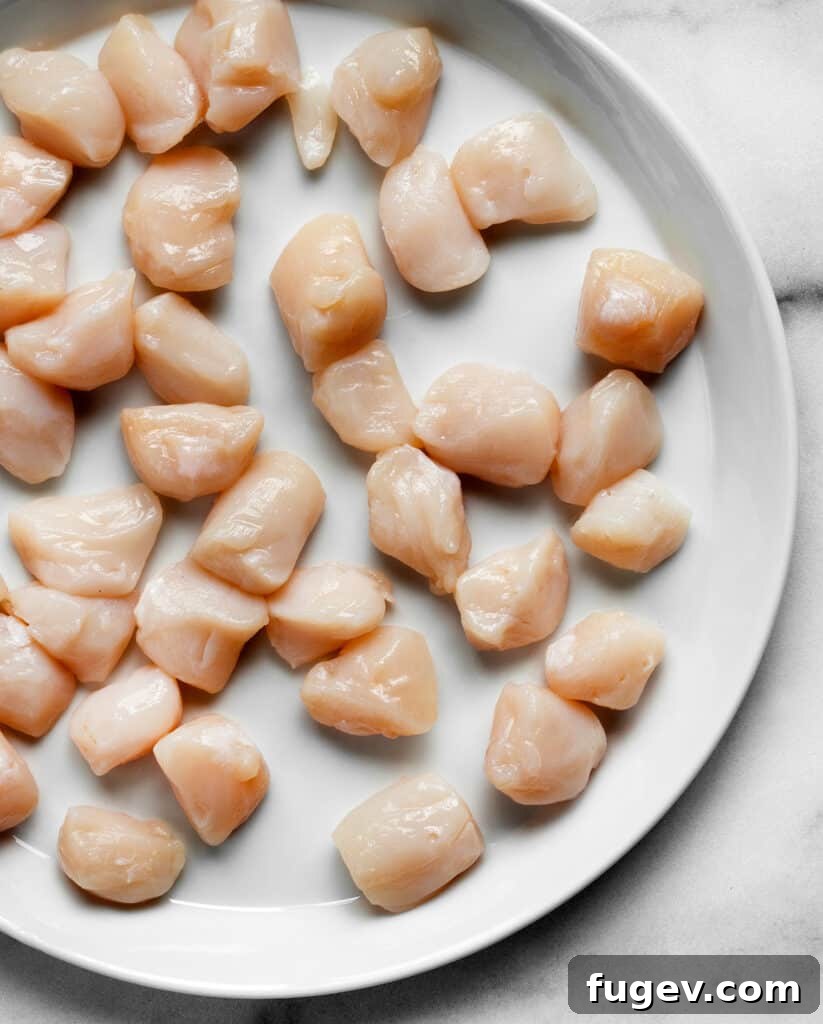
This recipe calls for a minimal yet impactful set of ingredients, each playing a crucial role in creating the perfect seared bay scallops:
- Bay Scallops: The star of the dish. Opt for fresh, dry-packed bay scallops for the best flavor and searing results. Their small size and sweet flavor are what truly set them apart from larger sea scallops.
- Olive Oil: Used in combination with butter, olive oil contributes a subtle fruitiness and helps to achieve a higher smoke point, ensuring an even, golden sear on the scallops without burning the butter. Choose a good quality extra virgin olive oil.
- Butter: Unsalted butter adds a luxurious richness and depth of flavor that complements seafood wonderfully. It’s essential for creating a beautiful golden-brown crust and forming the base of our delicious pan sauce.
- Shallots: Minced shallots provide a delicate, aromatic foundation for the dish. Their flavor is milder and sweeter than onions, with a hint of garlic, making them perfect for not overpowering the subtle taste of the scallops.
- Dry White Wine: A splash of dry white wine (such as Sauvignon Blanc or Pinot Grigio) is used to deglaze the pan. Its acidity cuts through the richness of the butter and oil, and it adds a sophisticated layer of flavor to the sauce. If you prefer not to use wine, a good quality chicken or vegetable broth can be a suitable substitute, though the flavor profile will differ slightly.
- Salt & Pepper: Simple seasoning is key. Kosher salt and freshly ground black pepper are all that’s needed to enhance the natural flavors of the scallops. Season just before cooking.
- Fresh Parsley: Chopped fresh parsley is sprinkled over the finished scallops. Its vibrant green color adds visual appeal, and its fresh, herbaceous notes provide a wonderful contrast to the richness of the butter and the sweetness of the scallops.
- Lemon Wedges: An absolute must for serving. A final squeeze of fresh lemon juice brightens the entire dish, providing a critical burst of acidity that perfectly balances the rich, savory flavors and awakens the palate.
Mastering the Technique: How To Cook Nantucket Bay Scallops
Achieving perfectly seared scallops is simpler than you might think, but a few key techniques make all the difference. Follow these steps for tender, golden-brown scallops every time:
- Prepare the Scallops: The most crucial first step for a successful sear is to thoroughly pat the scallops dry with paper towels. Excess moisture on the surface of the scallops will cause them to steam rather than sear, preventing that desirable golden-brown crust from forming. Take your time to blot them until they are as dry as possible. This allows for the Maillard reaction to occur, which is responsible for the rich, complex flavors and appealing color of seared food.
- Heat the Skillet: In a large, heavy-bottomed skillet (cast iron or stainless steel work best), heat the olive oil and butter over medium-high heat. You want the pan to be hot enough to create an instant sizzle when the scallops hit it. The combination of olive oil and butter provides both a higher smoke point and a rich flavor base.
- Sauté the Aromatics: Once the butter has melted and is slightly foamy, add the minced shallots to the hot skillet. Sauté them for about 1-2 minutes until they become soft and translucent. Be careful not to burn them, as this will impart a bitter taste. The goal is to gently soften them and release their aromatic flavors, which will infuse the cooking oil.
- Deglaze with Wine: Pour the dry white wine into the skillet. Let it bubble vigorously, scraping up any browned bits from the bottom of the pan – this is where much of the flavor resides. Allow the wine to reduce by half, which usually takes about 2 minutes. This step concentrates the flavors and creates a delicate, acidic sauce. Season the reduction with salt and black pepper now, ensuring the flavors are well integrated.
- Sear the Scallops: Carefully place the dried scallops into the hot pan in a single layer. It is absolutely vital not to overcrowd the pan. If there are too many scallops, the pan temperature will drop rapidly, and they will steam instead of searing, resulting in a rubbery texture. Cook the scallops for 1-2 minutes per side. Resist the urge to move or flip them until you see a beautiful, golden-brown crust forming on the bottom. Flip them gently with tongs and cook for another 1-2 minutes on the second side until they are opaque throughout and firm to the touch, but still slightly yielding in the center. Overcooking is the enemy of scallops, turning them tough and chewy.
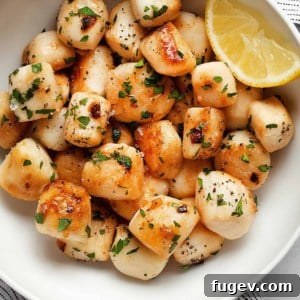
- Finish and Serve: Immediately after cooking, transfer the seared scallops to a serving dish. Garnish generously with freshly chopped parsley, adding a pop of color and herbaceous freshness. Finally, squeeze fresh lemon juice over the warm scallops. The bright acidity of the lemon is the perfect counterpoint to the rich butter and sweet scallops, tying all the flavors together beautifully. Serve immediately for the best experience.
What To Serve With Scallops: Pairing Suggestions
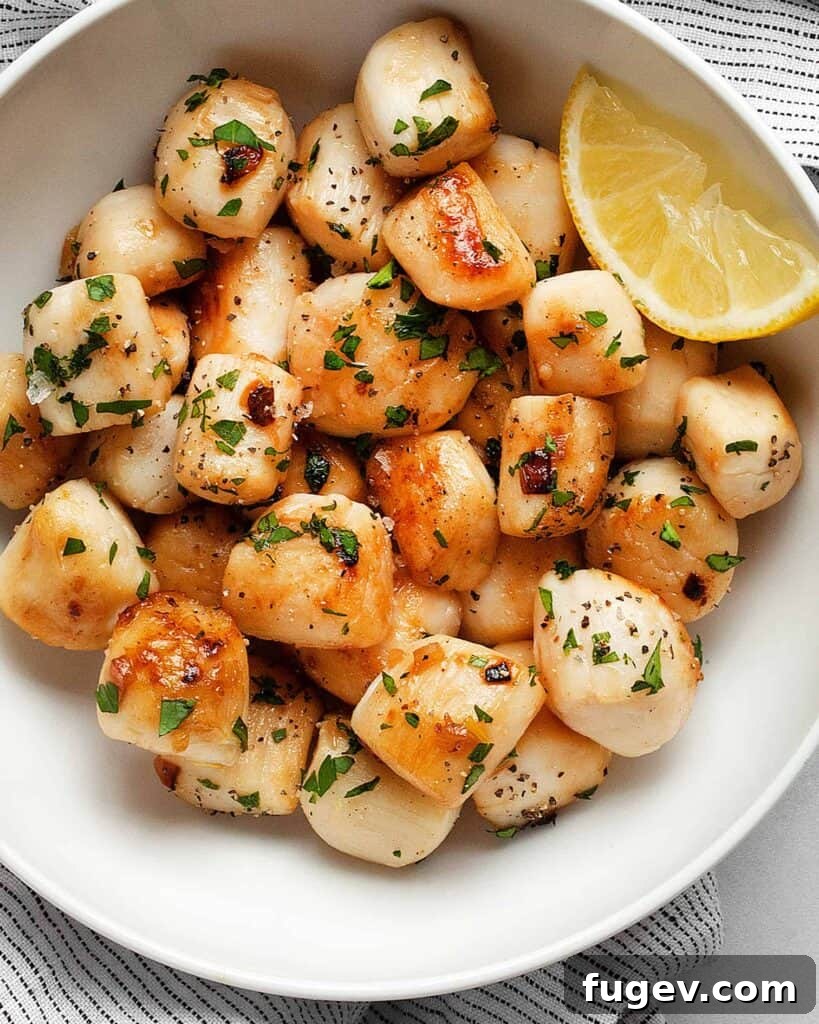
These exquisite Nantucket Bay scallops are incredibly versatile, serving 2 to 4 people beautifully as an elegant appetizer. However, if you wish to transform this delightful starter into a more substantial main course, pairing it with a complementary side dish is an excellent strategy.
For a fulfilling meal, I highly recommend serving the scallops alongside a simple yet flavorful rice dish or another grain. An oven-baked risotto, for instance, is a fantastic, largely hands-off option that provides a creamy, comforting base without requiring constant stirring. Other superb choices include tender orzo or hearty farro, both of which offer a wonderful textural contrast to the delicate scallops. When serving with grains or pasta, the key is to allow the scallops to remain the undisputed star: arrange them artfully on top of the accompanying dish in a shallow bowl or on a plate, rather than stirring them in, preserving their distinct texture and visual appeal.
Consider these delightful pairings:
- Baked Kale Barley Risotto
- Butternut Squash Baked Barley Risotto
- Lemon Kale Orzo
- Roasted Butternut Squash Broccoli Orzo
- Lemon Brussels Sprout Farro
Beyond grains, scallops also make a superb addition to fresh salads, much like shrimp or grilled chicken. Imagine them nestled atop a simple, peppery Arugula Salad with Lemon Vinaigrette, or adding a touch of oceanic luxury to a crisp Brussels Sprout Caesar Salad. Their delicate flavor and tender texture integrate beautifully, transforming an everyday salad into a sophisticated meal. For vegetable sides, consider steamed asparagus, blanched green beans with toasted almonds, or a light sautéed spinach with garlic, all of which complement the scallops without overpowering them.
To further enhance your dining experience, a crisp, dry white wine like a Sauvignon Blanc, Pinot Grigio, or even an unoaked Chardonnay would be an ideal beverage pairing, mirroring the brightness of the lemon and the delicate notes of the scallops.
Leftovers and Storage: Enjoying Scallops Later
For optimal taste and texture, seared scallops are truly best enjoyed warm, immediately after they’ve been cooked. The heat accentuates their delicate sweetness and keeps their texture wonderfully tender. However, if you find yourself with a few precious leftovers, they can be stored in an airtight container in the refrigerator for 1-2 days. It’s important to consume them within this short timeframe to maintain their quality.
A crucial tip regarding leftover scallops: avoid attempting to reheat them. Reheating scallops, particularly in a pan or microwave, almost invariably leads to overcooking, transforming their tender texture into something unpleasantly rubbery and chewy. Instead, the best way to enjoy leftover seared scallops is to eat them cold. They make a fantastic addition to a fresh salad, offering a burst of protein and flavor. You could also chop them finely and mix them into a light seafood salad, or serve them chilled as part of a gourmet seafood cocktail, allowing their natural sweetness to shine through in a different context. Embrace them as a cold delicacy, and you won’t be disappointed.
Expert Tips for Flawless Scallops
Achieving perfectly seared bay scallops is a testament to mindful cooking. Here are some indispensable tips to ensure your scallops turn out tender, juicy, and beautifully caramelized every time:
- Maximize Dryness for the Best Sear: This cannot be stressed enough. Patting the scallops thoroughly dry with a paper towel is paramount. Any residual moisture will create steam in the pan, preventing the scallops from developing that coveted golden-brown crust. Think of it as preparing a canvas for searing perfection – the drier, the better.
- Avoid Overcrowding the Pan: When cooking scallops, resistance is key. Place them in a single layer with ample space between each one. Overcrowding cools down the pan significantly, leading to steaming instead of searing. If you have a large batch, cook them in smaller, manageable batches to ensure each scallop gets direct contact with the hot surface and achieves that perfect caramelization. This patience will be rewarded with superior texture and flavor.
- Flip Only Once: Scallops are delicate and can easily tear if handled excessively. Place them in the hot pan and resist the urge to move them until it’s time to flip. Look for a beautiful golden-brown crust forming on the bottom, which is your cue that they are ready to be turned. A single, confident flip is usually all it takes to cook them evenly on both sides and maintain their structural integrity.
- Use a Hot Skillet: A properly preheated pan is critical. The combination of olive oil and butter should be shimmering and hot before the scallops are introduced. This initial high heat creates an immediate sear, locking in juices and developing flavor rapidly.
- Don’t Overcook: Scallops cook very quickly, often in just 1-2 minutes per side for bay scallops. The moment they turn opaque throughout and feel slightly firm to the touch, they are done. Overcooked scallops quickly become tough, rubbery, and lose their desirable sweetness. Keep a close eye on them and remove them from the heat promptly.
- Mise en Place: Have all your ingredients prepped and ready before you start cooking. Scallops cook so fast that you won’t have time to chop shallots or lemon once the pan is hot. This organized approach ensures a smooth and stress-free cooking process.
Seared Bay Scallops
Paige Adams
5 minutes
7 minutes
12 minutes
4
Pin
Ingredients
- 3/4 pound bay scallops
- 1 tablespoon olive oil
- 2 tablespoons butter (unsalted preferred)
- 1 shallot, minced
- 1/4 cup dry white wine
- 1/4 teaspoon kosher salt
- 1/4 teaspoon black pepper (freshly ground)
- 1 tablespoon chopped fresh parsley
- 2-4 lemon wedges, for serving
Instructions
-
Pat the scallops thoroughly dry with paper towels. This step is crucial for achieving a good sear.
-
Heat the olive oil and butter in a large skillet over medium-high heat. Once the butter has melted and is slightly shimmering, add the minced shallots. Sauté for about 2 minutes until they are softened and translucent. Pour in the dry white wine and continue cooking, allowing the liquid to reduce by half (approximately 2 minutes). Season the pan sauce with salt and black pepper.
-
Carefully place the dried scallops into the hot skillet in a single layer, ensuring not to overcrowd the pan. Cook for 1-2 minutes per side until they develop a beautiful golden-brown crust and are opaque throughout. Avoid overcooking, which can lead to a rubbery texture. Cook in batches if necessary.
-
Transfer the scallops to a serving dish. Toss them with fresh chopped parsley and finish with a generous squeeze of fresh lemon juice before serving immediately.
Notes
For the best flavor and texture, scallops are ideally eaten warm and fresh from the pan. If you happen to have any leftovers, store them in an airtight container in the refrigerator for up to 1-2 days. To prevent them from becoming tough and rubbery, it’s best to enjoy any leftover scallops cold, perhaps mixed into a fresh salad or as part of a chilled seafood platter. Reheating is generally not recommended.
Nutrition
Carbohydrates: 5g |
Protein: 11g |
Fat: 10g |
Saturated Fat: 4g |
Polyunsaturated Fat: 1g |
Monounsaturated Fat: 4g |
Trans Fat: 0.2g |
Cholesterol: 35mg |
Sodium: 526mg |
Potassium: 227mg |
Fiber: 1g |
Sugar: 1g |
Vitamin A: 265IU |
Vitamin C: 7mg |
Calcium: 15mg |
Iron: 1mg
Nutrition information is automatically calculated and should only be used as an approximation. Variations may occur based on specific ingredients and preparation methods.
Additional Info
Appetizer, Main Course
American, Seafood
Did you make this recipe?
Mention @lastingredient on Instagram and tag it #lastingredient!