
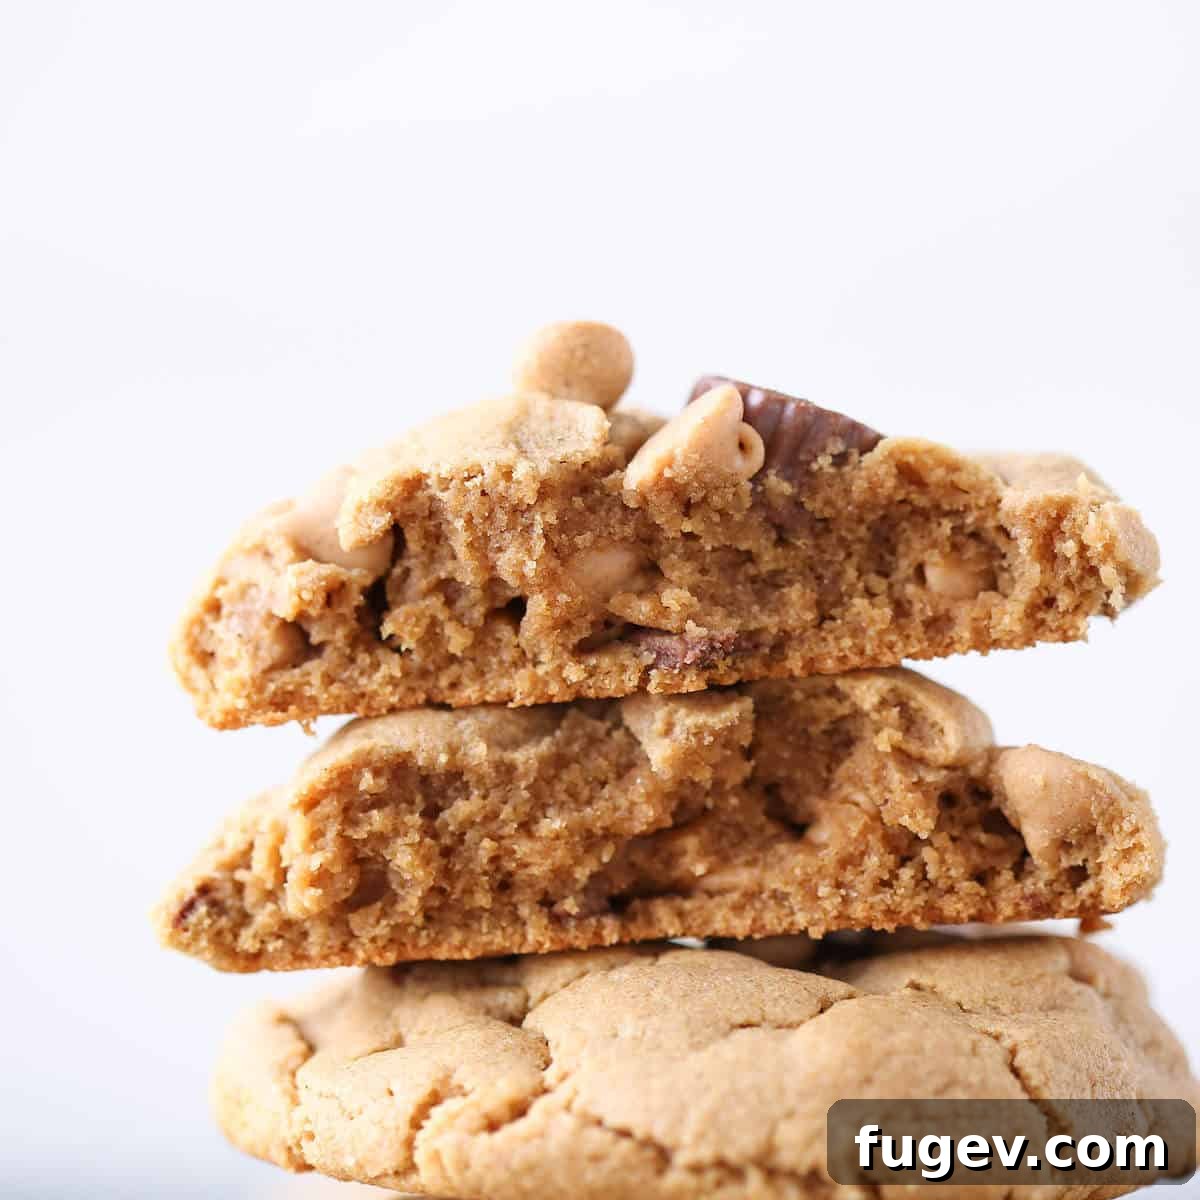
Ultimate Bakery-Style Reese’s Peanut Butter Cookies: Thick, Chewy & Gluten-Free!
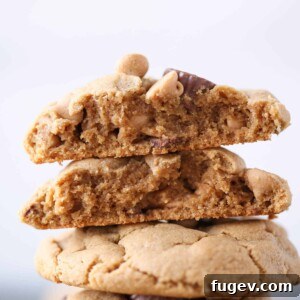
Indulge in the irresistible delight of these bakery-style Reese’s Peanut Butter Cookies. Forget thin, crumbly cookies – these are thick, wonderfully chewy, and so incredibly easy that you can have them baking in your oven in just 5 minutes! Each bite is a symphony of peanut butter flavor, generously loaded with creamy peanut butter chips and delectable mini Reese’s Peanut Butter Cups, making them a dream come true for any peanut butter enthusiast.
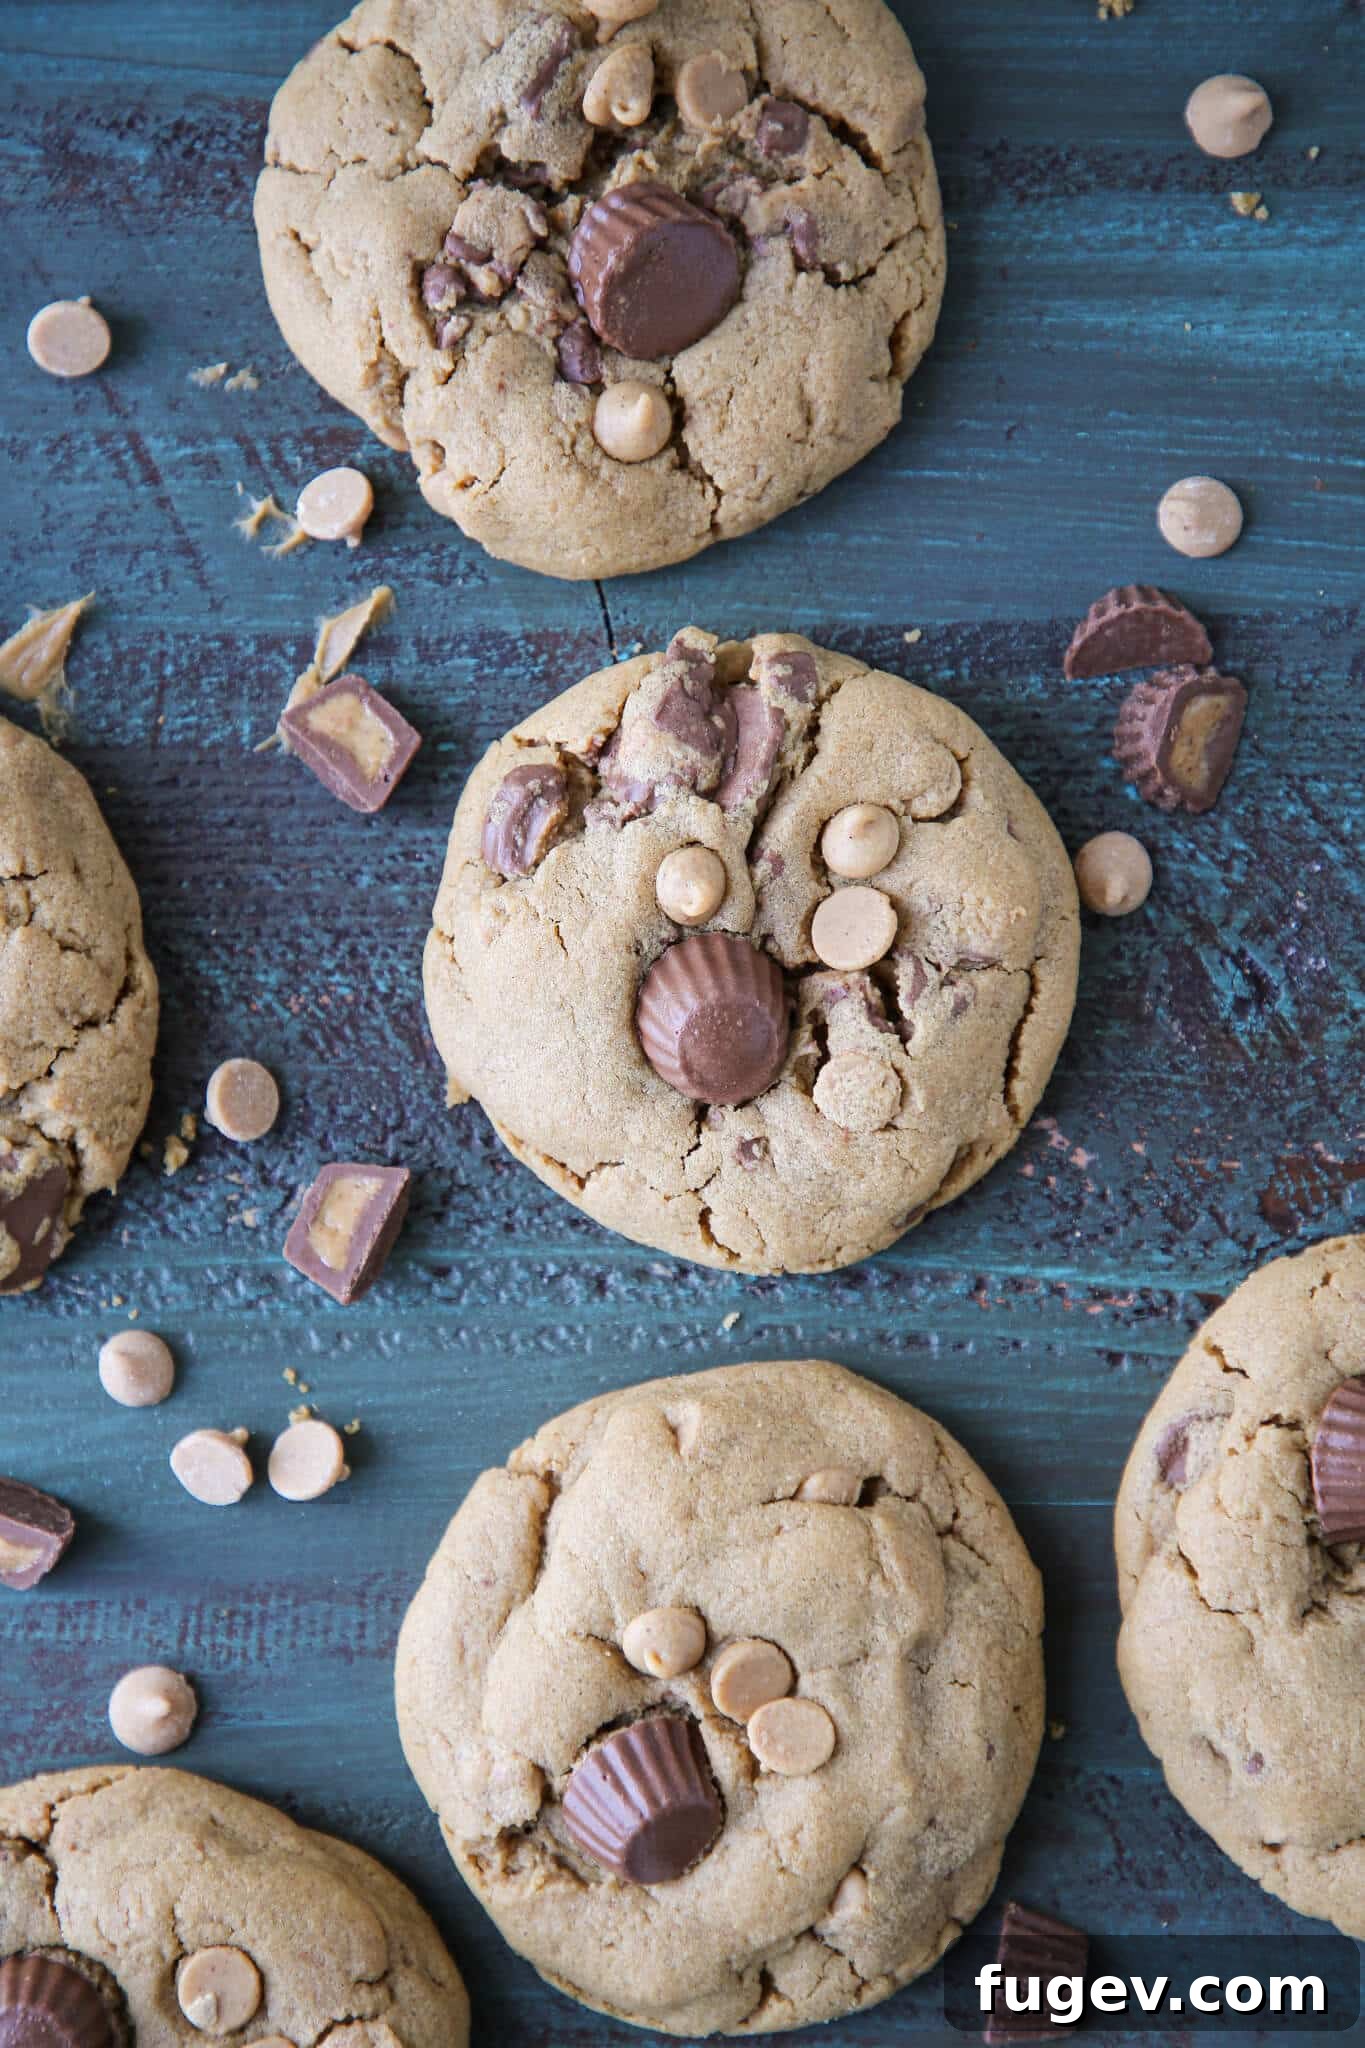
There are moments when a profound peanut butter craving strikes, a craving so intense that only the most substantial, bakery-style cookie can satisfy it. This is precisely when I turn to this epic recipe for loaded Reese’s Peanut Butter Cookies! What makes this recipe even more remarkable is its simplicity: the cookie dough itself requires a mere 5 core ingredients and is naturally gluten-free, needing no specialty flours. To elevate the rich peanut butter experience to an unparalleled level, I’ve generously folded in as many mini Reese’s Cups and peanut butter chips as the velvety batter can possibly embrace!
If your preference leans towards a delightful crunch, you might explore my great-grandmother’s timeless old-fashioned peanut butter cookies, which offer a different, yet equally satisfying, textural experience. Alternatively, for those days when turning on the oven feels like too much effort, these effortless no-bake peanut butter cookies provide a quick and delicious solution.
Table of Contents
- Why You Will Love These Reese’s Peanut Butter Cookies
- Professional Tips for Making Chewy Peanut Butter Cookies
- Essential Ingredients for Reese’s Peanut Butter Cookies
- Creative Variations for Your Cookies
- Smart Substitutions for Dietary Needs & Preferences
- How to Make Reese’s Peanut Butter Cookies: Step-by-Step
- Chef Lindsey’s Recipe Enhancement Tip
- Frequently Asked Questions About Reese’s Cookies
- Reese’s Peanut Butter Cookies Recipe
- Before You Go: Explore More Delicious Treats
Why You Will Love These Reese’s Peanut Butter Cookies
- No-Chill Convenience: Say goodbye to waiting! This recipe eliminates the tedious chilling process often required for cookie dough. Simply combine your ingredients, fold in the delightful mix-ins, scoop the dough, and pop them straight into the oven. This means you can satisfy your cookie cravings almost instantly, with the first warm, gooey cookie ready to enjoy in record time. Waiting for them to cool is truly optional when they smell this good!
- Effortlessly Easy & No-Fuss: Perfect for bakers of all skill levels, this recipe is designed for maximum flavor with minimal effort. The base dough comes together with just 5 essential ingredients and requires less than 5 minutes of prep time. It’s ideal for busy weeknights, impromptu gatherings, or any time you need a quick, impressive dessert without the stress.
- Naturally Gluten-Free & Butter-Free: You read that correctly! This amazing peanut butter cookie recipe is naturally gluten-free as it contains no flour, relying on the peanut butter for its structure. Furthermore, it’s completely butter-free, with the rich fats from the peanut butter providing all the necessary moisture and tenderness. No need for specialty flours or butter substitutes – you likely already have all the simple ingredients in your pantry.
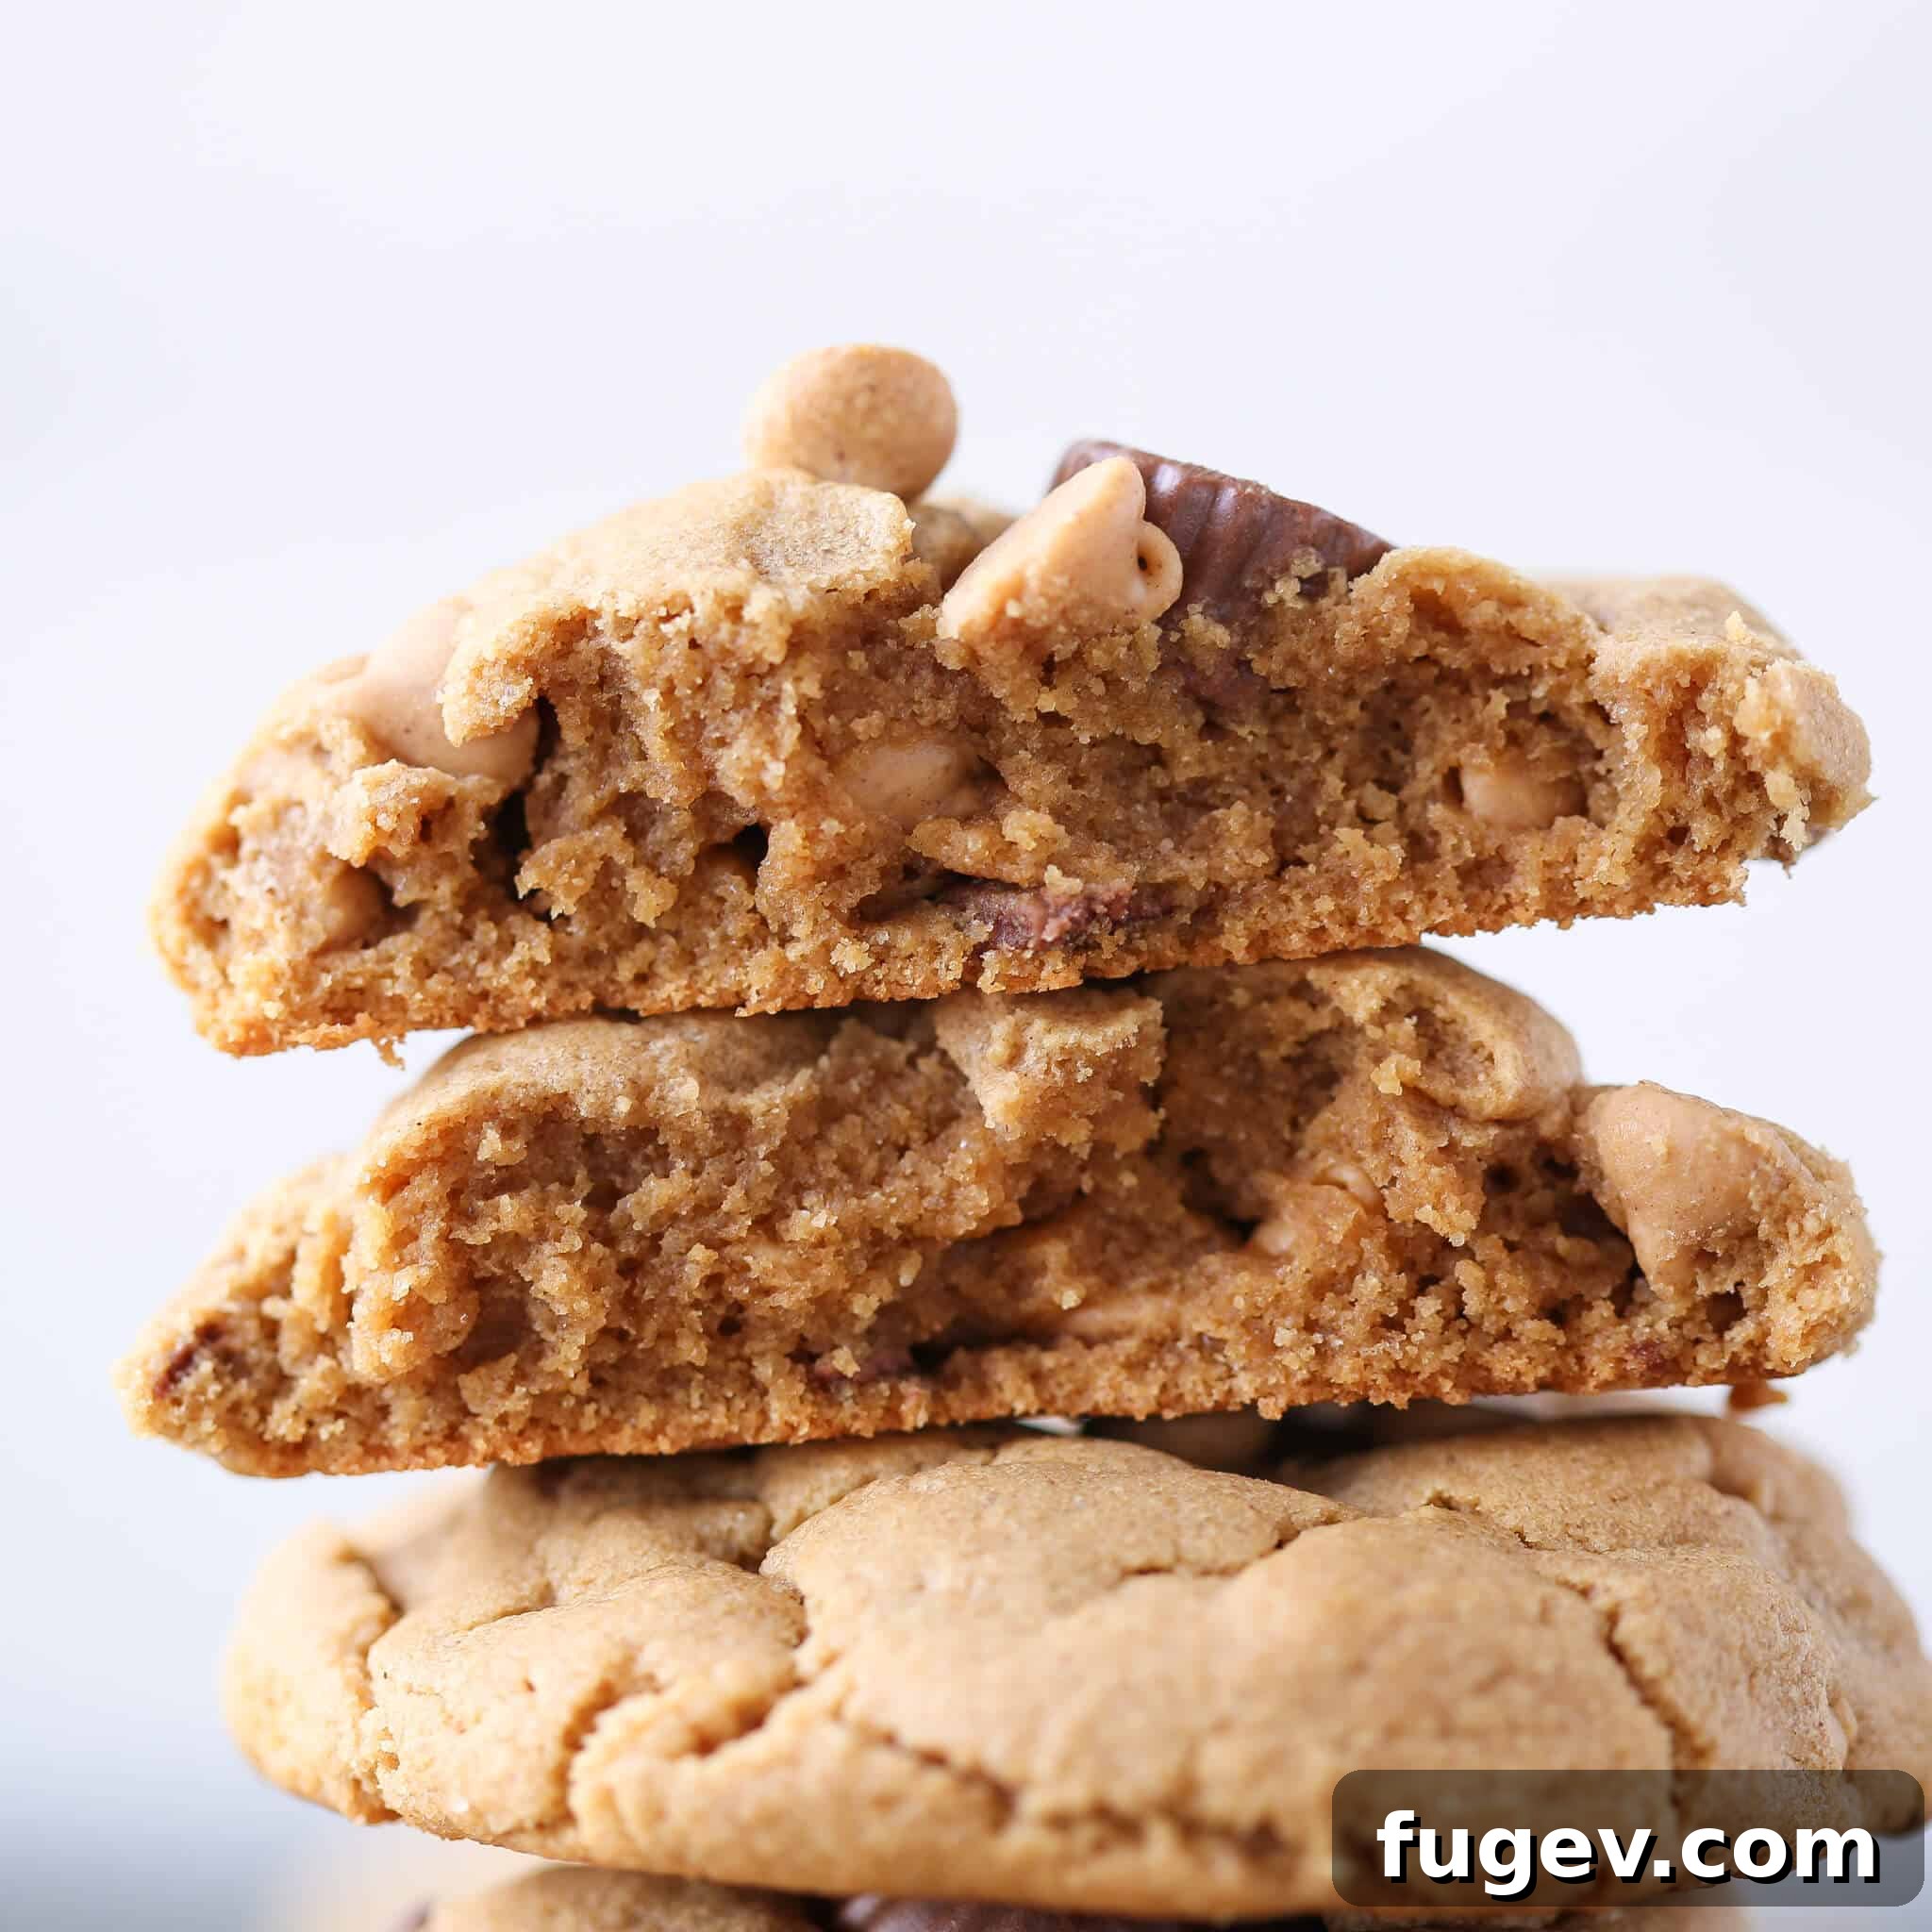
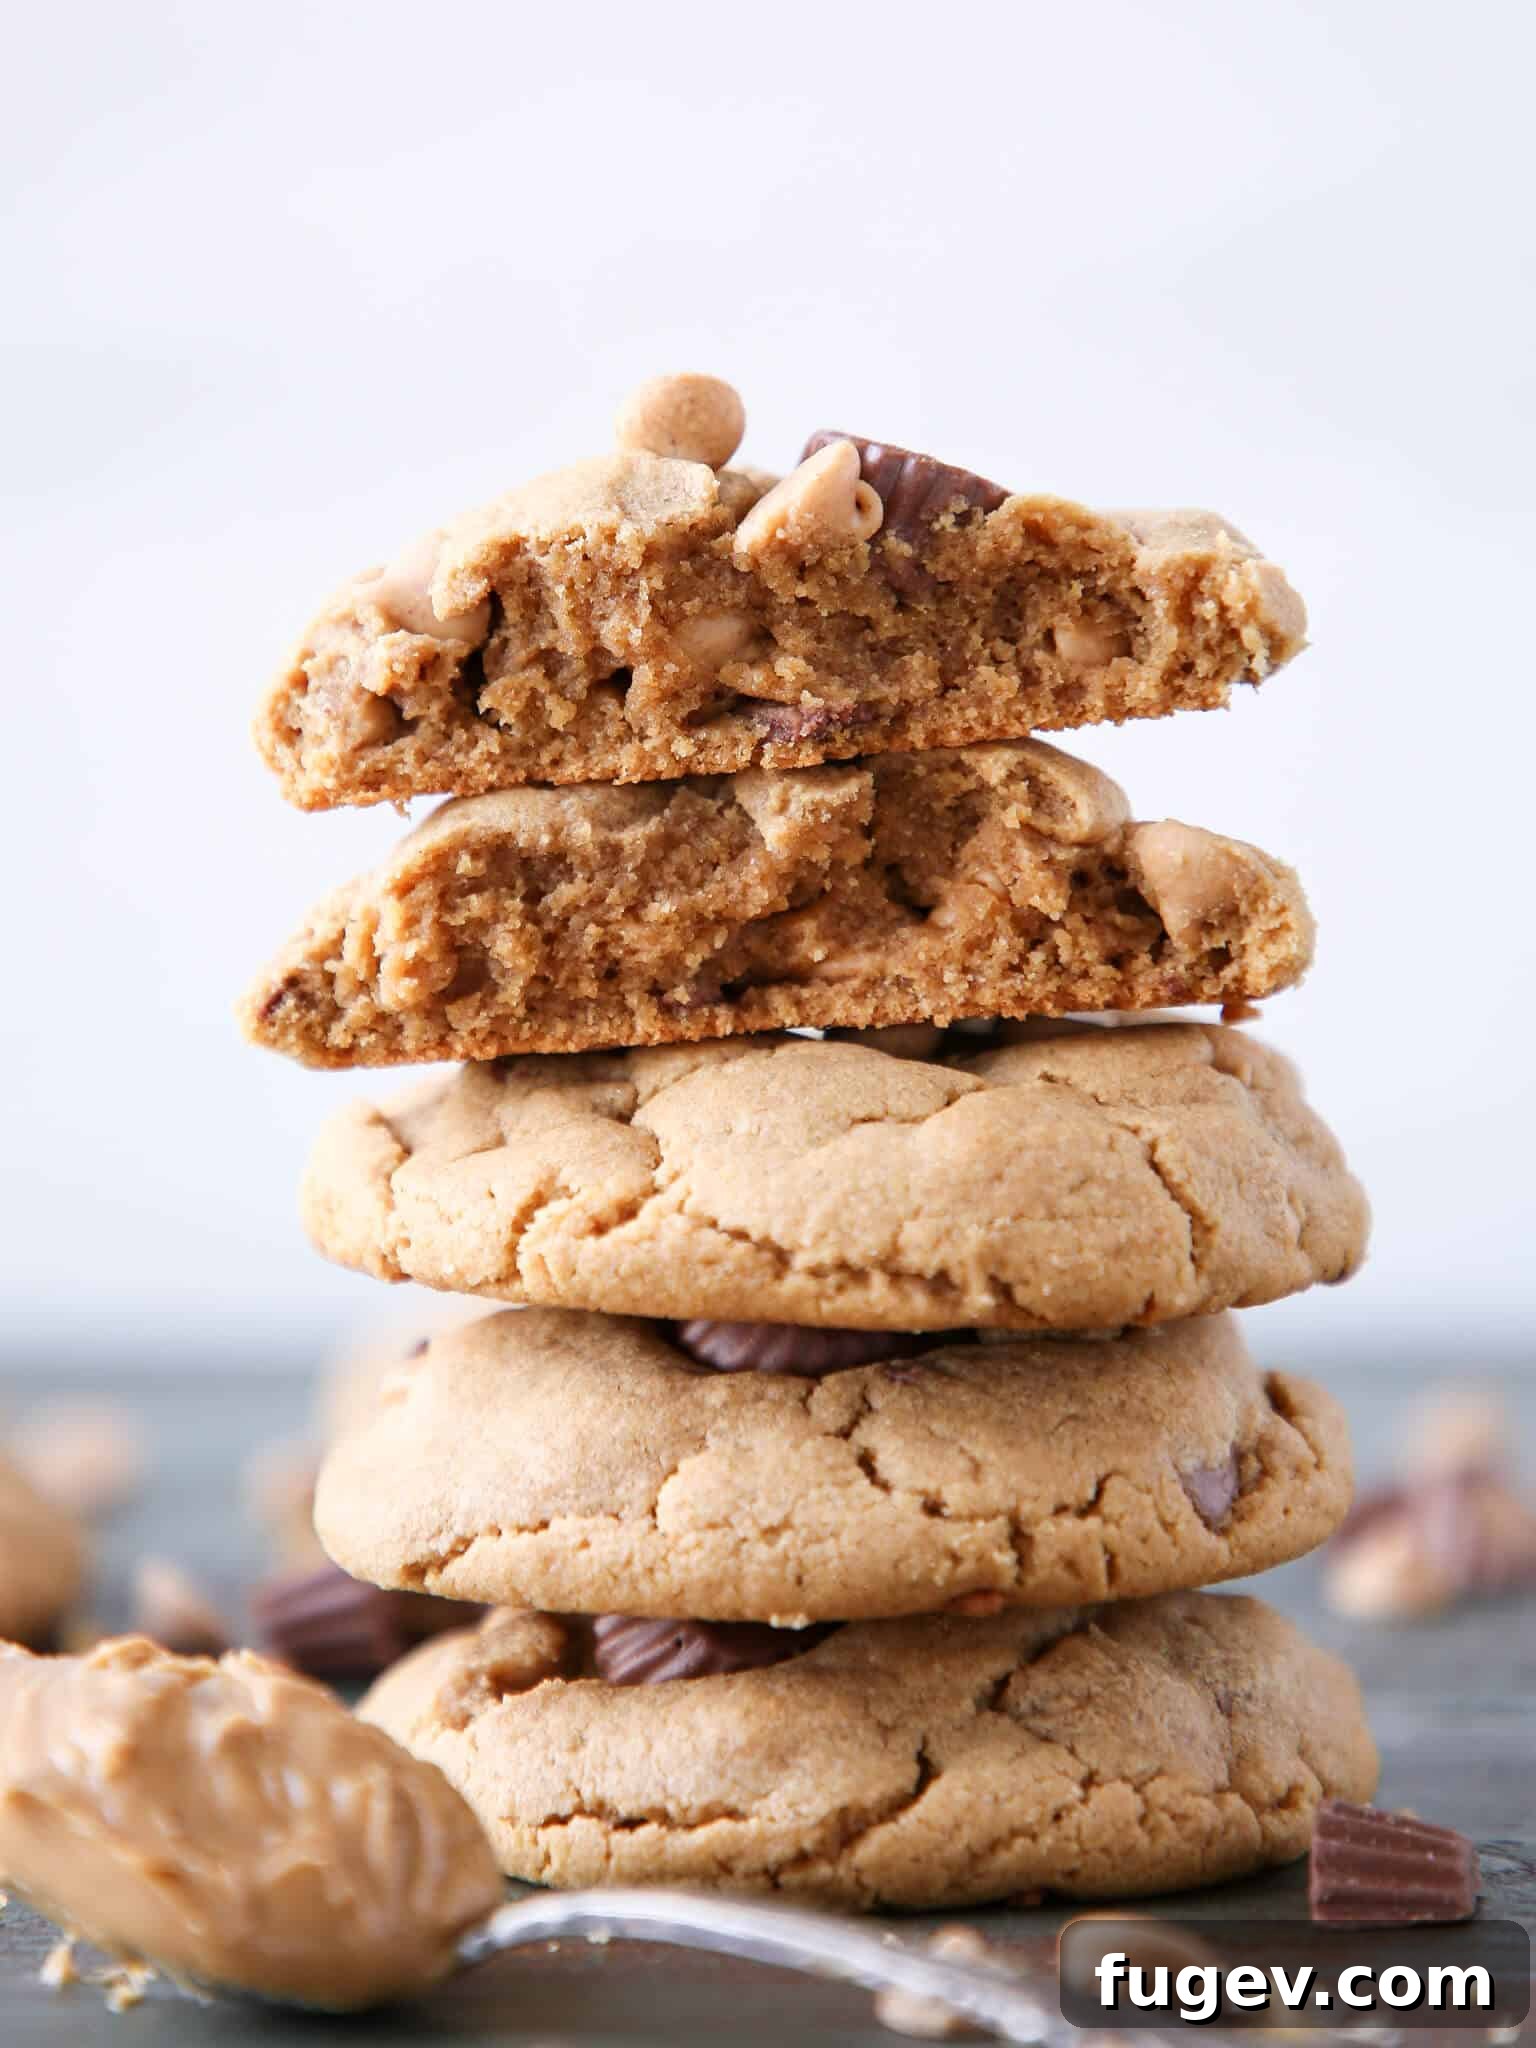
- Unbeatable Texture: Prepare for a cookie experience like no other. These cookies boast the absolute best texture: thick, soft, and incredibly chewy, with edges that are just perfectly golden and centers that remain wonderfully moist. Each bite delivers an optimal balance of rich peanut butter flavor and a satisfyingly dense, yet tender, consistency.
- Peanut Butter Lover’s Dream: If you’re passionate about peanut butter, this cookie is tailor-made for you. The triple threat of peanut butter (from the base, the chips, and the Reese’s Cups) creates an explosion of flavor that will delight your taste buds and satisfy even the most intense peanut butter craving.
- Customizable Fun: While perfect as is, this base recipe is incredibly versatile. It serves as a fantastic canvas for your creativity, allowing you to easily experiment with various mix-ins and toppings to create your unique cookie masterpiece.
Professional Tips for Making Chewy Peanut Butter Cookies
Achieving the perfect chewy, thick peanut butter cookie involves a few key techniques. Follow these expert tips to ensure your Reese’s Peanut Butter Cookies turn out flawlessly every single time:
- Choose No-Stir Peanut Butter: This is a non-negotiable step for this particular recipe. For optimal results and consistent texture, you absolutely *must* use a “no-stir” or “stabilized” peanut butter. Brands like Jif or Skippy are excellent choices. Natural peanut butter, which separates and requires stirring, contains a different oil-to-solid ratio and is typically too runny for this flourless dough, leading to flat, overly spread cookies. The consistency of no-stir peanut butter is crucial for the structure and chewiness of these cookies.
- Avoid Excessive Creaming: Unlike many cookie recipes that benefit from extensive creaming of butter and sugar, for these thick, chewy peanut butter cookies, less is more. Only cream the peanut butter and sugars until they are just combined and well-blended, about 1-2 minutes. Over-creaming incorporates too much air into the mixture, which can result in a more cake-like texture rather than the desired dense and chewy crumb. You can even mix the dough entirely by hand for ultimate control.
- Brown Sugar is Your Secret Weapon: The type of sugar you use significantly impacts the final texture. Brown sugar is absolutely essential here. Whether you use dark or light brown sugar (dark brown sugar will impart a slightly richer molasses flavor), do not substitute 100% granulated white sugar. The molasses in brown sugar provides crucial moisture, which is key to keeping the cookies soft and chewy, preventing them from spreading too much and becoming thin and crispy. A balanced mix of both granulated and brown sugar gives the best of both worlds: structure and chewiness.
- Don’t Overbake: For that perfect chewy interior, resist the urge to overbake. Cookies should be removed from the oven when their edges are lightly golden brown and the centers still look slightly soft or “underdone.” They will continue to set and firm up as they cool on the baking sheet. Overbaking leads to dry, hard cookies.
- Measure Accurately: Baking is a science, and especially in a recipe with so few ingredients, precise measurements are vital. Use proper measuring cups and spoons. For ingredients like brown sugar, make sure it’s firmly packed.
Essential Ingredients for Reese’s Peanut Butter Cookies
Each ingredient in this simple yet powerful recipe plays a specific role in creating the ultimate Reese’s Peanut Butter Cookie. Here’s a closer look at what you’ll need and why:
- No-Stir Peanut Butter: I consistently use Jif peanut butter in all my baking, especially for recipes like this one. Its consistent texture and robust flavor are unmatched, providing the perfect foundation for these cookies. As mentioned, natural peanut butters are too inconsistent in texture and often much runnier, which can drastically alter the final product due to the lack of flour in this recipe. Sticking with a no-stir variety ensures your cookies maintain their desired thickness and chewiness.
- Whole Egg: The egg is a multi-tasking powerhouse in this dough. It contributes essential fat from the yolk, adding richness and contributing significantly to the chewy texture. The egg whites provide structure and a touch of leavening, while the egg as a whole acts as an emulsifier, binding all the ingredients together seamlessly and ensuring a perfectly uniform and delightful texture.
- Granulated Sugar: While obviously providing sweetness, granulated sugar also plays a structural role. However, it’s crucial to use it in the right proportion to the peanut butter. Too much granulated sugar relative to the peanut butter can cause the cookies to spread excessively during baking, resulting in thinner, crisper cookies instead of the tall, chewy ones we’re aiming for.
- Dark Brown Sugar: The inclusion of dark brown sugar is vital for both flavor and texture. It delivers a deep, caramel-like sweetness thanks to its higher molasses content. More importantly, the molasses imparts moisture, which is key to keeping these cookies incredibly soft, moist, and chewy. It also adds a rich, nuanced flavor that complements the peanut butter beautifully.
- Baking Soda: Baking soda is our primary leavening agent. It reacts with an acid, in this case, the molasses present in the dark brown sugar, to produce carbon dioxide gas. This reaction causes the cookies to puff up and rise, creating that desirable thick, bakery-style appearance and contributing to their soft crumb. Baking soda reacts more powerfully than baking powder, providing a dramatic initial rise.
- Mini Reese’s Peanut Butter Cups: To make these cookies truly “loaded,” Mini Reese’s Peanut Butter Cups are an absolute must. They are adorably sized, which saves you the time and effort of unwrapping and chopping larger cups. These little bursts of chocolate and peanut butter add incredible flavor and a delightful textural contrast throughout each cookie. Of course, if you only have regular Reese’s Cups on hand, feel free to chop them for an equally delicious result, possibly intensifying the peanut butter experience even further!
- Reese’s Peanut Butter Chips: Complementing the mini Reese’s, Reese’s peanut butter chips amplify the overall peanut butter flavor. These creamy chips melt beautifully, creating pockets of intense peanut butter goodness. While Reese’s brand chips are fantastic, you can certainly use any brand of peanut butter chips you prefer, or even substitute them with your favorite chocolate chips for a delightful peanut butter chocolate combination.
Creative Variations for Your Cookies
While these Reese’s Peanut Butter Cookies are absolutely divine on their own, this versatile recipe serves as a fantastic foundation for culinary creativity. Don’t be afraid to experiment and make them your own!
- Transform Them into Bars: This very same incredible recipe can be effortlessly adapted into a sheet pan dessert. I’ve successfully used it to create decadent fudgy peanut butter milk chocolate bars! For an extra touch of indulgence, consider adding a luscious milk chocolate ganache on top, creating a layered dessert that’s perfect for feeding a crowd. Bars are often quicker to prepare and serve than individual cookies.
- Experiment with Diverse Mix-Ins: This cookie dough is a wonderfully accommodating base, inviting you to awaken your inner baker’s creativity! Beyond Reese’s and peanut butter chips, consider incorporating an array of other delightful additions.
- Chocolate Lovers: Fold in milk chocolate chips, semi-sweet chocolate chunks, or white chocolate chips for a rich, varied flavor profile.
- Candy Cravers: Swap out or add Reese’s Pieces, chopped Snickers bars, Butterfingers, or even M&M’s for different textures and bursts of candy flavor.
- Salty & Sweet: For an irresistible sweet and salty contrast, try adding crushed pretzels to the dough. The crunch and saltiness elevate the peanut butter flavor beautifully.
- Nutty Additions: Introduce chopped roasted peanuts, pecans, or walnuts for an extra layer of nutty crunch and flavor.
- Elevate with a Frosting: Why not gild the lily and take these cookies to the next level with a luxurious frosting? An easy, tangy cream cheese frosting provides a wonderful counterpoint to the rich peanut butter, or opt for the ultimate indulgence with the best chocolate buttercream recipe. Finish with a sprinkle of chocolate jimmies, extra mini Reese’s, or a drizzle of melted peanut butter for a truly show-stopping dessert.
- Craft Incredible Ice Cream Sandwiches: These thick, chewy cookies are absolutely divine when paired with a scoop of your favorite ice cream. For a classic and comforting combination, sandwich a rich, decadent chocolate ice cream or creamy vanilla bean ice cream between two cookies. Feeling adventurous? Try an unexpected flavor combination like a tangy cherry caramel ice cream or even a coffee-flavored ice cream for a sophisticated twist. Wrap individually and freeze for a perfect grab-and-go treat.
Smart Substitutions for Dietary Needs & Preferences
While this recipe is designed for specific results, here are some insights into potential substitutions and how they might affect your cookies. Always remember that altering core ingredients can change the final texture and flavor.
- Natural Peanut Butter (Not Recommended for This Recipe): It’s crucial to reiterate: this recipe will not yield the same thick, chewy results if you use natural peanut butter. Natural peanut butter typically separates, has a different fat content, and is significantly runnier once stirred, making it unsuitable for this flourless dough which relies on the stability of no-stir peanut butter. If you prefer baking with natural peanut butter, I highly recommend trying other recipes specifically formulated for it, such as these delicious peanut butter cup cookies or these chewy peanut butter chocolate chip cookies.
- Crunchy Peanut Butter: Good news for crunch lovers! You can absolutely use crunchy peanut butter in this recipe to add an extra layer of textural intrigue, *provided it is a no-stir variety*. The added peanut pieces will offer a delightful bite without compromising the integrity of the dough, as long as the base peanut butter itself maintains the necessary consistency.
- Sugar (Use Brown Sugar!): As discussed, the ratio of sugars, particularly the presence of brown sugar, is key to the unique texture of these cookies. You can use either dark or light brown sugar, depending on what you have on hand and your preference for a deeper molasses flavor. However, avoid substituting 100% granulated white sugar. Doing so will result in cookies that are less thick, spread significantly more, and have a drier, crispier texture rather than the desired soft and chewy one. Brown sugar’s moisture is non-negotiable for this recipe.
- Reese’s Peanut Butter Cups (Chopped vs. Mini): I opt for mini Reese’s to save time on unwrapping and chopping, making the prep incredibly quick and easy. However, these cookies are equally, if not more, delicious with chopped regular-sized Reese’s Peanut Butter Cups. If you have the patience to chop them, you’ll be rewarded with larger pockets of melty peanut butter and chocolate, intensifying the flavor experience.
- Egg Alternatives (with Caution): While this recipe relies on the binding and moisturizing properties of a real egg, some plant-based egg replacers (like flax egg or commercial egg substitutes) *might* work, but results can vary significantly in terms of texture and chewiness. If you need a vegan option, look for recipes specifically developed to be vegan peanut butter cookies.
How to Make Reese’s Peanut Butter Cookies: Step-by-Step
Get ready to create the most perfect, chewy Reese’s Peanut Butter Cookies you’ve ever tasted! Follow these simple instructions for a hassle-free baking experience. You’ll find further details, precise measurements, and a printable recipe card below.
Step 1: Prepare Your Baking Environment
Begin by preheating your oven to 350°F (175°C). This ensures your oven is at the correct temperature for even baking. Next, line two standard baking sheets with parchment paper. Parchment paper is essential here as it prevents the cookies from sticking, promotes even browning, and makes for incredibly easy cleanup. Ensure your sheets are ready before you start mixing the dough.
Step 2: Mix the Dough Base
In a large mixing bowl, combine the no-stir peanut butter, the whole egg, both granulated sugar and dark brown sugar, and baking soda. Using a hand mixer on medium speed, beat the ingredients until they are thoroughly blended. This should take approximately 1-2 minutes. The goal is a well-combined mixture, not a light and fluffy consistency – remember, over-creaming can lead to a cakier cookie. Once the base dough is uniform, gently stir in the mini Reese’s peanut butter cups and Reese’s peanut butter chips until they are evenly distributed throughout the dough. Avoid overmixing once the mix-ins are added to prevent crushing them.
Step 3: Portion and Prepare for Baking
Divide the dough into 8 equal pieces. For consistent sizing and baking, I recommend using a 2-inch cookie scoop. Roll each portion of dough into a smooth ball between your palms. Place the dough balls onto the prepared baking sheets, ensuring they are spaced at least 2 inches apart to allow for proper spreading during baking. This spacing prevents them from merging into one giant cookie. For an extra bakery-style touch, lightly press a few additional mini Reese’s and peanut butter chips onto the tops of the dough balls before baking.
Wasn’t that crazy easy? Now, try to contain your excitement (and your foot tapping) while the oven finishes preheating! The anticipation is part of the fun.
Step 4: Bake to Perfection & Cool
Bake the cookies for 11-14 minutes. The exact baking time can vary slightly depending on your oven. You’ll know they’re perfectly done when the edges are a beautiful golden brown and the centers have puffed up slightly, no longer looking raw or doughy. They might still appear a little soft in the very center, but that’s exactly what you want for a chewy cookie. Immediately upon removing them from the oven, let them cool on the hot cookie sheet for at least 5-10 minutes. This crucial step allows them to set and firm up properly, preventing them from breaking apart when transferred. After this initial cooling, you can carefully move them to a wire rack to cool completely, or enjoy them warm!
Chef Lindsey’s Recipe Enhancement Tip
For cookies that look as good as they taste, take a moment to press a few extra mini Reese’s Peanut Butter Cups and peanut butter chips onto the tops of each dough ball just before placing them in the oven. As the cookies bake and spread, these additions will remain visible on the surface, creating an enticing, picture-perfect “bakery-style” finish that’s sure to impress!
Frequently Asked Questions About Reese’s Cookies
To keep these delicious cookies fresh and chewy, store them in an airtight container at room temperature for up to one week. If you want to extend their life even further, they freeze exceptionally well. Simply place the cooled, baked cookies in a freezer-safe bag or container, separating layers with parchment paper, and freeze for several months. I generally recommend freezing the baked cookies rather than the raw dough, as the dough itself can become a bit crumbly when frozen, potentially affecting the final texture.
Absolutely! These chewy peanut butter cookies are excellent candidates for shipping. Their dense, robust texture and inherent moisture help them withstand travel remarkably well. They tend to arrive moist, intact, and just as chewy as when they were first baked, with very minimal damage. For best results, allow them to cool completely, then individually wrap them in plastic wrap before packing them snugly in an airtight container within a sturdy box.
One of the best features of this recipe is that there is absolutely no need to chill the cookie dough prior to baking! This saves significant time and makes it perfect for those spontaneous baking moments. Just mix the ingredients, roll your cookie balls, and pop them straight into your preheated oven!
While you *can* attempt to bake the dough from frozen, I generally recommend freezing the *baked* cookies instead of the raw dough for the best results with this particular recipe. The raw dough, being flourless, can sometimes become a bit crumbly and difficult to handle after freezing, which might impact the texture or appearance of your freshly baked cookies. Freezing the baked cookies ensures they retain their perfect shape and chewy consistency once thawed or gently reheated.
Flat or crispy cookies can often be attributed to a few factors. Firstly, ensure you are using a “no-stir” peanut butter; natural peanut butters are too oily and runny for this recipe’s structure. Secondly, avoid over-creaming the peanut butter and sugars, as too much air can cause excessive spreading. Lastly, confirm you’re using the correct ratio of brown sugar to granulated sugar, as brown sugar’s molasses content is crucial for moisture and chewiness. Overbaking can also lead to a crispier cookie, so keep an eye on those edges!
Yes, this recipe is quite forgiving and can easily be doubled if you’re baking for a larger crowd, or halved if you only need a smaller batch of cookies. When doubling, just ensure your mixing bowl is large enough to accommodate all the ingredients. For halving, simply cut all ingredient amounts in half. The baking time should remain approximately the same, but always watch for those golden edges!
If you tried this recipe and absolutely loved it, please take a moment to leave a 🌟 star rating and share your thoughts in the comments section below. Your feedback truly makes my day and helps other bakers discover these fantastic cookies!
Reese’s Peanut Butter Cookies
Chef Lindsey
5 minutes
12 minutes
17 minutes
8
Cookies
Comment
Print Recipe
Ingredients
-
1
cup
no-stir peanut butter
I use Jif -
1
egg -
½
cup
dark brown sugar
loosely packed -
½
cup
granulated sugar -
1
teaspoon
baking soda -
½
cup
mini Reese’s peanut butter cups -
¼
cup
Reese’s peanut butter chips
Instructions
-
Preheat your oven to 350°F (175°C) and line two baking sheets with parchment paper for easy cleanup.
-
In a large bowl, combine the no-stir peanut butter, egg, both granulated sugar and dark brown sugar, and baking soda. Mix with a hand mixer until just well blended, about 1-2 minutes. Avoid over-creaming. Gently stir in the Reese’s peanut butter chips and mini Reese’s cups until evenly distributed.
-
Scoop the dough into 8 equal portions (a 2-inch cookie scoop works perfectly). Roll each portion into a ball and place them about 2 inches apart on the prepared baking sheets. For an extra touch, press a few additional Reese’s pieces onto the tops of each dough ball.
-
Bake for 11-14 minutes, or until the edges are golden brown and the centers have puffed and no longer appear doughy. They may still look slightly soft in the middle. Let them cool on the cookie sheet for at least 5-10 minutes before carefully transferring them.
-
Try your best not to eat them all in one sitting – though we understand if you do!
Notes
Substitutions – This recipe is specifically designed for no-stir peanut butter. Using natural peanut butter will not yield the same thick, chewy results due to its different consistency. However, you can use crunchy peanut butter (as long as it’s a no-stir variety) to add a lovely textural element. For sugars, brown sugar is crucial; do not substitute entirely with granulated white sugar.
Storage – Store your baked Reese’s Peanut Butter Cookies in an airtight container at room temperature for up to a week to maintain their chewiness. For longer storage, freeze the baked cookies for several months. Freezing the raw dough is not recommended for this recipe, as it can become crumbly.
Nutrition
Calories:
420
kcal
|
Carbohydrates:
46
g
|
Protein:
11
g
|
Fat:
24
g
|
Saturated Fat:
7
g
|
Polyunsaturated Fat:
5
g
|
Monounsaturated Fat:
11
g
|
Trans Fat:
1
g
|
Cholesterol:
23
mg
|
Sodium:
361
mg
|
Potassium:
269
mg
|
Fiber:
2
g
|
Sugar:
40
g
|
Vitamin A:
40
IU
|
Vitamin C:
1
mg
|
Calcium:
44
mg
|
Iron:
1
mg
Dessert
American
420
Before You Go: Explore More Delicious Treats
I sincerely hope you savored every moment of creating and enjoying this professional chef-tested recipe for Reese’s Peanut Butter Cookies. It’s truly a special treat that brings joy to any occasion.
If your sweet tooth is still calling, I invite you to explore our extensive collection of other delightful cookie recipes. From classic chocolate chip to innovative flavor combinations, there’s always something new and exciting to bake. Happy baking, and may your kitchen always be filled with wonderful aromas!