
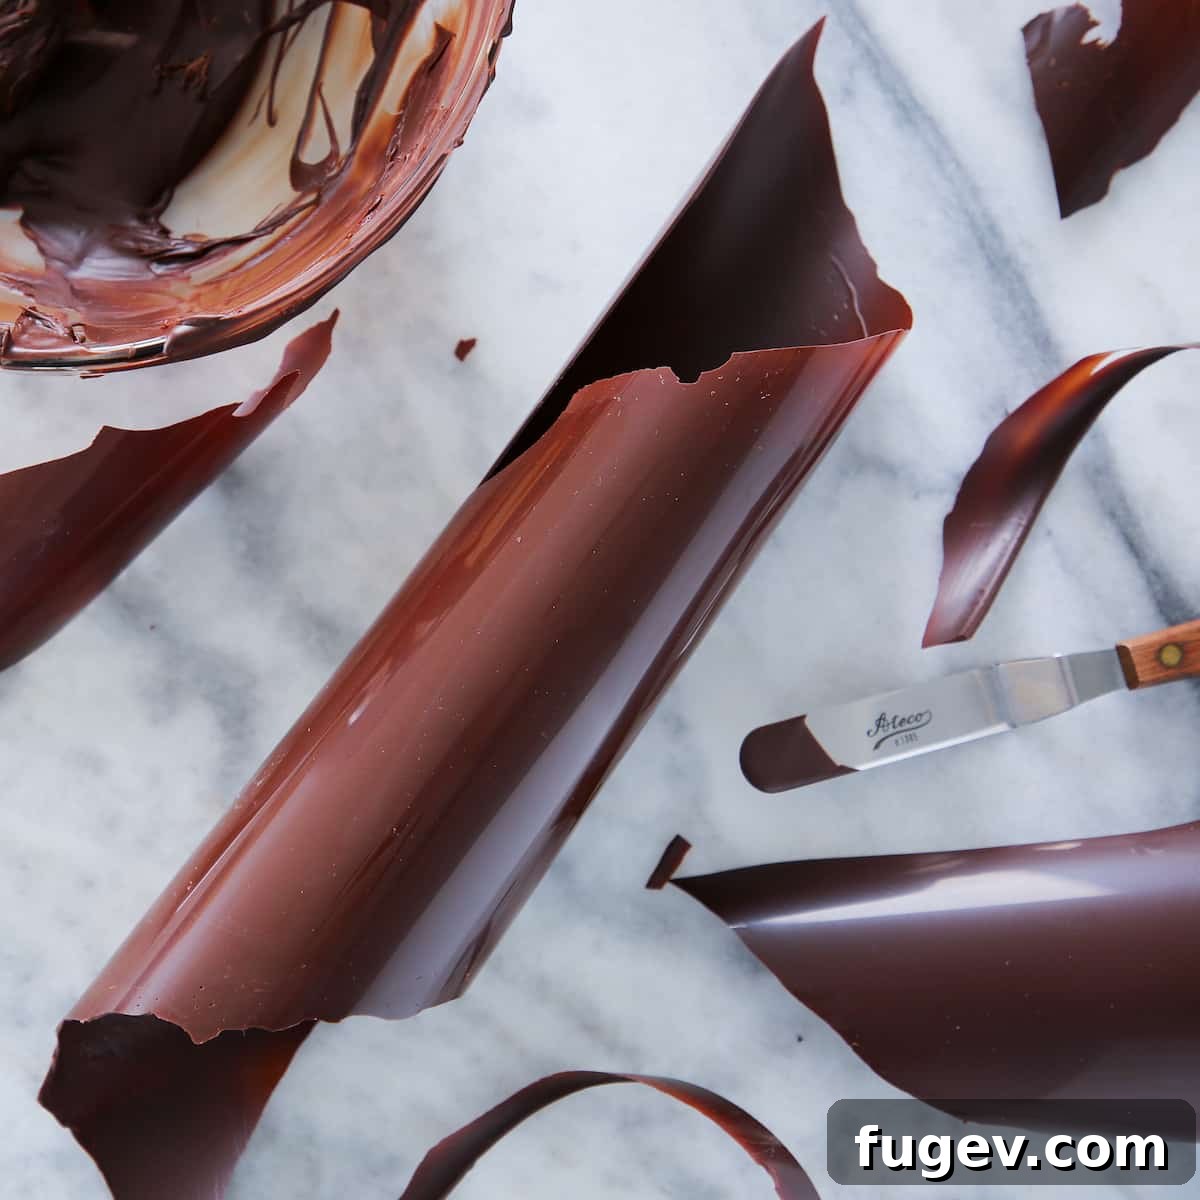
Master the art of tempering dark chocolate with this straightforward ice bath method, brought to you by a professional pastry chef. Achieve flawlessly tempered chocolate every time, no special equipment or extensive experience required!
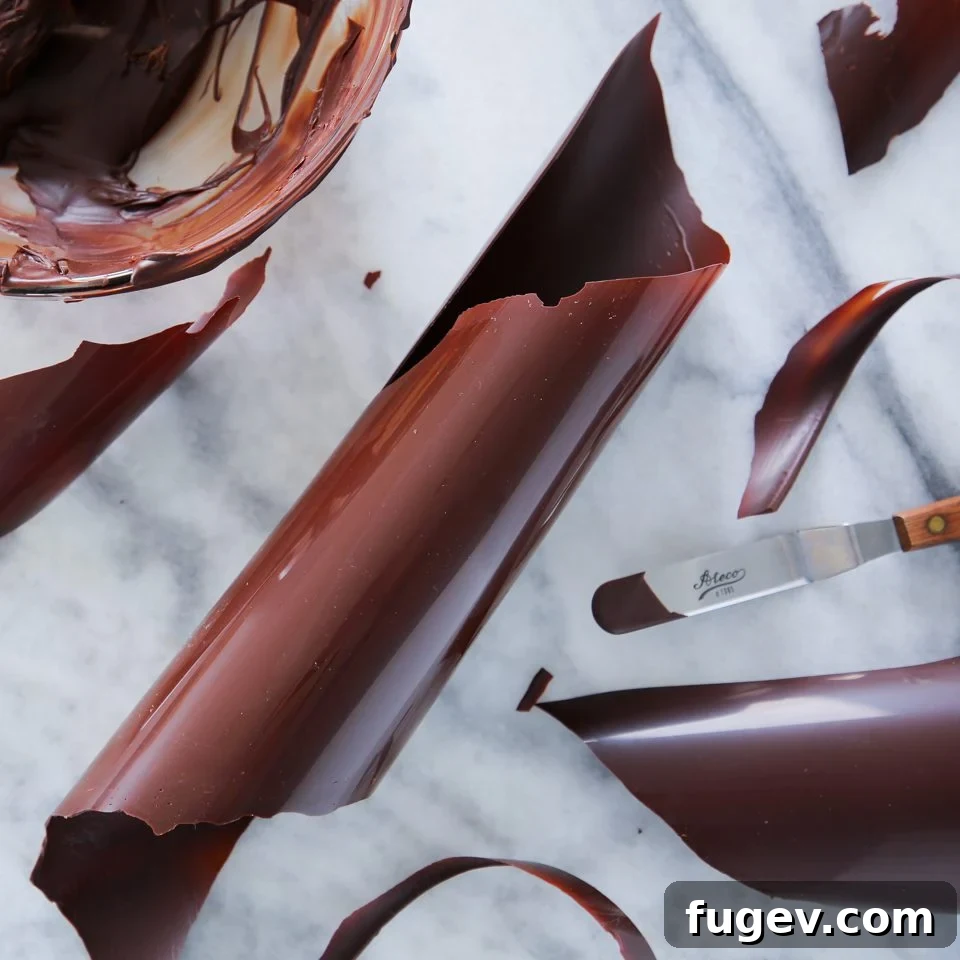
Imagine creating stunning chocolate decorations, professional-grade bonbons, or a perfectly smooth chocolate coating right in your own kitchen. This guide will show you how to temper dark chocolate using a simple ice bath technique, making it accessible to home bakers and aspiring chocolatiers alike. Forget the need for marble slabs or complicated seeding methods; with just a few basic tools, some ice, and a dash of patience, you’ll achieve that coveted glossy finish and satisfying snap. This is your go-to, anytime, anyplace tempering chocolate recipe!
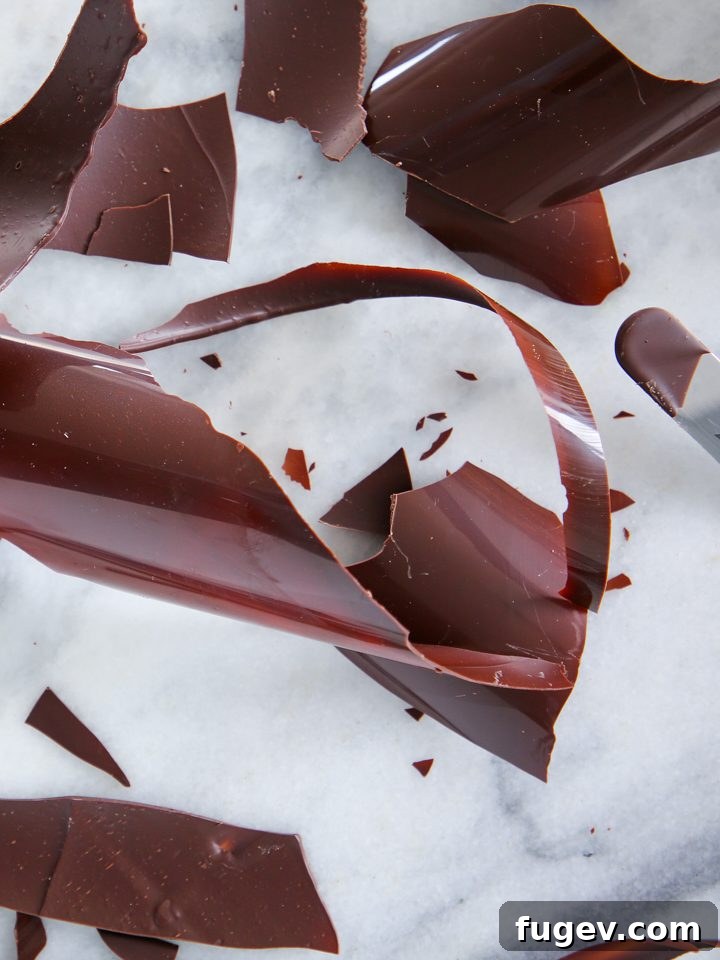
Table of Contents
- Why Temper Chocolate? The Science Behind the Shine
- What is Tempering Chocolate?
- How Do I Know When Dark Chocolate Is in Temper?
- Mastering the Ice Bath Method: Step-by-Step Guide
- Essential Equipment for Flawless Tempering
- Expert Tips for Tempering Dark Chocolate:
- Troubleshooting Tempering Dark Chocolate:
- Key Facts for Tempering Dark Chocolate with the Ice Bath Method:
Why Temper Chocolate? The Science Behind the Shine
Tempering chocolate isn’t just a fancy technique for professional pastry chefs; it’s a fundamental process that unlocks chocolate’s full potential, ensuring it looks, feels, and tastes its best. Untempered chocolate can be dull, crumbly, and prone to “fat bloom”—unsightly white streaks that appear on the surface as the cocoa butter separates. Tempering, on the other hand, stabilizes the cocoa butter crystals, leading to a host of desirable characteristics:
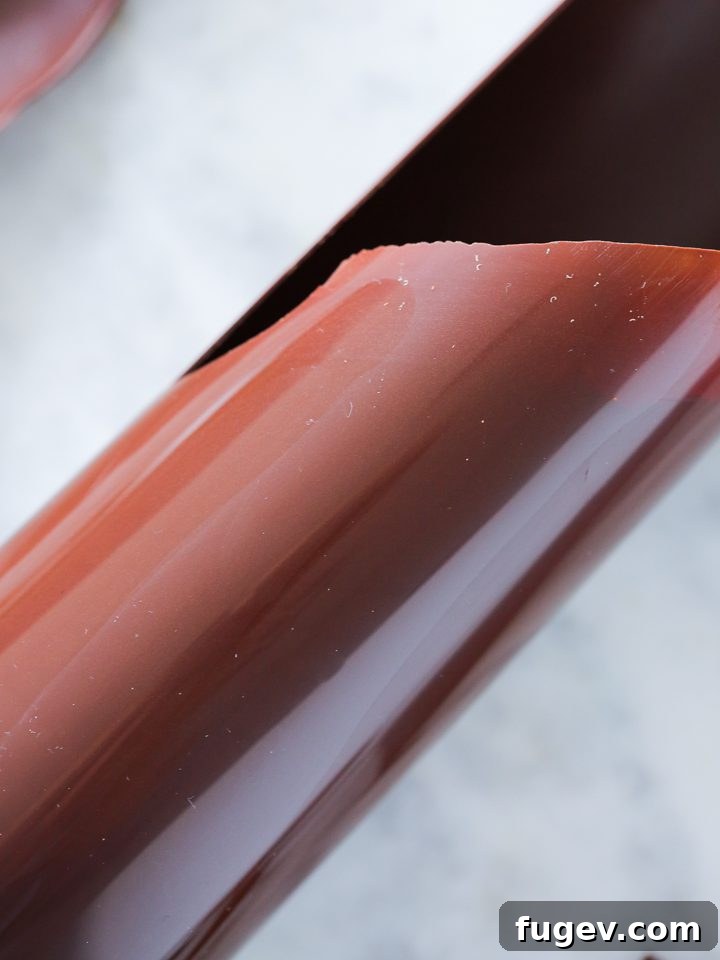
- Brilliant Shine: Properly tempered chocolate boasts a beautiful, reflective surface that instantly elevates any confection.
- Crisp Snap: When broken, tempered chocolate makes a satisfying, audible snap, indicating a perfect crystalline structure.
- Smooth Mouthfeel: It melts smoothly and evenly in your mouth, without a waxy or gritty texture.
- Resistance to Melting: Tempered chocolate is more stable at room temperature, making it ideal for dipping, molding, and decorating without fear of quick melting.
- Longer Shelf Life: It’s less susceptible to fat bloom, maintaining its appearance and quality over time.
Understanding the “why” behind tempering demystifies the process and helps you appreciate the transformative power of proper temperature control. It’s all about guiding the cocoa butter into its most stable form: the Beta crystal structure.
What is Tempering Chocolate?
At its core, tempering chocolate is a controlled process of heating and cooling designed to manipulate the crystalline structure of cocoa butter. Chocolate naturally contains several types of cocoa butter crystals, but only one, the “Beta” crystal (specifically Type V), provides that desirable smooth texture, shiny finish, and satisfying snap. The goal of tempering is to destroy the undesirable, unstable crystal structures and encourage the formation of these perfect Beta crystals.
For dark chocolate, the process involves three critical temperature phases:
- Melting (Initial Heating): You first heat the chocolate to a specific temperature, typically around 120°F (49°C) for dark chocolate. At this temperature, all existing crystalline structures within the chocolate are broken down or “reset.” This creates a blank slate, ready for the good crystals to form.
- Cooling (Crystallization): Next, the chocolate is cooled to a lower temperature, ideally 81°F (27°C) for dark chocolate. This cooling phase is crucial as it’s where the Beta crystals begin to form and stabilize. It’s important not to go below 80°F (27°C), as this can encourage the formation of undesirable, unstable crystals once again. Constant agitation during this phase is key to promoting even crystallization.
- Reheating (Working Temperature): Finally, the chocolate is gently reheated to its “Working Range,” which for dark chocolate is between 88°F – 91°F (31°C – 33°C). This slight reheating melts any remaining unstable crystals while leaving the stable Beta crystals intact. This working temperature keeps the chocolate fluid enough to work with, yet in temper.
How Do I Know When Dark Chocolate Is in Temper?
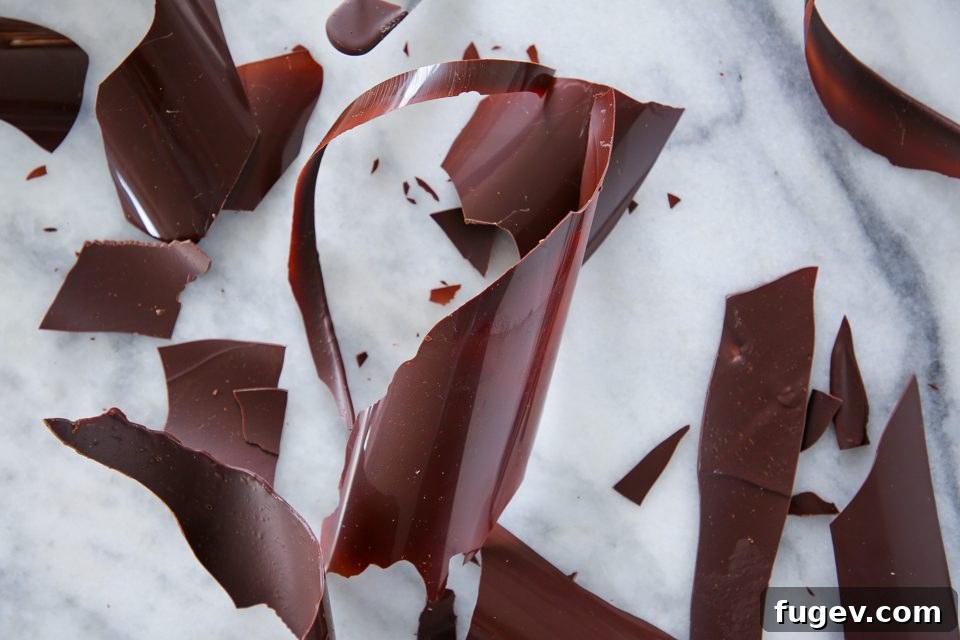
Determining if your dark chocolate is perfectly tempered involves observing a few key indicators. When chocolate is successfully tempered, it exhibits specific characteristics that signal its stable crystalline structure:
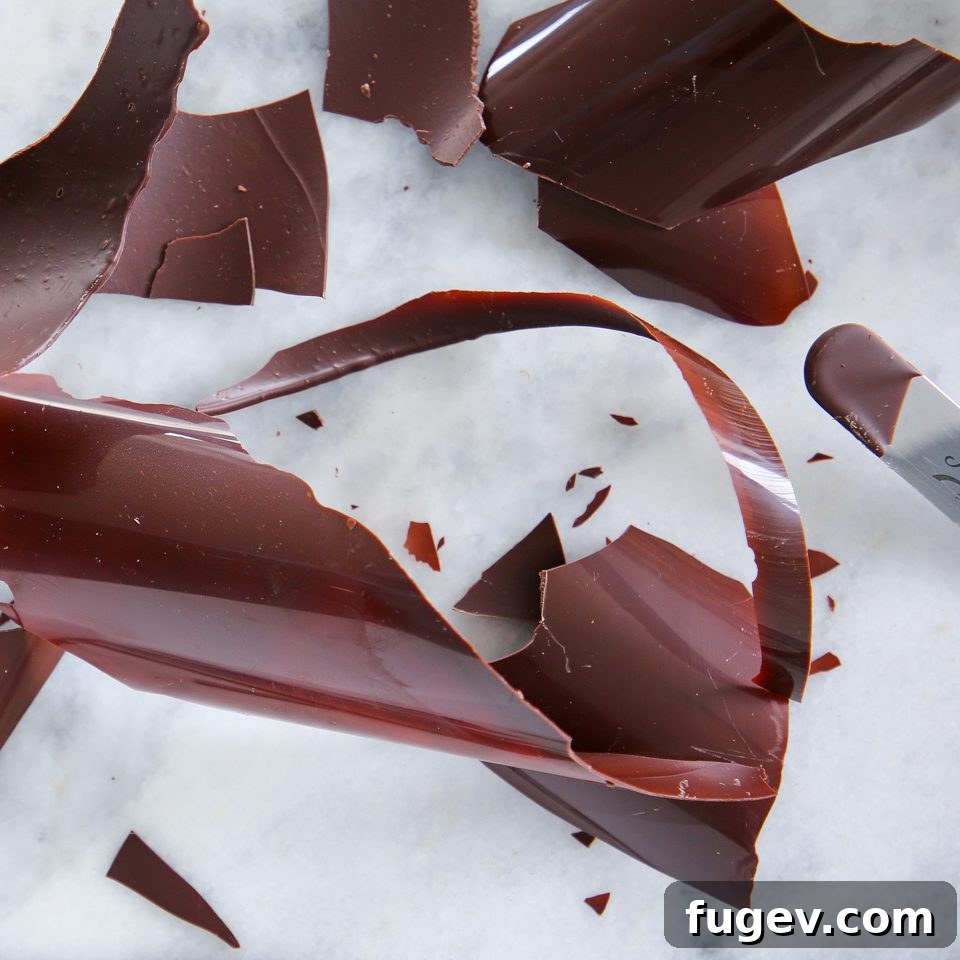
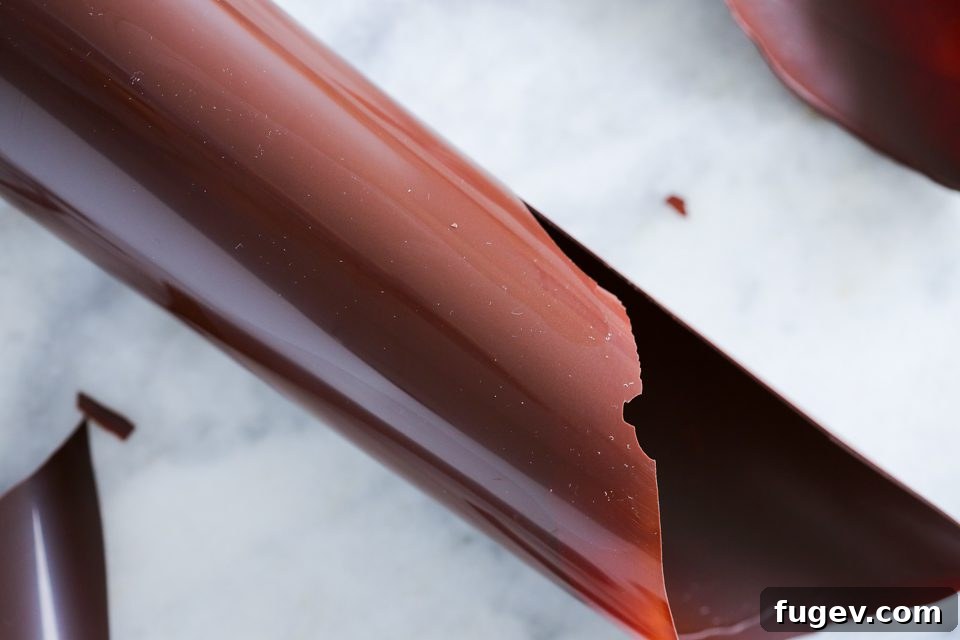
- Shiny Finish: The most obvious sign is a beautiful, glossy sheen. Perfectly tempered chocolate reflects light elegantly, appearing smooth and brilliant.
- Crisp Snap: When you break a piece, it should produce a clean, distinct snap. This is a hallmark of strong, well-aligned cocoa butter crystals.
- Sets at Room Temperature: Tempered chocolate will solidify and become firm at typical room temperatures (around 68-72°F or 20-22°C) within a few minutes. If your room is excessively humid or hot, even perfectly tempered chocolate may struggle to set, so keep your environment in mind.
- Smooth Mouthfeel: Upon eating, it should melt cleanly and smoothly on your palate, without any waxy or grainy sensations.
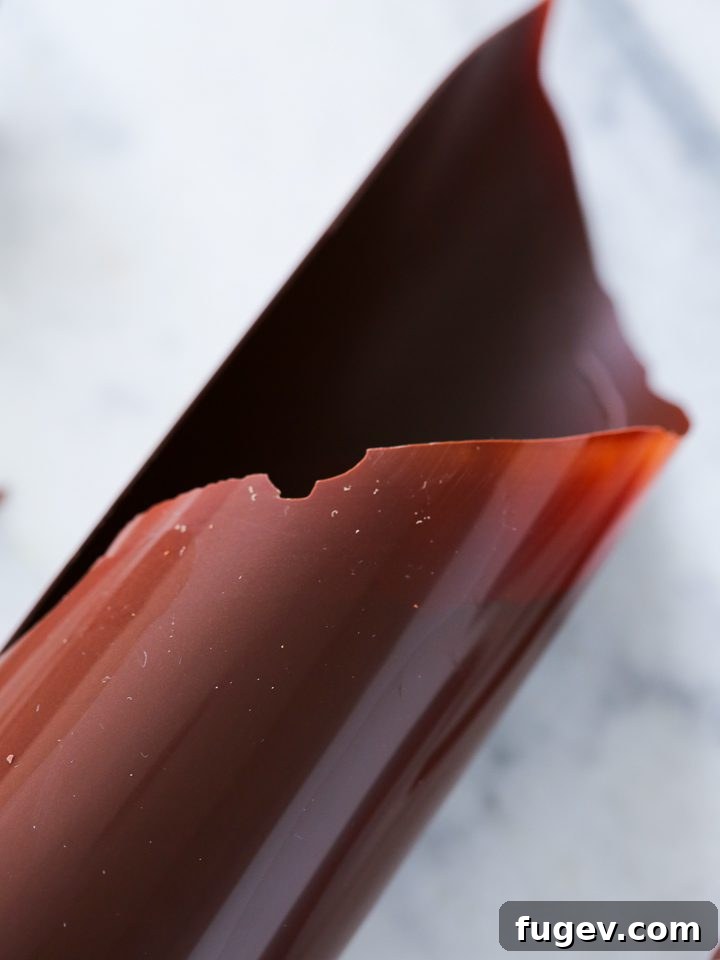
It’s important to note that there are varying degrees of temper. While chocolate that is “less than perfectly” tempered will still set at room temperature, it might appear dull, lack a satisfying snap, and could show streaks or an uneven texture. The goal is always that professional-grade, high-quality result.
Mastering the Ice Bath Method: Step-by-Step Guide
The ice bath method for tempering chocolate is surprisingly simple and effective, perfect for achieving professional results without specialized machinery. Follow these detailed steps to temper your dark chocolate successfully:
- Prepare Your Workstation: Before you begin, set up a bain-marie (double boiler) and an ice bath. For the bain-marie, use a pot with simmering water, ensuring your chocolate bowl rests above the water without touching it. The bowl should also be wide enough to prevent condensing steam from dripping directly into your chocolate. For the ice bath, combine ice cubes with a good amount of cold water in a bowl larger than your chocolate bowl. The water level should be low enough to prevent splashing into your chocolate.
- Melt the Chocolate to 120°F (49°C): Place a “critical mass” of chopped dark chocolate (at least 1 pound or 454g for better control) into your metal bowl. Set the bowl over the bain-marie. Stir the chocolate frequently as it melts, using an instant-read thermometer to monitor the temperature. Continue heating and stirring until the chocolate reaches 120°F (49°C). Once it reaches this temperature, immediately remove the bowl from the bain-marie.
- Cool to 81°F (27°C) in an Ice Bath: Transfer the bowl of melted chocolate to your prepared ice bath. Stir the chocolate continuously and vigorously. Constant stirring is vital for even cooling and to encourage the formation of stable Beta crystals. Periodically lift the bowl out of the ice bath for a few seconds to prevent over-cooling and ensure the temperature normalizes. Continue stirring and cooling until the chocolate’s temperature drops to 81°F (27°C). It’s crucial not to let it drop below 80°F (27°C).
- Gently Reheat to Working Range (88-91°F / 31-33°C): Remove the chocolate from the ice bath and place it back over the bain-marie (or use gentle direct heat, like a heat gun on a very low setting, if you’re experienced). Gently reheat the chocolate, stirring constantly, until it reaches a temperature between 88°F and 91°F (31-33°C). Aim for the higher end of this range (e.g., 90-91°F) if you plan to work with the chocolate for an extended period, as it will give you more working time.
- Perform the Temper Test: Before proceeding with your chocolate creations, always test the temper. Dip the tip of a clean paring knife or metal offset spatula into the chocolate, tap off any excess, and let it sit at room temperature for a minute or two. If the chocolate is in temper, it will begin to set and harden, developing a glossy finish. If it remains soft, sticky, or dull, it is not in temper, and you will need to restart the process by melting it down again.
- Begin Working with Tempered Chocolate: Once your chocolate passes the temper test, you are ready to unleash your creativity! Whether you’re molding intricate shapes, dipping decadent bonbons, enrobing confections, or pouring thin layers for delicate decorations, your perfectly tempered chocolate will provide professional-quality results. Welcome to the wonderful world of chocolate artistry!
Essential Equipment for Flawless Tempering
While the ice bath method is designed to be accessible, having the right tools can make the process significantly smoother and more successful. Here’s what you’ll need:
- Instant-Read Thermometer: This is your most crucial tool. Precision in temperature control is paramount for tempering. A reliable instant-read thermometer, such as a probe thermometer or even a temperature gun (for surface readings, remember to stir!), is indispensable.
- Two Metal Bowls: Metal bowls are superior for tempering because they conduct heat and cold efficiently and quickly, allowing for precise temperature adjustments. Avoid glass or ceramic bowls, which retain heat or cold for too long, making temperature control challenging.
- Large Pot (for Bain-Marie): To create your double boiler setup for gentle melting.
- Bowl for Ice Bath: A bowl larger than your chocolate bowl to hold ice and water.
- Rubber Spatula or Whisk: For constant stirring, ensuring even melting, cooling, and crystallization.
- Paring Knife or Offset Spatula: For performing the vital temper test.
- Acetate Sheets (Optional but Recommended): For creating brilliantly shiny chocolate decorations and cutouts.
Expert Tips for Tempering Dark Chocolate:
- Water is Enemy #1: This cannot be stressed enough. Even a tiny drop of water introduced into melting chocolate can cause it to seize, becoming grainy and unusable for tempering. Water prevents the stable crystal structure from forming correctly, leading to “water bloom” (an unsightly dull, whitish surface) or complete seizing. If water gets in, the chocolate is no longer suitable for tempering, but don’t discard it! Melt it down and use it in recipes where texture is less critical, such as flourless chocolate cake, ice cream, chocolate buttercream, or fudgy brownies.
- Keep it Moving!: Tempering is an active process that requires continuous stirring. Agitation is essential for encouraging the formation of those desirable Beta crystals and for ensuring the chocolate heats and cools evenly throughout. Without constant stirring, you risk uneven crystallization, leading to streaks or an incomplete temper. Be prepared for an hour or so of consistent stirring, moving your bowl on and off the ice bath as needed.
- The Perfect Ice Bath: Don’t just use ice; make sure there’s plenty of water with your ice. A proper ice bath with water creates an even, consistent cold temperature around the bowl, allowing the chocolate to cool more uniformly and efficiently. This prevents “hot spots” or areas that cool too quickly, which can hinder proper crystallization.
- Always Test Your Temper: Even seasoned pastry chefs never skip the temper test. There’s nothing more frustrating than dipping a batch of bonbons or pouring delicate chocolate decorations, only to realize later that the chocolate wasn’t in temper and won’t set correctly. Take that minute or two to dip the tip of a paring knife or offset spatula into the chocolate. It should begin to set and firm up within 1-2 minutes, developing a nice sheen. If it doesn’t, you need to restart.
- Opt for Metal Bowls: As mentioned, metal bowls are far superior to Pyrex or ceramic for tempering. Their excellent thermal conductivity allows for rapid and precise temperature changes, which is vital for hitting those exact temperature zones. Glass and ceramic retain heat and cold for too long, making it incredibly difficult to control the chocolate’s temperature accurately. Save yourself the frustration and invest in good quality metal bowls.
- Acetate for Brilliance: While tempered chocolate will set on almost any surface, achieving that brilliantly shiny, professional finish for delicate décor, garnishes, or cutouts often requires working with acetate sheets. These smooth, non-porous sheets ensure the chocolate releases easily with a mirror-like shine.
- Critical Mass is Key: Don’t try to temper a tiny amount of chocolate. Working with at least a pound (454g) of chocolate provides enough volume for better temperature control. Smaller quantities will heat and cool too rapidly, making it nearly impossible to hit the precise temperature ranges required for successful tempering. If you have leftover tempered chocolate, you can let it set and re-melt it for future tempering, or simply use it in recipes that call for melted chocolate or as chocolate chips.
Troubleshooting Tempering Dark Chocolate:
- “My chocolate won’t stay in range!”: This is a common frustration. The most likely culprits are not using a metal bowl and/or not using an accurate, instant-read thermometer. As discussed, metal bowls offer superior temperature control. If using a temperature gun, remember it only reads surface temperature, so consistent stirring is absolutely essential to get an accurate average reading and ensure even heating/cooling. Keep stirring, remove from heat/cold sources promptly, and trust your thermometer.
- “Why are there streaks in my set chocolate?”: Streaks in set chocolate (often referred to as “bloom”) are usually a clear sign of insufficient agitation or uneven temperature control during the cooling and reheating phases. You need to stir the chocolate constantly and thoroughly to ensure that the good crystals form evenly throughout the mass. Rushing this step or letting parts of the chocolate cool/heat faster than others will lead to inconsistent crystallization and streaks.
- “It won’t set! I followed every step!”: If your chocolate stubbornly refuses to set after the temper test, it means it’s not in temper. This typically happens if the chocolate got too hot, too cold, or both, at some point, causing the good crystal structure to break down or the wrong ones to form. Don’t despair! Tempering can be tricky. You simply need to melt it down to 120°F (49°C) again and restart the entire process. Sometimes using higher quality chocolate (couverture) can make tempering easier and the final product superior, but any chocolate can theoretically be tempered. If repeated attempts are unsuccessful, consider it a happy accident and use the melted chocolate for a delicious chocolate cake or other melted chocolate applications.
- “Why isn’t my chocolate shiny?”: A dull finish, even if the chocolate sets, indicates a less-than-perfect temper. While it’s still technically “tempered” if it solidified, the quality of the temper (and thus the shine) depends heavily on hitting those precise temperatures and maintaining consistent agitation. Environmental factors like high room temperature or humidity can also contribute to a less glossy finish. Don’t be too hard on yourself; even slightly imperfectly tempered chocolate tastes delicious, especially on a bonbon!
- “My chocolate is too thick to work with!”: If your chocolate feels overly thick even within the correct working range, it will be difficult to achieve a thin, delicate shell or elegant decorations. This often suggests you’re working with a standard baking chocolate rather than a “couverture” chocolate. Couverture chocolate is specially formulated with extra cocoa butter, giving it higher fluidity. This makes it easier to work with, flows more smoothly for dipping and molding, and results in a shinier finish when tempered. You can sometimes remedy this by adding a small amount of pure cocoa butter (either in powdered form or as solid chips) to your chocolate to increase its fluidity. Most higher-quality baking chocolates will have a sufficient fluidity for most home tempering projects.
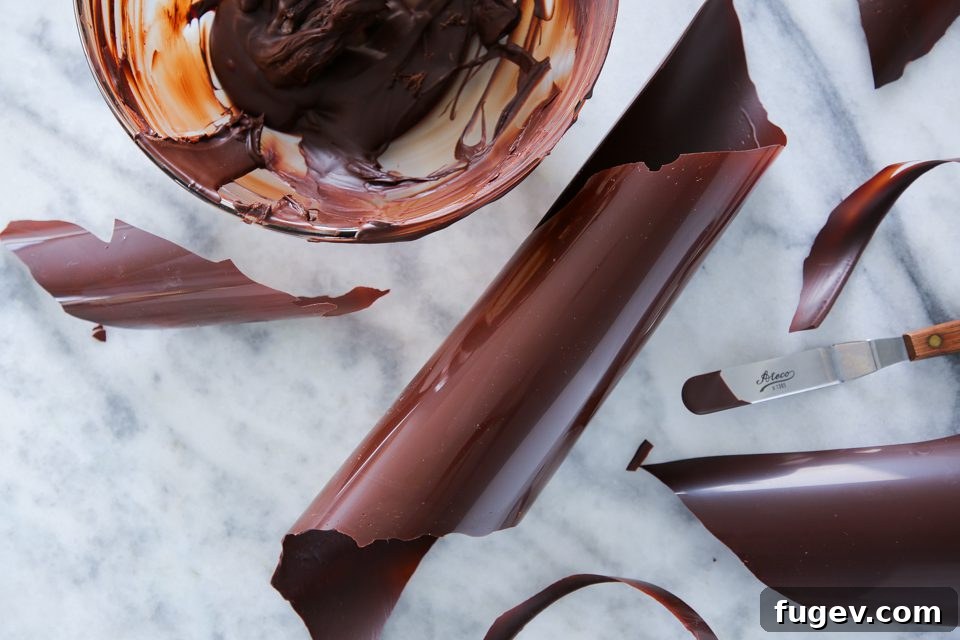
That was a lot of information, I hear you! Here’s a concise summary of the key facts to keep handy while you master the ice bath method.
Key Facts for Tempering Dark Chocolate with the Ice Bath Method:
-
Key Temperatures:
- Melt chocolate to: 120°F (49°C)
- Cool on an ice bath to: 81°F (27°C)
- Reheat to working range: 88-91°F (31-33°C)
- Working Range: For optimal results with dark chocolate, aim to maintain the temperature between 88-91°F (31-33°C). If you’re creating thin chocolate décor or dipping bonbons, aim for the higher end of this range (90-91°F) to ensure a fluid consistency and thin, even coating.
- Cutting Point: This refers to the perfect moment during the setting process when tempered chocolate can be cleanly cut with a paring knife or shaped. When it reaches this stage and fully sets, your shapes will have crisp lines and a perfectly smooth finish.
- Always Test: Never skip the temper test! Dip a knife or spatula tip into the chocolate. If it doesn’t begin to set and firm up within 1-2 minutes, it’s not in temper, and you must start over.
- Use Enough Chocolate: A minimum of one pound (454g) of chocolate is recommended for this method. Too little chocolate will heat and cool too rapidly, making precise temperature control extremely difficult and leading to temper failure.
Tempering Dark Chocolate with the Ice Bath Method
Chef Lindsey
45
45
10
people
Comment
Print Recipe
Ingredients
-
454
g
Dark Chocolate
or enough to work with (at least 1 lb) - Ice
Instructions
-
1. Set Up Bain-Marie: Prepare a bain-marie (double boiler) by placing a pot of simmering water on the stove. Ensure the bowl you’ll use for chocolate melting can sit suspended above the water without touching it. The bowl should also be wide enough to prevent any condensing steam from dripping directly into the chocolate.
-
2. Prepare Ice Bath: Create an ice bath with ice cubes and cold water in a bowl larger than your chocolate bowl. The ice bath needs water for even cooling. Ensure the water/ice level is low enough to prevent splashing into your chocolate; a single drop can ruin the temper.
-
3. Melt Chocolate to 120°F (49°C): Place at least a pound (454g) of chopped dark chocolate in a metal bowl over the bain-marie. Melt the chocolate, stirring frequently, until it reaches 120°F (49°C). Immediately remove the bowl from the bain-marie.
-
4. Cool to 81°F (27°C): Place the chocolate bowl into the ice bath and stir constantly and vigorously. Periodically remove the bowl from the ice bath to normalize the temperature and prevent over-cooling. Continue stirring until the chocolate reaches 81°F (27°C). Do not let it drop below 80°F (27°C).
-
5. Reheat to Working Range (88-91°F / 31-33°C): Remove the bowl from the ice bath. Gently reheat the chocolate over the bain-marie (or with a heat gun on low) to between 88°F – 91°F (31-33°C), stirring constantly. Aim for the higher end of the range for more working time.
-
6. Test Your Chocolate: Dip the tip of a clean paring knife or metal spatula into the chocolate, tap off the excess, and let it sit at room temperature. If it doesn’t begin to set and firm up within 1-2 minutes with a glossy finish, it is not in temper. You must restart the process by melting it down again to 120°F (49°C).
-
7. Start Creating!: If your chocolate passes the test, it’s ready for molding, dipping bonbons, enrobing, or pouring for intricate décor. Enjoy your perfectly tempered chocolate!
Video
Nutrition
Calories:
271
kcal
|
Carbohydrates:
21
g
|
Protein:
4
g
|
Fat:
19
g
|
Saturated Fat:
11
g
|
Polyunsaturated Fat:
1
g
|
Monounsaturated Fat:
6
g
|
Trans Fat:
1
g
|
Cholesterol:
1
mg
|
Sodium:
9
mg
|
Potassium:
325
mg
|
Fiber:
5
g
|
Sugar:
11
g
|
Vitamin A:
18
IU
|
Calcium:
33
mg
|
Iron:
5
mg
Dessert
French
271
Like this? Leave a comment below!