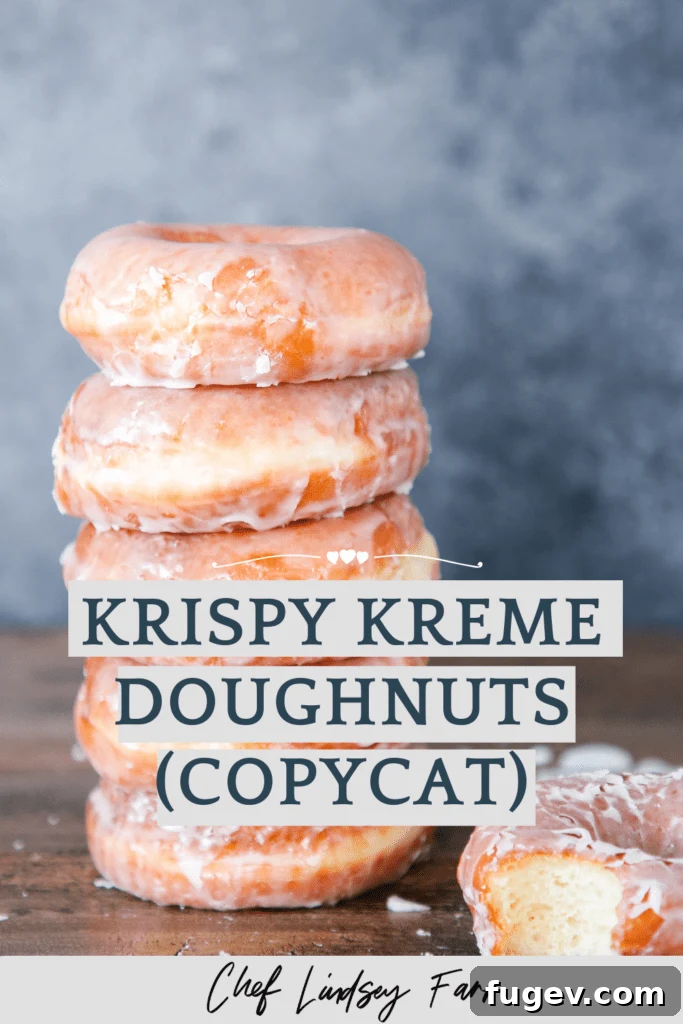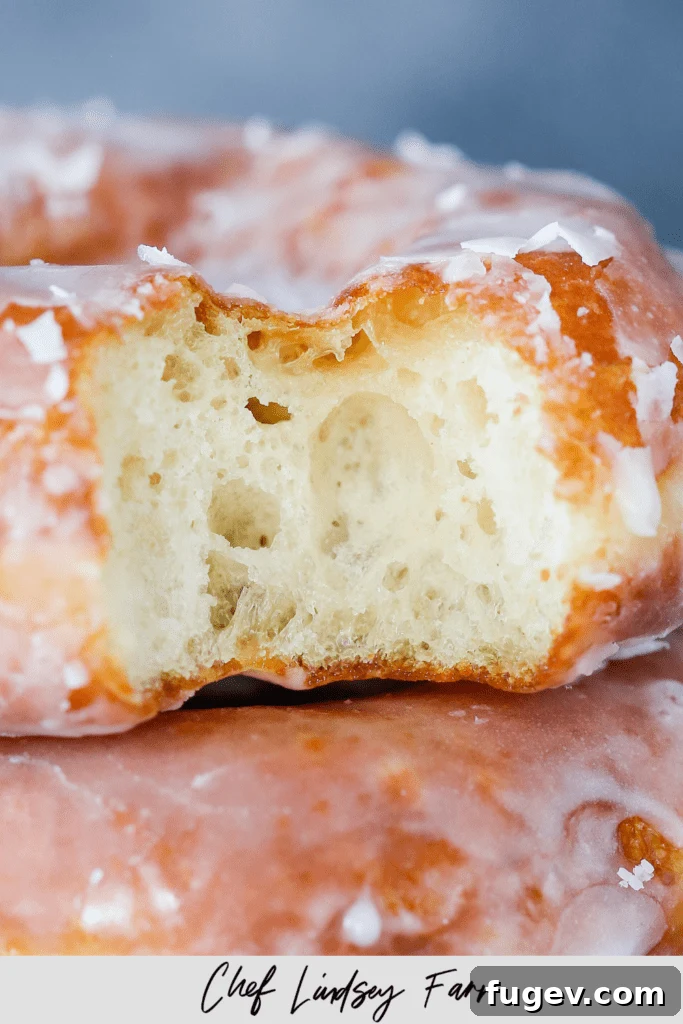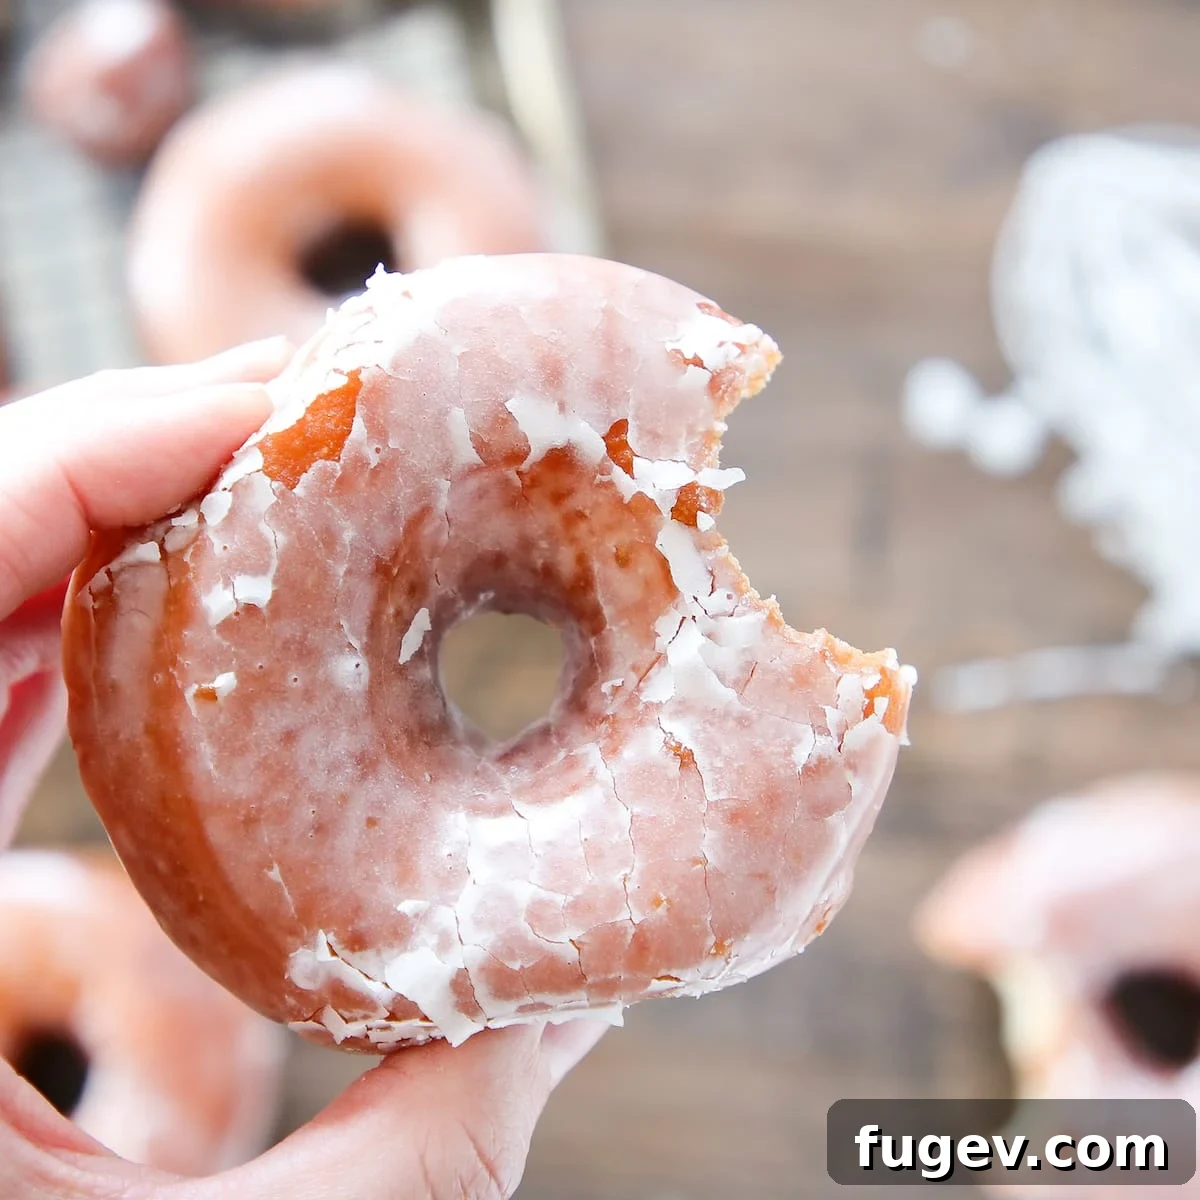
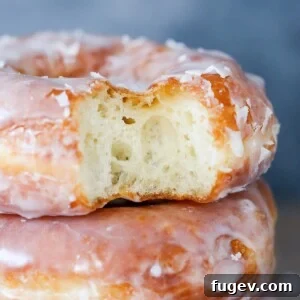
Craving that iconic, melt-in-your-mouth Krispy Kreme experience? Look no further! This ultimate Krispy Kreme Donut recipe delivers doughnuts that are incredibly light, wonderfully airy, and so tender they practically dissolve on your tongue. Imagine sinking your teeth into a warm, freshly fried pillow of sweet perfection, right from your own kitchen. This isn’t just a recipe; it’s an invitation to recreate a legendary treat.

Yes, you absolutely can make these famously delicious glazed donuts right from scratch. You’ve found the definitive guide to walk you through every step. These homemade Krispy Kreme copycats are perfectly sweet, unbelievably tender, and deeply satisfying. As a professional chef, I’ve dedicated countless hours to developing and refining donut recipes, as you might know from my recent classic donut glaze post. My passion for baking led to a continuous quest for perfection, culminating in this very recipe designed to bring the magic of Krispy Kreme into your home.
Working with yeasted donut dough presents its own unique set of challenges and incredibly rewarding outcomes. If you’re new to donut making and prefer a more beginner-friendly recipe with a similar delightful flavor profile, I highly recommend starting with my sour cream donuts or French crullers. These are fantastic starting points, and you can always circle back to this Krispy Kreme recipe when you feel ready to tackle a slightly more advanced, but incredibly worthwhile, baking project.
Table of Contents
- Why This is the BEST Krispy Kreme Doughnut Recipe:
- Professional Tips for Perfect Fried Doughnuts
- Essential Ingredients for Homemade Krispy Kreme Donuts
- Variations & Creative Substitutions
- How to Make Krispy Kreme Donuts: Step-by-Step Guide
- Chef Lindsey’s Expert Recipe Tip
- Frequently Asked Questions About Krispy Kreme Donuts
- Krispy Kreme Donuts Recipe Card
- Before You Go
Why This is the BEST Krispy Kreme Doughnut Recipe:
This isn’t just another donut recipe; it’s a meticulously crafted formula designed to replicate the magic of Krispy Kreme’s signature treats. Here’s why this particular copycat recipe stands out as the best:
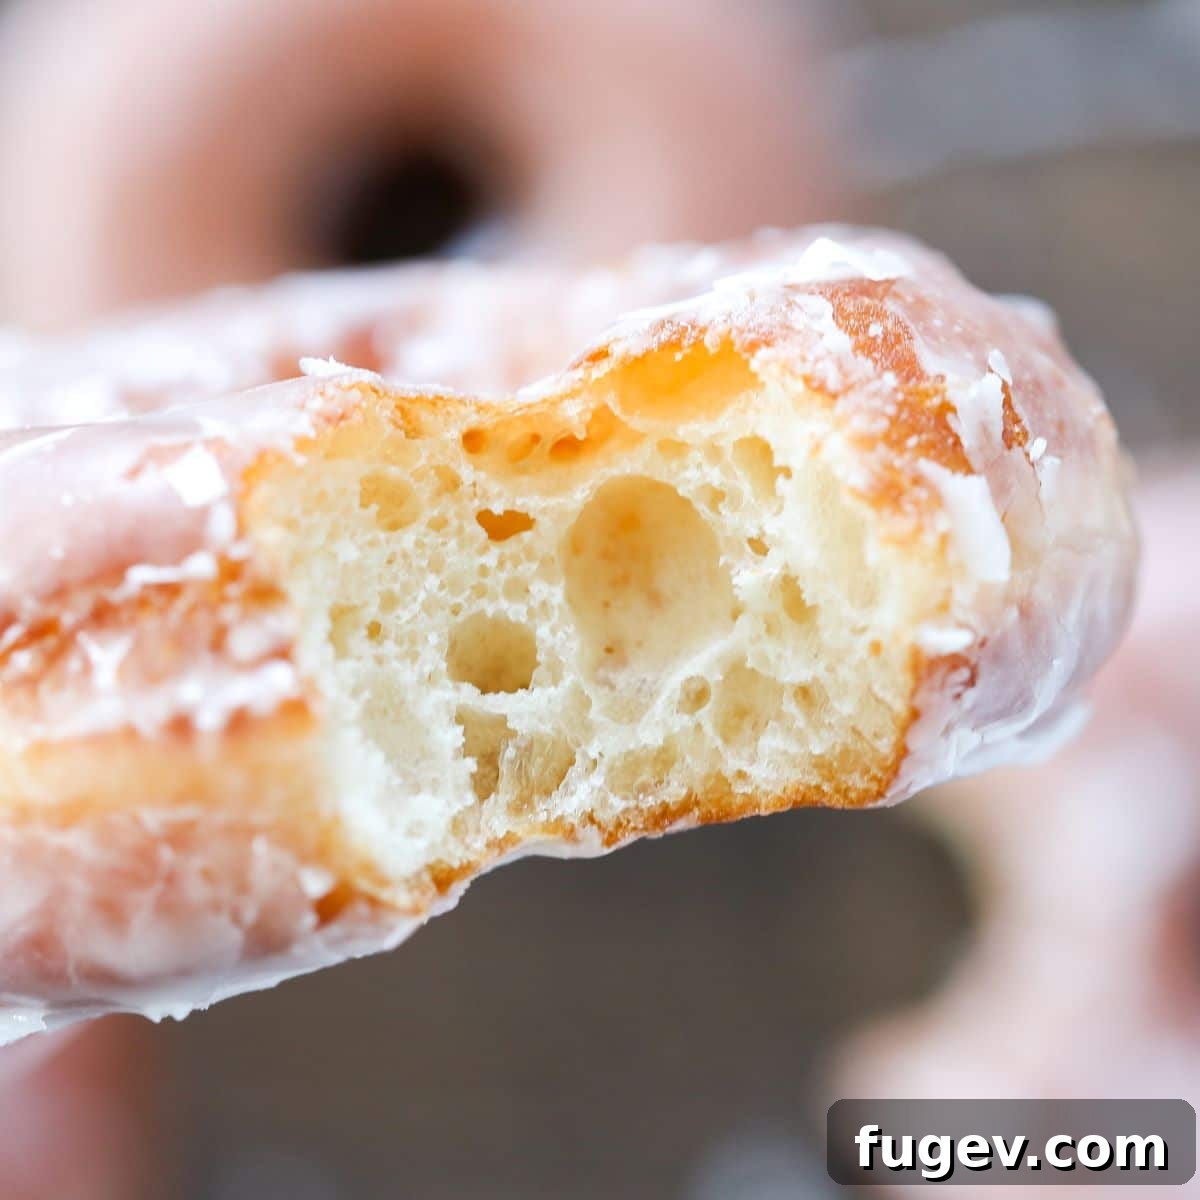
- Unparalleled Light and Airy Texture from Perfect Gluten Development: The secret to that cloud-like texture lies in a precise combination of cake flour and all-purpose flour. This blend expertly controls the gluten structure from the very beginning. As a professional pastry chef, I’ll guide you through gentle dough handling techniques that ensure the final product remains incredibly fluffy and tender, never dense or tough. Each bite is a testament to perfect aeration and a delicate crumb.
- Soft, Tender Bakery-Quality Donuts Every Time: These doughnuts boast a high moisture content, which is crucial for achieving their distinctively soft and luxurious texture. This high hydration, combined with careful proofing, results in a rich, tender interior that mimics your favorite bakery-fresh donuts. You’ll be amazed at the professional-quality results you can achieve at home.
- Rich, Decadent Flavor That Truly Indulges: What truly elevates these donuts is the high enrichment of the dough. Generous amounts of butter, oil, milk, and eggs contribute to an incredibly indulgent and satisfying flavor profile. This rich foundation makes each donut a truly special treat, perfect for sharing with loved ones or savoring yourself. The balanced sweetness and deep, comforting taste are truly unforgettable.
Professional Tips for Perfect Fried Doughnuts
Achieving Krispy Kreme-level perfection requires attention to detail, especially when working with yeasted dough and deep frying. These professional insights will help ensure your homemade donuts turn out flawlessly every time:
- Maintain a Cold Dough: Patience is key! All the recommended resting and chilling periods for the dough are absolutely essential for optimal results. Cold dough is less sticky and easier to handle, but more importantly, it significantly reduces the risk of your donuts absorbing too much oil during frying. This prevents them from becoming greasy. Remember, you only need to allow your cut donuts to come to room temperature for about 6 minutes just before frying to ensure a perfect rise.
- Precise Oil Temperature Monitoring: The temperature of your frying oil is paramount. If the oil is too cold (around 340°F), your donuts will absorb excessive oil, resulting in a greasy, heavy texture. Conversely, if the oil is too hot (around 380°F), the outside of the donuts will burn and become dark and unpleasant, while the inside remains raw and gooey. Your ideal target range is precisely 350°-360°F. Use a reliable clip-on fry or candy thermometer and be prepared to adjust your heat frequently. Don’t hesitate to turn off the stove briefly if the temperature climbs too high; maintaining this consistent range is critical for even cooking and that signature golden-brown finish.
- Handle Your Doughnuts Gently: Creating the most tender, melt-in-your-mouth donuts demands a light touch. When rolling out the dough, avoid excessive pressure. Similarly, handle the cut donuts with utmost care as you transfer them. If at any point you notice the dough beginning to shrink back after being handled, it’s a sign that the gluten has become too tight. Simply cover the dough or cut donuts with plastic wrap and let them rest in the refrigerator for a “siesta” of 15-30 minutes. This allows the gluten to relax, ensuring your donuts remain incredibly tender and fluffy.
Essential Ingredients for Homemade Krispy Kreme Donuts
Crafting these delectable Krispy Kreme copycat donuts relies on a carefully selected list of ingredients, each playing a vital role in achieving their signature texture and flavor:
- Granulated Sugar: Sugar isn’t just for sweetness; it also contributes to the beautiful golden-brown color of the fried donuts through caramelization, enhancing their overall appeal and flavor.
- All-Purpose Flour & Cake Flour: This recipe utilizes a powerful duo of flours. The gluten present in all-purpose flour provides the necessary structure and elasticity for the dough to rise and hold its shape. However, cake flour is truly essential in this specific donut recipe. Its lower protein content results in a more tender crumb and prevents over-development of gluten, which is key for that signature light and fluffy texture. While you can use solely all-purpose flour, the resulting donuts will be noticeably less tender and airy.
- Unsalted Butter: Using unsalted butter is crucial as it allows you complete control over the total salt content in the dough. Beyond that, butter adds incredible richness, a delicate flavor, and contributes to the dough’s tender structure, making these donuts truly indulgent.
- Whole Egg: The whole egg serves multiple important functions. It introduces additional fat and moisture to the dough, which both inhibit excessive gluten development, leading to a softer and more tender final product. The fat from the yolk also adds a layer of richness and helps to shorten gluten strands, contributing to that desirable melt-in-your-mouth texture.
- Dry Active Yeast: Dry active yeast is a reliable leavening agent for this copycat recipe. It requires an initial hydration step, but once activated, it provides a controlled and consistent rise, essential for those airy donuts. See the substitutions section for alternative yeast options if needed.
- Canola Oil: I highly recommend canola oil for frying due to its neutral flavor and high smoke point, which makes it ideal for deep-frying without imparting unwanted tastes. Other neutral-flavored oils with high smoke points, such as vegetable oil or even crisco shortening, can also be used effectively. Shortening, in particular, will give a very authentic “donut shop” flavor.
- Milk: Milk adds moisture, enriches the dough, and contributes to a softer crumb and a richer flavor compared to using just water.
- Vanilla Extract: A touch of vanilla extract enhances the overall sweetness and provides a comforting, aromatic note that is classic in glazed donuts.
- Kosher Salt: Kosher salt is vital for balancing the sweetness and enhancing all the other flavors in the dough, preventing the donuts from tasting bland.
For precise quantities and a complete list, please refer to the comprehensive recipe card below.
Variations & Creative Substitutions
While the classic Krispy Kreme glazed donut is a masterpiece in itself, don’t hesitate to experiment with these delicious variations and substitutions to customize your homemade treats:
- Yeast Substitution Options. If you don’t have dry active yeast on hand, you have a couple of viable alternatives. You can substitute double the weight of fresh yeast, which will offer a similar gentle rise. Alternatively, use half the weight in instant yeast, a faster-acting option. When using either fresh or instant yeast, incorporate them directly into the dry ingredients alongside the flours, sugar, and salt. Unlike dry active yeast, there’s no need for an initial hydration step in a warm liquid. Adding them directly to the dry mix helps avoid an unwelcome kickstart to the fermentation process that could negatively impact the dough’s final texture.
- Indulge with a Chocolate Glaze. My classic donut glaze is a beloved choice, but for those who share my profound devotion to chocolate recipes, a rich chocolate fudge glaze is an absolute winner! Imagine that light, airy donut enveloped in a decadent layer of smooth chocolate – pure bliss.
- Get Creative with Filled Donuts. Transform these classic rings into delightful filled donuts! Simply cut out larger rounds of dough, omitting the center hole. Once fried and cooled, you can inject them with your favorite fillings. Popular choices include tangy lemon curd, sweet strawberry jam, or creamy vanilla bean pastry cream. For a detailed guide on the best techniques for filling donuts, be sure to check out my dedicated jelly donuts recipe.
How to Make Krispy Kreme Donuts: Step-by-Step Guide
Crafting these iconic Krispy Kreme donuts at home is a rewarding process. Follow these detailed steps for a truly authentic experience. Further precise measurements and comprehensive details are available in the recipe card below!
Part 1: Making the Dough
Step 1: Prepare Dry and Wet Ingredients Separately. In a large bowl, whisk together your cake flour, all-purpose flour, granulated sugar, and kosher salt until well combined. Set this dry mixture aside. In a separate small bowl, beat the whole egg thoroughly until it’s smooth and no distinct streaks of egg white remain. This ensures even incorporation into the wet mixture.
Step 2: Gently Heat and Combine Wet Ingredients. In a small saucepan, melt the unsalted butter over very low heat. Once melted, whisk in the vegetable oil, followed by the milk. Finally, gradually whisk in the beaten egg and vanilla extract. Continue to cook this mixture over low heat, stirring constantly with a whisk, until its temperature reaches precisely 106°F (41°C). This temperature is ideal for activating the yeast without scrambling the egg.
Chef’s Note: If your butter mixture becomes too hot before adding the egg, and the egg begins to scramble, it’s best to start over. To prevent this, ensure your heat is low and whisk the egg into the warm liquid in a steady, thin stream.
Step 3: Activate the Yeast. Pour the milk mixture into the bowl of a stand mixer. Sprinkle the dry active yeast over the surface of the liquid and gently whisk it in. Allow this mixture to sit undisturbed for 10 minutes. During this time, the yeast will “bloom” – you’ll see a frothy layer form on the surface, indicating that it’s active and ready to work.
Step 4: Begin Incorporating Flour. Fit your stand mixer with the paddle attachment. Add approximately half of the reserved flour mixture to the bowl with the bloomed yeast and milk. Mix on the lowest speed until the flour is just combined. Then, add the remaining flour and continue to mix on low speed until all the flour is fully incorporated into the wet ingredients, forming a shaggy dough.
Step 5: Develop the Dough’s Structure. Switch from the paddle attachment to the dough hook. Increase the mixer speed to medium-high and continue to mix the dough for approximately 12 minutes. During this time, you’ll observe strands of dough pulling away from the sides of the bowl and gathering towards the center as it mixes. It’s important to note that this dough will not form a completely smooth ball due to its high enrichment and specific flour blend; there isn’t enough strong gluten for that. The mixing is primarily to develop the necessary elasticity for a light texture.
Important Dough Insight: This is an enriched, delicate dough, not a typical beginner’s bread dough. Don’t be discouraged if it feels sticky and doesn’t form a perfectly smooth ball. Patience and a gentle approach are crucial. For visual guidance on handling this unique yeasted dough, I highly recommend watching my accompanying video on making Krispy Kreme donuts.
Part 2: Proofing the Dough
Step 6: First Proof (Bulk Fermentation). Lightly spray a large clean bowl with nonstick cooking spray. Also, spray your hands and a bowl scraper for easier handling. Gently scrape the sticky dough from the mixer bowl into your greased hands and form it into a loose ball. Place this dough ball into the oiled bowl, turning it once to coat all sides lightly with oil. Cover the bowl tightly with plastic wrap and transfer it to the refrigerator for a bulk proofing period of 30 minutes. Chilling the dough helps firm it up, making it easier to roll and cut, and also deepens the flavor.
Professional Advice: Always let the dough be your guide, rather than strictly adhering to a timer. If, after the recommended time, your dough doesn’t feel visibly light and airy, or hasn’t expanded sufficiently, give it more time to proof. You can also move it to a slightly warmer environment to encourage a faster rise, but be cautious not to overproof.
Part 3: Rolling and Cutting the Dough
Step 7: Prepare and Roll the Dough. Lightly flour your clean work surface. Using a bowl scraper or a silicone spatula, gently transfer the proofed dough onto the floured surface. Sprinkle a bit more flour over the top of the dough and lightly flour your rolling pin. Working gently to maintain the dough’s airy structure, roll it out to an approximate thickness of ½ inch (about 1.25 cm). Avoid overworking the dough to keep it tender.
Step 8: Cut and Second Chill the Doughnuts. Line a large baking sheet with parchment paper and lightly spray it with cooking spray. Using a 3-inch ring mold, a biscuit cutter, or a specialized donut cutter, cut out your donut shapes. Carefully transfer these cut donuts to the prepared parchment-lined baking sheet. While they are on the baking sheet, use a 1-inch cutter to cut out the center holes. This method helps prevent the donuts from becoming misshapen. Lightly spray the surface of the cut donuts with cooking spray, then cover the entire baking sheet with plastic wrap. Refrigerate for a second chilling period of 2 hours. This extended chill further enhances the texture and prevents greasiness during frying.
Alternative for Immediate Cooking: If you’re eager to fry immediately, instead of chilling the donuts for the second time, allow them to sit at room temperature for about 30 minutes, or until they have noticeably doubled in size. Once adequately proofed, proceed directly to frying.
Part 4: Frying Yeasted Donuts
Step 9: Heat the Frying Oil. Pour your chosen oil (canola, vegetable, or shortening) into a deep fryer or a heavy-bottomed Dutch oven. Ensure the oil depth is at least 2 inches (5 cm). Heat the oil to an initial temperature of 355°F (179°C). It is crucial to use a reliable clip-on fry/candy thermometer to monitor the temperature throughout the frying process, aiming to keep it consistently between 350°-360°F (177°-182°C). I typically heat my oil to 360°F before adding the first batch of cold donuts, as the introduction of cold dough will naturally cause the oil temperature to drop slightly.
Step 10: Temper the Doughnuts. Allow the chilled donuts to sit at room temperature for approximately 6 minutes just prior to frying. This slight temperature adjustment helps ensure an even rise and cook.
Step 11: Fry in Batches. Gently place 3-5 donuts into the hot oil, depending on the size of your pot. Ensure that the donuts have ample room to move around freely and puff up without overcrowding the fryer. Keep the remaining un-fried donuts in the refrigerator until ready to fry, maintaining their cold temperature.
Step 12: Flip and Cook to Golden Perfection. Once the donuts rise to the surface of the oil, allow them to cook for 60 seconds on one side. Then, using a slotted spoon or spider, carefully flip them over. Continue frying until the bottom side develops a beautiful golden-brown color, which usually takes about 45 seconds. Flip the donut again and fry for an additional 10-30 seconds, or until both sides are an even, appealing golden brown. To test for doneness, I gently pull a donut from the oil with a spider, insert a cake tester through the center, and then remove it. If the cake tester comes out clean with no streaks of raw dough or crumbs, your donut is perfectly cooked.
Step 13: Drain Excess Oil. Transfer the freshly fried donuts to a wire rack positioned over a sheet pan or several layers of paper towels. This allows any excess oil to drip off, preventing your donuts from becoming greasy.
Frying Time Variability: The exact frying time is influenced not only by the oil temperature but also by the initial temperature of your dough and how thoroughly it has proofed. The most reliable method to ensure internal doneness is to intermittently check with a cake tester. A clean tester through the center means it’s done!
Step 14: Glaze or Sugar Immediately. After allowing the oil to drip off the doughnut for about 10 seconds, while they are still warm, you have two classic finishing options: either roll them generously in granulated sugar for a simple, sweet coating or dip them into a classic powdered sugar glaze for that signature Krispy Kreme shine. Serve warm and enjoy!

Chef Lindsey’s Expert Recipe Tip
Don’t waste those delicious dough scraps! You can re-roll them one time to make additional donuts or donut holes. To do this, gently knead the scraps together into a ball, then cover them tightly with plastic wrap and allow them to rest on the counter for at least 20 minutes. This “bench rest” allows the gluten to relax, making the dough easier to roll out again. If you attempt to roll them too soon and they shrink back excessively, simply give them a little more time to rest. For longer storage, you can also rest these dough scraps, well-wrapped in plastic, in the refrigerator for up to 24 hours before re-rolling.
Frequently Asked Questions About Krispy Kreme Donuts
For the absolute best taste and texture, these homemade Krispy Kreme donuts are truly best enjoyed on the day they are made, while they are still fresh and warm. If you have leftovers and need to store them overnight, keep them at room temperature, ideally uncovered. Storing them in an airtight container can sometimes cause them to develop a slightly oily taste. If you need to store them for more than a day (up to three days), place them in a container with the lid slightly cracked to allow for some ventilation. They will gradually lose some moisture and become drier over time, but they will still be quite delicious. I strongly advise against refrigerating or freezing fried donuts, as these methods significantly degrade their delicate texture and flavor.
Yes, you can successfully freeze the cut, raw donut dough. Arrange the cut donut shapes on a parchment-lined baking sheet and freeze until solid, then transfer them to an airtight freezer-safe bag or container. This frozen dough can be stored in the freezer for up to a week. The exact freezer time can vary depending on your specific freezer and how much the donuts had proofed before freezing. Freezing will significantly retard (slow down) the proofing process, but it won’t stop it entirely. When you’re ready to fry, simply remove the donuts from the freezer. They can often be fried straight from frozen once they feel light and airy, indicating they are fully proofed. Allowing them to proof for an extended period at room temperature after thawing could lead to over-proofed and flat donuts.
The incredibly light and fluffy texture of Krispy Kreme donuts, and this copycat recipe, comes down to several key factors. Firstly, perfect proofing before the donuts even touch the hot oil is essential. The dough, even when cold, should feel soft, pliable, and airy; it should yield gently when touched but still retain its shape. Secondly, this recipe for Krispy Kreme donuts features a high moisture content and a high level of enrichment from ingredients like butter, milk, and eggs. Both of these characteristics actively contribute to hindering excessive gluten development, which keeps the donuts exceptionally tender and airy rather than dense or chewy. It’s a delicate balance that creates a truly unique texture.
Krispy Kreme achieves their iconic texture and flavor by expertly frying their donuts. The deep-frying process gives them that distinct crisp exterior and incredibly soft, pillowy interior that is impossible to replicate with baking alone.
If you tried this recipe and absolutely loved it, please take a moment to leave a 🌟 star rating and share your thoughts in the comments below. I genuinely love hearing from you – your feedback makes my day!
Krispy Kreme Donuts
Comment
Print Recipe
Ingredients
- 3 tablespoons unsalted butter
- 3 tablespoons vegetable oil
- 1 ¼ cups milk
- 1 egg beaten
- 1 teaspoon vanilla extract
- 1 ½ tablespoons dry active yeast
- 2 cups cake flour
- 2 cups all purpose flour
- ½ cup sugar
- 1 teaspoon Kosher salt
Instructions
Make the dough:
-
Whisk together flours, sugar and kosher salt in a bowl and set aside. In another small bowl, beat the egg until smooth and no streaks of white remain.
-
In a small pot, melt butter over low heat. Whisk in oil followed by the milk and finally the beaten egg and vanilla. Cook over low heat, stirring constantly, until 106°F.
-
Pour into the bowl of a stand mixer and whisk yeast into milk mixture. Set it aside and allow it to bloom for 10 minutes.
-
Fit mixer with paddle attachment and add half the flour to the bowl with the yeast/milk mixture. Mix on low to combine, then add the remaining flour and mix on low until flour is incorporated.
-
Switch to the dough hook and turn speed to medium high and continue to mix until you can see strands pulling from the sides of the bowl into the center when it is mixing, approximately 12 minutes. It will not completely form a smooth dough ball. There isn’t enough gluten for that!
Proofing the dough:
-
Spray a large bowl with nonstick cooking spray. Spray hands and bowl scraper with the spray and scrape out the dough into your hands and form into a ball. Place in an oiled bowl. Cover with plastic wrap and bulk proof in the refrigerator for 30 minutes.
Rolling and cutting the dough:
-
Lightly flour your work surface. Using a bowl scraper or silicone spatula, scrape the dough onto the surface. Sprinkle it with a bit more flour. Flour your rolling pin. Gently roll out to approximately ½ inch thickness.
-
Line a baking sheet with parchment paper and lightly spray with cooking spray. Cut doughnuts with ring molds, biscuit cutters (3”), or a doughnut cutter, and place on a parchment lined baking sheet. Cut out the holes with a 1” cutter while they are on the baking sheet. This will keep them from misshaping. Spray surface of doughnuts, wrap with plastic wrap and refrigerate 2 hours.
-
Alternative, to cook immediately: Instead of chilling doughnuts in the refrigerator a second time, allow them to sit out 30 minutes until doubled in size and then fry.
Frying yeasted donuts:
-
Pour oil into a fryer or a Dutch oven, making sure the oil is at least 2 inches deep. Heat your oil to 355°F. Adjust your heat to keep the temperature between 350°- 360°F while frying. You will need a clip-on fry/candy thermometer for this. I heat my oil up to 360°F before adding a batch of donuts, because the cold dough will lower the temperature of the fryer oil.
-
Allow the donuts to sit at room temperature 6 minutes prior to frying.
-
Gently place 3-5 donuts in the fryer, while keeping the remaining donuts in the fridge. The number you can fry at once depends on the size of your pot. You want the donuts to have room to move around and space to puff.
-
Once they rise to the surface, cook for 60 seconds and then flip them with a slotted spoon. Fry until the bottom develops a nice golden brown color, about 45 seconds. Flip it again and then fry for another 10-30 seconds or until the color is a nice even golden brown. I usually test mine with a cake tester. Pull the donut out of the oil with a spider or slotted spoon, poke it and then pull the cake tester out. It should not have any streaks of dough or crumbs.
-
Transfer to a wire rack set over a sheet pan or paper towels.
-
Allow oil to drip off doughnut 10 seconds then roll in granulated sugar or dip in a simple powdered sugar glaze.
Video
Notes
Technique – Dough scraps can be re-rolled one time. Gather the scraps into a ball, cover with plastic wrap, and allow them to rest for at least 20 minutes before attempting to roll them out again. If the dough springs back significantly, give it a bit more rest time.
Storage – Donuts are best enjoyed fresh on the day they are made. Store them uncovered at room temperature to prevent them from becoming oily. Raw, cut donut dough can be frozen for up to one week for future use.
Nutrition
Before You Go
I sincerely hope you enjoyed creating and savoring this professional chef-tested Krispy Kreme copycat recipe. It’s a true labor of love designed to bring joy to your kitchen. Don’t stop here – explore our other delicious, chef-developed donut recipes for more inspiration and culinary adventures!