
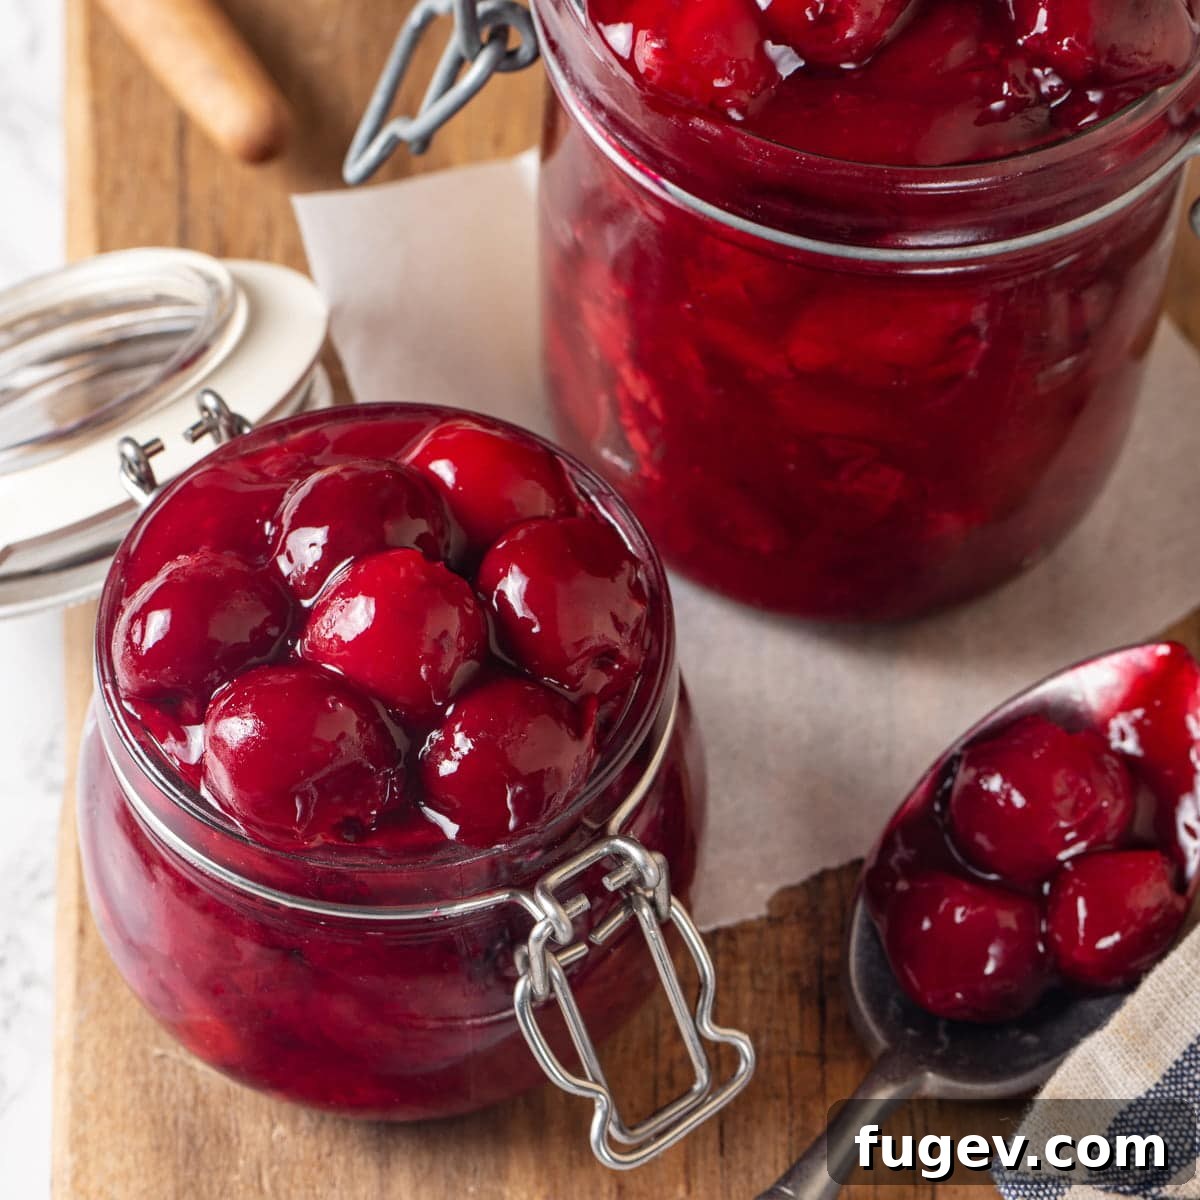
The Best Homemade Cherry Pie Filling Recipe: Sweet & Tart Perfection
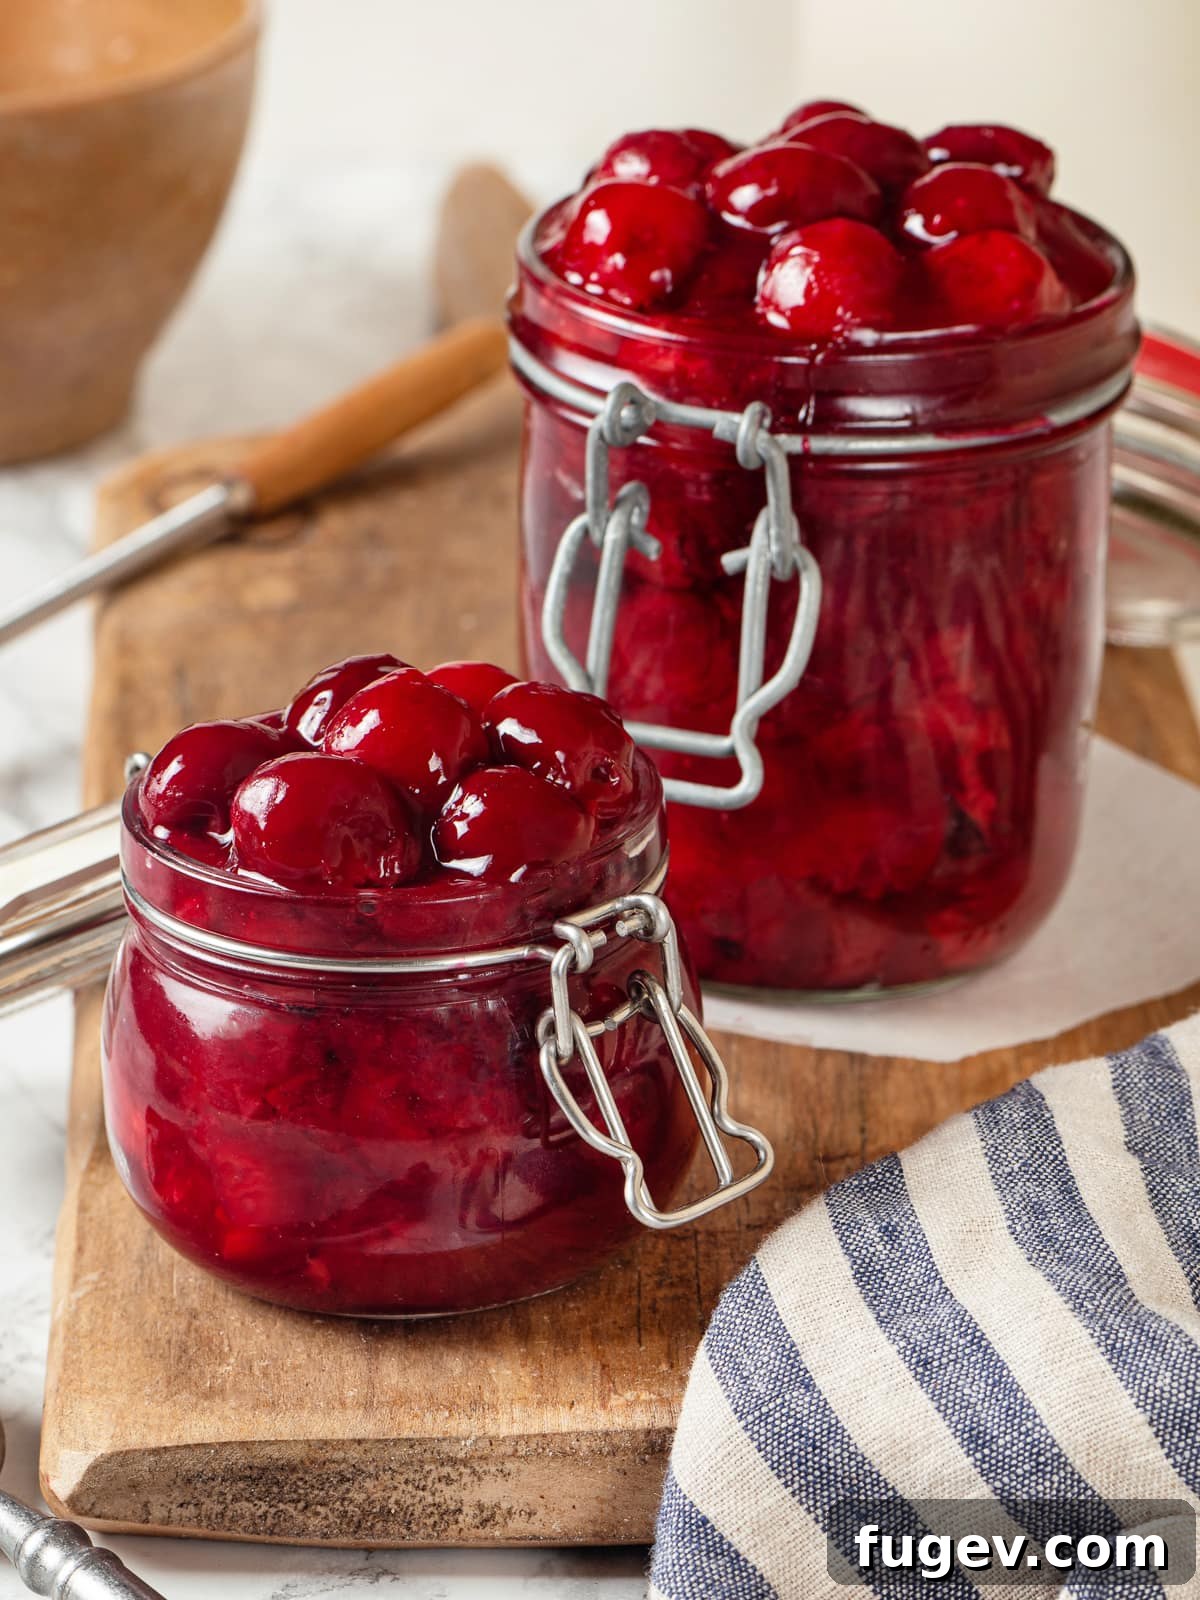
Prepare to be amazed by this incredibly simple yet utterly delicious **Homemade Cherry Pie Filling Recipe**. Crafted with just four core ingredients, it comes together swiftly, delivering a rich, perfectly thickened consistency that’s ideal for a myriad of desserts. From classic pies and comforting cobblers to delightful crisps and elegant cakes, this versatile filling is a game-changer.
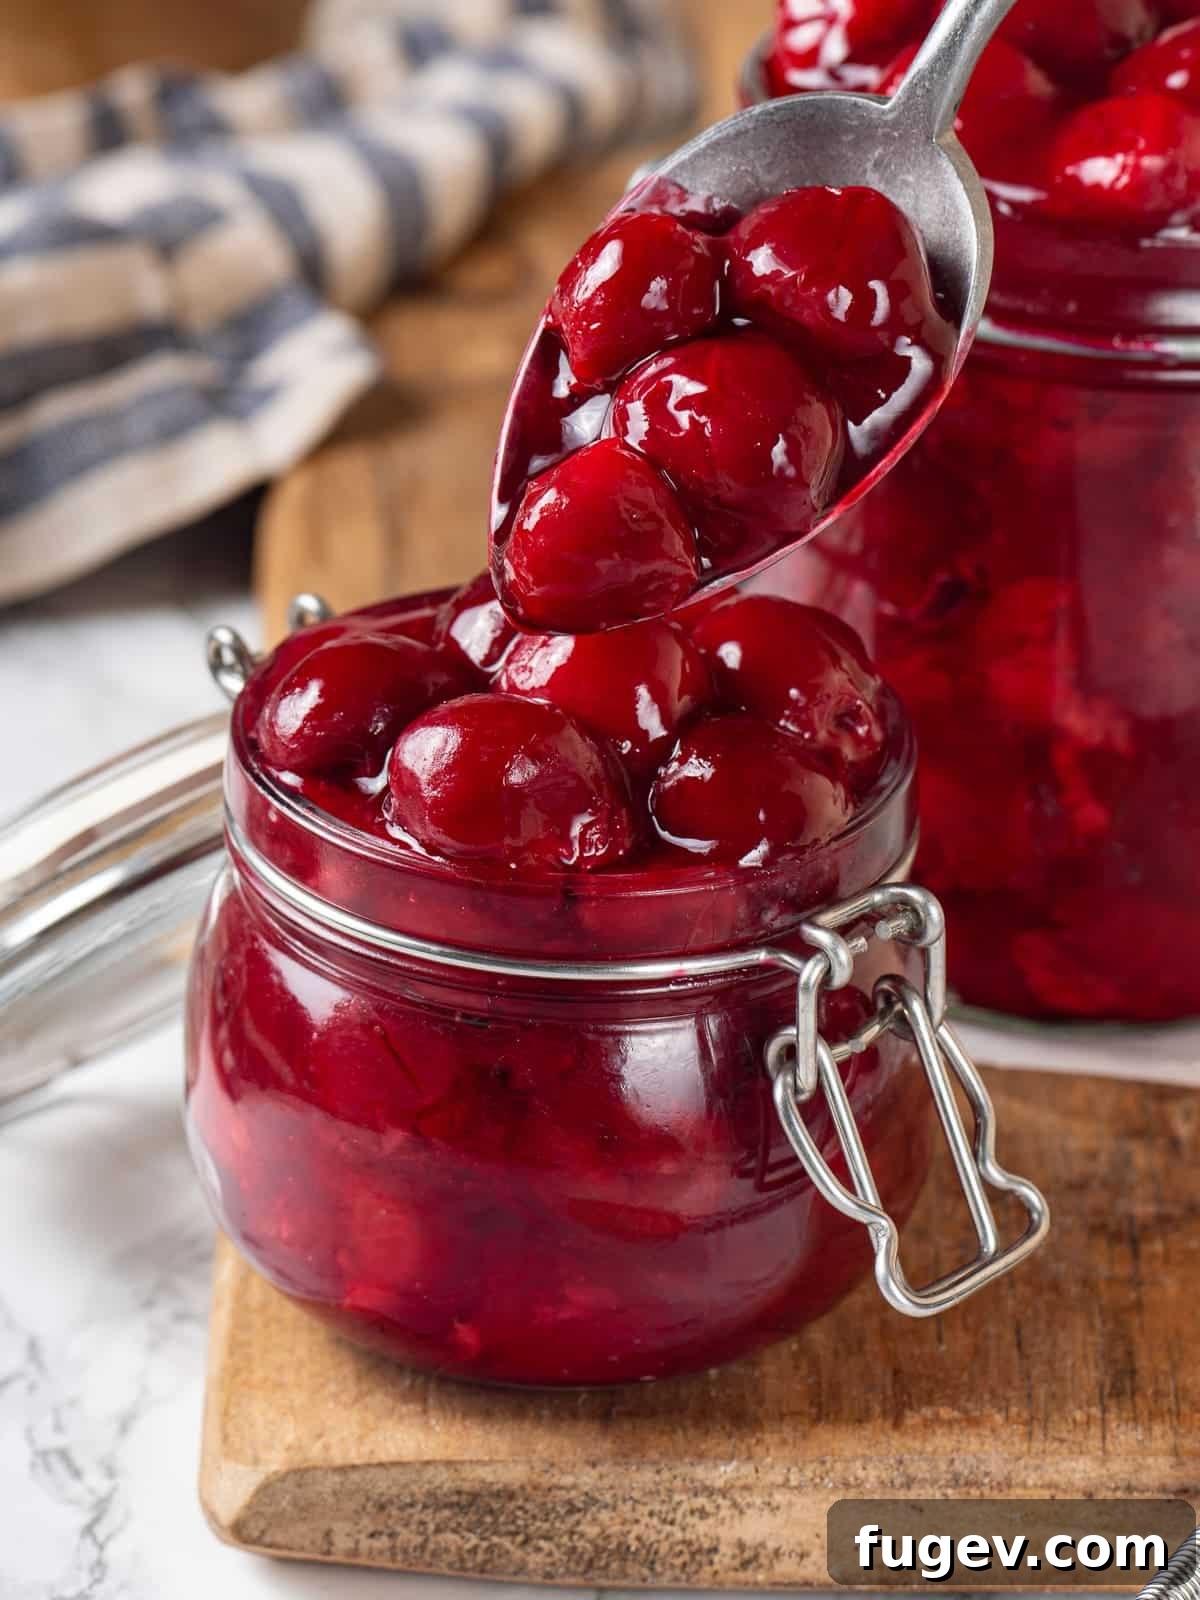
There’s truly nothing quite like the flavor of freshly made pie filling. Our secret ingredient, a hint of almond extract, beautifully accentuates the natural sweetness and tartness of the cherries, elevating this filling to a truly elegant and sophisticated level. It’s a flavor profile that store-bought versions simply can’t replicate.
I find immense joy in visiting the farmer’s market and seeing the bountiful display of bright, juicy red cherries. Naturally, I always stock up on as many as I can carry! Beyond this irresistible pie filling, I love to transform these vibrant fruits into a homemade cherry preserve recipe and delightful pickled cherries, which make a fantastic, unexpected addition to my vibrant summer panzanella salad. This recipe, however, is a staple that deserves a prime spot in your culinary repertoire.
Table of Contents
- Why You Will Love This Homemade Cherry Pie Filling
- Essential Ingredients & Smart Substitutions
- Creative Flavor Variations to Try
- Versatile Ways to Use Your Cherry Pie Filling
- Step-by-Step: How to Make Homemade Cherry Pie Filling
- Chef Lindsey’s Expert Tip for Thickening
- Cherry Pie Filling FAQs
- More Irresistible Cherry Recipes
- Cherry Pie Filling Recipe Card
- Before You Go: Explore More Delicious Desserts
Why You Will Love This Homemade Cherry Pie Filling
This isn’t just another recipe; it’s an invitation to experience homemade goodness that far surpasses anything you’ll find in a can. Here’s why this cherry pie filling will become your go-to:
- Achieve Perfectly Thick and Luscious Filling: Our recipe is meticulously crafted to ensure your filling reaches an ideal consistency, holding its shape beautifully when sliced from a pie or spooned over a dessert. You have complete control to adjust the cooking time for the perfect texture, whether you prefer it slightly softer for a cobbler or firmer for a pie. Just remember, if you plan to bake the filling again in a pie, be mindful not to overcook it on the stovetop initially.
- Effortlessly Easy to Prepare: Forget complicated steps or lengthy kitchen sessions. This homemade, perfectly balanced sweet and tart filling can be prepared and ready to cool in under 20 minutes! Once you taste the fresh, vibrant difference, you’ll likely never return to bland, store-bought pie fillings again. It’s a simple indulgence that yields incredible rewards.
- Enjoy Fresh Cherry Flavor Year-Round: This recipe isn’t just for summer! While fresh cherries are a seasonal delight, you can effortlessly make this filling anytime using frozen cherries. This flexibility means you can whip up cherry pie bars for Fourth of July celebrations, a comforting cherry cobbler for Thanksgiving, or a festive cherry crisp for Christmas. You can even prepare large batches and freeze them, ensuring a supply of delicious cherry filling for whenever a craving strikes.
- Control Over Ingredients for Healthier Choices: Making your own pie filling allows you to know exactly what goes into your food. You can adjust the sugar content to your preference, avoid artificial colors and preservatives, and ensure you’re using high-quality ingredients for a truly wholesome treat.
- Unmatched Vibrant Flavor and Aroma: The fresh fruit combined with a touch of almond extract creates a deeply aromatic and flavorful filling that tastes authentically homemade. The sweet and tart notes dance harmoniously, making every bite a delightful experience.
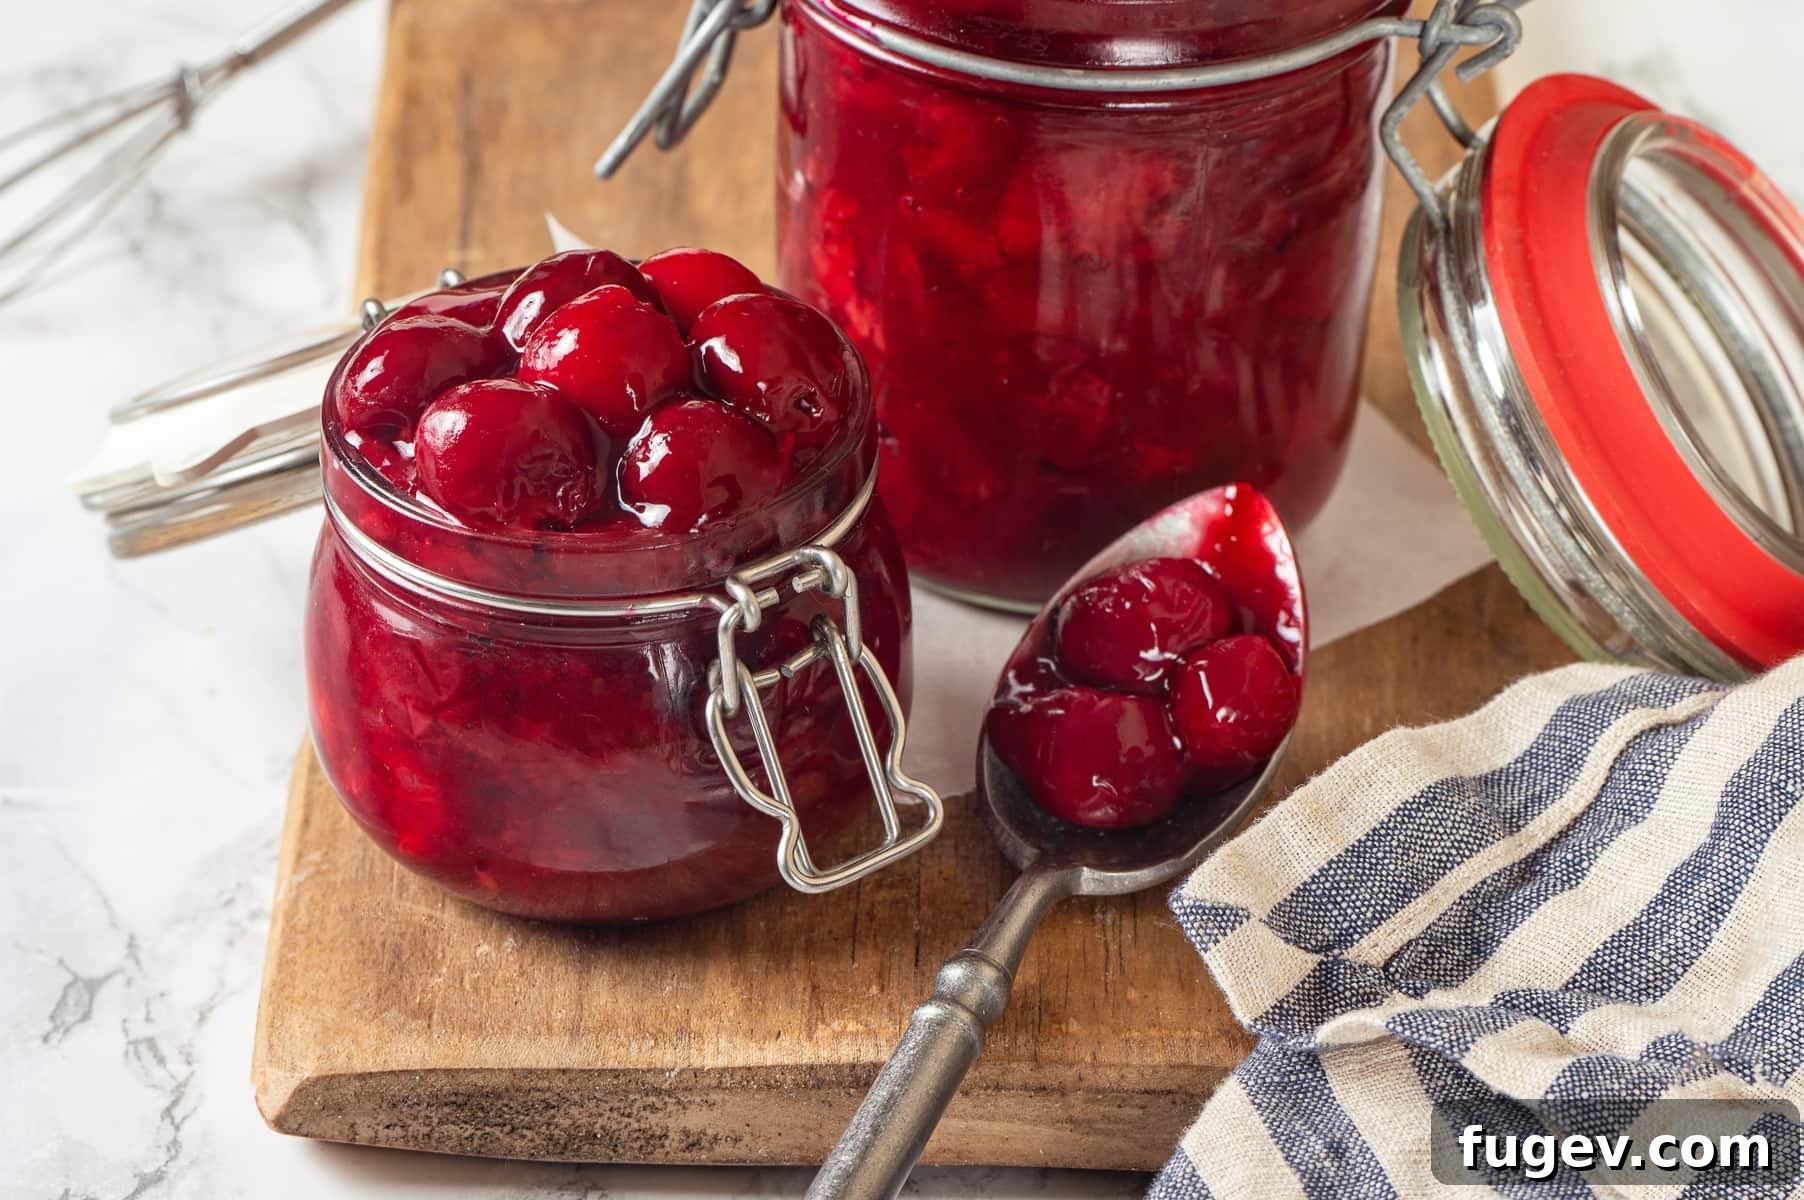
Essential Ingredients & Smart Substitutions
Crafting the perfect cherry pie filling requires just a few key ingredients. Here’s a closer look at what you’ll need and how to make the best choices:
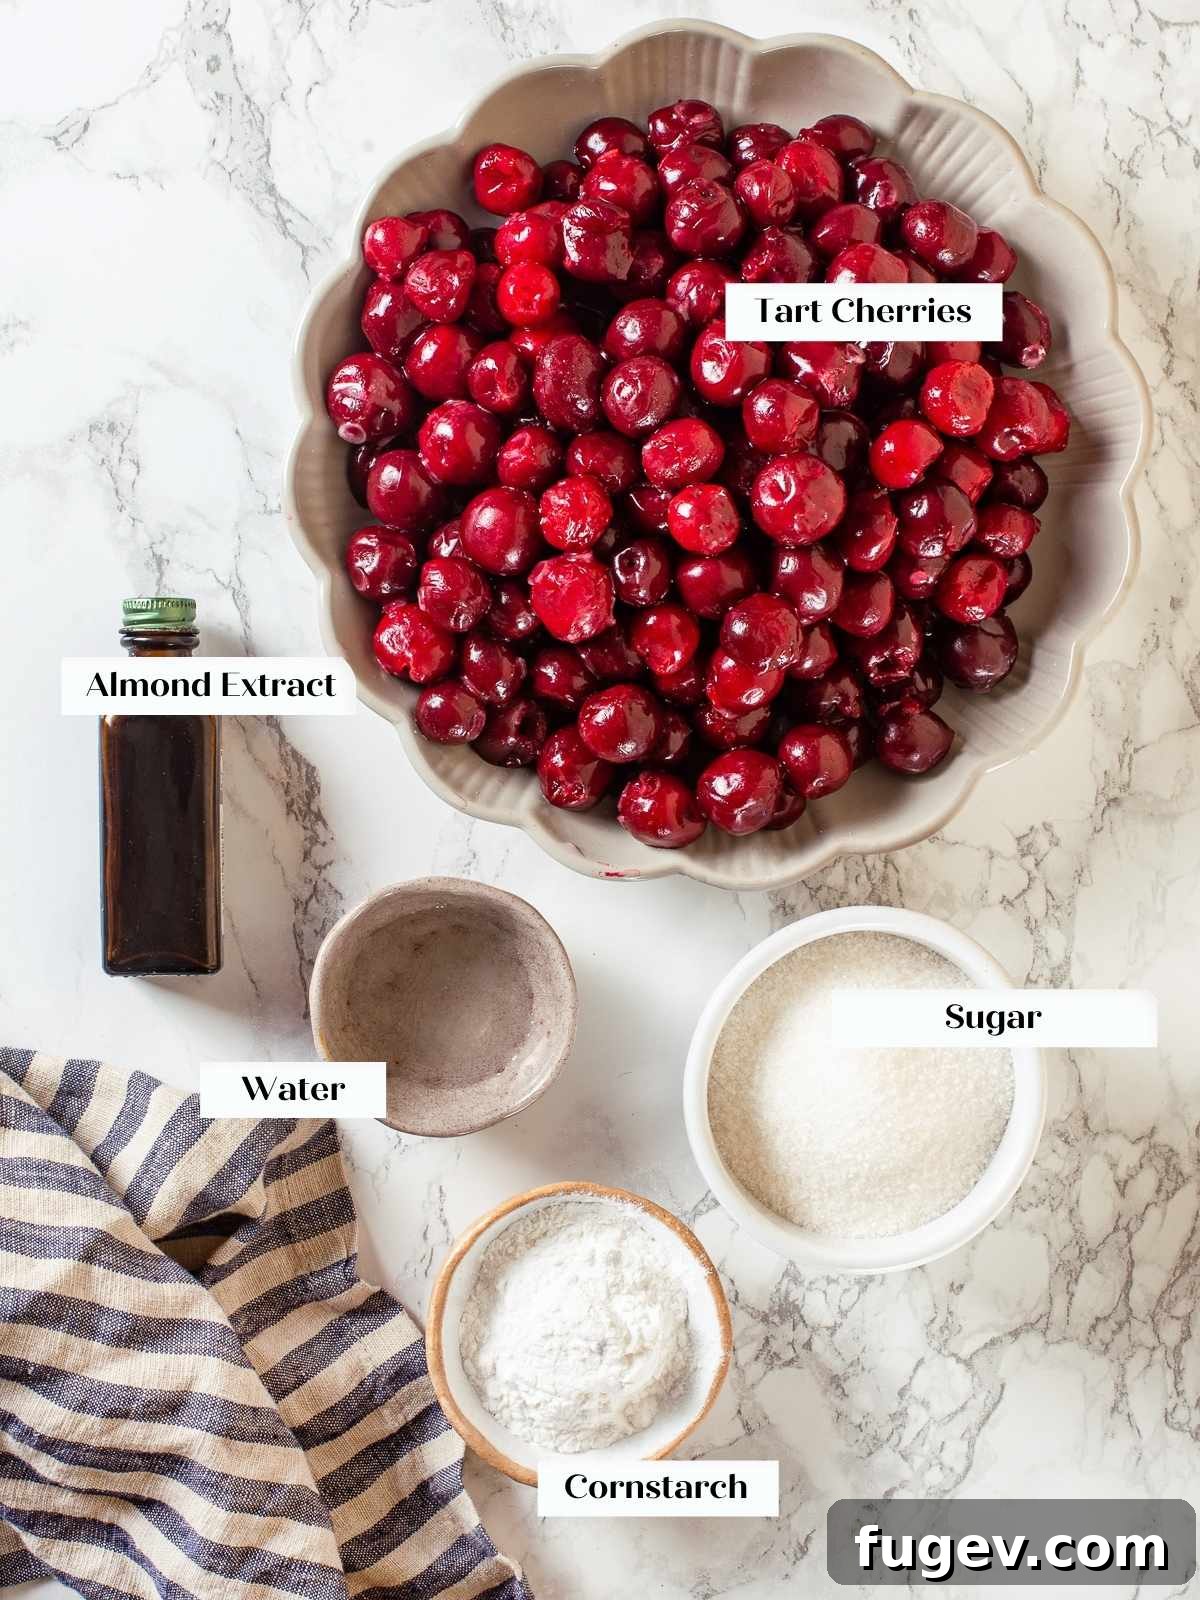
- Cherries (Tart, Sweet, or Mixed): The heart of our filling! You have several excellent options:
- Fresh Tart Cherries: These are often referred to as sour cherries and are typically bright red. They yield the most vibrant color and balanced flavor, offering a delightful tang that pairs wonderfully with sweetness. If using fresh, remember to pit them!
- Frozen Pitted Cherries: A fantastic year-round option. They are convenient and retain much of their flavor and vibrant color. No need to thaw them completely before cooking; they will release their juices as they heat.
- Canned Tart Cherries (in water, not syrup): These are a good alternative when fresh or frozen tart cherries are unavailable. Ensure you choose cherries packed in water, not heavy syrup, to control the sweetness. You’ll want to drain them but reserve the liquid.
- Sweet Cherries: Varieties like Bing or Rainier can be used, but they will produce a darker, duller filling and will require less added sugar. A mix of sweet and tart can create a unique, nuanced flavor profile.
- Sugar (Granulated): Granulated sugar provides the necessary sweetness to balance the cherries’ tartness. The amount can be adjusted to your taste and the type of cherries you use. You can also experiment with brown sugar for a deeper, more caramel-like note, or honey/maple syrup for a natural sweetener, though these may alter the liquid content slightly.
- Almond Extract: This small addition makes a significant difference! Almond extract beautifully enhances the cherry flavor, giving the filling an elevated, marzipan-like nuance. It’s truly what sets this homemade recipe apart. A little goes a long way, so use it sparingly.
- Cornstarch or Tapioca Flour (Thickener): This is crucial for achieving that perfectly thick, luscious consistency.
- I personally prefer tapioca flour (also called tapioca starch) for thickening fruit pie fillings. It results in a clearer, glossier filling than cornstarch and maintains its thickening power better over time, preventing weeping or breaking down. Bob’s Red Mill tapioca flour is a great choice.
- Cornstarch is also an excellent and widely available thickener. Ensure you allow the mixture to boil for at least a minute after adding the cornstarch slurry to properly activate it. This ensures it becomes clear and tasteless, avoiding any starchy flavor.
- Water: Essential for creating a “slurry” with your chosen thickener (cornstarch or tapioca). This prevents lumps and ensures smooth incorporation into the hot cherry mixture.
For precise measurements and full ingredient details, please refer to the comprehensive recipe card below.
Creative Flavor Variations to Try
While this classic cherry pie filling is divine on its own, it also serves as a fantastic base for culinary experimentation. Here are some delightful variations to explore:
- Infuse with Aromatic Spices: Elevate the flavor profile by infusing the filling with whole spices while it cooks. Consider adding a vanilla bean (split lengthwise), a cinnamon stick, a few whole cloves, a slice of fresh ginger, or a pinch of freshly grated nutmeg. Remember to remove the whole spices before using or storing the finished filling for the best texture and clean flavor.
- Combine with Other Fruits: Cherries pair beautifully with a variety of other fruits. For instance, you can add blueberries to create a wonderful blueberry-cherry cobbler. Blackberries or raspberries also make excellent additions, adding another layer of tartness and color. You could even create a unique stone fruit filling by combining cherries with sliced peaches and apricots, perfect for serving with my favorite peach cake!
- Stir in Decadent Chocolate: For a truly indulgent treat, once the filling has finished cooking and is still warm, stir in some chopped dark chocolate or chocolate chips. The residual heat will melt the chocolate, creating a rich, luscious, chocolate-cherry filling. This variation is particularly exquisite as a filling for tarts, cakes, or as a decadent ice cream topping. Be aware that adding chocolate will further thicken the filling, and you should avoid cooking it again after the chocolate is added, as this can cause the chocolate to seize and become grainy.
- Brighten with Citrus Notes: Replace the almond extract with a splash of fresh citrus juice and zest for a bright, tangy twist. Lime, clementine, blood orange, or lemon juice would each offer a unique and delicious dimension to the cherry flavor, adding a refreshing zing.
- Add a Hint of Booze: For an adult-friendly version, stir in a tablespoon or two of your favorite liqueur after the filling has thickened. Cognac, brandy, bourbon, amaretto (which complements the almond extract beautifully), or Frangelico would all be fantastic choices. You can continue to gently cook the mixture for a few minutes to evaporate some of the alcohol, or leave it as is for a stronger flavor and aroma.
Versatile Ways to Use Your Cherry Pie Filling
This homemade cherry pie filling is incredibly versatile, making it a culinary superstar in your kitchen. Beyond the obvious, here are numerous delicious ways to enjoy your freshly made filling:
- Classic Baked Goods: Pies, Tarts, Crisps, and Cobblers: This filling is, of course, a star in traditional baked desserts. Use it to create a stunning double-crust pie with our flaky vodka pie crust or this foolproof all-butter pie crust for an unforgettable cherry pie. For a rustic, free-form dessert, bake a charming cherry galette, perhaps with a Crisco pie crust. It’s also perfect for a simple cherry cobbler or a warm, bubbly cherry crisp. Feeling fancy? Use an almond flour pie dough and fill it with creamy frangipane before adding your cherry filling to create an exquisite almond cherry tart.
- Create a Stunning Seasonal Trifle: Layering is key for a show-stopping trifle! Grab your favorite homemade or store-bought pound cake, cube it, and layer generously with your luscious cherry filling and billowy whipped cream. For an extra touch of creamy decadence, consider using a crème légère, easily made with our indulgent vanilla bean pastry cream recipe. If you want to lean into the almond notes of the filling, our cherry almond pound cake would be an exquisite base.
- Elevate Your Cakes and Cheesecakes: This pie filling is a dream come true for enhancing cakes. Use it as a vibrant and flavorful layer between slices of a rich chocolate fudge cake, or swirl it into the batter of your chocolate cheesecake recipe for an irresistible chocolate cherry cheesecake. It also makes an incredible topping for my favorite cherry cheesecake, or you can even substitute it for the blueberries in these delightful no-bake cheesecake bars.
- Serve as a Topping for Puddings, Ice Cream, or Pavlova: Beyond baked goods, this filling is the perfect sweet and tart accompaniment for a variety of chilled desserts. Spoon it generously over a scoop of rich chocolate ice cream or creamy homemade vanilla pudding for a simple yet satisfying treat. It would also be a delicious and colorful variation for a lemon berry pavlova cake, adding a beautiful contrast of texture and flavor.
- Transform Your Brunch: Who says cherry filling is just for dessert? Make your brunch extraordinary! Dollop this vibrant filling over fluffy sourdough pancakes or crispy sourdough waffles for a gourmet breakfast. For an indulgent morning treat, swirl it into the dough or spread it over our recipe for the best cinnamon rolls. It also makes an excellent, flavorful addition to a healthy and satisfying yogurt parfait.
Step-by-Step: How to Make Homemade Cherry Pie Filling
Follow these detailed instructions to create your own perfectly tart and sweet cherry filling. For precise measurements of each ingredient, please consult the recipe card located further down this page.
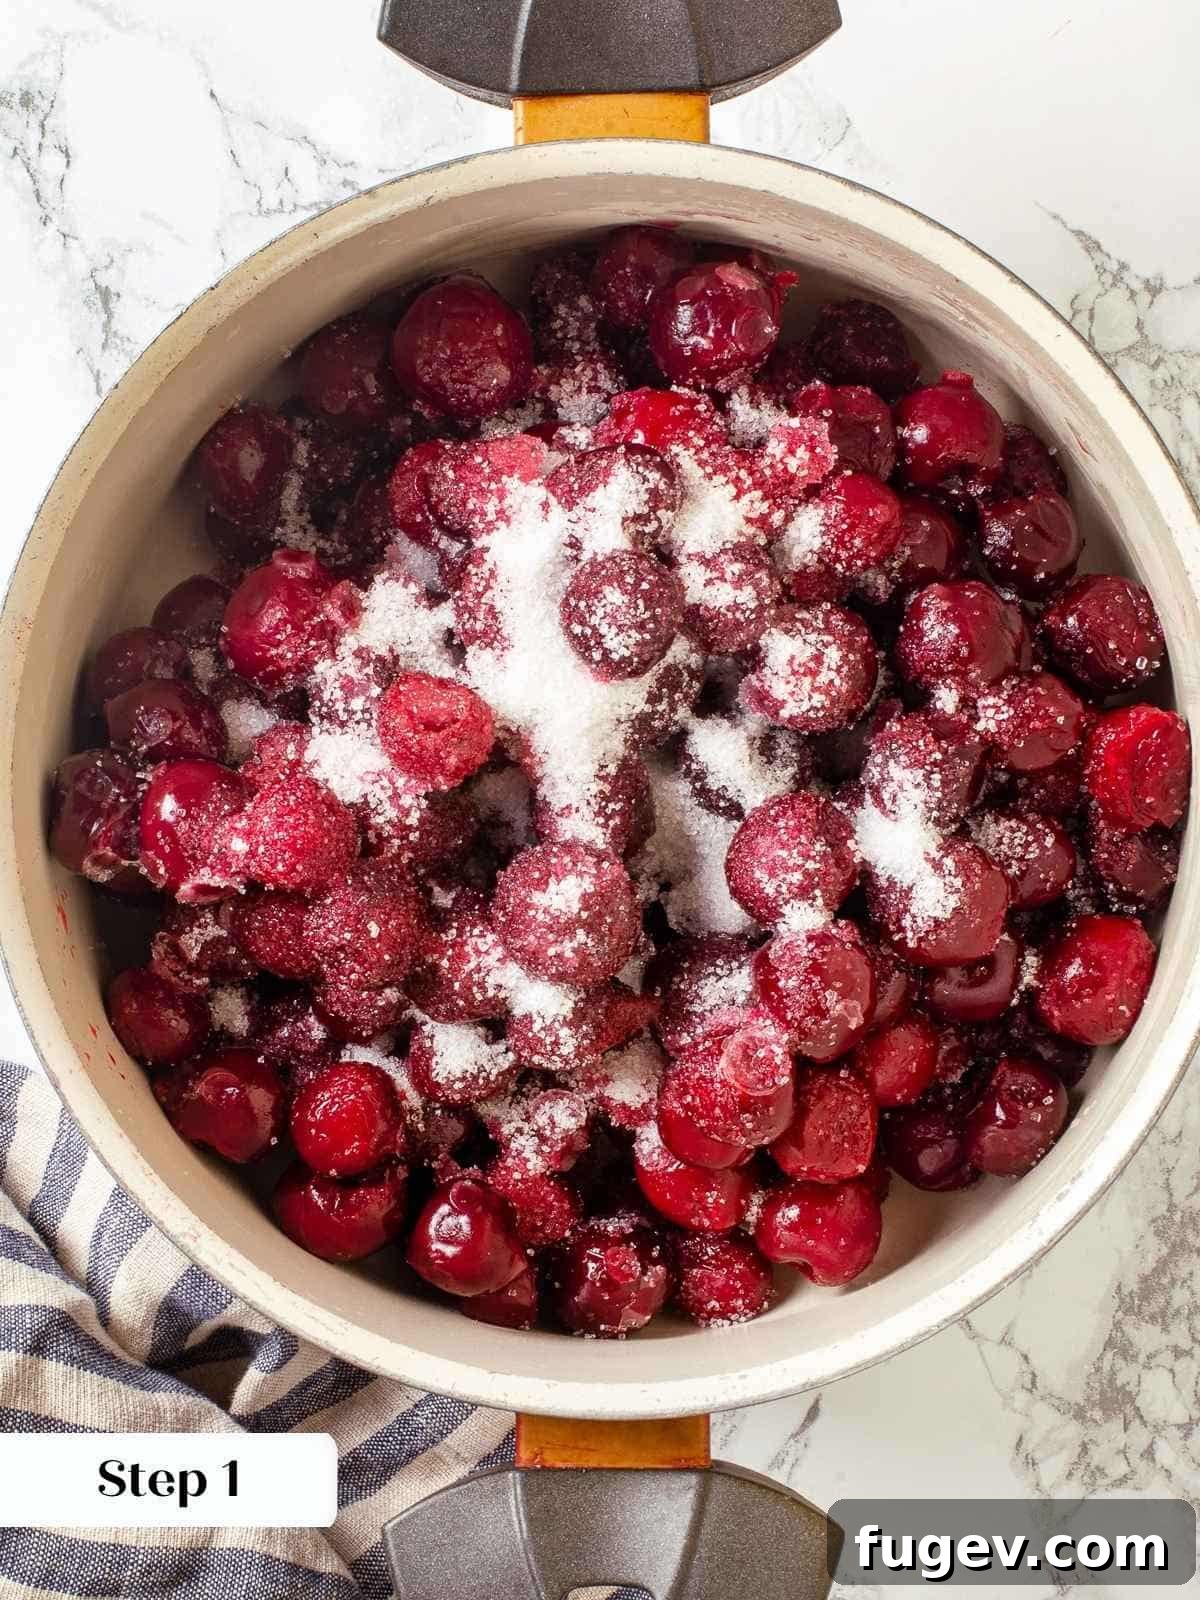
- Prepare and Combine Ingredients: In a medium-sized saucepan, combine your cherries (and any accumulated liquid if using frozen or canned), almond extract, and granulated sugar. If you are using fresh cherries, ensure they are thoroughly pitted before adding them to the saucepan. If you’ve chosen tapioca flour as your thickener, you can add it directly to all other ingredients at this stage.
- Slow Cook to Release Juices: Place the saucepan over low heat. Cook the mixture slowly, stirring occasionally, until the cherries begin to soften and release their natural juices. This process typically takes about 5-10 minutes. If you are using canned cherries (which already have plenty of liquid), I recommend allowing the mixture to gently boil for 5-10 minutes to reduce and evaporate some of the excess water. Be vigilant and stir frequently to prevent any scorching.
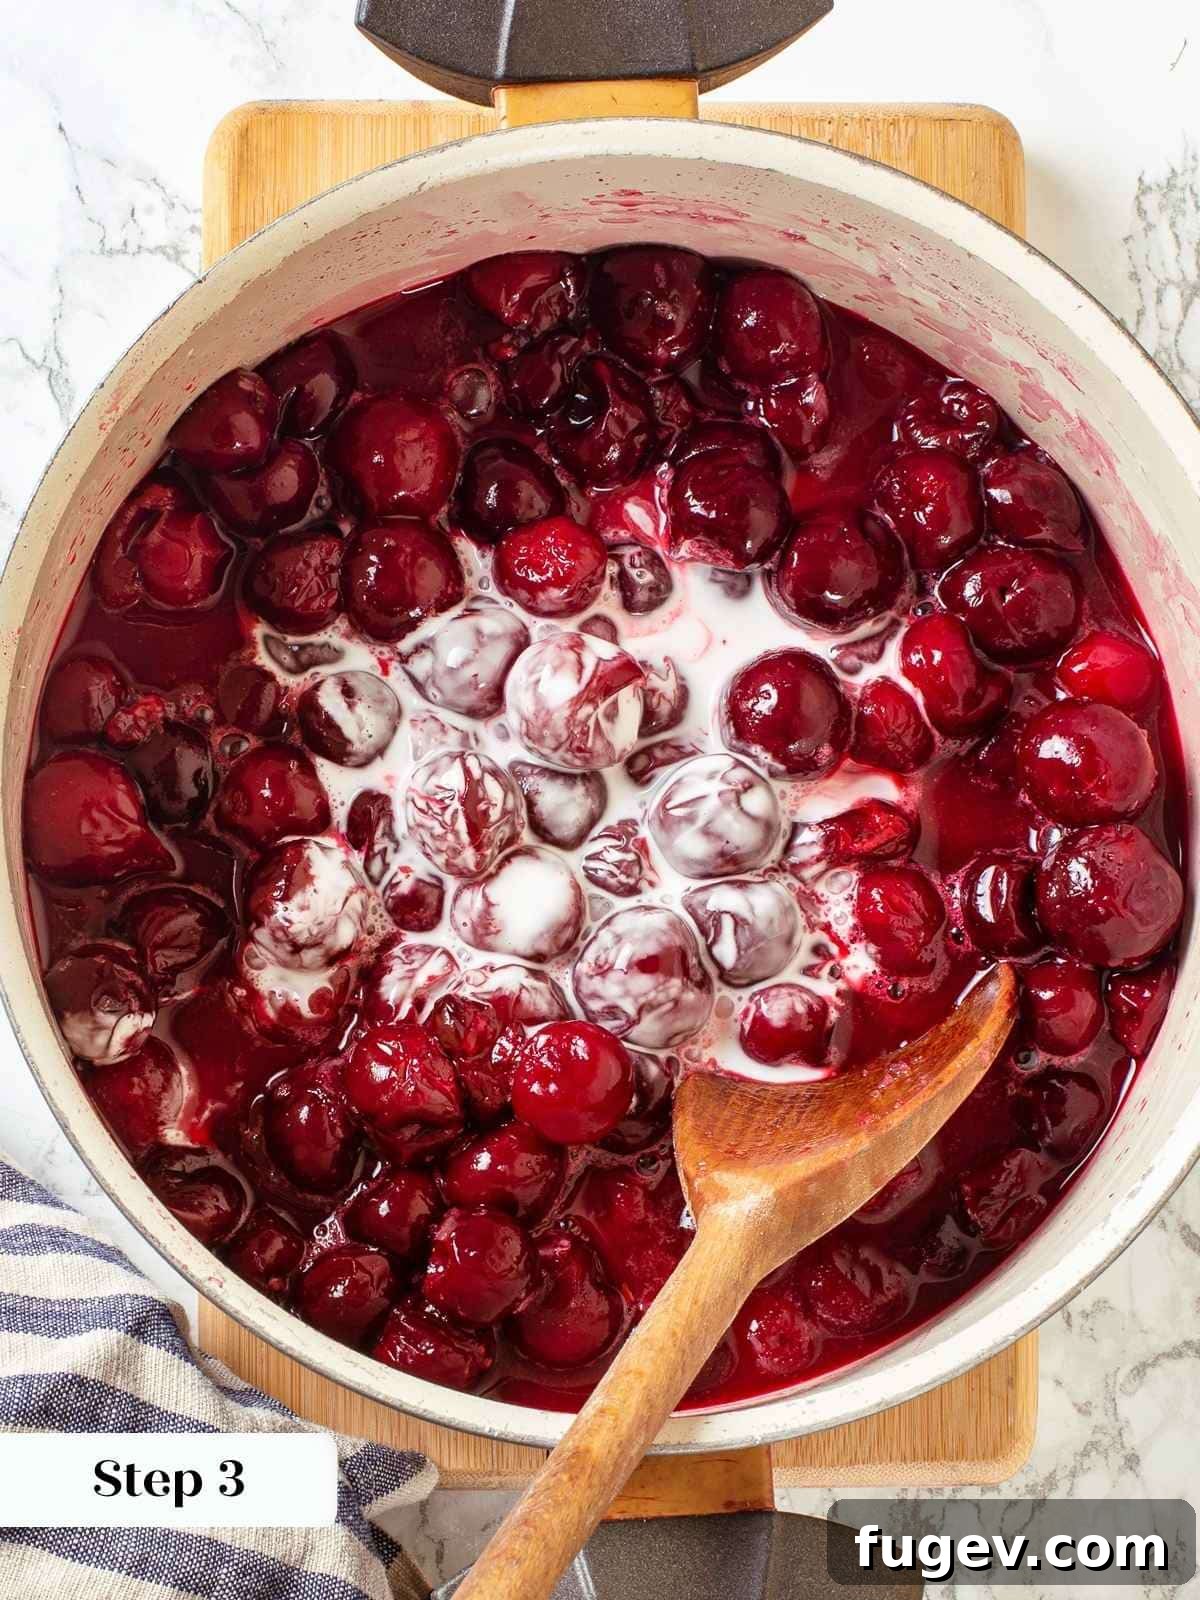
- Prepare and Add the Thickener Slurry: While the cherries are cooking, prepare your thickener. In a small bowl, whisk together the cornstarch or tapioca flour with the cold water until a smooth slurry forms (ensure there are no lumps). Once the cherries have released their juices, reduce the heat in the saucepan to very low. Slowly pour the prepared slurry into the cherry filling, stirring constantly with a whisk or spoon to ensure even distribution and prevent lumps.
- Activate the Thickener: Increase the heat to medium and bring the mixture to a gentle boil. Continue to boil, stirring constantly, for at least one minute. This crucial step activates the tapioca or cornstarch, causing the filling to thicken to its desired consistency. You’ll notice the filling will initially appear opaque after adding the slurry, then become beautifully translucent and glossy once the starch is fully activated.
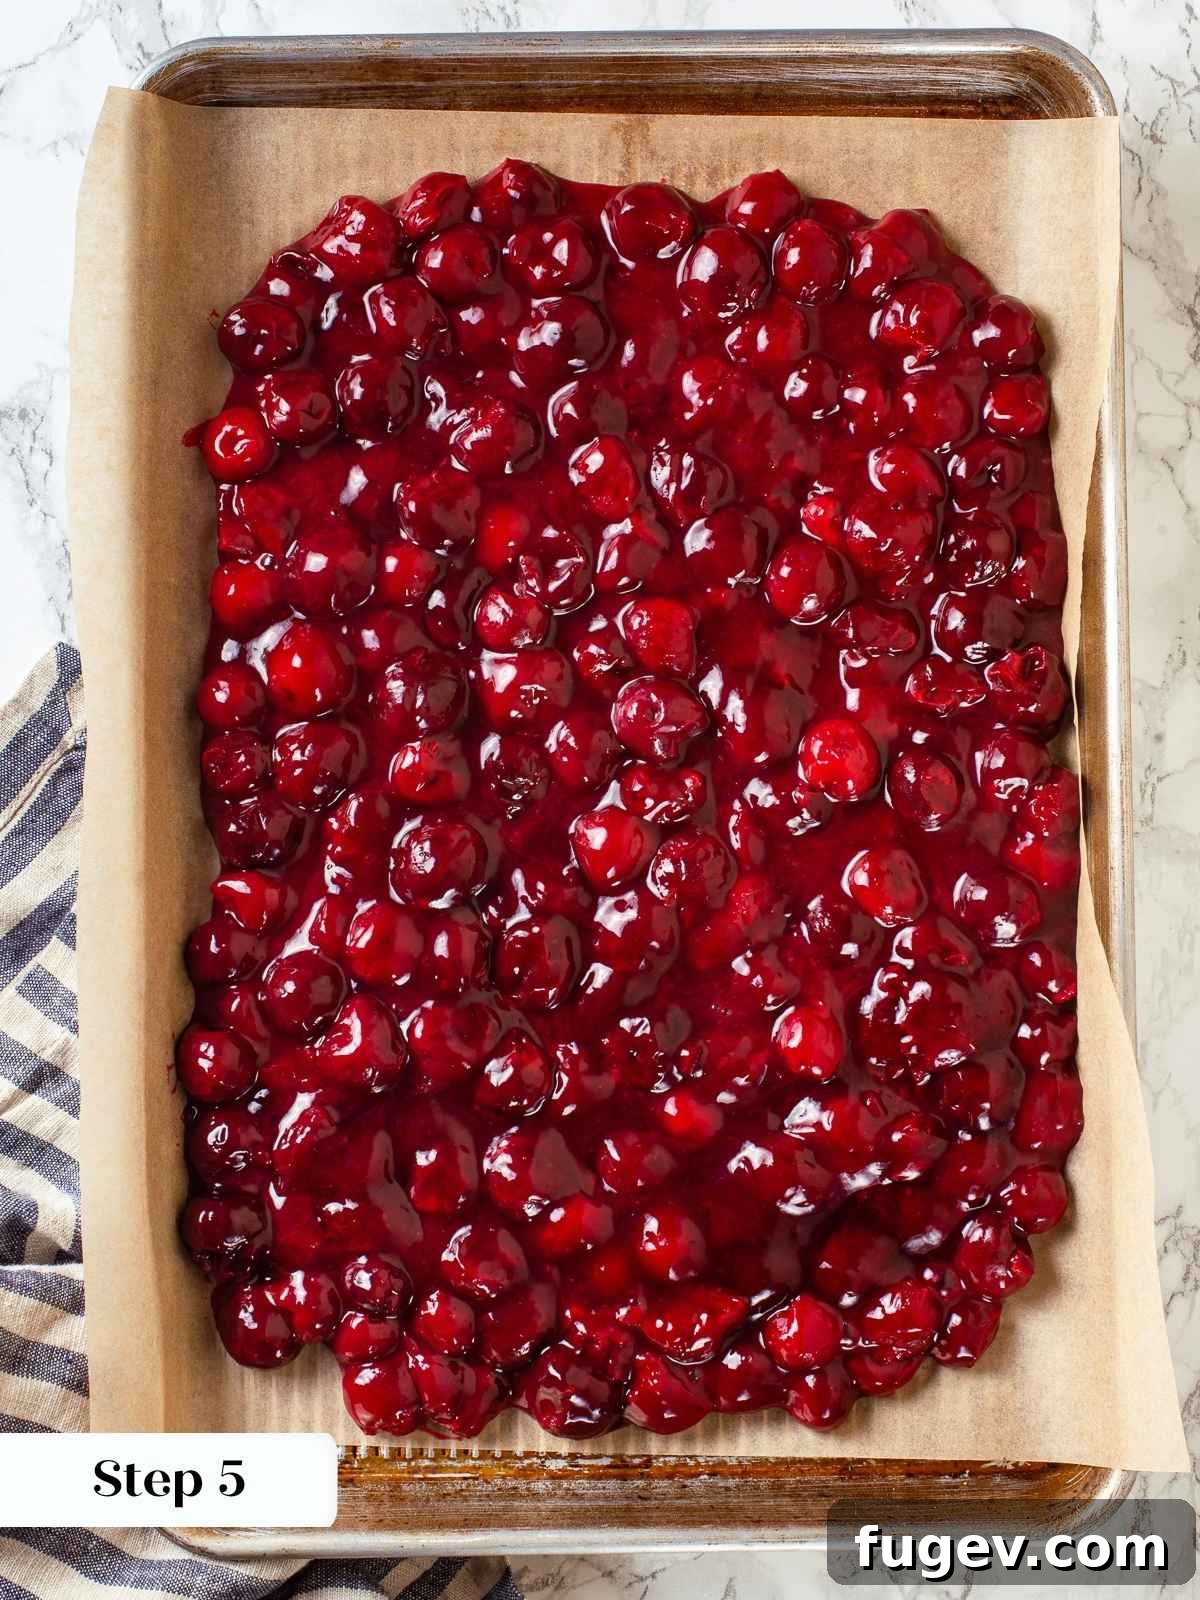
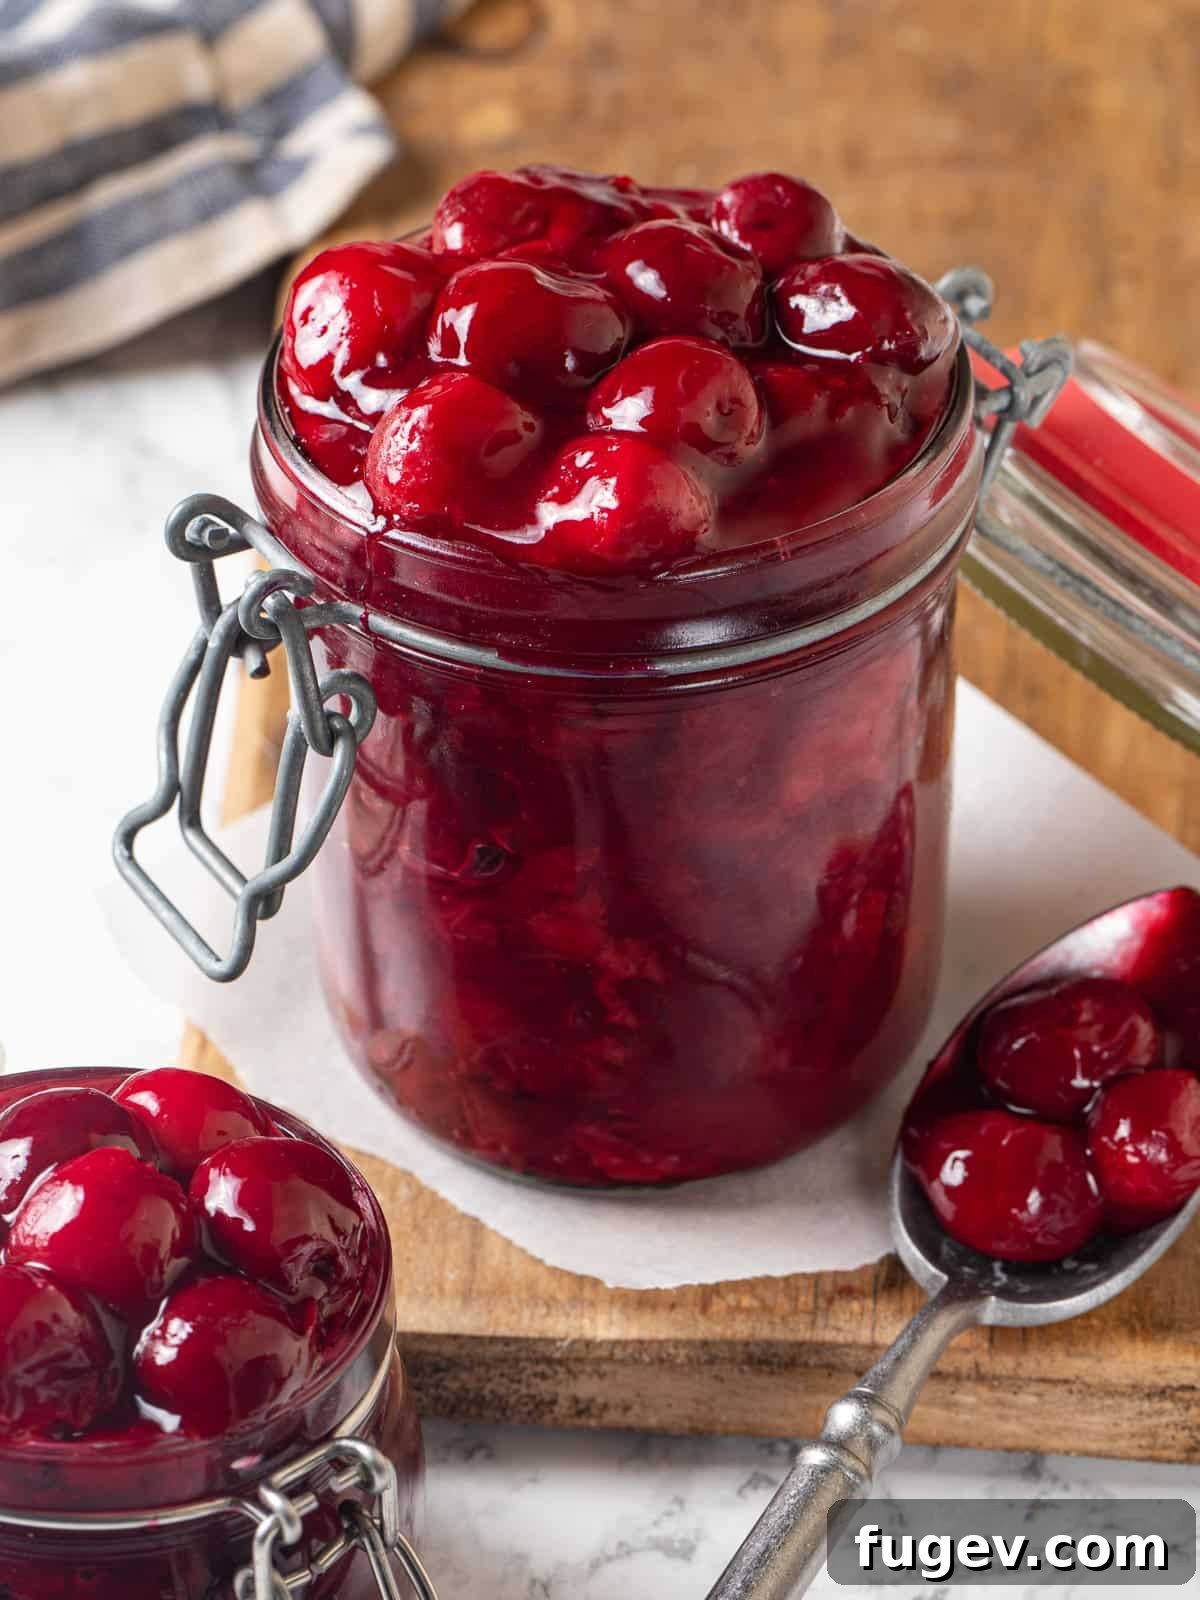
- Cool and Store: Once thickened, immediately pour the hot cherry pie filling onto a parchment-lined rimmed baking sheet or into a shallow pan. Spreading it thinly helps it cool more rapidly and evenly. Allow it to cool completely at room temperature. The filling is now ready to use in your favorite recipes! For storage, transfer the cooled filling to a clean, airtight container. It can be refrigerated for up to 2 weeks or frozen for up to 3 months.
Chef Lindsey’s Expert Tip: Tapioca vs. Cornstarch
When it comes to thickening fruit fillings, if you have tapioca flour, I highly recommend using it over cornstarch! Tapioca provides a superior hold that lasts longer, ensuring your filling stays beautifully thick and cohesive. Sauces, puddings, pastry creams, and fruit fillings thickened with cornstarch have a tendency to gradually release moisture over time, sometimes “weeping” or becoming runny. Fillings with a higher concentration of cornstarch are particularly prone to breaking down faster. Tapioca, on the other hand, creates a firmer, more stable gel that does not lose its grip as quickly, resulting in a consistently luscious and appealing texture for days after preparation.
Cherry Pie Filling FAQs
Once your cherry pie filling is cooked and completely cooled to room temperature, transfer it to a clean, airtight container. It can be stored safely in the refrigerator for up to 2 weeks. For longer storage, freeze the filling for up to 3 months. When ready to use, allow it to defrost thoroughly in the refrigerator overnight or at room temperature for several hours.
Several factors can contribute to a runny filling. If you used canned cherries packed in water, it’s possible you didn’t allow enough of the excess water to boil off during the initial cooking stage. Another common reason is improper activation of the cornstarch or tapioca; the mixture *must* come to a full boil and simmer for at least one minute after the slurry is added for the starch to fully thicken. Freezing and then thawing can also sometimes cause cornstarch-thickened fillings to lose some of their thickening power. If your filling is too runny after cooling, you can gently reheat it over low heat, whisking in an additional teaspoon of cornstarch (mixed with 1 tablespoon of cold water) until it thickens again.
For the most vibrant red color and a beautifully balanced sweet-tart flavor, fresh sour cherries (also known as tart cherries or Morello cherries) or high-quality frozen, pitted tart cherries are highly recommended. Using sweet cherries will typically result in a darker, less vibrant, and often sweeter filling, requiring less added sugar. If fresh or frozen tart cherries are unavailable, canned tart cherries in water (not syrup) are a better option than sweet cherries, as they still offer excellent flavor and tartness.
Cherry pie filling is incredibly versatile! Beyond pies and tarts, it’s delicious served warm or cold. Try it over a scoop of creamy vanilla bean ice cream, alongside a rich chocolate pudding recipe, or as a flavorful topping for wholesome Bircher Müesli overnight oats. It’s also fantastic spooned over yogurt, pancakes, waffles, or even as a simple topping for toasted pound cake.
Absolutely! The amount of sugar can be adjusted based on the sweetness of your cherries and your personal preference. When using tart cherries, you’ll generally need more sugar to balance their tang. If using sweet cherries, you might reduce the sugar significantly. It’s always best to taste the cherry mixture after it has cooked for a bit (before adding the thickener) and adjust the sugar level to your liking. Remember, you can always add more sugar, but you can’t take it away!
This recipe typically yields enough filling for one standard 9-inch pie. It also provides a generous amount for various other uses like toppings or layering in smaller desserts.
More Irresistible Cherry Recipes to Explore
Pies and Tart Recipes
Classic Cherry Pie with Almond Crust
Date Night Desserts
Cherry Galette with Almond Buttermilk Crust
Summer Dessert Recipes
Gourmet Cherry Almond Tart
Jams & Jelly Recipes
Easy Homemade Cherry Preserves
If you tried this wonderful homemade cherry pie filling recipe and loved it, please take a moment to leave a 🌟 star rating and share your experience in the comments below. Your feedback truly brightens my day!
Cherry Pie Filling
Comment
Print Recipe
Ingredients
- 29 ounces tart cherries pitted (2 cans)
- ¼ teaspoon almond extract
- ¾ cup granulated sugar or more to taste
- 3 tablespoons cornstarch or tapioca flour
- 1 tablespoon water
Instructions
-
Combine cherries and their accumulated juices, almond extract, and granulated sugar in a medium sauce pot. If you use tapioca flour, add it with all the other ingredients and cook them over low heat until cherries release juices.
-
Cook slowly over low heat until the cherries release all their juices. If you are using canned cherries, I recommend boiling the mixture for 5-10 minutes to evaporate some of the additional water, just be careful that it doesn’t burn.
-
In a small bowl, whisk together cornstarch and cold water. Reduce the heat to low and slowly pour the cornstarch slurry into the cherry filling while stirring constantly. Turn up the heat and boil the mixture for one minute to begin activating the tapioca or cornstarch.
-
Pour the mixture onto a parchment-lined rimmed baking sheet or pan and cool completely at room temperature. The pie filling is now ready to use, or you can transfer it to a clean, airtight container and refrigerate for up to 2 weeks or freeze for 3 months.
Notes
Flavor Tips – All cherries have their own flavor profile so make sure to taste the cherries after adding the sugar and extract so you can adjust for sweetness. Do this before you add the tapioca starch or cornstarch. You can also adjust after boiling the cornstarch.
Storage—Cooked and cooled cherry pie filling can be stored in an airtight container in the refrigerator for two weeks or up to two months in the freezer. Allow to defrost in the fridge or at room temperature.
Nutrition
Calories: 149kcal |
Carbohydrates: 38g |
Protein: 1g |
Fat: 0.3g |
Saturated Fat: 0.04g |
Polyunsaturated Fat: 0.1g |
Monounsaturated Fat: 0.05g |
Sodium: 1mg |
Potassium: 229mg |
Fiber: 2g |
Sugar: 32g |
Vitamin A: 66IU |
Vitamin C: 7mg |
Calcium: 14mg |
Iron: 0.4mg
Enjoyed this recipe? Leave a comment below!
Before You Go: Explore More Delicious Desserts
We hope you thoroughly enjoyed preparing and tasting this delightful homemade cherry pie filling. It’s truly a sweet taste of summer (or any season!) that brings joy to any occasion. Don’t stop your dessert journey here! Be sure to explore our other delicious pie and tart recipes, including the refreshing and easy key lime pie or our indulgent, rich mini salted chocolate tarts. Happy baking!