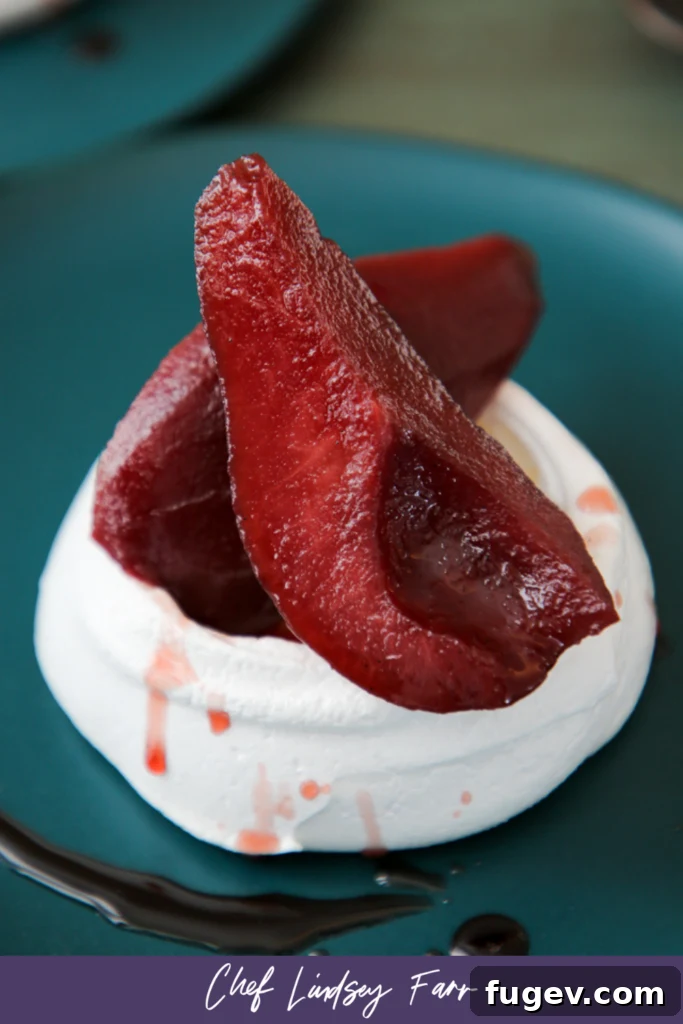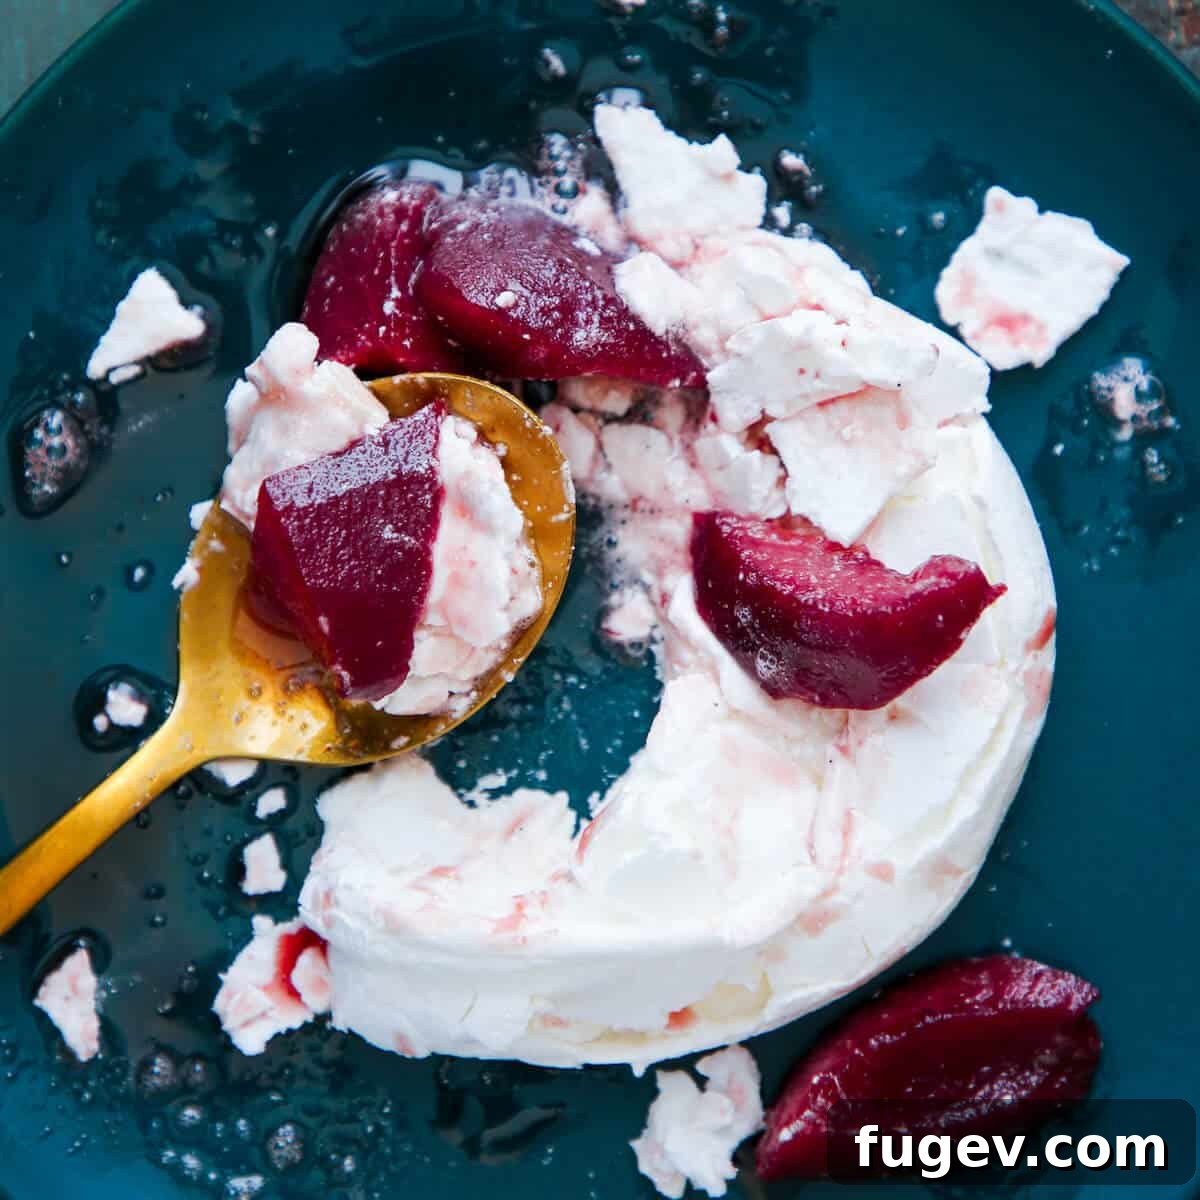
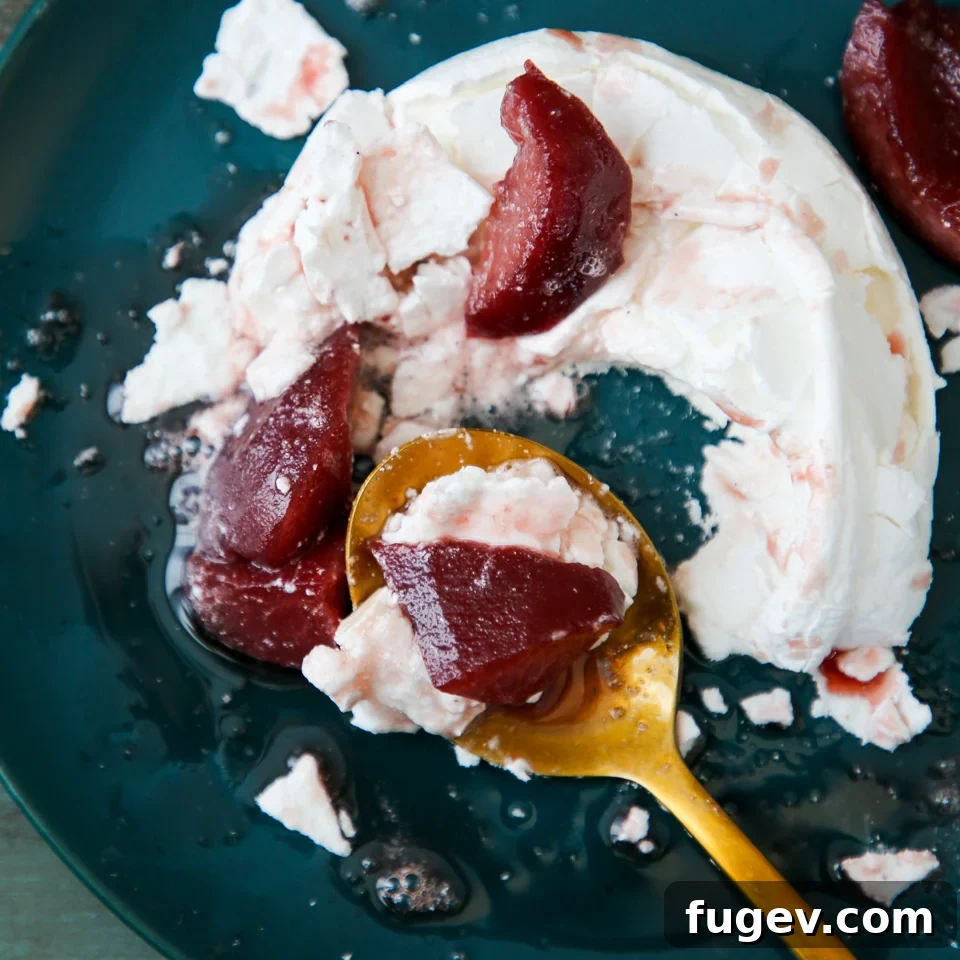
Prepare to elevate your dessert game with the exquisite Poached Pear Pavlova – a harmonious blend of two beloved confections that promises a symphony of textures and flavors. This show-stopping dessert features individual pavlovas, boasting a beautifully crisp exterior that yields to a wonderfully soft, marshmallowy interior. Each delicate meringue nest serves as the perfect vessel for succulent red wine poached pears, creating a sophisticated and utterly irresistible treat. The vibrant color and spiced aroma of the pears perfectly complement the sweet, airy pavlova, making every bite an unforgettable experience.
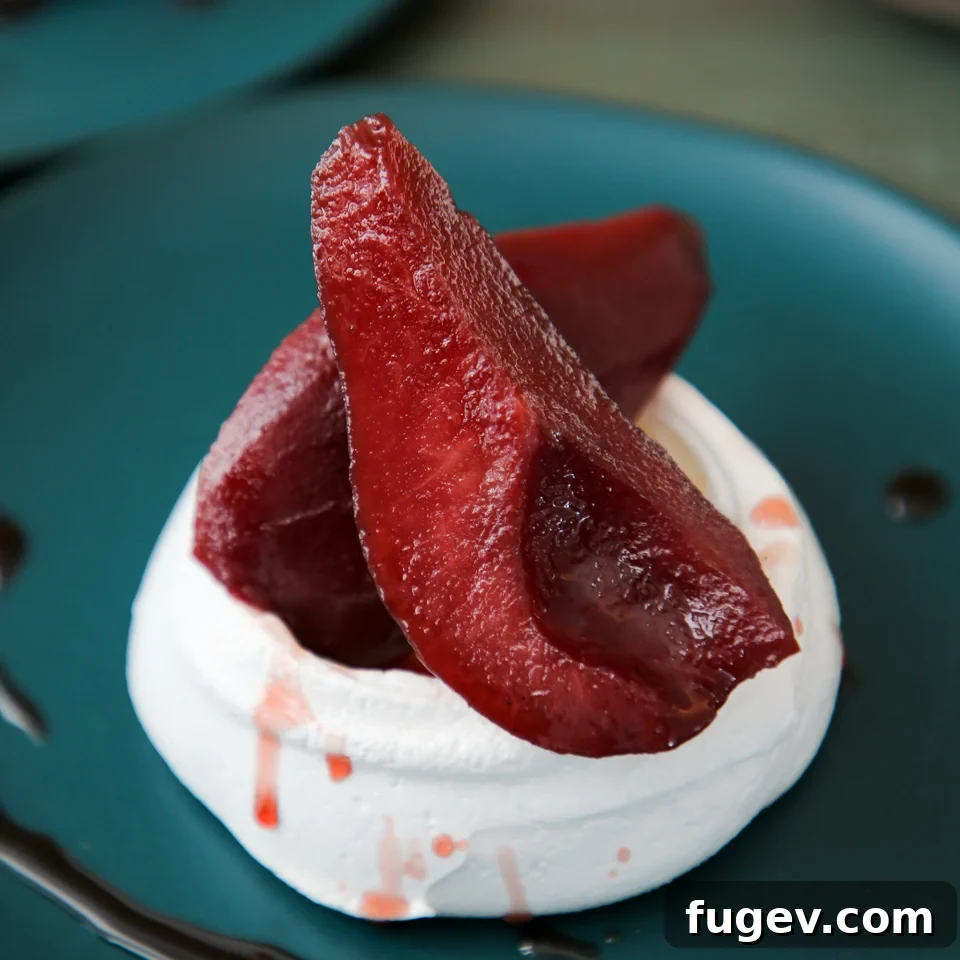
Imagine the delightful contrast: the subtle crunch of meringue dissolving into a pillowy cloud, followed by the tender, spiced sweetness of pears. This isn’t just a dessert; it’s a culinary masterpiece. The combination of rich, aromatic red wine poached pears and creamy, crunchy meringue creates a dessert that is both visually stunning and incredibly satisfying. As a professional, I can confidently say this pairing is pure perfection, transforming simple ingredients into an elegant dessert that’s fit for any occasion, from a casual gathering to a formal dinner party.
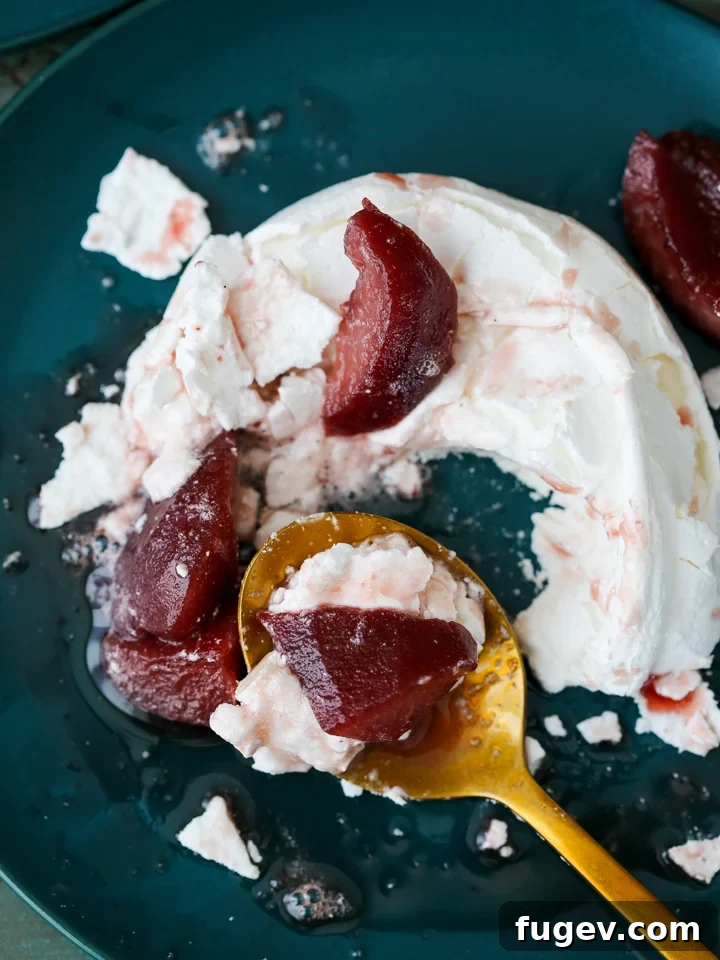
My passion for pavlovas is no secret, and this recipe is a testament to their versatility and charm. You might already be familiar with my lemon berry pavlova cake, which showcases the meringue’s ability to shine with fresh, fruity flavors. This poached pear rendition, however, introduces a layer of warmth and complexity that truly sets it apart. The subtle hint of spice from the poached pears intertwines beautifully with the sweet meringue, creating a depth of flavor that is both comforting and exciting. It’s a dessert that feels both classic and innovative all at once.
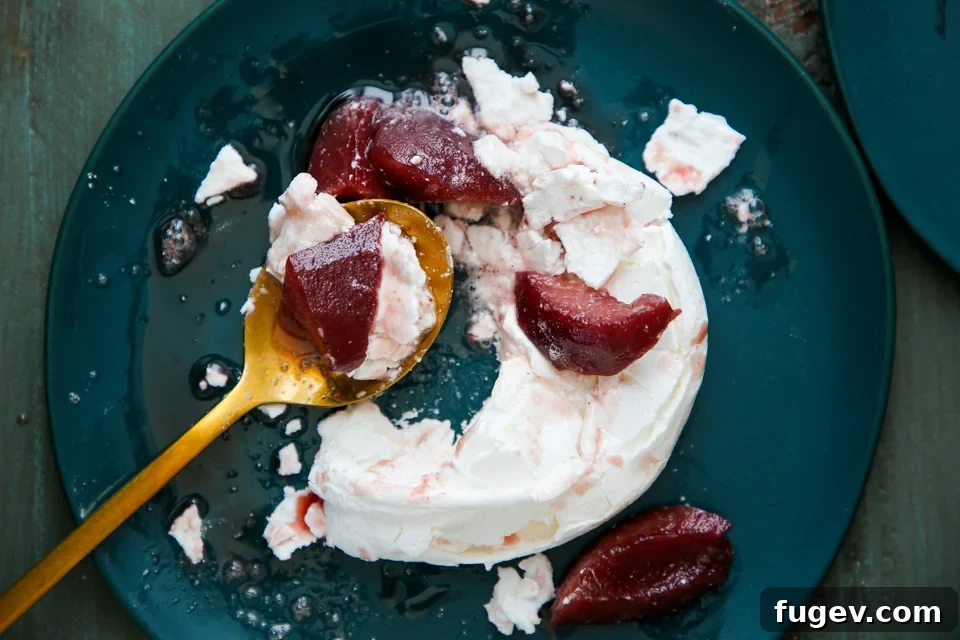
While the Poached Pear Pavlova is spectacular on its own, there’s always room for a little extra indulgence. Consider enhancing this already magnificent dessert with a dollop of lemon curd whipped cream, adding a bright, zesty counterpoint to the sweetness. Alternatively, a scoop of rich caramel ice cream could introduce another layer of creamy texture and decadent flavor, making this dessert even more luxurious. These additions are not necessary for a sublime experience but offer delightful ways to customize and impress your guests even further.
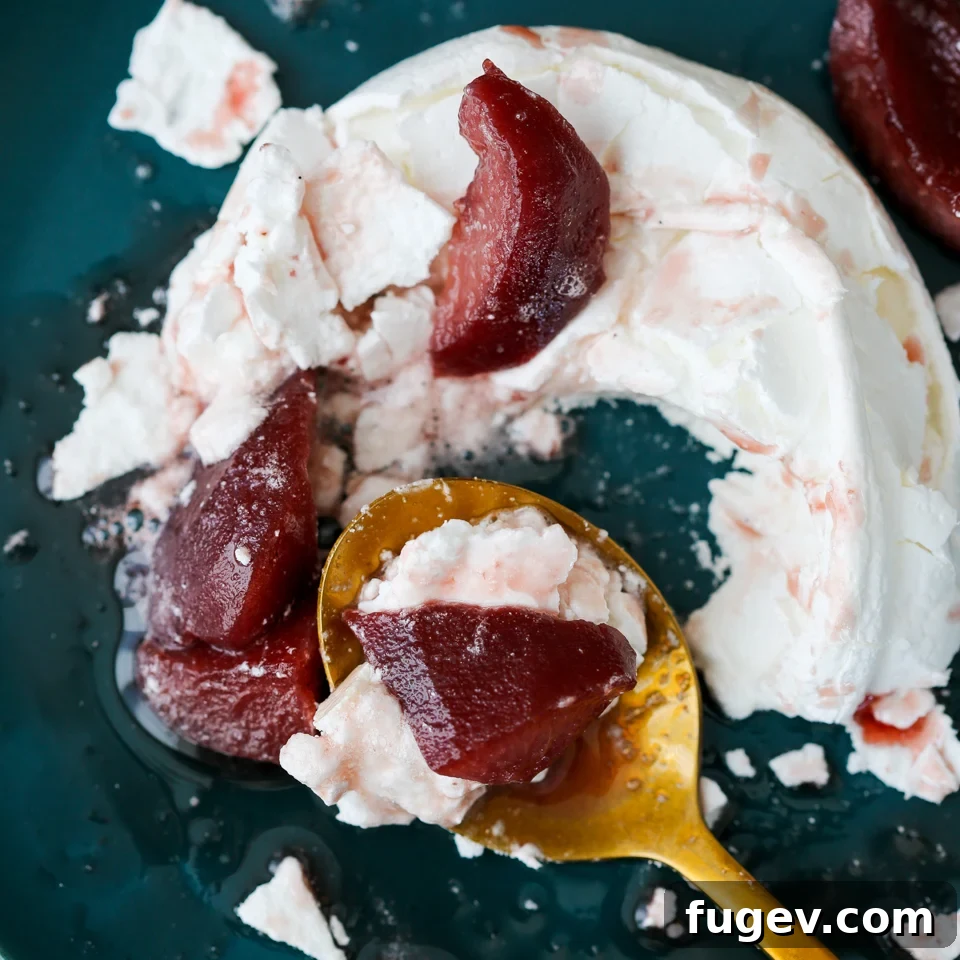
Achieving Poached Pear Pavlova Perfection: Essential Tips and Tricks
Creating the perfect pavlova might seem daunting, but with a few professional insights, you can achieve that sought-after delicate crunch and soft interior every time. While pavlovas are inherently simple, understanding these critical steps will elevate your baking from good to truly exceptional. Don’t worry if it sounds like a lot – mastering these techniques means consistent success and genuinely delicious results.
1. The Art of Separating Egg Whites
The foundation of any great pavlova is impeccably separated egg whites. Eggs are easiest to separate when cold, as the yolk is firmer and less likely to break. The most crucial rule here is absolute purity: even the tiniest speck of egg yolk (which contains fat) can prevent your egg whites from whipping up to their full, glorious potential. To ensure success, I recommend a three-bowl separation method: crack an egg into the first bowl, separate the white into a second small bowl, and then, only if it’s perfectly clear, transfer it to your main whipping bowl. Repeat this process, adding each clean white to the main bowl. This safeguard prevents a single broken yolk from ruining an entire batch of whites. While aggressive bowl-wiping with vinegar isn’t strictly necessary, careful separation is paramount.
2. Mastering Sugar Integration
The timing of sugar addition is a hot topic in the meringue world. I firmly belong to the “earlier rather than later” camp, a preference born from experience. Adding sugar once the egg whites have already reached a significant volume can lead to sugar crystals not fully dissolving. When this happens, these undissolved crystals tend to overcook during baking, resulting in a weeping meringue where the sugar “pours out like lava.” Gradually incorporating the sugar while the whites are still foaming allows the crystals ample time to dissolve, creating a stable, glossy, and beautifully textured meringue that holds its shape and bakes perfectly.
3. The Stabilizing Power of Cream of Tartar
Cream of tartar is a baker’s secret weapon for meringue stability, and pavlovas are no exception, especially if you plan on piping intricate designs. This acidic ingredient helps to stabilize the egg white proteins, allowing them to trap and hold more air, which is essential for that signature voluminous and airy structure. It acts as an insurance policy, making your meringue more robust and less prone to collapse. The precise ratio of sugar to egg whites also contributes significantly to this desired stability, working in tandem with the cream of tartar to create a truly resilient foam.
4. The Sneaky Magic of Distilled White Vinegar
Here’s a lesser-known but incredibly effective professional tip: a small amount of distilled white vinegar. Like cream of tartar, vinegar adds a touch of acidity that further stabilizes the egg whites. More importantly, it plays a vital role in keeping the meringue brilliantly white during the baking process. Without it, meringues can sometimes take on an undesirable yellowish tint due to slight caramelization. The vinegar helps to counteract this, ensuring your pavlovas emerge from the oven with a pristine, angelic appearance that perfectly showcases their delicate nature.
5. Cornstarch for that Perfect Crunch and Chew
Another pro-level secret for pavlova success is cornstarch. Think of it as your extra assurance for achieving that ideal contrast: a crisp, delicate shell encasing a wonderfully soft, marshmallowy interior. Cornstarch helps the meringue to dry out properly during baking, contributing to the crispy outer layer without necessitating excessive baking time. This prevents the pavlova from becoming uniformly brittle and ensures that delightful, chewy center that is the hallmark of a perfectly made pavlova. It’s the key to balancing texture.
6. The Art of Baking and Cooling
Baking a pavlova is more nuanced than simply setting a timer. The ideal pavlova requires a precise balance of baking time at a specific heat, followed by an equally crucial period of cooling within the warm, turned-off oven. Too much baking time, and you’ll end up with an all-crisp meringue devoid of its signature chew – a tragic outcome. Too little, and you’ll have a squishy pillow with no satisfying crunch. Each oven behaves differently, so careful observation and slight adjustments are necessary. Once baked, allowing the pavlova to cool slowly inside the oven prevents sudden temperature changes that can cause cracking or collapse, ensuring its structural integrity.
7. The Patience Required for Whipping
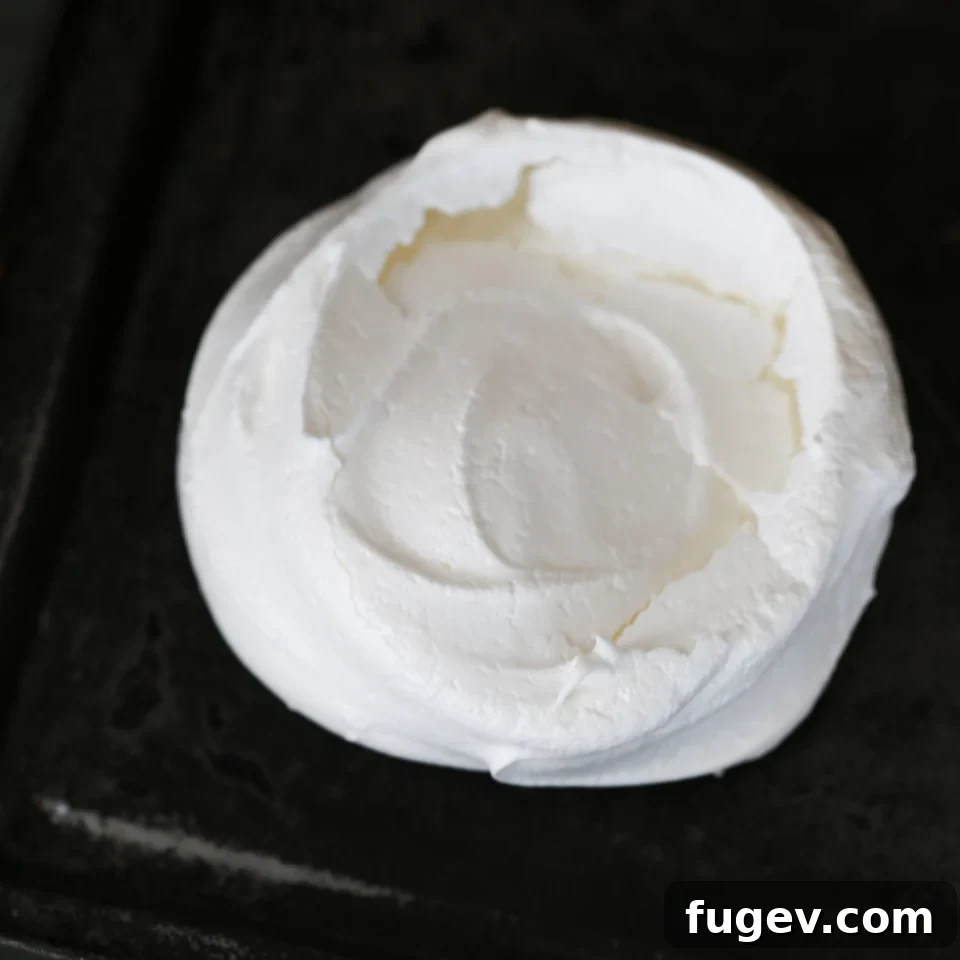
Whipping your egg whites to stiff peaks is non-negotiable for a pavlova that holds its shape and rises beautifully. This process takes time, especially if you start with cold egg whites (which, as discussed, makes separation easier). Resist the urge to rush; patience is key here. The meringue will gradually transform, becoming opaque, white, and glossy. If after 15 minutes, your whites haven’t reached a good volume or even soft peaks, it’s likely a sign of fat contamination. In such cases, it’s best to start again. Under-whipped meringue will spread and collapse in the oven, while over-whipping can lead to a coarse, bumpy exterior and a less impressive puff. Aim for smooth, firm peaks that stand tall when the whisk is removed.
8. Treat Your Meringue with Tender Loving Care
Meringues are a delicate affair, quite literally composed of countless tiny air bubbles trapped within a fragile protein structure. Think of them as tiny balloons that need gentle handling. Avoid banging your mixer bowl around or slamming the oven door. Any sudden jolt can cause those precious air bubbles to deflate, leading to a flat or cracked pavlova. Give your meringues the nurturing environment they need to grow and stabilize in the oven. A little love and gentle care go a long way in ensuring your pavlovas emerge light, airy, and beautifully intact.
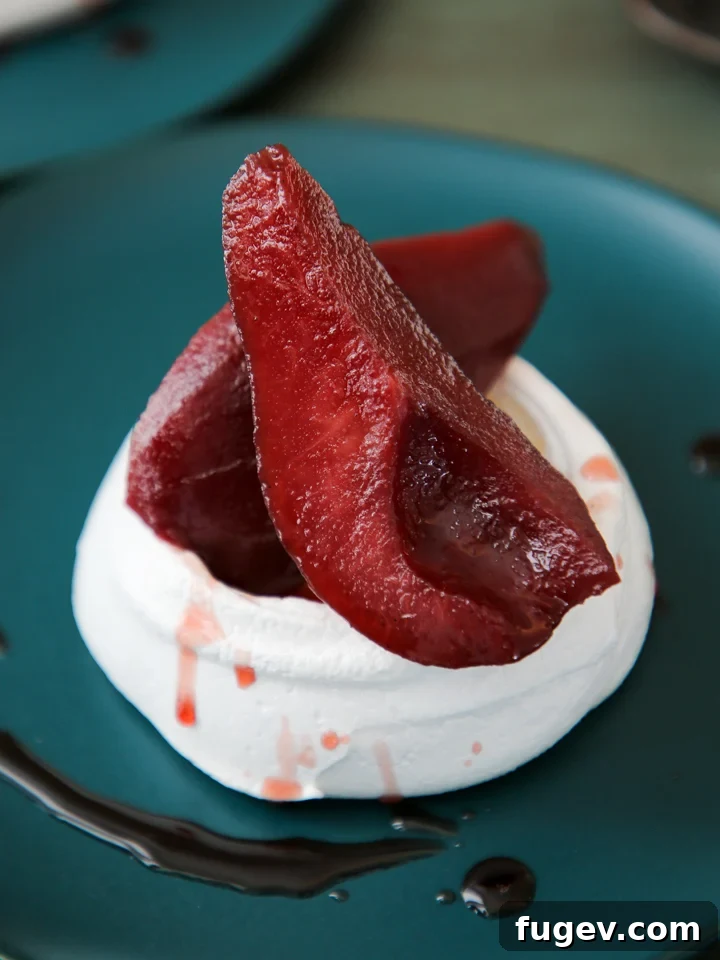
You might be thinking, “But you said pavlovas were easy!” And they are, fundamentally. However, if you’re striving for perfection – and I know you are – then these detailed tips provide an invaluable advantage. The wonderful news is that even if your pavlovas aren’t absolutely perfect (short of them failing to whip at all), they will still taste incredibly good. Your secret is safe with me, unless, of course, your dinner guests have also read this comprehensive guide!
Poached Pear Pavlova Recipe
by Chef Lindsey
This Poached Pear Pavlova combines two of my favorite desserts! The individual pavlovas are crunchy on the outside and soft, pillows on the inside. They pair perfectly with the red wine poached pears!
Prep: 15 mins
Cook: 40 mins
Total: 55 mins
Servings: 8 people
Comment
Print Recipe
Ingredients
For the Poached Pears:
- Red Wine Poached Pears (prepared separately)
For the Pavlovas:
- 90 g Egg whites
- Pinch Cream of tartar
- 130 g Sugar
- ½ teaspoon Vinegar
- 2 teaspoons Vanilla extract
- 1 teaspoon Cornstarch
Instructions
For the Pavlovas:
- Prepare a baking sheet by lining it with parchment paper or a non-stick liner (such as a Silpat).
- In the bowl of a stand mixer fitted with the whisk attachment, combine your egg whites, vinegar, and cream of tartar. Begin whisking on medium-low speed to gently break up the whites until they become foamy. Gradually add the sugar, a little at a time, being mindful that it’s a significant amount. Periodically stop the mixer and scrape down the sides of the bowl to ensure all sugar crystals are incorporated and dissolving.
- Once all the sugar has been added, increase the mixer speed to high and continue whipping until stiff, glossy peaks form. The meringue should appear very white and lustrous.
- Reduce the mixer speed to low and add the vanilla extract. Increase the speed to high briefly, just until the vanilla is fully incorporated. Be careful not to overwhip at this stage.
- Turn off the mixer and remove the bowl. Gently tap the whisk against the side of the bowl to release any trapped meringue. While this meringue is quite stable due to the sugar content, still handle it with moderate care. Sift the cornstarch directly over the meringue and gently fold it in just until combined. Avoid over-folding, as excessive agitation can cause the meringue to deflate.
- Dollop the meringue onto the prepared baking sheet, spacing each pavlova approximately 3 inches apart to allow for puffing during baking.
- Bake in an oven preheated to 200°F (95°C), ideally using a convection setting, for 40 minutes to 1 hour. The pavlovas are done when you can gently touch the outside and it feels firm and crisp. If they are still squishy, gently close the oven door and continue baking for a bit longer. Baking time will vary based on the size and shape of your individual pavlovas and your oven’s specific calibration.
- Once baked, turn off the oven and allow the pavlovas to cool completely inside the oven for at least 1 hour, or ideally overnight. This slow cooling process helps prevent cracking and ensures a stable structure.
Nutrition
Calories: 72kcal | Carbohydrates: 17g | Protein: 1g | Fat: 1g | Sodium: 19mg | Potassium: 20mg | Fiber: 1g | Sugar: 16g | Calcium: 1mg | Iron: 1mg
Course: Dessert
Cuisine: American, Australian
Calories: 72
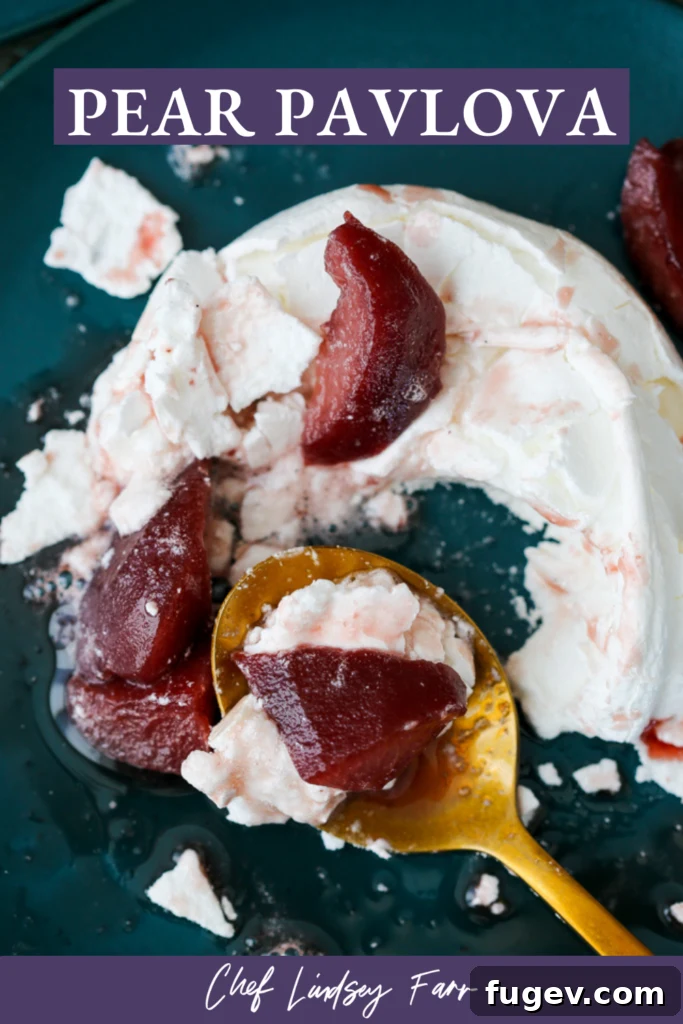
The Poached Pear Pavlova is more than just a dessert; it’s a celebration of textures and flavors. With its ethereal meringue and deeply flavored poached pears, it’s guaranteed to impress and delight. Whether you’re a seasoned baker or new to the world of meringues, following these detailed tips will guide you to a triumphant result. So gather your ingredients, take a deep breath, and embark on the delicious journey of creating this elegant dessert. Your taste buds, and your guests, will thank you!