
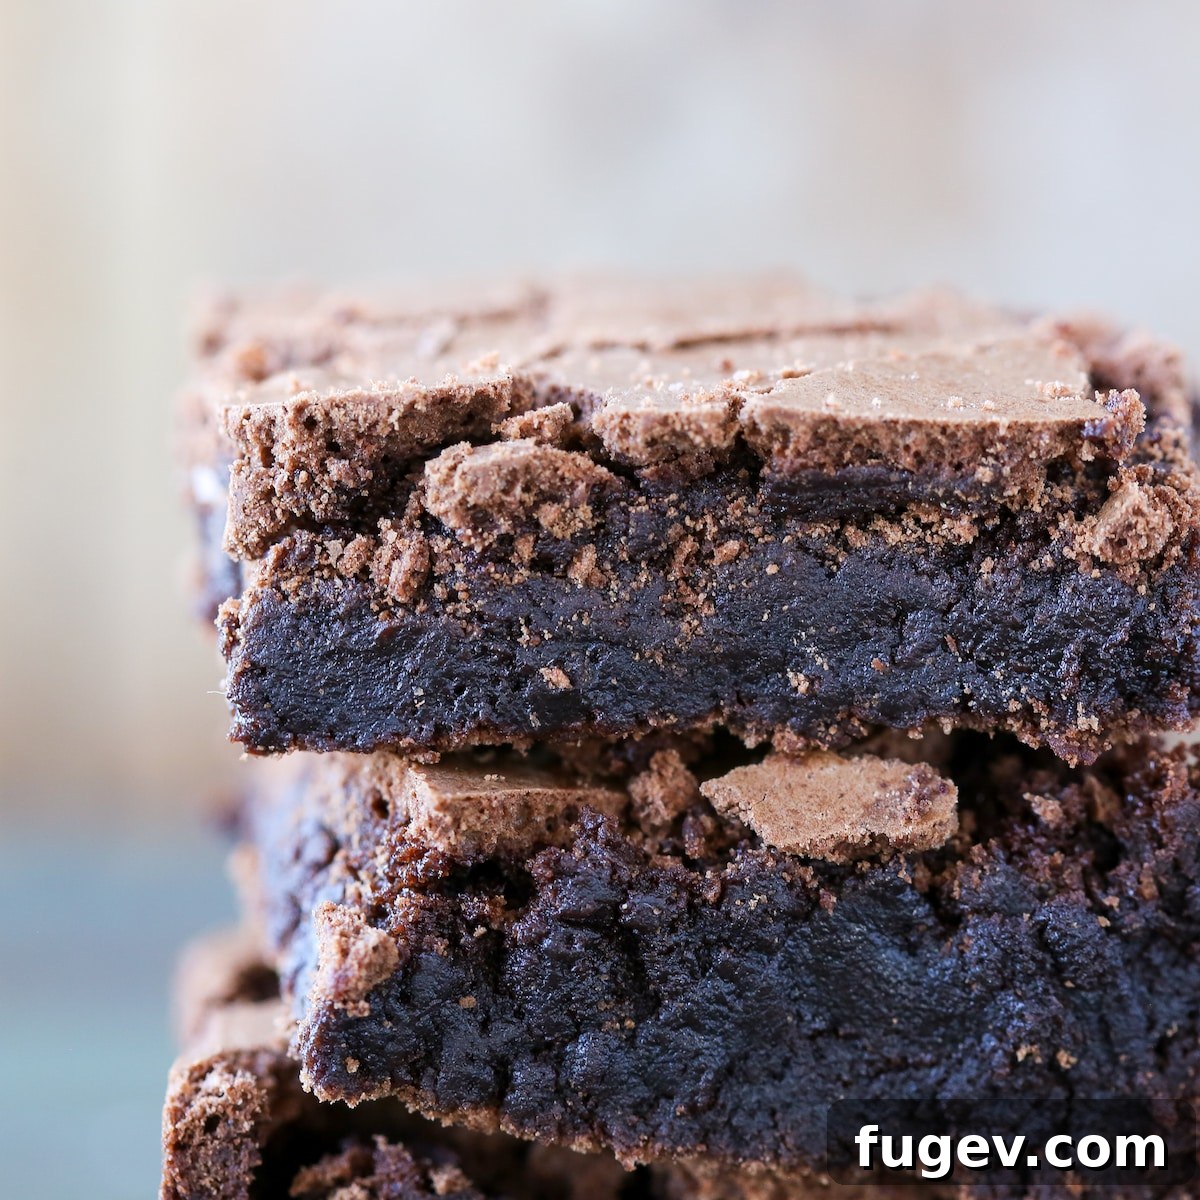
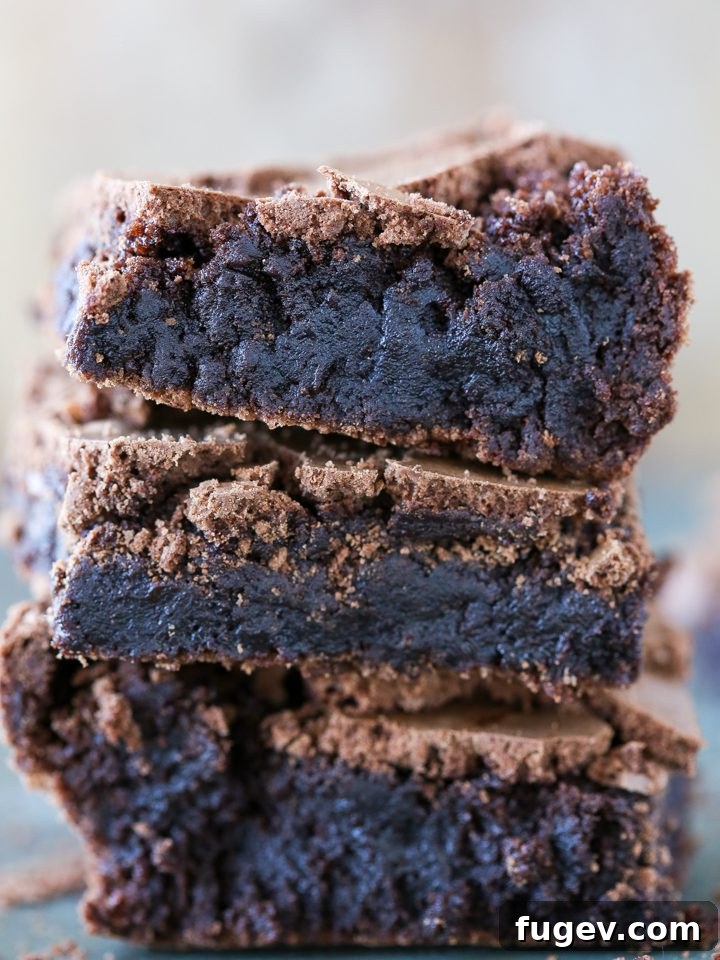
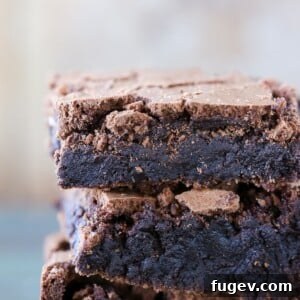
Prepare to elevate your dessert game with these extraordinary brown butter brownies. This recipe promises a truly irresistible treat: intensely fudgy, wonderfully chewy, and imbued with a unique, nutty depth from the rich beurre noisette. Move beyond ordinary brownies and experience a flavor revelation that will leave you craving more.
A Quick Look At The Recipe
This is a brief summary of the recipe. Jump to the recipe for full details and step-by-step instructions.
Jump to Full Recipe
Prep Time
15 minutes
Cook Time
20 minutes
Total Time
35 minutes
Servings
16 people
Difficulty
Easy
Calories *
199 kcal per serving
Technique
Brown the butter, whisk with chocolate, develop ribbon stage eggs, gently mix batter, and bake until a crackly top forms.
Flavor Profile
Luxuriously chocolatey with a complex, nutty, and caramelized undertone from brown butter.
* Based on nutrition panel
Featured Comment
⭐⭐⭐⭐⭐ Making the brown butter had me hovering like a hawk, but it was totally worth it for that nutty depth. Brought these to book club and they vanished before I could blink. -Lauren
Why These Brown Butter Brownies Will Become Your New Favorite
These aren’t just any brownies; they’re a carefully crafted masterpiece designed to deliver an unparalleled dessert experience. Here’s why you’ll fall in love with them:
- The Magic of Brown Butter: Often referred to by its French name, beurre noisette, brown butter is the secret weapon here. As butter gently cooks, its milk solids caramelize, transforming into golden-brown specs that infuse the entire mixture with an incredibly rich, toasty, and hazelnut-like flavor. This subtle yet profound depth complements the chocolate perfectly without overpowering it, creating a sophisticated twist on a classic treat.
- Foolproof Pastry Chef Techniques: With countless batches perfected over the years, this recipe incorporates professional pastry chef tips and tricks to ensure success every single time. From achieving the ideal “ribbon stage” with your eggs to understanding the nuances of browning butter, we share all the expert knowledge needed to bake fudgy brownies with confidence and consistency. Say goodbye to dry, cakey brownies and hello to perfection!
- Effortlessly Scalable for Any Occasion: Whether you need a small batch for a cozy night in or a massive quantity for a party, these brownies are incredibly versatile. The robust and stable emulsion created by our method allows you to easily scale the recipe up or down without compromising on quality or texture. We’ve even made them in an 80-quart mixer, proving their adaptability!
- Unforgettable Texture: Prepare for a symphony of textures. The whole egg foam method acts as a natural leavener, contributing to a wonderfully light yet profoundly fudgy interior. Combined with the melted butter, this creates a brownie that is both delightfully chewy and seemingly melts in your mouth, leaving you with that satisfying crackly top everyone loves. It’s the ultimate balance of rich density and tender bite.
Table of Contents
- Why You Will Love These Brown Butter Brownies
- Essential Ingredients for Perfect Brownies
- Creative Variations to Customize Your Brownies
- Professional Baking Tips for Brownie Perfection
- Understanding Brown Butter (Beurre Noisette)
- Step-by-Step Guide: How to Make Brown Butter Brownies
- Chef Lindsey’s Pro Tip for Clean Brownie Cuts
- Brownie Recipe FAQs
- More Chewy Bar Recipes to Explore
- Brown Butter Brownies Full Recipe
- Before You Go
While some of the best things in life require a little extra effort, these brown butter brownies are undeniably worth every moment. They might involve a few more steps than our quick one-bowl brownie recipe, but the elevated flavor profile and superior texture are a testament to the power of a few specialized techniques. Browning the butter introduces an incredible nutty, caramel-like complexity that enhances the chocolate without ever overpowering it. Coupled with our tried-and-true whole egg mixing method, you’re guaranteed to achieve rich, fudgy brownies with that coveted crinkly top.
Once you’ve mastered the art of these brown butter brownies, you’ll find that recipes like my milk chocolate brownies are an absolute breeze to create! And for those eager to expand their brown butter repertoire, don’t stop here. Explore other delightful classics transformed by this golden ingredient, such as my exquisite brown butter chocolate chip cookies or the aromatic brown butter cardamom snickerdoodles. Each bite promises a new favorite!
Essential Ingredients for Perfect Brownies
Crafting exceptional brownies begins with understanding the role each ingredient plays. Here’s a breakdown of what you’ll need and why it matters:
- Unsalted Butter: Using unsalted butter is crucial because it gives you complete control over the salt content in your brownies. Different brands of salted butter vary greatly in their sodium levels, making precise recipe adjustments nearly impossible. Browning this butter is also the cornerstone of our unique flavor profile.
- Quality Dark Chocolate: For the ultimate depth of flavor, I recommend using dark chocolate with a cocoa solid percentage between 54% and 65%. This range strikes a beautiful balance, offering rich chocolate notes without excessive bitterness, perfectly complementing the sweetness of the brownie. High-quality chocolate bars or pistoles (callets) melt more smoothly than chocolate chips, resulting in a fudgier, more luxurious texture.
- Granulated Sugar: Beyond providing sweetness, granulated sugar is vital for the structure and texture of these brownies. The sugar-to-fat ratio plays a key role in achieving that signature dense chewiness and, most importantly, helps create the beautiful, crackly top that is characteristic of a perfectly baked brownie.
- Light Brown Sugar: This ingredient adds a layer of moistness and a subtle caramel-like flavor due to its molasses content. The warmth of brown sugar perfectly harmonizes with the nutty, caramelized notes of the brown butter, creating a more complex and inviting taste experience.
- Kosher Salt: Salt is not just for seasoning; it’s a flavor enhancer. A touch of kosher salt brightens the chocolate notes and balances the sweetness, preventing the brownies from tasting one-dimensional.
- Whole Eggs: The eggs are far more than just binders in this recipe; they are the primary leavening agent. By whisking them vigorously with the sugars, we create a light and airy “whole egg foam.” This foam incorporates air, which expands during baking, giving the brownies their signature light yet fudgy texture without relying on baking powder or soda.
- Vanilla Extract: A classic pairing with chocolate, vanilla extract deepens the overall flavor profile. It rounds out the sweetness and adds a comforting aroma that is essential for a truly decadent brownie.
- All-Purpose Flour: We use just enough all-purpose flour to bring the batter together, ensuring the brownies remain dense and fudgy rather than becoming cakey. The precise flour ratio is key to achieving that perfect chewy, melt-in-your-mouth texture.
- Dutch-Processed Cocoa Powder: For a richer, darker color and a smoother, less acidic chocolate flavor, Dutch-processed cocoa powder is my choice. It contributes a robust and rounded chocolate depth that enhances the overall experience, much like in my delicious banana brownies.
Please refer to the detailed recipe card below for exact quantities and full instructions on ingredients.
Creative Variations to Customize Your Brownies
While these brown butter brownies are spectacular on their own, they also serve as an excellent canvas for your culinary creativity. Here are some exciting ways to customize them:
- Transform into S’mores Brownies: For an irresistible campfire-inspired treat, create my no-bake graham cracker crust and press it into the bottom of your baking dish. Pour the brownie batter over it, then sprinkle more graham cracker crumbs, mini marshmallows, and chocolate chunks on top before baking. For an extra special touch, make some homemade marshmallow frosting, layer it on after baking, and toast it lightly with a kitchen torch. It’s a fresh, decadent take on two beloved classics!
- Embrace the Swirl: Who can resist a beautifully swirled brownie? After pouring the batter into your prepared pan, dollop generous spoonfuls of your favorite additions like my Salted Caramel Sauce, creamy Nutella, rich peanut butter, or a vibrant fruit jam. Use a toothpick or butter knife to gently swirl these additions through the top layer of the batter, creating stunning patterns and bursts of flavor. This technique also works wonders for my Brown Butter Rum Raisin Banana Bread!
- Endless Mix-ins and Toppings: The possibilities are truly boundless when it comes to adding mix-ins or toppings. We’ve experimented successfully with a variety of delights, including colorful M&M’s, extra chocolate chips (milk, white, or dark), crunchy peanut butter chips, chopped Reese’s peanut butter cups, Reese’s pieces, walnuts, and pecans. You can fold these directly into the batter just before baking, or artfully sprinkle them over the top for a visually appealing finish. Let my Caramel Stuffed Brown Butter Snickers Chocolate Chip Cookies inspire your next creation!
- Top with Luxurious Frosting: A velvety frosting can take these brownies from delicious to divine. The pairing options are limitless! I highly recommend a tangy cream cheese frosting, which offers a delightful contrast to the rich chocolate, or for a sophisticated fruit twist, try the cherry mascarpone frosting from my double chocolate cupcakes.
Professional Baking Tips for Brownie Perfection
Achieving consistently perfect brownies is an art, but with these professional tips, you’ll master it in no time. These insights from a pastry chef will help you avoid common pitfalls and enhance your baking:
- Prioritize Browning Your Butter: Make browning the butter the very first step in your preparation process, even before measuring out other ingredients. This allows you to give it your full, undivided attention, ensuring it browns perfectly without burning. More importantly, it gives the brown butter and melted chocolate mixture ample time to cool slightly before it’s incorporated into the whisked eggs. Adding hot butter to eggs can scramble them, ruining the delicate emulsion. This cooling period is critical for a smooth, stable batter.
- Opt for Metal Baking Dishes: While brownies will bake adequately in any dish, metal baking pans are truly superior for achieving that delightful chewy texture and iconic crinkle top. Metal conducts heat more efficiently and evenly than glass or ceramic. This rapid heat transfer promotes quicker crust development, leading to those desirable crispy edges and a beautifully fractured, glossy surface, all while maintaining a moist, fudgy interior.
- Always Sift Dry Ingredients: Cocoa powder, in particular, has a tendency to clump, and these clumps can be incredibly stubborn to break up once mixed into a wet batter. Sifting your flour and cocoa powder together before adding them to the wet ingredients ensures a uniformly smooth batter, free of dry pockets. This also prevents you from overmixing the batter in an attempt to get rid of lumps, which can lead to tough, dense brownies by overdeveloping the gluten.
What is Brown Butter (Beurre Noisette)?
Brown butter, known elegantly in French cuisine as beurre noisette (literally “hazelnut butter”), is a simple yet transformative ingredient. It’s made by slowly heating unsalted butter over medium heat. As the butter melts, its water content evaporates. The milk solids within the butter then separate and gently sink to the bottom of the pan. This is where the magic happens: these milk solids begin to caramelize and toast, turning a beautiful golden-brown color. This process, known as the Maillard reaction, develops deep, complex flavors reminiscent of toasted hazelnuts, warm caramel, and a hint of toffee. The resulting aroma is intensely nutty and inviting, and it’s this rich essence that elevates a simple brownie into something truly extraordinary.
How to Make Brown Butter Brownies: A Detailed Guide
Follow these precise instructions to achieve fudgy, chewy brownies with that perfect crackly top every single time! Further details and exact measurements can be found in the recipe card at the end of this article.
Brown the Butter: The Foundation of Flavor
- Prepare the Butter: Begin by cutting your unsalted butter into small, uniform cubes. This helps the butter melt and brown more evenly and quickly. Place the cubed butter in a light-colored saucepot (this allows you to easily monitor the color changes) over medium heat.
- Prep Your Chocolate: While the butter melts, measure your dark chocolate and kosher salt into a separate heat-safe bowl. Set this bowl aside, ready for the browned butter.
- Watch the Transformation: As the butter melts, it will first turn from an opaque yellow to a more translucent golden liquid. Soon after, it will begin to foam. This foam is a good sign that the milk solids are starting to separate. At this crucial stage, use a heat-resistant rubber spatula to gently scrape the bottom of the pot continuously. This prevents the milk solids from sticking and burning, ensuring even caramelization. The butter is perfectly browned when it emits a wonderfully nutty aroma, and the milk solids at the bottom of the pot turn a light golden-brown color.
- Infuse the Chocolate: Immediately remove the pot from the heat and carefully pour the hot brown butter over the chopped chocolate and salt in the heat-safe bowl. Make sure to scrape every last bit of those browned milk solids from the bottom of the pot, as they are packed with flavor. Allow the hot butter to sit over the chocolate for 2-3 minutes without stirring; this allows the residual heat to gently melt the chocolate.
- Emulsify and Cool: After the chocolate has softened, gently whisk the butter-chocolate mixture until it is completely smooth and emulsified. It might separate initially, but keep whisking, and it will come together. If it does separate slightly, don’t worry, it will come back together during the next steps. Set this mixture aside to cool slightly to about body temperature (around 95-100°F or 35-38°C) while you prepare the remaining ingredients. This cooling step is critical to prevent cooking the eggs.
Pro Tip for Perfection: To ensure your butter is truly browned, gently scrape the bottom of the pot with your spatula. You should see numerous golden-brown specks clinging to the bottom—these are the beautifully caramelized milk solids, the source of that coveted nutty flavor!
Crafting the Batter: The Heart of the Brownie
- Preheat and Prepare Your Pan: Preheat your oven to 350°F (175°C) for a conventional oven (no fan) or 325°F (160°C) for a convection oven. Line your chosen baking dish (a 9×13 inch or 8×8 inch metal pan works best) with two pieces of parchment paper. Criss-cross them in the middle, allowing them to extend up all sides of the pan. This creates “sling” handles, making it incredibly easy to lift the cooled brownies out of the pan.
- Achieve “Ribbon Stage” with Eggs: In the bowl of your stand mixer fitted with the whisk attachment, combine the cold whole eggs, vanilla extract, granulated sugar, and light brown sugar. Start mixing on medium speed until all ingredients are just combined. Then, increase the speed to high and beat the mixture until it reaches what is known as “Ribbon Stage.”
- Incorporate Chocolate Gently: Double-check that your chocolate-butter mixture has cooled to body temperature. If it’s too warm, you can cool it quickly over an ice bath, stirring constantly. With your stand mixer running on medium speed, slowly and steadily pour the chocolate mixture down the side of the bowl. Be extremely careful not to let the stream hit the whisk directly, as this can cause the chocolate to splash everywhere and deflate your beautifully aerated eggs.
- Fold in Dry Ingredients: Once the chocolate is fully incorporated into the egg mixture, remove the bowl from the mixer. Using a rubber spatula, perform a few gentle folds to ensure everything at the very bottom of the bowl is combined (sometimes the whisk doesn’t reach). Sift the all-purpose flour and Dutch-processed cocoa powder directly over the batter. Gently fold the dry ingredients into the wet batter using your spatula until just combined. Be careful not to overmix, as this can develop gluten and lead to tough brownies.
Understanding Ribbon Stage: This critical step is achieved when the egg mixture has tripled in volume, appears pale yellow, and is thick enough that when you lift the whisk, the mixture falls back onto itself in a slow, thick stream, forming a “ribbon” that holds its shape on the surface for a few seconds before dissolving. A third test is to rub a little between your fingers – the sugar should be completely dissolved, with no grittiness.
Timing for Mix-ins: If you plan to add any mix-ins like nuts, chocolate chips, or candies, now is the perfect time! Fold them in just as the flour and cocoa powder are almost fully incorporated. This prevents overmixing your brownie batter and helps retain all the volume and tender texture you’ve worked hard to create.
Baking and Cooling: The Final Steps
- Pour and Spread: Pour the luscious brownie batter into your prepared baking dish. Use an offset spatula or the back of your rubber spatula to gently spread the batter evenly across the pan.
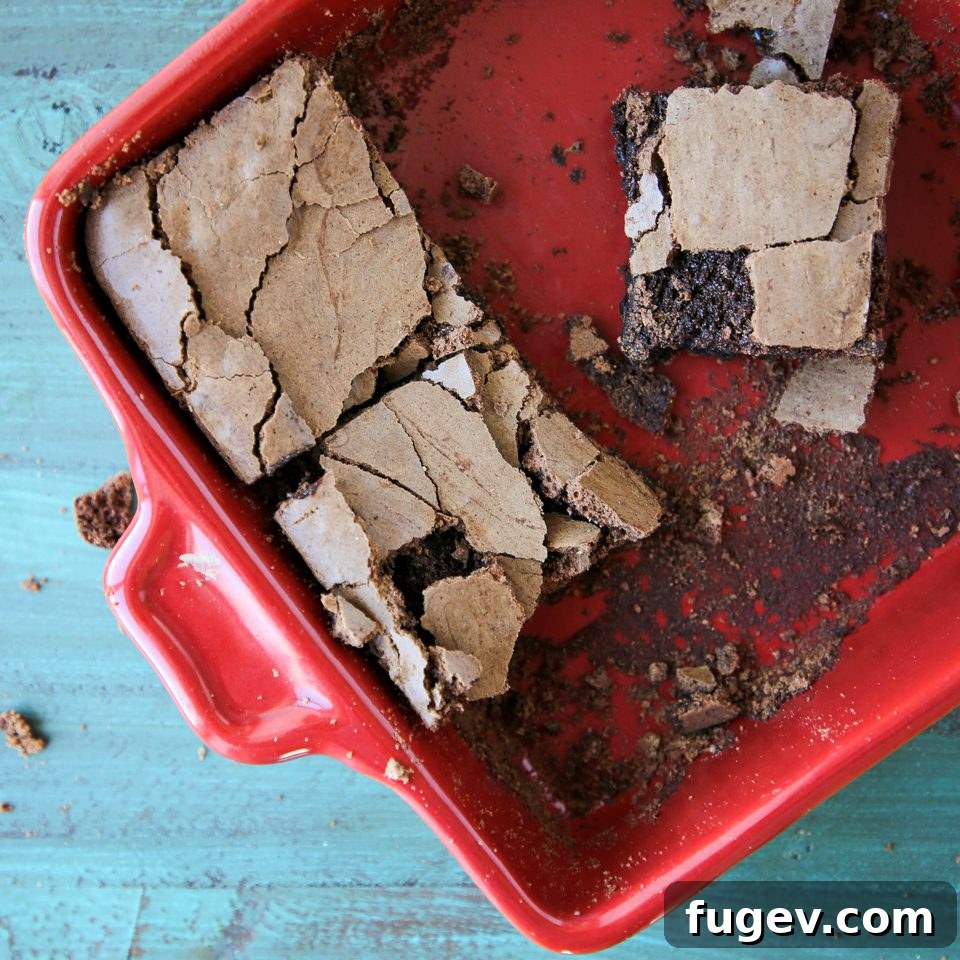
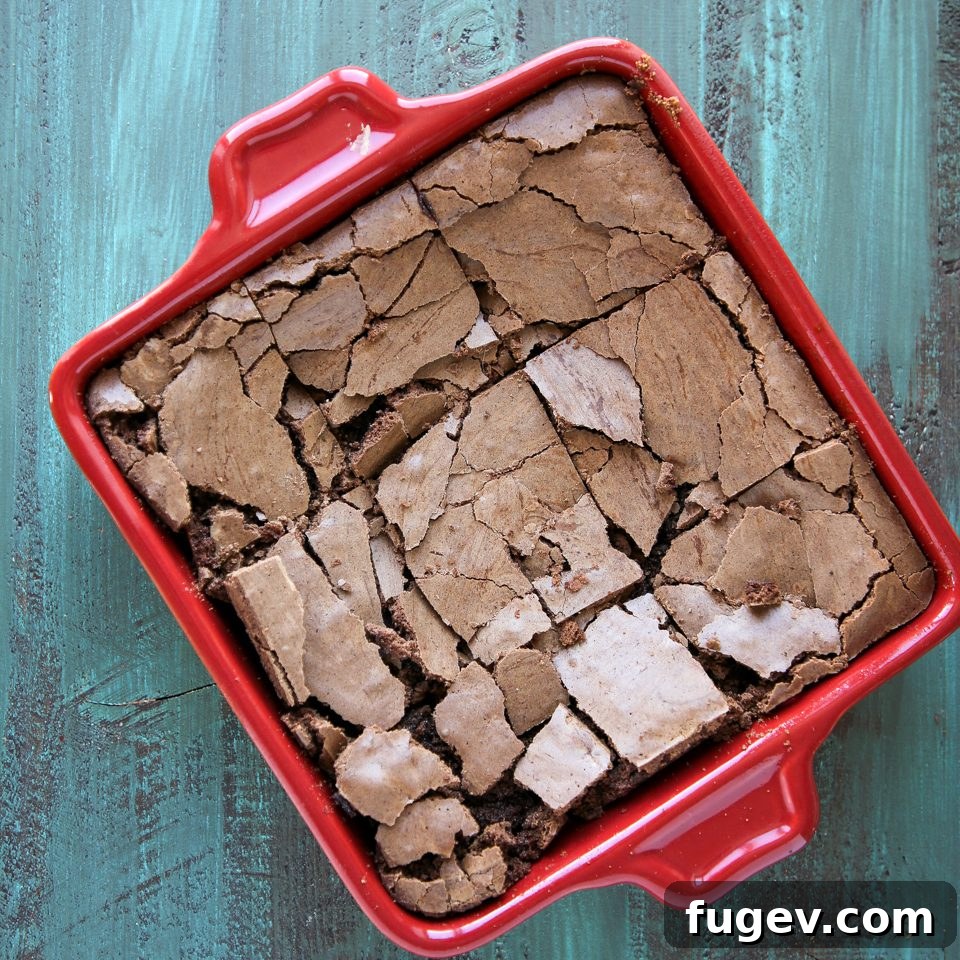
- Bake to Perfection: Place the pan in your preheated oven and bake for approximately 20 minutes. The ultimate sign that your brownies are perfectly baked is the formation of a distinct, crackly top. The cracks should extend towards the center of the brownie, and the center should be slightly puffed. A toothpick inserted into the center may still have moist crumbs attached, which is ideal for fudgy brownies.
- Cooling is Key: Once baked, remove the brownies from the oven and place them on a wire rack. It’s crucial to allow them to cool completely in the pan before attempting to cut them. This cooling period allows the brownies to set, firm up, and achieve their dense, fudgy texture. If you can wait that long!
Chef Lindsey’s Pro Tip for Clean Brownie Cuts
For the absolute cleanest, most professional-looking brownie squares or rectangles, patience is paramount. First, allow your brownies to cool completely to room temperature. Then, for an even firmer texture and easier cutting, transfer them to the fridge or freezer and chill thoroughly for at least 30 minutes, or until quite firm. Once chilled, arm yourself with a sharp knife. For each cut, run your knife under hot water, then carefully wipe off any excess moisture. Make your cut, then wipe the knife clean again, repeating this process for every single slice. If I’m feeling particularly meticulous, I’ll even use a clear ruler to mark out my brownies on all four sides before cutting, ensuring perfectly equal portions every time!
Brownie Recipe FAQs
To maintain their fudgy texture and rich flavor, store your brownies well-wrapped in plastic wrap or in an airtight container at room temperature for up to 3 days. For slightly longer enjoyment, they can be stored in the fridge for up to a week. For extended storage, wrap them tightly in plastic wrap and then foil, or place them in an airtight freezer-safe container, and freeze for up to 2 months. Thaw at room temperature before serving.
Absolutely! This recipe is designed to be easily scalable, provided you have the appropriate equipment. You’ll need a large enough mixing bowl and baking dishes to accommodate the increased volume of batter. Be particularly mindful when whipping the eggs and pouring in the chocolate; ensure your mixer bowl has plenty of room to prevent spills and maintain the delicate egg foam, which is crucial for the brownie’s texture.
Yes, you can make a smaller batch, even with fewer than two eggs. However, for very small quantities, you might find it easier to mix the batter by hand or with a handheld electric mixer. A stand mixer’s whisk attachment may not reach the bottom of the bowl effectively with a reduced amount of ingredients, risking improper mixing and potentially splattering chocolate and egg if the bowl isn’t adequately filled.
These brown butter brownies are divine on their own, but pairing them with a complementary accompaniment takes them to the next level. Serve them warm with a drizzle of my smooth salted caramel sauce or a rich chocolate fudge sauce. No one can resist the classic combination of a warm, fudgy brownie topped with a generous scoop of creamy vanilla bean ice cream! You could also offer a side of light crème anglaise for a sophisticated touch.
The best indicator is the appearance of a beautifully crinkled, slightly shiny top that extends towards the center of the pan, with the center feeling just set (not jiggly). While a toothpick inserted into the center should not come out completely clean (as this indicates overbaking for fudgy brownies), it should have moist crumbs attached, not wet batter. The edges will appear set and slightly pulled away from the pan.
Recommended Chewy Bar Recipes
If you’ve loved the chewy texture of these brown butter brownies, you’re in for a treat! Explore more of our expertly developed recipes for irresistible chewy bars that are perfect for any occasion.
Brownies & Bars Recipes
Maple Pecan Caramel Blondie
Brownies & Bars Recipes
Caramel Brownie Recipe
Brownies & Bars Recipes
Fudgy Brownie Recipe
Brownies & Bars Recipes
Blondies Recipe
If you tried this recipe and loved it, please leave a 🌟 star rating and let me know how it goes in the comments below. I love hearing from you; your comments make my day!
Brown Butter Brownies
Chef Lindsey
15
20
35
16
people
Comment
Print Recipe
Ingredients (US Customary)
- ½ cup all-purpose flour
- ½ cup cocoa powder
- ½ cup chopped dark chocolate
- ¾ cup unsalted butter
- 1 cup granulated sugar
- 2 tablespoons light brown sugar
- ¾ teaspoon kosher salt
- 3 large eggs cold
- ½ tablespoon vanilla extract
Instructions
Brown the butter:
-
Heat the unsalted butter, cut into small cubes, over medium heat in a light-colored saucepot. Cutting the butter into small cubes will help it melt and brown more uniformly and quickly.
-
While the butter is melting and beginning to brown, measure the chopped dark chocolate and kosher salt into a separate heat-safe bowl and set it aside.
-
The melting butter will transition from opaque to a more translucent golden color. As it continues to cook, it will start to foam. At this critical point, use a rubber spatula to continuously scrape the bottom of the pot. Continue cooking until the butter emits a rich, nutty aroma and the milk solids at the bottom turn a light golden-brown.
-
Immediately pour the hot browned butter over the chopped chocolate and salt in the prepared heat-safe bowl. Ensure you scrape the bottom of the pot to collect all the caramelized brown bits, as these are concentrated with nutty flavor. Allow the butter to sit over the chocolate for a few minutes to ensure the chocolate is fully melted before whisking.
-
Whisk the chocolate-butter mixture until it’s smooth and fully emulsified. If it appears to separate initially, continue whisking gently until it comes together. Set this mixture aside to cool slightly to about body temperature (around 95-100°F or 35-38°C) while you measure out the remaining ingredients.
Making the Batter:
-
Preheat your oven to 350°F (175°C) for conventional baking (without a fan) or 325°F (160°C) for convection. Prepare your desired baking dish (e.g., a 9×13 or 8×8 inch metal pan) by lining it with two pieces of parchment paper criss-crossed in the middle, ensuring they extend up all sides to create easy handles.
-
In the bowl of a stand mixer fitted with the whisk attachment, add the cold eggs, vanilla extract, granulated sugar, and light brown sugar. Mix on medium speed until the ingredients are just combined. Then, increase the speed to high and continue mixing until the eggs reach the “Ribbon Stage” (tripled in volume, pale yellow, and slowly falls in a ribbon when the whisk is lifted).
-
Confirm that your brown butter and chocolate mixture has cooled to about body temperature. If necessary, cool it over an ice bath while stirring. With the mixer running on medium speed, slowly and carefully pour the chocolate mixture down the side of the bowl. Be careful to avoid hitting the whisk directly, which could cause splashing and deflate the egg foam.
-
Once the chocolate is fully incorporated, remove the bowl from the mixer. Use a rubber spatula to perform a few final folds, ensuring the eggs and chocolate are completely combined, especially any mixture that might have settled at the bottom of the bowl. Sift in the cocoa powder and all-purpose flour. Gently fold these dry ingredients into the batter until just incorporated, being careful not to overmix.
Baking and Cooling:
-
Pour the prepared batter into your lined baking dish. Use an offset spatula or the back of a rubber spatula to spread the batter evenly across the pan, ensuring a uniform thickness.
-
Bake in the preheated oven for approximately 20 minutes. The brownies are finished when a crackly top has formed, with cracks reaching towards the middle, and the center is slightly puffed. A toothpick inserted into the center should come out with moist crumbs, not wet batter.
-
Remove the brownies from the oven and allow them to cool completely in the pan on a wire rack before cutting. This crucial cooling period ensures they set properly and achieve their optimal fudgy, chewy texture.
Notes
Flavor Tips – For the most intense nutty flavor, ensure your butter is browned enough that you see distinct golden-brown milk solids sticking to the bottom of the pan. Don’t be afraid to let it get deeply golden, but watch carefully to prevent burning!
Variations – The customization possibilities are truly endless! Feel free to fold in any type of chocolate (white, milk, dark), your favorite nuts (walnuts, pecans, almonds), or various candies (M&M’s, chopped Snickers, Reese’s pieces). Add them in with the dry ingredients.
Storage – Store the cooled brownies well-wrapped in plastic wrap or in an airtight container to maintain their freshness and fudgy texture. They keep well at room temperature for 3 days or in the refrigerator for up to a week.
Nutrition
Carbohydrates: 24g |
Protein: 2g |
Fat: 12g |
Saturated Fat: 7g |
Polyunsaturated Fat: 1g |
Monounsaturated Fat: 3g |
Trans Fat: 1g |
Cholesterol: 54mg |
Sodium: 155mg |
Potassium: 91mg |
Fiber: 2g |
Sugar: 19g |
Vitamin A: 310IU |
Calcium: 15mg |
Iron: 1mg
Dessert
American
199
Like this? Leave a comment below!
Before You Go
I genuinely hope you enjoyed this professional chef-tested recipe for brown butter brownies. Our goal is always to provide you with delicious, reliable recipes that elevate your home baking. Don’t hesitate to check out our other chef-developed bar recipes, like my acclaimed fudgy brownie recipe, for more irresistible treats. And if you’ve enjoyed mastering your browned butter skills today, why not put them to use in the decadent brown butter icing for these Chewy Chocolate Chip Pumpkin Cookies? Happy baking!