
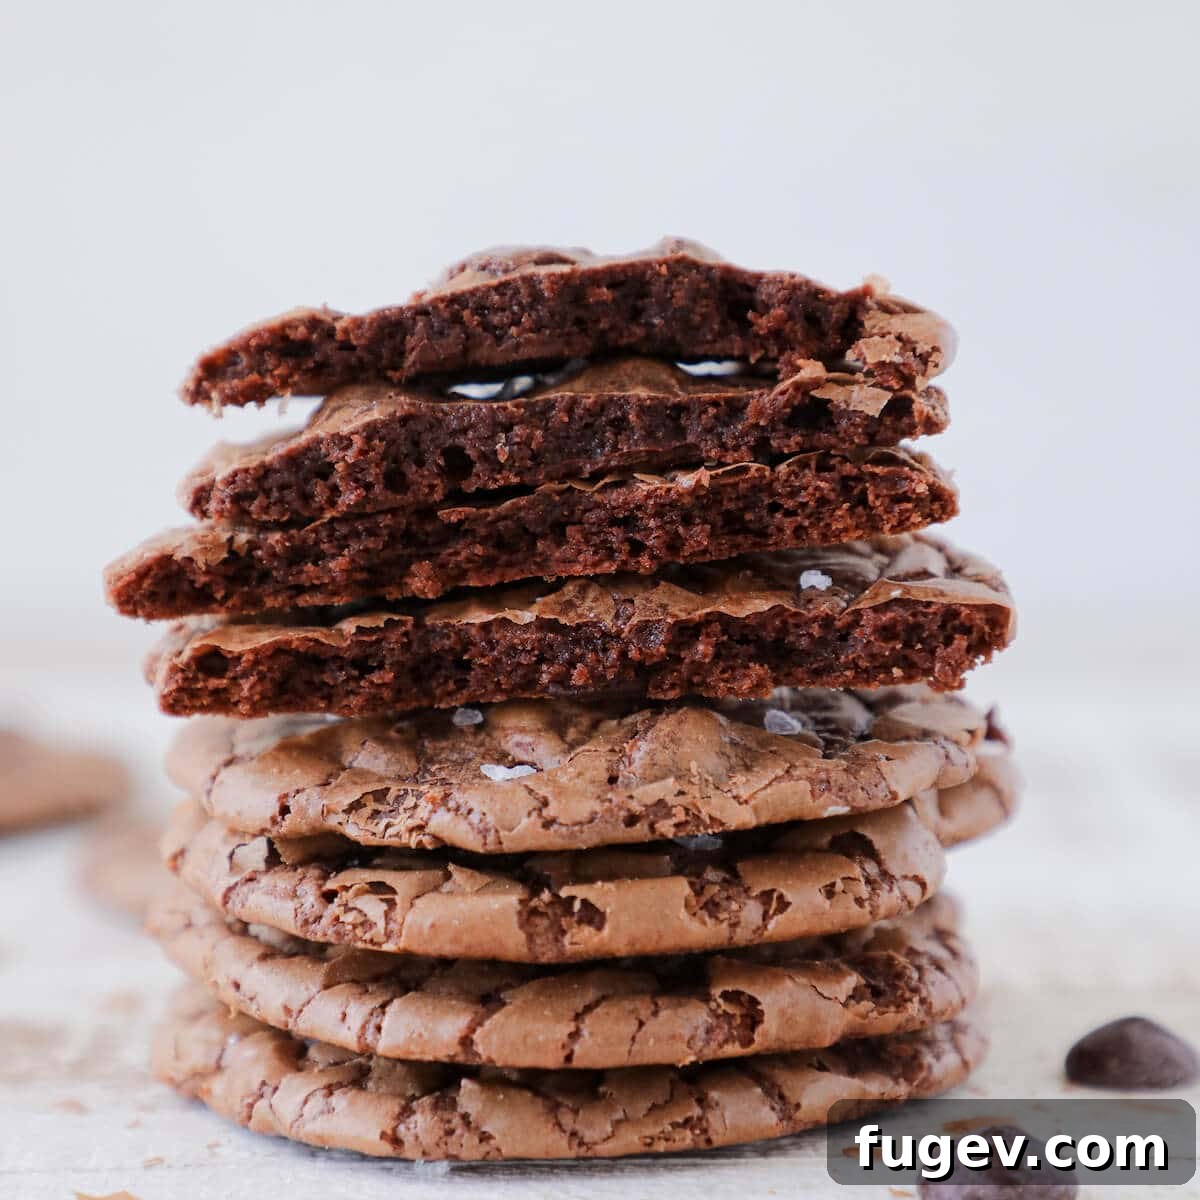
Ultimate Fudgy Brownie Cookies: Chewy, Chocolaty & No-Chill Delight
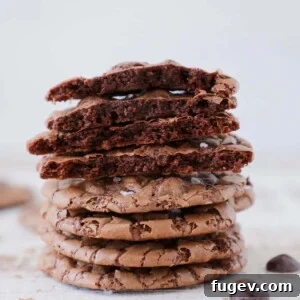
Prepare to fall in love with these Fudgy Brownie Cookies! They deliver everything you crave in a brownie—intense chocolate flavor, a wonderfully chewy texture, and that irresistible, elusive flaky crackle on top—all in a convenient cookie form. Crafted with three distinct types of chocolate and featuring a game-changing no-chill dough, this recipe promises to satisfy even the most profound chocolate cravings in under 30 minutes. Forget the waiting, embrace instant gratification with every decadent bite.
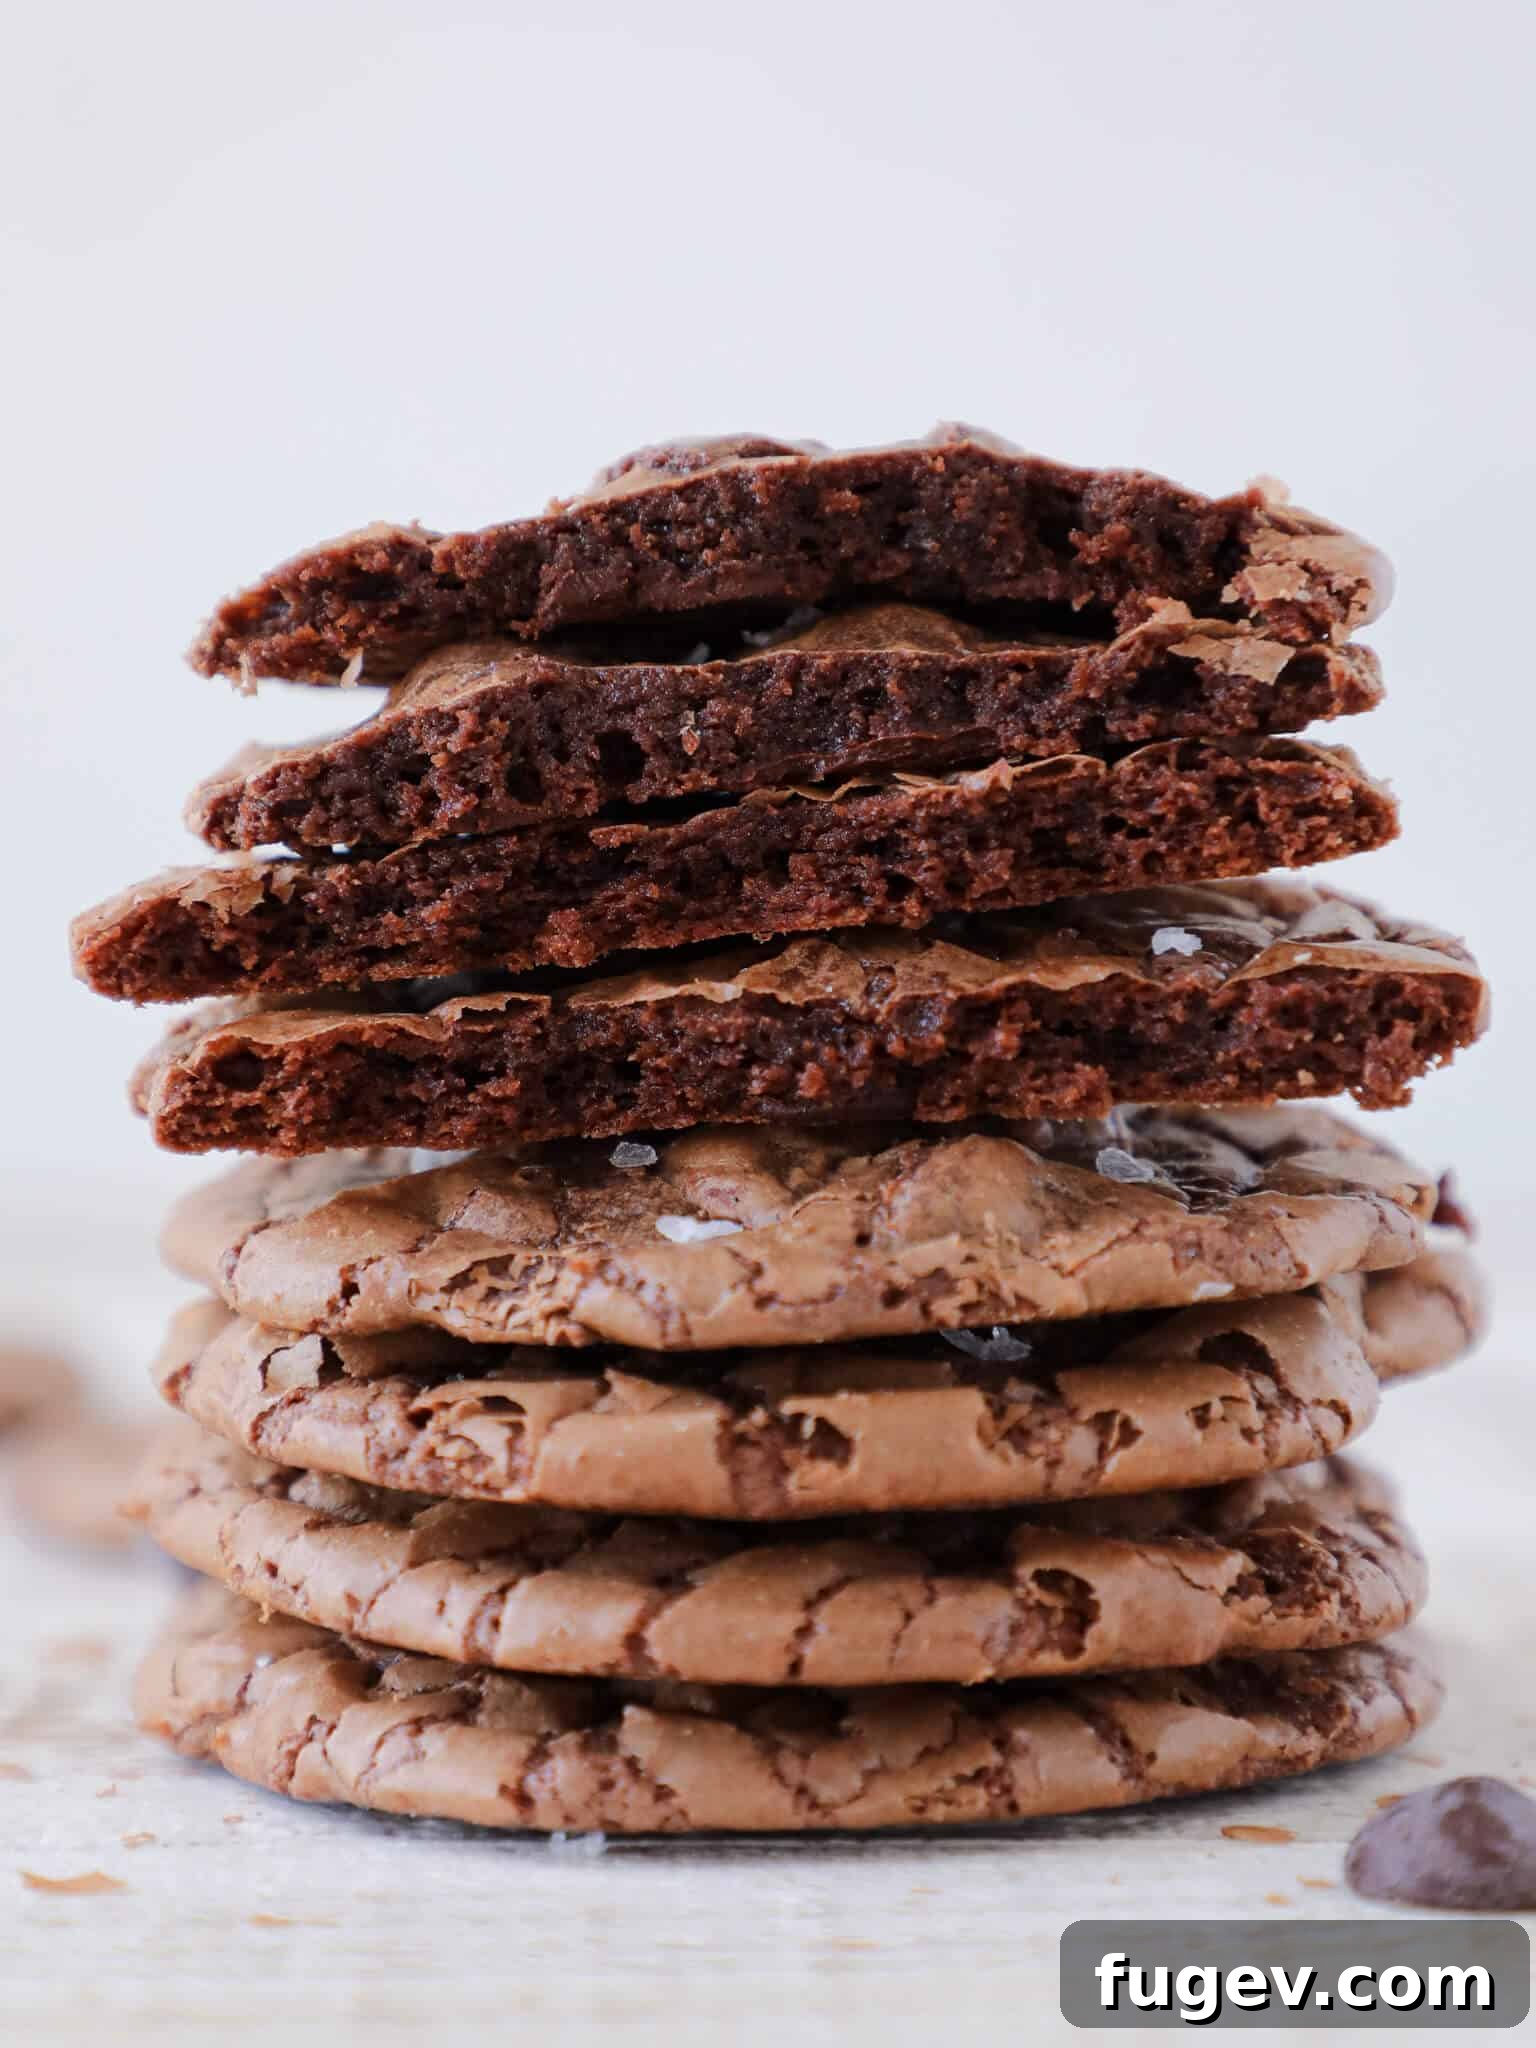
These brownie cookies are a celebration of chocolate, designed to bring an abundance of rich, decadent flavor to your palate. Each cookie is packed with three distinct types of chocolate, ensuring pockets of melted goodness and deep cocoa notes throughout. The result is a cookie that is intensely fudgy, remarkably soft, and incredibly rich. And what’s that subtle hint of brilliance? A delicate sprinkle of Maldon sea salt on top, perfectly complementing the crackly brownie finish. Yes, we’re bringing the salted chocolate game, and it’s spectacular!
Honestly, these cookies are best enjoyed straight out of the oven, warm and gooey, defying all attempts at self-control! They hold a special, fudgy spot in my heart, right alongside my beloved chocolate crinkle cookies, classic old-fashioned chocolate fudge, and my truly unforgettable chocolate fudge cake!
Table of Contents
- What Makes These Fudgy Brownie Cookies the Best?
- The Science Behind the Perfect Brownie Cookie Texture
- Professional Tips for Mastering This Brownie Cookie Recipe
- Essential Ingredients for Irresistible Brownie Cookies
- Creative Variations to Customize Your Brownie Cookies
- Step-by-Step: How to Make Brownie Cookies
- Chef Lindsey’s Pro Baking Tip
- Frequently Asked Questions About Brownie Cookies
- Fudgy Brownie Cookies Recipe Card
- Before You Go!
What Makes These Fudgy Brownie Cookies the Best?
Crafting the perfect brownie cookie isn’t just about combining ingredients; it’s about achieving that magical balance of texture and flavor that makes every bite unforgettable. Here’s why this recipe stands head and shoulders above the rest:
- Triple Chocolate Indulgence: We don’t just add chocolate; we layer it. These triple chocolate brownie cookies utilize a powerful trio: melted semi-sweet chocolate for foundational richness, high-quality cocoa powder for deep, complex cocoa notes, and generous chocolate chips that create delightful pockets of gooey melted chocolate throughout. This multi-faceted approach ensures an unparalleled chocolate experience in every single cookie.
- The Coveted Brownie Texture, Perfected: Imagine your favorite fudgy brownie, complete with that alluring, delicate crackly top and intensely chewy edges, now in a handheld cookie format. These cookies capture that exact essence, delivering a dense, fudgy interior reminiscent of the most sought-after corner pieces of a brownie pan. Each bite offers a satisfying chew followed by a melt-in-your-mouth finish, a testament to careful ingredient balance and baking precision.
- Effortless, No-Chill Cookies: One of the greatest challenges in baking cookies is often the dreaded “chill time.” This recipe liberates you from that wait! These chocolate cookies boast a no-chill dough, meaning you can mix, scoop, and bake without a lengthy stint in the refrigerator. From start to cookie perfection, you’re looking at a mere 30 minutes, making them ideal for spontaneous cravings or last-minute dessert needs.
- Mastered by a Professional Pastry Chef: While the process may seem straightforward, this recipe is the culmination of extensive testing and refinement by a professional pastry chef. It’s not just a collection of ingredients; it’s a carefully engineered formula designed for consistent, foolproof results. You can confidently bake knowing that every measurement and step has been optimized to ensure you achieve the ideal fudgy texture and crackly top every single time.
The Science Behind the Perfect Brownie Cookie Texture
Achieving the perfect brownie cookie—that delightful cross between a dense, fudgy brownie and a chewy, crinkly cookie—involves a bit of baking science. The balance of fats, sugars, and leavening agents is key to creating that signature texture and appearance. The melted chocolate contributes to the rich, gooey interior, acting as a binding agent and a primary source of moisture and fat. The cocoa powder further intensifies the chocolate flavor while also absorbing moisture, creating a denser crumb.
Our careful selection of both light brown sugar and granulated sugar plays a crucial role. Brown sugar, with its molasses content, adds moisture and chewiness, keeping the cookies soft and fudgy. Granulated sugar, on the other hand, contributes to the crispness of the edges and helps form that beautiful, crackly top crust as it caramelizes during baking. The specific ratio of eggs to flour provides structure and the primary leavening, which, combined with the fats and sugars, creates the delicate meringue-like surface that cracks upon cooling, characteristic of a truly exceptional brownie.
Professional Tips for Mastering This Brownie Cookie Recipe:
- Elevate with Salt for a Crunchy Finish: Don’t underestimate the power of salt! A small amount of kosher salt incorporated into the dough enhances the chocolate’s depth, while a final sprinkle of fleur de sel or flaky sea salt on top provides a delightful textural contrast and balances the sweetness. Salt, truly, is chocolate’s best friend, unlocking its full flavor potential.
- Invest in High-Quality Chocolate: Since chocolate is the undisputed star of these cookies, its quality directly impacts the final flavor. Splurge on the best semi-sweet or bittersweet chocolate you can find. Whether you choose baking bars or high-quality chips, superior chocolate will result in a richer, more nuanced, and ultimately more delicious brownie cookie.
- Precision in Cook Time is Paramount: The baking duration is crucial for achieving your desired cookie texture. For a softer, melt-in-your-mouth cookie, aim for the shorter end of the baking time. If you prefer a slightly firmer edge with a still-fudgy center, bake a minute or two longer. The key is to avoid overbaking, which can lead to dry, cakey cookies instead of the moist, fudgy ideal.
- Room Temperature Ingredients for Uniformity: Ensure your butter and eggs are at room temperature. This allows them to emulsify properly with the sugars, creating a smooth, homogenous batter that traps air efficiently. This trapped air contributes to the cookies’ structure and helps achieve that desirable crackly top.
- Avoid Overmixing After Adding Flour: Once you add the dry ingredients, mix only until just combined. Overmixing develops the gluten in the flour, which can lead to tough, dense cookies. A light hand here ensures a tender, fudgy texture.
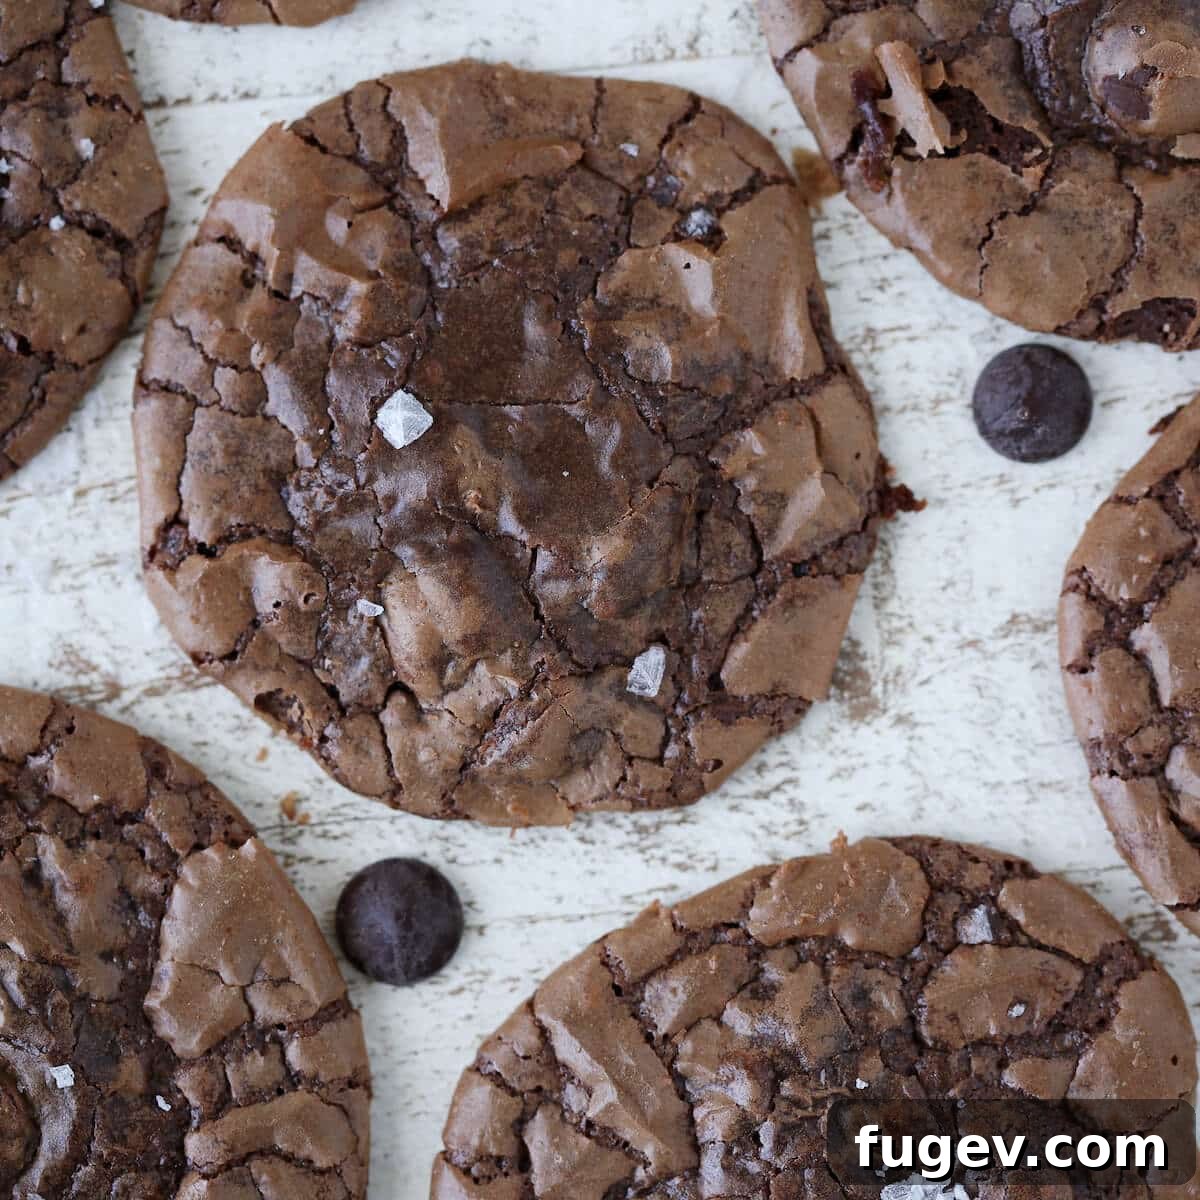
Essential Ingredients for Irresistible Brownie Cookies
Each ingredient in this recipe plays a vital role in creating the perfect fudgy brownie cookie. Here’s a closer look at what you’ll need and why:
- All-purpose flour: Providing just enough structure to hold these rich cookies together, much like my brown butter brownies. Too much flour leads to a cakey texture, but the precise amount here guarantees fudginess.
- Kosher Salt: A fundamental flavor enhancer for chocolate. It brings out the cocoa notes and balances the sweetness, preventing the cookies from being overly cloying.
- Baking Powder: This leavening agent provides a subtle lift, contributing to the cookie’s texture without making it excessively puffy. The primary leavening, which creates that desirable crackled top, actually comes from the eggs, similar to my fudgy brownie recipe.
- Light Brown Sugar: Adds a wonderful moistness and chewiness to the cookies thanks to its molasses content. This is essential for achieving that signature fudgy texture.
- Granulated Sugar: I prefer using extra-fine granulated sugar here. Its smaller granules dissolve more readily, contributing to a more tender and delicate final baked good, while also aiding in the formation of the crackly top.
- Unsalted Butter: The foundation of richness and flavor. Using unsalted butter allows you to control the overall salt content of the recipe. Ensure it’s softened to room temperature for optimal creaming.
- Eggs: Large eggs are crucial for their fat, liquid, and leavening properties. Along with vanilla, they provide the only liquid in the cookies, contributing significantly to the fudgy texture and structural integrity. The protein in the eggs also helps form the crackly crust.
- Vanilla Extract: Vanilla extract is more than just a flavor; it’s a chocolate enhancer. It deepens and rounds out the chocolate flavor, adding a layer of complexity to these fudgy brownie cookies.
- Cocoa Powder: For this recipe, I’ve opted for Dutch process cocoa powder due to its rich, mellow flavor and darker color, which intensifies the brownie-like appearance. You can certainly use natural unsweetened cocoa powder, but be aware it might result in a slightly lighter color and a tangier, more bitter chocolate flavor.
- Semi-sweet chocolate: This is for the melted chocolate component, providing a deep, smooth chocolate base. I typically use semisweet chocolate chips or high-quality baking chocolate bars. It adds a balanced sweetness; however, for a more intense chocolate flavor, bittersweet chocolate can be used.
- Chocolate Chips: The final chocolate layer! These un-melted chips create wonderful pockets of molten chocolate throughout the cookies, adding texture and bursts of flavor.
Refer to the comprehensive recipe card below for exact quantities and detailed instructions on all ingredients.
Creative Variations to Customize Your Brownie Cookies
While these fudgy brownie cookies are perfect as is, they also serve as a fantastic canvas for your culinary creativity. Here are some delightful variations to make them truly your own:
- Experiment with Different Chocolate Chips: Don’t limit yourself! While bittersweet chocolate chips are my personal favorite for preventing these cookies from becoming overly sweet, feel free to use milk chocolate chips for a milder, creamier flavor, or even white chocolate chips for a striking contrast and added sweetness. The best advice is always to use what you have on hand and enjoy!
- Embrace the Nutty Addition: For an extra layer of flavor and crunch, incorporate some chopped nuts into your dough. Toasted walnuts, pecans, or hazelnuts would be absolutely delightful. If you’re a fan of hazelnut and chocolate, you might even consider my soft Nutella chocolate chip cookies! Always toast and cool your nuts before adding them to the dough to enhance their flavor and ensure a crisp texture. If you’re feeling extra nutty, these brownie cookies would be a perfect companion on a dessert platter with my old-fashioned peanut butter cookies. Or, go wild and pair them with some slices of my triple chocolate peanut butter banana brownies!
- Spice It Up: A pinch of cayenne pepper or a dash of cinnamon can add an exciting warmth and subtle complexity to the chocolate flavor. Start with a quarter teaspoon and adjust to your preference.
- Add a Coffee Kick: For an even deeper chocolate flavor, stir in 1-2 teaspoons of instant espresso powder with your dry ingredients. It won’t make the cookies taste like coffee, but it will significantly amplify the richness of the chocolate.
- Create Irresistible Ice Cream Sandwiches: Few things are as heavenly as a warm, fudgy brownie cookie paired with a scoop of cold, creamy ice cream! Transform these cookies into epic ice cream sandwiches. Try them with my homemade vanilla bean ice cream, classic chocolate ice cream, or for an adult twist, my rich bourbon cherry caramel ice cream. The contrast of warm cookie and cold ice cream is simply divine!
Step-by-Step: How to Make Brownie Cookies
Creating these fudgy brownie cookies is a straightforward process, designed for quick and delicious results. Follow these steps for perfect cookies every time. Further details and precise measurements are available in the recipe card below!
Step 1: Prepare Your Baking Environment. Begin by preheating your oven to 350°F (175°C) for a non-convection oven. If using a convection oven, adjust the temperature accordingly (usually 25-50°F lower). Line two standard baking sheets with parchment paper or silicone mats. This prevents sticking and ensures even baking and easy cleanup.
Step 2: Combine Dry Ingredients. In a medium-sized bowl, whisk together your all-purpose flour, cocoa powder, baking powder, and kosher salt. Whisking ensures these ingredients are thoroughly combined and evenly distributed, preventing pockets of leavening or salt in your finished cookies. Set this bowl aside.
Step 3: Cream Butter and Sugars. In the bowl of a stand mixer fitted with the paddle attachment (or using a hand mixer), cream together the softened unsalted butter and both types of sugar (light brown and granulated) on medium-high speed. Beat until the mixture is light, fluffy, and significantly paler in color, about 2-3 minutes. This process incorporates air, which is crucial for the cookie’s texture and contributes to the crackly top.
Pro Tip: Always pause your mixer and scrape the bottom and sides of the bowl thoroughly with a rubber spatula. Butter, in particular, loves to cling to the bottom and can easily go unincorporated if not scraped, leading to an uneven batter.
Step 4: Incorporate Eggs and Vanilla. Add the eggs one at a time to the creamed butter and sugar mixture, beating well after each addition until fully incorporated. After the second egg, add the additional egg yolk along with the vanilla extract. The extra egg yolk adds richness and helps create an even fudgier texture. Continue to scrape down the sides of the bowl as needed to ensure everything is evenly mixed.
Step 5: Mix in Melted Chocolate. Pour all the melted semi-sweet chocolate into the mixer bowl at once. Beat on medium speed until the chocolate is fully combined and the mixture is smooth and glossy. Ensure the melted chocolate is warm but not hot (ideally around 90-100°F / 32-38°C) to prevent scrambling the eggs or creating an overly thin batter.
Important Note: If your melted chocolate is too warm when added, it will make the dough too soft and challenging to portion. If this happens, don’t fret! You will, unfortunately, have to chill the batter briefly. As seen in the video, impatience can sometimes get the best of us!
Step 6: Gradually Add Dry Ingredients. Reduce the mixer speed to low. Gradually add the whisked dry ingredients to the melted chocolate mixture. Do this in 4-5 additions, allowing each addition to be almost fully incorporated before adding the next. This prevents the flour from flying out of the bowl and helps avoid overmixing.
Technique Focus: The goal here is to prevent overdeveloping the gluten, which can make cookies tough. Mix just until no streaks of flour remain. A slightly shaggy dough is better than an overmixed one.
Step 7: Fold in Chocolate Chips. Once the flour is fully incorporated into the dough, add the chocolate chips. Mix on low speed for just a few seconds, or fold them in by hand with a spatula, until they are evenly distributed throughout the dough. Be careful not to overmix at this stage.
Step 8: Portion and Prepare for Baking. Use a cookie scoop (a 1.5-ounce or 3-tablespoon scoop works well for generous cookies) to portion the dough onto your prepared baking sheets, leaving about 2 inches between each cookie. For an extra touch of flavor and texture, sprinkle each dough ball with a pinch of fleur de sel or flaky sea salt, such as Maldon. If your dough feels too soft or looks more like brownie batter, it’s a sign the melted chocolate was too warm. Simply pop the baking sheets into the fridge for about 15 minutes to firm up the dough before baking.
Step 9: Bake to Perfection. Bake the cookies in the preheated oven for 13-15 minutes. You’ll know they’re ready when the outsides are set, the tops have developed beautiful cracks, and the centers no longer appear wet or like raw dough. Remember, slight underbaking is key for a truly fudgy center, so resist the urge to overbake!
Step 10: Cool and Enjoy. Once baked, remove the baking sheets from the oven and let the cookies cool on the pan for about 5 minutes. This allows them to set up slightly and prevents them from breaking when transferred. After 5 minutes, carefully transfer the cookies to a wire rack to cool completely. Or, if you can’t resist, enjoy them warm and gooey!
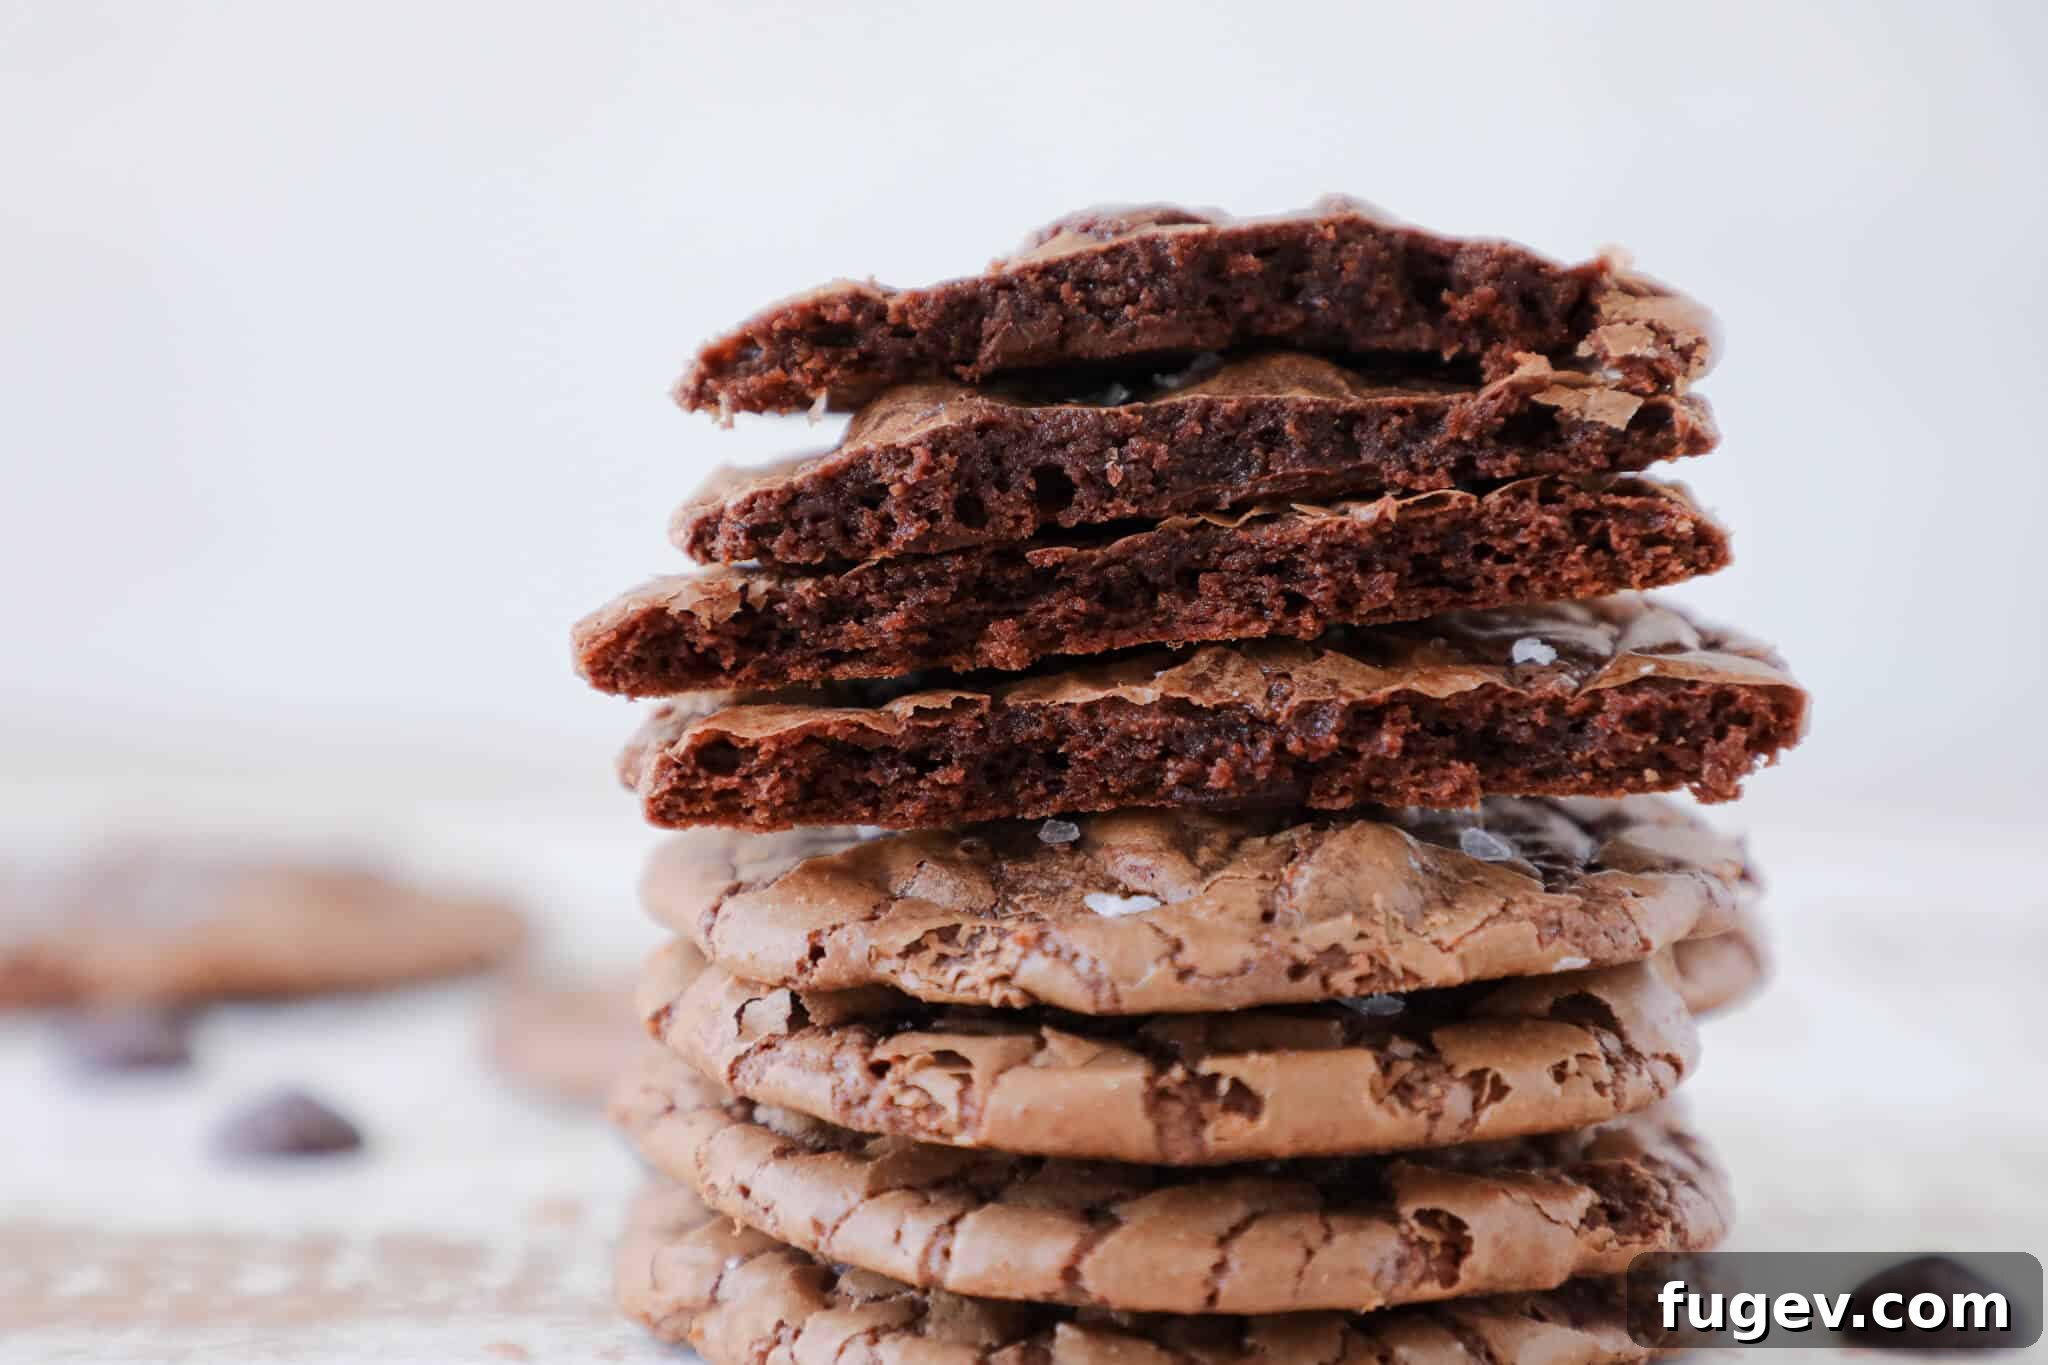
Chef Lindsey’s Pro Baking Tip
Always give your cocoa powder a quick check before adding it to your dry ingredients. Sometimes, cocoa powder can clump up, especially if it’s been stored for a while or has absorbed a little moisture. If you notice any lumps, don’t hesitate to sift it thoroughly before incorporating it into your mixture. Sifting ensures an even distribution of cocoa, preventing dry pockets and guaranteeing a consistent chocolate flavor throughout your cookies.
Frequently Asked Questions About Brownie Cookies
To maintain their fudgy texture and freshness, store baked brownie cookies in an airtight container at room temperature for up to 3 days. For longer storage, they freeze exceptionally well! Place them in a freezer-safe bag or container, separated by parchment paper, for up to 2 months. You can also freeze the unbaked cookie dough for up to 2 months; simply scoop the dough onto a parchment-lined tray, freeze until solid, then transfer to a freezer bag. This way, you’ll have ready-to-bake cookies for any occasion!
For this specific brownie cookie recipe, you generally do *not* need to chill the cookie dough before baking, unless the melted chocolate was incorporated while still too warm, making the dough overly soft. This recipe is designed for a quick, no-chill process. However, if you do have the time, a brief chill (15-30 minutes) can make the dough slightly easier to handle and can sometimes lead to a chewier cookie with a more developed flavor profile, as the ingredients have more time to meld. But rest assured, they are delicious either way!
The biggest and most obvious difference between brownies and brownie cookies lies in their shape and baking method. Brownies are typically baked in a square or rectangular pan and then cut into individual squares, resulting in a dense, uniform treat. Brownie cookies, on the other hand, are baked individually on a cookie sheet, much like traditional cookies. This format significantly impacts their texture: while classic brownies are dense and often uniformly fudgy, brownie cookies offer a delightful contrast of a fudgy interior with distinct, slightly crisp edges. Furthermore, their ingredient ratios are often slightly adjusted. Brownie cookies typically require a bit more flour to help them maintain their distinct cookie shape and prevent excessive spreading during baking, whereas brownies are designed for maximum fudginess and less structural integrity.
Several factors can contribute to flat brownie cookies. One common reason is overmixing the dough, especially after adding the flour, which can overdevelop gluten and cause cookies to spread. Another culprit is an oven that isn’t hot enough; always verify your oven temperature with an oven thermometer. Expired baking powder is also a frequent offender, as it loses its leavening power over time, resulting in cookies that don’t rise. A crucial factor in this recipe is the temperature of your melted chocolate when it’s added to the dough. If it’s too warm, it can “melt” the butter in the batter, leading to excessive spreading in the oven. Ensure your butter is softened but not melted, and your eggs are at room temperature. Lastly, too much butter or sugar in relation to the flour can also cause cookies to spread more than desired.
If you tried this recipe and absolutely loved it, please take a moment to leave a 🌟 star rating and share your thoughts in the comments section below. I truly cherish hearing from you; your feedback makes my day!
Brownie Cookies
Saved
Pin Recipe
Comment
Print Recipe
Ingredients
- ½ cup all-purpose flour
- 1 tablespoon cocoa powder I used Dutch processed
- ½ teaspoon kosher salt
- ¼ teaspoon baking powder
- 8 oz quality semi-sweet baking chocolate melted but not hot
- ¾ cup light brown sugar packed
- ¼ cup granulated sugar
- ¼ cup unsalted butter softened
- 2 eggs
- 1 egg yolk
- ½ teaspoon vanilla
- 1 cup bittersweet 60-63% chocolate chips
- Maldon Salt optional
Instructions
-
Preheat the oven to 350°F (non-convection). Line two baking sheets with parchment paper or silicone mats.
-
In a medium bowl, whisk together flour, cocoa powder, baking powder, and salt. Set aside.
-
In the bowl of a stand mixer, cream butter and both sugars until light and fluffy.
-
Add the eggs one at a time, beating the mixture in between each addition. Scraping down the sides of the bowl when needed. Add the vanilla extract with the egg yolk.
-
Pour all the melted chocolate in at once and beat well.
-
Reduce the mixer to low and gradually add the dry ingredients to the melted chocolate mixture.
-
Add the chocolate chips once the flour is fully incorporated. Mix until fully distributed.
-
Use a cookie scoop to portion the dough onto prepared baking sheets. Sprinkle with a touch of fleur de sel or flaky sea salt such as Maldon. If your dough looks more like brownie batter, the melted chocolate was too warm. Don’t worry, you should just pop it in the fridge for 15 minutes.
-
Bake in the preheated oven for 13-15 minutes or until the outsides are set, the tops are cracked and the centers no longer look like dough.
-
Cool on the sheet pan for 5 minutes before moving to a wire rack to cool completely.
Video
Notes
Flavor Tips – It’s all about the cocoa powder, chocolates, and vanilla extract. Use high-quality brands and make sure you like the flavor.
Technique – If your melted chocolate is too warm, then you will, sadly, have to chill the batter. This is what happened in the video – impatience got the best of me.
Storage –Store your baked cookies well-wrapped or in an airtight container for 3 days at room temperature or in the freezer for up to 2 months.
Nutrition
Like this? Leave a comment below!
Before You Go!
Thank you for exploring this professional chef-tested recipe for Fudgy Brownie Cookies. I sincerely hope you enjoyed the process and, more importantly, the delicious results! If you’re eager to continue your baking journey, be sure to check out our other equally delectable, chef-created Cookie Recipes. Happy baking!