
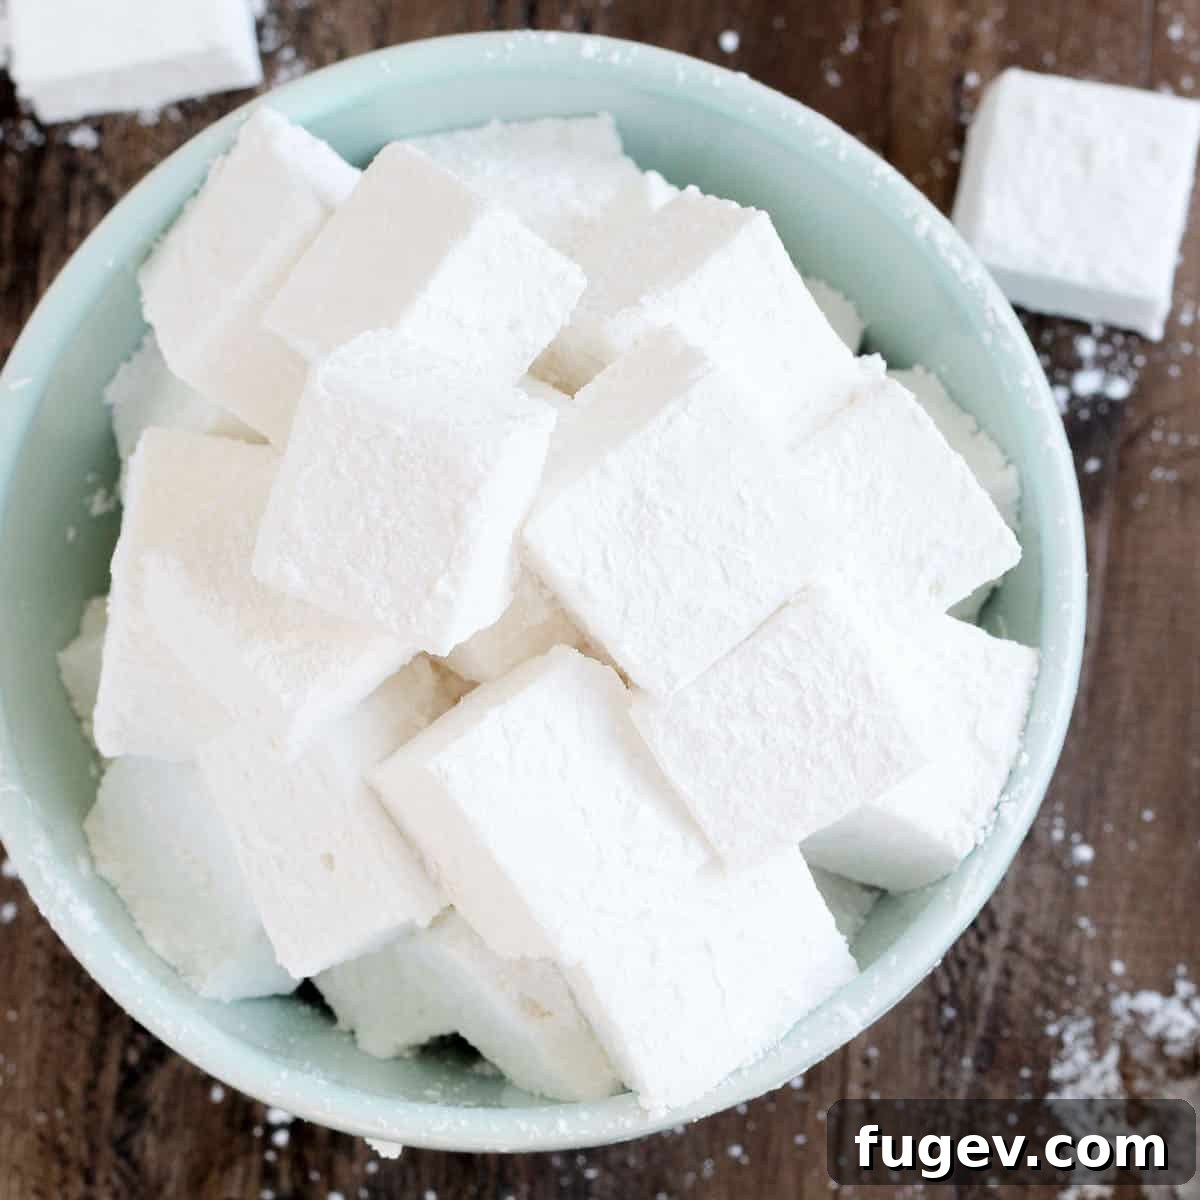
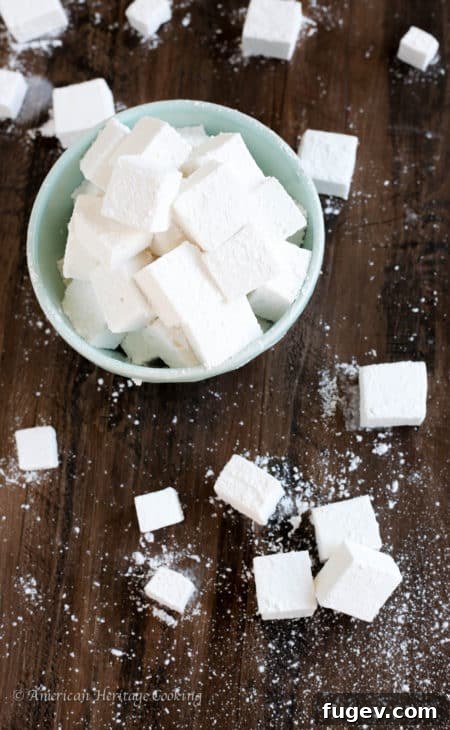
Unlock a world of unparalleled sweetness and an exquisitely soft texture with these truly **homemade marshmallows**! Far surpassing anything you’ll find in a store, these delightful confections are wonderfully fluffy, perfectly sweet, and infused with a delicate hint of pure vanilla. Imagine biting into a cloud-like treat that simply melts in your mouth – that’s the experience awaiting you.
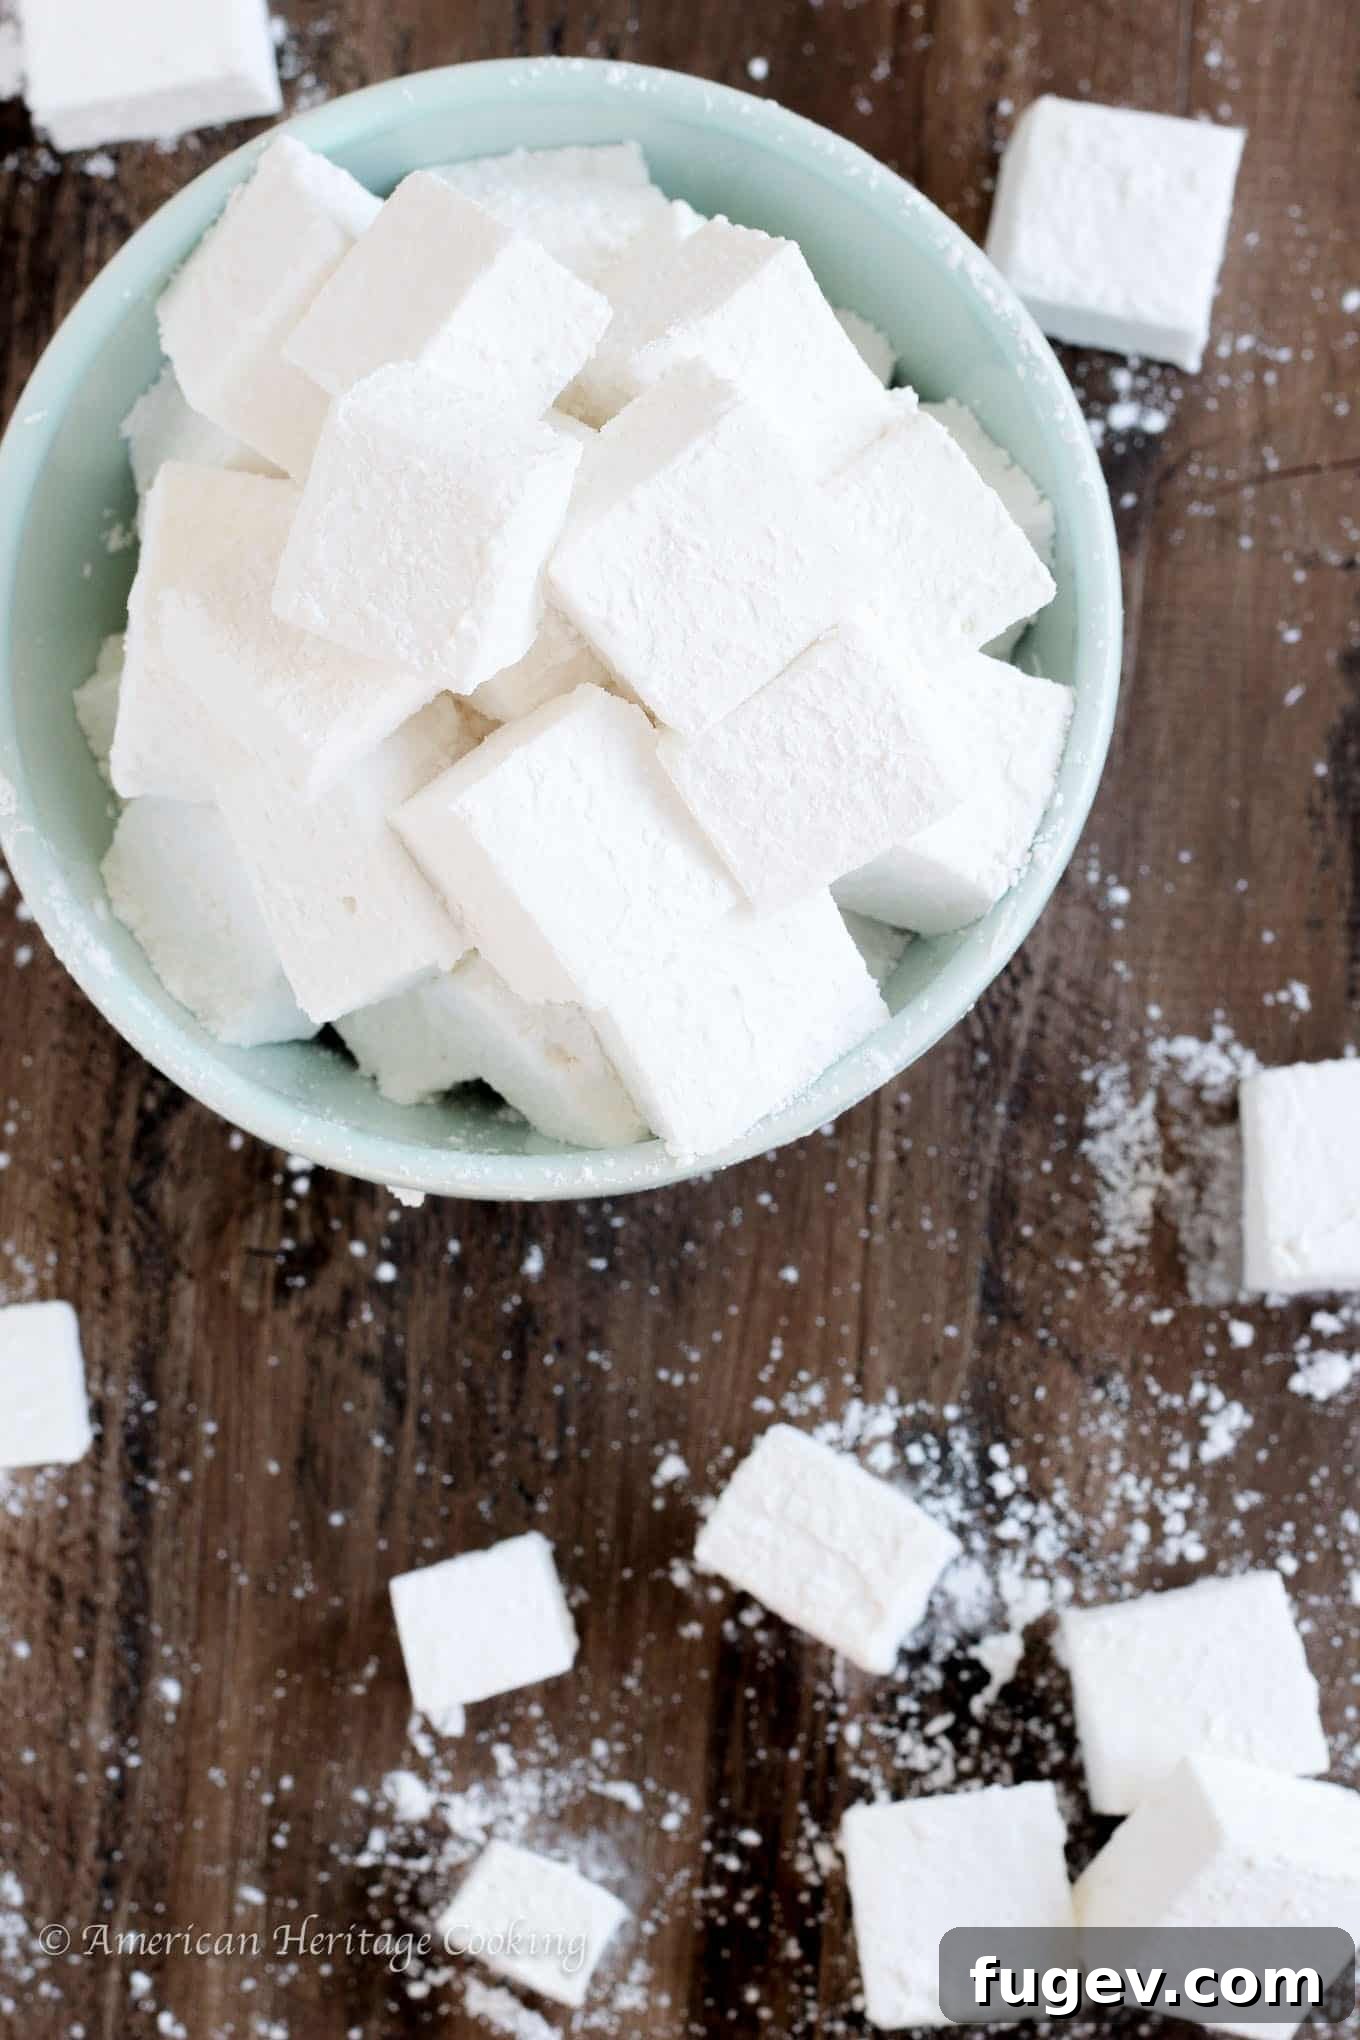
At their core, marshmallows are a fascinating blend of simple ingredients: sugar, gelatin, and a good dose of air, all brought together with a little culinary magic. Or, to be precise, it’s a beautiful interplay of food science!
The outcome, however, is undeniably enchanting. Each pillow-soft square of these **vanilla marshmallows** evokes a sense of wonder, making every sip of **hot chocolate** or every bite of a gooey **s’more** an extraordinary event. They transform ordinary moments into cherished memories, reminding us that the simplest pleasures are often the best.
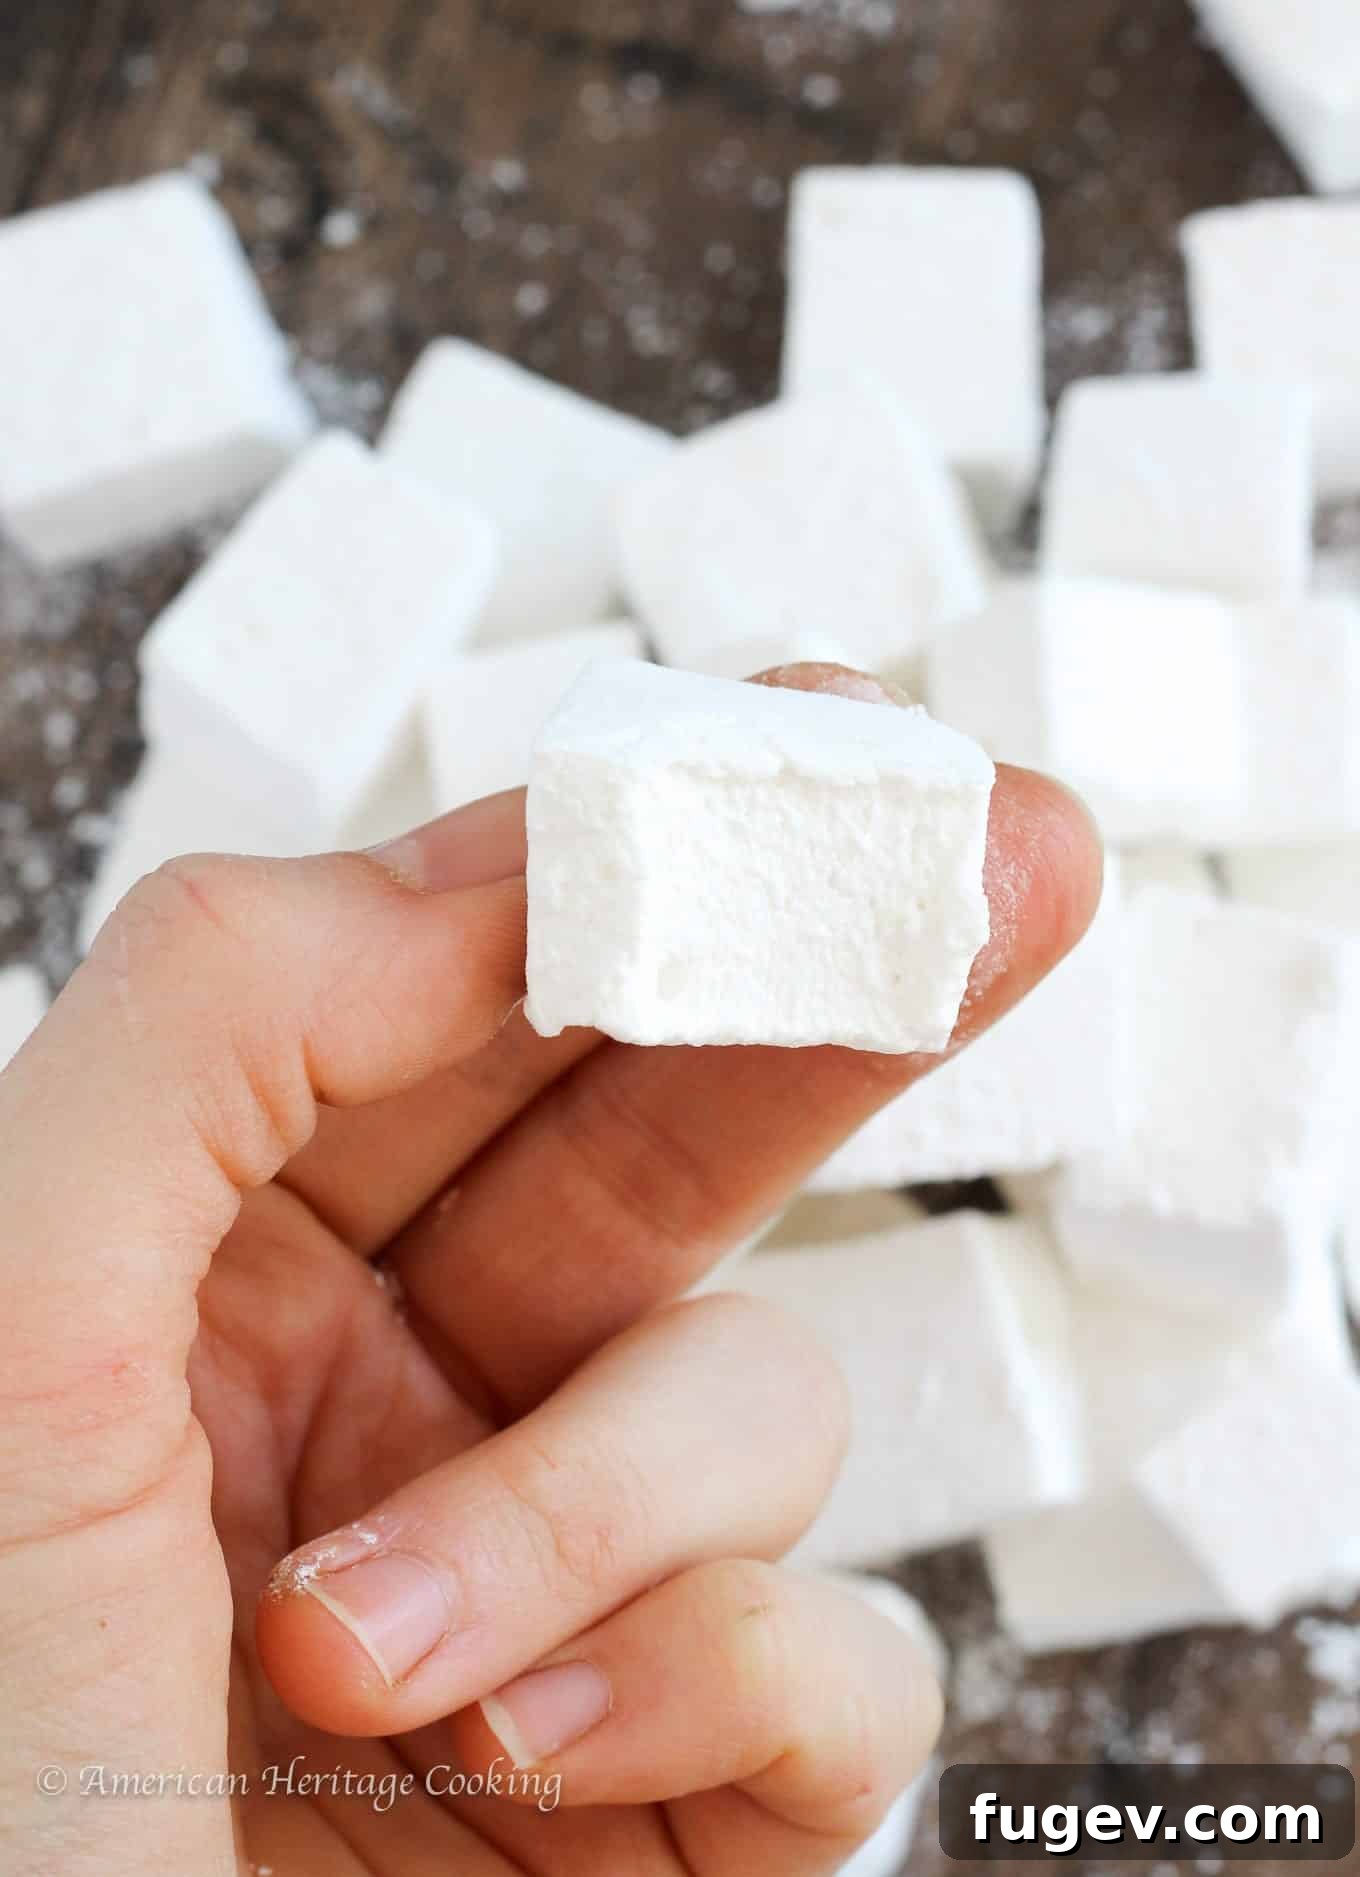
Be warned: these luscious little pillows of joy are so incredibly easy to make, they might just become your new favorite obsession. The superior taste and texture of these **fluffy homemade marshmallows** are a game-changer, making it hard to ever go back to store-bought versions. Once you experience their fresh, tender chewiness, you’ll understand why home bakers worldwide rave about crafting their own.
Why Choose Homemade Marshmallows? The Unbeatable Difference
Beyond the simple satisfaction of baking from scratch, making your own marshmallows offers several distinct advantages. Firstly, the texture is simply incomparable. Store-bought marshmallows often feel rubbery or overly firm. Homemade versions, on the other hand, are airy, delicate, and possess a melt-in-your-mouth quality that’s truly addictive. They achieve a perfect balance of chewiness and tenderness.
Secondly, you control the ingredients. Say goodbye to artificial flavors, colors, and preservatives. With a simple **marshmallow recipe** like this one, you use fresh, high-quality ingredients, resulting in a cleaner, purer taste. The subtle hint of real vanilla bean, for instance, elevates the flavor profile far beyond what mass-produced varieties can offer.
Finally, there’s the nostalgia. Who can resist the appeal of a treat that instantly transports you back to childhood **campfires** and cozy evenings? Homemade marshmallows amplify this feeling, making every occasion — from a backyard bonfire to a festive holiday gathering — feel a little more special and handcrafted. They are, quite literally, little pillows of happiness.
Elevate Your Hot Chocolate Experience
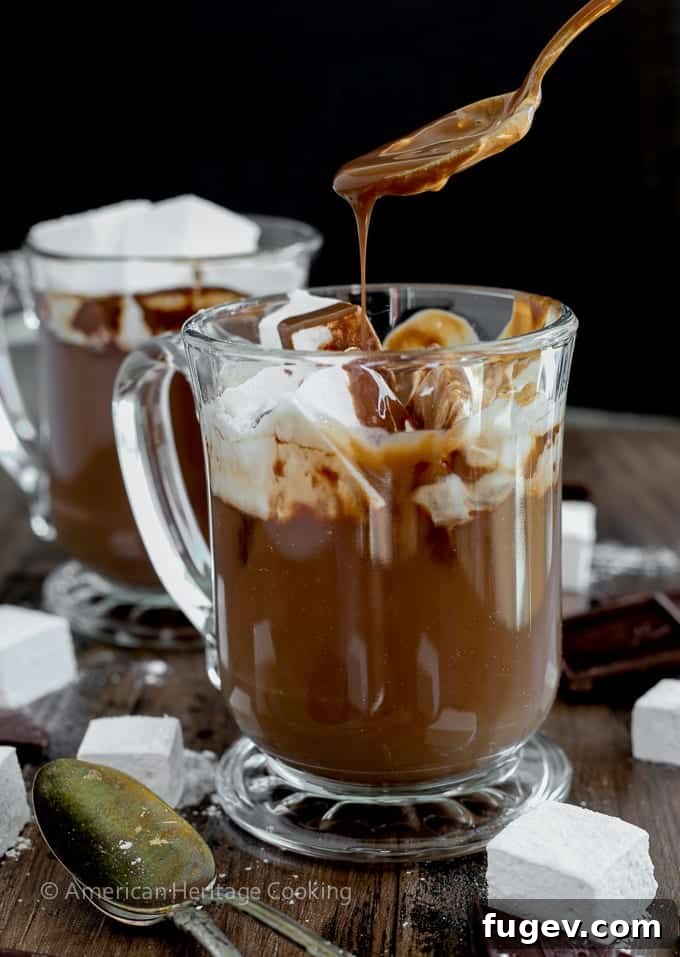
Imagine topping a mug of the richest, creamiest **hot chocolate** with one of these ethereal delights. As the homemade marshmallow gently melts into the steaming, decadent chocolate, it creates an unparalleled symphony of flavor and texture. The marshmallow transforms into a delicate, sweet foam, infusing the drink with an extra layer of velvety richness. It’s a truly indulgent experience that will make you swoon.
The Science of Sweetness: Demystifying Marshmallow Making
The most crucial step in crafting perfect **homemade marshmallows** lies in achieving the correct sugar syrup temperature. This process is essentially the sugary backbone of an Italian meringue, meaning if you’ve mastered an Italian Meringue Buttercream, this **easy marshmallow recipe** will feel like second nature. The precise temperature ensures the sugar molecules crystalize correctly, creating that signature chewy-but-soft texture.
For this reason, a reliable **candy thermometer** is not just recommended, it’s essential. This tool will be your best friend, guiding you to the exact 240°F (115.5°C) needed for optimal results. Don’t eyeball it – precision is key to culinary success, especially when working with hot sugar.
Furthermore, a **stand mixer** is an absolute must-have. Attempting to pour extremely hot sugar syrup into a bowl while simultaneously wielding a hand mixer is not only difficult but highly dangerous. Sugar burns are incredibly painful and can cause serious injury. Please, for your safety and peace of mind, utilize a sturdy stand mixer with a whisk attachment. This setup allows you to slowly and safely incorporate the hot syrup into the gelatin mixture, letting the machine do the hard work of whipping it into a glorious, fluffy cloud.
With these critical pieces of advice in mind, prepare to embark on your next homemade obsession! You’ll be delighted by how straightforward the process is and utterly captivated by the delicious outcome. #sorrynotsorry, but your snack game is about to get a serious upgrade!
Homemade Marshmallows
Soft, pillowy **homemade marshmallows** made from scratch! These **vanilla bean marshmallows** are easier to make than you think and are perfect for **hot chocolate**, **s’mores**, or enjoying on their own.
Author: Chef Lindsey
Prep Time: 15 mins
Cook Time: 25 mins
Dry Time: 12 hrs
Total Time: 40 mins active (plus 12 hours setting)
Servings: 10 people
Ingredients
- 225 g cold water (divided)
- 24 g gelatin sheets
- 218 g light corn syrup
- 400 g granulated sugar
- ¼ teaspoon kosher salt
- 2 teaspoons vanilla extract
- 100 g powdered sugar
- 20 g cornstarch
Instructions
- Line a rimmed baking sheet with parchment paper and lightly spray with cooking spray. This prepares your surface to prevent sticking. Set aside.
- Pour half of the cold water into the bowl of a **stand mixer**. Break the gelatin sheets in half and fully submerge them in the water. Allow the gelatin to “bloom” for about 10 minutes; this softens it and prepares it to dissolve smoothly.
- While your gelatin is blooming, combine the remaining water and granulated sugar in a saucepot. Stir gently over medium heat until the sugar is completely dissolved. Add the corn syrup. It’s important to avoid getting sugar crystals on the sides of the pot, as these can cause the entire syrup to crystallize. Use a wet finger or a clean pastry brush to wash down any stray sugar crystals from the sides of the pot.
- Continue cooking the sugar syrup over medium heat, without stirring, until it reaches precisely 240°F (115.5°C) on your **candy thermometer**. This temperature is critical for the marshmallow’s final texture.
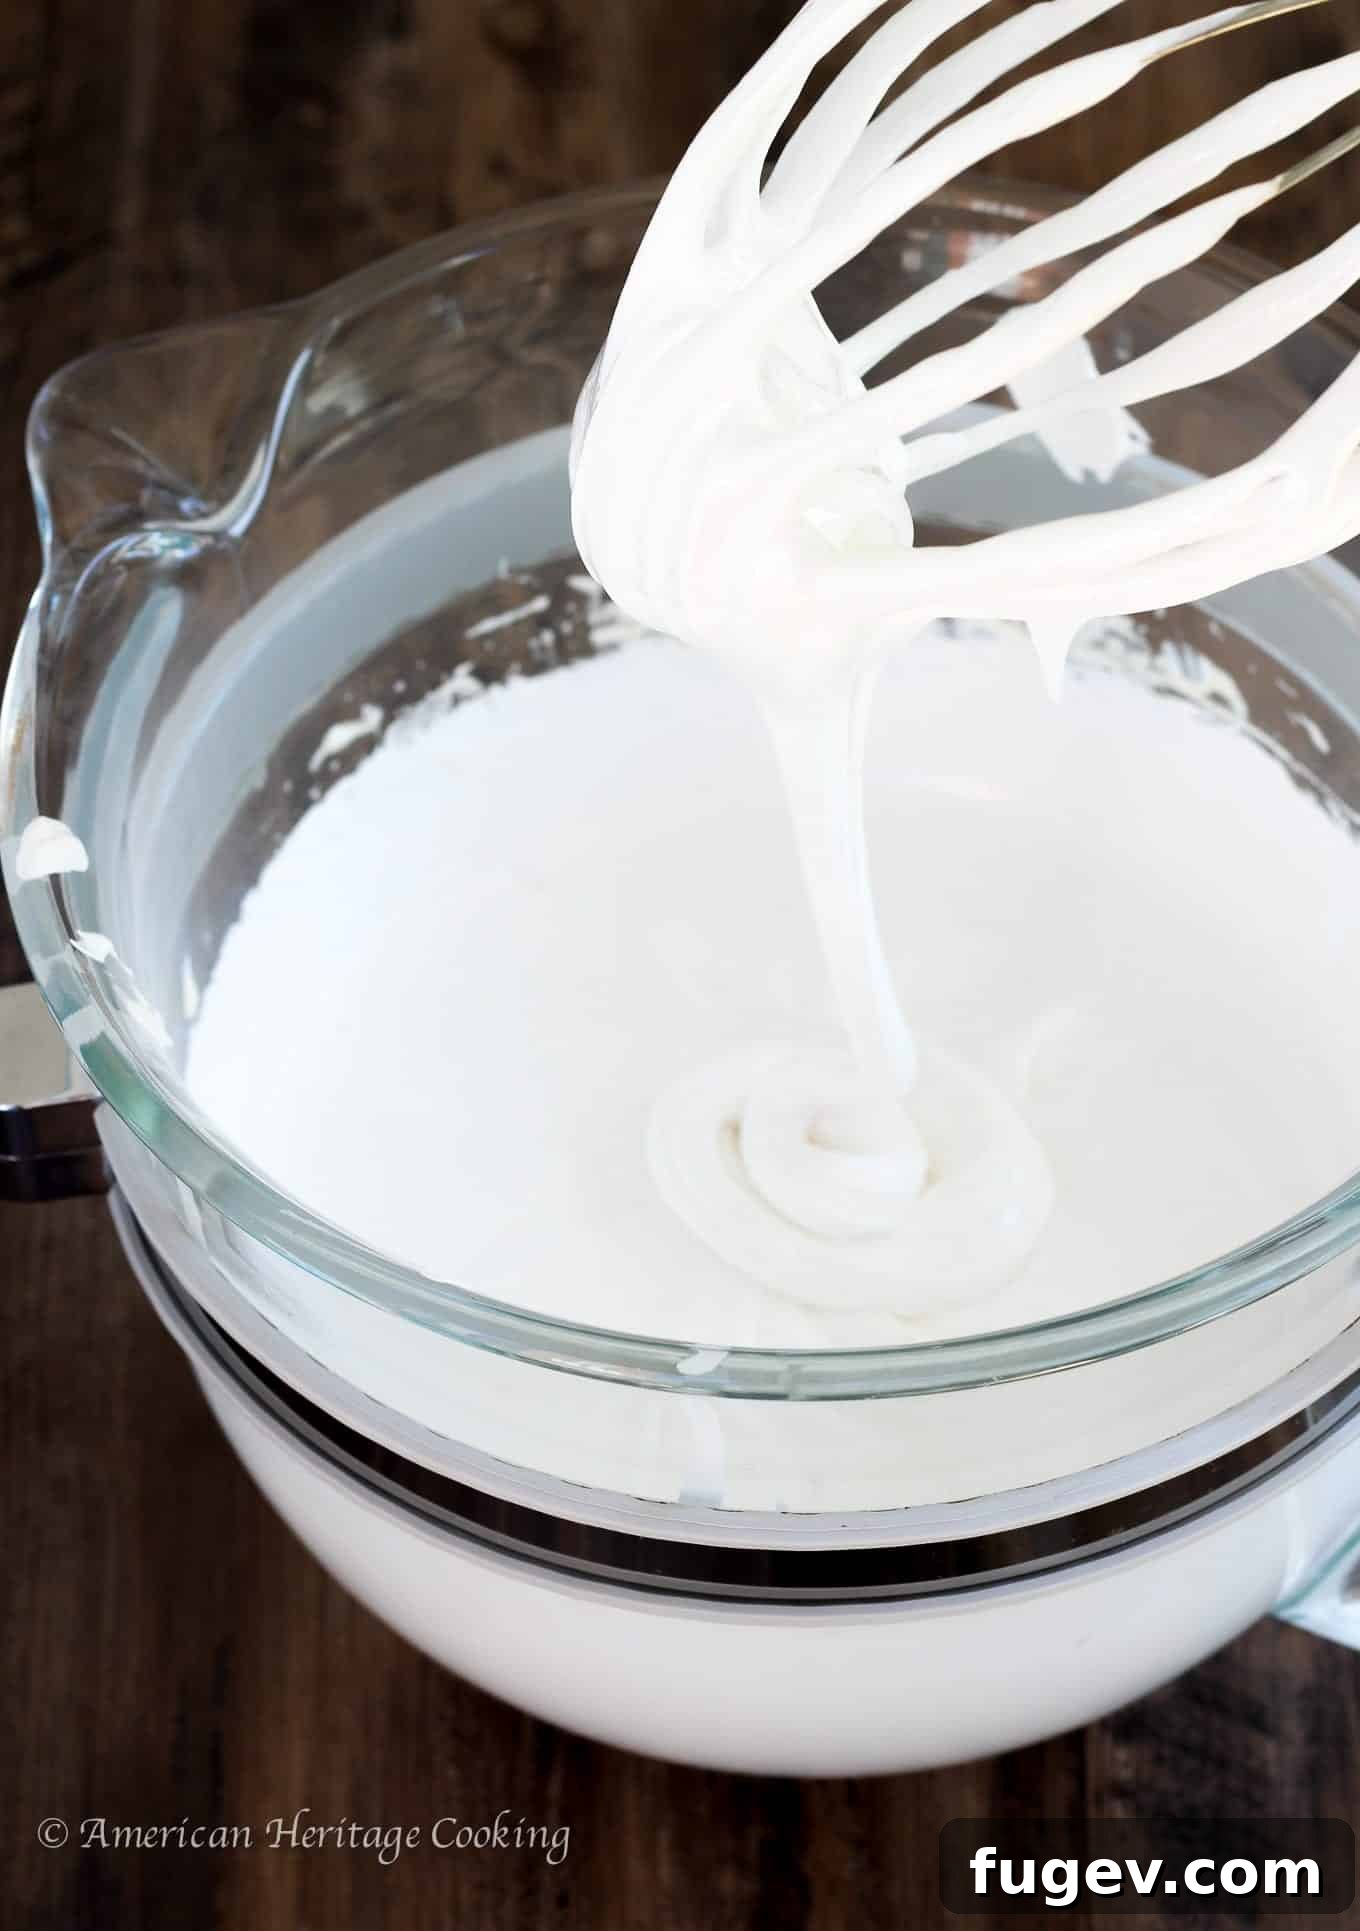
- Once the sugar syrup reaches temperature, sprinkle the kosher salt over the bloomed gelatin in the mixer bowl. Turn the mixer on low speed, and very carefully, slowly pour the hot sugar mixture into the bowl, aiming for the side of the bowl to avoid hitting the whisk directly. Be extremely cautious with hot sugar. Gradually increase the mixer speed to high and continue mixing until the marshmallow mixture is very thick, glossy, and has cooled significantly (the outside of the bowl should be barely warm to the touch). This usually takes about 10 minutes. Finally, add the vanilla extract and mix until it is fully incorporated.
- Using a rubber spatula (lightly sprayed with cooking spray for easier handling), pour the thick marshmallow mixture into your prepared baking sheet. Lightly spray an offset spatula with cooking spray as well, then spread the marshmallow out evenly over roughly half of the pan.
- In a small separate bowl, whisk together the powdered sugar and cornstarch. This mixture will serve as your non-stick coating.
- Evenly sift the powdered sugar and cornstarch mixture over the top of the freshly spread marshmallows. Let the marshmallows cool completely at room temperature, then wrap the pan and store it in a cool, dry place overnight (or for at least 12 hours) to allow them to fully set and firm up.
- Once completely set, dust a clean cutting board generously with more of the powdered sugar and cornstarch mixture. Gently flip the marshmallow slab out of the sheet pan onto the cutting board. Sift additional powdered sugar mixture over the top surface. Using a sharp knife or pizza cutter (also dusted with the sugar mixture to prevent sticking), cut the marshmallow into desired squares. Toss each cut square in the remaining sugar mixture to fully coat all sides. This coating is crucial; it prevents the marshmallows from sticking to each other and from drying out, while also giving them that characteristic thin, slightly crisp exterior crust. Wrap and store your **homemade marshmallows** in an airtight container for up to 3 days for optimal freshness. While they won’t spoil quickly, they will gradually dry out and harden over a longer period, much like that bag of puffed snacks you accidentally left open!
Video Tutorial
Nutrition Information (Per Serving)
- Calories: 273 kcal
- Carbohydrates: 68 g
- Protein: 2 g
- Fat: 1 g
- Saturated Fat: 1 g
- Polyunsaturated Fat: 1 g
- Monounsaturated Fat: 1 g
- Sodium: 78 mg
- Potassium: 3 mg
- Fiber: 1 g
- Sugar: 67 g
- Calcium: 5 mg
- Iron: 1 mg
Course: Dessert
Cuisine: American, British, French
Calories per serving: 273
Tips for Mastering Your Homemade Marshmallows
Achieving perfect **fluffy marshmallows** consistently is easier with a few key tips:
- Measure by Weight: For baking, especially with sugar work, using a kitchen scale for ingredients like sugar, water, and corn syrup provides far greater accuracy than volume measurements. This precision can make all the difference in texture.
- Don’t Rush the Sugar Syrup: Allow the sugar syrup to reach the exact temperature gradually. Rapid boiling can lead to uneven cooking.
- Avoid Crystallization: Washing down the sides of the pot with a wet pastry brush prevents sugar crystals from forming on the edges and falling back into the syrup, which can cause the entire batch to crystallize.
- Whip Until Cool: The marshmallow mixture must be whipped until it’s thick, glossy, and has cooled down significantly. If it’s still warm when spread, it won’t set properly and will remain too sticky.
- Generous Coating: Don’t be shy with the powdered sugar and cornstarch coating. It’s crucial for preventing stickiness and forming that lovely outer crust.
- Patience is Key: Allowing the marshmallows to set overnight is vital. Resist the temptation to cut them too early; they need that time to fully firm up.
Flavor Variations Beyond Vanilla
While classic vanilla is always a winner, **homemade marshmallows** are incredibly versatile. Once you’ve mastered the basic recipe, consider these delicious variations:
- Peppermint: Substitute vanilla extract with peppermint extract, especially wonderful during the holidays.
- Chocolate: Melt a small amount of good quality dark chocolate and incorporate it into the marshmallow mixture during the last minute of whipping.
- Citrus Zest: Add lemon, orange, or lime zest for a bright, refreshing flavor.
- Coffee/Mocha: Dissolve a teaspoon of instant espresso powder in the hot water with the gelatin, or add a teaspoon of coffee extract.
- Spices: Infuse the sugar syrup with cinnamon sticks, star anise, or cardamom pods for a warm, aromatic touch. Remove solids before whipping.
Creative Ways to Enjoy Your Homemade Marshmallows
These aren’t just for hot chocolate and **s’mores**! Your **gourmet marshmallows** can be enjoyed in countless ways:
- Toasted: Roast them over an open flame or under a broiler for a wonderfully caramelized exterior.
- Baking: Use them in rice crispy treats, sweet potato casseroles, or as a topping for pies and cobblers.
- Dessert Garnish: Cut into smaller pieces and use to adorn cakes, cupcakes, or ice cream sundaes.
- Edible Gifts: Package them beautifully in cellophane bags or decorative boxes for a thoughtful, handmade gift.
- Snacking: Honestly, they’re so good, you might just find yourself eating them straight from the jar!
Storing Your Homemade Marshmallows
For the best texture and freshness, store your **homemade marshmallows** in an airtight container at room temperature. They will typically remain soft and fluffy for up to 3 days. While they won’t spoil quickly, their texture will begin to change after this period, becoming firmer and chewier as they dry out. For longer storage, you can freeze them for up to a month, though thawing can sometimes affect their delicate texture.
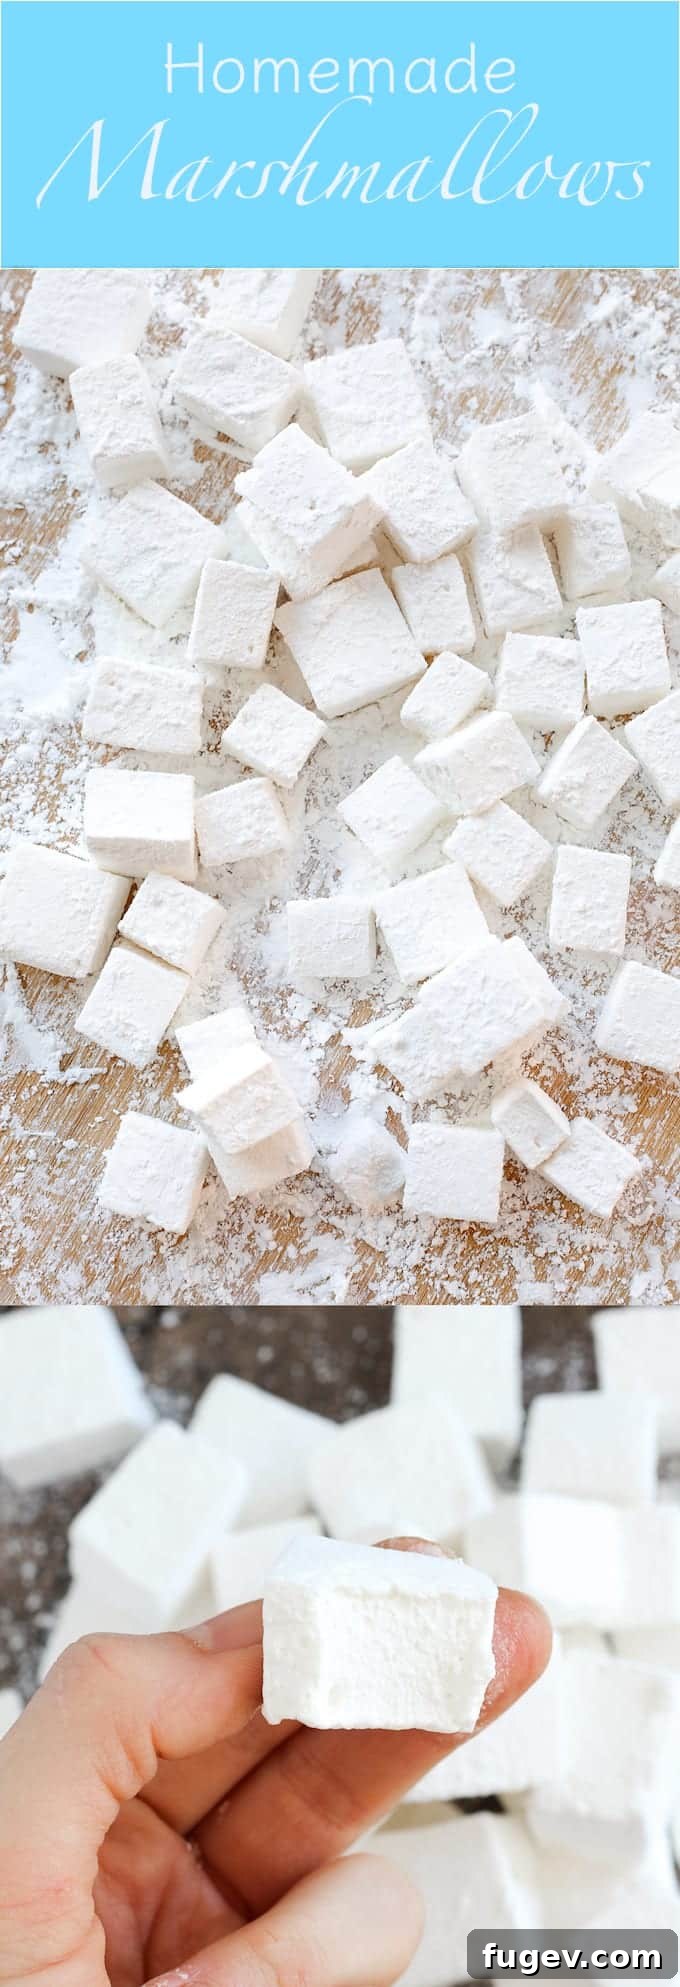
Embark on this delightful culinary adventure and discover the sheer joy of making your own **fluffy homemade marshmallows**. With a little patience and the right tools, you’ll be creating exquisite treats that impress everyone and elevate your favorite desserts to a whole new level of deliciousness. Get ready to experience true marshmallow magic!