
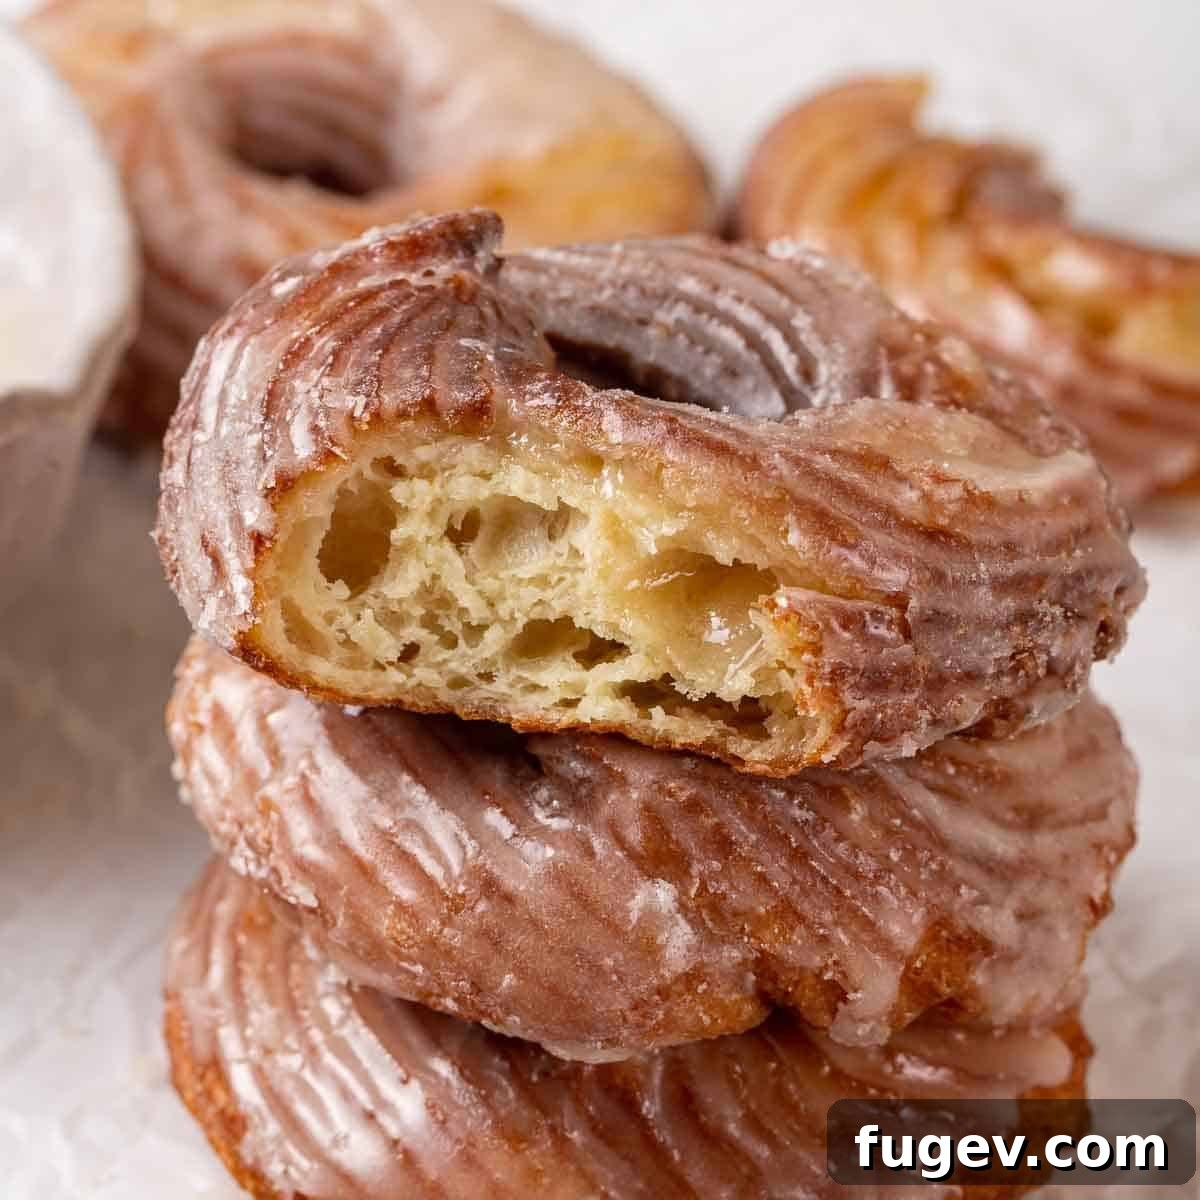
Mastering the Art of French Crullers: Your Ultimate Recipe for Light, Airy Perfection
Welcome to the ultimate guide for crafting exquisitely light, unbelievably airy, and perfectly piped French crullers, all crowned with a luscious maple glaze! This comprehensive, easy-to-follow recipe transcends typical methods, ensuring those characteristic fluted lines remain distinct and beautiful even after frying. Prepare to bake (or rather, fry) your way to donut nirvana with a recipe designed to deliver professional-quality results right in your home kitchen.
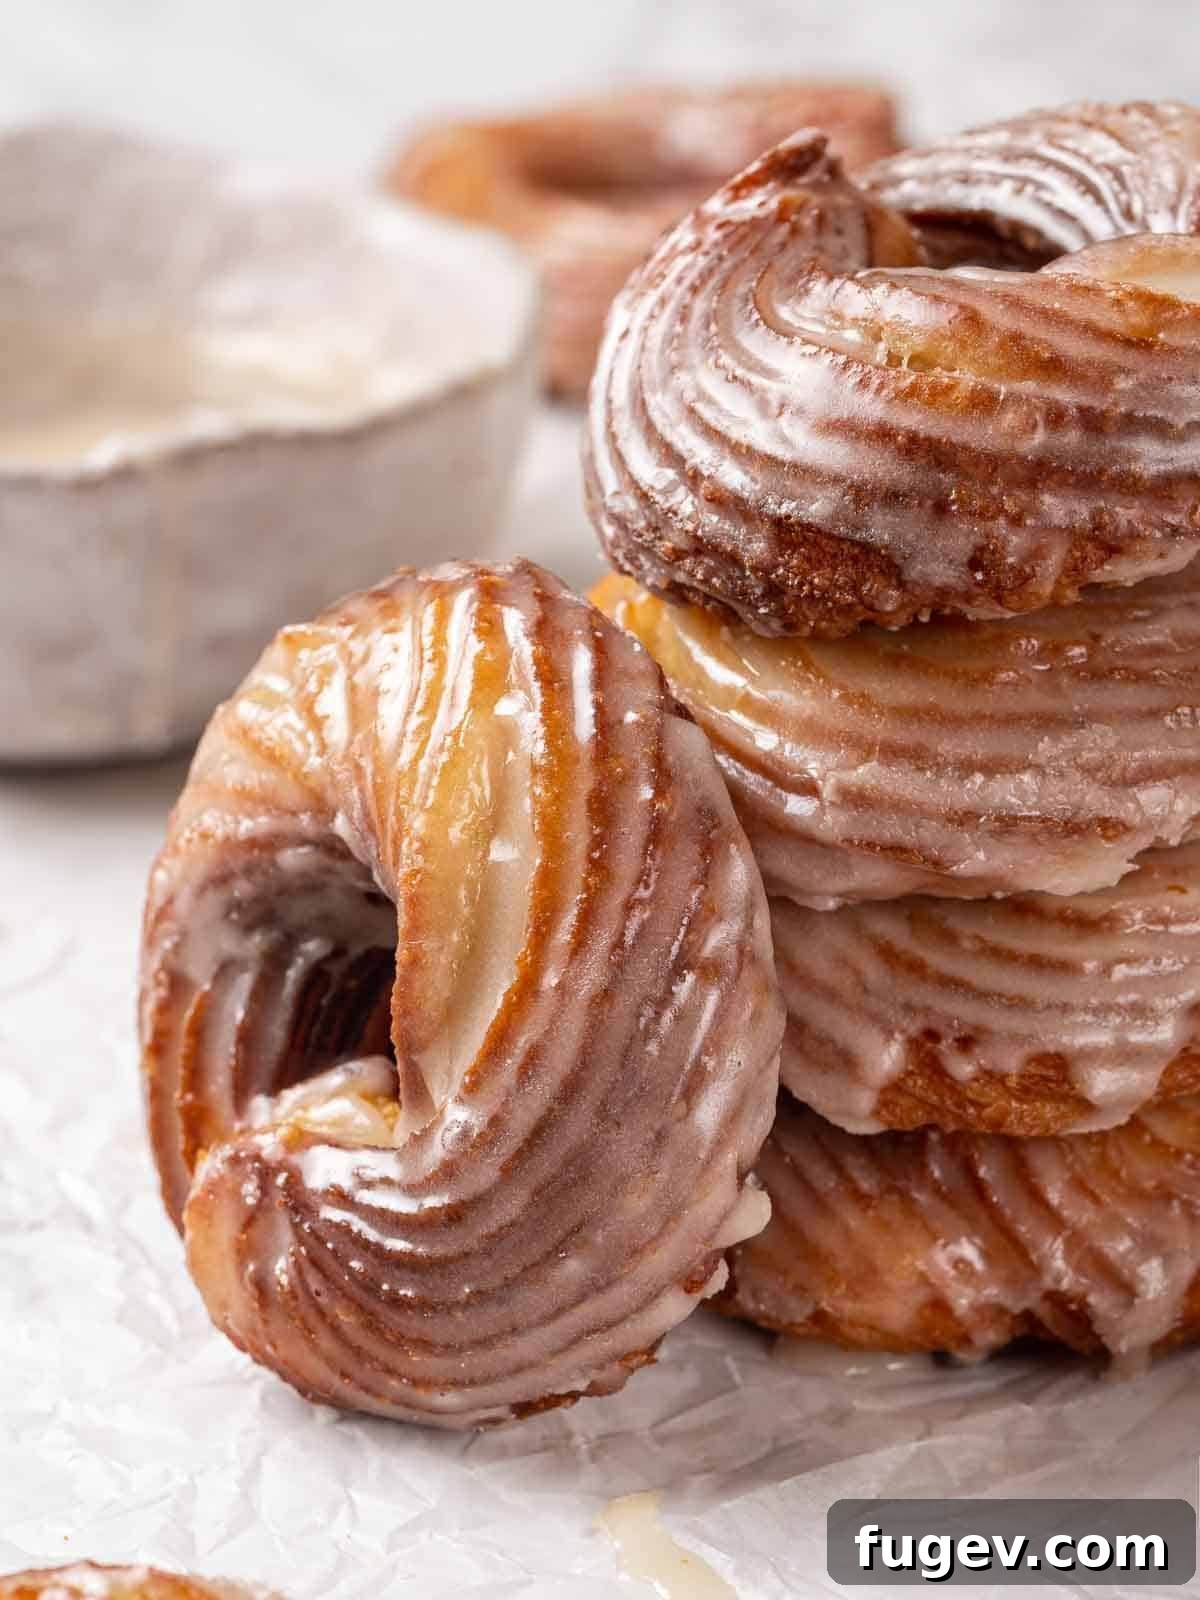
While many assume French crullers are simply a fried version of choux pastry, true crullers demand a unique dough formulation. My recipe is the result of dedicated reverse engineering, meticulously designed to replicate – and dare I say, surpass – the legendary crullers found at Daily Provisions in NYC. Having tasted countless crullers, I can confidently say the ones from Daily Provisions were the best I’d ever experienced, inspiring me to create a recipe that delivers that exact, unforgettable texture and flavor. And honestly, I think these are even better.
A proper French cruller offers a delicate lightness but is never hollow like an eclair or cream puff made from traditional pâte à choux. Choux pastry typically calls for an abundant amount of eggs and milk per cup of flour, which is essential for creating those dramatically hollow interiors. Crullers, however, strike a perfect balance: they are wonderfully light and tender without being cavernous. Unlike many other donuts, crullers are piped into their iconic ring shape rather than rolled or cut, and they require absolutely no yeast! This makes them surprisingly straightforward to prepare, often easier than many conventional donut recipes. They are even lighter in texture than my beloved Krispy Kreme copycat donuts, yet they retain all the sophisticated elegance reminiscent of my classic French crepes recipe.
Table of Contents
- Why These are the Best French Crullers
- Professional Tips for Making Crullers
- Ingredients & Substitutions
- Possible Variations
- How to Make French Cruller Donuts
- Chef Lindsey’s Recipe Tip
- Frequently Asked Questions
- French Cruller with Maple Glaze Recipe
- Before You Go
Why This is The Best French Cruller Recipe You’ll Ever Make
What sets this French cruller recipe apart from the rest? It’s all about precision, texture, and an unwavering commitment to authentic flavor. Here’s why this recipe will become your go-to for truly exceptional crullers:
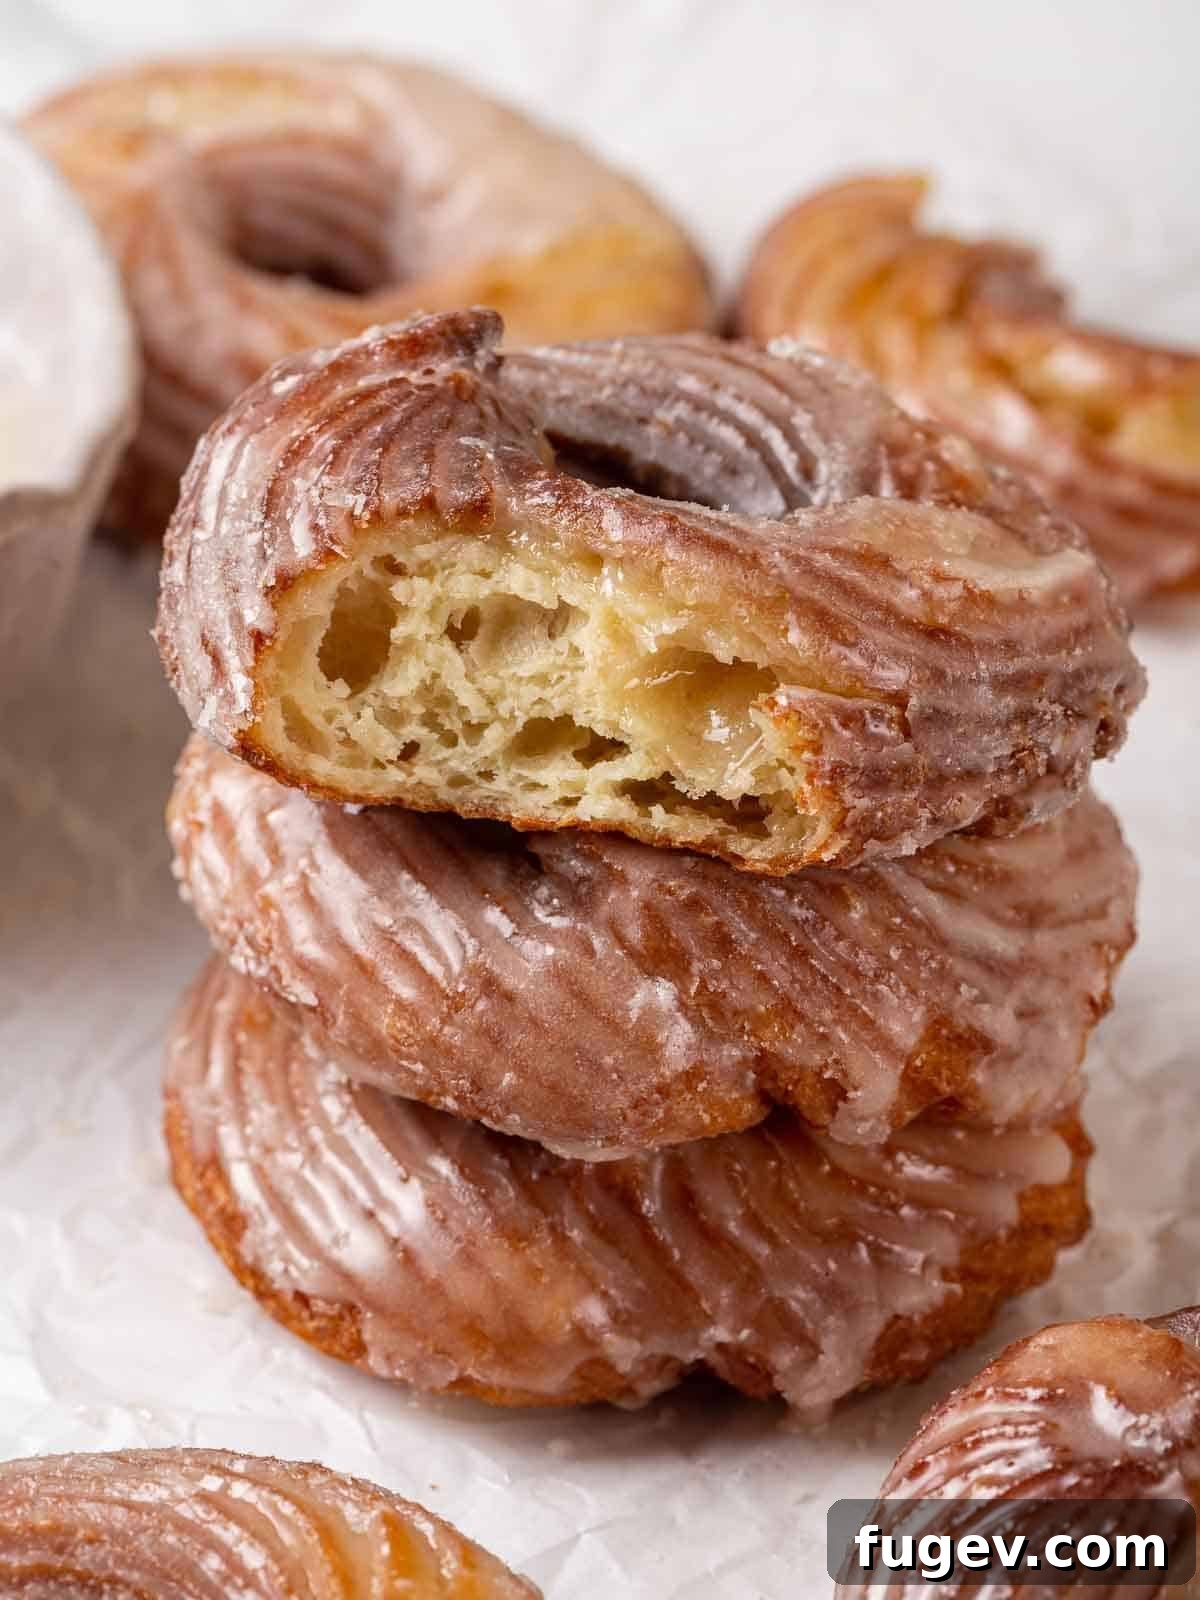
- Achieve the Perfect Light, Airy, Yet Non-Hollow Texture: Unlike standard choux pastry which aims for a hollow interior, this recipe is meticulously crafted to produce crullers that are exquisitely light and airy but possess a delightful, tender crumb. We achieve this superior texture and rich flavor through a balanced combination of whole eggs for fat and leavening, along with additional egg whites to ensure that characteristic delicate mouthfeel without any eggy aftertaste.
- A Truly Professional Cruller Recipe, Not Just Fried Choux: Many online “cruller” recipes are simply choux pastry piped and fried. This recipe is fundamentally different. It’s a genuine cruller dough, carefully formulated by a chef to yield a pastry that is distinctly light, incredibly flavorful, and beautifully structured, resisting the overly eggy profile often associated with pure choux. This isn’t a shortcut; it’s the authentic method for a superior result.
- Foolproof Method, Tested and Retested for Perfection: You can trust this recipe because it has undergone rigorous testing and refinement. My former sous chef and I were obsessed with recreating the sublime crullers from Daily Provisions. We meticulously problem-solved, tweaked, and retested every single step until we achieved absolute perfection. This isn’t a casual experiment; it’s a thoroughly vetted method designed to ensure your success, delivering those coveted crullers every single time.
Chef’s Professional Tips for Perfect French Crullers
Crafting flawless French crullers involves a few key techniques that can elevate your homemade donuts from good to extraordinary. These professional tips are crucial for achieving the signature texture, shape, and overall excellence you desire:
- Properly Heat the Butter and Milk: Just as with traditional choux pastry, it’s vital to heat the butter and milk over medium heat. The goal is to allow the butter to melt completely before the milk reaches a full boil. Why? If the milk boils too quickly while you’re waiting for the butter to melt, too much water will evaporate, altering the delicate balance of the dough and potentially leading to a denser cruller.
- Always Fry Crullers From Frozen: This step is non-negotiable for achieving the ideal texture and, most importantly, for preserving those beautiful, characteristic piped lines. Frying from frozen helps the dough set quickly, locking in the intricate ridges and preventing them from losing definition in the hot oil. This ensures your crullers look as stunning as they taste.
- Allow Crullers to Cool Completely Before Enjoying: Patience is a virtue, especially with crullers. While the aroma of freshly fried donuts is enticing, the texture of a warm cruller isn’t quite appealing. The internal structure needs time to set and firm up. For the best culinary experience, serve these delicate pastries at room temperature. Save your hot taste-testing for other delights like my old-fashioned sour cream donuts!
- Follow This Recipe to a “T”: Every step in this French cruller recipe has been carefully developed and tested for a reason. From the specific ingredient ratios to the cooking times and temperatures, each instruction plays a vital role in achieving those perfect crullers with their defined, piped stripes. No step is inherently difficult, but paying attention to these small details will make all the difference in your final product. Trust the process for truly remarkable results.
Essential Ingredients & Thoughtful Substitutions for French Crullers
Crafting the perfect French cruller relies on quality ingredients and understanding their role in the dough and glaze. Here’s a breakdown of what you’ll need and potential adjustments:
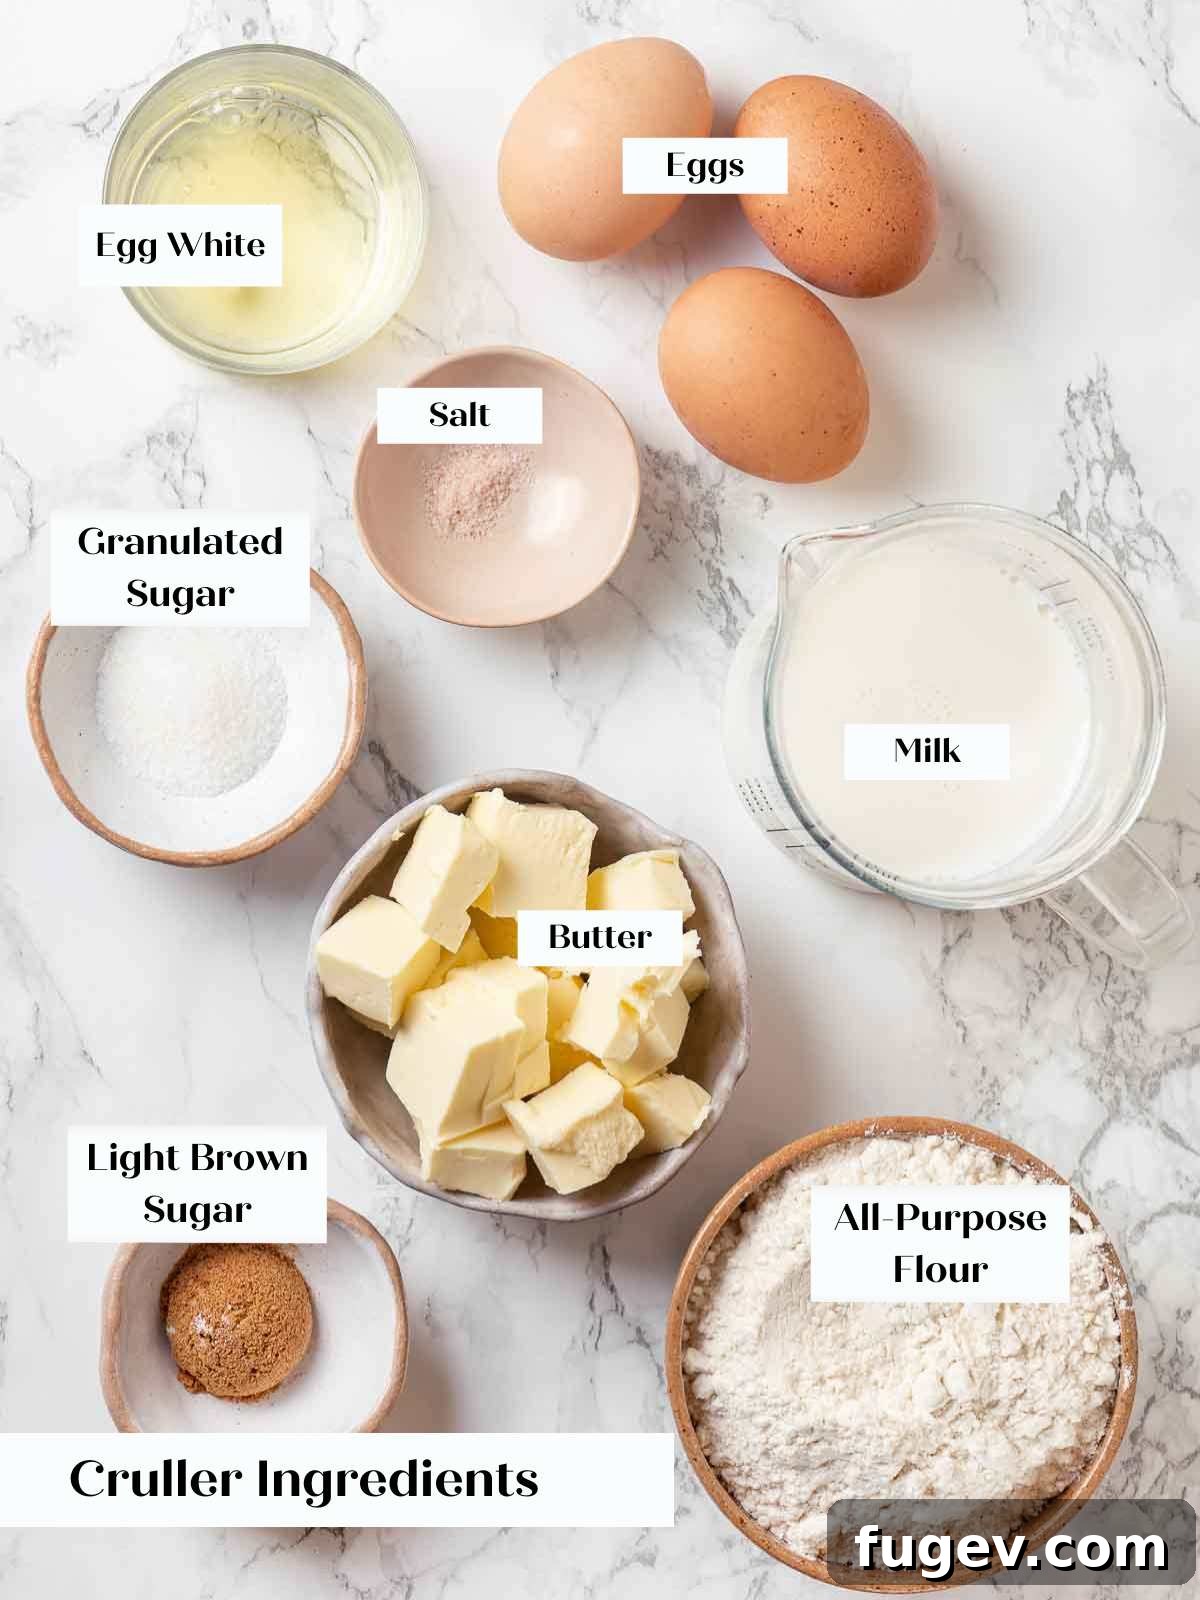
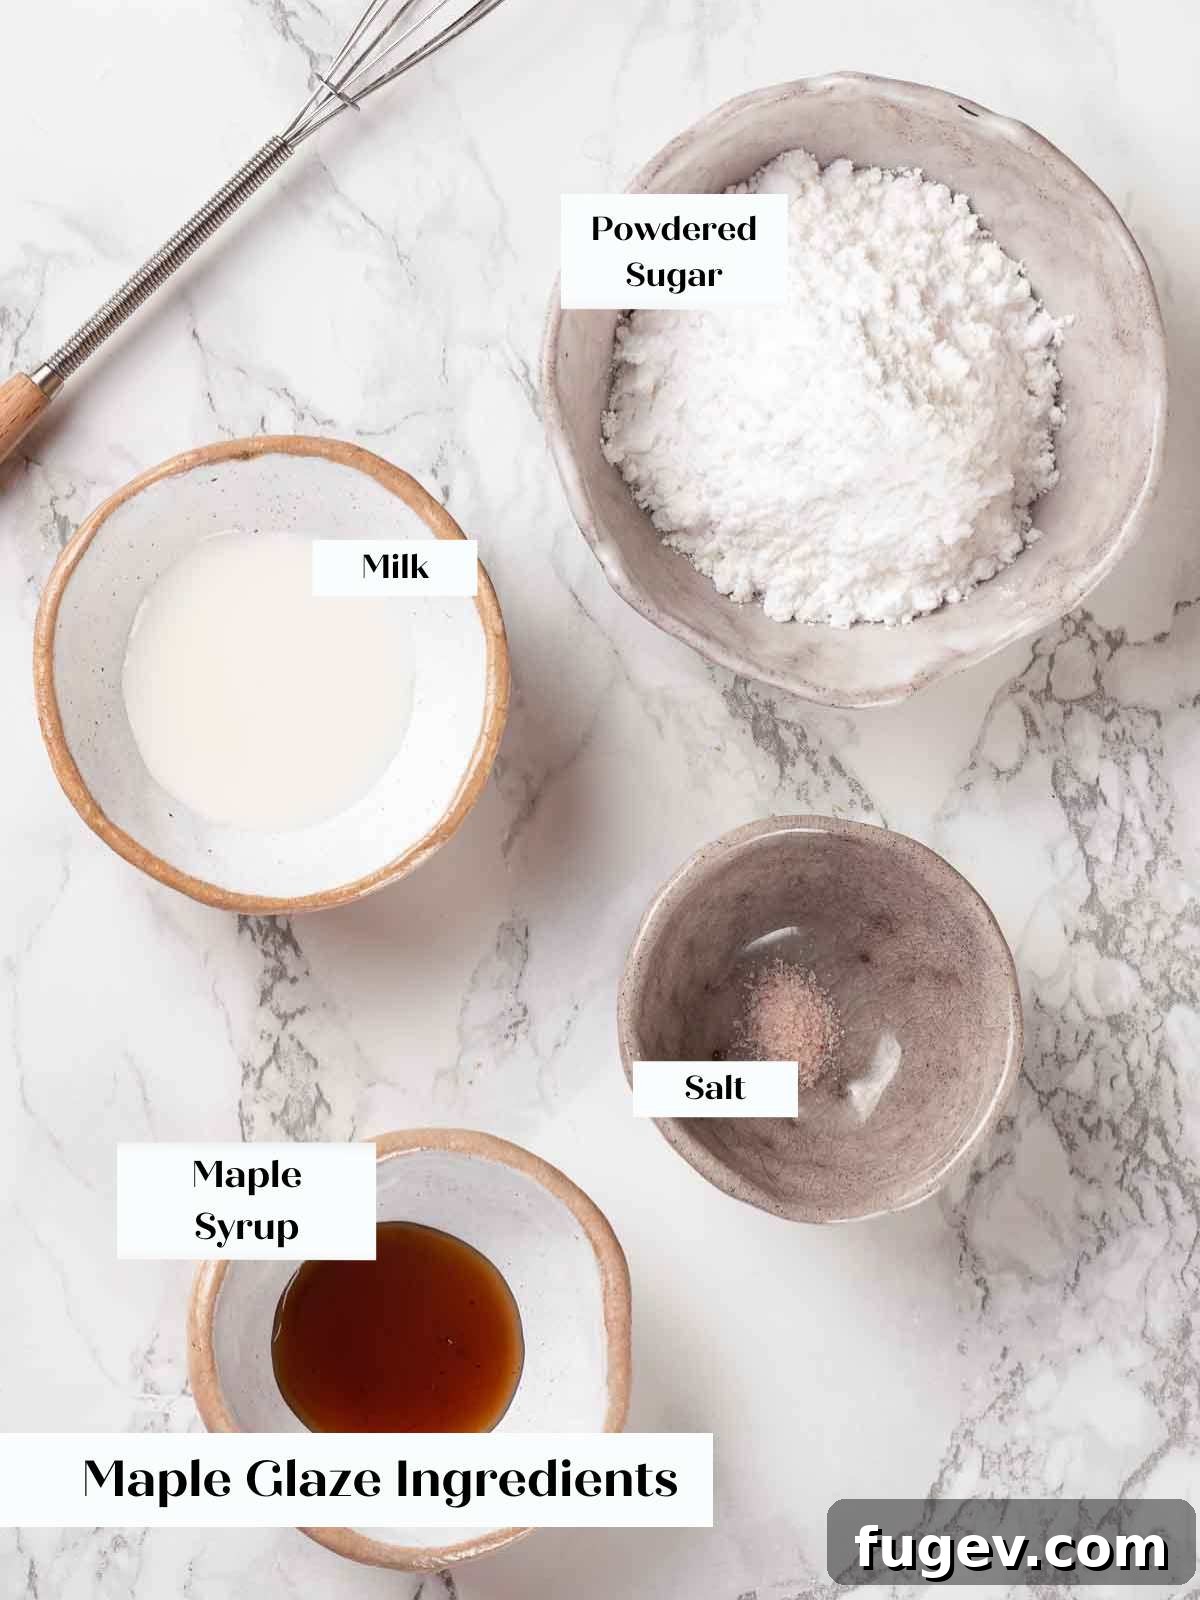
- Whole Milk: Whole milk contributes significantly to the richness, flavor, and tender texture of the crullers due to its higher fat content. While whole milk is recommended for the best results, you can use a lower-fat milk if absolutely necessary, but be aware it might slightly alter the final texture and richness.
- Unsalted Butter: Butter provides essential fat and flavor to the dough. Using unsalted butter allows you to control the overall saltiness of the recipe precisely. Ensure it’s cubed for even melting.
- Granulated Sugar: A touch of granulated sugar in the dough adds a subtle sweetness and also aids in browning the crullers to a beautiful golden hue during frying.
- Light Brown Sugar: Incorporating a small amount of light brown sugar alongside the granulated sugar introduces a nuanced depth of flavor with its characteristic molasses notes. You can certainly use all granulated sugar if preferred, or whatever you have readily available in your pantry.
- Kosher Salt: Salt is crucial for balancing the sweetness in both the cruller dough and the maple glaze, enhancing all the other flavors.
- All-Purpose Flour: After extensive testing with various flours, including bread flour (often used for choux) and cake flour, all-purpose flour proved to be the superior choice for this cruller recipe. Cake flour lacked sufficient structure to support the airy pockets, while bread flour resulted in a chewiness that wasn’t ideal. All-purpose flour provides the perfect balance of structure and tenderness.
- Large Eggs & Egg Whites: The precise combination of whole large eggs and additional egg whites is key to this recipe’s success. Whole eggs contribute richness, fat, and leavening, while the extra egg whites ensure the crullers are incredibly light and airy without becoming overly dense or having a pronounced eggy flavor. Eggs play a multifaceted and critical role in the texture and lift of these crullers.
- Powdered Sugar (Confectioners’ Sugar): This finely milled sugar forms the base of our exquisite maple glaze, creating a smooth and quick-setting coating. Its delicate texture is perfect for glazes.
- Maple Syrup: The star of the glaze, maple syrup provides both distinct flavor and the primary liquid component. For the most robust and authentic maple flavor, I highly recommend using a dark amber Grade A maple syrup, which has been reduced further than lighter grades and offers a richer profile. Grade B also works wonderfully if you can find it.
- Canola Oil (for Frying): A neutral oil with a high smoke point is essential for frying. Canola oil is my preferred choice for its reliability and minimal flavor transfer, but you can certainly use your favorite frying oil, such as vegetable oil or peanut oil.
For precise quantities and detailed instructions, please refer to the complete recipe card below.
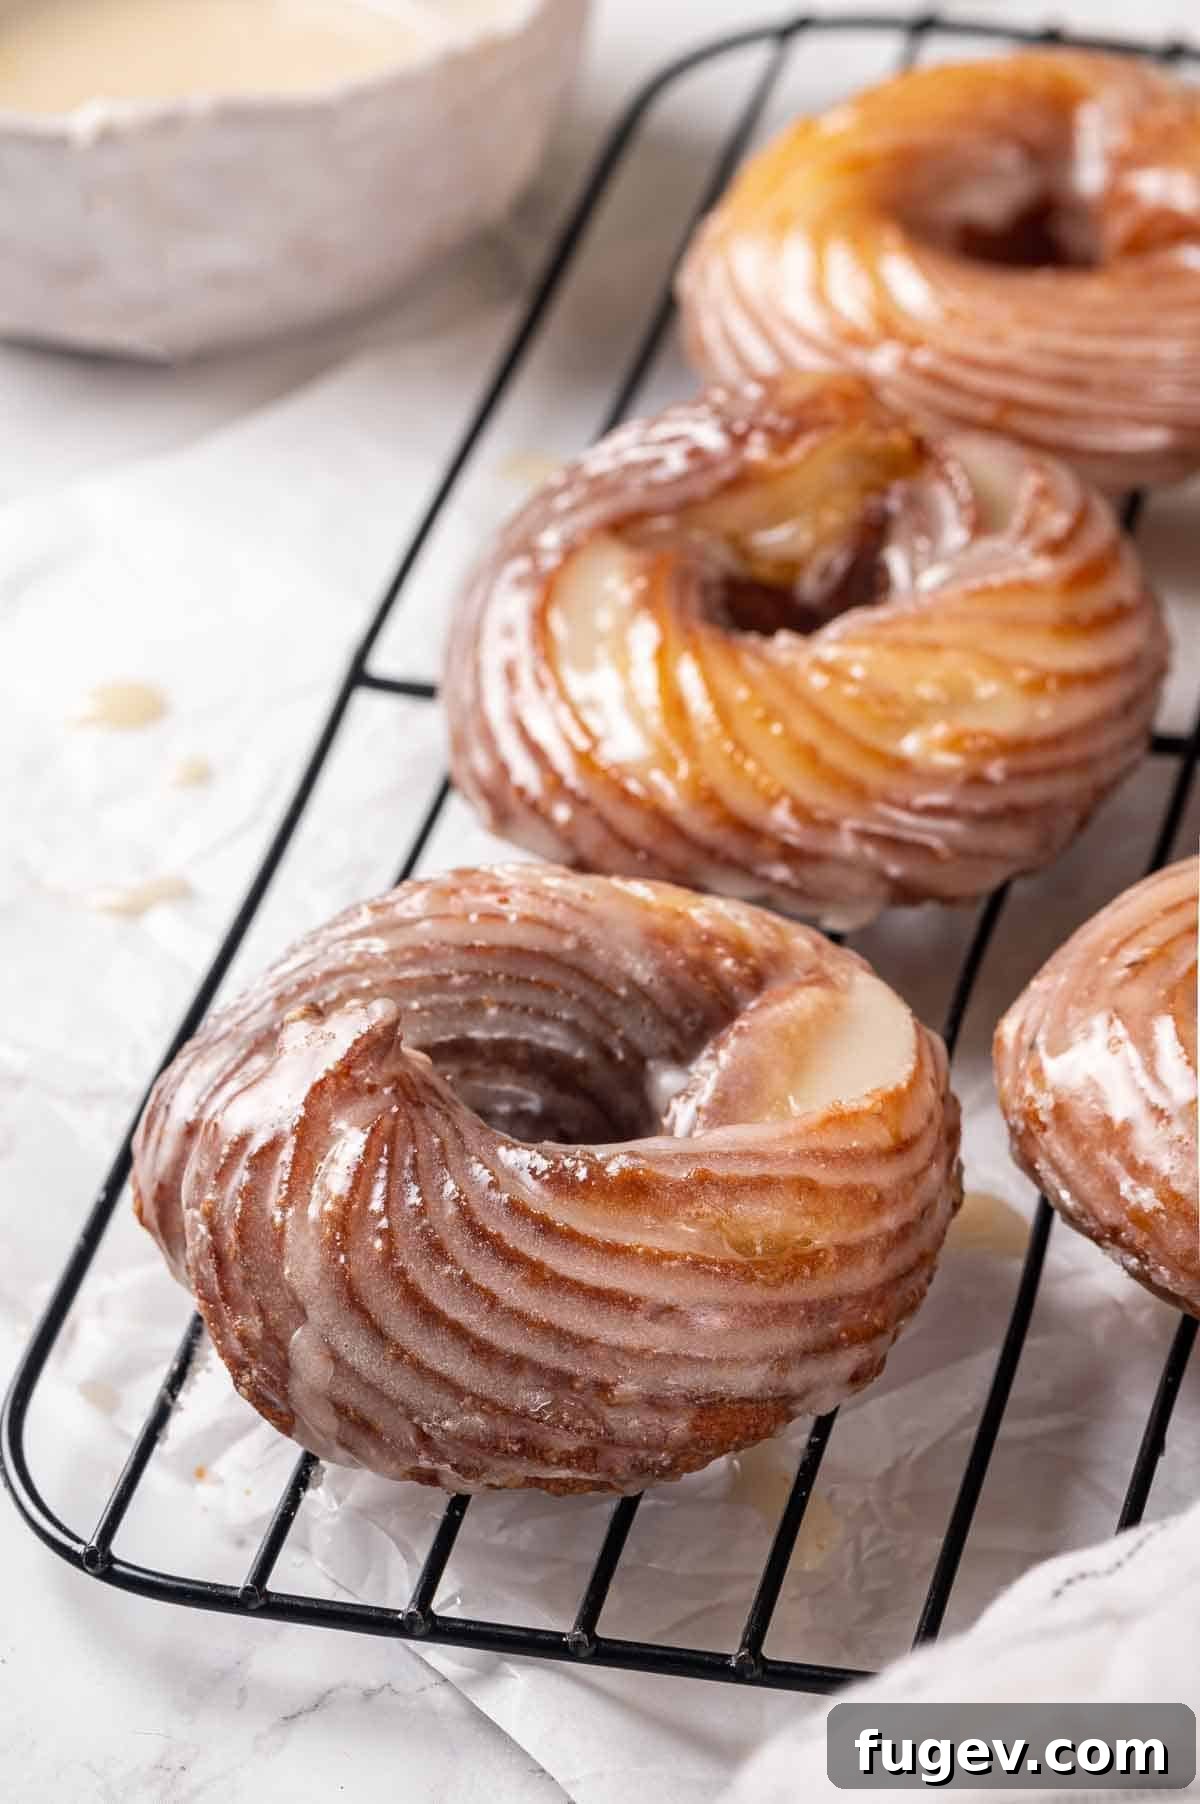
Exciting Variations to Customize Your French Crullers
While the classic maple-glazed French cruller is undeniably delicious, this recipe provides a fantastic base for creativity. Don’t hesitate to experiment with different flavors and fillings to make these crullers uniquely yours:
- Transform the Glaze Flavor: The maple glaze is just one delightful option! You can easily pivot to other flavors for a fresh take. Try my classic donut glaze recipe for a sweet vanilla essence, or infuse a bright, zesty note by incorporating orange juice or lemon juice into the glaze. For more adventurous palates, a few drops of coffee extract or peppermint extract can completely change the profile. A tablespoon of Bourbon, rum, or another spirit can also add a sophisticated kick. For the chocolate lovers, my rich chocolate fudge glaze is an absolute must-try. Alternatively, swap out the maple syrup for honey to create a sweet and fragrant honey glaze.
- Infuse Flavor Directly into the Dough: Altering the dough’s flavor requires a bit more care to avoid impacting the delicate texture, but it’s certainly possible. A subtle way to do this is to add a different extract, such as vanilla, almond, or even a hint of rum, directly to the milk mixture. Another excellent method is to rub citrus zest (lemon, orange, or lime) into the granulated sugar before mixing it with the other dry ingredients. This releases the essential oils, embedding bright, fresh flavor throughout the dough.
- Elevate Your Crullers with Delicious Fillings: Who says crullers can’t be filled like jelly donuts? Injecting a delightful filling after frying is a fantastic way to introduce an extra layer of flavor and surprise. Consider luscious peach preserves, a vibrant easy strawberry jam, a medley of mixed berry jam, rich Nutella, silky salted caramel sauce, tart and creamy lemon curd, or a lightened cream cheese frosting. Use a piping bag fitted with a small, sharp tip to gently inject your chosen filling into the cooled crullers.
How to Make French Cruller Donuts: A Step-by-Step Guide
Follow these detailed instructions to create beautifully light, airy, and perfectly fried French crullers at home. For exact measurements and further specifics, please refer to the complete recipe card found further down the page.
Part 1: Preparing & Piping the Cruller Dough
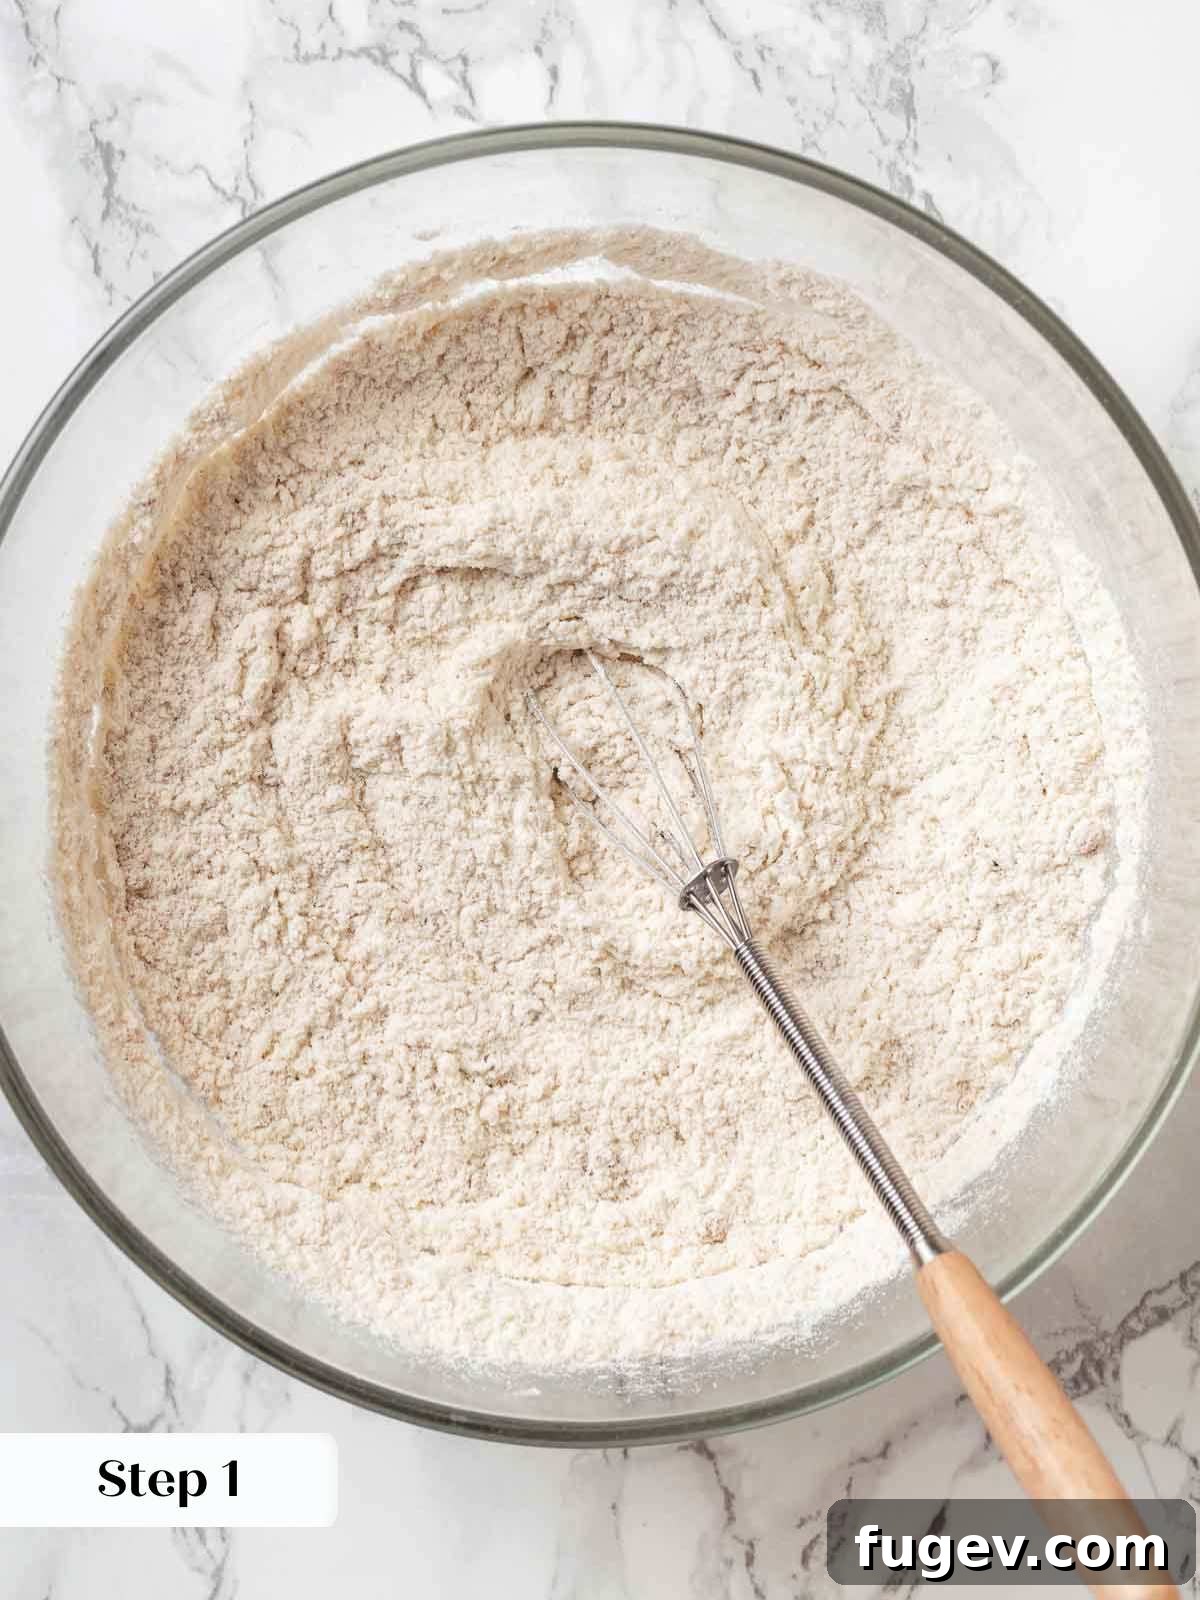
Step 1: Combine Dry Ingredients. In a large mixing bowl, thoroughly whisk together the granulated sugar, light brown sugar, all-purpose flour, and kosher salt. Ensure they are well combined, then set this mixture aside. This pre-mix ensures even distribution when added to the wet ingredients.
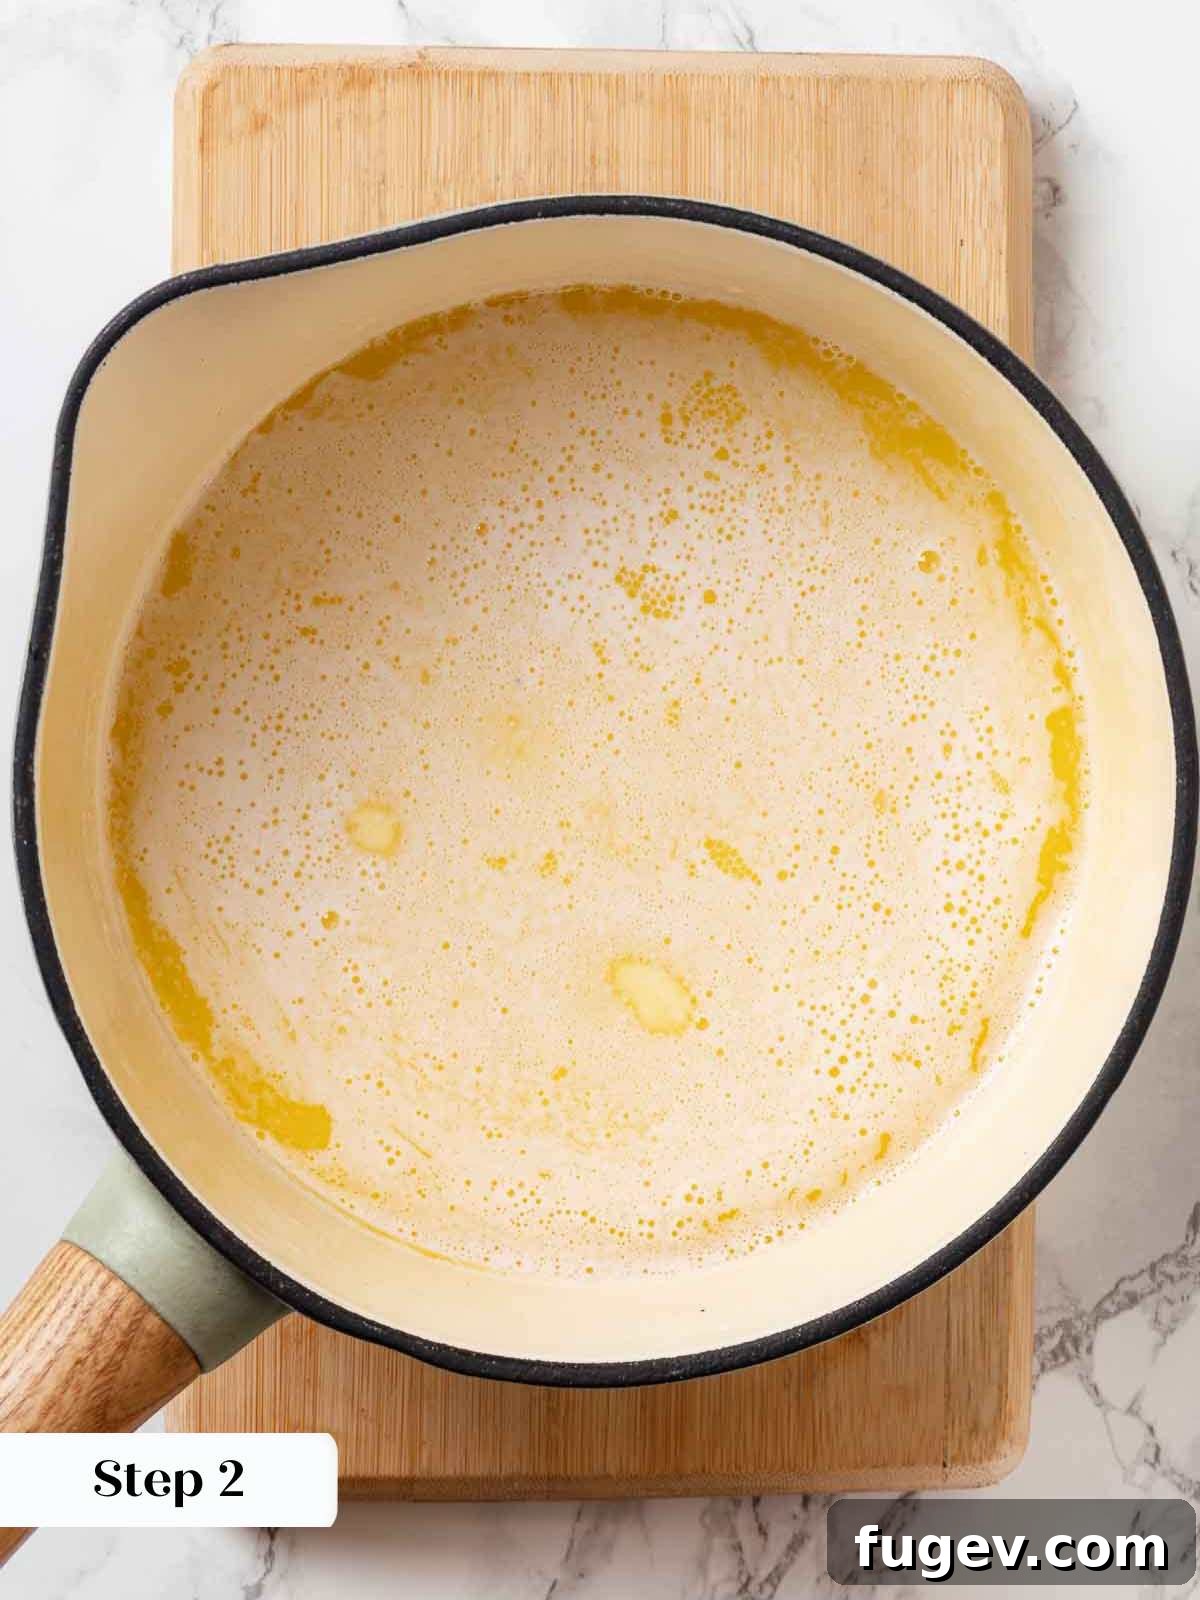
Step 2: Heat Milk and Butter. In a large, high-sided saucepan, combine the whole milk and cubed unsalted butter. Place the saucepan over medium-high heat and bring the mixture just to a boil. Watch it carefully to ensure it doesn’t boil rapidly for too long.
Chef’s Tip for the Base: Just like with classic choux pastry, it’s crucial to ensure the butter melts completely before the milk comes to a rolling boil. This prevents excessive water evaporation from the milk while you wait for the butter to dissolve, maintaining the precise liquid-to-solid ratio vital for the dough’s consistency.
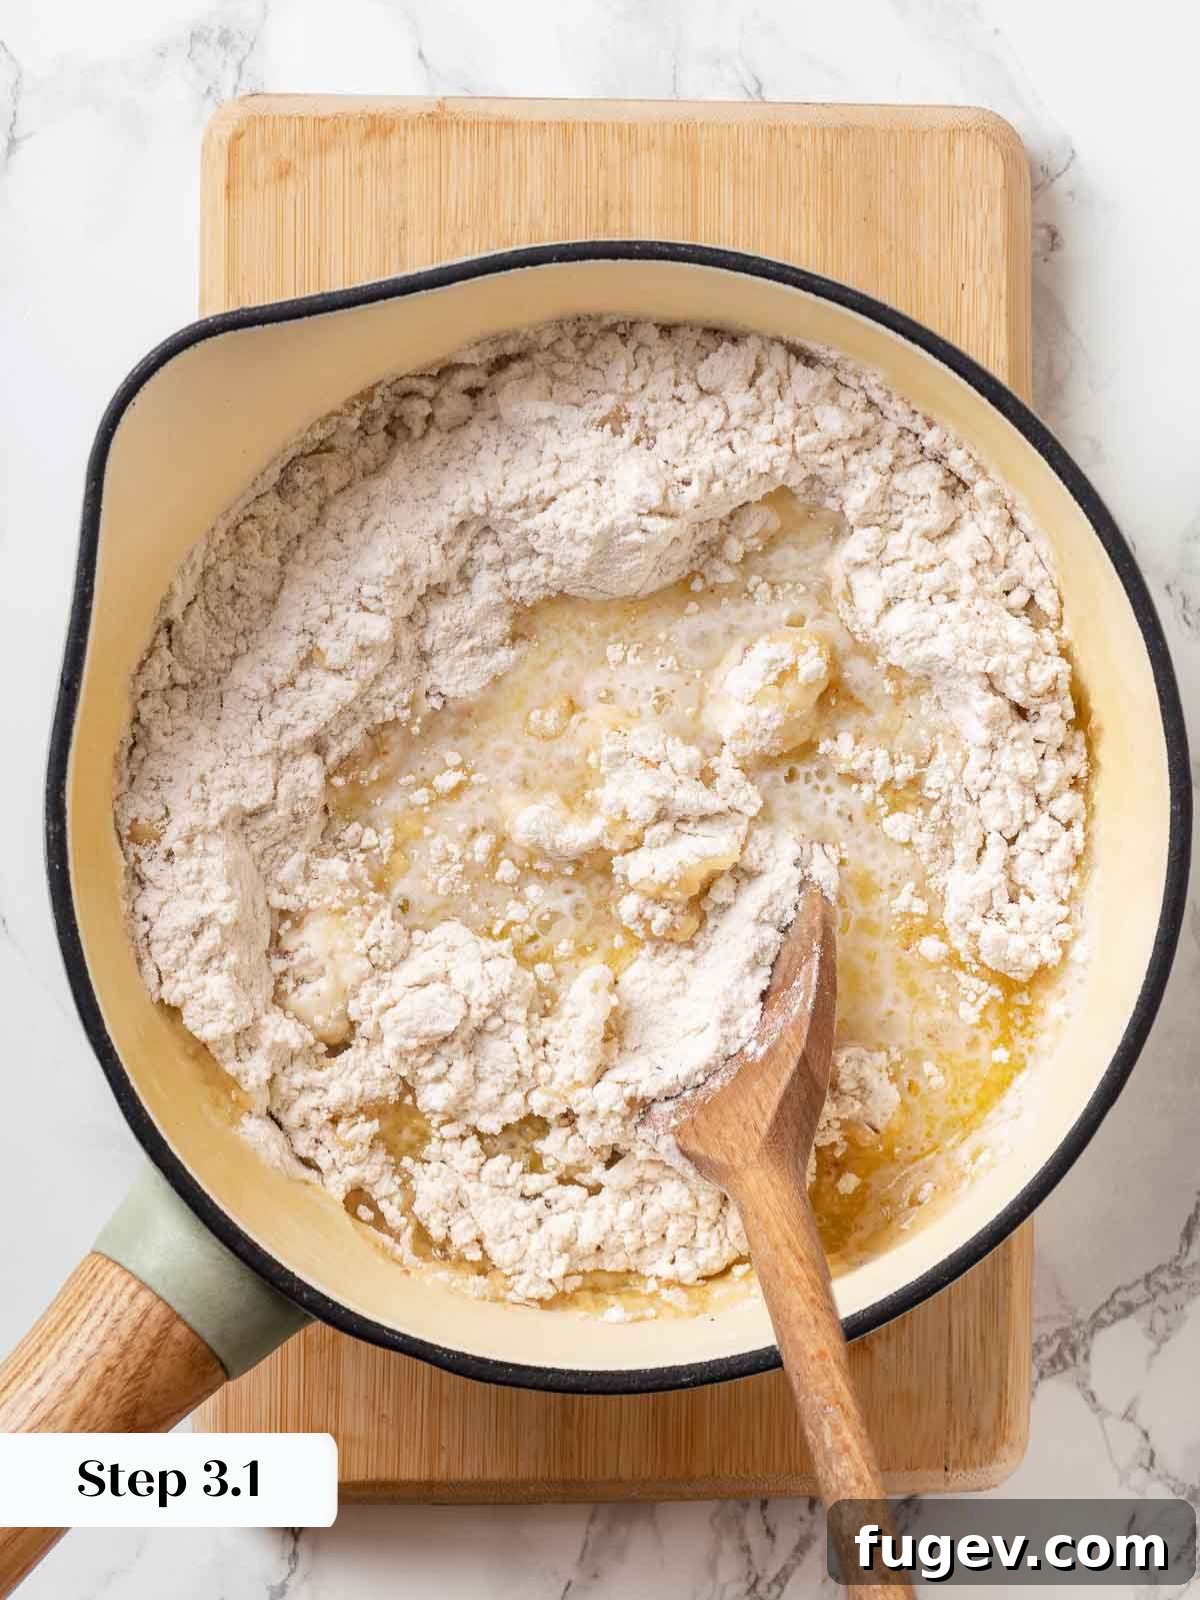
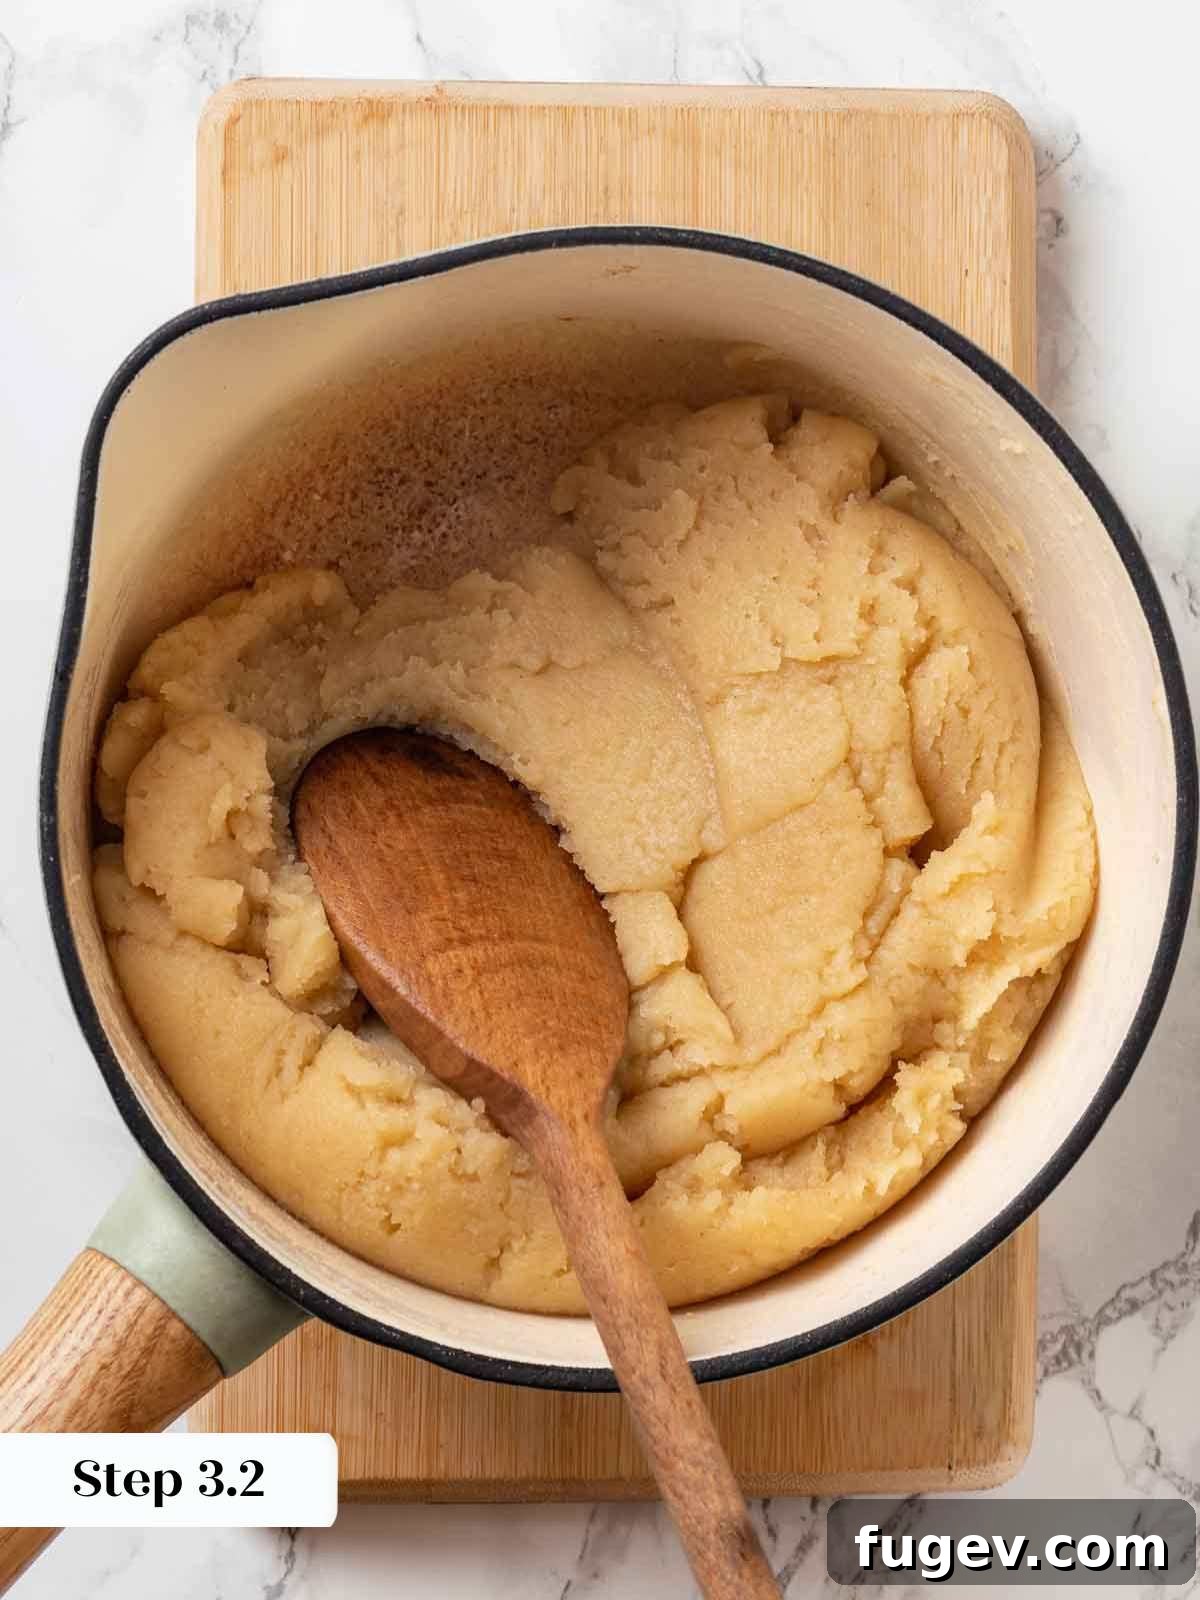
Step 3: Add Dry Ingredients & Cook Out Moisture. Immediately after the milk and butter mixture comes to a boil, remove it from the heat and vigorously add all the reserved dry ingredients to the pot. Stir constantly and energetically with a sturdy wooden spoon over medium heat. Continue cooking and stirring until a thick dough forms, pulls away from the sides of the pot, and a thin, brownish residue begins to form on the bottom of the saucepan. This process is crucial for evaporating excess liquid, which helps create the desired cruller texture.
Important Note: If you do not cook the dough long enough at this stage, it will retain too much moisture. This will result in a batter that becomes too loose and runny when the eggs are added, making it difficult to pipe and causing it to lose its distinct shape when fried.
Step 4: Cool the Batter. Transfer the cooked dough into the bowl of a stand mixer. Fit the mixer with the paddle attachment and beat the dough on high speed for approximately 1 minute. This action serves two purposes: it helps to rapidly cool the batter and allows additional steam (moisture) to escape, further drying out the dough slightly.
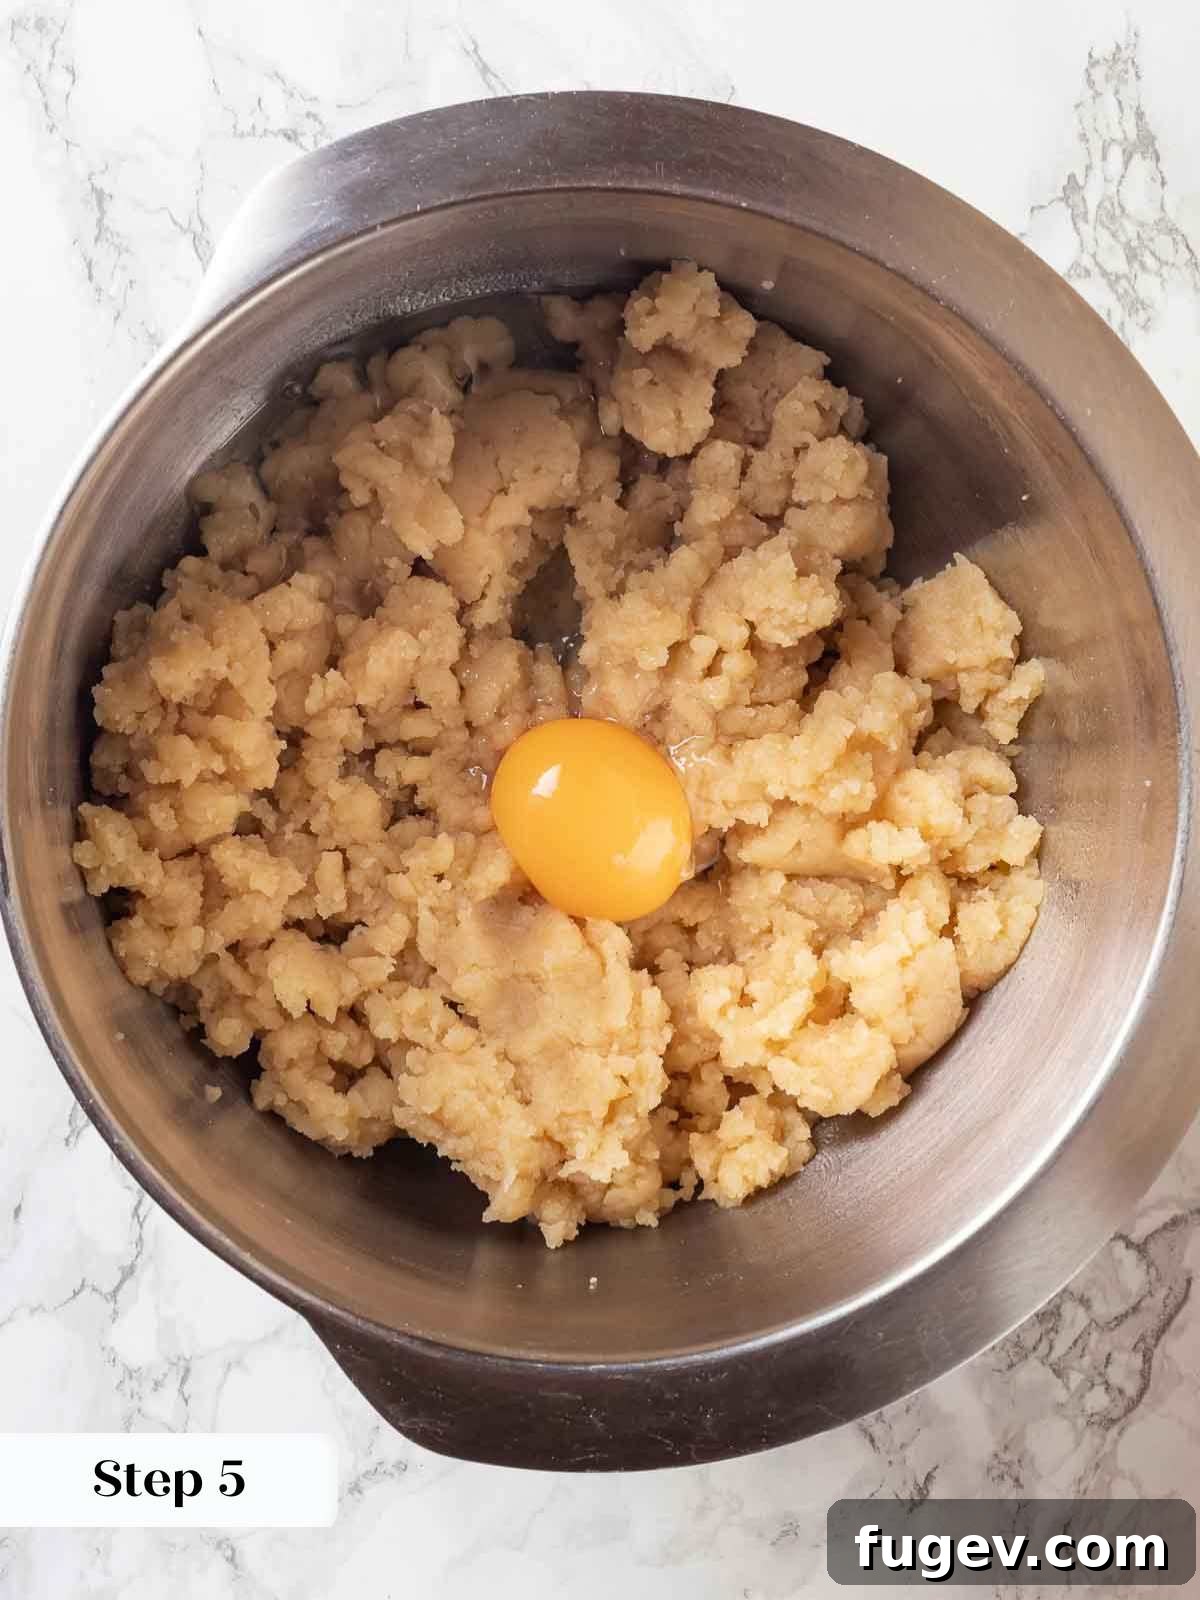
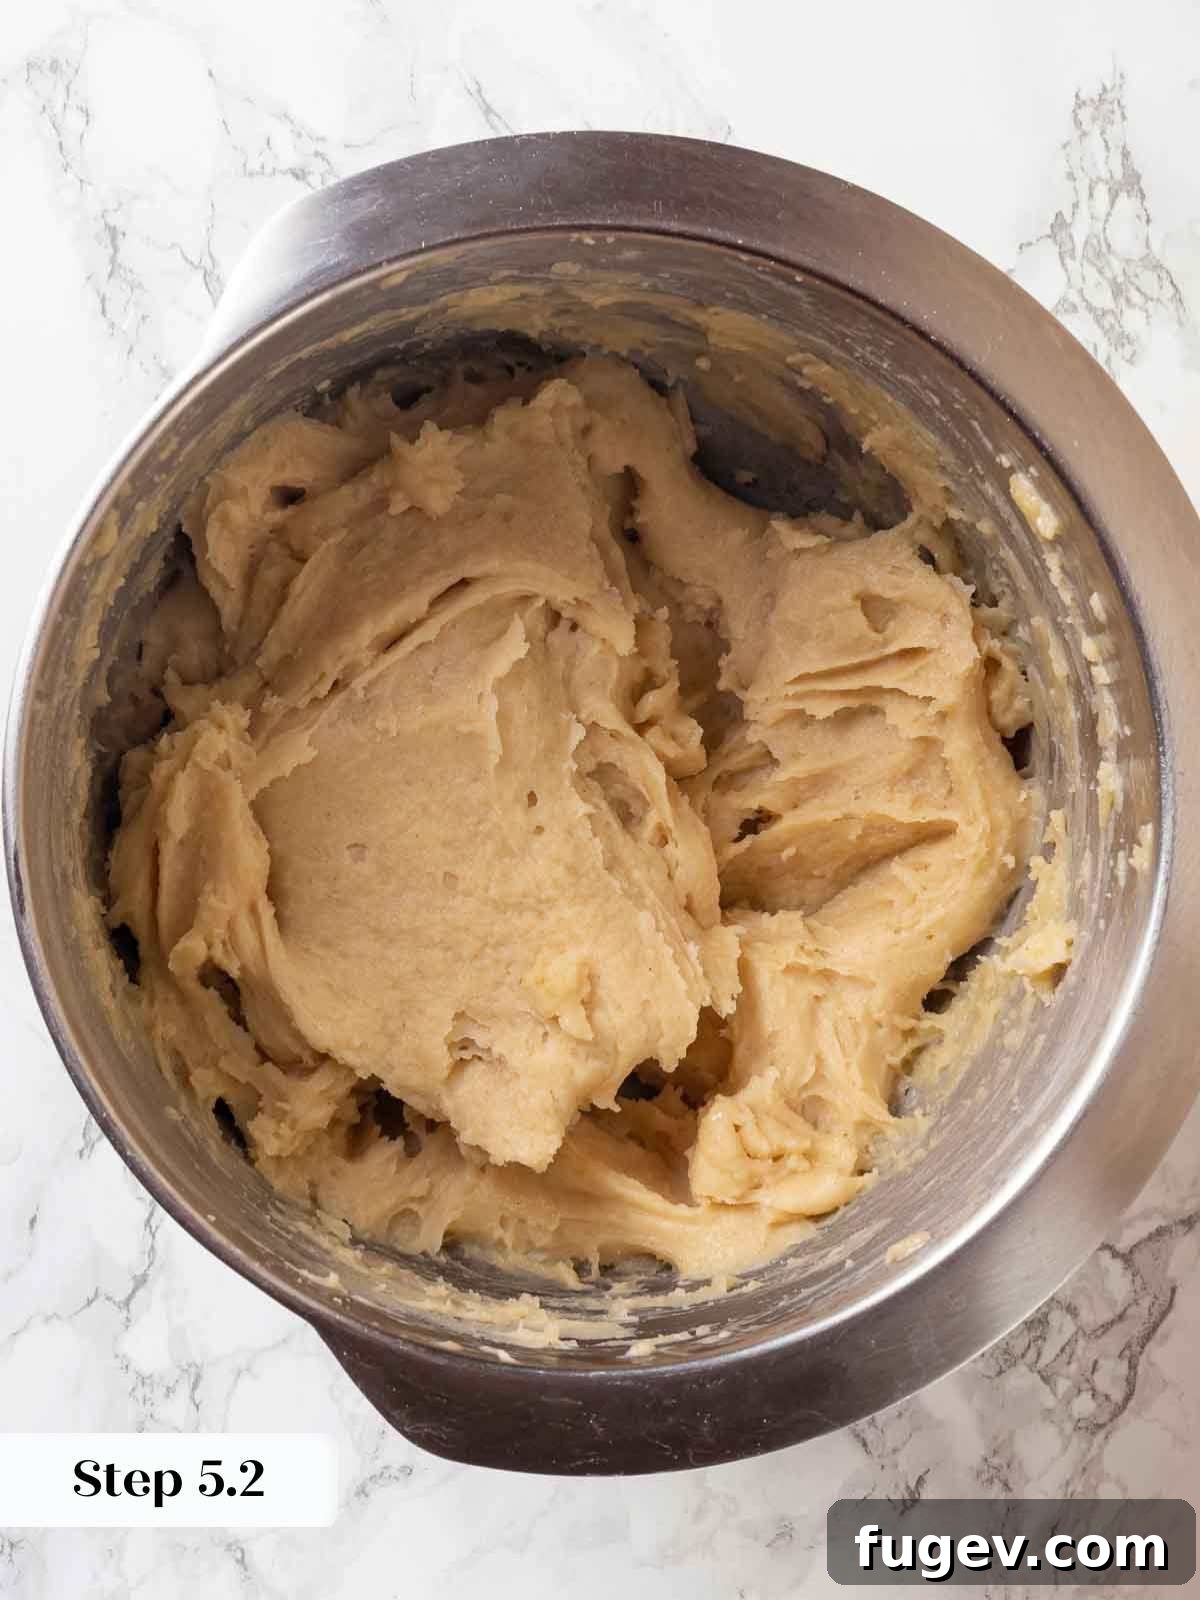
Step 5: Incorporate Eggs Gradually. With the mixer still running on medium speed, begin adding the large eggs one at a time. It’s imperative to beat the mixture for at least a full minute after each egg addition, allowing it to fully incorporate and emulsify before adding the next. Add the separated egg whites with the very last whole egg. Once all eggs are incorporated, the batter should appear beautifully emulsified, smooth, and glossy, with a thick, pipeable consistency.
Step 6: Pipe, Chill, and Freeze the Dough. Scoop the prepared cruller dough into a pastry bag that has been fitted with a large Ateco French star tip (size 869). On sheets of parchment paper, carefully pipe the dough into uniform rings, aiming for a diameter of approximately 2 ½ to 3 inches each. Once piped, place the parchment squares with the crullers onto a baking sheet, chill them in the refrigerator, and then transfer them to the freezer until they are completely solid.
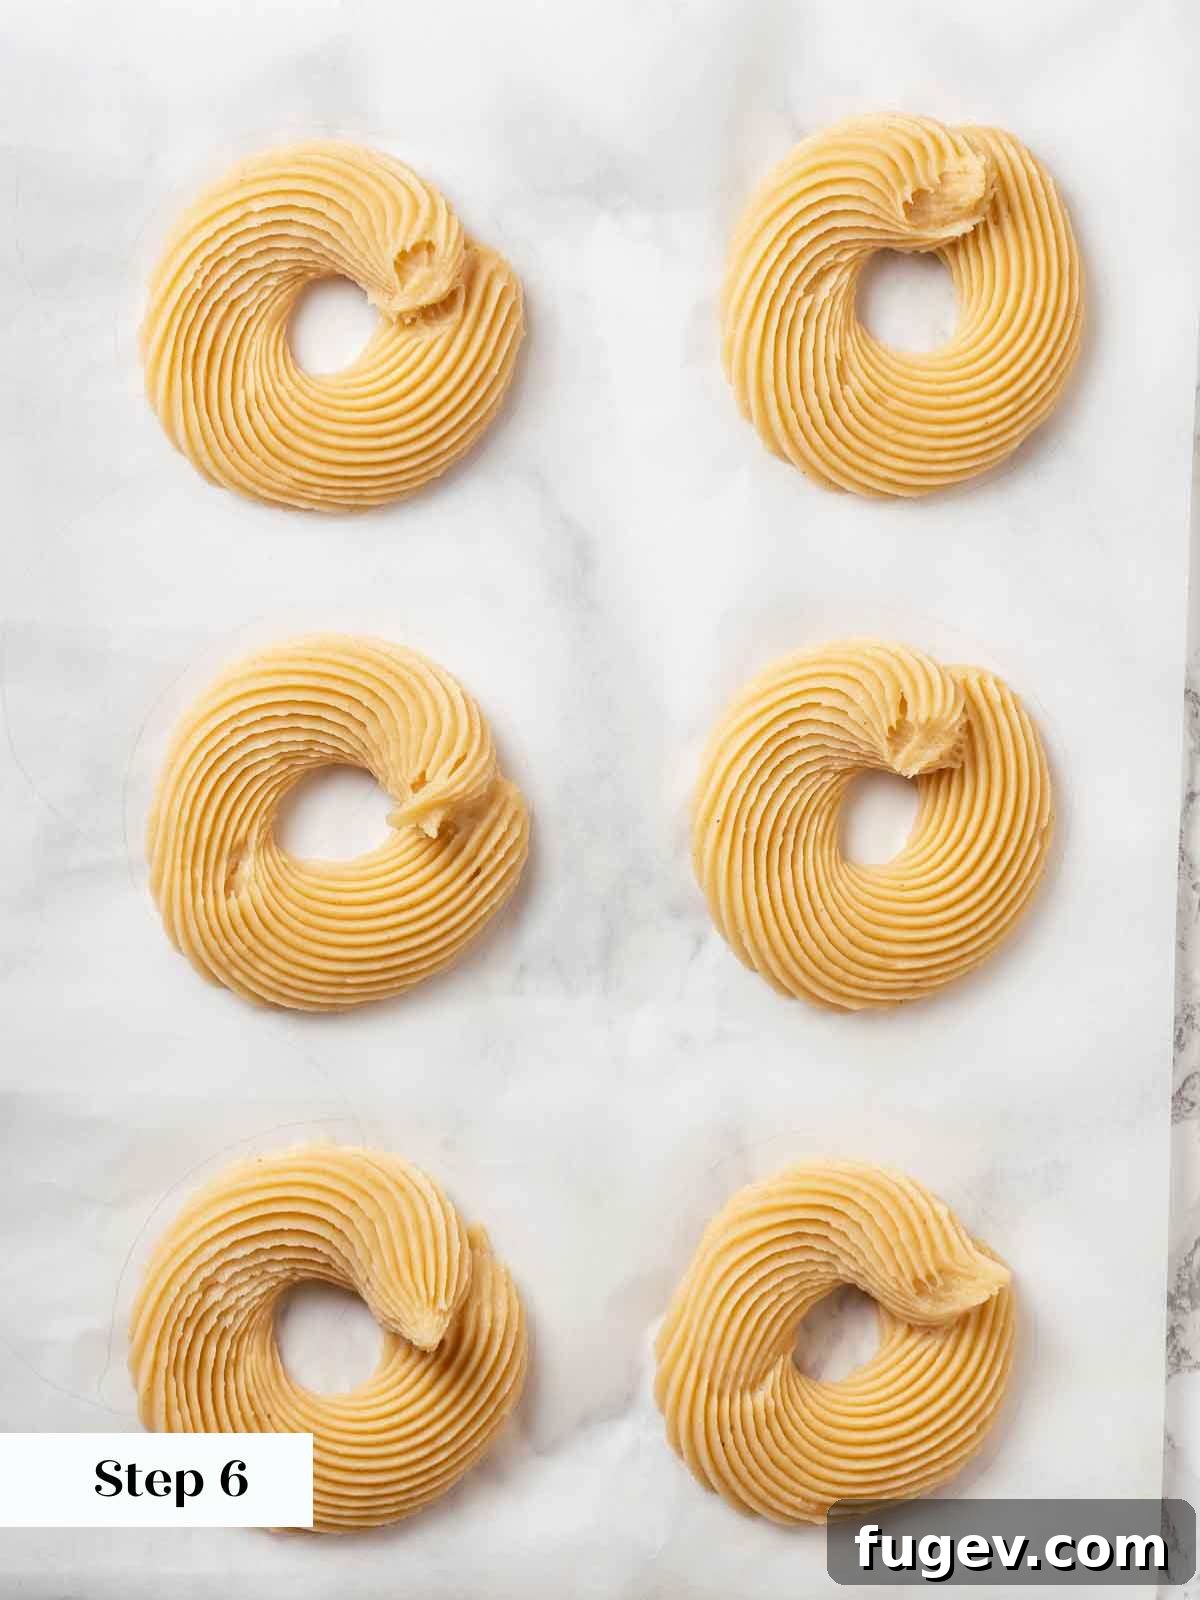
Storage Tip: Once your piped crullers are fully frozen, you can carefully cut the parchment paper around each individual cruller. Transfer them to an airtight freezer-safe container, ensuring they are well-wrapped to prevent freezer burn. Store them frozen until you’re ready to fry, up to 2 months in advance.
Part 2: Frying the Crullers & Glazing
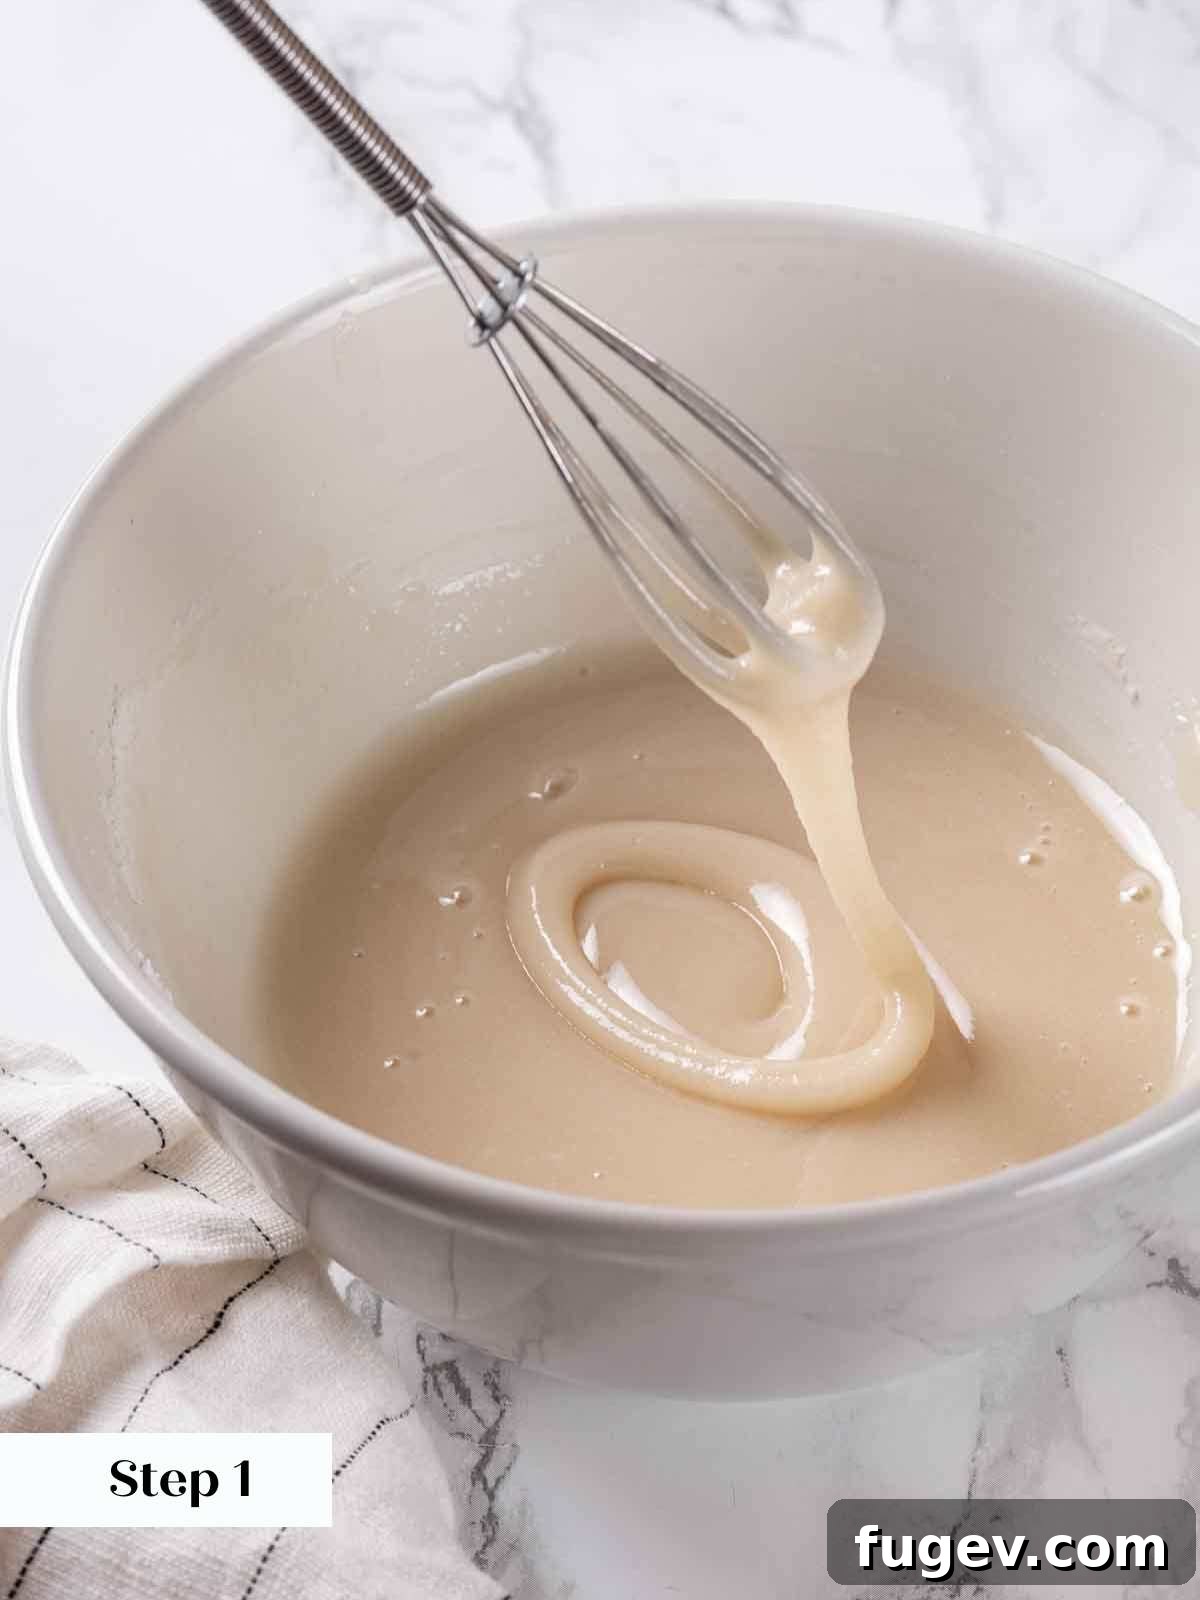
Step 1: Prepare the Maple Glaze. Before you begin frying, prepare your maple glaze. In a large bowl, whisk together all the ingredients for the glaze (powdered sugar, maple syrup, kosher salt, and milk). Add the milk gradually, a tablespoon at a time, until the glaze reaches your desired consistency – it should be thick enough to coat but still flow smoothly from the whisk, similar to cold molasses. Taste and adjust maple syrup or salt as needed.
Glaze Preservation: To prevent a skin from forming on the surface of your glaze while you prepare for frying, press a piece of plastic wrap directly onto the surface of the glaze until you are ready to use it.
Step 2: Preheat Frying Oil. Add at least 2 inches of canola oil (or your preferred frying oil) to your chosen cooking vessel. This could be a tabletop fryer, a sturdy cast iron skillet, or a heavy-bottomed Dutch oven. Attach a clip-on fry thermometer to the side of the pot. Gradually preheat the oil to precisely 335°F (168°C).
Step 3: Set Up Your Frying Station (Mise en Place). A well-organized frying station is key to success. Have your prepared glaze ready, along with a rimmed baking sheet fitted with a wire rack. This rack is ideal for allowing excess oil to drip off the fried crullers. Alternatively, you can line the rack with a few layers of paper towels. Keep a slotted spoon, spider, or tongs nearby for safely transferring the crullers from the oil.
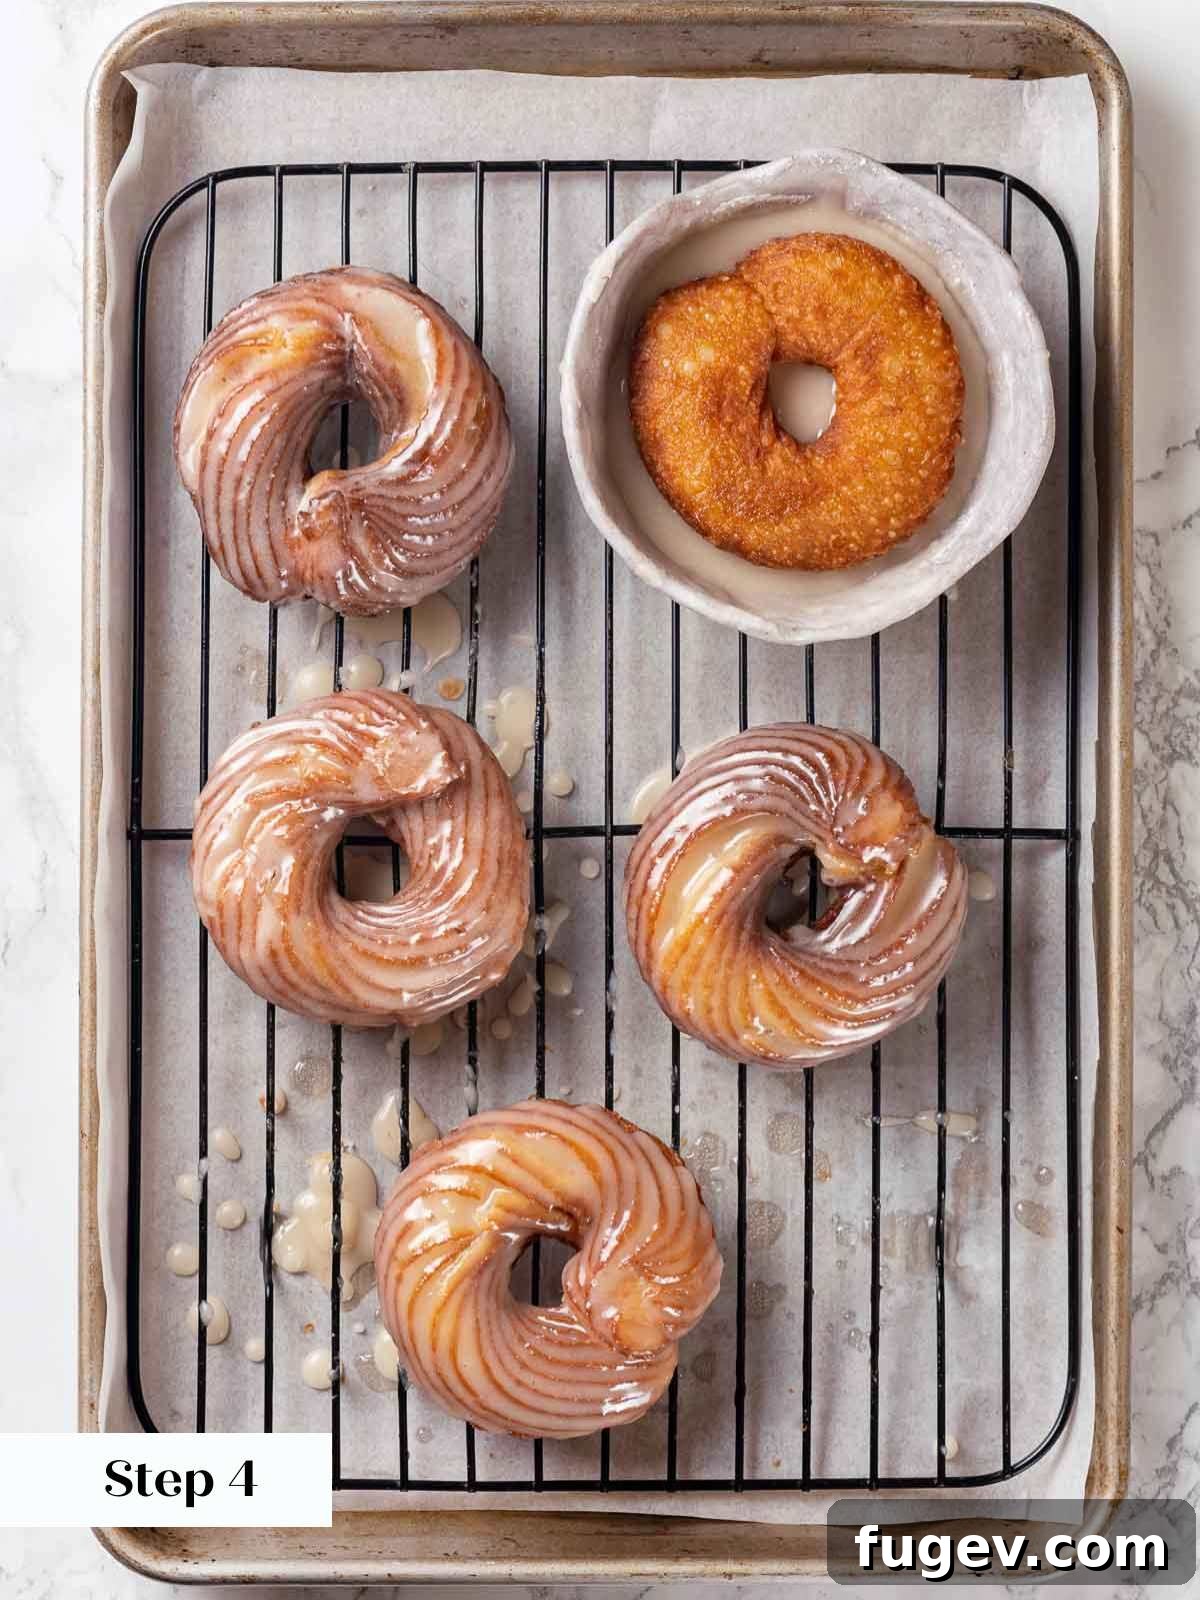
Step 4: Fry from Frozen. Carefully transfer the frozen crullers, still on their parchment paper squares, into the preheated oil at 335°F (168°C). The parchment will naturally separate from the cruller once it hits the hot oil, allowing you to easily remove it. Fry the crullers until they are beautifully golden brown on one side, then gently flip them using your slotted spoon or tongs. Continue frying until they are golden brown on all sides. Once cooked, remove the crullers from the hot oil and place them on your prepared wire rack to drain any excess oil.
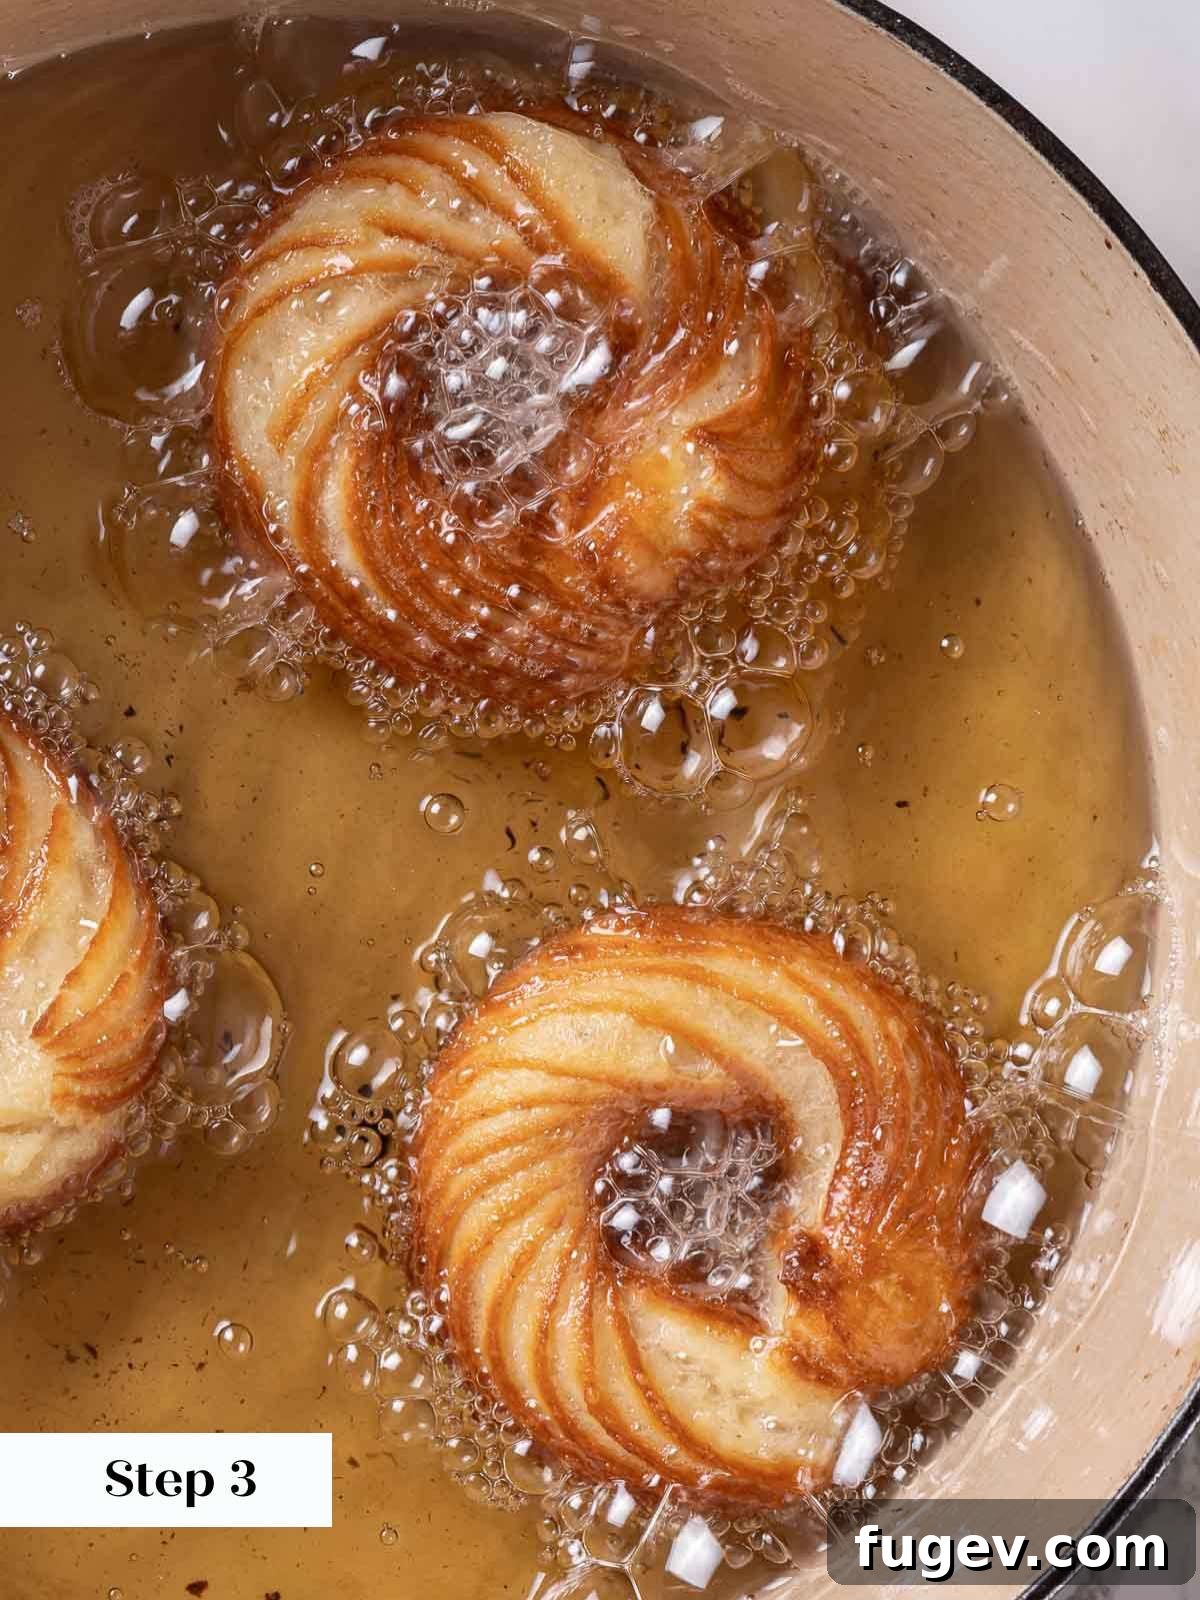
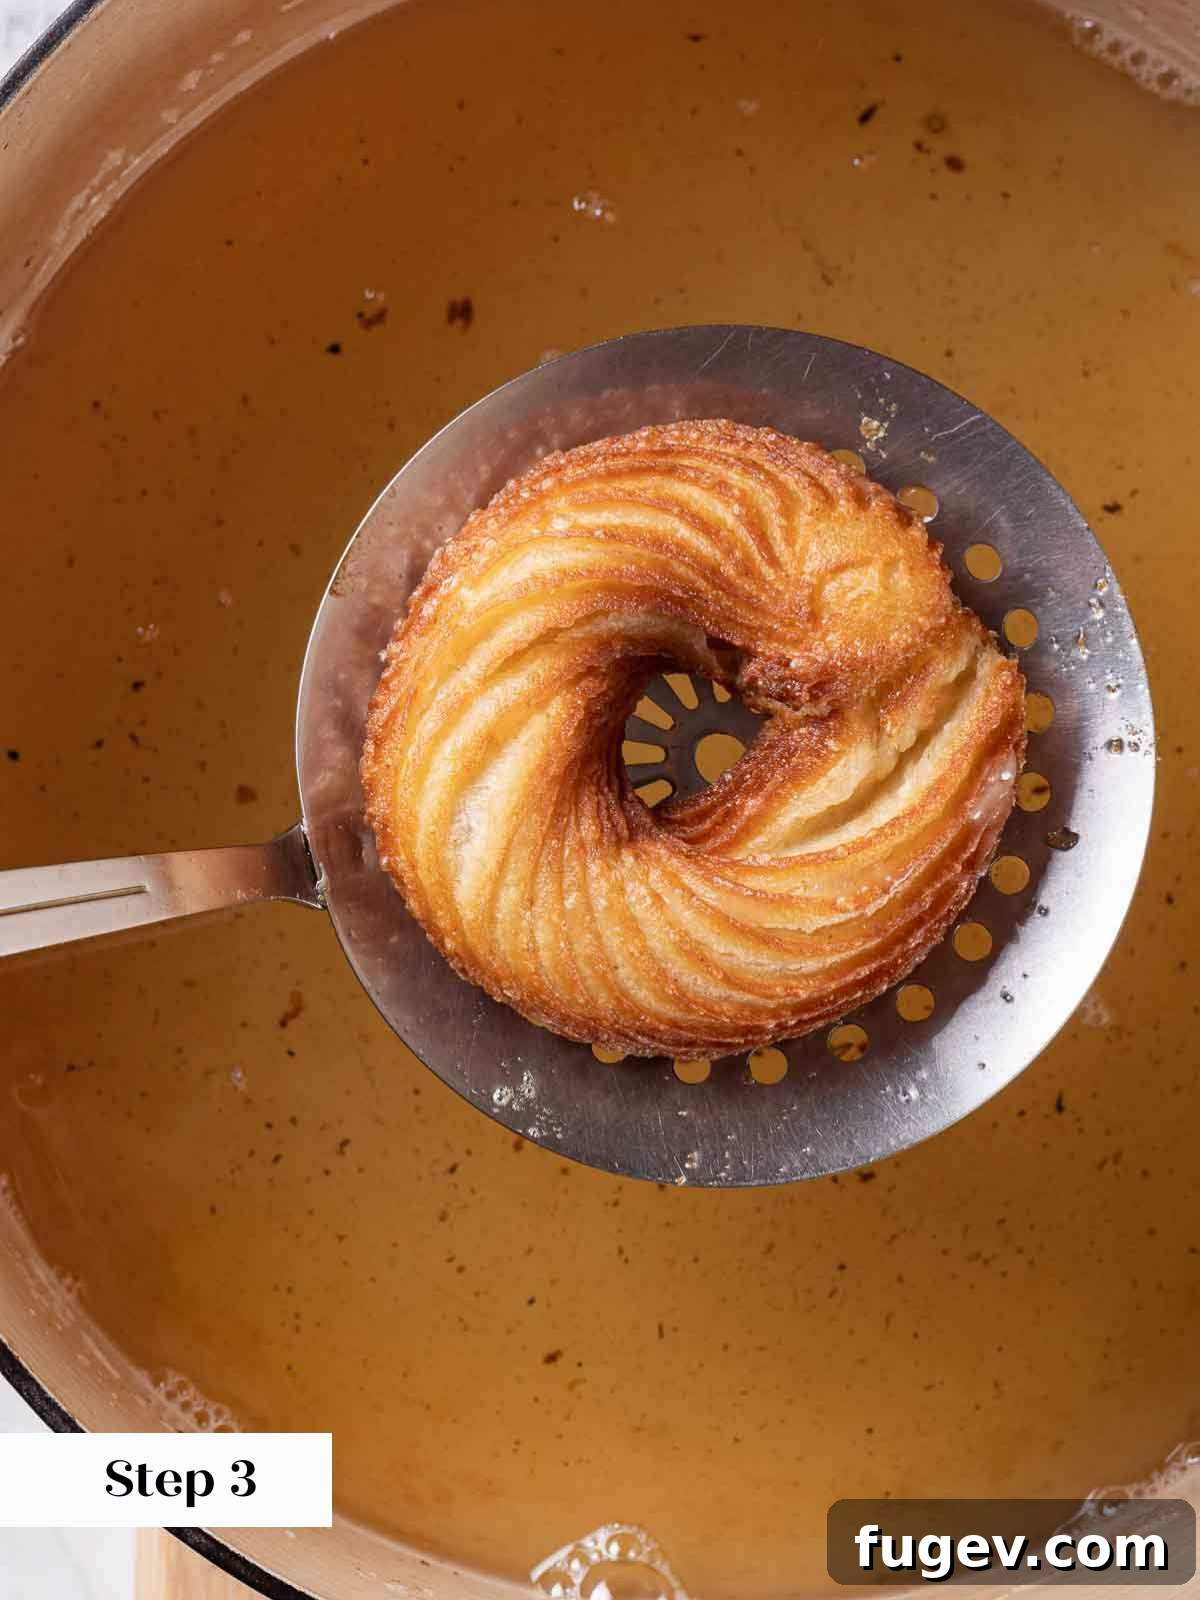
Temperature Management: Introducing frozen dough into hot oil will inevitably cause the oil temperature to drop. To counteract this, I recommend placing one cruller into the oil at a time, allowing the temperature to recover slightly before adding the next. You can also initially preheat your oil to 5°F (3°C) hotter, but be vigilant to prevent it from getting too hot and scorching the crullers, or making it difficult to gauge when they are fully cooked. To check for doneness, you can remove a cruller from the oil and gently poke it with a metal cake tester – it should come out clean.
Step 5: Glaze and Cool. While the crullers are still warm (but not piping hot), carefully dip each one into your prepared maple glaze, ensuring both sides are coated. Place them back onto the wire rack to allow any excess glaze to drip off and for the crullers to cool completely to room temperature. As with choux pastry, the texture of crullers is best appreciated once they have cooled down. Serve them at room temperature for optimal enjoyment.
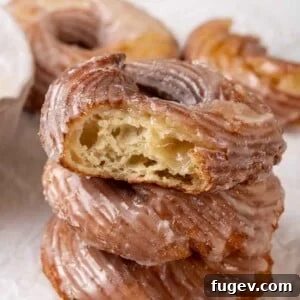
Chef Lindsey’s Recipe Tip: The Test Cruller
A crucial step for any deep-fried pastry, whether you’re making pumpkin donuts or even whole wheat pancakes, is to always cook a tester piece. Fry just one cruller first, let it cool for a moment (just enough to handle), then break it open and examine the interior. Is it cooked through? Is the texture right? This allows you to make any necessary adjustments to your oil temperature or cooking time before frying the entire batch, ensuring every subsequent cruller is perfect.
Frequently Asked Questions About French Crullers
For unfried crullers, you should store the piped dough frozen on parchment paper until you are ready to fry them. They can be frozen for up to 2 months in advance. Always fry them directly from their frozen state to maintain their shape and texture. Once fried, dip them in glaze while still warm, then allow them to cool completely to room temperature on a wire rack. The glaze helps to seal in moisture and keep them fresh for up to 3 days. However, like all homemade donut recipes, they are undoubtedly best enjoyed on the day they are fried.
No, French crullers are not merely fried choux pastry dough, though their preparation method shares some similarities. While both begin with a cooked dough (panade), the key difference lies in the ingredient ratios. Traditional choux pastry contains a much higher proportion of eggs and milk per cup of flour compared to cruller dough. This distinct composition in choux results in a pastry that is designed to be hollow and possesses a more pronounced eggy flavor, ideal for cream puffs and eclairs. Cruller dough, as presented in this recipe, is specifically formulated for a delicate, airy, yet non-hollow interior with a balanced flavor profile.
French crullers are at their absolute best when served at room temperature, allowing their delicate texture and glaze to truly shine. While they are delicious with just a simple glaze, you can elevate the experience by serving them alongside various dipping sauces. Consider a classic vanilla bean crème anglaise, a vibrant easy blueberry sauce, or a rich and indulgent salted maple caramel sauce. These additions can turn a simple cruller into an elegant dessert.
If you’ve tried this incredible French cruller recipe and absolutely loved it, please take a moment to leave a 🌟 star rating and share your thoughts in the comments section below! Your feedback truly makes my day and helps others discover this delightful recipe.
French Cruller with Maple Glaze
Chef Lindsey
30 minutes
20 minutes
30 minutes
1 hour
20 minutes
12
Crullers
Saved
Pin Recipe
Comment
Print Recipe
Ingredients
For the Crullers:
-
1 ⅓
cup
whole milk
-
¾
cup
unsalted butter
cubed -
1
tablespoon
granulated sugar
-
1
tablespoon
light brown sugar
packed -
¾
teaspoon
kosher salt
-
1 ⅔
cup
all-purpose flour
-
3
large eggs
-
1 ½
egg whites
For the Maple Glaze:
-
½
cup
powdered sugar
-
1
tablespoon
maple syrup
or more to taste -
⅛
teaspoon
kosher salt
-
1
tablespoon
whole milk
or more to desired consistency
Instructions
-
In a large bowl, whisk together granulated sugar, light brown sugar, all-purpose flour, and salt. Set aside.
-
In a large, high-sided saucepan, combine whole milk and cubed unsalted butter. Bring just to a boil over medium-high heat, ensuring butter melts before milk rapidly boils.
-
This critical step ensures proper dough consistency; too much water evaporation can lead to a denser cruller.
-
Immediately after the milk boils, add the dry ingredients to the pot and stir constantly and vigorously over medium heat with a wooden spoon. Cook until the dough thickens, pulls away from the sides, and a brownish residue forms on the bottom of the pot. This process evaporates excess liquid.
-
Failure to cook out enough moisture will result in a loose batter that loses its shape when piped and fried.
-
Pour the cooked dough into the bowl of a stand mixer fitted with a paddle attachment. Beat on high speed for about 1 minute to cool the batter and allow steam to evaporate. Slowly add the large eggs, one at a time, beating for at least a minute between each addition for full emulsification. Add the egg whites with the last whole egg. The batter should be smooth and emulsified.
-
Scoop the dough into a pastry bag fitted with a large Ateco French star tip (869). Pipe 2 ½-3 inch rings onto parchment paper. Chill, then freeze until solid. Once frozen, you can cut around each cruller on the parchment, store them in an airtight container, wrapped well, and keep frozen until ready to use.
-
Before frying, prepare the maple glaze. In a large bowl, whisk powdered sugar, maple syrup, kosher salt, and whole milk, adding milk gradually to reach a consistency like cold molasses. Press plastic wrap onto the surface to prevent a skin from forming.
-
Preheat at least 2 inches of canola oil (or your preferred frying oil) in a tabletop fryer, skillet, or Dutch oven fitted with a clip-on fry thermometer to 335°F (168°C).
-
Set up your frying mise en place: glaze, a rimmed baking sheet with a wire rack (or paper towels), and a slotted spoon or spider for transferring crullers.
-
Carefully place frozen crullers into the 335°F (168°C) oil, one at a time to maintain oil temperature. Fry until golden brown on one side, then flip and fry until golden brown on all sides. Remove to the wire rack to drain excess oil.
-
Dip the still-warm fried crullers into the prepared glaze, ensuring full coating. Place back on the wire rack to cool completely to room temperature. Serve once cooled, as their texture is not appealing when hot.
Notes
Presentation Perfection: To ensure those beautiful piped lines remain distinct and prevent the crullers from collapsing, it is absolutely essential to fry them directly from their frozen state. This small but crucial step guarantees a professional finish.
Creative Variations: Feel free to customize your crullers by experimenting with different glaze recipes. Instead of maple, try a vanilla bean glaze, or infuse it with fresh citrus juice like orange or lemon for a brighter flavor. The possibilities are endless!
Storage for Freshness: Piped, unfried crullers can be stored frozen on parchment paper for up to 2 months; always fry them from frozen. Once fried, dip in glaze while warm and then allow them to cool completely to room temperature. The protective glaze will help keep them fresh and tender for up to 3 days, although they are always at their peak flavor and texture on the day they are made.
Nutrition
Calories:
231
kcal
|
Carbohydrates:
23
g
|
Protein:
5
g
|
Fat:
14
g
|
Saturated Fat:
8
g
|
Polyunsaturated Fat:
1
g
|
Monounsaturated Fat:
4
g
|
Trans Fat:
0.5
g
|
Cholesterol:
75
mg
|
Sodium:
205
mg
|
Potassium:
91
mg
|
Fiber:
0.5
g
|
Sugar:
9
g
|
Vitamin A:
460
IU
|
Calcium:
50
mg
|
Iron:
1
mg
Breakfast
French
231
Like this? Leave a comment below!
Before You Go: Explore More Delicious Recipes
I genuinely hope you enjoyed mastering this professional chef-created French cruller recipe! There’s nothing quite like the satisfaction of creating such an elegant and delicious pastry at home. If you’ve been inspired to explore more fried treats, be sure to check out our other fantastic doughnut recipes, including this decadent old-fashioned chocolate cake donut. Or, if you’re looking to expand your brunch spread beyond donuts, browse our delightful collection of breakfast pastries recipes for more culinary inspiration. Happy baking (and frying)!