
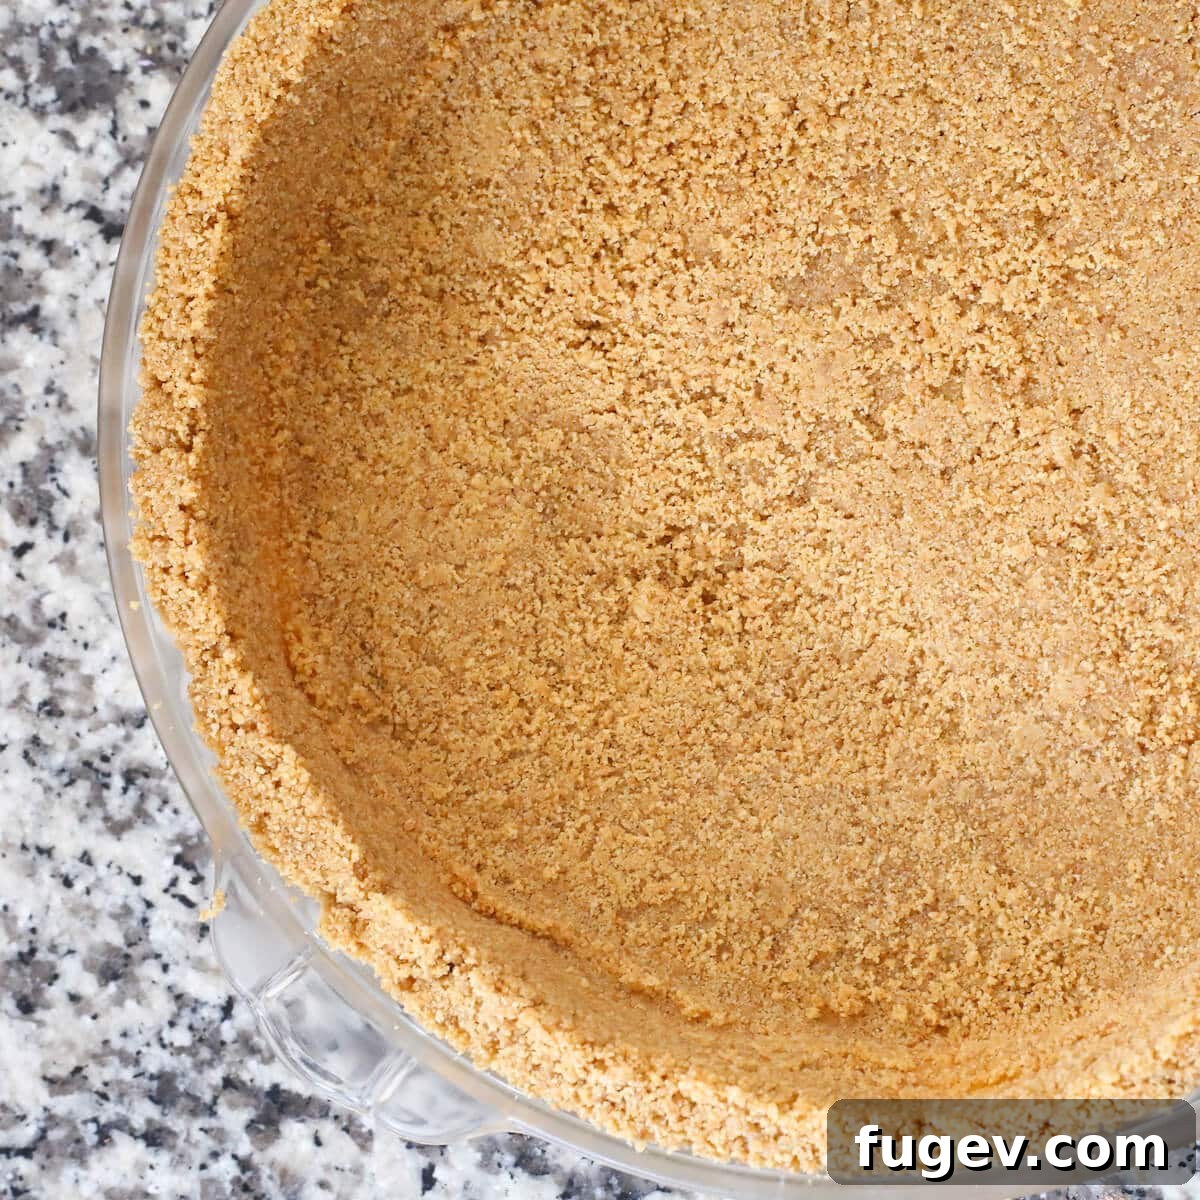
Easy No-Bake Graham Cracker Crust: Your Ultimate Guide to a Perfect Pie Base
Discover the ultimate secret to effortless dessert preparation with this incredibly easy, three-ingredient No-Bake Graham Cracker Crust. Whether you’re a seasoned baker or just starting your culinary journey, this pie crust offers a flawless foundation for any pie or dessert, transforming simple ingredients into a delectable base for your favorite treats.
The Simplicity of No-Bake: Why This Crust is a Game Changer
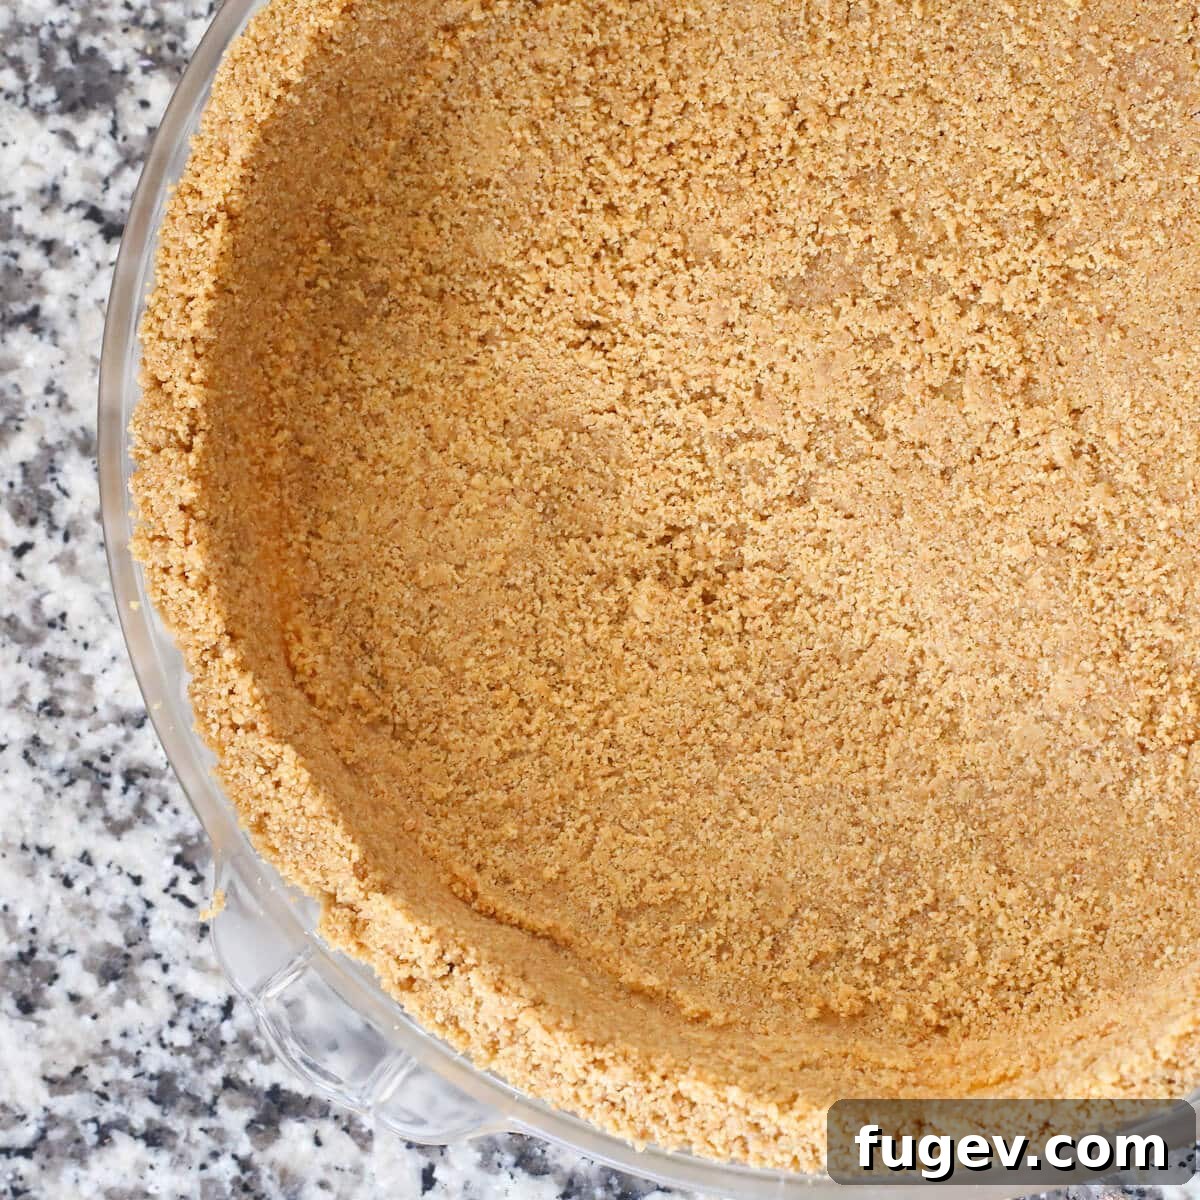
Imagine crafting a stunning dessert without ever having to turn on your oven. For those sweltering summer days or simply when you crave a quick, hassle-free baking experience, this no-bake graham cracker crust recipe is an absolute revelation. Its magic lies in its straightforward preparation: just melt the butter, combine with crumbs, press, and chill. This simple technique consistently yields a beautifully firm and flavorful crust with perfectly formed edges, ready to be filled with your preferred sweet concoction.
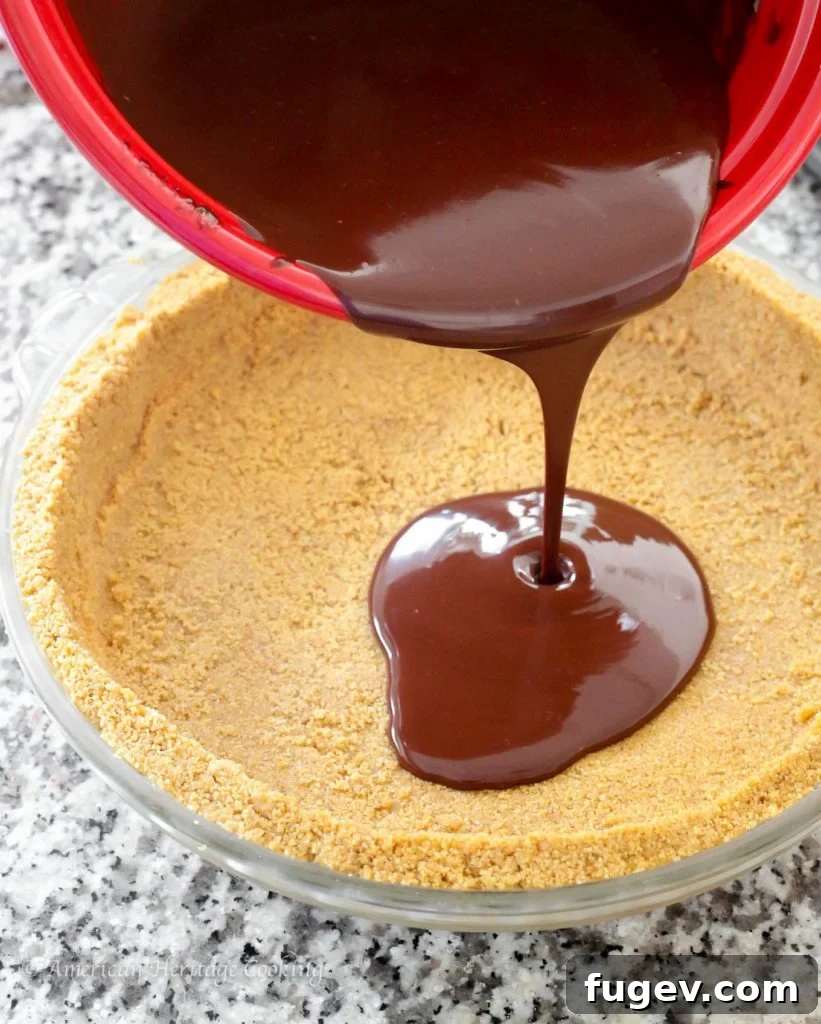
This crust isn’t just easy; it’s incredibly versatile. While I frequently use it as the base for my own No-Bake S’mores Pie, its possibilities are truly endless. Envision it underpinning a tangy Key Lime Pie, a fluffy Lemon Meringue Pie, or even a rich Chocolate Chip Cheesecake (though for cheesecake, a baked crust often provides a different texture experience that many prefer!). Its adaptability makes it a staple in any home cook’s repertoire, saving time and effort while never compromising on taste.
One of the greatest conveniences of this recipe is the option to use store-bought graham cracker crumbs. This small shortcut eliminates the need for grinding whole crackers, saving an extra step and, let’s be honest, minimizing cleanup! The advent of pre-ground crumbs has been a blessing for busy cooks, streamlining the process even further. Who isn’t grateful for a little less washing up after creating a delicious dessert?
However, if you’re a purist, enjoy the process of making things from scratch, or simply can’t find pre-ground crumbs, preparing your own is wonderfully simple and even a bit therapeutic! You’ll need about 12 full graham cracker sheets to yield the required crumbs for this recipe. Place them in a sturdy plastic bag and use a rolling pin to crush them into fine crumbs – a surprisingly cathartic activity. Alternatively, a food processor can achieve a perfectly fine, even texture in seconds. Whichever method you choose, the goal is consistently fine crumbs, crucial for a well-formed, stable crust.
Three Essential Ingredients for a Flawless Crust
The magic of this no-bake graham cracker crust truly lies in its elegant simplicity, requiring just three core ingredients. Each plays a vital role in creating the perfect texture and flavor profile that makes this crust so beloved.
Graham Cracker Crumbs: The Foundation
Graham cracker crumbs are the star of this show, providing a subtly sweet, slightly spiced, and crunchy base. Their unique flavor complements a wide range of fillings, from fruity and tart to rich and creamy. The key to a great crust is finely ground crumbs. Whether you opt for the convenience of store-bought or the satisfaction of homemade, ensure there are no large pieces remaining. Large crumbs can lead to a crumbly, uneven crust that doesn’t hold together as well. For homemade crumbs, approximately 12 full graham cracker sheets will yield the 1 ¾ cups needed for a standard 9 to 10-inch pie dish. Using a food processor is the quickest way to achieve fine crumbs, but a zip-top bag and a rolling pin work equally well for a more hands-on approach.
Melted Butter: The Binding Secret
Butter acts as the crucial binder in this no-bake recipe, transforming loose crumbs into a cohesive, pressable crust. When melted, the butter coats each crumb, allowing them to stick together as they cool and firm up. Unsalted butter is generally recommended as it gives you control over the overall saltiness, but salted butter can be used if you prefer a slightly more savory note. Half a cup (or one stick) of melted butter is the perfect amount to achieve a moist, pliable mixture without making the crust greasy. It’s essential to ensure the butter is fully melted and evenly distributed throughout the crumbs for optimal binding.
A Pinch of Salt: The Flavor Enhancer
While seemingly a small detail, a quarter teaspoon of kosher salt makes a significant difference. It doesn’t make the crust salty; rather, it subtly enhances the flavor of the graham crackers and balances their sweetness. This touch of salt elevates the overall taste, making the crust more complex and enjoyable. Skipping the salt might leave your crust tasting a little flat, so don’t underestimate its importance in this simple trio of ingredients.
No-Bake Graham Cracker Crust Recipe
Chef Lindsey
10 mins
10 mins (plus chilling time)
1 (9-10 inch) pie crust, about 12 servings
Ingredients
- 1 ¾ cups graham cracker crumbs (from about 12 full graham cracker sheets)
- ¼ teaspoon kosher salt
- ½ cup melted unsalted butter (1 stick)
- Optional: 2 tablespoons granulated sugar (for a sweeter crust)
- Optional: ½ teaspoon ground cinnamon (for extra warmth)
Instructions
- If not using pre-ground crumbs, finely grind whole graham crackers in a food processor until no discernible large pieces remain. Alternatively, place crackers in a sturdy plastic bag and crush with a rolling pin. Pour the fine crumbs into a medium mixing bowl.
- Add the kosher salt (and optional sugar or cinnamon, if using) to the graham cracker crumbs in the bowl. Mix thoroughly to combine the dry ingredients evenly.
- Pour the melted butter over the crumb mixture. Stir with a spoon or spatula until all the crumbs are fully moistened and have a uniform, sand-like consistency. The mixture should hold together when pressed lightly between your fingers.
- Transfer the moist crumb mixture into a 9 to 10-inch pie dish. Using a flat-bottomed object, such as a tart tamper, the bottom of a ½ cup measuring cup, or even the back of your hand, firmly press the crumbs evenly across the bottom and up the sides of the pie dish. Ensure the crust is compact and smooth for a stable base.
- Once the crust is pressed into shape, refrigerate it for at least 30 minutes, or up to 2 hours, to allow the butter to firm up and bind the crust properly. This chilling step is crucial for achieving a sturdy, sliceable crust.
- Fill with your favorite no-bake pie filling and enjoy!
Video
Nutrition
Per Serving (1/12th of crust):
- Calories: 120kcal
- Carbohydrates: 9g
- Protein: 1g
- Fat: 9g
- Saturated Fat: 5g
- Polyunsaturated Fat: 1g
- Monounsaturated Fat: 2g
- Trans Fat: 1g
- Cholesterol: 20mg
- Sodium: 190mg
- Potassium: 24mg
- Fiber: 1g
- Sugar: 3g
- Vitamin A: 236IU
- Calcium: 12mg
- Iron: 1mg
(Note: Nutritional values are estimates and may vary based on specific ingredients and preparation.)
Dessert
American
120
How to Make Your No-Bake Graham Cracker Crust (Step-by-Step)
Creating this crust is incredibly straightforward. Follow these simple steps for a perfect, sturdy, and delicious base every time.
Gathering Your Tools
Before you begin, ensure you have a few basic items on hand: a medium mixing bowl, a spoon or spatula for mixing, your chosen 9 or 10-inch pie dish (a standard size for most pies), and something to press the crumbs with. A tart tamper, the back of a measuring cup (like a ½ cup size), or even your clean hands work perfectly for compacting the crust.
Preparing the Crumbs: Store-Bought vs. Homemade
The first step is to get your graham cracker crumbs ready. If you’ve opted for the convenience of store-bought crumbs, simply measure out 1 ¾ cups into your mixing bowl. If you’re making them from scratch, gather about 12 full graham cracker sheets. Place them in a large, heavy-duty zip-top bag, remove excess air, and seal it. Use a rolling pin to crush the crackers into fine, consistent crumbs. Alternatively, pulse them in a food processor until they reach a fine, sandy texture. The key is to avoid large chunks, as these can make the crust less cohesive and more prone to crumbling.
The Mixing Process
Once your crumbs are prepared, add ¼ teaspoon of kosher salt to the bowl. This helps to balance the sweetness of the crackers and enhance their flavor. At this stage, you can also add optional ingredients like 2 tablespoons of granulated sugar for a sweeter crust or ½ teaspoon of ground cinnamon for a warm, spiced note. Stir these dry ingredients together until they are well combined. Next, pour ½ cup of melted butter over the crumb mixture. Using a spoon or spatula, mix thoroughly until every single crumb is moistened and the mixture resembles wet sand. When you pinch a small amount between your fingers, it should hold its shape.
Pressing into Perfection
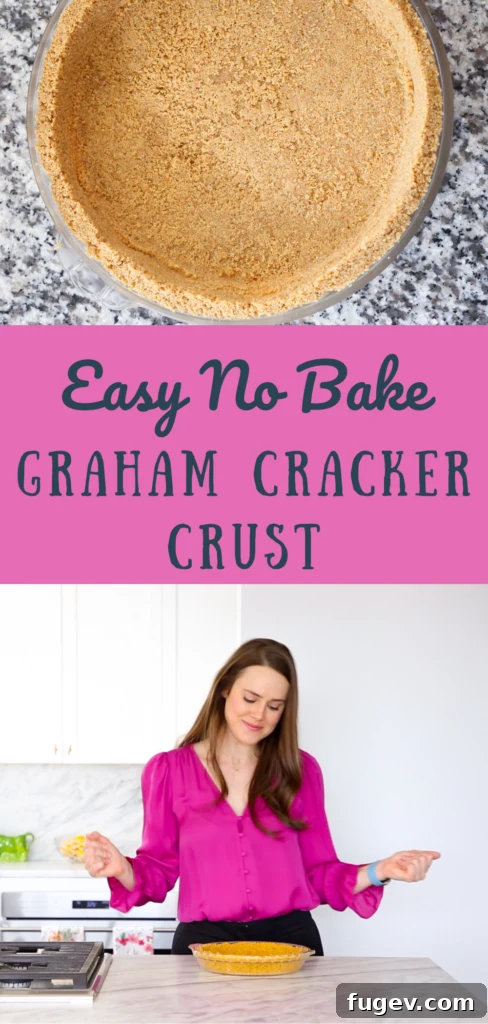
Transfer the butter-coated graham cracker mixture into your chosen pie dish. Now comes the important step of pressing. Start by distributing the crumbs evenly across the bottom of the dish. Then, using your pressing tool (a tart tamper, the back of a measuring cup, or your fingers), firmly and evenly press the crumbs down onto the bottom of the pan. Next, work your way up the sides of the dish, creating a neat, compact edge. The goal is an even thickness throughout the crust, ensuring it’s sturdy enough to hold your filling without cracking or falling apart. Take your time to press firmly; a well-compacted crust is a stable crust.
The Crucial Chill
After pressing, the crust needs to set. Place the pie dish in the refrigerator for at least 30 minutes. For best results and a really firm crust, chill it for up to 2 hours. This chilling time allows the melted butter to solidify, binding the graham cracker crumbs together and creating a firm, sliceable crust that is ready to be filled with your favorite no-bake dessert filling. Don’t skip this step – it’s crucial for the structural integrity of your pie!
Unlock Endless Dessert Possibilities: Pies and Beyond
The beauty of this no-bake graham cracker crust extends far beyond just traditional pies. Its neutral yet complementary flavor profile makes it an ideal base for an astonishing array of desserts. Here are just a few ideas to spark your culinary imagination:
- Cheesecakes: While some prefer a baked crust, this no-bake version is perfect for no-bake cheesecakes, providing a delightful textural contrast to creamy fillings.
- Key Lime and Lemon Pies: The slight sweetness and spice of the graham crackers perfectly balance the tartness of citrus-based fillings.
- Mousse Pies: Light and airy chocolate, peanut butter, or fruit mousses find a wonderful grounding in this crunchy crust.
- Ice Cream Pies: Press the crust into a springform pan, fill with your favorite ice cream, and freeze for an easy, crowd-pleasing dessert.
- Pudding Pies: Classic banana or chocolate pudding pies are elevated with this homemade crust.
- Fruit Tarts: A simple no-bake tart shell filled with fresh berries and a light cream cheese or pastry cream is a stunning summer treat.
- No-Bake Bars: Press the crust into a square baking dish, top with a no-bake filling, slice into bars, and serve for easy portioning.
- S’mores Inspired Desserts: Layer with chocolate ganache, marshmallow fluff, and toast lightly for a deconstructed s’mores experience.
Experiment with different fillings to discover your new favorite combinations. This crust is truly a blank canvas for your dessert creativity!
Tips for No-Bake Graham Cracker Crust Success
While this recipe is incredibly forgiving, a few expert tips can ensure your crust is always perfect:
- Fine Crumbs are Key: Whether store-bought or homemade, ensure your graham cracker crumbs are finely ground. Any large chunks can prevent the crust from binding properly, leading to a crumbly mess.
- Don’t Overdo the Butter: While butter is essential for binding, too much can make the crust greasy. Stick to the ½ cup measurement for a perfectly balanced texture.
- Mix Thoroughly: Ensure every crumb is evenly coated with melted butter. This uniform coating is what allows the crust to set firmly.
- Press Firmly and Evenly: This is arguably the most crucial step. Use a flat-bottomed tool and apply consistent, firm pressure across the entire surface of the crust, including the sides. An evenly pressed crust will be sturdy and easy to slice.
- Chill Time is Non-Negotiable: Do not rush the chilling process. The refrigeration allows the butter to solidify, setting the crust and making it firm enough to hold any filling without falling apart. A minimum of 30 minutes is good, but 1-2 hours is ideal.
- Consider a Touch of Sugar/Spice: For a slightly sweeter or more aromatic crust, feel free to add 1-2 tablespoons of granulated sugar or ½ teaspoon of cinnamon to the crumbs before adding the butter.
Storage and Make-Ahead Options
This no-bake graham cracker crust is fantastic for preparing in advance, making your dessert assembly even quicker on the day you need it.
- Storing an Unfilled Crust: Once pressed and chilled, an unfilled crust can be wrapped tightly in plastic wrap and stored in the refrigerator for up to 3-4 days. You can also freeze an unfilled crust for up to 1 month. To freeze, wrap it very well in plastic wrap, then aluminum foil, to prevent freezer burn. Thaw in the refrigerator before filling.
- Storing a Filled Crust: The storage duration for a filled crust will depend entirely on your filling. Always follow the storage recommendations for your specific pie or dessert filling. Generally, most no-bake pies with dairy or perishable ingredients should be kept refrigerated and consumed within 2-3 days.
Frequently Asked Questions (FAQ)
Here are answers to some common questions about making a no-bake graham cracker crust:
Q: Can I use other types of cookies instead of graham crackers?
A: Absolutely! This recipe is incredibly adaptable. You can use similar quantities of finely crushed digestive biscuits, vanilla wafers, shortbread cookies, or even chocolate cookies (like Oreos, with or without the cream filling) to create different flavor profiles for your crusts. Adjust the amount of butter slightly if the cookie has a different fat content.
Q: Do I need to grease my pie dish?
A: For most non-stick pie dishes, greasing is not strictly necessary as the butter in the crust helps it release. However, if you are using a regular metal or glass pie plate and want extra insurance for easy removal, a light spray of cooking oil or a thin layer of butter can be applied before pressing in the crumbs.
Q: My crust is too crumbly. What went wrong?
A: A crumbly crust usually means there wasn’t enough melted butter, or it wasn’t evenly distributed. Ensure all crumbs are thoroughly moistened before pressing. You can try adding another tablespoon of melted butter, mixing well, and re-pressing. Insufficient chilling time can also lead to crumbliness; make sure it’s chilled adequately.
Q: My crust is too hard. How can I fix it?
A: If the crust is excessively hard, it might be due to over-compacting when pressing. While firm pressure is good, excessive pressure can make it dense. Sometimes, if the butter content is too high and it’s chilled for too long, it can also become very solid. Next time, ensure even pressure without over-compressing.
Q: Can I make this crust gluten-free?
A: Yes! Simply substitute regular graham crackers with gluten-free graham crackers. The process and measurements will remain the same.
Q: What if I don’t have a food processor?
A: No problem! Place the graham crackers in a large, sturdy zip-top bag and use a rolling pin to crush them into fine crumbs. This method is effective and can be quite satisfying.
Concluding Thoughts: Effortless Elegance for Your Desserts
This three-ingredient no-bake graham cracker crust is more than just a recipe; it’s a gateway to stress-free dessert creation. It embodies ease, versatility, and consistent deliciousness, making it an indispensable tool for anyone who loves to entertain or simply enjoys a homemade treat. Whether you’re battling the summer heat or looking for a quick yet elegant finish to a meal, this crust delivers every time.
From classic fruit pies to innovative layered desserts, the potential is boundless. So go ahead, melt that butter, crush those crackers, and press your way to a perfect pie base. You’ll wonder how you ever managed without this simple, brilliant recipe.
Like this recipe? We’d love to hear from you!
Share your thoughts or questions in the comments below.