
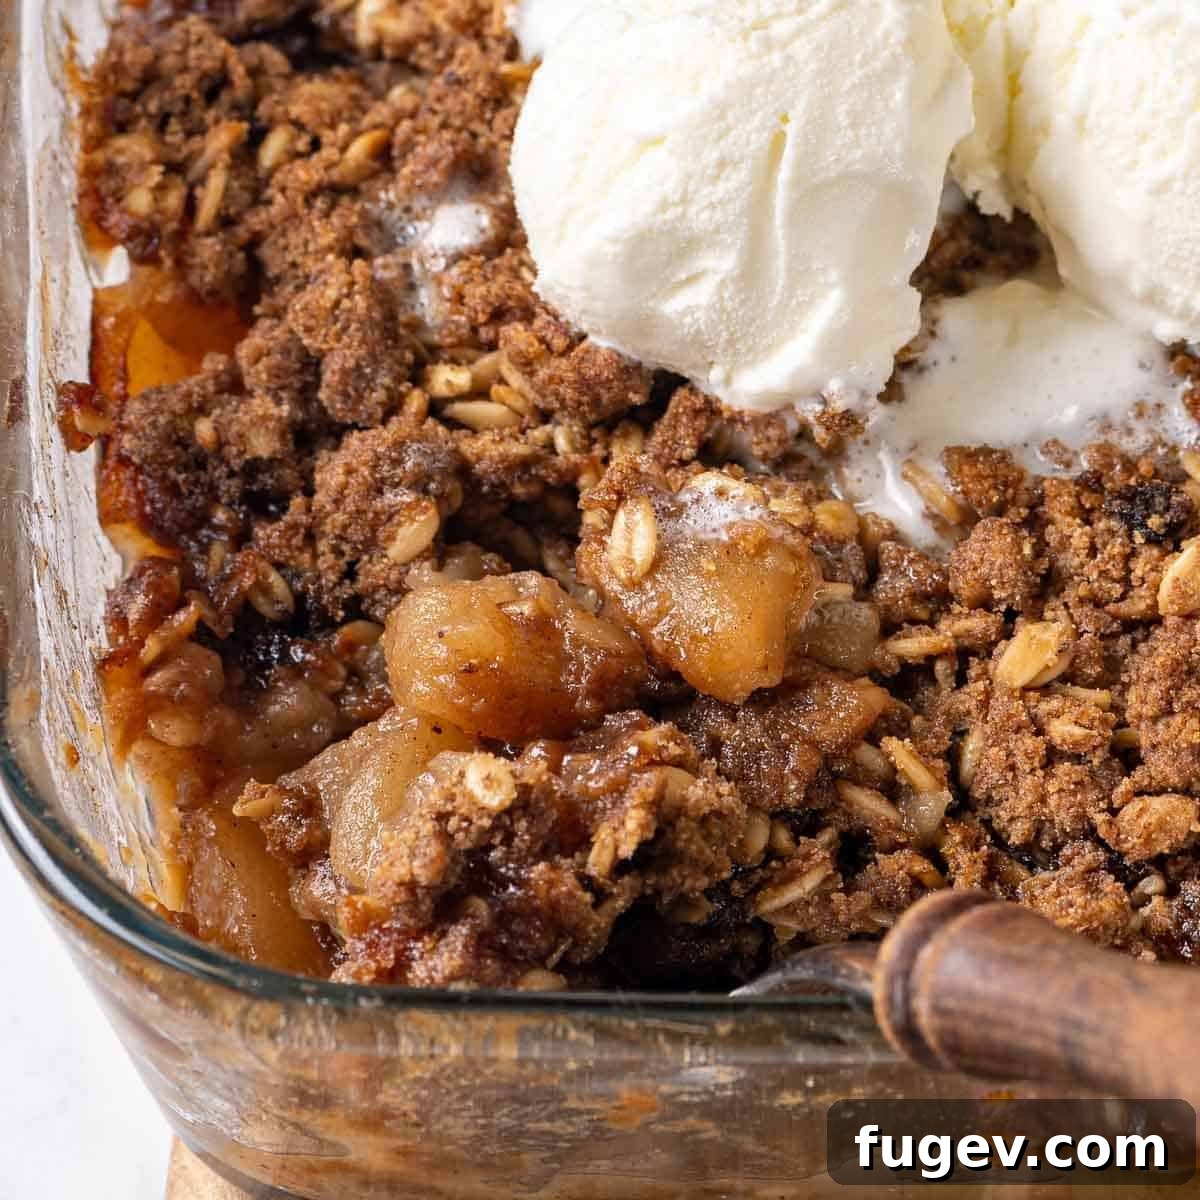
There’s nothing quite like the comforting aroma of a freshly baked apple crisp wafting through your home. This easy apple crisp recipe is designed to bring you pure dessert bliss, featuring a thick, aromatic cinnamon apple filling crowned with an incredibly crispy, generous brown sugar oat topping. The secret to its irresistible charm lies in the perfect harmony between the tart apples and the abundance of sweet, buttery streusel, making it a beloved classic that satisfies every craving for a homemade fall dessert. Prepare to delight your family and friends with this simple yet spectacular treat, guaranteed to become a new favorite in your recipe collection.
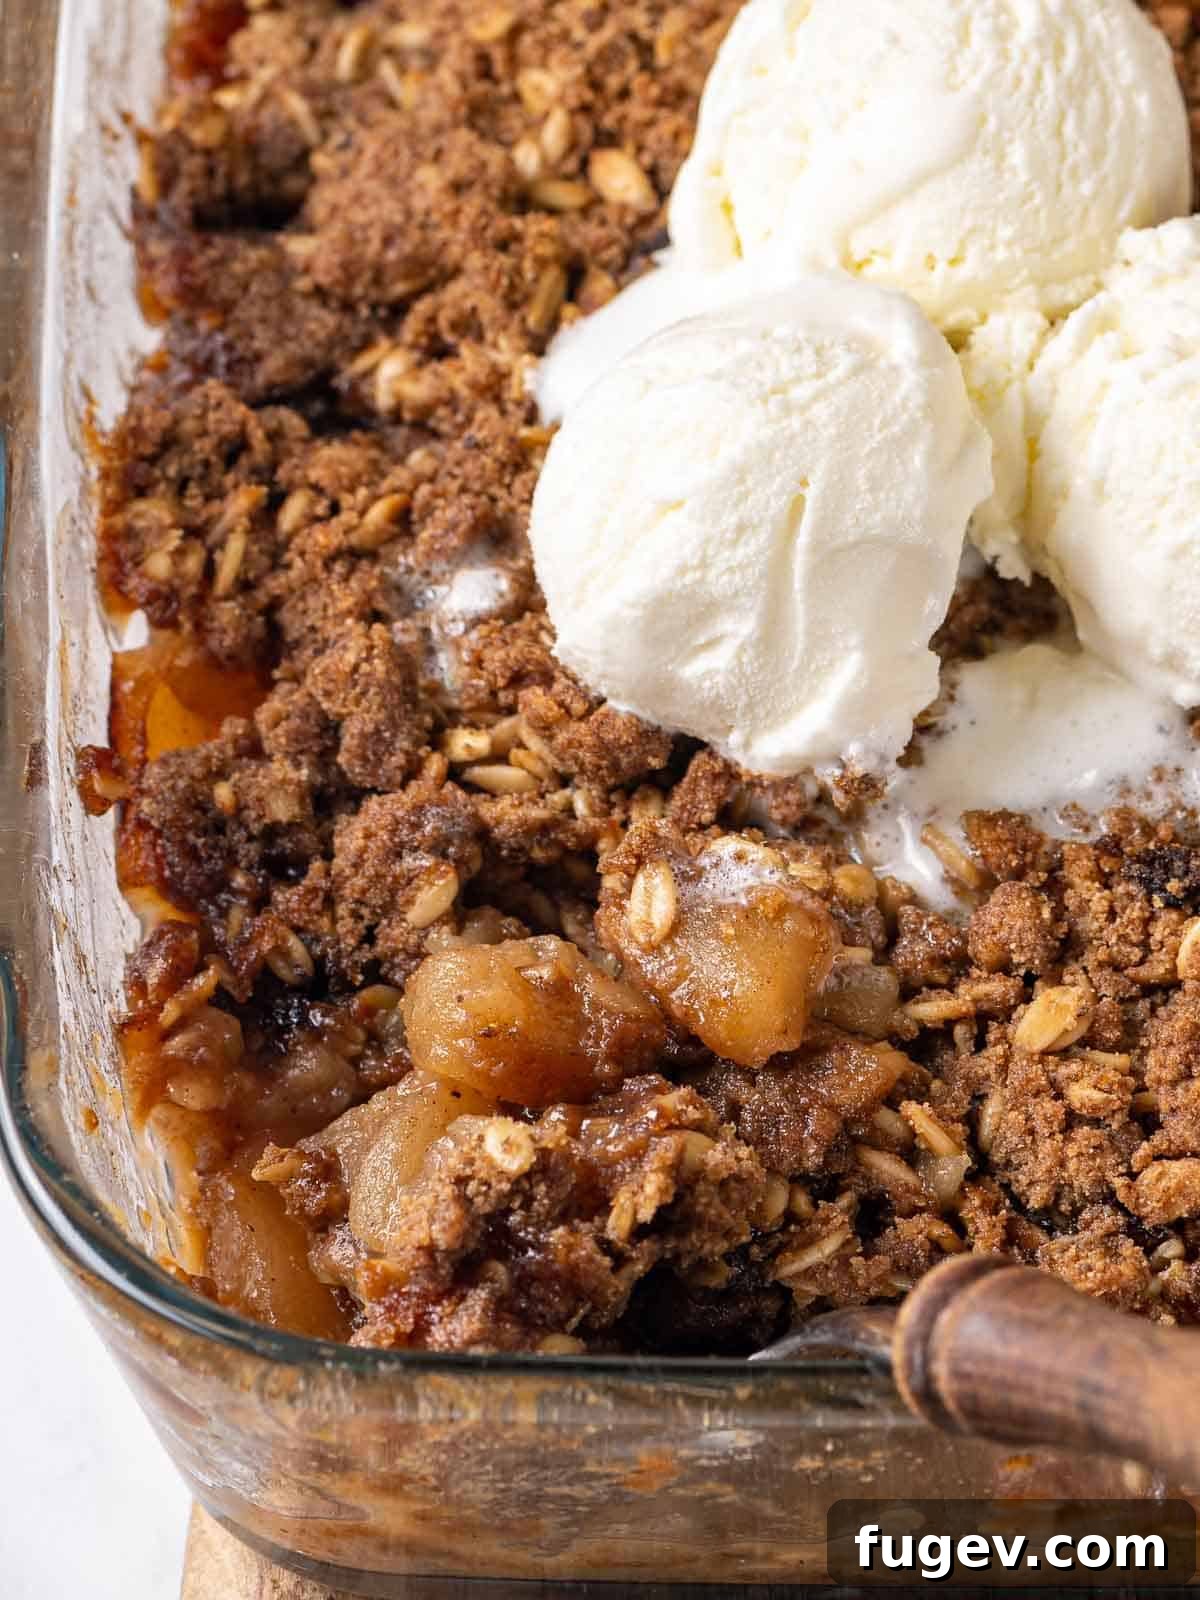
Growing up, this very brown sugar apple crisp was a cherished staple in my home, a recipe passed down and perfected by my mom. I’m convinced that at some point, she must have intentionally doubled the already generous crisp topping, creating a delightful 50:50 ratio of apples to streusel—or perhaps even a decadent 40:60! The anticipation of that first spoonful, fresh from the oven, was almost unbearable. My mom and I would stand impatiently in the kitchen, waiting just long enough for it to cool slightly before digging in, sharing a silent, knowing smile that confirmed: the crispy topping truly was the absolute best part. As we refined our ritual, a scoop of creamy vanilla ice cream and a luscious drizzle of homemade caramel sauce became non-negotiable additions, elevating this simple apple crisp into an extraordinary experience.
Table of Contents
- Why This is the Best Apple Crisp Recipe You’ll Ever Make
- Professional Tips for Making a Perfect Apple Crisp
- Ingredients for the Ultimate Homemade Apple Crisp
- Creative Variations & Smart Substitutions for Your Apple Crisp
- How to Make the Perfect Apple Crisp: Step-by-Step Guide
- Chef Lindsey’s Expert Recipe Tip
- What Are the Best Cooking Apples for Apple Crisp?
- Should You Peel Apples for Apple Crisp?
- Frequently Asked Questions About Apple Crisp
- Easy Apple Crisp Recipe Card
- Before You Go: Explore More Delicious Desserts
Why This is the Best Apple Crisp Recipe You’ll Ever Make
What makes this particular homemade apple crisp stand out from the rest? It’s a combination of thoughtfully selected ingredients and expert techniques that result in an unparalleled dessert experience. Here’s why this recipe will quickly become your new favorite for a comforting, easy apple crisp:
- Unrivaled Topping Ratio: Have you ever scooped the last serving of apple crisp only to find it’s mostly fruit with hardly any topping left? That culinary disappointment is a thing of the past with this recipe! We believe the crispy, buttery streusel is paramount, which is why we ensure a truly generous amount. There’s more than enough topping to go around, guaranteeing every single bite is perfectly crunchy and satisfying. This abundance of oat topping is a hallmark of truly amazing apple crisp.
- The Secret of Dark Brown Sugar: The exceptional depth of flavor in our crisp topping comes from using 100% dark brown sugar. Unlike its lighter counterpart, dark brown sugar boasts a higher molasses content, imparting a rich, complex, and deeply caramelized sweetness that simply cannot be achieved with white or light brown sugar. This creates a superior, more robust flavor profile that elevates the entire homemade apple crisp to gourmet levels.
- Perfect Tart-Sweet Balance: A truly exceptional apple crisp achieves a delicate balance between tartness and sweetness. For the filling, we specifically choose tart apple varieties, complemented by a touch of fresh lemon juice and just two tablespoons of granulated sugar. This intentional restraint in the filling’s sweetness provides the ideal counterpoint to the rich, dark brown sugar oat topping. Neglecting to use tart apples will result in a cloyingly sweet crisp, a lesson I learned the hard way in my college days – and one you can easily avoid for the best apple crisp experience!
Professional Tips for Making a Perfect Apple Crisp
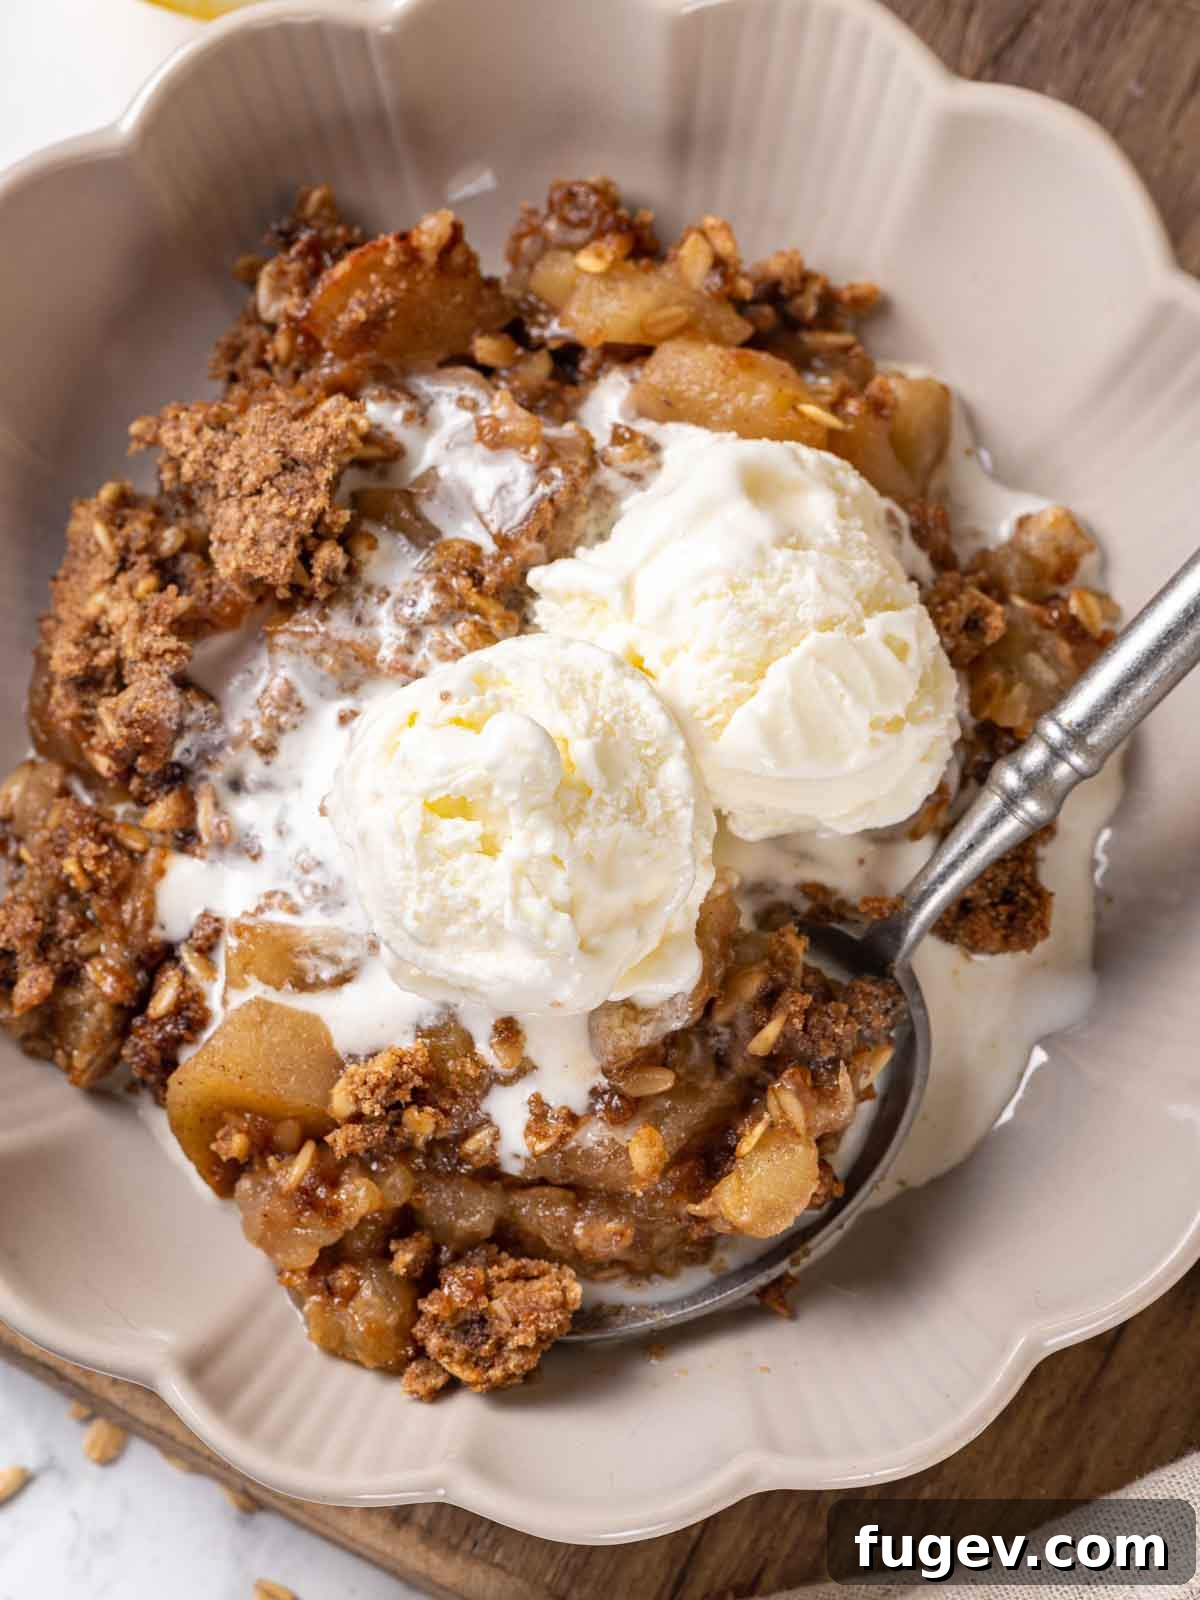
While this recipe for easy apple crisp is wonderfully straightforward and forgiving, incorporating a few insights from a pastry chef can truly elevate your homemade dessert from great to extraordinary. These simple tips will ensure your apple crisp turns out perfectly textured and flavored every single time, making it the best apple crisp you’ve ever baked.
- Uniform Apple Slices for Even Baking: There’s no single “correct” size for slicing your apples, but consistency is key. Whether you prefer thin slices or chunkier pieces, ensure they are all roughly the same size. This consistency, just as important as in an easy apple pie or apple hand pies, guarantees that all your apple pieces cook evenly. You’ll avoid the unpleasant surprise of finding some apples reduced to applesauce while others remain crunchy and undercooked. This detail contributes significantly to the overall texture of your cinnamon apple filling.
- Embrace Rolled Oats for Texture: For that signature, satisfying crunch and chewy texture in your crisp topping, always opt for rolled oats, also known as old-fashioned oats. Instant oats or quick oats are too finely processed and will dissolve or become mushy during baking, failing to deliver the delightful texture that makes an apple crisp truly special. Rolled oats hold their shape beautifully, adding a rustic charm and incredible mouthfeel to your brown sugar oat topping.
- Selecting the Right Apples: The choice of apples profoundly impacts the final flavor and texture of your crisp. To achieve the ideal tart balance against the sweet brown sugar topping, I recommend using a combination of apples like Honeycrisp, Cripps Pink (also known as Pink Lady), and Granny Smith. This blend offers a spectrum of flavors and textures, ensuring the apples remain distinct yet tender after baking. Feel free to experiment with your favorite varieties, but always aim for a mix to add complexity. Avoid apples that break down too easily into a complete mush for this classic apple dessert.
- The Power of Maceration: Don’t skip the step of letting your sliced apples sit with the sugar and spices. This process, known as maceration, allows the sugar to draw out moisture from the apples, creating a richer, more flavorful, and naturally thickened syrup for your filling. It also helps the apples soften slightly before baking, contributing to a more tender final texture. Even a short maceration period makes a noticeable difference in the juiciness and depth of flavor of your apple crisp.
- Cold Butter for the Topping: When making the streusel topping, always use very cold butter, cut into small cubes. Cold butter is essential for creating a crumbly, crispy topping. As it melts slowly in the oven, it releases steam, which creates those desirable pockets of air and prevents the topping from becoming dense or greasy. Work quickly with your hands to incorporate the butter, minimizing contact to keep it as cold as possible. This ensures a truly flaky and crispy brown sugar oat topping.
Ingredients for the Ultimate Homemade Apple Crisp
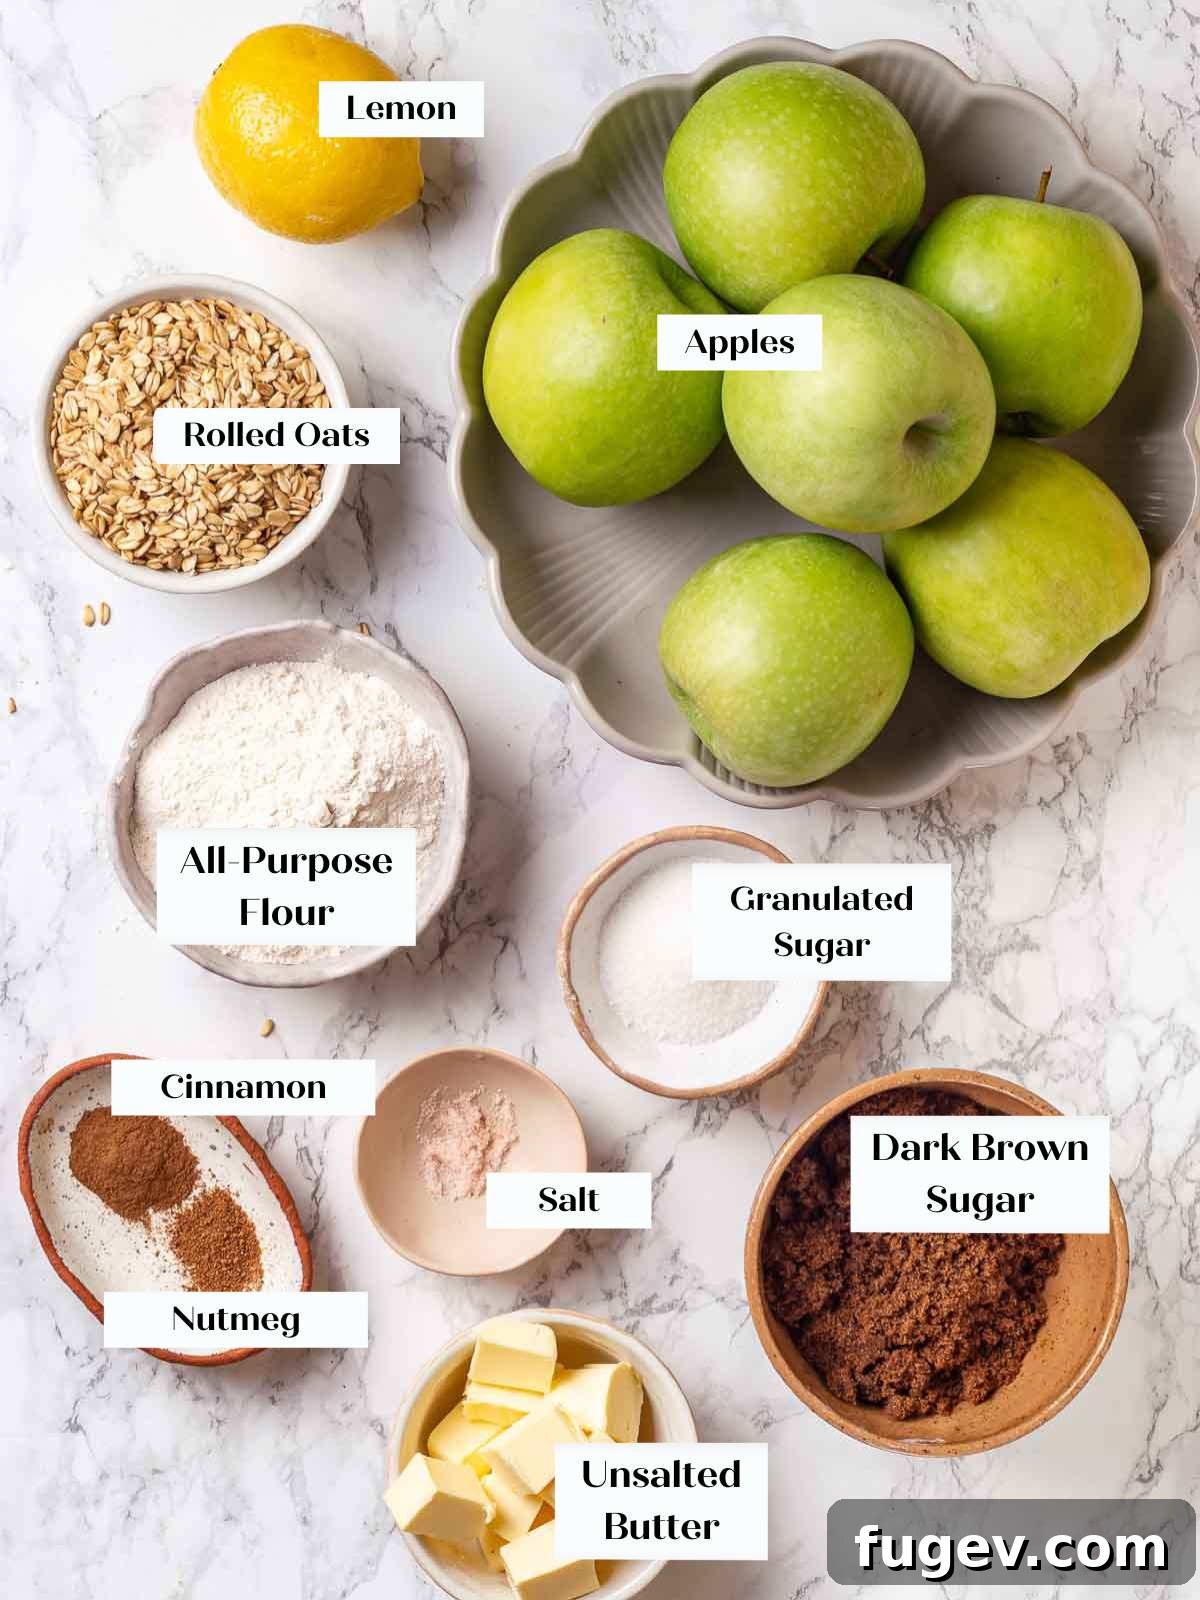
Each ingredient in this easy apple crisp recipe plays a crucial role in creating its renowned flavor and texture. Understanding their purpose will help you appreciate the magic behind this delightful dessert and ensure you achieve the best possible results every time.
- Apples: The heart of our crisp! As mentioned, a blend of tart varieties like Honeycrisp, Cripps Pink, and Granny Smith is ideal. This combination ensures the filling has a vibrant, tangy character that perfectly offsets the sweet, buttery topping. The variety also contributes to a varied texture, preventing the filling from becoming monotonous. For more detailed information on apple varieties and their best culinary uses, consult a comprehensive guide to apples.
- Cinnamon: A quintessential spice for apple desserts, cinnamon provides warmth and depth. While any ground cinnamon will work, I highly recommend using Saigon cinnamon for its bold, warm, and slightly spicy notes that truly enhance the apple flavor. Different cinnamons have distinct profiles, so trust your nose – if you love the aroma, you’ll likely love the taste!
- Lemon Juice: Fresh is always best when it comes to citrus. The amount specified is roughly equivalent to one medium lemon. Lemon juice brightens the apple filling, prevents excessive enzymatic browning of the apples, and most importantly, adds a crucial tartness that balances the overall sweetness of the crisp, especially against the rich brown sugar oat topping.
- Lemon Zest: Don’t discard that lemon peel after juicing! The zest contains concentrated aromatic oils that infuse the apple filling with a bright, fresh, and complex citrus flavor. This adds a subtle yet significant layer of brightness. Be careful to zest only the vibrant yellow part, avoiding the bitter white pith underneath, which can impart an undesirable bitter taste.
- Ground Nutmeg: This recipe truly shines with freshly ground nutmeg. The difference between pre-ground and freshly grated nutmeg is astonishing – fresh offers a more potent, warm, and nuanced flavor that complements cinnamon beautifully. If you don’t have whole nutmeg and a grater, it’s honestly best to omit it rather than use old, flavorless pre-ground nutmeg, as its impact here is meant to be subtle yet vibrant.
- Granulated Sugar (for filling): Used sparingly in the filling, granulated sugar serves primarily to draw out moisture from the apples (maceration) and create a syrupy texture as they bake, rather than making the filling overly sweet. This ensures the tartness of the apples remains prominent, contributing to the perfect tart-sweet balance of the overall dessert.
- Kosher Salt (for filling): A small pinch of kosher salt in the filling is a secret weapon for flavor enhancement. It doesn’t make the dessert salty but rather amplifies the natural sweetness of the apples and the warmth of the spices, creating a more well-rounded and complex taste. Remember, kosher salt is less salty by volume than finer ground table salt due to its coarser grain.
- Dark Brown Sugar (for topping): This is a star ingredient for the topping! Its deep, caramel-like molasses flavor contributes significantly to the rich, golden-brown hue and irresistible taste of the streusel. Packed dark brown sugar provides both essential sweetness and that desirable moist, chewy texture in the brown sugar oat topping, making it utterly addictive.
- All-Purpose Flour (for topping): Standard all-purpose flour is perfect for the crisp topping. It provides just the right amount of gluten structure to bind the oats and butter, ensuring a tender yet crumbly streusel that holds its shape and creates that satisfying crispness when baked. It helps prevent the topping from becoming greasy or overly cakey.
- Unsalted Butter (for topping): I always recommend using unsalted butter for baking. This allows you complete control over the salt content in your recipe, ensuring consistent results. While a good quality salted butter can work in a pinch (especially with the sweetness of this recipe), unsalted butter offers consistency and precision. Ensure it’s very cold and cut into small cubes for the best streusel texture – this is vital for a crispy topping.
- Rolled Oats (for topping): Also known as old-fashioned oats, rolled oats are absolutely essential for the classic crisp texture. They maintain their shape and provide a delightful chewiness and hearty structure to the topping, distinguishing a crisp from a crumble. Avoid instant or quick oats, which are too processed and will become soft and lose their distinct texture during baking.
Creative Variations & Smart Substitutions for Your Apple Crisp
While this easy apple crisp recipe is perfect as written, don’t hesitate to get creative and customize your dessert to suit your taste or what you have on hand! Here are some ideas to make your homemade apple crisp truly your own:
- Experiment with Fruit Varieties: Beyond apples, this recipe’s structure is incredibly versatile. You can mix and match different apple varietals for a more complex flavor and varied texture, always focusing on tart options to balance the sweet topping. Or, venture beyond apples entirely! Consider making a pear crisp (taking inspiration from a pear upside down cake) or a luscious peach crisp using my peach crisp recipe as a guide. Berries, plums, or a combination of fruits like apple-berry crisp also work beautifully, adjusting sugar as needed for sweetness.
- Spice it Up Beyond Cinnamon: Cinnamon is classic, but why stop there? Infuse your crisp with other warm, aromatic spices to create unique flavor profiles. Try a blend like pumpkin spice, apple pie spice, or even a unique speculoos spice mix for a delightful twist. When substituting a blend for pure cinnamon, start with a smaller amount (a pinch or half the quantity) and taste, as some spice blends can be more potent.
- Indulge in Caramel Apple Crisp: Elevate your crisp to a decadent caramel apple crisp! You can either generously drizzle warm salted caramel sauce over the baked crisp just before serving, allowing it to seep into the warm fruit. For an even richer experience, swirl some caramel sauce directly into the apple filling before baking, creating pockets of gooey caramel goodness throughout.
- Adjust the Topping Ratio: If you prefer a more “traditional” ratio of fruit filling to topping (though I always encourage more!), you can simply halve the topping recipe as written. Even half will still provide a substantial, satisfying layer for an 8-inch square dish. If you’re unsure, make the full topping recipe, use what you like, and then freeze any leftover streusel for future desserts like a cardamom pear crisp or individual blueberry raspberry crumbles. It’s a great way to have dessert components ready to go!
- Opt for a Crumble Topping: If oats aren’t your preference, you can easily transform this into an apple crumble. Simply use a classic brown sugar streusel recipe without oats, similar to what I use for my raspberry rhubarb crisp. For an added layer of flavor and crunch, consider incorporating toasted nuts like pecans or walnuts into your chosen topping, adding another delightful dimension to your apple dessert.
How to Make the Perfect Apple Crisp: Step-by-Step Guide
Follow these detailed instructions to create a flawless homemade apple crisp every single time. Precision in preparation ensures the best results for both the luscious cinnamon apple filling and the irresistibly crispy brown sugar oat topping. Further specific measurements and a printable recipe can be found in the recipe card below.
Part 1: Prepare the Flavorful Apple Filling
Creating a vibrant, juicy apple filling is the first crucial step to an outstanding crisp. This process ensures the apples are perfectly seasoned and develop a rich, syrupy texture during baking.
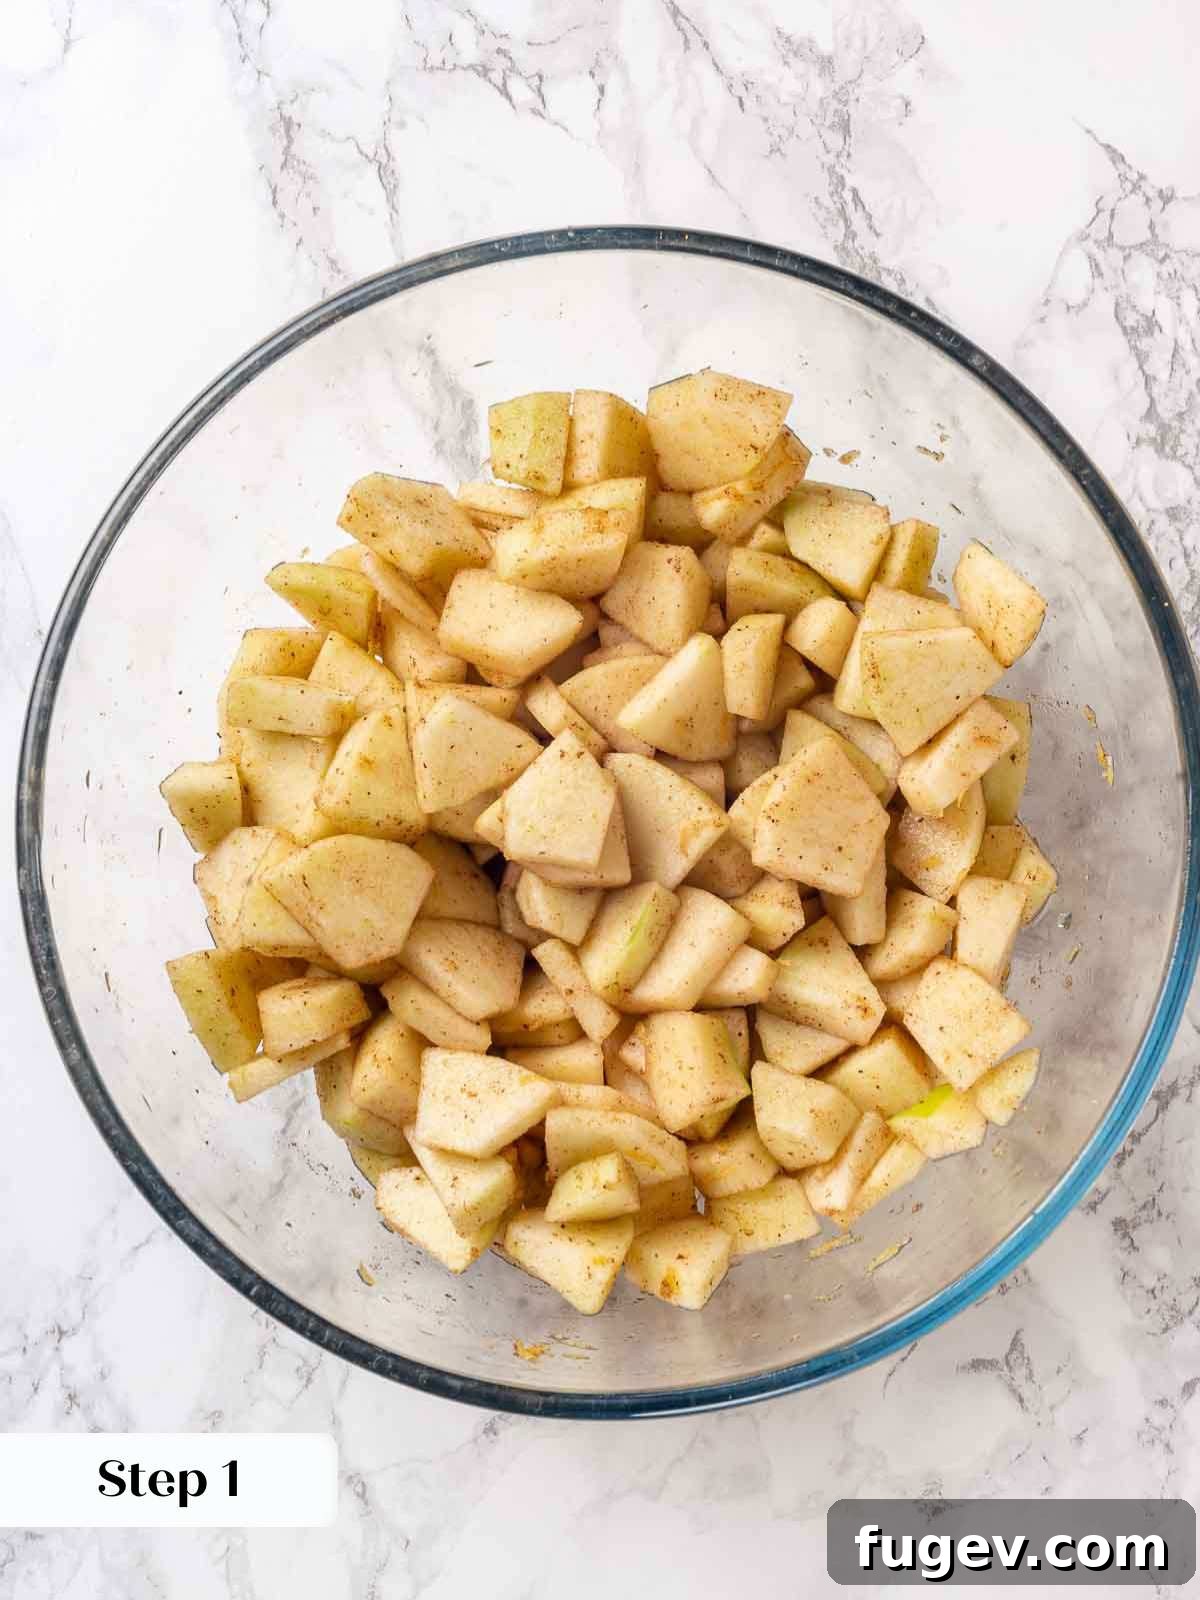
Step 1: Combine and Coat Apples. In a large mixing bowl, gently combine your peeled, sliced apples with fresh lemon juice, lemon zest, granulated sugar, ground nutmeg, cinnamon, and a pinch of kosher salt. Toss everything together thoroughly using a spatula or your clean hands, ensuring all the apple slices are evenly coated with the spice and sugar mixture. This initial coating is essential for even flavoring and begins the process of drawing out moisture.
Step 2: Macerate for Enhanced Flavor. Cover the bowl of seasoned apples with plastic wrap and refrigerate for at least 1 ½ hours. If you remember, give them a stir occasionally during this time. This maceration process is key: it allows the sugar to draw out natural juices from the apples, creating a richer, more concentrated flavor and a perfectly thick, naturally sweet syrup for your filling when baked. While the flavors are undoubtedly better if you allow for this maceration, I completely understand if impatience strikes (it happens to the best of us!). Your crisp will still be delicious if you bake it right away, but the macerated version truly shines with deeper, more complex notes.
Part 2: Craft the Irresistible Crisp Topping
The star of the show for many, this brown sugar oat topping is designed for maximum crunch, texture, and flavor, providing the perfect counterpoint to the soft apple filling.
Step 3: Preheat Your Oven. Adjust your oven rack to the middle position and preheat your oven to 350°F (175°C). This ensures the oven is at the correct temperature for even baking and a perfectly golden-brown topping as soon as your crisp goes in.
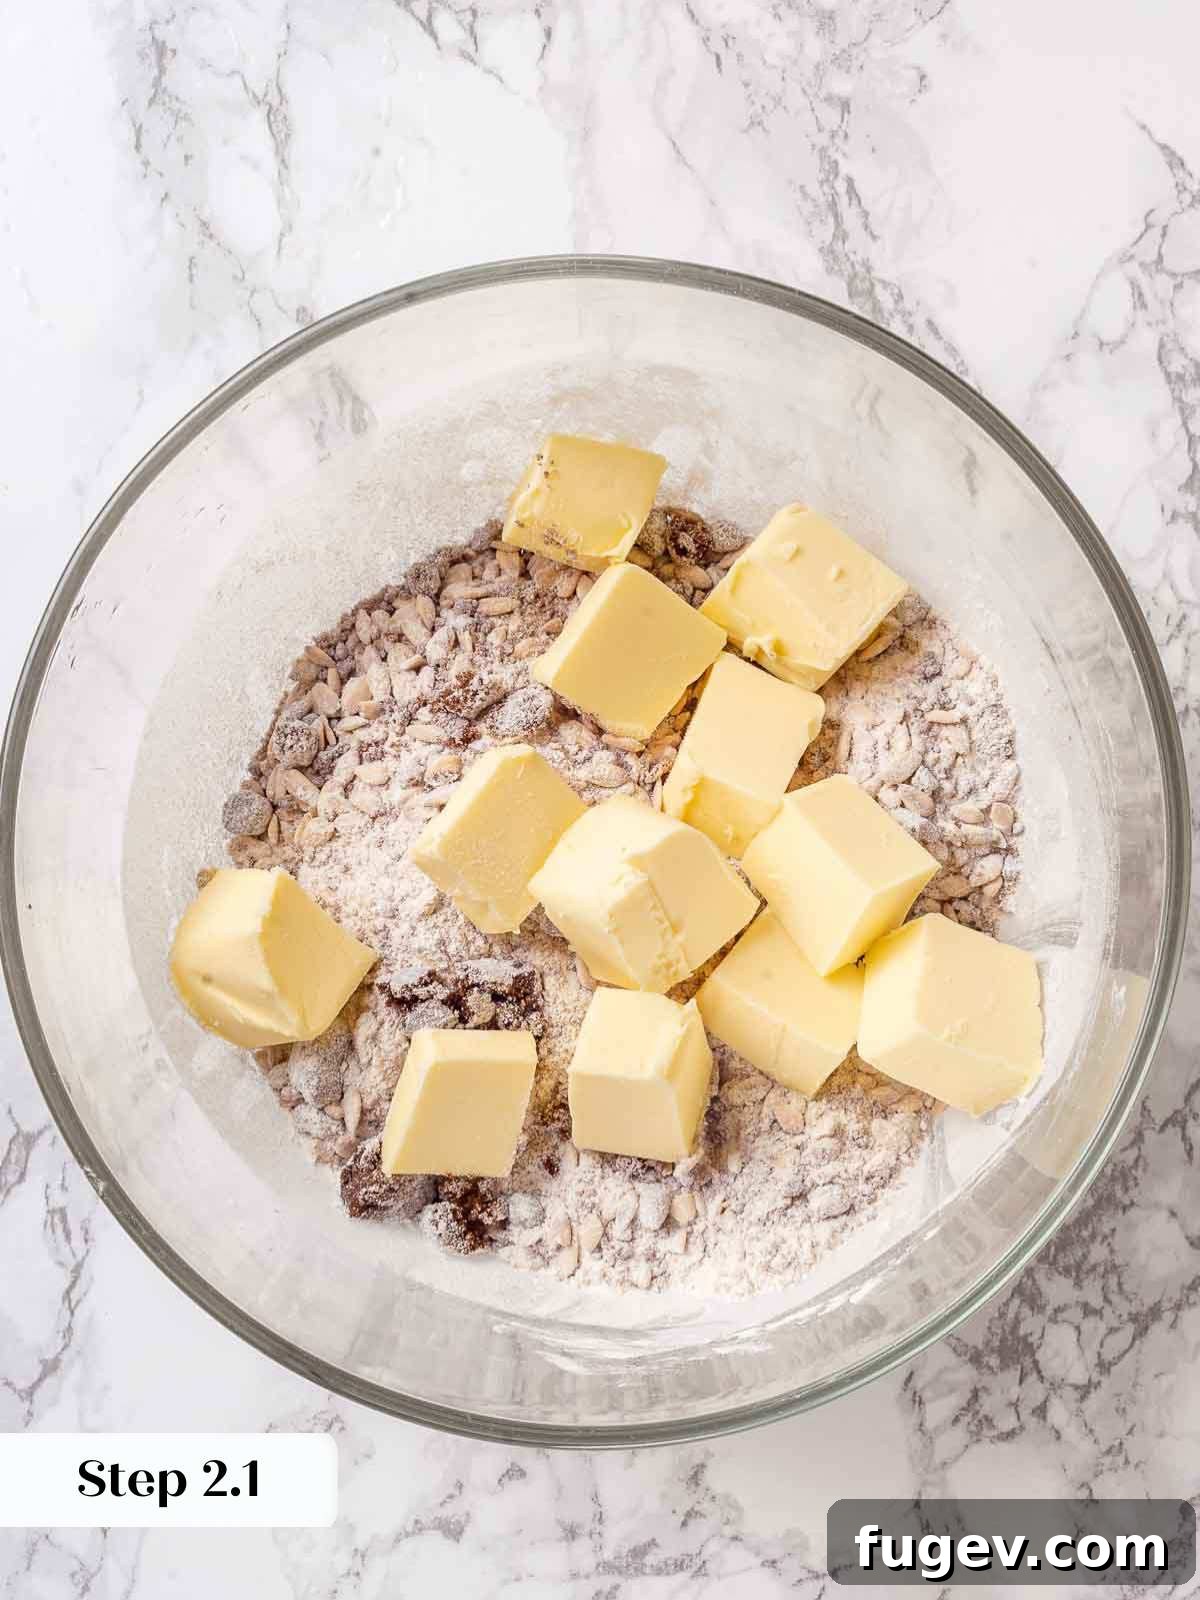
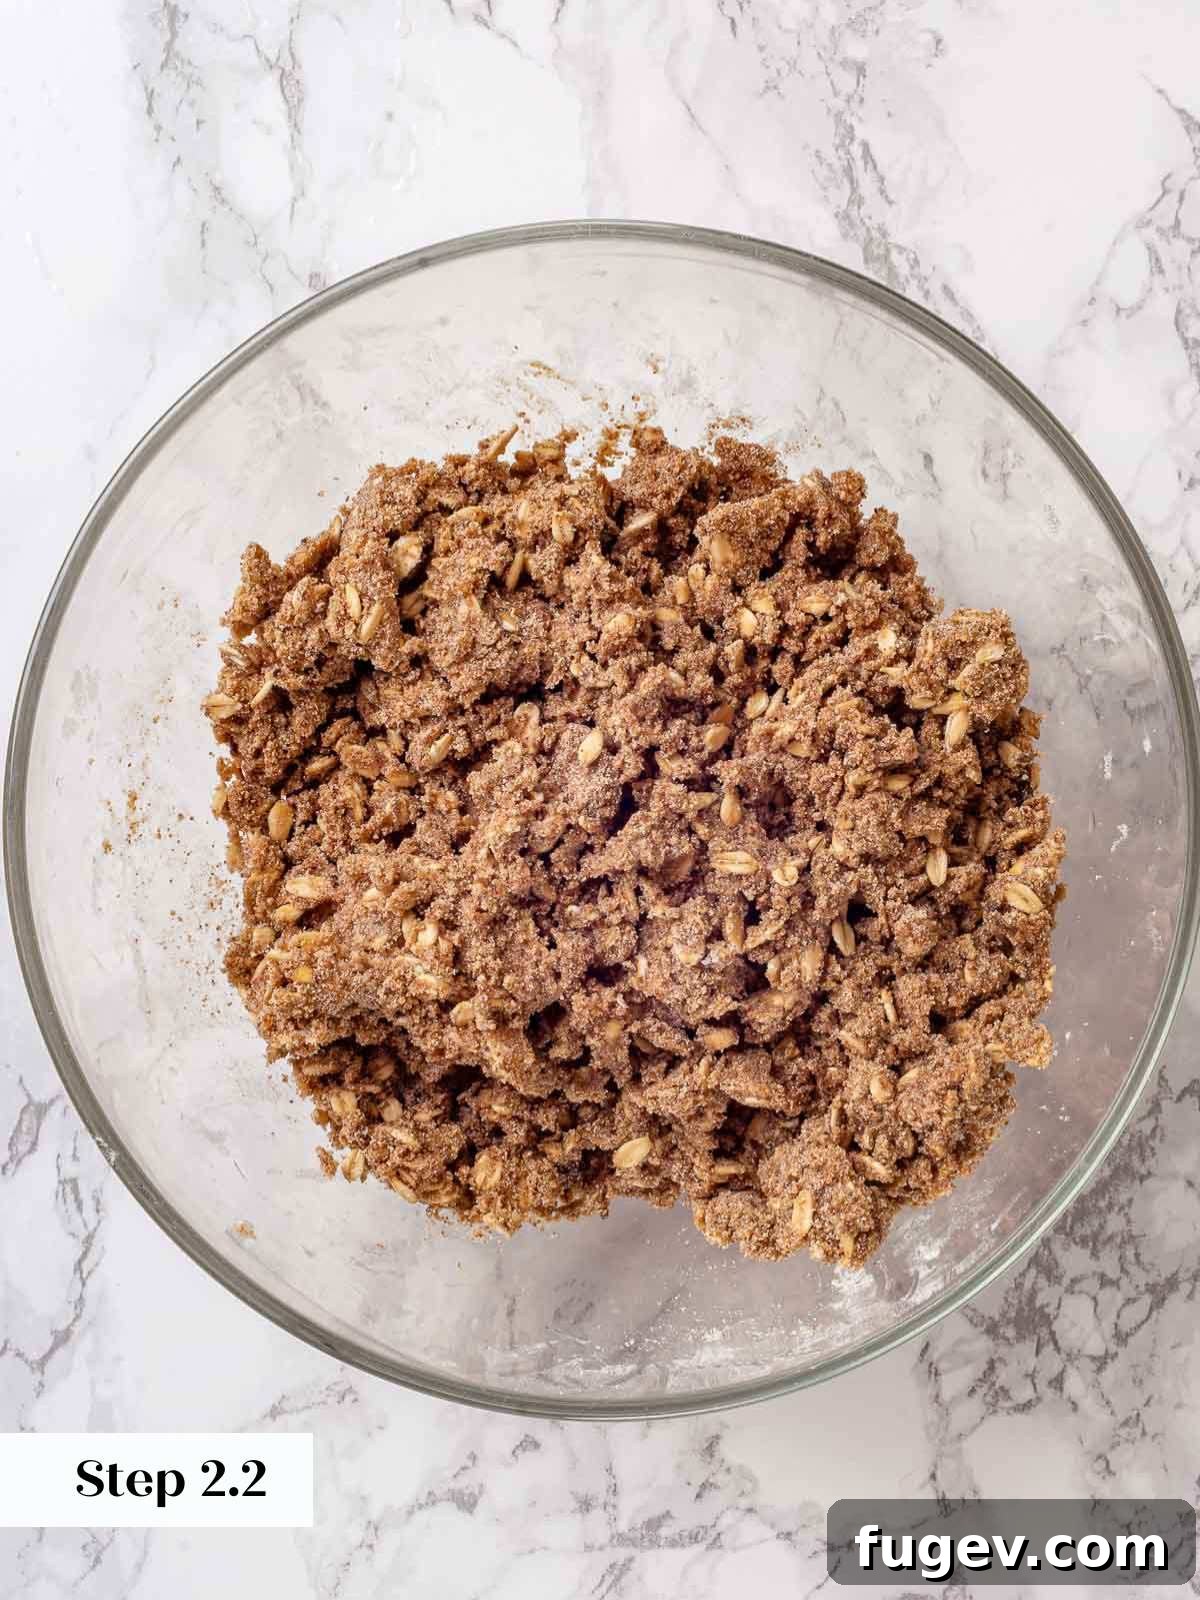
Step 4: Prepare the Streusel Mixture. In a separate medium bowl, stir together the dark brown sugar, all-purpose flour, and rolled oats until they are well blended and uniform. Add the very cold, cubed unsalted butter to this dry mixture, tossing gently with your hands or a fork to coat the butter pieces with the flour mixture. Now, it’s time to get your hands in there! Using your fingertips, or by grabbing a handful and squeezing it against your palm with your fingers, work the butter into the flour mixture. Repeat this motion until the mixture comes together in coarse, crumbly chunks, with only a few small lumps of butter remaining. The key is to work quickly to prevent the butter from melting from the heat of your hands, which helps achieve that ideal crumbly texture. You want pieces ranging from pea-sized to slightly larger, ensuring a variety of textures in the final crispy topping.
Part 3: Assemble & Bake Your Glorious Crisp
The final steps bring together the prepared filling and topping to create a truly magnificent and harmonious apple dessert.
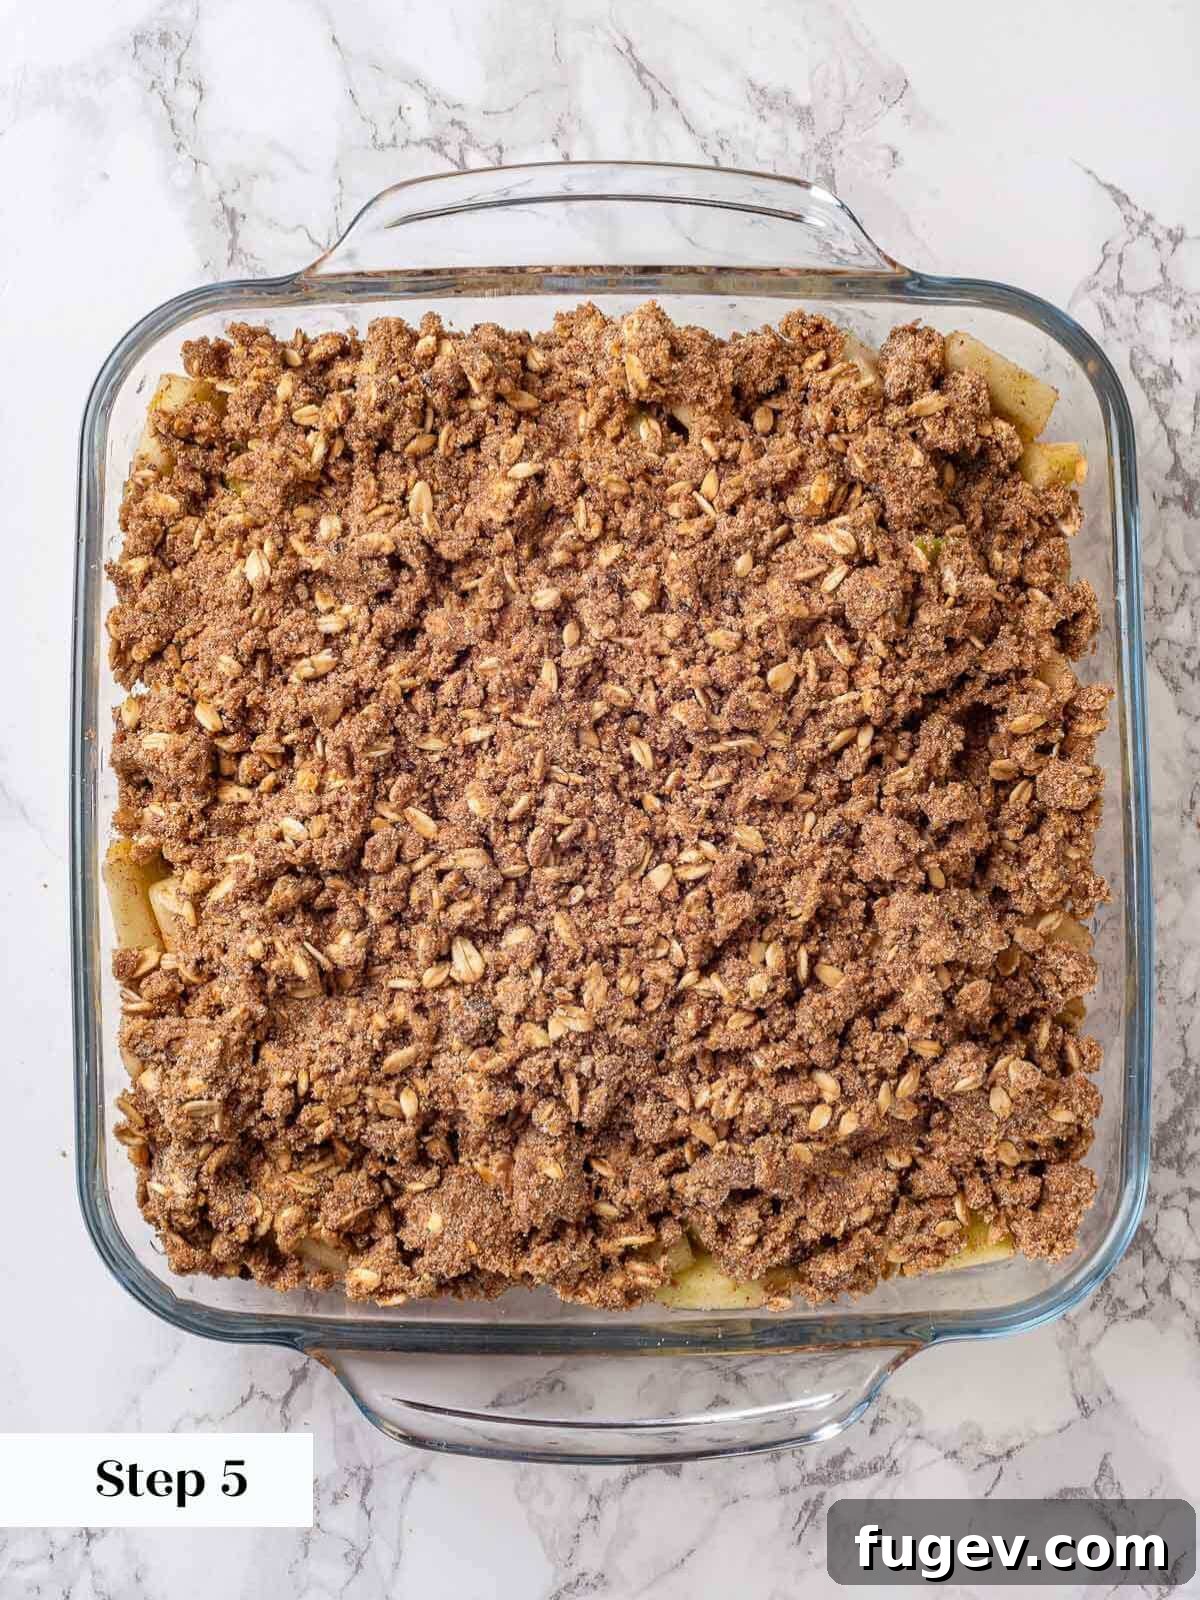
Step 5: Assemble the Crisp. Give your macerated apples one last good stir to redistribute the juices and spices. Pour the apple filling evenly into an 8-inch square baking dish, spreading it out in an even layer. Now, generously cover the apples with the prepared crisp topping. Remember, there’s plenty to go around, so don’t be shy with this delicious brown sugar oat topping! For an extra textural dimension and to create a wonderful soft contrast to the crispy top, gently press some of the streusel topping down into the apples. Trust me on this little chef’s secret – it softens beautifully into a delightful, almost cake-like layer amidst the fruit, making a delicious difference!
Step 6: Bake to Golden Perfection. Place the assembled apple crisp into your preheated oven and bake for 45-50 minutes. You’ll know it’s ready when the topping is a beautiful golden brown and you can see the apple filling bubbling enticingly around the edges of the dish. The bubbling indicates the juices are thickening. If you prefer your apples extremely soft, you can extend the baking time by an additional 10-15 minutes. The key to a thicker, more luscious filling is ensuring it bakes long enough for the juices to reduce and thicken properly. Resist the urge to pull it out too early; a well-baked crisp is worth the wait!
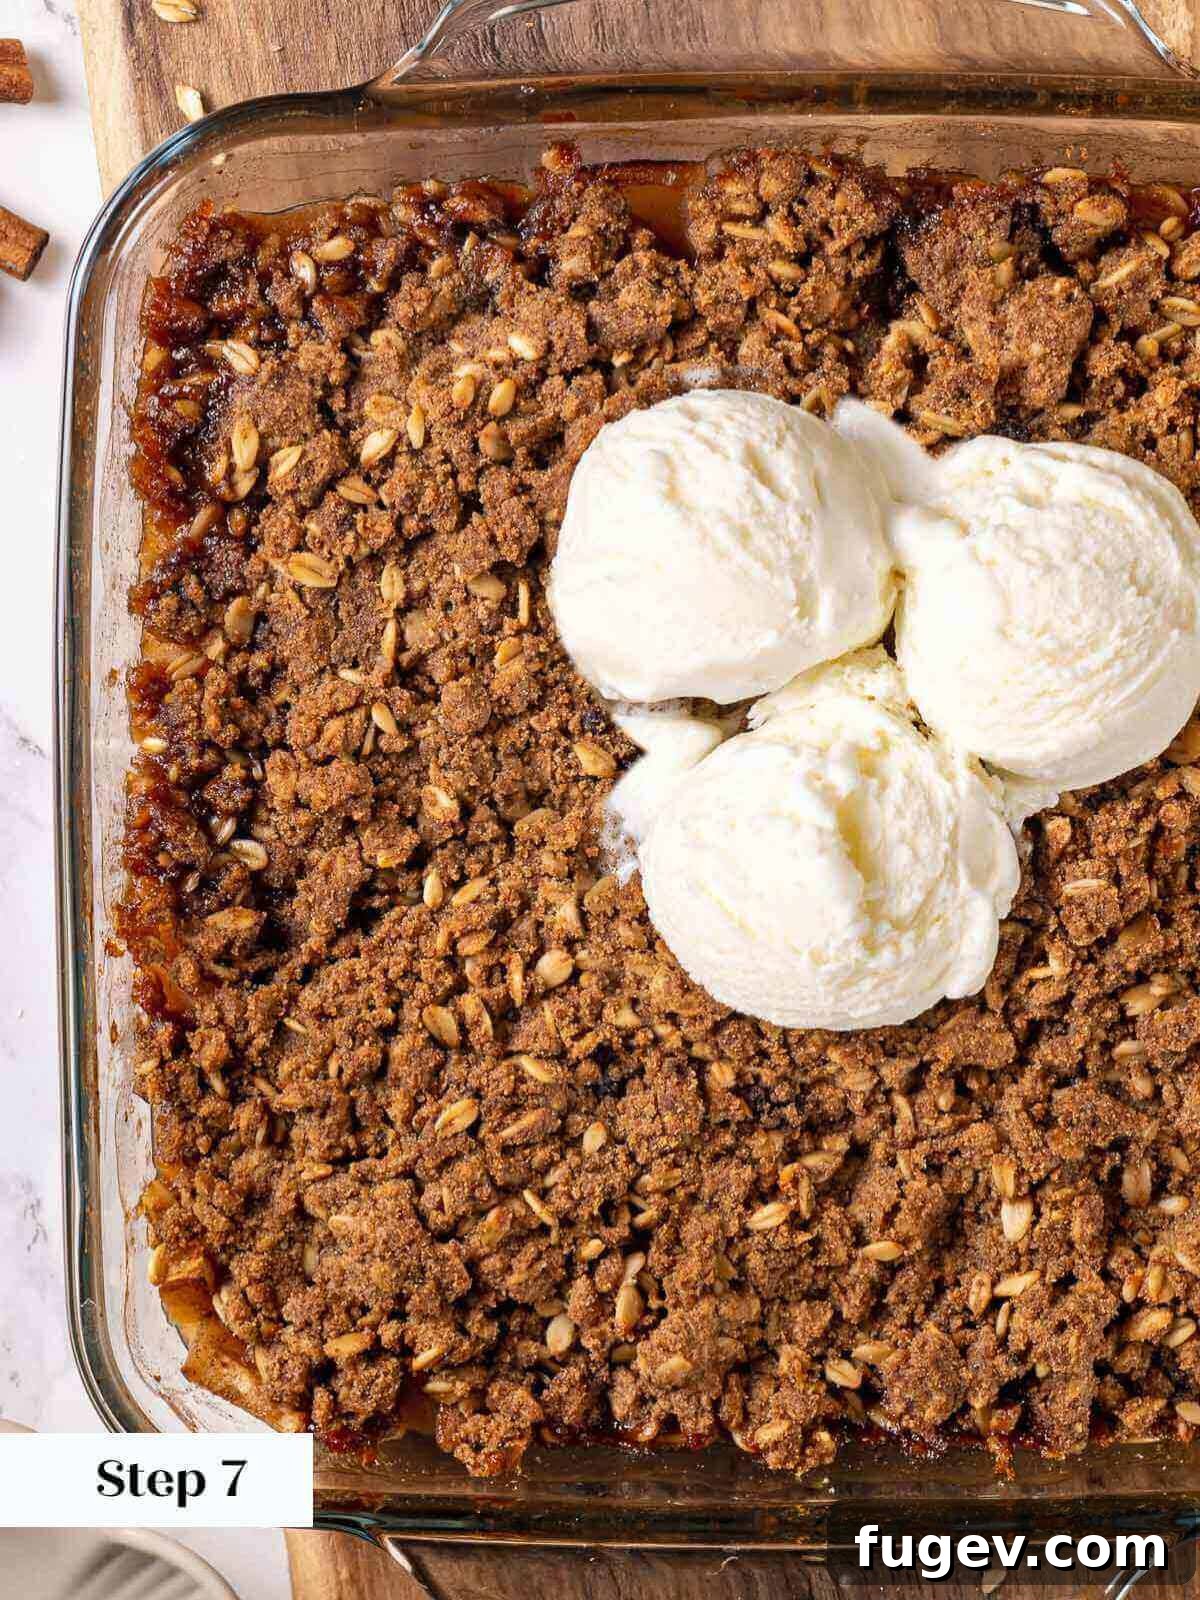
Step 7: Cool and Serve Warm. Once baked, remove the apple crisp from the oven and let it cool on a wire rack for about 10 minutes. This brief cooling period allows the filling to set slightly, making it easier to serve without it being too runny. The ultimate way to enjoy this warm, fragrant dessert is with a generous scoop of cold vanilla bean ice cream, allowing the ice cream to melt slightly into the warm fruit for a sublime contrast. Or, for an extra touch of elegance, whip up this easy crème anglaise recipe while your crisp cools. There’s truly nothing better than a warm, homemade apple crisp!
Chef Lindsey’s Expert Recipe Tip
In deceptively simple recipes like this homemade apple crisp, the quality of each individual ingredient truly makes all the difference. Don’t compromise! Always choose the freshest, tartest apples you can find – they are the soul of the dessert. Take the extra moment to zest and juice a fresh lemon – its vibrant essence is irreplaceable and brightens the entire dish. And finally, remember that little trick: press some of that delicious, buttery brown sugar oat topping down into the apples before baking. It softens into a heavenly layer that contrasts beautifully with the crisp top, adding another dimension of texture and flavor that will elevate your dessert from good to absolutely unforgettable.
What Are the Best Cooking Apples for Apple Crisp?
The “best” cooking apples are ultimately a matter of personal preference, but for an optimal apple crisp, selecting the right varieties can dramatically enhance the final product. I always recommend using a variety of apples to achieve a complex flavor profile and varied texture within your cinnamon apple filling. Look for apples that retain some structure and don’t turn into complete mush when baked. Excellent choices for the best apple crisp include:
- Cripps Pink (Pink Lady): Offers a delightful balance of sweet and tart, and holds its shape well, maintaining a pleasant bite.
- Honeycrisp: Known for its exceptional crisp texture and sweet-tart flavor, it remains beautifully firm after baking, adding a satisfying crunch even when cooked.
- Granny Smith: The quintessential tart apple, essential for providing the necessary acidity and brightness to balance the sweetness of the crisp topping. It holds its shape remarkably well.
- Braeburn: A firm apple with a rich, aromatic flavor that holds up wonderfully during baking, offering a good balance of sweet and tangy.
- Gala: A sweeter option that still maintains some integrity when cooked, good for blending with tarter varieties to achieve a balanced flavor.
- Fuji: Crisp and sweet, it adds another dimension of flavor and holds its structure well, contributing to a pleasant chewiness.
For apple crisp, I consistently lean towards tart varieties to complement the rich, sweet brown sugar oat topping. This creates that desirable contrast that makes the dessert so appealing. Avoid apples that become overly soft or watery, such as Red Delicious, as these are better suited for apple butter or applesauce, where a smooth consistency is desired. A mix ensures you get both tenderness and a pleasant chew in every spoonful of your homemade apple crisp.
Should You Peel Apples for Apple Crisp?
Whether to peel apples for an apple crisp is a common debate in the culinary world, and ultimately, it’s a personal decision. Some prefer the added fiber and rustic aesthetic of unpeeled apples. However, from a professional chef’s perspective and based on extensive experience serving desserts in restaurants, I strongly advise peeling the apples before slicing and baking them into a crisp or pie. Here’s why I believe it leads to the best apple crisp experience:
- Superior Texture: Peeled apples bake more evenly and achieve a consistently tender texture throughout the filling. Apple peels, even from thin-skinned varieties, can become tough, leathery, or stringy after baking. This creates an unpleasant textural contrast to the soft fruit and the crispy brown sugar oat topping, disrupting the otherwise harmonious mouthfeel.
- Enhanced Mouthfeel: Most diners, in my experience, significantly prefer the smoother, more cohesive mouthfeel of an apple crisp made with peeled apples. There’s nothing quite like biting into a perfect spoonful of tender, melt-in-your-mouth apples and crispy streusel, only to unexpectedly encounter a piece of fibrous peel that needs extra chewing.
- Appearance: While not the primary reason, peeled apples also contribute to a more aesthetically pleasing presentation. The vibrant, uniform color and texture of the apple filling are showcased beautifully without bits of peel, making your homemade apple crisp look as good as it tastes.
So, while leaving the skins on can add a touch of fiber and a rustic look, for the absolute best possible eating experience in a classic apple crisp, taking the time to peel your apples is a worthwhile step that significantly enhances enjoyment.
Frequently Asked Questions About Apple Crisp
To store leftover apple crisp, first allow it to cool completely to room temperature. Once cooled, wrap the baking dish tightly with plastic wrap or aluminum foil, or transfer individual servings to an airtight container. Refrigerate for up to a week. For longer storage, you can freeze cooled apple crisp for up to two months. To reheat, thaw if frozen, then warm in a 350°F (175°C) oven until heated through and the topping is crisp again (about 20-30 minutes for individual servings, longer for a whole crisp). Avoid using convection settings when reheating, as the topping can burn before the center is warm.
While the terms “apple crisp” and “apple crumble” are often used interchangeably today, traditionally, the distinction lies in the composition of the topping. An apple crisp typically features a topping that includes oats, which bake up to be wonderfully “crispy” and chewy. An apple crumble, on the other hand, traditionally has a streusel topping made solely from flour, sugar, and butter (and sometimes nuts), resulting in a more uniform, “crumbly” texture without the added chewiness that oats provide. Both are delicious, but the oats are the key differentiator for a classic apple crisp.
Several factors can contribute to a dry apple crisp filling. The most common reasons include using old apples, selecting the wrong apple varieties, over-baking the crisp, or skipping the crucial maceration step. Apples naturally lose moisture over time, which is why they shrivel; always choose firm, bright-looking apples that feel heavy for their size. Different varieties of apples will release more or less moisture; using a mix helps beat the odds for a juicy outcome. Most importantly, allowing the sliced apples to sit with sugar (maceration) before baking is vital. This process pre-releases their water content, creating a delicious, thick syrup that continues to develop as it bakes. Neglecting this step can result in a filling that lacks moisture, making your apple crisp dry instead of luscious.
The beauty of apple crisp is its versatility in serving! For a classic indulgence, serve it warm with a generous scoop of cold vanilla bean ice cream, allowing the ice cream to melt slightly into the warm fruit. Alternatively, a spoonful of rich vanilla bean crème anglaise adds a touch of elegance, or a decadent pour of homemade salted caramel sauce creates an unforgettable experience. For extra crunch and flavor, consider topping with your favorite toasted nuts like pecans or walnuts. There truly is no wrong way to enjoy this comforting and delicious homemade apple crisp!
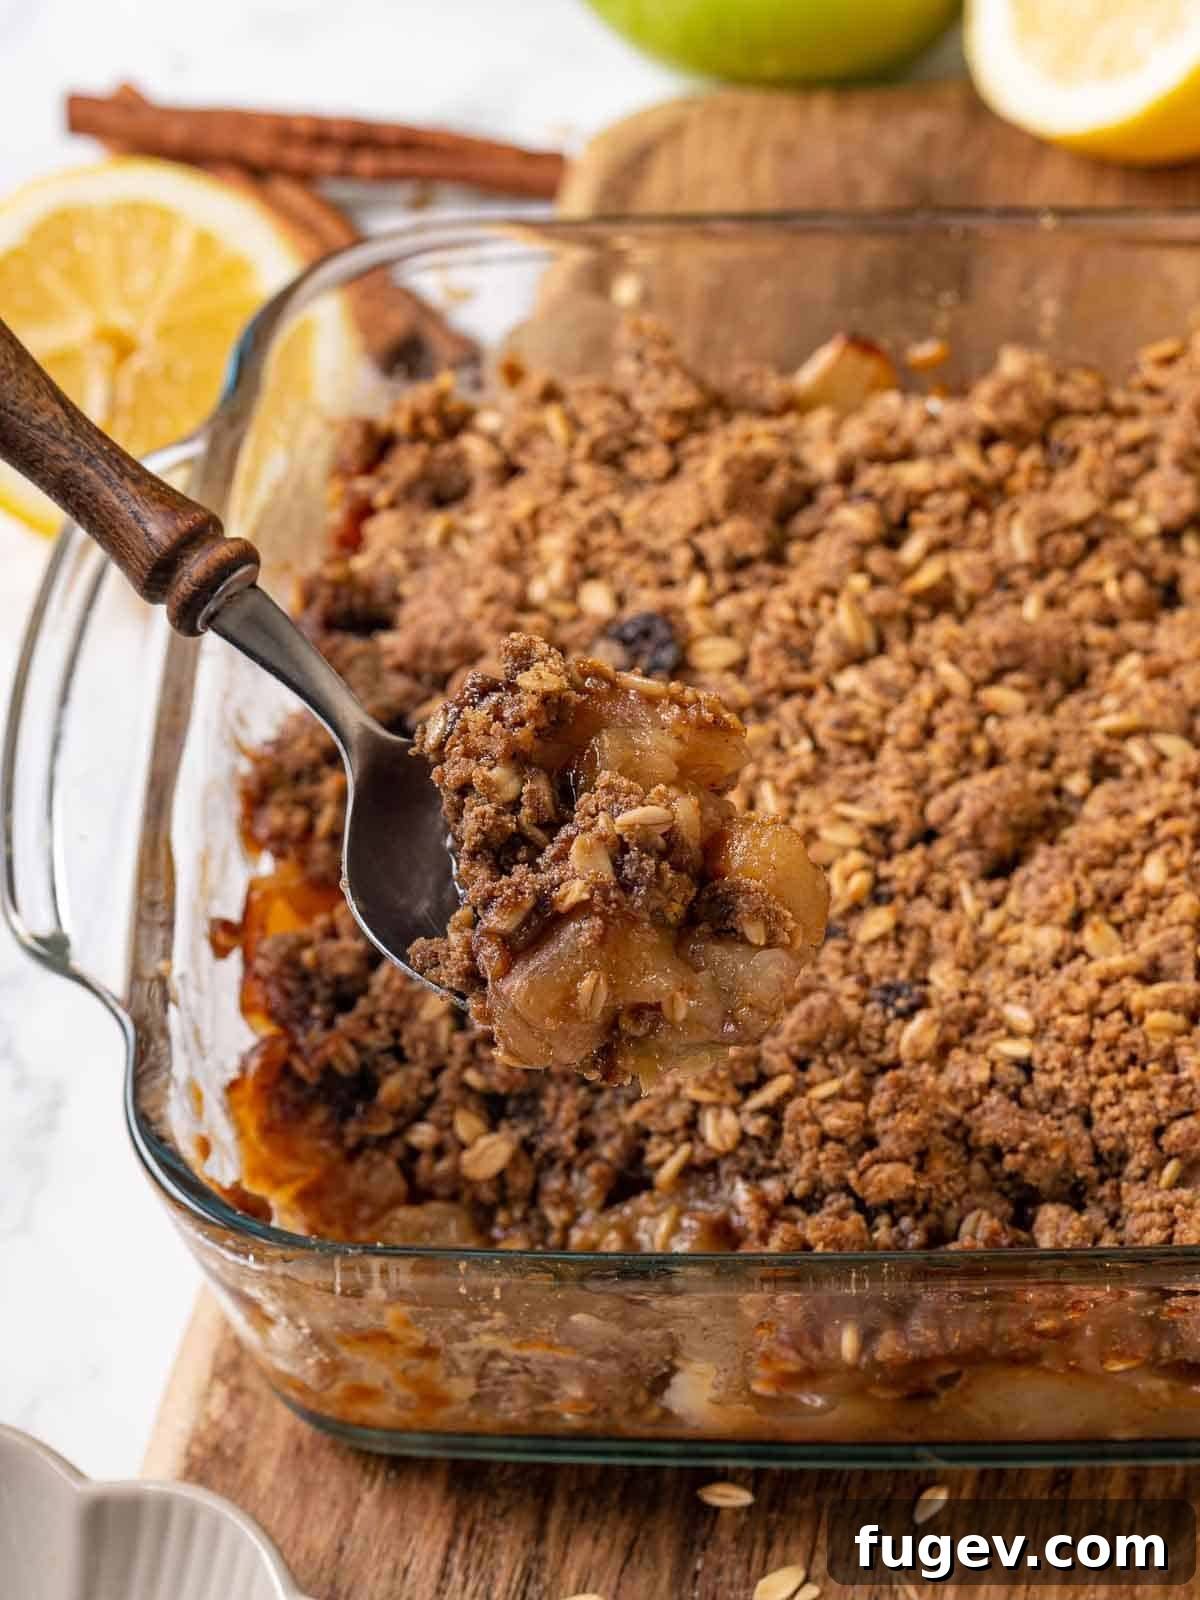
If you tried this recipe and absolutely loved it, please take a moment to leave a 🌟 star rating and share your thoughts in the comments below. Your feedback truly brightens my day and helps others discover this amazing, easy apple crisp recipe!
Easy Apple Crisp Recipe
Chef Lindsey
30
45
1
15
12 people
Comment
Print Recipe
Ingredients (US Customary)
For the Filling:
- 5 cups tart apples (peeled, sliced and cut into ¾ inch pieces – e.g., Granny Smiths & Cripps Pink)
- 1 teaspoon cinnamon
- 2 tablespoons granulated sugar
- ½ lemon (zested)
- 1 tablespoon lemon juice
- ⅛ teaspoon nutmeg (freshly ground, if possible, for best flavor)
- ¼ teaspoon kosher salt
For the Topping:
- 1 cup dark brown sugar (packed, for rich molasses flavor)
- ¾ cup all-purpose flour
- ¾ cup rolled oats (old-fashioned, not instant, for best texture)
- ½ cup unsalted butter (cold, cut into cubes)
8 x 8 inch
rectangle baking dish
Instructions
Mix the apple filling:
-
In a medium bowl, combine the peeled and sliced apples, lemon juice, lemon zest, granulated sugar, nutmeg, cinnamon, and the pinch of salt. Stir well to evenly coat all the apples.
-
Let the apples sit for at least 1 ½ hours, covered, in the refrigerator; stirring occasionally if desired. This maceration process enhances the flavors and creates a juicier filling.
Make the brown sugar crisp topping:
-
Preheat your oven to 350°F (175°C) with the oven rack in the middle position.
-
In a medium bowl, stir together the dark brown sugar, all-purpose flour, and rolled oats. Add the cold, cubed butter and toss to coat the butter pieces with the dry mixture. Using your hands, work the butter into the flour mixture by grabbing a handful, squeezing, and mashing it against your palm with your fingers. Repeat until the mixture sticks together in coarse chunks with only a few small lumps of butter remaining. Work as quickly as possible to prevent the butter from melting.
-
Give the apples one last stir and pour them into an 8-inch square baking dish. Cover generously with the prepared crisp topping. For added texture, gently press some of the topping down into the apples.
-
Bake in the preheated oven for 45-50 minutes, or until the topping is golden brown and the apple filling is visibly bubbling around the sides. If you prefer very soft apples, continue to bake for an additional 10-15 minutes.
-
Let cool for 10 minutes on a wire rack before serving warm with your choice of ice cream or crème anglaise.
-
This dish can be prepared ahead: allow it to cool completely, wrap well with plastic wrap, and refrigerate for up to one week or freeze for several months. To reheat, thaw if frozen, then warm in a 350°F (175°C) oven until heated through.
Notes
Variations: If you prefer a more “normal” ratio of filling to topping, simply halve the topping recipe as written. You will still have more than enough delicious streusel to cover an 8-inch square dish.
Storage: For storage, bake the crisp, allow it to cool completely to room temperature, then wrap and freeze for up to two months. Alternatively, refrigerate any leftovers for up to seven days. The streusel topping itself can also be made in advance and refrigerated for 7 days or frozen for up to two months.
Nutrition Information (per serving)
Carbohydrates: 37g |
Protein: 2g |
Fat: 8g |
Saturated Fat: 5g |
Polyunsaturated Fat: 1g |
Monounsaturated Fat: 2g |
Trans Fat: 1g |
Cholesterol: 20mg |
Sodium: 116mg |
Potassium: 117mg |
Fiber: 2g |
Sugar: 25g |
Vitamin A: 266IU |
Vitamin C: 5mg |
Calcium: 26mg |
Iron: 1mg
Like this? Leave a comment below!
Before You Go: Explore More Delicious Desserts
I genuinely hope you enjoyed baking and savoring this professional chef-tested recipe for easy apple crisp. It’s a timeless dessert that always brings warmth, comfort, and joy to any table. If you’re looking for more comforting and delicious treats, be sure to explore our other chef-developed crisps and crumble recipes, perfect for any occasion. Don’t miss our comprehensive collection of favorite fall dessert recipes, which are ideal for seasonal gatherings and cool weather indulgence. And if you simply can’t get enough of apples, dive into our curated list of the 21 best apple dessert recipes for endless inspiration and to explore new ways to enjoy this beloved fruit!