
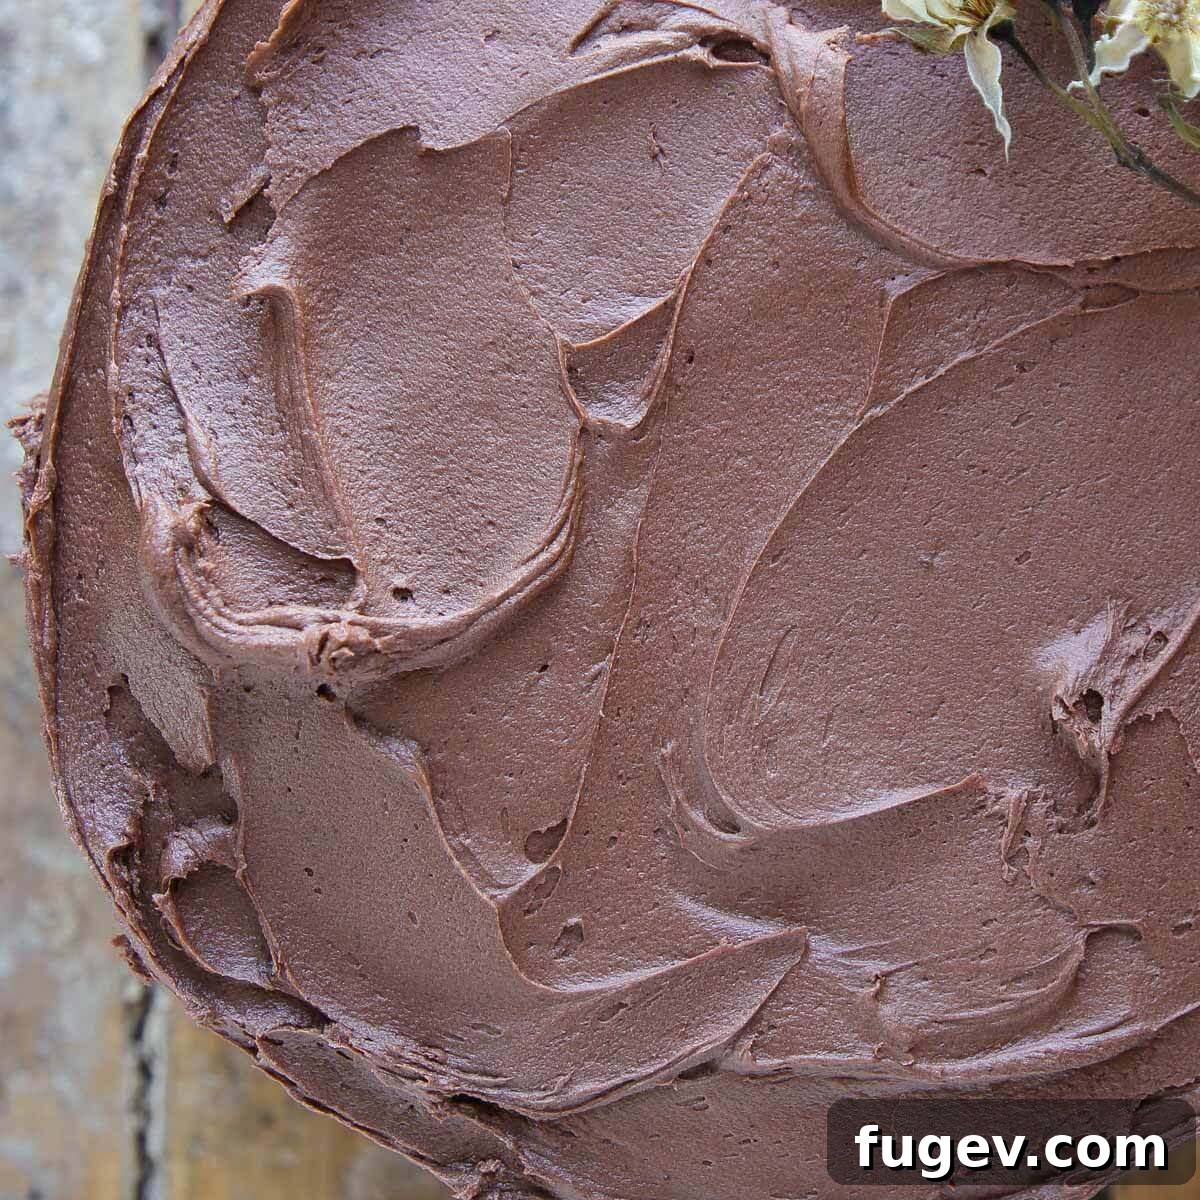
Welcome to the only Chocolate Buttercream Frosting recipe you’ll ever need! This isn’t just any frosting; it’s a testament to simple elegance and profound flavor. Crafted from just six essential ingredients, this remarkable buttercream comes together in a mere five minutes, yielding a gloriously silky smooth texture and an intensely rich chocolate flavor. The secret lies in a harmonious blend of both premium cocoa powder and luxurious melted dark chocolate, ensuring every bite is a decadent experience.
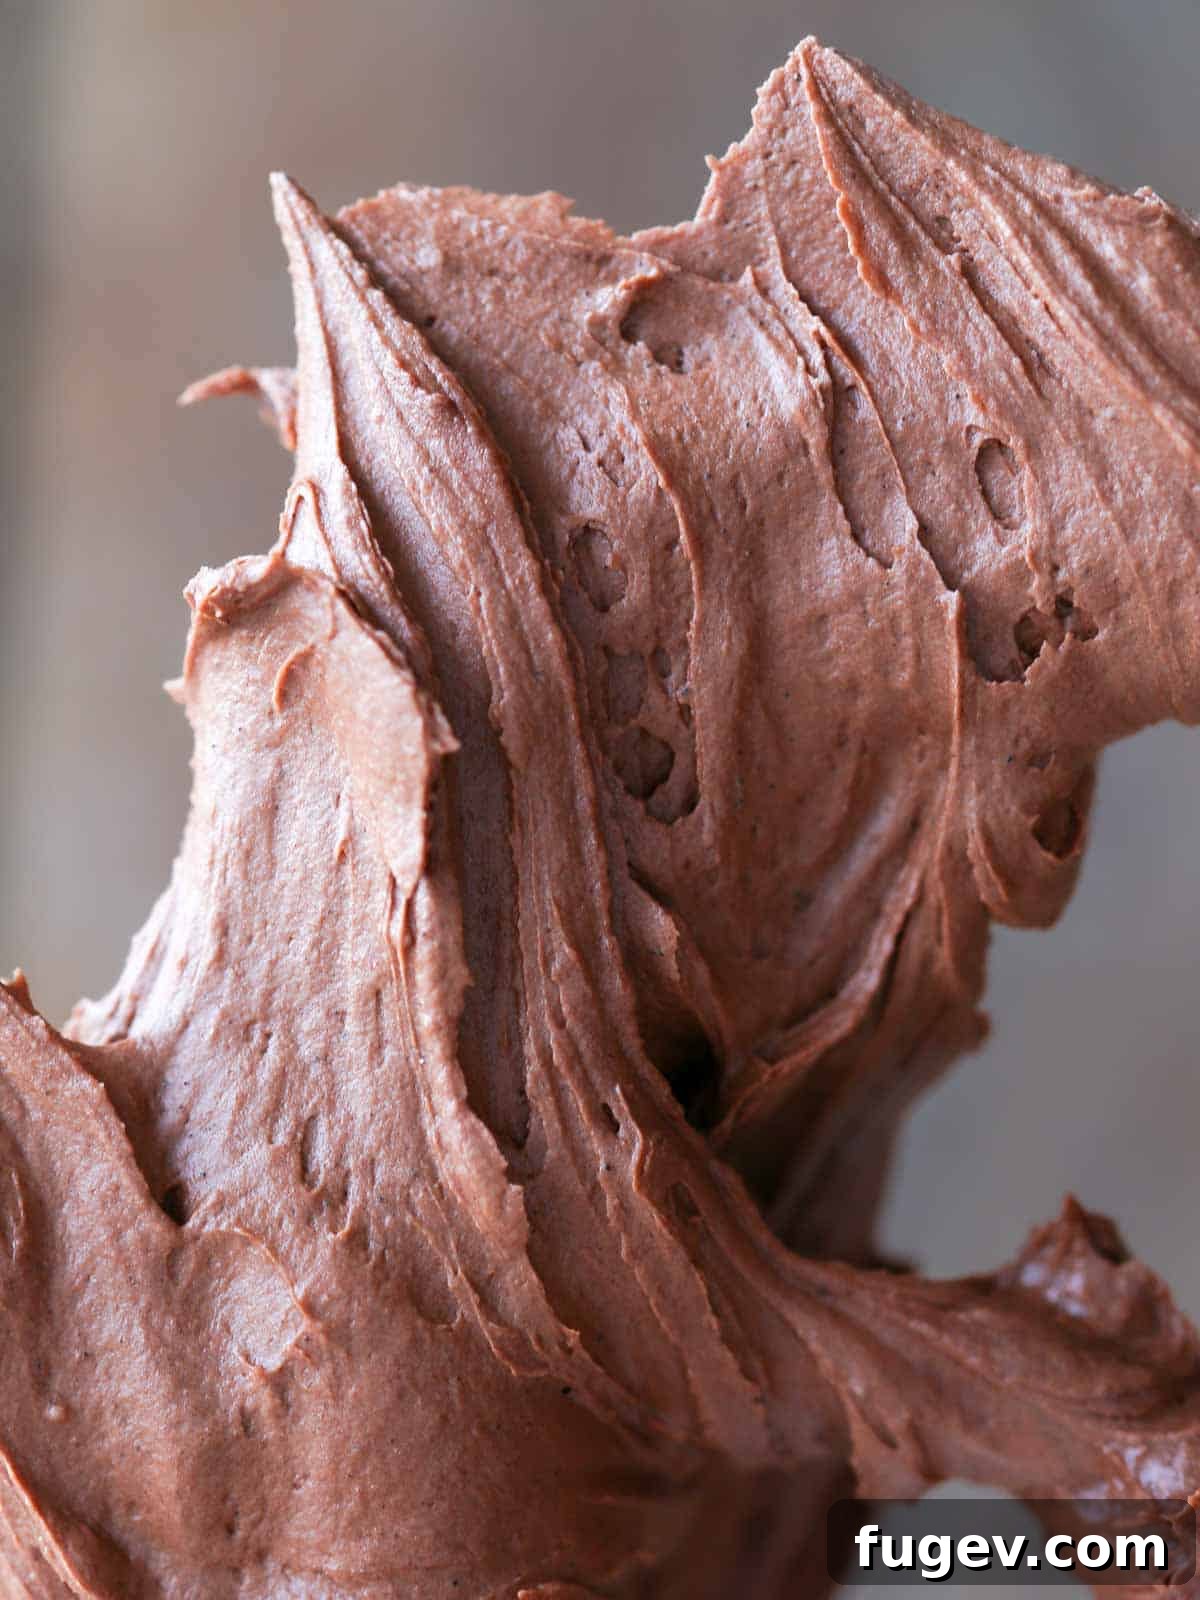
While my culinary heart traditionally belongs to the sophisticated nuances of Italian meringue buttercream and its close cousin, Swiss meringue buttercream, I find myself in a passionate affair with this effortlessly delicious chocolate American buttercream. Life often calls for simplicity without sacrificing quality, and this recipe delivers exactly that. Forget the precise timing, the meticulous separation of egg whites, or any complicated extra steps typically associated with meringue-based frostings. This is your go-to when you need a reliably perfect frosting, fast.
Prepare to be amazed by its exquisite qualities: it’s extraordinarily rich, unbelievably creamy, delightfully decadent, and incredibly easy to make! The strategic addition of melted dark chocolate performs a crucial role here – it elegantly tempers the sweetness, transforming what could be a cloyingly sweet American buttercream into a perfectly balanced, sophisticated treat. Bid farewell to overly sugary frostings! This simple yet profound buttercream is versatile enough to elevate anything it graces. Imagine it luxuriating atop fudgy, chewy brownies, swirled onto festive red velvet cookies, dolloped generously on classic yellow cupcakes, transforming an easy one-bowl chocolate cake, or even enhancing elegant chocolate sugar cookies!
Should your palate desire an equally easy but slightly more subtle flavor profile, consider exploring our beloved vanilla American buttercream recipe or the tangy sweetness of our cream cheese buttercream frosting. Each offers its own unique charm, but for pure chocolate indulgence, you’ve found your match.
Table of Contents
- Why This is the Ultimate Chocolate Buttercream
- Professional Tips for Crafting Perfect Chocolate Frosting
- Essential Ingredients for Decadent Chocolate Buttercream
- Delicious Pairings: What Complements Chocolate Buttercream Best?
- Step-by-Step Guide: How to Make Easy Chocolate Buttercream
- Chef Lindsey’s Expert Recipe Tip
- Proper Storage for Your Chocolate Buttercream
- Frequently Asked Questions About Chocolate Buttercream
- Full Chocolate Buttercream Frosting Recipe
- Explore More Delicious Recipes
Why This is the Ultimate Chocolate Buttercream
This isn’t just another chocolate frosting recipe; it’s a meticulously developed formula designed for maximum impact with minimal effort. Here’s what sets it apart:
- Unrivaled Rich, Deep Chocolate Flavor: Unlike many American buttercreams that rely solely on cocoa powder, this recipe masterfully combines both high-quality cocoa powder and premium melted chocolate. The cocoa provides that classic, robust chocolate base, while the melted chocolate intensifies the flavor, adding a layer of sophisticated richness and depth that is truly unparalleled. This dual-chocolate approach also subtly reduces the overall sweetness, preventing that often-overpowering sugary taste found in traditional American buttercreams and resulting in a silkier, more luxurious mouthfeel.
- Effortless Preparation in Under 5 Minutes: Time is precious, and this recipe respects that. You can achieve a perfectly light, fluffy, and silky smooth buttercream in as little as five minutes of active preparation. Even if you find yourself with rock-hard butter fresh from the refrigerator, there’s no need to despair! We’ll share a clever, professional trick below to quickly soften your butter, ensuring your frosting journey remains smooth and stress-free from start to finish.
- Customizable Light & Airy Texture: The beauty of this buttercream lies in its adaptable texture. You have the power to customize it to suit your decorating needs. Desire an extra light and airy frosting that melts in your mouth? Whip in more air for voluminous swirls perfect for cupcakes or a fluffy topping for brownies. Prefer a slightly thicker, more substantial consistency for frosting elegant layer cakes? Adjust the mixing time to achieve a denser, more stable buttercream. Whether you’re piping intricate designs or simply spreading a generous layer, this frosting performs beautifully, allowing your decorating vision to come to life with ease.
Professional Tips for Crafting Perfect Chocolate Frosting
Achieving buttercream perfection is within reach with these expert tips:
- Ensure Melted Chocolate is Properly Cooled: This is a critical step often overlooked. The melted chocolate must be cooled to roughly body temperature – meaning it feels neutral, neither hot nor cold, to the touch. If the chocolate is too warm, it will melt your butter, leading to a greasy, separated, or liquidy buttercream. Cooling it properly ensures it incorporates smoothly and sets beautifully within the frosting, contributing to that desirable silky texture without any unwanted mishaps.
- Opt for Dutch Processed Cocoa Powder: For the deepest, most robust chocolate flavor and a rich, dark color, Dutch processed cocoa powder is highly recommended. Its mellow, less acidic profile perfectly complements the sweetness of powdered sugar and provides a profound chocolate foundation that natural cocoa can’t quite match. It’s instrumental in achieving that balanced, intense chocolate taste that truly stands out.
- Never Skip the Salt and Vanilla Extract: Think of kosher salt and vanilla extract as the unsung heroes of this chocolate buttercream – the Robin to chocolate’s Batman. They don’t just add flavor; they actively enhance and amplify the chocolate notes, making them sing. Salt balances the sweetness, preventing the frosting from being flat, while vanilla rounds out the complex chocolate profile, adding warmth and depth. These ingredients are essential for a truly well-developed and balanced flavor.
- Master the Beating Technique for Optimal Texture: The order and duration of beating are key to achieving that signature light and fluffy texture. Begin by combining all dry ingredients (powdered sugar, cocoa powder, salt) with the softened butter and melted chocolate using the paddle attachment. Beat this mixture until it’s incredibly smooth and creamy. This initial blending prevents lumps and ensures a uniform base. Only then should you switch to the whisk attachment and gradually incorporate the heavy cream. Whipping on high speed with the whisk introduces air, transforming the dense mixture into a wonderfully light and airy buttercream. If a denser, less aerated frosting is preferred, simply continue with the paddle attachment throughout.
Essential Ingredients for Decadent Chocolate Buttercream
Crafting this incredible chocolate buttercream requires just a few quality ingredients:
- Unsalted Butter: I prefer unsalted butter for better control over the salt content, but if salted butter is all you have, feel free to use it and simply omit the kosher salt from the recipe. Ensuring your butter is properly softened (but not melted) is crucial for a smooth, homogenous buttercream.
- Powdered Sugar (Confectioners’ Sugar): Also known as powdered sugar, this finely milled sugar is paramount for achieving a smooth, non-gritty American buttercream. Sifting it before adding to the butter is highly recommended. Powdered sugar can sometimes contain stubborn lumps that refuse to dissolve, no matter how much you beat the mixture. Sifting guarantees a silky texture from the outset.
- Kosher Salt: A small but mighty ingredient, kosher salt is vital for balancing the sweetness and enhancing the rich, complex flavors of the chocolate. Do not skip it!
- Dutch Process Cocoa Powder: For a deep, dark color and a wonderfully rich, less acidic chocolate flavor, Dutch processed cocoa powder is the star. It contributes significantly to the intensity of the chocolate profile. Just like powdered sugar, sifting the cocoa powder with the confectioners’ sugar will prevent any unwanted lumps. While Dutch processed is preferred, any good quality unsweetened cocoa powder will work, including delightful options like Hershey’s Special Dark.
- Semi-Sweet or Bittersweet Dark Chocolate: This is the secret weapon for ultimate richness and balanced sweetness. Choose a good quality dark chocolate (semi-sweet or bittersweet) that isn’t excessively sweet itself. You can even opt for unsweetened baking chocolate for an even deeper, less sweet result. The goal here is to infuse a profound chocolate depth without adding excessive sugar. While the melted chocolate elevates this recipe, the buttercream remains delicious and rich even if omitted, with no other adjustments needed.
- Vanilla Extract: While technically optional, a good quality vanilla extract is a flavor enhancer that beautifully rounds out and brightens the chocolate notes, making the overall flavor profile more complex and inviting.
- Heavy Cream: Cold heavy cream is added at the end to achieve the perfect light and fluffy consistency. It helps to loosen the buttercream and allows it to whip up beautifully, preventing it from being too heavy or dense. This results in a truly luxurious and spreadable frosting, perfect for making a grand statement, such as on these death-by-chocolate cupcakes.
Refer to the recipe card below for precise measurements and quantities of each ingredient.
Delicious Pairings: What Complements Chocolate Buttercream Best?
This versatile chocolate buttercream is a dream come true for almost any dessert. Here are some delectable pairing ideas:
- Elevate Your Cupcakes: This rich and simple chocolate buttercream is the ideal crowning glory for a variety of cupcakes. It’s magnificent on classic chocolate cupcakes, complements delicate vanilla cupcakes beautifully, enhances our decadent chocolate caramel cupcakes, or can even be used in place of cream cheese frosting on the best red velvet cupcake recipe for a rich, deep chocolate twist. For the ultimate indulgence, try it on these peanut butter stuffed chocolate banana cupcakes.
- Frost Your Favorite Cakes with Finesse: This buttercream is perfectly suited for both classic and adventurous cake pairings. Choose a time-honored match like a fluffy classic yellow cake or a dark and moist devil’s food cake. Or, break from tradition and experiment with it on a rich chocolate pound cake, a tender sour cream pound cake, or even a light and airy angel food cake for a delightful contrast. While it excels on tiered layer cakes, it’s equally fabulous spread generously over a simple sheet cake, transforming even a vibrant funfetti sheet cake into a chocolate celebration!
- Spread on Cookies, Brownies, or Bars for an Extra Treat: For a denser, richer topping on your favorite cookies, brownies, or dessert bars, simply omit the heavy cream from the recipe. This yields a thicker, more spreadable buttercream that’s perfect for a substantial layer of chocolate goodness. It’s absolutely phenomenal on these intensely rich one-bowl brownies or our nutty brown butter brownies. If you prefer a lighter, more classic frosting texture for these treats, include the heavy cream, but be aware that it will set softer. For easier transport or cleaner cutting, store frosted cookies and bars in the refrigerator beforehand.
Step-by-Step Guide: How to Make Easy Chocolate Buttercream
Follow these straightforward instructions to create light, fluffy, and perfectly balanced chocolate buttercream every single time!
Preparing Your Decadent Buttercream:
Step 1: Sift Dry Ingredients. In a large mixing bowl, sift together the powdered sugar and the cocoa powder. This crucial step ensures a smooth, lump-free buttercream right from the start, preventing gritty textures later on.
Step 2: Cream Butter and Dry Ingredients. In the bowl of a stand mixer fitted with the paddle attachment, add the softened butter, the sifted powdered sugar and cocoa powder mixture, and the kosher salt. Begin mixing on low speed until all the ingredients are just combined and no dry pockets remain. Gradually increase the mixer speed to medium-high and beat until the mixture is light, creamy, and smooth. Scrape down the sides of the bowl occasionally to ensure everything is thoroughly incorporated.
Wait! Did you forget to soften your butter? Don’t panic, it happens to the best of us (including me!). Here’s a quick fix: Cube the cold butter and place it in the bowl of your stand mixer, fitted with the paddle attachment. Mix on medium speed while gently warming the sides of the bowl with a kitchen torch (or a hairdryer on a low setting). Keep the torch moving constantly to prevent the butter from melting in one spot. Stop frequently to allow the butter to redistribute the heat. The objective is to soften the butter to a pliable consistency, not to melt it completely. Continue until the butter is perfectly softened and ready to be creamed.
Step 3: Incorporate Melted Chocolate and Vanilla. Add all of the cooled melted dark chocolate and the vanilla extract to the butter mixture. Beat with the paddle attachment on medium speed until the chocolate is fully incorporated and the mixture appears slightly lighter in color and incredibly smooth. Ensure there are no streaks of unmixed chocolate.
Step 4: Achieve Desired Lightness with Heavy Cream. This step determines the final texture of your buttercream. If you desire a lighter, airier, and more voluminous buttercream, switch from the paddle attachment to the whisk attachment before adding the heavy cream. With the whisk, gradually add the cold heavy cream and whip on high speed until the buttercream becomes notably light, fluffy, and visibly lighter in color. For a denser, smoother buttercream with fewer air bubbles, which is often preferred for a pristine finish on layer cakes, simply keep the paddle attachment on and beat until the cream is incorporated and the buttercream reaches your desired smooth consistency.
Mastering the Application of Chocolate Buttercream:
- For Elegant Piping: To pipe beautiful decorations, first fit a piping bag with your preferred piping tip or a coupler. Place the piping bag, tip-down, into a large glass and fold the edges of the bag over the rim of the glass. This creates a stable opening for easy filling. Fill the bag approximately two-thirds full with your buttercream. Gently press the buttercream towards the bottom of the bag, pushing out any trapped air pockets. Twist the top of the bag securely, and you’re ready to pipe stunning designs!
- For Smooth Spreading: When a classic, smooth application is desired, simply grab a large offset spatula. Dollop a generous amount of buttercream onto your cake or cupcake, and gently begin spreading it evenly across the surface. Add more buttercream as needed, ensuring a consistent and beautiful layer.
Chef Lindsey’s Expert Recipe Tip
The estimated yield for this recipe (enough to generously frost 12 cupcakes or one 2-layer 9-inch cake) is based on whipping air into the buttercream. This aeration increases its volume significantly. If you opt to keep the buttercream denser and bubble-free (by using the paddle attachment exclusively and not whipping vigorously), you will achieve a thicker frosting but will naturally need more buttercream to cover the same amount of cake or cupcakes. Consider doubling the recipe if you prefer a denser, less aerated frosting for larger projects.
Proper Storage for Your Chocolate Buttercream
Proper storage is key to enjoying your homemade chocolate buttercream for days or even months:
- Refrigeration: Store any leftover chocolate buttercream in an airtight container in the refrigerator for up to 2 weeks. Before using, allow it to come to room temperature, then re-whip it with a paddle attachment on low speed until smooth, followed by a whisk attachment on high speed until light and fluffy again.
- Freezing for Longer Storage: For extended freshness, chocolate buttercream can be frozen for up to 3 months. For compact and efficient storage, transfer the buttercream into air-tight zip-top bags. Press out any excess air, flatten the bags, and then zip them securely. Freeze them flat, and once solid, they can be stacked or stored vertically to save space. To use, thaw the frozen buttercream in the refrigerator overnight, then let it come to room temperature on the counter before re-whipping as described above.
- Room Temperature Storage: While the buttercream itself can safely be stored at room temperature for up to 5 days, it’s crucial to consider the baked goods it’s applied to. Most frosted cakes, cupcakes, or brownies typically have a shorter room temperature shelf life of 1-3 days. Always defer to the storage instructions for the specific baked good you are frosting.
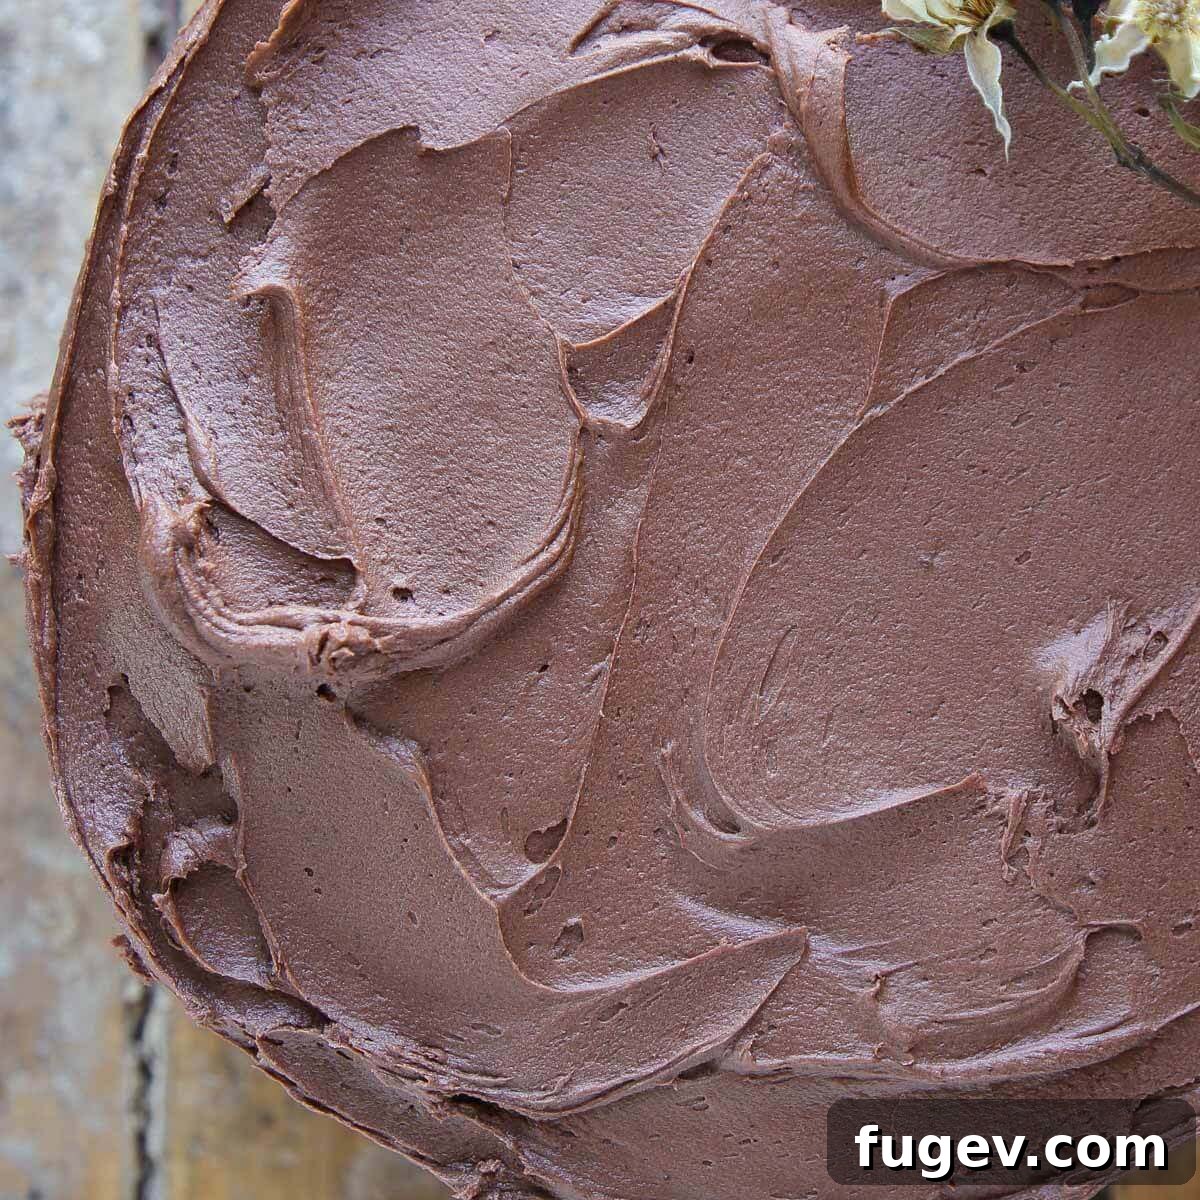
Frequently Asked Questions About Chocolate Buttercream
Absolutely! Chocolate buttercream is an excellent make-ahead component. You can store it in an airtight container in the refrigerator for up to 2 weeks, or extend its life by freezing it for up to 3 months. When you’re ready to use it, allow the buttercream to soften slightly in its container at room temperature. Then, transfer it to a stand mixer fitted with the paddle attachment and mix on low speed until it becomes smooth. Once smooth, switch to the whisk attachment and beat on high until it’s light, fluffy, and perfectly aerated, ready for decorating.
If your chocolate buttercream is too loose, the most effective way to thicken it is by chilling. Place the entire batch of buttercream, along with the paddle attachment from your mixer, into the refrigerator for 30-60 minutes. This will allow the butter to firm up. After chilling, return the bowl to the stand mixer and mix on low speed until it begins to soften. Then, switch to the paddle attachment and beat on medium-high until it’s light and fluffy. If it still feels too loose after chilling and re-whipping, you can gradually add a tablespoon or two more of sifted powdered sugar or cocoa powder, beating well after each addition until the desired thickness is achieved.
In my professional experience, chocolate American buttercream performs very well for assembling and frosting 2-3 layer cakes. It provides sufficient structure for typical cake designs. However, it is generally not as stable as its meringue-based counterparts, such as chocolate Swiss meringue buttercream or Italian meringue buttercream. Therefore, I would advise against using it to create a dam for liquid fillings like salted caramel sauce or lemon curd, as these might cause it to seep. For multiple-tier cakes without liquid fillings, this American buttercream will provide enough support if proper internal support (like cake straws or dowel rods) is used.
Separation in American buttercream is most commonly caused by temperature extremes, particularly when the mixture gets too warm. With chocolate buttercream, this can frequently occur if the melted chocolate is added while it’s still warm, causing the butter to melt. It can also happen if your kitchen environment is too warm, or if the buttercream is mixed for an excessive duration, where the friction from the mixer generates enough heat to warm and separate the ingredients. To remedy this, simply chill the entire bowl of buttercream in the refrigerator for 20-30 minutes until it firms up slightly. Then, return it to the mixer and beat on medium speed until it comes back together and is smooth and cohesive.
Achieving a completely bubble-free buttercream often involves a trade-off. You typically need to decide: do you prioritize a light, airy, and voluminous frosting (which tends to have more air bubbles), or a thicker, denser frosting with a perfectly smooth, bubble-free finish? If a minimal-bubble finish is your goal, I recommend sticking with the paddle attachment throughout the mixing process and avoiding switching to the whisk. After mixing, you can also manually press out some of the remaining air bubbles by working the buttercream against the sides of the bowl with a sturdy rubber spatula. For perfectly smooth, pristine sides on a cake that demand no bubbles, I personally lean towards a chocolate Swiss meringue buttercream, which naturally has a smoother consistency.
If you tried this recipe and absolutely loved it, please take a moment to leave a 🌟 star rating and share your thoughts in the comments section below. Your feedback truly brightens my day, and I love hearing about your culinary successes!
Decadent Chocolate Buttercream Frosting
Chef Lindsey
10 minutes
10 minutes
12 people
Comment
Print Recipe
Ingredients
-
1 cup unsalted butter softened -
3 ½ cups powdered sugar sifted -
¼ teaspoon kosher salt -
¼ cup Dutch processed cocoa powder -
4 oz dark chocolate melted and cooled -
2 teaspoons vanilla extract -
¼ cup heavy cream
Instructions
-
In the bowl of a stand mixer fitted with the paddle attachment, combine the softened butter, sifted powdered sugar, sifted cocoa powder, and salt. Beat on low speed until combined, then gradually increase to medium-high speed and beat until the mixture is light and smooth, scraping down the sides as needed.
-
Add all of the cooled melted dark chocolate and vanilla extract to the butter mixture. Continue beating with the paddle attachment until the chocolate is fully incorporated and the buttercream appears slightly lightened and uniform.
-
If you desire a lighter, airier buttercream, switch the mixer attachment to the whisk. (For a smoother, denser buttercream with fewer bubbles, you can continue with the paddle attachment).
-
With the chosen attachment, gradually add the cold heavy cream. If using the whisk, beat on high speed until the buttercream is light, fluffy, and significantly increased in volume. If using the paddle, beat until the cream is fully incorporated and the buttercream is smooth and creamy.
Video
Notes
Technique for Fewer Air Bubbles: If your goal is a buttercream with minimal air bubbles for a super smooth finish, I recommend continuing to use the paddle attachment throughout the entire mixing process, rather than switching to the whisk attachment. After mixing, you can also gently press the buttercream against the sides of the mixing bowl with a sturdy spatula to further release any trapped air. Keep in mind that for truly flawless, smooth cake sides, a chocolate Swiss meringue buttercream is often the preferred choice due to its inherently smoother consistency.
Storage: Store this chocolate buttercream in an airtight container in the refrigerator for up to 2 weeks. For longer storage, it can be frozen for up to 3 months. To use frozen buttercream, thaw it in the refrigerator overnight, then bring it to room temperature and re-whip until light and fluffy. You can also store chocolate buttercream at room temperature for up to 5 days, though it’s important to remember that most frosted baked goods (like cakes and cupcakes) typically have a shorter shelf life of 1-3 days at room temperature. Always follow the storage guidelines for the specific dessert you have frosted.
Nutrition
Carbohydrates: 38g |
Protein: 2g |
Fat: 22g |
Saturated Fat: 13g |
Polyunsaturated Fat: 1g |
Monounsaturated Fat: 6g |
Trans Fat: 1g |
Cholesterol: 47mg |
Sodium: 174mg |
Potassium: 117mg |
Fiber: 2g |
Sugar: 34g |
Vitamin A: 554IU |
Vitamin C: 1mg |
Calcium: 19mg |
Iron: 1mg
Dessert
American
342
Like this? Leave a comment below!
Before You Go
Your culinary adventure doesn’t have to end here! Dive deeper into the world of baking and explore our extensive collection of cake recipes and cupcake recipes, each offering the perfect canvas for this exquisite chocolate buttercream. Or, perhaps you’d like to broaden your frosting repertoire by perusing all our buttercream and frosting recipes for inspiration. Why not dedicate an afternoon to baking a truly impressive dessert, like our classic Old-Fashioned Chocolate Fudge Cake, and crown it with a generous layer of this sensational chocolate buttercream? Happy baking!