
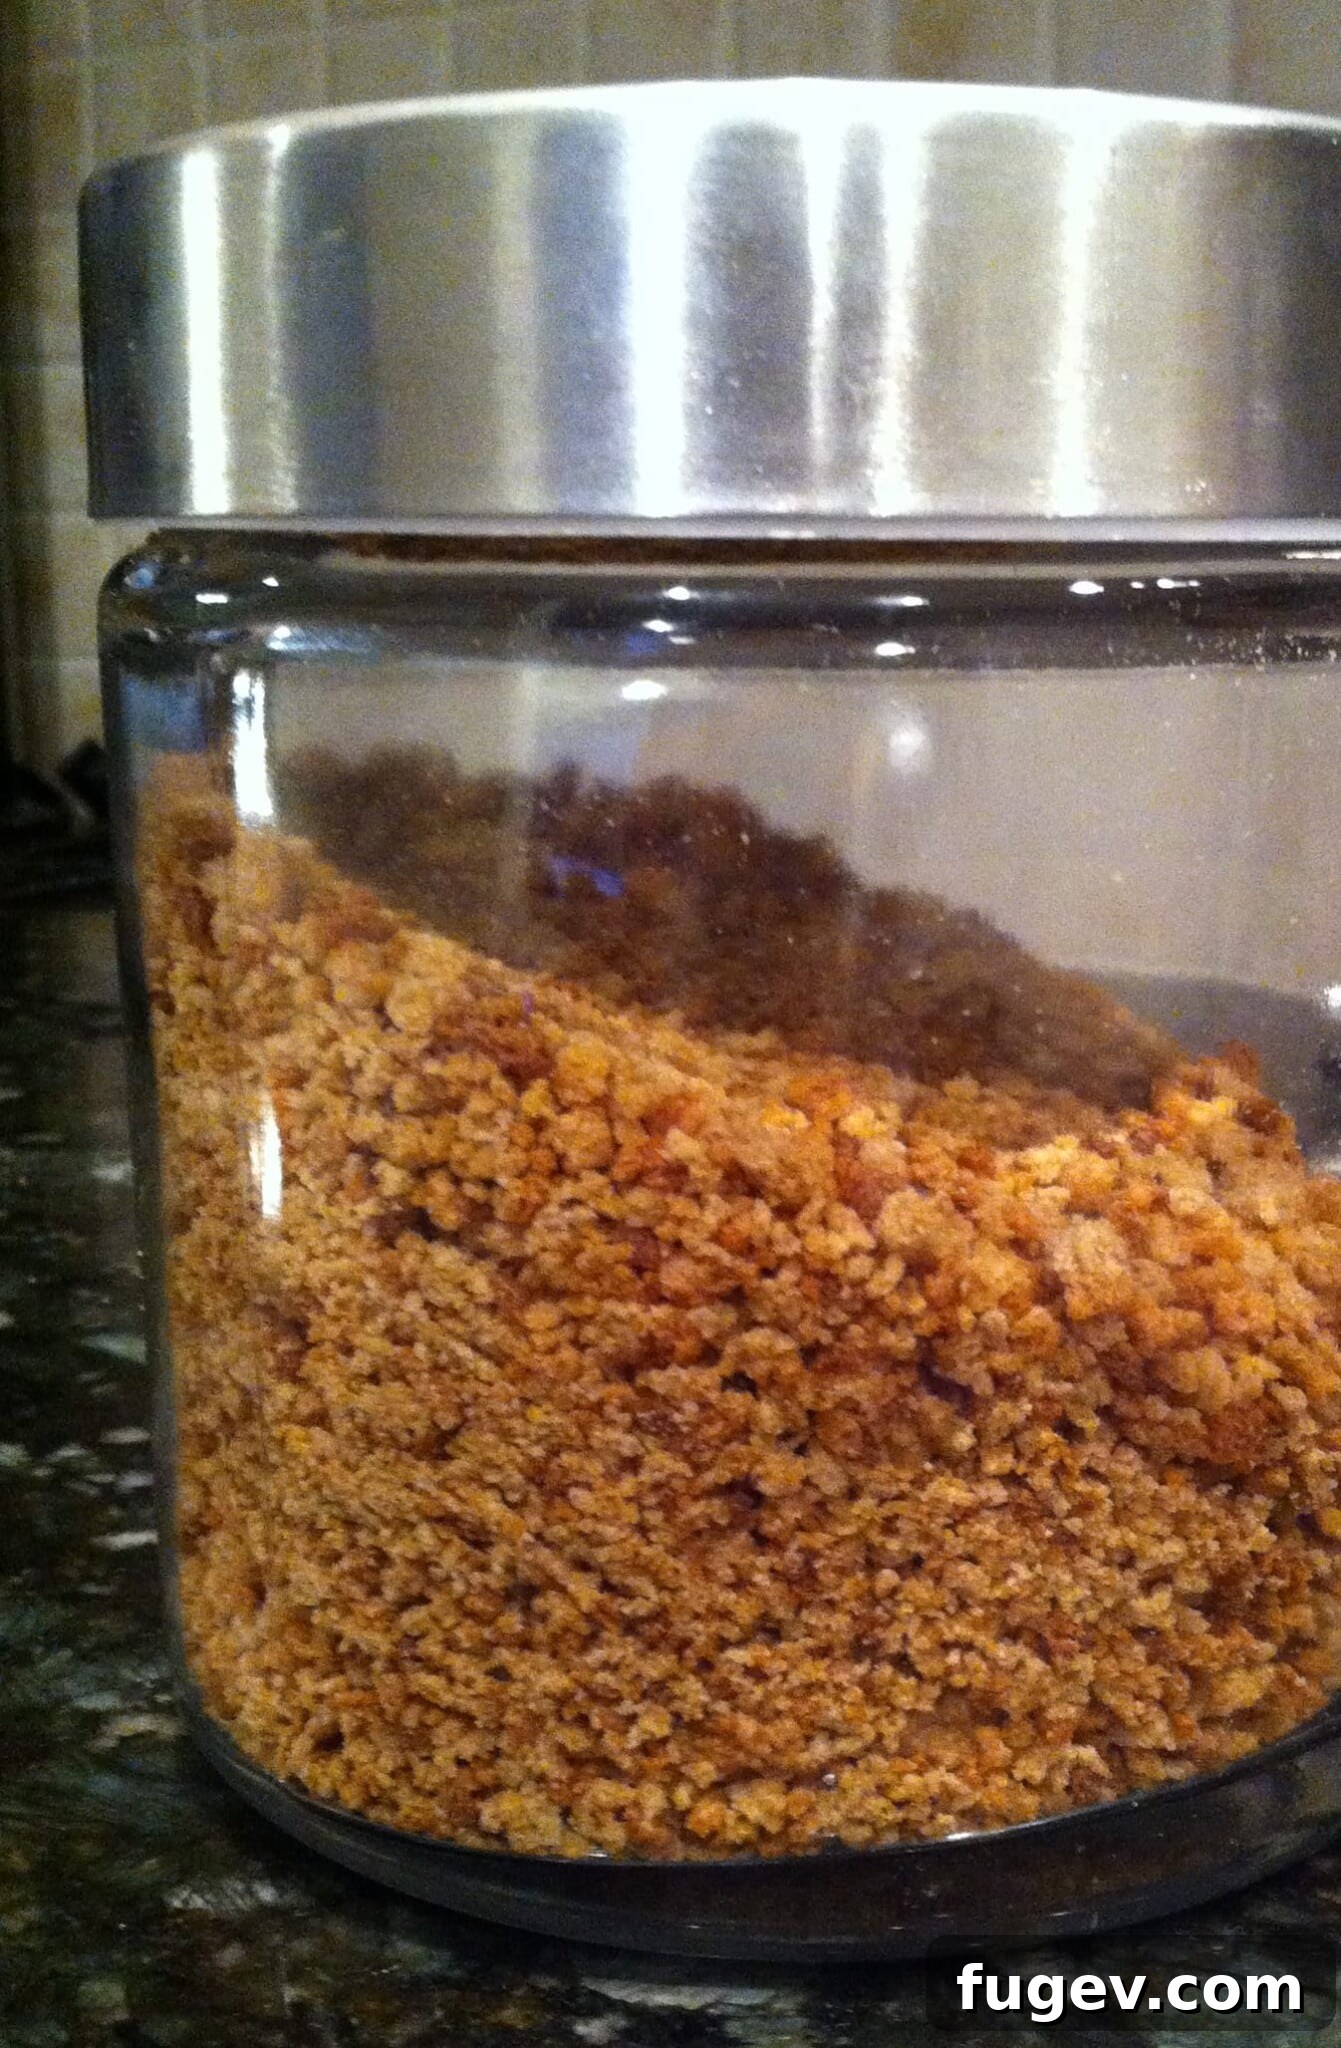
Easy homemade bread crumbs are a simple yet incredibly effective way to transform any leftover bread into a valuable pantry staple. Far superior to their store-bought counterparts, these golden, crispy crumbs add a fresh, homemade touch to countless dishes. By making your own, you not only reduce food waste but also gain complete control over the ingredients, ensuring a pure, unadulterated flavor that truly shines.
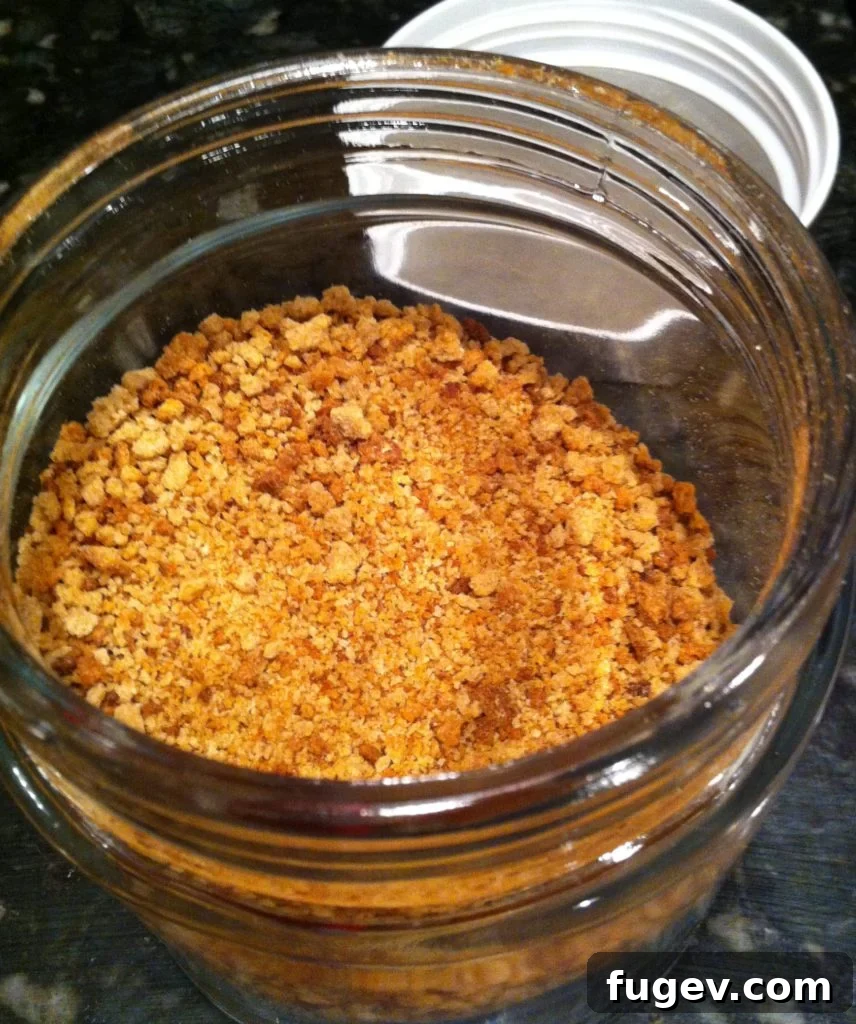
Homemade Bread Crumbs: Your Ultimate Guide to Flavorful & Sustainable Cooking
Have you ever baked a beautiful loaf of 100% whole-wheat bread, perhaps from a classic like the American Woman’s Cookbook, only to find it a bit dry after a couple of days? Or maybe your delicious Potato Bread has passed its prime for slicing? Don’t fret! This is precisely where homemade bread crumbs come to the rescue. Instead of letting that fantastic bread go to waste, we’re going to give it a second life, turning it into even more fabulous and flavorful bread crumbs that will elevate your cooking.
Using up stale bread is not just an economical choice; it’s a culinary one. Homemade bread crumbs boast a texture and depth of flavor unmatched by store-bought varieties, which often contain unnecessary preservatives and additives. Once you experience the difference, you’ll wonder why you ever bought them!
Why Make Your Own Bread Crumbs? The Benefits of Going Homemade
The decision to make your own bread crumbs goes beyond mere convenience; it’s a choice that impacts flavor, health, and sustainability in your kitchen. Here are compelling reasons to embrace this simple culinary practice:
- Superior Flavor and Texture: Store-bought bread crumbs can be bland and overly fine. Homemade versions, however, offer a richer, more nuanced flavor profile derived directly from the bread you use. You control the texture, from coarse and rustic to fine and delicate, allowing you to tailor them perfectly to your dish.
- Reduce Food Waste: Stale bread is often destined for the bin, but it’s actually the ideal candidate for bread crumbs. This method provides an excellent solution for utilizing leftover loaves, rolls, or even crusts, preventing perfectly good food from going to waste.
- Control Over Ingredients: When you make bread crumbs at home, you know exactly what goes into them. There are no mysterious additives, artificial flavors, or excessive sodium. This is particularly beneficial for those with dietary restrictions or who prefer a clean-eating approach. You can even choose to add your own blend of herbs and spices for custom seasoned bread crumbs.
- Cost-Effective: Buying bread crumbs can add up, especially if you use them frequently. Repurposing bread you already have is virtually free, making it a smart way to stretch your food budget further.
- Enhance Your Cooking: The fresh, vibrant taste of homemade bread crumbs can truly elevate a dish. They provide a satisfying crispiness, act as a wonderful binder, and introduce an element of homemade care that resonates in every bite.
Choosing the Best Bread for Your Bread Crumbs
Almost any type of bread can be transformed into delicious bread crumbs, but your choice will subtly influence the final taste and texture of your culinary creation. Experimentation is key, but here are some guidelines to help you choose:
- Whole Wheat Bread: As highlighted with the 100% whole-wheat bread example, this type yields hearty, flavorful crumbs with a slightly nutty taste. They are excellent for savory dishes like stuffings, meatloaf, or as a crunchy topping for vegetable gratins, adding a rustic character and nutritional boost.
- White Sandwich Bread: For a more neutral flavor and finer texture, classic white bread is a great choice. These crumbs are perfect for delicate coatings on fish or chicken, or for dishes where you want the other ingredients to truly shine.
- Sourdough or Artisan Breads: These breads produce crumbs with a distinct tangy flavor and robust texture. They are phenomenal for Italian-inspired dishes, adding complexity to meatballs, breading for cutlets, or as a topping for pasta bakes.
- Potato Bread: The Potato Bread mentioned earlier makes for wonderfully soft, slightly sweet crumbs that can be fantastic for lighter breadings or even in sweet applications (think fruit crisps!).
- Rye Bread: For a deeper, more earthy flavor, rye bread crumbs can be an intriguing addition to certain savory dishes, particularly those with strong cheeses or root vegetables.
- Gluten-Free Bread: If you or your family follow a gluten-free diet, stale gluten-free bread works just as well. The process remains the same, providing you with a safe and delicious alternative.
What to Avoid: While versatile, it’s best to avoid highly enriched breads (like brioche or challah) or very sweet breads (like cinnamon swirl) unless you specifically want those flavors in your crumbs and the dish you plan to use them in. These can burn more easily due to sugar content and might impart an unwanted sweetness to savory meals.
Types of Bread Crumbs: Standard vs. Panko
When we talk about bread crumbs, two main types often come to mind: standard bread crumbs and Panko bread crumbs. While both serve similar purposes, their preparation and texture differ, leading to different results in your cooking.
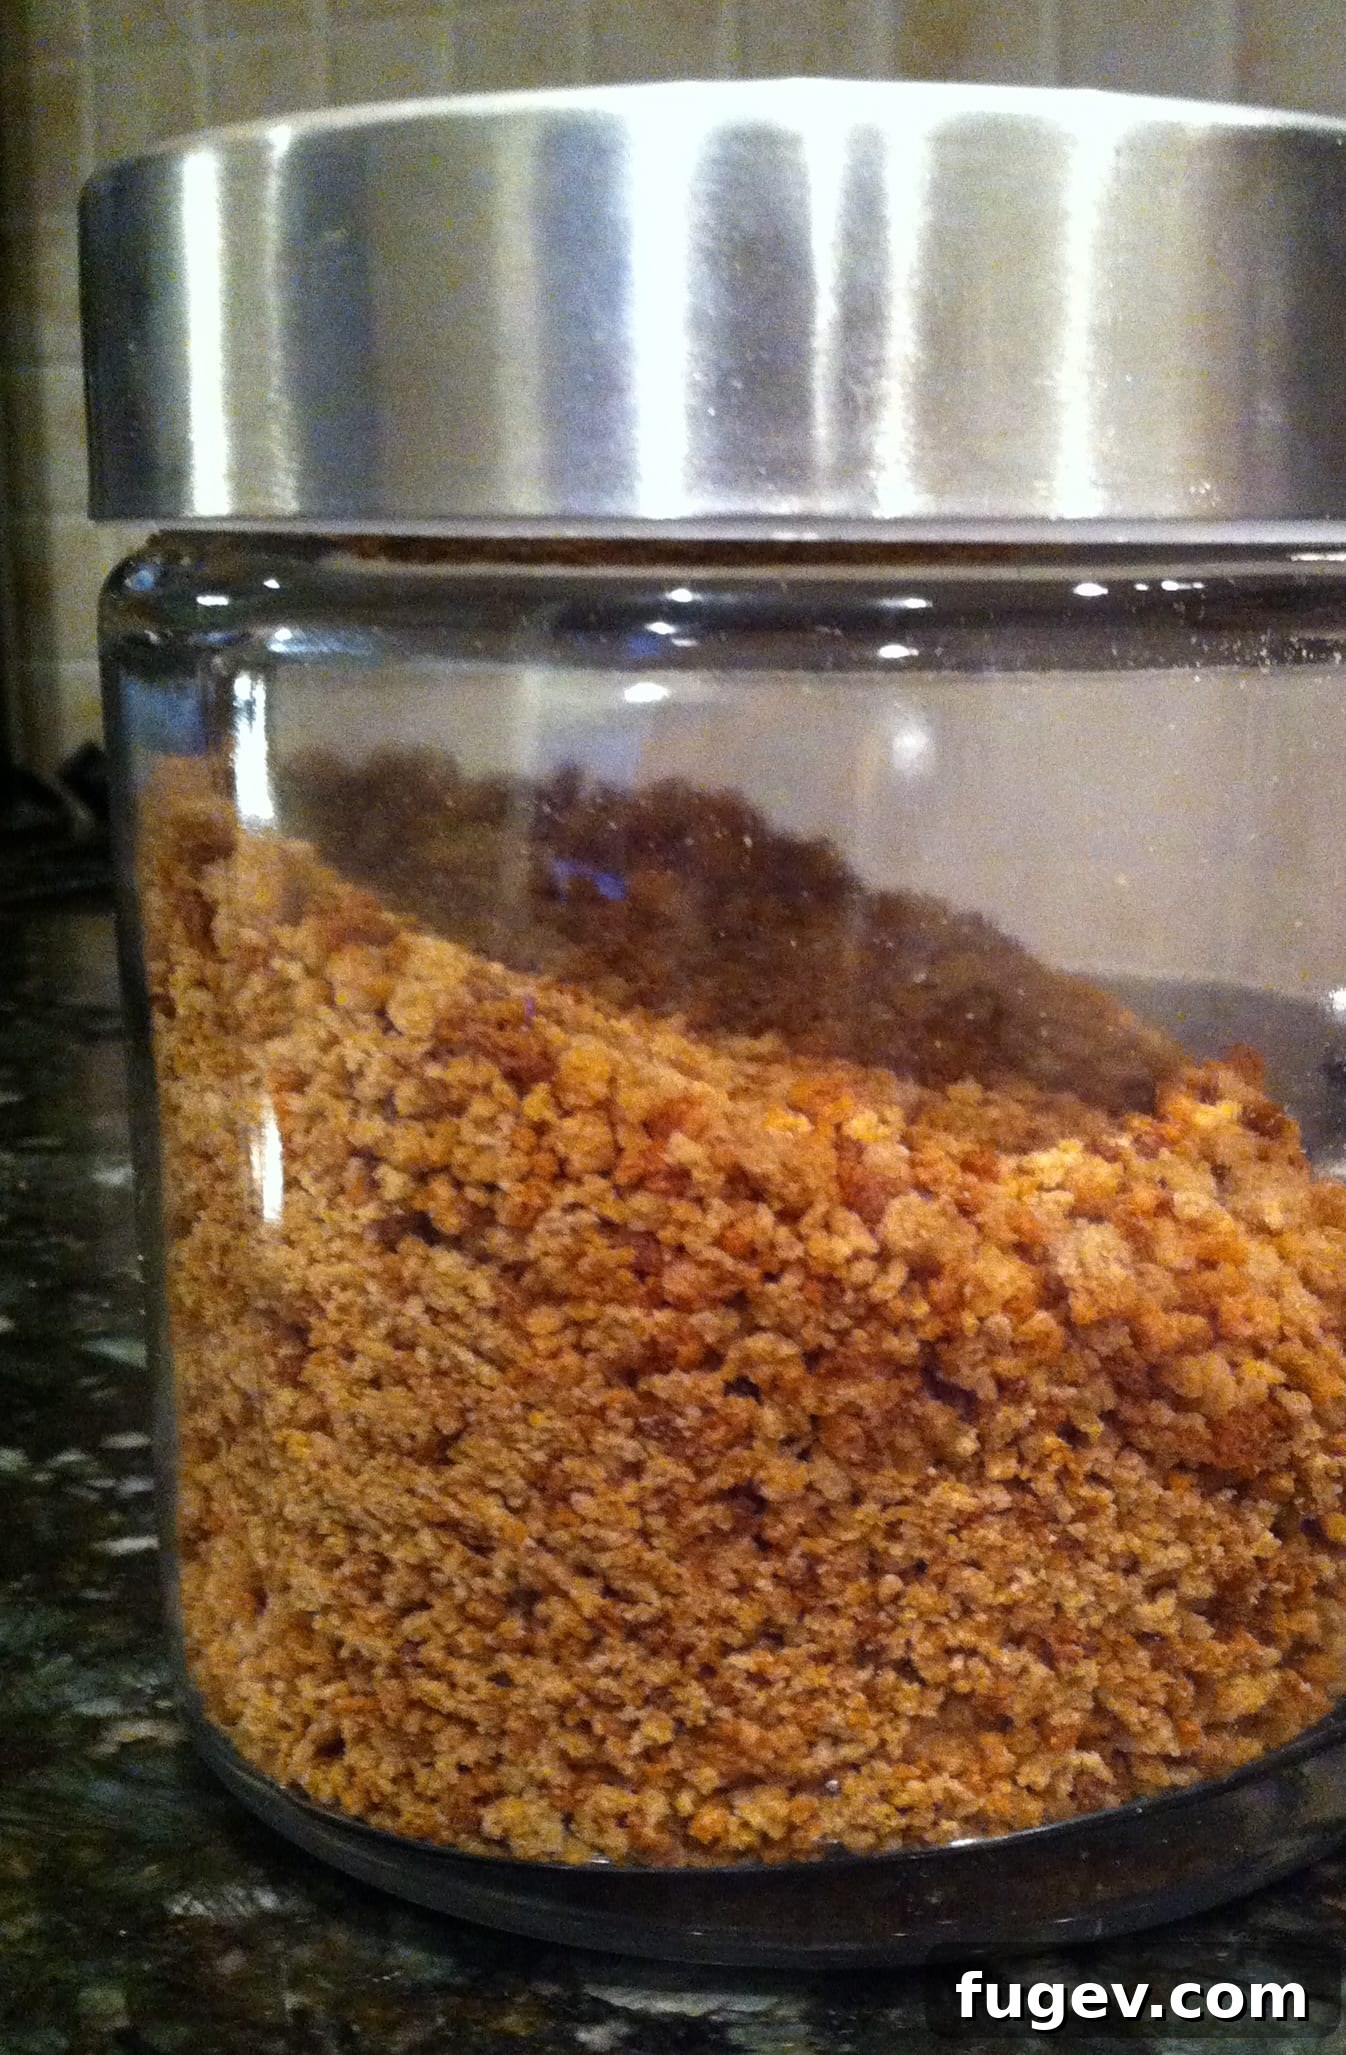
- Standard Bread Crumbs: The method outlined in this recipe will yield standard bread crumbs. These are typically made from crustless bread that is dried and then finely ground, often resulting in a soft, fine texture. They are excellent as binders in meat mixtures (like meatballs or meatloaf), as a crisp topping for casseroles, or as a traditional breading. You can control the fineness in your food processor.
- Panko Bread Crumbs: Originating from Japan, Panko crumbs are distinctively lighter, flakier, and coarser than standard bread crumbs. They are made from crustless white bread that is baked using an electric current, resulting in a bread without a crust. The bread is then coarsely ground into slivers rather than fine crumbs. This unique structure allows Panko to absorb less oil, creating an exceptionally crispy and airy coating that stays crunchy longer, making it ideal for deep-frying or achieving a truly golden-brown, crispy crust. While this recipe focuses on standard crumbs, understanding the difference allows you to choose the best type for your dish.
Homemade Bread Crumbs
Chef Lindsey
Unlock the secret to preserving any type of bread with this incredibly simple homemade bread crumb recipe. Perfect for adding a gourmet touch to your meals, these versatile crumbs are easy to make and store, ensuring you always have a fresh supply on hand.
5 mins
30 mins
35 mins
approximately 6 cups of bread crumbs
Comment
Print Recipe
Ingredients
- 1 loaf stale bread (any type, approximately 1 to 1.5 lbs, preferably 1-2 days old and slightly dry)
- (Optional: 1 tsp dried Italian seasoning, 1/2 tsp garlic powder, 1/4 tsp onion powder, pinch of salt and pepper)
Instructions
- Preheat your oven to 300°F (150°C).
- Slice your stale bread into ¼ inch (about 0.6 cm) thick slices. Arrange these slices in a single layer on a large baking sheet. Ensure the slices are not overlapping, as this will prevent even drying. You may need to use two baking sheets.
- Place the baking sheets in the middle rack of your preheated oven. Bake for 15 minutes, then carefully flip each slice. Continue baking for another 15 minutes on the other side.
- After a total of 30 minutes, remove the baking sheet from the oven. Test the bread for doneness; it should be completely dry, crisp, and snap or crumble easily. If it still feels soft or damp, return it to the oven for another 5-10 minutes. Allow the toasted bread slices to cool completely on the baking sheet.
- Once cooled, break the crisp bread slices into smaller pieces. Place these pieces into a food processor. If desired, add your optional seasonings (Italian seasoning, garlic powder, onion powder, salt, pepper) at this stage. Process until they reach your desired consistency – from medium to fine crumbs. Be careful not to over-process, or you’ll end up with bread powder.
- Transfer the homemade bread crumbs into a clean, sealable container. Store in a cool, dark cabinet for several weeks, or in the refrigerator for up to 2-3 months, or in the freezer for up to 6 months for optimal freshness.
Nutrition Facts (per serving, estimated)
Based on 12 servings from a typical loaf of bread. Actual values may vary based on bread type and loaf size.
- Calories:
- 155 kcal
- Carbohydrates:
- 27g
- Protein:
- 6g
- Fat:
- 3g
- Saturated Fat:
- 1g
- Polyunsaturated Fat:
- 1g
- Monounsaturated Fat:
- 1g
- Trans Fat:
- 1g
- Sodium:
- 268mg
- Potassium:
- 80mg
- Fiber:
- 2g
- Sugar:
- 3g
- Vitamin A:
- 1 IU
- Vitamin C:
- 1mg
- Calcium:
- 71mg
- Iron:
- 2mg
Creative Uses for Your Homemade Bread Crumbs
Now that you’ve got a fresh batch of these golden gems, the culinary possibilities are endless! Homemade bread crumbs are incredibly versatile, capable of adding texture, body, and flavor to a wide array of dishes. Here are some ideas to get you started:
- Classic Toppings: Sprinkle them generously over your favorite old fashioned macaroni and cheese recipe, creamy gratins, or baked vegetable dishes like asparagus or broccoli for a delightful crispy crust. Toss them with a little melted butter and herbs for an extra special touch.
- Crispy Coatings: Use them as a coating for baked or fried foods. They work wonders on chicken cutlets, pork chops, fish fillets (like this breadcrumb crusted halibut), or even vegetable fritters. For a richer flavor, combine them with Parmesan cheese and finely chopped parsley.
- Binders and Fillers: Bread crumbs are essential in recipes where you need to bind ingredients together or add volume. Incorporate them into meatballs, meatloaf, homemade burgers, or even veggie patties for better texture and moisture retention.
- Stuffing and Dressings: The foundation of any great stuffing or dressing for poultry or vegetables begins with quality bread. Homemade crumbs absorb flavors beautifully, making them perfect for your holiday turkey or a savory stuffed bell pepper.
- Thickeners: A spoonful or two of bread crumbs can help thicken soups, stews, or sauces, adding body without the need for flour or cornstarch. They’re particularly good in a hearty minestrone or a rich tomato sauce.
- Salad and Soup Garnish: Toast a handful of crumbs in a dry pan with a little olive oil until golden, then sprinkle over salads, roasted vegetables, or creamy soups for an unexpected crunch and burst of flavor.
- Savory Tarts and Casseroles: Use them as a base layer in quiches or savory tarts to prevent a soggy crust, or mix them into the filling of casseroles for added texture.
Storing Your Homemade Bread Crumbs for Maximum Freshness
Proper storage is key to ensuring your homemade bread crumbs remain fresh, flavorful, and ready for use whenever inspiration strikes. The method you choose depends on how quickly you plan to use them:
- Pantry Storage (Short-Term): For use within a few weeks, store your bread crumbs in an airtight container (a glass jar or a sealed plastic container works perfectly) in a cool, dark cupboard or pantry. Ensure they are completely dry before storing to prevent mold.
- Refrigerator Storage (Medium-Term): To extend their shelf life to 2-3 months, keep your airtight container of bread crumbs in the refrigerator. This is especially recommended if your kitchen tends to be warm or humid, or if you’ve added fresh herbs to your crumbs.
- Freezer Storage (Long-Term): For the ultimate preservation, homemade bread crumbs freeze beautifully for up to 6 months. Spread them in a single layer on a baking sheet and freeze for about an hour until solid. Then, transfer them to a freezer-safe bag or container. This prevents them from clumping together, allowing you to scoop out exactly how much you need without thawing the entire batch. There’s no need to thaw them before use; simply add them frozen to your recipes.
Always make sure the crumbs are completely cool and dry before storing them, regardless of the method, to prevent moisture build-up and spoilage.
Tips for Perfect Bread Crumbs Every Time
Achieving consistently perfect homemade bread crumbs is simple with a few helpful tips:
- Start with Stale Bread: Fresh, soft bread contains too much moisture and will result in a gummy, rather than crisp, crumb. Day-old or two-day-old bread is ideal. If your bread isn’t quite stale enough, you can cut it into chunks and leave it uncovered on the counter for a few hours or overnight to dry out further.
- Even Slicing is Key: Aim for uniform ¼-inch slices to ensure even toasting in the oven. This prevents some pieces from burning while others remain under-dried.
- Don’t Overcrowd the Baking Sheet: Give your bread slices space to breathe. An overcrowded baking sheet will steam the bread instead of drying and toasting it, leading to less crispy results. Use multiple sheets if necessary.
- Monitor Toasting Closely: While 30 minutes is a general guideline, oven temperatures can vary. Keep an eye on your bread, especially during the last 10 minutes, to ensure it turns golden brown without burning. It should be brittle to the touch.
- Cool Completely: Before processing or storing, let the toasted bread cool entirely. Warm crumbs can create condensation in your food processor or storage container, leading to a less crisp texture and potential mold.
- Control Your Texture: Your food processor is your best friend here. Pulse the bread in short bursts to achieve your desired crumb size. For finer crumbs, process longer. For coarser, Panko-like crumbs, process less. Avoid continuous blending, which can turn crumbs into bread flour.
- Season to Taste: This recipe provides a plain base, but don’t hesitate to get creative! Add dried herbs like oregano, basil, thyme, or rosemary, along with garlic powder, onion powder, paprika, or a pinch of red pepper flakes for seasoned bread crumbs. A little grated Parmesan cheese can also be a wonderful addition, though cheese crumbs should be stored in the refrigerator or freezer.
Embracing the art of making homemade bread crumbs is a small step with a big impact on your cooking. It’s a testament to sustainable living, culinary resourcefulness, and the joy of adding a personal, fresh touch to every meal. So, the next time you have a loaf nearing its end, remember its potential and turn it into a delicious, versatile pantry essential!
Like this recipe? Leave a comment below!
Share your thoughts or questions about making homemade bread crumbs.