
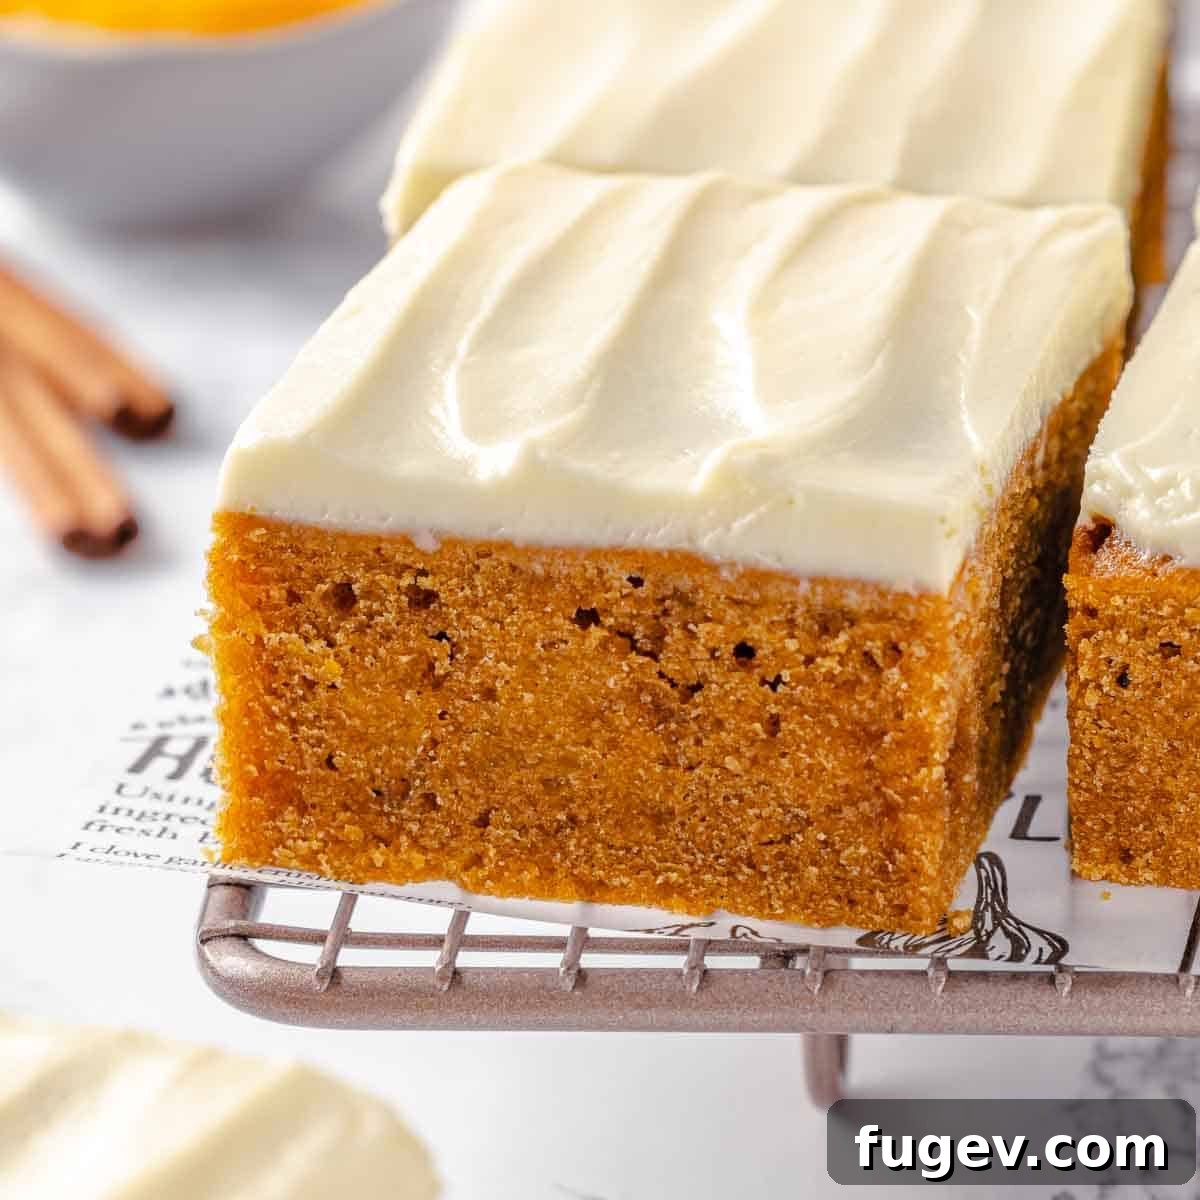
Irresistibly Moist Pumpkin Bars with Cream Cheese Frosting
Welcome to your new favorite fall dessert! These Pumpkin Bars are a true celebration of autumn, delivering a delightful blend of moist texture, rich pumpkin flavor, and warm spices. Crowned with a luxurious, silky cream cheese frosting that’s perfectly balanced in sweetness, these bars are incredibly easy to prepare and guaranteed to be the star of any fall gathering, from casual family dinners to festive holiday parties. Get ready for rave reviews!
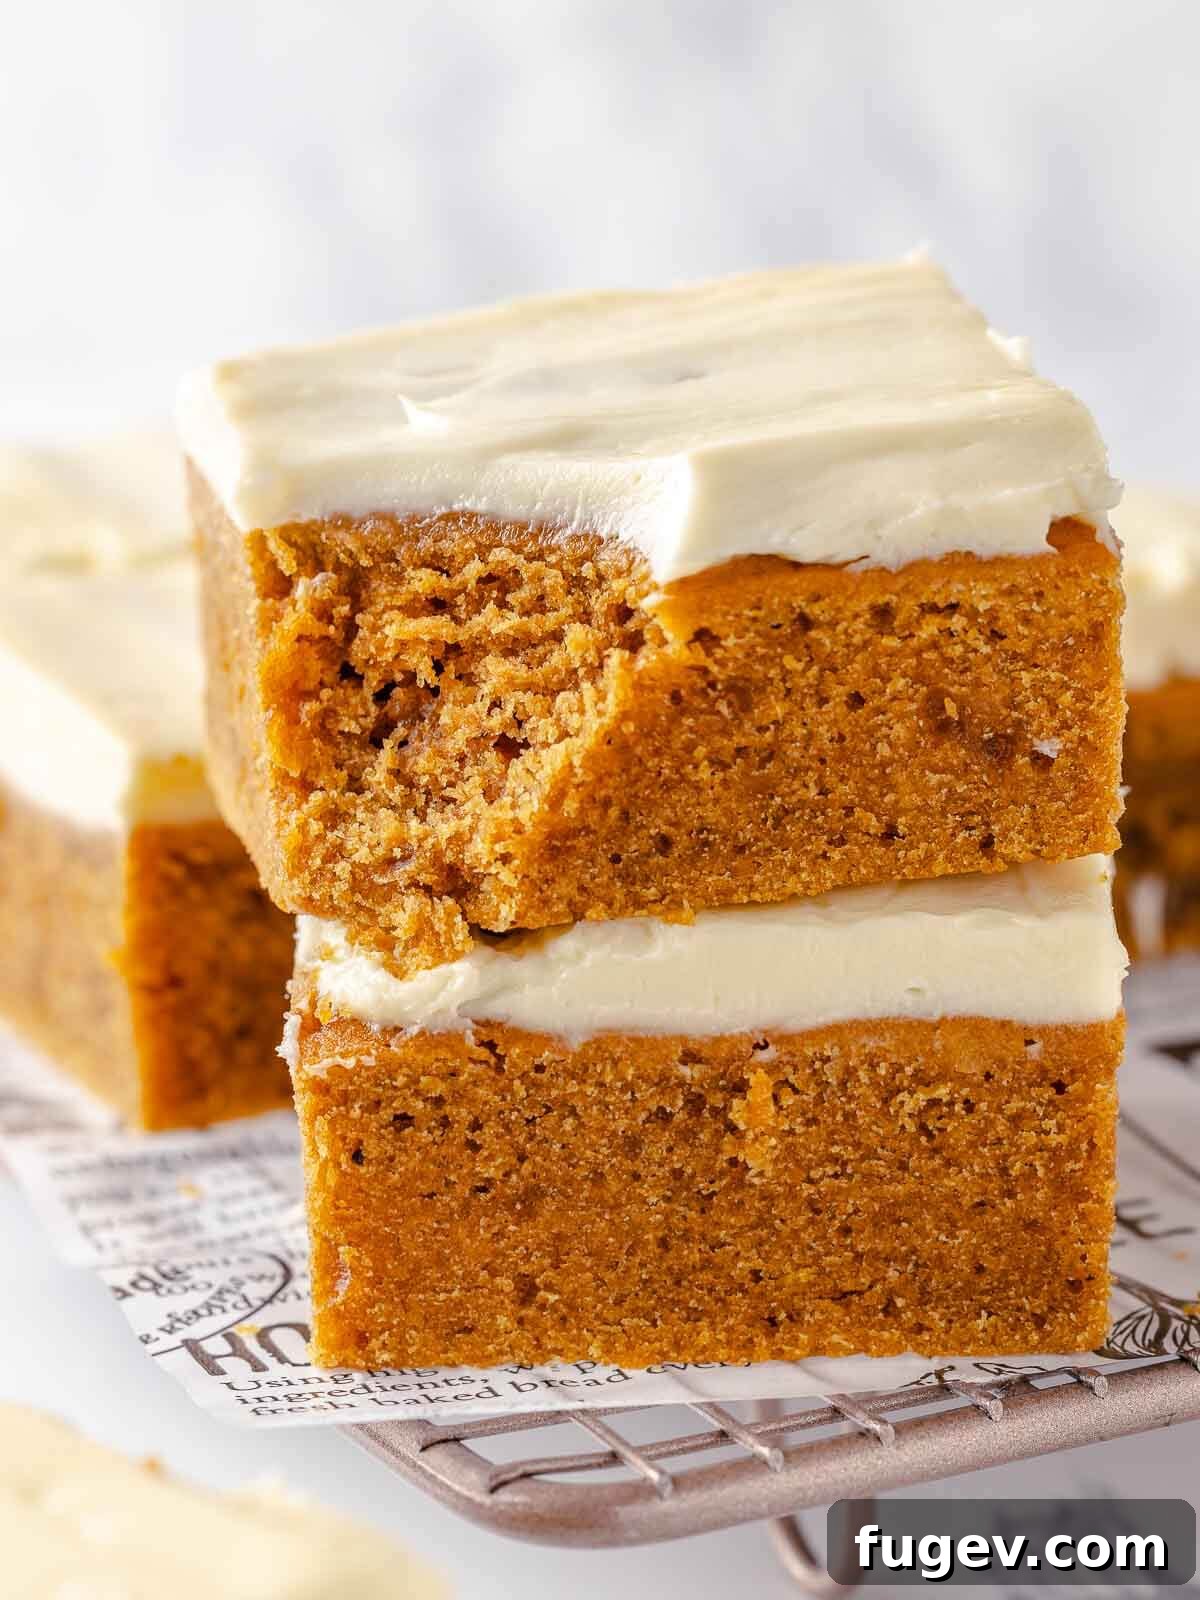
These homemade pumpkin bars are a testament to simple, comforting baking. They come together effortlessly and stay wonderfully fresh at room temperature for up to five days, making them an ideal make-ahead treat for busy seasons. The bar itself boasts an exquisite, tender crumb, bursting with the authentic taste of pumpkin puree and a symphony of aromatic spices. And that frosting? It’s a dream – smooth, creamy, and just sweet enough to enhance, not overpower, the spiced pumpkin base.
Looking to elevate your dessert experience even further? Imagine serving these delectable bars with a drizzle of warm butterscotch sauce or a luscious salted caramel sauce. For an indulgent pairing, a generous scoop of premium vanilla bean ice cream transforms this simple bar into an extraordinary dessert. If you’re like us and can’t get enough of fall flavors, explore more easy pumpkin recipes. We highly recommend trying our chewy pumpkin chocolate chip cookies or the comforting pumpkin bread pudding with maple bourbon sauce next. For those seeking lighter options, our gluten-free pumpkin energy bars, healthy pumpkin banana bran muffins, or apple crisp energy bites offer delicious and wholesome alternatives.
Table of Contents
- Why You Will Adore These Easy Pumpkin Bars
- Expert Tips for Crafting Perfect Pumpkin Bars
- Essential Ingredients for Your Pumpkin Bars
- Creative Variations to Try
- Step-by-Step Guide: How to Make Pumpkin Bars
- Chef Lindsey’s Expert Recipe Tip
- Frequently Asked Questions About Pumpkin Bars
- Full Pumpkin Bars Recipe Card
- Before You Go: More Fall Delights
Why You Will Adore These Easy Pumpkin Bars
There are countless reasons why these pumpkin bars will become a cherished part of your fall baking repertoire. Beyond their irresistible flavor, they offer unmatched convenience and a delightful texture that keeps everyone coming back for more.
- Unparalleled Rich Pumpkin Flavor: Each bite of these bars is packed with a deep, authentic pumpkin taste, thanks to the generous use of real pumpkin puree and a carefully balanced blend of pumpkin pie spices. The addition of dark brown sugar further enhances this richness, lending a subtle molasses undertone that truly encapsulates the cozy flavors of autumn. It’s a taste profile that’s both comforting and sophisticated, making it a cut above standard pumpkin desserts.
- Incredibly Quick and Effortless Preparation: Forget complicated recipes and endless cleanup! The batter for these pumpkin bars comes together in less than 10 minutes, requiring no electric mixer – just a whisk and a couple of bowls. Even better, the smooth cream cheese frosting can be prepared up to three days in advance, streamlining your baking process. This makes it an ideal dessert for busy weeknights or when you need a crowd-pleaser without the stress.
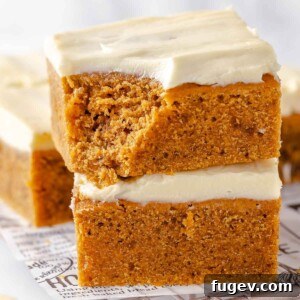
- Perfectly Dense and Moist, Melt-in-Your-Mouth Texture: Achieving the ideal texture is key to a truly great bar, and this recipe delivers. Through precise ratios of pumpkin puree, sugars, butter, eggs, and dry ingredients, these bars boast a perfectly dense yet tender consistency that practically melts in your mouth. It’s neither too cakey nor too gummy, striking that perfect balance that defines an exceptional pumpkin bar. The moistness is locked in, ensuring every piece is as delightful as the first.
- Versatile for Any Occasion: While perfect for fall holidays like Halloween and Thanksgiving, these pumpkin bars are also fantastic for potlucks, bake sales, or simply as a comforting snack with your afternoon coffee or tea. Their inviting aroma and festive appearance make them a welcome addition to any table.
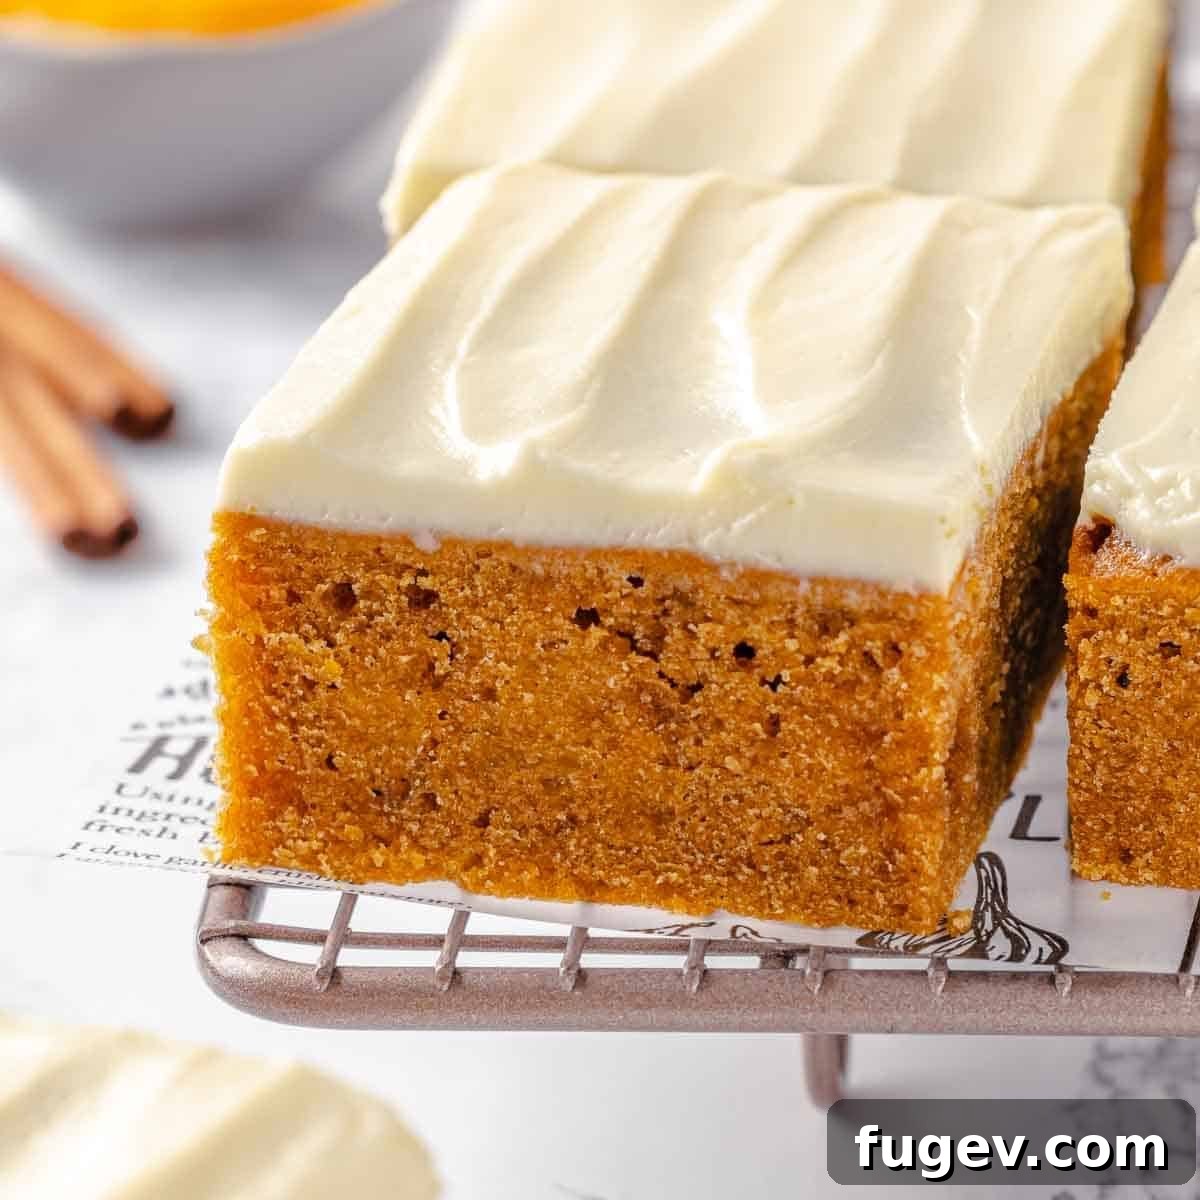
Expert Tips for Crafting Perfect Pumpkin Bars
Even though these pumpkin bars are delightfully simple to make, a few professional insights can elevate your baking from good to extraordinary. Follow these tips to ensure a consistently perfect batch every time.
- Ensure Cream Cheese and Butter are at Ideal Room Temperature for Frosting: This is a crucial step for achieving a smooth, lump-free cream cheese frosting. Both your cream cheese and unsalted butter *must* be softened to room temperature. If they are too cold, they won’t emulsify properly, leading to a frosting with unsightly lumps and an inconsistent texture. Plan ahead and take them out of the refrigerator at least an hour before you begin.
- Avoid Overmixing the Batter: Once you incorporate the dry ingredients into the wet mixture, mix only until just combined. Overmixing develops the gluten in the flour, which can result in a tough, rubbery pumpkin bar. It can also lead to “tunneling,” creating undesirable air pockets in your baked goods. A few small lumps of flour are perfectly acceptable; they will disappear during baking.
- Be Vigilant Against Overbaking: Overbaking is the quickest way to dry out your pumpkin bars and turn them from moist and tender into a crumbly, cake-like consistency. Begin checking for doneness a few minutes before the recipe’s suggested baking time. Insert a cake tester or a wooden skewer into the center of the bar; if it comes out clean or with a few moist crumbs attached, it’s ready. Alternatively, gently press on the center of the bar – if it springs back, it’s done.
- Sift Dry Ingredients for Uniform Distribution: While whisking dry ingredients is a good start, sifting them takes it a step further. Sifting helps break up any clumps in the flour, baking powder, salt, and spices, ensuring they are perfectly aerated and evenly distributed throughout the batter. This leads to a consistent rise and flavor in every single bite of your pumpkin bar.
- Prepare Your Baking Pan Thoughtfully: Lining your 9×13 inch baking pan with parchment paper, leaving an overhang on two sides, is a game-changer. This creates “handles” that allow you to easily lift the entire baked and cooled bar out of the pan before frosting and slicing. This prevents sticking and makes for much cleaner, more uniform cuts. Lightly grease the pan before placing the parchment for added security.
- Cool Completely Before Frosting: Patience is a virtue, especially when it comes to frosting. Ensure your pumpkin bars are *completely* cooled before applying the cream cheese frosting. If the bars are even slightly warm, the frosting will melt and slide right off, creating a messy situation. Cooling them on a wire rack allows for air circulation, speeding up the process.
Essential Ingredients for Your Pumpkin Bars
Crafting the perfect pumpkin bar begins with selecting the right ingredients. Each component plays a vital role in achieving the desired flavor, texture, and overall deliciousness. Here’s a closer look at what you’ll need and why:
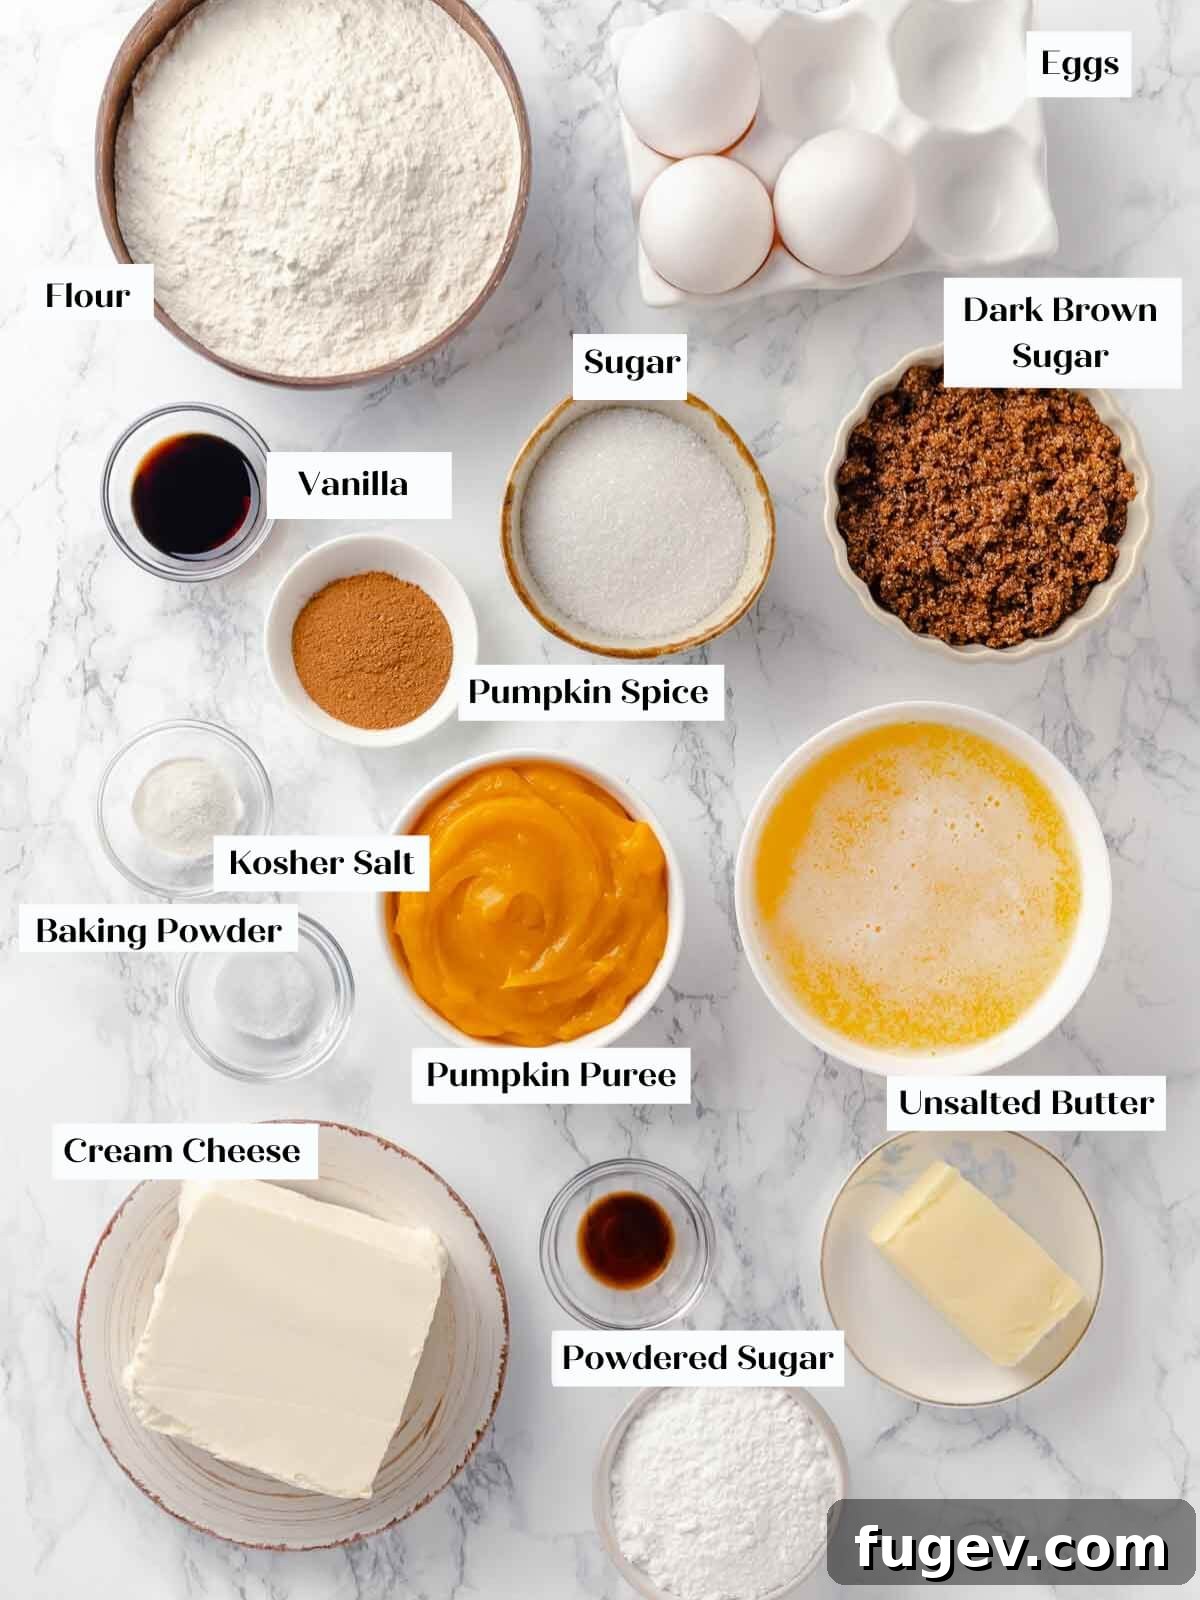
- All-purpose Flour: The foundational dry ingredient, providing structure to the bars. For best results, use a high-quality, unbleached all-purpose flour.
- Baking Powder: A crucial leavening agent. We recommend double-acting baking powder, which reacts once when mixed with wet ingredients and again when exposed to heat in the oven. This ensures a consistent and stable rise, giving our pumpkin bars their desired density without being overly heavy.
- Kosher Salt: Don’t skip the salt! It balances the sweetness, enhances the rich pumpkin and spice flavors, and is essential for bringing out the best in all the other ingredients.
- Pumpkin Pie Spice: This is where the magic happens for that classic fall flavor. Our homemade pumpkin spice mix is a perfectly tuned blend of ground cinnamon, ground ginger, ground cloves, ground nutmeg, and ground allspice, ensuring no single spice overpowers the others. You can use your favorite store-bought blend, or find the precise individual measurements in the full recipe card below to mix your own.
- Whole Eggs: Large whole eggs are essential for structure, binding the ingredients, and contributing to the moist texture. They also help emulsify the pumpkin puree and butter into the batter, preventing a greasy final product and ensuring a beautifully cohesive pumpkin bar.
- Egg Yolk: The addition of an extra egg yolk boosts the fat content without adding excess moisture from an egg white. This crucial detail helps achieve that dense, rich texture we’re after, preventing the bars from becoming too light and cakey.
- Vanilla Extract: A splash of pure vanilla extract is a must for any baked good. It enhances and rounds out all the other flavors, adding a warm, aromatic depth that completes the profile of the pumpkin bars.
- Pumpkin Puree: Always use pure pumpkin puree, not pumpkin pie filling. Libby’s pumpkin puree is a reliable choice known for its consistent moisture content, which is key for successful baking. However, feel free to use your preferred brand. For a unique shortcut, you could experiment with homemade pumpkin butter, though adjust sweetness accordingly.
- Granulated Sugar: This provides essential sweetness to the pumpkin bars. Beyond flavor, granulated sugar contributes to the tight crumb structure and dense, wonderfully moist texture of the final product.
- Dark Brown Sugar: Adding dark brown sugar not only imparts sweetness but also significantly increases the moisture content, ensuring softer, chewier bars. Its distinct molasses flavor beautifully complements the pumpkin and spices, adding a rich, complex note.
- Unsalted Butter: For this recipe, it is absolutely critical that the melted unsalted butter is *hot* when combined with the sugars. This heat helps dissolve the sugars thoroughly, creating a smooth and cohesive batter that results in a wonderfully tender bar. While you could substitute with vegetable oil or melted coconut oil, note that the texture will lean more towards a fluffy pumpkin bread rather than a dense, chewy bar.
- Cream Cheese (for frosting): For the silkiest, most delicious frosting, we always recommend original, full-fat Philadelphia Cream Cheese in brick style. Ensure it’s fully softened to room temperature. While reduced-fat cream cheese can be substituted, avoid whipped varieties as they will make your frosting too loose and runny.
- Confectioner’s Sugar (for frosting): Also known as powdered sugar, confectioner’s sugar is finely ground, allowing it to dissolve effortlessly into the cream cheese and butter without heating. This creates a remarkably smooth, velvety frosting with a lovely consistency.
- Lemon Juice (for frosting): A small touch of fresh lemon juice in the frosting cuts through the sweetness and adds a bright, tangy note that perfectly complements the rich cream cheese and spiced pumpkin flavors, preventing the frosting from being overly cloying.
For the full list of quantities and detailed measurements, please refer to the comprehensive recipe card located further down.
Creative Variations to Try
These pumpkin bars are fantastic as is, but they also offer a wonderful canvas for culinary creativity. Feel free to experiment with these delicious variations to make them uniquely yours!
- Delightful Mix-Ins for Added Texture: Elevate the texture and flavor of your pumpkin bars by folding in some delicious mix-ins directly into the batter. Toasted pecans or walnuts provide a fantastic nutty crunch that pairs beautifully with pumpkin. For chocolate lovers, mini chocolate chips or white chocolate chips are always a hit. You could also try toasted coconut flakes for a tropical twist, or cinnamon chips to amp up the spice factor. About ¾ cup of your chosen mix-in is usually ideal.
- Explore Different Topping Styles: While the classic cream cheese frosting is divine, don’t hesitate to change things up! Consider a rich caramel buttercream for an extra layer of decadence, or a fluffy marshmallow frosting for a fun, s’mores-inspired twist. A simple pumpkin pie spice glaze (powdered sugar, milk, and a pinch of pumpkin spice) or a maple-infused buttercream would also be delightful. If you’re aiming for sturdy, stackable bars, particularly for gifting or transport, opt for our more stable cream cheese frosting for cookies, which sets more firmly.
- Charming Pumpkin Bar Bites: Transform your standard bars into adorable, bite-sized treats perfect for parties or as a smaller indulgence. Simply spray or line mini muffin tins with paper liners, then scoop or pipe the batter into each cup. These mini delights will bake significantly faster than a full 9×13-inch pan, typically in 12-18 minutes. Once cooled, pipe or dollop a small amount of cream cheese frosting on top for the ultimate mini dessert. Garnish with a tiny sprinkle of cinnamon or a candied pecan.
- Festive Sprinkles for Seasonal Flair: Who can resist the charm of seasonal sprinkles? (Certainly not us!) Find fun autumnal, Halloween-themed, or Thanksgiving-inspired sprinkles to scatter over your frosted pumpkin bars. This simple addition instantly makes your treat more festive and visually appealing, perfect for holiday gatherings or a thoughtful gift.
- Spiced Crumble Topping: For a delightful textural contrast, consider adding a buttery, spiced crumble topping before baking. Combine flour, oats, brown sugar, cold butter, and a pinch of cinnamon. Sprinkle this mixture over the batter before it goes into the oven for a crunchy, sweet layer.
Step-by-Step Guide: How to Make Pumpkin Bars
Follow these detailed instructions to create perfectly moist and flavorful pumpkin bars with creamy frosting every single time. Precision and a little patience are key to achieving baking perfection!
Pumpkin Bar Base:
Step 1: Prepare Your Oven and Pan. Begin by preheating your oven to 325°F (160°C). Then, line a 9×13 inch baking pan or dish with parchment paper, ensuring there’s an overhang on two sides. This overhang will act as handles, making it incredibly easy to lift the baked bars out of the pan once cooled, allowing for cleaner cuts and presentation. Lightly grease the pan beneath the parchment for extra non-stick insurance.
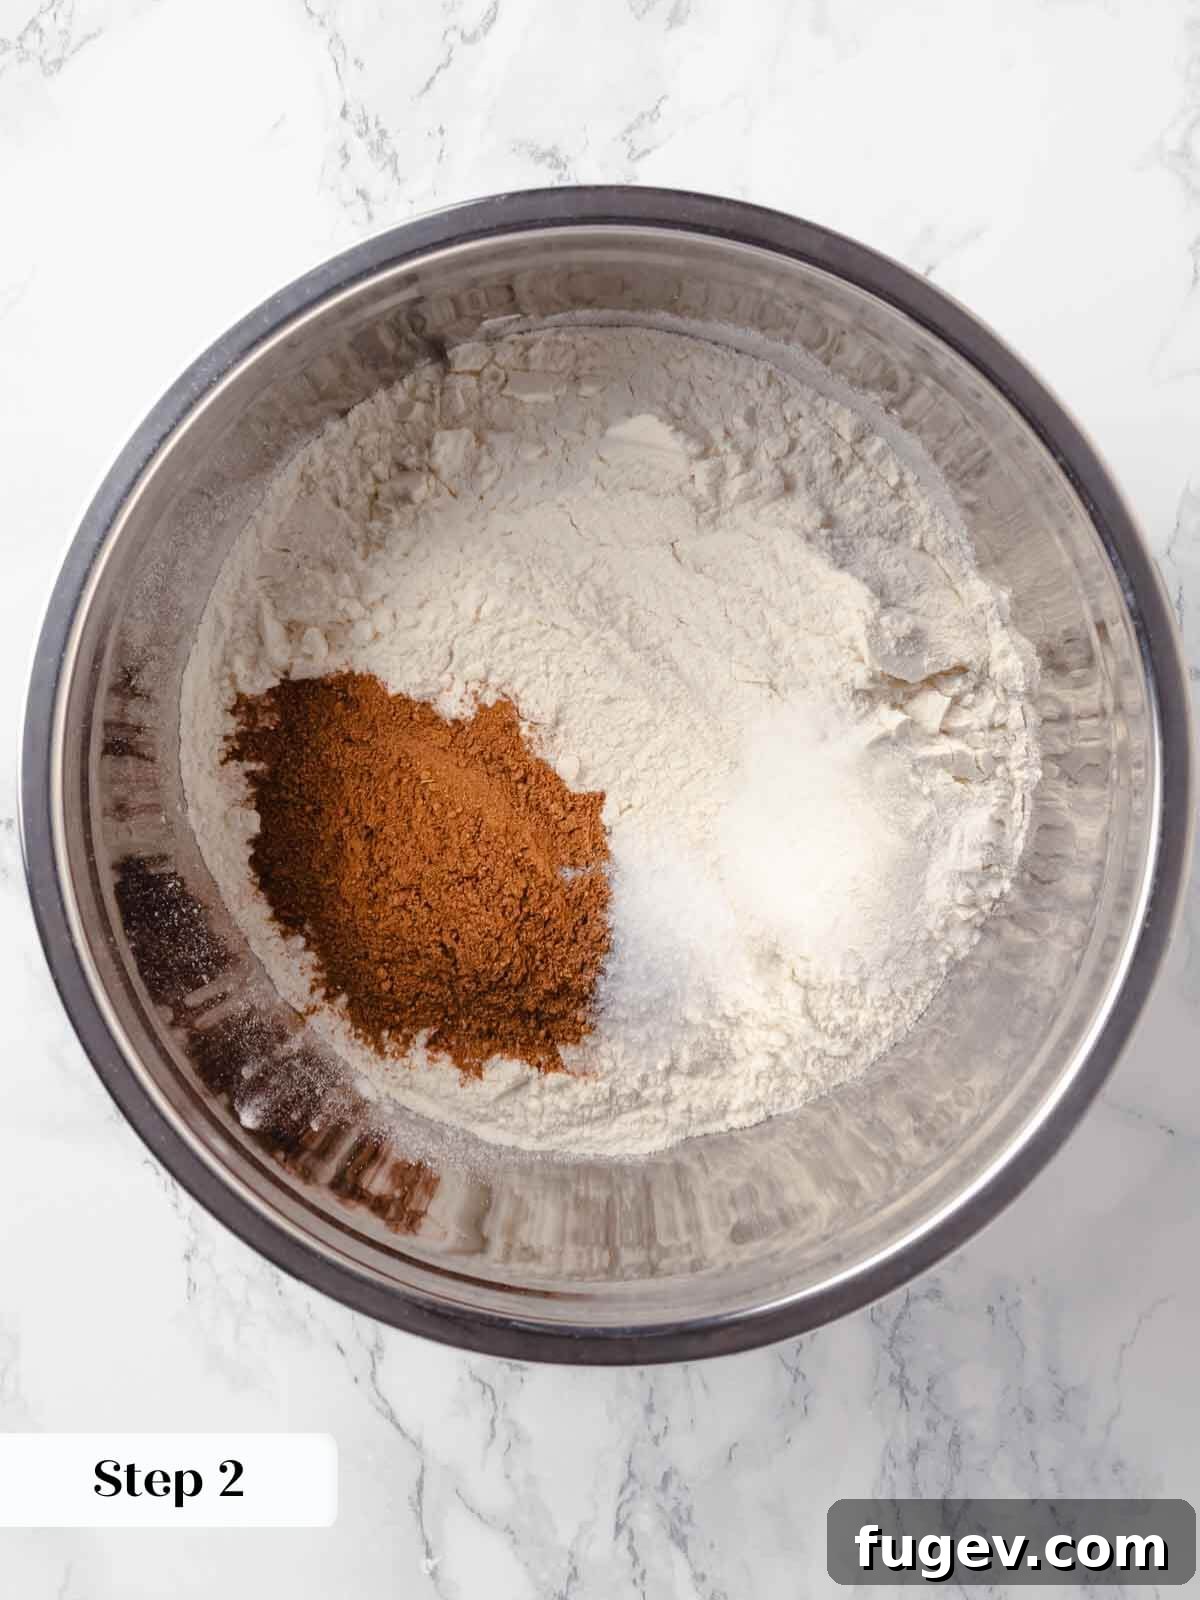
Step 2: Combine Dry Ingredients. In a medium-sized mixing bowl, thoroughly whisk together the all-purpose flour, baking powder, kosher salt, and your pumpkin pie spice mix. Whisking ensures these ingredients are evenly distributed, which is crucial for a consistent rise and flavor throughout your bars. Set this bowl aside for now.
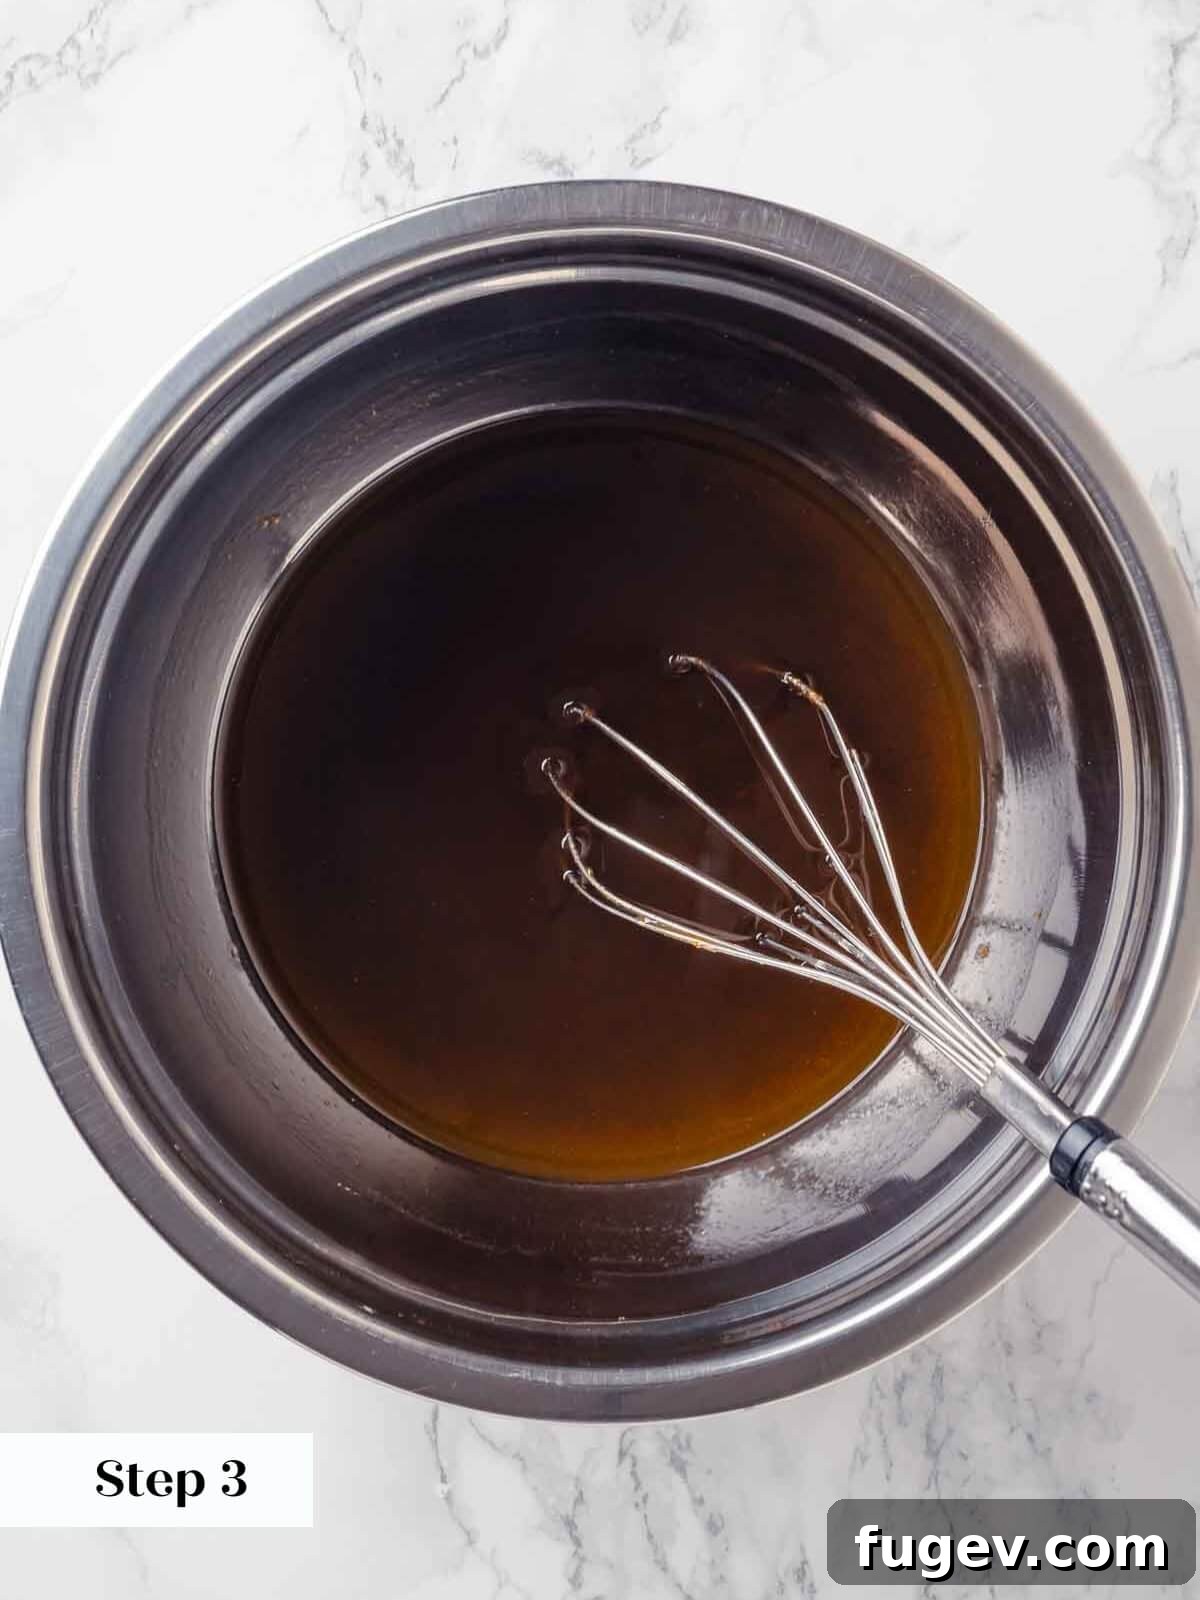
Step 3: Melt the Butter. In a large, microwave-safe bowl, melt the unsalted butter until it is completely liquid and hot. Alternatively, you can melt the butter gently over a pot of simmering water (a double boiler method) if you prefer. The key here is to have the butter quite hot, as it helps dissolve the sugars more effectively in the next step.
Step 4: Incorporate Sugars and Eggs. While the butter is still hot, immediately whisk in both the granulated sugar and dark brown sugar until the mixture is smooth and the sugars are mostly dissolved. The heat from the butter helps prevent any grainy texture. Next, add the whole eggs and the extra egg yolk. Continue whisking vigorously until the mixture is smooth, thoroughly combined, and beautifully emulsified – meaning the fats and liquids are perfectly integrated, creating a homogenous base.
Pro Tip for Lumpy Brown Sugar: If you notice any stubborn lumps of dark brown sugar that aren’t dissolving, use the back of a spoon to press them against the side of the bowl. Break them up thoroughly, or if they resist, remove them to ensure a perfectly smooth batter. Then, give the mixture another quick whisk to combine everything.
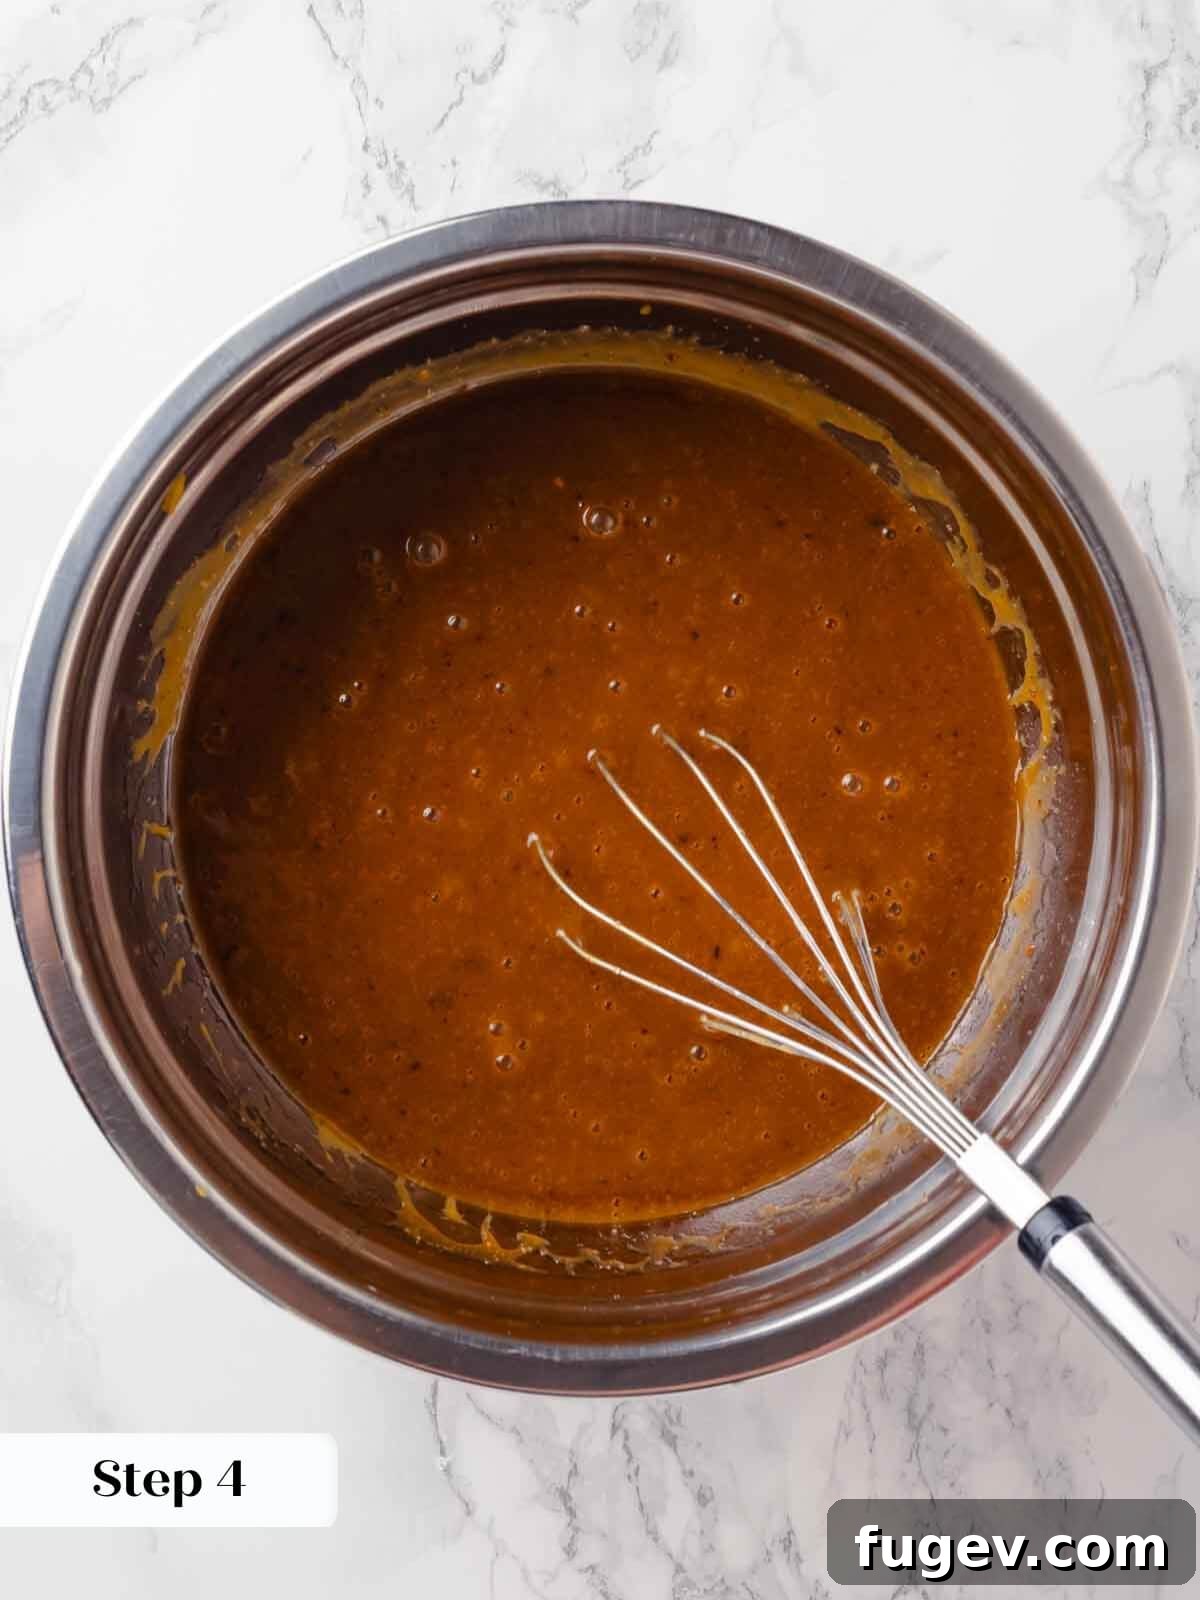
Step 5: Add Wet Flavorings. Now, add the vanilla extract and the pumpkin puree to your butter-sugar-egg mixture. Whisk thoroughly until everything is perfectly smooth and uniformly colored. This ensures the pumpkin flavor is evenly distributed throughout the batter.
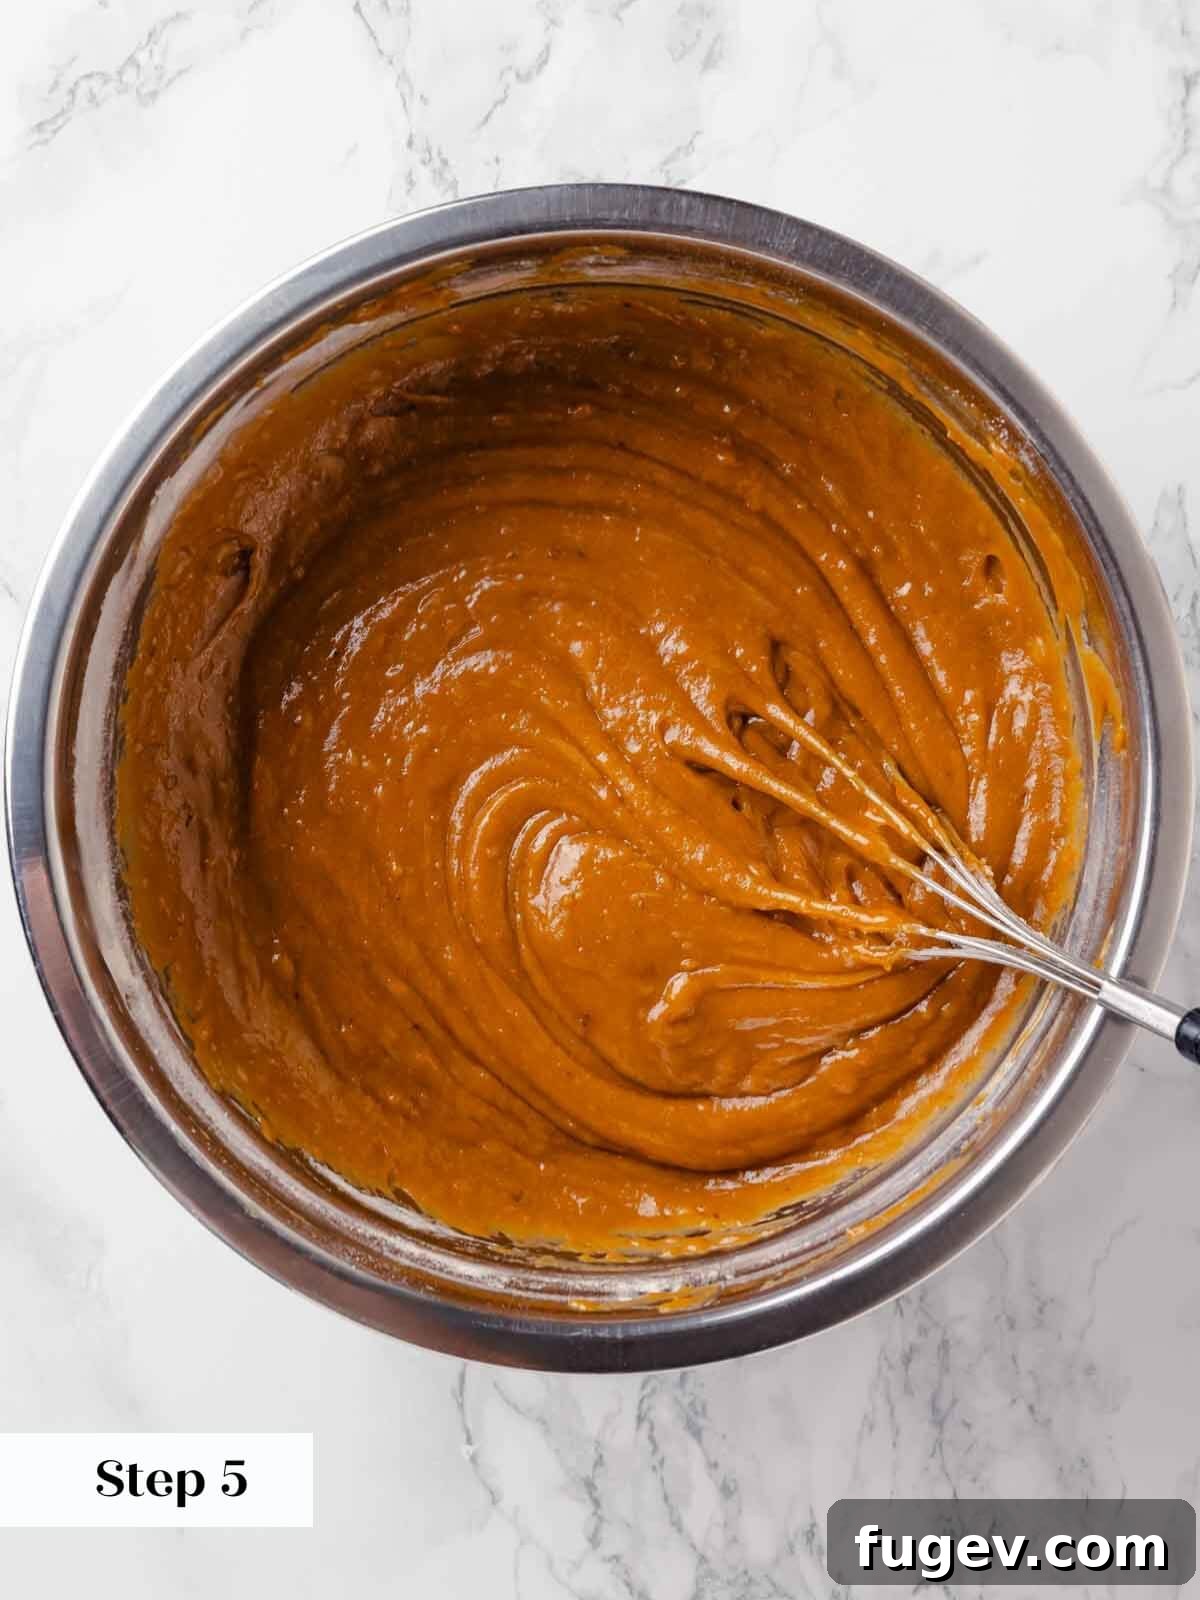
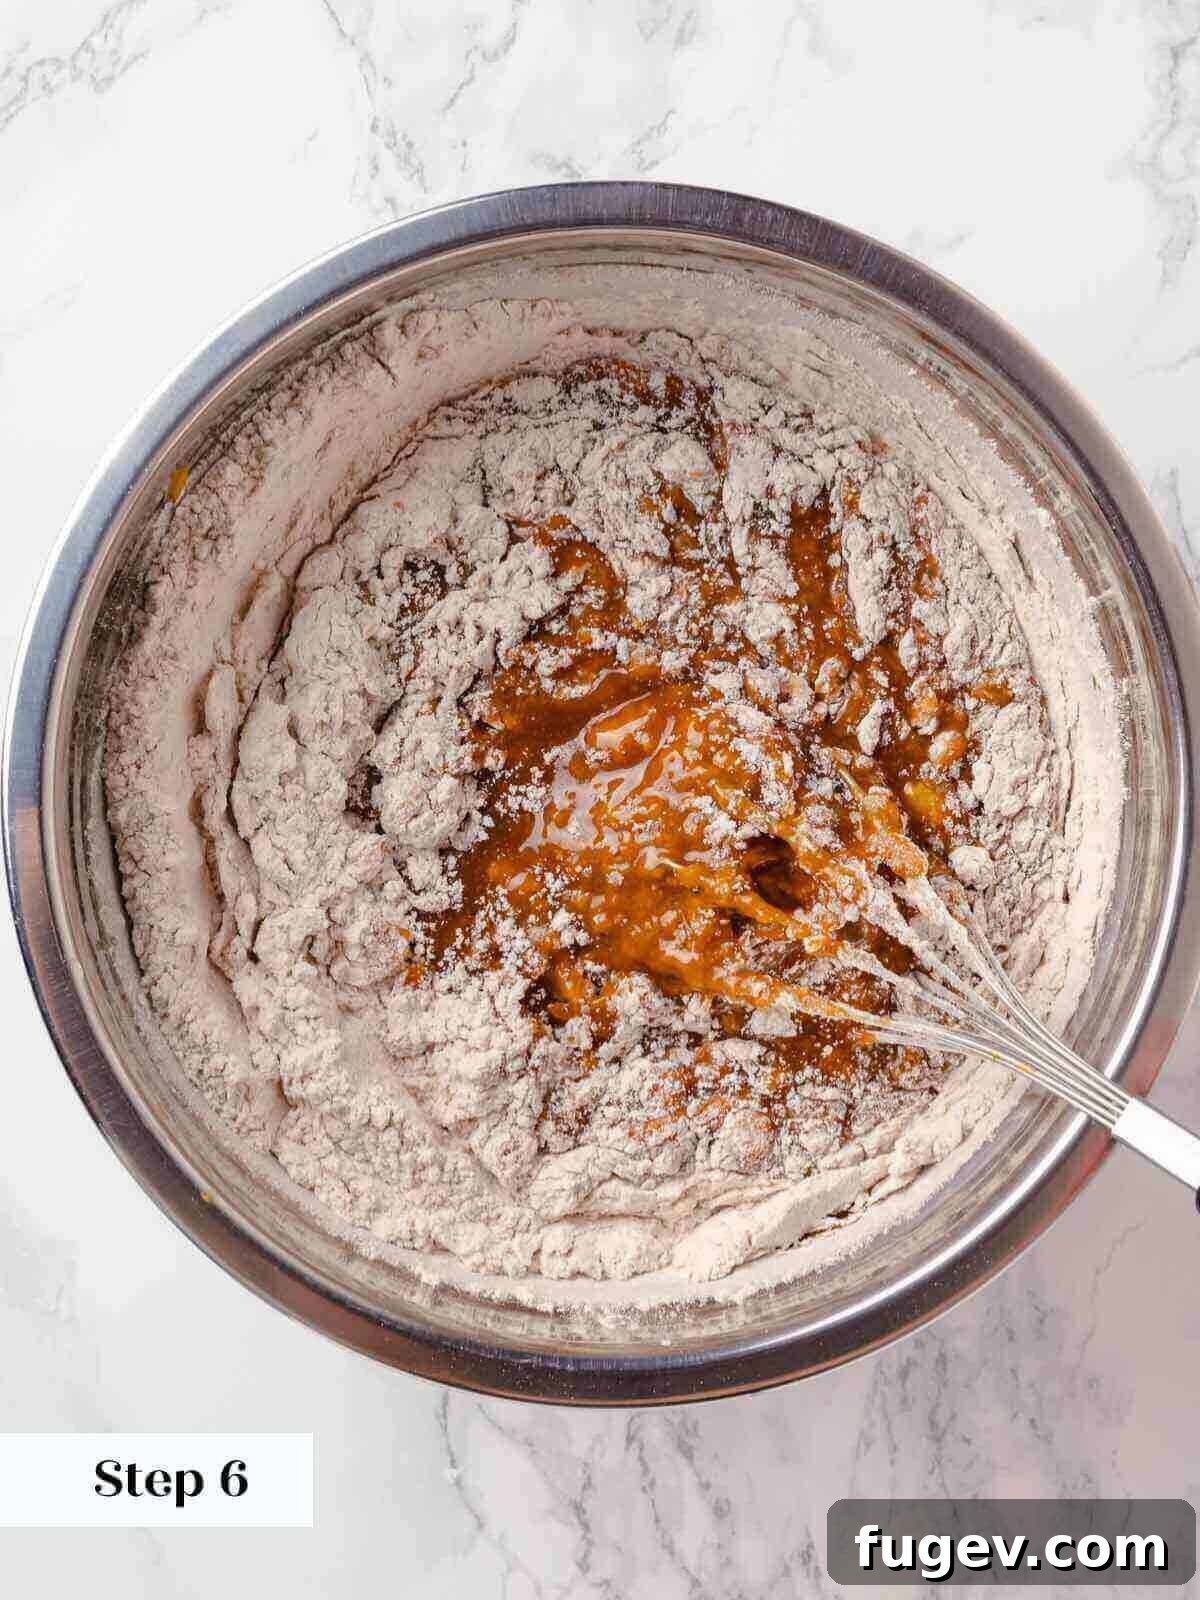
Step 6: Combine Wet and Dry Ingredients. Gradually add the reserved flour mixture (from Step 2) to the bowl containing the pumpkin mixture. Using a whisk, mix until *just combined*. This is a critical step: like with delicate pumpkin cakes or chewy cookies, overmixing at this stage can lead to a tough, dry, or gummy bar due to gluten overdevelopment. A few streaks of flour are fine; they will disappear during baking.
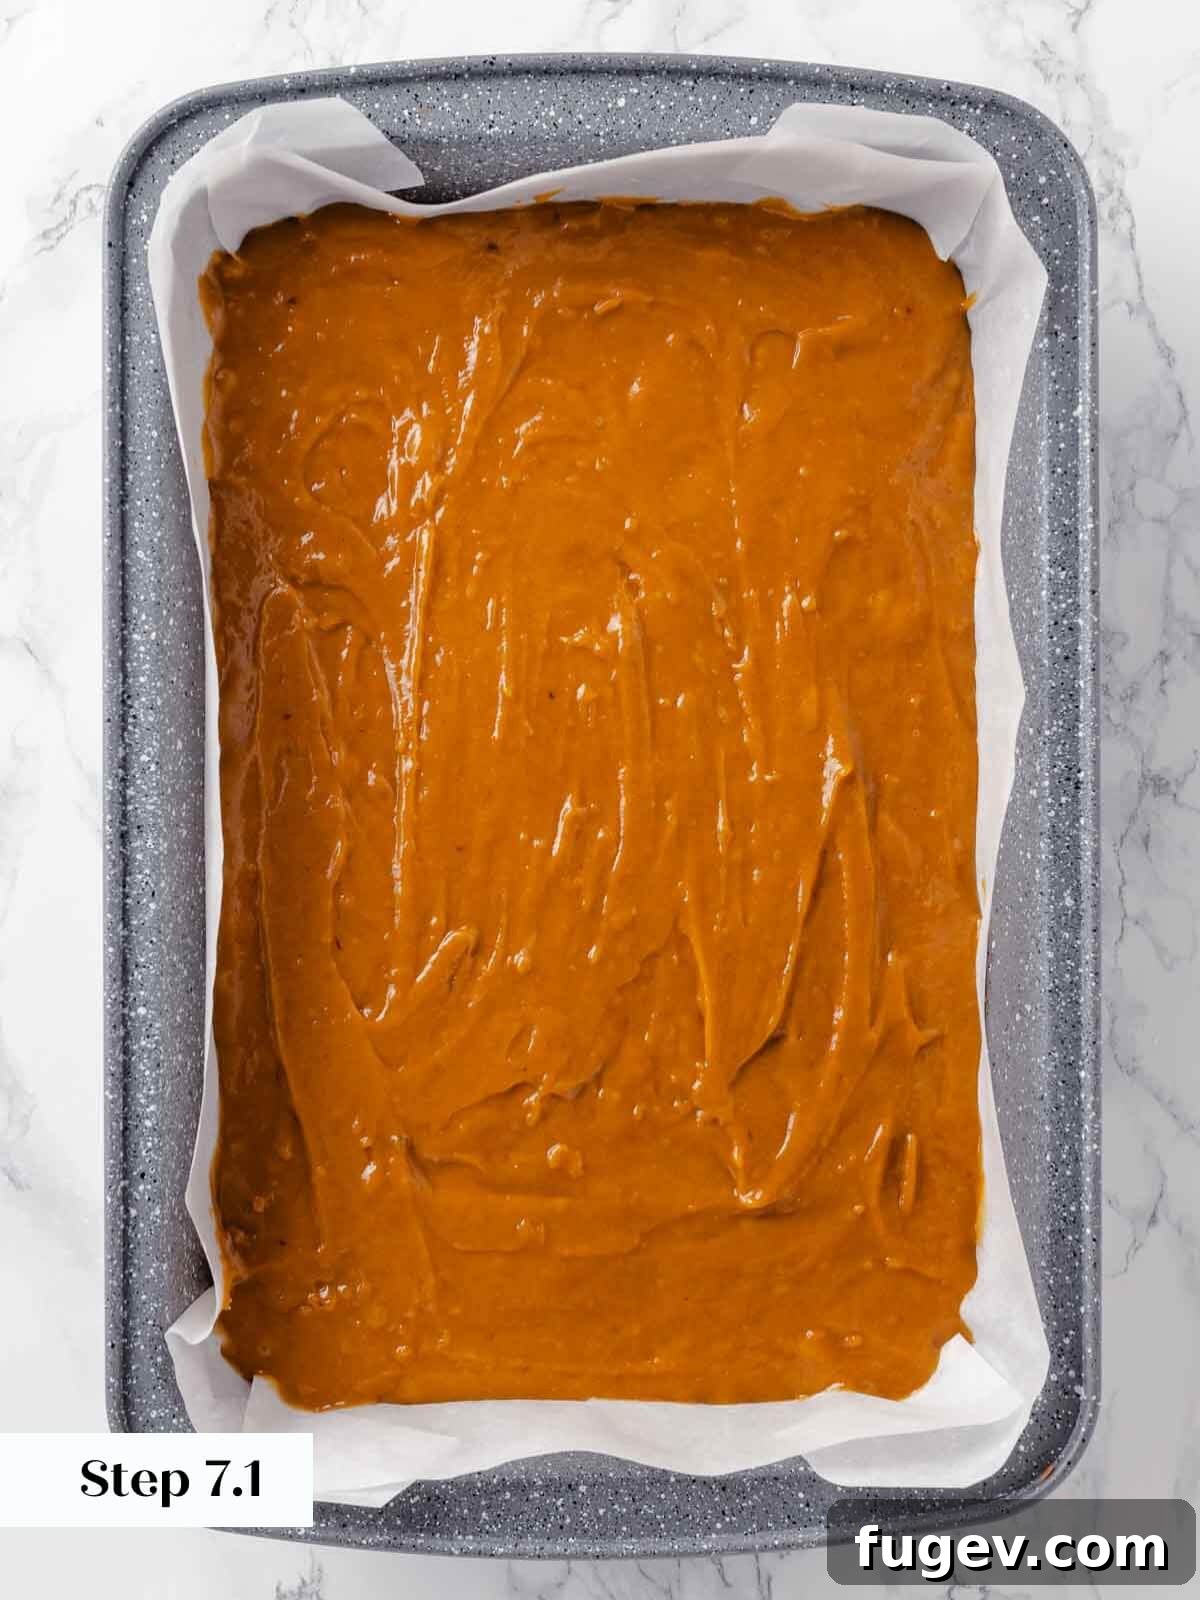
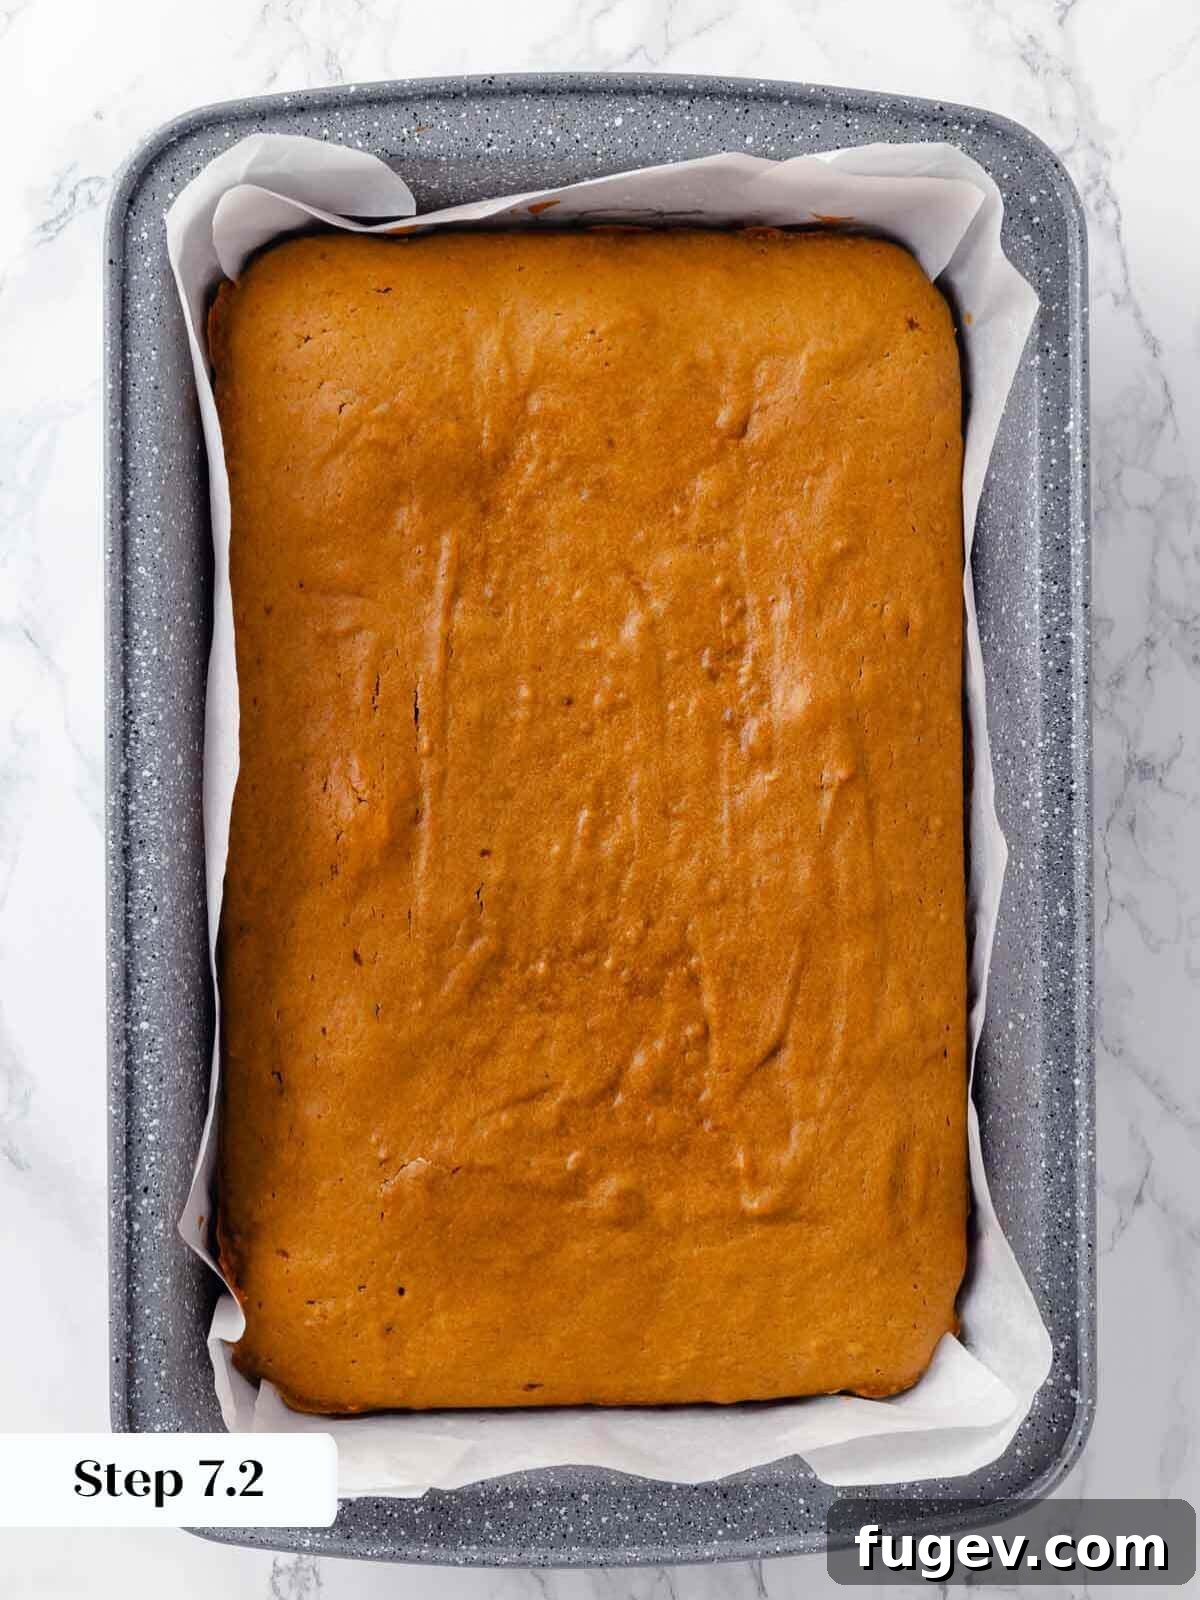
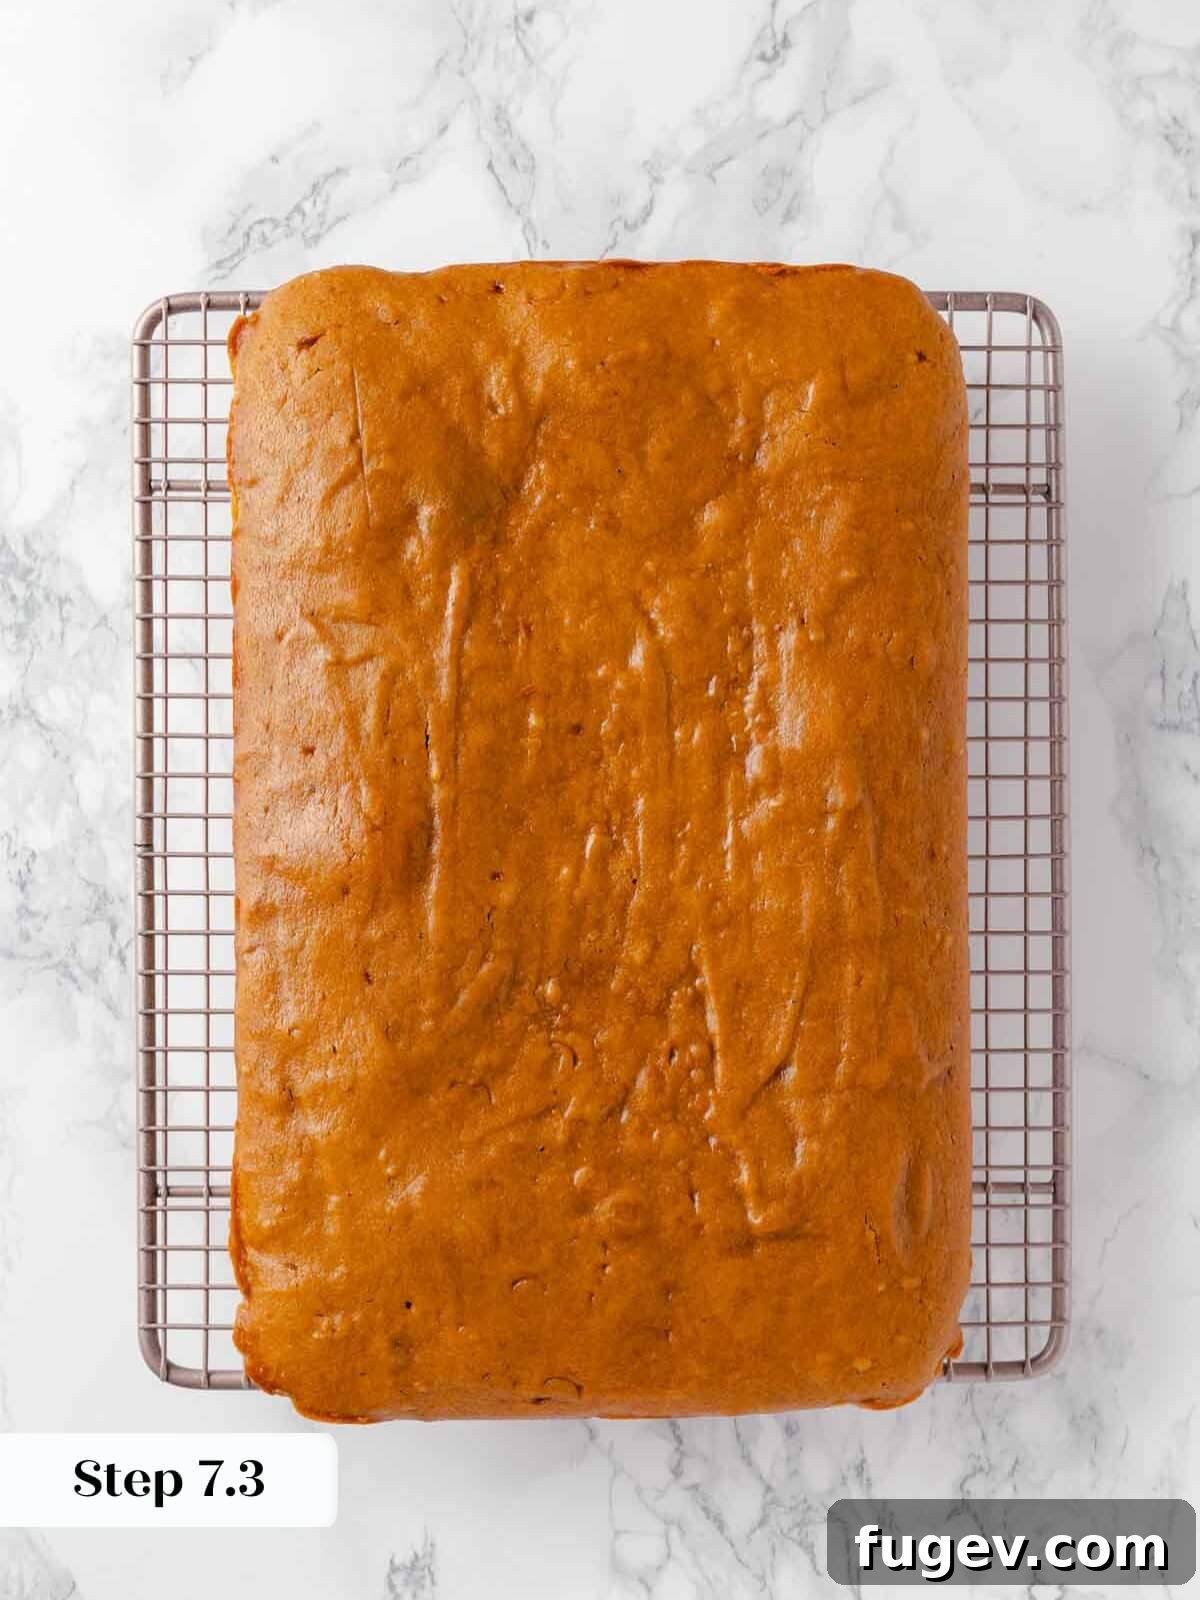
Step 7: Bake to Perfection. Pour the prepared batter evenly into your parchment-lined baking dish. Use an offset spatula or the back of a spoon to gently spread the batter out to the edges and ensure an even thickness. This promotes a uniform bake, preventing thinner edges from overcooking while the center remains raw. Bake for 25-28 minutes, or until a cake tester (like a toothpick or thin skewer) inserted into the center comes out clean or with a few moist crumbs. Immediately transfer the hot pan to a wire rack and allow the pumpkin bars to cool completely before even thinking about frosting them. This crucial step prevents the frosting from melting.
Oven Variation Note: Every oven is different! While our recipe suggests 25-28 minutes, mine sometimes bake a bit faster, around 22 minutes. Always trust your cake tester or touch test over the timer alone to prevent overbaking.
Cream Cheese Frosting:
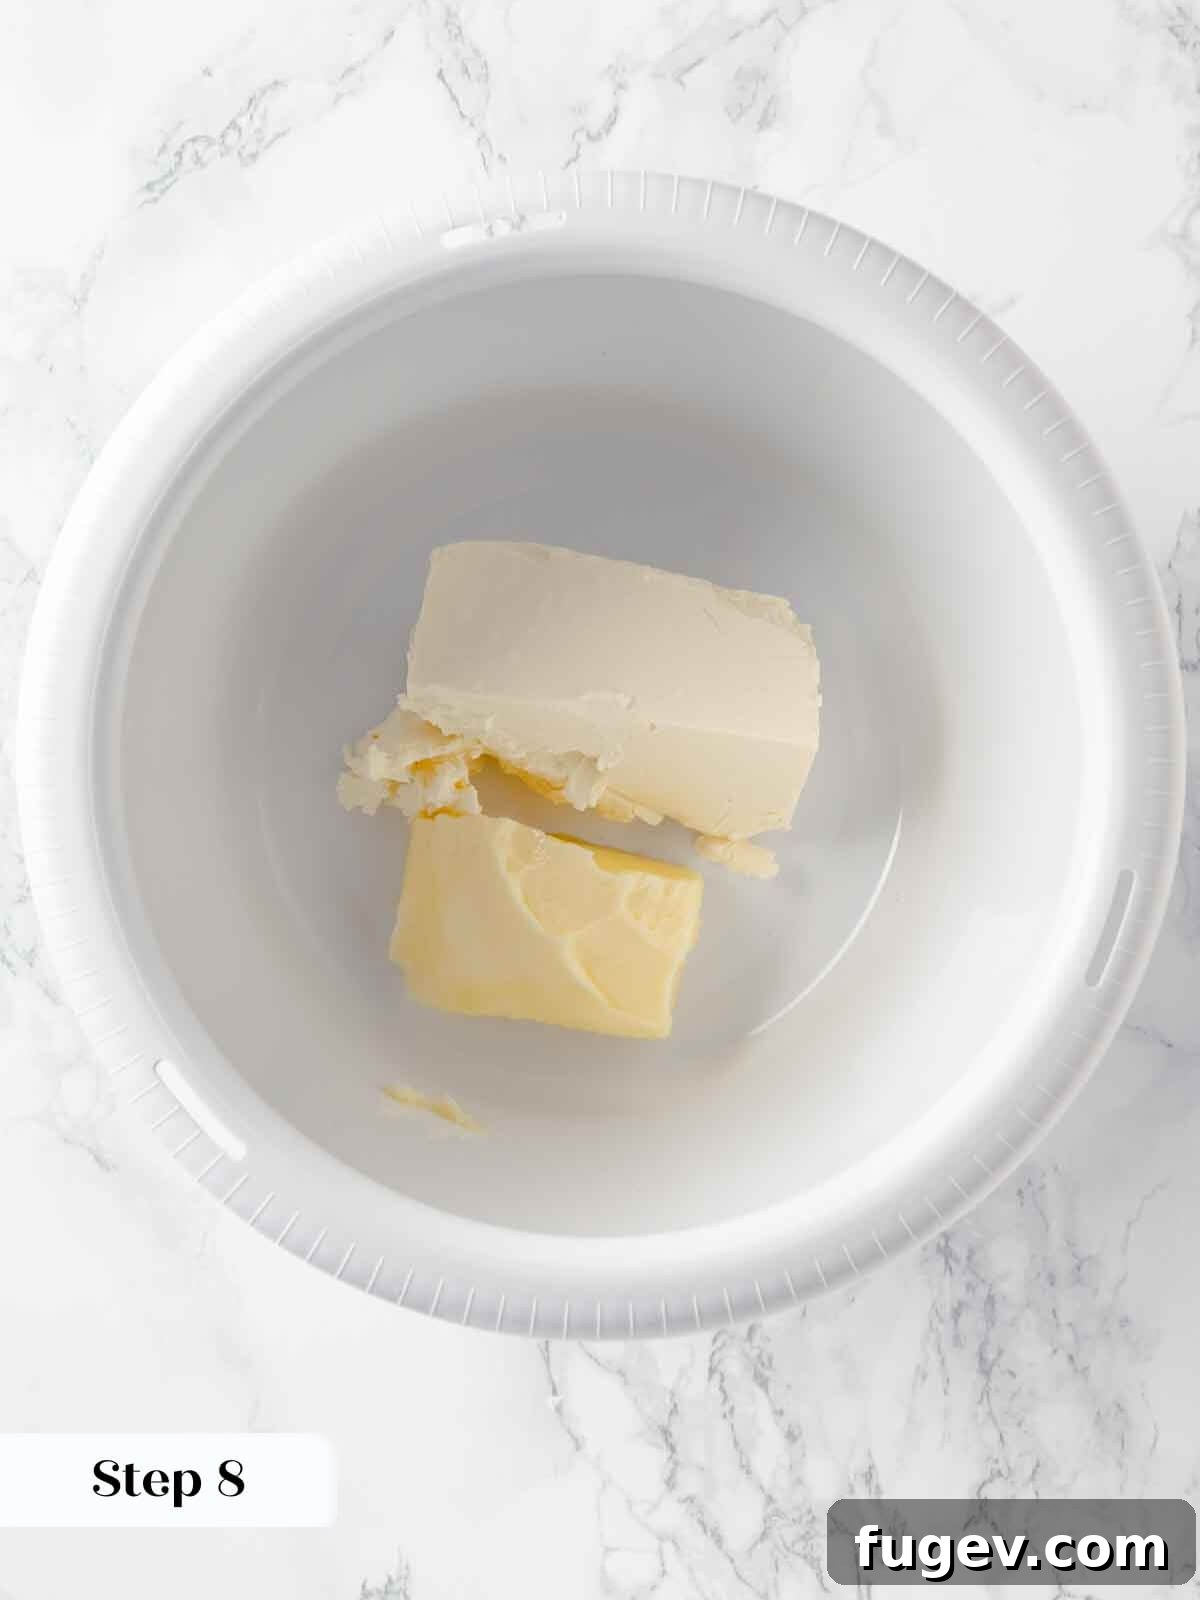
Step 8: Cream Together Butter and Cream Cheese. In the bowl of a stand mixer fitted with the paddle attachment (or using a large bowl and a hand mixer), beat together the softened unsalted butter and the softened cream cheese. Begin on low speed, then increase to medium, beating until the mixture is completely smooth, light, and airy. This step is vital for a lump-free, silky frosting.
Crucial Softening Tip: For the silkiest frosting, both the butter and cream cheese must be at *perfect* room temperature and equally softened. If one is colder than the other, the frosting will be lumpy. Do not attempt to soften them together if one is still cold; the cream cheese will melt into a soupy mess while the butter remains hard.
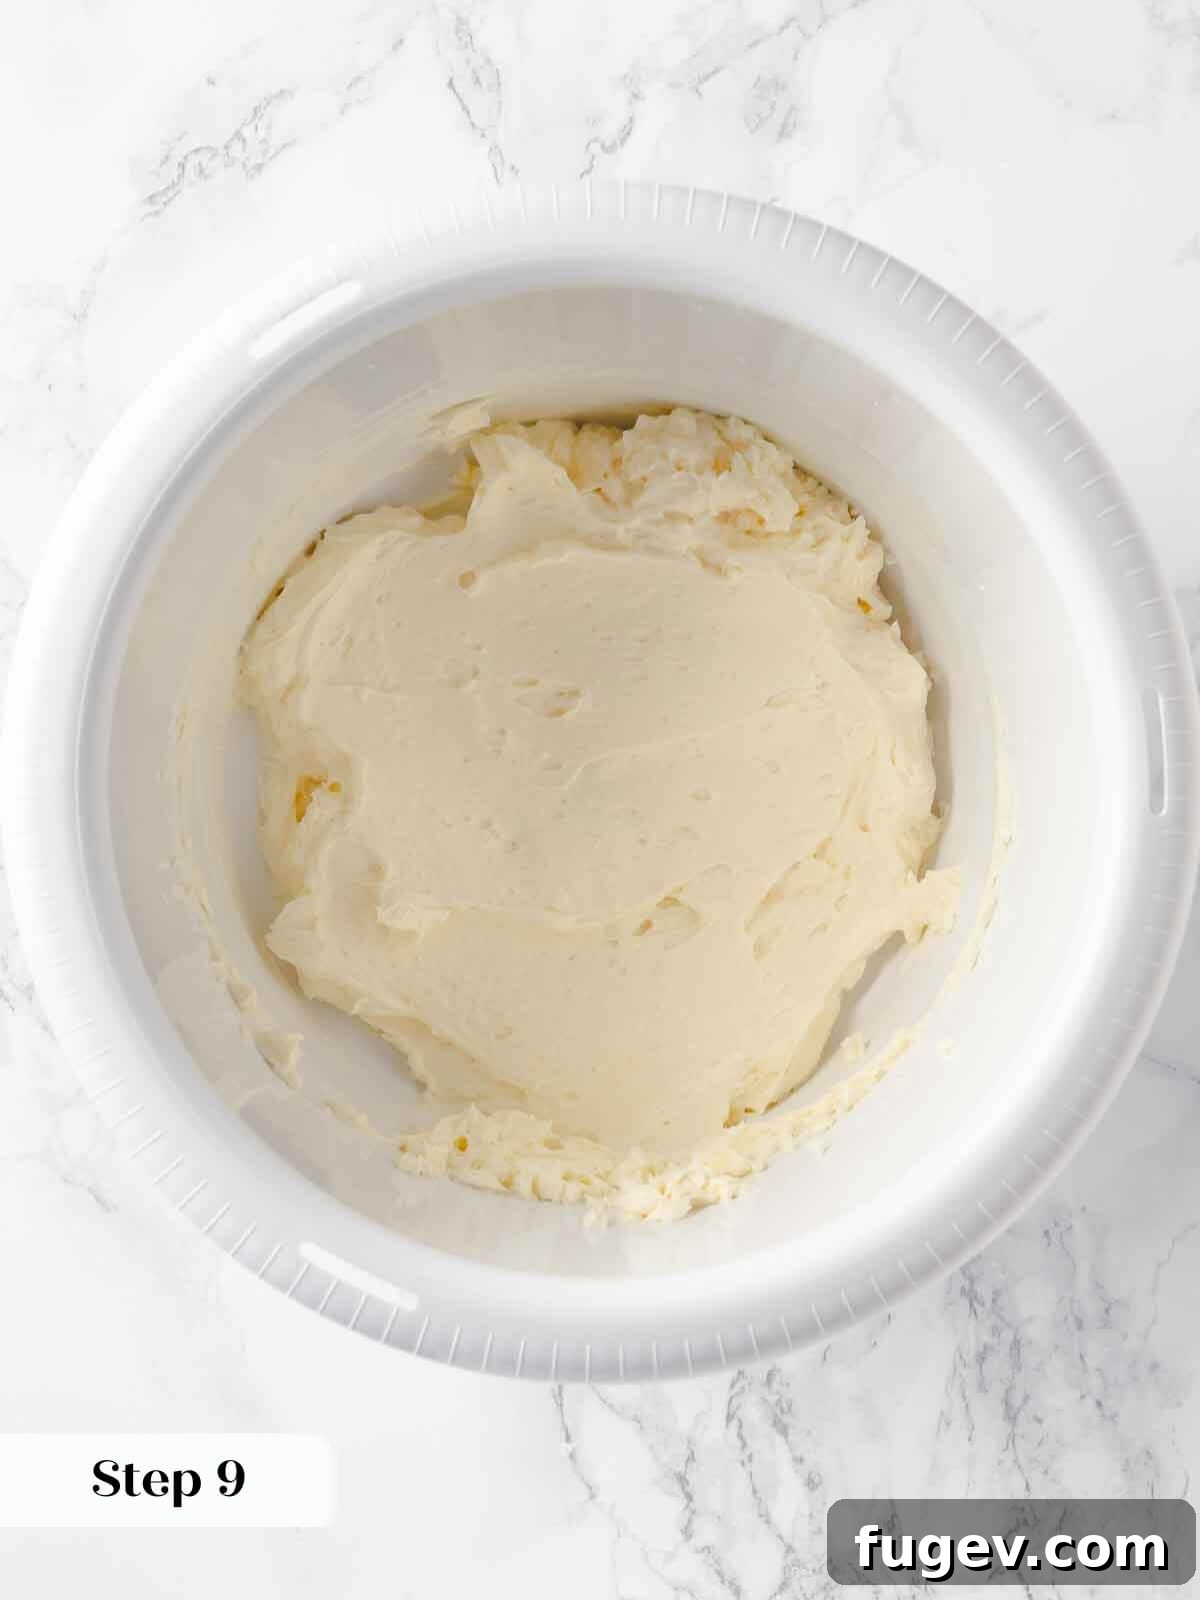
Step 9: Add Confectioner’s Sugar. Gradually add the confectioner’s sugar to the butter and cream cheese mixture. Start your mixer on the lowest speed to prevent a cloud of powdered sugar from flying across your kitchen! Once incorporated, increase the speed to medium and beat until the frosting is completely smooth and free of any sugar lumps. Scrape down the sides of the bowl periodically to ensure even mixing.
Sifting Powdered Sugar: To guarantee an extra silky-smooth frosting, it’s always a good idea to sift your powdered sugar before adding it to the cream cheese mixture. Powdered sugar is prone to clumping, and those lumps are very difficult to remove once they’re integrated into the frosting.
Step 10: Add Final Flavorings. Finally, add the vanilla extract and a squeeze of fresh lemon juice to the frosting. Mix on low speed until just combined. The lemon juice is a subtle but important addition, as it provides a slight tang that beautifully balances the richness of the cream cheese and the sweetness of the sugar.
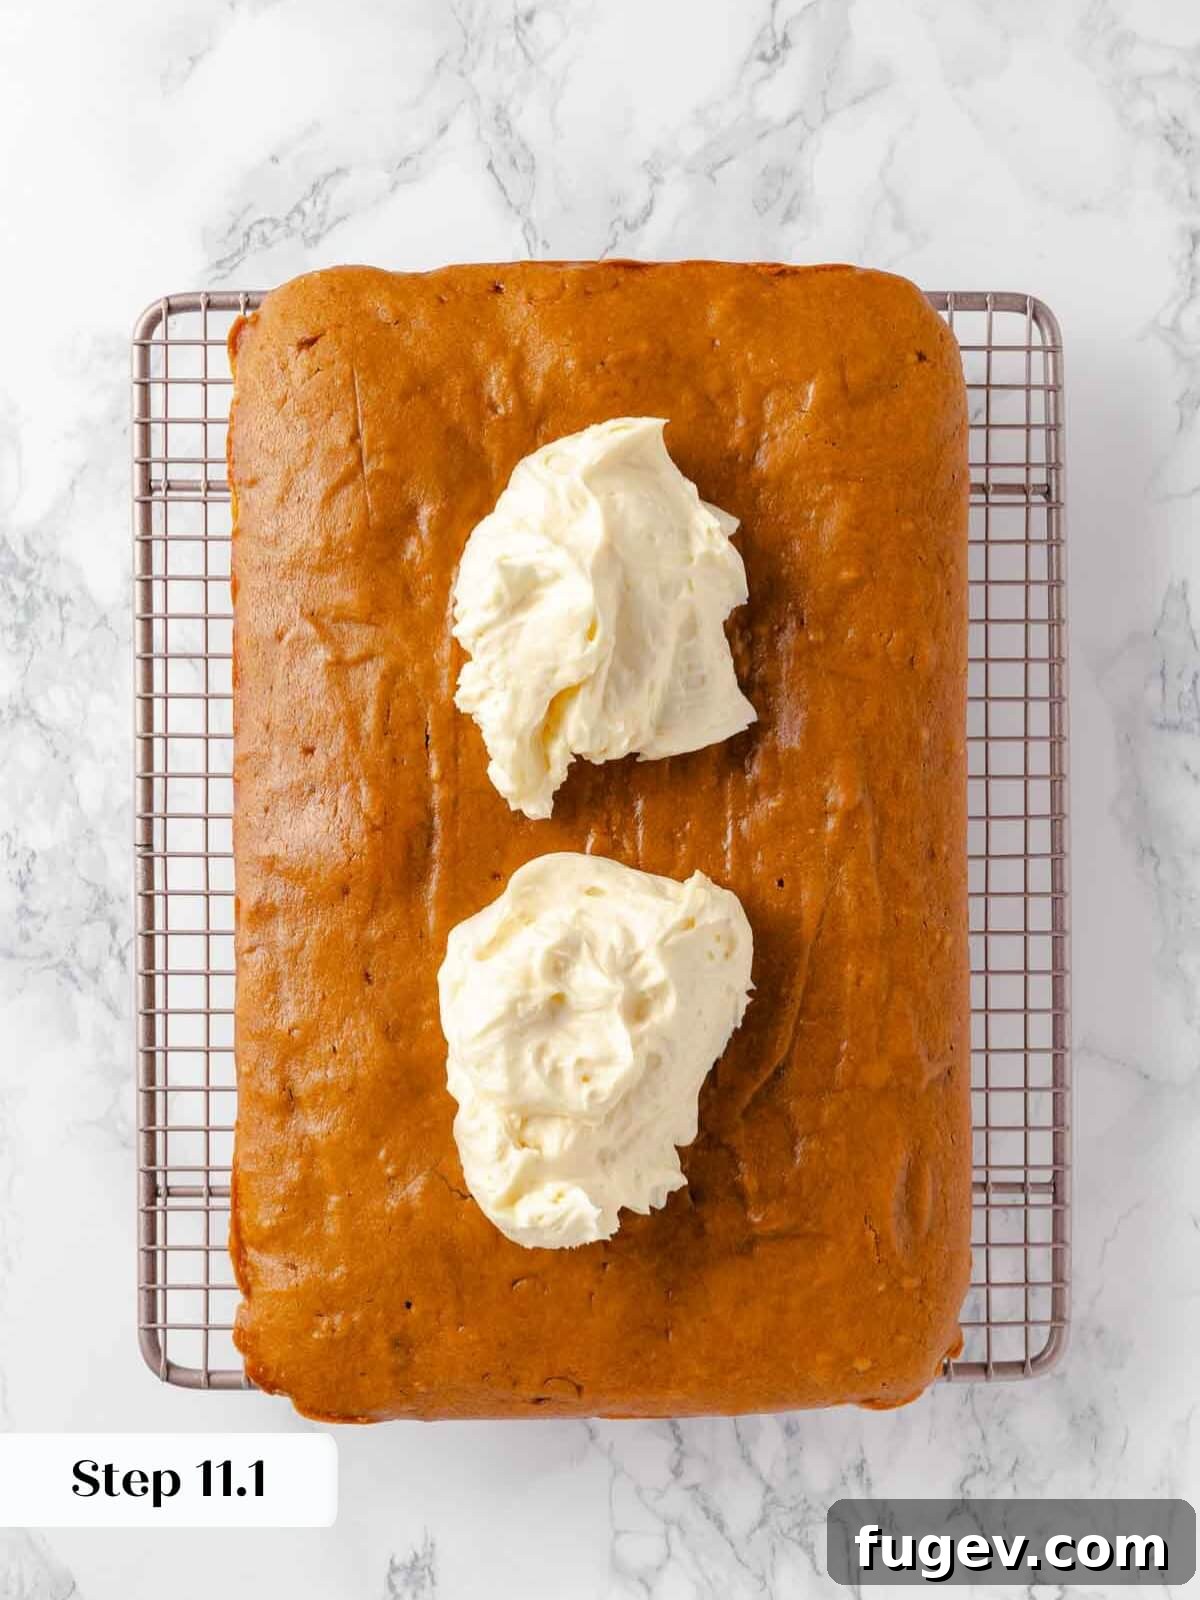
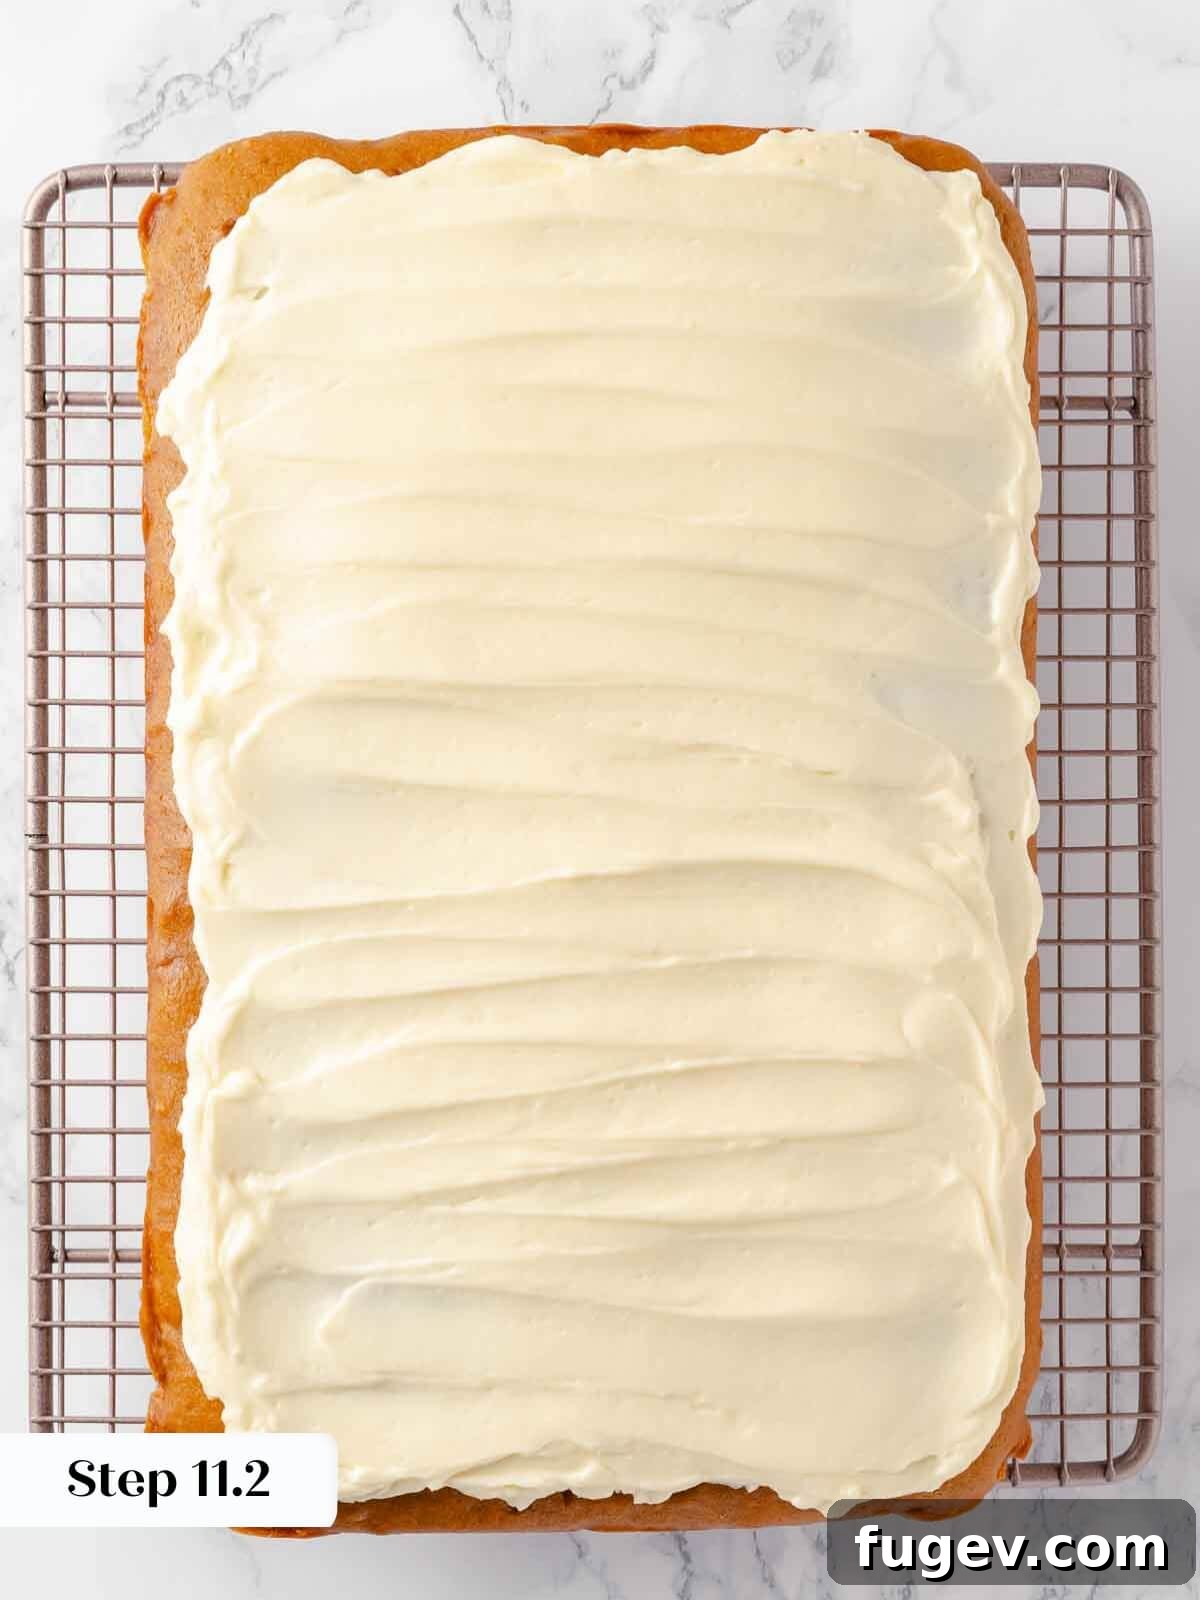
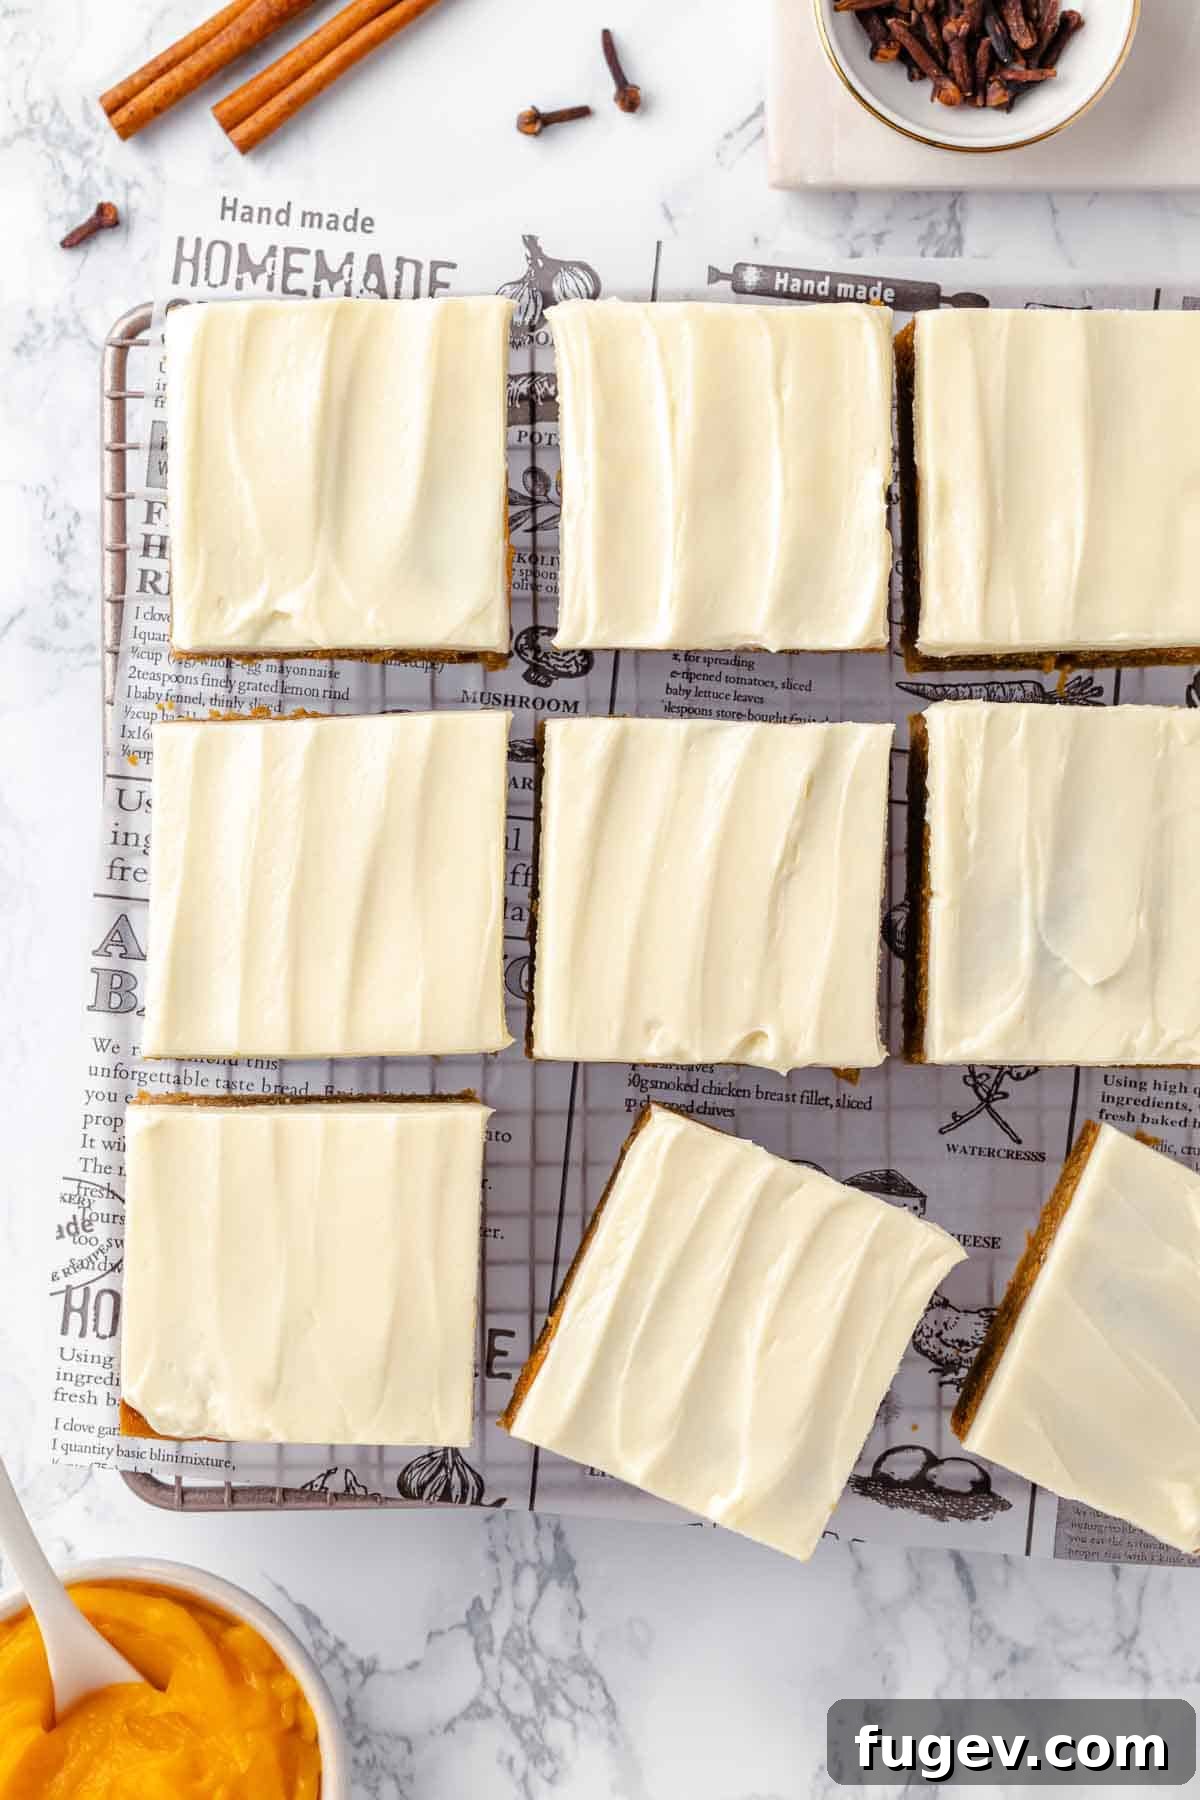
Step 11: Frost and Serve. Once your pumpkin bars are completely cooled (this cannot be stressed enough!), carefully lift them out of the baking pan using the parchment paper overhangs. Transfer them to a cutting board or serving platter. Dollop the prepared cream cheese frosting generously over the cooled bars. Using an offset spatula, spread the frosting evenly across the entire surface. You can aim for a perfectly smooth finish or create decorative swirls for an appealing texture. Finally, slice the frosted bars into desired portions using a warm, clean knife. For the neatest slices, wipe your knife clean and dip it in hot water between each cut. Serve immediately and enjoy!
Chef Lindsey’s Expert Recipe Tip: Speeding Up Softening
Did you forget to take your butter and cream cheese out to soften, and now you’re short on time? Don’t fret! You can gently soften them individually in a stand mixer. Start with the butter: beat it on medium speed. Use a kitchen torch to gently warm the *outside* of the mixer bowl, moving the flame constantly to prevent the butter from melting in one spot. Once softened, transfer the butter to a small bowl. Repeat the process with the cream cheese. Once both are softened, return the butter to the cream cheese, and continue with the frosting recipe as written. This method requires a bit of care but works wonders in a pinch!
Frequently Asked Questions About Pumpkin Bars
Once frosted, your pumpkin bars should be stored in an airtight container in the refrigerator. The cream cheese frosting requires refrigeration to maintain its freshness and food safety. They will keep beautifully for up to 3-5 days in the fridge. If you’re planning to store them unfrosted, you can wrap the cooled bars well in plastic wrap and keep them at room temperature for up to 5 days. We find they taste best within the first 3 days for optimal flavor and texture. For longer storage, unfrosted bars can be wrapped tightly and frozen for up to 2 months. We generally don’t recommend freezing frosted bars, as the frosting tends to weep moisture upon thawing, potentially making the bars soggy and affecting the texture of the frosting itself.
While homemade pumpkin puree can be lovely in many dishes, we generally do not recommend substituting it for canned pumpkin puree in this recipe. Canned pumpkin puree is produced with very strict moisture content controls, ensuring consistency across different batches. Homemade puree, however, can vary significantly in moisture levels depending on the type of pumpkin used and how it was prepared. Too much moisture in your puree can lead to a gummy, dense, or even flat pumpkin bar that doesn’t rise properly. For the best and most consistent results with this recipe, stick to commercial canned pure pumpkin puree (not pie filling).
Absolutely, you can definitely stack these bars to create an impressive layered dessert! However, for optimal stability, especially if you plan on transporting them or need them to hold their shape for a while, we highly recommend using our specialized cream cheese frosting for cookies. This particular frosting is formulated to be more stable and will set more firmly than the standard recipe provided here, making your layered creation sturdy and easy to handle.
While these pumpkin bars are undeniably perfect on their own, there are several wonderful ways to enhance the experience. Consider drizzling them with a decadent homemade salted caramel sauce for an extra layer of sweetness and complexity. A scoop of rich butter pecan ice cream provides a delightful contrast in temperature and adds a nutty dimension. For a more refined touch, a light and creamy spiced crème anglaise can elevate these humble bars into an elegant dessert suitable for any occasion. Don’t forget a simple dusting of cinnamon or a few toasted pecans as a beautiful garnish!
While this specific recipe is developed with all-purpose flour for its unique texture, you may be able to adapt it to be gluten-free. We recommend using a high-quality 1:1 gluten-free baking flour blend that contains xanthan gum for structure. Be aware that the texture might be slightly different; gluten-free bars can sometimes be a bit more crumbly. For a tested gluten-free option, check out our gluten-free pumpkin energy bars recipe which is specifically designed for success without gluten.
If you tried this recipe and absolutely loved it, please consider leaving a 🌟 star rating and sharing your thoughts in the comments section below. Your feedback truly brightens our day and helps others discover this delightful recipe!
Pumpkin Bars
Chef Lindsey
15 mins
25 mins
40 mins
16 bars
Comment
Print Recipe
Ingredients
For the Pumpkin Bars:
- 2 ¼ cup all-purpose flour
- 1 teaspoon baking powder
- ½ teaspoon kosher salt
- 4 teaspoon pumpkin pie spice *
- 2 large eggs
- 1 egg yolk
- 1 ½ teaspoon vanilla extract
- 1 cup pumpkin puree not pie mix
- ½ cup granulated sugar
- 1 cup dark brown sugar packed
- 1 cup unsalted butter melted and hot
For the Frosting:
- 5 ounces cream cheese brick style, full fat, softened
- 4 ½ tablespoon unsalted butter softened
- ½ cup powdered sugar
- ¼ teaspoon vanilla extract
- ½ teaspoon lemon juice
Instructions
Pumpkin Bar Base:
- Preheat the oven to 325°F (160°C) and line a 9×13 inch baking pan or dish with parchment paper, ensuring an overhang on two sides.
- In a medium bowl, whisk together the flour, baking powder, kosher salt, and pumpkin pie spice mix. Set aside.
- Melt the butter in a large microwave-safe bowl (or over a pot of simmering water) until hot.
- While the butter is still hot, whisk in the granulated and dark brown sugars until smooth. Then, add the whole eggs and egg yolk, whisking until smooth and emulsified.
- Add the vanilla extract and pumpkin puree to the butter mixture and whisk until smooth.
- Add the flour mixture to the bowl with the pumpkin mixture and whisk until just combined. Avoid over-mixing the batter at this stage.
- Pour the batter into the prepared baking dish. Even out with an offset spatula for an even bake. Bake for 25-28 minutes, or until a cake tester comes out clean. Place the cake pan on a wire rack and cool completely.
Cream Cheese Frosting:
- Beat together softened butter and cream cheese in the bowl of a stand mixer fitted with the paddle attachment (or with a hand mixer) until smooth and creamy.
- Add the confectioner’s sugar and mix until completely smooth. Start on a low speed to prevent the powdered sugar from going everywhere, then increase to medium.
- Add the vanilla extract and lemon juice and mix to combine.
- Dollop the frosting on the cooled pumpkin bars and spread it evenly with an offset spatula. You can make it perfectly smooth or create decorative swirls. Slice into bars and serve.
Notes
2 teaspoons ground cinnamon
1 1/4 teaspoons ground ginger
1/4 teaspoon ground cloves
1/4 teaspoon ground nutmeg
1/8 teaspoon ground allspice
Yield – This recipe yields one 9×13 inch pan of delicious pumpkin bars.
Presentation – For clean, attractive cuts, use a sharp knife dipped in hot water and wiped dry between each slice. The warmth helps the knife glide through the frosting and cake effortlessly.
Variations – For a delightful nutty variation, fold in toasted pecans or walnuts into the batter before baking. You can also garnish the frosted bars with candied pecans for extra crunch and visual appeal.
Storage – Once frosted, store these pumpkin bars in an airtight container in the refrigerator for up to 5 days. Unfrosted bars can be wrapped well and stored at room temperature for up to 5 days, or frozen for up to 2 months. We recommend frosting just before serving for the best texture and freshness.
Nutrition
Carbohydrates: 39g |
Protein: 4g |
Fat: 19g |
Saturated Fat: 11g |
Polyunsaturated Fat: 1g |
Monounsaturated Fat: 5g |
Trans Fat: 1g |
Cholesterol: 81mg |
Sodium: 143mg |
Potassium: 98mg |
Fiber: 1g |
Sugar: 24g |
Vitamin A: 3002IU |
Vitamin C: 1mg |
Calcium: 54mg |
Iron: 1mg
Dessert
American
336
Before You Go: More Fall Delights
We hope you thoroughly enjoyed this expertly crafted recipe for the best moist pumpkin bars. As a professional chef, I’m passionate about sharing recipes that bring joy and deliciousness to your kitchen. Be sure to explore all our delightful pumpkin recipes, perfect for celebrating the flavors of autumn. Or perhaps you’re in the mood to peruse more fall dessert recipes, including our collection of brownies & bars recipes. For even more inspiration, check out our comprehensive list of the 25 Best Pumpkin Recipes to Make This Fall. Happy baking, and enjoy the cozy season!