
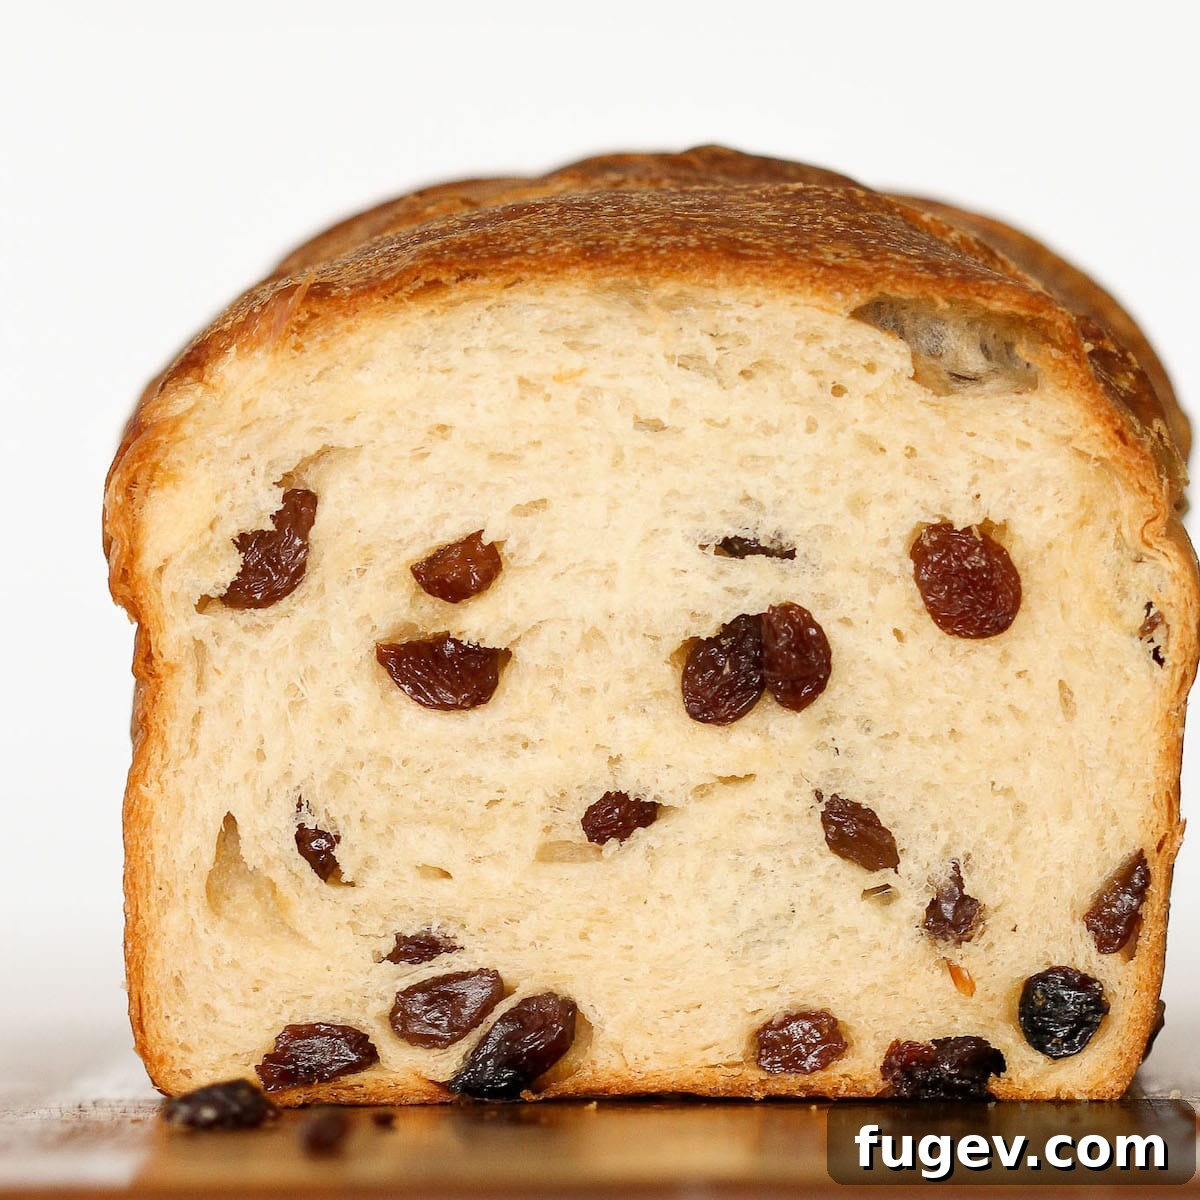
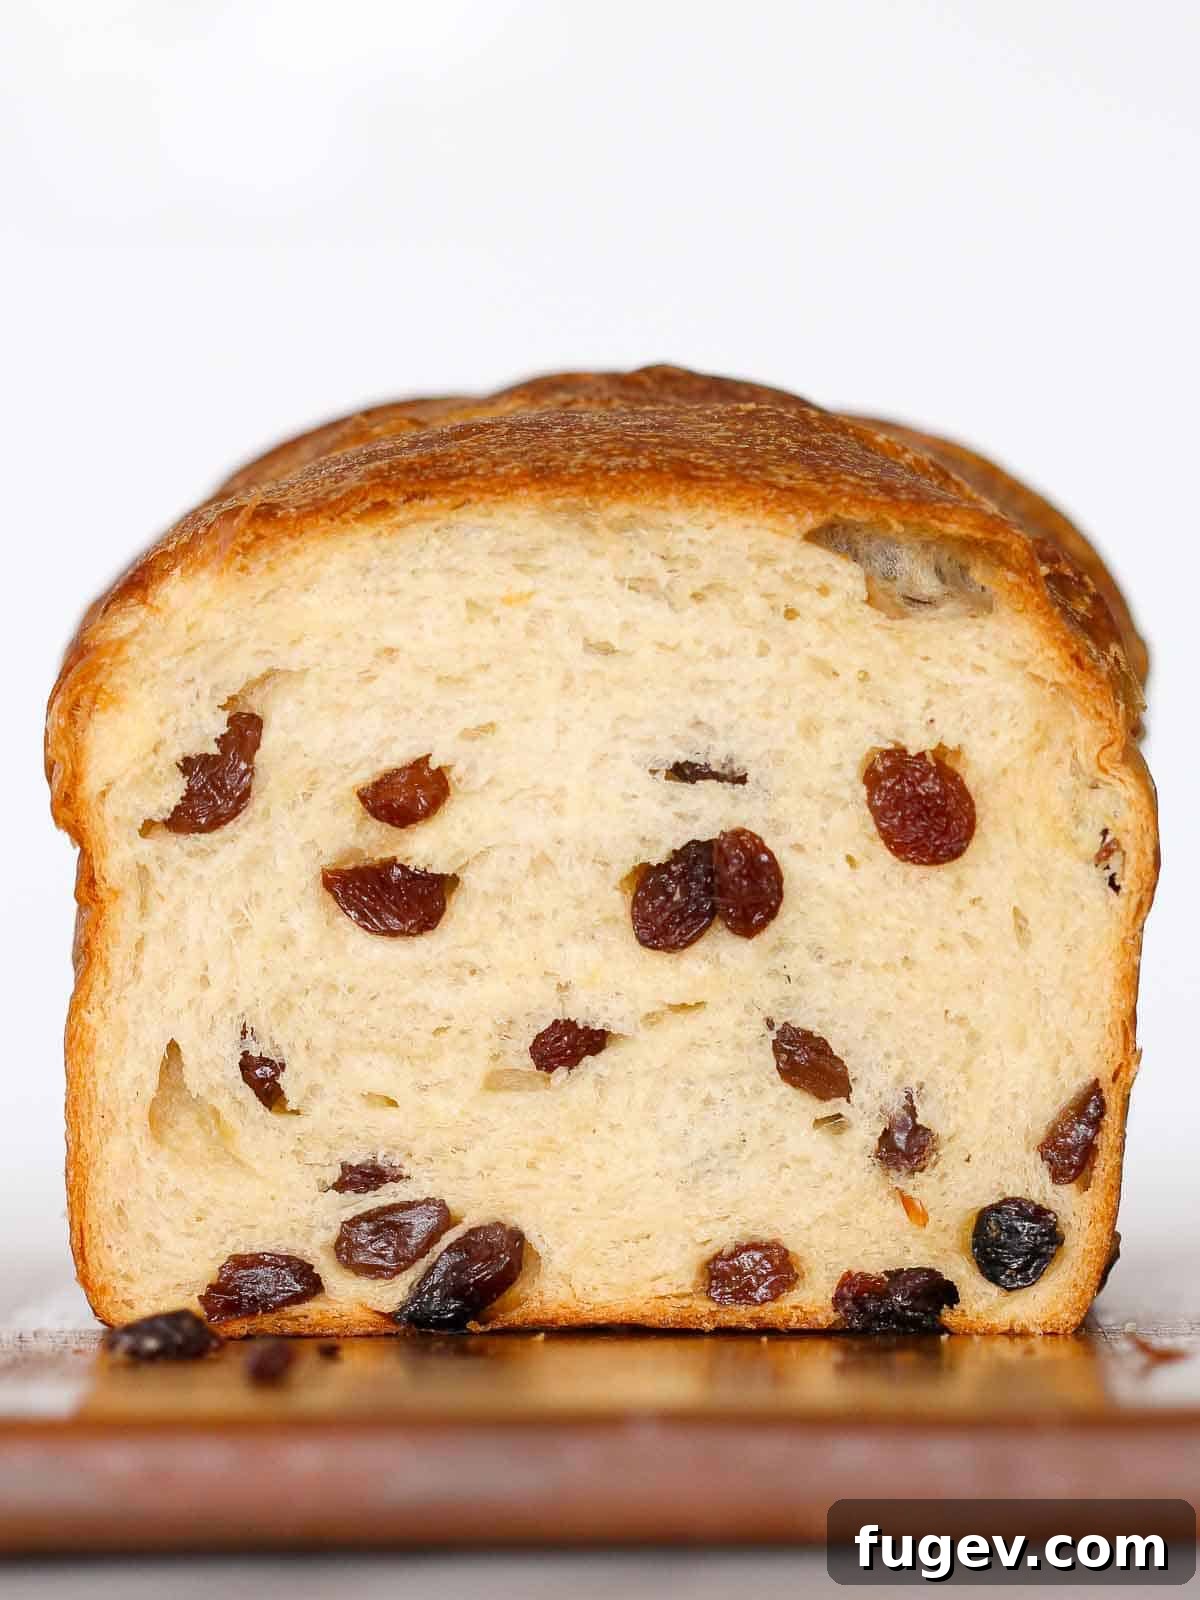
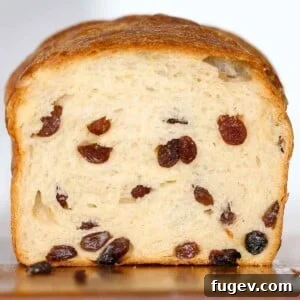
Indulge in the sheer delight of this sourdough raisin bread – a truly irresistible loaf that is exquisitely soft, wonderfully chewy, generously buttery, and bursting with plump, sweet raisins in every bite. Enhanced with a delicate sweetness from honey, this bread is the quintessential choice for a comforting breakfast, a satisfying afternoon snack, or even a delightful dessert. It’s more than just bread; it’s a culinary experience waiting to unfold in your kitchen.
A Quick Look At The Recipe
This is a brief summary of the recipe. Jump to the recipe to get the full details.
Jump to Recipe
Prep Time
5 hours
Cook Time
35 minutes
Total Time
5 hours 35 minutes
Servings
12 Slices
Difficulty
Moderate
Calories *
436 kcal per serving
Technique
Mix sponge, mix dough, add butter, divide, shape, proof and bake.
Flavor Profile
Soft, buttery sourdough bread packed with raisins.
* Based on nutrition panel
Summarize & Save this content on
google ai
perplexity
grok
Exactly what I was looking for, thank you! Turned out perfect!!!! Can’t wait to try your Irish soda bread! ⭐⭐⭐⭐⭐
Sarah
Why You Will Absolutely Adore This Sourdough Raisin Bread
This isn’t just another bread recipe; it’s a journey to creating something truly special that will earn a permanent spot in your baking rotation. Here’s why this sourdough raisin bread stands out:
- It’s a Luxurious Brioche-Style Loaf: Imagine all the delightful tang and complexity of sourdough, now infused with the richness of butter. Yes, this exceptional bread is crafted in the style of a brioche! The generous addition of butter imparts an incredibly soft, tender texture and a decadent flavor profile that elevates it far beyond ordinary bread. This luscious butter also ensures a wonderfully soft and tender crust that won’t become tough or dry.
- Remarkably Soft, Light, and Moist Texture: Achieving that coveted light and airy crumb, combined with superior moisture, is a hallmark of this recipe. We utilize a special “sponge” pre-ferment, which acts as a powerful enhancer for the bread’s texture. Coupled with the natural sweetness of honey, the subtle enrichment from milk powder, and the tenderizing effect of butter, this combination results in a crumb that is nothing short of divine – truly bordering on the sublime!
- An Easy, Same-Day Sourdough Baking Experience: Don’t be intimidated by the idea of sourdough; this recipe is designed for accessibility and convenience. Unlike many traditional sourdough recipes that require days of preparation, this method allows you to enjoy freshly baked, artisan-quality bread on the very same day. You can effortlessly start the dough in the morning and by late afternoon, savor the aroma and taste of a warm, absolutely delicious homemade sourdough raisin loaf.
Table of Contents
- Why You Will Absolutely Adore This Sourdough Raisin Bread
- The Joy of Baking Sourdough Raisin Bread
- Essential Ingredients & Thoughtful Substitutions
- Creative Variations for Your Sourdough Raisin Bread
- Professional Tips for Perfect Sourdough Raisin Bread
- Understanding Pre-Ferments: Sourdough Starter & Sponge
- Step-by-Step Guide: How to Make Sourdough Raisin Bread
- Chef Lindsey’s Expert Tip
- Sample Baking Schedule for Your Convenience
- Sourdough Raisin Bread Recipe FAQs
- More Delightful Bread Recipes
- The Full Sourdough Raisin Bread Recipe
- Before You Go: Continue Your Baking Journey
The Joy of Baking Sourdough Raisin Bread
For me, bread is more than just food; it’s a passion, a fundamental joy in life (second only to my beloved family, of course! 🥰). There’s something inherently comforting and profoundly rewarding about creating a perfect loaf from scratch. This particular sourdough raisin bread truly embodies that joy. Each and every bite is a harmonious blend of soft, tender, and buttery goodness, generously studded with sweet, plump raisins. The subtle tang of the sourdough perfectly balances the sweetness of the fruit, creating a complex yet approachable flavor profile that’s simply unmatched.
Embarking on a journey to expand your homemade bread repertoire is an exciting adventure, and this recipe is an excellent next step. If you’re looking for other delightful starting points, consider my easy dinner roll recipe or our aromatic sourdough rosemary rolls. Both are fantastic options for elevating weeknight dinners or making special occasions even more memorable! For everyday staples that offer wholesome goodness, you might also enjoy this rustic potato bread or the comforting familiarity of this whole wheat sandwich bread recipe. But for now, let’s dive into the magic of sourdough and raisins!
Essential Ingredients & Thoughtful Substitutions
Crafting the perfect sourdough raisin bread begins with understanding the role of each ingredient. Here’s a comprehensive look at what you’ll need and how to navigate substitutions:
- Water: The fundamental liquid that hydrates our flour and activates the yeast and sourdough starter. Always use filtered water if your tap water contains high levels of chlorine, as it can inhibit yeast activity.
- Active Sourdough Starter: This is the heart of our sourdough bread, providing the characteristic tang and incredible texture. You’ll need an active, bubbly sourdough starter that has been fed and is at its peak. If you don’t have a starter or prefer not to use one, don’t worry! You can still enjoy a delicious raisin bread by trying my classic raisin bread recipe. Alternatively, feel free to add raisins to my luscious brioche bread recipe or even to the brioche bun recipe for a fantastic roll option.
- All-Purpose Flour: Versatile and readily available, all-purpose flour provides a balanced protein content ideal for this soft, enriched dough. While I recommend all-purpose for its tenderizing qualities here, bread flour can be used if that’s what you have on hand; it might result in a slightly chewier crumb. I generally advise against substituting whole wheat flour directly into this recipe, as its hydration properties are significantly different and would require major adjustments. For a whole wheat option, I suggest following a recipe specifically designed for whole wheat sourdough bread and then incorporating raisins.
- Honey: Beyond its role as a natural sweetener, honey is crucial for this recipe. It serves as an excellent food source for the yeast, giving it a vital kickstart in the fermentation process. This not only contributes to a quicker rise but also imparts a wonderful depth of flavor and a gentle sweetness to the finished bread, perfectly complementing the raisins.
- Active Dry Yeast: While sourdough provides much of the leavening, a small amount of active dry yeast is included to ensure a reliable and quicker rise, making this a same-day sourdough. If you prefer to substitute, you can use double the weight of fresh yeast or half the weight of instant yeast.
- Dry Milk Powder: The secret to adding richness and softness without introducing additional liquid. Milk powder enhances the bread’s texture and contributes to a beautiful, golden crust. If you don’t have milk powder, you can omit it entirely and simply replace the water in the dough with an equal amount of whole milk.
- Kosher Salt: Essential for flavor development and controlling the fermentation rate. Kosher salt enhances the natural sweetness and complexity of the bread, ensuring it’s not bland.
- Unsalted Butter: A cornerstone of the brioche-style texture, unsalted butter is incorporated into the dough to create that incredibly soft, rich, and tender crumb. Using unsalted butter gives you precise control over the salt content in the recipe.
- Raisins: As a strong advocate for generous mix-ins, much like my old-fashioned oatmeal raisin cookies, this bread is truly packed with raisins. We’re talking a full pound of raisins across two loaves! Why so many? Because there’s nothing more disappointing than a “raisin bread” where half the bites are raisin-free or the raisins frustratingly fall out. With this recipe, you’re guaranteed a burst of fruity sweetness in every single mouthful.
Refer to the comprehensive recipe card below for exact quantities and detailed instructions.
Creative Variations for Your Sourdough Raisin Bread
While this sourdough raisin bread is perfect as is, it’s also a fantastic canvas for your culinary creativity. Here are some delicious ways to adapt the recipe and explore new flavors:
- Embrace a Flavorful Swirl: For an utterly delightful sourdough cinnamon raisin bread, introduce a beautiful cinnamon swirl! After the initial bench rest, gently roll your dough out into an 8×12-inch rectangle. Lightly brush the surface with a touch of milk or water to help the filling adhere, then generously sprinkle a mixture of cinnamon and sugar all over the dough, leaving a small border clear at one end. For an extra rich swirl, you could even adapt the filling from my beloved sourdough cinnamon rolls. Tightly roll the dough lengthwise, pinching the seam firmly closed to prevent unraveling during baking. Place this seam-side down in your prepared loaf pan and continue with the final proof. For a visual guide, refer to the detailed process in this cinnamon swirl bread recipe.
- Experiment with Different Mix-Ins: The possibilities are endless when it comes to fruit and nut additions! Instead of raisins, you could make this bread with dried currants, similar to those found in my festive sourdough hot cross buns. Or, consider dried cherries for a vibrant twist, reminiscent of my cherry pecan sourdough bread. Freeze-dried strawberries or blueberries would also offer a unique texture and burst of fruitiness. For added crunch and depth of flavor, try incorporating some toasted pecans or walnuts. If you’re a chocolate lover, high-quality chocolate chips are a fantastic addition. And, of course, if you simply adore the base sourdough recipe and want to skip the raisins altogether, you can always make my easy sourdough bread recipe as a plain loaf.
- Transform Them into Individual Rolls: This versatile dough isn’t just for loaves; it makes fantastic rolls too! You can easily divide the dough into individual portions and shape them into delightful rolls, similar to my popular potato rolls. Imagine mini sourdough raisin buns, perfect for sharing! You can even combine this idea with the cinnamon swirl variation mentioned above to create heavenly sourdough raisin cinnamon rolls – a truly decadent treat!
Professional Tips for Perfect Sourdough Raisin Bread
Achieving bakery-quality sourdough raisin bread is within your reach with these professional insights:
- Ensure You’re Using a Liquid Levain (or Convert Properly): The success of this recipe hinges on using a liquid levain. If you already maintain a liquid levain (typically a 1:2:2 ratio of starter:water:flour, or similar high hydration), you’ll simply feed it according to the recipe’s proportions the night before. However, if you maintain a stiff levain (often a 1:1:1 ratio or lower hydration), it’s crucial to feed your starter the night before specifically to create a liquid levain for this recipe. A stiff levain contains approximately 25% less water relative to flour than the liquid levain required here, and using it directly will significantly alter the dough’s hydration, leading to a different, potentially undesirable, outcome for this soft brioche-style bread.
- Never Skip the Preshape – It’s Essential for Structure: The preshape might seem like an extra step, but it’s incredibly important for developing optimal gluten structure and ultimately achieving a beautifully shaped loaf. Think of the preshape as a gentle warm-up for your dough, allowing the gluten network to begin acclimatizing to its final desired form. This initial shaping helps to strengthen the gluten strands, making them more pliable and resilient. Following the preshape, the short bench rest allows the gluten to relax, which is crucial. If you try to perform the final shaping immediately after preshaping, the gluten will be too tense and resistant, making it difficult to achieve a tight, smooth surface without tearing or aggravating the delicate gluten network. Patience during this step truly pays off!
- Embrace Your Kitchen Scale for Unmatched Accuracy: Baking, especially bread baking, is a precise science where even slight variations in ingredient quantities can significantly impact the final product. Relying on volume measurements (cups and spoons) is inherently inconsistent; factors like how tightly flour is packed can change its weight dramatically. Adding just an extra tablespoon of flour or water, which might seem negligible in volume, can throw off the delicate hydration balance of the entire recipe. A reliable kitchen scale ensures consistent results every time, providing the accuracy needed for truly successful bread making.
Understanding Pre-Ferments: Sourdough Starter & Sponge
Pre-fermentation is a foundational concept in artisan bread making, involving the initiation of the yeast’s natural fermentation process ahead of mixing the final dough. This technique significantly enhances flavor, texture, and rise. I delve into this fascinating topic more extensively in my Panettone recipe as well!
In this particular sourdough raisin bread dough, we utilize two distinct types of pre-ferments, each contributing uniquely to the final loaf:
- The Sourdough Starter: This is arguably the most well-known type of pre-ferment. Our active sourdough starter embodies a complex, ongoing fermentation that has been cultivated over weeks, months, years, or even decades. It’s a living culture of wild yeasts and beneficial bacteria that provides the characteristic sour notes, depth of flavor, and structural integrity to the bread, distinguishing it from commercially leavened loaves.
- The Sponge: The second crucial pre-ferment in this recipe is a technique known as a “sponge.” This involves combining a portion of the recipe’s flour, all of the commercial active dry yeast, a portion of the water, and notably, some honey and our sourdough starter. The primary role of the sponge is to give the commercial yeast a powerful head start, rapidly activating it. This accelerates the overall fermentation process for the entire dough, allowing for a delicious same-day sourdough experience. Furthermore, the sponge contributes a subtle layer of depth to the bread’s flavor profile. It also functions as a form of autolyse, where the flour and water are allowed to hydrate and begin forming a gluten network even before the main mixing begins, further enhancing the dough’s strength and elasticity.
Step-by-Step Guide: How to Make Sourdough Raisin Bread
Follow these detailed instructions to create your own light, buttery, and raisin-packed sourdough bread. Remember, precise measurements and visual cues are key to success. Full details and precise quantities are always available in the recipe card below.
Phase 1: Preparing Your Liquid Levain
Step 1: Approximately 12-14 hours before you plan to mix your main dough, prepare your liquid levain. In a clean, appropriately sized container, combine the specified amounts of all-purpose flour, water, and a small portion of your active sourdough culture (starter from yesterday’s feeding). Mix these ingredients thoroughly until no dry spots of flour remain and you have a smooth, thick batter. Cover the container loosely with a lid or plastic wrap to allow air exchange, but prevent it from drying out. Let it rest at room temperature (ideally between 70-75°F / 21-24°C) until it has visibly doubled in size and shows plenty of bubbles on the surface and sides, indicating it’s active and ready.
TIP: The amount of liquid levain prepared in this step is intentionally slightly more than what the recipe actually requires for the sponge. This is a common practice in baking because some starter naturally adheres to the sides of containers, spatulas, and your hands. Ensuring you have a little extra guarantees you won’t be short on the precise amount needed for the sponge. Plus, having a small leftover amount is perfect for feeding your starter for tomorrow, keeping your sourdough journey continuous!
Phase 2: Preparing the Sponge
Step 2: In a large mixing bowl, begin by dissolving the commercial active dry yeast in the warm water and honey. Whisk vigorously for about 30 seconds to ensure the yeast is fully hydrated and there are absolutely no lingering lumps of dry yeast. Next, add the specific “sponge” portion of the all-purpose flour and the prepared sourdough starter to the bowl. Stir everything together thoroughly.
TIP: Continue mixing until you are certain there are no visible lumps of dry flour remaining. Often, I find it easiest and most effective to mix this by hand, using a sturdy spatula or even your clean hands, to ensure every bit of flour is properly hydrated and incorporated into a smooth, thick batter. This initial hydration is critical for gluten development.
Step 3: Once thoroughly mixed, cover the bowl tightly with plastic wrap or a clean kitchen towel. Place the bowl in a warm, humid environment (like a proofing setting in your oven, or a warm spot in your kitchen) and allow it to ferment. The sponge is ready when it has significantly increased in volume, typically doubling in size, and exhibits a bubbly, airy texture on the surface with large, visible bubbles.
Phase 3: Preparing the Main Dough
Step 4: Carefully scrape the entire contents of the risen sponge bowl into the bowl of a stand mixer. Ensure you get every last bit. Fit your stand mixer with the paddle attachment. To the mixer bowl, add the remaining all-purpose flour, kosher salt, and milk powder. Begin mixing on the lowest speed to gently incorporate all these ingredients. Continue mixing until a shaggy, cohesive mass of dough forms and you can no longer see any visible streaks or pockets of dry flour. Once incorporated, switch the attachment from the paddle to the dough hook.
Step 5: Increase the mixer speed to medium and continue kneading the dough with the hook attachment. This phase is crucial for developing strong gluten. Knead until the dough becomes smooth, elastic, and passes the “window pane test.” This test involves taking a small piece of dough, gently stretching it between your fingers until it becomes thin and translucent enough that light can pass through it without tearing. This indicates that the gluten has developed sufficiently, creating a strong, pliable network.
Window Pane Test Explained: To perform the test, take a small, golf-ball-sized portion of dough. Gently stretch it from two opposite sides. Rotate the dough 90 degrees and repeat the stretching. Continue working your way around the small square of dough, gently pulling and stretching it until it becomes very thin and transparent, allowing light to shine through without tearing. If the dough tears before you can achieve this smooth, translucent “window pane,” it needs more kneading time. Sometimes, attempting the test with a piece of dough that is too small or pulling too aggressively can cause tearing, even if the gluten is sufficiently developed. If you’re in doubt, grab a new, slightly larger piece of dough and try the test again more gently.
Step 6: Once the dough passes the window pane test, it’s time to add the enrichments. With the mixer still on medium speed, gradually add the cold, cubed unsalted butter, one piece at a time. Mix until each piece of butter is fully incorporated into the dough and the dough returns to a smooth, cohesive state. This may take a few minutes. Finally, reduce the mixer speed to low, add the generous amount of raisins, and mix just until they are evenly distributed throughout the dough and mostly enclosed within it, not sticking out excessively.
Phase 4: Proofing and Shaping Your Loaves
Step 7: Bulk Proof: Lightly flour your work surface and turn the dough out onto it. Gently knead the dough a few times to form it into a smooth, round ball. Place this dough ball into a lightly greased (with oil or butter) large bowl, ensuring there’s plenty of room for expansion. Cover the bowl tightly with plastic wrap or a clean kitchen towel. Place the covered bowl in a warm environment (around 75-80°F / 24-27°C) and let it undergo its first rise, known as the bulk proof, until it has visibly doubled in size. If your oven has a “proof” setting, this is an ideal place to use it.
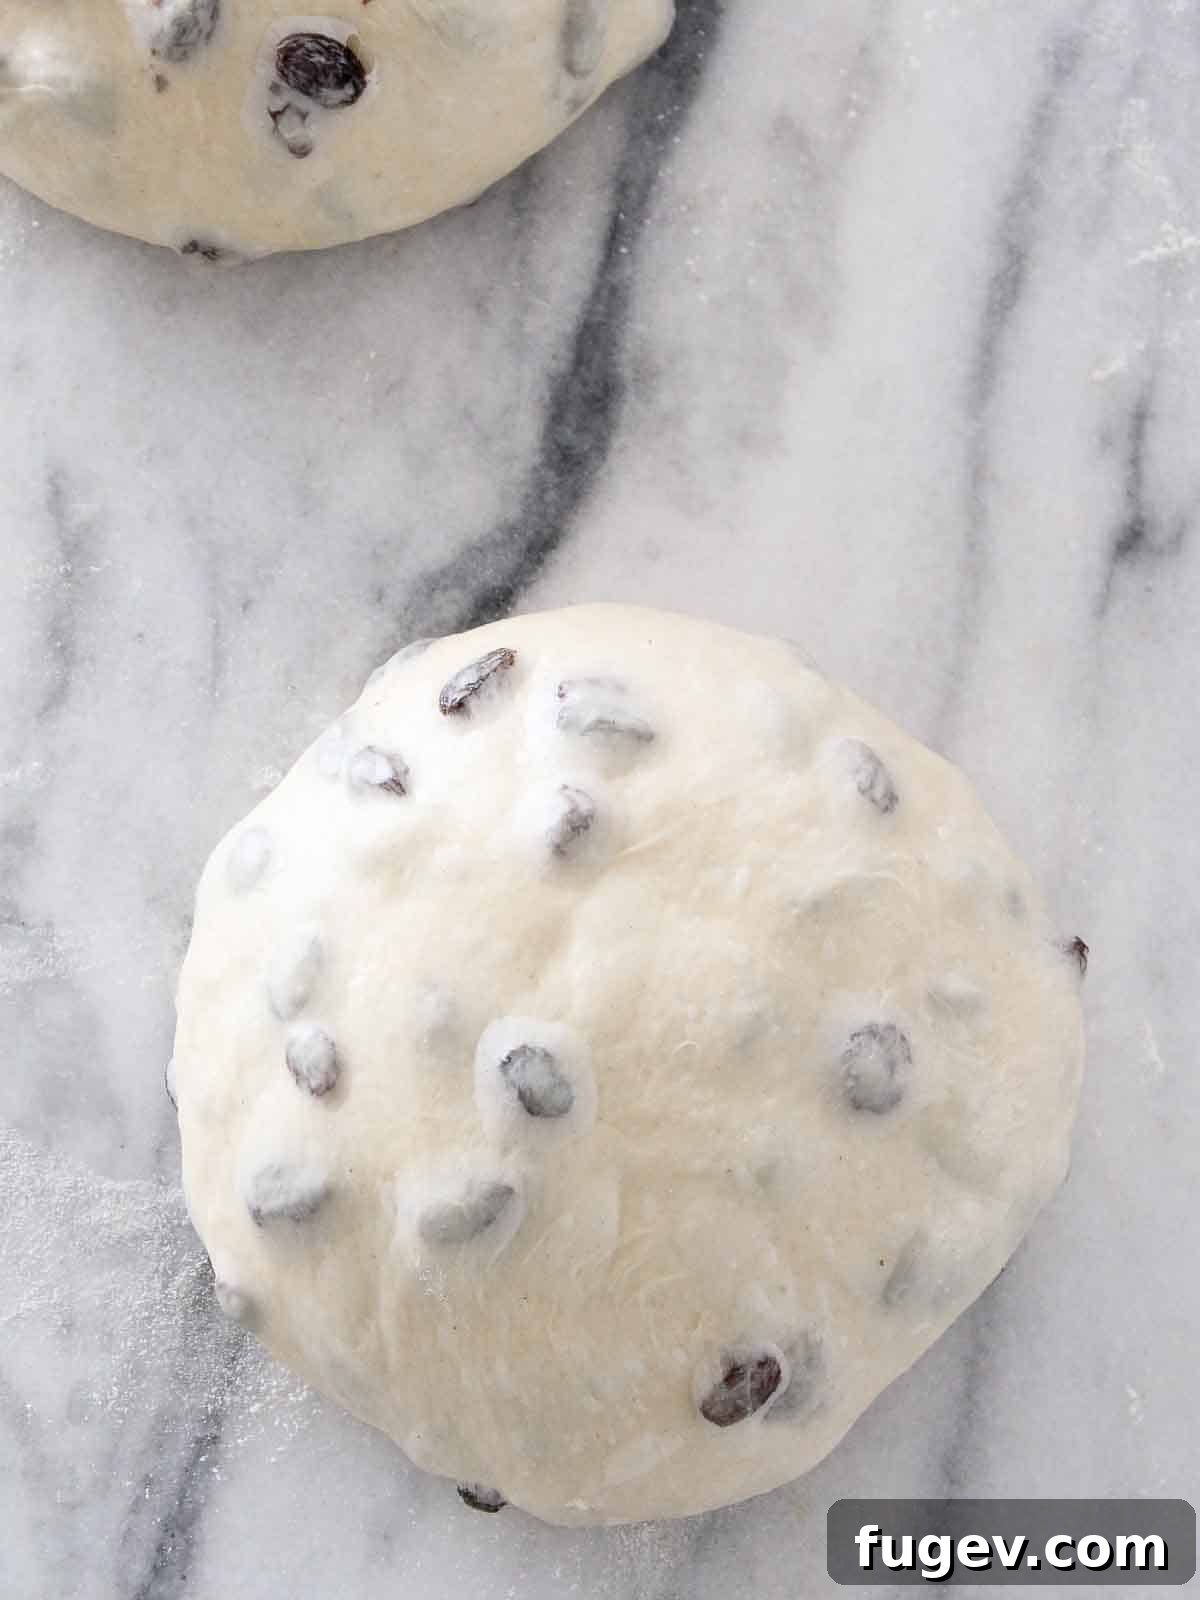
Step 8: Preshape: Once the bulk proof is complete, gently turn the dough out onto a lightly floured surface. Using a bench scraper or knife, divide the dough into two equal portions; each should weigh approximately 790 grams. Take each portion and preshape it into a boule (a round shape). To do this, fold each of the four “sides” of the dough towards the center, creating a somewhat square parcel. Then, flip the dough over so the seam is facing down. Using both hands, gently pull the dough towards yourself across the work surface, creating tension on the top surface and tucking the dough gently underneath itself as you go. Rotate the dough a quarter turn and repeat this motion until you have a smooth, taut, round dough ball. Allow these preshaped boules to rest on the counter, uncovered, for 10 minutes. This bench rest allows the gluten to relax, making the final shaping much easier. (Photo 1)
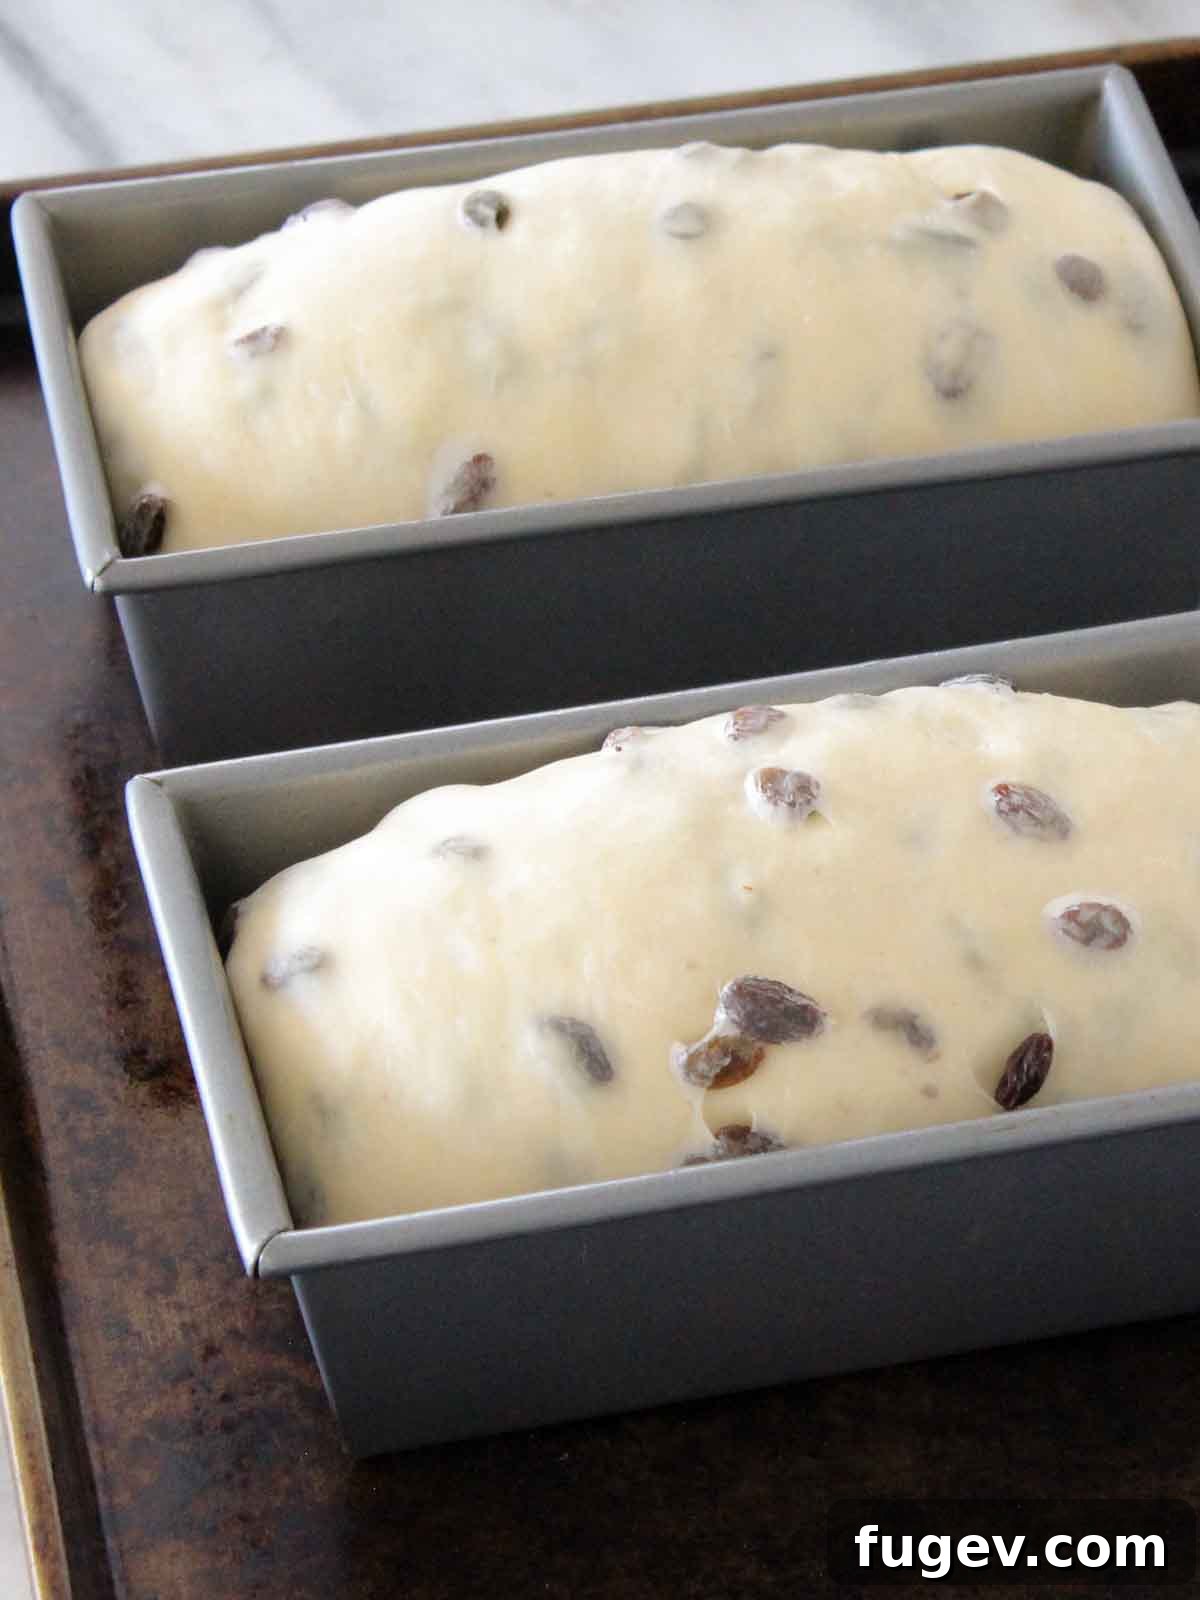
Step 9: Final Shape: After the bench rest, flip one of the preshaped boules over so the seam is now facing upwards. Gently grab two corners of the dough, pick it up slightly, and allow gravity to help stretch the dough downwards, elongating it into a roughly rectangular shape on your counter. Place it back down. Fold the top third of the rectangle down towards the center, pressing firmly to seal. Rotate the dough 180 degrees, then repeat the folding motion with the other side. Now, starting from the right side of the dough, use the heel of your right hand and the thumb of your left hand to grab the top edge of the dough. Fold it tightly over your thumb and firmly press down with the heel of your right hand to create a strong seal along the seam you just formed. Continue this thumb-folding and sealing process along the entire length of the loaf, working from right to left, ensuring you create a tight, even log. Once shaped, carefully transfer the dough log, seam-side down, into a greased standard loaf pan. Repeat this process for the second portion of dough. (Photo 2)
Phase 5: Final Proof and Baking
Step 10: Preheat your oven to 350 degrees F (175 degrees C). Ensure it’s fully preheated before placing the bread inside for even baking.
Step 11: Final Proof: Place the loaf pans containing the shaped dough in a warm, humid place for their final proof. This could be your proofing oven, or a warm spot in your kitchen. Allow the dough to proof until it has noticeably doubled in size, feeling light and airy to the touch. A good indicator that it’s ready for the oven is when the dough has risen beautifully and crested over the top edges of the loaf pans, indicating it has achieved its maximum volume.
Step 12: For an extra shiny, soft, and inviting crust, you have the option to gently brush the top surface of each loaf with a thin layer of melted butter just before baking. This step is entirely optional but adds a lovely touch to the finished appearance and texture.
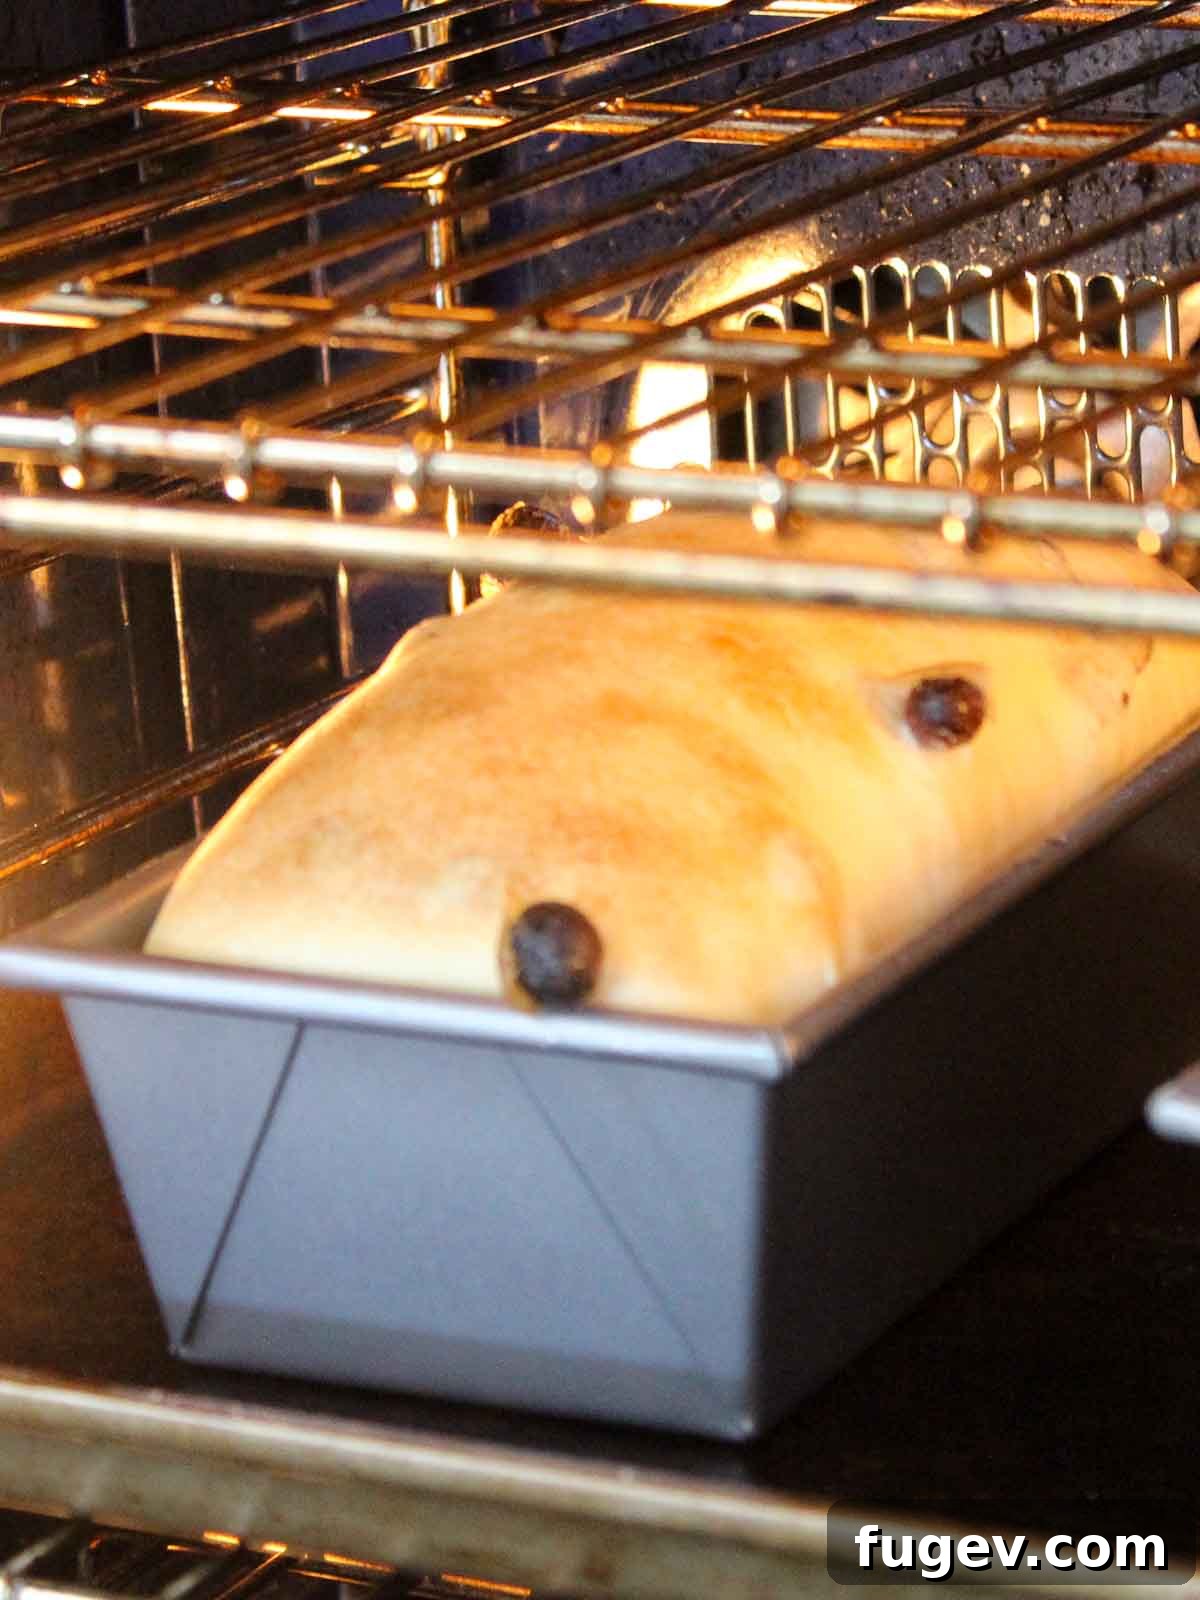
Step 13: Carefully place the proofed loaf pans into the preheated oven. Bake for approximately 35-45 minutes, or until the internal temperature of the bread reaches 186°F (86°C) when measured with an instant-read thermometer inserted into the center of the loaf. The crust should be a beautiful golden brown.
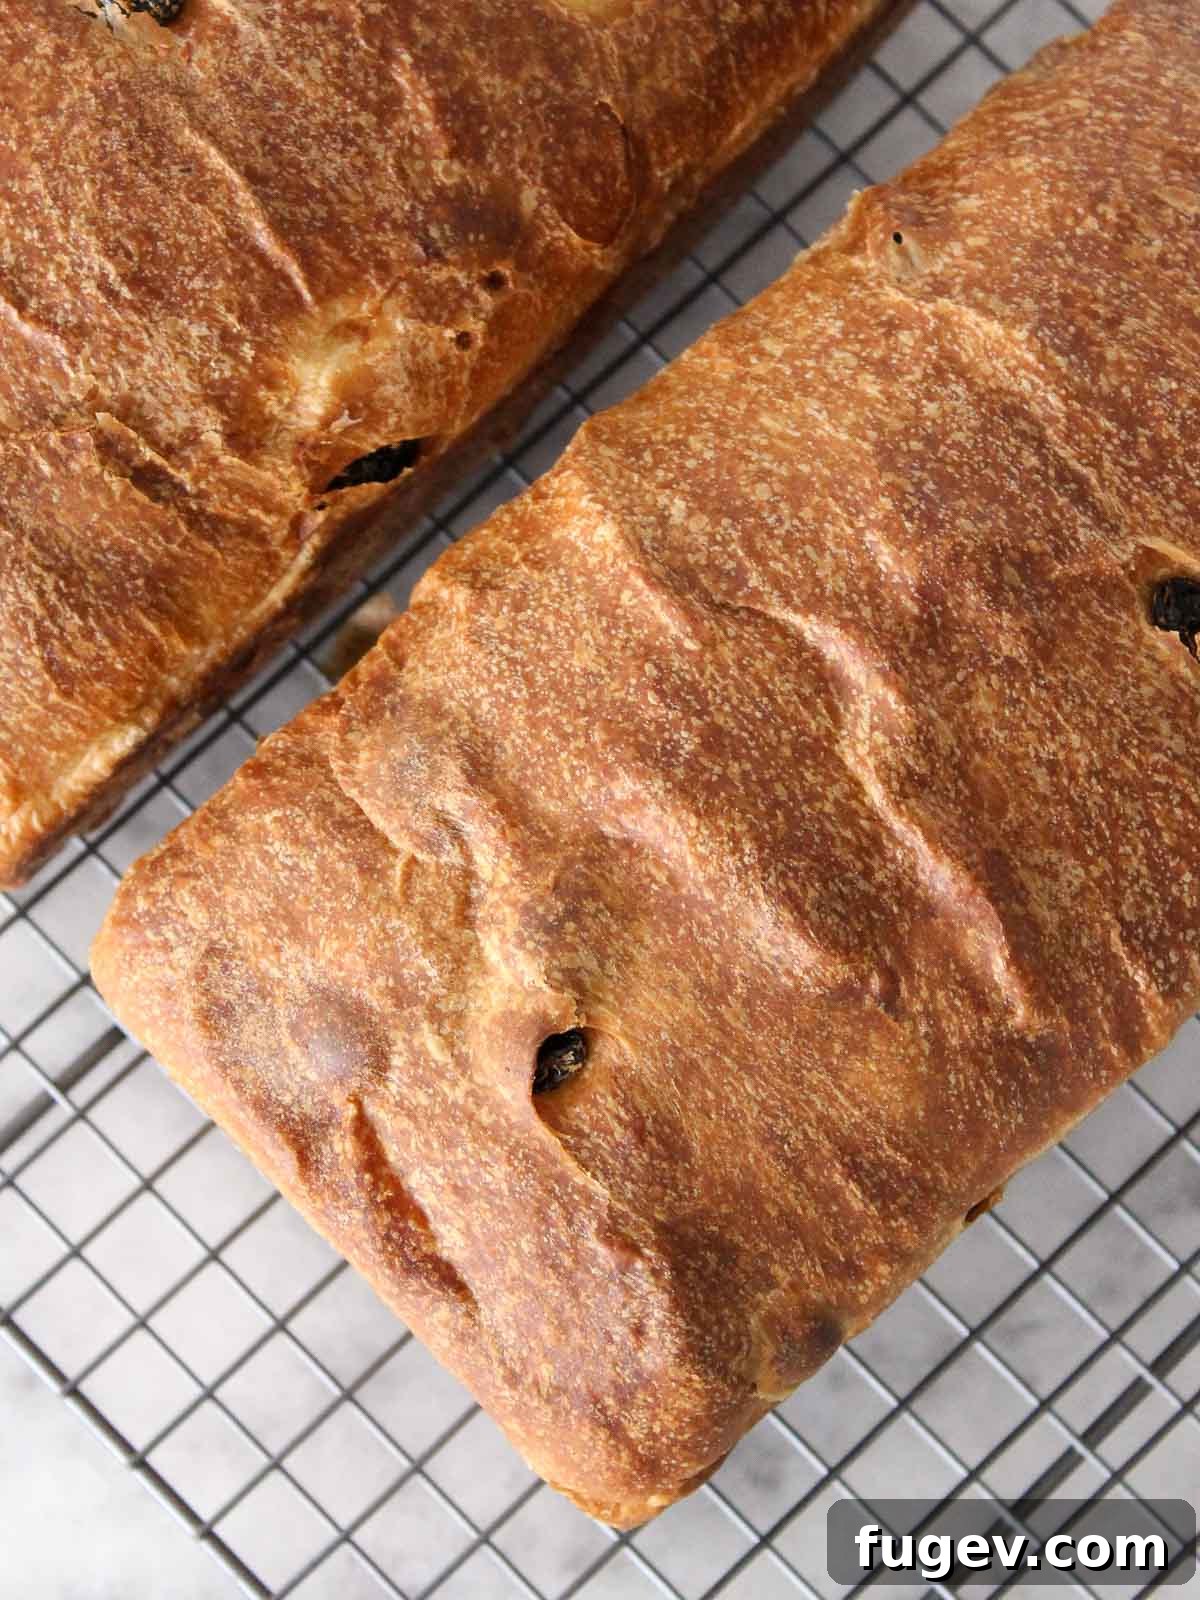
Step 14: Once baked, immediately turn the hot bread out of the loaf pans and onto a wire cooling rack. It’s crucial to allow the bread to cool completely to room temperature before attempting to slice it. Slicing warm bread can compress the delicate crumb and make it gummy. Patience here will be rewarded with a perfect slice every time.
Chef Lindsey’s Expert Tip
When you’re performing the final shaping of your loaves, always keep the dimensions of your loaf pan in mind. The goal is for your shaped dough log to fit snugly, neither too long nor too short for the pan. For easy reference and precision, place your empty loaf pan directly on your work surface in front of you as you shape. If, after your initial shaping, the dough log doesn’t feel tight enough or isn’t quite long enough to fill the pan appropriately, don’t hesitate to repeat the “thumb folding and sealing” process from Step 9 a few more times. This will help you achieve a perfectly tensioned and sized loaf that will rise beautifully in the pan.
Sample Baking Schedule for Your Convenience
This convenient schedule outlines the timing for making this delicious sourdough raisin bread, assuming you are using both an active sourdough starter and a small amount of active dry yeast for a same-day bake:
- 9:00 PM (The Night Before): Feed your sourdough starter. Ensure you prepare enough levain to use in the raisin bread recipe tomorrow and still have a small amount remaining to continue feeding your mother starter.
- 9:00 AM: Mix the sponge according to the recipe instructions.
- 9:20 AM: Proceed to mix the main dough in your stand mixer. Once mixed, transfer it to an oiled bowl for its bulk proof.
- 11:30 AM: Gently turn out the dough and perform the preshaping step.
- 11:45 AM: Complete the final shaping of your loaves and place them into their prepared loaf pans for the final proof.
- 1:15 PM: Preheat your oven and bake your perfectly risen sourdough raisin loaves!
Sourdough Raisin Bread Recipe FAQs
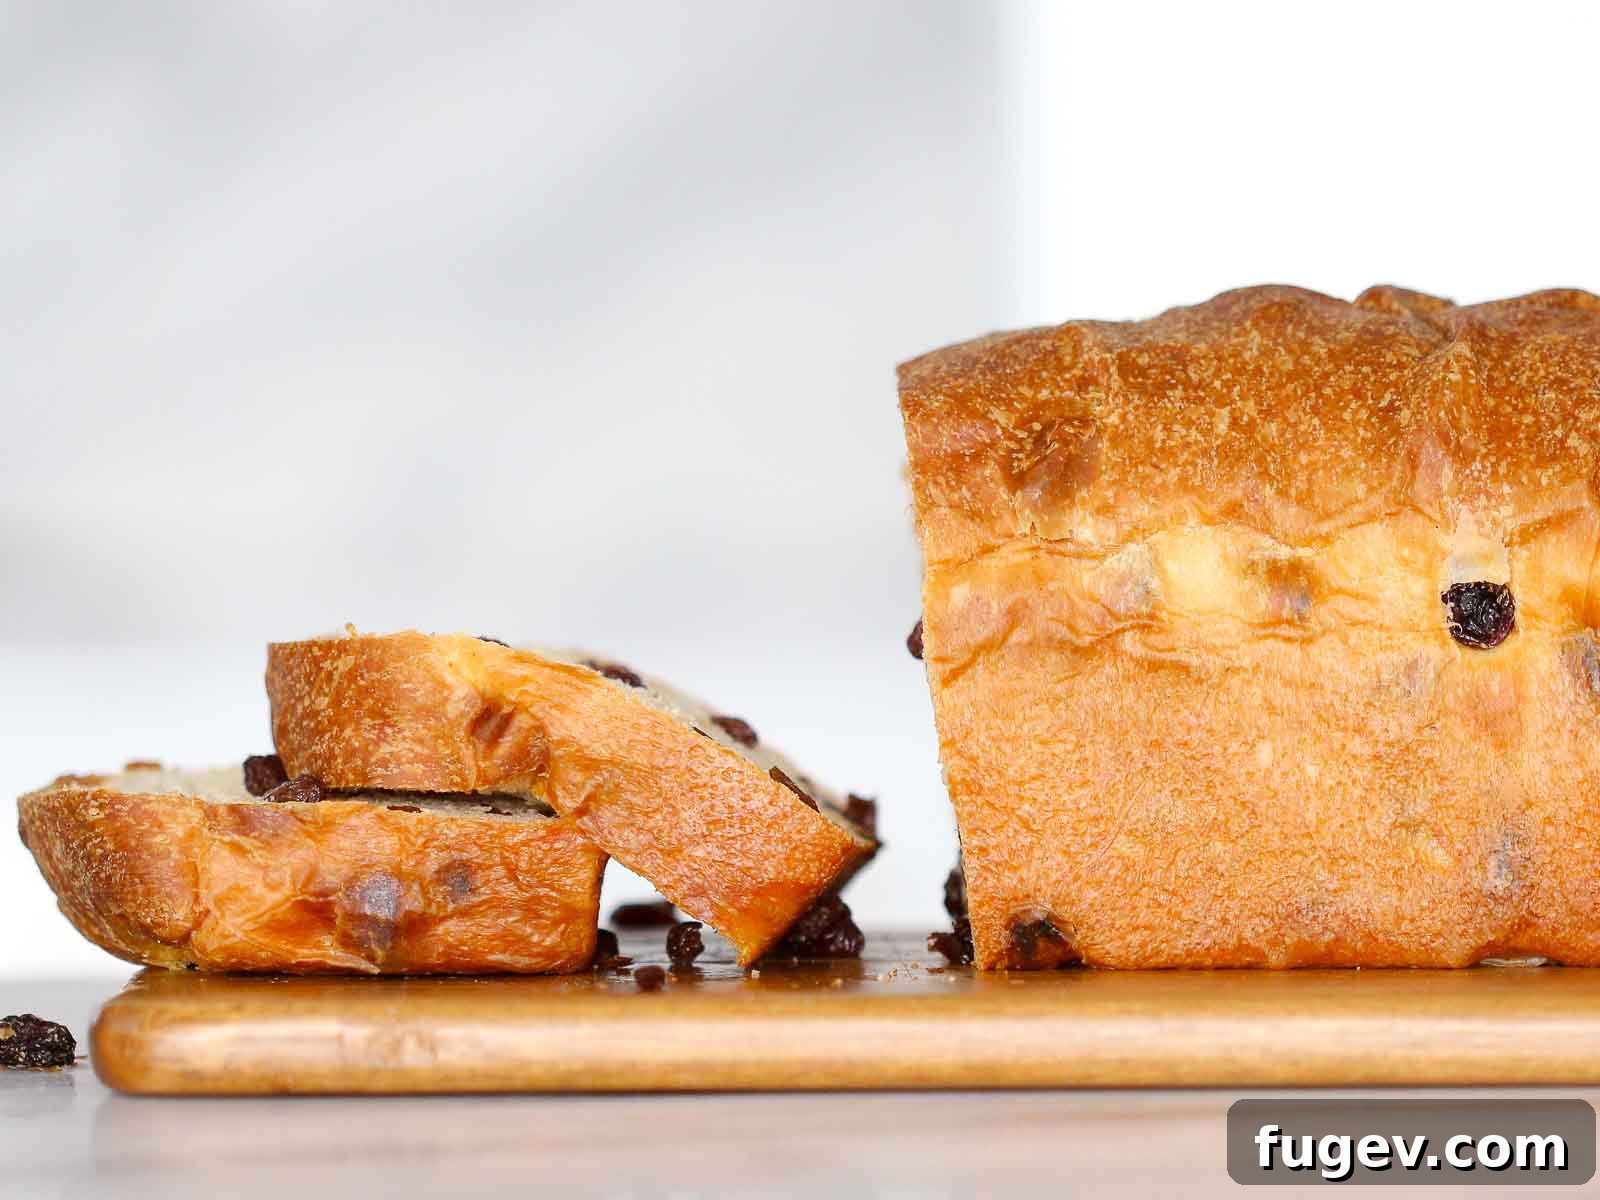
To maintain its freshness, store your sourdough raisin bread well-wrapped in plastic wrap, aluminum foil, or in an airtight bread box or container at room temperature for up to 5 days. For longer storage, I highly recommend freezing it immediately after it has completely cooled. It will keep beautifully in the freezer for up to 2 months. Be aware that storing bread in the refrigerator tends to dry it out much faster, so it’s not ideal for extending its shelf life. For ultimate convenience when freezing, consider pre-slicing the loaf before wrapping and freezing; this allows for easy defrosting of individual slices as needed.
Generally, for this recipe, the raisins do not need to be pre-soaked before incorporating them into the dough. The hydration within the dough is sufficient to keep them plump. However, if you find your raisins are particularly dry or hard, you certainly can soak them. For an extra layer of flavor, consider soaking them in fruit juice, brandy, or rum, much like I do for my brown butter rum raisin banana bread. If you do soak them, it is absolutely essential to drain them thoroughly and pat them very dry with a paper towel before adding them to the dough. Excess moisture will negatively affect the dough’s consistency and hydration.
While the idea of a cinnamon-infused dough is tempting, it’s important to know that cinnamon possesses antimicrobial properties. This means that if added directly into the dough, it can actually slow down or even inhibit the fermentation process of the yeast and sourdough starter. If you’re prepared for a significantly longer proofing time for your bread to rise properly, then by all means, go ahead and experiment to make a full cinnamon raisin sourdough bread. Otherwise, for more predictable results and timing, it’s best to save the cinnamon for a swirl filling (as suggested in the variations section) or simply sprinkle it on top of your baked bread with a dollop of butter for a delightful flavor without impacting the rise.
Yes, you can absolutely cold proof this dough overnight, which is a fantastic way to develop deeper flavors and fit baking into a busy schedule. To do so, I would recommend omitting the active dry yeast from the recipe entirely. After mixing the dough (following all other steps), perform the bulk rise in the refrigerator for 8-12 hours, or even up to 24 hours. The following day, remove the dough from the fridge, allow it to come to room temperature for about 30-60 minutes, then shape it as directed. Allow the shaped dough a second rise at room temperature until it reaches the rim of the loaf pan, indicating it’s fully proofed and ready to bake. Alternatively, you could take the dough all the way through the final shaping step, place it in greased loaf pans or banneton baskets dusted with rice flour, and then proof it overnight in the refrigerator. In this case, you can often bake directly from the fridge, adding a few extra minutes to the bake time if needed.
Should you be fortunate enough to have any leftover sourdough raisin bread – though it’s so delicious, it rarely happens! – it transforms beautifully into a variety of delectable treats. It makes absolutely fabulous cinnamon raisin French toast, turning an ordinary breakfast into something extraordinary. It’s also the perfect base for an easy and comforting bread pudding. For a quick and nostalgic afternoon snack, you can prepare this simple cinnamon toast recipe, just like my Mom used to make – a truly delightful way to enjoy every last crumb!
More Delightful Bread Recipes to Explore
Homemade Bread Recipes
Panettone
Yeasted Bread Recipes
Raisin Bread Recipe
Sourdough Bread Recipes
Cherry Sourdough Bread
Homemade Bread Recipes
Potato Bread
If you tried this recipe and loved it, please leave a 🌟 star rating and let me know how it goes in the comments below. I love hearing from you; your comments make my day!
Sourdough Raisin Bread
Chef Lindsey
5 hrs
35 mins
5 hrs
35 mins
12
Slices
Comment
Print Recipe
Ingredients (Metric)
Liquid Levain:
- 147 g water
- 12 g sourdough starter
- 117 g all-purpose flour
Sponge:
- 226 g all-purpose flour
- 296 g water 90°F
- 65 g honey
- 3 g dry active yeast
- 230 g sourdough starter
Dough:
- 311 g all-purpose flour
- 40 g milk powder
- 15 g kosher salt
- 130 g unsalted butter cold, cubed
- 454 g raisins
Instructions
-
Prepare your liquid levain: 12-14 hours before you want to mix your dough. Prepare the liquid levain. In a clean container, mix AP flour, water, and yesterday’s culture (starter). Cover it up. Let it sit at room temperature until it doubles in size.
-
Prepare the sponge: In a large mixing bowl, dissolve the yeast in water and honey. Whisk to make sure there are no lumps of yeast in the water. Stir in the sponge portion of the flour and all the starter.
-
Cover with plastic wrap and place in a warm, humid place until the sponge makes large bubbles.
-
Scrape the contents of the sponge bowl into the bowl of a stand mixer fitted with the paddle attachment, add the remaining flour, salt, and milk powder to the bowl, and mix on low to incorporate the ingredients. When a shaggy mass forms and there are no visible dry pieces of flour, change to the hook attachment.
-
Increase the speed to medium and mix until the dough is smooth and passes the window pane test, meaning you can pull a piece of dough thin enough that light passes through it.
-
Add the butter and mix on medium to incorporate. Then add the raisins and mix on low until they are distributed throughout and mostly inside the dough.
-
Bulk Proof: Turn dough onto a lightly floured surface and knead into a ball. Place the dough in a greased bowl, cover it with plastic wrap, and let it sit in a warm place until it has doubled in size.
-
Preshape: Turn the dough out onto a lightly floured surface and divide it into 2 portions, each weighing 790g. Preshape into a boule (round). Fold each of the four sides towards the center, then flip over. Gently pull the dough towards yourself using two hands, folding the dough gently underneath itself. Turn a quarter turn and repeat until you have a round dough ball with a smooth, tight surface. Let the dough rest for 10 minutes.
-
Final Shape: Flip the dough over so the seam is facing up. Grab two corners, pick it up, and allow gravity to pull the dough down, stretching it into a rectangle. Place it on the counter. Fold the top third towards the center, pressing down. Rotate 180 degrees, then repeat with the other side. Using the heel of your right hand and the thumb on your left, grab the top part of the dough starting on the right side and fold it over your thumb. Seal it down by pressing the heel of your right hand on the seam you just created. Repeat until you have gone the full length of the loaf, and place in a greased baking dish.
-
Preheat the oven to 350°F
-
Final Proof: Proof in a warm, humid place until the dough has doubled in size and feels light and airy to the touch. The dough should crest over the loaf pans.
-
Brush the loaves with melted butter for a shiny, soft crust. (this is optional)
-
Bake in the preheated oven until a thermometer inserted into the center reads 186°F.
-
Turn the bread out onto a cooling rack. Allow the bread to cool completely before slicing.
Video
Notes
Presentation – For a beautifully glossy top crust, consider brushing your loaves with an egg wash before baking.
Technique – The addition of a small amount of commercial yeast significantly speeds up the fermentation process, making this a same-day sourdough. For a purist sourdough, you can omit the commercial yeast, but be prepared for a longer proofing time relying solely on your sourdough starter.
Variations – Honey provides a unique flavor, but you can certainly experiment with other liquid sweeteners such as maple syrup, agave nectar, or even molasses. Dark brown sugar could also work. While the amount is small, these substitutions will impart their own subtle flavor notes to the finished bread.
Storage – Store your bread well-wrapped in plastic wrap, aluminum foil, or in an airtight container at room temperature for up to 5 days. For longer storage, freeze immediately after cooling completely, for up to 2 months. Avoid refrigerating, as it tends to dry out the bread quickly. Pre-slicing the loaf before wrapping and freezing makes for convenient defrosting of individual portions.
Nutrition
Like this? Leave a comment below!
Before You Go: Continue Your Baking Journey
I truly hope you enjoyed baking and savoring this incredibly soft and rich brioche-style sourdough raisin bread recipe. It’s a labor of love that rewards you with a truly special loaf. Your journey into the world of homemade bread doesn’t have to stop here! I encourage you to check out our other delicious sourdough bread recipes for more tangy delights, or explore a wide variety of yeasted bread recipes for simpler yet equally rewarding projects. And for a taste of heartwarming tradition, don’t miss out on my grandma’s classic Jewish apple cake – a recipe passed down through generations that’s sure to become a family favorite. Happy baking!