
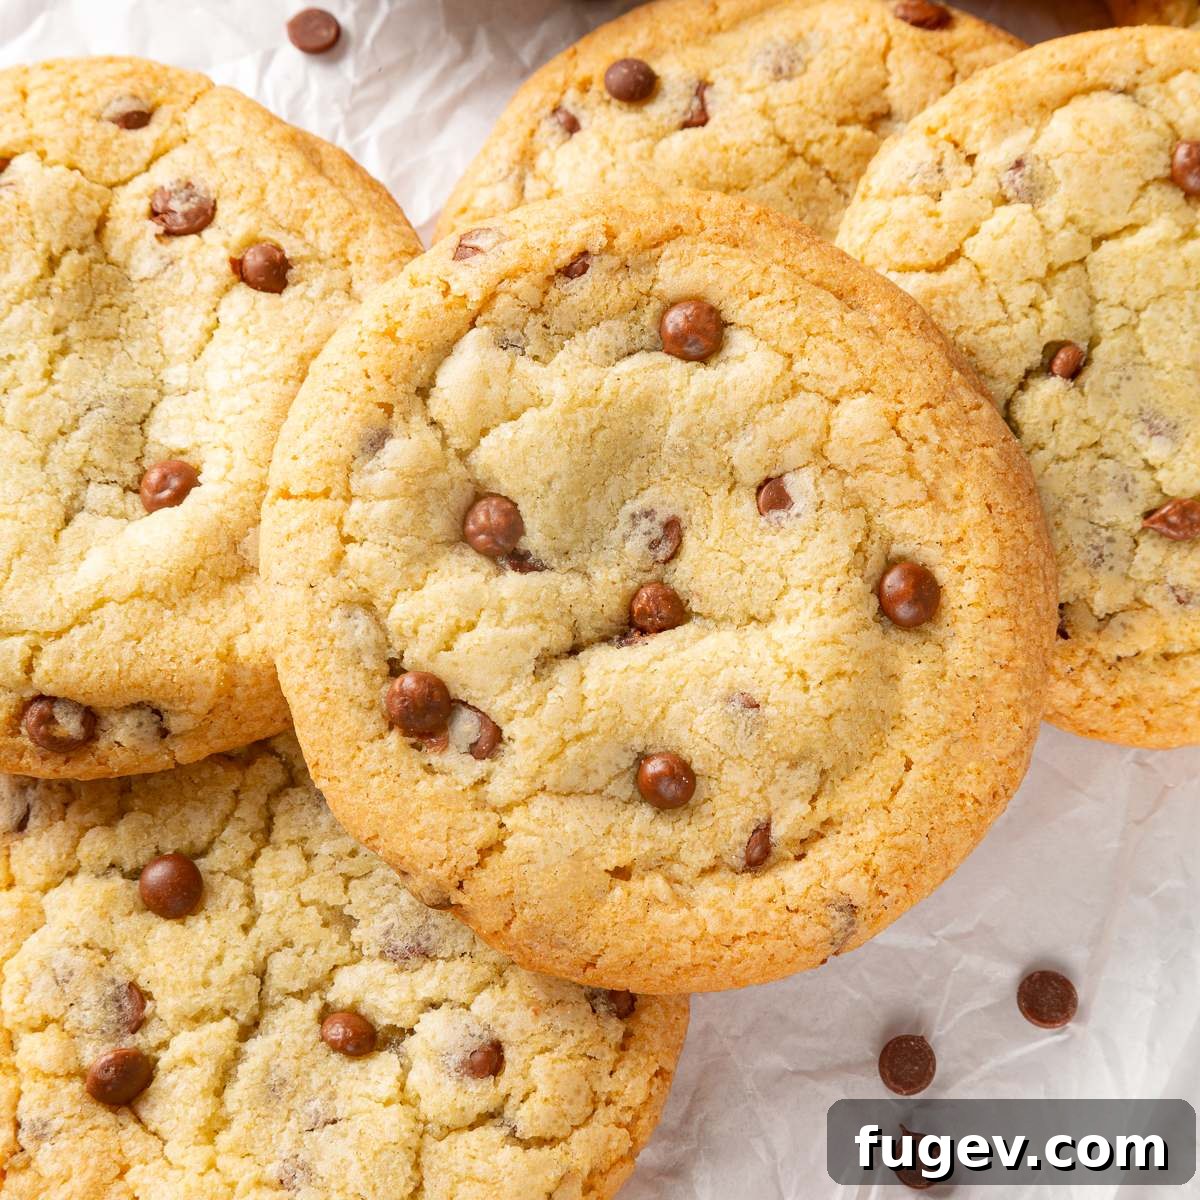
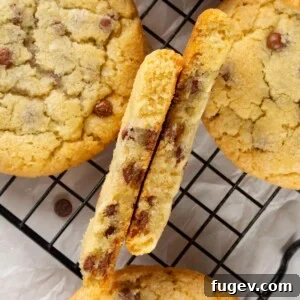
Discover the secret to perfectly thick, chewy chocolate chip cookies without brown sugar. This foolproof recipe relies on simple pantry staples, using only granulated sugar to create a cookie with delightfully crisp edges and a soft, gooey center. It’s the ultimate solution for when a cookie craving strikes and you’re all out of brown sugar.
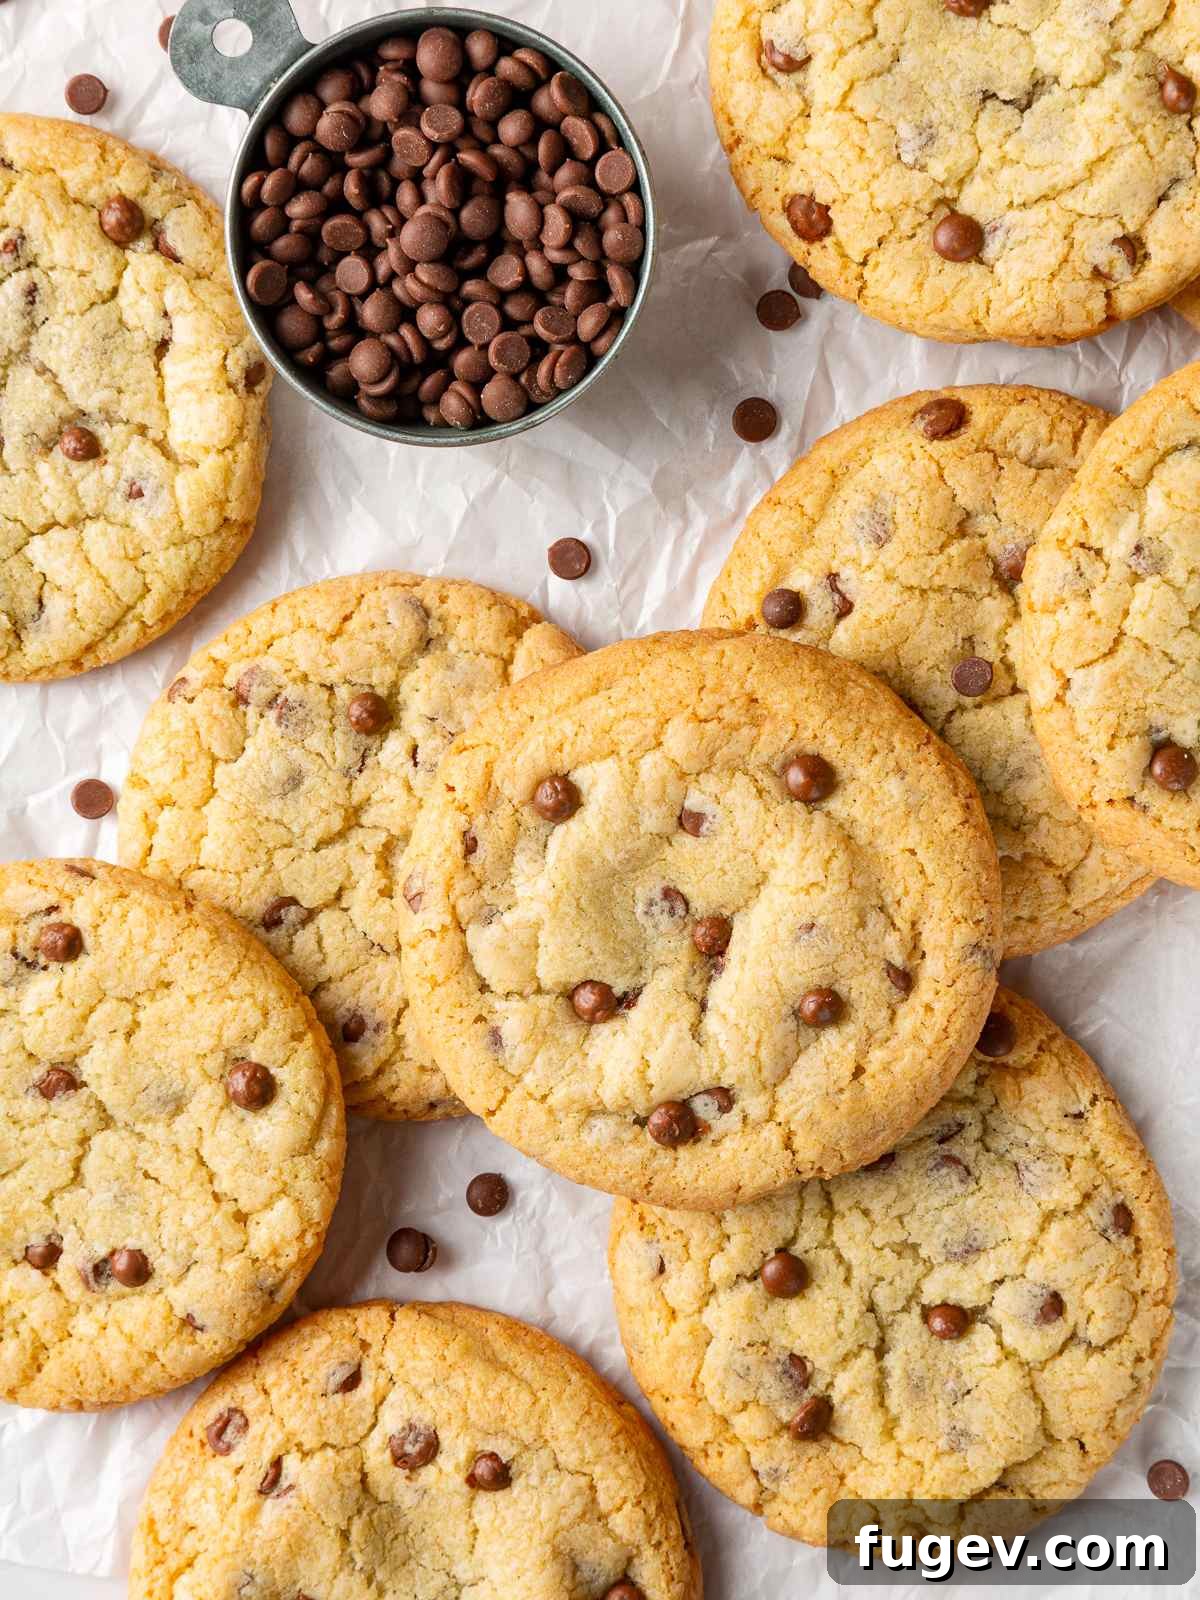
I was in a pinch last weekend, craving cookies but with no brown sugar in sight. I tried this recipe, and I’m honestly blown away! The cookies baked up so thick and chewy, with the most amazing crispy edges. Chilling the dough was a game-changer. These are officially my new favorite, go-to chocolate chip cookies. ⭐⭐⭐⭐⭐
Lauren
Why You’ll Love This No Brown Sugar Cookie Recipe
- Incredible Texture from Granulated Sugar: You might think brown sugar is essential for a chewy cookie, but this recipe proves otherwise. Using only granulated sugar creates a unique texture. The sugar crystals cut into the butter during the creaming process, creating air pockets that give the cookies lift. During baking, this results in wonderfully crisp, caramelized edges that provide a satisfying crunch, while the center remains dense, soft, and chewy.
- Perfectly Thick, Not Flat: The key to preventing sad, flat cookies is chilling the dough. This simple step solidifies the butter, which means it melts more slowly in the oven. This slower melt prevents the cookies from spreading too quickly, allowing them to bake upwards into thick, substantial treats with a soft-baked interior.
- Made with Basic Pantry Staples: This recipe is a lifesaver. It calls for the most common baking ingredients you likely already have: all-purpose flour, butter, granulated sugar, eggs, vanilla, and chocolate chips. No need for a special trip to the store when the craving hits. It’s the ultimate back-pocket recipe for reliable, delicious cookies anytime.
- Classic, Uncomplicated Flavor: Without the molasses notes from brown sugar, the pure flavors of butter, vanilla, and rich chocolate shine through. The taste is clean, sweet, and incredibly satisfying, reminiscent of a classic bakery-style cookie.
I’ll admit, I was initially a purist who believed that the best chocolate chip cookies absolutely required brown sugar. The molasses in brown sugar adds moisture and a subtle caramel flavor that I thought was irreplaceable. However, after developing this recipe, I was completely converted. These cookies aren’t just a substitute; they are fantastic in their own right, with a texture and flavor profile that stands proudly on its own.
They have become the go-to in my kitchen for their simplicity and consistently delicious results. If you’re looking for other amazing cookie recipes that play with sugar profiles, my funfetti cookies are a celebration of pure sweetness, and these classic thumbprint cookies are another pantry-friendly favorite.
A Closer Look at the Ingredients
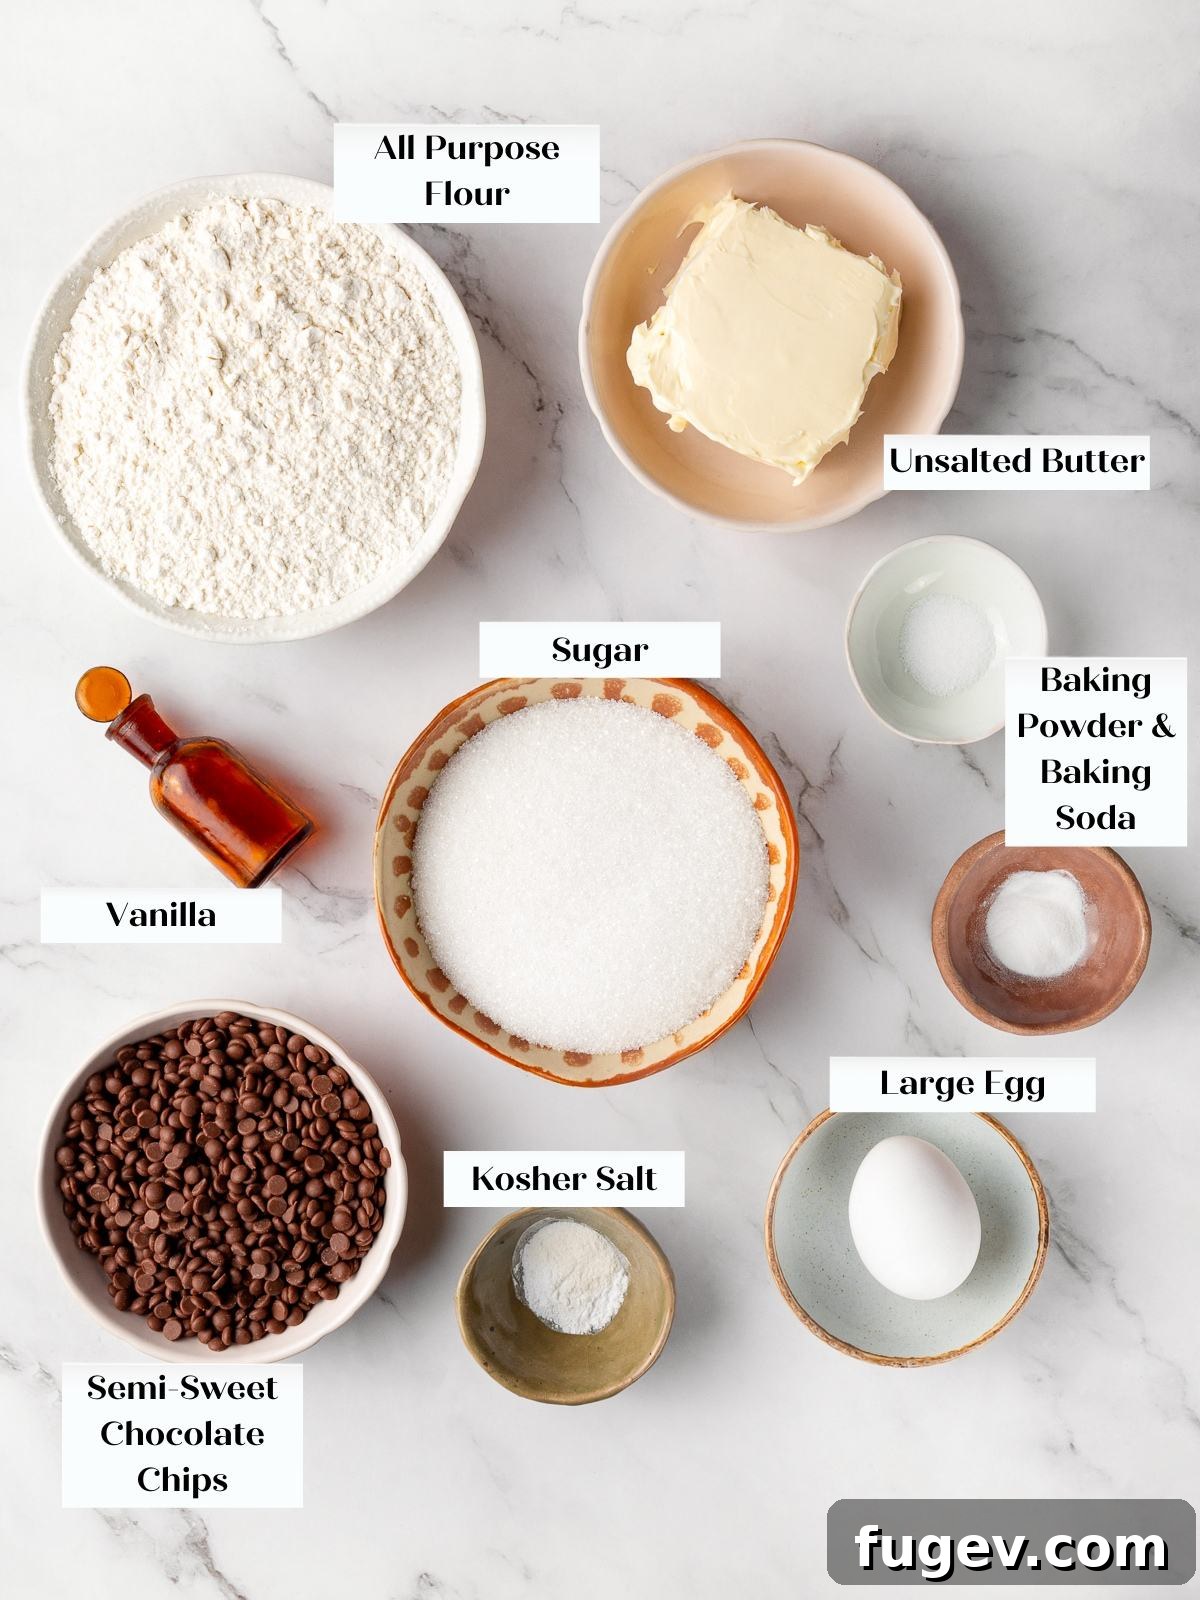
- All-Purpose Flour: This forms the foundation and structure of our cookies. For the most accurate and consistent results, I highly recommend weighing your flour with a kitchen scale. If you don’t have one, use the “spoon and level” method: spoon the flour into your measuring cup and level it off with a straight edge. This prevents packing the flour, which can lead to dry, dense cookies.
- Baking Powder & Baking Soda: This dynamic duo provides the leavening. Baking soda encourages spreading and browning, while baking powder gives the cookies a soft lift, preventing them from being too dense. Together, they create the perfect balance for a thick yet tender cookie.
- Kosher Salt: Salt is a crucial flavor enhancer in baking. It balances the sweetness of the sugar and deepens the richness of the chocolate and butter.
- Unsalted Butter: Butter is the heart of these cookies, providing flavor, tenderness, and richness. Use butter that is “slightly softened”—meaning it’s still cool to the touch and will hold a slight indent when pressed. Butter that is too soft or melted will cause the cookies to spread into greasy, flat discs.
- Granulated Sugar: The star of the show! White sugar is what gives these cookies their signature crisp edges and helps aerate the butter during the creaming process for a lighter texture.
- Large Egg: The egg acts as a binder, adds moisture, and contributes to the rich flavor. For best results, use a room-temperature egg, as it will emulsify more easily into the butter and sugar mixture, creating a smoother dough.
- Pure Vanilla Extract: Vanilla adds a beautiful aromatic depth and warmth that complements the chocolate and butter. Using pure vanilla extract instead of imitation will give you a much cleaner and more robust flavor.
- Semi-Sweet Chocolate Chips: A generous amount of semi-sweet chocolate chips provides the perfect balance of sweetness and rich cocoa flavor. The chips also add physical structure to the dough, helping to prevent excess spread. Feel free to use chocolate chunks or a chopped chocolate bar for more dramatic pockets of melted chocolate.
For detailed ingredient measurements, please see the full recipe card at the bottom of this post.
Creative Variations to Try
- Thinner, Crispier Cookies: If you prefer a flatter, crispier cookie, you can skip the chilling step. Bake the dough immediately after mixing. The cookies will spread more, resulting in a crunchier, thinner treat.
- Dark or Milk Chocolate: Easily change the flavor profile by swapping the chocolate. Dark chocolate chips will offer a more intense, less sweet cocoa flavor that contrasts beautifully with the sweet dough. Milk chocolate chips will make the cookies even sweeter and creamier.
- Add a Salty Finish: For a gourmet touch, sprinkle a little flaky sea salt over the tops of the dough balls just before baking. The salt enhances the chocolate flavor and provides a delightful crunch.
- Nutty Crunch: Fold in ¾ cup of chopped toasted walnuts, pecans, or almonds along with the chocolate chips for added texture and a rich, nutty flavor.
- Mix-in Mania: Get creative with your add-ins! Try adding ½ cup of toffee bits, white chocolate chips, or M&M’s for a fun twist on the classic.
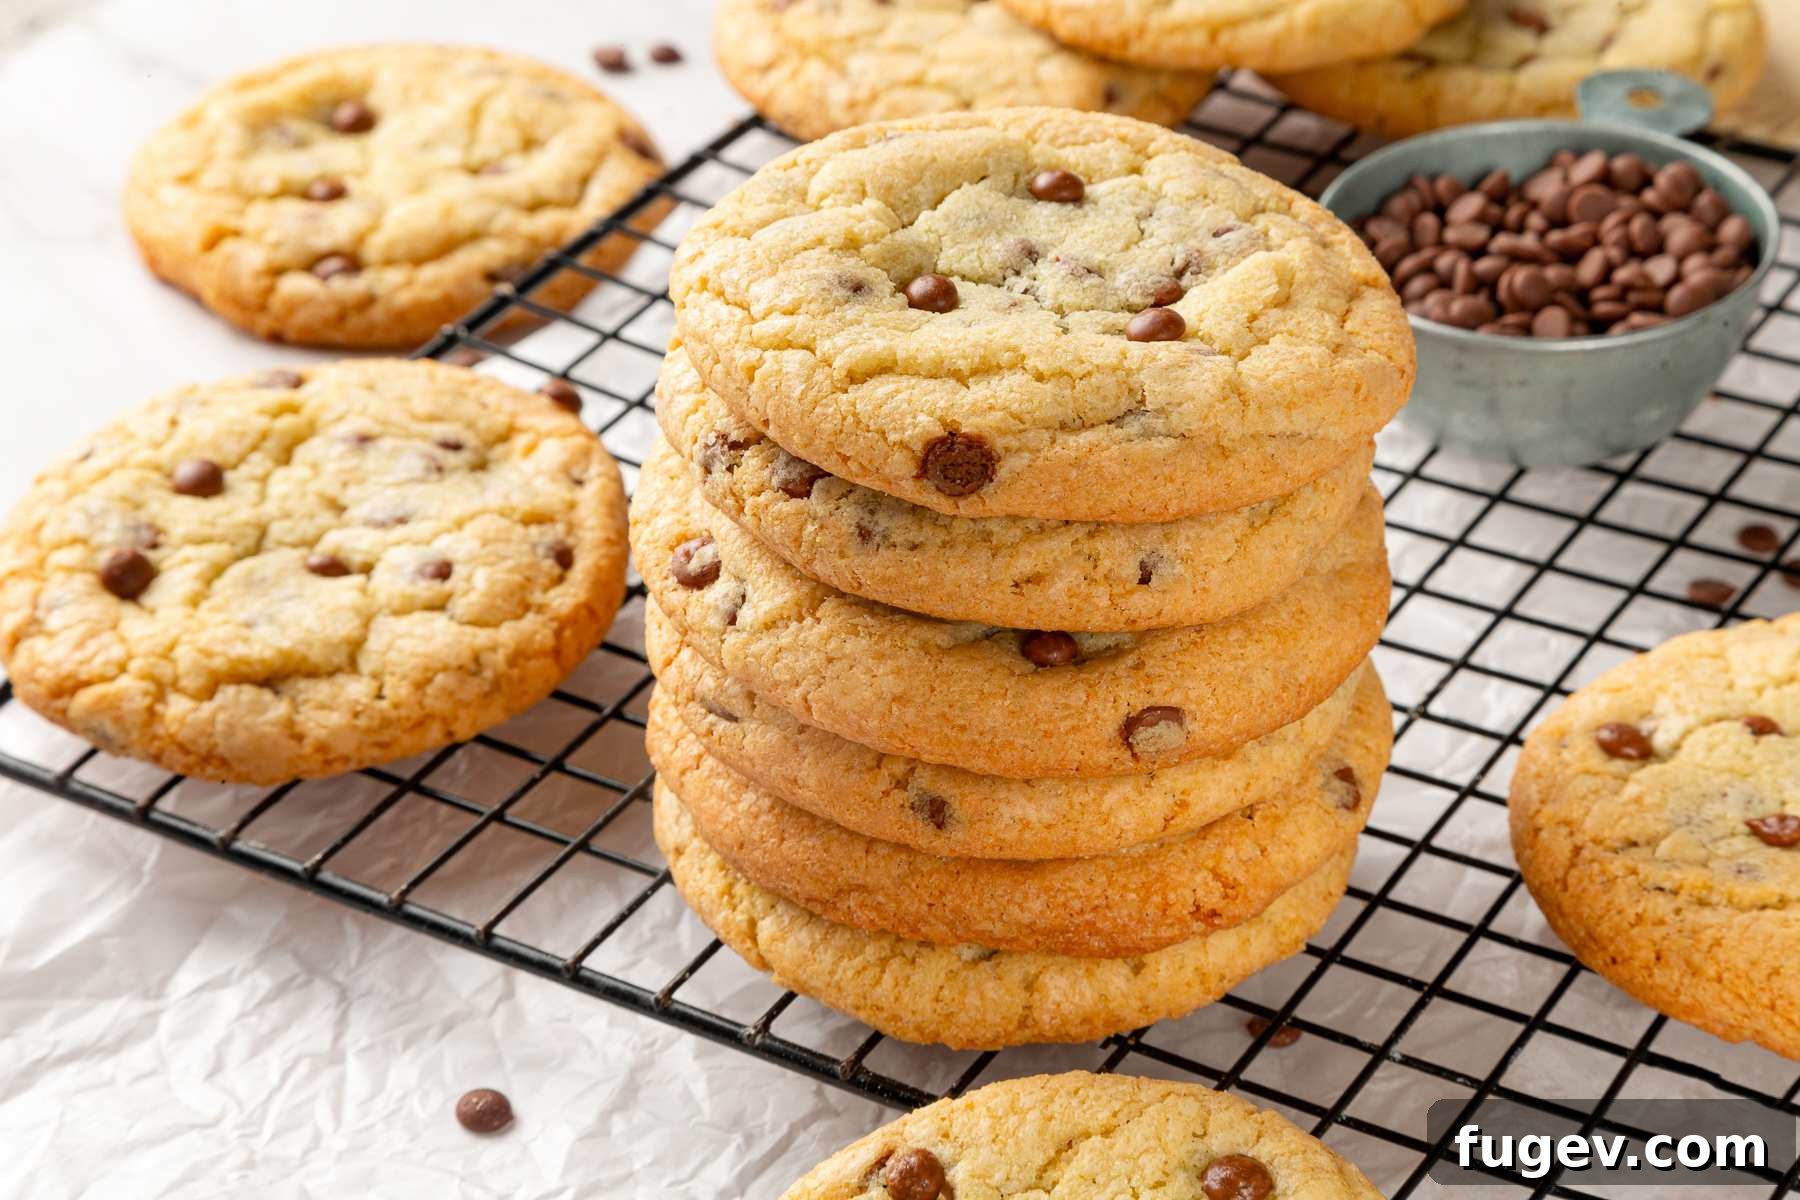
Expert Tips for Perfect Cookies Every Time
- The Importance of Butter Temperature: This is the most critical tip. Your butter should be softened but still cool. Overly soft, warm, or melted butter won’t cream properly with the sugar, leading to a dense, greasy dough that spreads excessively. The ideal temperature is around 65°F (18°C).
- Don’t Overmix the Flour: Once you add the dry ingredients, mix on the lowest speed and stop as soon as the last streaks of flour disappear. Overmixing develops the gluten in the flour, which can result in tough, dense cookies instead of soft and chewy ones.
- Embrace the Chill Time: Do not skip chilling the dough! A minimum of one hour in the refrigerator is essential. This not only prevents the cookies from spreading but also allows the flour to hydrate fully, resulting in a more complex flavor and a chewier texture. For even better results, chill the dough overnight.
- Use a Cookie Scoop: For uniformly sized cookies that bake evenly, use a medium or large cookie scoop to portion the dough. This ensures every cookie is the same size and bakes in the same amount of time.
- Know Your Oven: This recipe works best at 350°F (175°C) in a conventional oven. A lower, moderate temperature allows the cookies to bake through evenly, creating that perfect textural contrast between the crisp edges and the soft center. If you bake at too high a temperature, the edges will burn before the center is cooked.
Step-by-Step Instructions
Follow these simple steps for flawless chocolate chip cookies. Ensure all your ingredients are measured and ready to go before you begin.
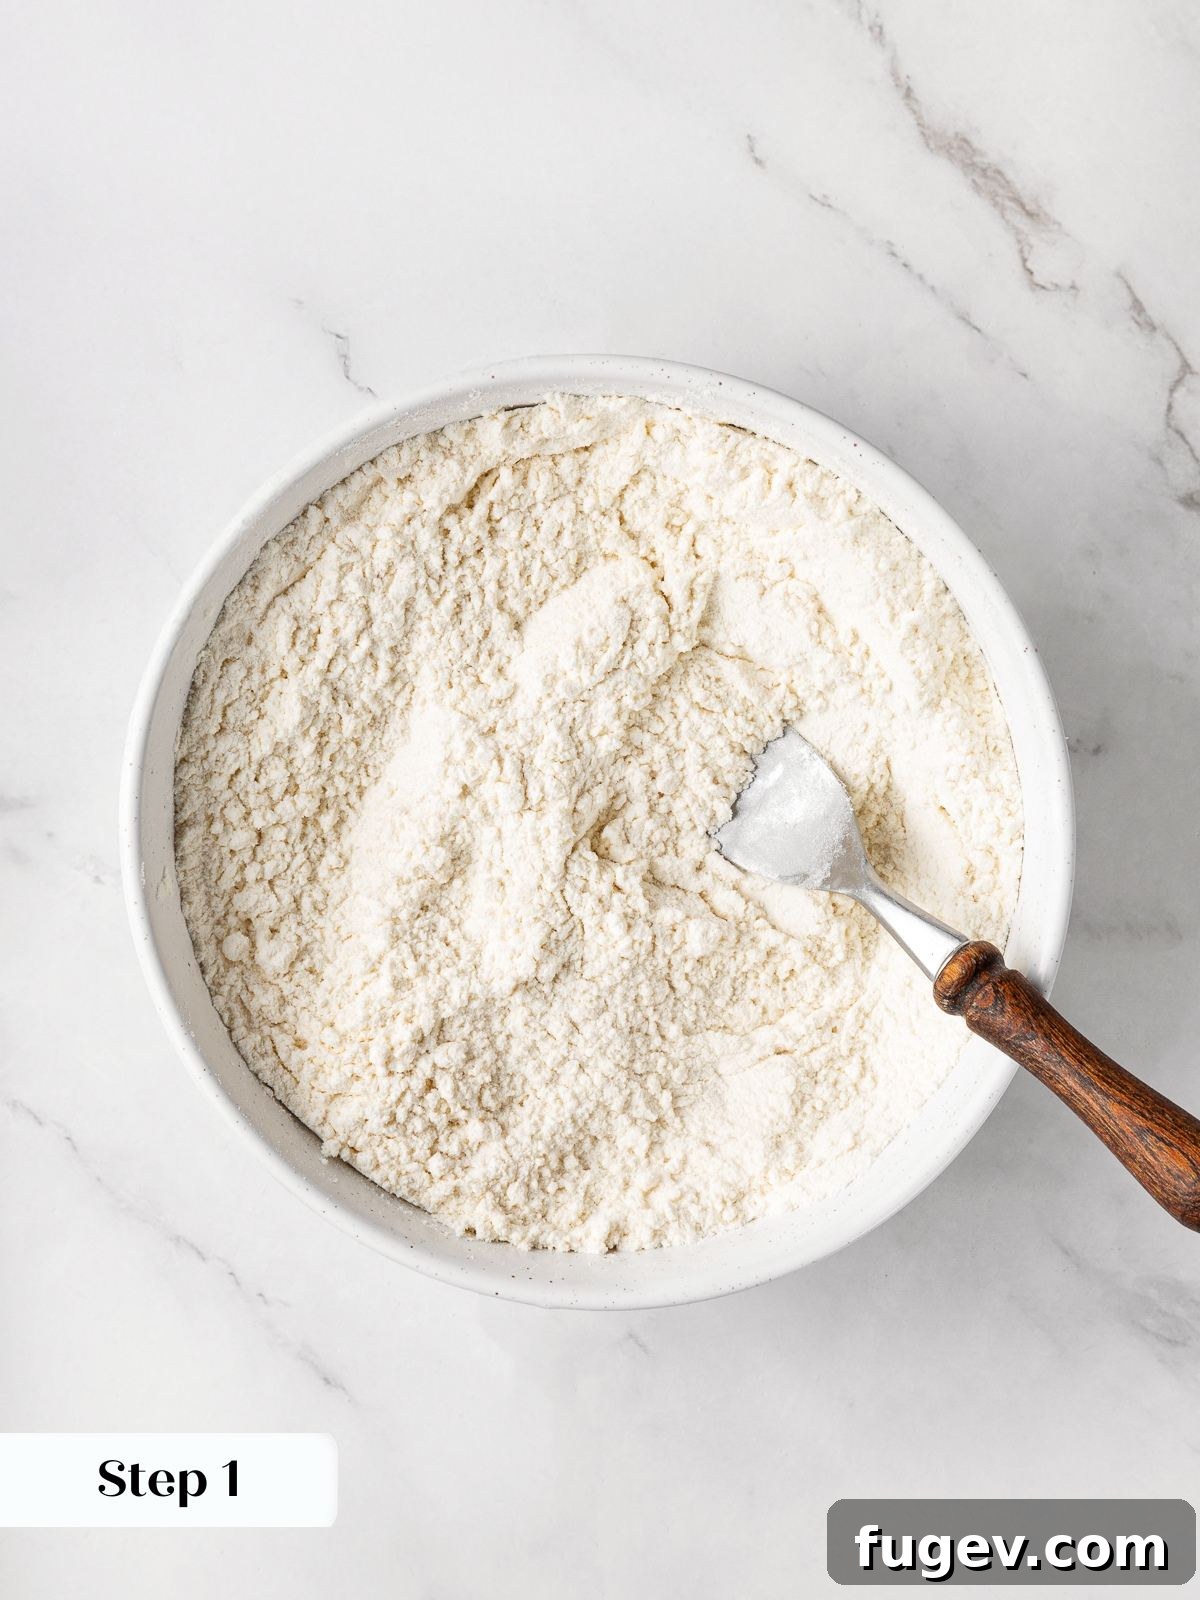
Step 1: Combine Dry Ingredients. In a medium-sized bowl, whisk together the all-purpose flour, baking powder, baking soda, and kosher salt. This ensures the leaveners are evenly distributed. Set this bowl aside for later. (photo 1)
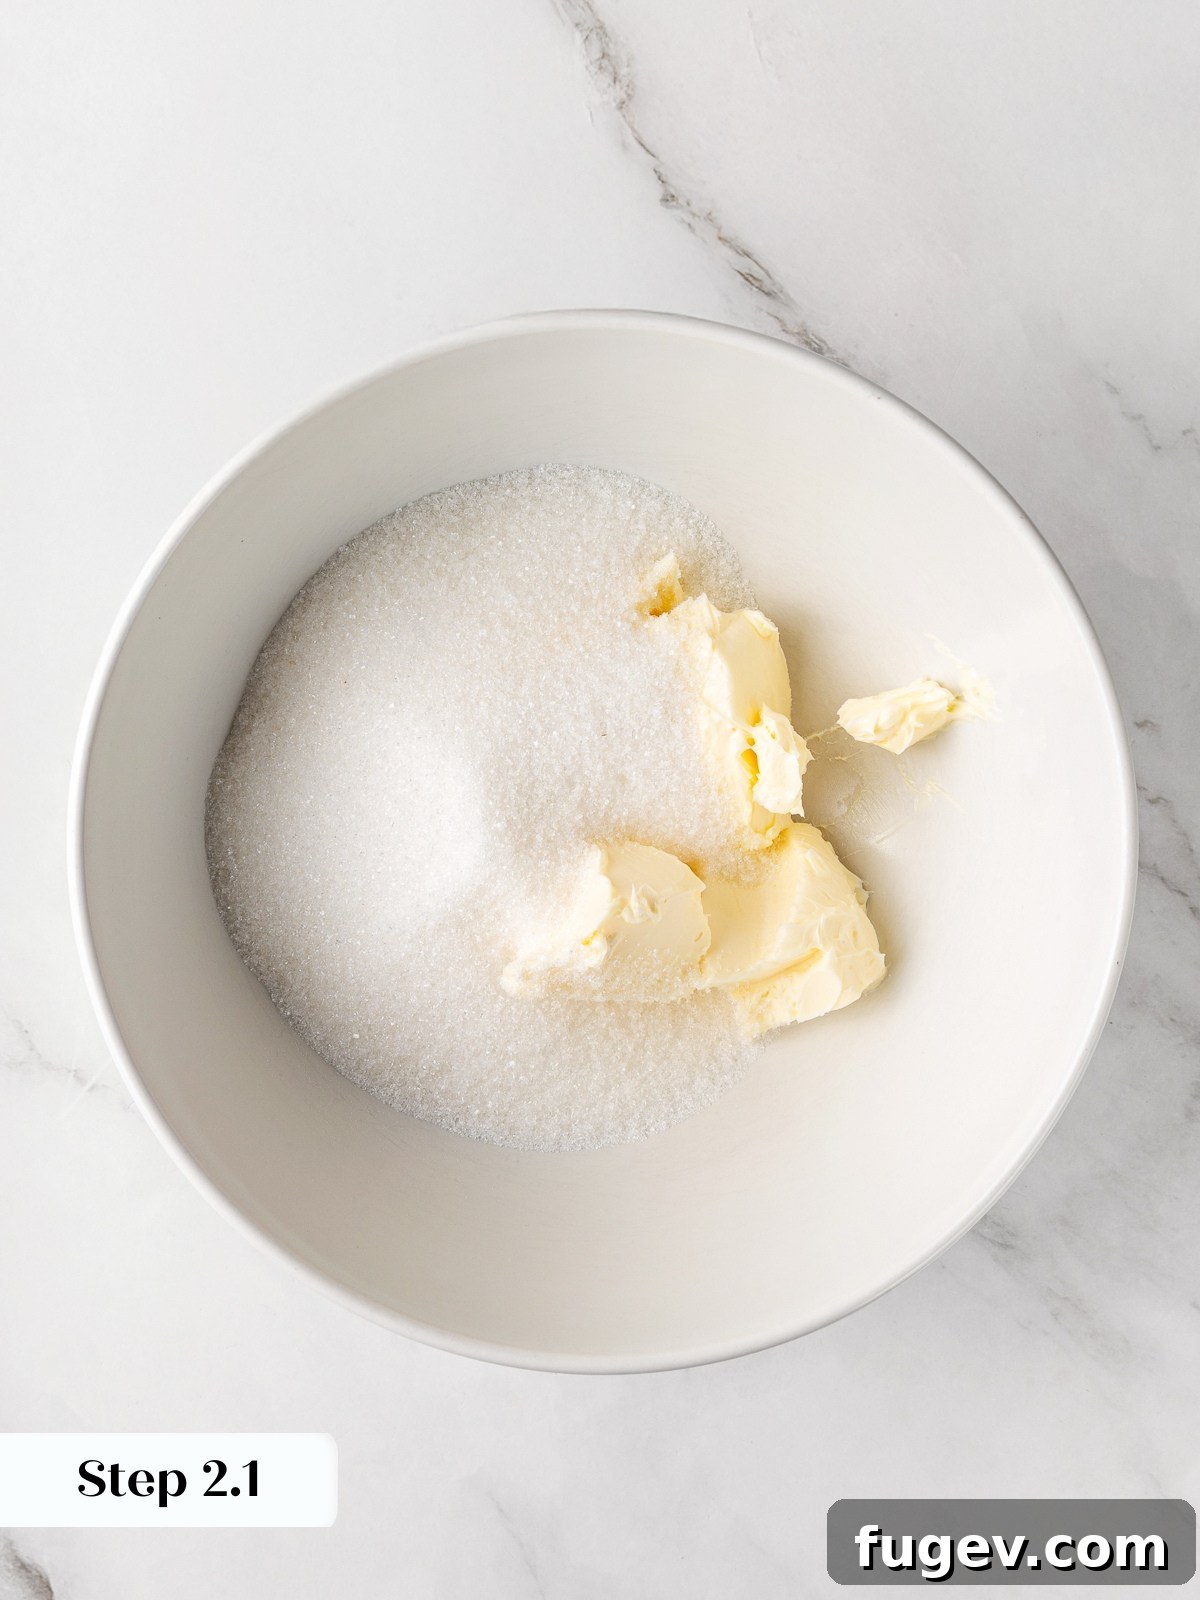
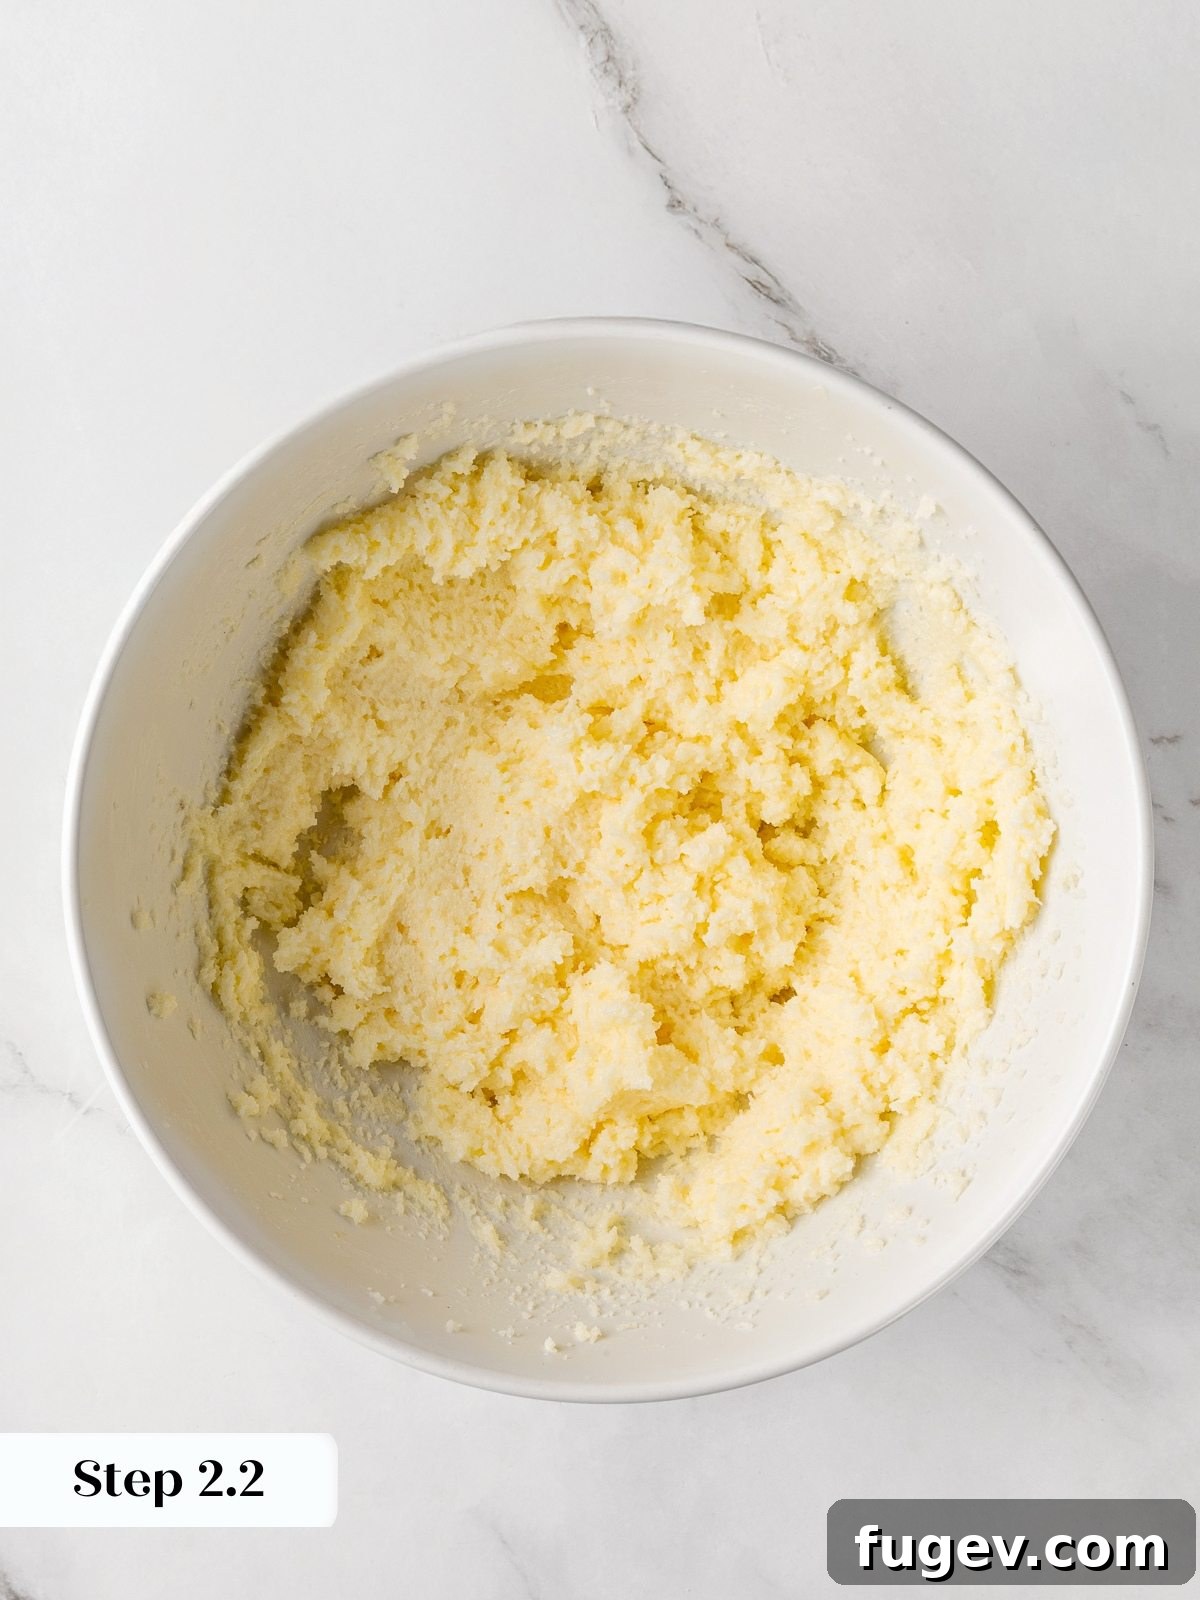
Step 2: Cream Butter and Sugar. In the bowl of a stand mixer fitted with the paddle attachment (or using a hand mixer), beat the slightly softened butter and granulated sugar on medium speed. Continue creaming for 3-4 minutes, until the mixture is visibly lighter in color, pale, and fluffy in texture. This step incorporates air, which is essential for the cookie’s structure. (photos 2 & 3)
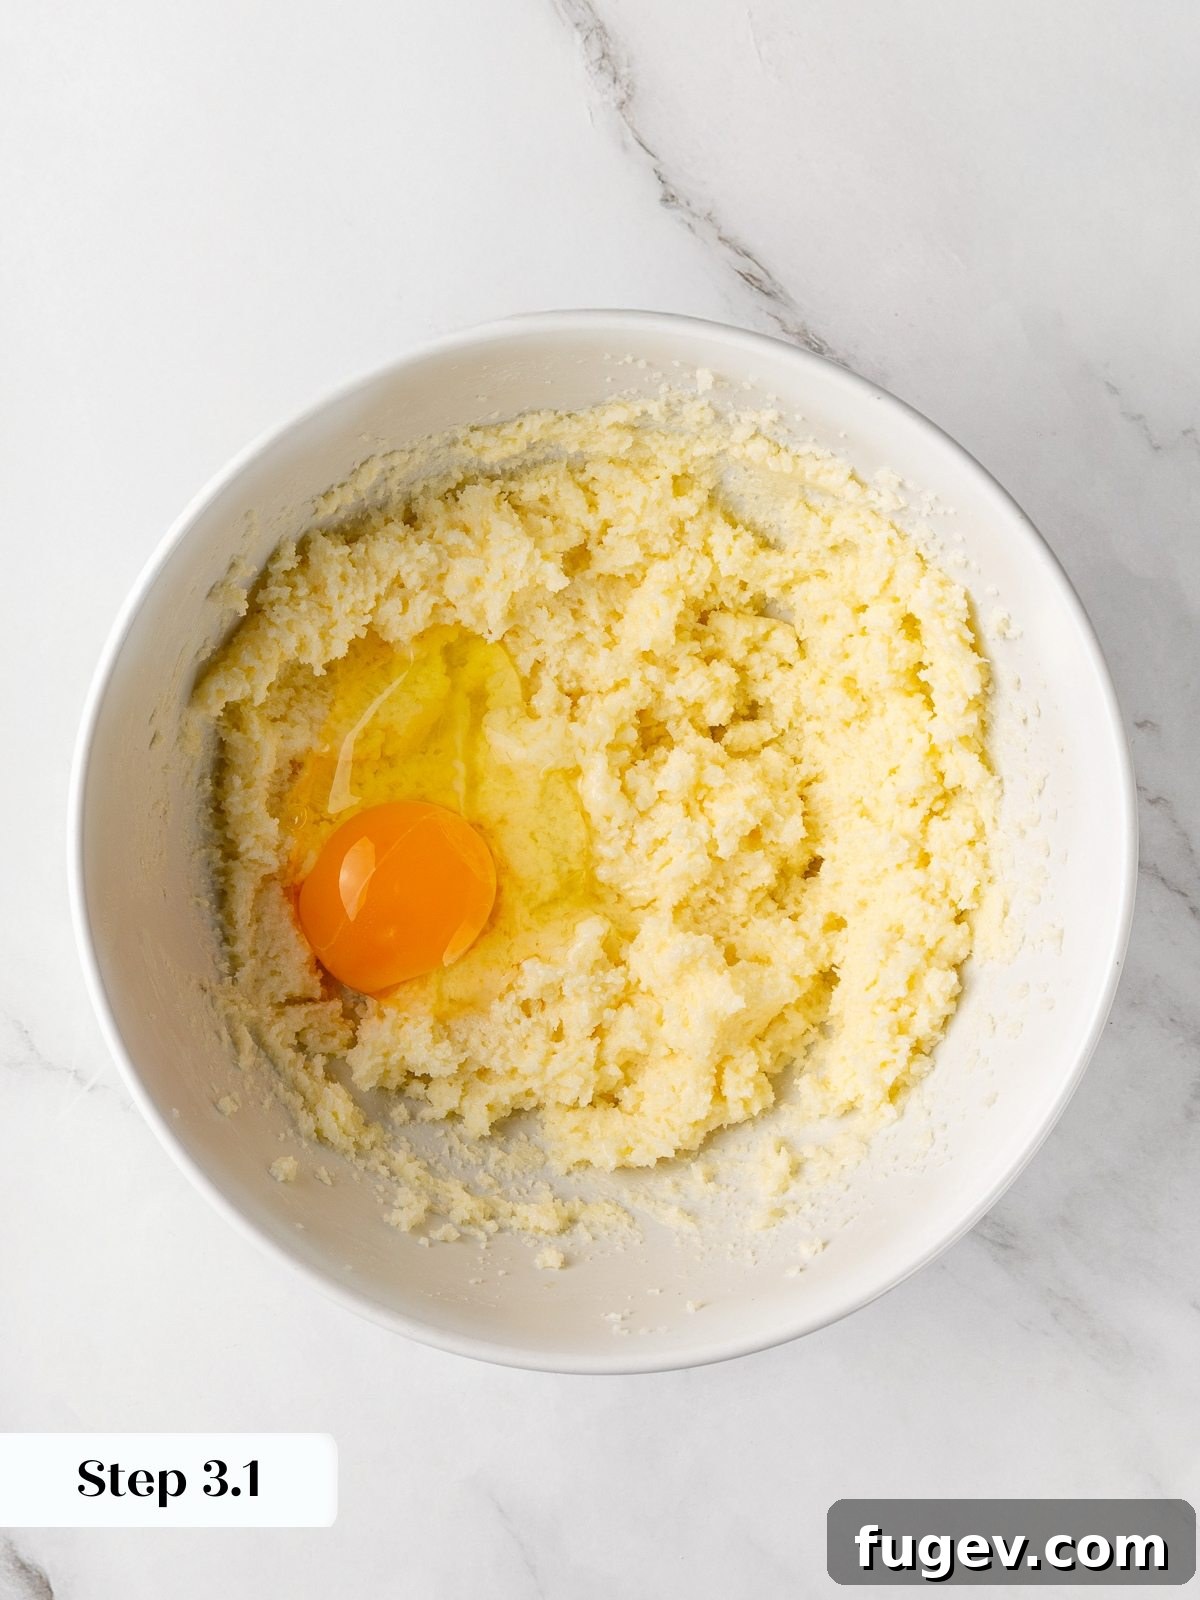
Step 3: Add Egg and Vanilla. Scrape down the sides of the bowl. Add the room-temperature egg and vanilla extract. Beat on medium-high speed for about a minute, until the mixture is smooth, cohesive, and fully emulsified. (photos 4 & 5)
Don’t worry if the mixture looks a little curdled at first—this can happen if your egg is too cold. Just keep mixing, and it should come together smoothly as you incorporate the flour.
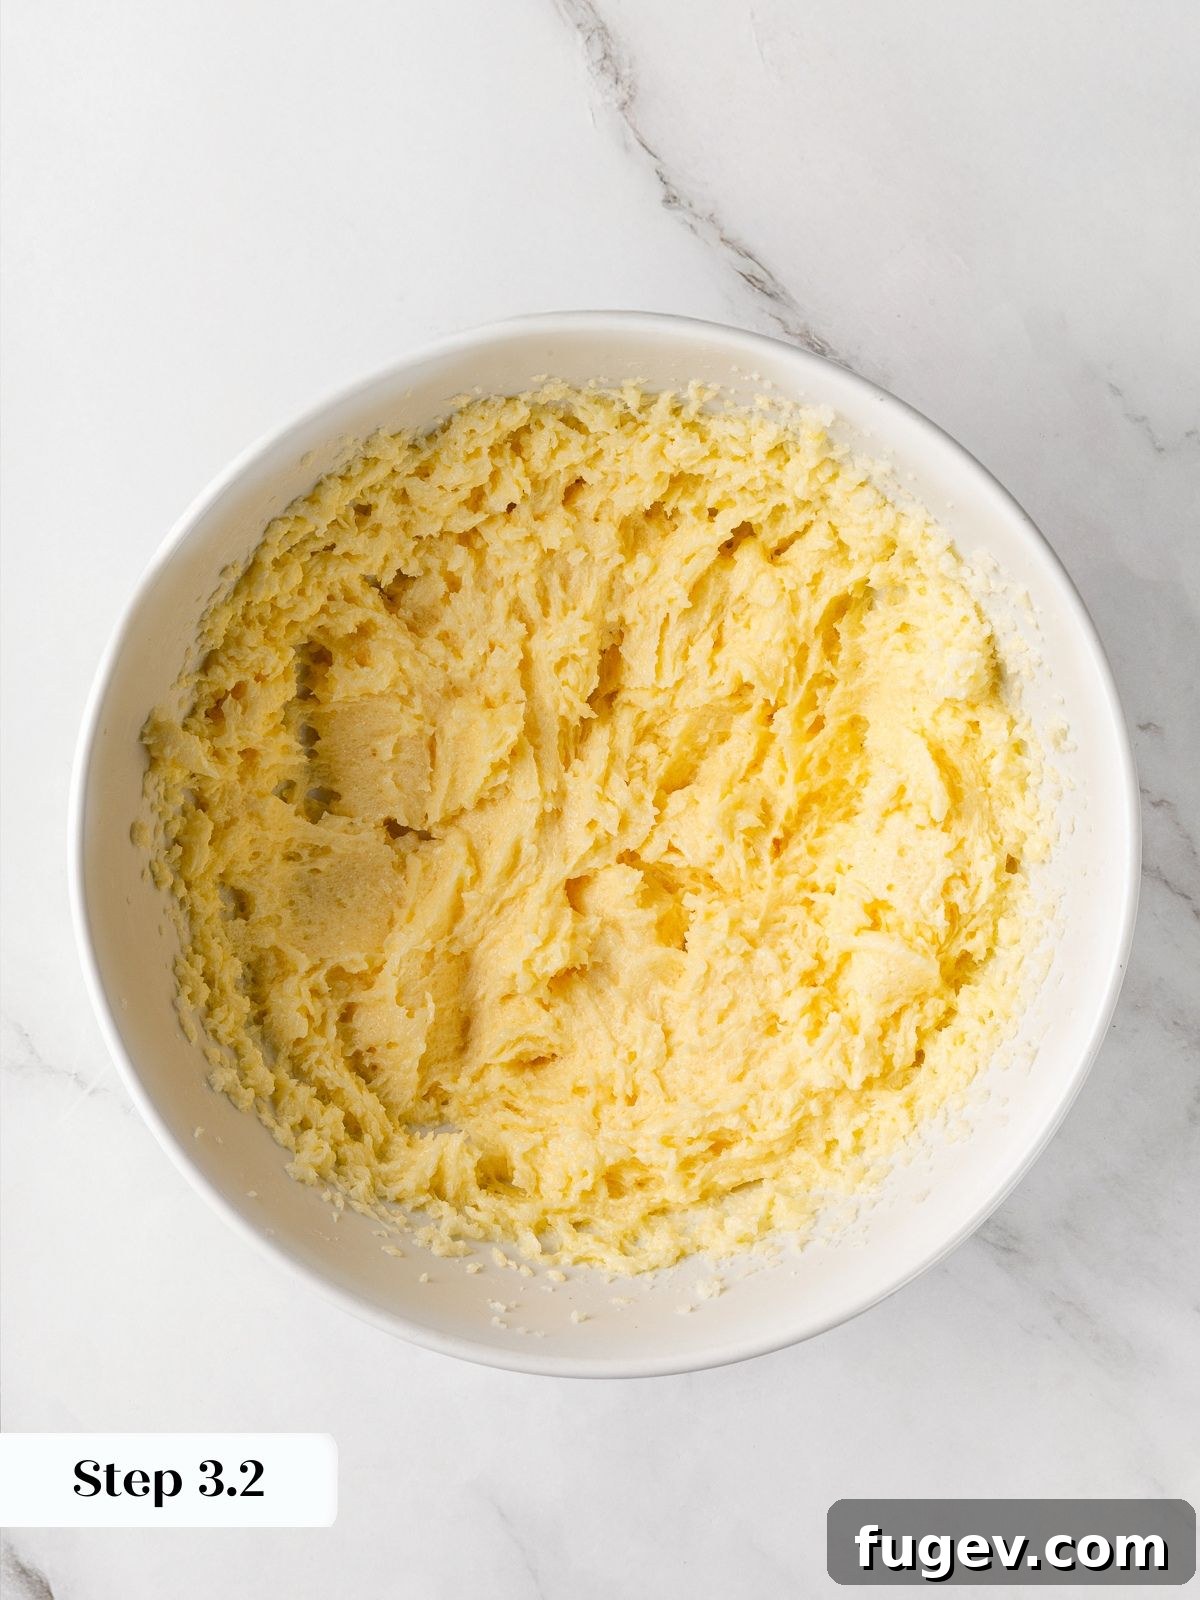
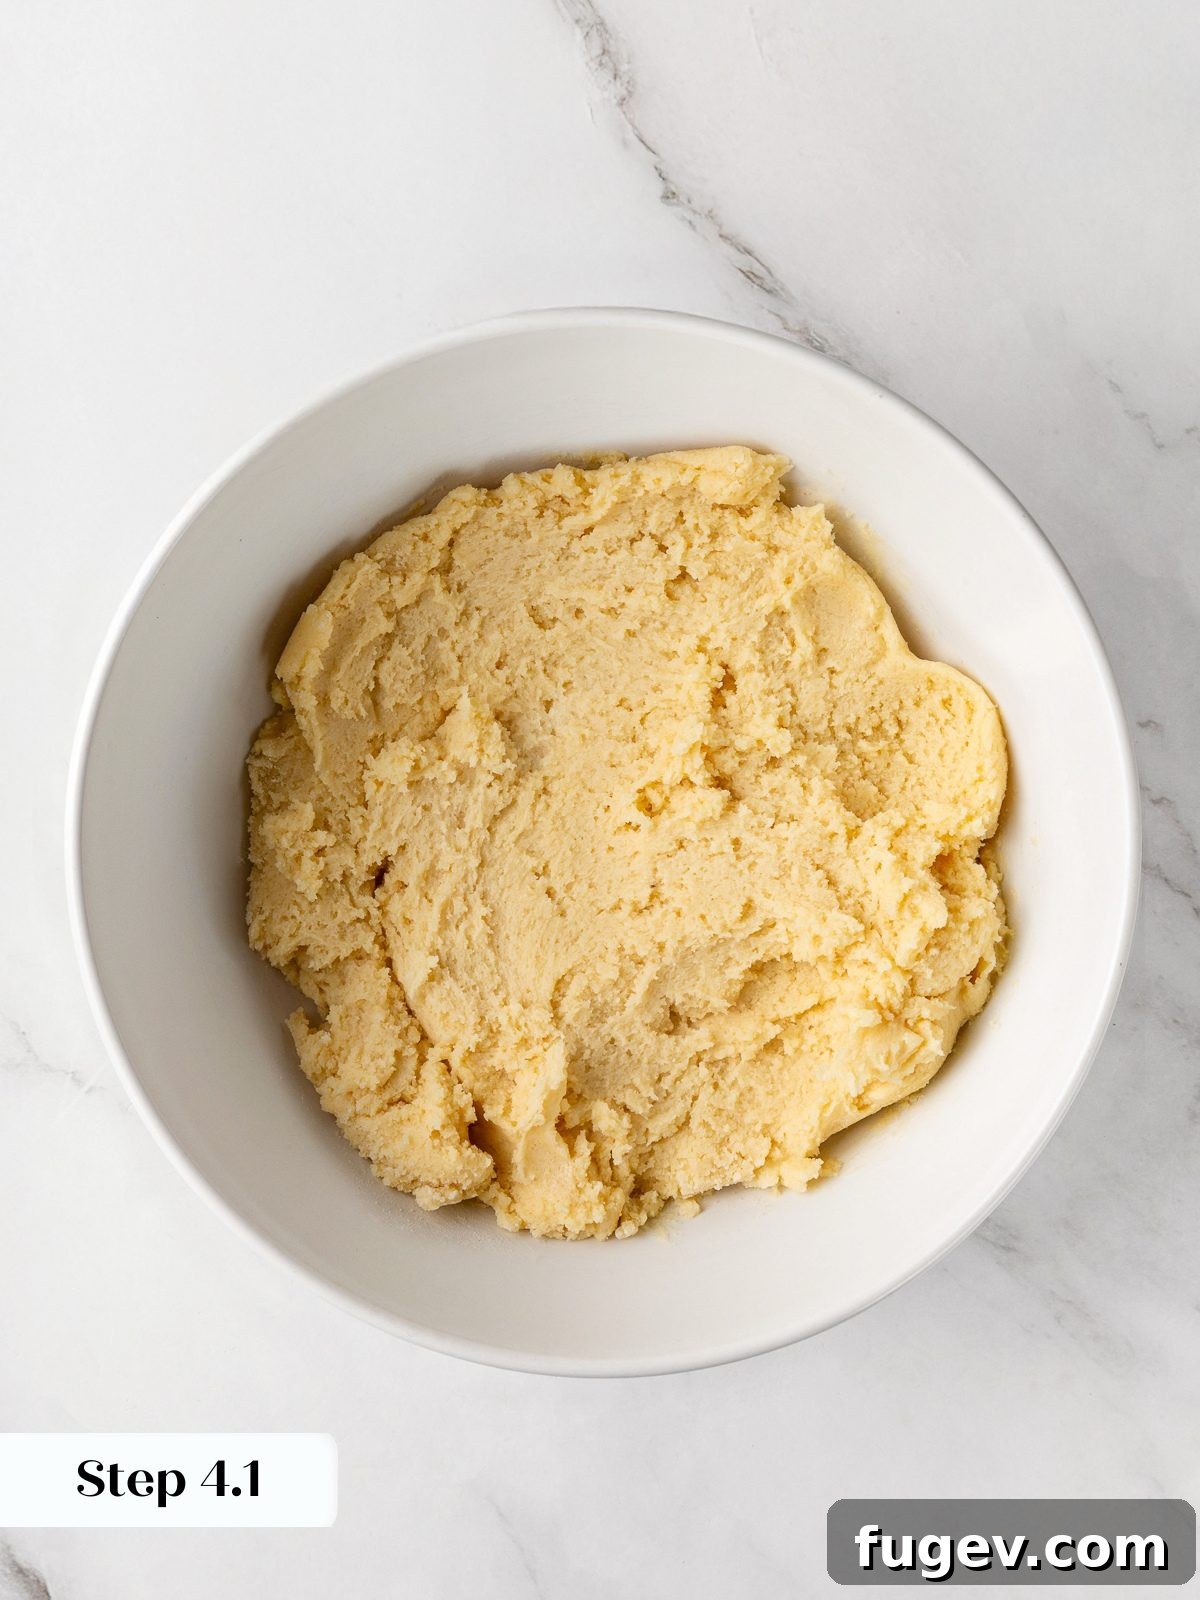
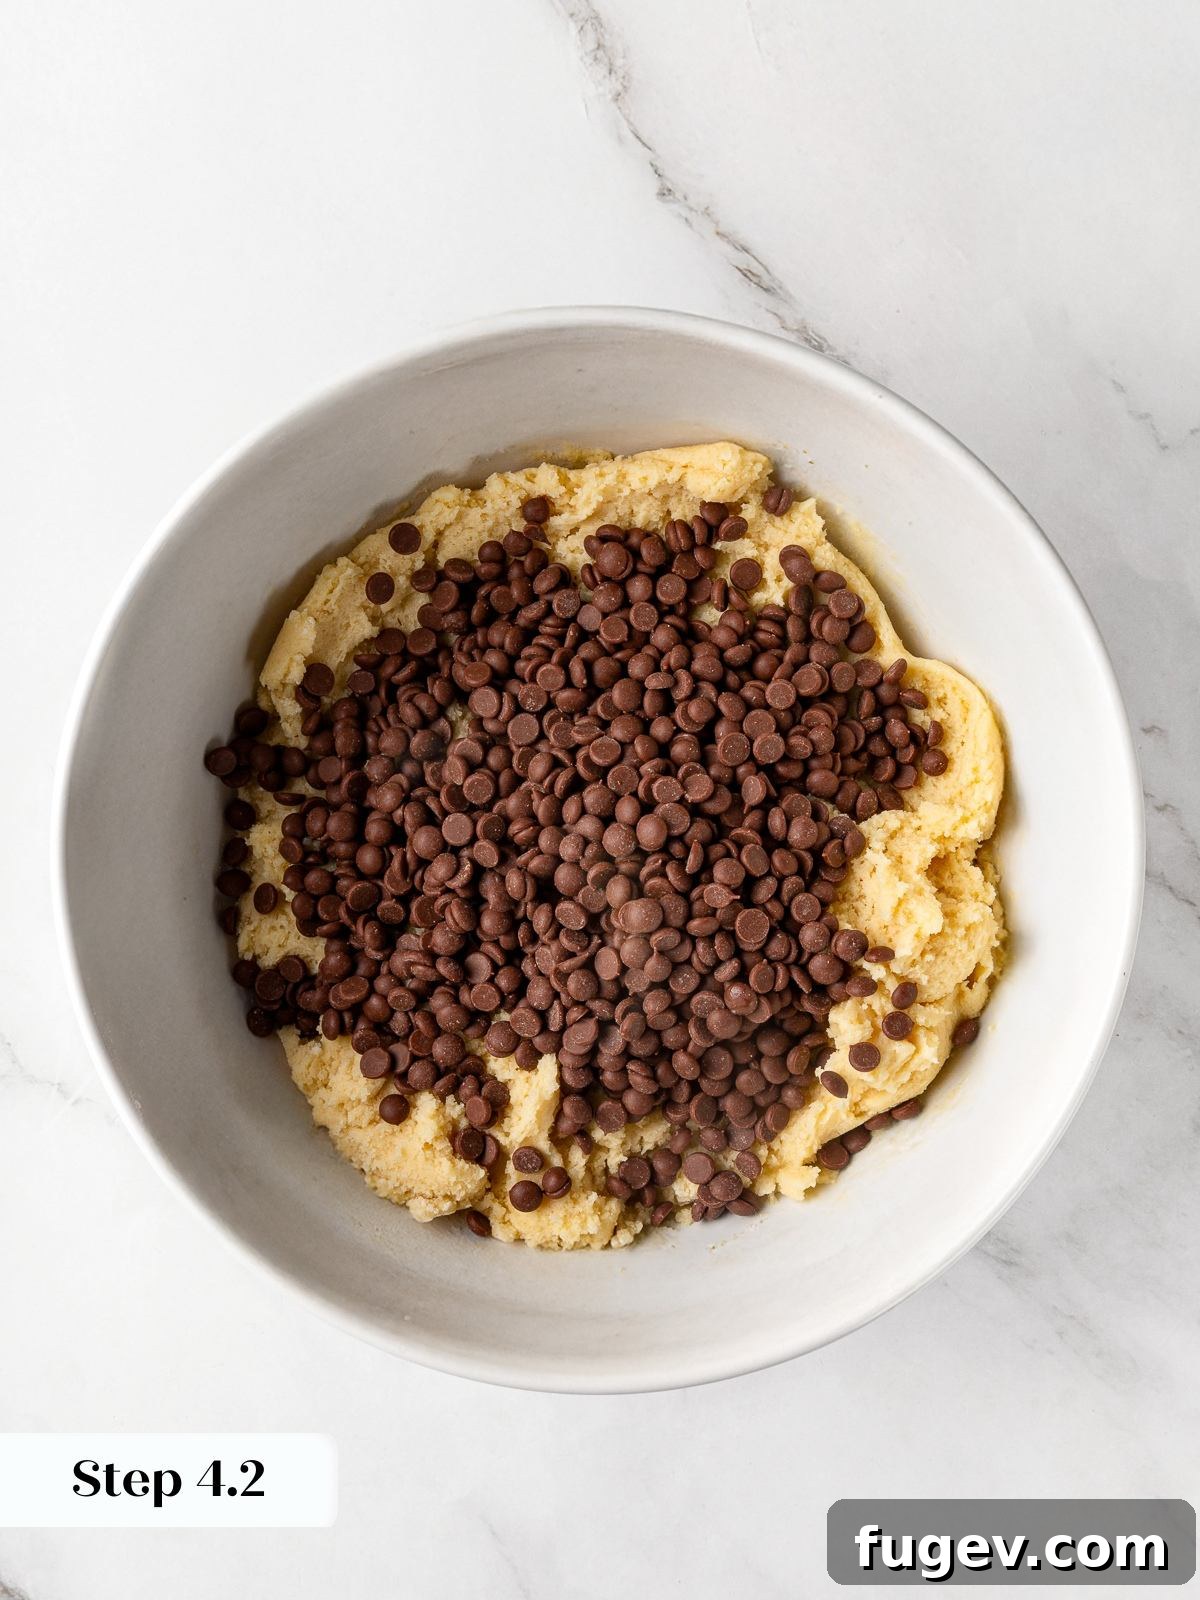
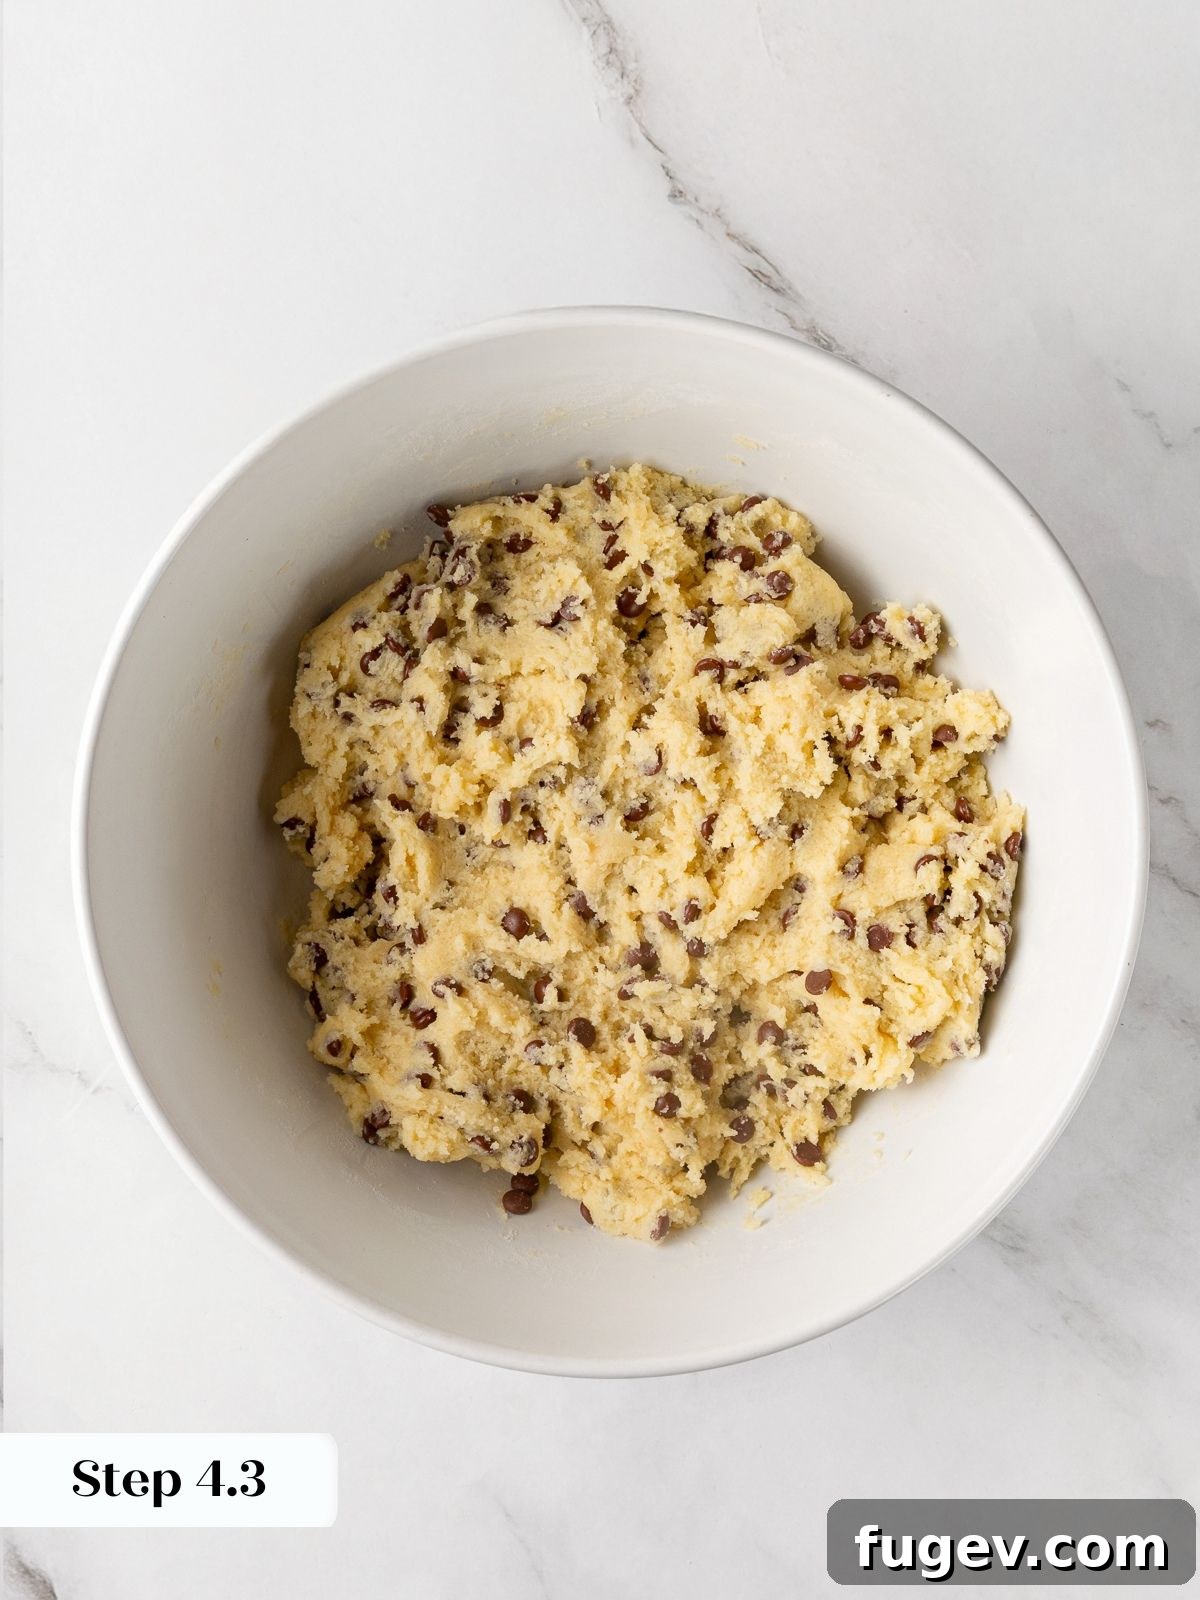
Step 4: Incorporate Flour and Chocolate Chips. Turn the mixer to its lowest speed. Add the flour mixture in three or four gradual additions, mixing only until each addition is just barely combined. Finally, stir in the chocolate chips until they are evenly distributed. Be careful not to overmix! The dough should be thick and sturdy. (photos 6, 7, & 8)
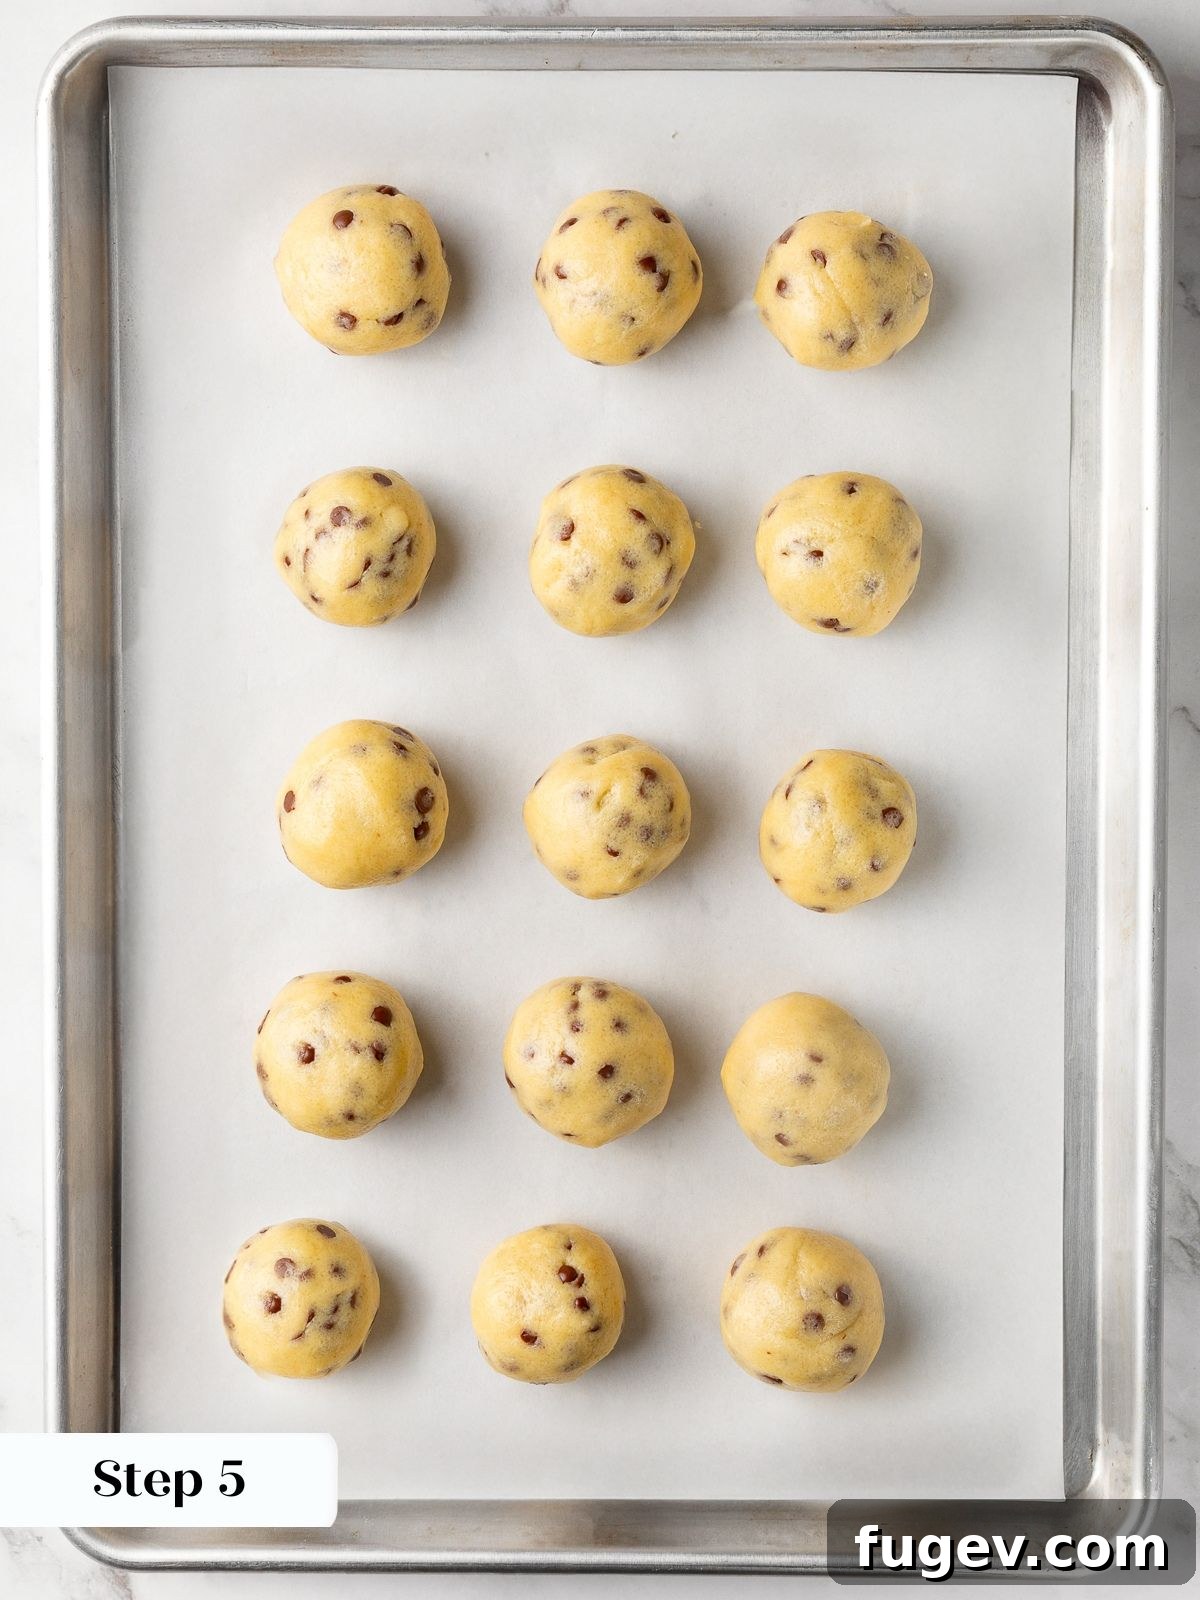
Step 5: Portion and Chill the Dough. Using a large cookie scoop (about 3 tablespoons or 85 grams), portion the dough into balls. Place them on a baking sheet lined with parchment paper. (photo 9).
For the best results and thickest cookies, cover the baking sheet and refrigerate the dough balls for at least 1 hour, or up to 24 hours. This chilling step is crucial for texture and flavor development.
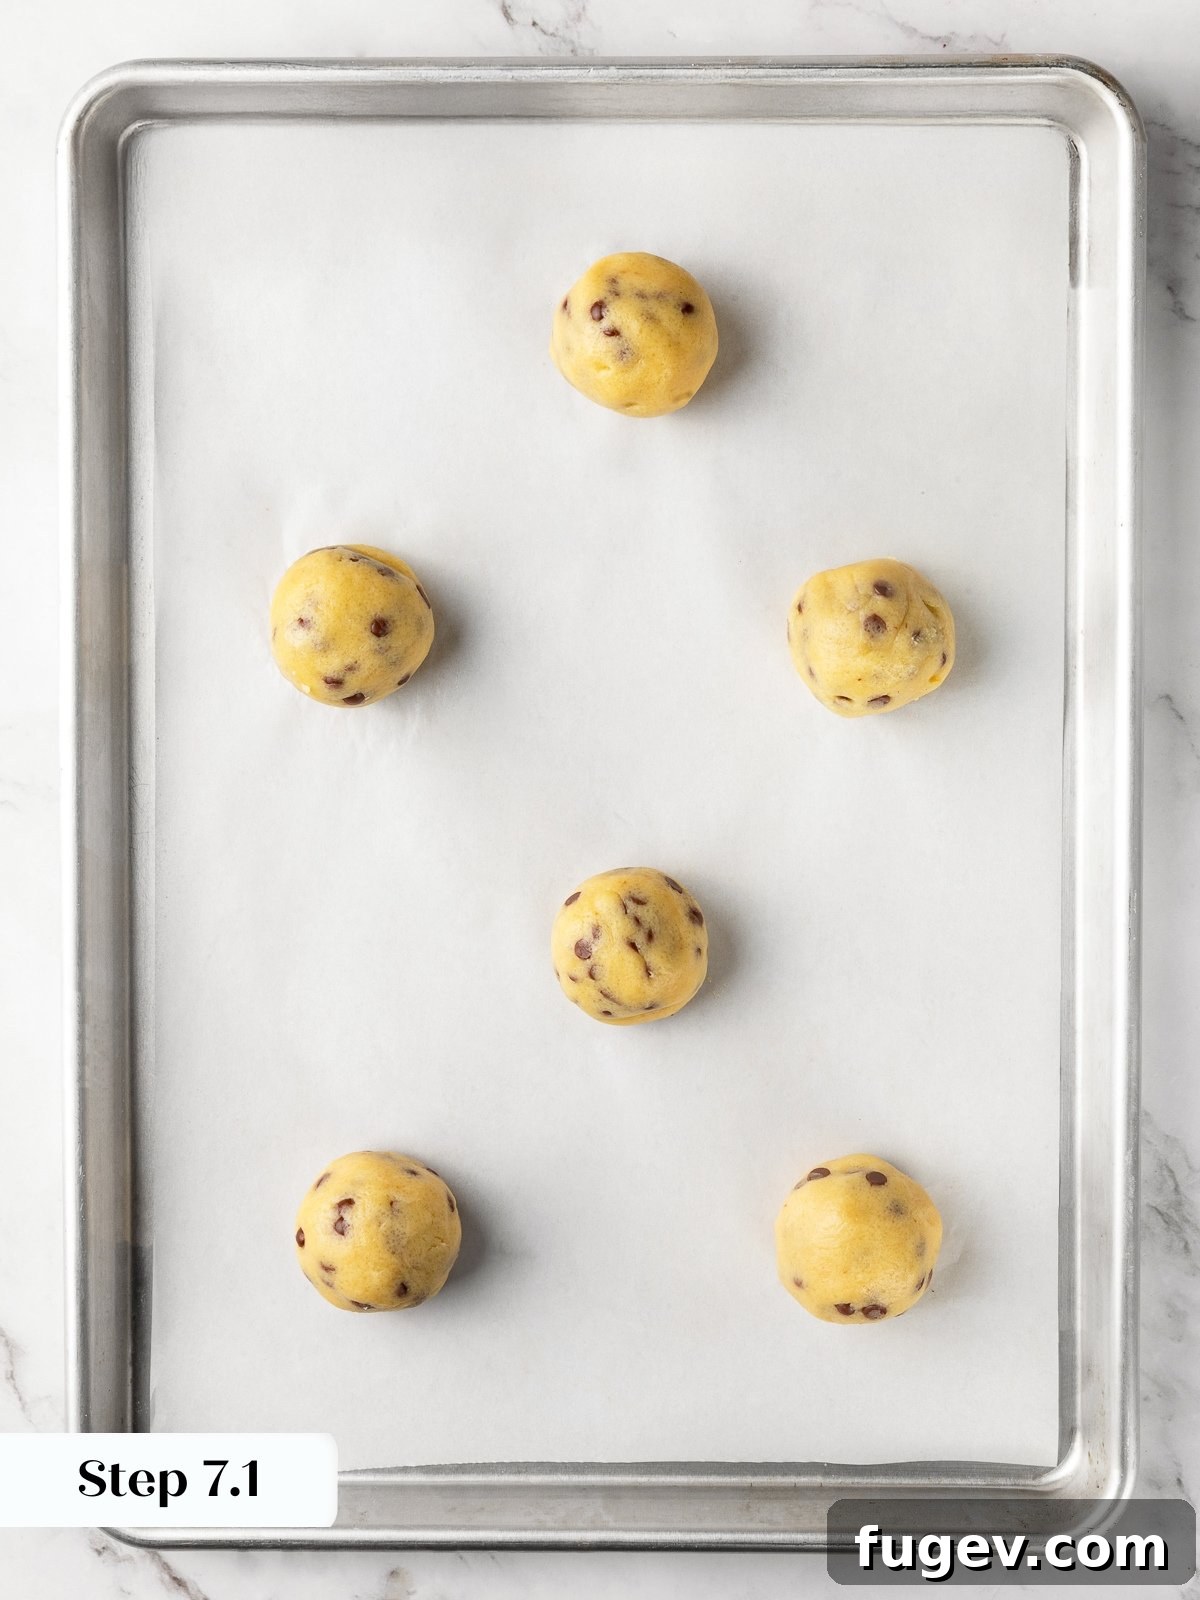
Step 6: Preheat Oven and Arrange Cookies. When ready to bake, preheat your oven to 350°F (175°C) conventional. Arrange the chilled dough balls about 2-3 inches apart on a parchment-lined baking sheet to allow for spreading. (photo 10)
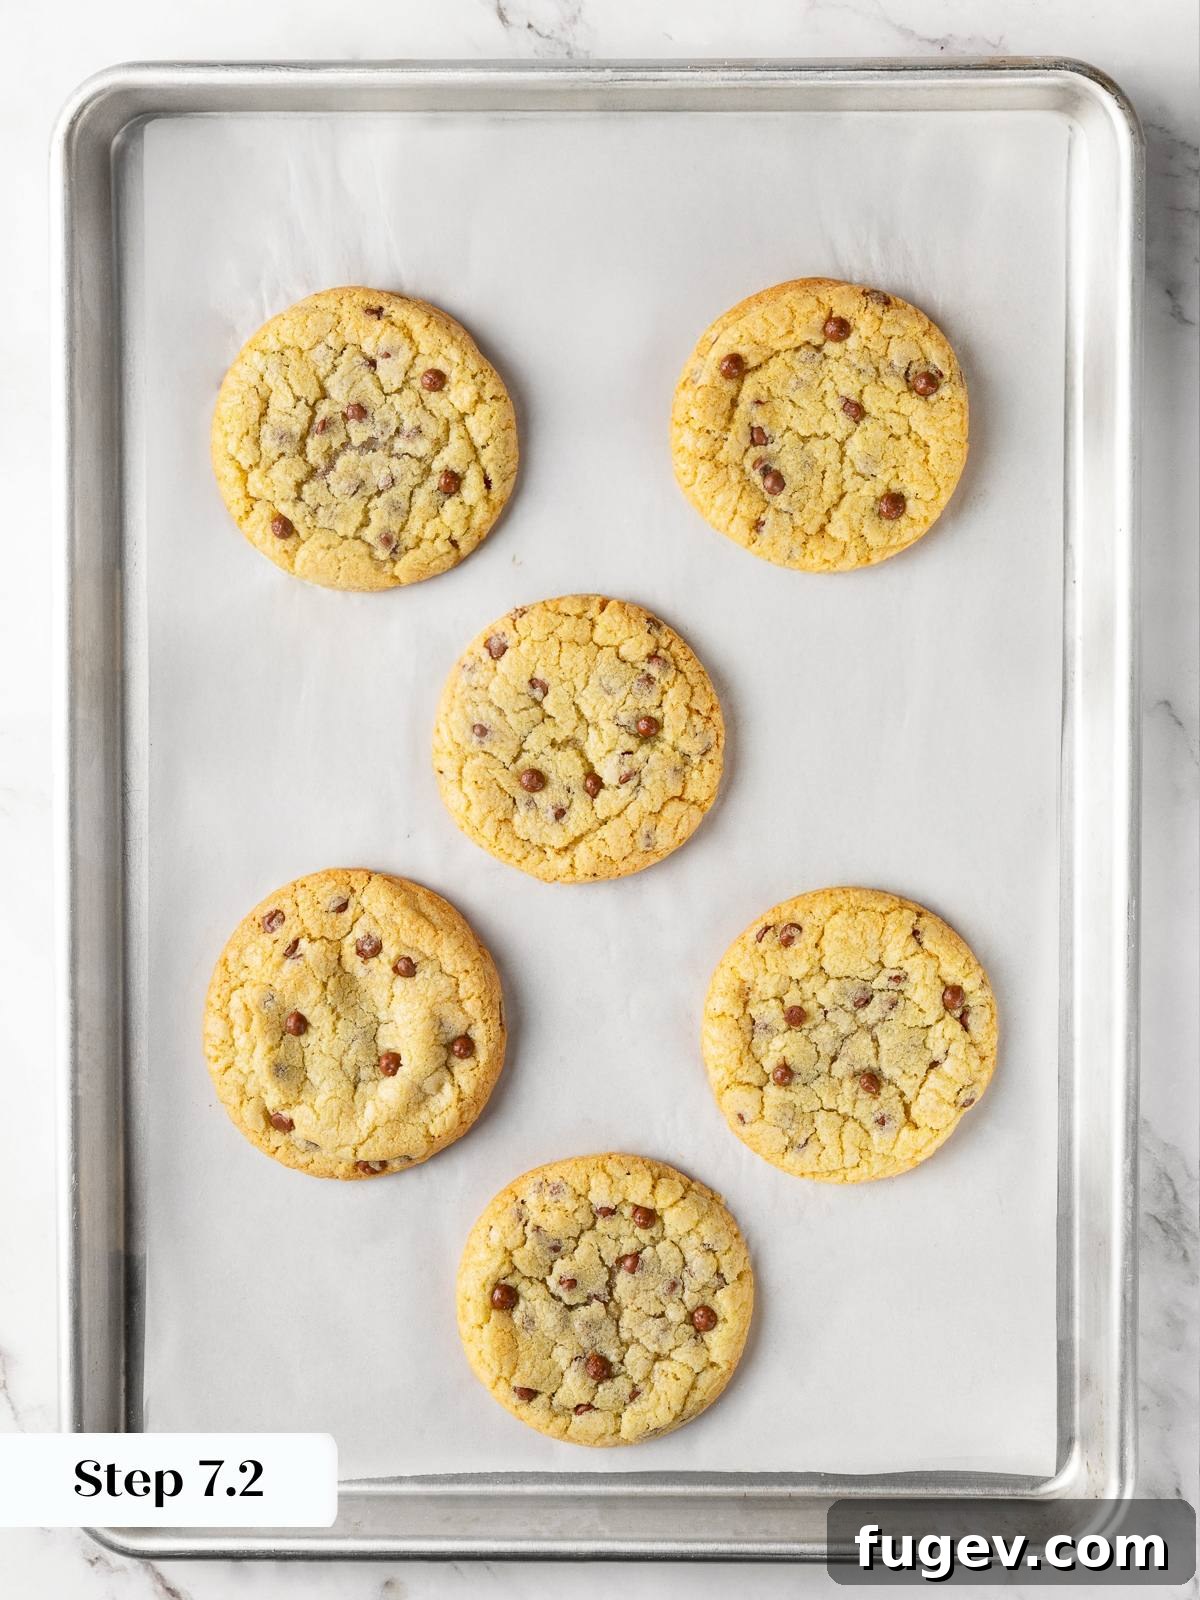
Step 7: Bake to Perfection. Bake for 18 to 20 minutes. The cookies are done when the edges are firm and a light golden brown. The centers will look slightly puffy, matte (not shiny), and may appear a little underbaked. This is exactly what you want for a soft, chewy center. (photo 11)
Step 8: Cool on the Pan. Let the cookies cool on the hot baking sheet for 10 minutes. This allows them to set up properly and finish baking from the residual heat. This step is key to achieving the perfect chewy-on-the-inside, crisp-on-the-outside texture. Afterwards, transfer them to a wire rack to cool completely.
Chef Lindsey’s Recipe Tip
The single most important detail that elevates these cookies from good to great is the butter temperature. Since this recipe doesn’t use the extra moisture from brown sugar, the dough is less forgiving of overly soft butter. If your kitchen is warm or you notice the butter looking shiny or greasy during the creaming stage, pause immediately. Place the mixing bowl in the refrigerator for 15-20 minutes to firm up before you continue. This small step ensures the fat stays properly emulsified, guaranteeing thick, chewy cookies.
Frequently Asked Questions
Yes, they have a slightly different but equally delicious flavor. Without the molasses notes of brown sugar, the taste is cleaner, allowing the buttery vanilla flavor and the richness of the chocolate to be more prominent. The texture is also a bit crisper on the edges compared to cookies made with brown sugar.
Absolutely! The portioned cookie dough balls can be stored in an airtight container in the refrigerator for up to 5 days. You can also freeze them for up to 3 months. When you’re ready to bake, there’s no need to thaw; simply bake directly from frozen and add 2-3 minutes to the total baking time.
The best visual cue is to look at the center of the cookie. When it no longer looks wet or shiny and has turned matte, it’s time to pull them from the oven. The edges will be set and golden, but the center will still be very soft. They will continue to firm up as they cool on the baking sheet.
The top three mistakes are: 1) Using butter that is too soft, which leads to flat cookies. 2) Skipping the dough chilling step, which is crucial for texture and preventing spread. 3) Overbaking the cookies; pulling them when the center still looks soft is the key to a chewy final texture.
Store the completely cooled cookies in an airtight container at room temperature for up to 5 days. To keep them extra soft, you can add a slice of bread to the container. They also freeze beautifully. Place baked cookies in a freezer-safe bag or container for up to 2 months. Thaw at room temperature or enjoy them straight from the freezer!
More Delicious Cookie Recipes
Cookie Recipes
Brown Butter Chocolate Chip Cookies
Cookie Recipes
Chocolate Chip Shortbread Cookies
Cookie Recipes
Double Chocolate Chip Cookies
Cookie Recipes
Peanut Butter Chocolate Chip Cookies
If you tried this recipe and loved it, please leave a 🌟 star rating and share your experience in the comments below. I truly love hearing from you!
Chocolate Chip Cookies without Brown Sugar
Comment
Print Recipe
Ingredients
- 2 ¼ cups (270g) all-purpose flour
- ½ teaspoon baking powder
- ½ teaspoon baking soda
- ½ teaspoon kosher salt
- ¾ cup (170g) unsalted butter, slightly softened
- 1 ¼ cups (250g) granulated sugar
- 1 large egg, at room temperature
- 2 teaspoons pure vanilla extract
- 12 ounces (340g) semi-sweet chocolate chips
Instructions
-
In a medium bowl, whisk together the flour, baking powder, baking soda, and salt until well combined. Set aside.
-
In the bowl of a stand mixer with the paddle attachment, cream the slightly softened butter and granulated sugar together on medium speed for 3-4 minutes, until pale, light, and fluffy.
-
Scrape down the bowl, then add the room-temperature egg and vanilla extract. Beat on medium-high speed until the mixture is smooth and fully emulsified, about 1 minute.
-
Reduce the mixer to low speed and add the flour mixture in 3-4 additions, mixing only until the flour is just incorporated. Stir in the chocolate chips until evenly distributed. Do not overmix.
-
Portion the dough into large balls (approx. 85g or 3 tablespoons each). Place on a parchment-lined baking sheet, cover, and refrigerate for at least 1 hour or overnight for best results.
-
When ready to bake, preheat the oven to 350°F (175°C) conventional. Place the chilled dough balls 2-3 inches apart on a parchment-lined baking sheet.
-
Bake for 18 to 20 minutes, or until the edges are set and light golden brown. The centers should look puffy, matte, and slightly underdone.
-
Let the cookies cool on the baking sheet for 10 minutes before transferring them to a wire rack to cool completely.
Notes
Chilling is Key: Don’t skip refrigerating the portioned dough. This step is essential for developing flavor and creating a thick, chewy cookie.
Doneness Cue: The secret to a soft center is to pull the cookies from the oven when the centers look matte and slightly underbaked. They will finish setting up on the hot pan.
Storage: Store baked cookies in an airtight container at room temperature for up to 5 days. Portion dough balls can be refrigerated for 5 days or frozen for up to 3 months. Bake frozen dough directly, adding 2-3 minutes to the bake time.
Nutrition
Happy Baking!
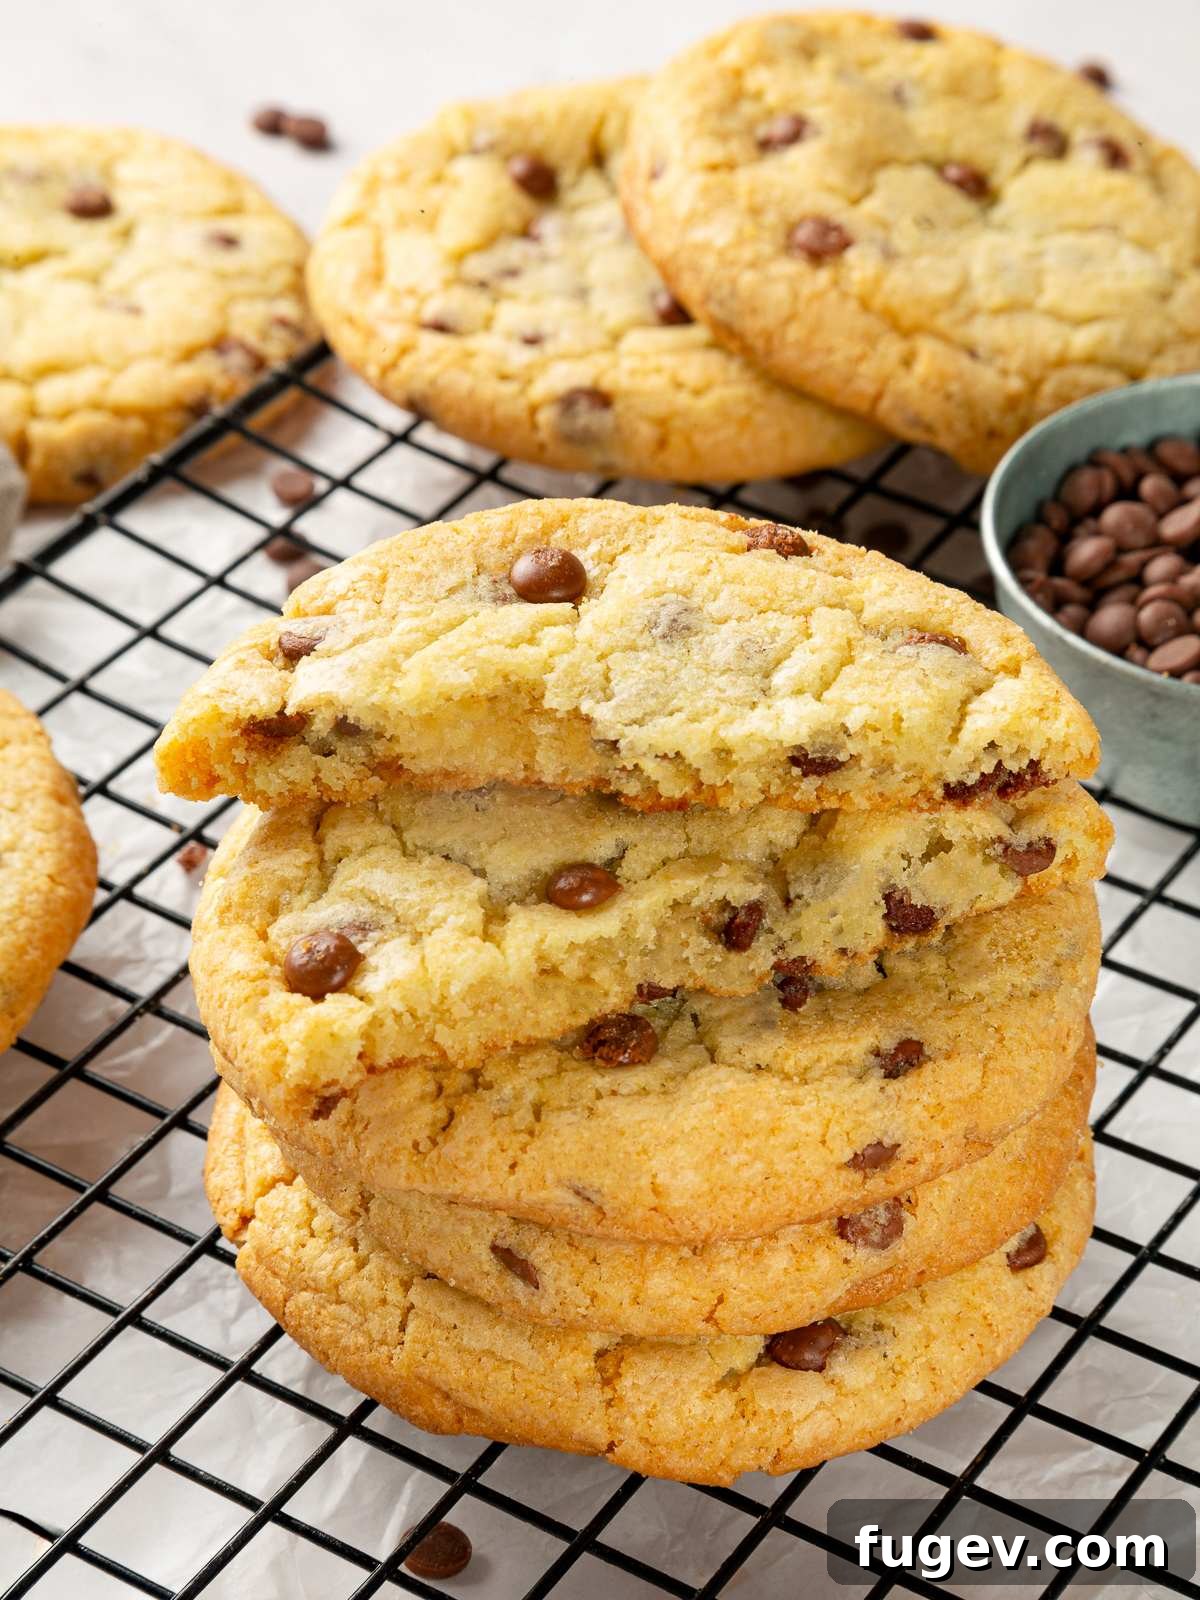
These white sugar chocolate chip cookies, with their crackled tops, chewy centers, and crisp edges, are sure to become a new favorite. If you’re inspired to continue your baking adventure, I invite you to browse all my Cookie Recipes or explore the full Dessert Recipes archive for your next sweet creation.