
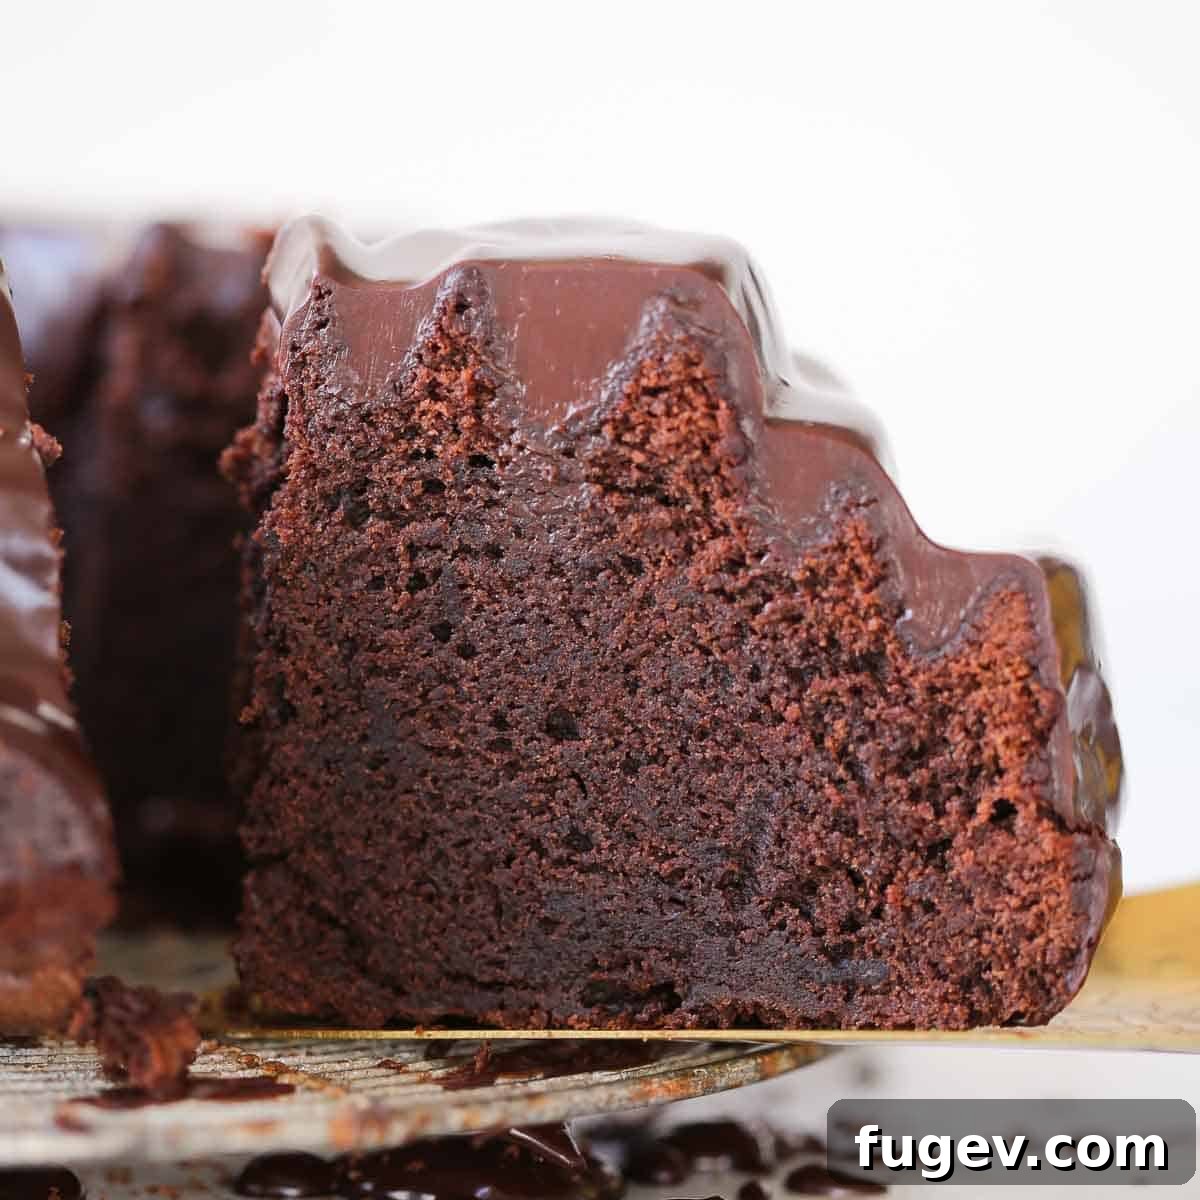
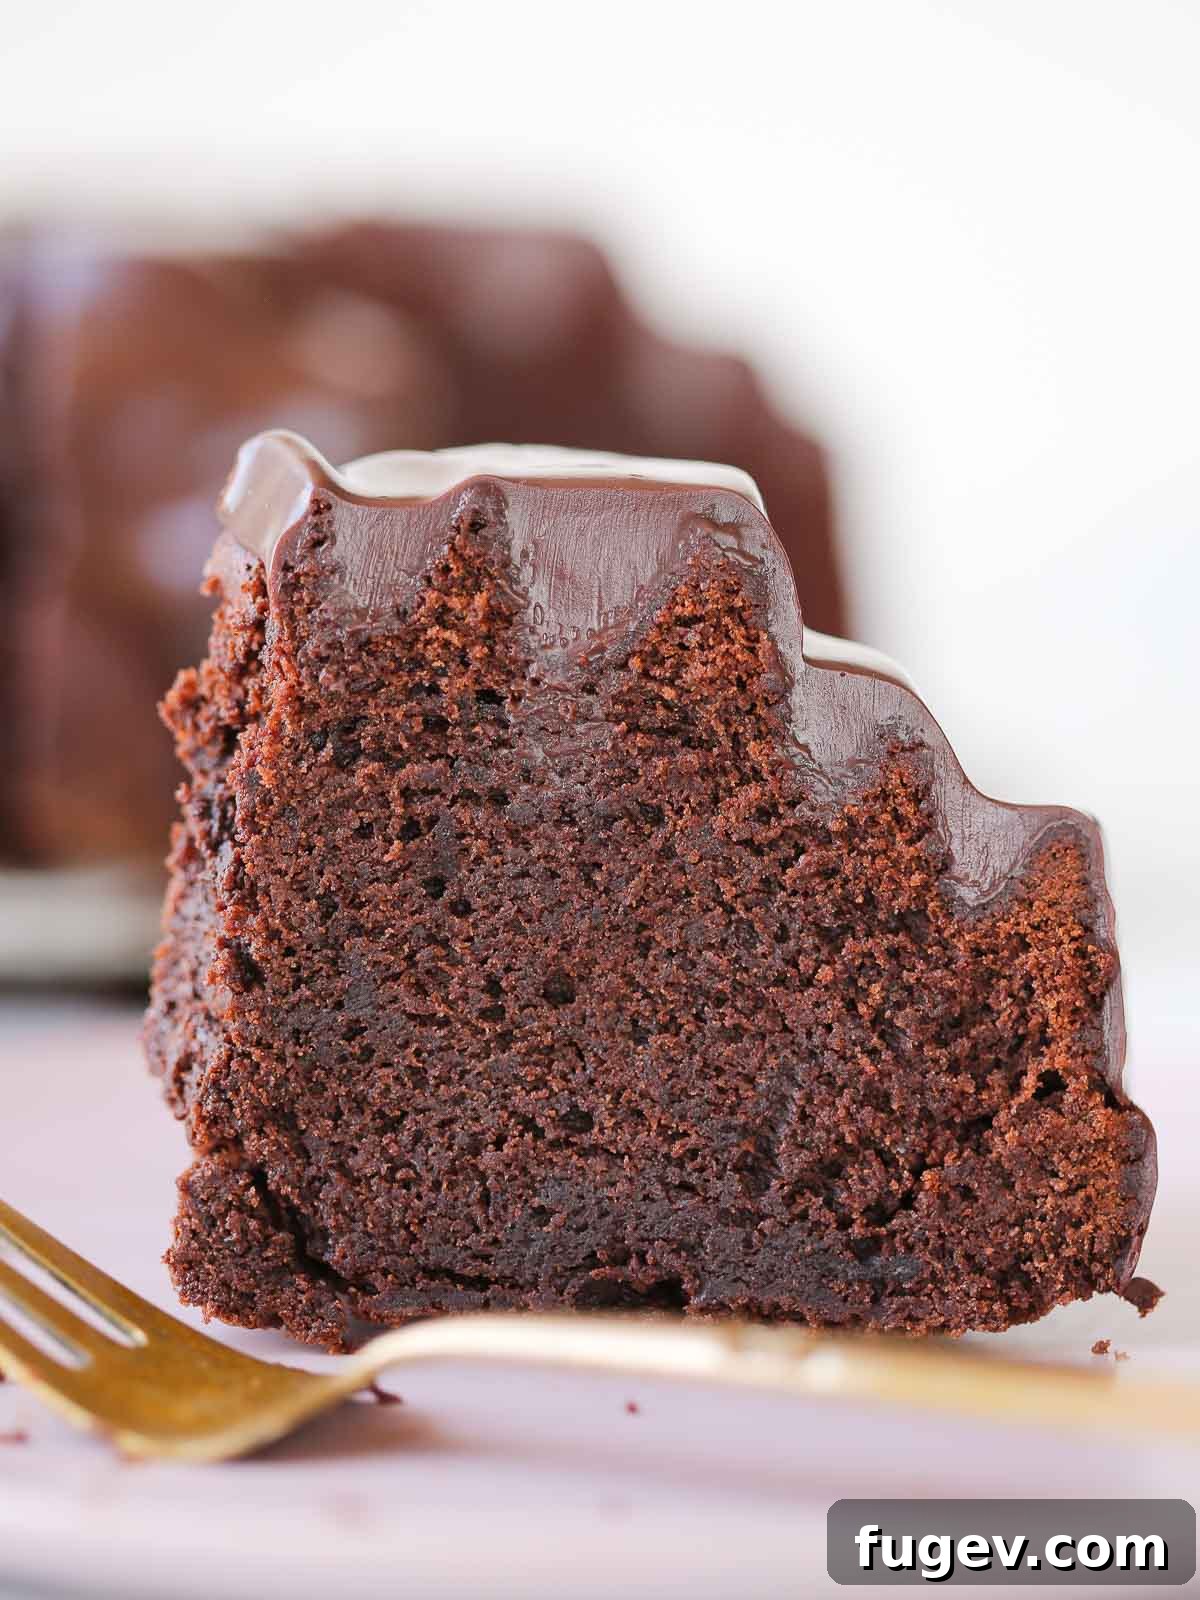
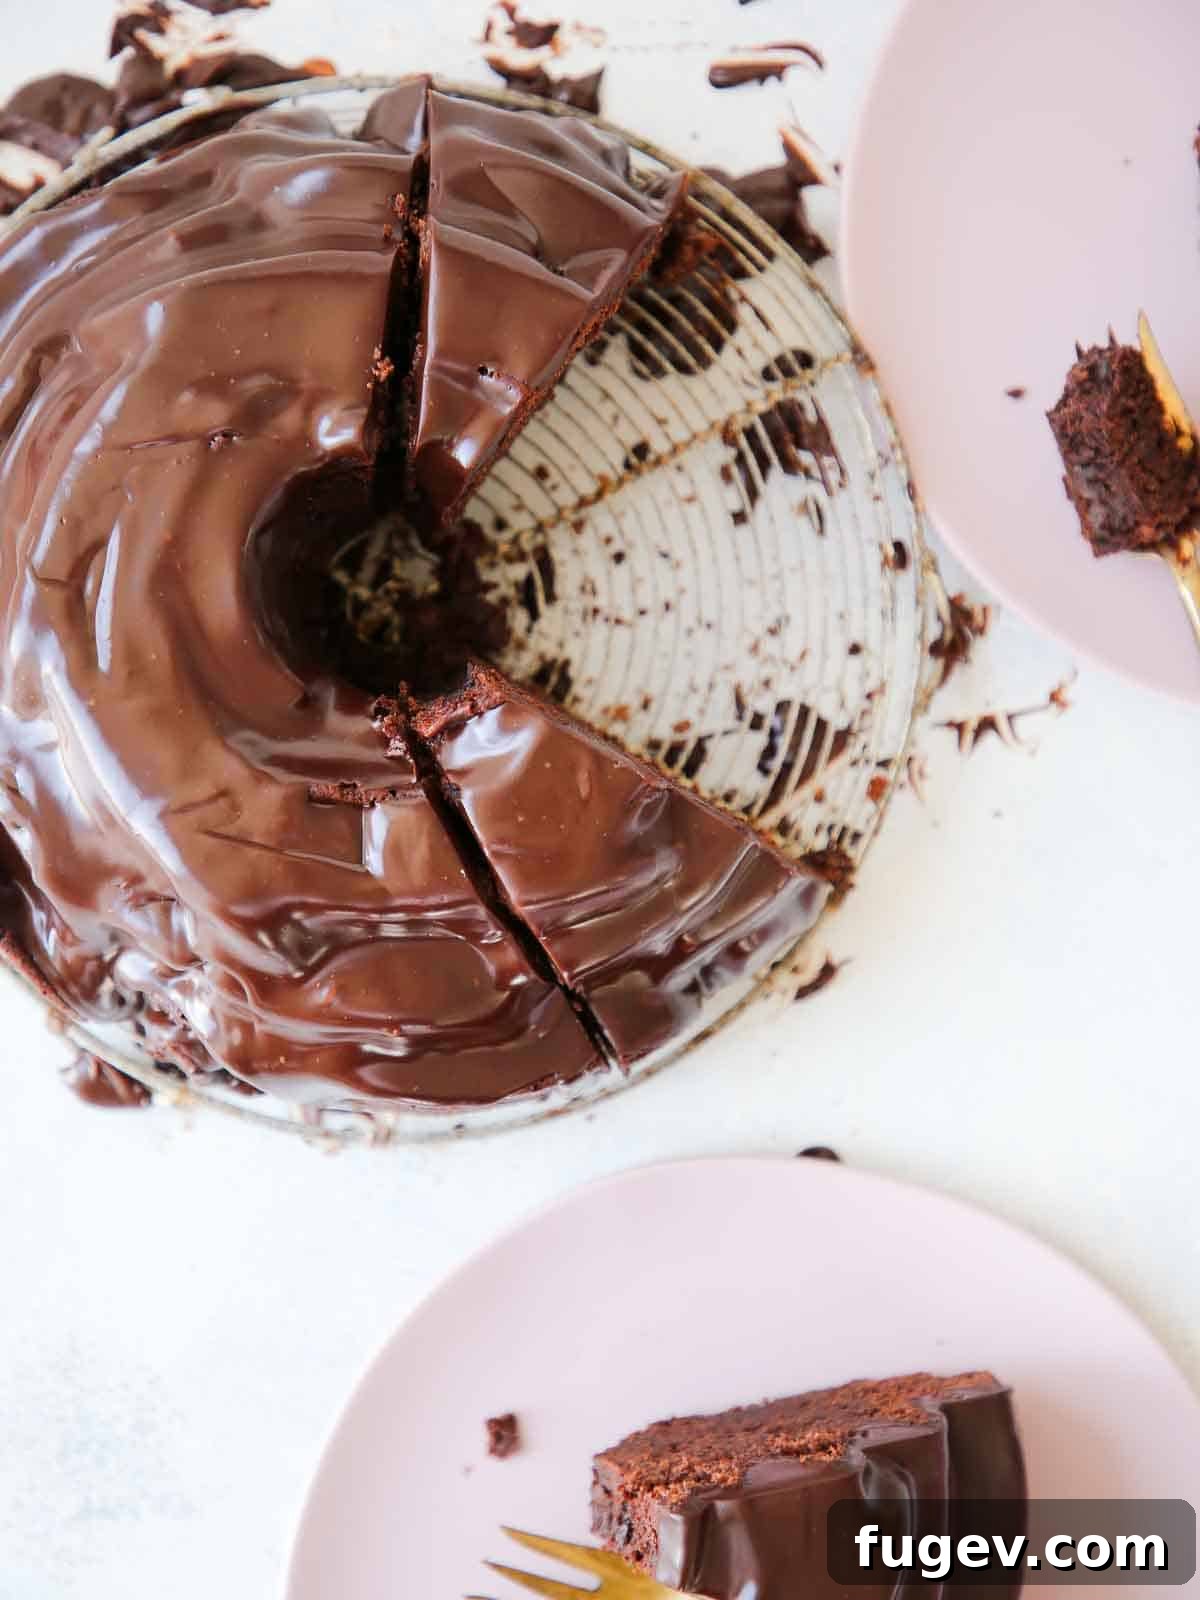
Indulge in the ultimate chocolate experience with this exceptionally moist and deeply flavorful chocolate bundt cake. Crafted with a powerful combination of both rich cocoa powder and luxurious melted dark chocolate, this recipe guarantees an intense chocolate flavor that will satisfy even the most discerning chocoholics. While a silky, easy-to-make chocolate ganache cascades beautifully over its elegant ridges, a simple dusting of powdered sugar is equally delightful, allowing the cake’s pure chocolate essence to shine.
A Quick Look At The Recipe
This is a brief summary of the recipe’s key details. For complete instructions and a comprehensive ingredient list, simply jump to the full recipe below.
Jump to Recipe
Prep Time
20 minutes
Cook Time
1 hour 10 minutes
Total Time
1 hour 30 minutes
Servings
12 Servings
Difficulty
Easy
Calories *
650 kcal per serving
Technique
Prepare the batter, bake until golden, allow to cool, then apply a luscious ganache topping.
Flavor Profile
A rich, moist chocolate bundt cake enhanced by an easy-to-make, glossy chocolate ganache, offering a truly decadent dessert experience.
* Based on nutrition panel for general guidance.
Discover more insightful tips and recipes from Chef Lindsey at:
Holy wow! This is by far the most chocolaty cake I’ve ever had even without the ganache topping! I made it with your chocolate fudge glaze instead for a little sweeter (and less expensive) finish. Brought slices to my neighbor and she said she almost passed out with glee. hehe ⭐⭐⭐⭐⭐
Michelle
This isn’t just a chocolate bundt cake; it’s a celebration of chocolate in every bite! Our recipe is engineered for an unparalleled depth of flavor, incorporating Dutch-processed cocoa powder for its rich, mellow notes, generous amounts of melted dark chocolate directly into the cake batter, and crowned with an exquisite chocolate ganache that adds both moisture and an extra layer of chocolatey goodness. If you prefer a lighter, more subtle chocolate nuance, our delightful red velvet pound cake might be a perfect alternative.
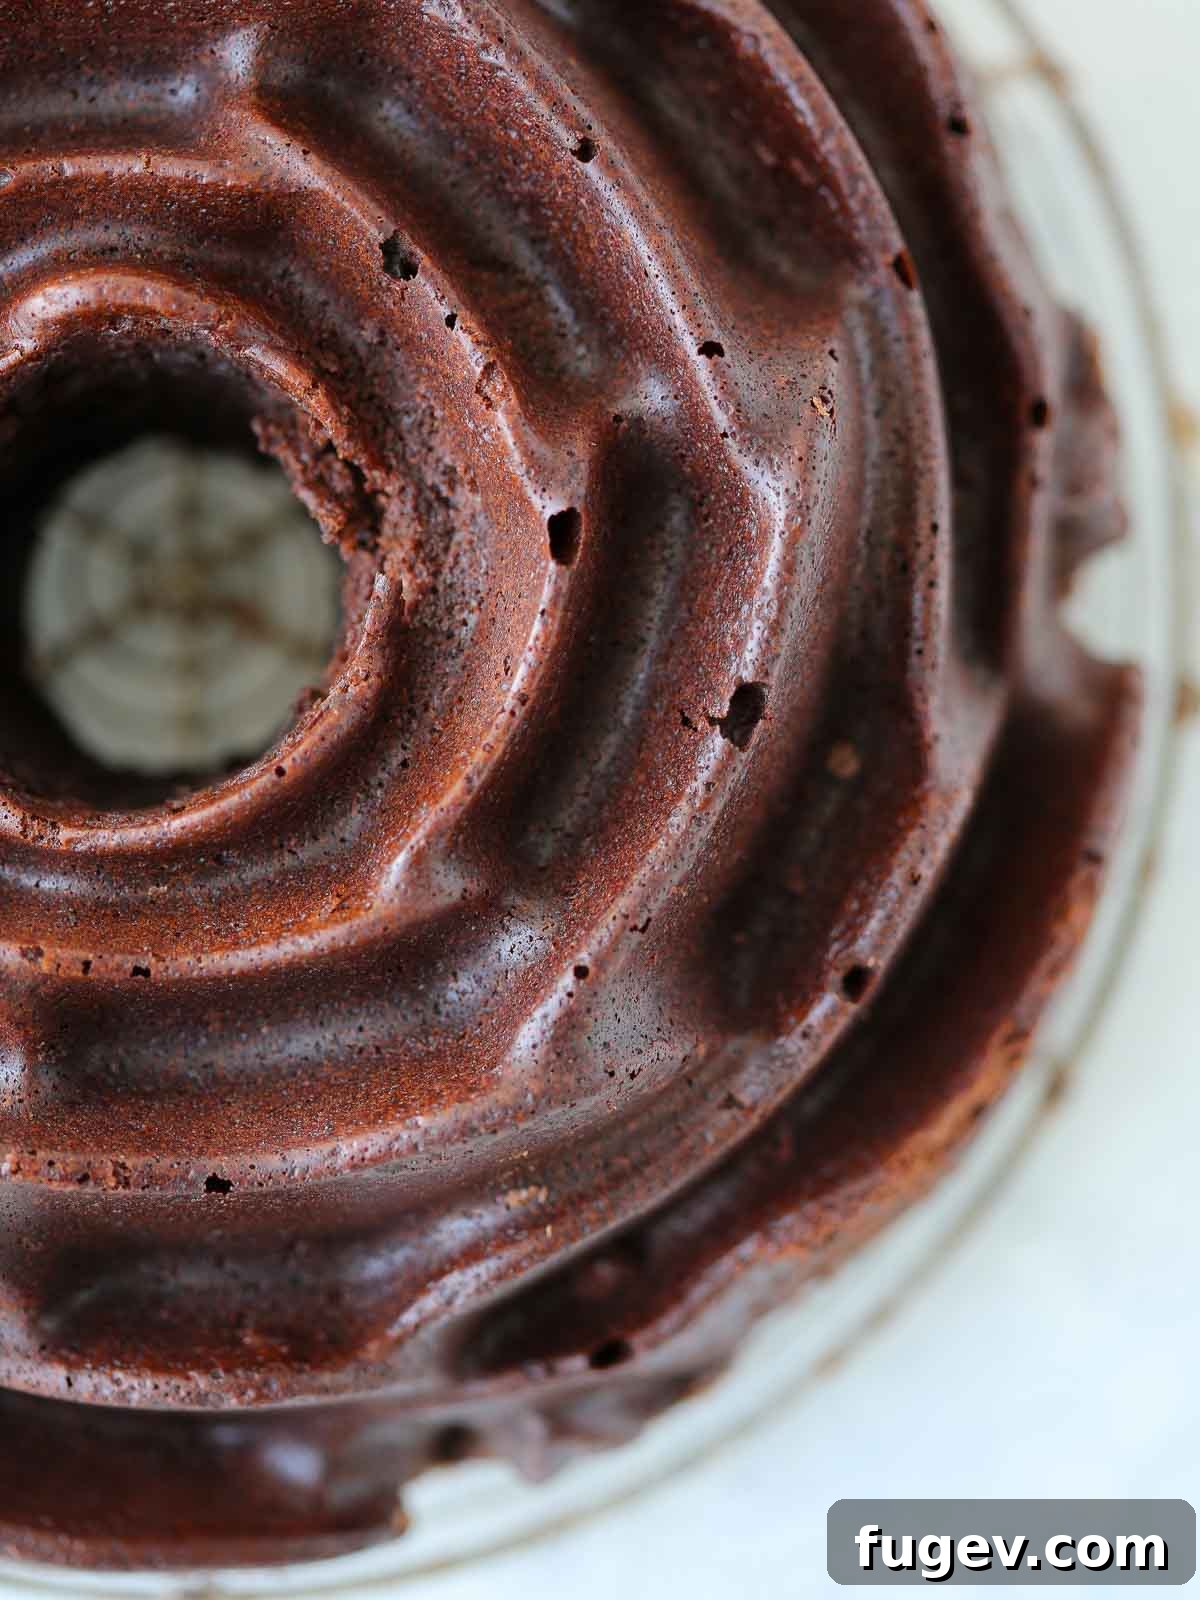
Specifically formulated for the beautiful, intricate designs of Nordic Ware bundt pans, this recipe yields just the right amount of batter to fill a 10-cup decorative pan without overflowing, unlike some larger cake batters. It’s perfectly suited for captivating designs such as the 10-cup rose bundt pan (as featured in our imagery) or the charming 10-cup blossom bundt pan. This striking chocolate bundt cake makes an ideal centerpiece for any special occasion, from birthdays (easily customizable with sprinkles or alongside funfetti cookies) to any festive holiday gathering, promising to impress both in appearance and taste.
Table of Contents
- Why This is the Best Chocolate Bundt Cake Recipe
- Professional Tips for Making Chocolate Bundt Cake
- Ingredients & Substitutions
- Possible Variations
- How to Make Chocolate Bundt Cake
- Chef Lindsey’s Recipe Tip
- Frequently Asked Questions
- Chocolate Bundt Cake Recipe
- Before You Go
Why This is the Best Chocolate Bundt Cake Recipe You’ll Ever Make
- Unbelievably Moist Chocolate Perfection: Forget dry, crumbly cakes. This recipe delivers a chocolate bundt cake that remains incredibly moist and tender for days. The secret lies in a carefully balanced combination of sour cream, which adds rich fats and tanginess; light brown sugar, which contributes both sweetness and additional moisture thanks to its molasses content; and a generous amount of melted dark chocolate, enhancing both flavor and texture. Each ingredient works in harmony to ensure a melt-in-your-mouth experience.
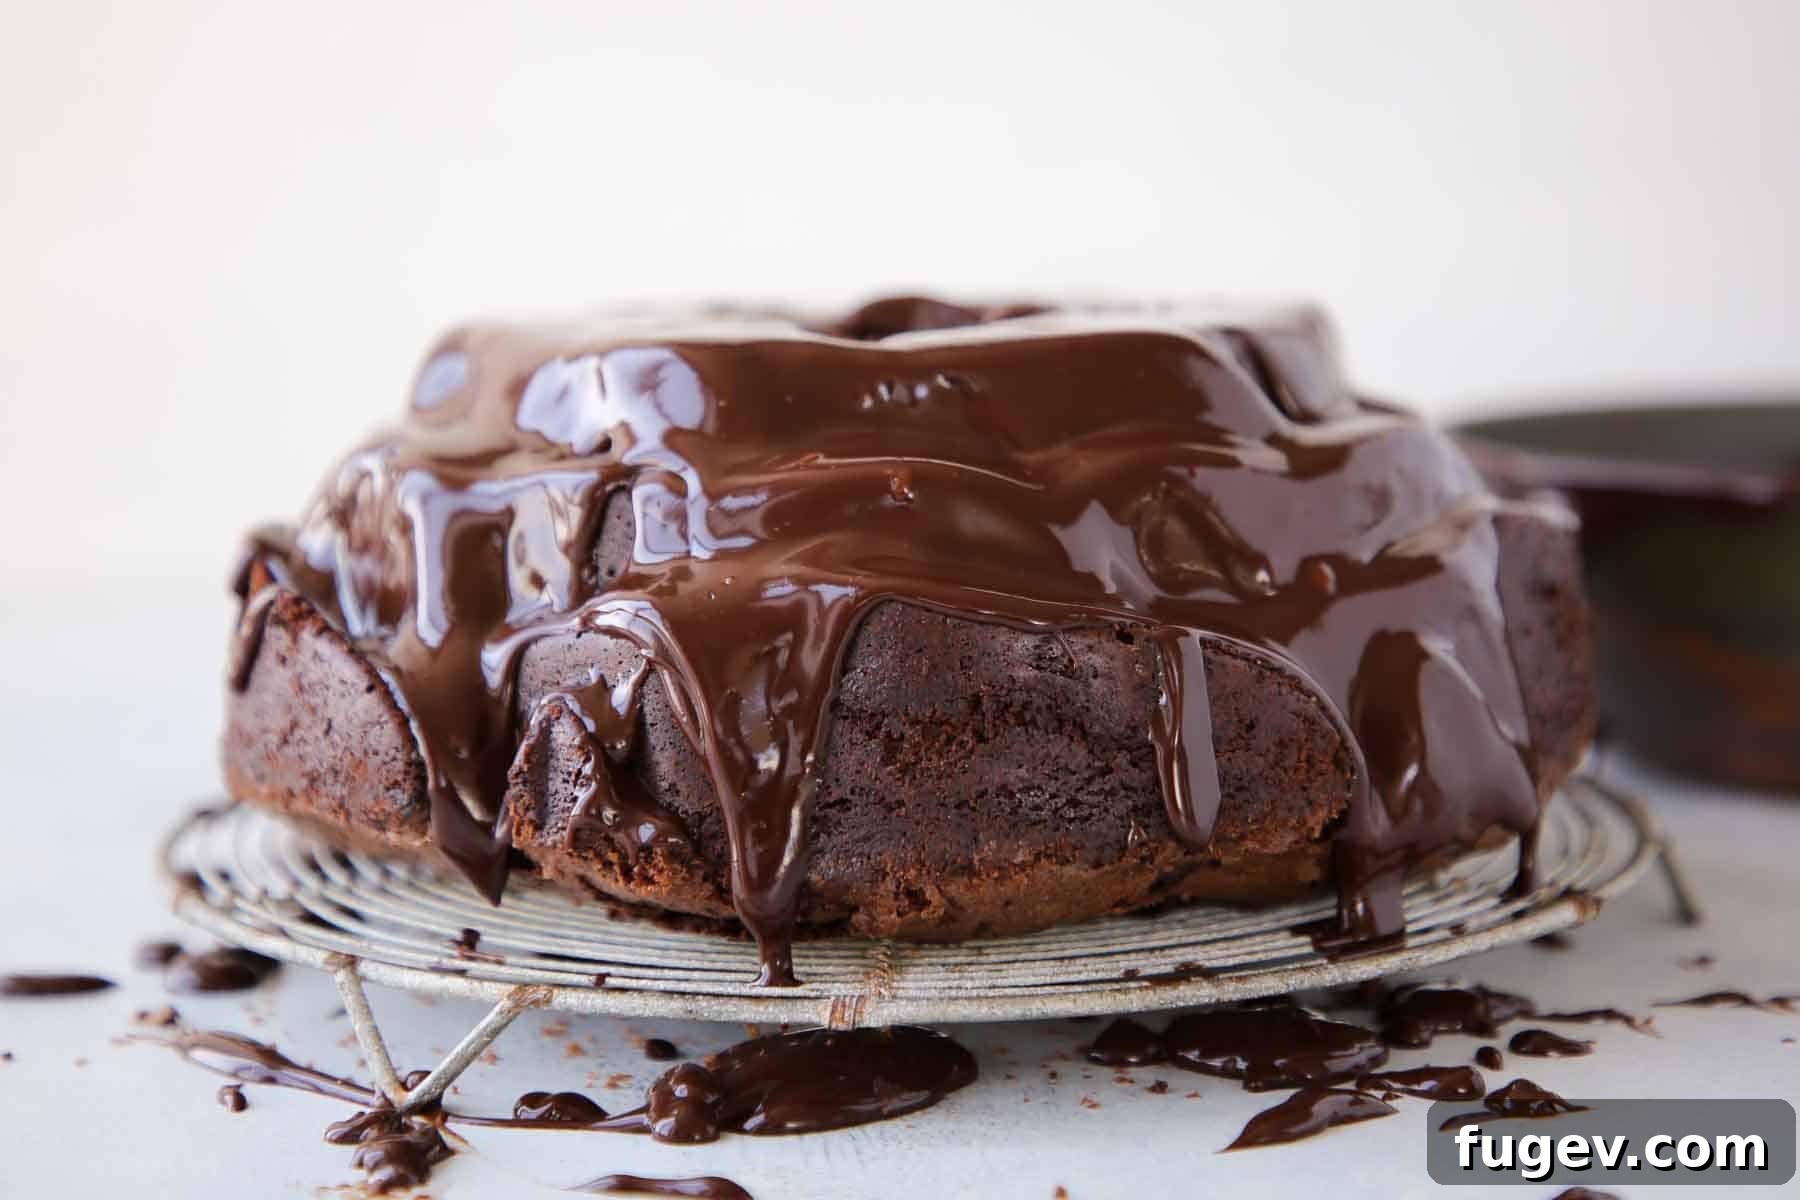
- Deliciously Versatile with or Without Ganache: While the luscious, professional chocolate ganache topping is a decadent addition that locks in moisture and beautifully highlights the intricate details of your bundt pan, this cake truly stands on its own. The deeply rich and chocolaty flavor profile means it’s equally exquisite with just a simple dusting of powdered sugar, similar to the beloved texture of our chocolate pound cake. It’s a versatile dessert perfect for any occasion.
- Flawless Release from Intricate Bundt Pans: Through years of baking experience, I’ve learned that achieving a clean release from highly detailed bundt pans can be challenging. Many recipes simply aren’t designed for it, leading to heartbreaking moments where parts of your beautiful cake stick. This chocolate bundt cake recipe, however, is specifically formulated to bake beautifully and release effortlessly, even from the most ornate Nordic Ware designs. You won’t face the same frustrations I’ve encountered with other recipes, such as certain versions of my grandmother’s fruit cake, earlier attempts at chocolate zucchini cake, or initial tests of my pumpkin bundt cake. Enjoy picture-perfect results every time.
Professional Tips for Making the Best Chocolate Bundt Cake
- Embrace Room Temperature Ingredients for Superior Texture: This is a fundamental rule in baking for a reason. Using room temperature butter, eggs, and sour cream allows them to emulsify properly, creating a smoother, more uniform batter. A well-emulsified batter traps air more effectively, leading to a lighter, more tender crumb that truly melts in your mouth. If you happen to forget, don’t panic—your cake will still be delicious. However, making the effort for room temperature ingredients will elevate your chocolate bundt cake to professional-level perfection.
- Master the Art of Pan Preparation for a Flawless Release: A beautifully designed bundt pan is only as good as its release. Start by thoroughly coating your pan with a nonstick cooking spray, ensuring every crevice is covered. Alternatively, brush softened butter into all the nooks and crannies. Next, dust the entire interior generously with all-purpose flour. For intricate molds, gently rotate the pan in both directions and tap firmly on the counter to distribute the flour evenly and remove any excess. A common mistake is using too much flour, which can actually cause sticking. Also, while it might seem intuitive, cocoa powder doesn’t provide the same nonstick properties as all-purpose flour in bundt pans and can lead to a less clean release, so stick to flour for best results.
- Bake to Perfection – Avoid the Dreaded Dry Cake: Over-baking is the arch-nemesis of a moist cake. There’s no truly “saving” an over-baked cake from dryness, so precise timing is crucial. Begin checking your cake around the lower end of the suggested baking time. Insert a cake tester or a wooden toothpick into the deepest part of the cake (avoiding the center tube). When it emerges with a few moist, clinging crumbs, your cake is done. It’s always better to under-bake slightly and check often than to risk over-baking. If, by chance, you do accidentally over-bake, immediately remove the cake from the pan and, while still warm, brush it generously with a simple syrup (equal parts sugar and water, simmered until dissolved). This can help reintroduce some much-needed moisture.
Key Ingredients & Clever Substitutions for Your Chocolate Bundt Cake
- Unsalted Butter: I consistently opt for unsalted butter in all my baking endeavors. This allows me complete control over the salt content in the recipe, ensuring the flavors are perfectly balanced. However, if salted butter is what you have on hand, it can certainly be used; just remember to omit the kosher salt specified in the dry ingredients to prevent your cake from becoming too salty.
- Granulated Sugar: Provides essential sweetness and contributes to the cake’s structure and beautiful golden-brown crust.
- Light Brown Sugar: Beyond its delicious caramel notes, light brown sugar plays a crucial role in enhancing the cake’s moisture. Its inherent molasses content helps keep the finished bundt cake wonderfully moist and tender for several days, preventing it from drying out prematurely.
- Large Eggs: These are vital for binding the ingredients, adding richness, contributing to the cake’s structure, and helping it rise beautifully. Ensure they are at room temperature for optimal emulsification.
- Vanilla Extract: A classic flavor enhancer that beautifully complements and deepens the chocolate notes, adding a layer of aromatic complexity to the cake.
- All-purpose Flour: The primary structural component of the cake, providing the necessary body and crumb. Sifting ensures a lighter texture.
- Cocoa Powder: For this recipe, I’ve chosen natural cocoa powder, which offers a slightly fruitier and brighter chocolate flavor that reacts beautifully with the baking soda. However, if you prefer a darker, more mellow, and less acidic chocolate flavor, Dutch-processed cocoa powder can be used as a direct substitute. Both will yield a delicious chocolate bundt cake.
- Kosher Salt: Essential for balancing the sweetness of the sugars and intensifying the rich chocolate flavor. Do not skip the salt!
- Baking Soda: Our leavening agent, which, when combined with the acidic sour cream, creates carbon dioxide bubbles, helping the cake rise and achieve a light, tender crumb.
- Semi-Sweet Chocolate: Crucial for achieving that deep, multi-layered chocolate flavor. Use a good quality semi-sweet or bittersweet chocolate for both the cake batter and the optional ganache topping. I prefer chopping baking chocolate bars for superior melt and flavor, but high-quality chocolate chips also work well. While unsweetened baker’s chocolate can be used in the cake batter for an intensely rich, less sweet profile, I would strongly advise against it for the ganache, as it would be too bitter.
- Sour Cream: A true MVP for moisture and tenderness! Full-fat sour cream provides the richest texture, but low-fat sour cream works perfectly well too. For a similar effect, you can substitute with plain yogurt or even Greek yogurt for an extra boost of protein and tanginess.
- Water or Brewed Coffee: This liquid element brings the batter together. If you’re looking to intensify the chocolate flavor even further, I highly recommend using freshly brewed coffee or a small amount of espresso powder dissolved in hot water. Coffee amplifies chocolate without making the cake taste like coffee. If neither is available, plain water will still result in a wonderfully rich chocolate bundt cake.
- Heavy Cream: This is specifically for crafting the luxurious, pourable chocolate ganache topping. Its high fat content is essential for achieving the smooth, glossy texture of a perfect ganache.
Refer to the comprehensive recipe card below for precise measurements and detailed ingredient information.
Exciting Possible Variations for Your Chocolate Bundt Cake
- Infuse with Extracts or Zest for an Aromatic Twist: Elevate the chocolate profile with complementary flavors. Consider adding a touch of cherry extract for a Black Forest-inspired cake, or a vibrant orange extract paired with fresh orange or lemon zest for a bright, citrusy counterpoint. This recipe is also perfectly suited for showcasing detailed holiday bundt pans. Imagine a festive cake baked in this enchanting Pine Forest Bundt, a charming Holiday wreath bundt, or a whimsical Let It Snow bundt pan! For a winter wonderland theme, a hint of peppermint extract is divine. If you choose peppermint, I highly recommend finishing with a delicate dusting of confectioner’s sugar or a creamy peppermint frosting, much like the one featured on my popular peppermint brownies!
- Bake Adorable Mini Bundt Cakes: This versatile recipe scales down beautifully, making it ideal for baking into charming miniature bundt cakes. Many other chocolate cake recipes can be notoriously difficult to release from mini bundt molds, often leading to broken edges and frustration. However, this particular batter is designed for a clean, perfect release every time, ensuring your mini bundts come out flawlessly. They’re perfect for individual servings, party favors, or gifting!
- Explore a World of Different Frostings, Glazes, or Toppings: While our signature chocolate ganache is truly exceptional, don’s hesitate to experiment with other delightful toppings. For a simple yet elegant finish, try our easy donut glaze for a delicate vanilla sheen. If you want to keep it chocolatey but slightly less rich than ganache, our smooth chocolate fudge glaze is a fantastic option. For a thicker, more luxurious topping, spread on a tangy cream cheese frosting, a classic ermine frosting, or even a fluffy vanilla American buttercream. The rich chocolate cream cheese frosting from my chocolate mayonnaise cake would also be an absolute dream paired with this bundt cake.
How to Make the Ultimate Moist Chocolate Bundt Cake
Follow these detailed, step-by-step instructions to create the most decadent double chocolate pound cake. For even more in-depth guidance on crafting the perfect chocolate ganache, refer to our dedicated chocolate ganache recipe post.
For the Chocolate Bundt Cake:
Step 1: Preheat Your Oven Accurately
Begin by preheating your oven to 325°F if using a convection setting (with fan), or 350°F for a conventional oven (no fan). This ensures the oven is at the correct, stable temperature before the cake enters, promoting an even bake.
Step 2: Prepare Your Bundt Pan for a Flawless Release
Thoroughly spray the interior of your bundt pan with a nonstick cooking spray, making sure to coat every intricate detail and crevice. Alternatively, you can brush softened butter generously all over the pan. Next, add a tablespoon or two of all-purpose flour to the pan. Rotate and tap the pan in all directions, ensuring the flour adheres evenly to every surface. For highly detailed molds, rotate and tap the pan both clockwise and counter-clockwise to ensure thorough coverage. Once fully coated, invert the pan and firmly tap out any excess flour onto a piece of parchment paper or your counter. You should be left with a perfectly floured pan, ready for batter. This careful preparation is crucial for a clean release, especially with ornate designs.
For very detailed pans, like the Heritage Bundt Pan (which I used for my popular caramel molasses pound cake), I find it beneficial to tap the flour around in both directions. This ensures every nook and cranny is coated before banging out the excess. Remember, a light, even coating is key – too much flour can actually cause sticking.
Step 3: Combine Dry and Wet Ingredients (Separately)
In a large mixing bowl, whisk together the all-purpose flour, cocoa powder, kosher salt, and baking soda until thoroughly combined. Set this dry mixture aside. In a separate medium bowl or a large liquid measuring cup, whisk together the sour cream and either water or brewed coffee. Set this wet mixture aside as well.
Step 4: Melt and Cool Your Chocolate
Gently melt the semi-sweet chocolate. This can be done in a microwave in 30-second intervals, stirring between each, or over a double boiler. Once melted and smooth, allow the chocolate to cool slightly. It should be warm to the touch, but not hot, to prevent it from scrambling the eggs later in the process.
Step 5: Cream Butter, Sugars, and Eggs
In the bowl of a stand mixer fitted with the paddle attachment, combine the softened unsalted butter, granulated sugar, and light brown sugar. Beat them on medium speed until a thick, uniform paste forms. For a lighter, airier cake, continue beating for several minutes until the mixture is light in color and fluffy. Next, with the mixer on medium-high speed, add the large eggs one at a time, allowing each egg to fully incorporate before adding the next. Make sure to stop the mixer and scrape down the sides and bottom of the bowl frequently to ensure all ingredients are well mixed. Add the vanilla extract with the final egg, beating until just combined.
Step 6: Incorporate the Melted Chocolate
Pour all of the slightly cooled melted chocolate into the butter-sugar-egg mixture. Beat well on medium speed until the chocolate is fully incorporated and the batter is a uniform chocolate color. Be careful not to overmix at this stage, but ensure everything is thoroughly combined.
Step 7: Alternate Dry and Wet Additions for a Silky Batter
Reduce the mixer speed to low. Begin alternately adding the dry flour mixture and the sour cream mixture to the bowl, starting and ending with the dry ingredients. Add approximately one-third of the flour mixture, mix until just barely combined, then add half of the sour cream mixture, mix, and continue with the remaining dry and wet ingredients. This alternating method helps prevent overmixing the flour, which can lead to a tough cake.
As a professional baker, I often don’t wait for each addition of flour to be fully incorporated before adding the next batch of liquid or dry ingredients. I keep a steady flow, adding with two hands for efficiency. However, I always stop the mixer to add the last of the sour cream mixture and then thoroughly scrape down the sides and bottom of the bowl with a rubber spatula. This ensures a beautifully silky, smooth, and lump-free batter.
Step 8: Fill the Pan and Prepare for Baking
Carefully pour the luscious chocolate bundt cake batter into your meticulously prepared bundt pan. Use the back of a spoon or an offset spatula to gently smooth the top surface of the batter, ensuring it’s evenly distributed for a beautiful finish.
Step 9: Bake to Perfection (and Check for Doneness)
Place the bundt pan in your preheated oven. Bake for approximately 60 to 85 minutes. Baking times can vary significantly depending on your specific oven and the material of your bundt pan. In my oven, this cake typically bakes in about 70 minutes. To determine doneness, insert a wooden skewer, cake tester, or toothpick into the thickest part of the cake (avoiding the center hole). When it comes out with just a few moist, clinging crumbs, the cake is perfectly baked. Be diligent with your checks, as over-baking will result in a dry cake.
Step 10: Cool and Release Your Masterpiece
Once baked, remove the cake from the oven and allow it to cool in the pan for precisely 20 minutes. This crucial resting period allows the cake to firm up and pull away from the pan’s edges. After 20 minutes, gently loosen any remaining edges with a small paring knife. Carefully invert the bundt cake onto a wire cooling rack and allow it to cool completely before attempting to glaze or serve. This complete cooling is essential for the cake’s structural integrity and for the ganache to set properly.
Chef Lindsey’s Recipe Tip: Tailoring Your Cake’s Texture
The beauty of this chocolate bundt cake recipe lies in its adaptability. You can actually influence its final texture – whether you prefer a lighter, fluffier cake or a denser, more pound cake-like consistency – simply by adjusting your mixing technique. For a noticeably lighter cake, pay extra attention to creaming the butter and sugars together until they are truly light and fluffy, incorporating as much air as possible. Then, when adding the eggs, beat each one in thoroughly, allowing ample time for it to emulsify and further aerate the mixture. This maximized air incorporation throughout the initial stages will result in a wonderfully light and tender bundt cake.
Crafting the Perfect Chocolate Ganache (Optional, but Highly Recommended!)
Step 1: Prepare Chocolate and Heat Cream
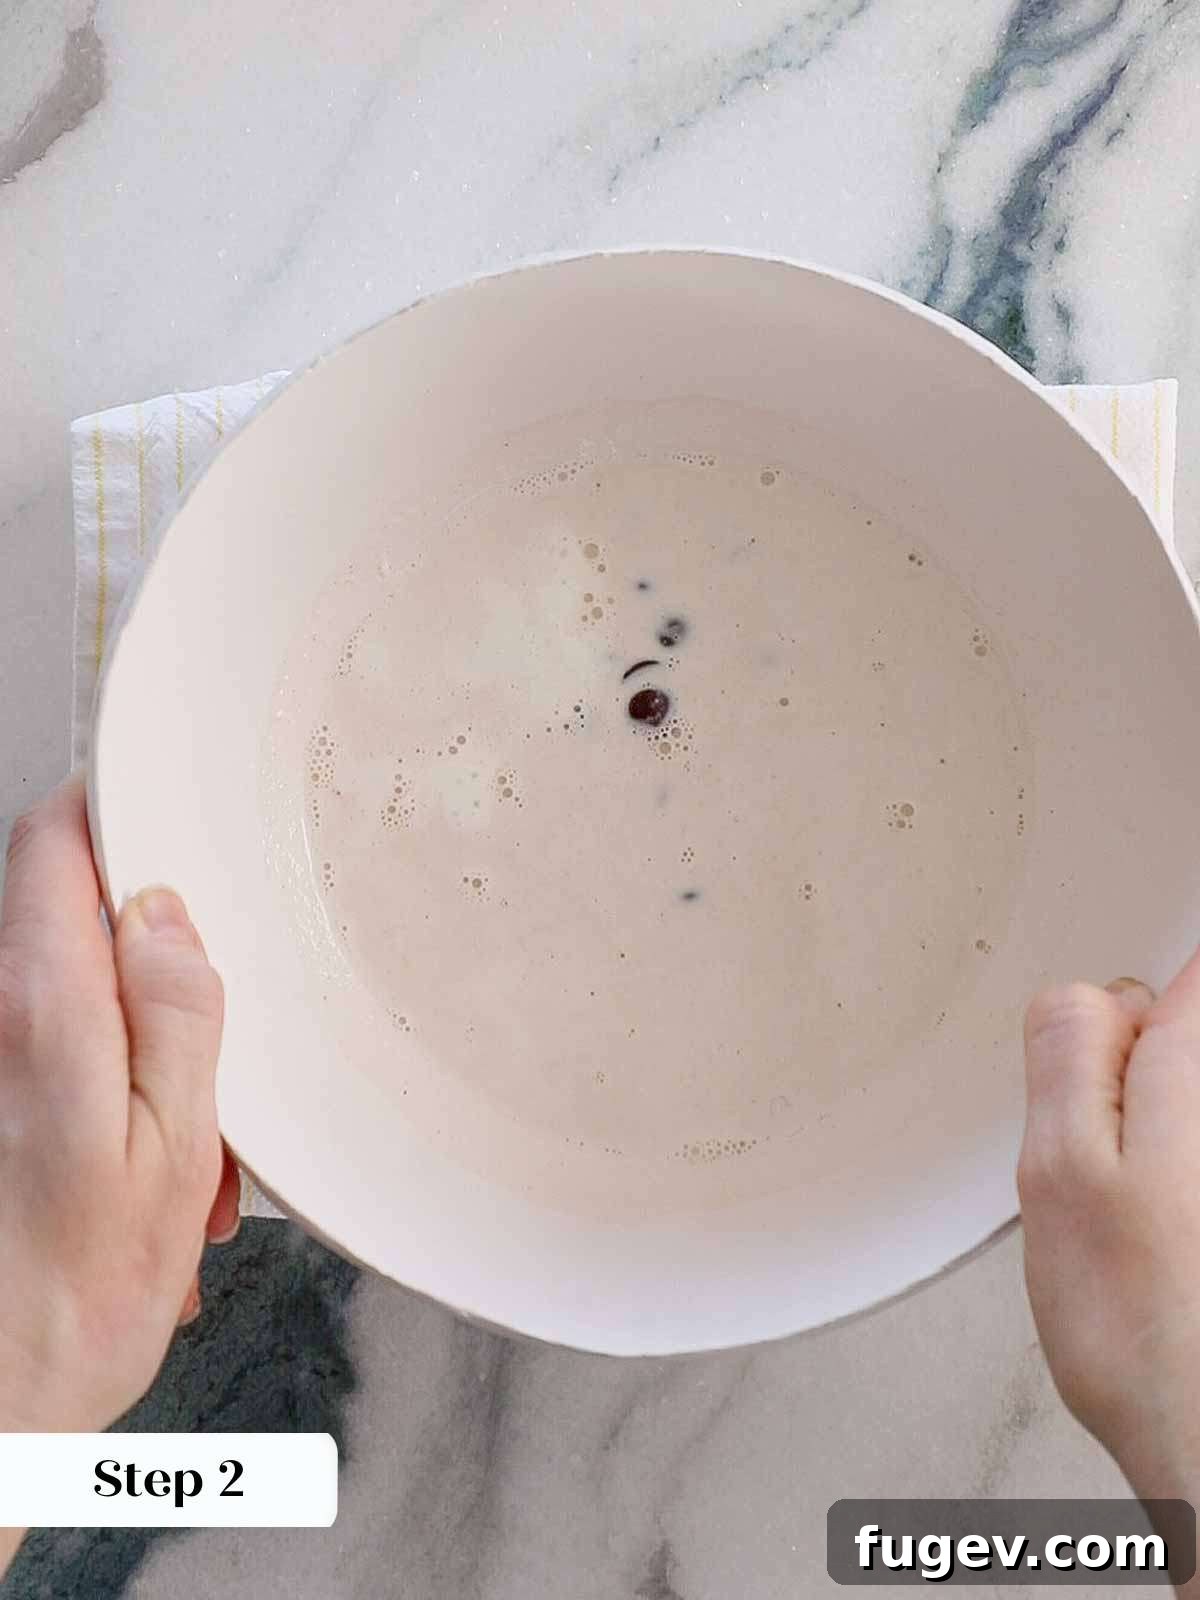
Place your finely chopped semi-sweet or bittersweet chocolate (or chocolate chips) in a medium heatproof bowl. For stability, set the bowl on a folded tea-towel. In a small saucepan, gently heat the heavy cream just until it begins to boil and tiny bubbles appear around the edges. Immediately remove from heat and pour the hot cream directly over the chocolate in the bowl.
Step 2: Allow Chocolate to Melt (No Stirring Yet!)
Crucially, allow the hot cream to sit undisturbed over the chocolate for a full 2 minutes. This waiting period allows the residual heat from the cream to melt the chocolate thoroughly and evenly. This gentle melting process is key to achieving a smooth, stable emulsion, meaning you’ll need less whisking in the next step, which significantly reduces the chance of the ganache “breaking” or separating. I’ve found a whisk to be far more efficient for emulsifying ganache than a spoon or rubber spatula, ensuring a perfectly smooth finish.
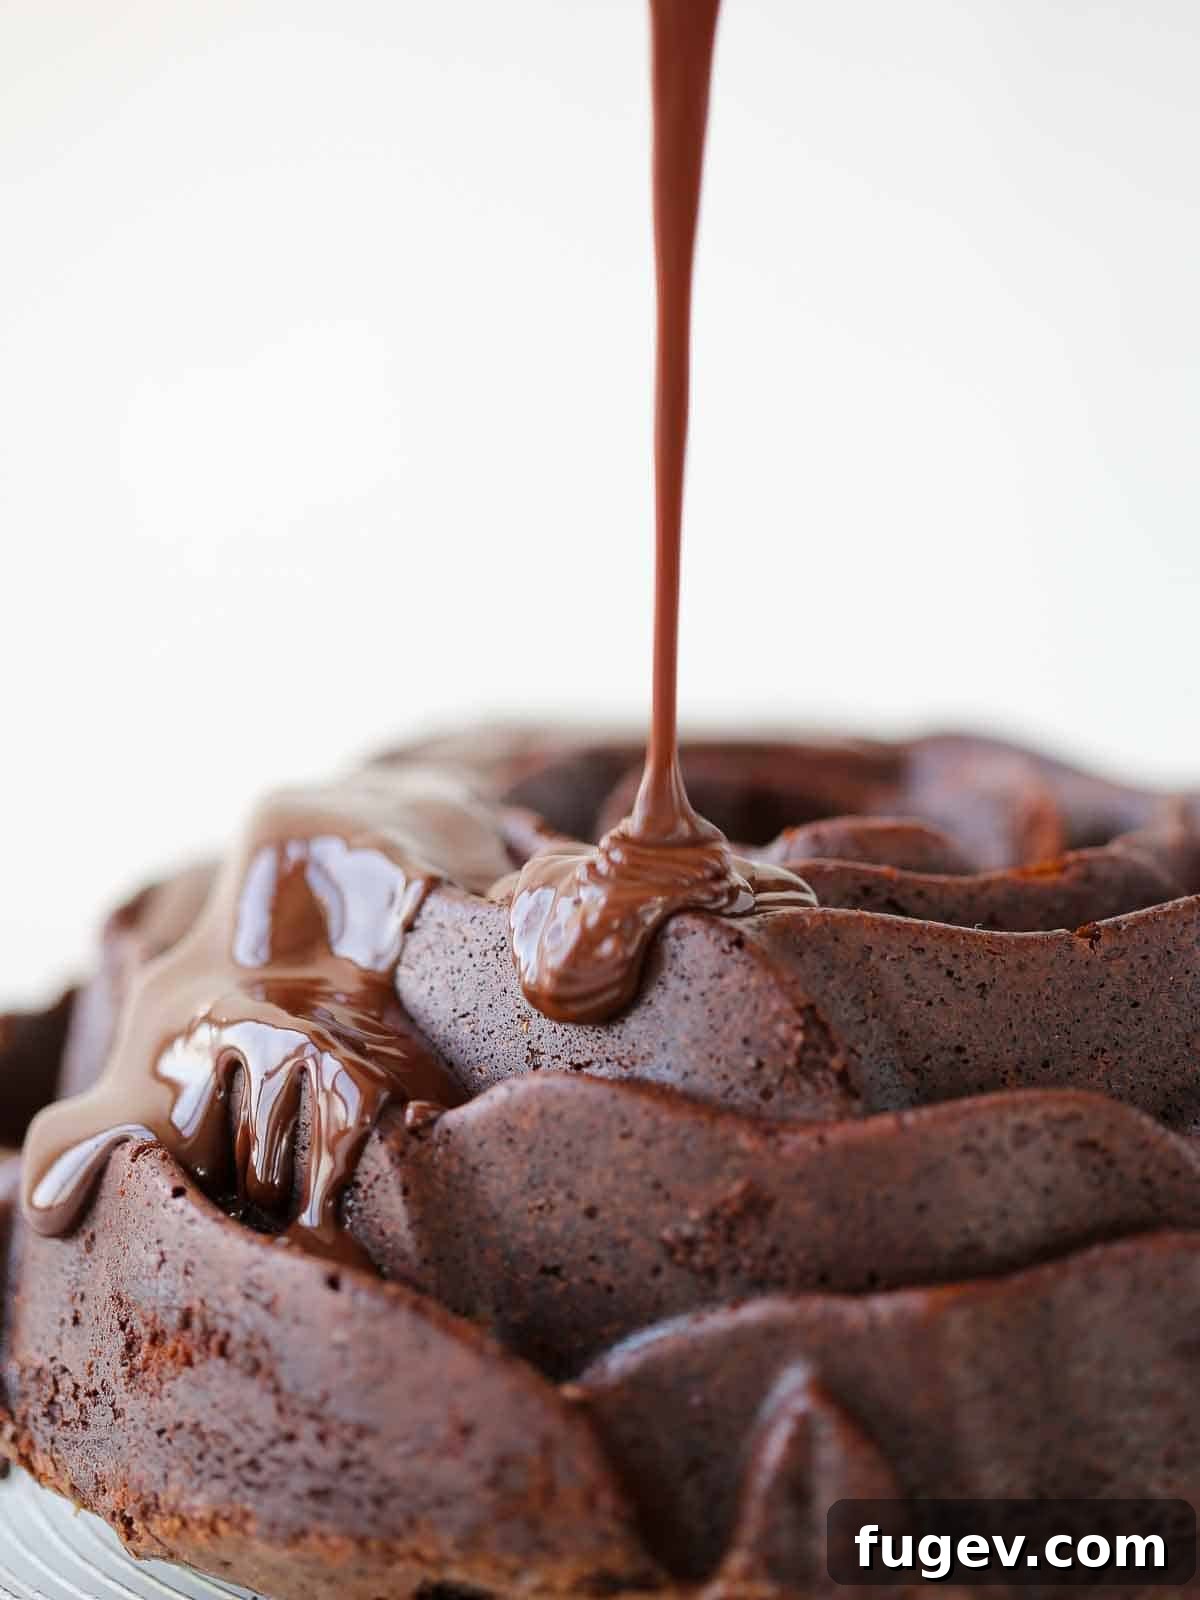
Step 3: Whisk to a Smooth Emulsion
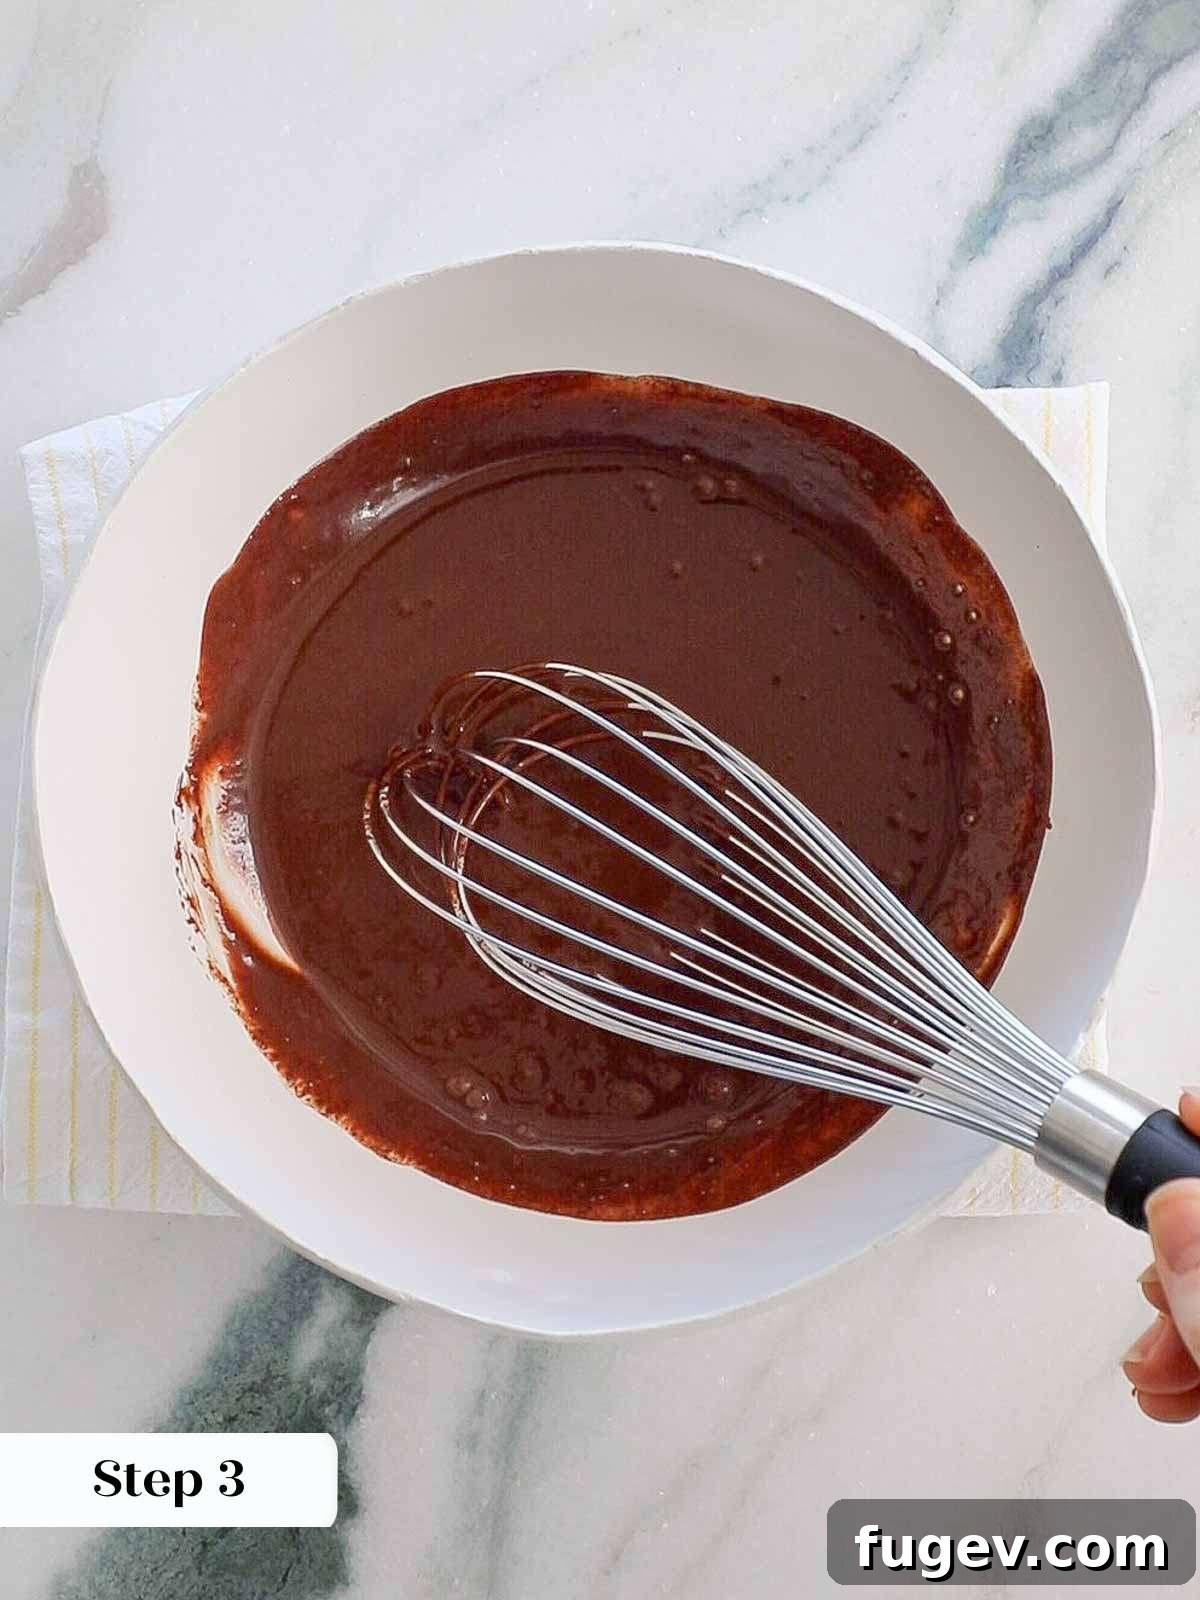
After the 2-minute rest, begin whisking the chocolate and cream mixture. Start in the very center of the bowl, whisking in a consistent, tight circular motion in one direction. You’ll observe a smooth, glossy ganache beginning to form in the center. As it emulsifies, gradually expand your whisking strokes outwards, progressively incorporating more of the cream and melted chocolate from the edges of the bowl. Continue whisking until the entire mixture is completely smooth, homogenous, and beautifully glossy. Once a perfect emulsion is achieved, stop whisking immediately to avoid incorporating too much air or causing it to break.
Step 4: Cool and Drizzle Over Cake
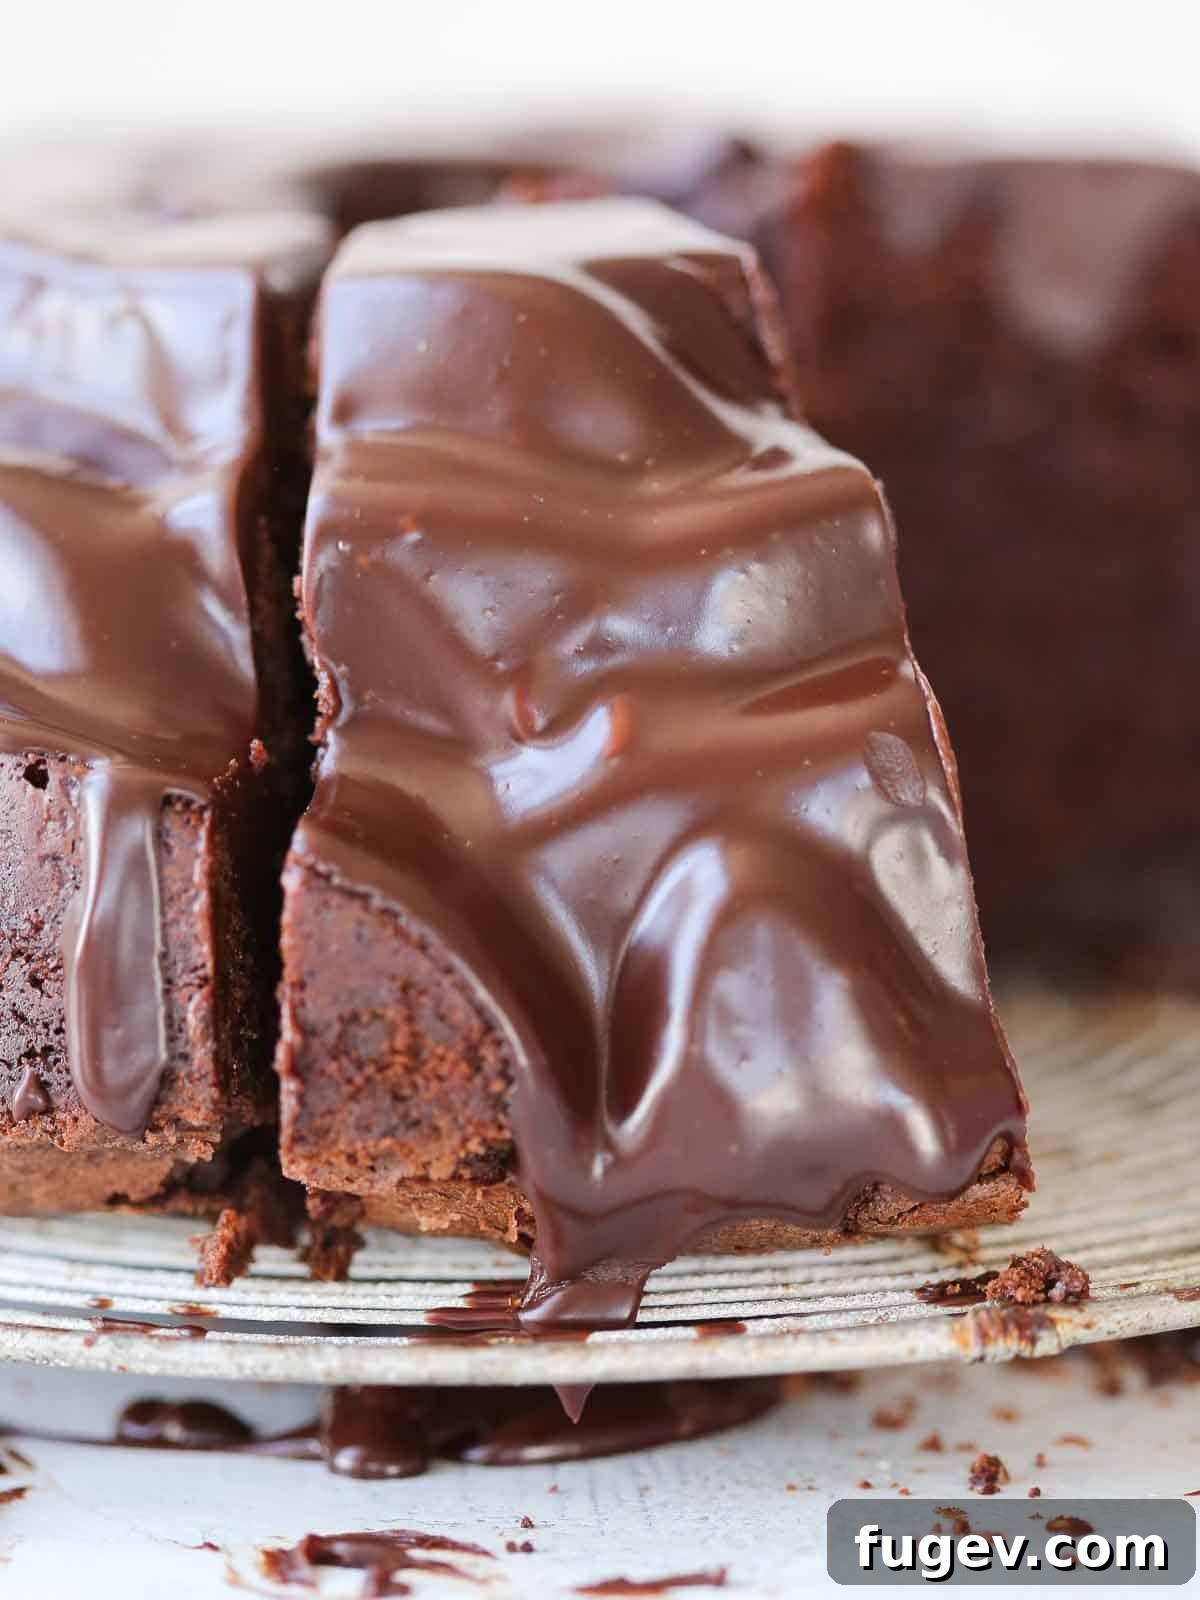
Allow the finished ganache to cool slightly at room temperature. It should thicken to a pourable consistency that is still fluid but not too runny. This typically takes about 10-20 minutes, depending on your room temperature. Once cooled to the desired consistency, artfully pour the luscious ganache over the top of your completely cooled chocolate bundt cake, letting it drip elegantly down the sides. Allow the ganache to set before slicing and serving.
Frequently Asked Questions About Chocolate Bundt Cake
To maintain its incredible moisture and flavor, store your baked and completely cooled chocolate bundt cake tightly wrapped in plastic wrap. It will remain perfectly fresh at room temperature for up to 4 days. If you need to extend its freshness, you can refrigerate it for up to a week. For longer storage, this cake freezes beautifully for up to 2 months. Simply thaw at room temperature before serving. If your cake is glazed with ganache, it can be stored for the same durations in any of these locations.
The versatility of this chocolate bundt cake recipe means you can confidently use any 10 to 12-cup bundt pan you possess! Whether you have a simple, classic design or an intricately detailed Nordic Ware pan, this batter is formulated to release beautifully every time. My baking times provided are based on a standard 10-cup bundt pan. If you’re using a larger 12-cup pan, you may find that the baking time is slightly reduced, so keep an eye on it. For an even more charming presentation, you can even divide the batter between two smaller, detailed loaf bundt cake pans!
This rich and decadent chocolate bundt cake is absolutely divine served simply on its own, especially when crowned with the glossy chocolate ganache topping. For an elevated dessert experience, I adore serving it alongside a delicate crème anglaise, a generous scoop of classic vanilla ice cream, or a cloud-like dollop of freshly whipped cream. Drizzling it with warm hot fudge sauce creates an irresistible chocolate overload. For a delightful contrast, it’s also incredibly delicious with our vibrant easy blueberry sauce, a bright easy strawberry jam loosened with a squeeze of lemon juice, or a sophisticated salted caramel sauce. If you want to lean into pure chocolate indulgence, pair it with creamy chocolate ice cream or our luscious chocolate caramel swirl ice cream!
If you tried this recipe and loved it, please take a moment to leave a 🌟 star rating and share your thoughts in the comments below. Your feedback truly brightens my day, and I love hearing about your baking successes!
Decadent Chocolate Bundt Cake
Leave a Comment
Print Recipe
Ingredients (US Customary)
For the Cake:
- 1 ½ cups unsalted butter
- 2 ¼ cups granulated sugar
- ¾ cup light brown sugar
- 6 large eggs
- 1 ½ teaspoons vanilla extract
- 2 ¼ cups all-purpose flour
- ¾ cup cocoa powder
- 1 ½ teaspoons kosher salt
- ¼ teaspoons baking soda
- 3.5 oz semi-sweet chocolate I used baking bars
- 1 cup sour cream low-fat or full-fat
- 2 tablespoons water or brewed coffee
For the Ganache:
- 3 ounces semi-sweet or bittersweet chocolate chopped or morsels (about ½ cup)
- ½ cup heavy whipping cream
Instructions
-
Preheat your oven to 325°F convection (with fan) or 350°F conventional (no fan).
-
Carefully spray your bundt pan with nonstick cooking spray and then dust it thoroughly with all-purpose flour. Tap the flour around the pan until every inch is covered, then firmly tap out any extra flour onto a piece of parchment paper. This method leaves you with a perfectly floured pan, ensuring a clean release. From extensive experience, I’ve found that coating the pan with cocoa powder tends to make detailed molds stick, which we want to avoid for a stress-free bake.
To Make the Cake:
-
In a large bowl, whisk together the flour, cocoa powder, salt, and baking soda. Set the dry ingredients aside.
-
Melt the semi-sweet chocolate and allow it to cool slightly until it is warm but not hot.
-
In a separate bowl, whisk together the sour cream and water (or brewed coffee).
-
Using a stand mixer fitted with the paddle attachment, beat the softened butter and both sugars until a thick, uniform paste forms. For a lighter cake, continue beating until light and fluffy. Add the eggs one at a time, beating well after each addition and scraping down the sides of the bowl after every two eggs. Ensure to scrape the bottom of the bowl as well. Incorporate the vanilla extract with the last egg.
-
Add all of the slightly cooled melted chocolate at once to the butter mixture and beat thoroughly to ensure it’s fully incorporated.
-
Reduce the mixer speed to low. Alternately add the dry flour mixture and the sour cream mixture, beginning and ending with the flour. You don’t need to wait for each addition to be fully incorporated before adding the next; a steady hand-over-hand approach works well for a professional-style mix. However, I always stop the mixer to add the very last of the sour cream mixture, ensuring I scrape every bit out with a rubber spatula, which helps create a perfectly silky, smooth batter.
-
Pour the prepared batter into your floured bundt pan and gently smooth the top surface with the back of a spoon.
-
Bake in the preheated oven for approximately 60 to 85 minutes, or until a cake tester inserted into the thickest part comes out with a few moist, clinging crumbs. My oven typically bakes it in about 70 minutes. Be mindful not to overbake, as this will result in a dry cake.
-
Allow the cake to cool in the pan for 20 minutes. After this resting period, gently loosen the edges with a paring knife and then invert it onto a wire rack. Allow the cake to cool completely before proceeding with any toppings.
-
Once fully cooled, dust generously with powdered sugar for a simple finish, or create a simple glaze or the rich chocolate ganache as described below for a truly decadent treat!
To Make the Chocolate Ganache:
-
Place the chopped semi-sweet or bittersweet chocolate (or chocolate chips) in a medium heatproof bowl, ideally set on a folded tea-towel for stability. In a small saucepan, heat the heavy cream until it just reaches a boil, then immediately pour the hot cream over the chocolate.
-
Allow the cream to sit undisturbed over the chocolate for 2 minutes. This crucial step allows the heat to gently melt the chocolate, making it much easier to emulsify the ganache smoothly with minimal whisking. Less whisking means a reduced chance of the ganache breaking. I find that a whisk is significantly more efficient for creating a stable emulsion than stirring with a spoon or rubber spatula.
-
Begin whisking in a circular motion, starting from the center of the chocolate mixture. Continue whisking in one direction until you observe a smooth, glossy ganache beginning to form. Gradually expand your whisking strokes outwards, incorporating more of the cream from the edges until the entire mixture is completely smooth and homogenous. Once achieved, stop whisking.
-
Allow the ganache to cool slightly at room temperature until it reaches a pourable but thickened consistency. Then, artfully pour it over the top of your completely cooled bundt cake.
Chef’s Notes and Tips
Presentation – For reference, the elegant rose bundt pan featured in the photos is a 10-cup pan.
Flavor Enhancement Tips – For an even more profound chocolate flavor, substitute freshly brewed coffee for the water in the cake batter. The coffee subtly enhances the chocolate notes without making the cake taste like coffee.
Creative Variations – Feel free to customize! You can add an extract (like peppermint or orange), bake the batter into charming mini bundt molds, or experiment with a different frosting or glaze to suit your preference.
Storage Recommendations – Store your baked and thoroughly cooled bundt cake, wrapped tightly in plastic wrap, at room temperature for up to 4 days. It can be refrigerated for up to a week, or frozen for up to 2 months. If the cake has been glazed, it can be stored for the same durations, ensuring the topping is set before wrapping.
Nutrition Information
Before You Go: Explore More Decadent Desserts!
I genuinely hope you savored crafting and tasting this professionally developed pastry chef recipe. If you’re passionate about delving deeper into the world of rich chocolate desserts, be sure to explore our entire collection of chocolate dessert recipes. Or, if you’re seeking inspiration for your next baking project, our comprehensive array of cake recipes offers something for every occasion and skill level. For those moments when you crave even more chocolate flavor explosions, don’t miss out on these incredibly satisfying chocolate cupcakes or any of our other easy chocolate recipes designed to delight your taste buds with minimal effort. Happy baking, and enjoy every sweet moment!