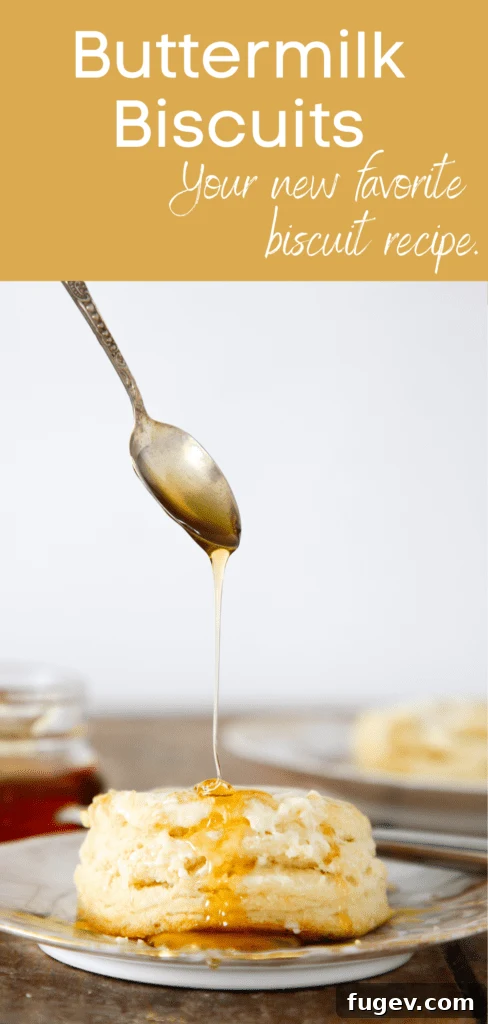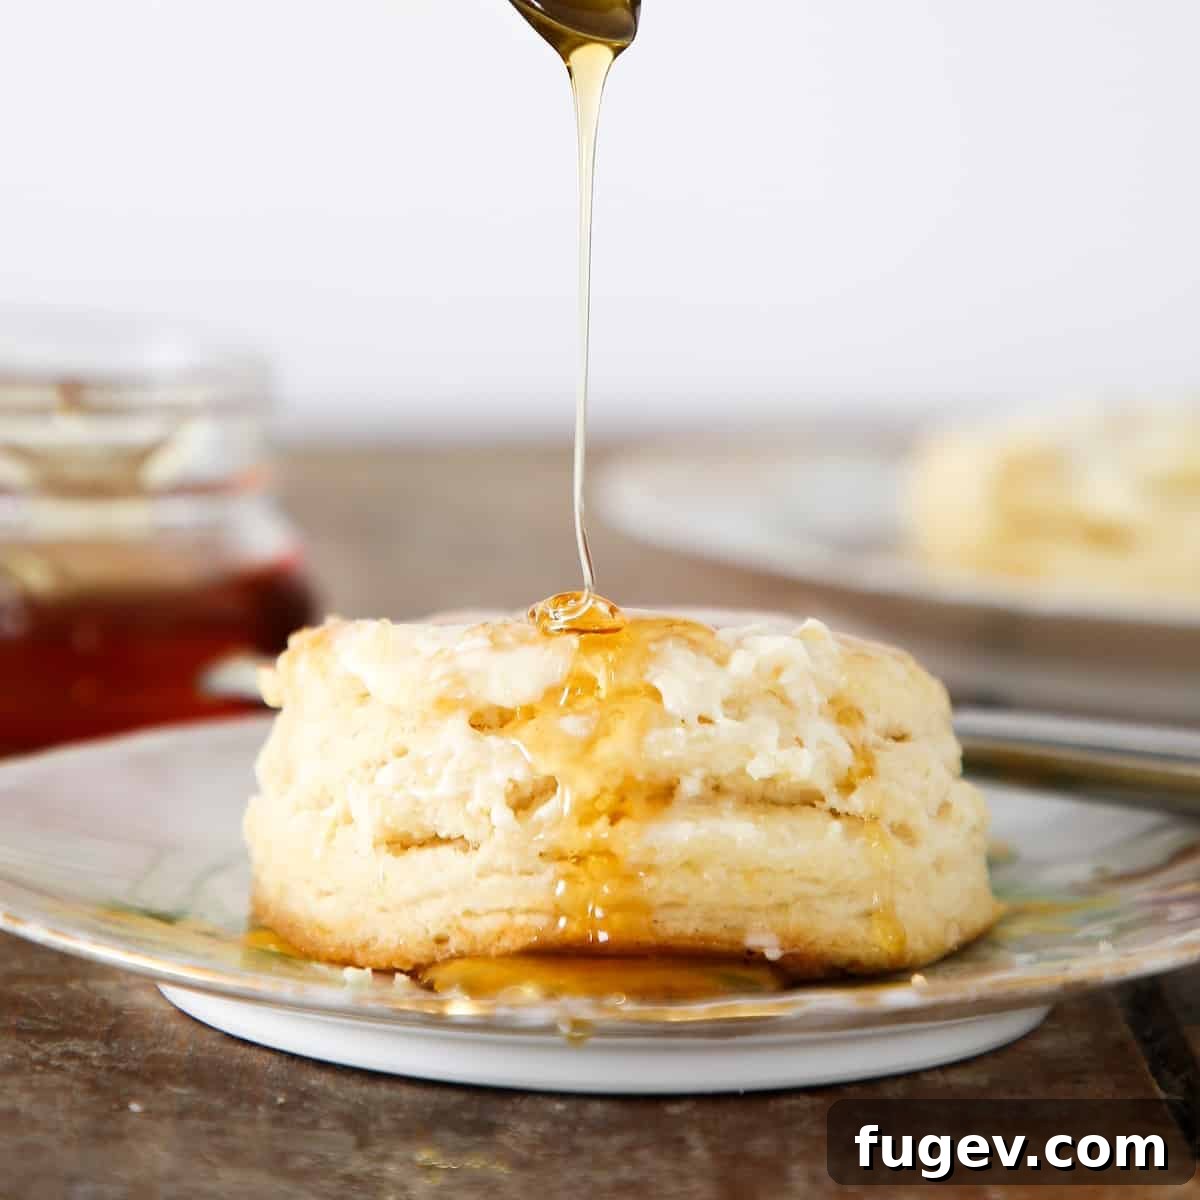
Prepare to discover the ultimate recipe for buttermilk biscuits – a culinary masterpiece that yields soft, incredibly flaky, and wonderfully tender results every single time. If you’ve been on a quest for your new go-to biscuit recipe, your search ends here. These aren’t just good; they’re truly the best buttermilk biscuits you’ll ever bake, destined to become a staple in your kitchen.
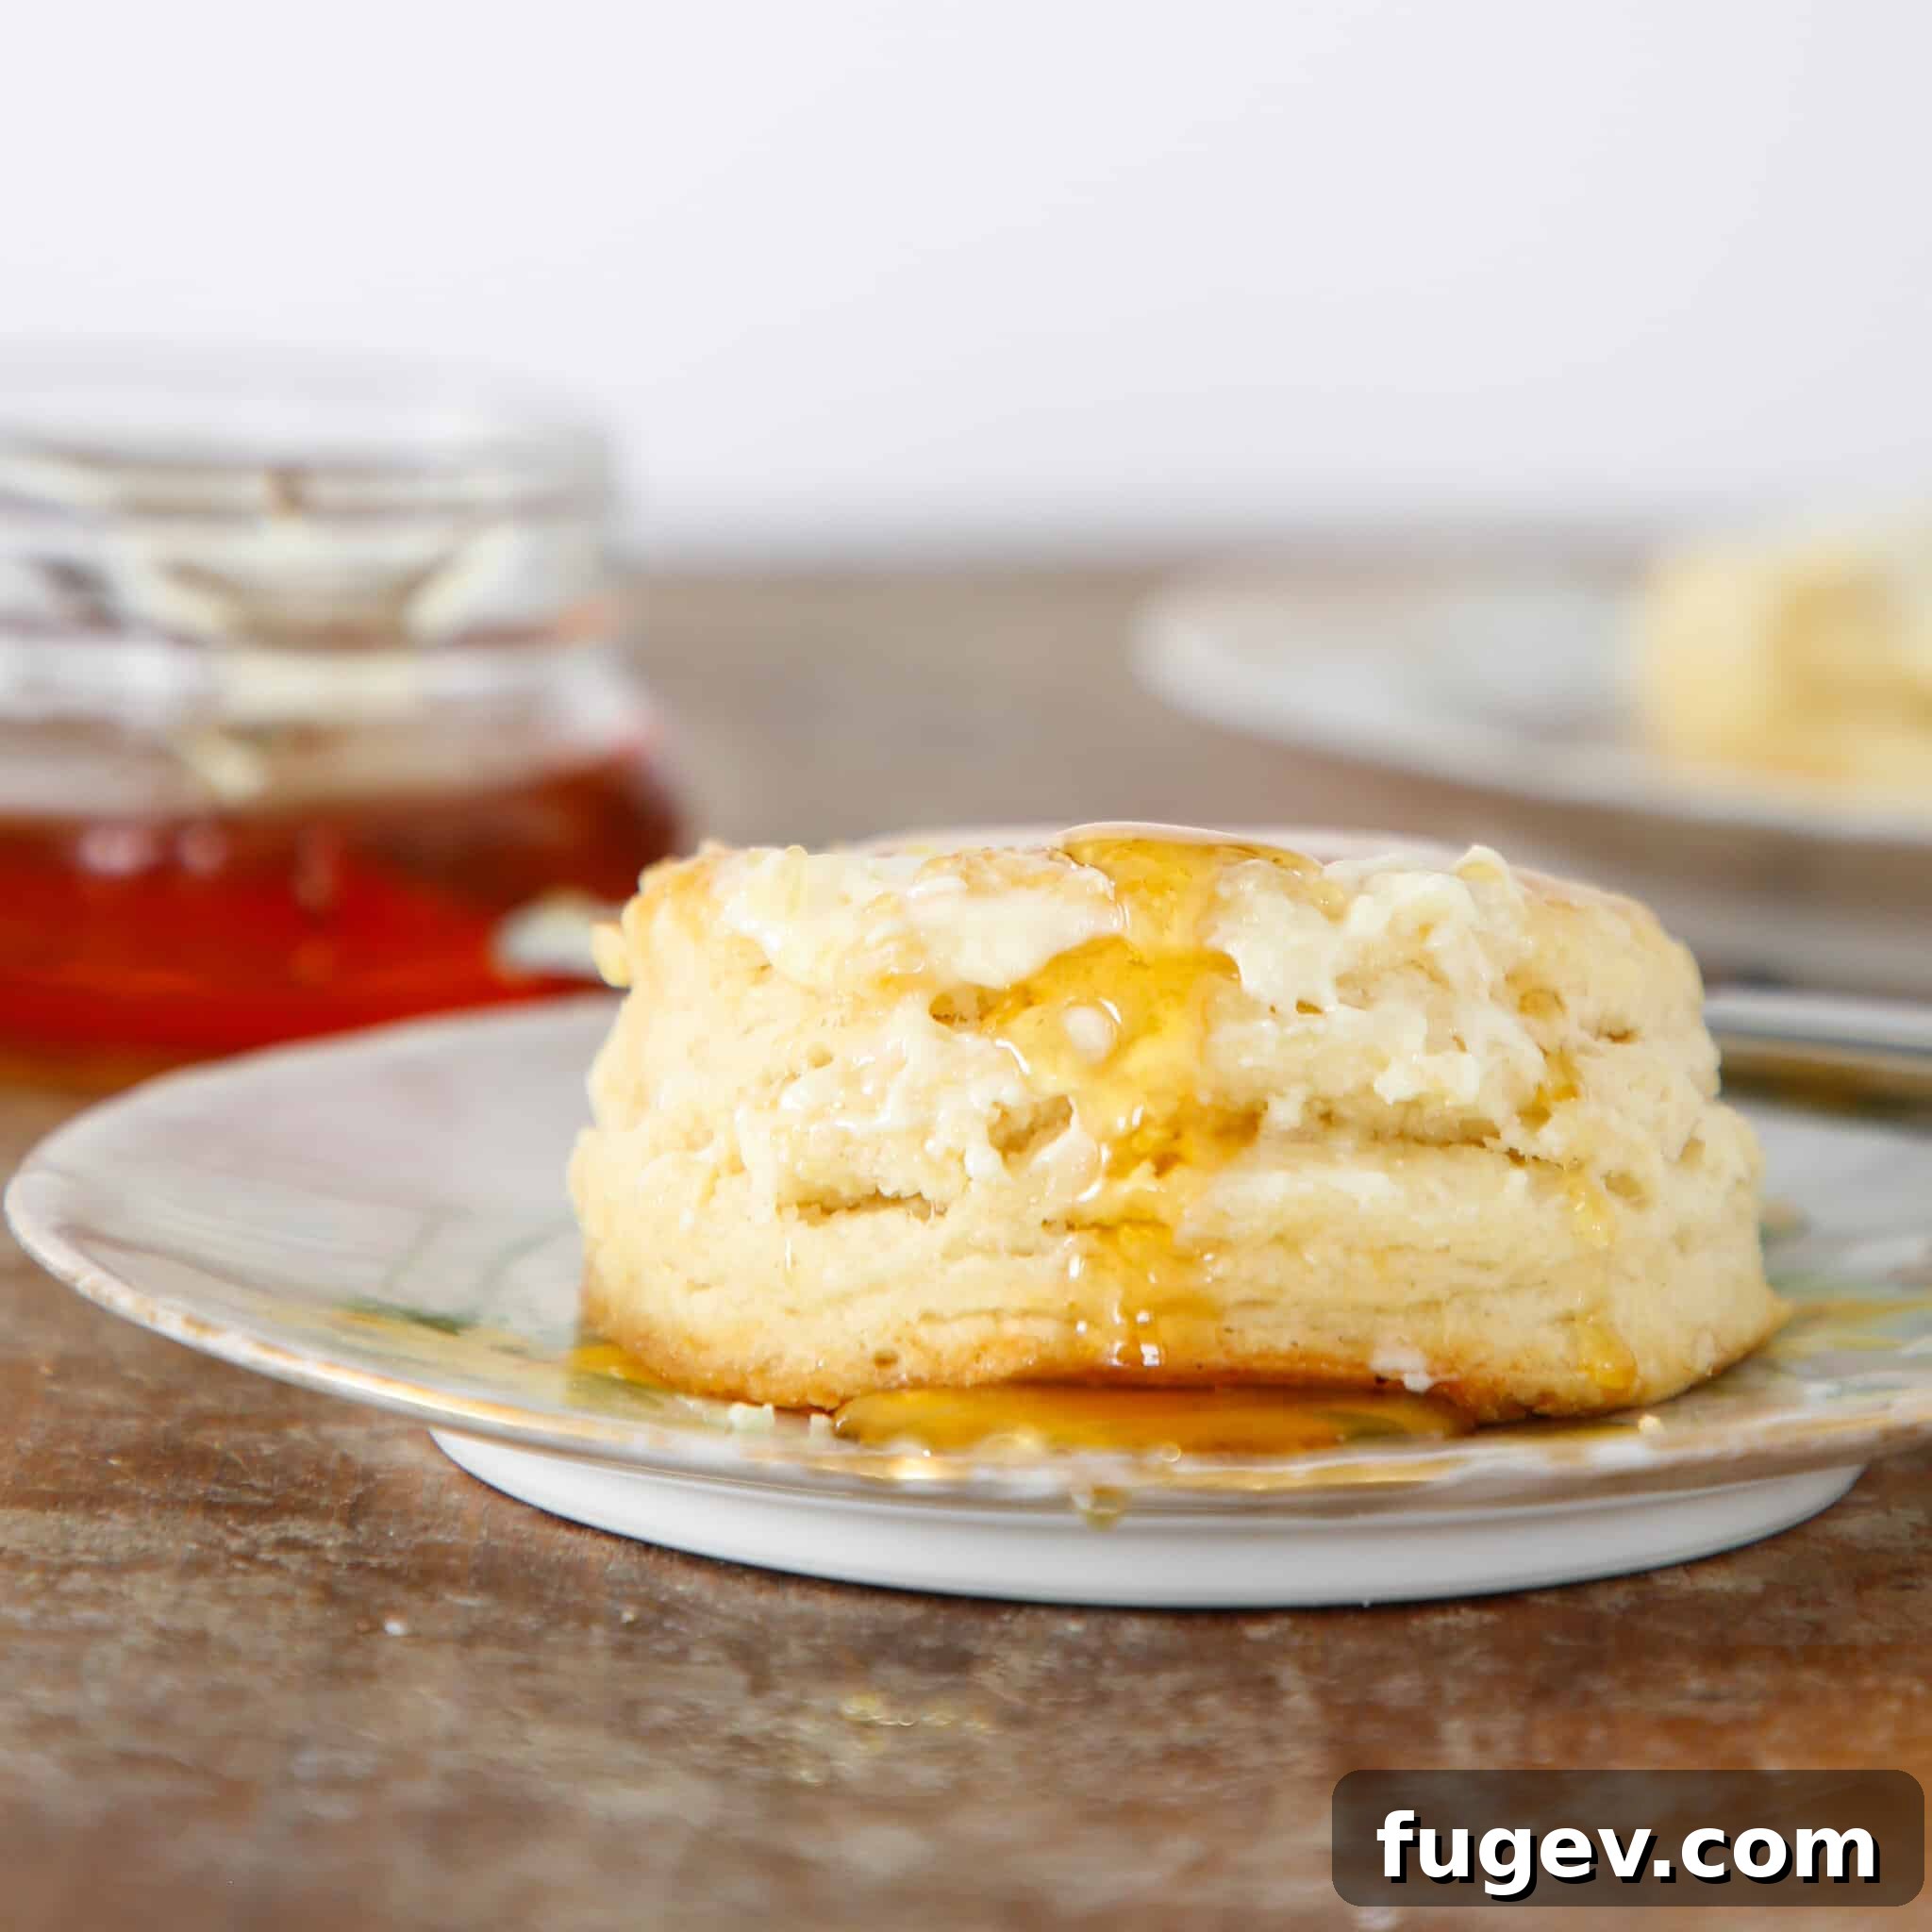
While my “Midwestern farmer’s daughter vibe” might suggest otherwise, I spent over thirteen formative years immersed in the vibrant culture of the American South. During that time, flaky Southern biscuits became an inseparable part of my memories – from quick stops at Bojangles for tailgates during college to leisurely brunches enjoyed in the bustling city of Atlanta. The South, with its rich culinary traditions, truly understands the art of the biscuit, and those experiences profoundly shaped my appreciation for this humble yet magnificent baked good.
Speaking of Atlanta, we absolutely must take a moment to properly acknowledge The Flying Biscuit Cafe. Unlike the legendary lines for a cronut in New York City, where queuing for hours is almost a sport, Atlanta’s food scene is different. If you ever spot a significant line outside an Atlanta restaurant, drop everything and join it. I can almost guarantee that whatever culinary delight awaits will utterly blow your mind! The Flying Biscuit Cafe (TFB) is a prime example of this phenomenon. This unpretentious, beloved cafe completely redefined my expectations for what a biscuit, and indeed, what brunch itself, should be.
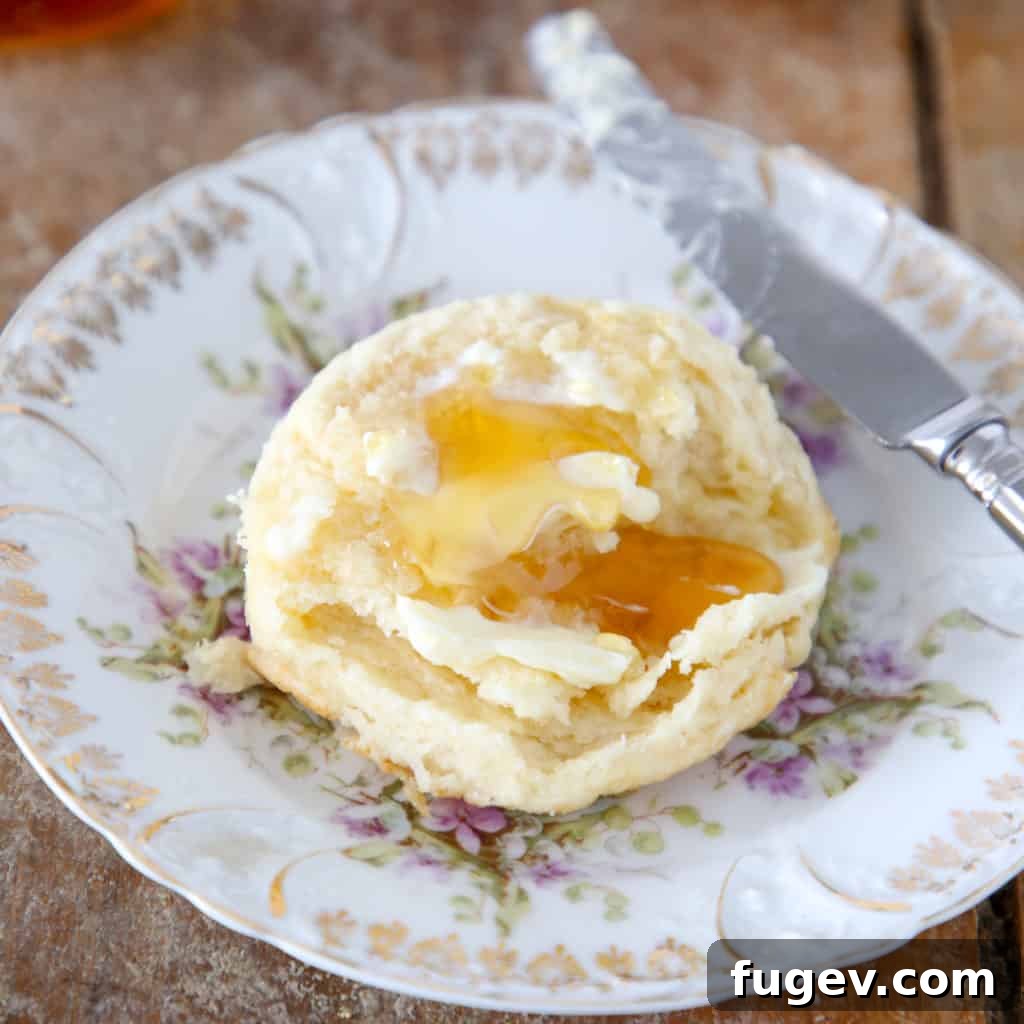
First and foremost, every brunch, in my humble opinion, should include a generous serving of biscuits – and, if we’re being honest, a mimosa or two doesn’t hurt either! Secondly, and perhaps most importantly, true culinary happiness can be found in sharing a plate of TFB’s famous Southern Scramble with cherished friends, always accompanied by a generous side of their iconic, melt-in-your-mouth biscuits. These are the moments that truly create lasting memories, centered around simple, comforting food.
As those who follow me on Instagram already know, these buttermilk biscuits have been highly anticipated. I’ve dedicated weeks to rigorous testing and retesting, meticulously refining every detail to achieve absolute perfection. In fact, I baked this recipe three times in quick succession, solely to ensure that the ideal ratio of butter to dry ingredients had been precisely achieved. Surprisingly, more butter did not always equate to better, a lesson learned through extensive experimentation that challenged my initial hypotheses. It’s all about finding that delicate balance.
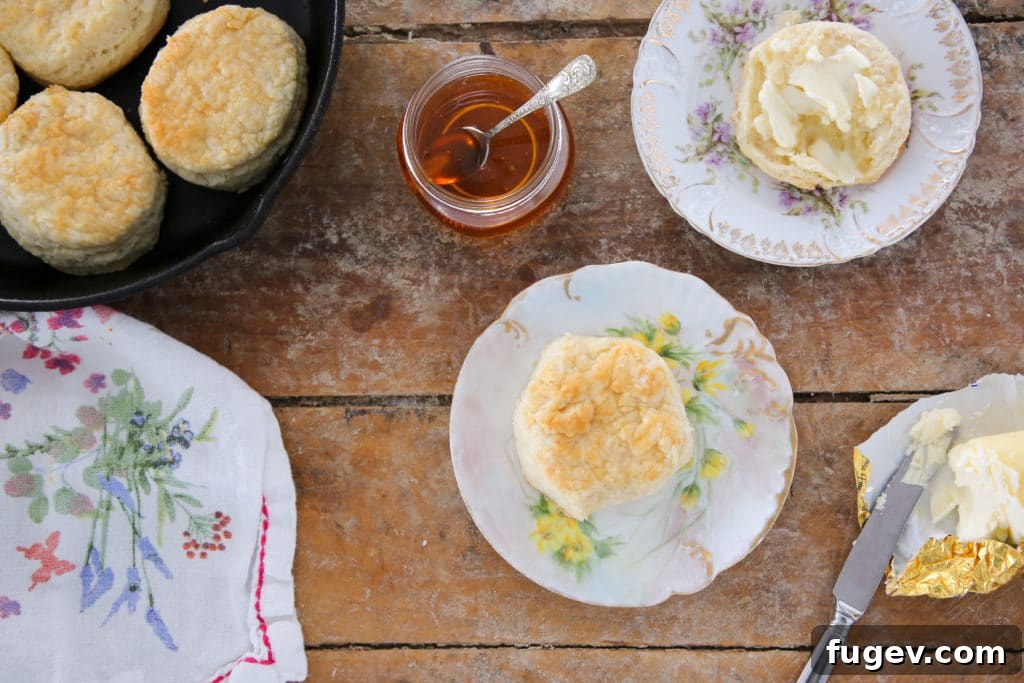
What Makes These THE BEST Flaky Buttermilk Biscuits?
I am absolutely thrilled you asked! My inner pastry enthusiast has been practically bursting to share the detailed science and artistry behind these superior biscuits. Achieving the perfect flaky texture, incredible tenderness, and delightful flavor profile isn’t just luck; it’s a careful combination of specific techniques and precise ingredient ratios. Let’s dive into the secrets that elevate these beyond your average biscuit:
- The Secret to Extraordinary Flakiness: Lamination! This is undeniably the most critical factor that sets these biscuits apart, propelling them several steps above even the most delicious drop biscuit. If your dream is to pull apart your biscuits layer by glorious layer, much like a Pillsbury Grands style creation, then incorporating lamination into your dough is non-negotiable. The principles are similar to those used in creating classic puff pastry, but the process for biscuits is significantly simpler and more approachable. You’ll still cut cold butter into your dry ingredients, but after adding the buttermilk, you perform a series of gentle folds. These folds are what mechanically create natural sheets of butter and dough, which then expand in the oven, yielding those coveted, distinct flaky layers.
- Precision in Cutting Butter for Ultimate Tenderness. The way you incorporate butter into your flour mixture plays a pivotal role in the biscuit’s final texture. Cutting the butter into the flour just enough helps to shorten the gluten strands that form in the dough. This “cutting” of gluten is what contributes to an incredibly tender and soft biscuit. If the butter isn’t cut in sufficiently, the dough will be tougher, and you’ll find yourself needing more buttermilk to bring it together. Excessive moisture encourages more gluten development, leading to a denser, less tender biscuit. Conversely, if you over-process the butter and incorporate it too much, you risk losing that desirable flakiness. However, don’t despair if this happens! Simply adjust by adding a little less buttermilk, and your biscuits will still be wonderfully delightful. The key is pea-sized pieces of butter, or even slightly larger, evenly distributed.
- The Goldilocks Principle: Perfect Butter to Dry Ingredient Ratio. My initial working hypothesis was to discover the maximum amount of butter I could possibly integrate into these biscuits while still preserving their delicate texture and desired lightness. The answer was quite surprising: not as much as one might assume! Introducing too much butter, despite its appeal, resulted in the final biscuits becoming dense and heavy. Even a generous amount of additional baking powder couldn’t rescue these from becoming what I affectionately called “hockey pucks” – completely failing to puff up and achieve their airy potential. Finding the “just right” amount ensures richness without sacrificing lift.
- Embrace the Baking Powder. Yes, you read that correctly – use it all! Buttermilk and butter, while essential for flavor and moisture, are inherently heavy ingredients. To achieve that signature fluffy, high rise, you absolutely need a significant amount of leavening agent. Baking powder reacts with the acidity in buttermilk, creating carbon dioxide bubbles that expand during baking, giving your biscuits their beautiful height and airy crumb. Don’t be shy; it’s crucial for lightness.
- The Subtle Power of Salt and Sugar. A careful measure of salt and sugar goes an incredibly long way in enhancing the overall flavor and texture of your buttermilk biscuits. Over the years, I’ve experimented with increasing the sugar content, only to find, much like with butter, that more is not always better. Excessive sugar can actually alter the fundamental texture of the biscuit, preventing them from achieving their characteristic fluffiness and softness. These ingredients are vital for balance, deepening the savory notes and adding a touch of sweetness that makes them truly irresistible.
- The Art of Not Overbaking. Even the most meticulously prepared and amazing biscuit can be ruined by leaving it in the oven for too long. Overbaking leads to a dry, crumbly texture, stripping away all the tenderness you worked so hard to achieve. This is particularly true if you’re baking in a cast iron pan. Cast iron masterfully retains heat, continuing to cook the biscuits even after they’ve been removed from the oven. Keep a watchful eye, bake until golden brown, and trust your instincts – a slightly underbaked biscuit is often preferable to an overbaked, dry one.
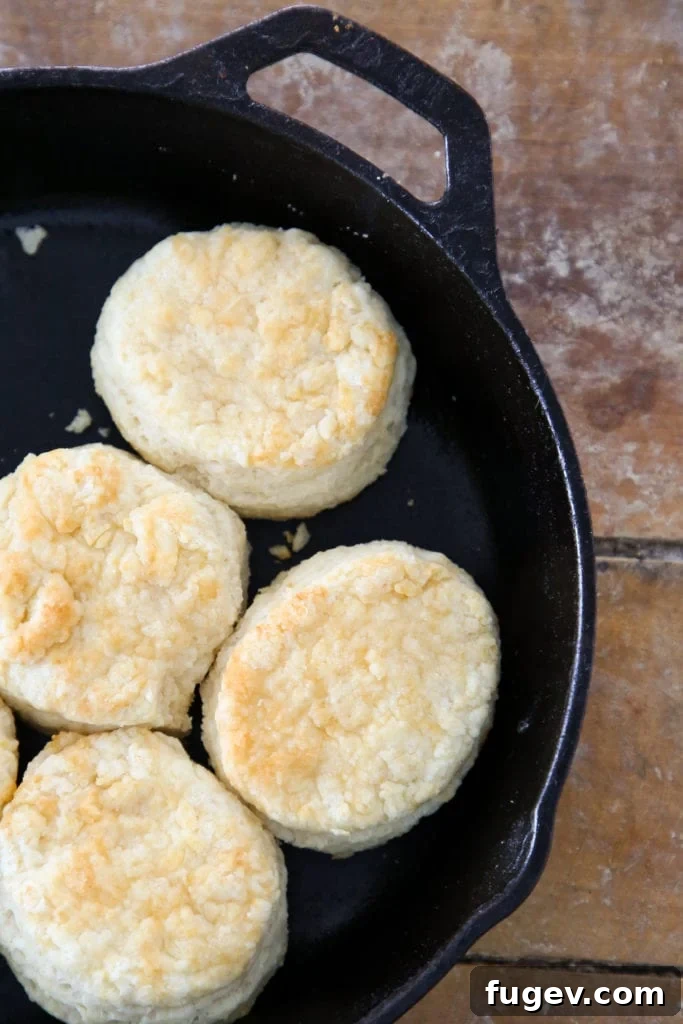
Mastering the Methods for the Best Buttermilk Biscuits
Crafting perfect buttermilk biscuits involves a few key techniques that, once mastered, will consistently yield exceptional results. Each step is designed to contribute to the desired flaky texture and tender crumb. Here’s a detailed guide to the methods that will make your biscuits legendary:
- The Art of Cutting in the Butter: I employ a hybrid approach to incorporating the cold butter: I start with the convenience of a food processor for initial coarse blending, then finish by hand to ensure precise control. Alternatively, you can achieve excellent results using a stand mixer with a paddle attachment, a trusty bench scraper, or even two knives if you’re patient and have a spare half-hour. When utilizing a food processor, remember that short, quick pulses are crucial. Stop frequently to check the butter’s consistency. It’s incredibly easy to over-process the butter into the flour, which compromises flakiness. My process typically takes less than a minute of pulsing and checking, aiming for pea-sized pieces, with some slightly larger, scattered throughout the flour.
- Gently Incorporating the Buttermilk: I strongly prefer to add the buttermilk by hand to avoid overworking the dough. I begin by turning out all the butter-studded flour mixture onto a clean countertop. Next, I drizzle a generous amount of cold buttermilk over the mound. Using my left hand, I gently toss and fold the mixture, aiming to hydrate the flour without kneading. The goal is to achieve a “shaggy mass” – a collection of moist crumbs and larger clumps that just barely hold together. This minimal handling is key to preventing gluten development and ensuring a tender biscuit.
- The Essential Lamination Process: Once you have your shaggy mass, it’s time for the magic of lamination. Gently gather the dough and press it into a rough rectangle, rolling it out to about ¼ inch thickness. Then, perform a classic “envelope fold”: fold one end of the rectangle towards the center, then fold the other end over to meet it, just like you’re folding a letter to fit into an envelope. At this stage, the dough may seem surprisingly dry and unconsolidated, almost as if it shouldn’t work – but trust the process and power through! Repeat this folding process two more times. Each fold creates distinct layers of butter and dough, which will translate into those incredible flakes.
- Chill Out: The Importance of Resting the Dough: After the lamination process, wrap your precious laminated dough tightly in plastic wrap and place it in the refrigerator to chill for at least an hour. This “chillax” period is vital for two main reasons: it allows the gluten to relax, preventing a tough biscuit, and it gives the buttermilk ample time to fully hydrate the flour. This step can even be done the night before, making morning baking a breeze. For ultimate convenience, you can also wrap the dough exceptionally well and store it in the freezer for up to a month. There are simply some mornings when only a warm, homemade biscuit will do – you know exactly what I mean!
- Roll and Cut with Care: Once your dough is perfectly chilled, roll it out to a thickness a little fatter than ½ inch – I personally love a generously thick biscuit! Then, use a biscuit cutter to stamp out perfect circles. For minimal waste and an equally charming presentation, you can also cut the dough into squares using your bench scraper. When cutting, press straight down without twisting the cutter. Twisting can seal the edges of the dough, preventing the layers from rising properly.
- The Optional (but Highly Recommended) Honey Topper: This delightful finishing touch is entirely optional, but it’s a signature at The Flying Biscuit Cafe, which remains my gold standard. Approximately two minutes before your biscuits are fully baked, carefully remove them from the oven and drizzle a little honey over the top of each one. For an extra touch of gourmet, pre-warm your honey slightly and brush it on with a pastry brush, ensuring an even, glossy coat. If a pastry brush isn’t handy, your fingers work just fine! These golden treasures are fantastic on their own, but I also highly recommend topping them with homemade mixed berry jam, easy strawberry jam, or creamy apple butter.
If you’ve made it through all of that, please know I am incredibly proud of you! That was a deep dive, and my inner pastry enthusiast is absolutely delighted to have shared so much with you. As a bonus tip, consider using any extra buttermilk you might have for this delightful buttermilk pie recipe. And don’t put that skillet away just yet; it’s perfect for a pizookie for dessert tonight!
Without further ado, let’s get baking and make some incredible biscuits!
The Best Buttermilk Biscuits
Comment
Print Recipe
Ingredients
- 255 g All Purpose Flour
- 6 g Kosher Salt
- 18 g Sugar
- 21 g Baking powder
- 100 g Butter 7T
- 192 g Buttermilk
- 1 T Honey
Instructions
- Add flour, Salt, Sugar, baking powder to a food processor and pulse to distribute. Cut in butter using a food processor until only pea sized pieces remain.
- Dump out onto clean work-surface. Drizzle the cold buttermilk over the dry mixer while tossing to coat the flour with the other hand. Create a shaggy mass and then begin to press into a mass.
- Roll out about ½ inch thick and do an envelope fold. It will not actually be a cohesive dough at this point. Repeat twice more. Wrap in plastic wrap and chill at least 1 hour or overnight.
- Preheat oven to 350°F.
- Roll into ¾ inch thick and then cut into square or circles using a ring cutter.
- Place in baking dish or cast iron pan. Bake 350°F until golden brown around the edges. Pull out about 2 minutes before it is done and brush the tops with honey. Continue to cook until done, approximately 16-18 minutes. They will be golden brown and have a slight resistance to the touch in the center.
- Serve immediately or rewarm in oven before servings.
Video
Notes
Nutrition
Carbohydrates: 31g |
Protein: 4g |
Fat: 11g |
Saturated Fat: 7g |
Polyunsaturated Fat: 1g |
Monounsaturated Fat: 3g |
Trans Fat: 1g |
Cholesterol: 30mg |
Sodium: 675mg |
Potassium: 72mg |
Fiber: 1g |
Sugar: 6g |
Vitamin A: 352IU |
Vitamin C: 1mg |
Calcium: 190mg |
Iron: 2mg
Like this recipe? We’d love to hear from you! Leave a comment below!