
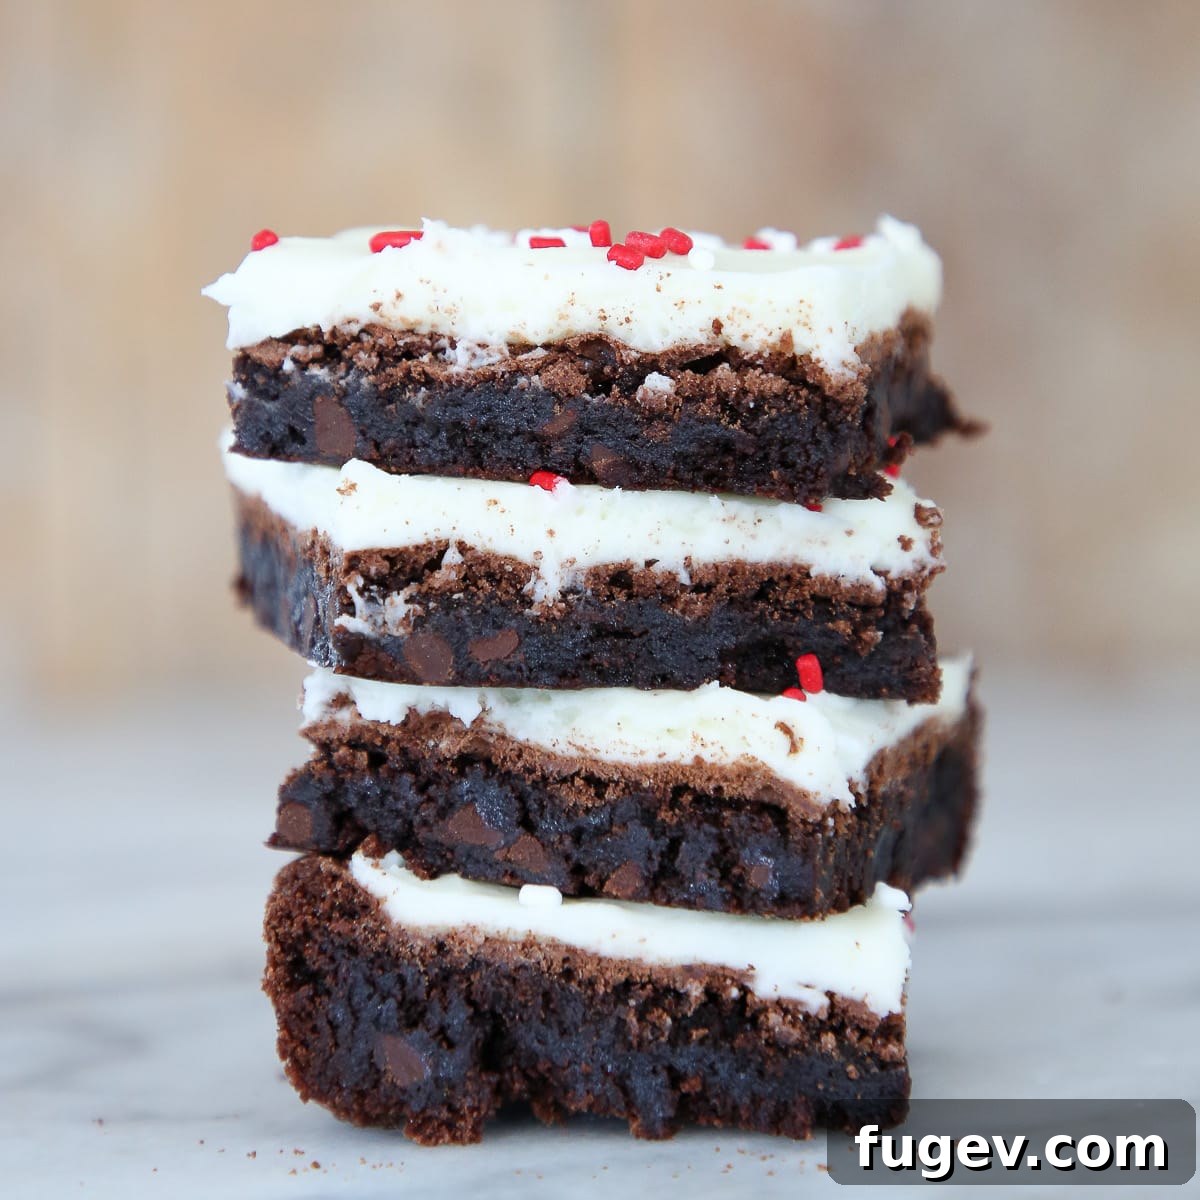
Decadent Peppermint Brownies: Your Ultimate Holiday Treat
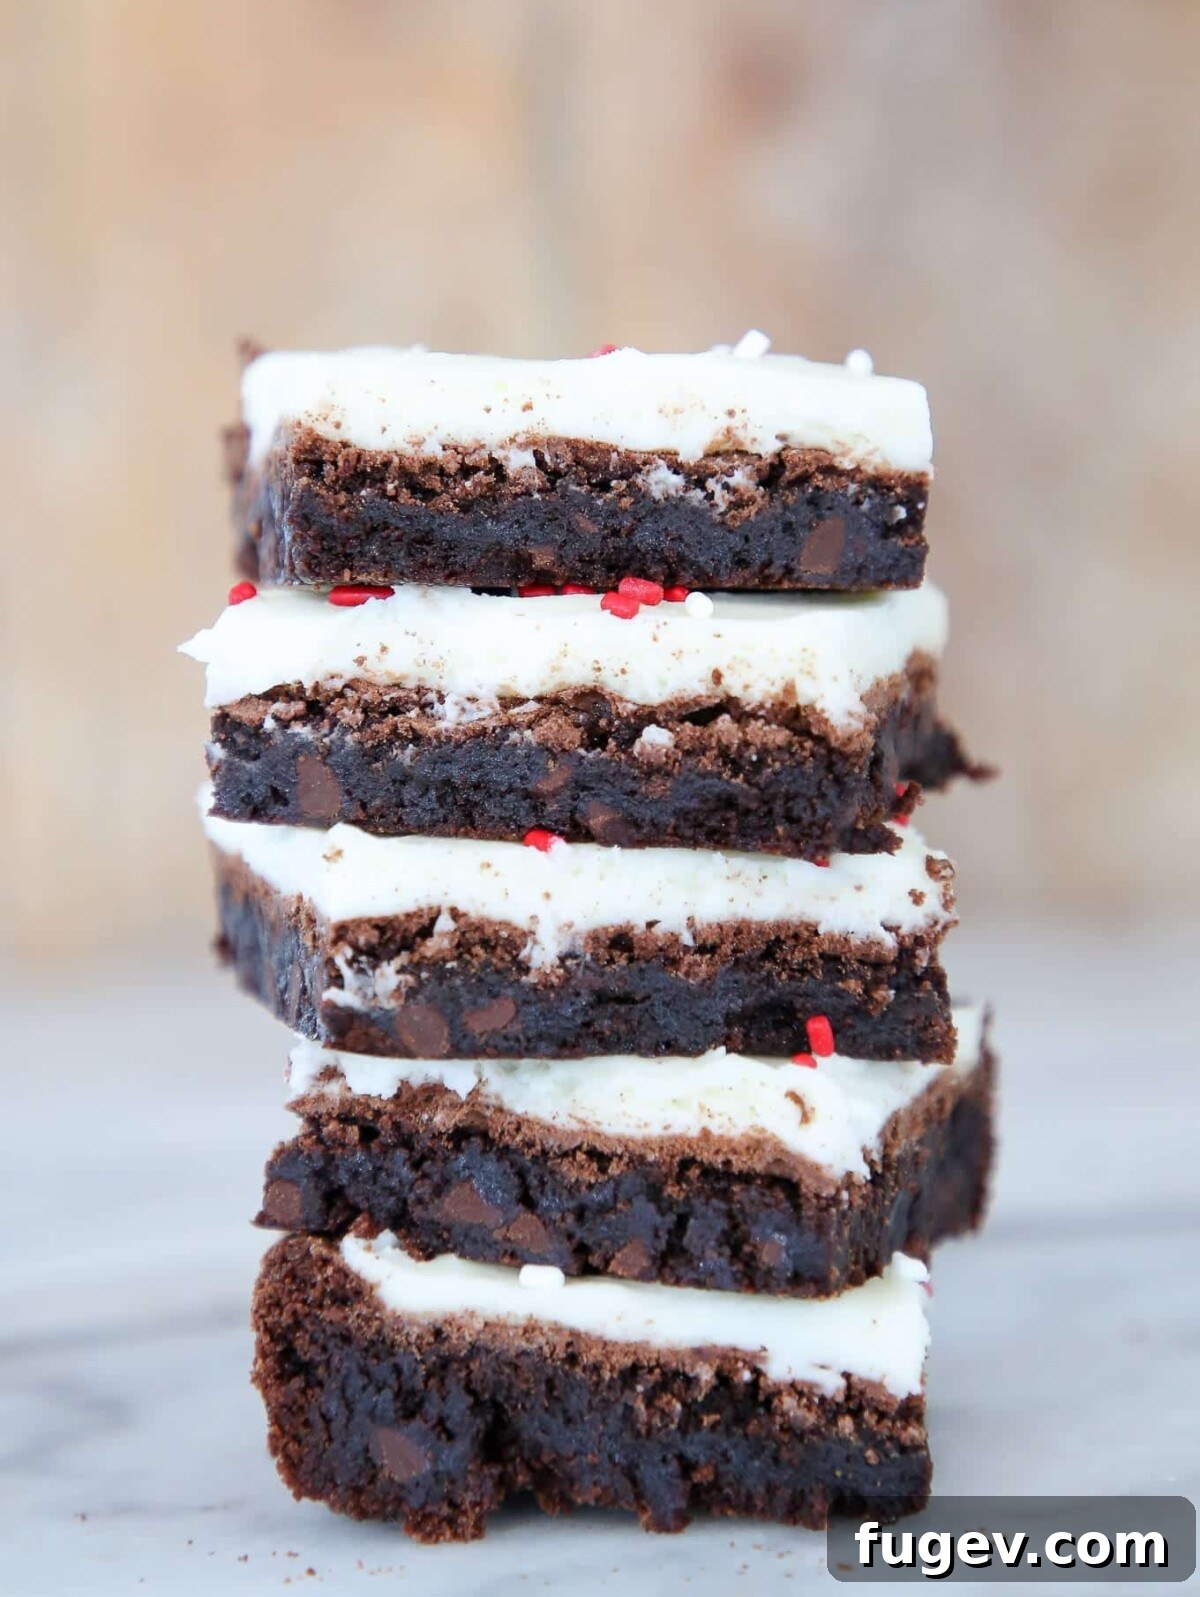
Prepare to delight your taste buds and impress your guests with these exquisite peppermint brownies. Each bite offers a perfect harmony of intensely fudgy, rich chocolate and a cool, creamy peppermint frosting. This recipe isn’t just about baking a dessert; it’s about crafting a memorable holiday experience, making these brownies the quintessential festive treat for any seasonal celebration. Forget dry, cakey brownies – ours are designed for pure indulgence, delivering that perfect balance of chewiness and gooey richness that truly satisfies.
Recipe at a Glance
Here’s a brief summary of what to expect from this delightful recipe. For complete step-by-step instructions and ingredient details, jump directly to the recipe card.
Jump to Full Recipe
Prep Time
30 minutes
Cook Time
18 minutes
Total Time
48 minutes
Servings
16 brownies
Difficulty
Easy
Calories *
335 kcal per serving
Technique
Craft rich brownies, bake to perfection, cool completely, then generously top with creamy peppermint frosting.
Flavor Profile
A harmonious blend of deep, rich chocolate and refreshing, cool peppermint.
* Based on estimated nutritional panel
The peppermint frosting elevates these brownies to another level! They are surprisingly easy to make, and the texture is just divine. Topped with that effortlessly smooth frosting, they truly become the perfect holiday treat. ⭐⭐⭐⭐⭐
Lauren
Why You Will Love This Recipe
These peppermint brownies aren’t just another dessert; they are a celebration of flavor and texture, meticulously crafted to bring joy to your holiday table. Here’s why this recipe will quickly become a cherished favorite:
- The Irresistible Duo: Chocolate and Peppermint! This classic combination is a match made in culinary heaven, and our brownies take it to its pinnacle. The robust, slightly bitter notes of dark chocolate perfectly complement the bright, invigorating coolness of peppermint. Unlike other recipes that might overpower with peppermint, we’ve found the ideal balance, ensuring each flavor shines without dominating the other. The fudgy brownie base provides a deep, comforting foundation for the ethereal, creamy peppermint frosting, creating a symphony of taste that is both familiar and exciting.
- Achieving the Perfectly Fudgy Texture. What sets a truly great brownie apart is its texture. Our recipe ensures that coveted fudgy, dense, and chewy consistency that everyone craves. We achieve this by thoughtfully combining melted dark chocolate, high-quality cocoa powder, and butter. This precise blend contributes to a texture that sits perfectly between a light, cakey brownie and an overly gooey, underbaked one. It’s that delightful sweet spot that leaves you yearning for more, characterized by a slight chewiness at the edges and a melt-in-your-mouth center.
- The Peppermint Prowess is Just Right! For true enthusiasts of the chocolate-peppermint pairing, achieving the correct peppermint intensity is crucial. I believe the secret lies in concentrating the peppermint flavor primarily in the frosting. This approach allows the rich, complex notes of the chocolate brownie to take center stage, while the frosting delivers a refreshing, clean burst of peppermint. It’s a delicate dance where the peppermint acts as a vibrant accent rather than an overwhelming force, creating a sophisticated flavor profile that truly captures the essence of the holidays. My easy peppermint fudge also perfectly demonstrates this philosophy!
Table of Contents
- Why You Will Love This Recipe
- Ingredients & Substitutions
- Variations for Peppermint Brownies
- Professional Tips for Perfect Brownies
- How to Make Peppermint Brownies: Step-by-Step
- Chef Lindsey’s Recipe Tip for Clean Cuts
- Recipe FAQs
- Recommended Brownie Recipes
- Peppermint Brownies Full Recipe Card
- Before You Go: More Sweet Treats
These peppermint brownies offer a delightful blend of richness, decadence, and heartwarming nostalgia. While the star of the show, our peppermint frosting, is incredibly easy to whip up, the brownies themselves involve a few more thoughtful steps than simply opening a box mix. However, I promise you, the extra effort is profoundly rewarding. Sometimes the simplest pleasures are the best, but for truly exceptional results, a little dedication goes a long way. The unparalleled depth of flavor and perfect fudgy texture you’ll achieve with this homemade recipe are absolutely worth every moment spent in the kitchen.
If you’re seeking a quicker route to chocolatey bliss, my fudgy brownie cookies or one-bowl brownies are fantastic, fuss-free alternatives that consistently hit the spot. But if you’re eager to embrace the full festive spirit and are ready to create a truly show-stopping holiday dessert, these brownies are calling your name. For an even grander holiday spread, consider pairing them with our festive chocolate peppermint sugar cookies – they make wonderful homemade gifts when bundled together!
Essential Ingredients & Thoughtful Substitutions
Crafting the perfect peppermint brownie begins with selecting the right ingredients. Each component plays a vital role in achieving that rich, fudgy texture and balanced peppermint kick. Below is a detailed list of what you’ll need, along with expert tips on substitutions to ensure your baking success.
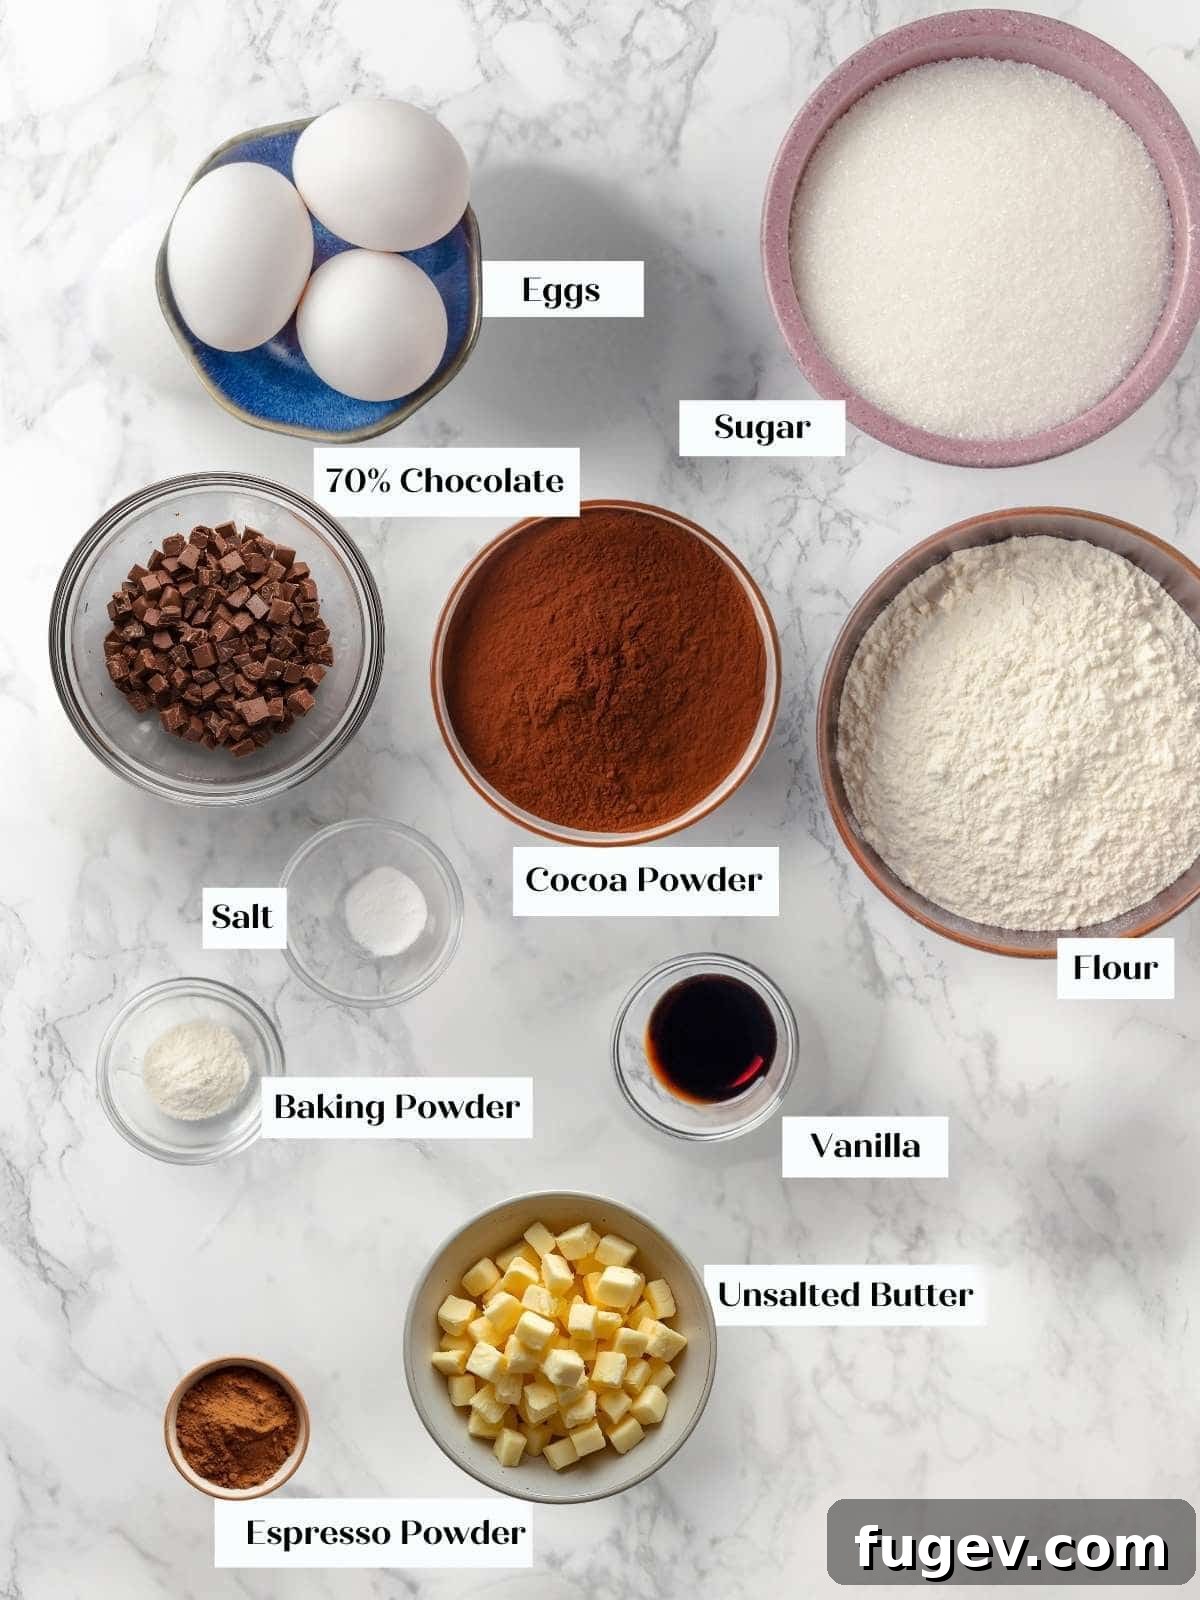
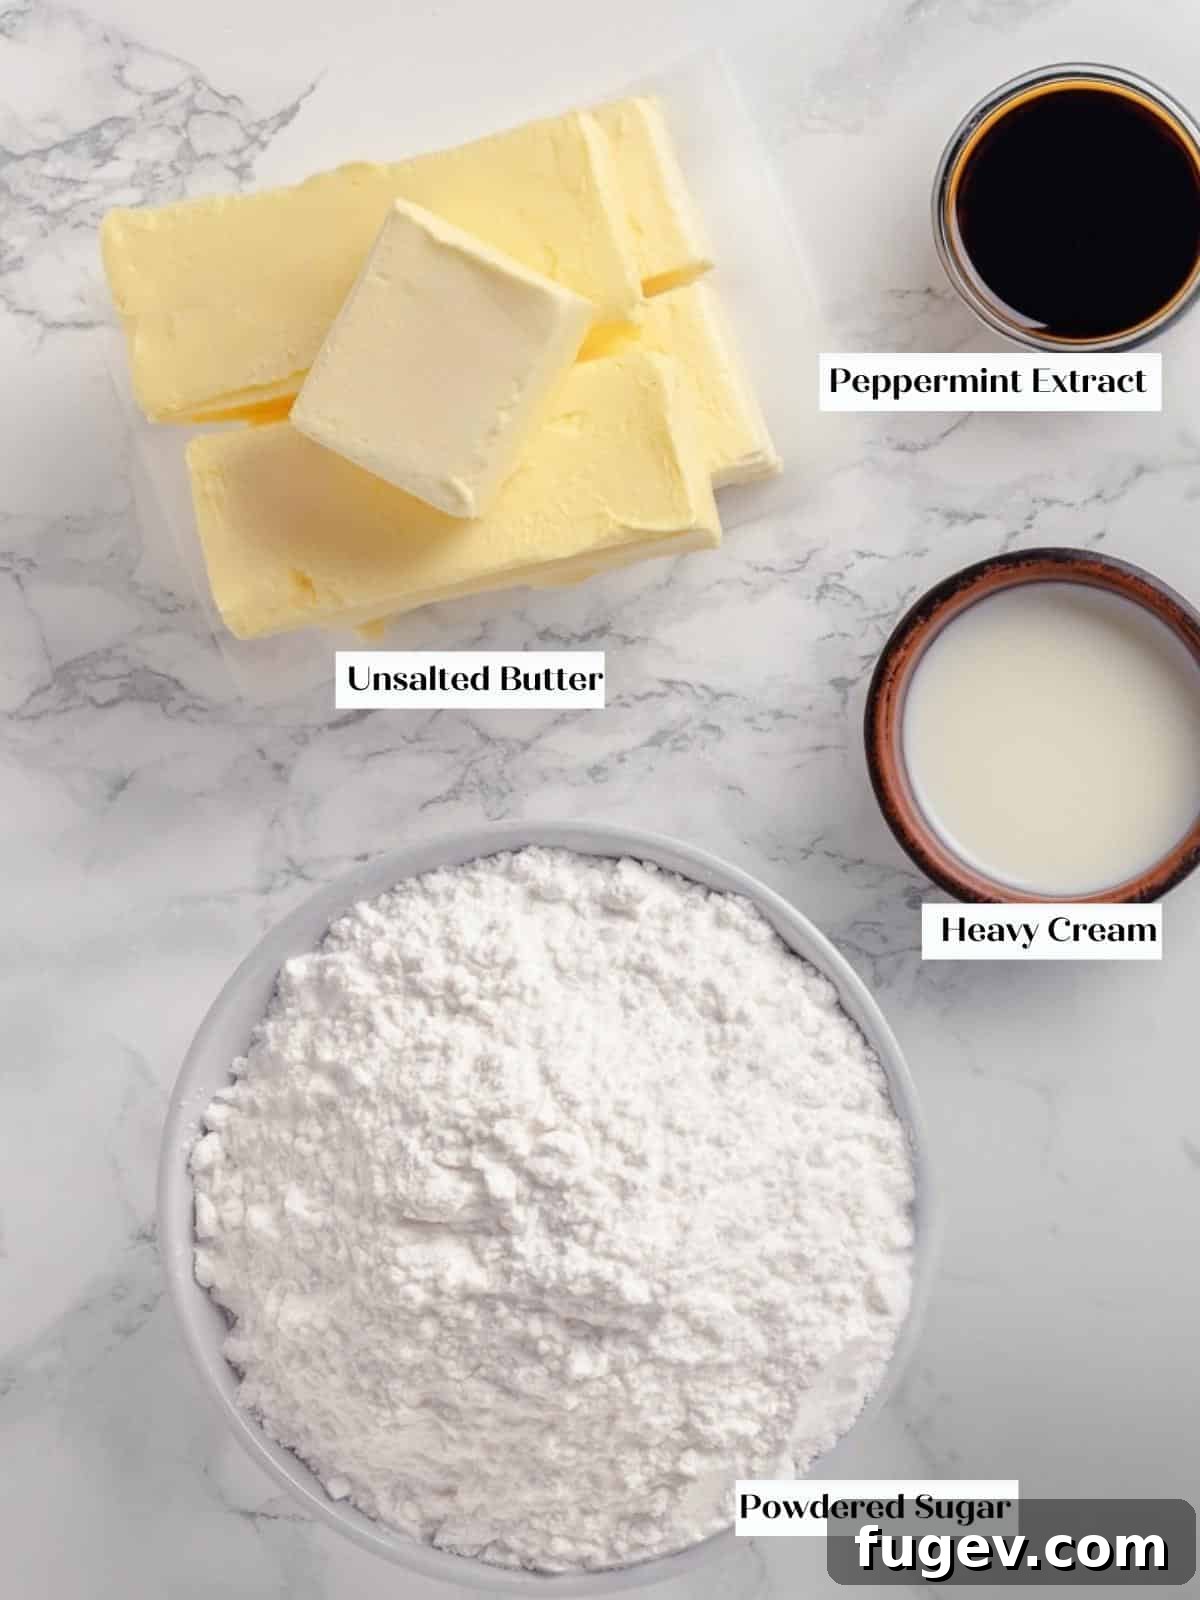
- All-Purpose Flour: The foundational dry ingredient, providing structure without making the brownies tough. Sifting it ensures a light, even texture in your batter.
- Kosher Salt: Essential for balancing the sweetness and enhancing the deep chocolate flavors. Don’t skip it; it truly makes a difference.
- Baking Powder: Just a touch of leavening to give the brownies a slight lift, preventing them from becoming overly dense, while still maintaining their fudginess.
- Espresso Powder: This secret ingredient doesn’t make your brownies taste like coffee; instead, it remarkably intensifies and deepens the chocolate flavor. Instant espresso or instant coffee granules work perfectly. If you don’t have it, you can omit it, but for the richest chocolate experience, I highly recommend including it.
- Unsalted Butter: Provides richness, moisture, and aids in the fudgy texture. Using unsalted butter allows you to control the overall salt content of your brownies.
- Cocoa Powder: For a truly deep, dark, and rich chocolate flavor, I recommend using Dutch-processed cocoa powder. Its alkalinity offers a less acidic, smoother chocolate taste and a darker color. Natural cocoa powder (like Hershey’s regular unsweetened) can be used, but it might result in a slightly lighter color and a tangier chocolate note.
- Dark Chocolate (55–70% Cocoa Solids): This is crucial for achieving that complex, intense chocolate flavor that cuts through the sweetness and pairs beautifully with peppermint buttercream. Chocolate in the 55-70% range balances sweetness with a pleasant bitterness. While semi-sweet chocolate chips can be used, they will make the brownies noticeably sweeter, altering the overall flavor profile. Opt for high-quality baking chocolate bars for the best results.
- Large Eggs: Act as a binder, provide structure, and contribute to the rich texture and signature crackly top crust. Ensure they are at room temperature for better emulsion with other ingredients.
- Vanilla Extract: A classic flavor enhancer that complements chocolate beautifully, adding warmth and depth. Use pure vanilla extract for the best quality flavor.
- Granulated Sugar: Sweetens the brownies and contributes to their moist, tender crumb and crackly top layer.
- Confectioner’s Sugar (Powdered Sugar): The base for our smooth, creamy peppermint frosting. Its fine texture dissolves easily, creating a silky mouthfeel.
- Pure Peppermint Extract: The star flavor for our frosting! Remember, a little goes a long way with extracts. Start with ½ teaspoon and taste the frosting as you go. You can always add more to achieve your desired peppermint intensity, but it’s difficult to reduce once added.
- Heavy Cream: Used in the frosting to achieve a light, fluffy, and spreadable consistency. You might need to adjust the amount slightly based on the humidity and desired thickness.
Creative Variations for Peppermint Brownies
While these peppermint brownies are spectacular on their own, don’t hesitate to get creative! Here are some exciting variations to customize your festive treats and make them uniquely yours:
- Infuse Extra Flavor into the Batter: Elevate the chocolate base even further! You can gently fold in chopped peppermint candies or mini white chocolate chips into the brownie batter before baking to create a truly decadent “peppermint bark brownie” experience. For a delightful textural contrast, consider adding chopped nuts (like walnuts or pecans) or crushed pretzels, echoing the delightful complexity of our coconut peppermint pretzel bark.
- Explore Different Frosting Flavors: While our peppermint frosting is perfect, these fudgy brownies are a versatile canvas. They would be absolutely divine with a tangy cream cheese buttercream frosting for a rich, slightly tart complement. For a nostalgic twist, try them with a fluffy homemade marshmallow frosting. A glossy chocolate fudge glaze would double down on the chocolate goodness, or for a surprisingly bright and refreshing contrast, consider a zesty lemon buttercream frosting.
- Mini Brownie Bites for Parties: Transform these festive squares into adorable, bite-sized treats perfect for holiday gatherings or dessert platters. Simply bake the brownie batter in mini muffin pans. Once cooled, pipe the peppermint frosting on top using a star tip for an elegant presentation. These one-bite wonders are easy to serve and delightful to eat.
- Add a Festive Crunch with Crushed Toppings: For an irresistible visual appeal and an extra layer of flavor and crunch, generously sprinkle crushed candy canes, crushed peppermint candies, or even finely chopped chocolate on top of the freshly frosted brownies. This not only enhances the peppermint experience but also adds a beautiful festive sparkle.
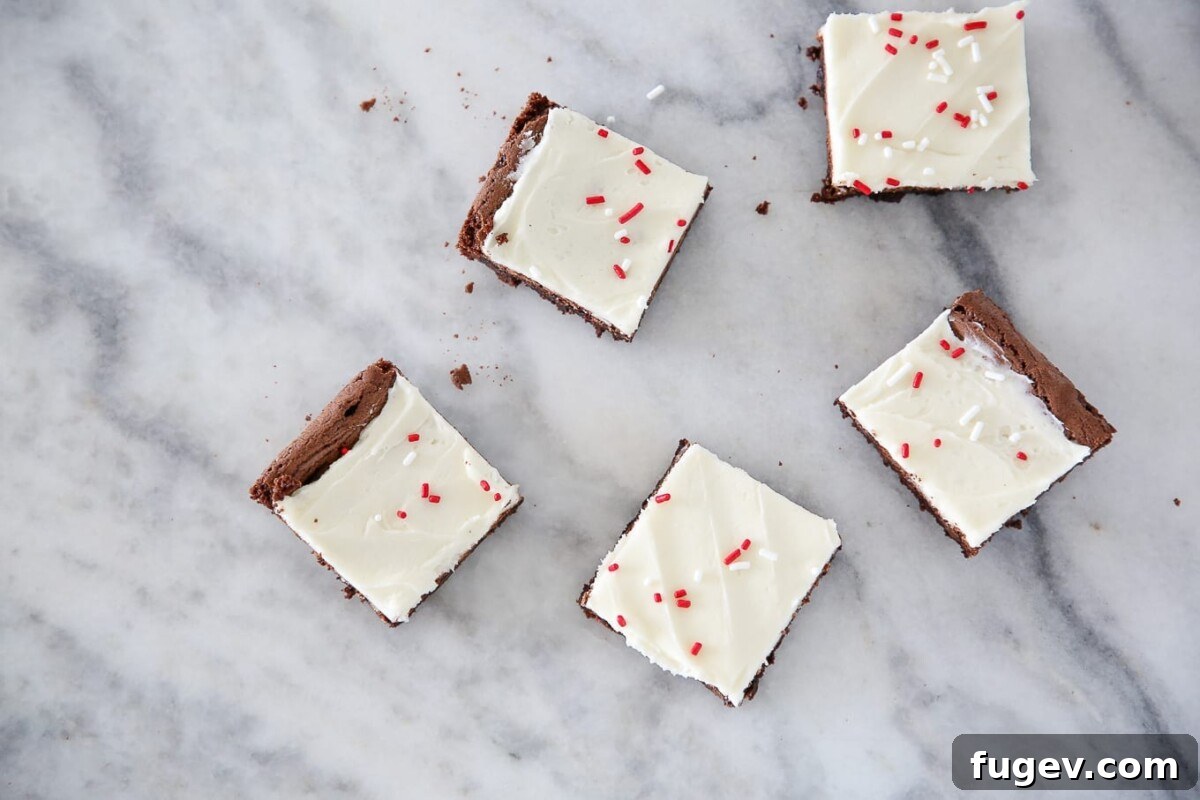
Professional Tips for Perfect Peppermint Brownies
Achieving bakery-quality brownies at home is entirely possible with a few professional insights. These tips will help you navigate common pitfalls and ensure your peppermint brownies turn out perfectly fudgy with that desirable crackly top.
- Allow the Chocolate Mixture to Cool Properly: After melting the butter, dark chocolate, and cocoa powder together, it’s crucial to let this mixture cool down slightly before incorporating it into your whipped eggs. If the chocolate mixture is too hot, you risk scrambling the eggs, which will result in an undesirable texture in your brownies. Aim for a temperature that is warm to the touch but not steaming hot. To speed up the cooling process, you can carefully place the bowl over an ice bath for a few minutes, stirring frequently, or simply pop it into the refrigerator for a short period until it reaches the ideal temperature.
- Never Skip the Cooling Step: Patience is a virtue, especially when it comes to frosting brownies. These brownies absolutely need to cool down completely to room temperature before you even think about adding the luscious peppermint frosting. Applying frosting to warm or even slightly warm brownies will cause the buttercream to melt and slide right off, creating a messy rather than magnificent dessert. For the best results, allow them to cool in the pan on a wire rack for at least 2-3 hours, or even chill them in the refrigerator for 30-60 minutes once they’re mostly cooled.
- Opt for a Metal Baking Pan: The type of pan you use can significantly impact the final texture of your brownies. Metal baking dishes are superior conductors of heat compared to glass or ceramic. This efficient heat transfer helps to create those sought-after crispy, slightly chewy edges and contributes to the beautiful, flaky top crust that is characteristic of a perfect fudgy brownie. While glass or ceramic dishes will still work, they tend to bake more slowly and can result in softer edges, so if you have a metal pan, it’s the ideal choice for this recipe.
How to Make Peppermint Brownies: Step-by-Step Guide
Follow these detailed instructions to create the most decadent peppermint brownies. Precise measurements and further details can be found in the comprehensive recipe card below.
Prepare the Brownies:
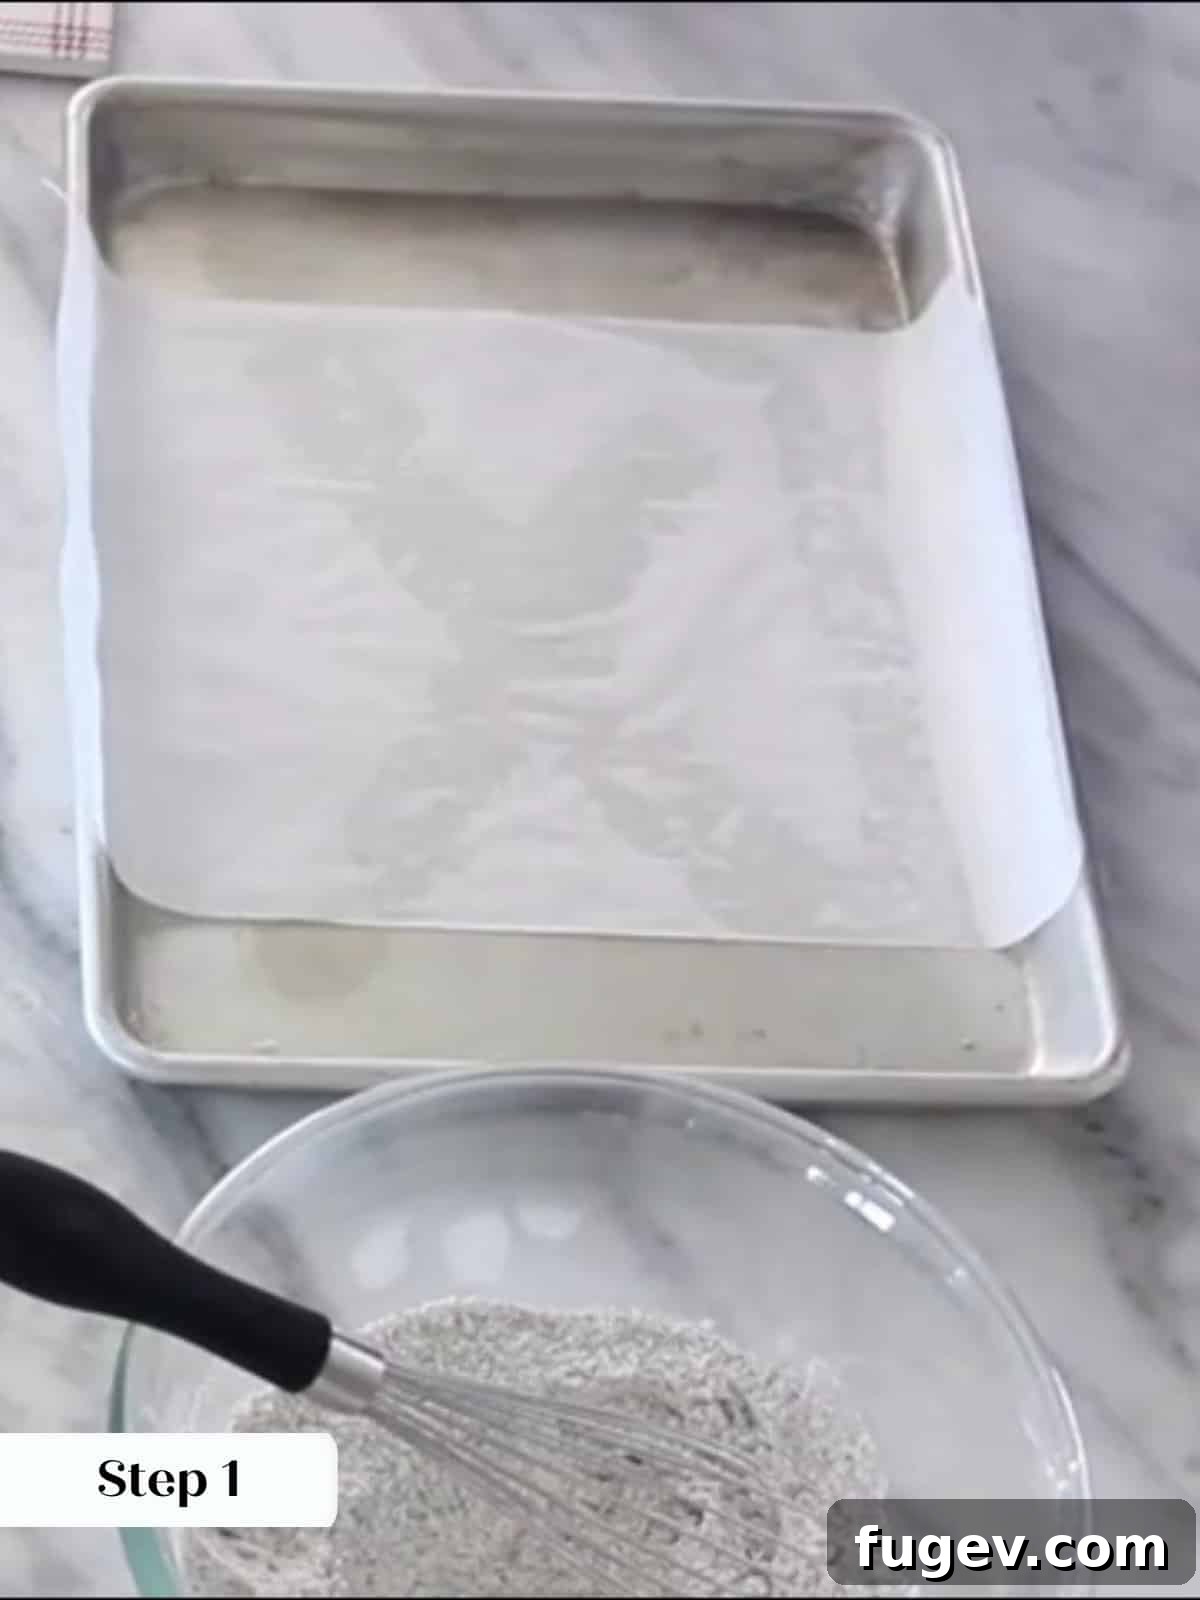
Step 1: Prepare Your Baking Pan. Begin by preheating your oven to 350°F (175°C). Line a 9×13 inch metal baking pan with criss-crossed sheets of parchment paper, allowing the paper to overhang on all sides. These overhangs will serve as convenient handles, making it incredibly easy to lift the cooled brownies cleanly out of the pan later. Grease any exposed parts of the pan to prevent sticking.
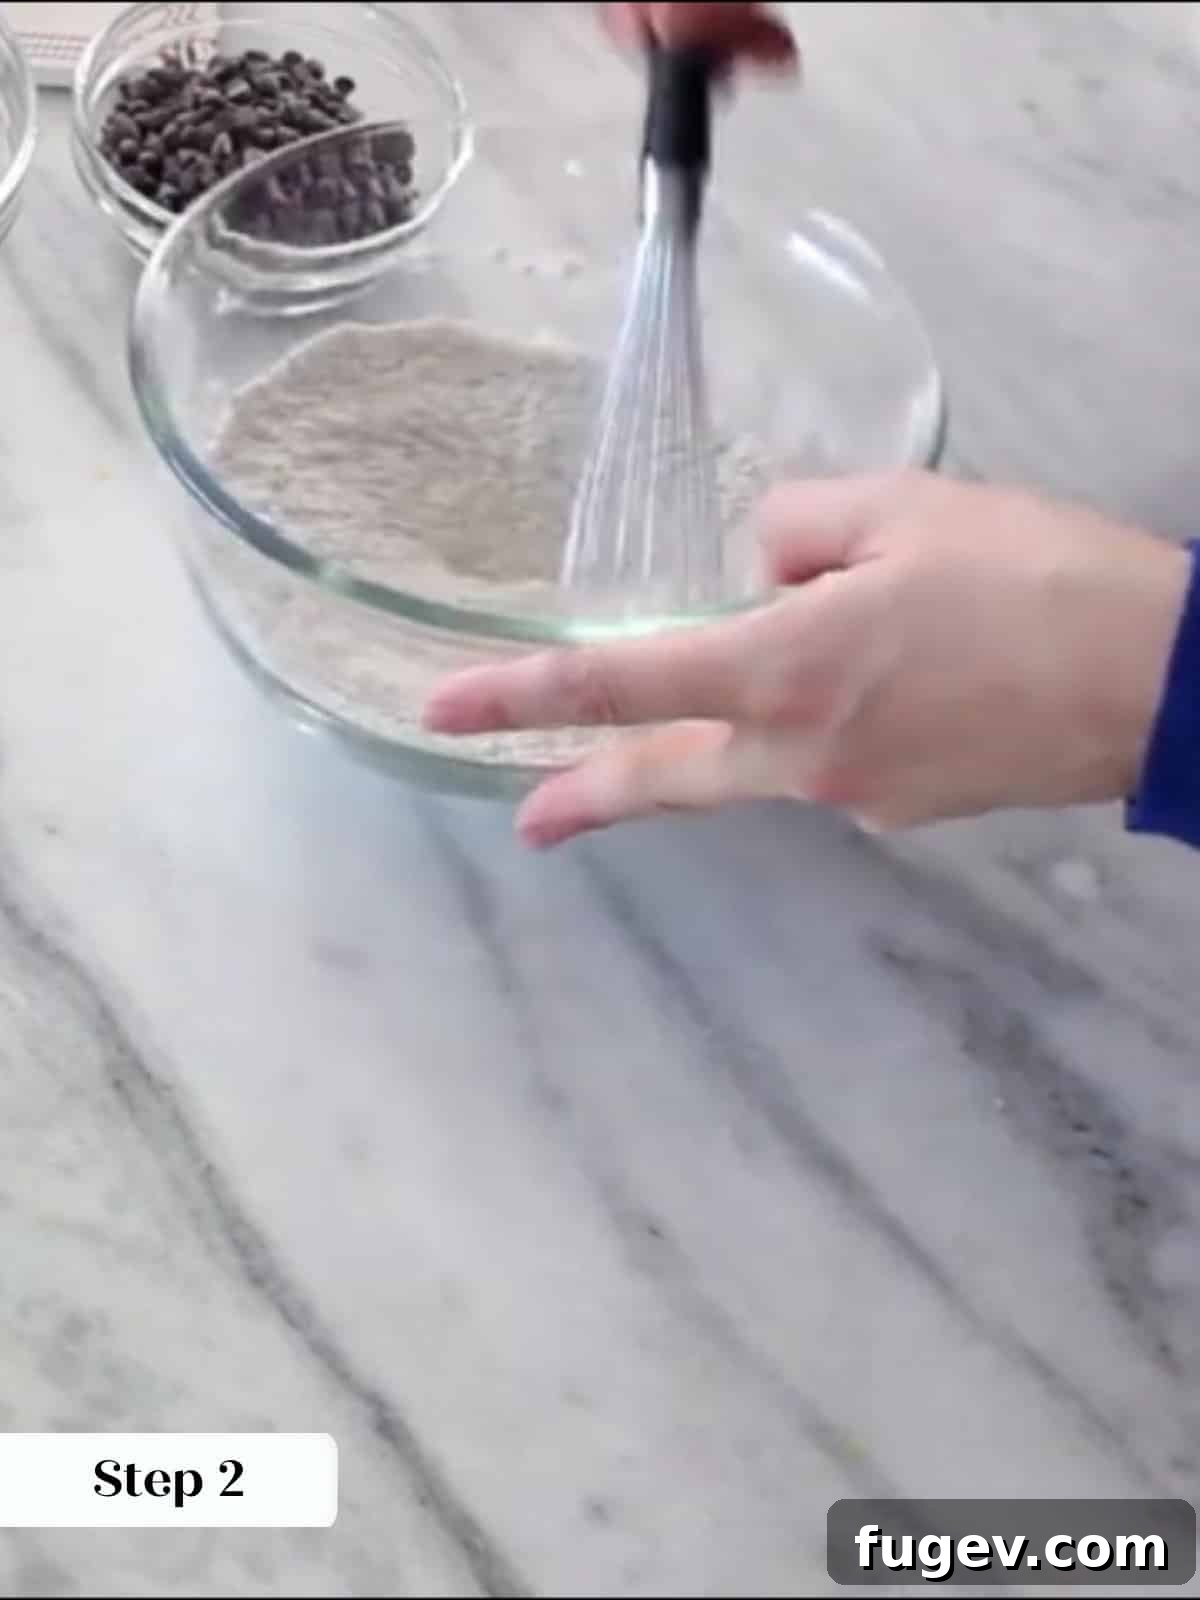
Step 2: Combine Dry Ingredients. In a large mixing bowl, thoroughly whisk together the all-purpose flour, kosher salt, baking powder, and espresso powder. Whisking ensures that the leavening agents and flavor enhancers are evenly distributed throughout the dry mixture. Set this bowl aside for later use.
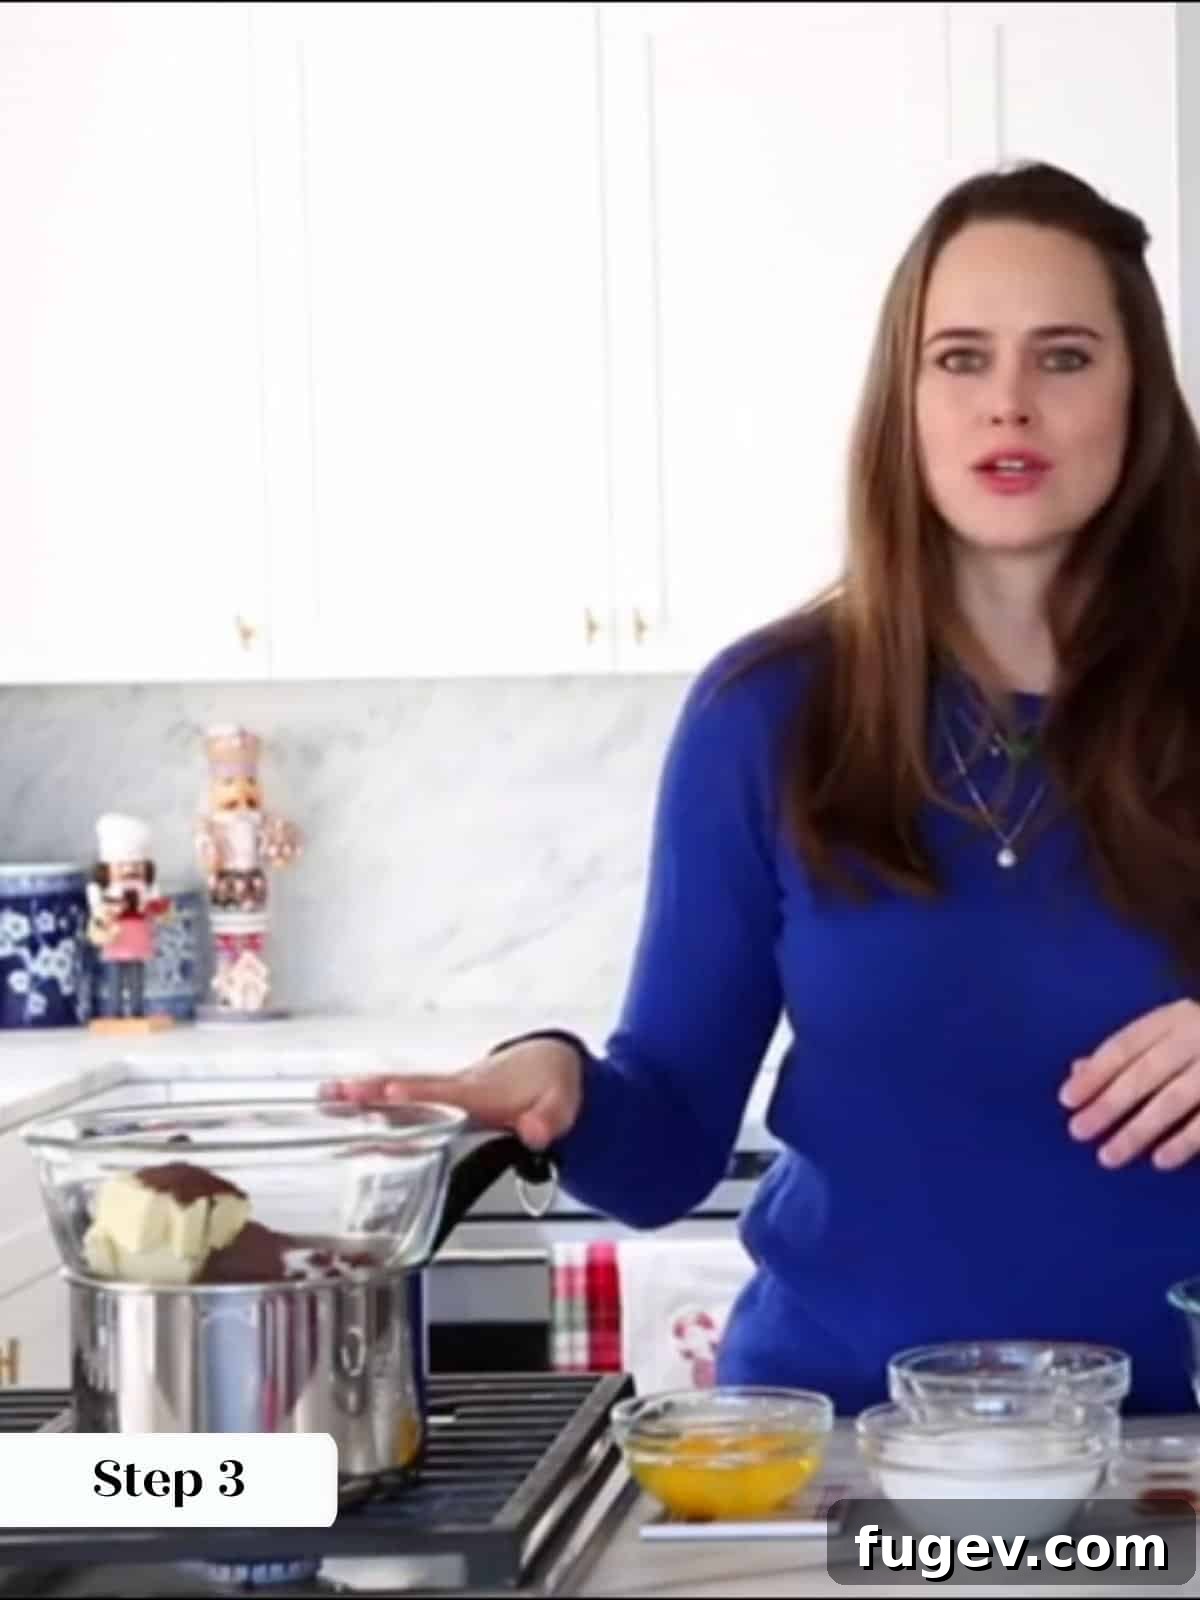
Step 3: Melt Chocolate and Butter. Create a double boiler by placing a heatproof bowl over a saucepan of simmering water, ensuring the bottom of the bowl does not touch the water. Add the unsalted butter, dark chocolate, and cocoa powder to the bowl. Stir occasionally until the mixture is completely melted and smooth. This gentle melting method prevents the chocolate from seizing or burning, creating a glossy, rich base for your brownies.
Pro Tip: When melting over boiling water, ensure the water does not touch the bottom of your bowl. If using a gas stove, keep the flame at a moderate level to prevent the cocoa powder from burning before the chocolate and butter have a chance to fully melt and combine.
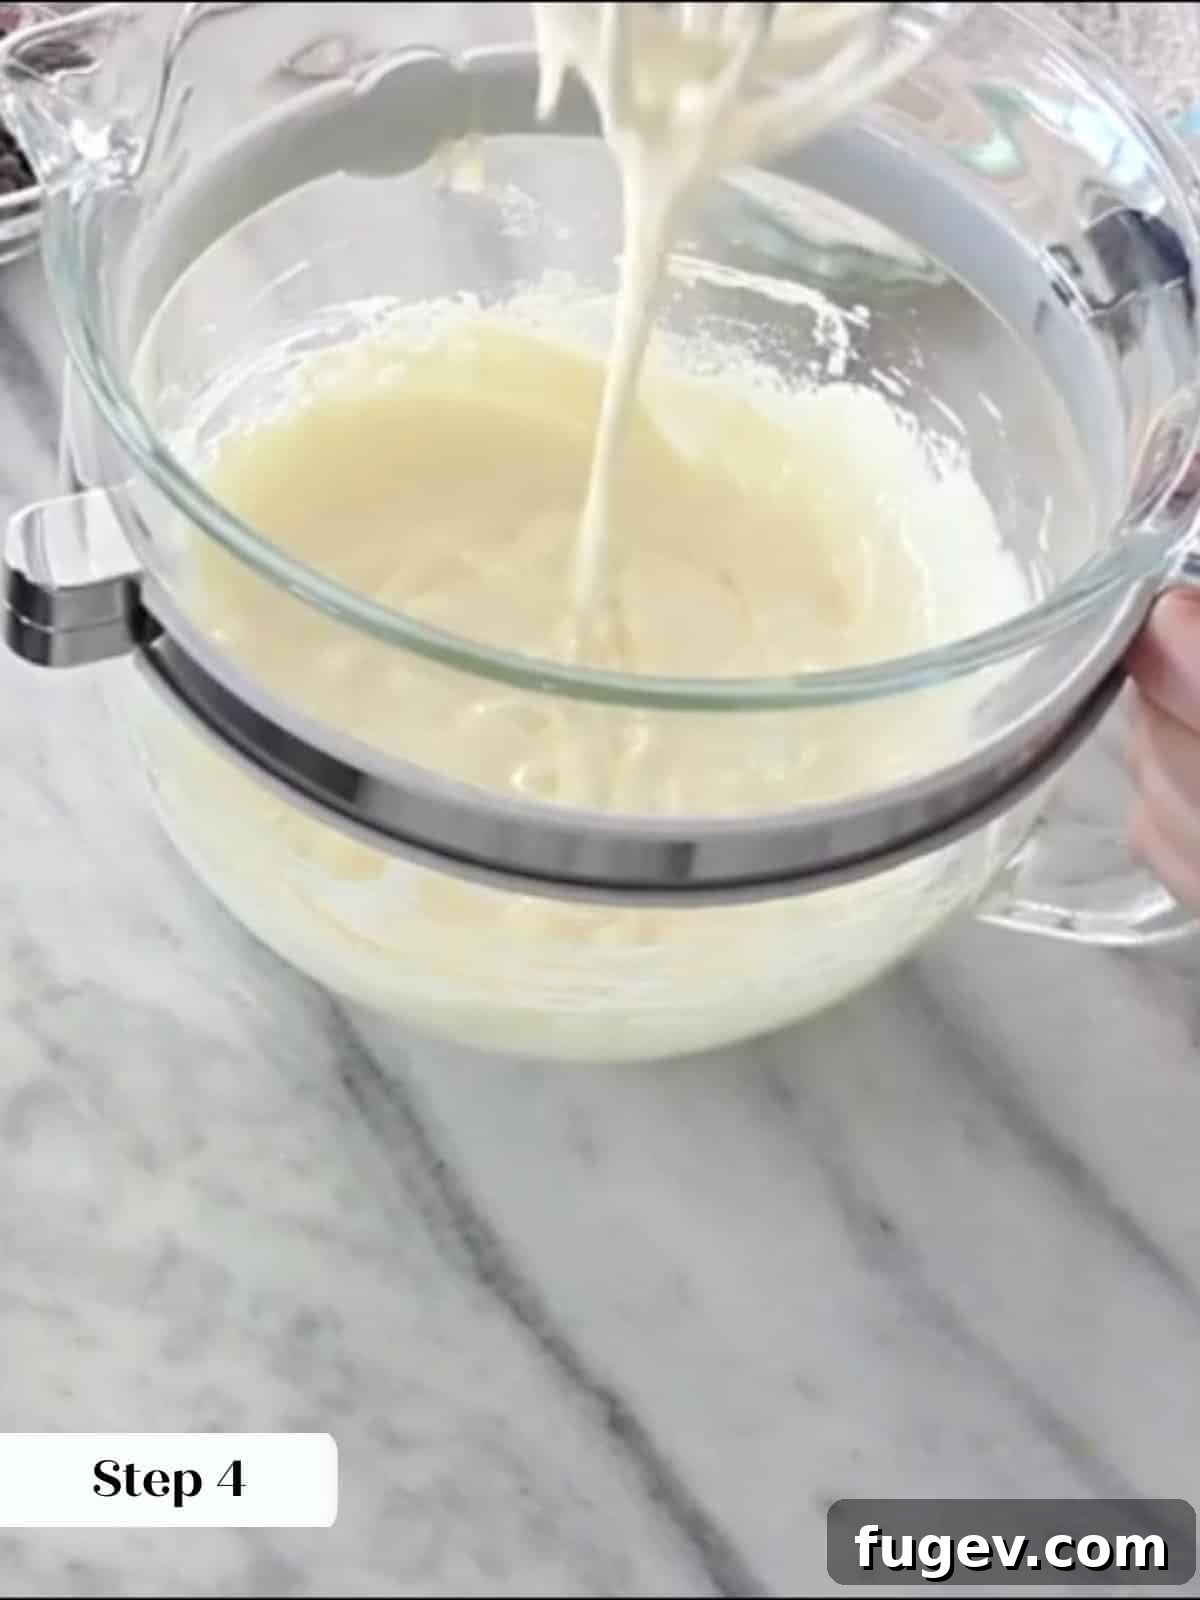
Step 4: Whip Eggs to Ribbon Stage. In the bowl of your stand mixer, fitted with the whisk attachment, combine the large eggs, vanilla extract, and granulated sugar. Beat on medium-high speed for 5-7 minutes, or until the mixture becomes light, thick, and fluffy, reaching what is known as the “ribbon stage.” Similar to preparing brown butter brownies, this aeration is key for the crackly top and chewy texture.
Understanding the Ribbon Stage: You’ve successfully reached the ribbon stage when you lift the whisk and the egg mixture falls back into the bowl in thick ribbons that slowly dissolve back into the surface of the batter, rather than disappearing immediately. This indicates sufficient aeration and structure.
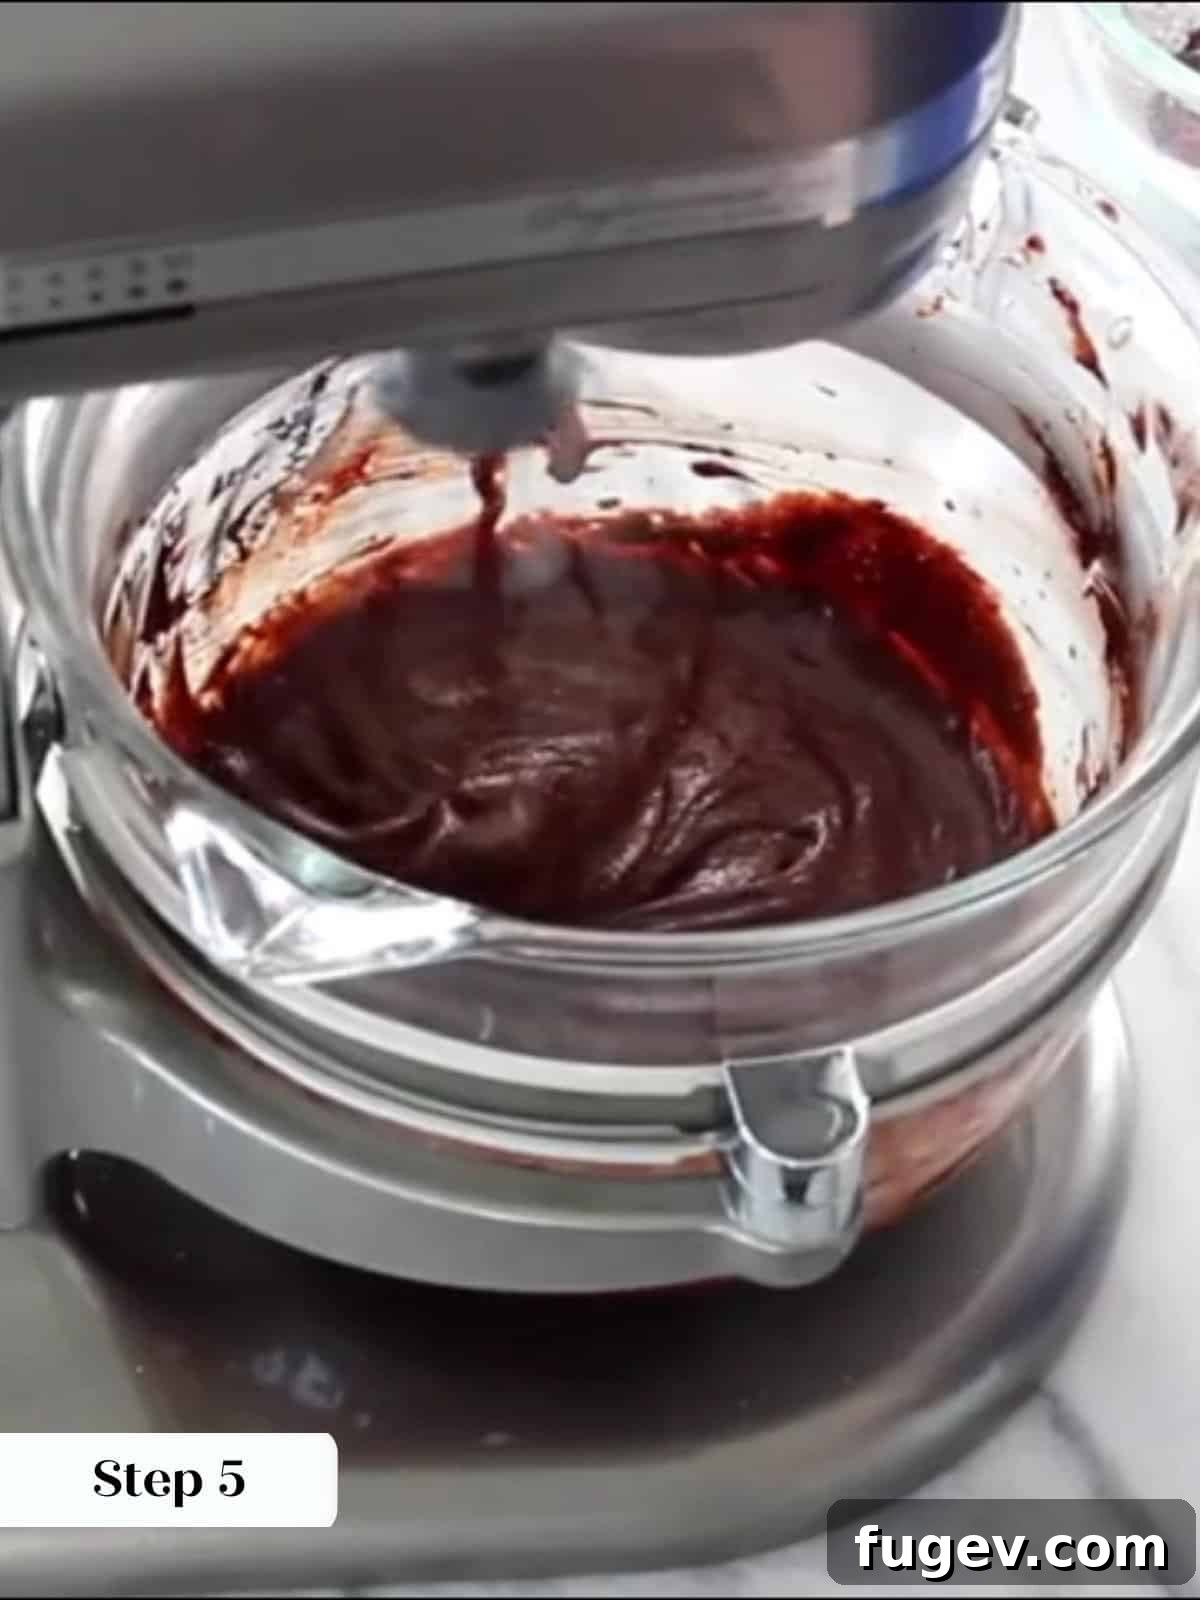
Step 5: Stream in the Cooled Chocolate. Reduce the mixer speed to low. Slowly and steadily pour the slightly cooled melted chocolate mixture into the whipped egg mixture. Continue mixing only until just combined. Be mindful of the chocolate’s temperature; it should be warm, not hot, to avoid cooking the eggs and preserving the delicate airiness you’ve achieved.
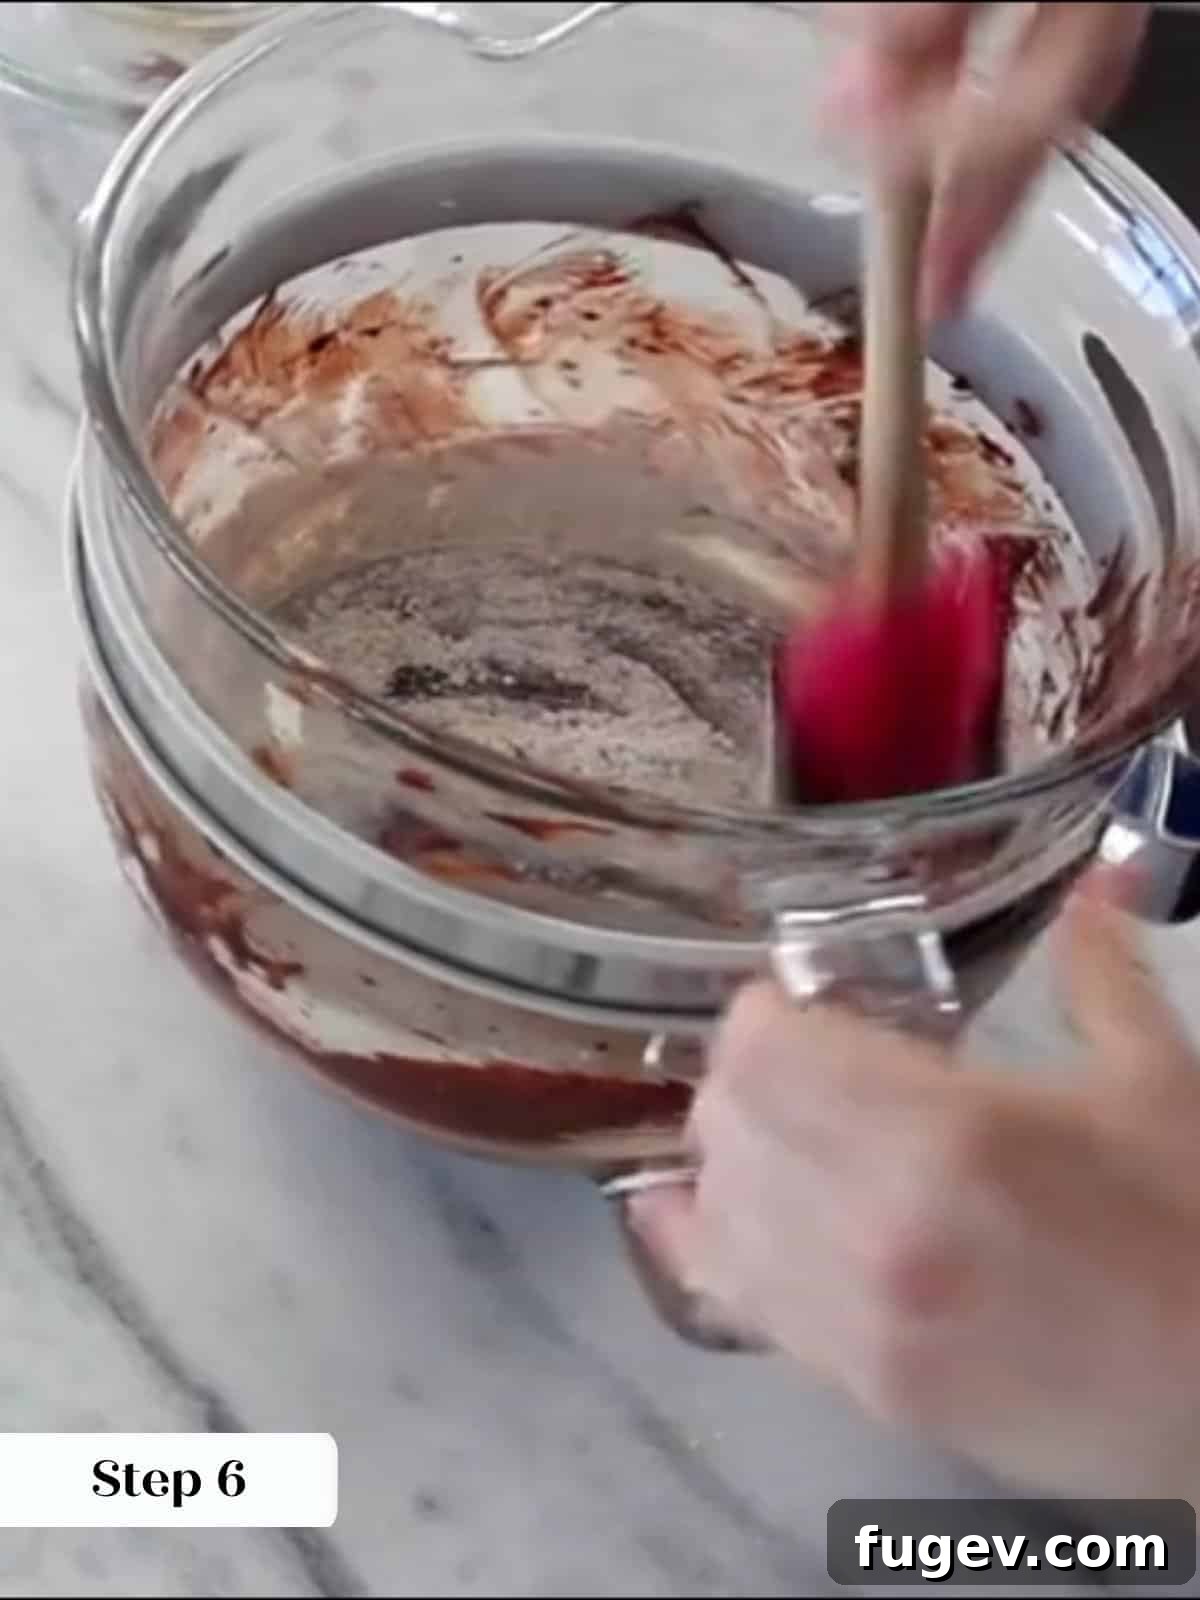
Step 6: Fold in the Dry Ingredients. Once the chocolate mixture is fully incorporated into the eggs, remove the bowl from the mixer. Add the reserved dry ingredient mixture (flour, salt, baking powder, espresso powder) to the wet ingredients. Using a rubber spatula, gently fold the ingredients together until just combined. Be careful not to overmix, as this can develop the gluten in the flour, leading to tough, less fudgy brownies.
Bake the Brownies:
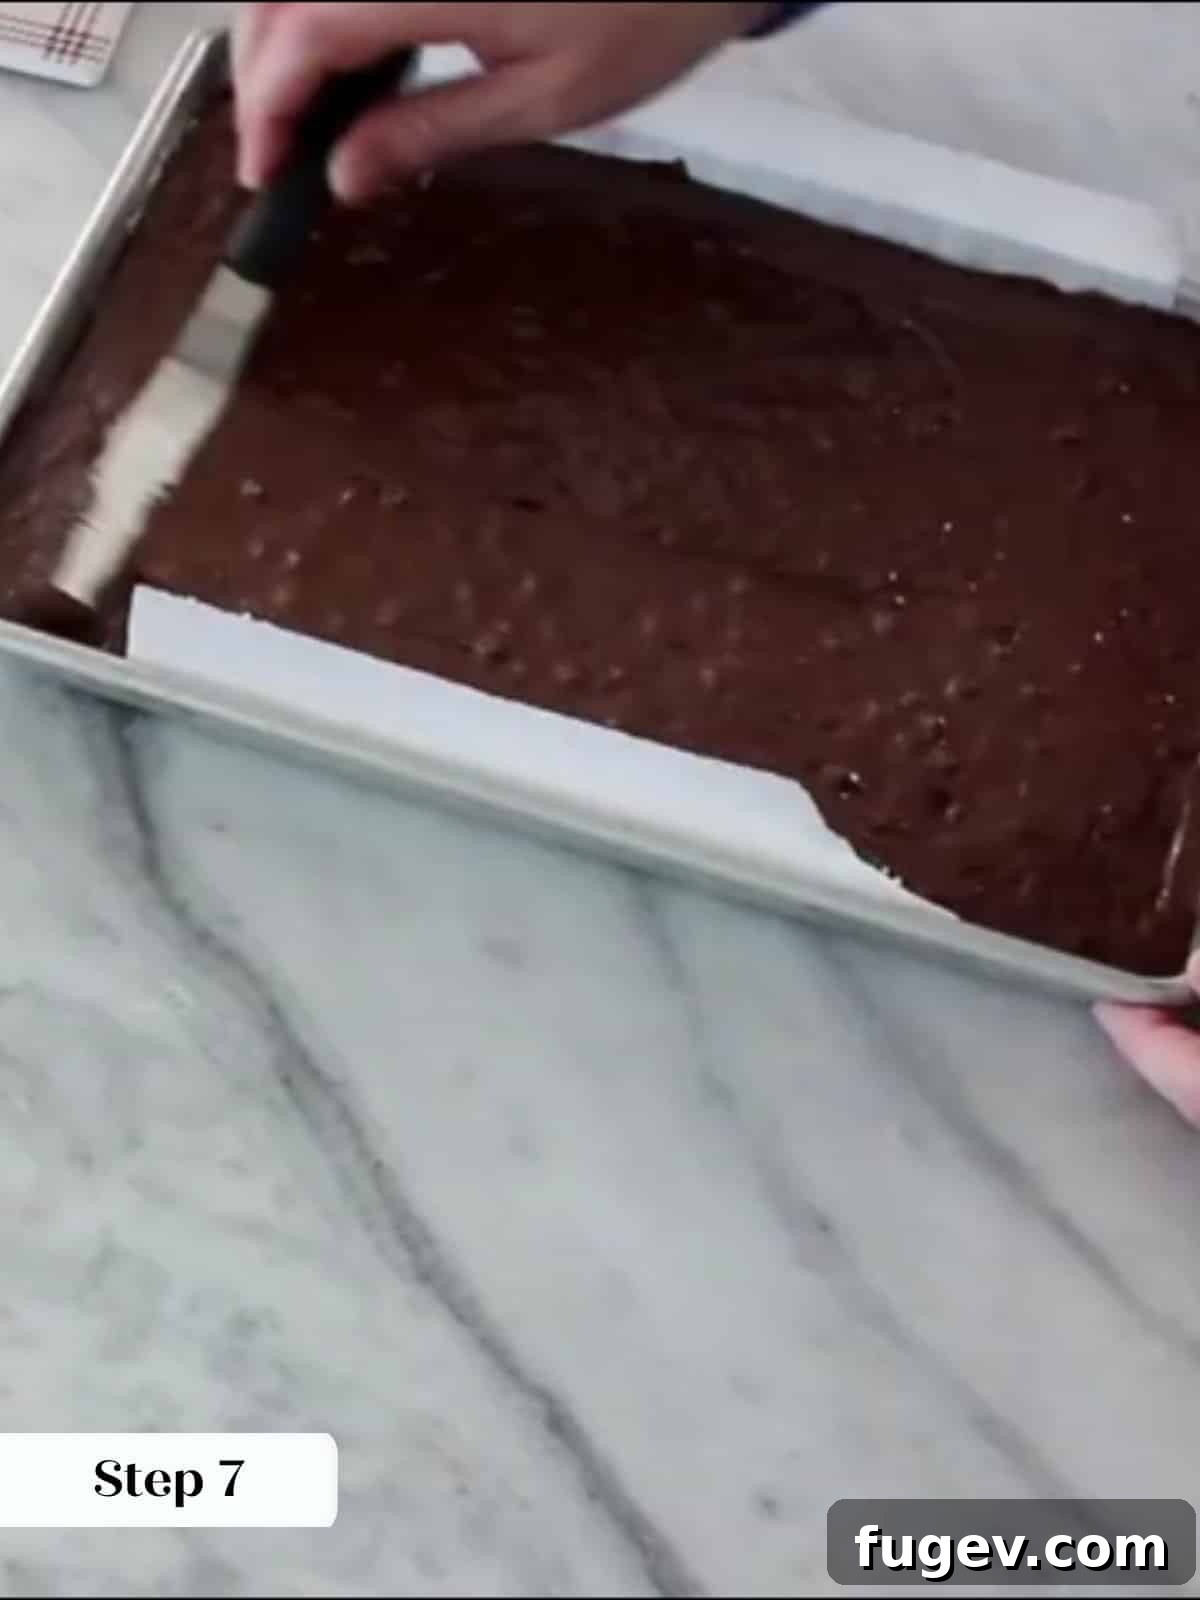
Step 7: Spread Batter into Pan. Carefully pour the thick brownie batter into your prepared baking pan. Use an offset spatula or the back of a rubber spatula to gently spread the batter evenly across the bottom of the pan, ensuring consistent thickness for uniform baking.
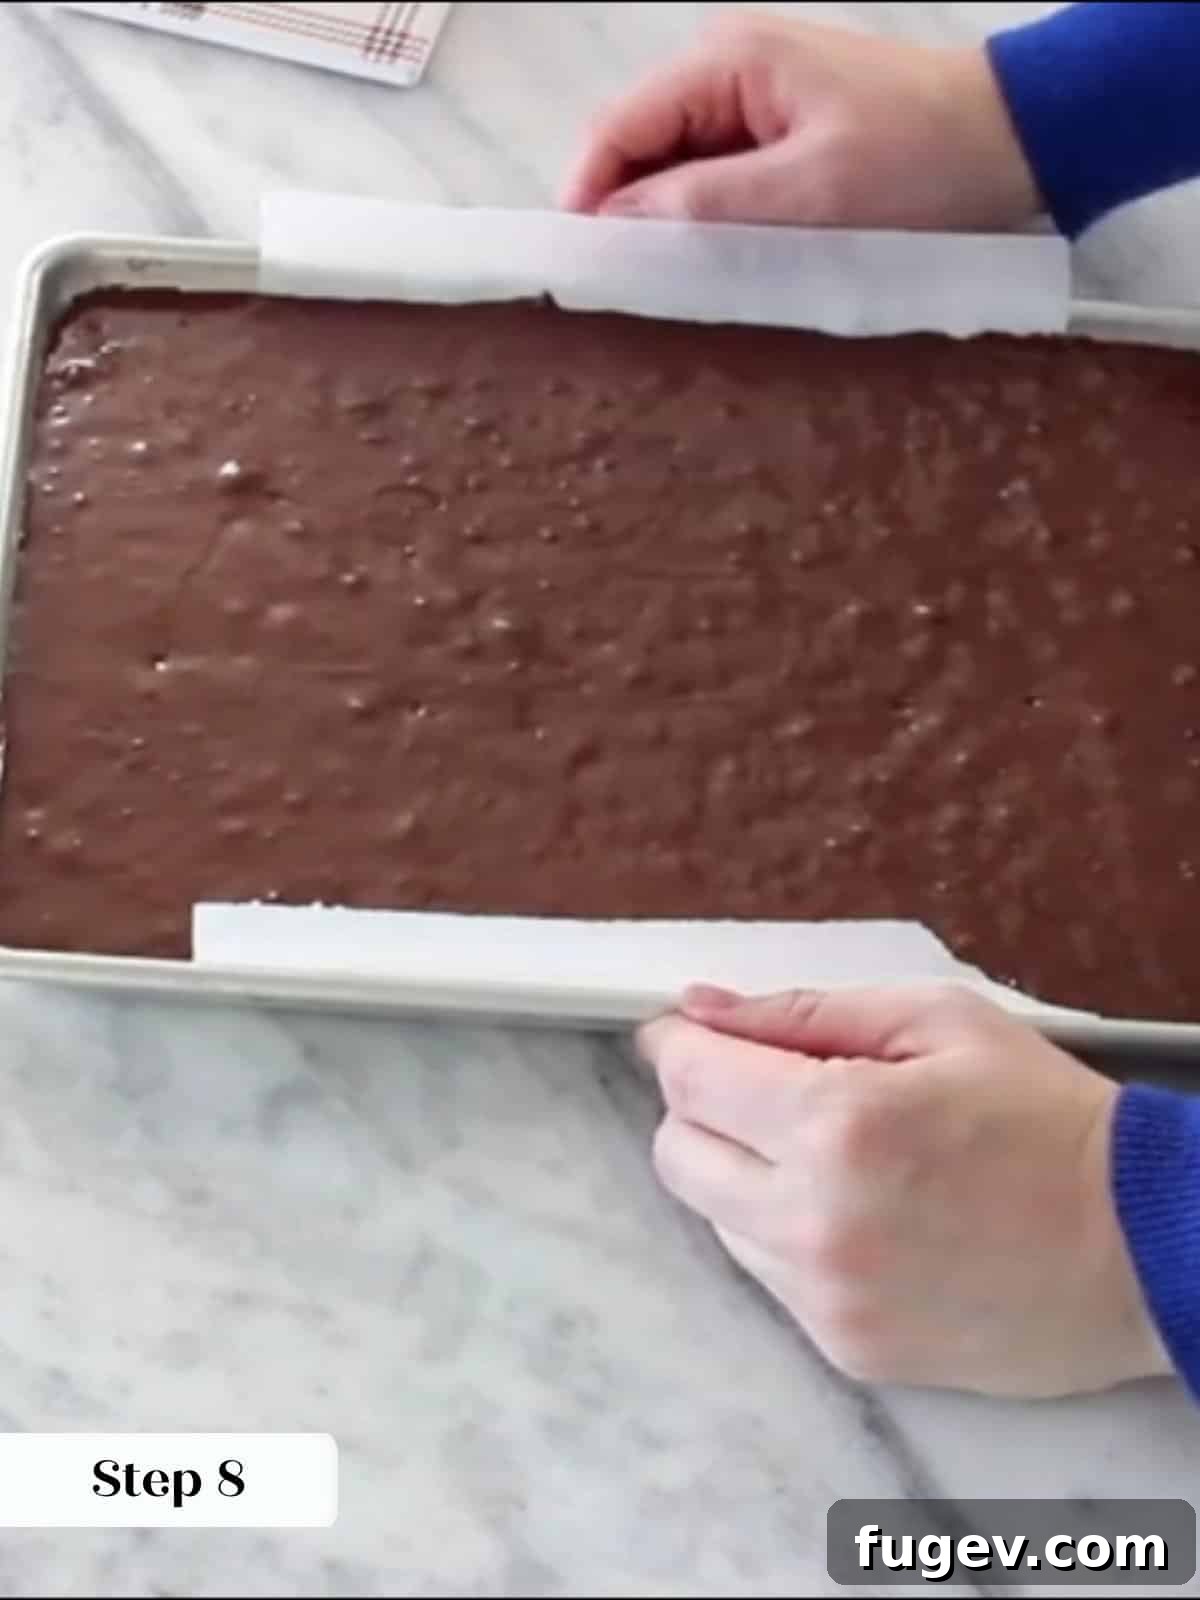
Step 8: Bake to Perfection. Transfer the pan to your preheated oven and bake for 16–18 minutes. The brownies are ready when the center has puffed up slightly, and the signature crackled top extends almost to the very center. A toothpick inserted into the center should come out with a few moist crumbs attached, indicating a perfectly fudgy interior, not wet batter.
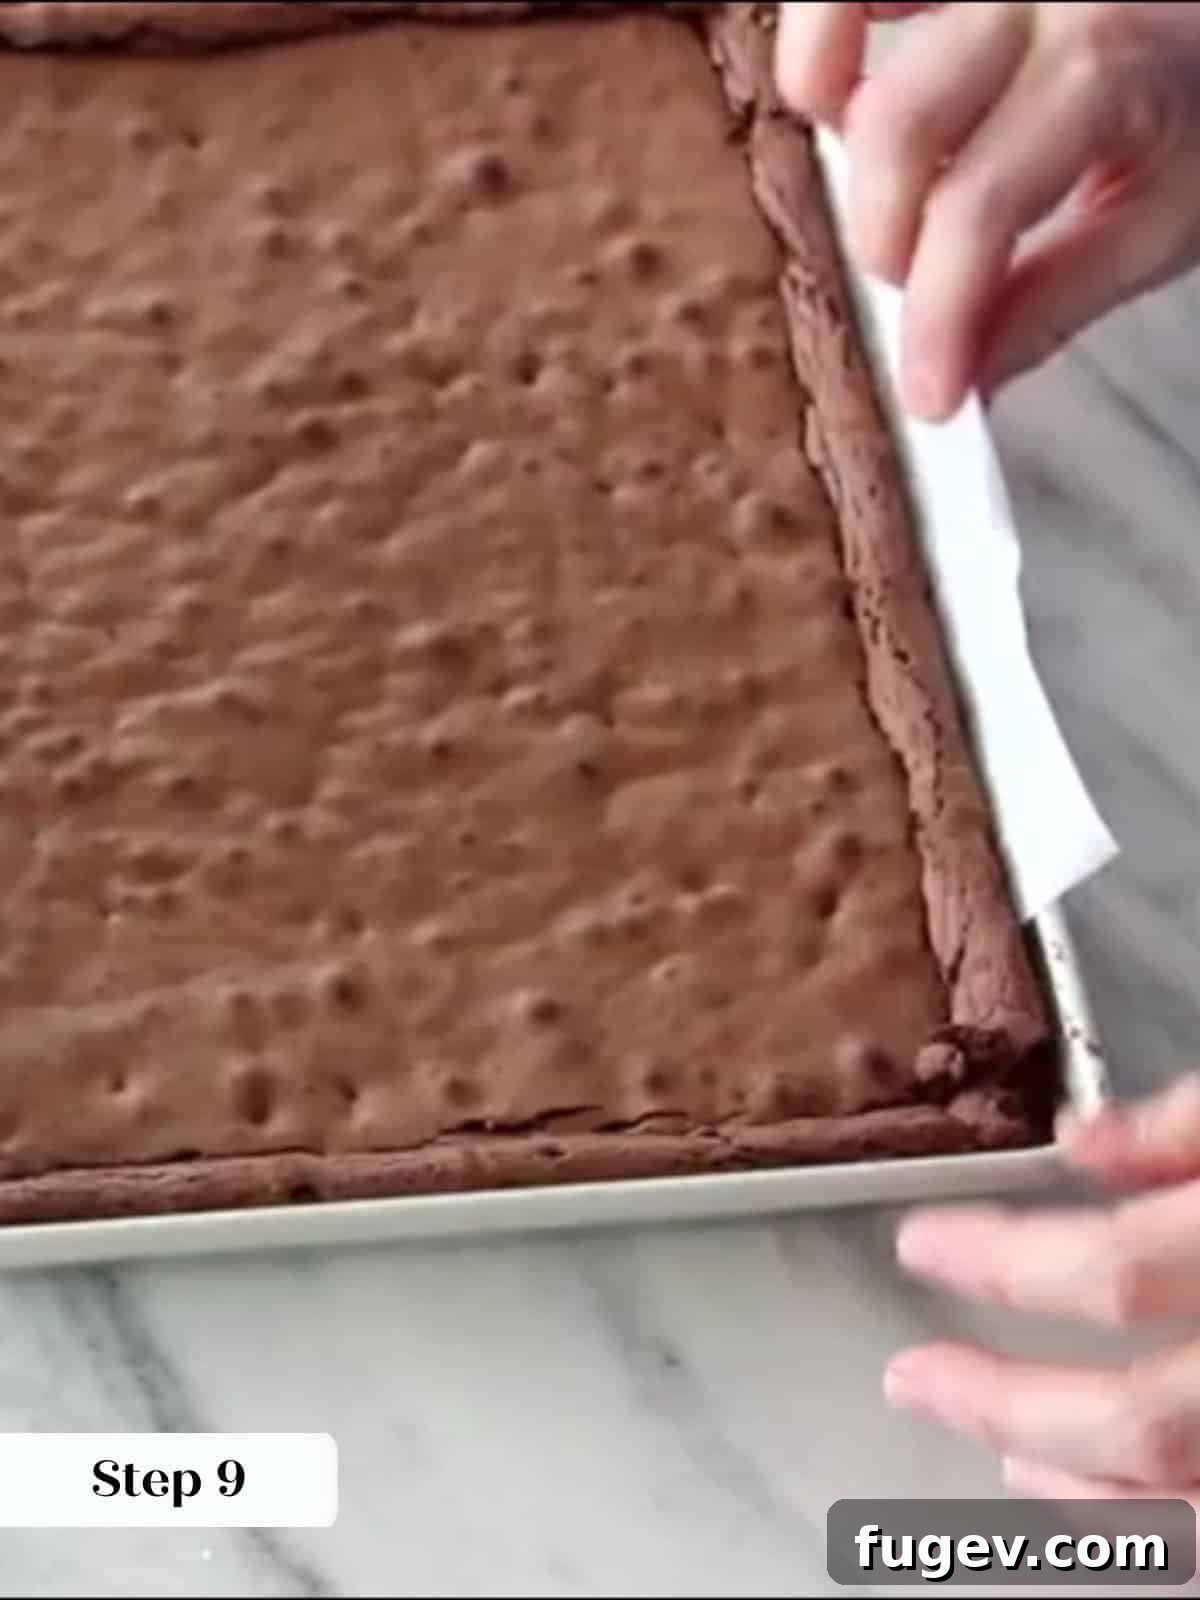
Step 9: Cool Completely. This step cannot be stressed enough: allow your brownies to cool completely in the pan on a wire rack. This allows them to set properly, become fully fudgy, and prevents the frosting from melting. Once cooled to room temperature, you can carefully lift them out of the pan using the parchment paper handles.
Prepare the Peppermint Frosting:
Step 10: Start the Buttercream Base. In the bowl of a stand mixer fitted with the paddle attachment, beat the softened unsalted butter, confectioner’s sugar, and pure peppermint extract together on low speed until they are just combined and smooth. This initial mixing prevents a cloud of powdered sugar from erupting. Once smooth, increase the speed to medium.
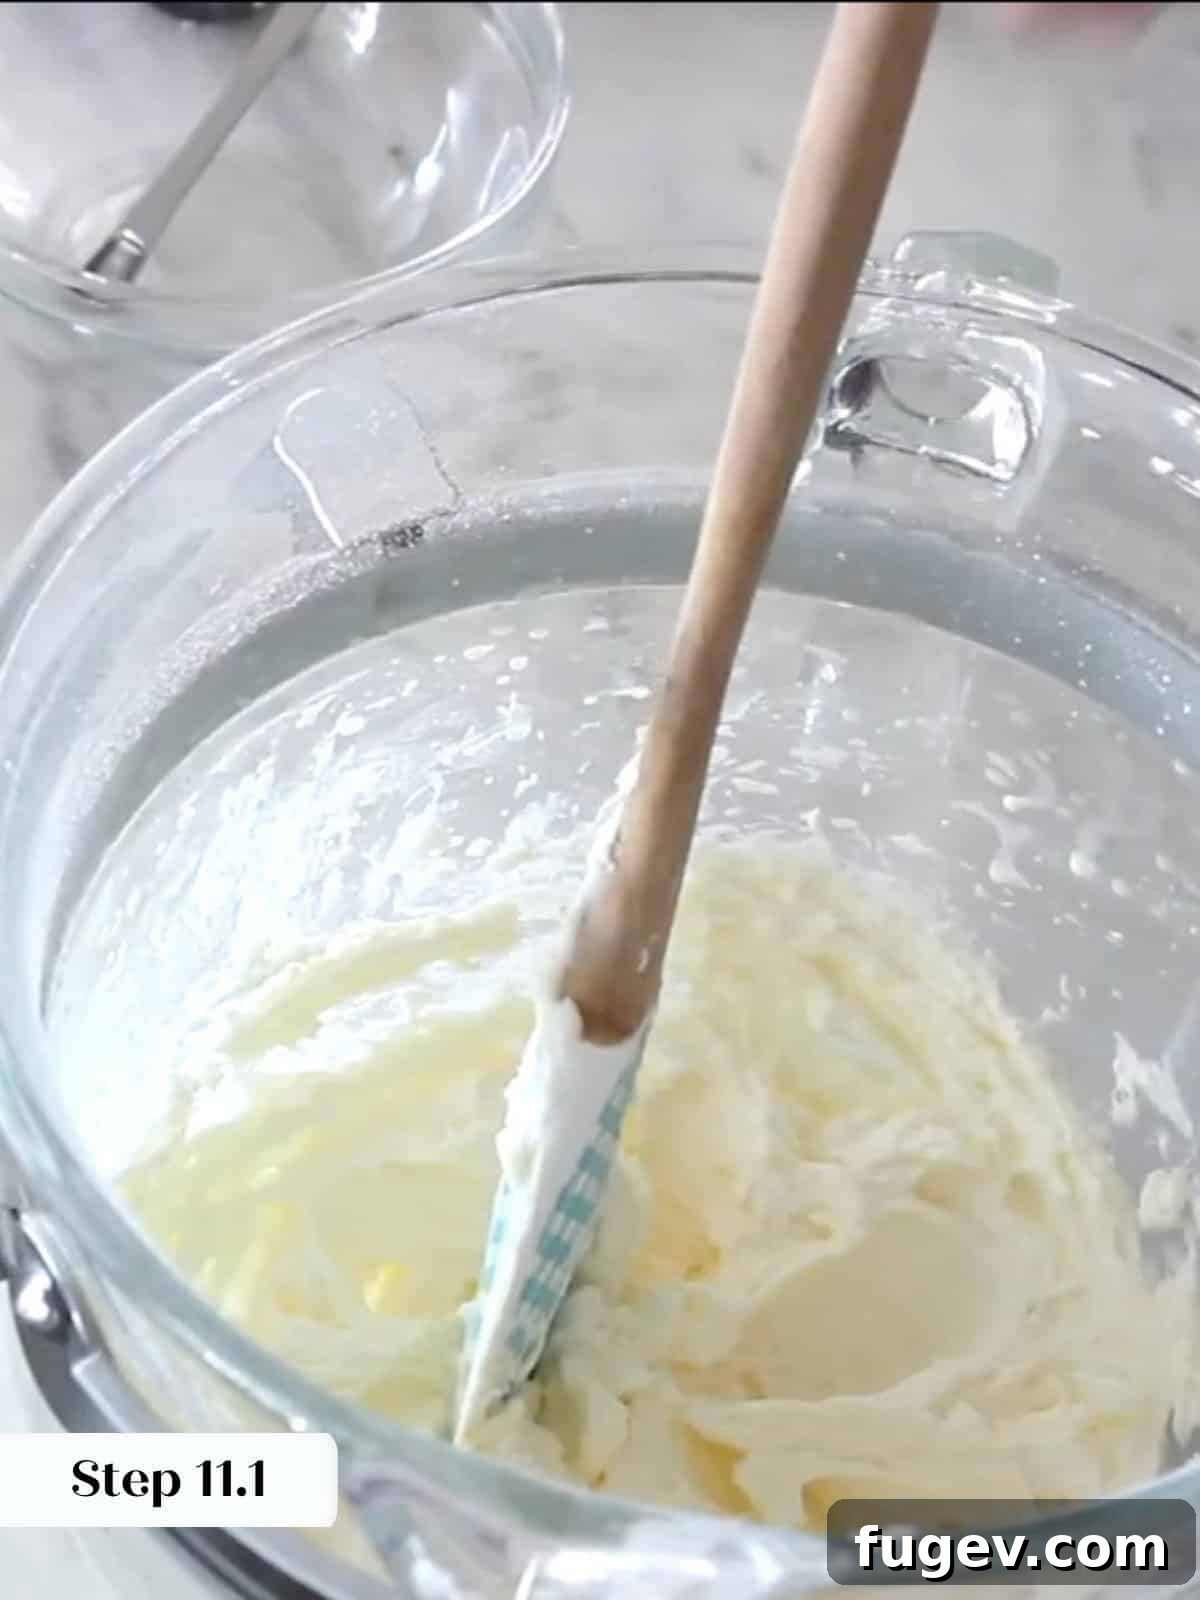
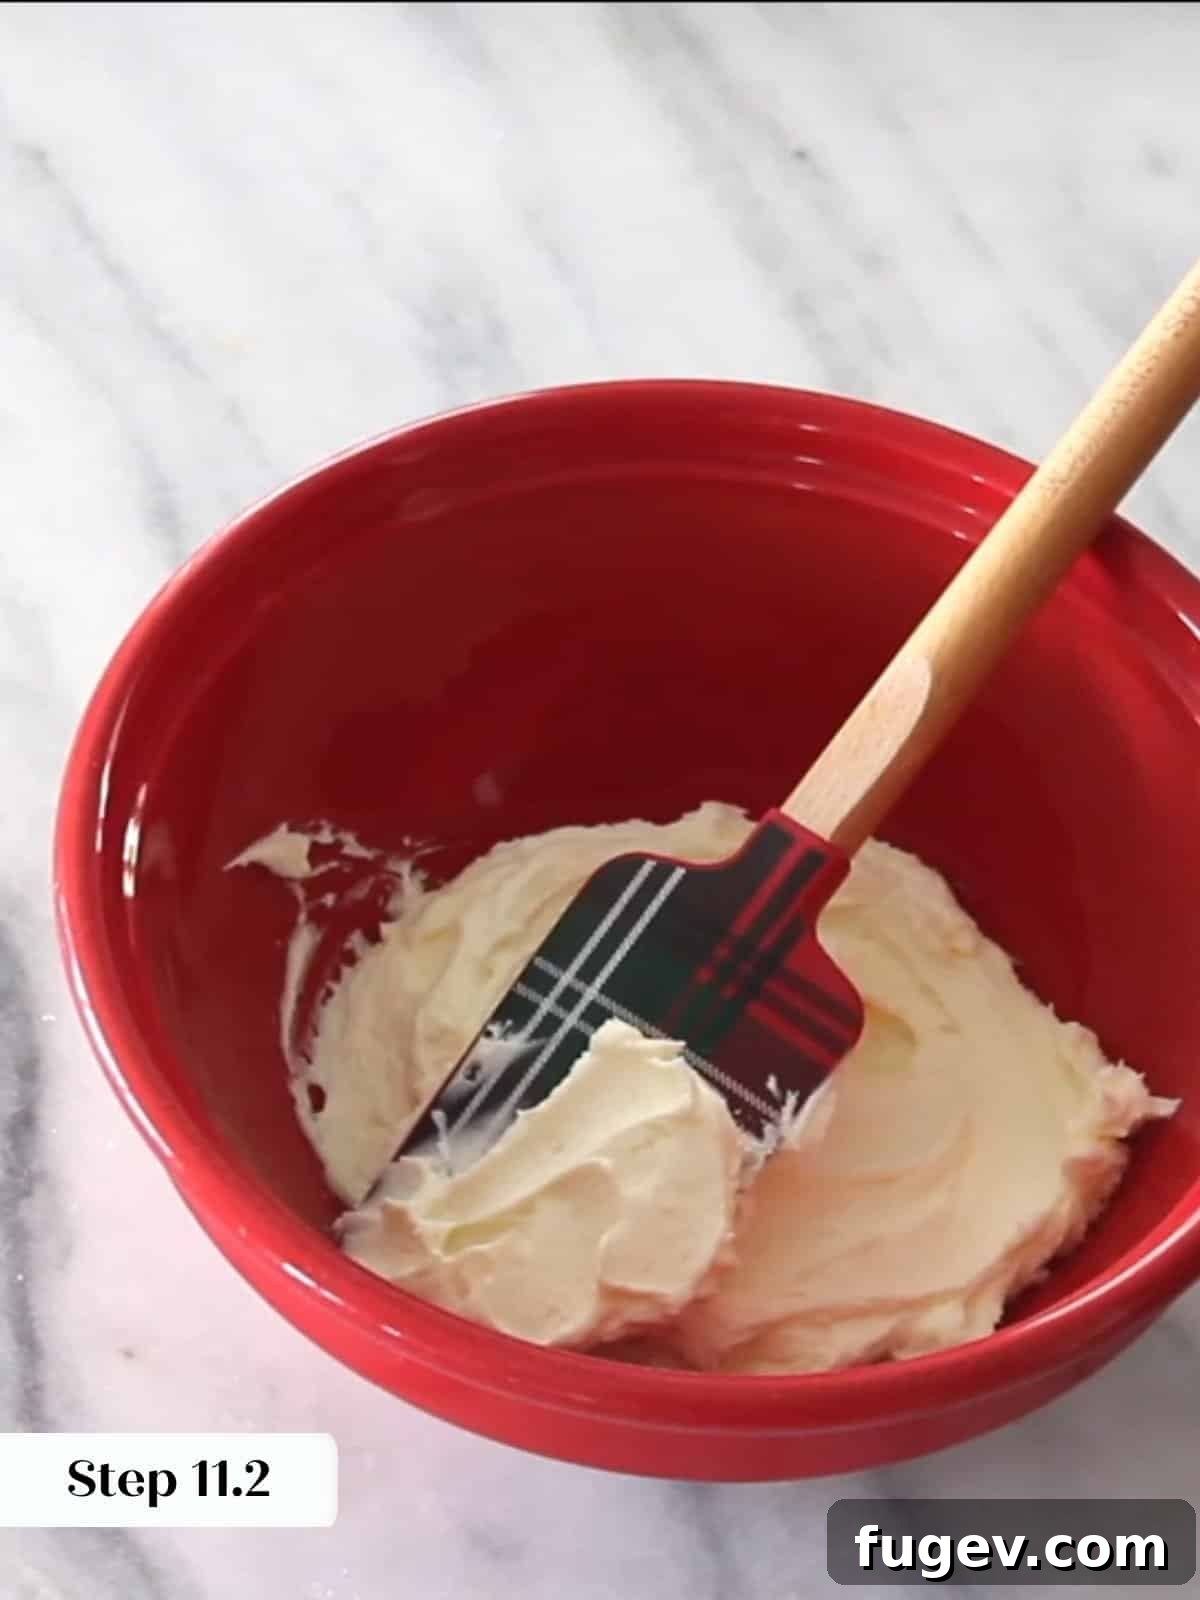
Step 11: Add Cream and Whisk. Replace the paddle attachment with the whisk attachment. Slowly add the heavy cream to the mixture. Increase the mixer speed to high and beat for 3-5 minutes, or until the frosting is incredibly light, fluffy, and almost white in color. This aeration makes the frosting beautifully soft and pipeable.
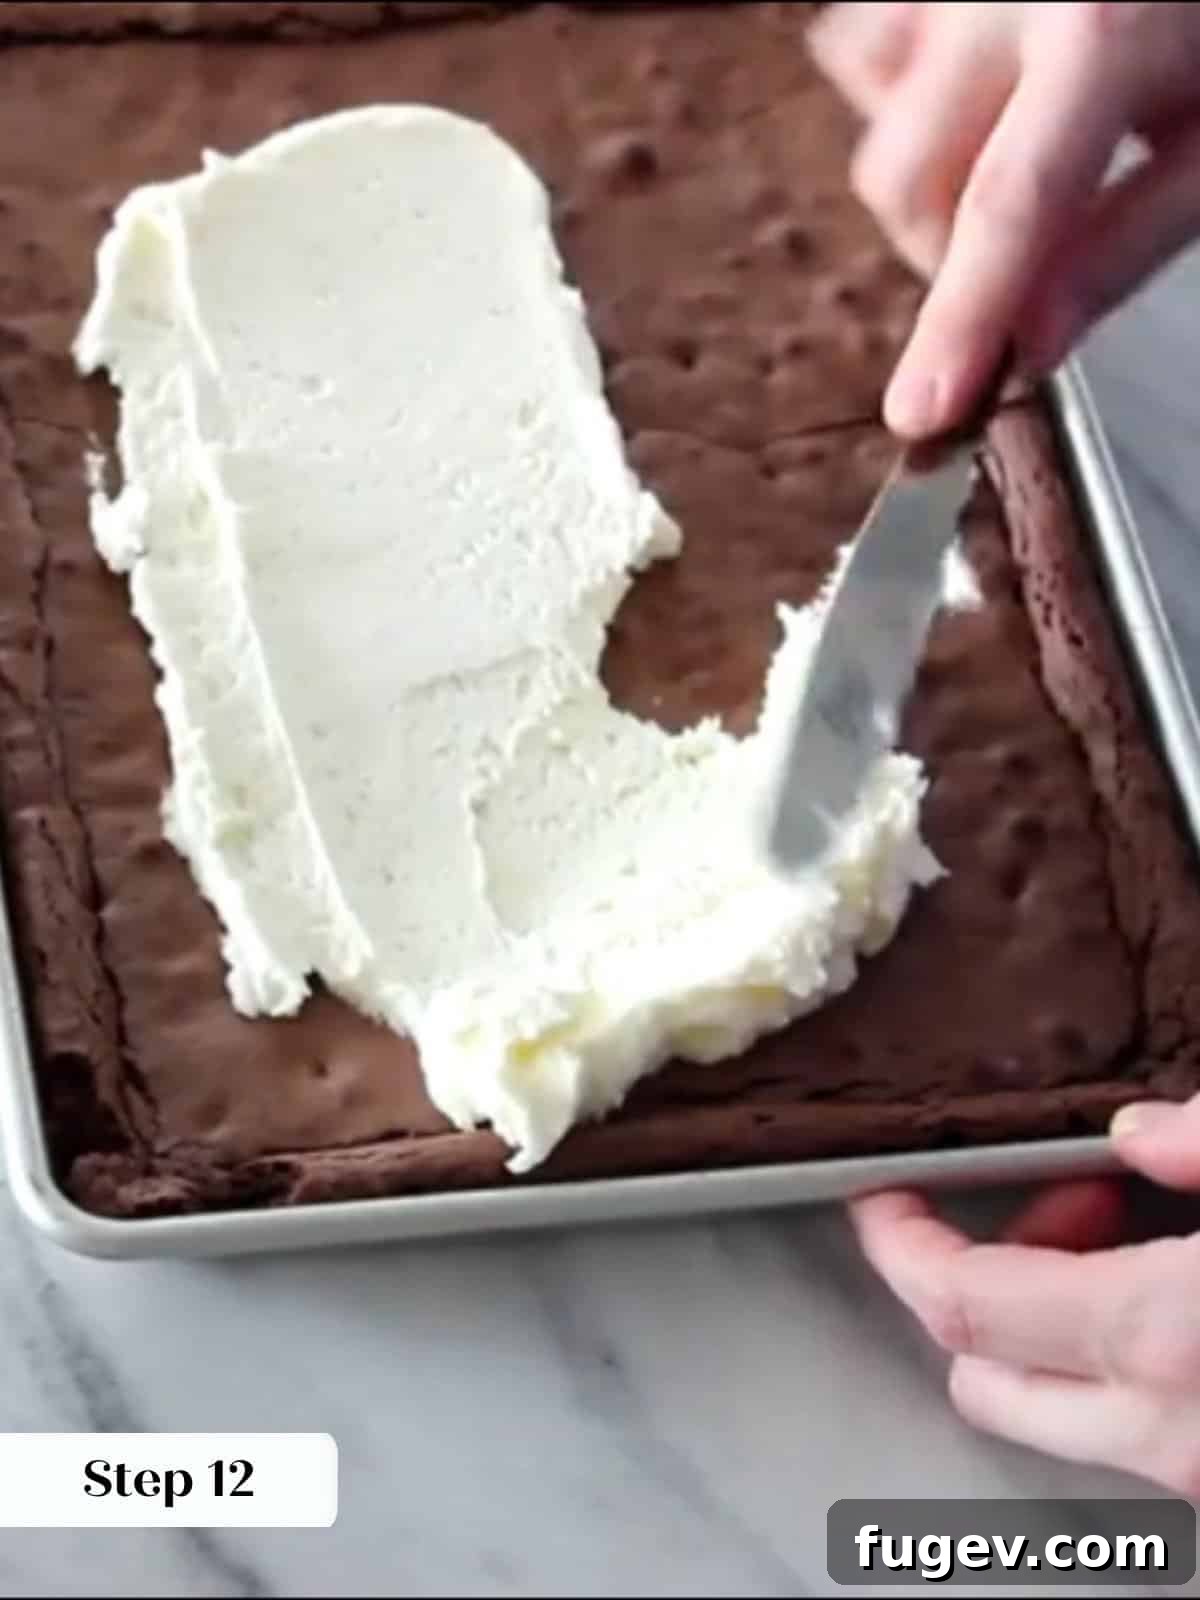
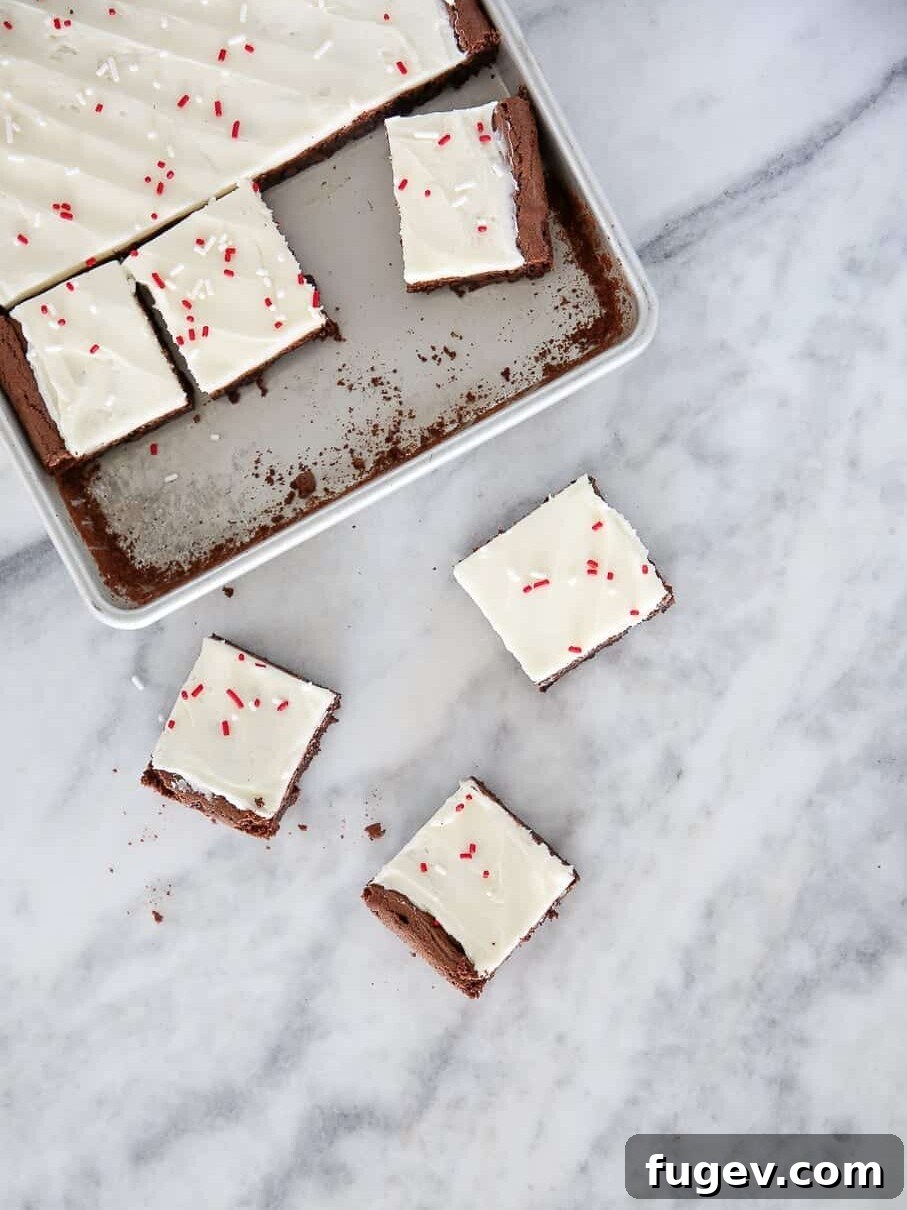
Step 12: Frost and Serve! Once your brownies are completely chilled and the frosting is whipped to perfection, spread or pipe the peppermint frosting generously over the entire surface of the brownies. For an extra festive touch and added crunch, sprinkle with crushed candy canes or additional peppermint candies. Slice into squares and serve immediately, or store for later enjoyment!
Chef Lindsey’s Recipe Tip for Clean Cuts
For pristine, professional-looking brownie squares, ensure your brownies are completely chilled and firm before slicing. The key tool for clean cuts is a very sharp knife. To achieve the cleanest edges, run your knife under hot water for about 30 seconds, then wipe it completely dry with a clean towel. Make each cut swiftly and firmly. After each slice, wipe the knife clean of any residual chocolate and repeat the hot water/wipe process. This prevents dragging crumbs and creates beautifully defined edges every time.
Recipe FAQs: Your Peppermint Brownie Questions Answered
Here are some frequently asked questions to help you master these delicious peppermint brownies:
Unfrosted brownies can be stored in an airtight container at room temperature for up to 3 days, or refrigerated for up to a week. For longer storage, wrap them tightly and freeze for up to 2 months. Unused peppermint buttercream should be stored in a clean, airtight container in the refrigerator for up to 2 weeks, or frozen for several months. Once frosted, the brownies are best kept at room temperature for up to three days before the buttercream’s quality begins to decline. For extended freshness of frosted brownies, store them in the refrigerator.
Absolutely! If peppermint isn’t your preference, simply omit the peppermint extract. You can replace it with an equal amount of pure vanilla extract for a classic chocolate brownie with vanilla buttercream. Alternatively, you can follow our dedicated American buttercream recipe. For a flavor profile reminiscent of Andes mints, consider using a spearmint extract instead of peppermint – it offers a slightly milder, sweeter minty taste.
While you can use milk chocolate, be aware that it will result in a significantly sweeter brownie, and the overall depth of chocolate flavor will be less intense. Dark chocolate is specifically chosen here to provide a robust contrast to the sweet peppermint frosting. If you prefer milk chocolate, I recommend trying my milk chocolate brownies recipe, and then topping them with this peppermint frosting for a different, but equally delicious, experience.
While freshly made batter is always best for optimal texture and rise, you can prepare the brownie batter up to 24 hours in advance. Store it covered tightly in the refrigerator. Before baking, let it come closer to room temperature for about 30 minutes, and stir gently to re-incorporate any separated ingredients. This might slightly affect the crackly top, but the fudgy interior will remain excellent.
More Irresistible Brownie Recipes You’ll Love
If you’ve fallen in love with these peppermint brownies, explore more of our decadent brownie and bar creations perfect for any occasion:
Brownies & Bars Recipes
Milk Chocolate Brownie Explosion
Brownies & Bars Recipes
Brown Butter Brownies
Brownies & Bars Recipes
One Bowl Brownies
Christmas Cookie Recipes
Brownie Cookies
If you tried this recipe and absolutely loved it, please take a moment to leave a 🌟 star rating and share your thoughts in the comments below. Your feedback truly brightens my day and helps other home bakers!
Peppermint Brownies
Comment
Print Recipe
Ingredients
For the Brownies:
- 96 g all-purpose flour
- 1 teaspoon kosher salt
- ½ teaspoon baking powder
- 1 tablespoon espresso powder
- 170 g unsalted butter
- 40 g cocoa powder
- 85 g 70% dark chocolate (chopped)
- 3 large eggs
- 2 teaspoon vanilla extract
- 300 g granulated sugar
For the Peppermint American Buttercream:
- 113 g unsalted butter (softened)
- 227 g confectioner’s sugar (½ of a 1 lb box)
- ¼ teaspoon pure peppermint extract (more to taste)
- 32 ½ g heavy cream (more as needed)
9 x 9 inch pan
Instructions
Prepare the brownies:
- Preheat your oven to 350°F (175°C). Line a 9×13 inch metal baking pan with criss-crossed parchment paper, leaving an overhang to serve as handles.
- In a large bowl, whisk together the all-purpose flour, kosher salt, baking powder, and espresso powder. Set aside.
- Combine the unsalted butter, dark chocolate, and cocoa powder in a heatproof bowl. Melt it over simmering water (double boiler method), stirring until smooth and fully combined. Allow to cool slightly.
- In the bowl of your stand mixer fitted with the whisk attachment, beat the large eggs, vanilla extract, and granulated sugar on medium-high speed until light, thick, and fluffy (this is the “ribbon stage”).
- With the mixer on low speed, slowly stream the slightly cooled butter and chocolate mixture into the whipped eggs. Mix until just combined, ensuring the chocolate is not too hot to prevent cooking the eggs.
- Once the chocolate mixture is fully incorporated, remove the bowl from the mixer. Gently fold in the reserved dry ingredients using a rubber spatula until just combined. Be careful not to overmix.
Bake the brownies:
- Pour the brownie batter into the prepared baking pan and spread it evenly with an offset or rubber spatula.
- Bake in the preheated oven for 16–18 minutes, or until the center of the brownie has puffed and the crackled top extends to the center. A toothpick inserted should come out with a few moist crumbs.
- Allow the brownies to cool completely in the pan on a wire rack before icing or attempting to remove them.
Prepare the frosting:
- In the bowl of a stand mixer fitted with the paddle attachment, beat together the softened unsalted butter, confectioner’s sugar, and pure peppermint extract until light and smooth.
- Switch to the whisk attachment. Add the heavy cream and whisk on high speed for 3-5 minutes until the frosting is light, fluffy, and white.
- Generously frost your completely cooled brownies and serve! For an extra festive touch, you can add crushed candy canes or peppermint candies on top.
Video Tutorial
Notes
Yield: This recipe yields 1 pan of 9×9 inch brownies (approximately 16 squares).
Presentation: For the best results and a beautiful presentation, always allow the brownies to cool completely before applying the frosting. A warm brownie will cause the delicate buttercream frosting to melt and slide off.
Technique: Lining your baking pan with criss-crossed parchment paper, creating an overhang, is a simple yet crucial detail for these brownies. It acts as a sling, making your baked brownies incredibly easy to remove from the pan without breaking or sticking.
Storage: Once frosted, these delicious brownies can be stored in an airtight container at room temperature for up to three days. For longer storage, or if your kitchen is particularly warm, it is best to store them in the refrigerator, where they will last for up to a week.
Nutrition Information
Calories: 335 kcal | Carbohydrates: 42g | Protein: 3g | Fat: 19g | Saturated Fat: 11g | Polyunsaturated Fat: 1g | Monounsaturated Fat: 5g | Trans Fat: 1g | Cholesterol: 71mg | Sodium: 175mg | Potassium: 113mg | Fiber: 2g | Sugar: 34g | Vitamin A: 518IU | Vitamin C: 0.01mg | Calcium: 26mg | Iron: 1mg
Enjoyed this recipe? Share your thoughts below!
Your feedback is truly appreciated.
Before You Go: Explore More Sweet Treats
I sincerely hope you enjoyed creating and indulging in these wonderfully festive peppermint brownies. They truly embody the spirit of holiday baking with their rich flavors and comforting warmth. If you’re eager to explore more delightful desserts and expand your baking repertoire, I invite you to browse our extensive collection of brownies and bars recipes. You might discover new favorites like our classic 7 Layer Bars, a sweet and simple crowd-pleaser, or our cozy Gingerbread Blondies, perfect for infusing more seasonal spice into your baking. Happy baking, and may your kitchen always be filled with delicious aromas!