
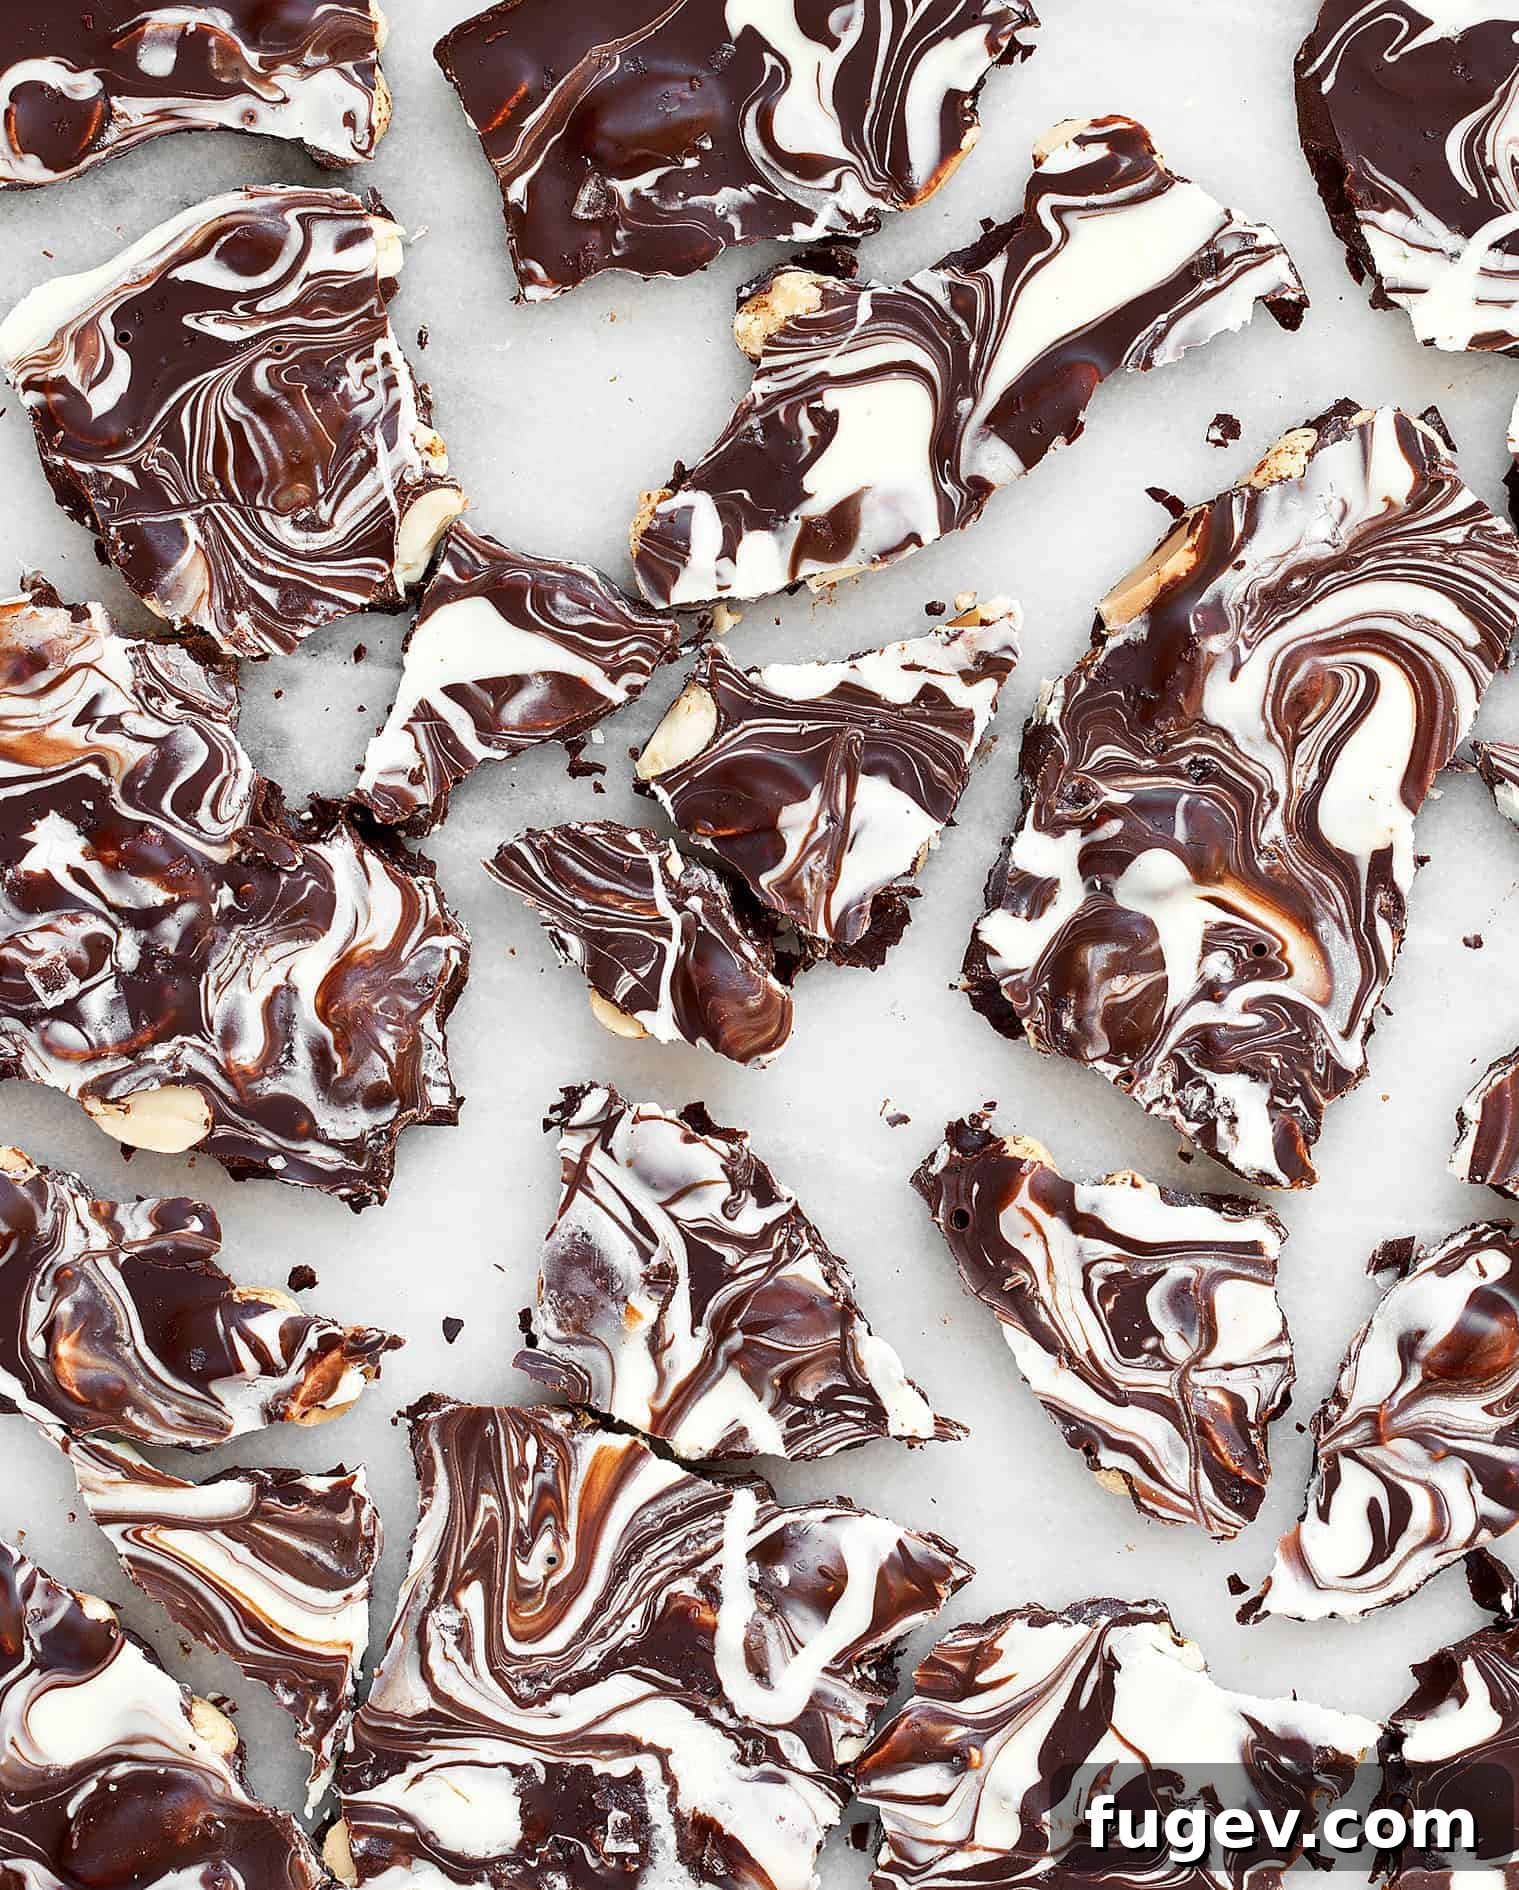
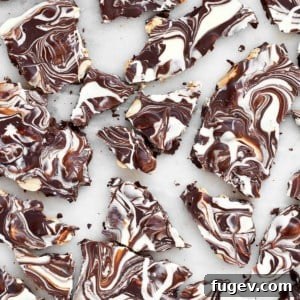
Unleash your inner artist and discover the joy of creating beautifully abstract Marbled Chocolate Bark. This delightful confection is not only incredibly easy and fun to make, but it also offers a canvas for your creativity, allowing you to swirl and blend chocolates into unique, mesmerizing patterns. Forget the pressure of perfection; with marbled bark, every random swirl is a stroke of genius, resulting in a visually stunning and deliciously satisfying treat perfect for any occasion.
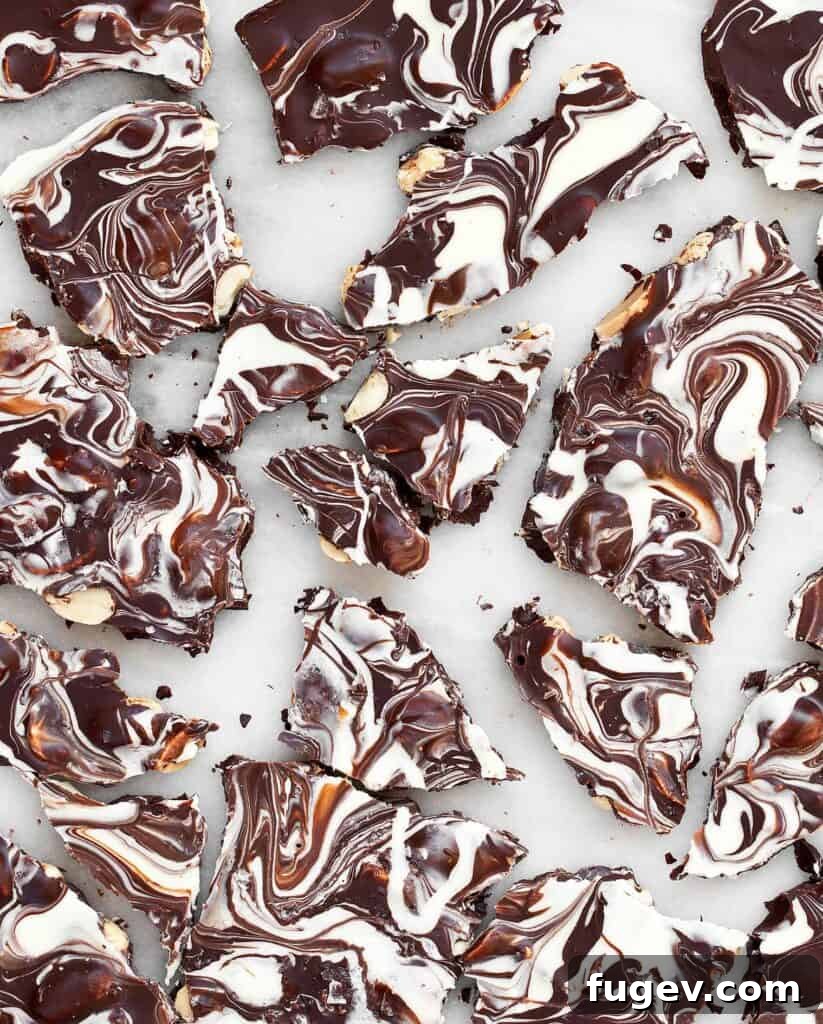
The Sweet Allure of Homemade Treats: Marbled Chocolate Bark for Every Season
The calendar might dictate certain seasons, but in the world of homemade candy, every day is a celebration! From the spooky delights of Halloween to the romantic gestures of Valentine’s Day, the festive cheer of Christmas, and the pastel hues of Easter, there’s always a reason to whip up a batch of something sweet. While New Year’s resolutions might briefly suggest a slowdown, the irresistible charm of a handcrafted confection quickly brings us back to our culinary roots.
There’s an undeniable magic in creating treats from scratch. While store-bought candies certainly have their place, the process of making your own adds a personal touch, a unique flavor profile, and an immense sense of accomplishment. This Marbled Chocolate Bark embodies that spirit perfectly. It’s an accessible project that yields impressive results, making it a favorite for seasoned bakers and novice confectioners alike. Plus, it’s a fantastic way to engage the whole family in a creative kitchen activity!
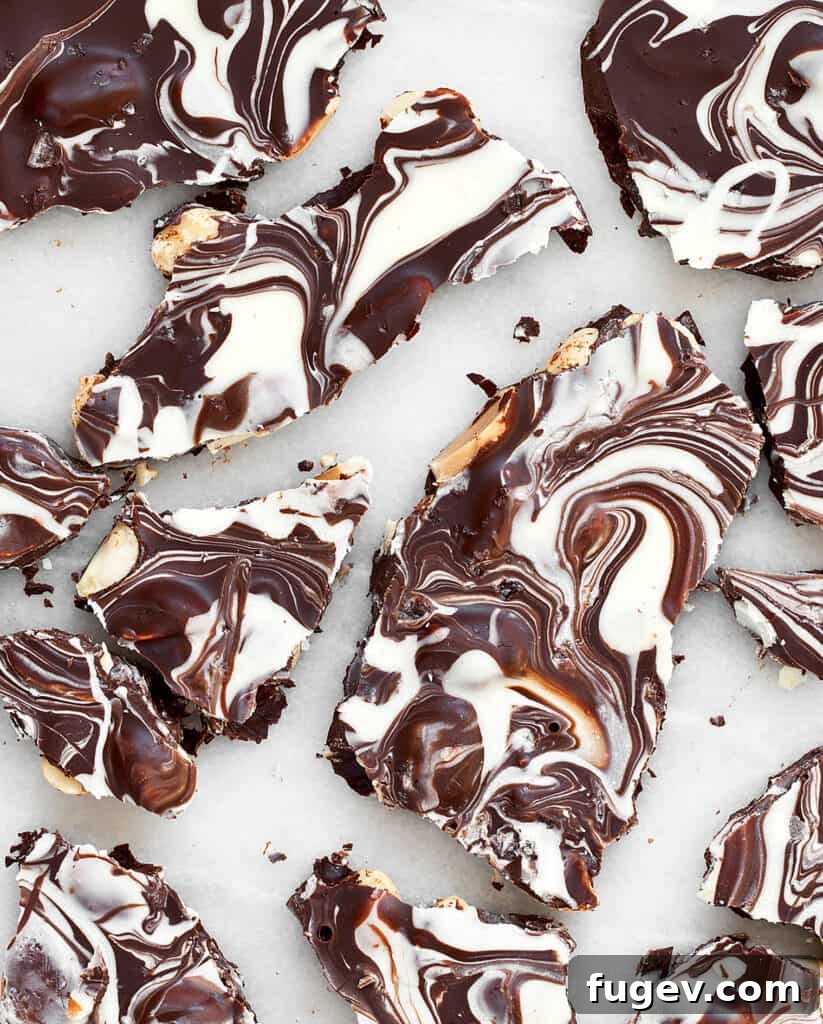
Why Marbled Chocolate Bark is Your Next Go-To Dessert
One of the most appealing aspects of this marbled chocolate bark is its inherently abstract nature. The beauty lies in imperfection; the more “messy” your swirls, the more captivating the final pattern tends to be. This means you don’t need to be a professional artist to create a stunning masterpiece. Every batch is unique, a one-of-a-kind work of edible art that will impress your friends and family.
This versatility extends beyond aesthetics. Imagine crafting ghostly white swirls on a dark chocolate base for a Halloween treat, or creating gentle slopes of white “snow” on a milk chocolate canvas for a festive Christmas delight. For Valentine’s Day, a hint of pink food coloring in the white chocolate could transform it into a romantic gesture. The possibilities are truly endless!
Beyond its visual appeal and adaptability, this recipe offers a practical advantage: it’s an excellent solution for utilizing those leftover chocolate chunks or half-used bags of chocolate chips lurking in your pantry. Instead of letting them languish, transform them into something spectacular that everyone will adore. It’s a sustainable and delicious way to ensure no good chocolate goes to waste.
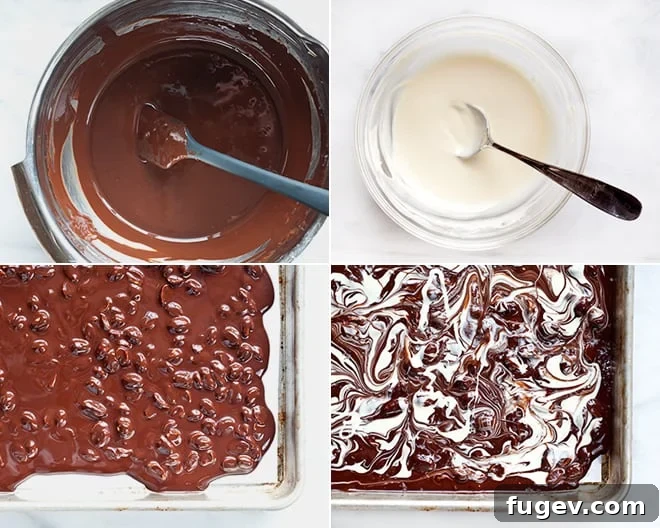
Mastering the Art of Marbled Chocolate Bark: A Step-by-Step Guide
Creating this gorgeous marbled chocolate bark is simpler than you might think, primarily revolving around proper chocolate melting and a creative swirl. Let’s walk through the process to ensure your bark turns out perfectly every time.
The Secret to Perfectly Melted Chocolate: The Double Boiler Method
Melting chocolate can be tricky, as it’s prone to burning or seizing if exposed to too much direct heat. This is where the double-boiler method becomes your best friend. While its name might sound intimidating, it’s incredibly straightforward and provides gentle, even heat, making it the ideal technique for melting chocolate smoothly and safely.
To set up a double boiler, simply fill a small saucepan with about an inch or two of water. Bring this water to a gentle simmer over medium heat. Next, place a heatproof bowl (preferably glass or stainless steel) on top of the saucepan. It’s crucial that the bottom of the bowl does NOT touch the simmering water. The steam from the water will gently heat the bowl, melting the chocolate indirectly. Add your chopped chocolate to the top bowl and stir occasionally with a rubber spatula until it’s completely smooth and glossy. This method ensures your chocolate melts evenly without scorching.
For this marbled bark, you’ll be working with two types of chocolate: a richer bittersweet chocolate (or dark chocolate) and vibrant white chocolate. To achieve distinct colors and prevent them from mixing prematurely, it’s essential to melt these in separate bowls, using the double-boiler method for both. This also allows you to add different flavorings or mix-ins to each chocolate if desired.
An important ingredient in our chocolate bark is coconut oil. Adding a small amount of coconut oil to your melted chocolate serves a few key purposes. It helps to thin the chocolate slightly, making it easier to pour and swirl, and most importantly, it aids in hardening the bark once it’s chilled. This results in a crisp, satisfying snap when you break your bark into pieces.
Assembling and Swirling Your Marbled Masterpiece
Once your chocolates are perfectly melted and smooth, it’s time for the fun part: assembly and marbling. Start by lining a standard baking sheet (approximately 9×12 inches) with parchment paper. This is crucial for easy removal of the hardened bark later.
Begin with your bittersweet chocolate. After melting it and stirring in a portion of the coconut oil, gently fold in your chosen add-ins, such as salted roasted peanuts, into the dark chocolate. The combination of savory peanuts with rich chocolate is truly irresistible. Pour this mixture onto your prepared parchment-lined sheet pan, spreading it evenly with an offset spatula or the back of a spoon to create a uniform base layer.
Next, take your melted white chocolate (with the remaining coconut oil stirred in) and use a spoon to dollop small, irregular mounds over the dark chocolate base. Don’t worry about perfect placement; remember, we’re going for an abstract look! Once you have your white chocolate dollops in place, grab a skewer, a toothpick, or even the tip of a small knife. Gently drag it through the white and dark chocolate, creating swoops, swirls, and loops. Experiment with different patterns – circles, zigzags, or long, graceful lines. The goal is to blend the colors without fully mixing them, allowing both shades to remain distinct while forming a beautiful marbled effect.
For an extra touch of gourmet sophistication and a delightful flavor contrast, sprinkle the top of your marbled creation with a pinch of flaky sea salt. The salt enhances the chocolate’s flavor and adds a subtle crunch.
Chilling and Serving Your Beautiful Bark
With your artistic swirls complete, carefully transfer the sheet pan to the refrigerator. Allow the chocolate bark to chill for at least 30 minutes, or until it is completely firm and snaps easily. The cooling process solidifies the chocolate, ensuring those beautiful patterns are locked in place.
Once firm, remove the bark from the refrigerator. The parchment paper will make it incredibly easy to lift off the pan. Now comes another satisfying moment: breaking the bark. You can use your hands to snap it into beautiful, uneven pieces. Each piece will be unique, showcasing its own intricate marbled design. This casual, rustic presentation adds to the charm of homemade bark.
Customization: Endless Possibilities for Your Marbled Chocolate Bark
One of the greatest joys of making chocolate bark is the endless potential for customization. This recipe is a fantastic starting point, but don’t hesitate to experiment with different flavors and textures to suit your preferences or the occasion.
- Chocolate Varieties: While bittersweet and white chocolate create a classic contrast, you could try milk chocolate for a sweeter base, or even ruby chocolate for a natural pink hue. A combination of three chocolates could add another layer of visual interest.
- Nutty Add-ins: Beyond salted roasted peanuts, consider using toasted almonds, pecans, walnuts, pistachios, or even candied nuts. The crunch of nuts provides a wonderful textural contrast to the smooth chocolate.
- Fruity Delights: Dried cranberries, cherries, raisins, or chopped apricots can add a chewy texture and tart sweetness. For a tropical twist, sprinkle on some shredded coconut.
- Crunchy Surprises: Pretzels, crushed potato chips, graham cracker pieces, or even crispy rice cereal can introduce an exciting salty crunch.
- Candy Crushes: For an extra festive touch, add crushed peppermint candies for Christmas, toffee bits, mini marshmallows, or even chopped candy bars.
- Color Play: For truly vibrant marbled effects, especially with white chocolate, use oil-based food coloring. A few drops can transform plain white into striking reds, blues, or greens, perfect for themed holidays or parties. Imagine green and purple for Mardi Gras, or red and white for a candy cane theme.
- Flavor Extracts: A few drops of peppermint extract, orange extract, or almond extract can be added to the melted chocolate to infuse it with additional flavor dimensions.
Don’t be afraid to mix and match! The more creative you get, the more unique and delicious your marbled chocolate bark will be. It’s a wonderful way to express your culinary creativity and cater to specific tastes.
Storing and Gifting Homemade Chocolate Bark
Once your marbled chocolate bark is set and broken into pieces, it’s important to store it properly to maintain its freshness and snap. Keep the bark in an airtight container at room temperature for up to two weeks, or in the refrigerator for up to a month. If storing in the fridge, allow it to come to room temperature for a few minutes before serving for the best flavor and texture.
Homemade chocolate bark makes an exceptional gift. Arrange pieces in decorative tins, clear cellophane bags tied with festive ribbons, or small boxes. It’s a thoughtful, delicious, and beautiful present for holidays, birthdays, or just to show appreciation. The personalized touch of a homemade gift is always cherished.
So, gather your ingredients, embrace your artistic side, and get ready to create a batch of this easy, fun, and utterly delightful marbled chocolate bark. It’s a treat that looks as good as it tastes, proving that sometimes, the most beautiful creations are those that are perfectly imperfect.
Marbled Chocolate Bark
Paige Adams
15
5
30
50
10
Ingredients
-
8 ounces bittersweet chocolate roughly chopped -
3 teaspoons coconut oil -
4 ounces white chocolate roughly chopped -
3/4 cup salted roasted peanuts -
1/2 teaspoon flaky sea salt I use Maldon.
Save this recipe
Get it sent to your inbox plus new recipes every week.
Sign up for our newsletter to receive delicious recipes directly in your email.
Instructions
-
Melt the bittersweet chocolate in a heatproof bowl over a saucepan of simmering water, stirring occasionally until smooth. The water should not touch the bottom of the bowl. Stir in 1 teaspoon coconut oil.
-
Melt the white chocolate in a separate heatproof bowl over a saucepan of simmering water, stirring occasionally until smooth. Stir in the remaining coconut oil.
-
Fold the peanuts into the bittersweet chocolate and pour into a 9-inch by 12-inch sheet pan lined with parchment. Spoon the white chocolate in dollops on top and use a skewer to swirl into a marbled pattern. Sprinkle the top with sea salt.
-
Chill in the refrigerator for 30 minutes until firm.
Nutrition
Calories:
266
kcal
|
Carbohydrates:
21
g
|
Protein:
5
g
|
Fat:
19
g
|
Saturated Fat:
9
g
|
Polyunsaturated Fat:
2
g
|
Monounsaturated Fat:
6
g
|
Trans Fat:
0.02
g
|
Cholesterol:
4
mg
|
Sodium:
176
mg
|
Potassium:
246
mg
|
Fiber:
3
g
|
Sugar:
15
g
|
Vitamin A:
15
IU
|
Vitamin C:
0.1
mg
|
Calcium:
48
mg
|
Iron:
2
mg
Nutrition information is automatically calculated, so should only be used as an approximation.
Additional Info
Candy
American
Did you make this recipe?
Mention @lastingredient on Instagram and tag it #lastingredient!