
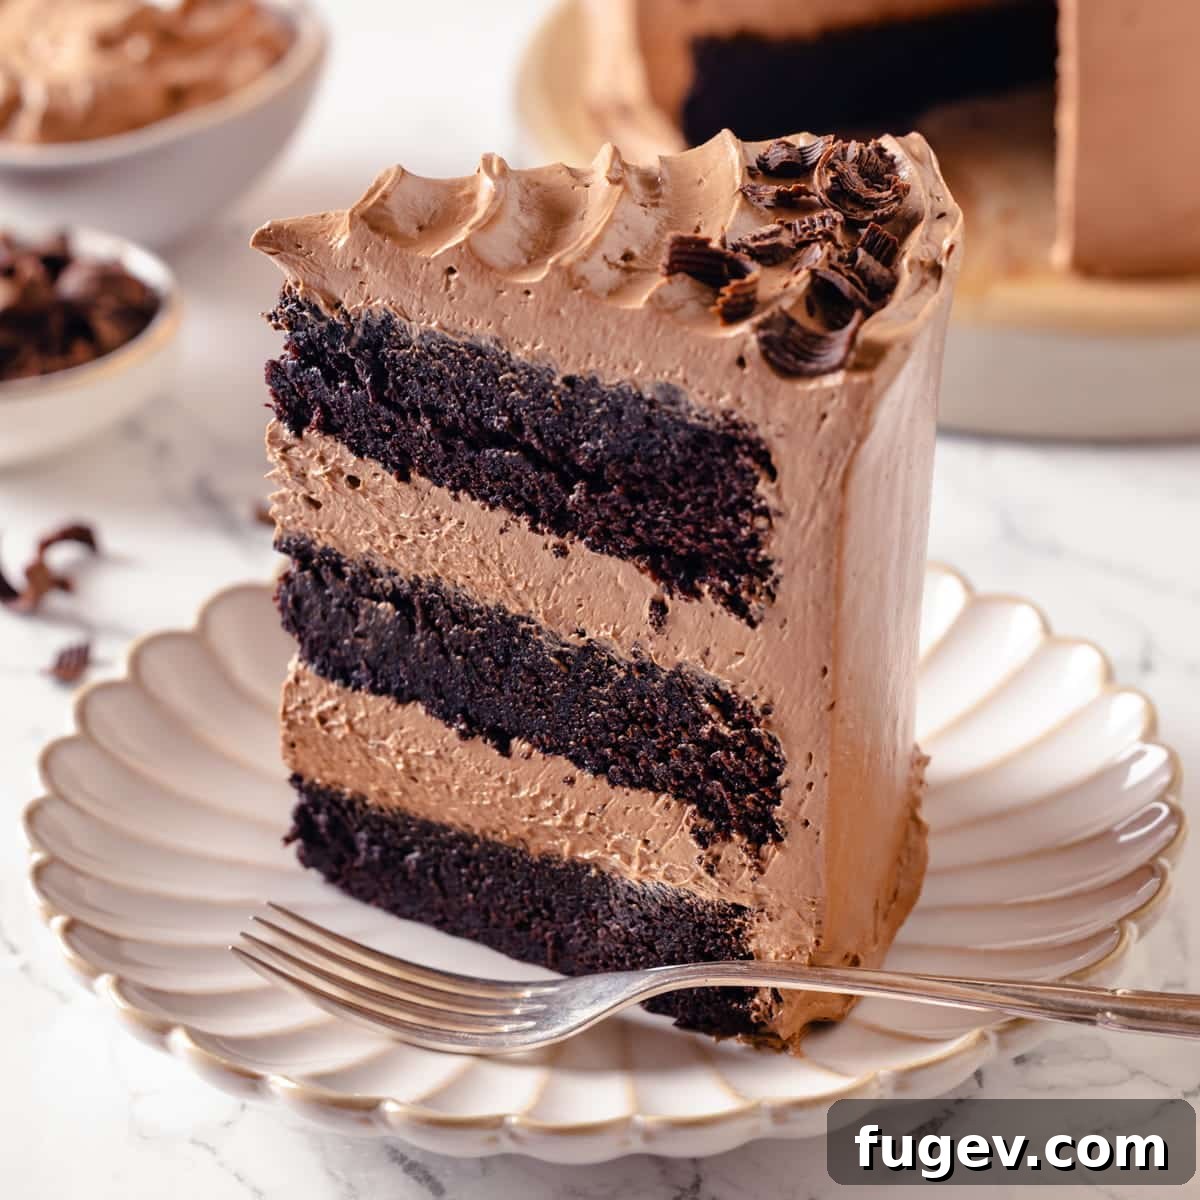
The Ultimate Devil’s Food Cake: Rich, Moist & Decadent Chocolate Perfection
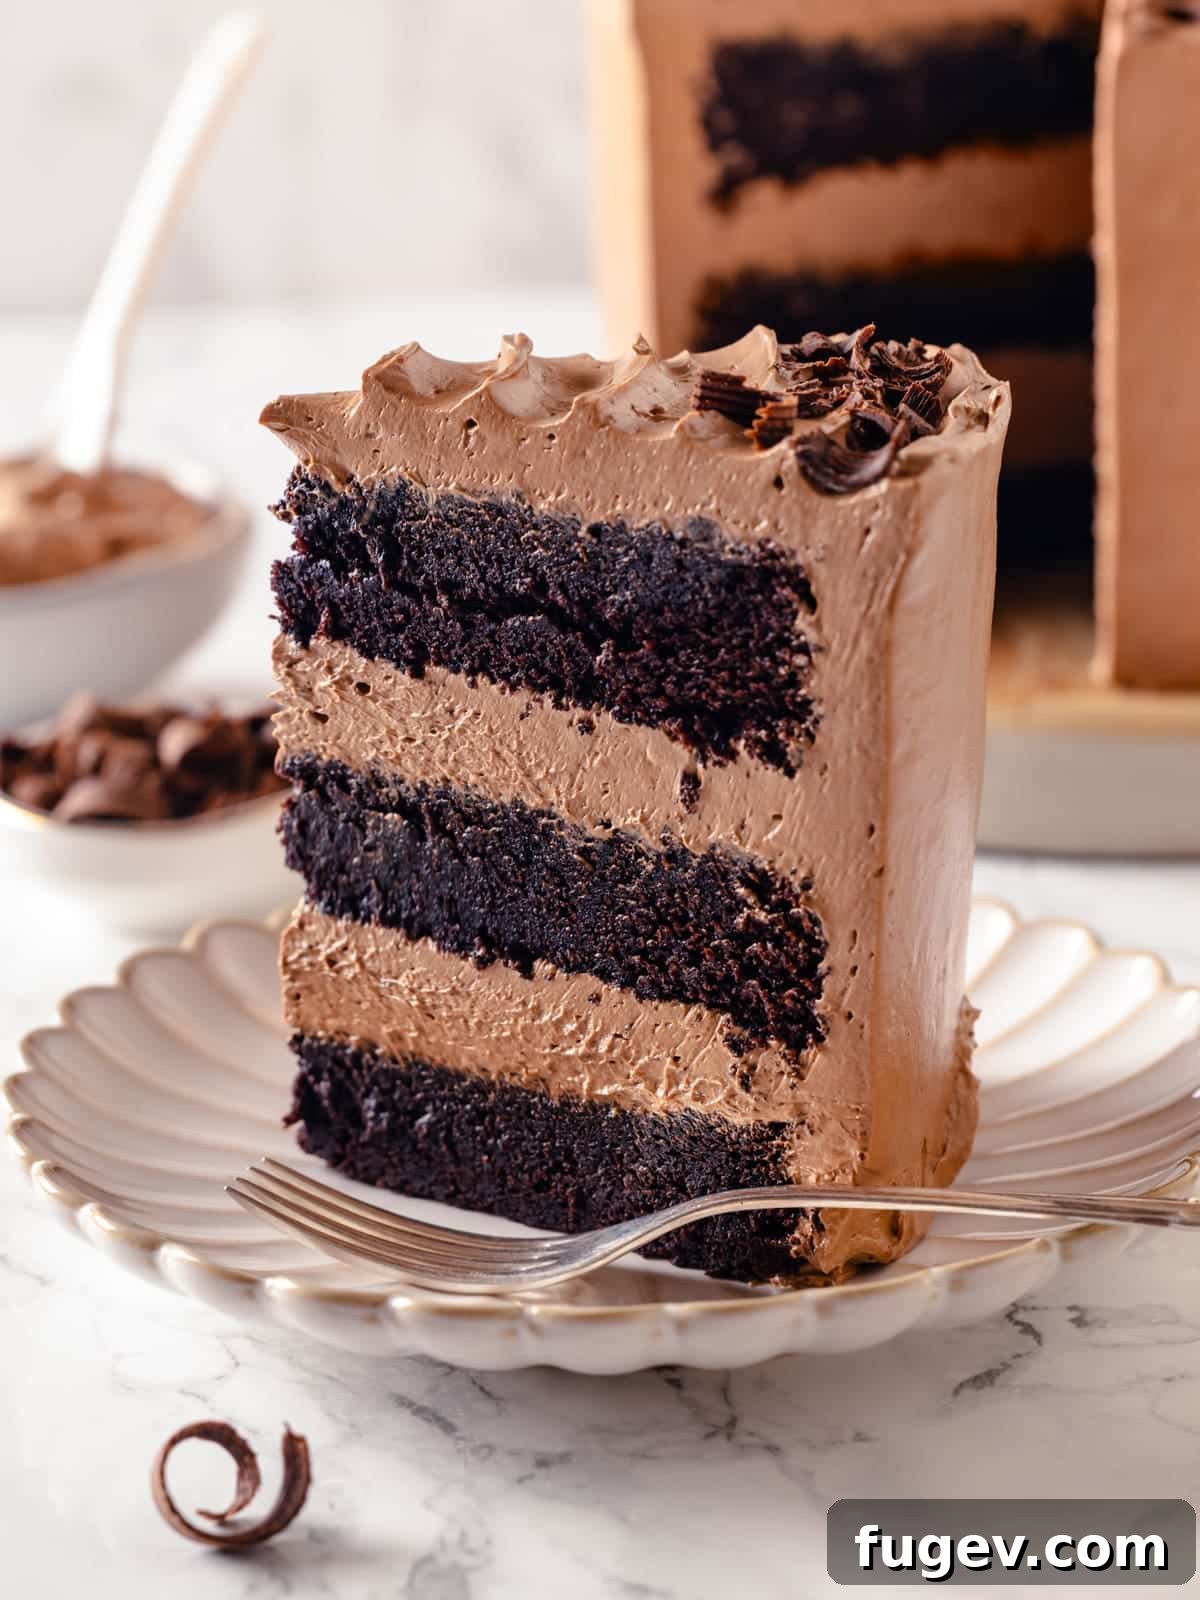
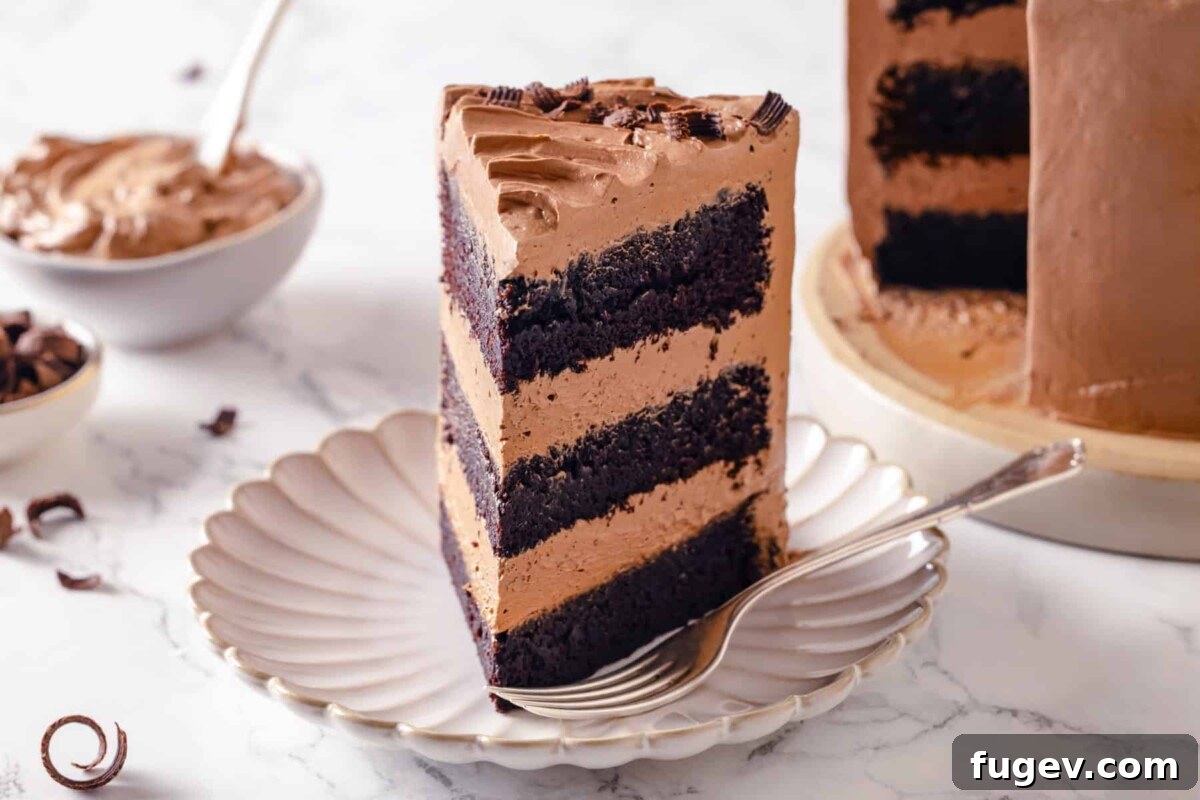
Prepare to indulge in the ultimate chocolate experience with this Devil’s Food Cake recipe. Revered for its incredibly rich flavor, tender crumb, and deep, dark hue, this cake is an absolute masterpiece. Each decadent layer is generously frosted with a luxurious and light chocolate Swiss meringue buttercream, creating a dessert that is truly irresistible and the epitome of every chocolate lover’s dream. Whether it’s a special occasion or simply a craving for something extraordinary, this cake promises pure chocolate bliss in every sinfully delicious bite.
Recipe at a Glance
A brief overview of the recipe details. Scroll down to the full recipe card for comprehensive instructions.
Jump to Full Recipe
Prep Time
25 minutes
Cook Time
35 minutes
Assembling Time
2 hours
Total Time
3 hours
Servings
20 slices
Difficulty
Medium
Calories *
511 kcal per serving
Technique
Mix, bake, cool, trim, prepare buttercream, layer, crumb coat, final coat.
Flavor Profile
Intensely rich, moist chocolate cake paired with smooth, airy chocolate buttercream for an unforgettable deep chocolate flavor.
* Based on approximate nutritional panel
“This cake is an absolute dream for any chocoholic! The depth of flavor from the coffee is remarkable, and that Swiss meringue buttercream is incredibly smooth. I truly love the overall taste and the detailed tips on achieving such a flawless finish. My entire family was thoroughly impressed. ⭐⭐⭐⭐⭐”
Lauren, Enthusiastic Baker
Why This Devil’s Food Cake Will Become Your Go-To Recipe
This Devil’s Food Cake isn’t just a dessert; it’s an experience. Here’s why this recipe stands out and why you’ll fall in love with it:
- A Masterpiece for Any Celebration: This chocolate cake is not merely delicious; it’s truly celebration-worthy. Its exquisite balance of rich chocolate and perfect moisture, complemented by the smooth, luxurious buttercream, makes it ideal for birthdays, holidays, or any event where you want to impress. It’s a showstopper that tastes as incredible as it looks.
- Unforgettable Deep Chocolate Flavor: What sets this Devil’s Food Cake apart is its profound chocolate essence. We achieve this by using high-quality Dutch-processed cocoa powder, which provides a darker color and a less bitter, more mellow chocolate taste. The addition of brewed coffee further intensifies the chocolate notes without adding a distinct coffee flavor, making the chocolate truly sing. The unsweetened chocolate in the buttercream ensures a balanced sweetness, allowing the rich cocoa to shine through beautifully.
- Silky, Stable, and Irresistible Swiss Meringue Buttercream: Say goodbye to overly sweet or greasy frostings. Our chocolate Swiss meringue buttercream is famously stable, making it perfect for decorating, yet it boasts an incredibly light and airy texture that quite literally melts in your mouth. Its smooth consistency provides a delightful contrast to the moist cake layers, creating a harmonious and utterly delicious combination that is both elegant and indulgent.
- Perfectly Moist and Tender Crumb: The careful balance of ingredients, including buttermilk and specific leavening agents, ensures a cake that is exceptionally moist and tender, never dry or crumbly. Each forkful is a pure delight, soft and yielding, making it incredibly satisfying to eat.
- Rewarding Baking Experience: While the term “Swiss meringue buttercream” might sound intimidating, this recipe is designed to be approachable, with professional tips that guide you every step of the way. The result is a stunning, bakery-quality cake that will boost your confidence and earn you rave reviews.
Table of Contents
- Why This Devil’s Food Cake Will Become Your Go-To Recipe
- The Rich History of Devil’s Food Cake
- Key Ingredients & Smart Substitutions
- Exciting Variations for Your Devil’s Food Cake
- Professional Tips for Baking Perfection
- How to Make the Perfect Devil’s Food Cake
- Chef Lindsey’s Expert Tip
- Common Questions About Devil’s Food Cake
- More Decadent Layered Cake Recipes
- Full Devil’s Food Cake Recipe Card
- Before You Go: Explore More Sweet Treats
This layered Devil’s Food Cake recipe delivers an intensely chocolate experience with a perfectly light and airy texture. The cake’s rich flavor is so satisfying that you might just find yourself reaching for that second slice – and we won’t judge! Together, the moist cake and the luxurious Swiss meringue buttercream create an indulgent, show-stopping dessert that’s perfect for any occasion, from casual gatherings to grand celebrations.
The secret to this cake’s elegant presentation and incredible stability lies in the chocolate Swiss meringue buttercream. It’s light and ethereal, yet surprisingly robust, providing the necessary structure for multiple sturdy cake layers. This makes it an ideal choice for creating beautifully stacked and decorated cakes. If you’re looking for other perfectly balanced chocolate desserts, be sure to try this moist chocolate mayonnaise cake or my mother’s cherished German chocolate cupcakes with ganache! For a fun, vibrant celebration, our funfetti cake recipe is another fantastic baking adventure to embark on.
The Rich History of Devil’s Food Cake
Have you ever wondered about the origins of such a mysteriously named dessert? Devil’s Food Cake emerged in the United States around the early 20th century, quickly gaining popularity for its deep, dark color and intensely rich chocolate flavor, which was often contrasted with its lighter counterpart, “Angel Food Cake.” The “devilish” moniker is thought to refer to its sinful richness and decadent appeal, a delightful deviation from simpler chocolate cakes of the era. Traditionally, what sets Devil’s Food Cake apart from a regular chocolate cake is the inclusion of baking soda, often paired with an acidic ingredient like buttermilk or coffee, which reacts to create a darker crumb and a distinctive moist, fine texture. The use of Dutch-processed cocoa powder further enhances its signature dark color and mellow chocolate taste, making it a truly unique and beloved classic in the world of baking. This cake is a testament to the evolution of American desserts, offering a luxurious experience that continues to captivate taste buds today.
Key Ingredients & Smart Substitutions for Devil’s Food Cake
Crafting the perfect Devil’s Food Cake starts with understanding your ingredients. Here’s a closer look at the components that make this cake so special, along with helpful substitution tips:
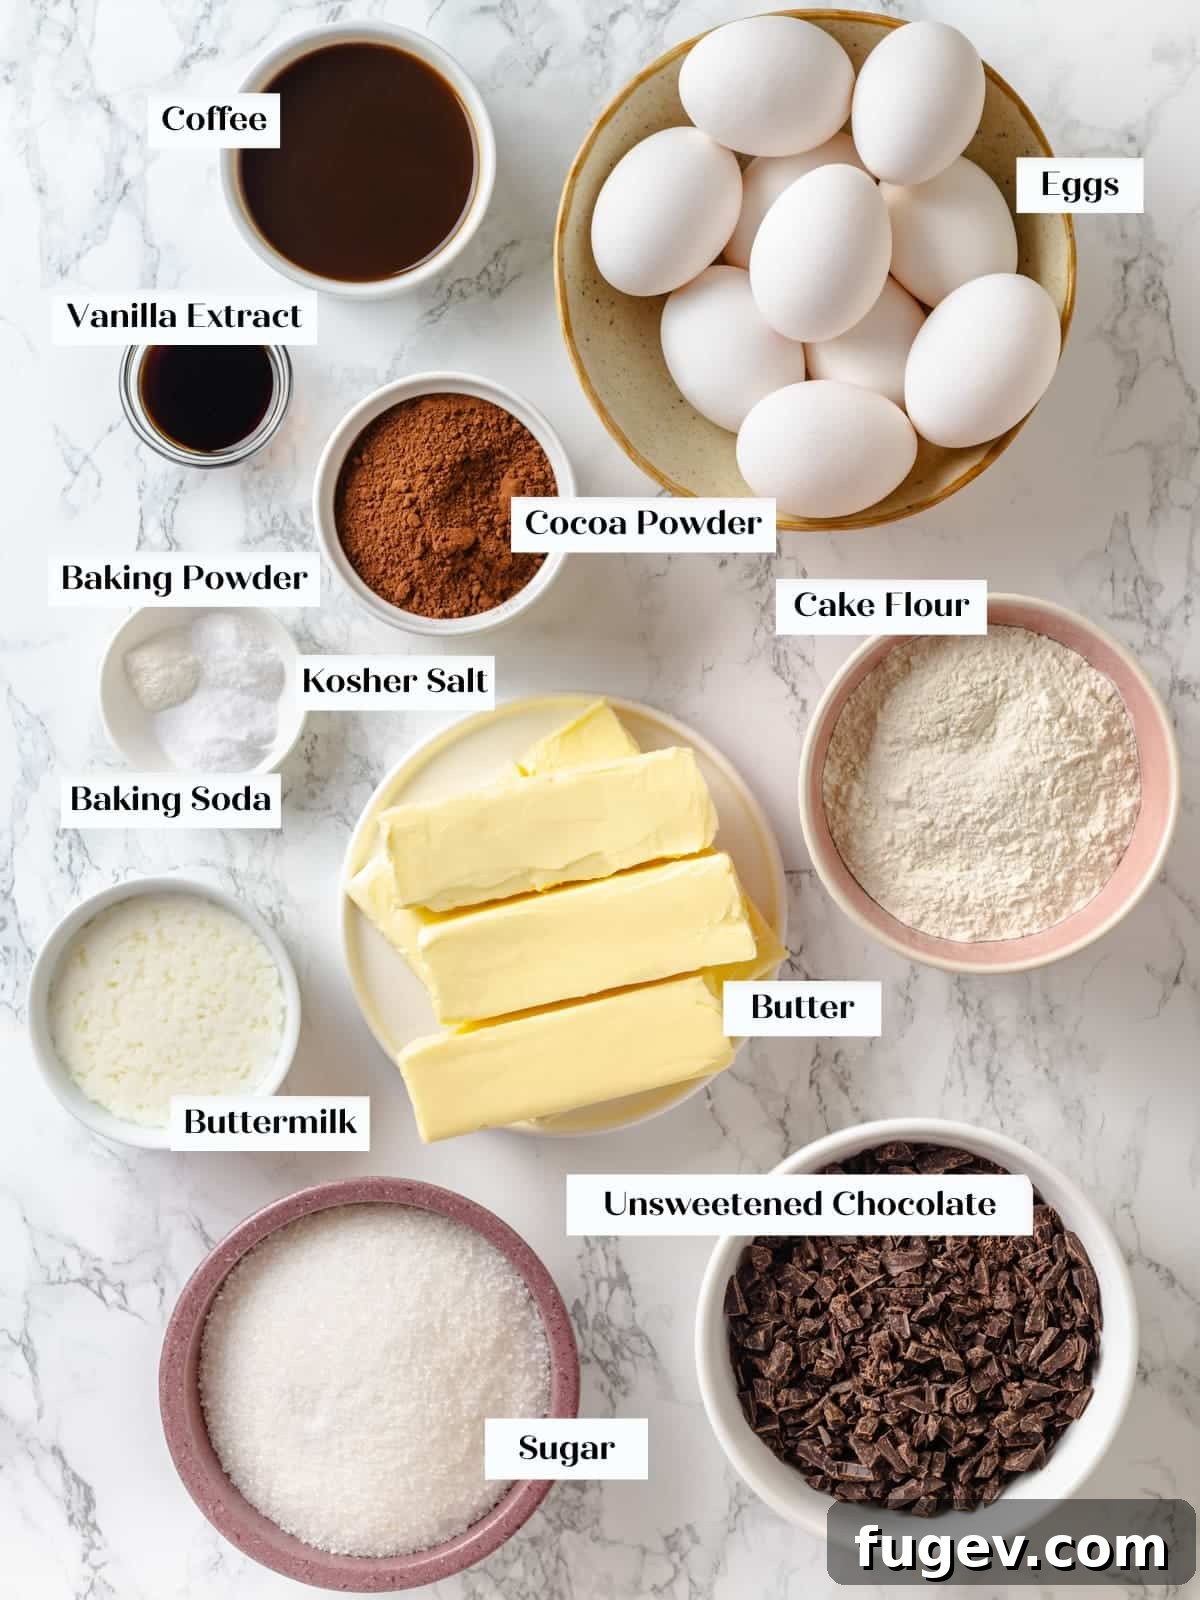
- Cake Flour: This is key to achieving that delicate, light, and airy crumb characteristic of a superior Devil’s Food Cake. Cake flour has a lower protein (gluten) content and a finer milling, which results in a softer cake texture. If you don’t have cake flour, you can create a reasonable substitute by measuring 1 cup of all-purpose flour, removing 2 tablespoons, and replacing them with 2 tablespoons of cornstarch. Sift this mixture several times to combine thoroughly. Just be mindful not to overmix your batter if using all-purpose flour, as it can develop gluten more easily, leading to a tougher cake.
- Dutch-Processed Cocoa Powder: For that signature deep, dark color and intensely rich, mellow chocolate flavor, Dutch-processed cocoa powder is essential. It’s treated with an alkali to neutralize its acidity, which not only darkens the color but also creates a smoother, less bitter chocolate taste. While you can use natural cocoa powder, note that it is acidic and will react differently with the baking soda, potentially altering the cake’s rise and final color. If using natural cocoa, you might need to adjust leavening agents slightly (though for this recipe, Dutch-processed is strongly recommended).
- Buttermilk: Buttermilk is a magic ingredient in this cake, contributing immensely to its moisture, tenderness, and subtle tang. Its acidity reacts with the baking soda to help the cake rise and achieve a fine crumb. I typically use low-fat buttermilk as it provides ample moisture and fat without making the cake too heavy. No buttermilk on hand? No problem! Simply add 1 tablespoon of lemon juice or white vinegar to a 1-cup measuring cup, then fill the rest with regular milk (dairy or non-dairy) and let it sit for 5-10 minutes until it slightly curdles.
- Brewed Coffee: Don’t worry, your cake won’t taste like coffee! The brewed coffee acts as a flavor enhancer, deepening the chocolate notes and adding an extra layer of richness without making the cake taste overtly of coffee. Regular brewed coffee works perfectly. For a more intense flavor boost, you can use instant espresso powder dissolved in hot water, or even instant coffee. Ensure it’s cooled to room temperature before adding to the batter.
- Egg Whites (for Buttercream): For a stable and luscious Swiss meringue buttercream, fresh, separated egg whites are crucial. Carton egg whites, due to processing, often lack the protein structure needed to create a robust meringue. While frozen and defrosted egg whites can work, they can become less stable over time in the freezer as proteins denature. If using frozen whites, a pinch of cream of tartar can help stabilize the meringue.
- Unsweetened Chocolate (for Buttercream): Using unsweetened or bittersweet baker’s chocolate gives you precise control over the buttercream’s sweetness and ensures a truly rich, deep chocolate flavor. This helps balance the sweetness from the sugar in the meringue. If you prefer a milder chocolate flavor, you can slightly reduce the amount of unsweetened chocolate. For a sweeter frosting, consider using a mix of semi-sweet and unsweetened chocolate, adjusting to your personal preference.
Refer to the comprehensive recipe card below for exact quantities and detailed instructions on all ingredients.
Exciting Variations for Your Devil’s Food Cake
While this Devil’s Food Cake is perfect as is, it also serves as a fantastic canvas for creative customizations. Here are some delightful variations to explore:
- Transform into a Brooklyn Blackout Cake: For the ultimate chocolate indulgence, turn this recipe into a Brooklyn Blackout Cake! Prepare my rich dark chocolate pudding recipe and use it as a luscious filling between your cake layers, creating a buttercream dam around the edges to hold it in place. Take those delicious cake scraps you trimmed off, crumble them up, and for extra texture, bake them for a few minutes until slightly crisp. Press these toasted cake crumbs generously onto the outside of your frosted cake for a truly iconic finish.
- Experiment with Different Buttercreams: The beauty of this cake is its versatility with frostings.
- Decadent Fudge Frosting: For an even richer, more intense chocolate experience, swap the Swiss meringue buttercream for the luscious chocolate fudge frosting from my chocolate raspberry cake.
- Caramel Dream: A delightful contrast to the deep chocolate, a silky caramel Swiss meringue buttercream would be absolutely divine.
- Fruity Freshness: Add a burst of fruity flavor with the vibrant strawberry buttercream from these strawberry cupcakes.
- Festive Peppermint: During the holidays, infuse a festive twist with my peppermint American buttercream, just like I do for my popular peppermint brownies!
- Add Exciting Fillings: Elevate your layered cake with delicious fillings beyond just buttercream.
- Salted Caramel Surprise: Drizzle homemade salted caramel sauce between layers for a sweet and salty kick.
- Berry Bliss: A layer of fresh, homemade easy strawberry jam offers a bright, fruity counterpoint to the rich chocolate.
- Ganache Glory: For an extra layer of deep chocolate, incorporate my professional chocolate ganache recipe as a filling or even a drip glaze.
Professional Tips for Baking a Flawless Devil’s Food Cake
Achieving a bakery-quality Devil’s Food Cake at home is entirely possible with a few expert insights. Here are some professional tips to guide you through the process:
- Patience is Paramount for Swiss Meringue Buttercream: The number one rule when making Swiss meringue buttercream is to exercise patience. It’s a common experience for the mixture to transition from a thin, soupy consistency to a curdled mess before finally transforming into silky, smooth perfection. This process can take anywhere from 5 to 8 minutes of continuous mixing. Don’t panic and keep beating; the magic will happen!
- Optimize Baking with Sheet Pans for Even Layers: For faster baking and more consistently even cake layers, consider baking your batter in sheet pans. This method allows the cake to bake more uniformly. Once cooled, you can use a cake ring to precisely cut out your round layers. This technique is also fantastic for generating delicious cake scraps, perfect for snacking, making chocolate cake pops, or even a Brooklyn Blackout Cake.
- Room Temperature Ingredients are Non-Negotiable: This seems like a minor detail, but it’s critically important for the success of your cake. Ensure all cold ingredients, especially butter, eggs, and buttermilk, are at room temperature. Cold ingredients don’t emulsify properly, leading to a lumpy batter or a less stable buttercream. For instance, adding hot coffee to cold buttermilk will cause it to curdle dramatically – while you can still bake with it, the final texture of your cake might be slightly compromised. Plan ahead and take your ingredients out well in advance.
- Prepare Components in Advance for Stress-Free Assembly: If you’re baking this for a birthday or a special celebration, ease the pressure by preparing components ahead of time. The cake layers can be baked a day or two in advance, wrapped tightly, and stored at room temperature or even frozen. Similarly, Swiss meringue buttercream can be made a few days prior and stored in the refrigerator, then re-whipped to restore its fluffy texture before assembly. This staggered approach makes the final assembly feel like a breeze, allowing you to enjoy the creative process without rush.
- Don’t Overmix the Batter: Once you add the dry ingredients to the wet, mix only until just combined. Overmixing develops gluten, which can result in a tough, dense cake. Use a rubber spatula for the final folds to ensure gentle incorporation.
- Master the Crumb Coat: While this Devil’s Food Cake is less crumbly than some, a crumb coat is always a good idea, especially for beginners. It’s a thin layer of buttercream that traps any loose crumbs, creating a clean, smooth surface for your final layer of frosting. This significantly improves the aesthetic appeal of your finished cake.
How to Make the Perfect Devil’s Food Cake: Step-by-Step Guide
Follow these detailed instructions to create a truly rich, moist, and tender Devil’s Food Cake that will impress everyone. For precise measurements and further details, please refer to the recipe card below.
To Prepare the Chocolate Cake:
Step 1: Preheat and Prepare Pans. Preheat your oven to 350°F (175°C) for conventional ovens without a fan, or 325°F (160°C) if using a fan (convection) oven. Lightly grease your chosen baking pans and line the bottoms with parchment paper. For this recipe, I recommend using three 8-inch round baking pans to achieve beautiful, evenly baked layers.
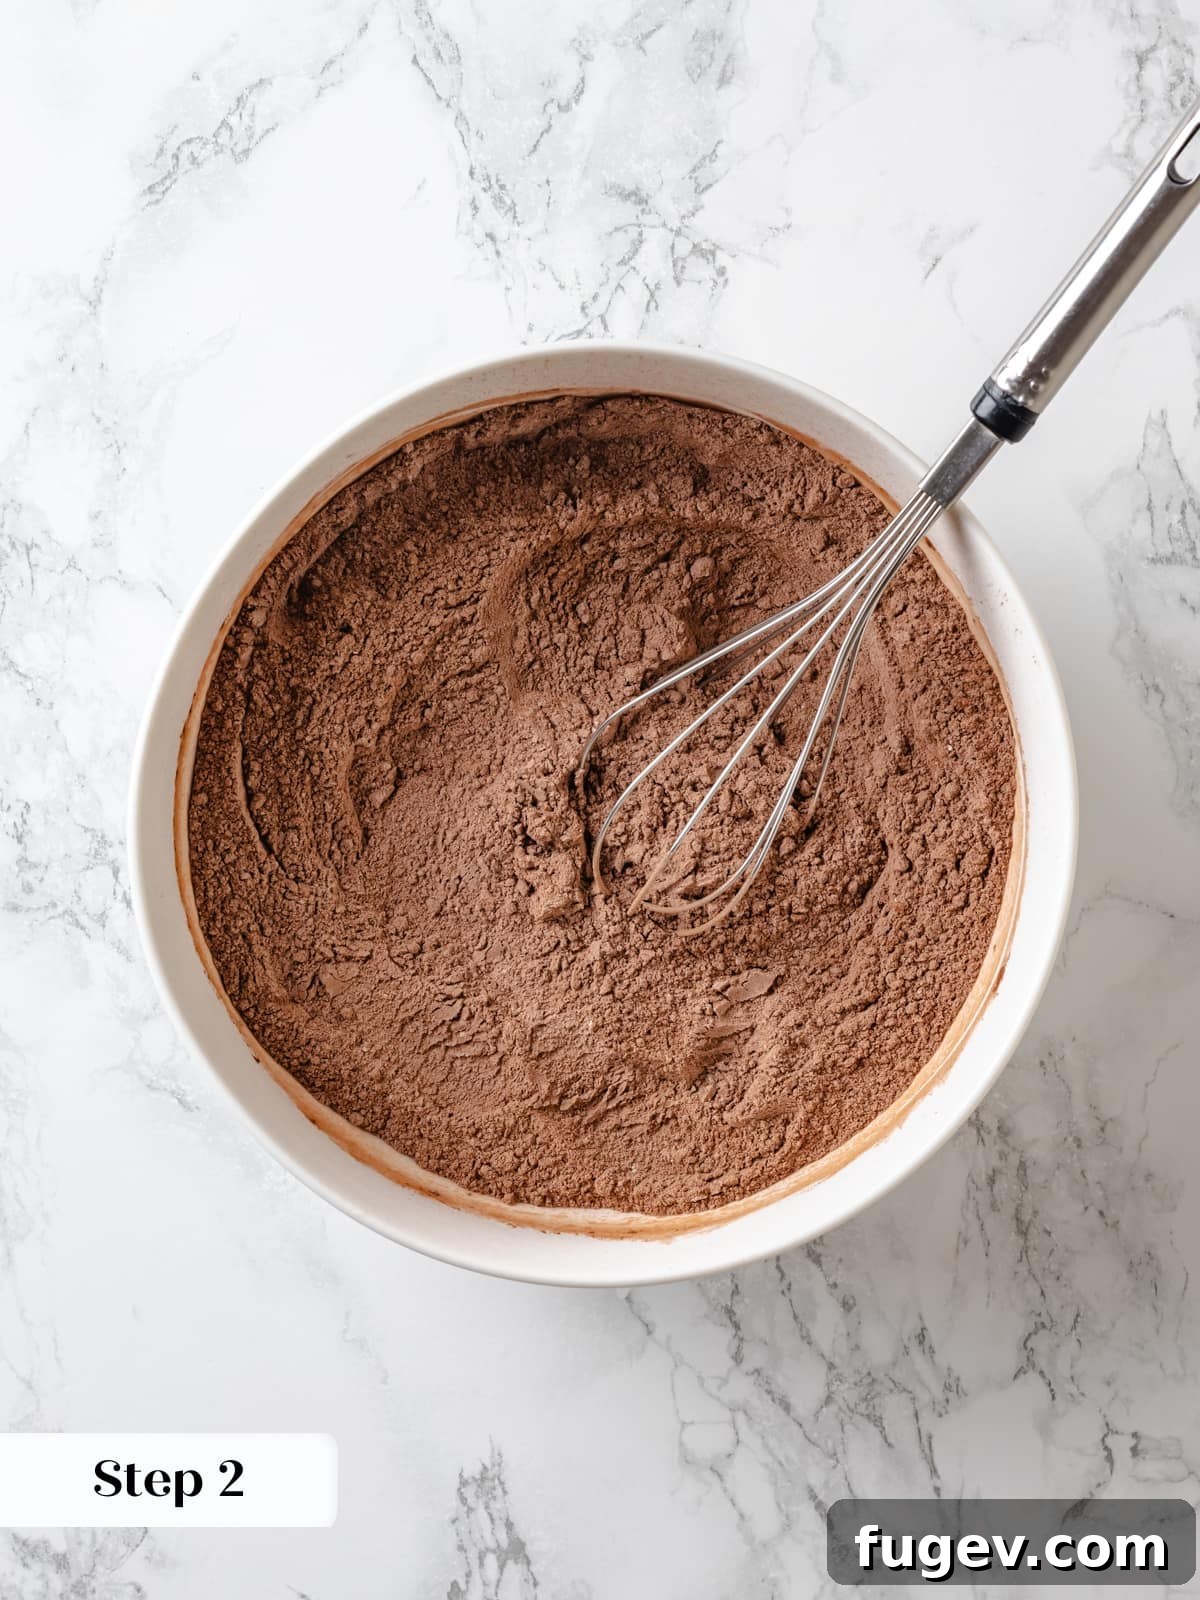
Step 2: Combine Dry Ingredients. In a large mixing bowl, thoroughly sift together the cake flour, Dutch-processed cocoa powder, baking soda, baking powder, and kosher salt. Sifting removes any lumps and ensures the dry ingredients are well combined, which is crucial for an even cake texture. Set this mixture aside (Photo 1).
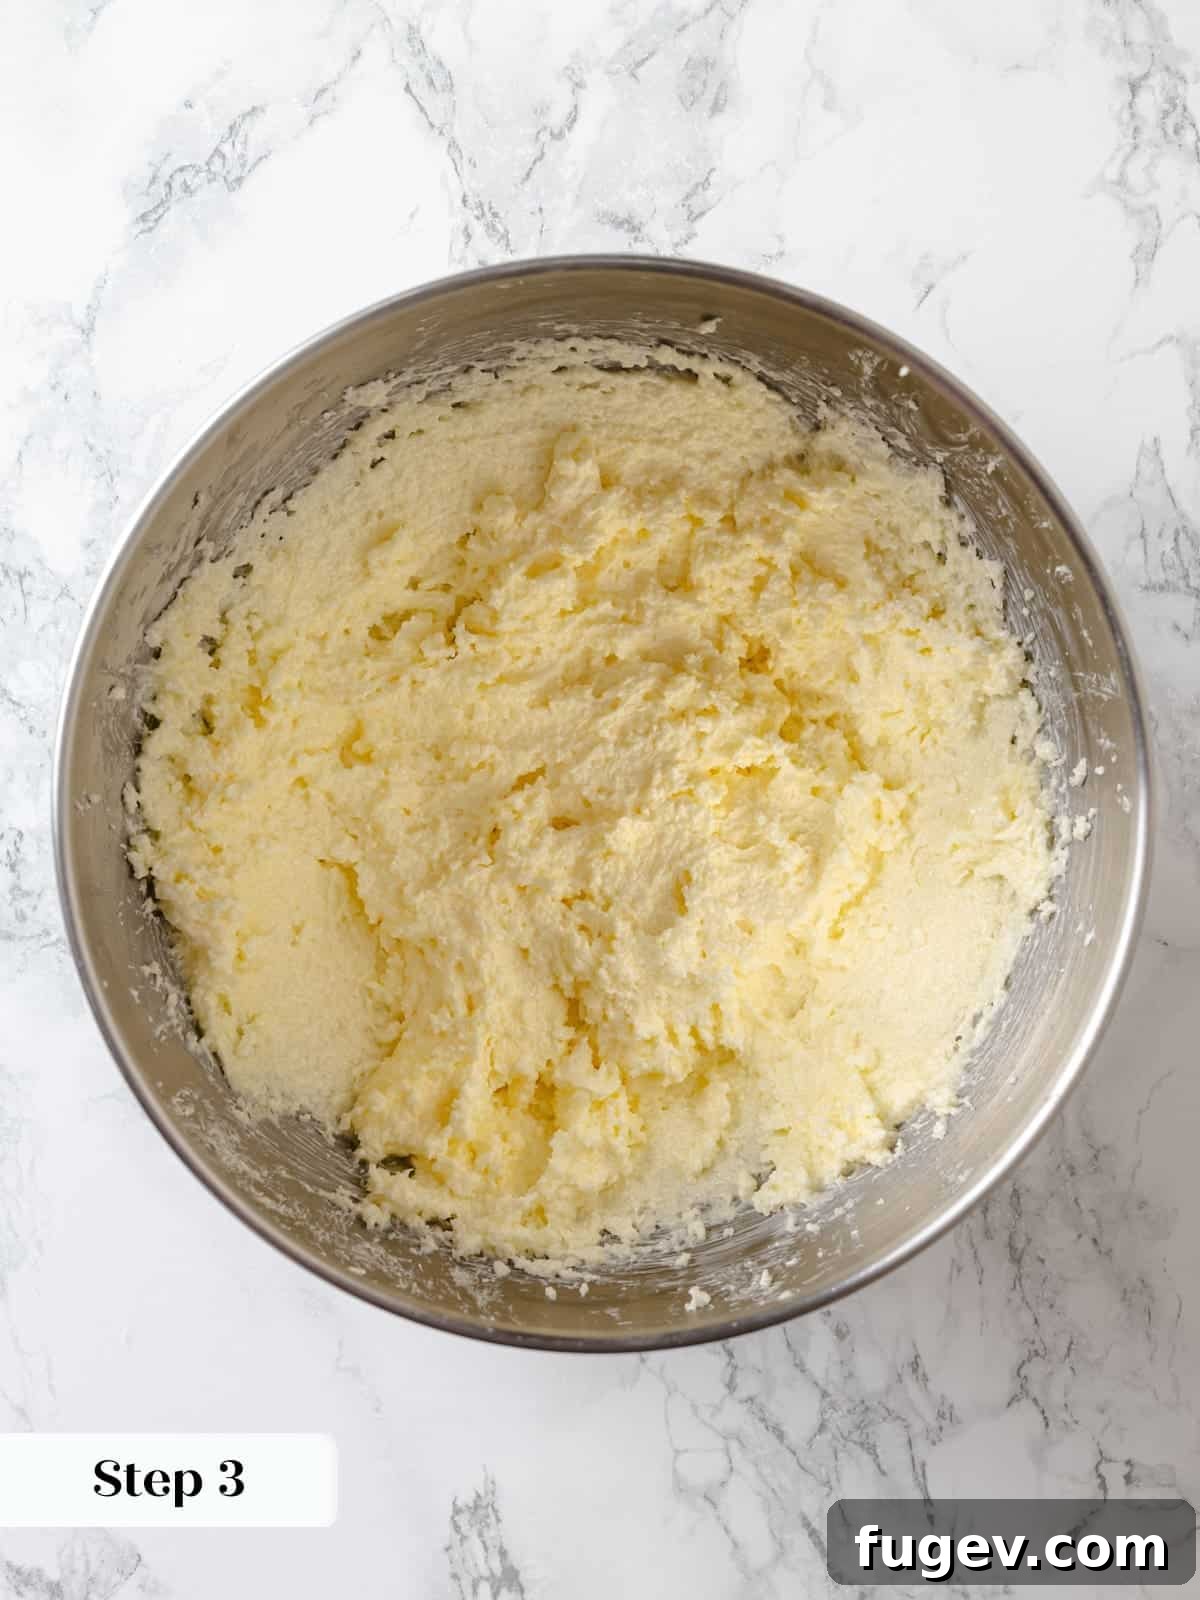
Step 3: Cream Butter and Sugar. In the bowl of a stand mixer fitted with the paddle attachment, add the room-temperature unsalted butter and granulated sugar. Cream them together on medium speed until the mixture is visibly lightened in color and fluffy in texture. This process incorporates air, contributing to the cake’s airy crumb (Photo 2).
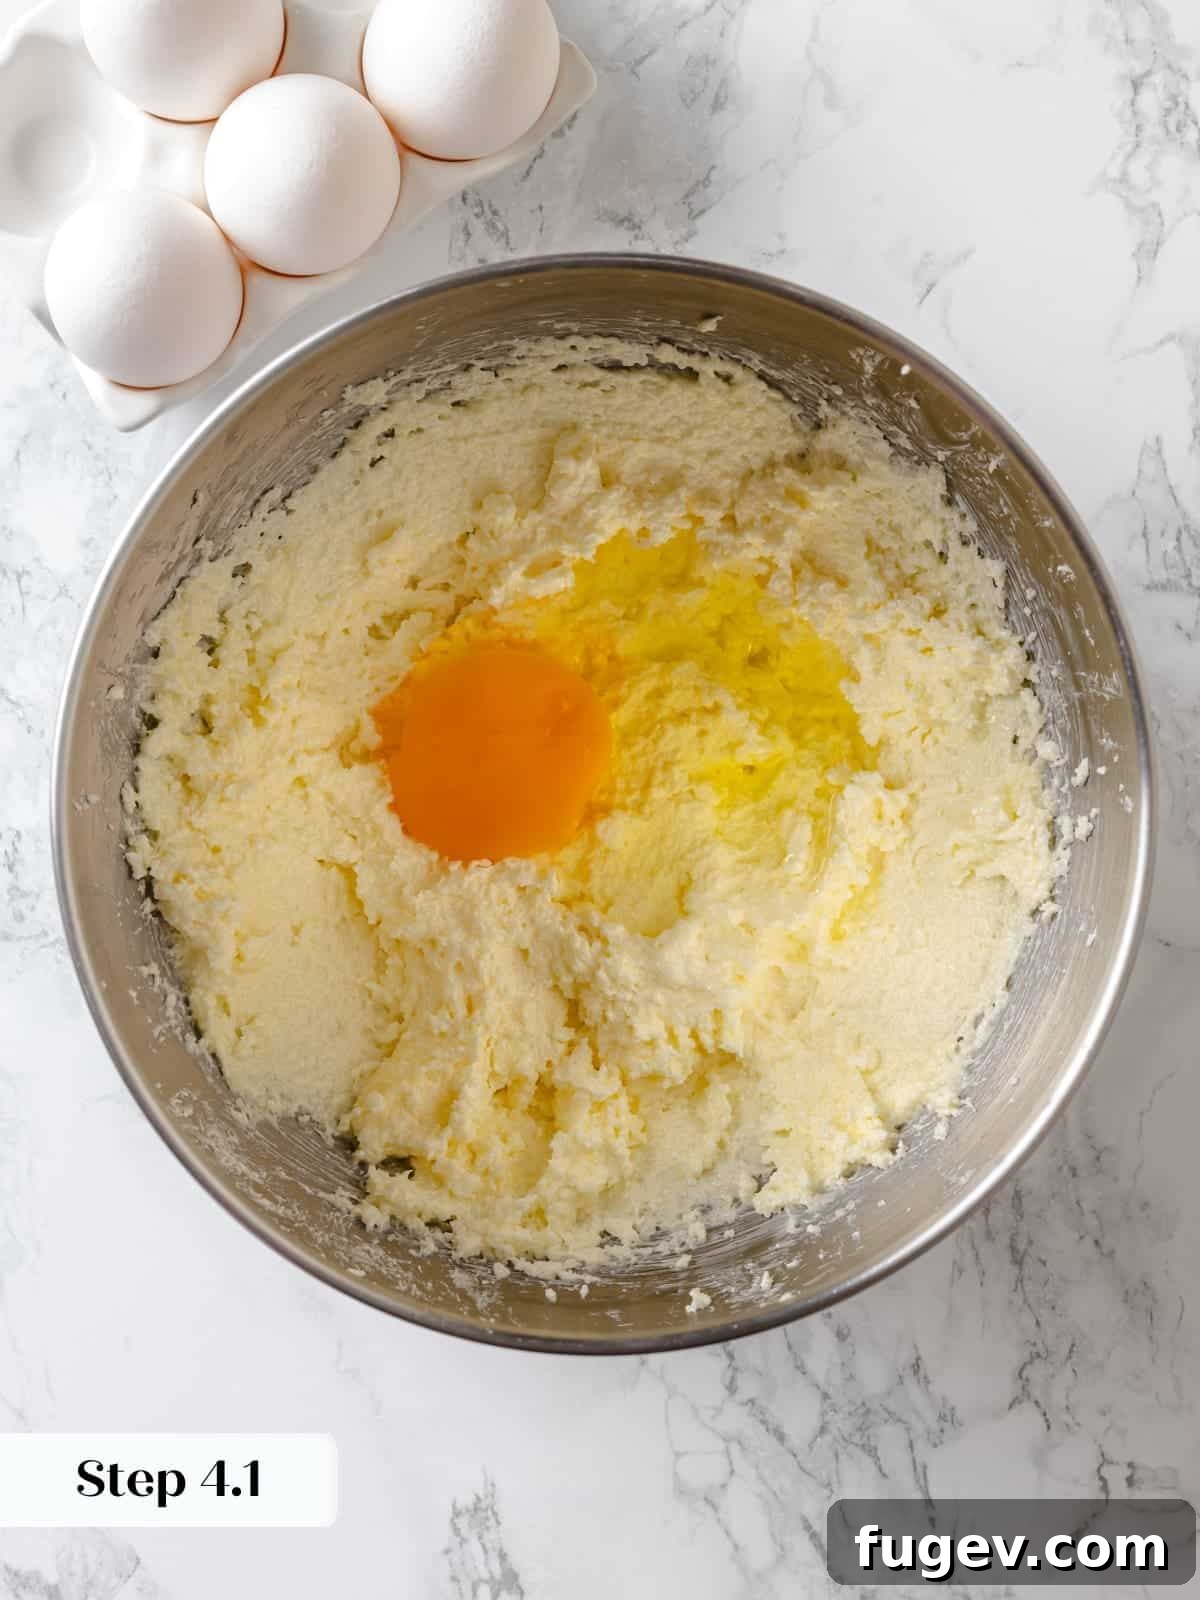
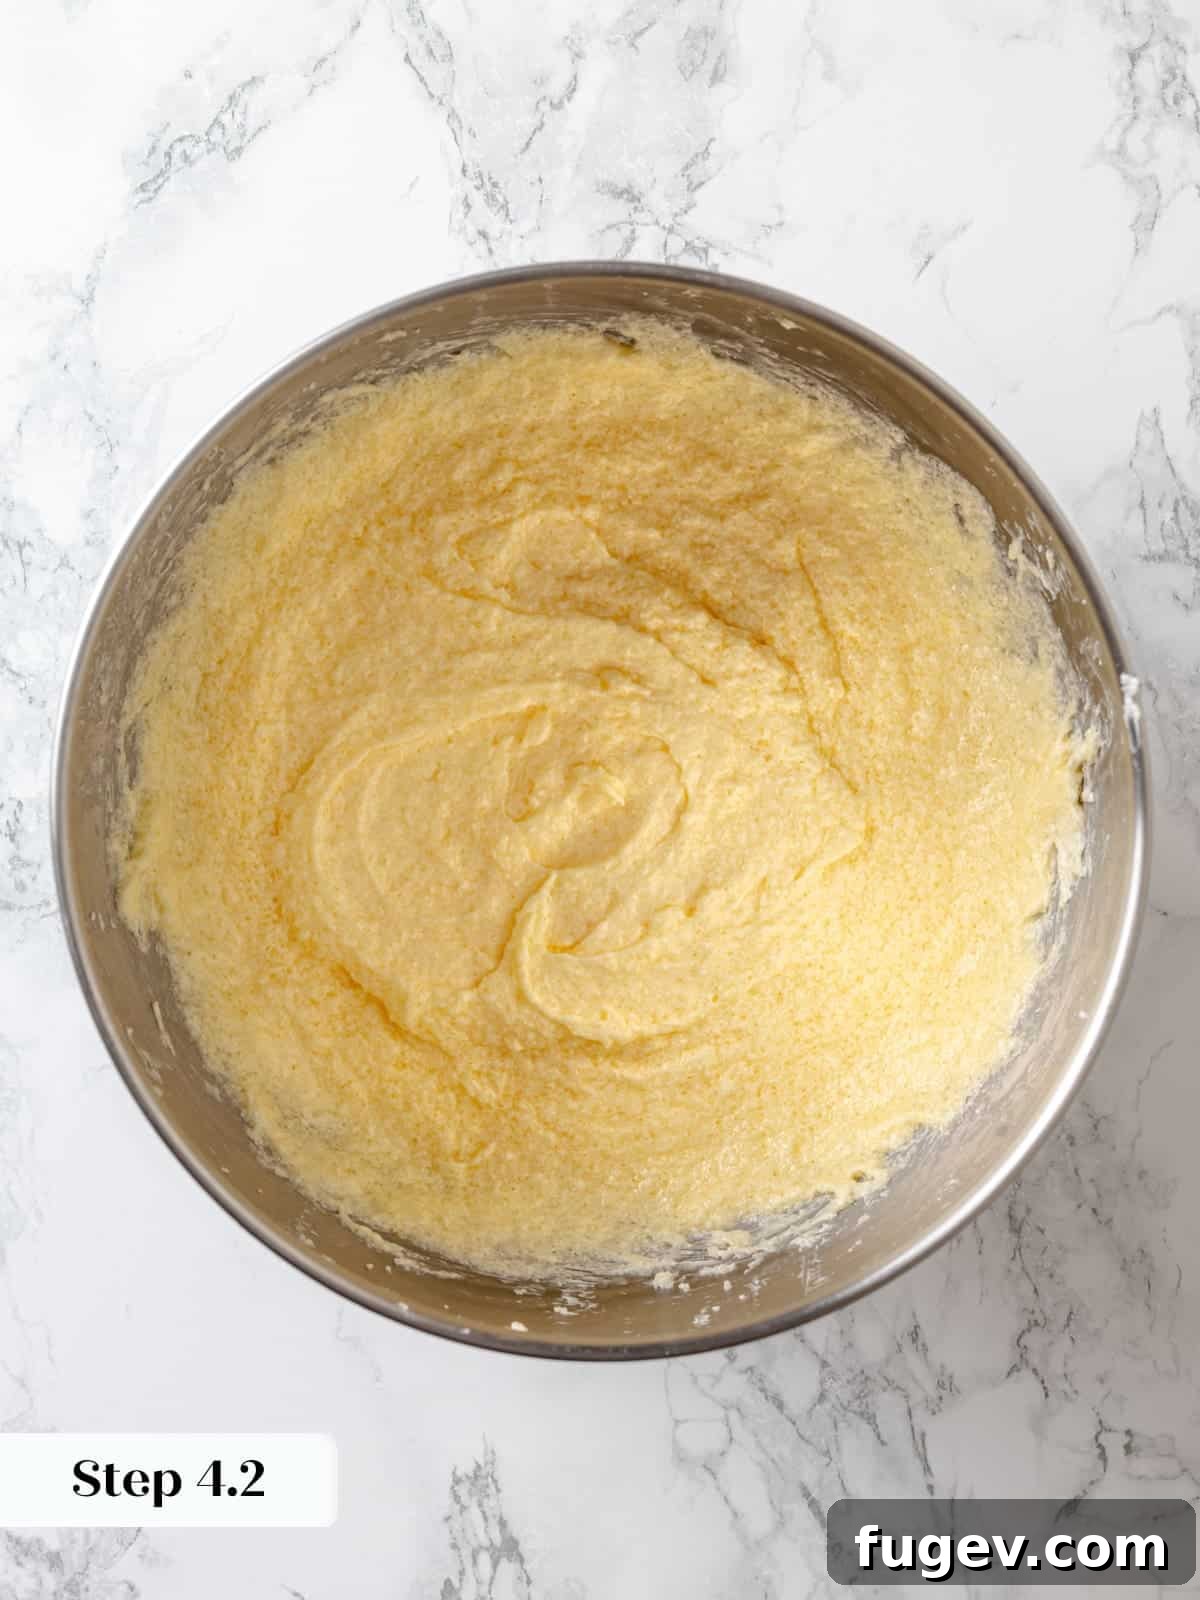
Step 4: Incorporate Eggs. Add the whole eggs one at a time, ensuring each egg is fully incorporated before adding the next. After each addition, pause to scrape down the sides and bottom of the bowl thoroughly with a rubber spatula to ensure everything is evenly mixed. Add the extra egg yolk along with one of the whole eggs for added richness and moisture (Photos 3 & 4).
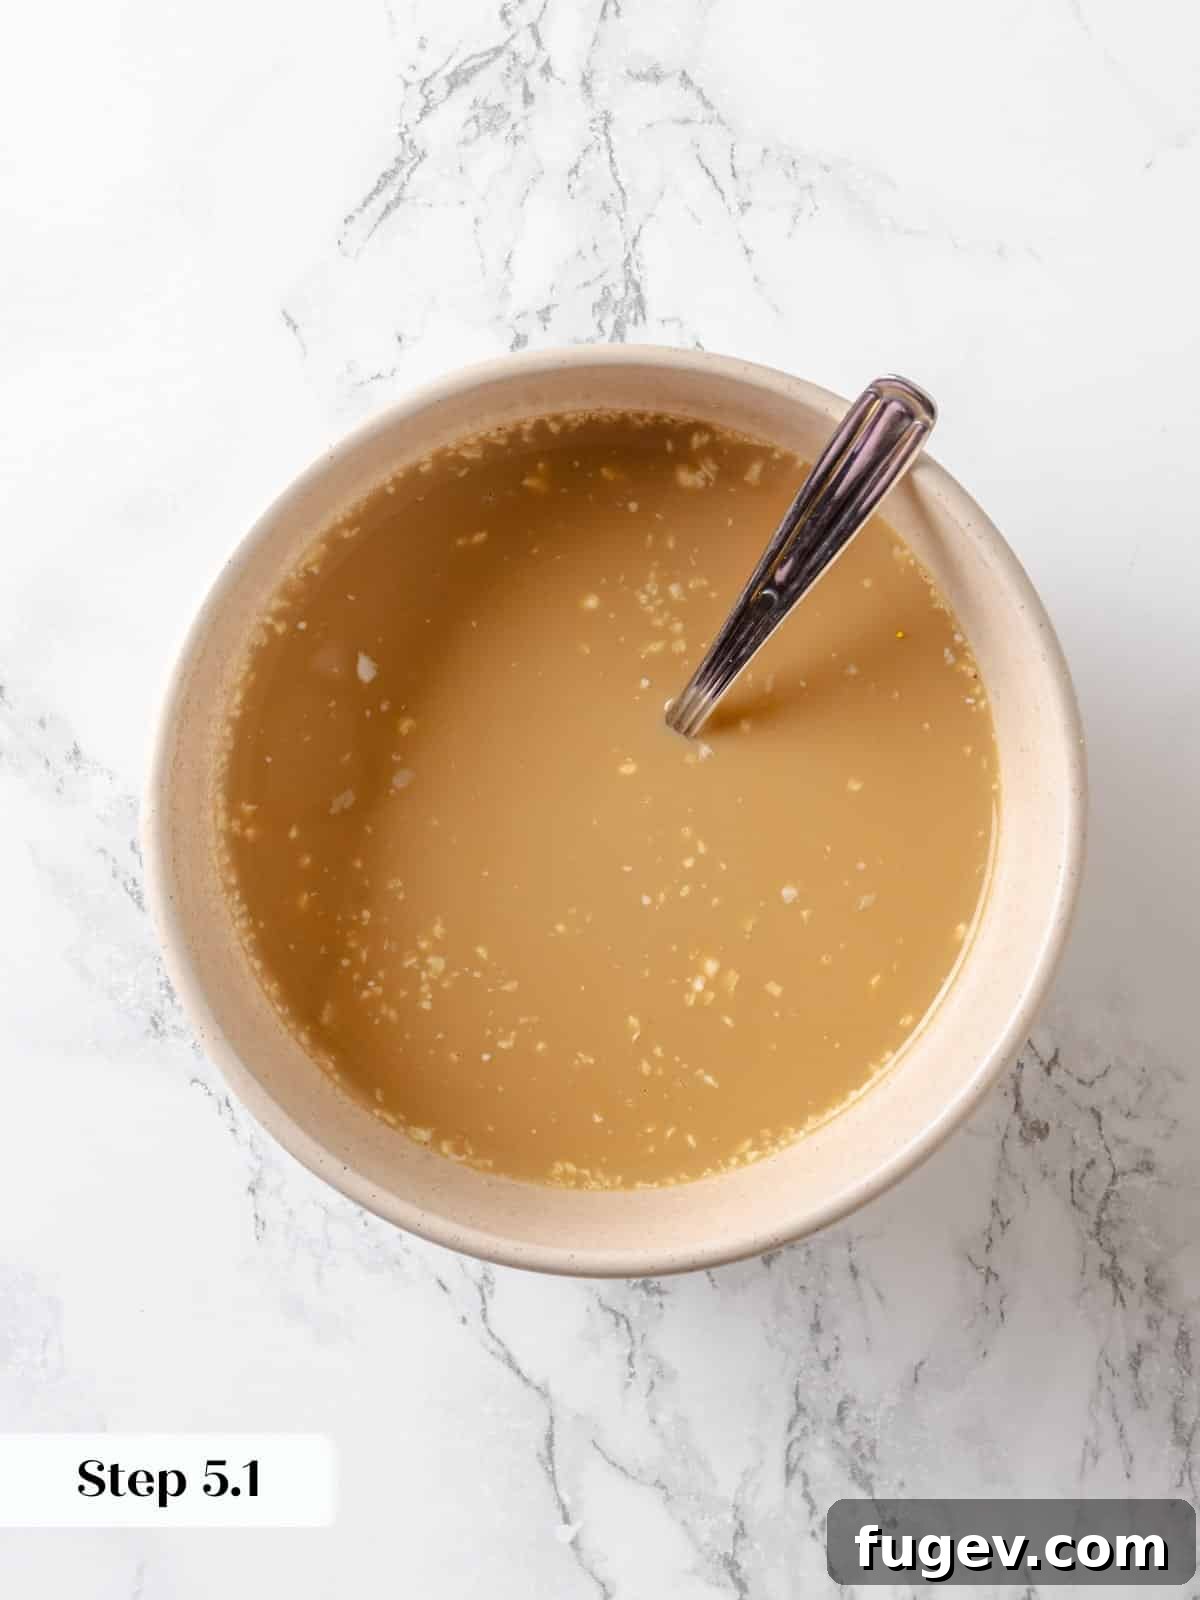
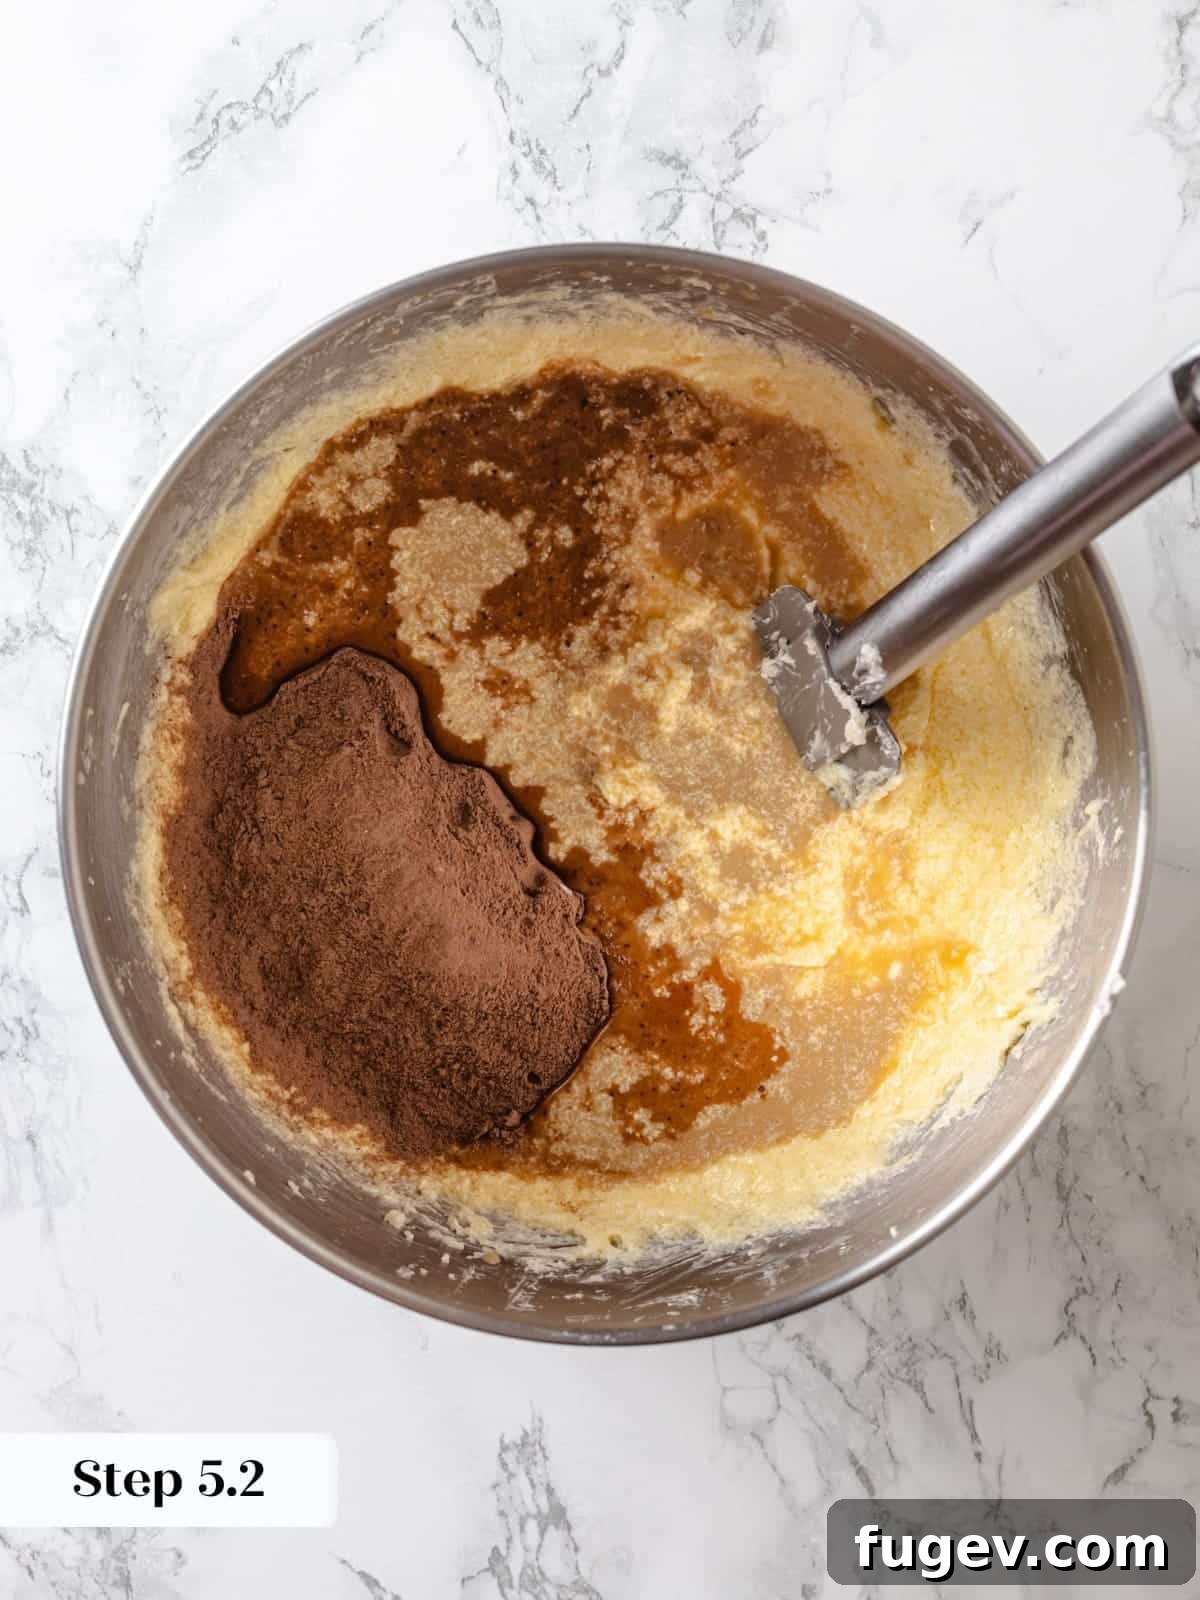
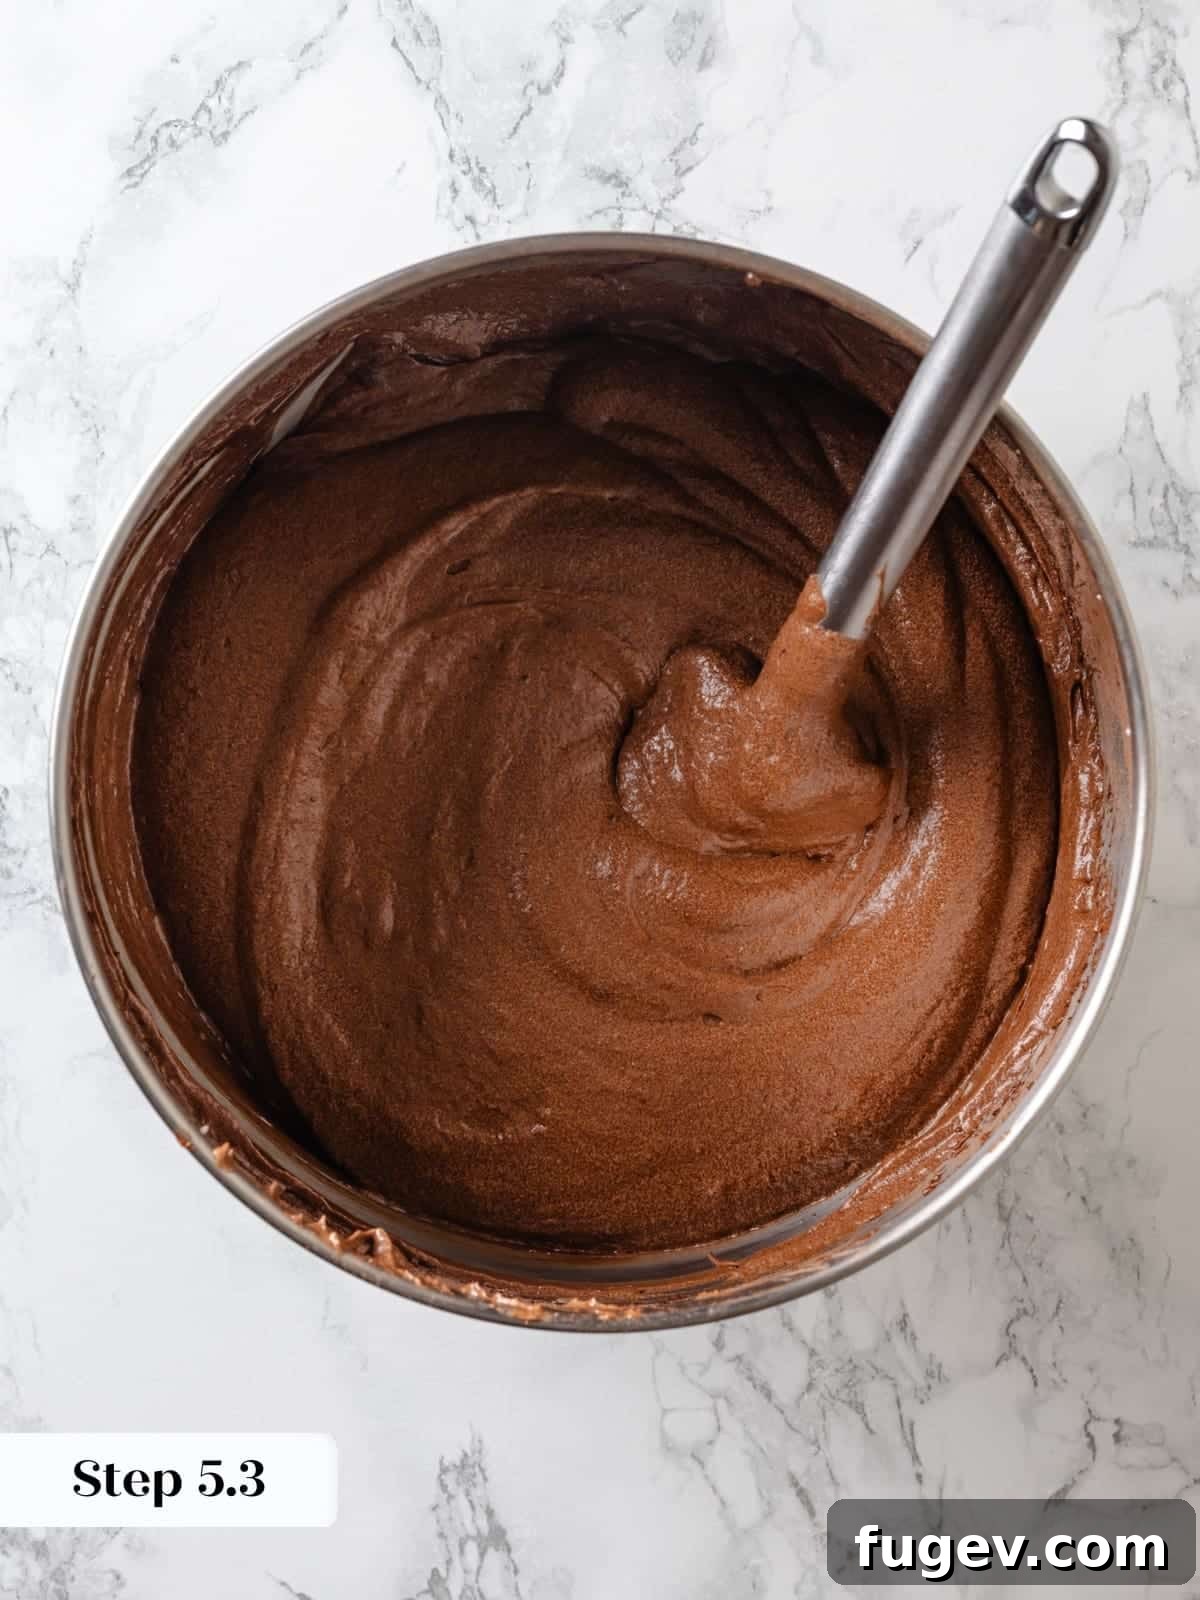
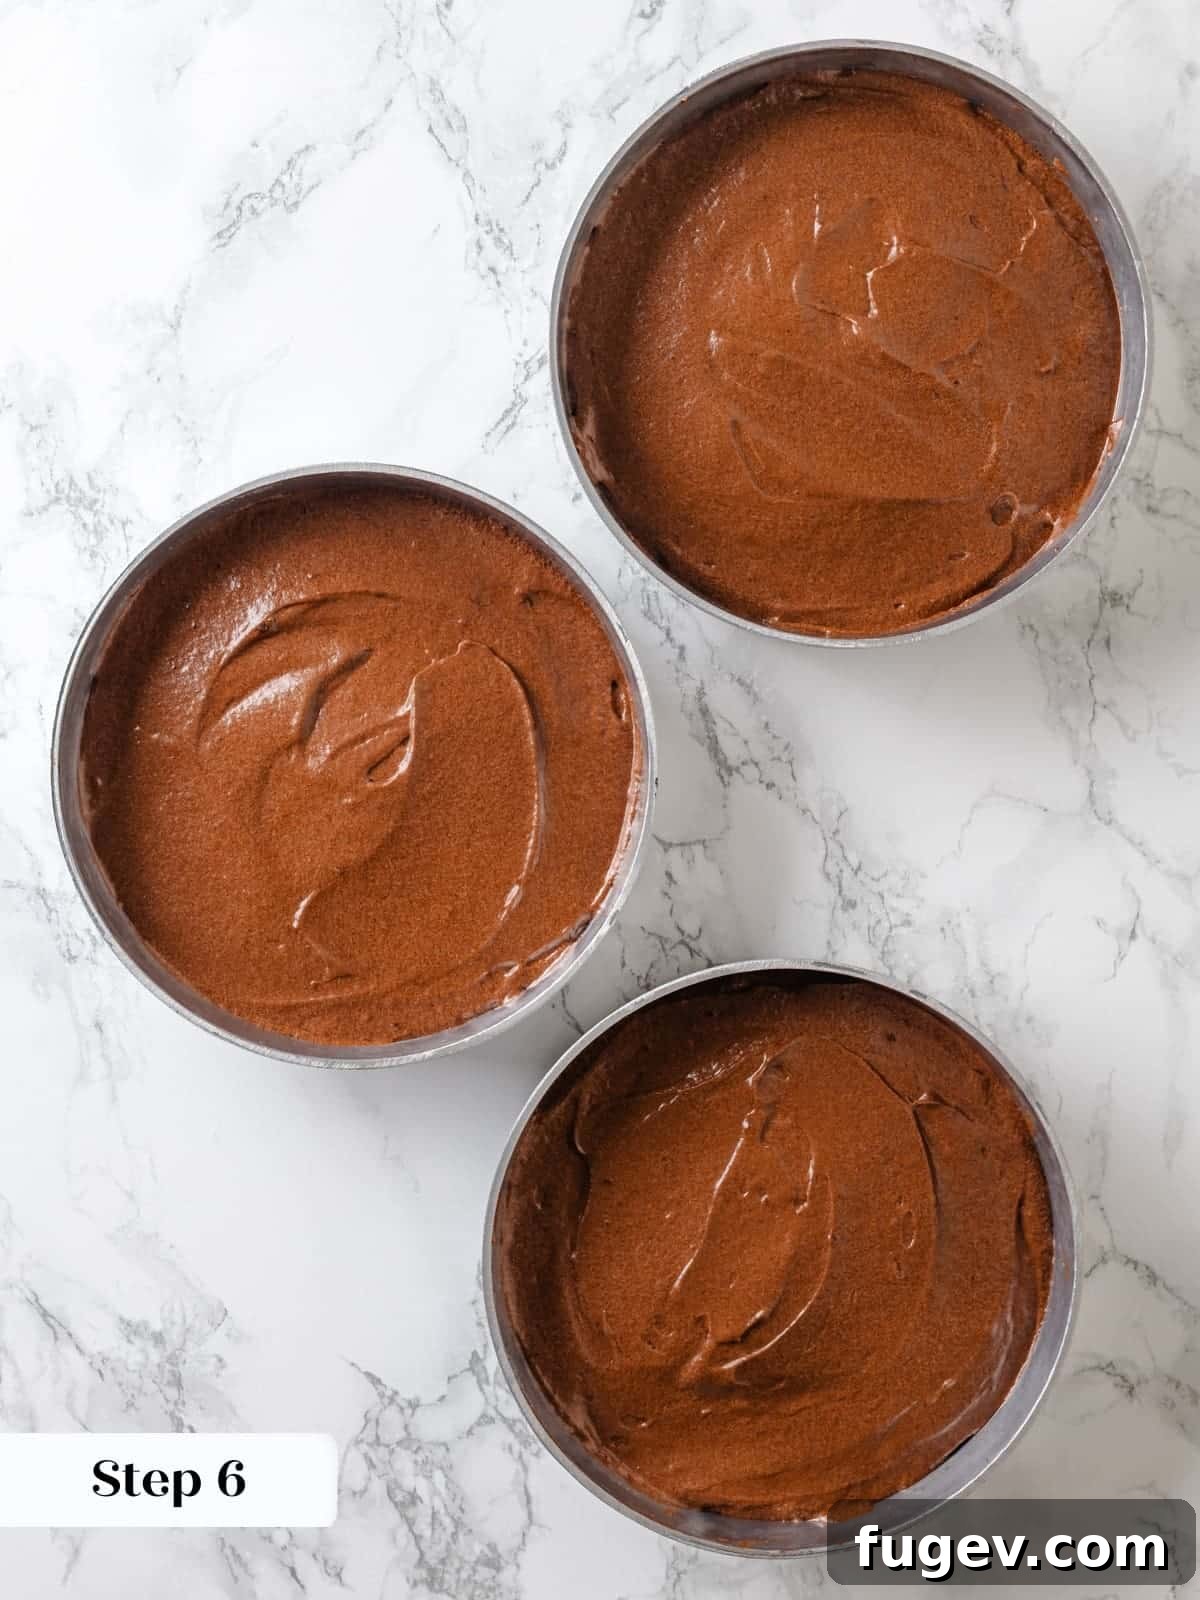
Step 5: Alternate Wet and Dry Ingredients. In a separate large measuring cup or container, combine the room-temperature buttermilk, vanilla extract, and cooled brewed coffee (Photo 5). With the mixer on low speed, alternately add about one-third of the sifted dry ingredients to the creamed mixture, followed by about half of the liquid ingredients. Repeat this process with another third of the dry ingredients and the remaining wet ingredients. Finally, add the last third of the flour mixture. Mix just until the ingredients are incorporated. To prevent overmixing and ensure a tender crumb, I highly recommend finishing the folding of the dry ingredients by hand with a large rubber spatula (Photos 6-7). This gentle approach ensures the cake remains moist and light.
Chef’s Note: When incorporating dry ingredients, especially those containing cocoa powder and cake flour, I often switch from a stand mixer to a hand mixer or even finish entirely by hand with a spatula. This prevents the dry ingredients from flying out of the bowl and significantly reduces the risk of overmixing, which can quickly lead to a tough, dry cake. Gentle folding ensures your Devil’s Food Cake retains its signature light and tender texture.
Step 6: Bake the Cake Layers. Evenly divide the prepared batter among your baking pans. For three 8-inch pans, this is approximately 540g of batter per pan. Bake in the preheated oven. Baking time will vary significantly depending on the size and number of pans you use. For three 8-inch pans, it typically takes around 32 minutes. For two pans, anticipate 35–40 minutes, and for a rectangular baking dish, 40–45 minutes (mine took 44 minutes). The cake is done when a toothpick or cake tester inserted into the center comes out with a few moist crumbs clinging to it, and the center springs back slightly when gently pressed with your finger (Photo 8). Avoid baking until the edges pull away from the pan, as this is often an indicator that the cake is already slightly overbaked and may result in a drier texture.
Baking Time Considerations: The specific baking time is crucial and highly dependent on your bakeware. While the edges pulling away from the pan sides is a sign of doneness, it’s often the *last* sign. Relying solely on this can mean your cake is already 1-2 minutes away from being perfectly moist and instead verging on dry. Prioritize the toothpick test and the gentle spring-back of the center for optimal results. Your oven temperature and calibration also play a significant role, so know your oven!
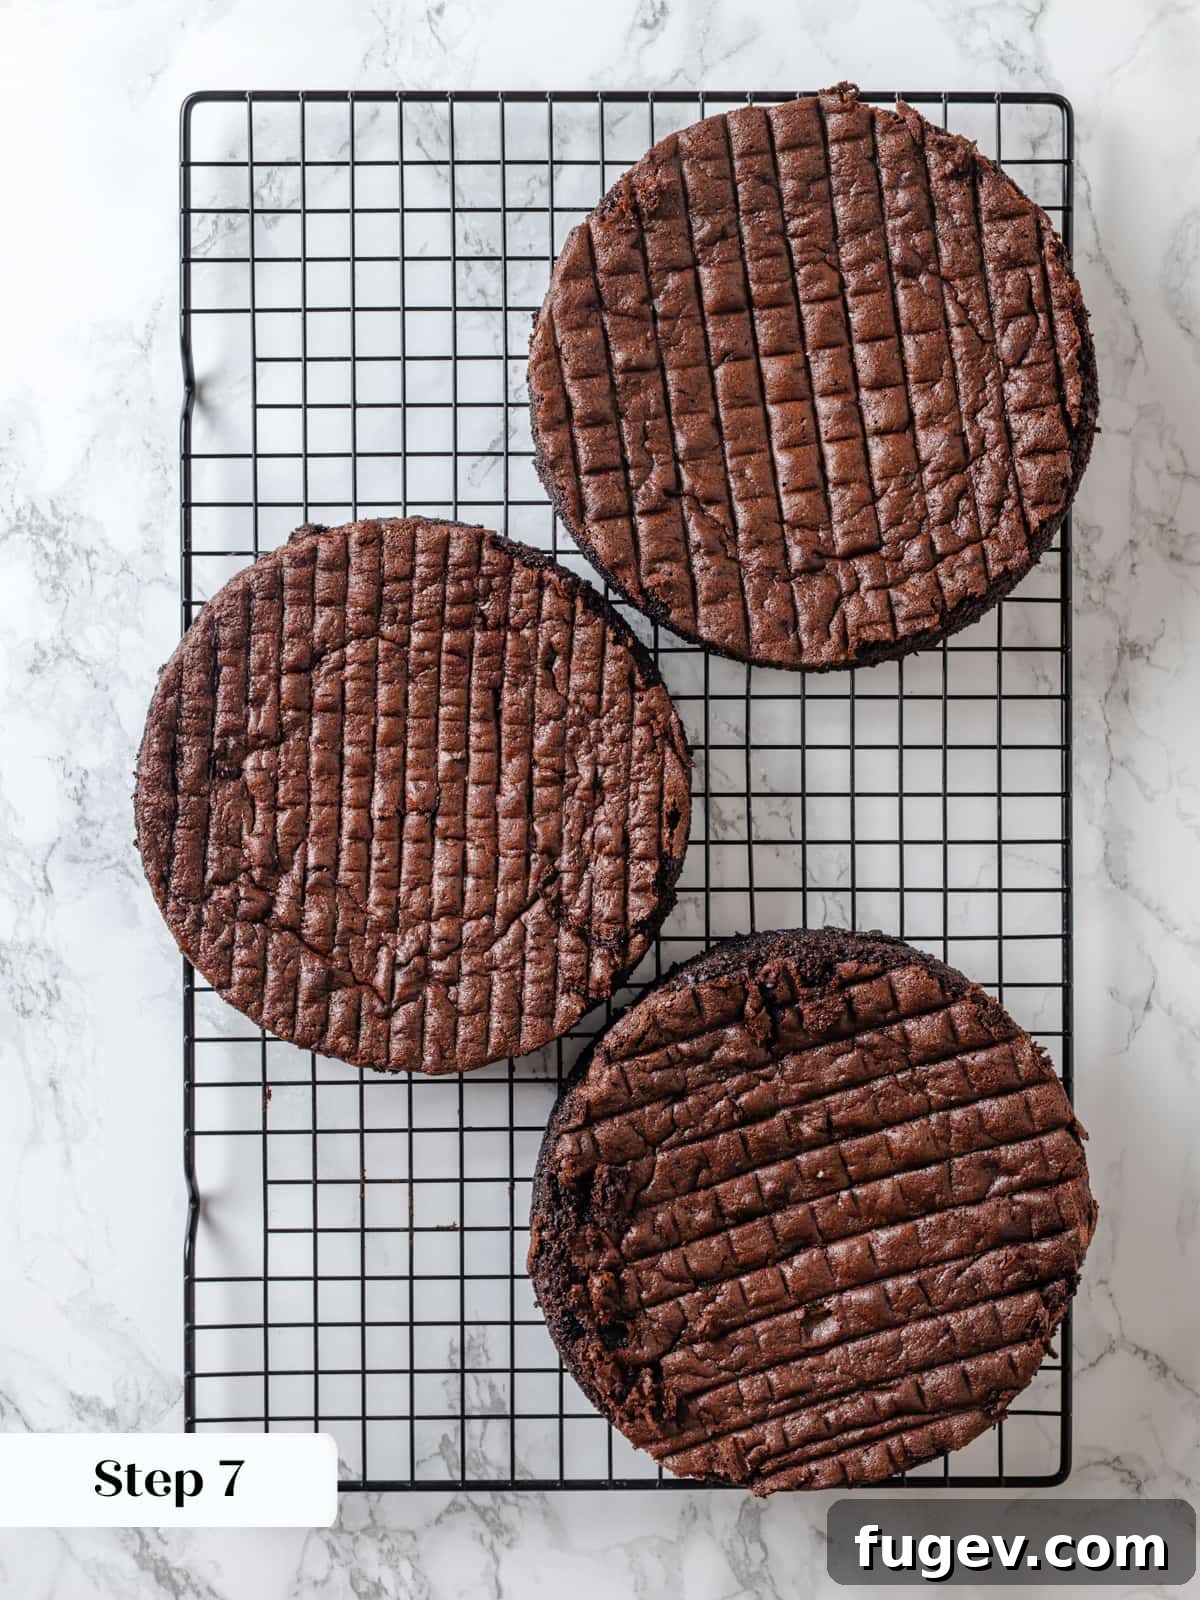
Step 7: Cool the Cake Layers. Once baked, allow the cakes to cool in their pans for about 5 minutes. This brief resting period helps them firm up slightly before unmolding. Then, carefully invert them onto a wire cooling rack and gently remove the parchment paper from the bottoms. Let the cakes cool completely to room temperature before attempting to level or frost them. Cooling thoroughly is essential to prevent the buttercream from melting. Don’t worry if a small amount of cake sticks to the rack – it won’t affect the final beautiful result (Photo 9).
To Prepare the Chocolate Swiss Meringue Buttercream:
Step 8: Set Up a Double Boiler. Find a medium saucepan and fill it with about an inch of water. Bring the water to a gentle simmer over medium-low heat. The most crucial part of this step is to ensure that the bowl of your stand mixer (preferably a heatproof metal bowl) can fit snugly on top of the saucepan, creating a “double boiler” setup, without the bottom of the mixer bowl touching the simmering water. This indirect heat is vital for safely heating the egg whites.
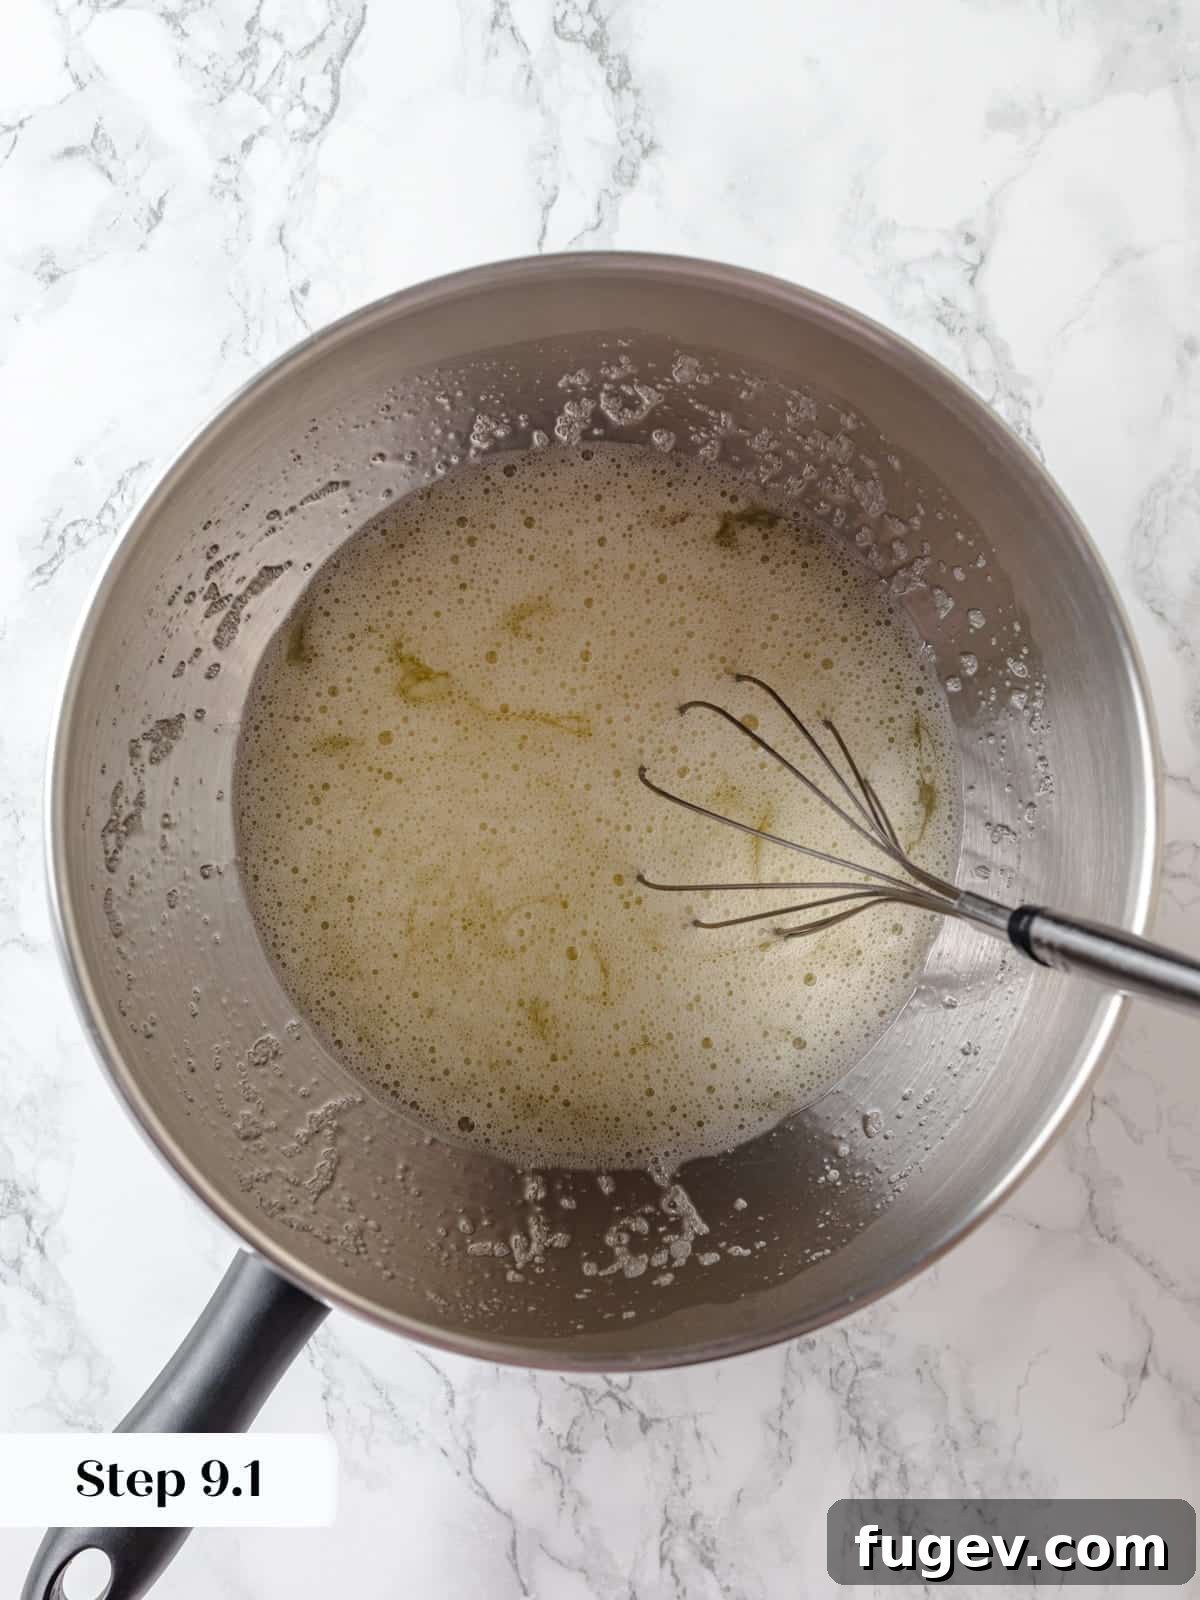
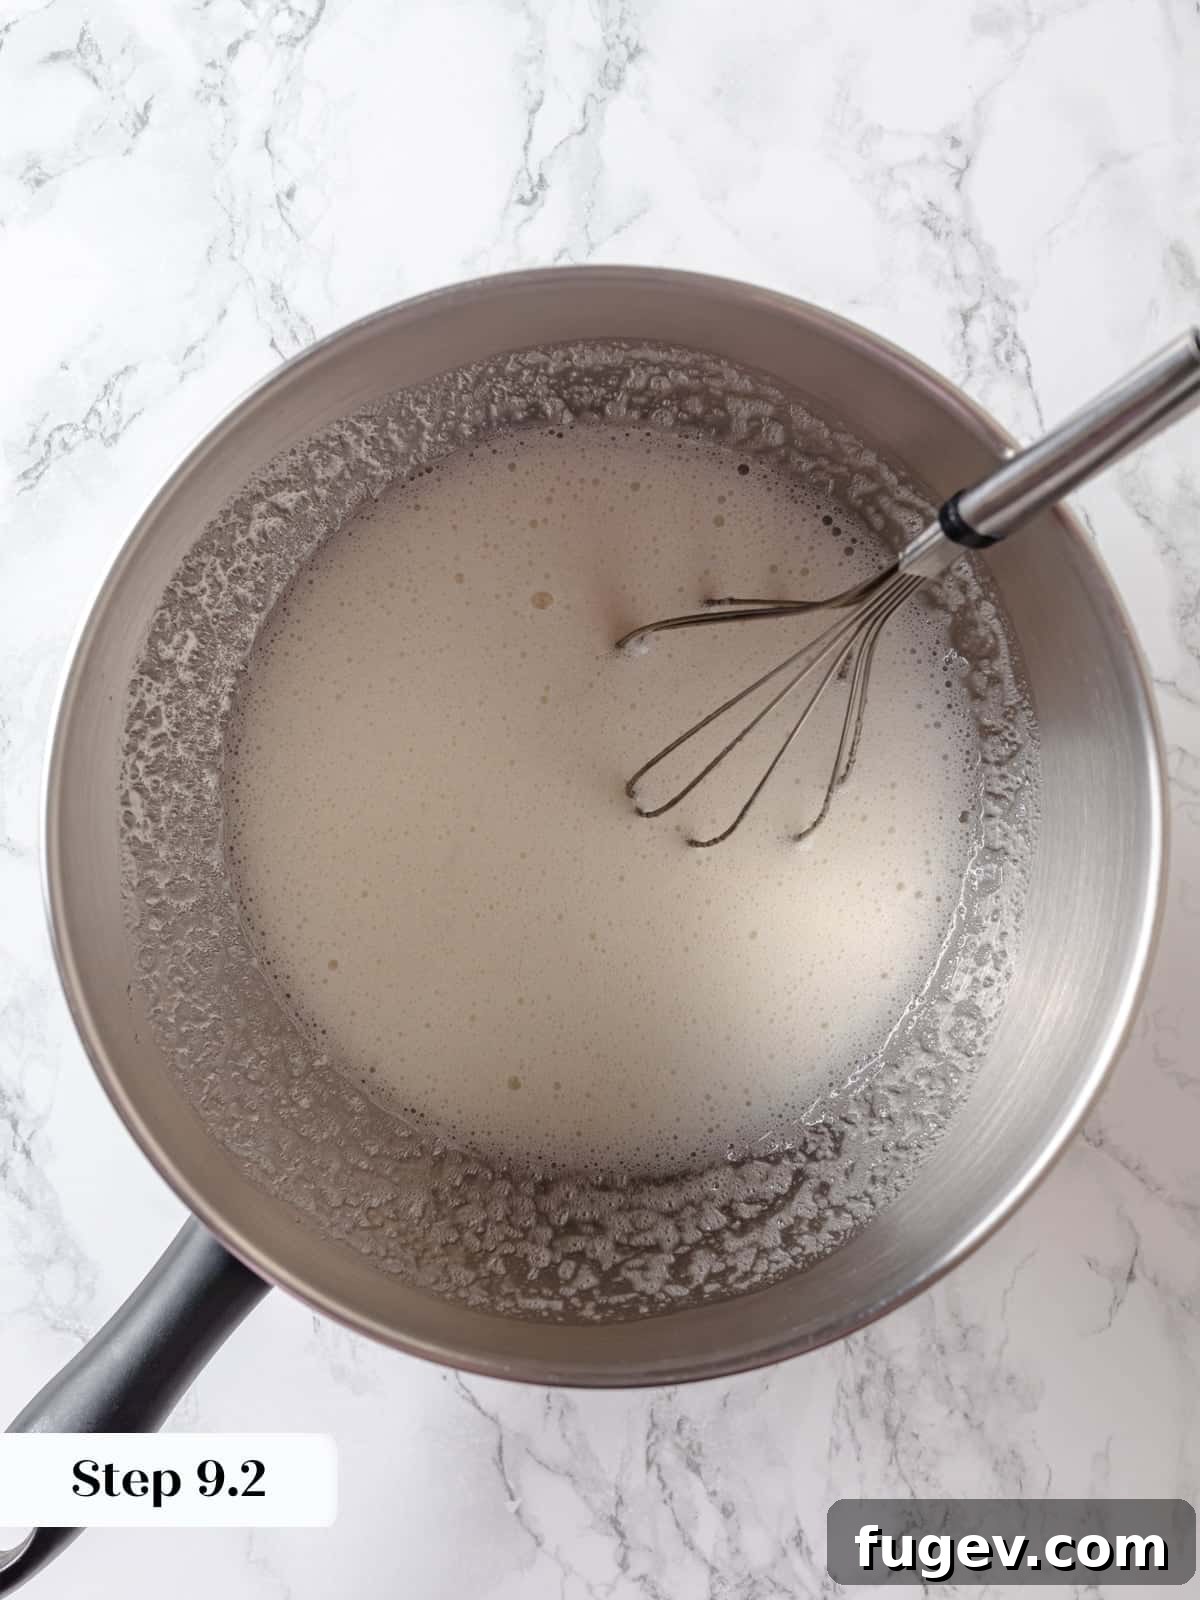
Step 9: Heat Egg Whites and Sugar. In your stand mixer bowl, combine the egg whites and granulated sugar. Place the bowl over the simmering water and continuously whisk the mixture. Keep whisking until the mixture reaches 120°F (49°C) on an instant-read thermometer, or until the sugar has completely dissolved and the mixture feels warm to the touch and slightly lighter in volume (Photos 10 & 11). This pasteurization step makes the meringue safe to eat and ensures a smooth, stable buttercream.
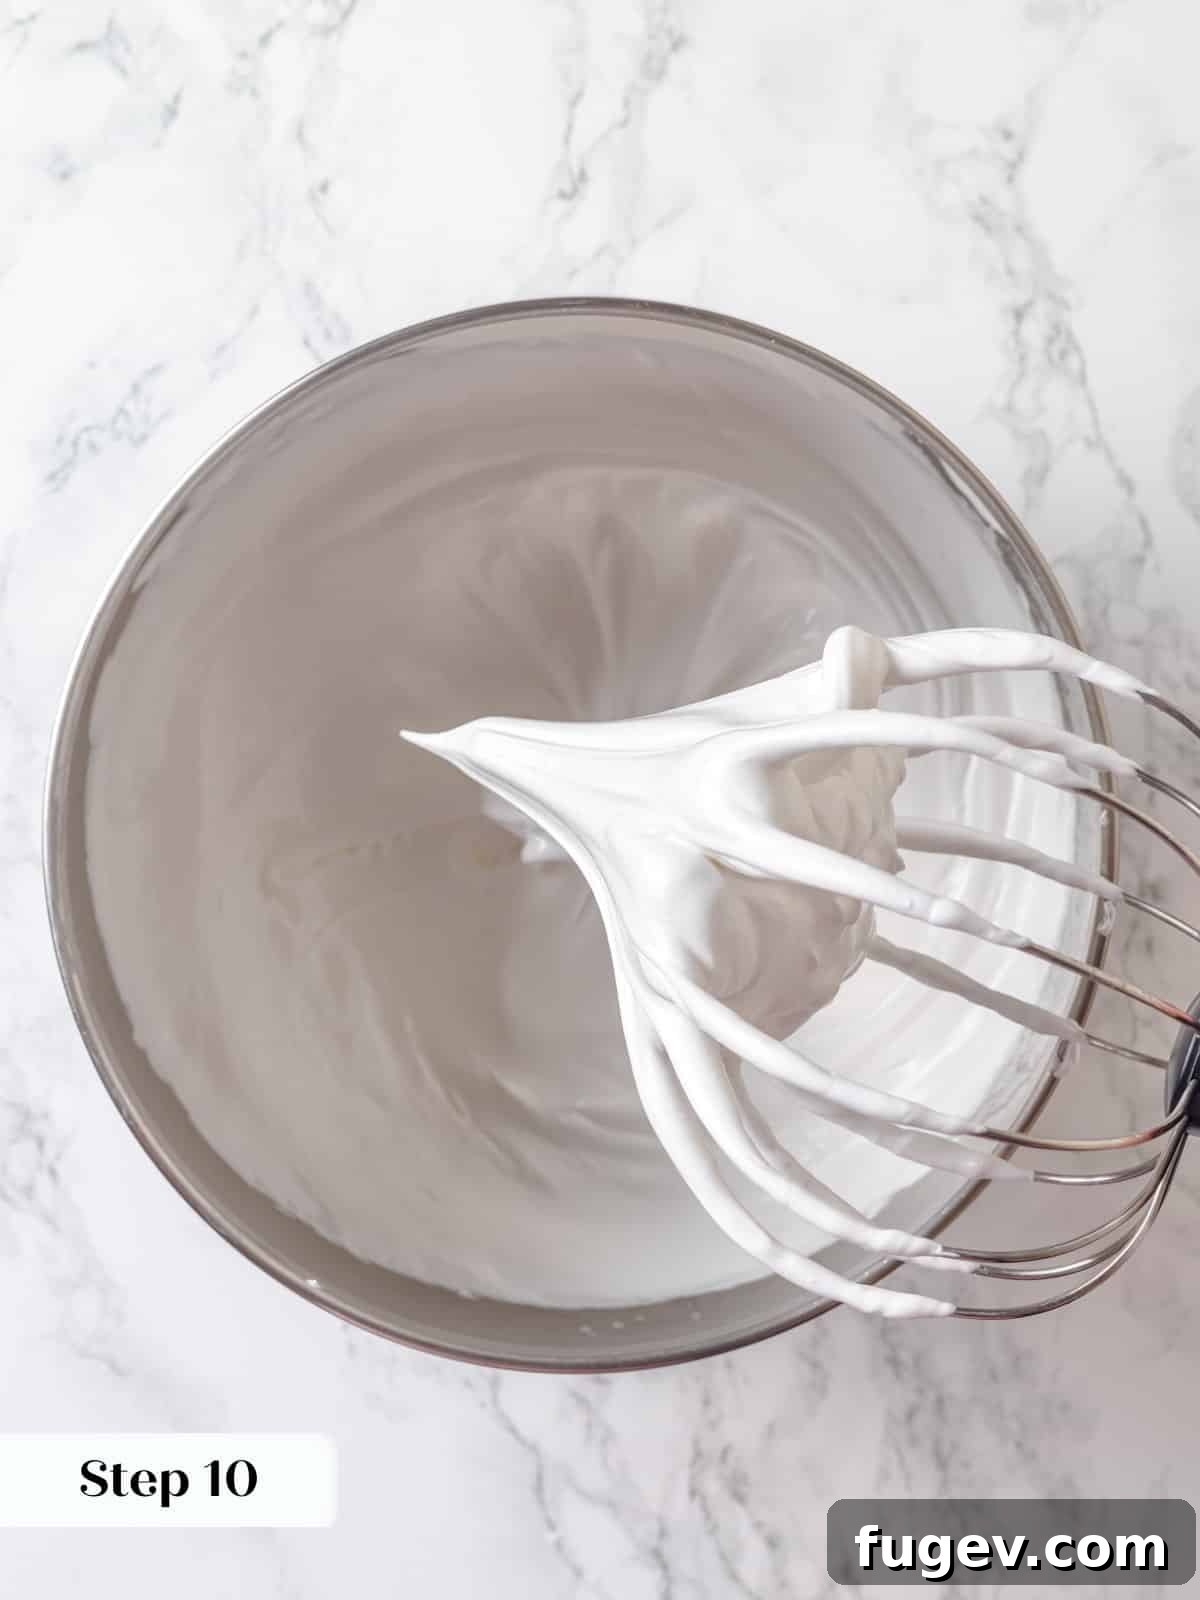
Step 10: Whip the Meringue. Carefully remove the hot bowl from the saucepan (use a kitchen towel to protect your hands, especially if using a gas burner). Attach the bowl to your stand mixer and fit it with the whisk attachment. Beat the mixture on high speed until the meringue forms stiff, glossy peaks and the bowl has cooled down to below body temperature – it should feel cool to the touch. This process typically takes 2–4 minutes, depending on the power of your mixer (Photo 12).
Temperature Test for Meringue: The simplest and most reliable way to check if your meringue is cool enough before adding butter is to touch the bottom of the mixer bowl. If it feels cool (not just lukewarm, but genuinely cool) to your finger, it’s ready for the next step. Adding butter to a warm meringue will result in a soupy, unstable buttercream.
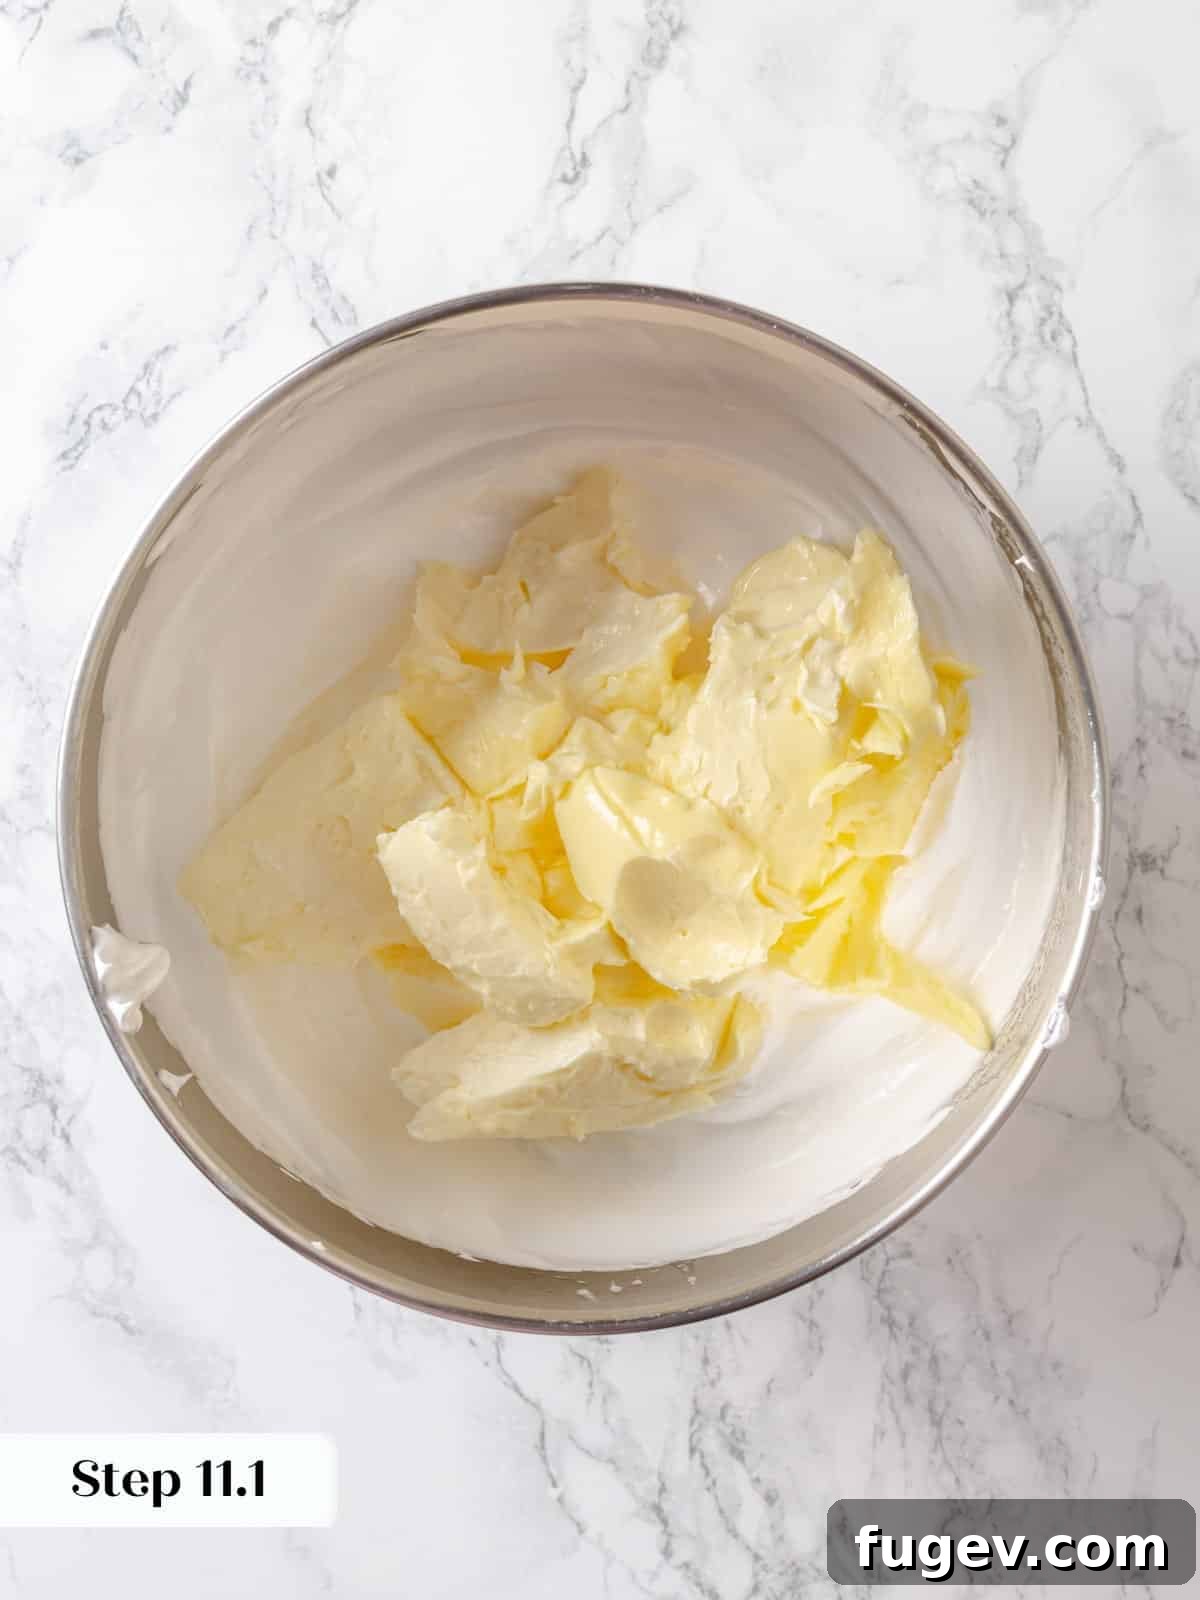
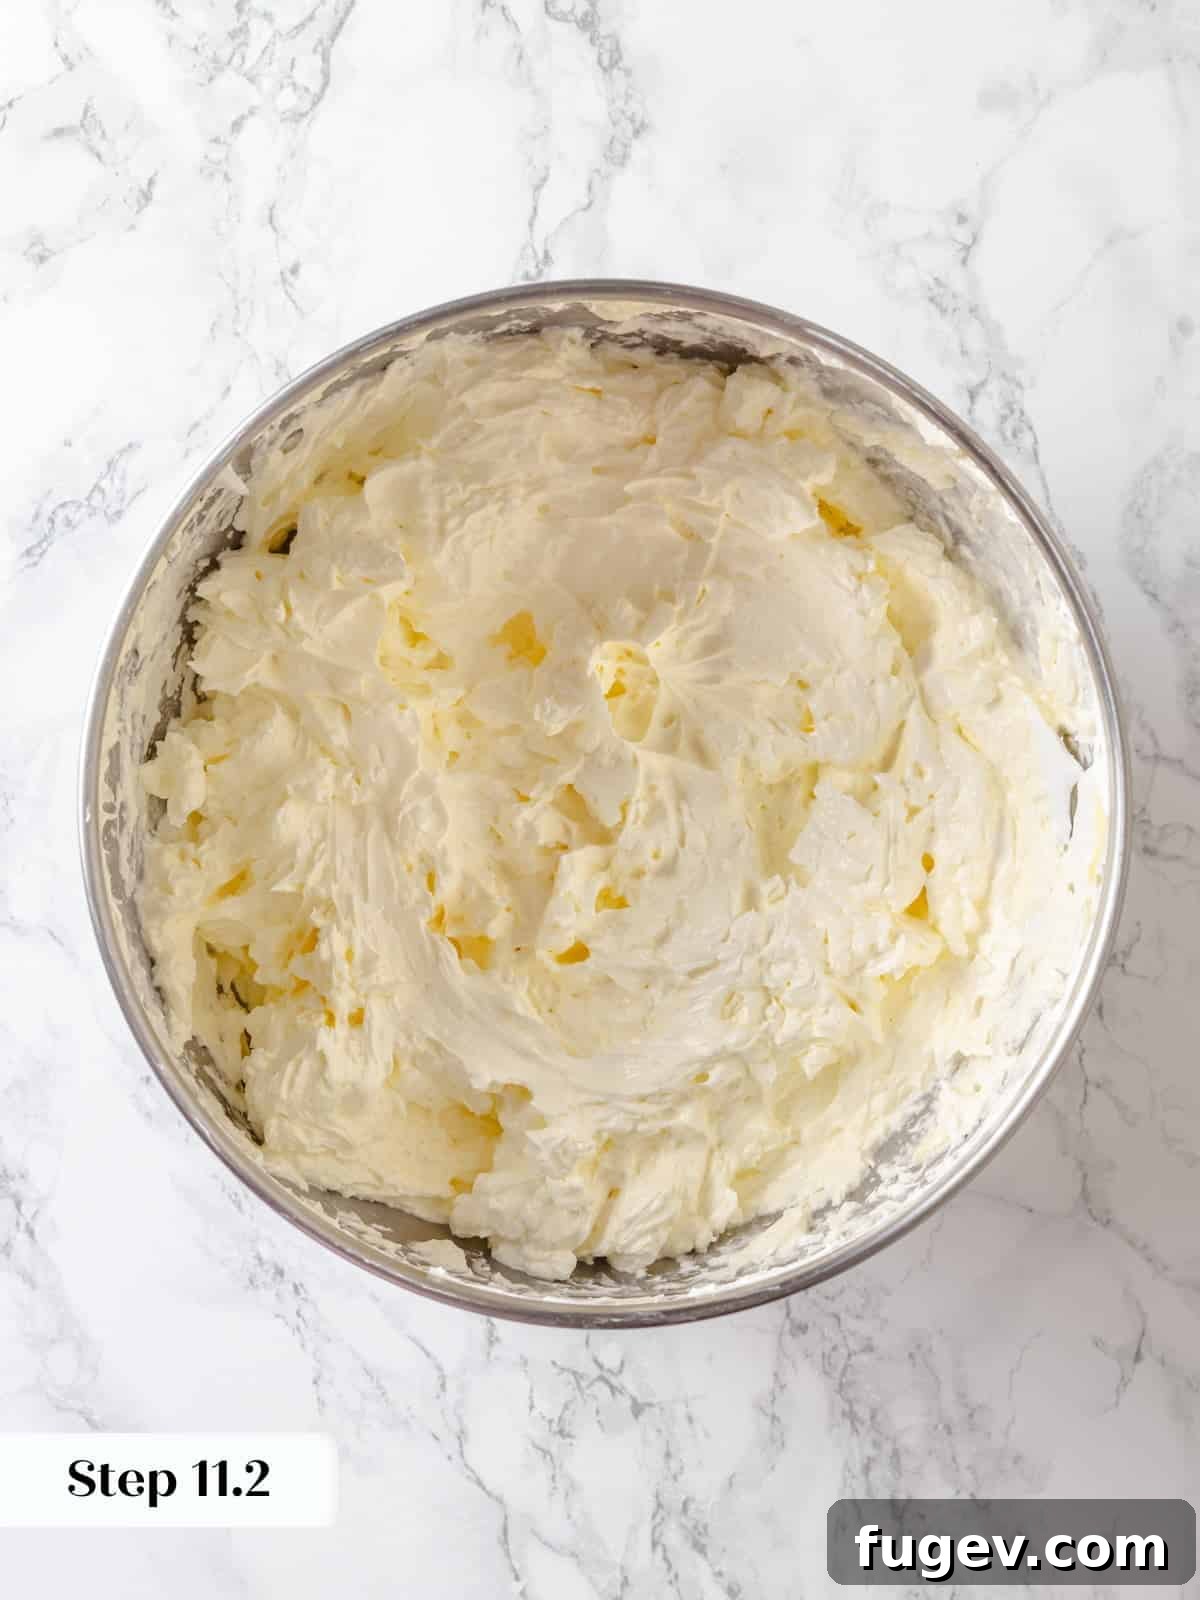
Step 11: Add the Butter. Switch the mixer attachment from the whisk to the paddle. With the mixer running on medium-low speed, add all the room-temperature unsalted butter, one piece at a time (Photo 13). Continue mixing. At first, the buttercream may appear curdled or separated – this is completely normal! Keep mixing on medium speed; after several minutes, the butter will fully emulsify into the meringue, transforming into a luxuriously silky, smooth buttercream (Photo 14). Be patient, as this can take up to 8 minutes.
Troubleshooting Buttercream:
- Butter Too Cool: If you notice a few stubborn bits of butter that won’t incorporate, you can gently warm the sides of the mixer bowl with a kitchen torch or a hairdryer on a low setting for a few seconds. Do this very carefully and briefly, melting only the edges, then continue mixing. Overheating will melt the entire batch, which is difficult to recover from.
- Meringue Too Warm (Soupy Buttercream): If you added your butter when the meringue was still too warm, and your buttercream looks like a soup, don’t despair! First, ensure all the butter is fully incorporated into the liquid mixture (otherwise, it will solidify unevenly in the fridge). Then, place the entire mixer bowl (with the attachment) into the refrigerator for 20–30 minutes to chill. Once chilled, return it to the mixer and continue beating on medium-high speed. The mixture should firm up and come together into smooth buttercream.
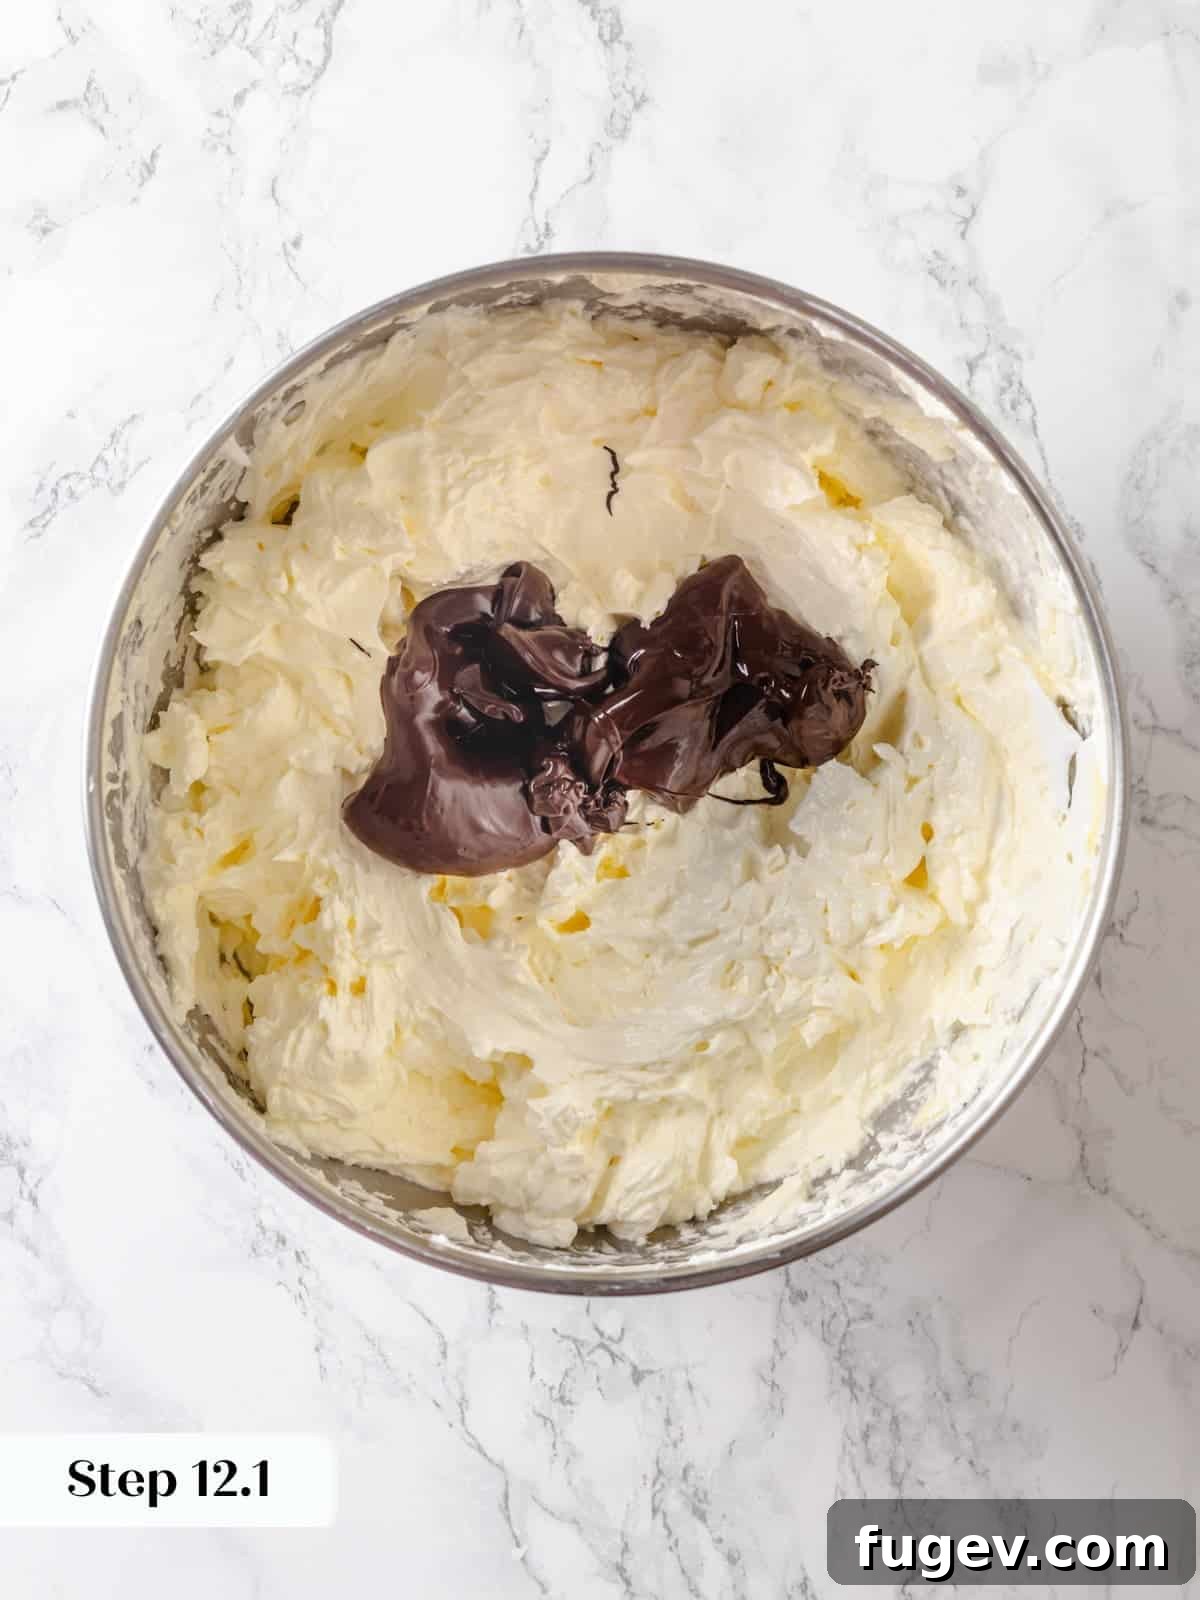
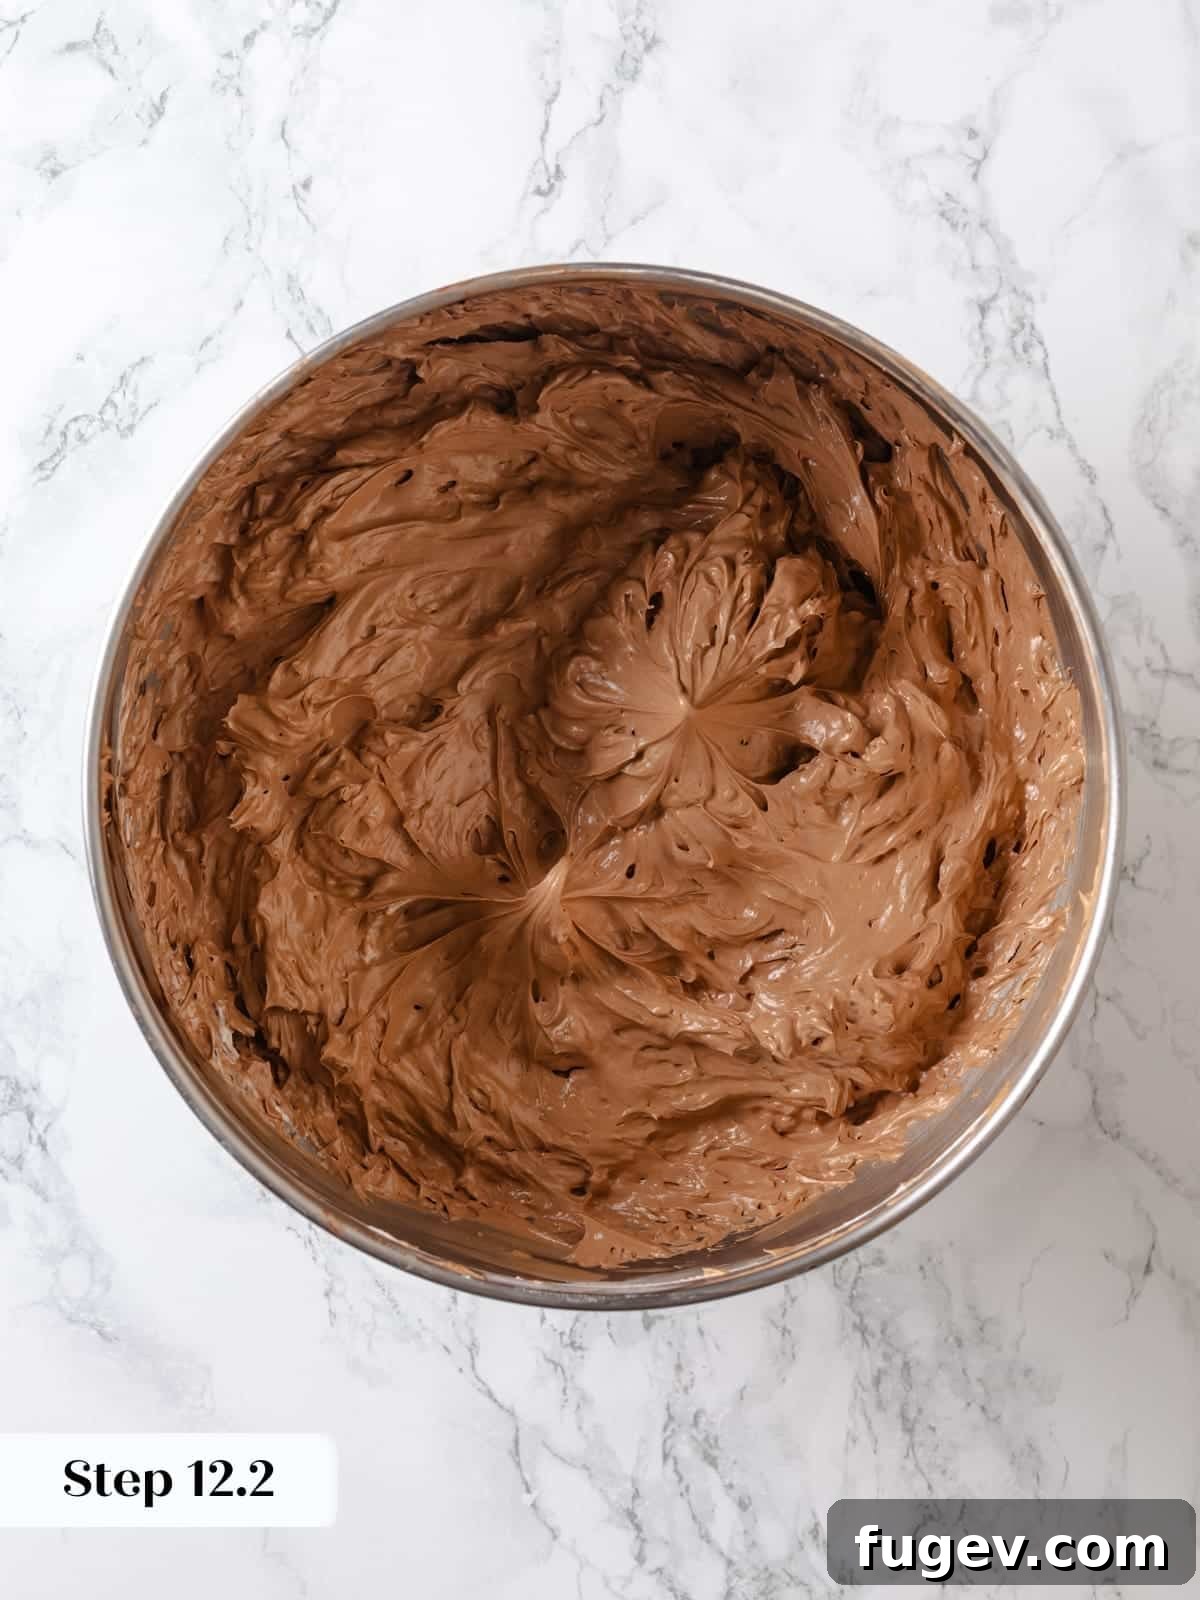
Step 12: Incorporate Chocolate and Whip. Once your buttercream is silky smooth, stop the mixer. Add all the melted but not hot unsweetened chocolate (Photo 15) and vanilla extract. Mix on medium speed until fully incorporated. Switch back to the whisk attachment and beat the buttercream on high speed for another 1-2 minutes until it becomes light, airy, and fluffy (Photo 16). This final whip ensures a delightful, melt-in-your-mouth texture.
To Assemble the Devil’s Food Cake:
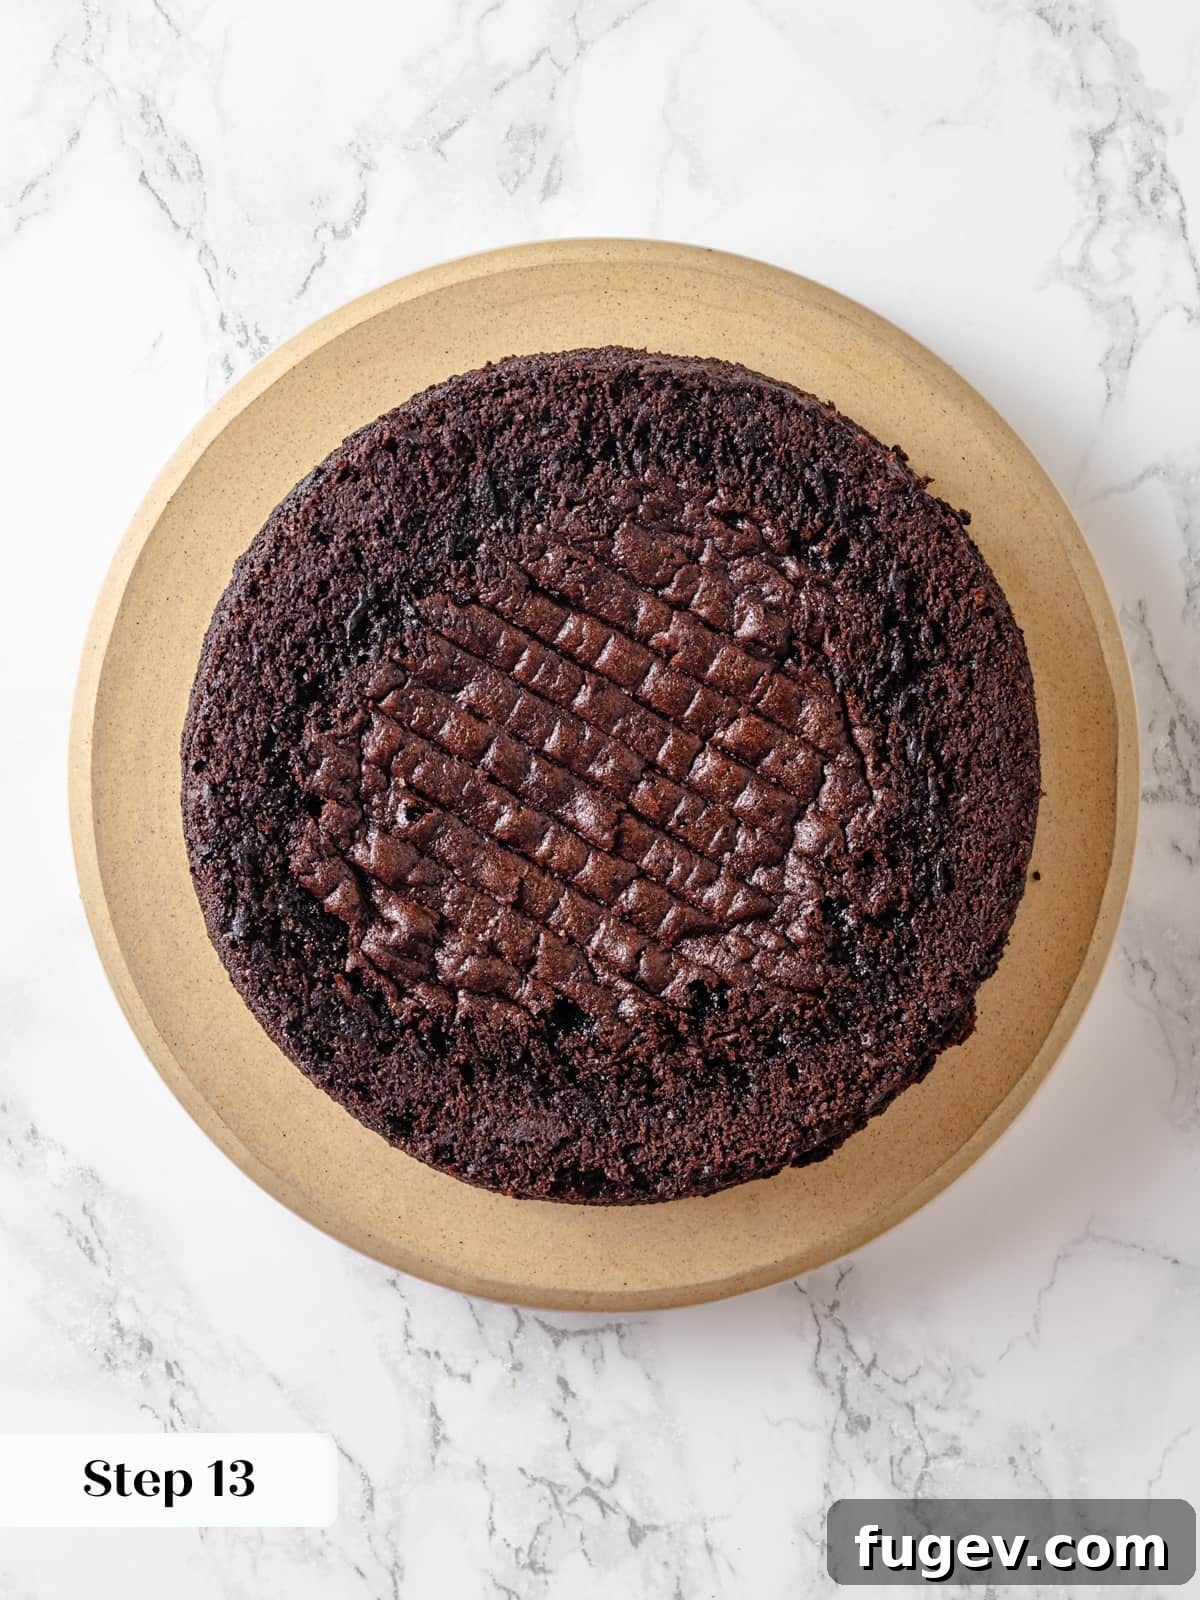
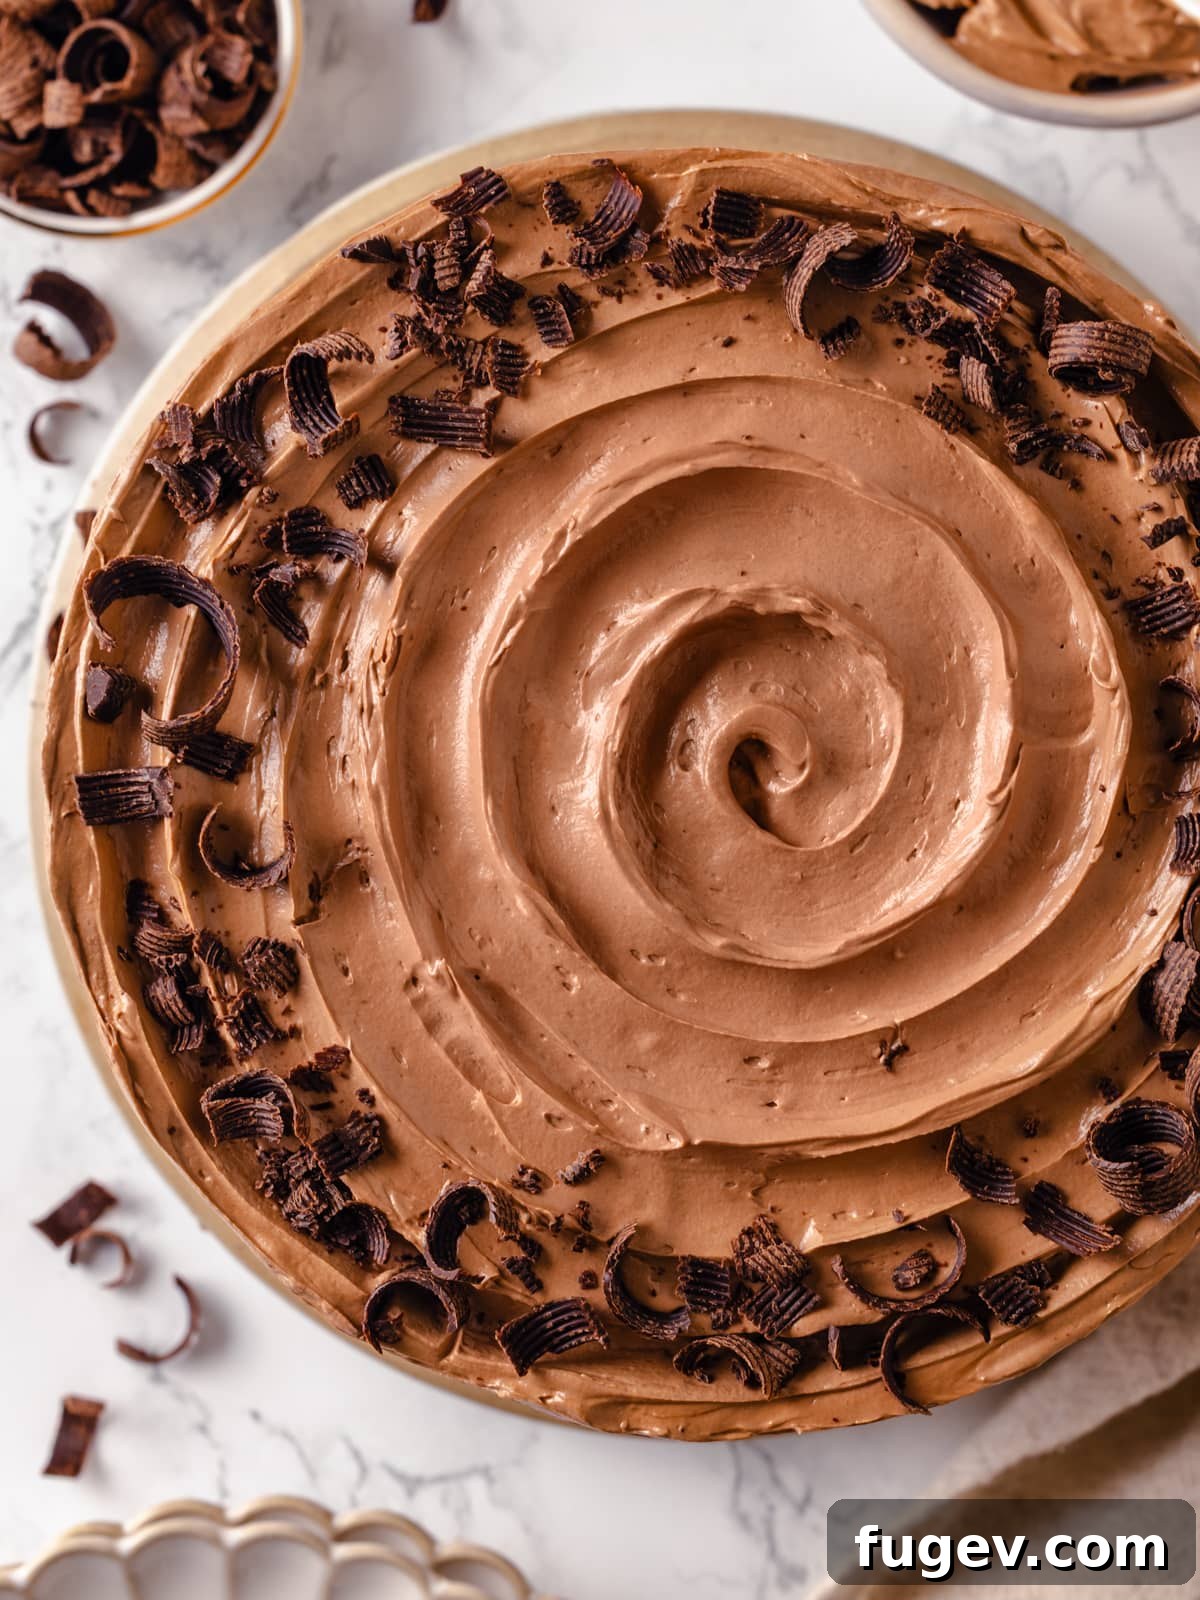
Step 13: Level and Position Cake Layers. Once your cake layers are completely cool, use a long serrated knife with a gentle sawing motion to level the tops of each layer. You want to remove the dome, creating a flat surface for easy stacking. Don’t feel pressured to make them perfectly uniform – simply removing the peak is sufficient, avoiding unnecessary waste. Place your first leveled cake layer onto your chosen serving plate, cake board on a turntable, or directly on a cake stand (if you’re feeling adventurous) (Photo 17).
Step 14: First Frosting Layer. Scoop a generous cup and a half of the prepared chocolate Swiss meringue buttercream onto the top of the first cake layer. Using a large offset spatula, spread the frosting evenly all the way to the edges. Gently place the second cake layer directly on top of the frosted layer. To help set the buttercream and prevent layers from shifting, refrigerate the cake stack for 20–30 minutes.
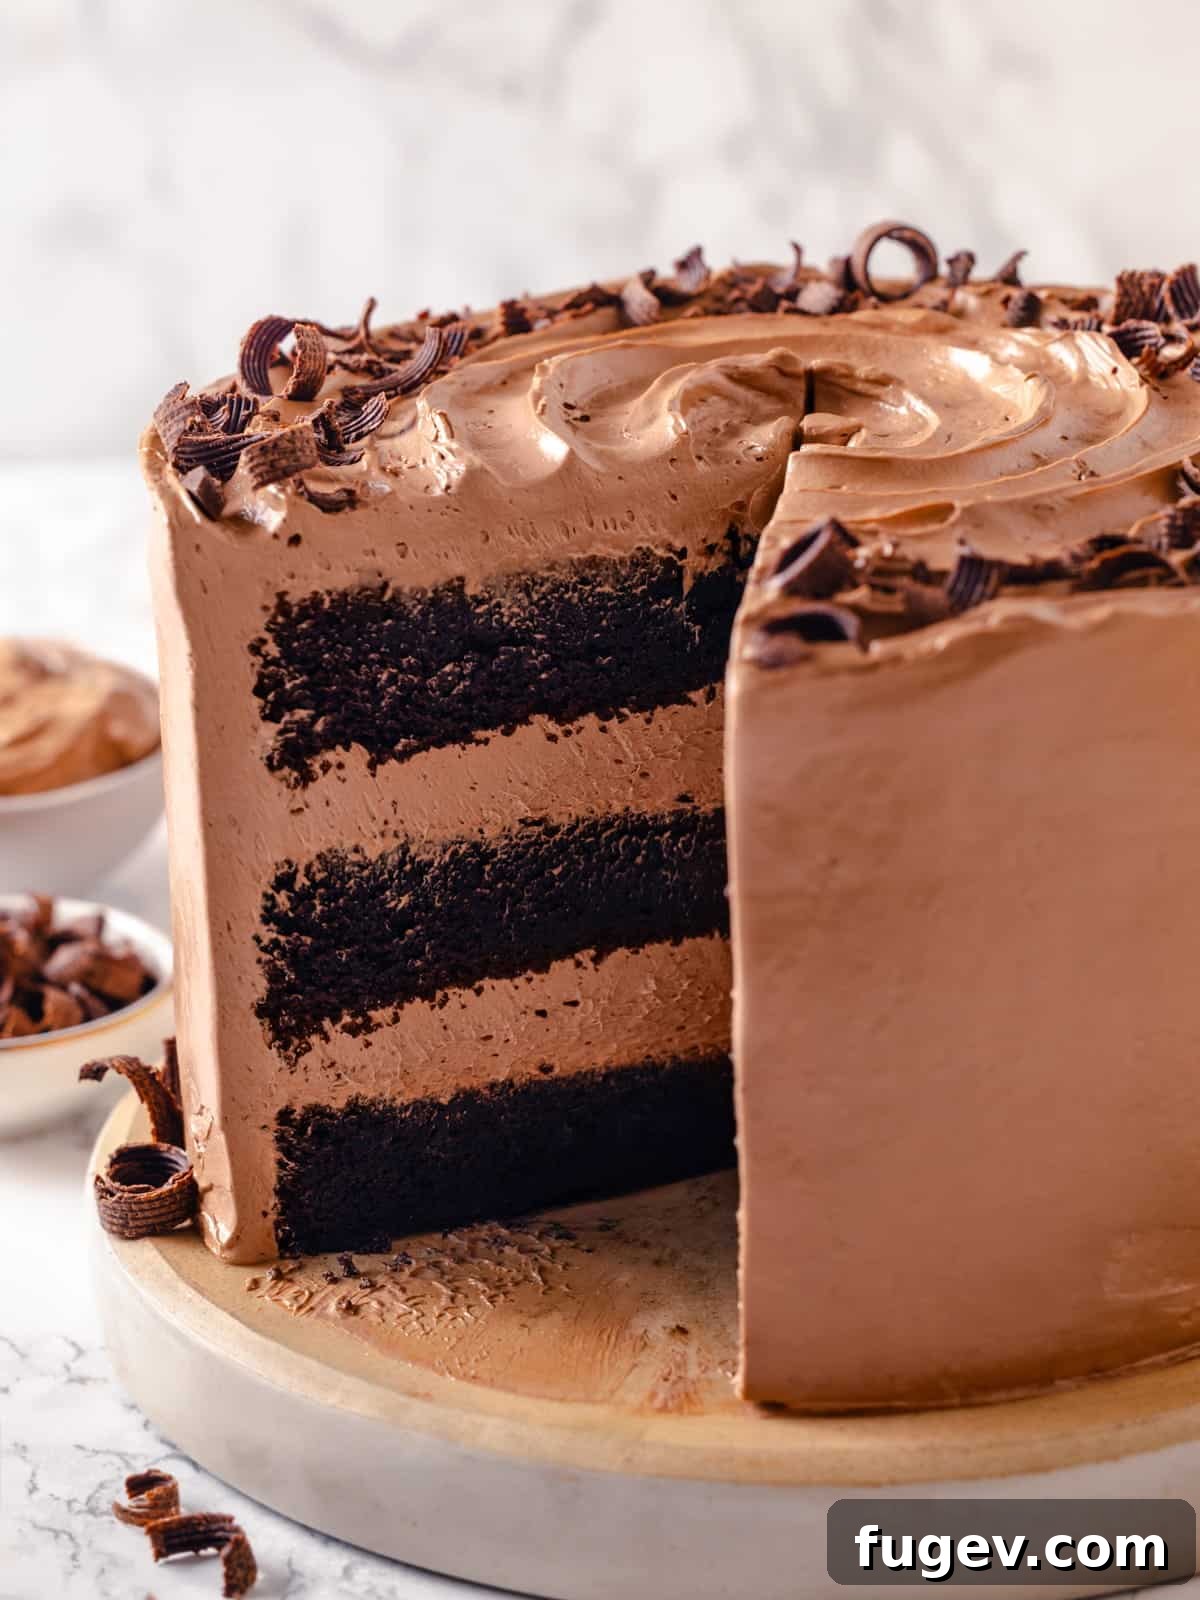
Step 15: Second Frosting Layer & Top Layer. Repeat the frosting process with another generous cup and a half of buttercream on the second layer. For the third and final cake layer, place it upside-down on top of the frosting. This clever trick provides a perfectly flat, smooth top surface for your cake, making it much easier to achieve sharp, professional-looking edges later on.
Step 16: Crumb Coat (Optional but Recommended). Depending on how crumbly your cake is (this Devil’s Food Cake is typically not very crumbly), I recommend applying a quick, thin crumb coat. This involves spreading a very thin layer of buttercream all over the top and sides of the cake. Its purpose is to trap any loose crumbs, preventing them from mixing into your final, pristine layer of frosting. After applying the crumb coat, refrigerate the cake for another 30 minutes to an hour until the buttercream is firm to the touch. If your buttercream feels too soft and is squeezing out when you try to frost, chilling the cake will also help stabilize it.
Crumb Coat Insight: While some cakes, like a very tender easy chocolate cake, absolutely benefit from a crumb coat, this Devil’s Food Cake is quite sturdy. You can often get away with applying just a final coat of frosting if you’re confident and careful. However, for beginners or for a truly flawless finish, the crumb coat is an invaluable step that guarantees a smooth surface.
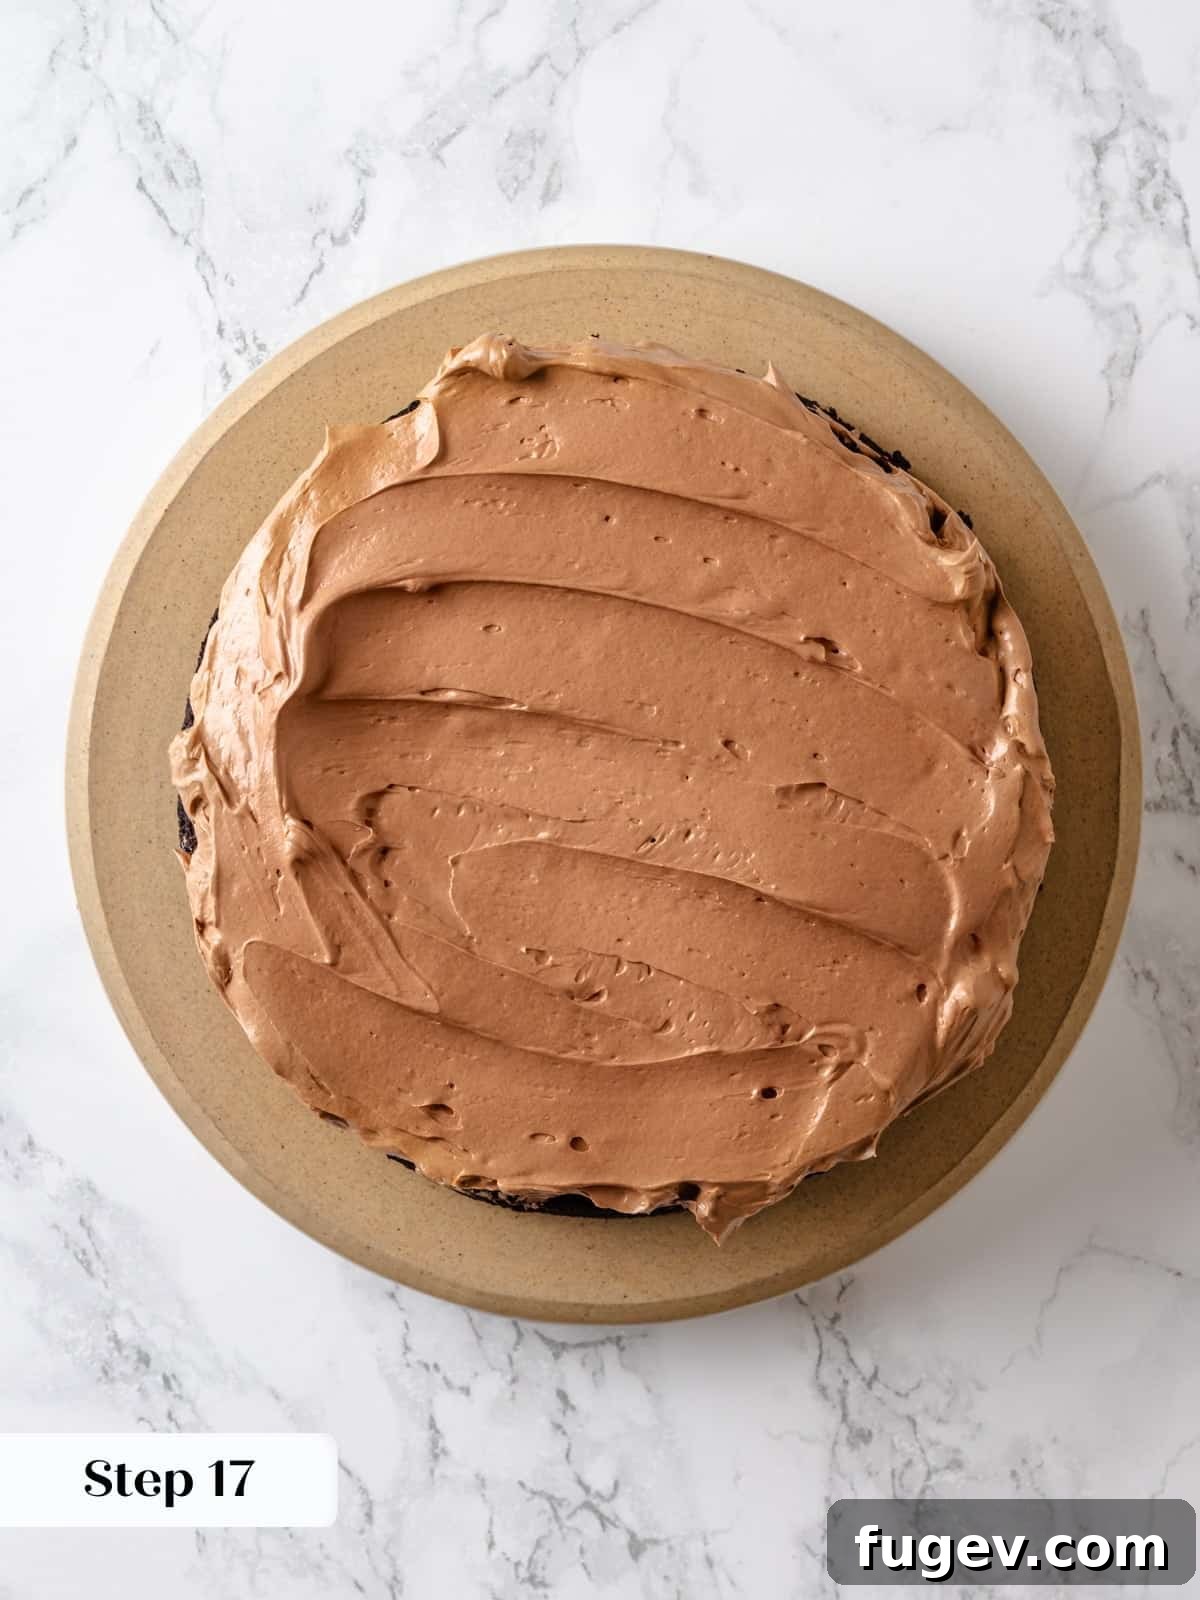
Step 17: Apply Final Layer of Frosting. Add another cup of buttercream to the top of the cake. Spread it evenly to the edges, allowing any excess to cascade slightly over the sides. Then, using your offset spatula, add frosting to the sides of the cake, spreading it out evenly and filling any gaps between the layers, working your way down to the bottom edge of the cake plate (Photo 18).
Step 18: Achieve Desired Thickness. Continuously turn the cake (a turntable is incredibly helpful here) as you work, adding more buttercream as needed until the entire cake is covered to your desired thickness. With this light Swiss meringue buttercream, I find a ¼-inch thickness is ideal. When served at room temperature, it’s light as air and creates the perfect cake-to-frosting ratio. Be aware that if you were using a denser chocolate American buttercream frosting, this thickness might be too much.
Step 19: Smooth the Edges. For a professional finish, smooth the sides and top edges of your cake. My favorite tool for this is a metal bench scraper, but a large offset spatula or even a clean plastic ruler can work wonders. Hold your tool flush against the side of the cake, rotating the turntable to create a smooth surface. You can leave the top edges with a “torn” rustic look, or use your chosen tool to gently smooth and square off the top edges for a clean, sharp finish.
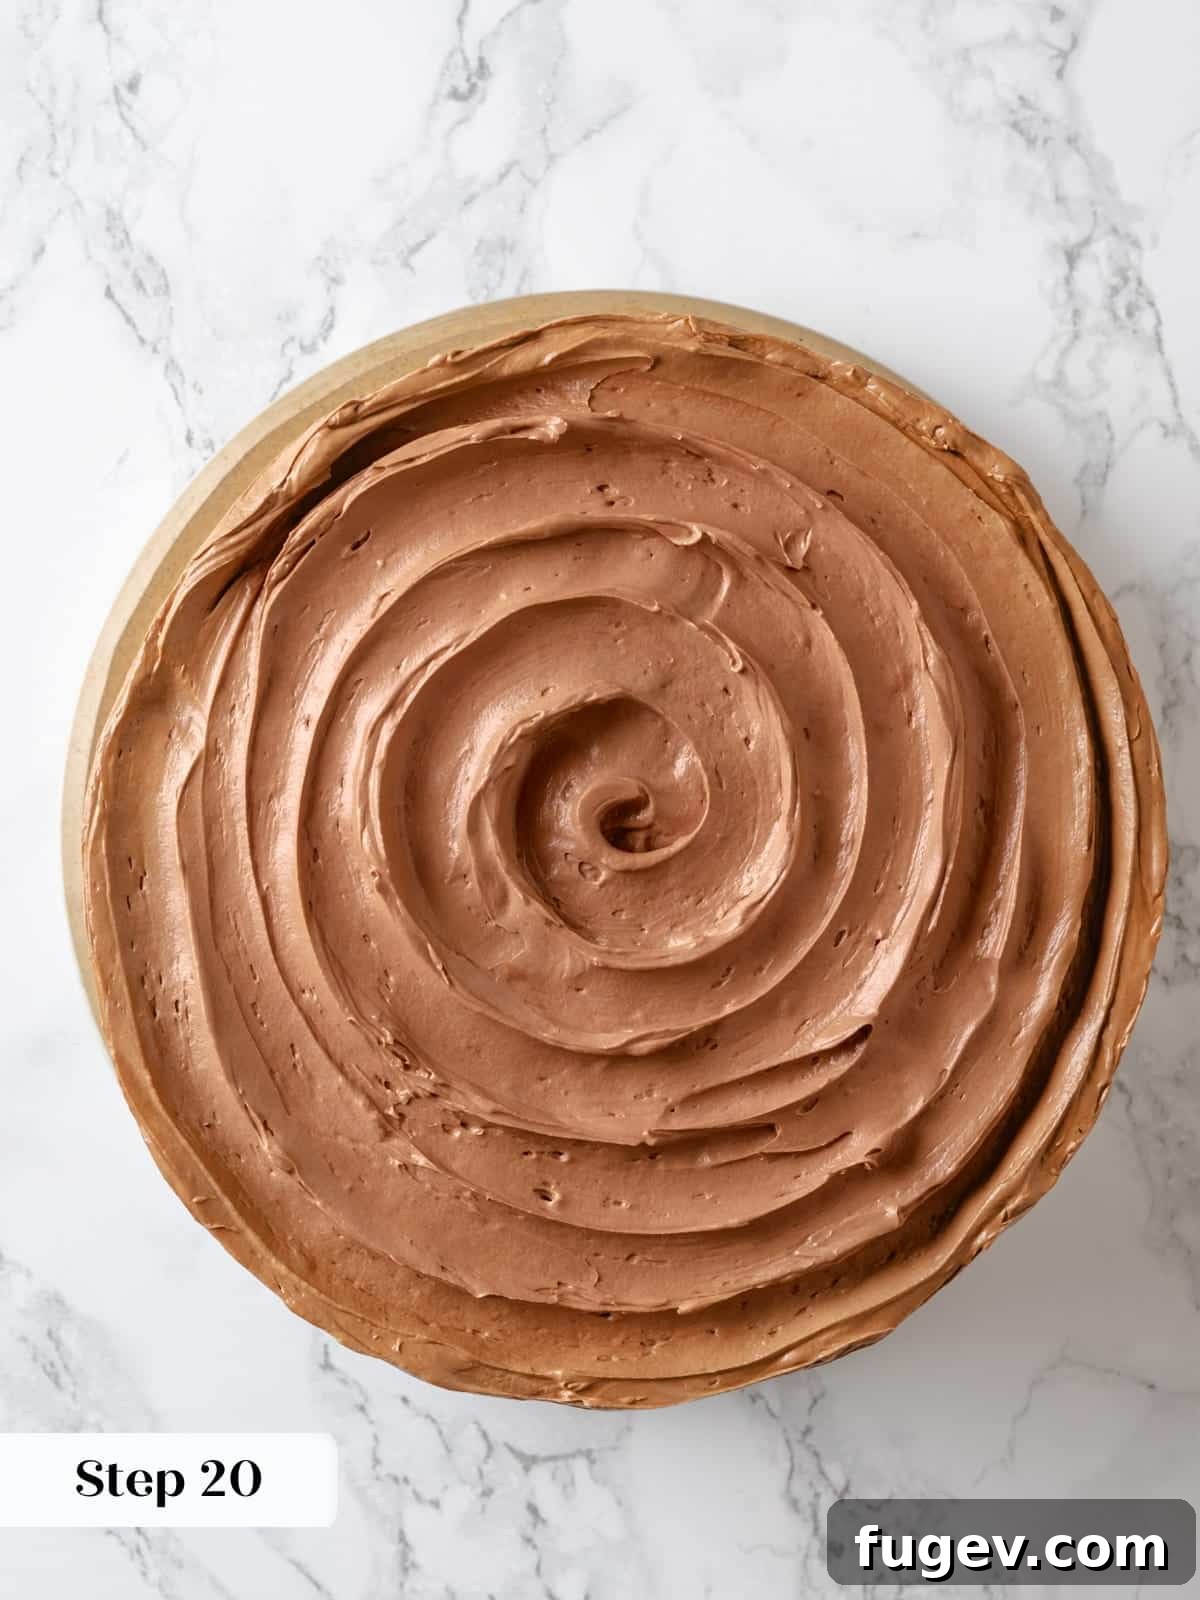
Step 20: Chill and Decorate. Refrigerate the cake for at least an hour to allow the buttercream to fully set. This step is crucial before decorating or slicing, as it ensures stability. If you prefer an artful swirl on top, it’s best to create this pattern with the back of a spoon or the tip of your offset spatula while the buttercream is still soft, before chilling (Photos 19 & 20). Once chilled, you can add chocolate curls, sprinkles, or any other desired garnishes.
Chef Lindsey’s Expert Tip for Flawless Cake Assembly
The Chilling Steps are Essential: Do not skip the chilling periods throughout the cake assembly process! Allowing the buttercream to set between layers and after the crumb coat is absolutely crucial. This firming up of the frosting prevents your beautiful cake layers from sliding around, making the entire frosting process much easier and cleaner. For beginners especially, adhering to these chilling steps will significantly improve your chances of achieving a stable, beautifully frosted cake. Trust the process, and your patience will be rewarded with a stunning and delicious result!
Common Questions About Devil’s Food Cake
Devil’s Food Cake is a rich, moist, and tender chocolate cake, closely related to red velvet cake and traditional chocolate cake. It typically uses less cocoa powder than a very dark chocolate cake, often Dutch-processed cocoa, which gives it a characteristically deep, reddish-brown hue. Its defining features are its incredibly moist crumb, often achieved with buttermilk and coffee, and its decadent, sinfully rich flavor profile, hence its “devilish” name. It’s designed to be intensely flavorful and supremely satisfying.
The primary differences lie in the ingredients and resulting texture. Devil’s Food Cake usually features less cocoa but a higher liquid content (like buttermilk and coffee) compared to a classic chocolate cake. This combination, along with the use of baking soda, leads to a cake with a much moister, lighter, and more airy crumb, often with a darker, reddish tint. A classic chocolate cake can sometimes be denser and rely more heavily on pure cocoa flavor. The airy yet sturdy nature of Devil’s Food Cake makes it an excellent candidate for pairing with a strong and decadent buttercream, such as our Swiss meringue version, allowing it to support the rich frosting beautifully. Think of it as the yin to chocolate cake’s yang – each delicious in its own right, but with distinct characteristics. Much like this chocolate raspberry cake which offers a perfect blend of chocolate and bright raspberry flavors.
To maintain its freshness and decadent texture, store your frosted Devil’s Food Cake in an airtight container at room temperature for up to 2–3 days. If your kitchen is particularly warm or humid, or if you plan to keep it longer, you can store the cake in the refrigerator for up to a week, ensuring it’s well-wrapped to prevent drying out. However, for the best flavor and texture, always bring refrigerated cake back to room temperature for at least an hour before serving. Swiss meringue buttercream is famously delicious when soft and creamy, so allow it to reach optimal temperature for that melt-in-your-mouth experience.
Absolutely! Both unfrosted cake layers and the assembled, frosted cake can be frozen. For unfrosted layers, wrap them tightly in plastic wrap, then a layer of aluminum foil, and freeze for up to 2-3 months. Thaw at room temperature before frosting. For a frosted cake, freeze it uncovered until the buttercream is firm, then wrap tightly in plastic wrap and foil. It can be frozen for up to one month. Thaw overnight in the refrigerator, then bring to room temperature before serving.
This decadent Devil’s Food Cake is incredibly versatile and perfect for a wide range of occasions! Its rich, impressive presentation makes it ideal for birthdays, anniversaries, holiday gatherings (like Christmas or Valentine’s Day), or any special celebration where you want to serve a show-stopping dessert. It’s also fantastic for potlucks, dinner parties, or simply as a luxurious weekend treat when you’re craving serious chocolate indulgence. Essentially, if you love chocolate, any occasion is the right occasion for Devil’s Food Cake!
More Decadent Layered Cake Recipes to Explore
If you’ve fallen in love with the art of layered cakes, you’re in luck! Here are more of our favorite recipes that are sure to delight:
Cake Recipes
Best Red Velvet Cake Recipe
A classic Southern favorite, our Red Velvet Layer Cake boasts a tender, moist crumb and is paired with a rich, tangy cream cheese bourbon buttercream for an irresistible flavor combination.
Cake Recipes
Moist Yellow Cake Recipe
Relive childhood memories with this utterly moist and fluffy classic yellow cake, an ideal base for any frosting, from chocolate to vanilla.
Cake Recipes
Maple Cake
Experience the cozy, comforting flavors of fall with our rich and tender Maple Cake, a perfect autumnal dessert.
Cake Recipes
Hummingbird Cake
Indulge in this delightful Southern classic, bursting with tropical flavors of banana, pineapple, and pecans, generously frosted with cream cheese icing.
If you tried this recipe and loved it, please leave a 🌟 star rating and let me know how it goes in the comments below. I love hearing from you; your comments make my day!
Devil’s Food Cake Recipe
Chef Lindsey
This Devil’s Food Cake is the epitome of rich, moist, and tender. Layered with a delicate yet stable chocolate Swiss meringue buttercream, it’s a sinfully delicious treat that every chocolate lover will adore!
25 mins
35 mins
2 hrs
3 hrs
20 slices
Leave a Comment
Print Recipe
Ingredients
For the Devil’s Food Cake Layers:
- 2 ⅓ cups cake flour
- ¾ cup Dutch-processed cocoa powder
- 1 ½ teaspoons baking soda
- ½ teaspoon baking powder
- 1 ½ teaspoons kosher salt
- 1 cup unsalted butter, room temperature
- 2 cups granulated sugar
- 4 large eggs
- 1 egg yolk (for added richness)
- ⅔ cup low-fat buttermilk, room temperature
- 1 ½ teaspoons vanilla extract
- ¾ cup brewed coffee, cooled to room temperature
For the Chocolate Swiss Meringue Buttercream (Yields approximately 1 ½ Quarts):
- 5 large egg whites (freshly separated)
- 1 ¼ cups granulated sugar
- ¼ teaspoon kosher salt
- 2 cups unsalted butter (4 sticks), room temperature, cut into cubes
- 2 teaspoons vanilla extract
- 8 ounces unsweetened chocolate, melted and cooled (not hot)
Instructions
Part 1: Preparing the Chocolate Cake
- Preheat your oven to 350°F (175°C) for conventional ovens or 325°F (160°C) for convection ovens. Grease and line the bottoms of three 8-inch round baking pans with parchment paper.
- In a large bowl, sift together the cake flour, cocoa powder, baking soda, baking powder, and salt. Set aside.
- In the bowl of a stand mixer fitted with the paddle attachment, cream the room-temperature butter and granulated sugar on medium speed until the mixture is light and fluffy (approximately 3-5 minutes).
- Add the eggs one at a time, beating well after each addition and scraping down the sides and bottom of the bowl frequently. Add the single egg yolk along with one of the whole eggs.
- In a large measuring cup, combine the buttermilk, vanilla extract, and cooled brewed coffee. With the mixer on low speed, alternately add the dry ingredient mixture and the liquid mixture to the butter-egg mixture, beginning and ending with the dry ingredients. Add about a third of the dry, then half the wet, then a third of the dry, the remaining wet, and finally the last third of the dry. Mix just until combined. For the final additions, you may switch to a large rubber spatula and fold gently by hand to prevent overmixing.
- Divide the batter evenly among the prepared pans (approx. 540g per pan). Bake for 32-45 minutes, depending on your pan size and oven. The cake is done when a toothpick inserted into the center comes out with a few moist crumbs, and the center springs back when lightly pressed.
- Allow the cakes to cool in their pans for 5 minutes before inverting them onto a wire rack. Gently remove the parchment paper. Let the cakes cool completely to room temperature on the wire rack before proceeding to assembly.
Part 2: Preparing the Chocolate Swiss Meringue Buttercream
- Prepare a double boiler: Fill a medium saucepan with about an inch of water and bring it to a gentle simmer. Ensure your stand mixer bowl fits over the saucepan without touching the water.
- In the stand mixer bowl, whisk together the egg whites, granulated sugar, and kosher salt. Place the bowl over the simmering water and continue whisking constantly until the mixture reaches 120°F (49°C) on an instant-read thermometer, or until the sugar is fully dissolved and the mixture is warm to the touch.
- Carefully remove the bowl from the heat (use a towel!) and attach it to your stand mixer. Fit it with the whisk attachment and beat on high speed until the meringue forms stiff, glossy peaks and the bowl feels cool to the touch (this usually takes 2-4 minutes).
- Switch to the paddle attachment. With the mixer on medium-low speed, add the room-temperature unsalted butter, one cube at a time, until all is incorporated. The mixture may look curdled or soupy – this is normal! Continue mixing on medium speed for 5-8 minutes until it transforms into a silky smooth buttercream. (Refer to troubleshooting tips in the blog post if needed).
- Stop the mixer, add the cooled melted unsweetened chocolate and vanilla extract. Mix on medium speed until fully combined. Switch back to the whisk attachment and beat on high speed for 1-2 minutes until the buttercream is light, airy, and fluffy.
Part 3: Assembling and Decorating the Devil’s Food Cake
- Once the cake layers are completely cool, use a serrated knife to gently level the tops of each layer, removing any domes. Place one leveled cake layer on your chosen cake plate or board.
- Scoop about 1 ½ cups of buttercream onto the first layer and spread it evenly to the edges with an offset spatula. Place the second cake layer on top. Chill the cake in the refrigerator for 20-30 minutes to set the buttercream.
- Repeat with another 1 ½ cups of buttercream on the second layer. Then, place the third cake layer upside-down on top. This creates a perfectly flat surface for frosting.
- Apply a thin crumb coat to the entire cake (top and sides). This layer traps any loose crumbs. Refrigerate for 30 minutes to an hour until firm. (This step can be skipped if your cake is not very crumbly, but it helps beginners achieve a smoother finish).
- Once the crumb coat is firm, apply the final layer of buttercream. Scoop about a cup of frosting onto the top and spread it evenly to the edges, pushing excess over the sides. Use your offset spatula to apply frosting to the sides, ensuring all gaps are filled.
- Continuously turn the cake while smoothing the buttercream with an offset spatula, bench scraper, or plastic ruler until you achieve your desired thickness and smoothness. Aim for about a ¼-inch thickness with Swiss meringue buttercream for the perfect ratio.
- For sharp edges, use a bench scraper to smooth the sides. For a rustic look, leave the edges slightly “torn.” For an artful swirl on top, use the back of a spoon or tip of your offset spatula while the buttercream is still soft.
- Refrigerate the fully frosted cake for at least one hour to allow the buttercream to set completely before decorating further or slicing. This ensures a stable and beautiful presentation.
Video Tutorial
Recipe Notes & Expert Tips
Yield: This recipe yields enough batter for one ½ sheet pan cake, one 9-inch round cake (double layer), or one 8-inch round cake (triple layers), providing approximately 20 generous slices.
Presentation: For optimal flavor and texture, layered cakes are best served at room temperature. Allow your frosted cake to sit out for about an hour before slicing and serving. This lets the cake layers soften and the buttercream achieve its ideal creamy consistency.
Technique for Stability: Always allow the buttercream to set and firm up between each layer of cake and after any initial crumb coats. This crucial step prevents layers from sliding and ensures a stable, even final cake structure.
Versatile Baking: This recipe is incredibly versatile! You can easily adapt it to make a single-layer sheet cake for simpler occasions or bake it into 24 delicious cupcakes. Adjust baking times accordingly.
Storage: Once frosted, this Devil’s Food Cake can be stored in an airtight container at cool room temperature for up to 3 days. For longer storage, or in warm climates, refrigerate the well-wrapped cake for up to a week. Remember to bring it to room temperature before serving for the best experience.
Freezing Instructions: Unfrosted cake layers can be wrapped tightly and frozen for up to 2-3 months. Thaw completely before frosting. Frosted cake can be frozen for up to 1 month by freezing uncovered until firm, then wrapping tightly in plastic wrap and foil. Thaw overnight in the refrigerator.
Nutrition Information (Approximate)
Calories: 511kcal |
Carbohydrates: 49g |
Protein: 6g |
Fat: 36g |
Saturated Fat: 22g |
Polyunsaturated Fat: 2g |
Monounsaturated Fat: 10g |
Trans Fat: 1g |
Cholesterol: 116mg |
Sodium: 341mg |
Potassium: 209mg |
Fiber: 3g |
Sugar: 33g |
Vitamin A: 915IU |
Vitamin C: 0.1mg |
Calcium: 48mg |
Iron: 3mg
Dessert
American
511
Enjoyed This Recipe? Leave a Comment!
Before You Go: Explore More Sweet Treats
I sincerely hope you enjoyed baking and indulging in this ultimate Devil’s Food Cake recipe. There’s nothing quite like the satisfaction of creating a decadent, moist chocolate cake from scratch. If your sweet tooth is still calling, don’t stop here! Be sure to explore some of our other beloved chocolate bakes, like this timeless classic brownie recipe, perfect for any occasion, or these irresistibly chewy double chocolate cookies, packed with rich cocoa flavor and chocolate chips. Planning another celebration? Our vibrant chocolate raspberry cake or the elegantly simple yet incredibly moist yellow cake recipe are fantastic choices for an impressive, show-stopping dessert that’s sure to be a hit. Happy baking!