
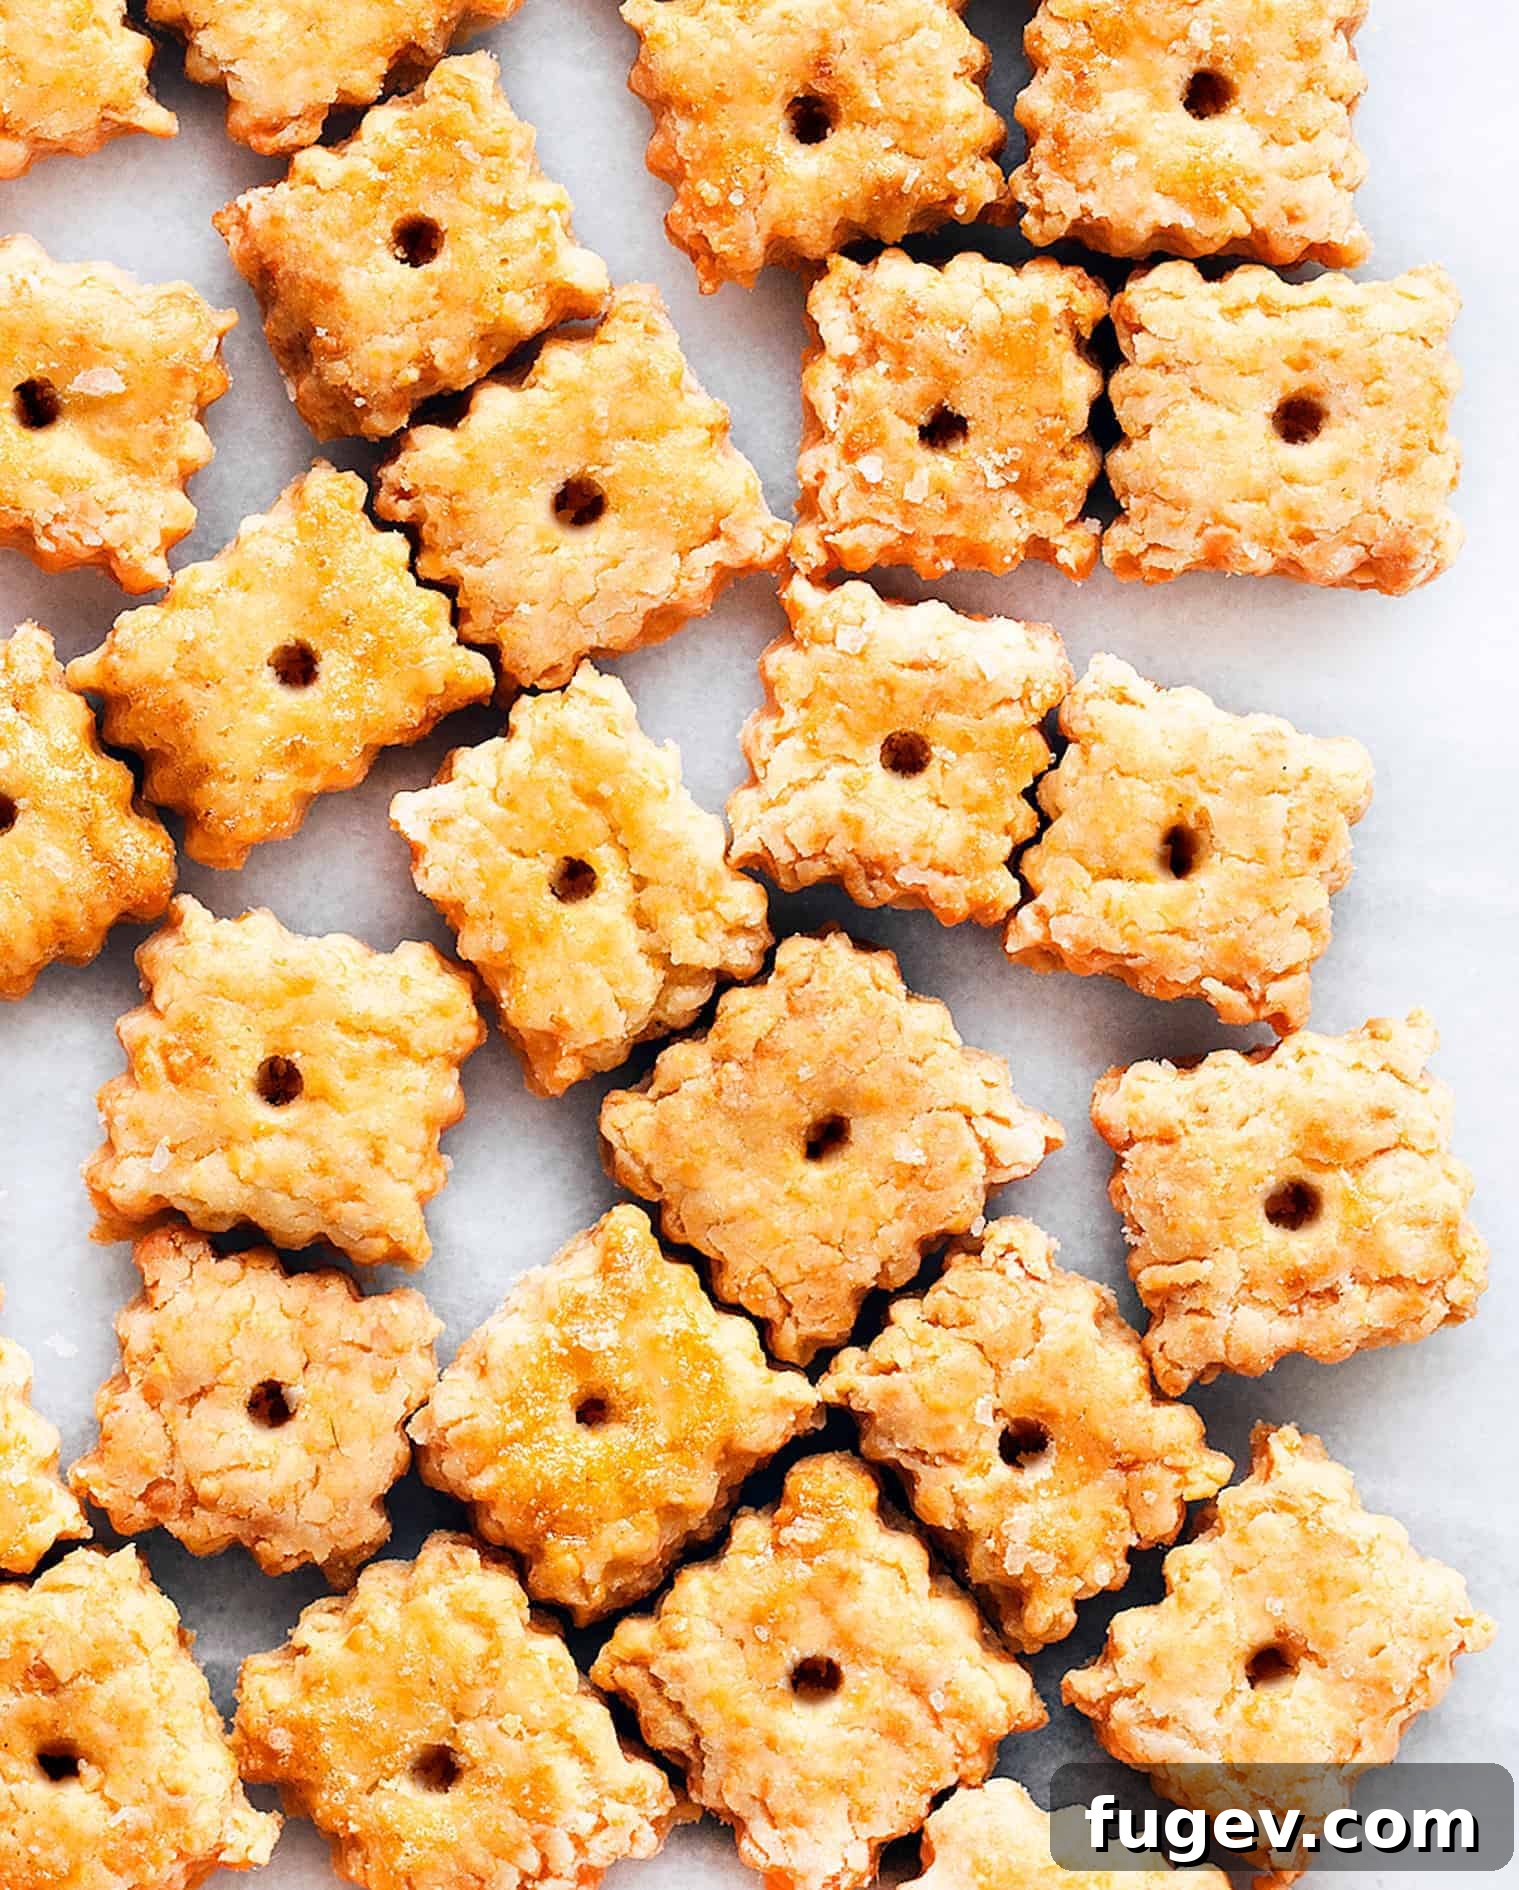
Homemade Cheese Crackers: A Wholesome Alternative to Store-Bought Snacks
Are you searching for a delicious, healthier alternative to store-bought snack crackers? Look no further! This comprehensive guide will walk you through creating irresistible homemade cheese crackers from scratch. Utilizing a food processor simplifies the dough-making process, allowing you to whip up batches of these savory treats with ease. We’ll explore a delightful blend of cheeses, including sharp cheddar, creamy Monterey Jack, pungent Parmesan, and nutty Asiago, to achieve that perfect cheesy flavor that will have everyone reaching for more.
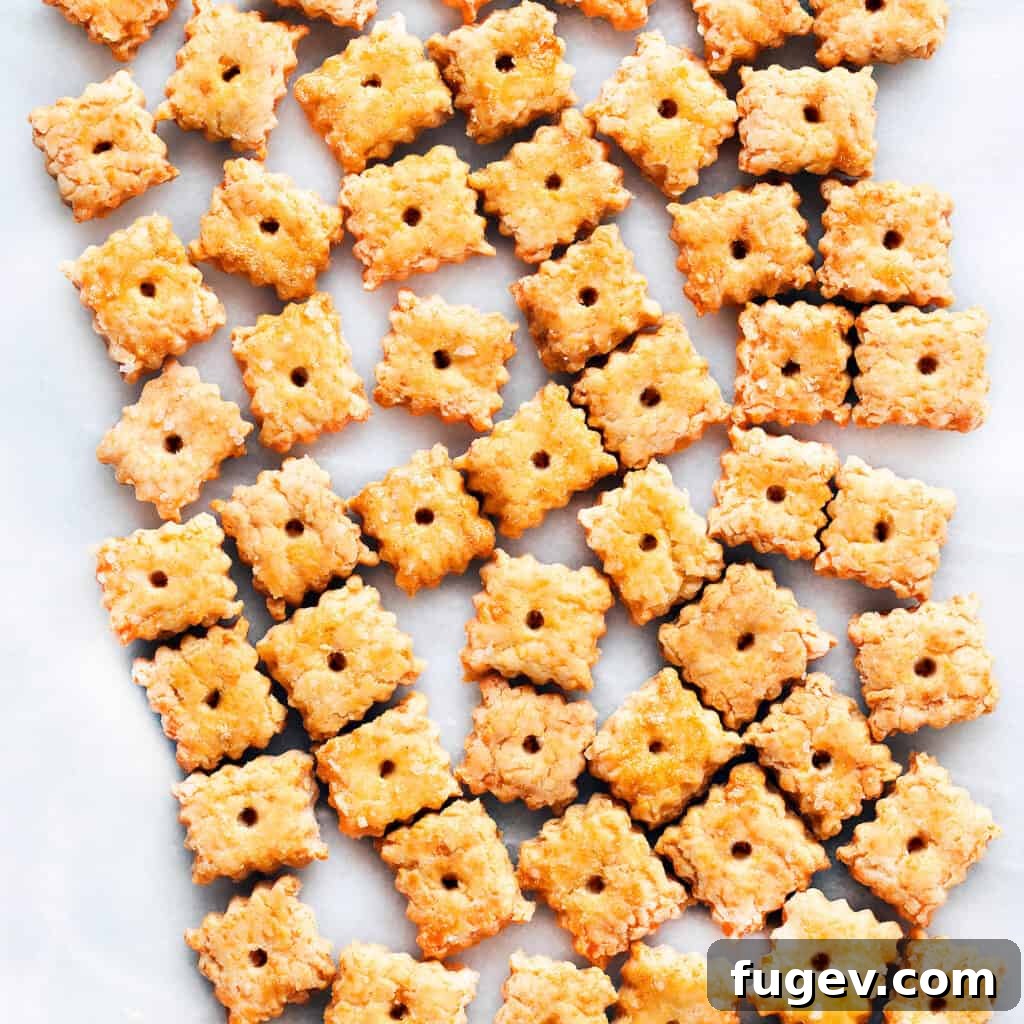
From Childhood Craving to Homemade Creation
The word “addiction” feels strong, but perhaps “obsession” more accurately describes my three-year-old’s unwavering devotion to a particular brand of snack mix. I can still recall the day we first introduced him to it, his tiny hands gripping the grocery cart as his eyes lit up at the vibrant cartoon characters and the promise of cheddar, butter bunny crackers, and pretzels all jumbled together in one exciting box.
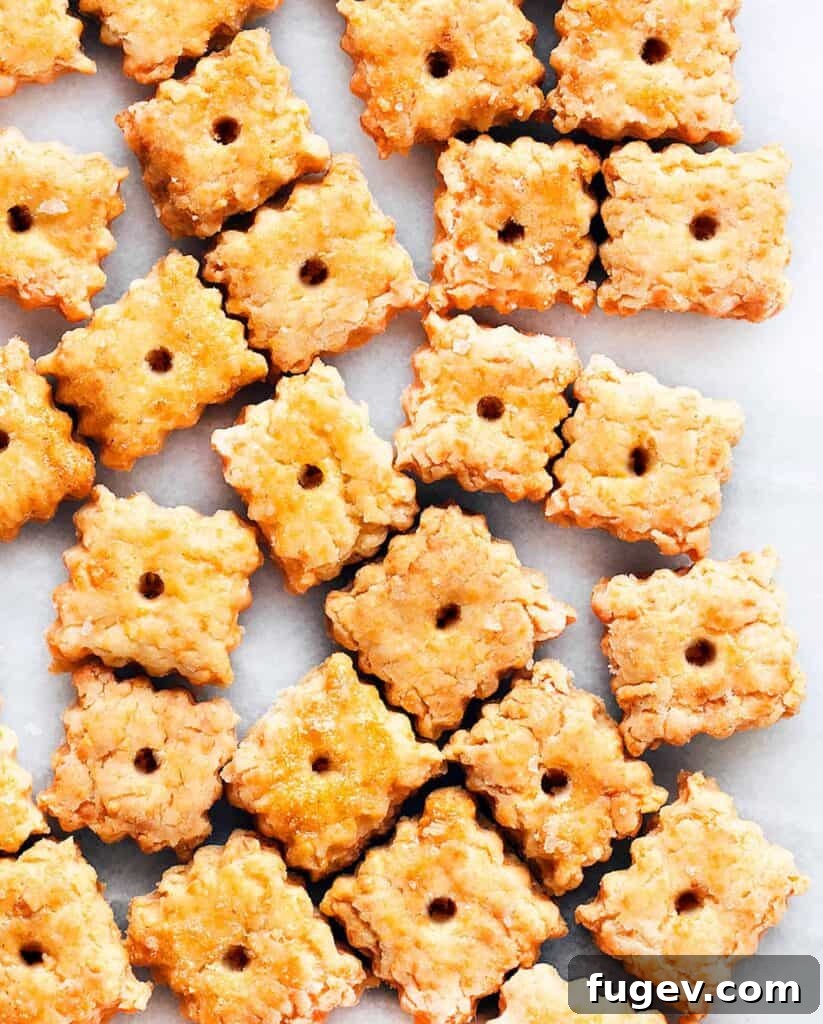
To be completely honest, if I had known then what I know now, I likely would have bypassed that alluring package. While the brand boasts “organic” ingredients, this label doesn’t always equate to superior nutrition. Over time, my son became so accustomed to these crackers that running out quickly escalated into a full-blown emergency. The constant demand, coupled with a growing awareness of ingredient lists, sparked an idea: why not make our own? It takes a bit more time than simply tearing open a box, but the satisfaction of creating wholesome, homemade cheese crackers from scratch is truly incomparable.
Why Choose Homemade Cheese Crackers?
Ditching the store-bought varieties for a homemade version offers a multitude of benefits, extending beyond just taste. When you make your own cheese crackers, you gain complete control over the ingredients, ensuring that only the freshest and highest-quality components make it into your family’s snacks. Say goodbye to artificial flavors, preservatives, and excessive sodium that often lurk in commercial products. Instead, you get a pure, rich cheese flavor and a crisp texture that can’t be replicated. It’s a fantastic way to introduce children to the joy of baking and an opportunity to bond in the kitchen, turning snack time into a more mindful and enjoyable experience.
The Essential Ingredients for Perfect Cheese Crackers
Crafting the perfect batch of homemade cheese crackers starts with selecting the right ingredients. Each component plays a vital role in achieving that delightful flavor and satisfying crunch. Here’s a closer look at what you’ll need and some tips for success:
- All-Purpose Flour: The base of our crackers, providing structure and a tender crumb. While all-purpose works beautifully, you can experiment with a small percentage of whole wheat flour for a nuttier flavor and added fiber, if desired.
- Baking Powder: A leavening agent that contributes to a slightly puffed, airy texture in your crackers, making them light and crisp.
- Kosher Salt: Essential for enhancing the cheesy flavor and balancing the richness. We’ll use some in the dough and a sprinkle on top for a finishing touch. Feel free to adjust the amount to your preference.
- Unsalted Butter (Room Temperature): Butter adds richness and helps create that wonderful flaky texture. Using unsalted butter allows you to control the overall salt content, and room temperature butter incorporates more easily into the dry ingredients, leading to a smoother dough.
- Finely Grated Cheese (Cheddar, Monterey Jack, Parmesan, Asiago): This is where the magic happens! A blend of cheeses offers a complex flavor profile that’s far more interesting than a single cheese. Sharp cheddar brings tanginess, Monterey Jack offers a mild creaminess, Parmesan adds a salty, umami depth, and Asiago contributes a slightly nutty, robust note. Grate your own cheese for the best results; pre-shredded cheeses often contain anti-caking agents that can affect the texture of your dough. This is also a fantastic way to use up those leftover cheese chunks in your fridge – I can’t be the only one who accumulates a collection!
- Ice Water: The secret to a tender, manageable dough. Adding ice water gradually prevents the gluten in the flour from over-developing, which can lead to tough crackers. It brings the crumbly mixture together into a cohesive dough without overworking it.
- Large Egg White (Lightly Beaten): Used as an egg wash before baking, this provides a beautiful golden sheen and helps any sprinkled salt adhere to the crackers, enhancing their visual appeal and flavor.
Step-by-Step Crafting Guide to Homemade Cheese Crackers
Making cheese crackers might seem intimidating, but with a food processor and these clear instructions, you’ll find it surprisingly simple and rewarding. The food processor truly does the heavy lifting, making dough preparation a breeze.
Preparing the Dough: The Foundation of Flavor
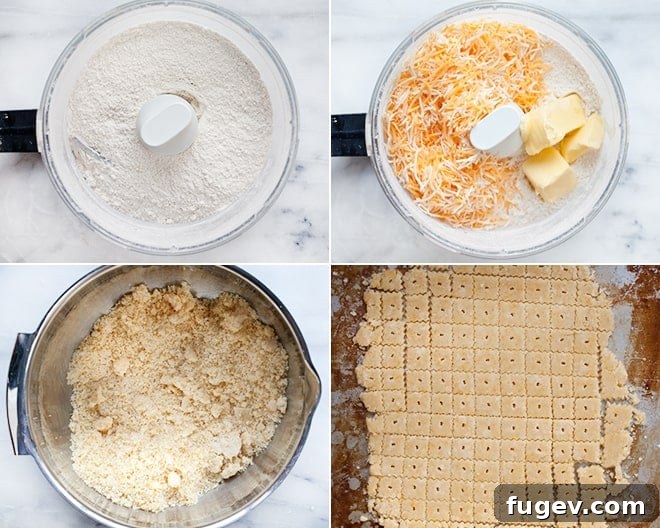
- Combine Dry Ingredients: In the bowl of your food processor, combine the all-purpose flour, baking powder, and the initial measure of kosher salt. Pulse a few times to ensure they are well mixed. This foundational step ensures even distribution of the leavening and seasoning.
- Introduce Cheese and Butter: Add the room temperature unsalted butter and the generous amount of finely grated cheese to the food processor. Pulse the mixture in short bursts. The goal here is to break down the butter and cheese into pea-sized crumbs, which will eventually form a crumbly, sandy dough. Continue pulsing until the mixture resembles coarse meal.
- Form the Dough with Ice Water: With the food processor running on low, gradually add 2 tablespoons of ice water through the feed tube, one tablespoon at a time. Observe the dough; it should start to come together and hold its shape when squeezed. If it still feels too dry and crumbly, add up to 2 additional tablespoons of ice water, one teaspoon at a time, until the dough just comes together. Be careful not to add too much water, as this can make the crackers tough.
Chilling and Shaping for Perfect Crackers
- First Chill for Manageability: Divide the dough in half. Gently pat each half into a flat rectangle, about 1 inch thick. Wrap each rectangle tightly in plastic wrap and transfer them to the refrigerator. Allow the dough to chill for at least 30 minutes. This chilling period is crucial; it firms up the butter, making the dough easier to roll and preventing it from becoming sticky. It also helps the crackers maintain their shape during baking.
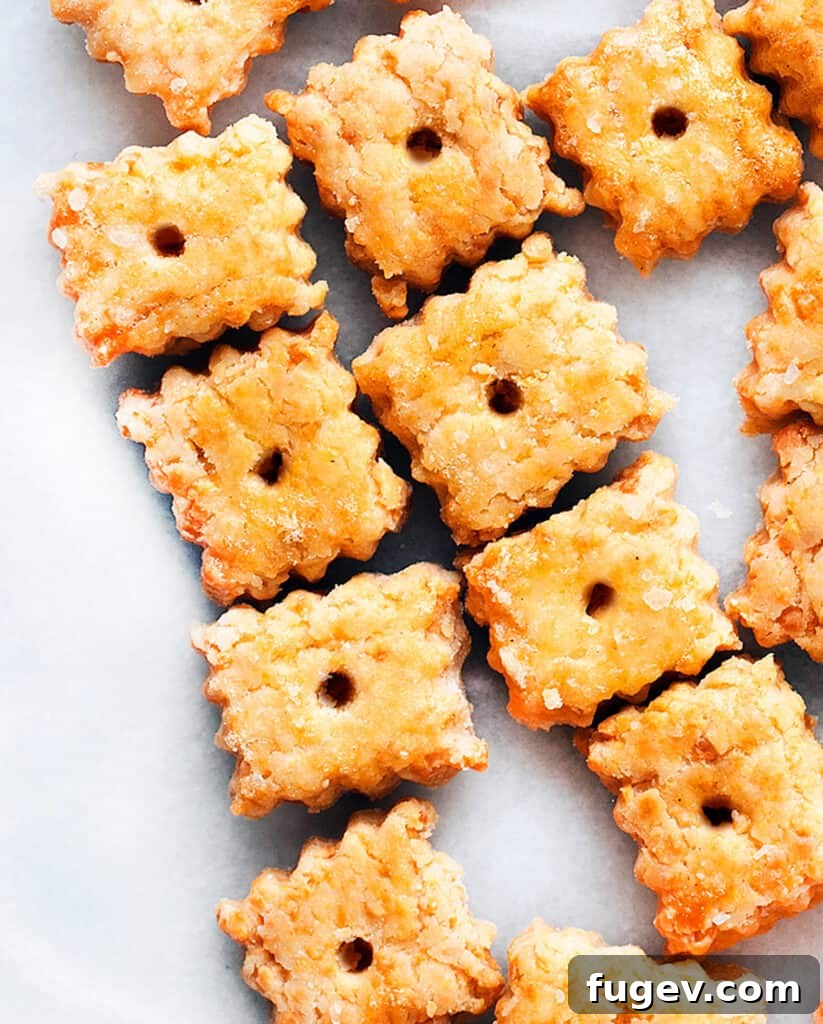
- Roll, Cut, and Poke: Once thoroughly chilled, retrieve one portion of dough from the fridge (keep the other chilled). On a lightly floured surface, roll out the dough into a thin rectangle, aiming for just under 1/8-inch thickness. Uniform thickness is key for even baking. Using a fluted pastry wheel or a sharp pizza cutter, cut the dough into 3/4-inch wide strips, and then cut perpendicularly to create 3/4-inch squares. For that classic cracker look and to prevent excessive puffing during baking, use a skewer or toothpick to poke a small hole in the center of each square.
- Second Chill for Structure: Carefully transfer the cut cracker squares to a baking sheet lined with parchment paper. Place this sheet in the freezer for 10-15 minutes. This second chill or freeze helps solidify the butter again, ensuring the crackers hold their sharp edges and distinctive shape even more effectively in the hot oven.
Baking to Golden Perfection
- Preheat and Prepare: While the crackers are chilling, preheat your oven to 350°F (175°C). Line two large baking sheets with parchment paper – this prevents sticking and makes for easy cleanup.
- Egg Wash and Season: Once the cracker squares are firm from their freezer chill, lightly brush the tops of each cracker with the beaten egg white. This egg wash contributes to the beautiful golden-brown color and a subtle crispness. Immediately sprinkle the crackers with a little extra kosher salt for added flavor.
- Bake and Cool: Using an offset spatula or your fingers, carefully transfer the crackers to the prepared parchment-lined baking sheets, spacing them slightly apart. Bake for 14-16 minutes, or until the crackers are puffed up, beautifully golden brown, and crisp. Keep an eye on them, as oven temperatures can vary. If your crackers were fully frozen, they might require a minute or two longer in the oven.
- Cool Completely: Once baked, transfer the golden crackers to a wire rack to cool completely. They will crisp up further as they cool.
Tips for Achieving Cracker Perfection
- Don’t Overwork the Dough: Over-mixing or over-kneading the dough will develop too much gluten, resulting in tough, rather than crisp, crackers. Pulsing in the food processor is ideal for this.
- Chill Thoroughly: The chilling steps are non-negotiable. Cold dough is easier to handle, rolls out more smoothly, and prevents the butter from melting too quickly in the oven, which is essential for flakiness.
- Even Thickness: Aim for uniform dough thickness when rolling. Thicker crackers will be soft, while thinner ones will be brittle. Consistency ensures an even bake.
- Custom Shapes: While squares are classic, don’t hesitate to use small cookie cutters (stars, circles, even mini animal shapes) for a fun twist, especially when baking with kids.
- Watch Your Oven: Every oven is different. Keep a close eye on your crackers, especially towards the end of the baking time, to prevent burning.
Customizing Your Homemade Cheese Crackers
One of the joys of making snacks from scratch is the ability to customize them to your family’s preferences. Here are a few ideas to get creative with your homemade cheese crackers:
- Spice It Up: Add a pinch of cayenne pepper or smoked paprika to the dry ingredients for a subtle kick. Garlic powder or onion powder can also enhance the savory notes.
- Herb Infusion: Finely chopped fresh rosemary, thyme, or chives can be mixed into the dough along with the cheese for an aromatic twist.
- Different Cheese Blends: Experiment with other hard or semi-hard cheeses like Gruyere, Fontina, or even a sharp aged provolone. Just ensure they grate well and have a good moisture content for baking.
- Seed Topping: Before baking, sprinkle the egg-washed crackers with sesame seeds, poppy seeds, or a “everything bagel” seasoning blend for added texture and flavor.
Storage and Serving Suggestions
Once cooled, these homemade cheese crackers should be stored in an airtight container at room temperature. They will remain wonderfully crisp and delicious for up to one week. However, they are so good, they rarely last that long!
These versatile crackers are perfect on their own as a satisfying snack, but they also shine when paired with other dishes. Serve them alongside a warm bowl of tomato soup, as a crunchy accompaniment to a fresh green salad, or with your favorite dips and spreads like hummus, spinach dip, or a tangy onion dip. They also make a fantastic addition to a cheese board, offering a homemade touch that will impress your guests.
Embrace the simple pleasure of homemade snacking. These cheese crackers are not just food; they’re a little piece of comfort, made with love and tailored to perfection.
Homemade Cheese Crackers
By Paige Adams
Prep: 1 hr | Cook: 15 mins | Total: 1 hr 15 mins
Servings: 8
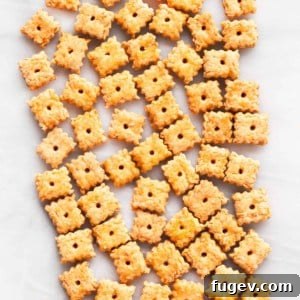
Use a food processor to do the work to make the dough for these homemade cheese crackers. Try a blend of cheeses including cheddar, jack, Parmesan and Asiago.
Ingredients
- 2 cups all-purpose flour
- 1/2 teaspoon baking powder
- 3/4 teaspoon kosher salt plus more for sprinkling crackers
- 6 tablespoons unsalted butter at room temperature
- 7-1/2 ounces (about 3-1/2 cups) finely grated cheese (cheddar, jack, Parmesan, Asiago)
- 2 to 4 tablespoons ice water
- 1 large egg white, lightly beaten
Instructions
- In a food processor, combine the flour, baking powder, and salt. Add the butter and cheese and pulse into a crumbly dough. Mix in 2 tablespoons of water. The dough should hold together when squeezed. If not, add up to 2 additional tablespoons of water, 1 teaspoon at a time.
- Divide the dough in half and pat into a rectangle. Cover tightly with plastic wrap and chill in the refrigerator for at least 30 minutes.
- Roll out one rectangle of dough at a time until it is just less than 1/8-inch thick. Using a fluted pastry wheel, cut into 3/4-inch-wide strips and then cut into perpendicular 3/4-inch-wide strips to form squares. Use a skewer to poke a hole into the center of each square. Chill in the freezer for 10-15 minutes.
- Preheat the oven to 350 degrees F (175°C). Line two sheet pans with parchment paper.
- Brush the frozen crackers with egg white and sprinkle with salt. Use an offset spatula to transfer them to the prepared sheet pans and carefully break them apart. Bake for 14-16 minutes until the crackers are puffed up and golden brown. If the crackers are fully frozen, they will need to be baked longer.
- Transfer to a wire rack to cool completely.
- Store in an airtight container.
Notes
Recipe makes about 5 cups of crackers.
Adapted from Food52
Nutrition
Calories: 391kcal | Carbohydrates: 25g | Protein: 15g | Fat: 26g | Saturated Fat: 15g | Polyunsaturated Fat: 1g | Monounsaturated Fat: 6g | Trans Fat: 0.3g | Cholesterol: 72mg | Sodium: 570mg | Potassium: 74mg | Fiber: 1g | Sugar: 0.3g | Vitamin A: 758IU | Calcium: 372mg | Iron: 2mg
Nutrition information is automatically calculated, so should only be used as an approximation.
Additional Info
Course: Appetizers & Snacks
Cuisine: American
Did you make this recipe? Mention @lastingredient on Instagram and tag it #lastingredient!