
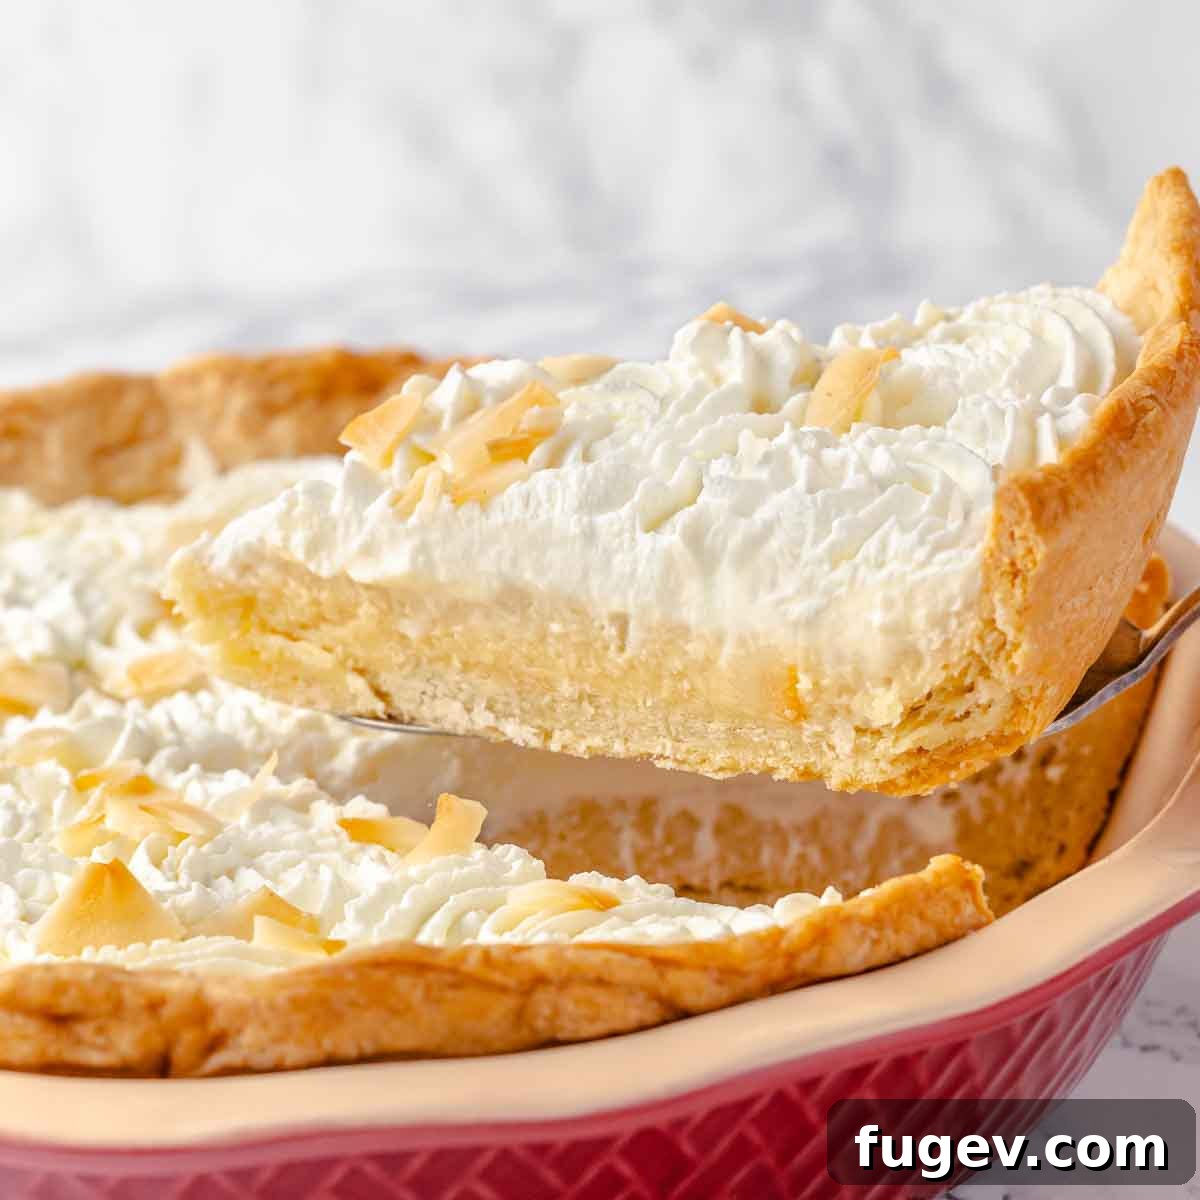
Indulge in the tropical bliss of our **Homemade Coconut Cream Pie**, a dessert masterpiece where the rich, exotic flavor of coconut takes center stage. This recipe is meticulously designed to deliver an intensely coconut-infused experience without being excessively sweet, making it a perfect treat for true coconut aficionados. Each slice features a luxurious, creamy coconut filling, generously mixed with tender shredded coconut, all nestled within a perfectly flaky, buttery pie crust. To crown this delight, we add generous mounds of freshly made whipped cream and a sprinkle of golden, toasted coconut flakes, creating a harmony of textures and flavors that will transport your taste buds straight to paradise.
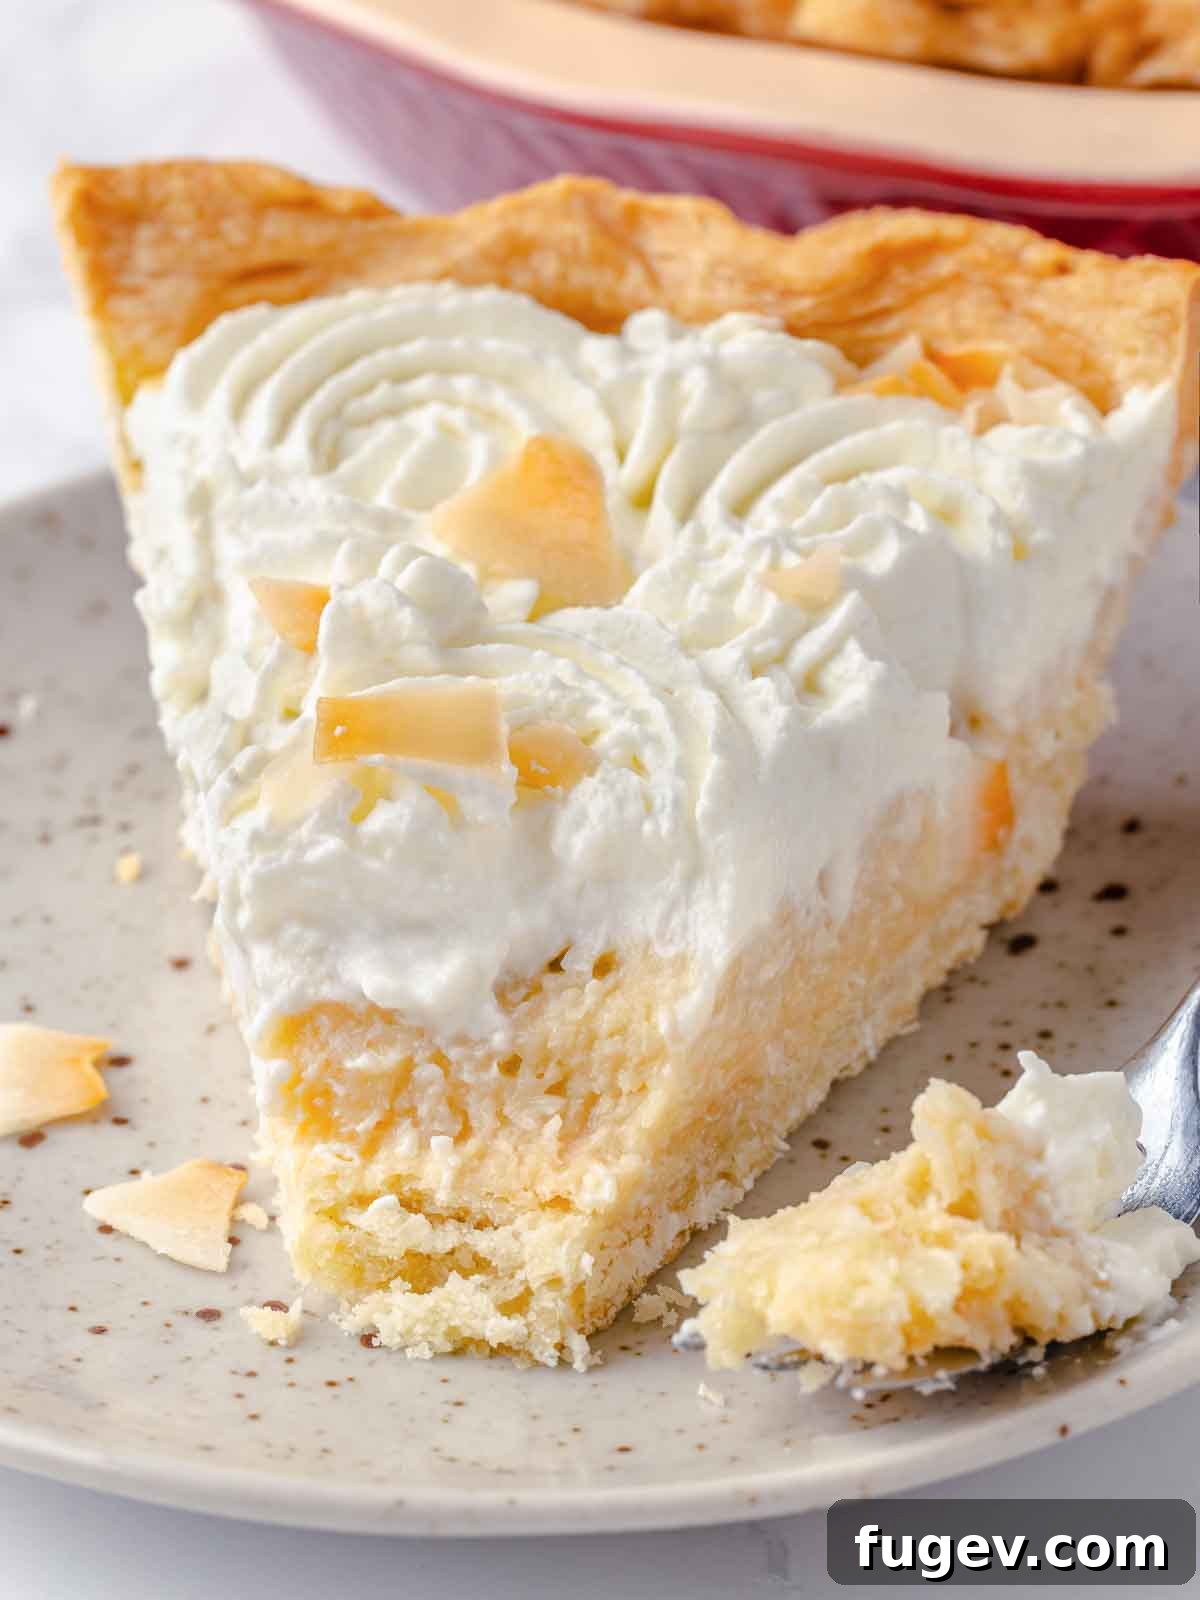
While coconut might not captivate every palate, for those who cherish its unique taste, this Coconut Cream Pie promises an unparalleled dessert adventure. It’s a sophisticated twist on a classic, offering a deeply satisfying coconut custard filling that’s both smooth and substantial, providing a delightful contrast to the delicate crust. When that unmistakable craving for coconut strikes, this pie is your ultimate answer. And if you find yourself drawn to the alluring charm of coconut, explore other delightful combinations like our vibrant Coconut Mango Tart, the indulgent Seven Layer Bars, rich German Chocolate Cupcakes, or the wholesome Healthy Tropical Oat Bars! For those truly in a “pie era” (we’ve all been there, and it’s a wonderful place to be!), don’t miss out on our heavenly French Silk Pie – trust us, it’s truly unforgettable!
Table of Contents
- Why This Coconut Cream Pie Will Become Your Favorite
- Professional Tips for Achieving Pie Perfection
- Essential Ingredients & Smart Substitutions
- Creative Variations to Elevate Your Pie
- Step-by-Step Guide: Crafting Your Coconut Cream Pie
- Chef’s Secret for the Perfect Crust
- Frequently Asked Questions (FAQs)
- Full Coconut Cream Pie Recipe Card
- Before You Go: Explore More Delicious Recipes
Why This Coconut Cream Pie Will Become Your Favorite
This isn’t just another pie; it’s a celebration of coconut in its finest form, meticulously crafted to deliver a superior dessert experience. Here’s why this particular homemade coconut cream pie recipe will quickly become a cherished favorite in your kitchen:
- Unforgettable, Authentic Coconut Flavor: Forget bland puddings or mixes with just a hint of coconut. Our recipe delves deep into genuine coconut taste, layering it for maximum impact. The creamy custard is meticulously crafted using rich, full-fat unsweetened coconut milk, generously mixed with aromatic coconut flakes, and finally, enhanced with a touch of high-quality coconut extract. This thoughtful combination ensures every spoonful bursts with natural, rich flavor that’s truly distinctive and never artificial.
- Luxuriously Thick & Velvety Filling: The heart of any great cream pie is its filling, and ours is nothing short of perfection. It achieves an ideal consistency – perfectly thick and sliceable, yet incredibly smooth, tender, and melt-in-your-mouth. The secret lies in a careful cooking process combined with the finishing touch of cold unsalted butter, which emulsifies into the warm custard. This addition lends an irresistible silky mouthfeel, setting it apart from thinner, less satisfying versions and ensuring a truly decadent experience.
- The Ultimate Make-Ahead Dessert for Any Occasion: Hosting a dinner party, preparing for a holiday gathering, or simply wanting to plan ahead? This pie is your best friend! The components are ingeniously designed for maximum convenience and stress-free preparation. You can bake and fully cool your flaky pie crust days in advance, even freezing a blind-baked crust for future use. The coconut custard filling can also be prepared a day or two ahead and stored, either directly in the cooled crust or on a plastic-lined sheet tray. Simply add the billowy homemade whipped cream and golden toasted coconut flakes right before serving for a show-stopping dessert that tastes freshly made.
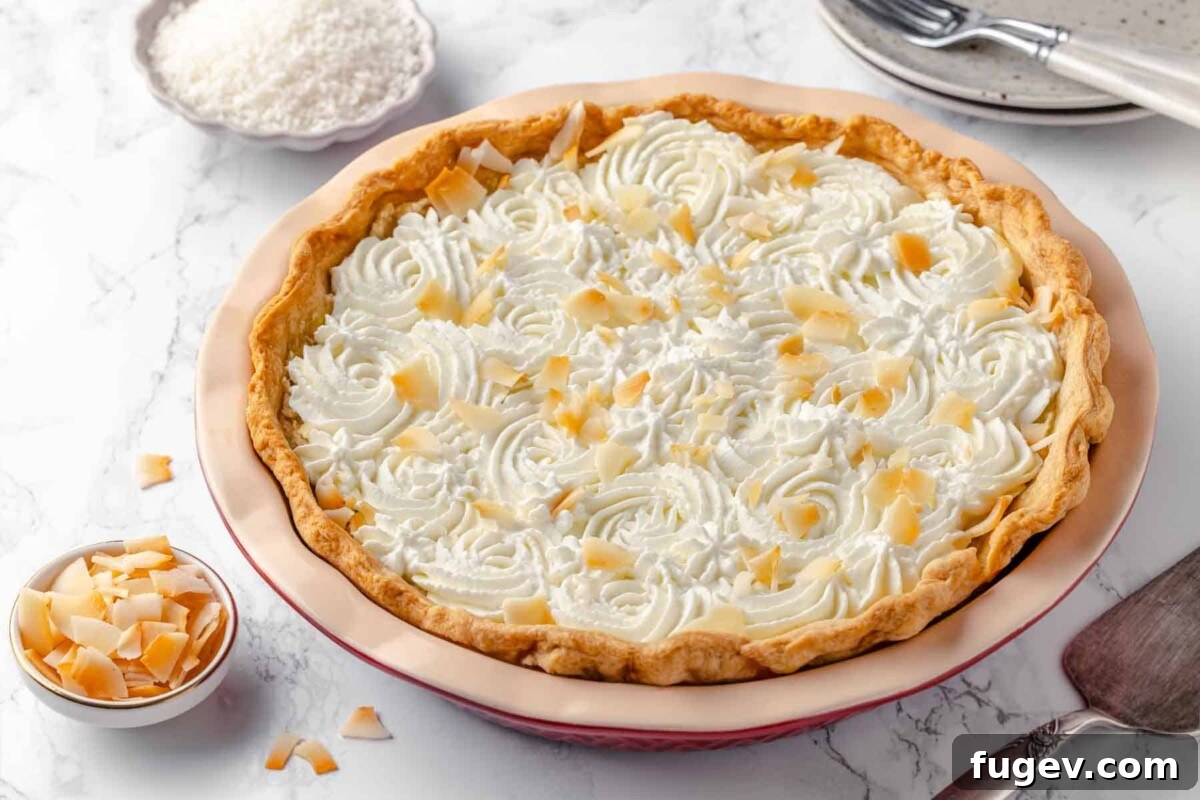
Professional Tips for Achieving Pie Perfection
Crafting a truly exceptional homemade Coconut Cream Pie is simpler than you might think with a few expert insights. These professional tips will guide you in mastering each step, ensuring your pie turns out flawlessly with a perfect texture and incredible flavor every single time:
- Ensure Your Pie Crust is Completely Cooled: This step is absolutely paramount for preventing the dreaded “soggy bottom” – a common pitfall in cream pies. After blind-baking your flaky pie crust to golden perfection, it is crucial that it cools down entirely to room temperature before the warm coconut custard filling is added. A warm crust can trap steam, creating an undesirable moist layer between the crisp crust and the creamy filling. Patience here guarantees a sturdy, crisp, and utterly delightful base that perfectly supports your luscious filling.
- Master the Art of Whipping Cream (and Know When to Stop!): While seemingly simple, over-whipping heavy cream is a common culinary pitfall. Once the cream reaches firm, stiff peaks, stop immediately. Continuing to whip beyond this point can cause the cream to become grainy, curdle, or even turn into butter, irrevocably changing its delicate texture. Remember that any further handling, such as piping or gently mounding the cream onto the pie, will also “work” the cream. Should you accidentally over-whip it slightly, a quick fix is to gently fold in a tablespoon or two of cold, unwhipped heavy cream to help restore a smoother, lighter texture. Always start with very cold cream and a chilled bowl for the best results.
- Constant Whisking is the Secret to a Smooth Custard: The key to a perfectly smooth, lump-free, and velvety coconut custard filling lies in continuous whisking during the cooking process. Use a whisk that reaches all areas of your saucepan, paying particular attention to the bottom and the corners, to prevent any part of the mixture from scorching, sticking, or clumping. This constant movement ensures even heating and a uniform, creamy consistency, transforming the ingredients into a rich, luscious pudding that sets beautifully with an unparalleled texture.
Essential Ingredients & Smart Substitutions
Crafting the perfect Homemade Coconut Cream Pie begins with selecting the right ingredients. Each component plays a vital role in achieving that rich, authentic flavor and luscious, creamy texture. Here’s a detailed look at what you’ll need, along with some helpful substitution notes to ensure your pie is a success:
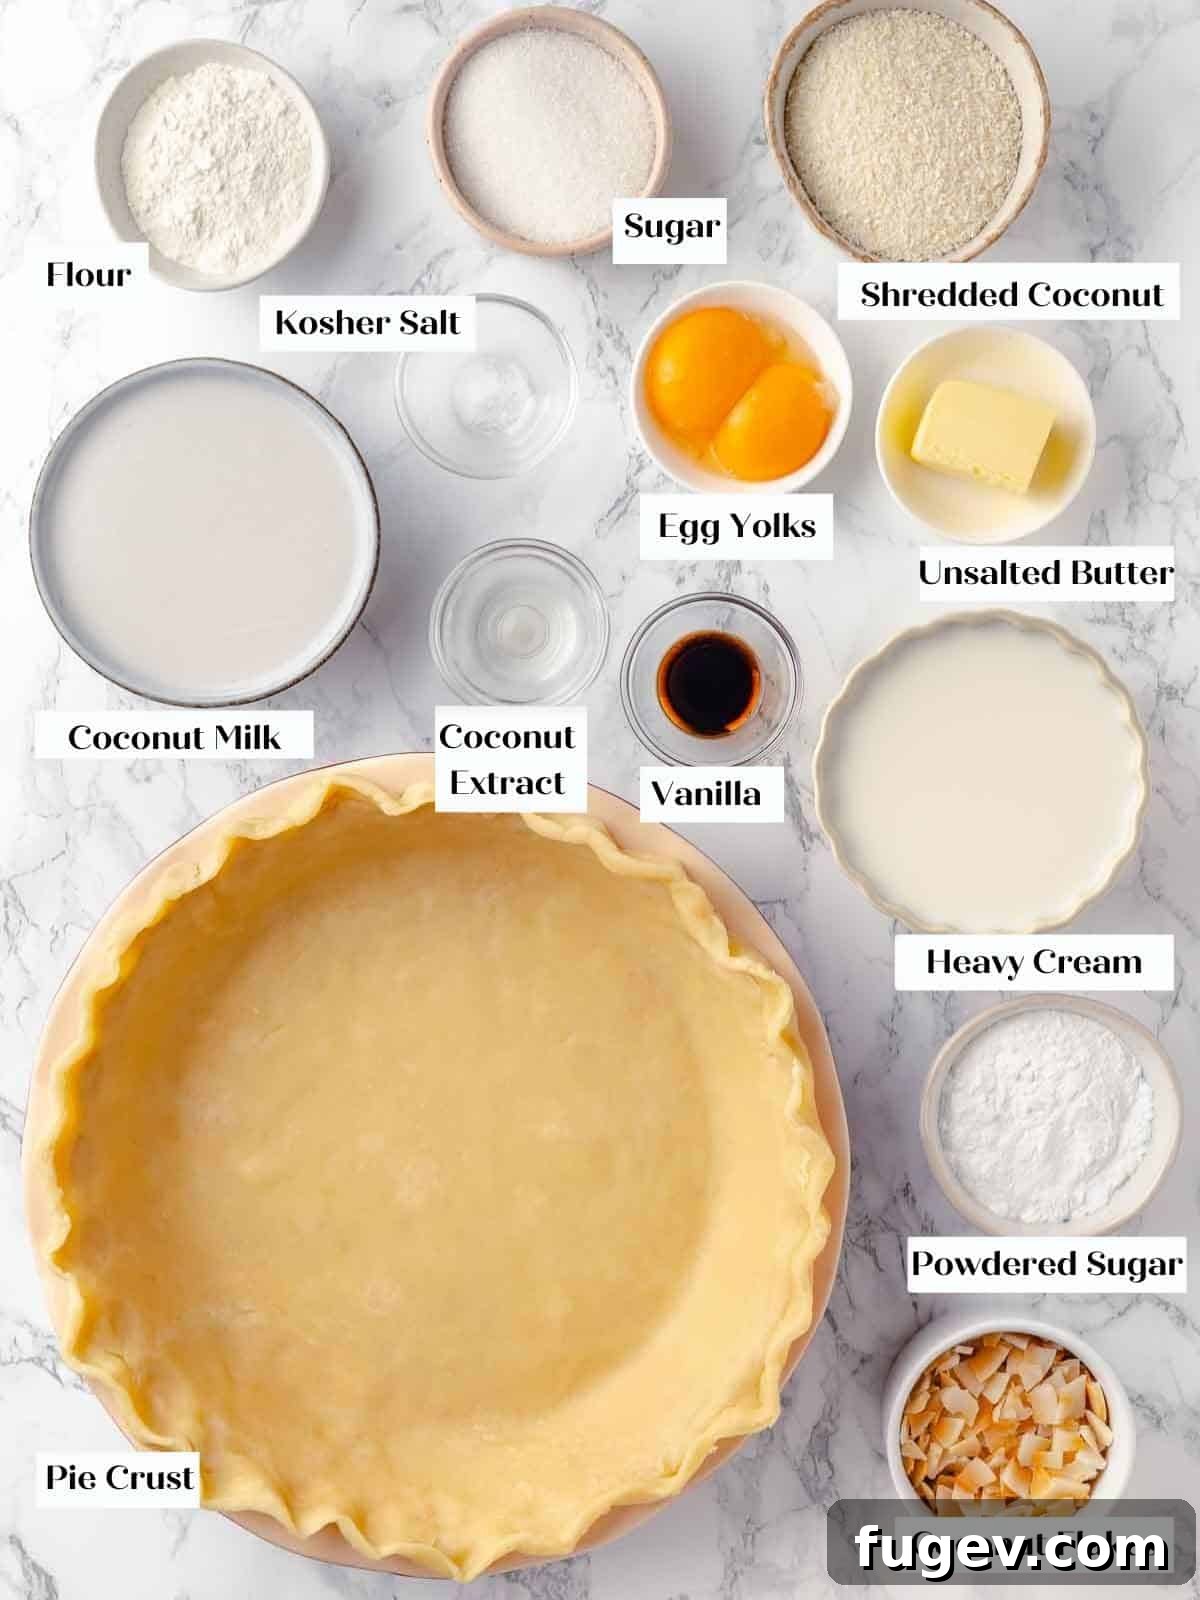
- Pie Crust: For the ultimate flaky and flavorful foundation, we highly recommend using a homemade all-butter pie crust or pâte sucrée. Their rich flavor and tender, delicate texture perfectly complement the creamy coconut filling. Store-bought crusts can be used for convenience, but homemade will elevate the experience significantly.
- Coconut Milk: This is the crucial ingredient that forms the backbone of your custard’s authentic flavor and creamy consistency. Opt for full-fat, unsweetened coconut milk (from a can, not the refrigerated beverage cartons) for the deepest flavor and richest texture. Avoid coconut cream, which is too dense, or sweetened versions, which make it harder to control the pie’s overall sweetness.
- All-purpose Flour: This is the primary thickening agent for your luscious custard. It helps create that perfect pudding-like, sliceable consistency. If you need a gluten-free alternative, you can substitute an equal amount of cornstarch or tapioca flour for similar thickening power, ensuring the custard sets beautifully.
- Granulated Sugar: Beyond simply adding sweetness to the custard and balancing the rich coconut flavor, granulated sugar plays a critical protective role for the egg yolks. It helps temper the yolks, preventing them from curdling when the hot milk mixture is added, ensuring a smooth, silken custard.
- Kosher Salt: A small but essential pinch of kosher salt dramatically enhances all the other flavors in the pie, preventing it from tasting flat and truly bringing out the natural sweetness and depth of the coconut. Don’t skip it!
- Unsweetened Coconut Flakes: These flakes are integral for adding both an intense coconut flavor and a lovely textural dimension to the filling. While you may use sweetened coconut flakes, be mindful that they will contribute more sugar to the filling. If using sweetened flakes, gently break up any clumps before stirring them in to ensure even distribution.
- Egg Yolks: Essential for richness, contributing a beautiful pale yellow color, and creating the custard’s velvety texture and thickening properties. They also provide crucial structure to ensure the filling sets firmly.
- Butter: Finishing the warm custard with a few tablespoons of cold unsalted butter is a professional trick that yields remarkable results. It melts into the warm custard, enriching it and giving it an incredibly silky, luxurious mouthfeel, much like a perfectly made lemon curd.
- Vanilla Extract: A classic flavor enhancer, pure vanilla extract complements coconut beautifully, adding warmth, depth, and a hint of comforting sweetness to the overall flavor profile of the pie.
- Coconut Extract: While optional, a good quality coconut extract significantly amplifies the coconut flavor, making it even more pronounced, vibrant, and tropical. Choose a high-quality brand for the purest, most natural taste without any artificial notes.
- Heavy Cream: This is the foundation for your ethereal homemade whipped topping. Ensure it is very cold before whipping; cold cream incorporates air more efficiently and holds its volume longer, resulting in a stable and fluffy topping.
- Confectioners’ Sugar: Used to sweeten the whipped cream, confectioners’ sugar dissolves smoothly and easily, creating a light and airy topping without any graininess, enhancing its delicate texture.
For precise measurements of each ingredient and additional detailed information, please refer to the comprehensive recipe card conveniently located further down this page.
Creative Variations to Elevate Your Pie
While this classic Coconut Cream Pie stands as a masterpiece on its own, its versatile nature also makes it a fantastic canvas for culinary creativity. Here are some exciting and inspiring variations to make your next baking adventure truly unique and memorable:
- Transform It into a Tropical Piña Colada Pie: Embrace the ultimate tropical vacation vibe by adding a vibrant layer of pineapple preserves or well-drained crushed pineapple at the bottom of your cooled pie crust before pouring in the coconut custard. For an authentic cocktail-inspired flavor, infuse the coconut custard with a generous splash of dark rum. To complete this show-stopping dessert, consider topping the pie with delicate bruleed pineapple slices, creating a caramelized crunch and a stunning visual appeal.
- Decadent Coconut Cream Pie Trifle: Deconstruct the beloved elements of this pie into a stunning, layered trifle that’s perfect for feeding a crowd. Alternate generous layers of the creamy coconut custard with fluffy homemade whipped cream, cubes of rich sour cream pound cake or even a boozy Bacardi rum cake (much like we did in our epic Tropical Trifle), and ample sprinkles of toasted coconut flakes. For bonus points and an elegant, professional touch, garnish the top of your trifle with delicate shards of pie crust, baked until golden and brushed with heavy cream and turbinado sugar for an extra sparkle and crunch.
- Experiment with Different Toppings: While classic sweetened whipped cream is undeniably divine, don’t hesitate to get creative with your pie’s crowning glory. Consider replacing the traditional topping with a light and airy meringue, perhaps utilizing the leftover egg whites from your custard for a no-waste approach. Options like a cloud-like marshmallow fluff or a rich homemade marshmallow frosting could add a delightful sweetness and unique texture. For a tangy, refreshing twist that beautifully cuts through the richness, a vibrant lemon curd whipped cream would also be an absolutely delightful and unexpected pairing.
- Choose an Alternative Crust for Flavor or Texture: The pie crust provides an excellent foundational element, and you have many options beyond the traditional. Feel free to explore any of our diverse pie crust recipes or even opt for a high-quality store-bought crust for ultimate convenience. However, for maximum flavor and an exquisitely flaky texture, an all-butter pie crust or a pâte sûcrée remains our top recommendation. For an extra tender and easy-to-handle crust, try our vodka all-butter pie crust recipe, or if you prefer a classic, an easy Crisco pie crust. If you’re feeling adventurous and want to branch out from traditional pastry, a baked graham cracker crust or even the rich Nutter Butter crust from our peanut butter ice cream pie can add a truly unique and delicious twist.
Step-by-Step Guide: Crafting Your Coconut Cream Pie
Creating a perfect homemade Coconut Cream Pie is a rewarding culinary journey. Follow these detailed, easy-to-understand instructions, broken down into manageable steps, to ensure a flawless and delicious result every single time. For even more precise measurements and a full list of ingredients, please refer to the comprehensive recipe card located further down this page.
Phase 1: Fully Blind Bake the Pie Crust
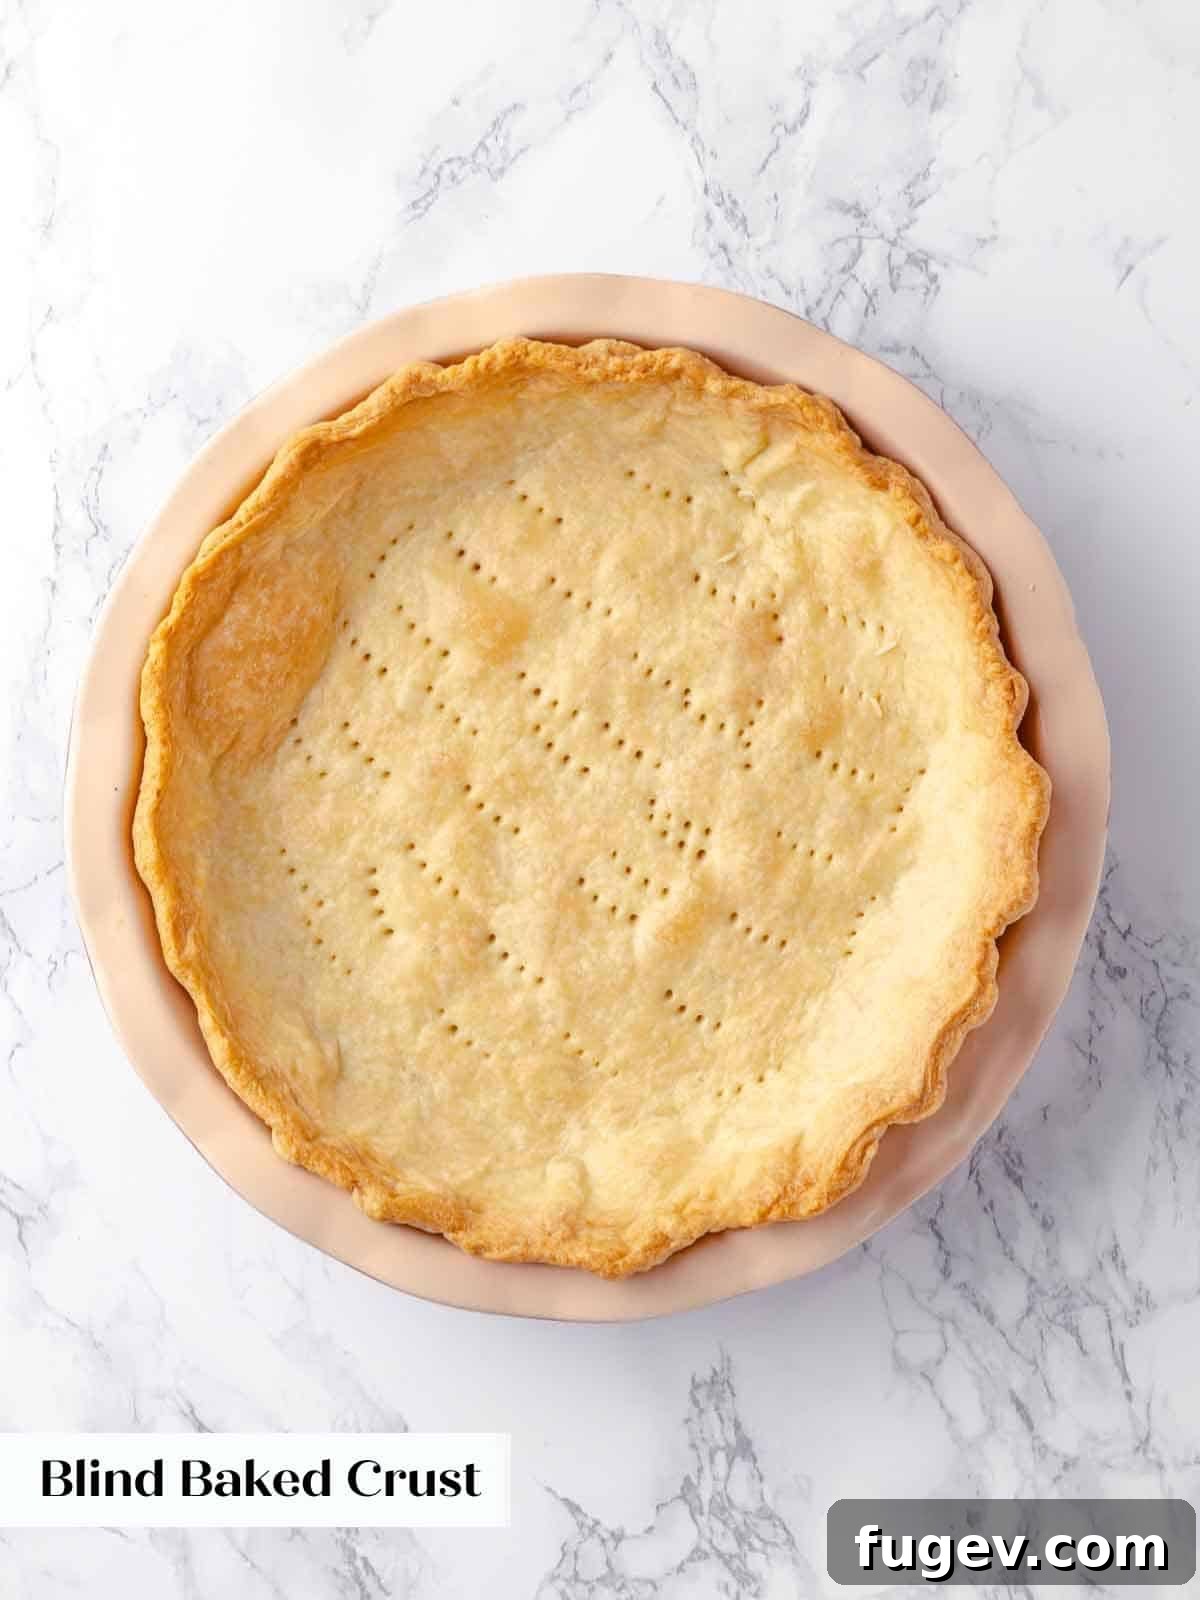
A perfectly blind-baked, crisp crust is absolutely crucial for preventing a soggy bottom and providing the ideal foundation for your creamy filling. For a more comprehensive guide to this essential technique, consult our detailed tutorial on how to blind bake pie crust.
Step 1: Roll Out the Dough. Begin by preheating your oven to 350°F (175°C). On a lightly floured surface, gently roll out one piece of your chosen pie dough until it’s large enough to gracefully fit into your pie pan. For a standard 9-inch pie dish, this typically means rolling the dough to about 12 inches in diameter, ensuring you have enough overhang for crimping.
Step 2: Prepare the Pie Dish. Carefully transfer the rolled dough into your pie dish, gently pressing it into the curves and edges to ensure it fits snugly. Trim any excess dough around the edges, then roll the remaining dough under itself in a spiral fashion and lightly press it onto the lip of the pie dish. Finish by decoratively fluting or crimping the edges to create a beautiful, professional-looking presentation.
Step 3: Add Pie Weights. Line the unbaked pie crust with a sheet of parchment paper, allowing a slight overhang around the edges. Fill the parchment-lined crust with ceramic pie weights, dried beans, or uncooked rice. These weights are essential for preventing the crust from puffing up and shrinking during baking, ensuring a perfectly shaped, flat shell.
Step 4: Bake to Golden Perfection. Bake the weighted crust in the preheated oven for 12-20 minutes, or until the bottom edges just begin to turn a light golden brown. Carefully remove the parchment paper and pie weights. Return the crust to the oven and continue baking for another 5-10 minutes until both the bottom and edges are a beautiful, uniform golden brown. This ensures a fully cooked, crisp, and robust crust. Once baked, immediately transfer the crust to a wire rack to cool completely to room temperature before filling.
Phase 2: Prepare the Coconut Cream Pie Filling
This rich and creamy coconut custard is the luscious heart of your pie. Follow these precise steps for a velvety smooth result that will set perfectly:
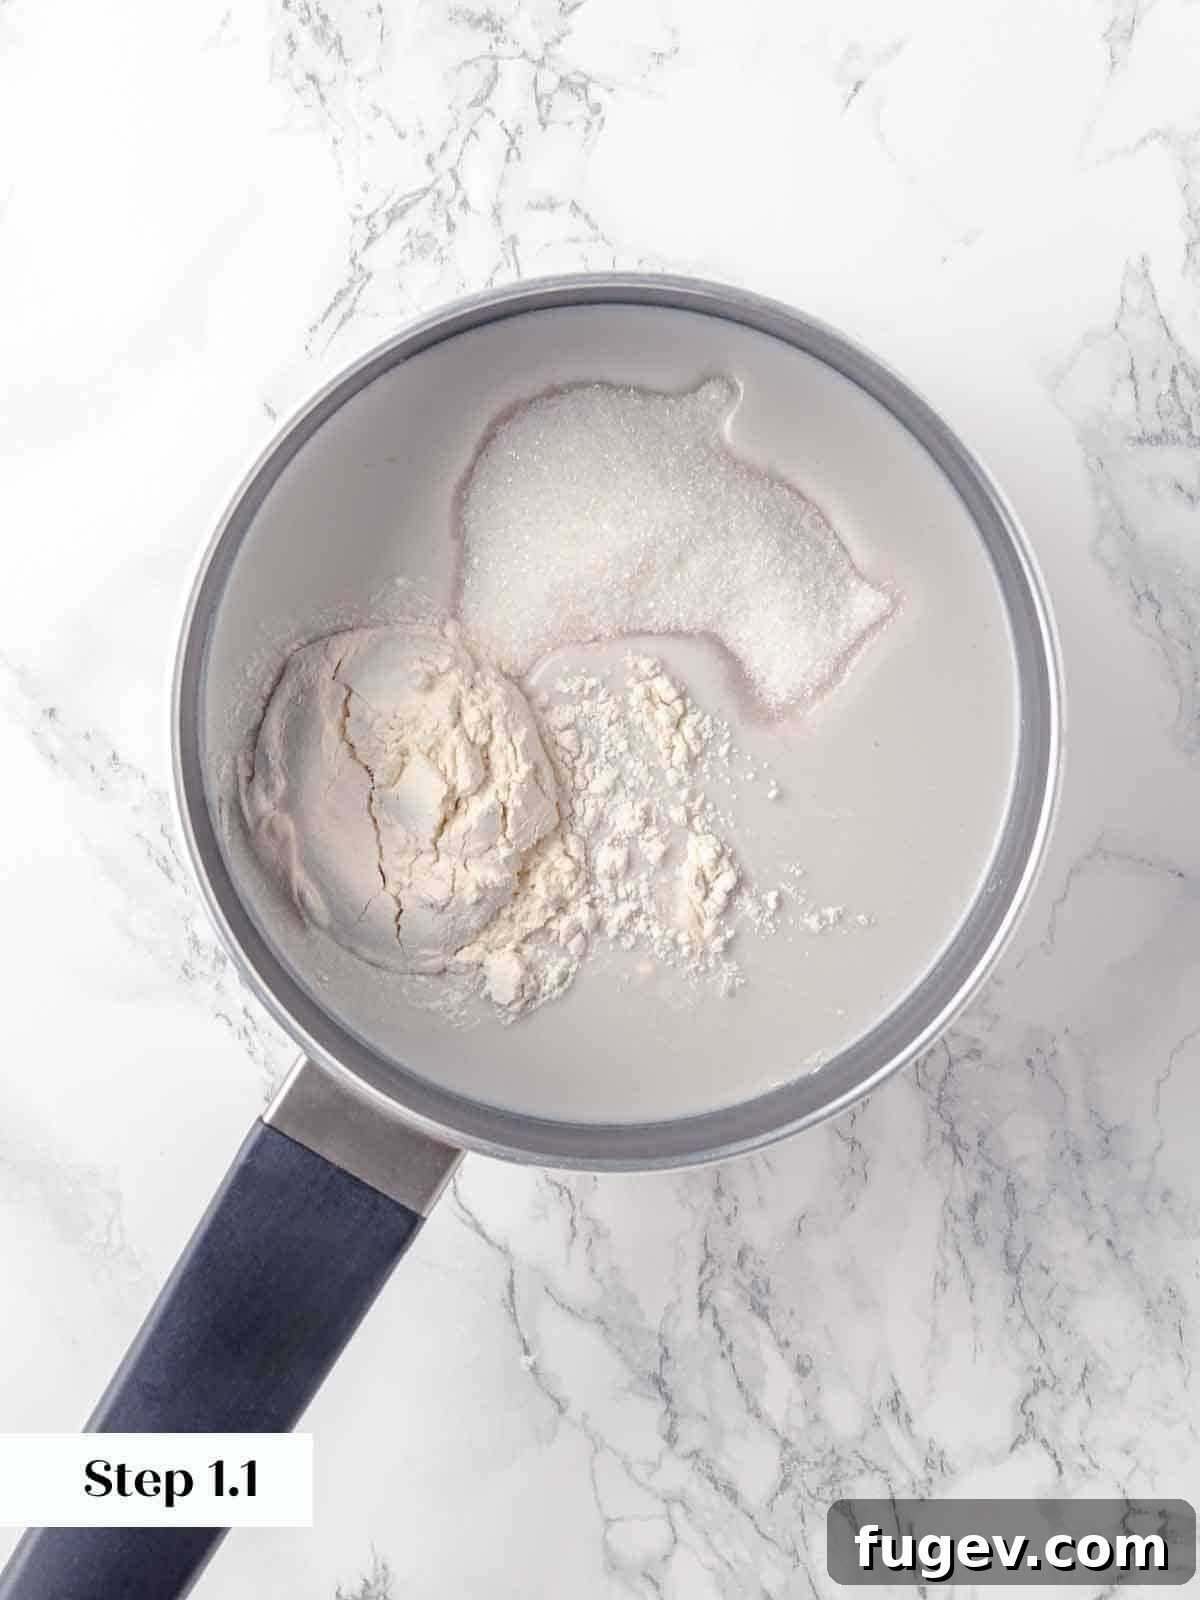
Step 1: Combine and Thicken Milk Mixture. In a medium-sized, heavy-bottomed saucepan, vigorously whisk together the unsweetened coconut milk, all-purpose flour, granulated sugar, and a generous pinch of kosher salt until fully combined and smooth. Place the saucepan over medium heat. Cook the mixture, whisking occasionally but constantly enough to prevent sticking, until it visibly thickens to a consistency resembling a thin pudding. It should just begin to bubble gently.
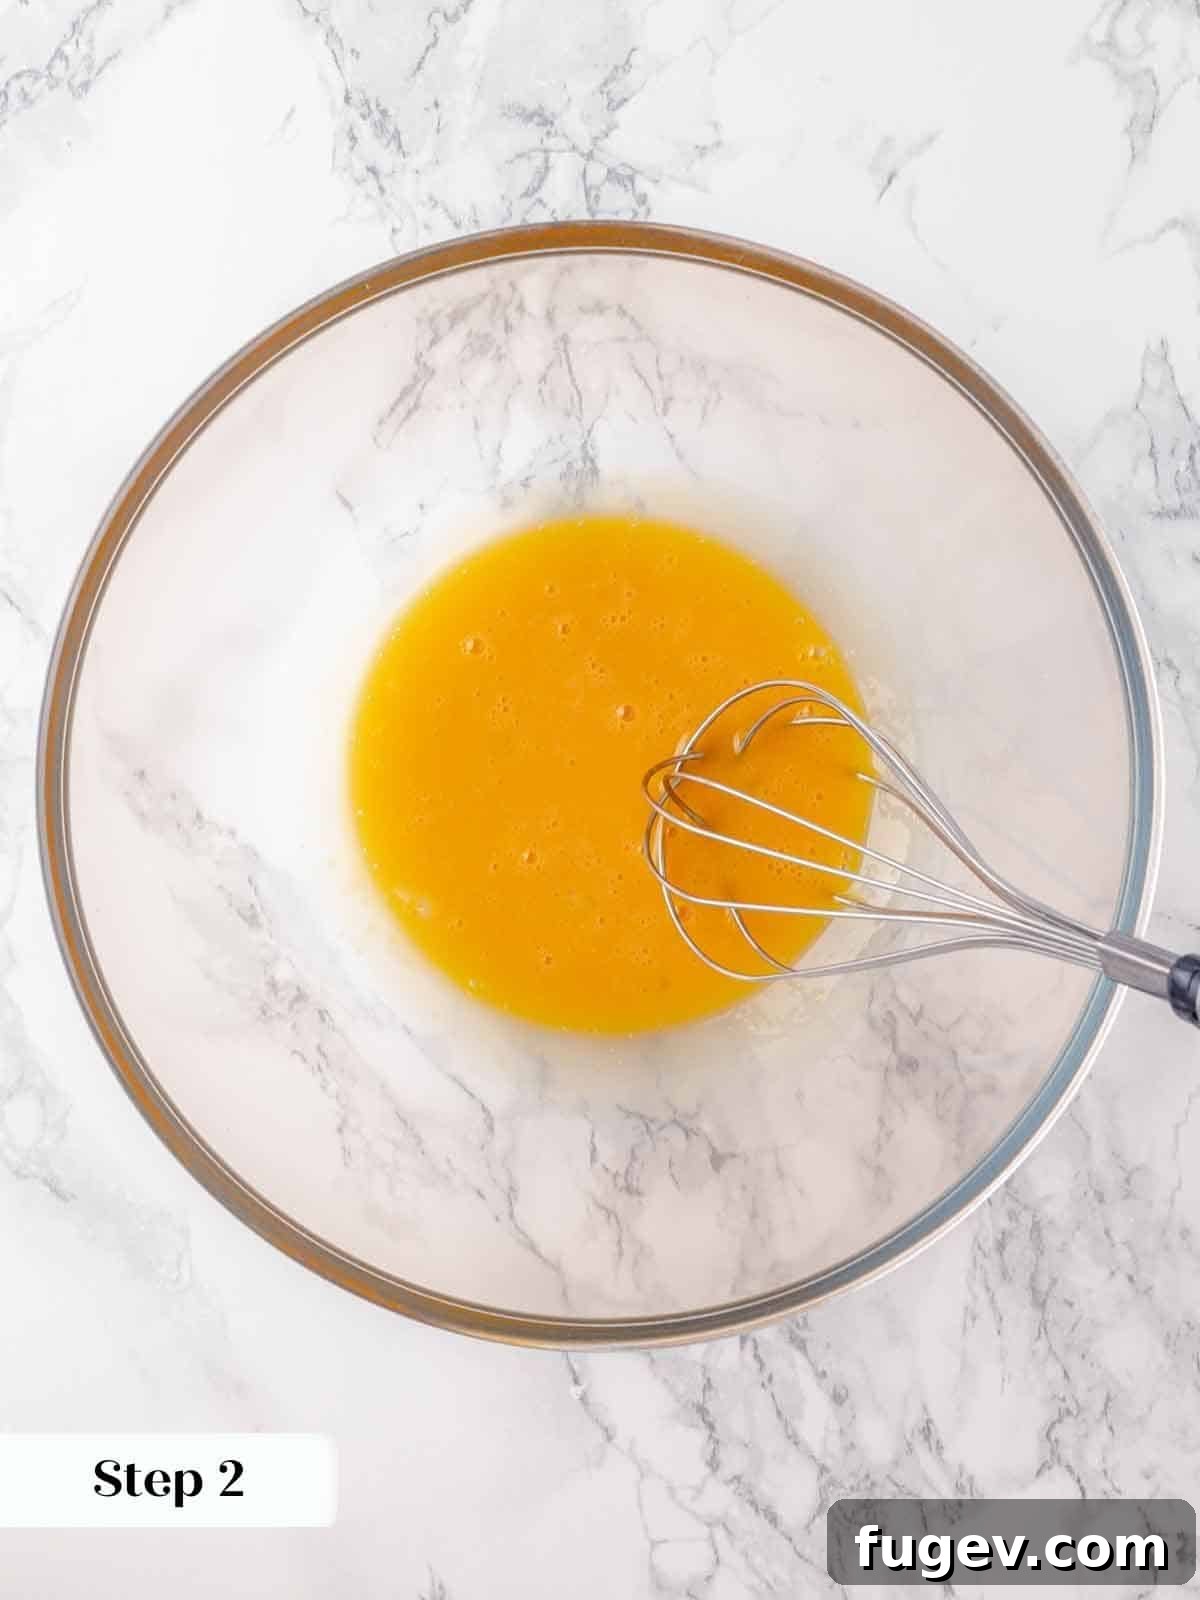
Step 2: Prepare Egg Yolks. In a separate large mixing bowl, whisk the two large egg yolks until they are slightly lightened in color and smooth. This aeration and slight lightening prepare them for tempering, ensuring they incorporate smoothly into the hot mixture.
Step 3: Temper the Egg Yolks. This is a crucial step for a smooth custard. Using a ladle or a heatproof measuring cup, carefully and slowly pour the hot milk mixture into the whisked egg yolks, adding it about ½ cup at a time. Whisk continuously and vigorously as you add, ensuring the egg yolks gradually warm up without scrambling. This process equalizes the temperature and prevents curdling.
Pro Tip for Stability: Place a damp kitchen towel or a non-slip silicone mat under your mixing bowl while whisking and ladling. This simple trick will help keep the bowl stable and firmly in place, making the tempering process much easier, safer, and less prone to spills.
Step 4: Return to Saucepan. Once all the hot milk mixture has been thoroughly incorporated into the tempered egg yolks, pour the entire combined mixture back into the same saucepan.
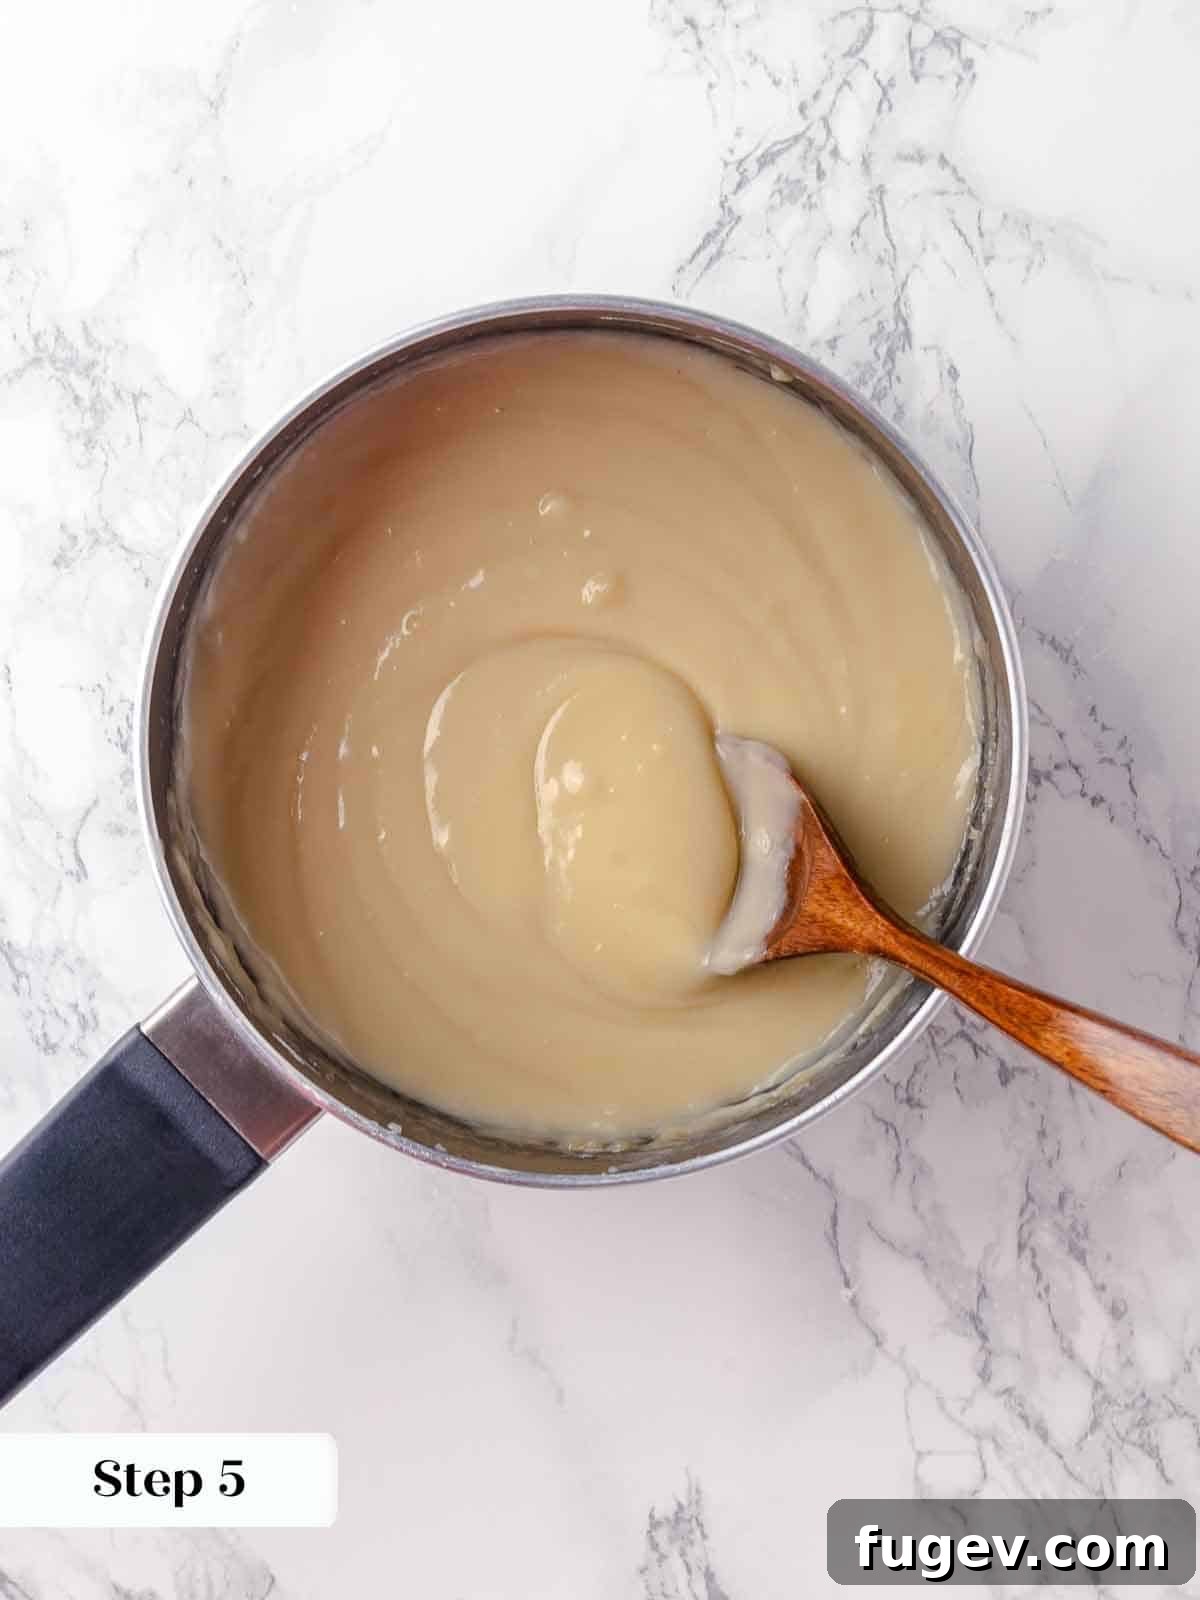
Step 5: Cook to Pudding Consistency. Return the pot to the stove and cook over very low heat, stirring constantly and diligently with a wooden spoon or heatproof spatula, until the custard reaches a thick, luscious, pudding-like consistency. It should be thick enough to generously coat the back of your spoon, and when you draw your finger across the spoon, it should leave a clear, defined line, much like a classic crème anglaise. This process ensures the custard is fully cooked, rich, and perfectly set.
Critical Cooking Reminder: Throughout this final cooking stage, it is absolutely vital to keep your spoon, spatula, or whisk in constant contact with the bottom and sides of the pot. This continuous motion is essential to prevent the mixture from sticking, scorching, or curdling, guaranteeing a perfectly smooth, unblemished, and luscious custard that will be the pride of your pie.
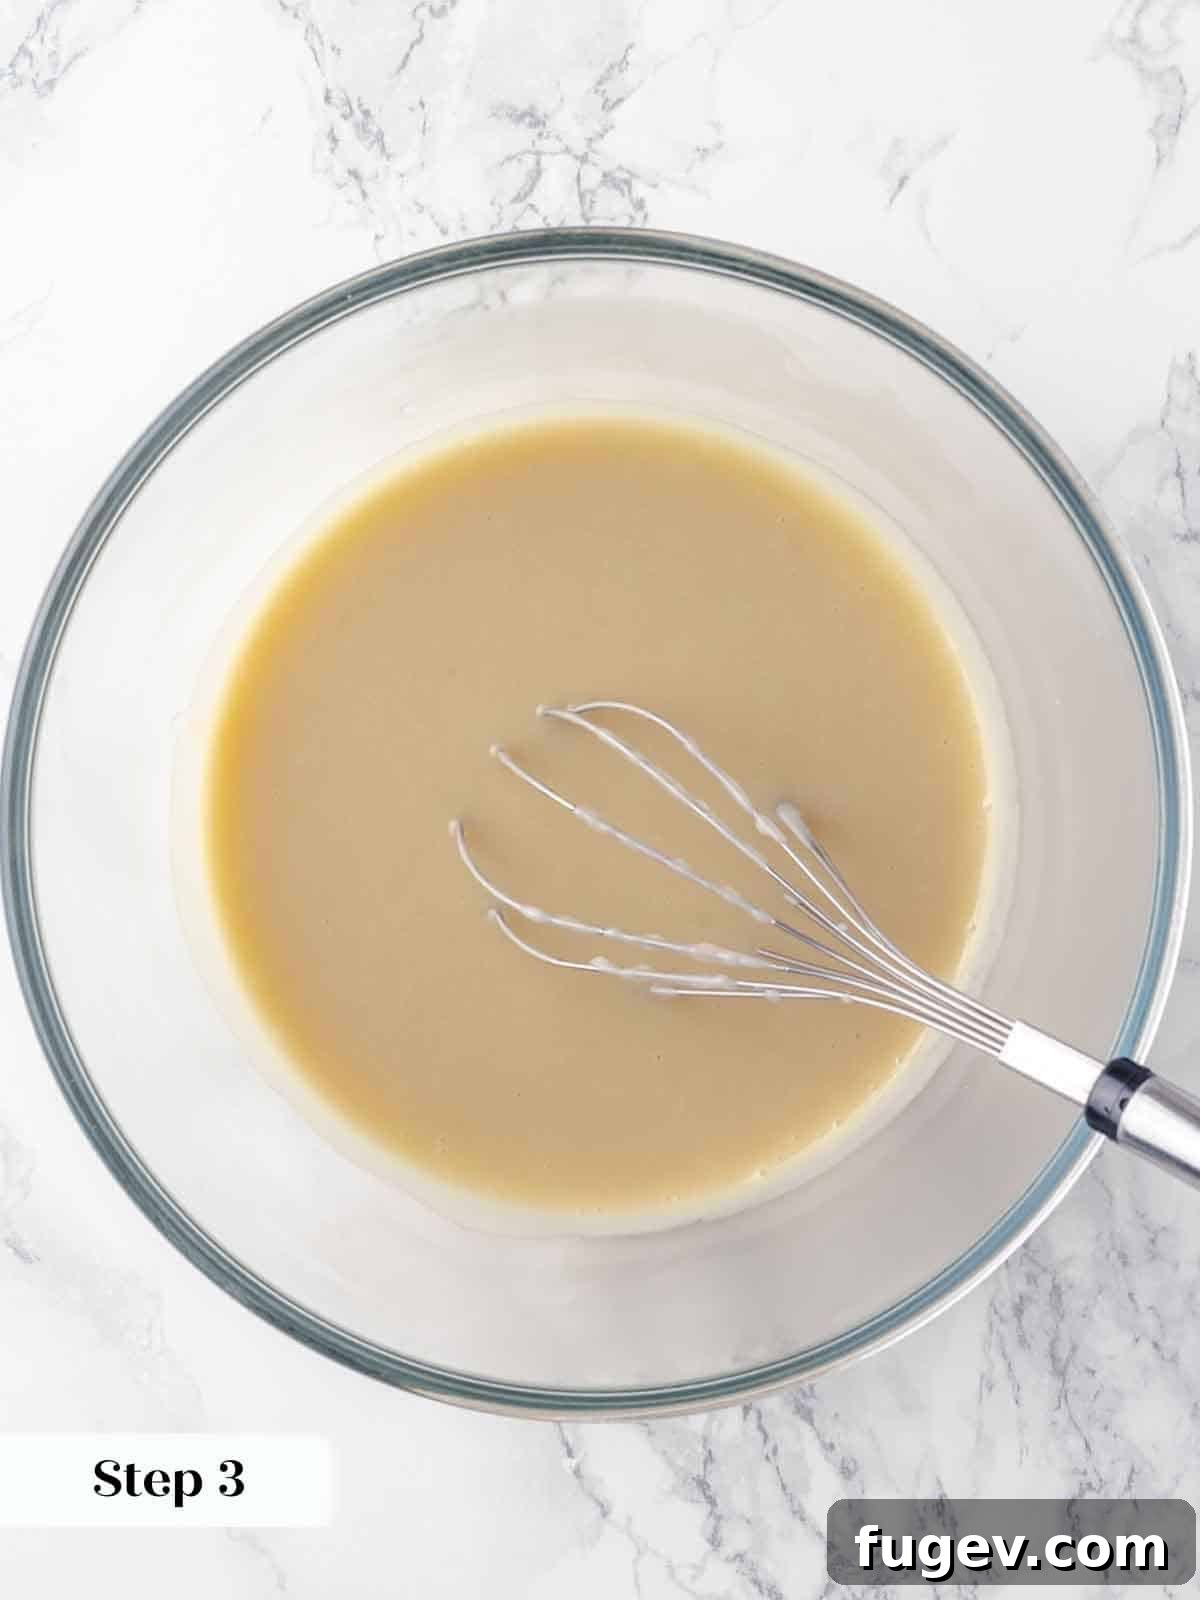
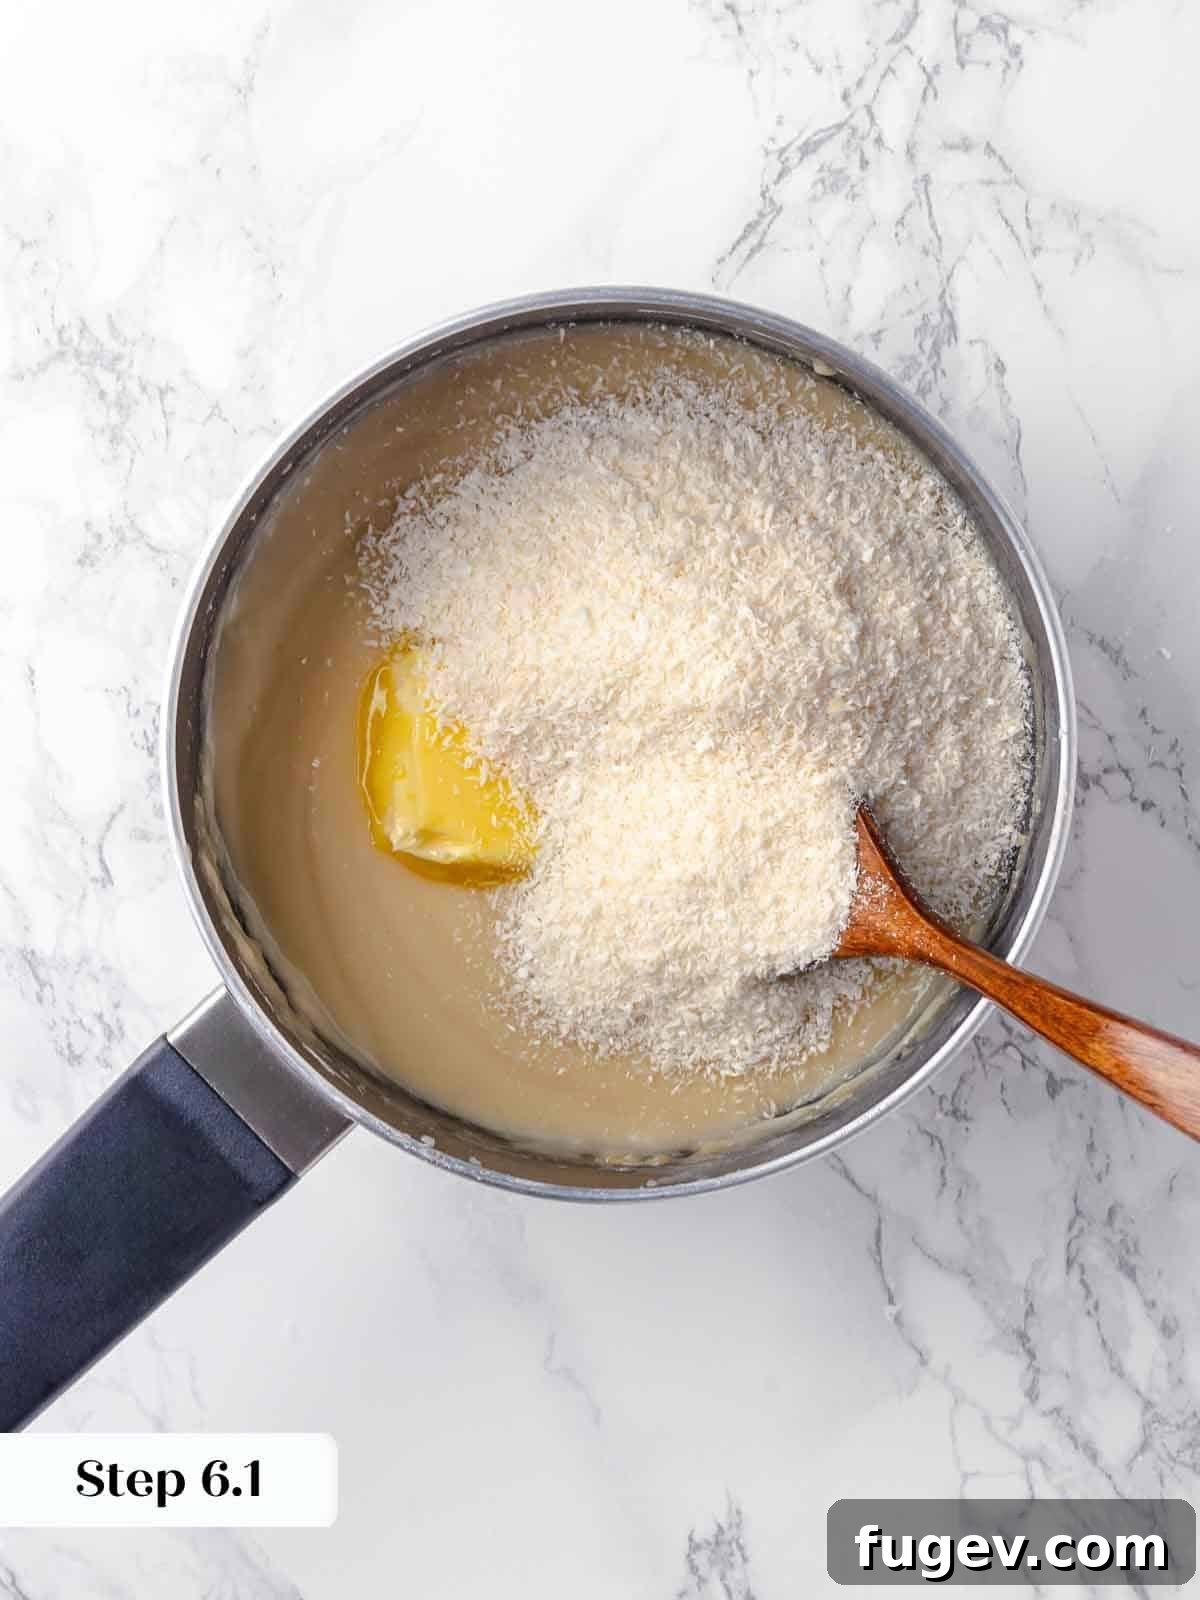
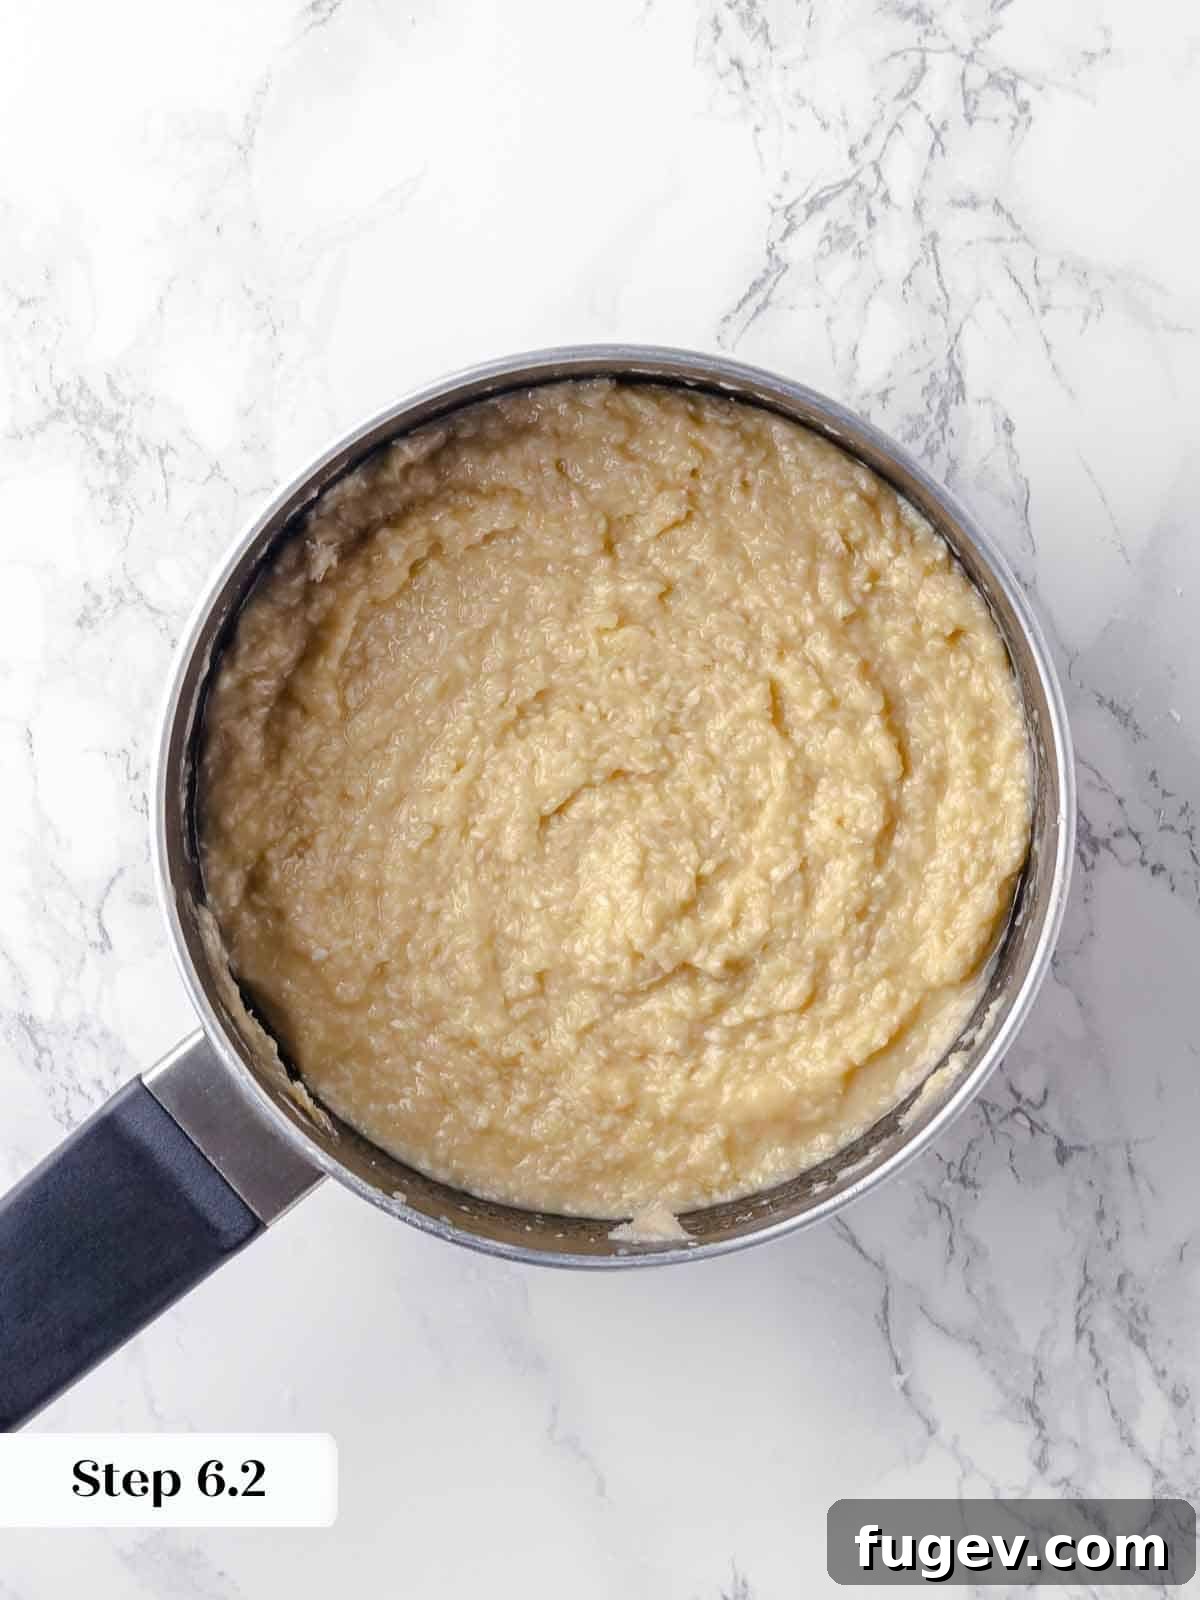
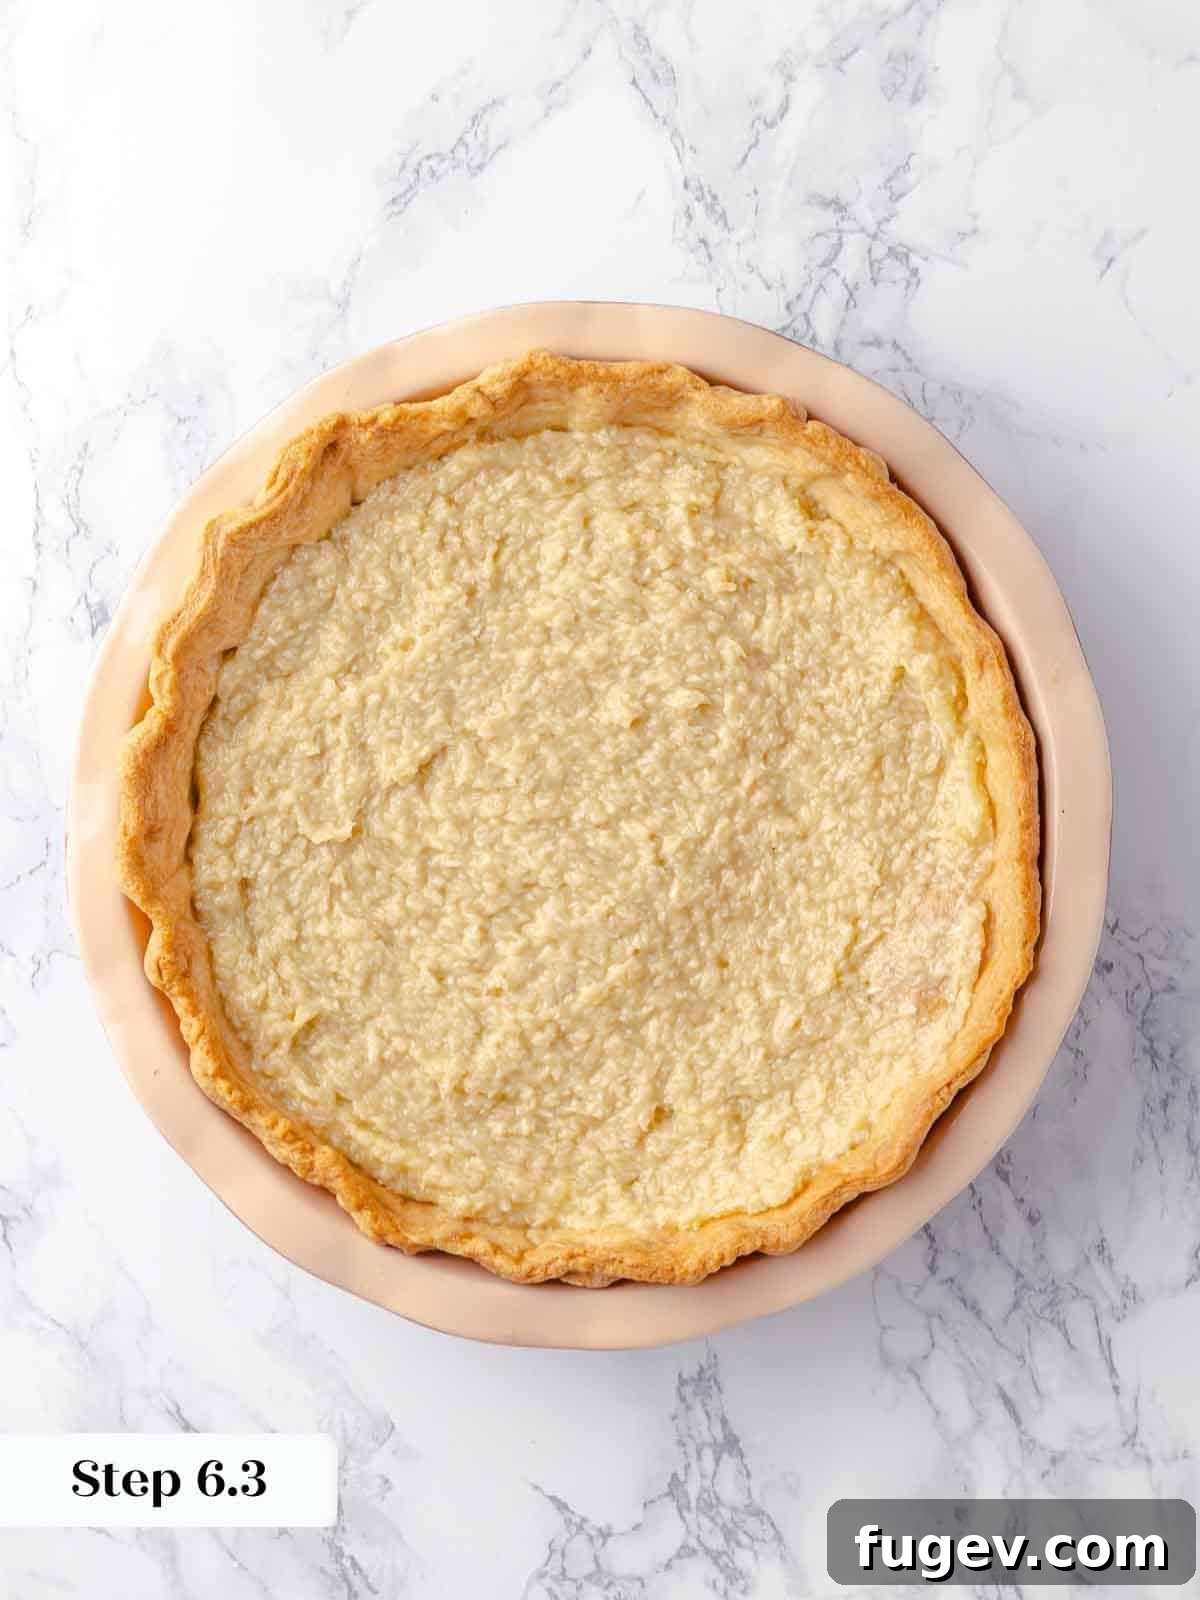
Step 6: Finish and Chill the Filling. Remove the saucepan from the heat. Immediately whisk in the cold unsalted butter, pure vanilla extract, and the optional coconut extract until everything is fully incorporated and the butter has melted, creating a truly silky, glossy finish. Finally, gently fold in the shredded unsweetened coconut, ensuring it’s evenly distributed throughout the luscious filling. Pour this still-warm filling into your completely cooled, blind-baked pie crust. To prevent a skin from forming on the custard’s surface, place a piece of plastic wrap directly onto the surface of the filling, ensuring it touches every part. Chill the pie completely in the refrigerator. This critical chilling step will take several hours for the custard to fully set, but for the very best results and a perfectly firm, sliceable pie, chilling overnight (12 hours) is highly recommended.
Flexibility Tip for Cooling: If your pie crust isn’t ready or has yet to cool when your filling is cooked, you can cool the filling separately. Simply pour the warm custard onto a plastic-lined sheet tray or into a shallow dish, cover with plastic wrap pressed directly onto the surface, and chill. Once completely cooled and firm, you can gently recondition it by hand with a whisk or spatula to restore its smooth consistency, then transfer to your prepared crust.
Phase 3: Prepare the Whipped Cream Topping & Assemble
A generous layer of fresh, homemade whipped cream is the perfect crowning glory for your magnificent coconut cream pie, adding a light, airy contrast to the rich custard.
Step 7: Whip the Cream. In the bowl of a stand mixer fitted with the whisk attachment (or using a large, very cold bowl and a hand mixer or whisk), combine the very cold heavy cream, confectioners’ sugar, and pure vanilla extract. Start with 2 tablespoons of confectioners’ sugar, then taste and add more to your preference. Remember, cold cream and a cold bowl are essential for quick and stable whipping!
Sweetness Control for Whipped Cream: We highly recommend starting with just 2 tablespoons of confectioners’ sugar for your whipped cream. Once it begins to thicken, taste the cream and adjust the sweetness to your desired level. It’s always easier to add more sugar than to try and reduce it!
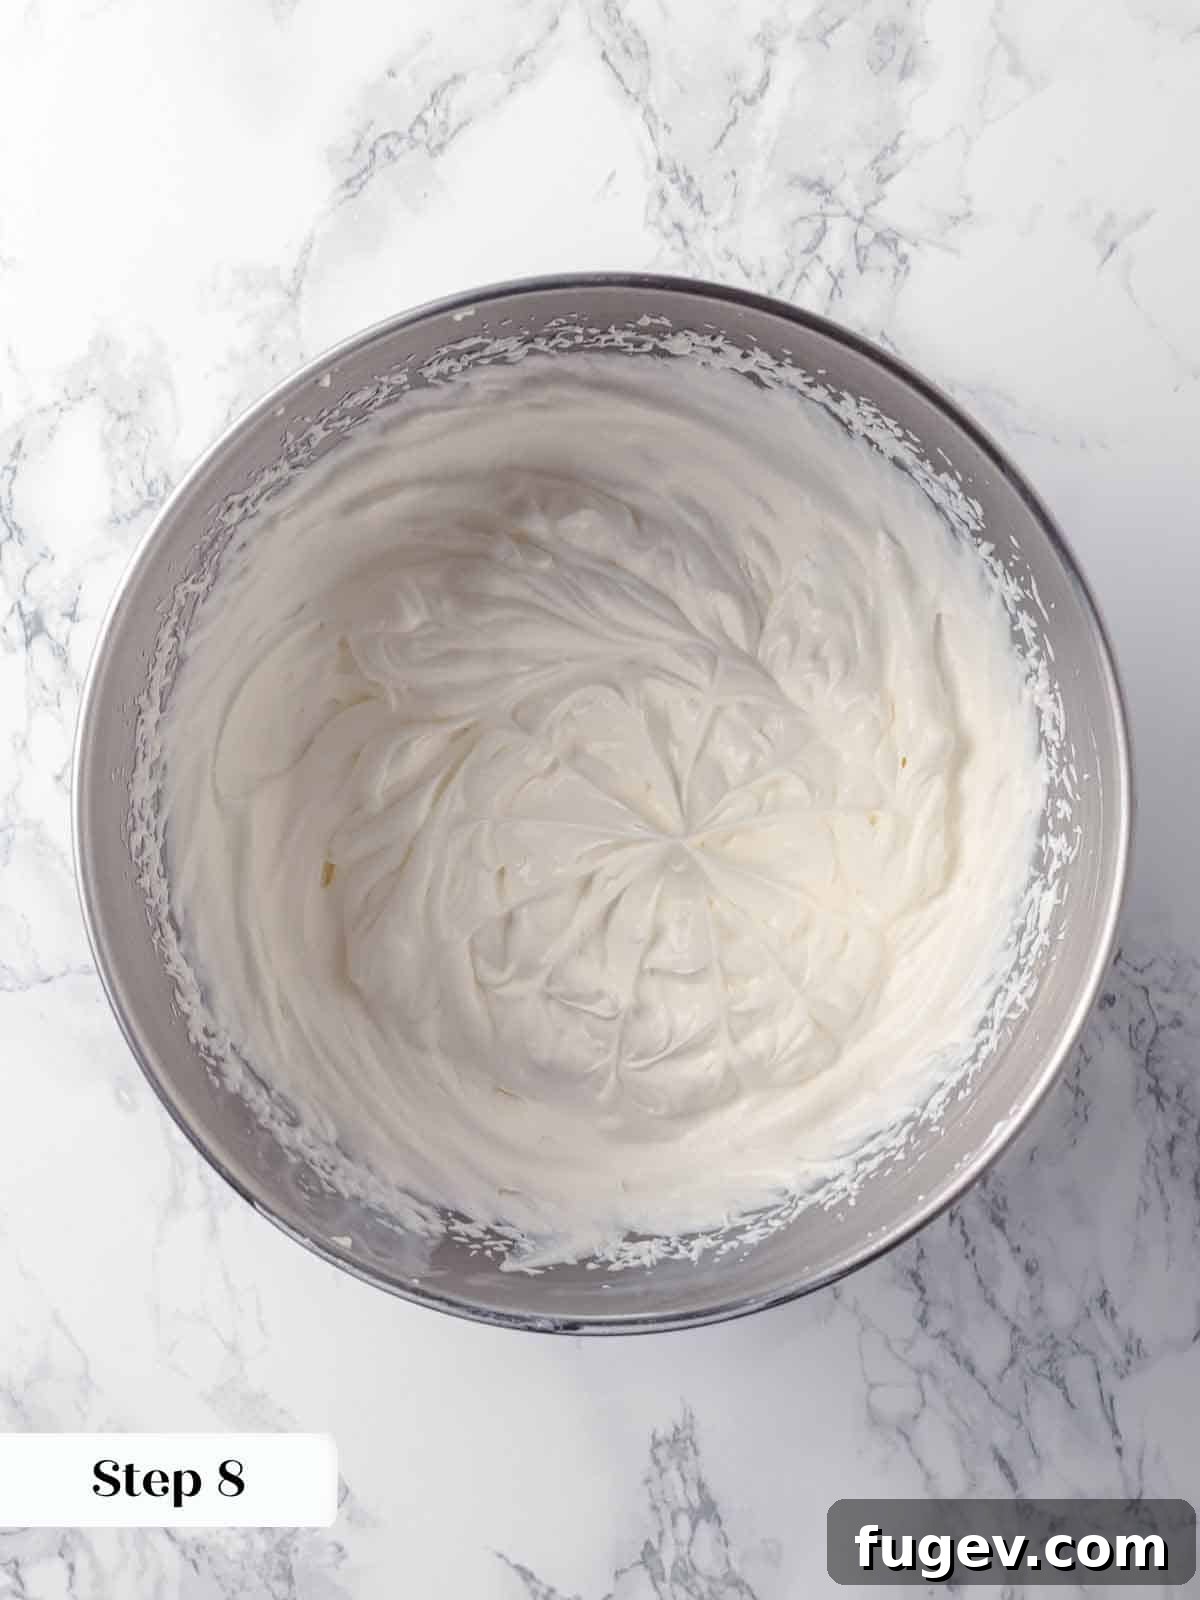
Step 8: Achieve Stiff Peaks. Begin whisking or whipping the mixture on medium speed. Continue until stiff peaks just begin to form. The cream should be thick, airy, hold its shape well when the whisk is lifted, but still have a smooth, creamy consistency. Be very careful not to over-whip, as mentioned in our professional tips.
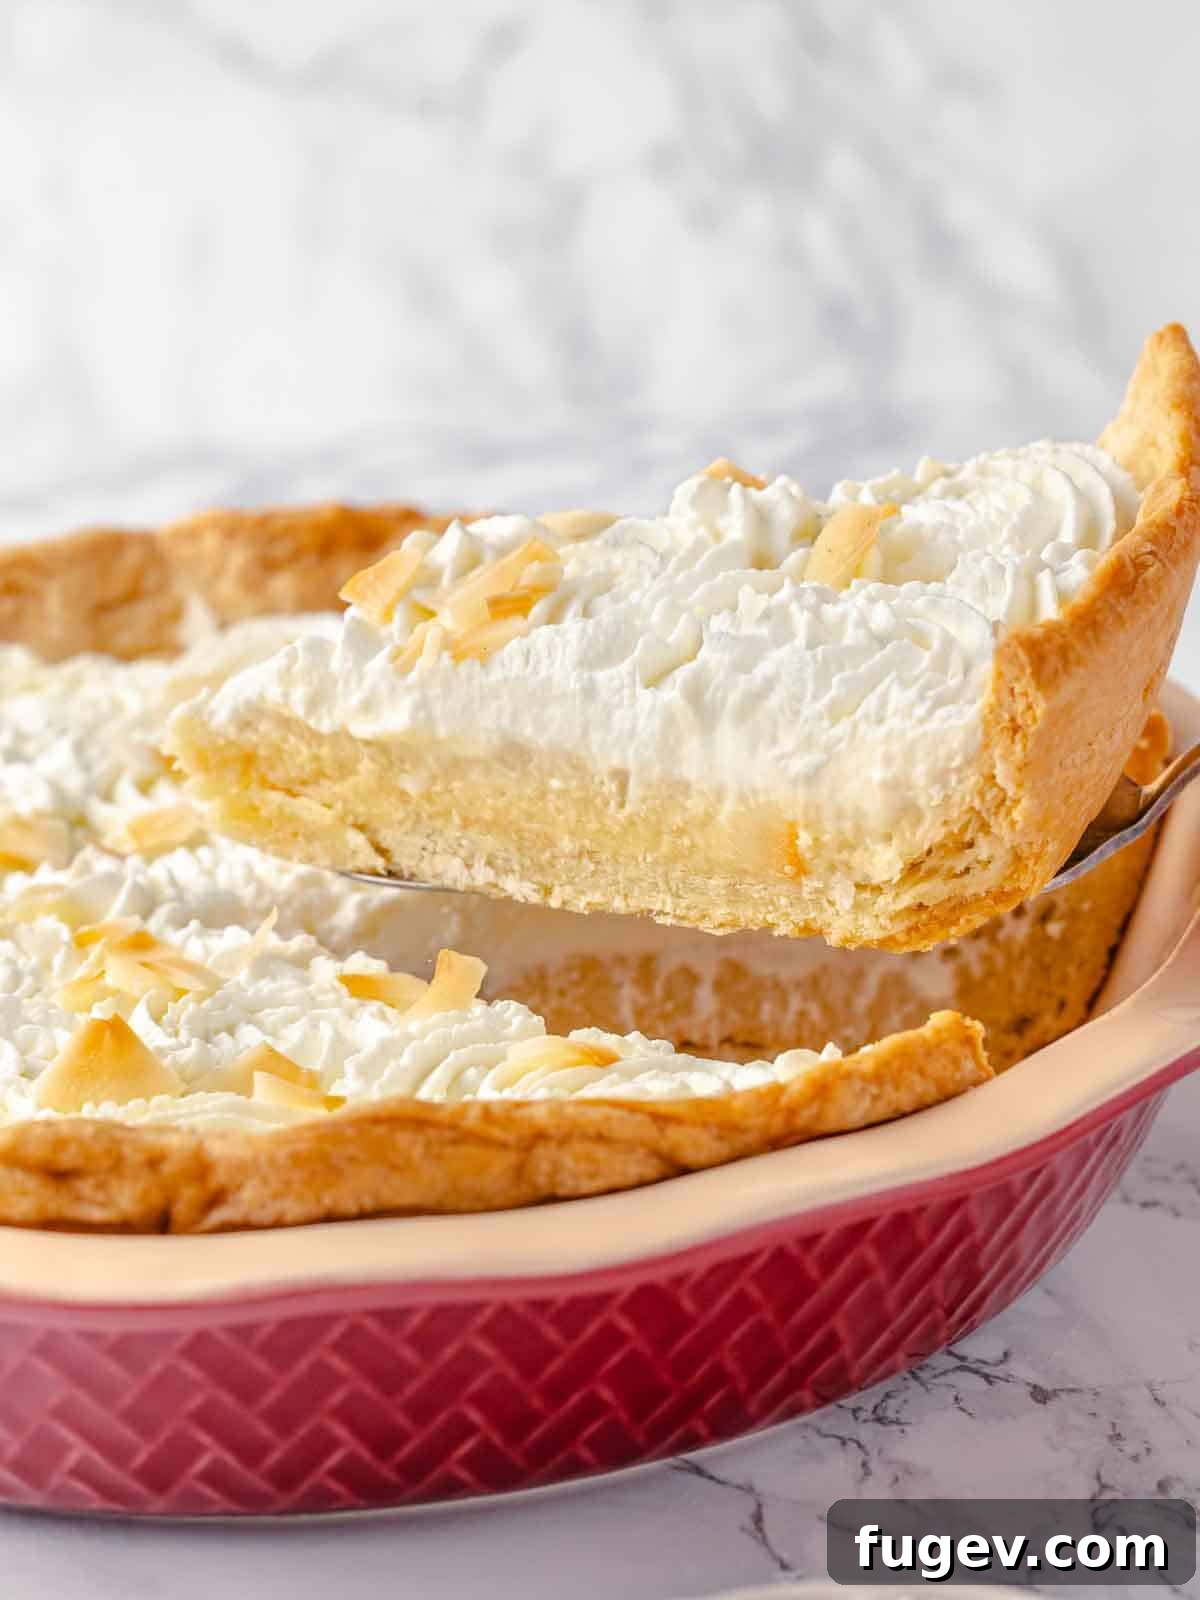
Step 9: Top the Pie. Once the coconut custard filling is thoroughly chilled and completely set (at least 4 hours, but preferably overnight), carefully remove the plastic wrap from its surface. Using a piping bag fitted with a decorative tip for an elegant finish, or simply a large spoon, generously pipe or gently mound the freshly whipped cream over the cooled custard. Get creative with beautiful swirls and peaks!
Step 10: Garnish and Serve. Finish your magnificent pie by sprinkling a generous amount of cooled, golden toasted flaked coconut over the billowy whipped cream. For the cleanest, most impressive, and picture-perfect slices, chill the decorated pie briefly for about 30 minutes before serving. This allows the whipped cream to firm up slightly, ensuring clean cuts and beautiful presentation.
Chef’s Secret for the Perfect Crust
For the crispiest, flakiest pie crust possible, remember this golden rule: never put warm filling into a warm crust. If you’re short on time or your crust isn’t yet cooled, you can easily cool the custard filling separately. Simply pour the warm custard onto a plastic-lined sheet tray or into a shallow dish, and cover it with plastic wrap pressed directly onto the surface. Once the filling has fully cooled and firmed up, gently recondition it by hand with a whisk or spatula to restore its smooth, creamy consistency, then transfer it into your completely cooled, blind-baked pie crust. Always allow the assembled pie to chill for at least a few hours before serving; this crucial step allows the filling to fully set and marry beautifully with the crust, resulting in perfect, clean slices and an unmatched texture every single time.
Frequently Asked Questions (FAQs)
Here are answers to some common questions you might have about making, storing, and serving this delicious Coconut Cream Pie, ensuring your baking experience is as smooth as your custard!
For optimal flavor and texture, this exquisite pie is truly best enjoyed on the day it’s prepared and assembled. If you find yourself with delightful leftovers, gently wrap the pie (or individual slices) in plastic wrap or aluminum foil to protect its delicate layers. Store it promptly in the refrigerator, where it will remain fresh and delicious for up to 4 days. Ensure it’s covered loosely enough to prevent excessive condensation from making the crust soggy, but securely enough to keep it fresh.
Unfortunately, freezing this particular pie is not recommended, as it can significantly compromise its quality. Whipped cream tends to lose its beautiful fluffy texture and can become watery or grainy upon thawing, detaching from the pie. Custard fillings, like the one in this pie, also have a tendency to separate, develop an unpleasant grainy texture, or become watery during the freezing and defrosting process. These changes would unfortunately undermine the pie’s luxurious, silky consistency, making it best to enjoy fresh!
Absolutely! Incorporating toasted coconut flakes directly into the filling is a fantastic idea and a wonderful way to add an extra layer of deep, nutty flavor. While the flakes will soften slightly as they mingle with the creamy custard and thus lose their crisp crunch, they will infuse the entire filling with a more complex, toasted coconut aroma that is truly delicious and enhances the overall tropical profile of the pie. It’s an excellent way to boost the coconut intensity.
For this particular Coconut Cream Pie recipe, you don’t strictly need to “dock” (prick with a fork) your pie crust when blind baking. Our lusciously thick coconut custard filling provides enough weight and moisture to prevent the crust from puffing up excessively during baking. However, if you are accustomed to docking your crust for other pies, or prefer to do so, it certainly won’t harm this recipe; the filling is robust enough to handle it without issue!
This magnificent pie is a complete and decadent dessert on its own, offering a symphony of flavors and textures. However, if you wish to elevate the experience even further, consider these delightful accompaniments: a light drizzle of a homemade crème anglaise, perhaps delicately infused with a hint of toasted coconut, would be exquisitely elegant. Alternatively, a luscious salted caramel sauce or a rich chocolate ganache drizzled artfully over each slice just before serving can add another layer of indulgence, beautiful contrast, and visual appeal.
If you tried this extraordinary recipe and absolutely loved it, please take a moment to leave a 🌟 star rating and share your wonderful experience in the comments section below. Your feedback and comments truly make my day and help others discover these delightful creations!
Coconut Cream Pie
Chef Lindsey
30 minutes
20 minutes
4 hours
4 hours
50 minutes
8
slices
Pin Recipe
Comment
Print Recipe
Ingredients
For the Coconut Custard
- 1 single pie crust (preferably all-butter pie crust or pâte sûcrée, blind-baked and completely cooled)
- 14 oz unsweetened coconut milk (full-fat, canned; not coconut cream or dairy milk)
- 3 tablespoons all-purpose flour
- ⅓ cup granulated sugar
- pinch kosher salt
- ⅔ cup shredded unsweetened coconut
- 2 large egg yolks
- 2 tablespoons unsalted butter (cold, cut into small pieces)
- 1 teaspoon pure vanilla extract
- ½ teaspoon coconut extract (optional, for enhanced coconut flavor)
For the Whipped Cream Topping
- 1 ½ cups cold heavy cream
- 2 ½ tablespoons confectioners’ sugar (or to taste)
- ½ teaspoon pure vanilla extract
- ½ cup unsweetened flaked or shredded coconut (toasted, for garnish)
Instructions
Phase 1: Fully Blind Bake the Pie Crust:
-
Preheat your oven to 350°F (175°C). Roll out your pie dough to approximately 12 inches in diameter to fit a 9-inch pie pan.
-
Gently line the pie dish with the dough, trimming excess, then rolling edges under and crimping decoratively. Chill for 30 minutes.
-
Line with parchment paper and fill with pie weights, beans, or rice.
-
Bake for 12-20 minutes until the bottom begins to brown. Remove weights and parchment, then continue baking until golden brown. Cool completely on a wire rack.
Phase 2: Prepare the Coconut Cream Pie Filling:
-
In a medium saucepan, whisk coconut milk, flour, sugar, and salt. Cook over medium heat, whisking occasionally, until thickened to a thin pudding consistency.
-
In a large bowl, whisk large egg yolks until slightly lightened.
-
Gradually pour the hot milk mixture into the egg yolks, ½ cup at a time, whisking constantly to temper the eggs.
-
Pour the combined mixture back into the saucepan.
-
Cook over low heat, stirring constantly, until it reaches a thick pudding consistency (coats the back of a spoon and holds a line).
-
Remove from heat and whisk in cold butter, vanilla extract, and optional coconut extract until smooth. Fold in shredded coconut. Pour into the completely cooled pie crust, cover the surface directly with plastic wrap, and chill completely in the refrigerator for at least 4 hours, or preferably overnight (12 hours) for best setting.
Phase 3: Prepare the Whipped Cream Topping & Assemble:
-
In a very cold bowl (preferably a stand mixer bowl with whisk attachment), whisk together cold heavy cream, confectioners’ sugar (start with 2 tbsp, then adjust to taste), and pure vanilla extract.
-
Whip on medium speed until firm, stiff peaks just begin to form. Be careful not to over-whip.
-
Once the coconut custard filling is completely chilled and set, remove the plastic wrap. Pipe or gently mound the freshly whipped cream generously on top of the cooled custard.
-
Sprinkle with cooled, toasted flaked coconut. Chill the decorated pie briefly (about 30 minutes) before serving for the cleanest and most impressive slices.
Notes
Variations – To create an indulgent Coconut Caramel Cream Pie, spread a thin, even layer of rich homemade or high-quality store-bought caramel sauce onto the bottom of the baked and cooled pie crust before adding the coconut custard filling. This adds a delightful sticky-sweet surprise.
Storage – This delightful pie is undoubtedly best served fresh on the day it’s assembled for optimal texture and flavor. Any leftovers should be lightly wrapped in plastic or foil to protect the whipped cream and prevent it from drying out, and then stored promptly in the refrigerator for up to 4 days.
Nutrition
Calories: 544 kcal |
Carbohydrates: 31g |
Protein: 6g |
Fat: 46g |
Saturated Fat: 32g |
Polyunsaturated Fat: 2g |
Monounsaturated Fat: 9g |
Trans Fat: 0.1g |
Cholesterol: 107mg |
Sodium: 114mg |
Potassium: 275mg |
Fiber: 4g |
Sugar: 15g |
Vitamin A: 809 IU |
Vitamin C: 2 mg |
Calcium: 52 mg |
Iron: 2 mg
Dessert
American
544
Like this? Leave a comment below!
Before You Go: Explore More Delicious Recipes
We sincerely hope you thoroughly enjoyed preparing and indulging in this professional chef-created recipe for the ultimate Homemade Coconut Cream Pie. If you loved the rich flavors, creamy texture, and tropical essence of this dessert, you’re sure to adore our other delightful creations. Don’t miss out on our wonderfully fluffy, dairy-free coconut cupcakes! But don’t stop there – we invite you to explore our extensive collection of other chef-developed custard recipes, which include comforting classics like the classic banana cream pie, the vibrant and zesty lemon meringue pie, and this incredibly easy-to-make chocolate pie! For all your future baking aspirations, make sure to browse through our comprehensive selection of pies and tart recipes. Happy baking, and we look forward to seeing you back for more culinary inspiration!