
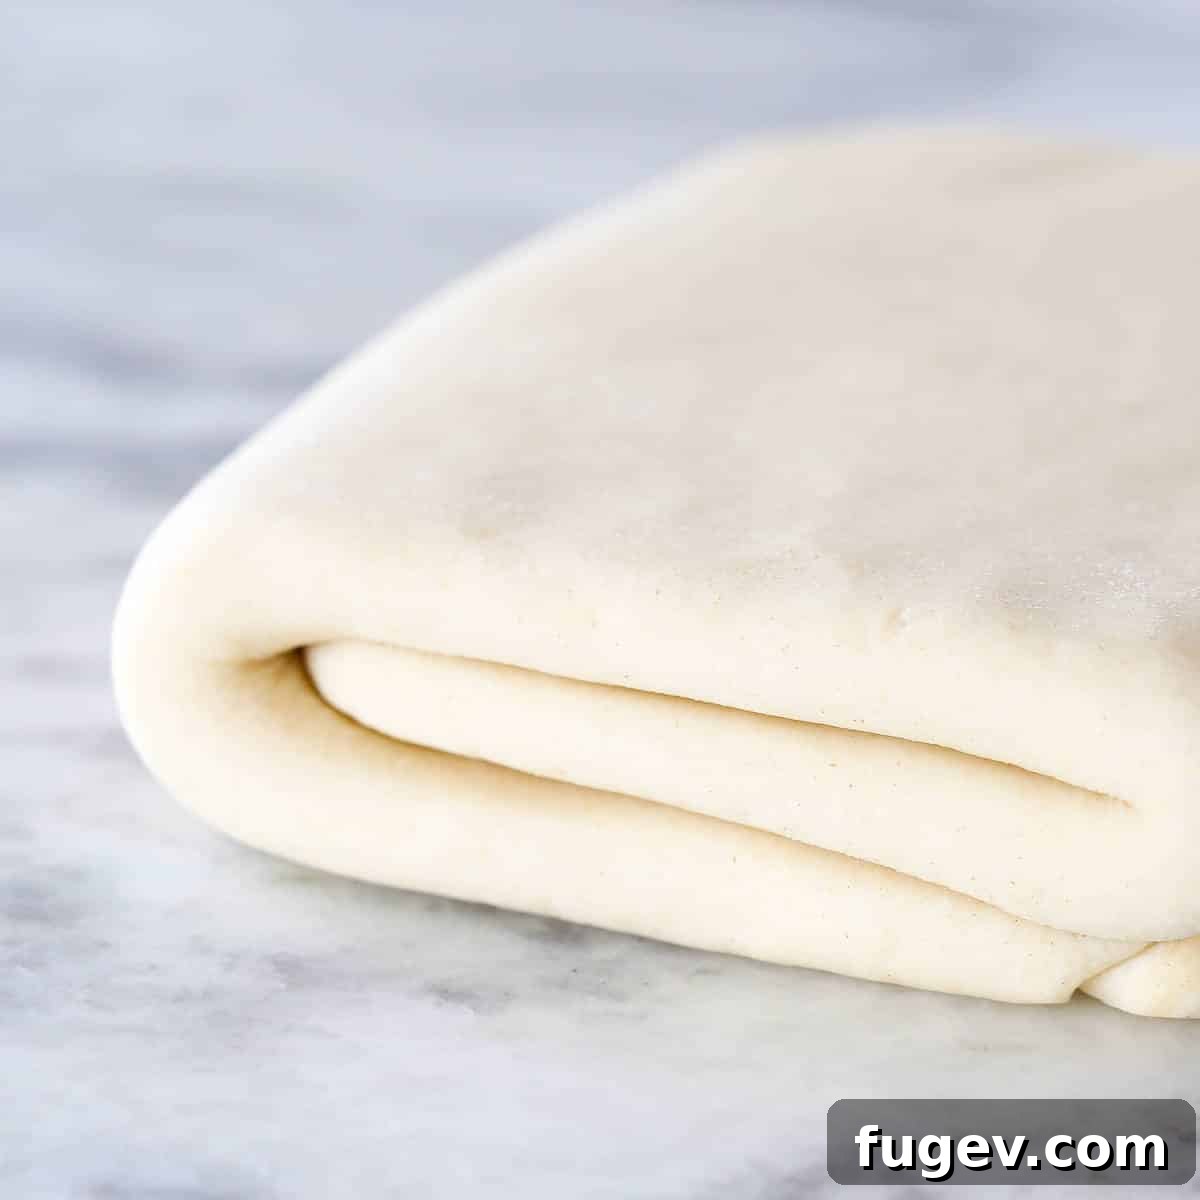
Embark on a culinary journey to master the art of inverse puff pastry from scratch! This detailed guide, complemented by an easy-to-follow video tutorial, unveils the secrets to crafting the flakiest, most buttery pastry imaginable. Prepare for results that will not only surpass any store-bought alternative but will also elevate your baking to an entirely new level of patisserie excellence.
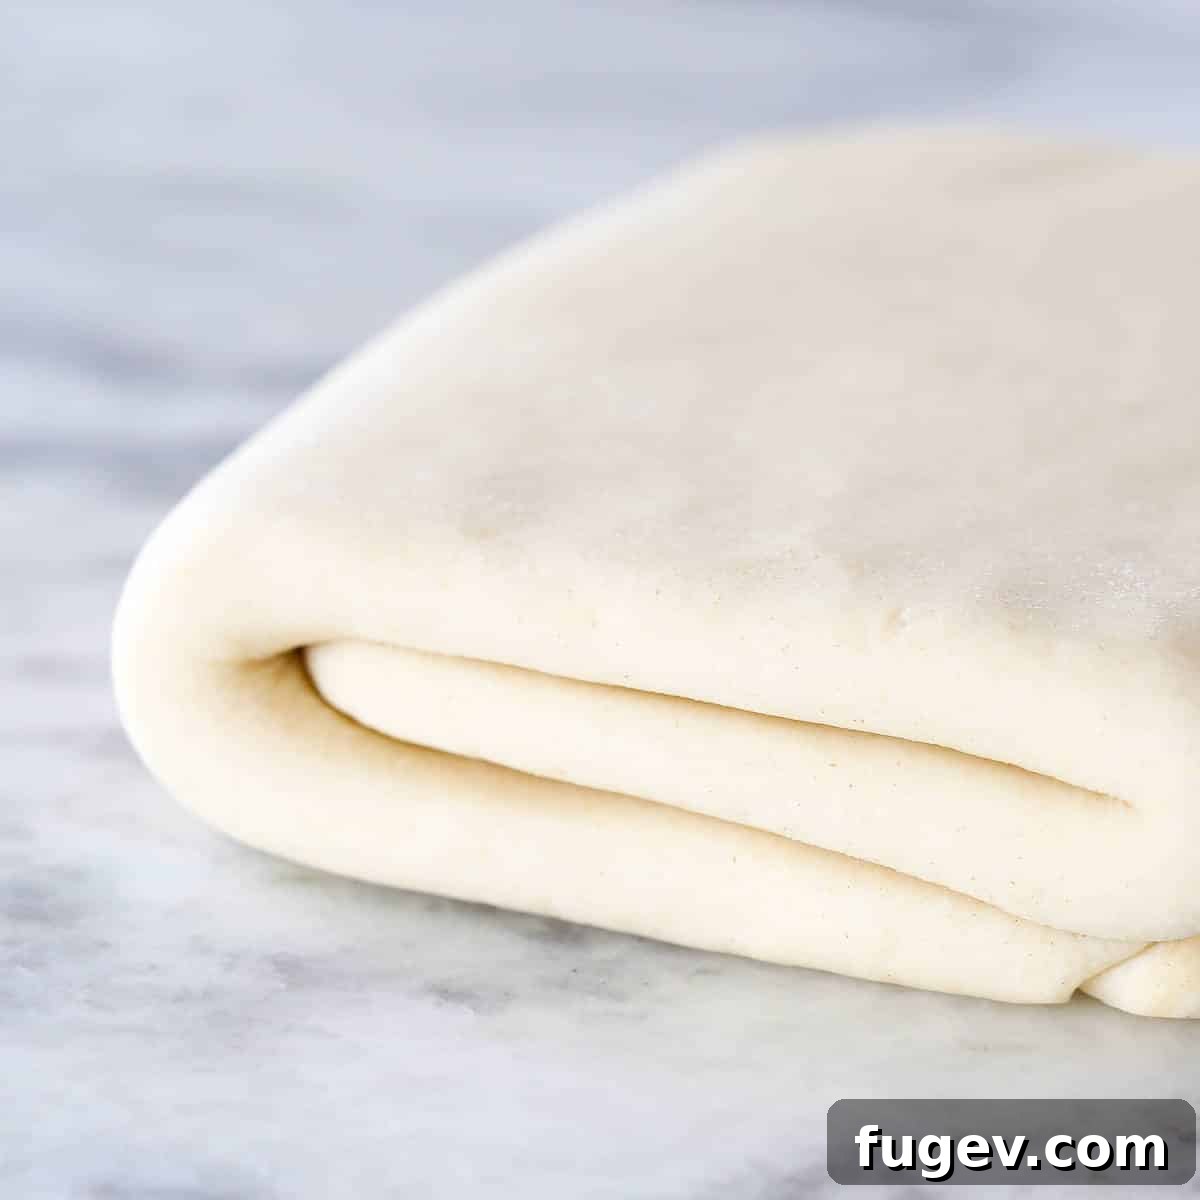
A touch of dedication and patience in the kitchen will unlock almost endless possibilities with this incredible dough. Think of the methodical process of creating inverse puff pastry as a delightful, focused activity, perfect for channeling your inner pastry chef.
Once your exquisite inverse puff pastry hits the oven, be warned: the irresistible aroma of baking butter and sugar will undoubtedly draw everyone near. Your neighbors, perhaps even from a safe distance, will undoubtedly be queuing up for a taste of your buttery, crispy goodness!
Mastering Puff Pastry Storage for Future Culinary Creations
So, you’ve successfully crafted a batch of perfectly laminated inverse puff pastry. Now, how do you ensure you always have this golden goodness at your fingertips? Efficient storage is key! In two simple steps, you can guarantee a stash of perfect puff pastry ready for any culinary whim:
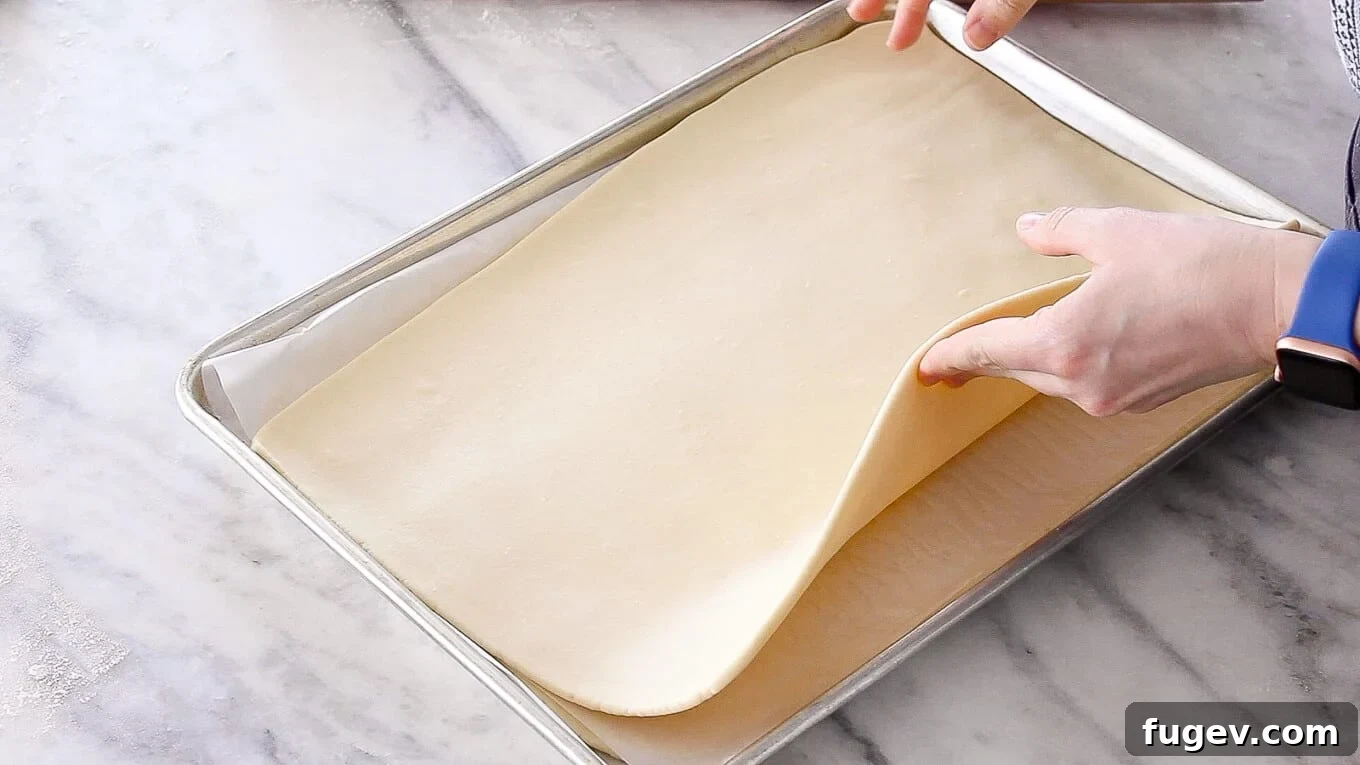
- Freeze it in sheets: After the final turn and chill, roll your pastry to your desired thickness (e.g., 1/8 inch), then carefully layer it between sheets of parchment paper. Wrap the entire stack extremely well in plastic wrap, followed by aluminum foil to prevent freezer burn.
- Pull out one sheet at a time: Whenever inspiration strikes or a craving hits, simply retrieve a single sheet from the freezer. Allow it to thaw in the refrigerator for a few hours or at room temperature for a shorter period before using. This convenience makes homemade puff pastry a realistic and rewarding endeavor.
Unleash Your Creativity: Endless Possibilities with Inverse Puff Pastry
What kind of “need” are we talking about? The possibilities are truly boundless! Your homemade inverse puff pastry is a versatile foundation for a myriad of sweet and savory delights. Imagine using it as a glorious, flaky topping for a comforting chicken pot pie, transforming ordinary weeknight dinners into gourmet experiences. Craft delectable fruit turnovers bursting with seasonal fillings, or elegant cheese straws, perfect for entertaining. Dream of a classic tarte Tatin with its caramelized apple base and crisp pastry top, or a vibrant puff pastry fruit tart adorned with fresh berries and a light glaze. For savory bites, consider stuffed cheese and vegetable parcels, or the intricate layers of a classic mille feuille. Beyond these, explore options like delicate palmiers, sophisticated vol-au-vents, or even a batch of truly exceptional homemade croissants. The list goes on, limited only by your imagination!
Fear not, I will be delving into my freezer stash of inverse puff pastry (and there is indeed a generous amount!) over the coming months. I’ll be sharing a wealth of exciting recipes, taking you along for every delicious adventure!
The Nerdy Details: Unraveling the Science of Flaky Pastry
Now, let’s dive into the fascinating science behind what makes puff pastry truly “puff”! (This is the part that genuinely excites me!)
What Creates the Incredible Puff? The Magic of Lamination!
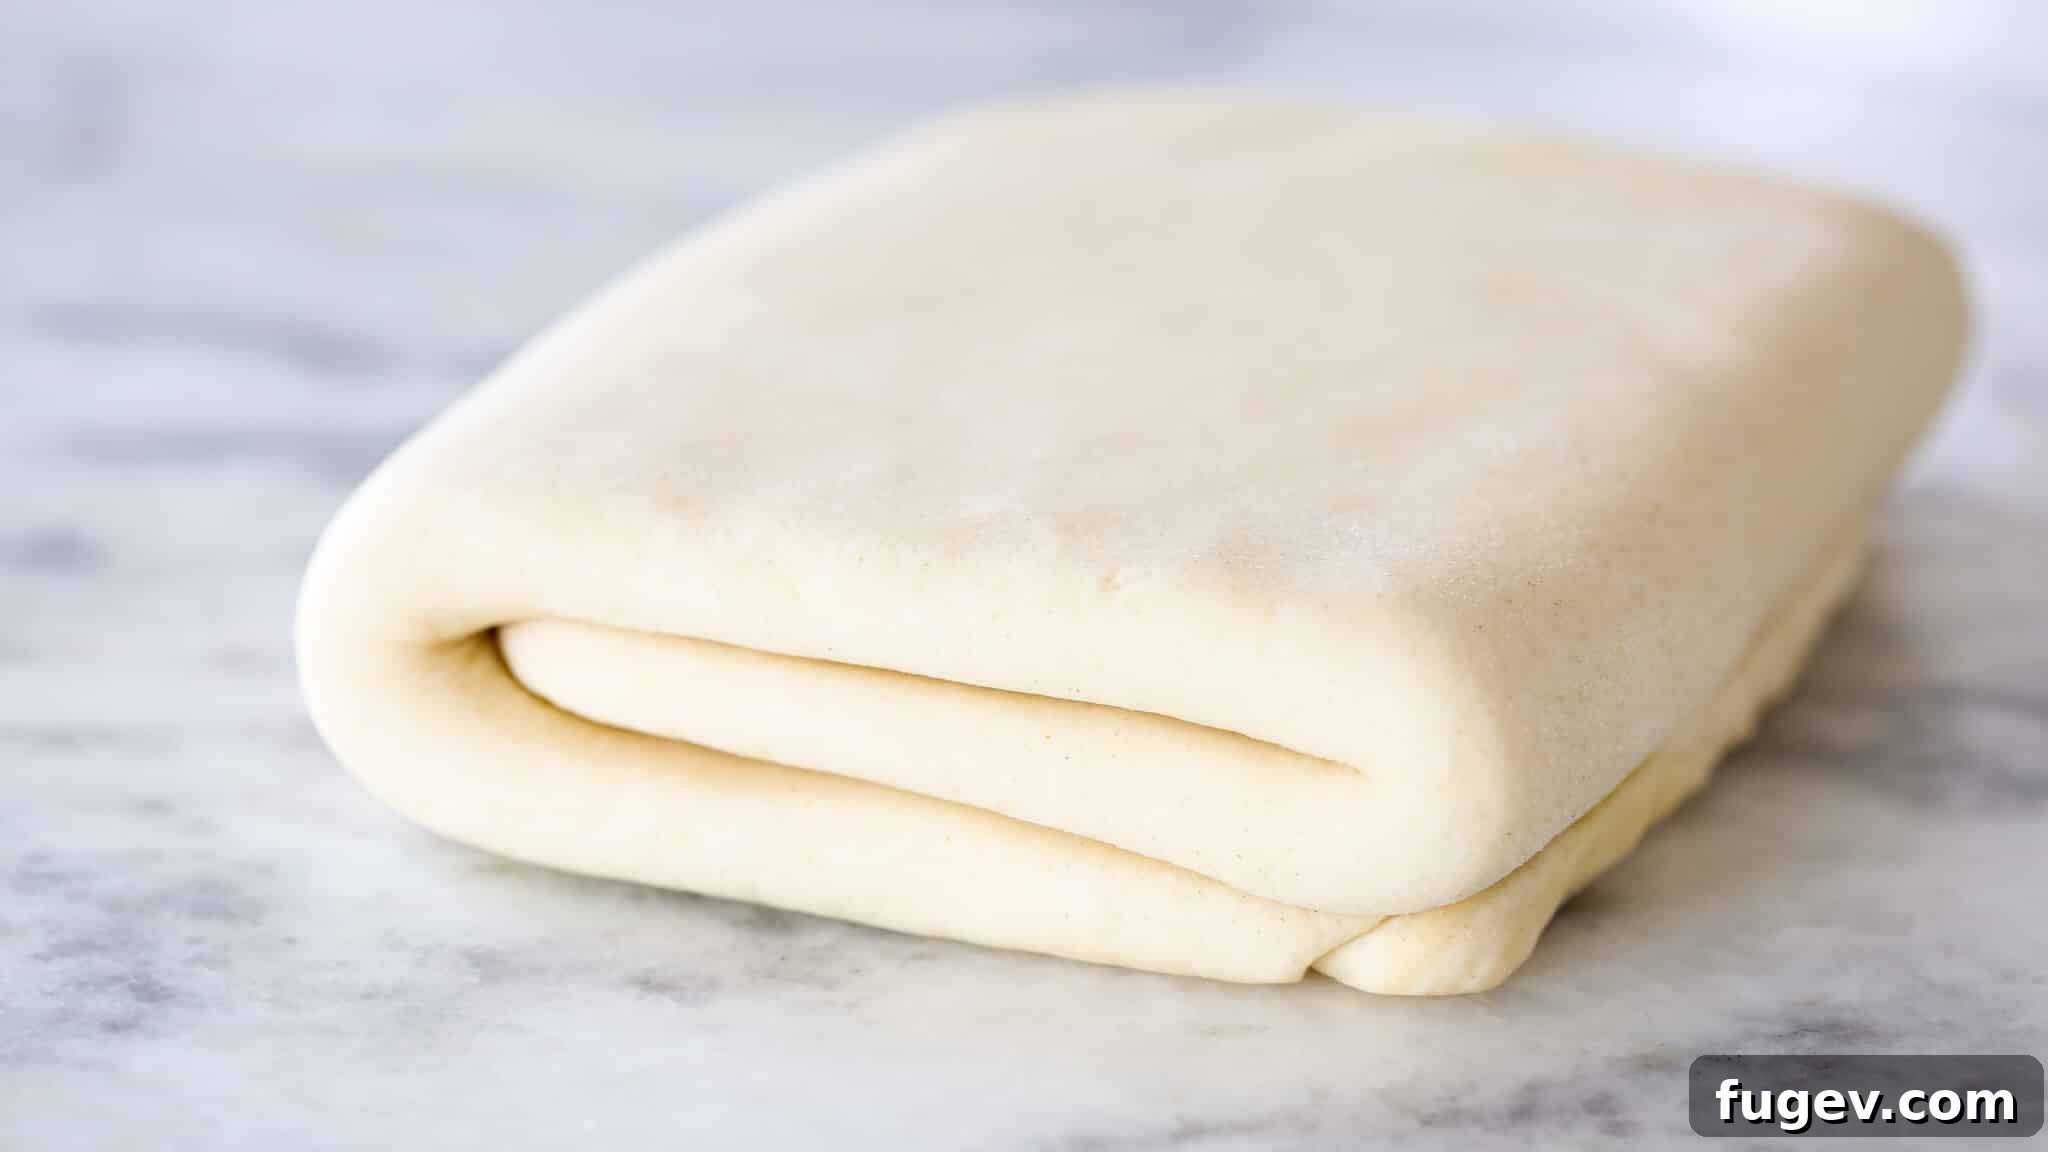
The secret to all those tantalizingly flaky layers in puff pastry lies in a meticulous process called lamination. Through a series of precise folds and rolls, you create distinct, individual layers of butter encased within a delicate pastry dough. When this beautifully laminated dough encounters the intense heat of a hot oven, a magical transformation occurs. The butter within these layers begins to melt rapidly. Crucially, the water content in that butter rapidly evaporates, generating steam. This steam, trapped between the layers, exerts pressure, forcefully pushing the pastry layers apart. Voilà! The result is a spectacular rise, creating a multitude of airy, crisp, and wonderfully buttery layers—the hallmark of exceptional puff pastry.
Indeed, your deductive reasoning is spot on: all that magnificent flakiness and impressive rise hinge entirely on two critical factors: the successful creation of these numerous, thin layers, and their careful preservation throughout the handling and baking process.
Inverse vs. Traditional Puff Pastry: A Technical Comparison
Traditionally, the initial layers are formed by encasing a solid butter square, known as the beurrage, within a carefully prepared dough, or détrempe. This forms a neat packet, the pâton, which is then repeatedly rolled and folded. The term “inverse puff pastry” signifies a key difference in this fundamental step: in this recipe, the butter mixture is on the outside, effectively enclosing the dough, whereas in traditional methods, the dough encloses the butter. This inversion is not just a stylistic choice; it offers tangible benefits.
While the initial combination and the very first fold of inverse puff pastry can be slightly more challenging due to the butter being on the exterior, it quickly becomes much easier to manage than its traditional counterpart. The unique composition of the exterior butter block (beurrage) in inverse puff pastry provides a more stable and forgiving medium. The resulting pastry from the inverse method is often lauded for being exceptionally flakier, with a more consistent and even rise.
A crucial distinction in inverse puff pastry is how the beurrage is prepared. It’s made by combining a generous amount of butter with a small proportion of flour. This flour addition is strategic: it significantly helps to stabilize the butter, preventing it from melting too quickly. This added stability is particularly beneficial during the critical stages of forming the pâton and performing your initial folds, acting as a kind of “layer insurance” against premature butter meltdowns.
The Art of Folding: Mastering Lamination Turns
Once the butter and dough are expertly combined, they undergo a series of precise folds, known in the pastry world as “turns.” There are generally two types of folds used in laminated doughs: the single fold (often called an “envelope fold”) and the double fold (or “book fold”). The total number and specific types of turns you perform directly dictate how many exquisite layers your final puff pastry will boast. This precise sequence is often a highly guarded secret among pastry chefs, as it is the key differentiator that, even with the right ingredients, ensures consistent, exceptional results.
For this inverse puff pastry recipe, I prefer to use 6 single folds, executed in batches of two. This approach strikes the perfect balance between developing sufficient layers and managing the dough’s elasticity.
It’s imperative never to attempt more than two turns at a time without an adequate resting period. The gluten structure within the dough requires time to relax; forcing more turns will cause the gluten to contract excessively, making it incredibly difficult, if not impossible, to roll the pastry thin enough. Furthermore, the butter will inevitably warm up and soften too much, risking its integrity. Instead of maintaining distinct layers, the soft butter will begin to incorporate into the dough, compromising the lamination. Just as integrity is vital in life, it is equally paramount for achieving perfect pastry layers – you heard it here first!
The Golden Rules of Pastry Success: Temperature, Touch, and Timeless Patience
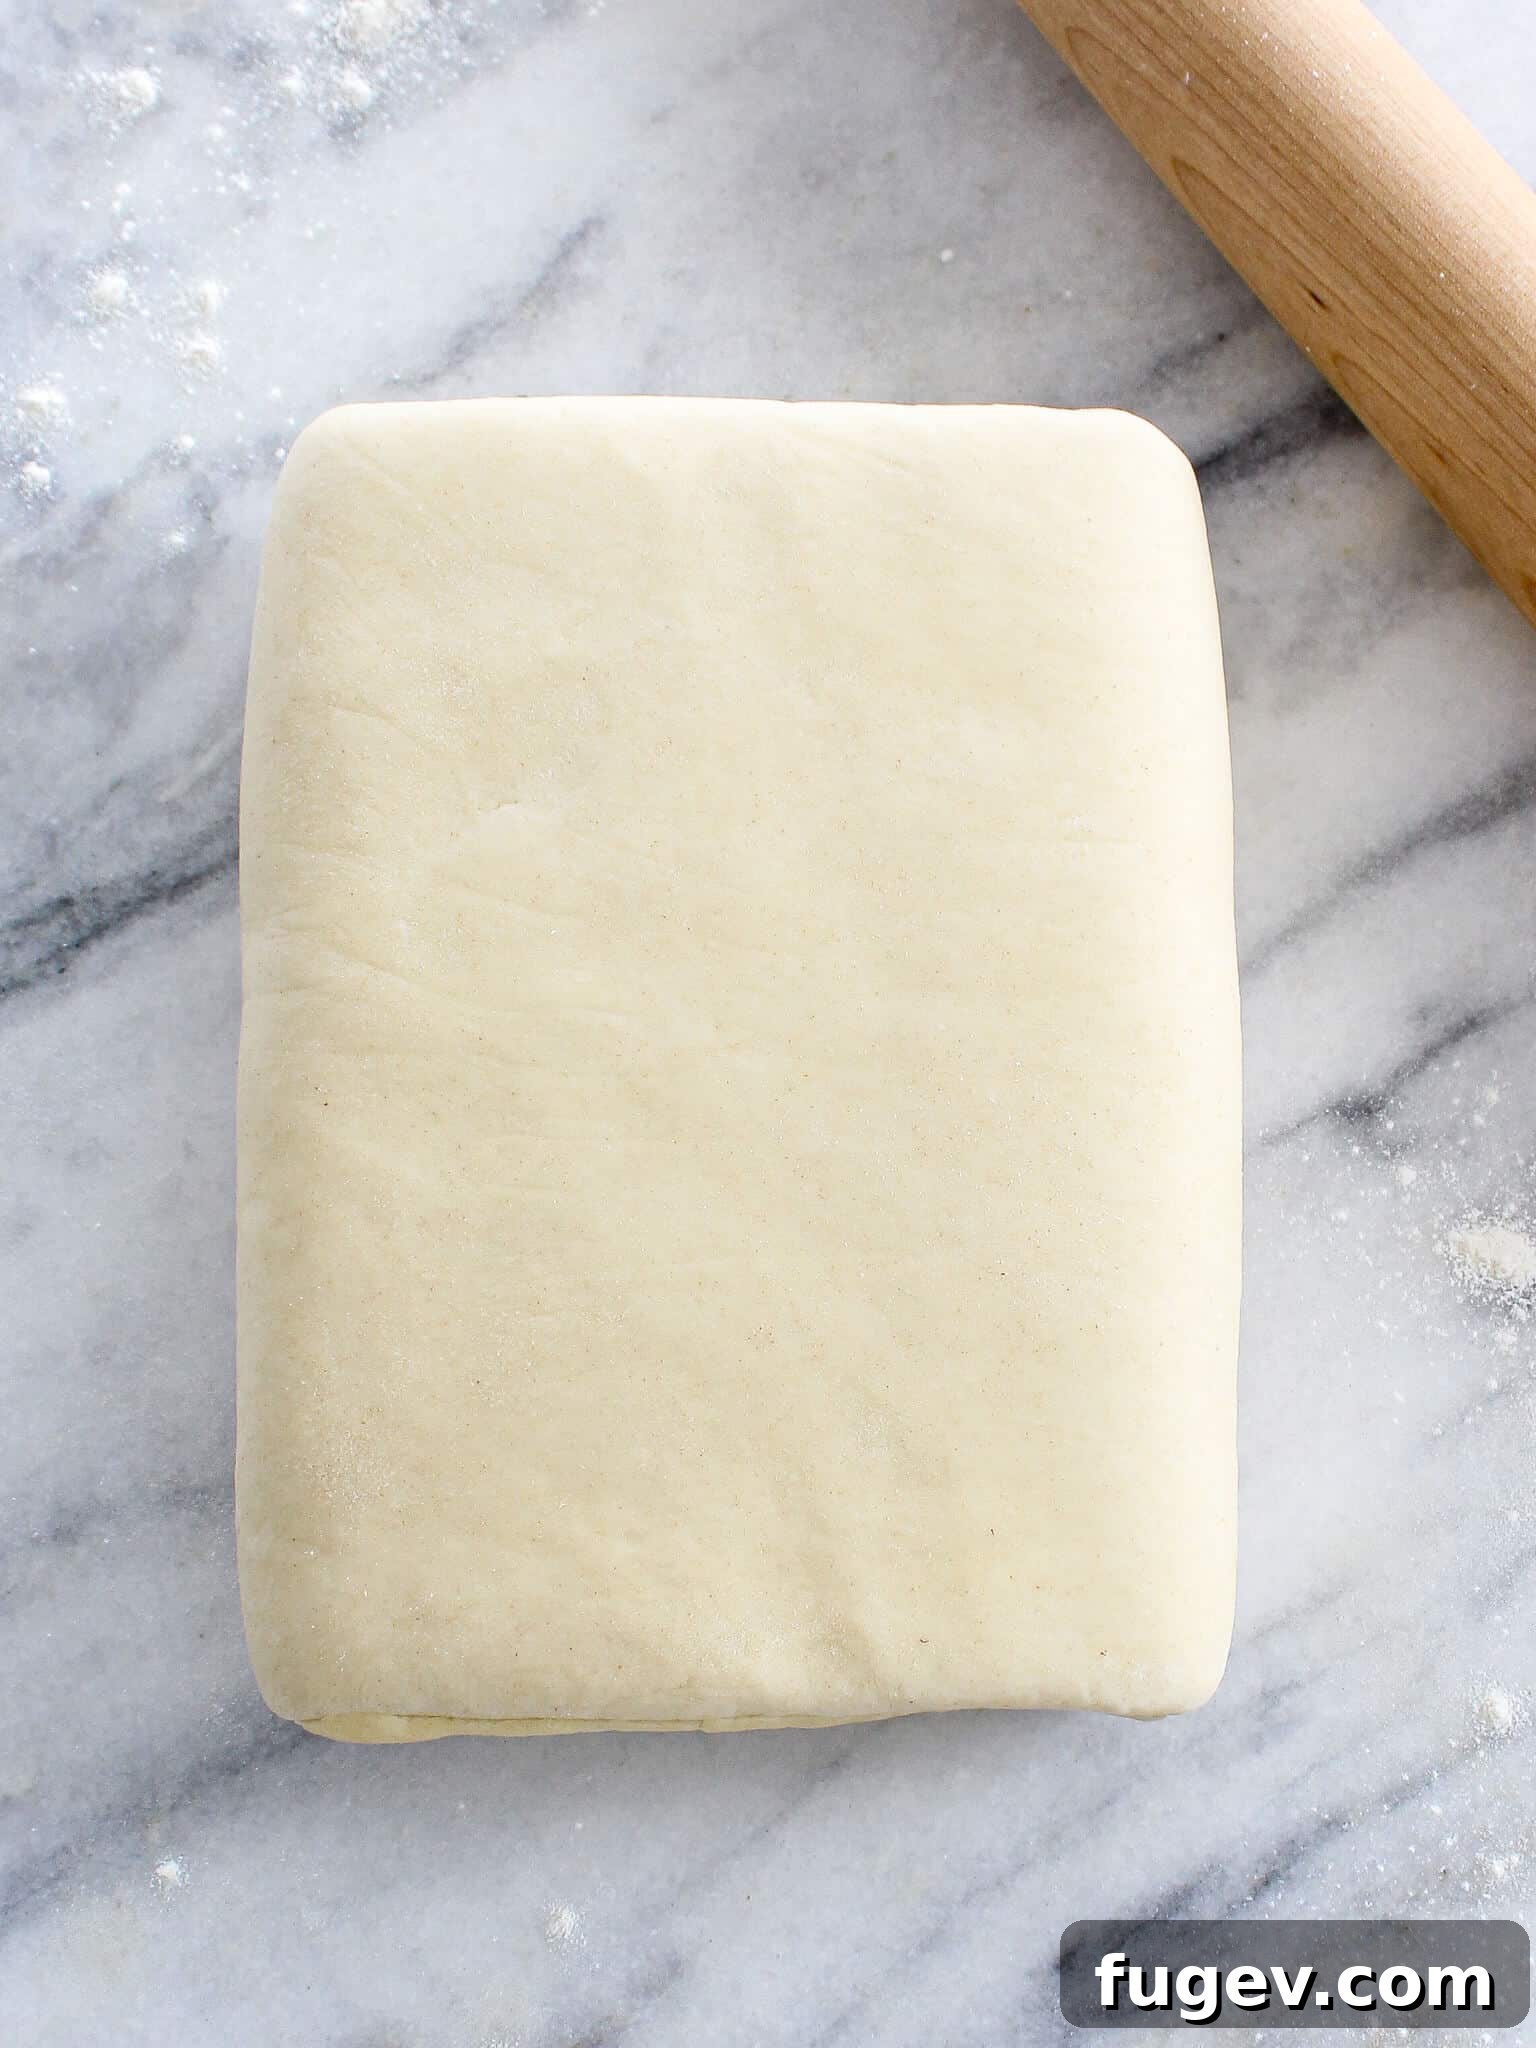
Both the creation and, crucially, the maintenance of those delicate layers depend entirely on one overarching principle: keeping the butter cold yet pliable. If your butter is too cold and rigid when you attempt to roll it, it will inevitably break and tear, leading to uneven, disappointing layers. Conversely, if you fail to properly chill your dough, it will become overly elastic, unyielding, and uncooperative, resisting your efforts to roll it thinly and evenly.
The single most important aspect in all of pastry making, and this rings especially true for laminated doughs, is to truly pay attention to your dough. You need to develop an intimate understanding of its texture, its subtle resistance, its needs, and its frustrations. This keen observation allows you to react immediately and give it precisely what it requires to remain cooperative and happy. Dough can never, ever be forced. Instead, you must learn the nuanced tricks to control it, guiding it rather than wrestling it. If the dough starts to shrink back excessively, it’s a clear signal it needs to relax; gently place it back in the refrigerator to chill and rest. If the butter feels too hard and unyielding, exercise patience and wait a few moments, or learn the subtle manipulations (my video tutorial offers great insights here) that allow you to work closer to your desired timeline.
If I could distill all the wisdom of laminated dough into one snippet of advice, it would be this: Do not rush, and keep it cold and flat! Neglecting these fundamental rules will inevitably lead to compromised lamination, rendering all your hard work in vain. And that, truly, is a sad outcome. At Chef Lindsey Farr, we don’t do sadness; we do butter. And loads of it, for glorious, happy pastry!
Crafting Your Own Inverse Puff Pastry: A Recipe by Chef Lindsey
A note on precision: This recipe is meticulously crafted by weight, not volume. Before any frustrated comments arise, please understand that this precise formulation is the result of months of rigorous testing, involving minute adjustments in a challenging, often hot, prep kitchen. The smallest variations in butter ratios within either the dough (détrempe) or the butter block (beurrage) make an enormous difference in the final texture and flakiness. While you can attempt to convert to volume measurements, be aware that the accuracy will be significantly reduced, and your results may vary. For truly professional-grade inverse puff pastry, weighing your ingredients is non-negotiable.
Inverse Puff Pastry
Comment
Print Recipe
Ingredients
Beurrage: (Butter Block)
- 420 g Butter
- 165 g All-Purpose Flour
Détrempe: (Dough)
- 160 g Water
- 12 g Salt
- 4 g Distilled White Vinegar
- 125 g Beurre en pommade (softened butter)
- 15 g Sugar
- 198 g Cake Flour
- 198 g All-Purpose Flour
Instructions
- Prepare the Beurrage Layout: Begin by folding a piece of parchment paper into a perfect 10-inch square. This will serve as a guide for shaping your butter block later. Set this aside.
- Create the Beurrage (Butter Block): Take the 420g of butter for the beurrage. To ensure it’s pliable but not melted, temper it by gently hitting it with a rolling pin a few times. Place this butter into the bowl of a stand mixer fitted with the paddle attachment. Add the 165g of all-purpose flour. Mix on low speed until the butter and flour are thoroughly combined and no visible streaks of butter remain. This step is crucial for stabilizing the butter. Transfer this mixture onto your prepared 10-inch parchment square and roll it out evenly to fill the square. Refrigerate the beurrage for a minimum of 30 minutes to firm up. Chef’s Tip: I like to prepare the beurrage first, as it means I don’t need to wash my mixer bowl before moving on to the détrempe.
- Prepare the Détrempe (Dough): In the same (or a clean) stand mixer bowl fitted with the paddle attachment, combine all the dry ingredients for the détrempe: salt, sugar, cake flour, and all-purpose flour. Mix briefly. Add the 125g of softened butter (beurre en pommade) and mix on low until the butter is cut into the flour and no large visible pieces remain – it should resemble coarse meal. In a separate small bowl, combine the water and distilled white vinegar. With the mixer running on low, slowly pour the water/vinegar mixture into the flour and butter mixture until a cohesive dough forms. Turn the dough out onto a lightly floured surface (or an un-floured surface if you prefer a less sticky start) and gently knead just until any dry bits are incorporated and the dough comes together smoothly. Avoid over-kneading. Shape the dough into a 6.5-inch square, wrap it tightly in plastic wrap, and chill it in the refrigerator for 30 minutes.
- Combine Beurrage and Détrempe: Remove the butter block (beurrage) from the refrigerator approximately 5-7 minutes before removing the dough (détrempe). This allows the butter to soften slightly, making it more pliable. Generously flour a smooth, clean work surface. Carefully peel the beurrage from its parchment paper. Place the chilled détrempe (dough square) on top of the beurrage, rotating the dough so it sits like a diamond on the square butter block. Offsetting the dough this way will make it easier to fold the corners of the butter over the dough in the next step.
- Enclose the Détrempe: Carefully fold the four corners of the beurrage over the détrempe, completely enclosing the dough. Pinch and gently smoosh the edges of the butter together to seal the seams tightly, creating a neat, sealed packet. Work quickly during this step to prevent the butter from warming and melting too much.
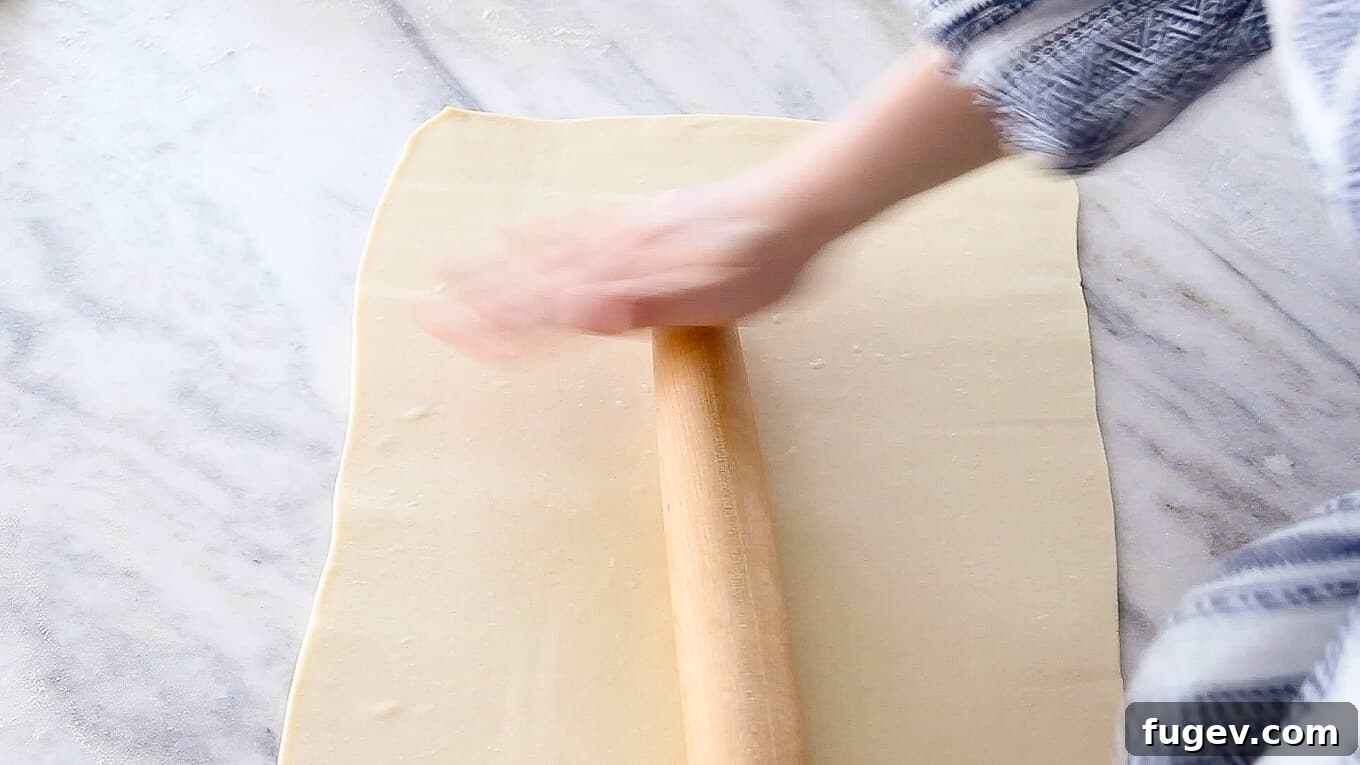
- First Two Single Turns: Lightly flour your work surface and the dough packet. Roll the dough out gently and evenly until it is approximately ¼ inch thick, and measures about 18 inches long by 7 inches wide. Now, perform a single (envelope) fold: Fold the top third of the dough down towards the center, then fold the bottom third up and over the top third, just like you would fold a letter to fit into an envelope. This completes one turn. Rotate the dough 90 degrees (so the open edge is facing you) and repeat the rolling and single folding process one more time. This completes your first set of two single turns. Wrap the folded dough tightly in plastic wrap and chill it in the refrigerator for 30 minutes.
- Subsequent Turns and Resting: Repeat two more sets of two single turns (totaling 6 single turns). Ensure you chill the dough for 30 minutes between each set of two turns. During the later sets, the dough will have developed more gluten and may become more resistant to rolling, tending to shrink back. If you notice the dough becoming too elastic or difficult to roll, place it flat on a baking sheet, cover it with parchment, and return it to the refrigerator for 10-15 minutes to allow the gluten to relax before continuing.
- Final Chill: After successfully completing all six single turns, wrap the dough securely in plastic wrap and chill it in the refrigerator for a minimum of 2 hours, or ideally, overnight. An overnight chill allows the gluten to fully relax and the butter to firm up completely, yielding superior results.
- Prepare for Baking: Once fully chilled, remove the dough. On a lightly floured surface, carefully roll the inverse puff pastry to your desired thickness, typically about 1/8 inch thick. The dough may resist slightly at first. If it becomes too warm or starts to shrink, simply transfer it back to the refrigerator to chill for 10-15 minutes before resuming rolling. I find it easiest to roll out the entire sheet to roughly the size of a standard baking sheet, chill it, then slice the dough in half with a pizza cutter. Work with one half while the other chills, swapping them as needed to maintain a cool temperature and prevent shrinking. You will end up with two pieces of dough, each roughly the size of a baking sheet.
- Final Preparation Before Baking: Before using the dough for your specific recipe, ensure it is thoroughly chilled for at least 30 minutes. Cut the dough into your desired shapes (e.g., squares, rounds, strips). Using a fork, “dock” the dough (prick small holes across its surface) to allow steam to escape evenly and prevent excessive puffing in unwanted areas. Chill the cut and docked dough once more before baking. Do not allow the dough to come to room temperature before it enters the oven, as this will prevent the butter from creating those magnificent, distinct layers.
- Bake: Bake your inverse puff pastry creations in an oven preheated to 375°F (190°C), preferably on a convection setting for optimal rise and crispness.
Video Tutorial
Watch Chef Lindsey Farr’s detailed video tutorial to visually guide you through each step of making inverse puff pastry, ensuring your success.
Nutrition Information
Enjoyed this recipe? Leave a comment below!
Share your experiences and creations with our community.
Before You Go: Continue Your Baking Journey!
If you’ve enjoyed the rewarding challenge of making this inverse puff pastry, we encourage you to explore more dough-making adventures! Try my flaky all-butter pie crust tutorial to master yet another versatile foundation for sweet and savory pies. Or, if you’re keen to keep your culinary journey rooted in classic French patisserie, delve into my sweet crepe recipe, a delightful base for countless fillings, and then elevate it further by creating a show-stopping mille crepe cake. Happy baking!