
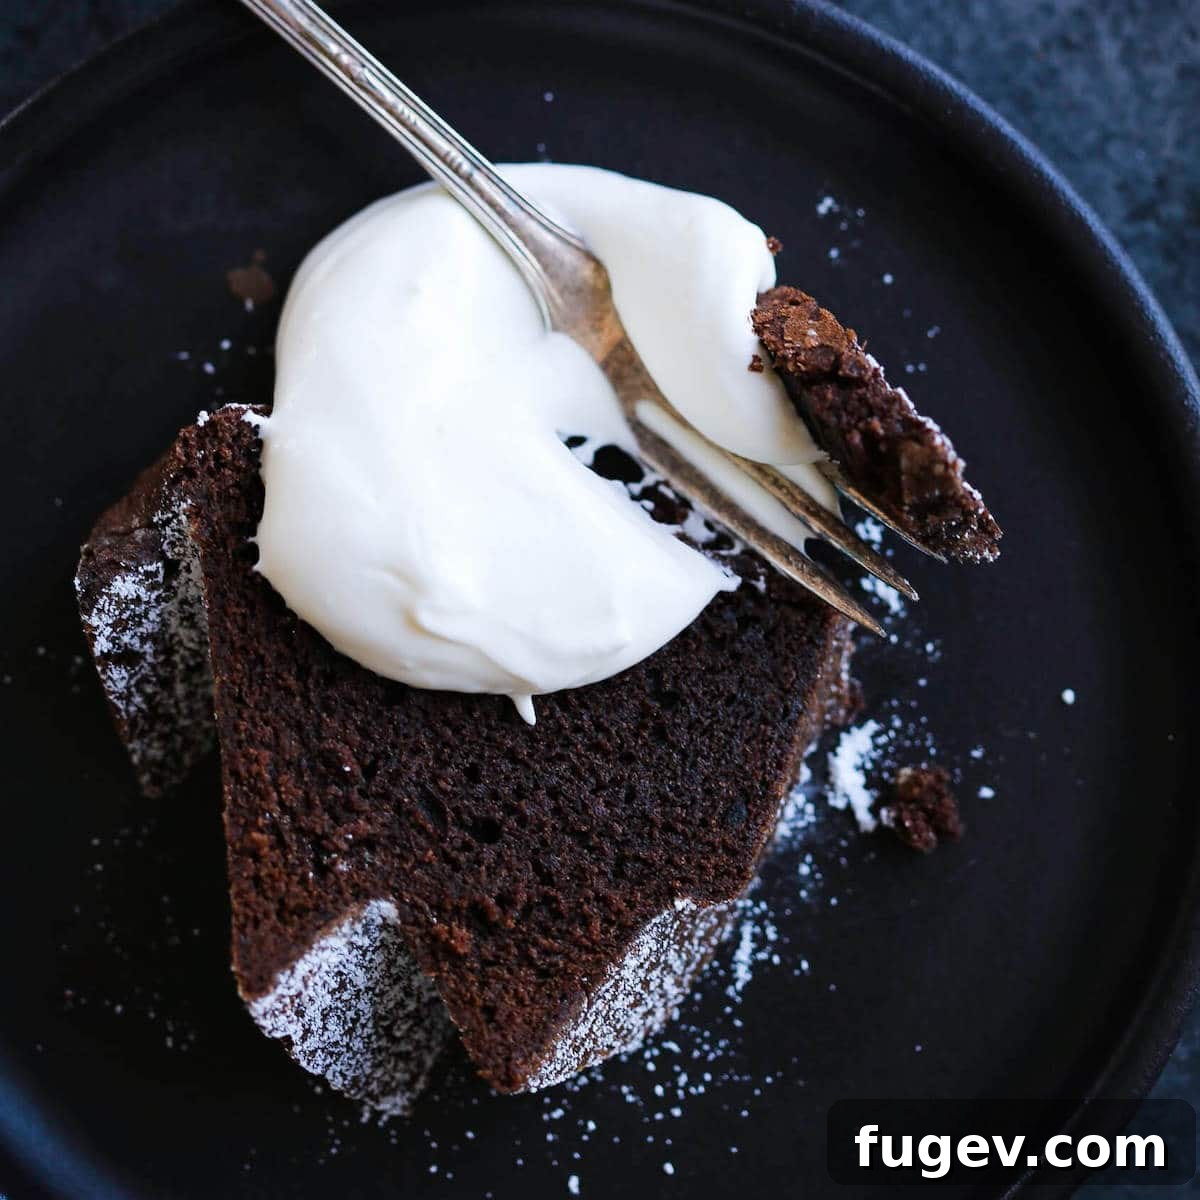
Prepare to experience what many are calling the best Chocolate Pound Cake you’ll ever bake! This isn’t just any cake; it’s a culinary masterpiece offering a profoundly rich and utterly decadent chocolate flavor, perfectly paired with a dense, tender, and incredibly moist crumb that truly melts in your mouth. Whether you’re a seasoned baker or just starting your journey, this recipe guarantees a show-stopping dessert that will impress everyone.
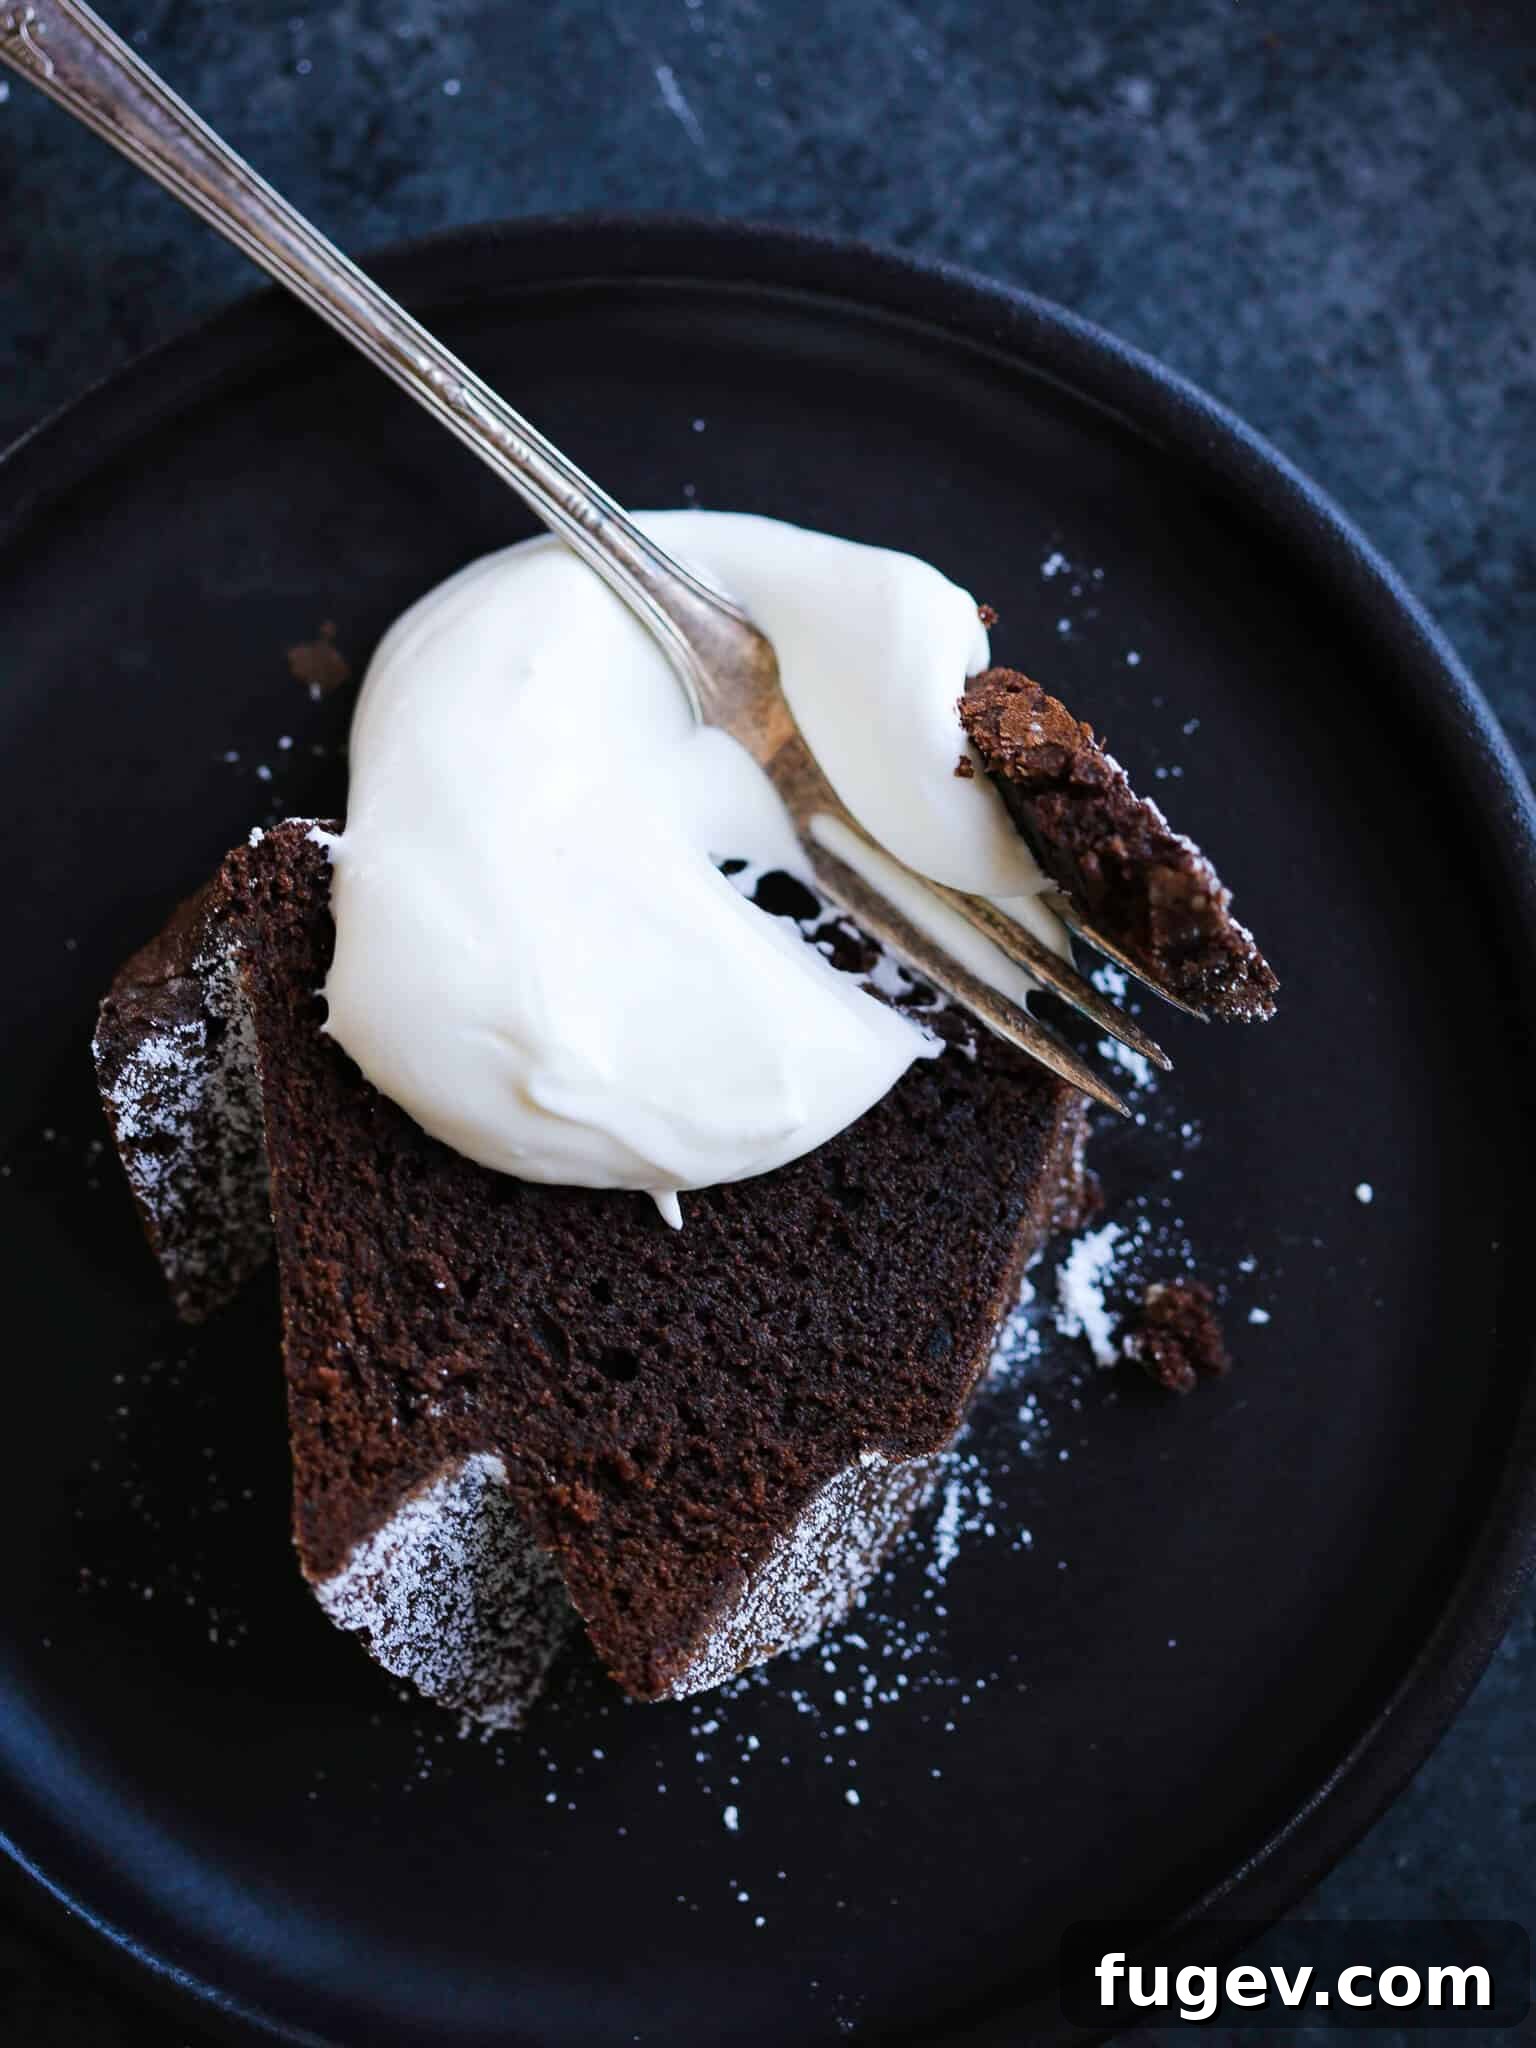
Each lavish slice of this chocolate pound cake delivers an unparalleled texture and a deep, intense chocolate flavor, thanks to a generous amount of high-quality cocoa powder. This recipe is meticulously crafted to satisfy even the most fervent chocolate cravings, leaving a lasting impression with every single bite. As a pastry chef, I’ve dedicated countless hours to perfecting chocolate creations, from the light and airy French silk pie and the nostalgic old-fashioned chocolate fudge recipe to the luxuriously thick easy chocolate pie recipe. However, I can confidently say that this particular chocolate pound cake possesses an unmatched “chocolate power” that sets it apart.
And if you’re already reaching for your bundt pans, why stop at just one? Explore a delightful array of other pound cake recipes that promise equal joy: our vibrant Cherry Almond Pound Cake, the sweetly sophisticated Maple Pound Cake with Maple Glaze, the festive Red Velvet Pound Cake, and the bright, zesty Lemon Pound Cake with Strawberry Icing. Each offers a unique flavor profile while retaining that signature pound cake perfection.
Table of Contents
- Why This is the Best Chocolate Pound Cake Recipe
- Professional Baking Tips for Pound Cake Perfection
- What Makes a Pound Cake Different from a Regular Cake?
- Essential Ingredients for Your Decadent Chocolate Pound Cake
- Baking Variations and Serving Suggestions
- Ingredient Substitutions and Understanding Dutch-Processed Cocoa
- How to Make the Perfect Chocolate Pound Cake: Step-by-Step Guide
- Chef Lindsey’s Pro Tip: The Art of Cooling Your Pound Cake
- Troubleshooting: How to Get Pound Cakes to Come Out of a Bundt Pan
- Frequently Asked Questions About Chocolate Pound Cake
- Chocolate Pound Cake Recipe Card
- Before You Go: Explore More Deliciousness
Why This is the Best Chocolate Pound Cake Recipe: A Pastry Chef’s Perspective
This chocolate pound cake isn’t just a recipe; it’s the culmination of years of professional baking experience, refined to deliver an extraordinary dessert. Here’s what makes it stand head and shoulders above the rest:
- Unrivaled, Intense Chocolate Flavor: Forget subtle hints of chocolate. This recipe is engineered for maximum impact. We’ve achieved a sinfully deep and authentic chocolate flavor that permeates every single crumb, offering a perfect balance of richness and sweetness without being overpowering. It’s the kind of chocolate experience that lingers delightfully on your palate. The careful selection and generous use of high-quality cocoa powder ensure that each bite delivers a true chocolate explosion.
- A Masterfully Dense Yet Melt-in-Your-Mouth Crumb: Traditional pound cakes are known for their density, but ours takes it a step further. This professional recipe subtly deviates from the classic 1:1:1:1 ratio (butter, sugar, eggs, flour) to achieve a crumb that is wonderfully dense without feeling heavy or dry. The batter’s luscious, smooth consistency, combined with the low liquid content of sour cream, results in a cake that maintains its integrity and structure while dissolving delicately in your mouth. It’s the epitome of pound cake perfection – sturdy enough to slice beautifully, yet tender enough to be truly indulgent.
- Perfected by a Pastry Chef for Consistent Results: As a dedicated pastry chef, I’ve meticulously tested and re-tested this recipe countless times. My goal was to create a foolproof, step-by-step process that guarantees success in your home kitchen, every single time. Every ingredient ratio, measured both by weight and by volume, has been optimized for the best possible outcome. You can trust that this recipe has been refined through expert hands, ensuring you achieve a cake that looks, smells, and tastes professionally baked, with no fuss and maximum deliciousness.
Professional Baking Tips for Pound Cake Perfection
Achieving a truly exceptional pound cake requires attention to detail. These professional insights will elevate your baking and help you create a chocolate pound cake that rivals any bakery:
- Embrace the Precision of Weighing Ingredients: For consistent and superior baking results, I cannot stress enough the importance of weighing your ingredients. Even for seemingly simple recipes like my easy moist chocolate cake, precision matters. Ingredients like eggs can vary significantly in size, and a cup of flour can fluctuate by as much as 50 grams depending on how it’s scooped. Using a kitchen scale eliminates these inconsistencies, ensuring the perfect ingredient balance every time. If you must measure by volume, always fluff your flour in the bag, then gently spoon it into your measuring cup until mounded. Use a straight edge, like a knife, to level off the excess, being careful not to tap or compress the flour. This method minimizes compaction and yields a more accurate measurement.
- Master the Art of Creaming Butter and Sugar (No Over-Creaming!): The creaming method is crucial for pound cake texture, but over-creaming is a common pitfall. The goal is to cream your softened butter and sugars just until they combine to form a thick, cohesive paste, not a light and fluffy mixture. This process incorporates just enough air to create a tender crumb while retaining that characteristic dense pound cake texture. If you over-cream, you’ll whip too much air into the mixture, which can lead to a more open, lighter crumb, deviating from the classic pound cake consistency. The butter should be soft enough to indent with your finger but still cool, ensuring it doesn’t melt and compromise the texture.
- Vigilance is Key: Don’t Overbake Your Cake: Overbaking is the quickest way to turn a potentially moist and tender pound cake into a dry disappointment. Keep a close eye on your cake as it bakes, especially towards the end of the recommended baking time. Your chocolate pound cake is perfectly done when a cake tester or a wooden skewer inserted into the center comes out clean, with only a few moist crumbs clinging to it. If it comes out completely clean and dry, it’s likely already slightly overbaked. Remember that ovens can vary, so use the baking time as a guide, but trust your cake tester for the ultimate indicator of doneness.
What Makes a Pound Cake Different from a Regular Cake? Exploring Its Rich History and Texture
The distinction between a pound cake and a “regular” cake is rooted in its historical origins and unique ingredient ratios, which directly influence its celebrated texture and richness. Historically, the traditional pound cake earned its name from its simple, elegant recipe: one pound each of butter, sugar, eggs, and flour. This classic 1:1:1:1 ratio meant that a single pound cake typically weighed around four pounds – a substantial and indulgent dessert! This precise balance of ingredients gives pound cake its signature dense, moist, and fine-textured crumb, a characteristic that has been cherished for hundreds of years.
In contrast, “regular” cakes encompass a much broader category, featuring a wider range of ingredients, leavening agents (like baking powder and baking soda working in tandem), and diverse ratios. The primary goal for many regular cakes is often to achieve a light, airy, and fluffy texture, which is typically accomplished by incorporating more liquid and air during mixing, and relying heavily on chemical leaveners. While pound cake also uses leavening, it’s usually in smaller amounts, contributing to density rather than extreme lift. Though the pound cake originated in Europe, its enduring appeal has made it a proud and cherished American culinary tradition, evolving slightly over time but always retaining its core characteristics of richness and satisfying density.
Essential Ingredients for Your Decadent Chocolate Pound Cake
Each ingredient in this chocolate pound cake recipe plays a crucial role in creating its perfect flavor and texture. Understanding their function will empower you to bake with confidence:
- Unsalted Butter: My preference for baking is always unsalted butter. This allows precise control over the overall saltiness of the cake, ensuring that the flavors are perfectly balanced. Butter contributes significantly to the cake’s rich flavor, moistness, and tender crumb, acting as a crucial fat that carries flavor and tenderizes the gluten.
- Granulated Sugar: Beyond simply adding sweetness, granulated sugar is vital for the structure and texture of this pound cake. It helps create that desirable tight crumb, contributing to a dense yet moist consistency. When creamed with butter, it creates air pockets that give the cake its lift and tender bite.
- Light Brown Sugar: The inclusion of light brown sugar offers more than just sweetness; its molasses content adds an extra layer of moisture, helping to keep the cake exceptionally soft. It also imparts a lovely, complex, and rich caramel-like flavor that beautifully complements the deep chocolate notes.
- Whole Eggs: Eggs are multitaskers in this recipe, providing essential fat, moisture, and leavening. The yolks contribute richness and ensure the pound cake remains moist, while the egg whites help to bind the ingredients and provide some structure. Eggs also act as emulsifiers, creating a smooth, cohesive batter and ensuring a texturally perfect cake.
- Vanilla Extract: Vanilla extract is not just a flavor in itself, but a powerful flavor enhancer. It beautifully rounds out the other ingredients, amplifying the deep chocolate and rich brown sugar notes, making the overall flavor profile even more complex and satisfying.
- All-Purpose Flour: All-purpose flour is chosen for its moderate protein content, which develops just the right amount of gluten. This creates the signature dense, yet tender and structured crumb characteristic of a perfect pound cake, providing the necessary body without being overly tough.
- Dutch-Processed Cocoa Powder: For this recipe, I specifically use Dutch-processed cocoa powder, similar to what I use in my Glazed Chocolate Donuts. Dutch processing involves treating cocoa powder with an alkaline solution, which neutralizes its natural acidity. This results in a cocoa powder with a richer, deeper, and less bitter chocolate flavor, as well as a darker, more appealing color. Crucially, because it’s neutral, it doesn’t react with baking soda (which needs an acid to activate), making it ideal for this recipe where baking soda reacts with the sour cream.
- Sour Cream: Sour cream is a secret weapon for achieving the dense, moist texture of this chocolate pound cake, just as it is in my popular sour cream pound cake. Its ideal balance of moisture and fat effectively hydrates the flour and cocoa powder while simultaneously inhibiting excessive gluten development. This balance ensures a tender crumb that is rich, dense, and incredibly moist.
- Kosher Salt: A small amount of kosher salt is essential for balancing and enhancing all the flavors in the cake, particularly the sweetness of the sugars and the depth of the chocolate. It prevents the cake from tasting bland or one-dimensional.
- Baking Soda: While Dutch-processed cocoa is neutral, the baking soda in this recipe specifically reacts with the acidity present in the sour cream. This reaction creates carbon dioxide bubbles, providing just the right amount of gentle lift for a dense yet tender pound cake, rather than a light and airy one.
- Water: A minimal amount of water is used to slightly adjust the batter’s consistency and ensure all dry ingredients are properly hydrated without adding too much moisture, maintaining the cake’s dense structure.
For precise quantities and a printable version, please refer to the comprehensive recipe card further down this page.
Baking Variations and Serving Suggestions: Elevate Your Chocolate Pound Cake
While this chocolate pound cake is exquisite on its own, there are many ways to customize and enhance it. Get creative with these ideas!
- Embrace “Death By Chocolate” Indulgence: For the ultimate chocolate lover, transform this into a “Death By Chocolate” experience. Fold up to a full cup of chocolate chips (dark, milk, or a mix!) into the batter before baking. After cooling, positively drown the cake in my phenomenal chocolate fudge glaze. Alternatively, you could try my chocolate bundt cake recipe, which features both cocoa powder and melted chocolate, often topped with a luscious chocolate ganache. If you prefer to lighten the intensity slightly, consider pairing it with the rich, yet balanced, chocolate cream cheese frosting from my chocolate mayonnaise cake.
- Experiment with Diverse Glazes and Toppings: The versatility of this chocolate pound cake makes it a perfect canvas for various glazes and accompaniments. It would be absolutely delightful with my bright vanilla donut glaze, a drizzle of luscious salted caramel sauce, or a generous slather of creamy cream cheese buttercream. You could also borrow the tangy-sweet cream cheese glaze from my cinnamon chip scones for a unique twist. Consider a dusting of powdered sugar, a dollop of fresh whipped cream, or a scoop of homemade ice cream for simple elegance.
- Adapt for a Loaf Pan: No bundt pan? No problem! You can certainly bake this recipe in a standard loaf pan. However, be mindful that a typical loaf pan holds approximately 6 cups of batter, whereas this recipe is designed for a larger 10-12 cup bundt pan. For best results, I recommend halving this recipe if using a single loaf pan. All other instructions can be followed as detailed, but adjust your baking time. Without the central core of a bundt pan to aid even heat distribution, a loaf cake will generally require a slightly different, likely longer, bake time. Keep an eye on it and use a cake tester.
- Transform into an Elegant Trifle: Should you have any delectable leftovers from your chocolate pound cake (a rare occurrence, I know!), they make an exquisite foundation for a trifle. Follow the structure of my Raspberry Trifle recipe, substituting the chocolate pound cake for a brand new, layered dessert that’s perfect for entertaining. The dense texture of pound cake holds up beautifully in a trifle, absorbing complementary flavors without becoming soggy.
Ingredient Substitutions and Understanding Dutch-Processed Cocoa
Baking is both an art and a science, and sometimes, a little flexibility with ingredients is necessary. Here’s what you need to know about substitutions, particularly regarding cocoa powder:
- Cocoa Powder: Dutch-Processed vs. Natural: As mentioned, this recipe calls for Dutch-processed cocoa powder for its deep color and mellow flavor. If you only have standard unsweetened cocoa powder (often labeled “natural”), you can substitute it, but be aware of the changes. Natural cocoa powder is acidic and will react more strongly with the baking soda, which is already designed to react with the sour cream’s acidity. This might result in a slightly more acidic flavor profile and a lighter, reddish-brown color in your cake, similar to some chocolate raspberry cakes. The overall structure should still be good, but the nuanced flavor and appearance will differ.
- Sour Cream Alternatives: I almost always bake with full-fat dairy because the richness and fat content significantly contribute to the texture and intensity of flavor in baked goods. However, if full-fat sour cream isn’t available or you prefer an alternative, low-fat sour cream or even plain Greek yogurt can often be substituted in most cases. Be aware that these substitutions may result in a slightly different texture – typically a bit less dense or moist due to lower fat content and potentially higher moisture. For the best result, stick with full-fat sour cream if possible.
- Cake Flour vs. All-Purpose Flour: While this recipe uses all-purpose flour for its ideal gluten balance, you could certainly substitute cake flour for a slightly finer, more delicate crumb. Cake flour has a lower protein content, which means less gluten development and a softer cake. If you choose to use cake flour, be sure to sift it thoroughly before measuring to ensure a light and airy consistency and to prevent any lumps in your batter. The cake will still be delicious, just with a touch less of that classic “pound cake” chew.
How to Make the Perfect Chocolate Pound Cake: A Step-by-Step Guide
Follow these detailed steps to create a flawless and incredibly delicious chocolate pound cake. Precise measurements are available in the recipe card below.
Part 1: Prepare the Cake Batter
- Step 1: Preheat and Prepare Your Pan. Begin by preheating your oven to 325°F (160°C). This temperature works perfectly for both convection and standard ovens, ensuring even baking. Crucially, prepare your bundt pan with care. Generously spray the entire interior surface with a high-quality non-stick cooking spray, ensuring it gets into all the crevices. Then, lightly dust it with all-purpose flour, tapping the pan and rotating it until every inch of the greased surface is covered. Invert the pan and tap out any excess flour. This creates a non-stick barrier vital for an easy release.
- Step 2: Combine Dry and Wet Mixtures. In a medium-sized bowl, thoroughly whisk together your dry ingredients: the all-purpose flour, Dutch-processed cocoa powder, baking soda, and kosher salt. Ensure they are well combined to prevent pockets of unmixed ingredients. In a separate, smaller bowl, whisk together the sour cream and water until smooth. This prepares your alternate additions.
Pro Tip: Gentle Leavening. This tiny amount of baking soda is precisely calculated to react with the natural acidity in the sour cream, creating just the right amount of leavening. This reaction helps to lift the cake slightly while maintaining its dense pound cake structure.
- Step 3: Cream Butter and Sugars, Incorporate Eggs. In the large bowl of a stand mixer fitted with the paddle attachment, combine the softened unsalted butter with both granulated sugar and light brown sugar. Cream these together on medium speed until a thick, uniform paste forms. This process should take a few minutes but avoid over-creaming to maintain the dense texture. Next, beat in the eggs one at a time, ensuring each egg is fully incorporated before adding the next. Stop the mixer occasionally to scrape down the sides of the bowl with a rubber spatula, ensuring an evenly mixed batter.
- Step 4: Alternate Dry and Wet Additions. Reduce the mixer speed to low. Alternately add the flour mixture and the sour cream mixture to the butter-sugar-egg mixture. Begin and end with the flour mixture. Mix only until each addition is *just* combined before adding the next. Overmixing at this stage can develop too much gluten, resulting in a tougher cake.
Chef’s Workflow: Seamless Mixing. I often don’t wait for all the flour to fully incorporate before adding the next batch of liquid, blending with a continuous flow. However, I always stop the mixer for the final sour cream addition to ensure I can thoroughly scrape out every last bit with a rubber spatula, guaranteeing a homogeneous batter.
- Step 5: Add Vanilla and Final Mix. Pour in the vanilla extract. Increase the mixer speed briefly to medium-low, mixing just until everything is fully incorporated and the batter appears silky and smooth. Do not overmix.
Part 2: Bake, Cool, and Serve
- Step 6: Bake to Perfection. Gently pour the silky batter into your meticulously prepared bundt pan. Use a spatula to smooth the top evenly. Place the pan in the preheated oven and bake until a cake tester or a long wooden skewer inserted into the deepest part of the cake (avoiding the center tube) comes out with only a few moist crumbs clinging to it, indicating it’s done. My oven typically bakes this cake in about 70 minutes, but individual oven temperatures can vary significantly, so yours might take anywhere between 60-85 minutes. Start checking at 60 minutes.
- Step 7: Cool in Stages. Once baked, remove the cake from the oven and allow it to cool in the pan on a wire rack for precisely 20 minutes. This crucial resting period allows the cake’s structure to set without collapsing. After 20 minutes, carefully loosen the edges of the cake from the pan using a thin paring knife if needed, then invert the cake onto the wire rack to cool completely. Allowing it to cool fully on the rack is essential before decorating or slicing.
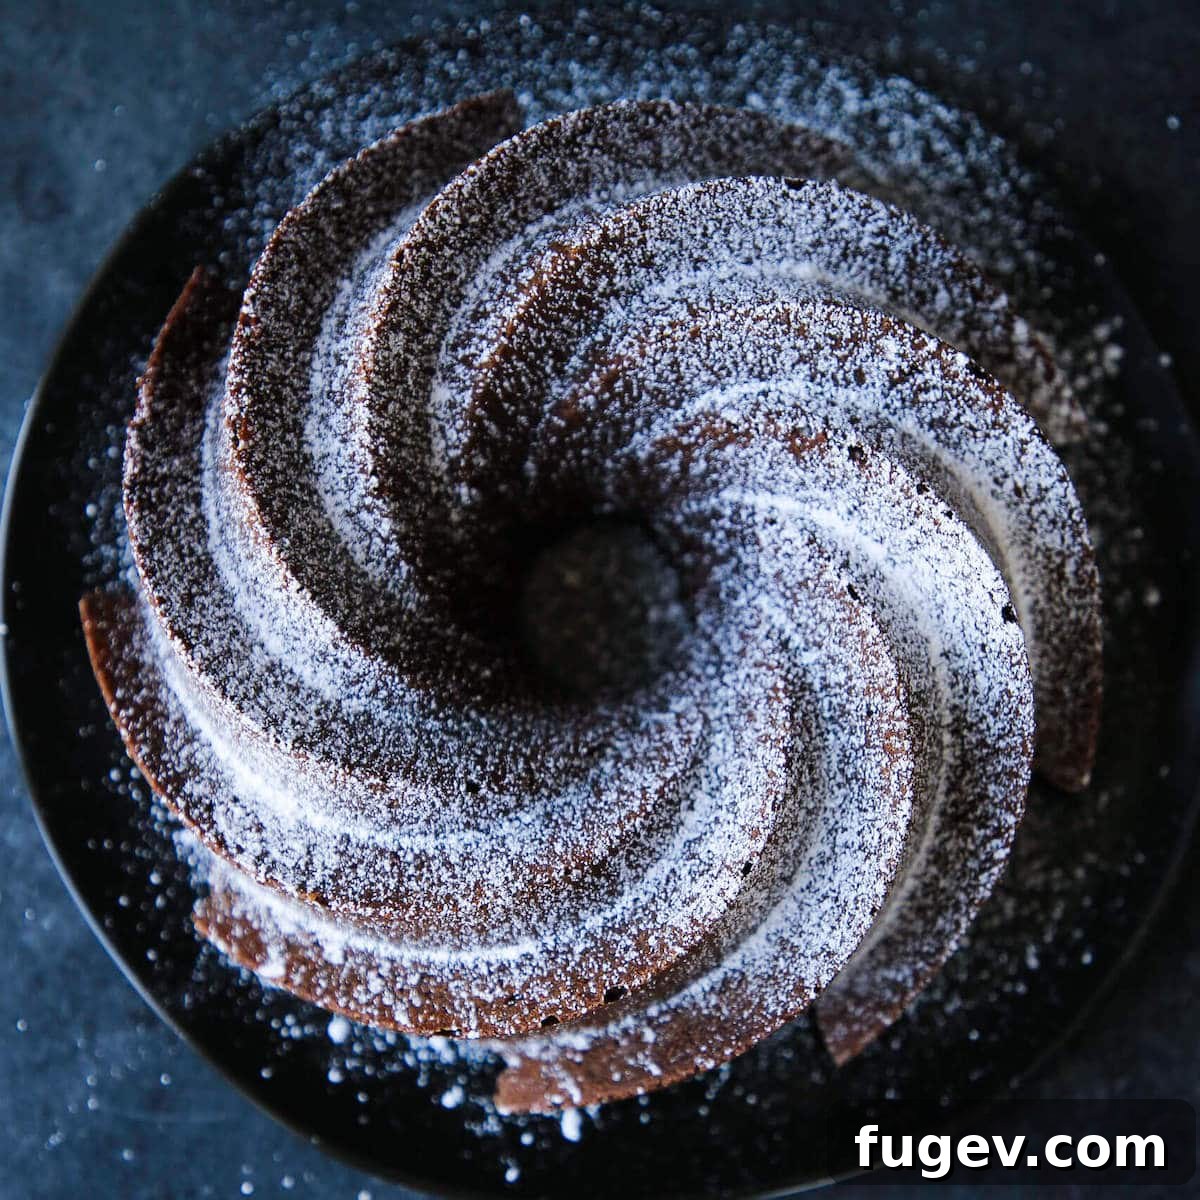
- Step 8: Garnish and Enjoy! Once the chocolate pound cake has cooled entirely, it’s ready for its finishing touch. A simple dusting of confectioner’s sugar is elegantly understated. For a more decadent presentation, drizzle your favorite glaze over the top (consider a simple chocolate glaze, a cream cheese glaze, or a vanilla bean glaze). After the glaze has set, slice your beautiful, rich chocolate pound cake and savor every magnificent bite!
Serving Enhancement Ideas: For an truly unforgettable dessert experience, consider serving your dusted chocolate pound cake with a scoop of creamy vanilla bean ice cream, a spoonful of luscious crème anglaise, or a generous dollop of rich crème fraîche whipped cream. These accompaniments not only add textural contrast but also beautifully highlight the deep chocolate notes of the cake.
Chef Lindsey’s Pro Tip: The Art of Cooling Your Pound Cake for Perfect Texture
Proper cooling is just as critical as proper baking when it comes to pound cakes. It’s essential to allow your cake to cool in two distinct stages. First, let the cake rest in its pan for a full 20 minutes immediately after removing it from the oven. This initial cooling period allows the delicate crumb structure to stabilize and firm up, preventing it from crumbling or sticking when inverted. If you try to remove a pound cake too soon, its warm, fragile structure is much more prone to breaking apart. After this initial resting period, carefully turn the cake out onto a wire rack to cool completely. Cutting into the cake while it’s still warm, even slightly warm, will disrupt its setting crumb, potentially leading to a gooey or dense center and a less defined texture. Patience truly is a virtue in baking, especially when perfecting the crumb of a pound cake!
Troubleshooting: How to Get Pound Cakes to Come Out of a Bundt Pan Flawlessly
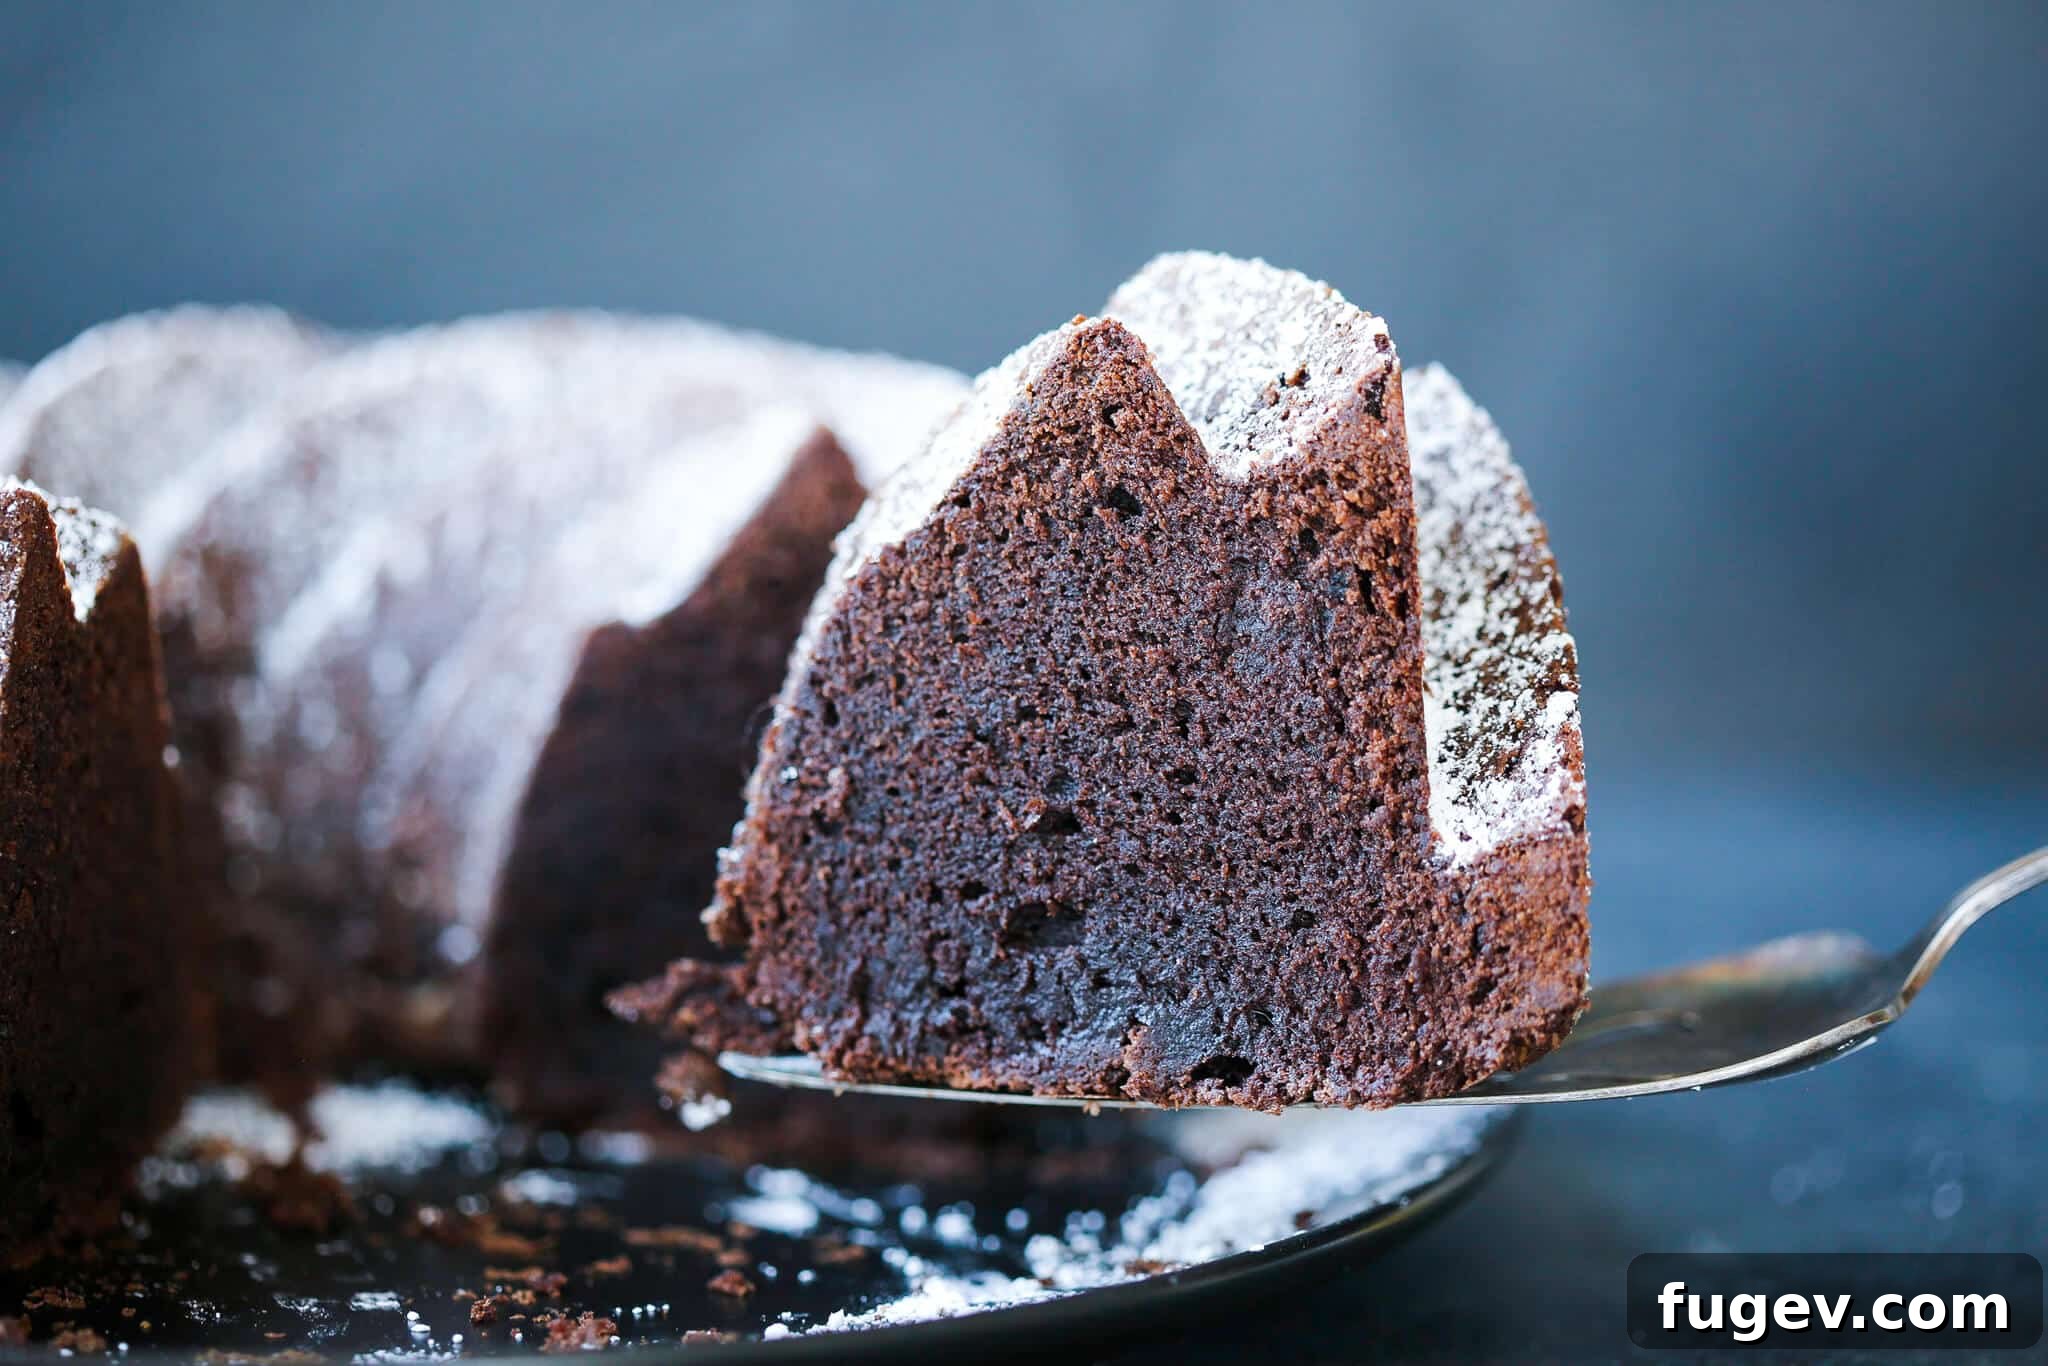
A beautifully fluted bundt cake can be a showstopper, but getting it out of the pan cleanly can sometimes be a challenge. Follow these essential tips to ensure your chocolate pound cake releases perfectly every time:
- The Unbeatable Power of a Well-Greased and Floured Pan: Never underestimate the critical importance of thoroughly greasing and flouring your bundt pan. This step is absolutely key, especially when using a detailed fluted Bundt pan, like the one I use for my photographs. Don’t just spray and go! I recommend using a generous amount of cooking spray or softened butter to coat every single nook, cranny, and crevice. Then, add a spoonful or two of flour and rotate the pan, tapping it gently to ensure the flour adheres to all greased surfaces. For extra assurance, especially with intricate designs, I sometimes repeat this process, adding a bit more flour and tapping it around in the opposite direction. Be sure to tap out all excess flour; leaving too much can result in unsightly white patches on your beautiful cake.
- Patience is a Virtue: Wait for Optimal Cooling Before Inverting: Resist the urge to immediately flip your cake out of the pan. When a cake is too warm, its structure is still delicate and hasn’t fully set, making it highly susceptible to tearing or sticking. As discussed in my pro tip, letting the cake cool in the pan for 20 minutes is essential. This allows the internal structure to firm up and pull away slightly from the pan’s edges. If, after this cooling period, your cake still seems hesitant to release, gently use a small offset spatula or a thin paring knife to carefully coax the edges of the cake away from the mold. Work slowly and methodically around the entire perimeter, including the center tube, until you feel the cake loosen. A gentle shake or a slight twist of the pan can sometimes help facilitate the final release onto your wire rack.
Frequently Asked Questions About Chocolate Pound Cake
To maintain optimal freshness and texture, chocolate pound cake can be stored well-wrapped in plastic wrap at room temperature, refrigerated, or frozen. At room temperature, tightly wrapped pound cakes will remain fresh for up to 5 days. If refrigerated, they will last for up to two weeks. For longer-term storage, the cake can be frozen for up to 3 months. For the very best flavor and texture, I recommend serving it within 2 days of baking or freezing it immediately for later enjoyment.
Absolutely! This chocolate pound cake is an excellent make-ahead dessert. You can prepare the cake batter up to one day in advance and store it, covered, in the refrigerator before baking. Just bring it to room temperature before pouring into the pan. Alternatively, you can bake and cool the cake completely, then wrap it tightly and freeze it. Freezing allows you to serve a freshly defrosted cake at a later date, making it perfect for entertaining or meal prep.
Knowing exactly when a pound cake is done is crucial for its moistness. Begin checking the cake about halfway through the estimated bake time; checking too early can cause the delicate crumb to sink. I gently press on the center-most part of the cake (away from the bundt tube if applicable); when it offers a slight resistance and springs back gently, it’s time for a more definitive test. Insert a clean cake tester or a long wooden toothpick into the deepest part of the cake. It should come out with only a few moist crumbs clinging to it, but absolutely no wet batter streaks. Ensure the tester reaches the true center of the cake, as the edges often bake faster. A completely dry tester means it might be slightly overbaked, so aim for those few moist crumbs!
Several factors can cause a pound cake to sink. Common culprits include: opening the oven door too early (before the structure sets), overmixing the batter (which creates too much gluten), insufficient leavening, or baking at too low a temperature. Ensure your oven temperature is accurate with an oven thermometer and avoid opening the oven door during the first two-thirds of the baking process. Precise ingredient measurements are also vital to prevent sinking.
Yes, you can, but be aware of the differences. Regular (natural) cocoa powder is acidic, while Dutch-processed is neutral. If you use natural cocoa, the flavor will be slightly tangier, and the color a bit lighter and redder. The acidity in natural cocoa also reacts more strongly with baking soda, which might slightly alter the cake’s lift, though it should still bake well. For the intended deep, mellow chocolate flavor, Dutch-processed is recommended.
If you’ve tried this incredible recipe and fallen in love with it, please consider leaving a 🌟 star rating and sharing your experience in the comments below. Your feedback truly brightens my day and helps other bakers discover this delicious chocolate pound cake!
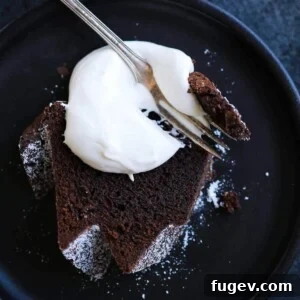
Chocolate Pound Cake
Chef Lindsey
20 mins
1 hr
10 mins
1 hr
30 mins
24 people
Comment
Print Recipe
Equipment
-
1 Spiral Nordic Ware Bundt Pan
Ingredients
- 1 ½ cups unsalted butter
- 2 ¼ cups granulated sugar
- ¾ cup light brown sugar
- 6 large eggs
- 1 ½ teaspoons vanilla extract
- 2 ¼ cups all-purpose flour
- ¾ cup Dutch processed cocoa powder
- 1 ½ teaspoons kosher salt
- ¼ teaspoon baking soda
- 1 cup full-fat sour cream
- 2 tablespoons water
- confectioner’s sugar for dusting (optional)
Instructions
Make Cake Batter:
-
Preheat your oven to 325°F (160°C). Prepare your bundt pan by generously spraying it with cooking spray and then dusting it evenly with flour, ensuring every crevice is coated. Tap out any excess flour.
-
In a medium bowl, whisk together the dry ingredients: all-purpose flour, Dutch-processed cocoa powder, baking soda, and kosher salt. In a separate bowl, whisk together the sour cream and water until smooth.
-
In the large bowl of a stand mixer fitted with the paddle attachment, cream together the softened unsalted butter, granulated sugar, and light brown sugar until a thick, uniform paste forms. Beat in the large eggs one at a time, scraping down the sides of the bowl after each addition to ensure thorough mixing.
-
With the mixer on low speed, alternately add the flour mixture and the sour cream mixture to the wet ingredients, starting and ending with flour. Mix each addition just until combined before adding the next, being careful not to overmix.
-
Add the vanilla extract. Increase the mixer speed briefly to ensure everything is fully incorporated and the batter is silky smooth. Avoid overmixing.
Bake:
-
Pour the batter evenly into the prepared bundt pan and smooth the top with a spatula. Bake in the preheated oven for approximately 60-85 minutes, or until a cake tester inserted into the center comes out with only a few moist crumbs clinging to it.
-
Once baked, remove the cake from the oven and let it cool in the pan on a wire rack for 20 minutes. After 20 minutes, carefully loosen the edges with a paring knife, then invert the cake onto the wire rack to cool completely.
-
Once the cake is entirely cooled, dust it with confectioner’s sugar or drizzle your preferred glaze over the top. Allow any glaze to set before slicing and serving. Enjoy your homemade chocolate pound cake!
Notes
Flavor Tips: For a rich, deep chocolate flavor and darker color, I recommend using Dutch-processed cocoa powder. This type of cocoa has been treated to neutralize its acidity, resulting in a less bitter, more mellow chocolate taste.
Technique : The key to that signature dense pound cake texture is avoiding over-creaming the butter and sugar. Use butter that is softened but still cool to the touch, and cream it with the sugars only until a thick, uniform paste forms – do not whip until light and fluffy.
Storage : This chocolate pound cake stores beautifully. Keep it tightly wrapped in plastic wrap at room temperature for up to 5 days. It can also be refrigerated for up to two weeks or frozen for up to 3 months. For peak freshness, enjoy within 2 days of baking.
Nutrition (Estimated per Serving)
Before You Go: Explore More Deliciousness from Chef Lindsey!
I genuinely hope you’ve enjoyed mastering this professional chef-tested recipe for the ultimate chocolate pound cake. It’s a true favorite, crafted to bring joy to your kitchen and your taste buds. Don’t let your culinary adventure end here! I invite you to explore more of my delicious, chef-developed creations. Dive into our extensive collection of cake recipes for more delightful baking projects, or perhaps indulge in our tempting array of Easy Chocolate Desserts. There’s always something new and delicious to discover, perfected just for you!