
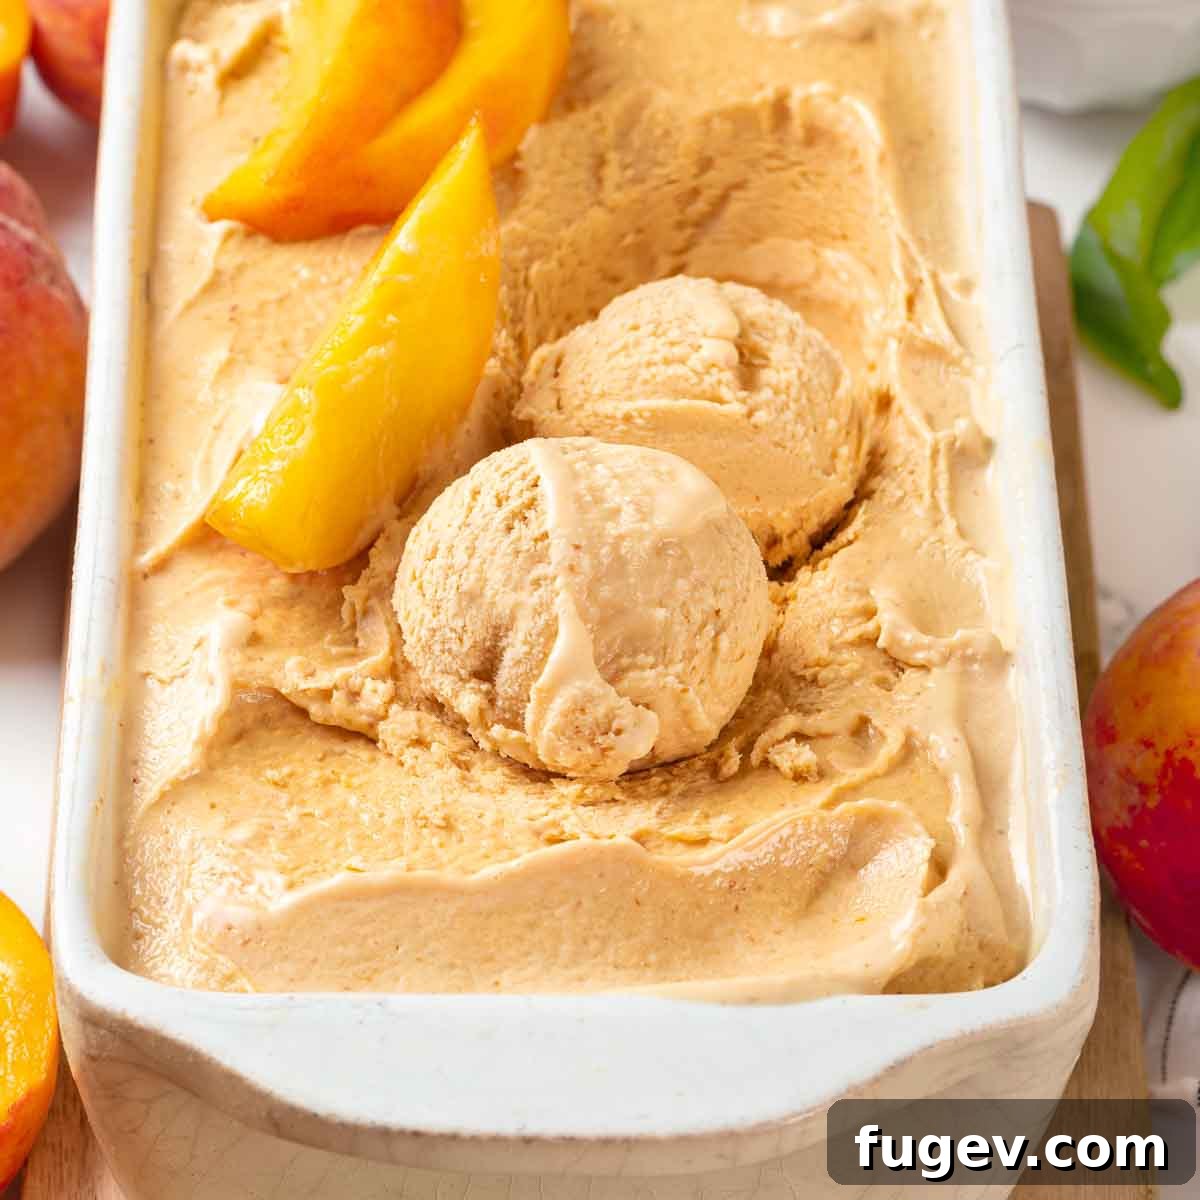
The Ultimate Homemade Fresh Peach Ice Cream Recipe
This peach ice cream recipe is an absolute summer dream, crafted with the freshest, juiciest peaches and surprisingly simple to prepare! By incorporating a hint of exquisite vanilla bean paste and selecting only the ripest peaches, we guarantee this will be the most luscious, flavorful peach ice cream you’ve ever tasted. Forget store-bought options; homemade truly reigns supreme when it comes to capturing that vibrant, authentic peach flavor.
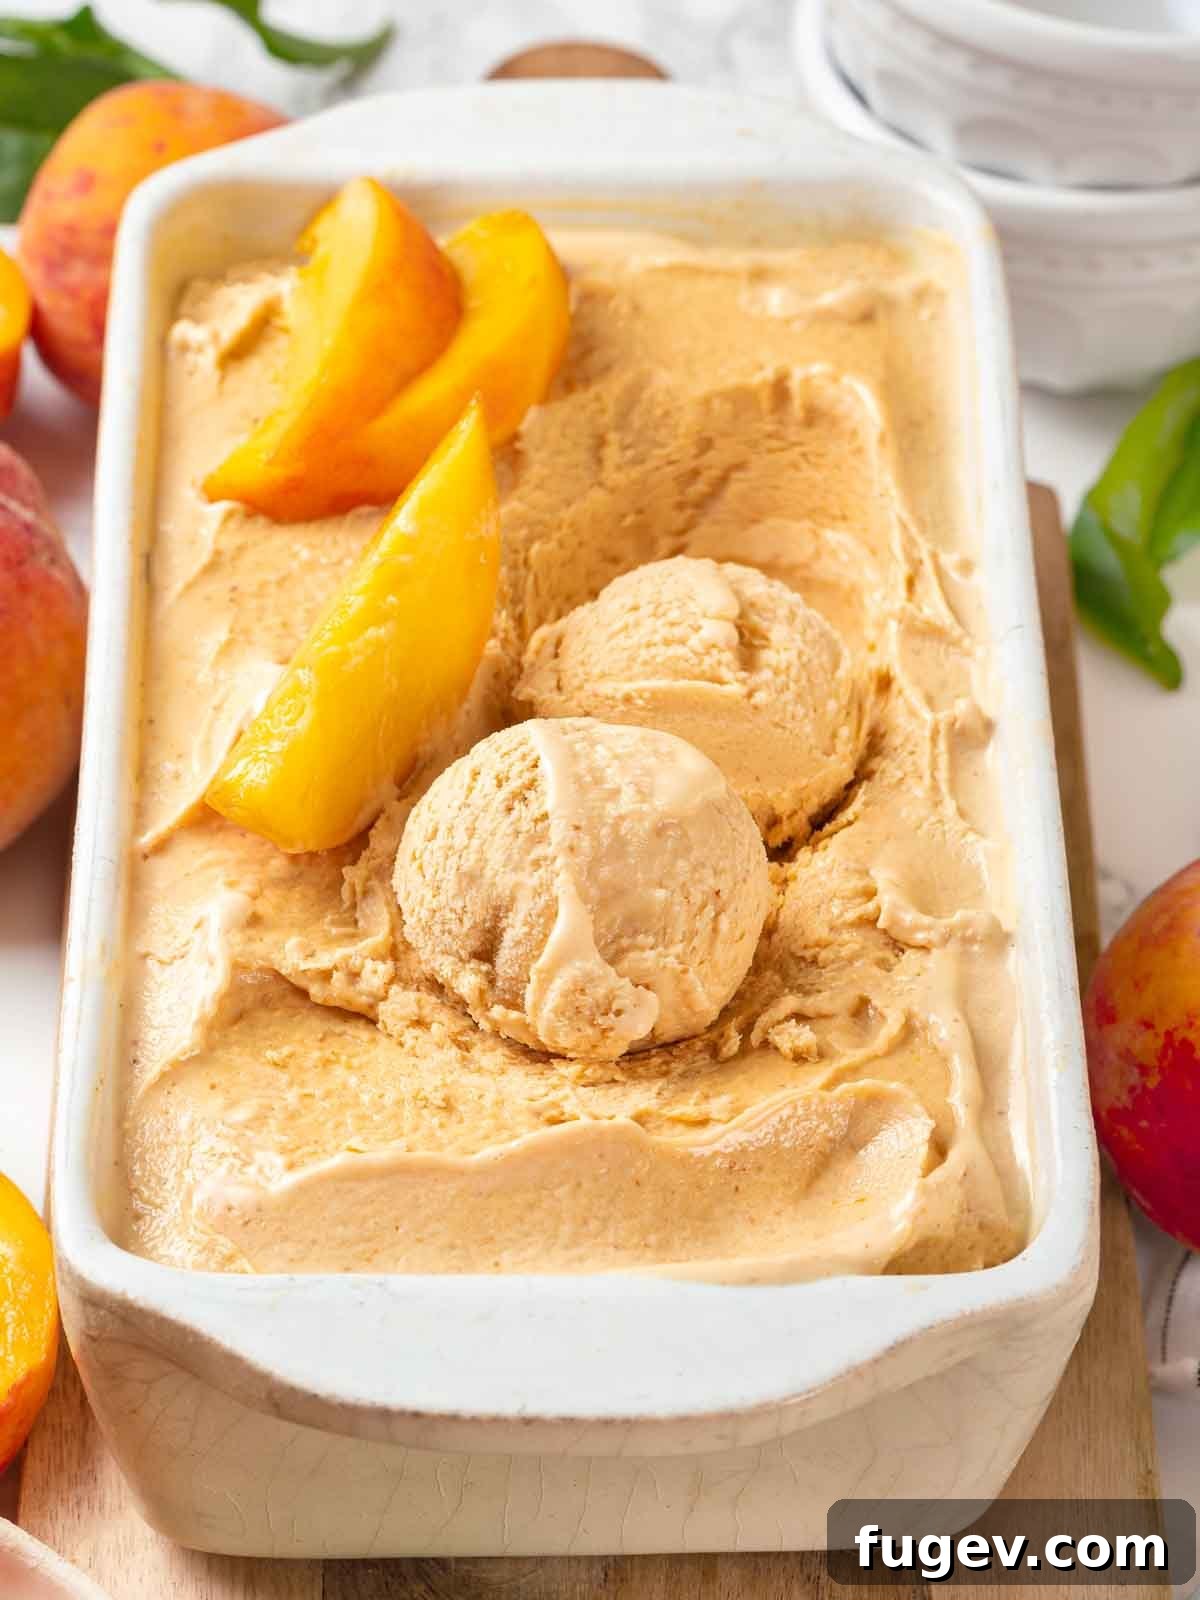
Why Homemade Peach Ice Cream is a Summer Essential
As someone who fondly remembers the incredible Georgia peaches from my time in Atlanta, I can attest that summer simply isn’t complete without a bounty of peach-infused delights. My annual summer baking agenda always includes classic peach pie (often with my go-to Crisco pie crust), a delightful easy peach cake, and generous batches of this irresistible peach ice cream. Of course, I also make as many peach preserves as my largest pot can hold! It’s truly a peach-a-palooza every year.
The beauty of homemade ice cream lies in its unparalleled freshness and superior taste compared to anything you can buy. While I adore incorporating fresh fruits into ice cream, such as my strawberry caramel swirl ice cream, working with fruit can sometimes lead to an icy texture. The crucial secret to achieving a perfectly creamy, non-icy fruit ice cream lies in the precise balance of fat and sugar. This recipe masterfully strikes that balance, ensuring a velvety smooth texture every single time.
Table of Contents
- Why This is the Best Peach Ice Cream Recipe
- Professional Tips for Making Peach Ice Cream
- Ingredients & Substitutions
- Possible Variations
- How to Make Fresh Peach Ice Cream
- Chef Lindsey’s Recipe Tip
- Frequently Asked Questions
- Peach Ice Cream Recipe Card
- Before You Go
Why This is the Best Peach Ice Cream Recipe You’ll Ever Make
This recipe isn’t just another ice cream; it’s a meticulously crafted dessert designed to deliver an extraordinary experience. Here’s what sets it apart:
- A Harmonious Flavor Symphony: The pairing of sweet, succulent peaches with the deep, aromatic notes of vanilla bean is simply divine. Finishing this ice cream with vanilla bean paste elevates it from delicious to absolutely exceptional, creating a flavor profile that lingers beautifully on the palate.
- Unrivaled Thick and Creamy Texture: Our carefully calibrated ratio of heavy cream, sugar, eggs, and fresh peaches results in an incredibly rich, thick, and luxurious ice cream. You’ll find absolutely no icy crystals here, only pure, smooth indulgence that melts perfectly in your mouth.
- Professional Guidance for Home Bakers: I’m sharing all my expert pastry chef tips and tricks, breaking down each step into an easy-to-follow guide. This ensures that even novice ice cream makers can achieve perfect results, making this sophisticated dessert accessible to everyone.
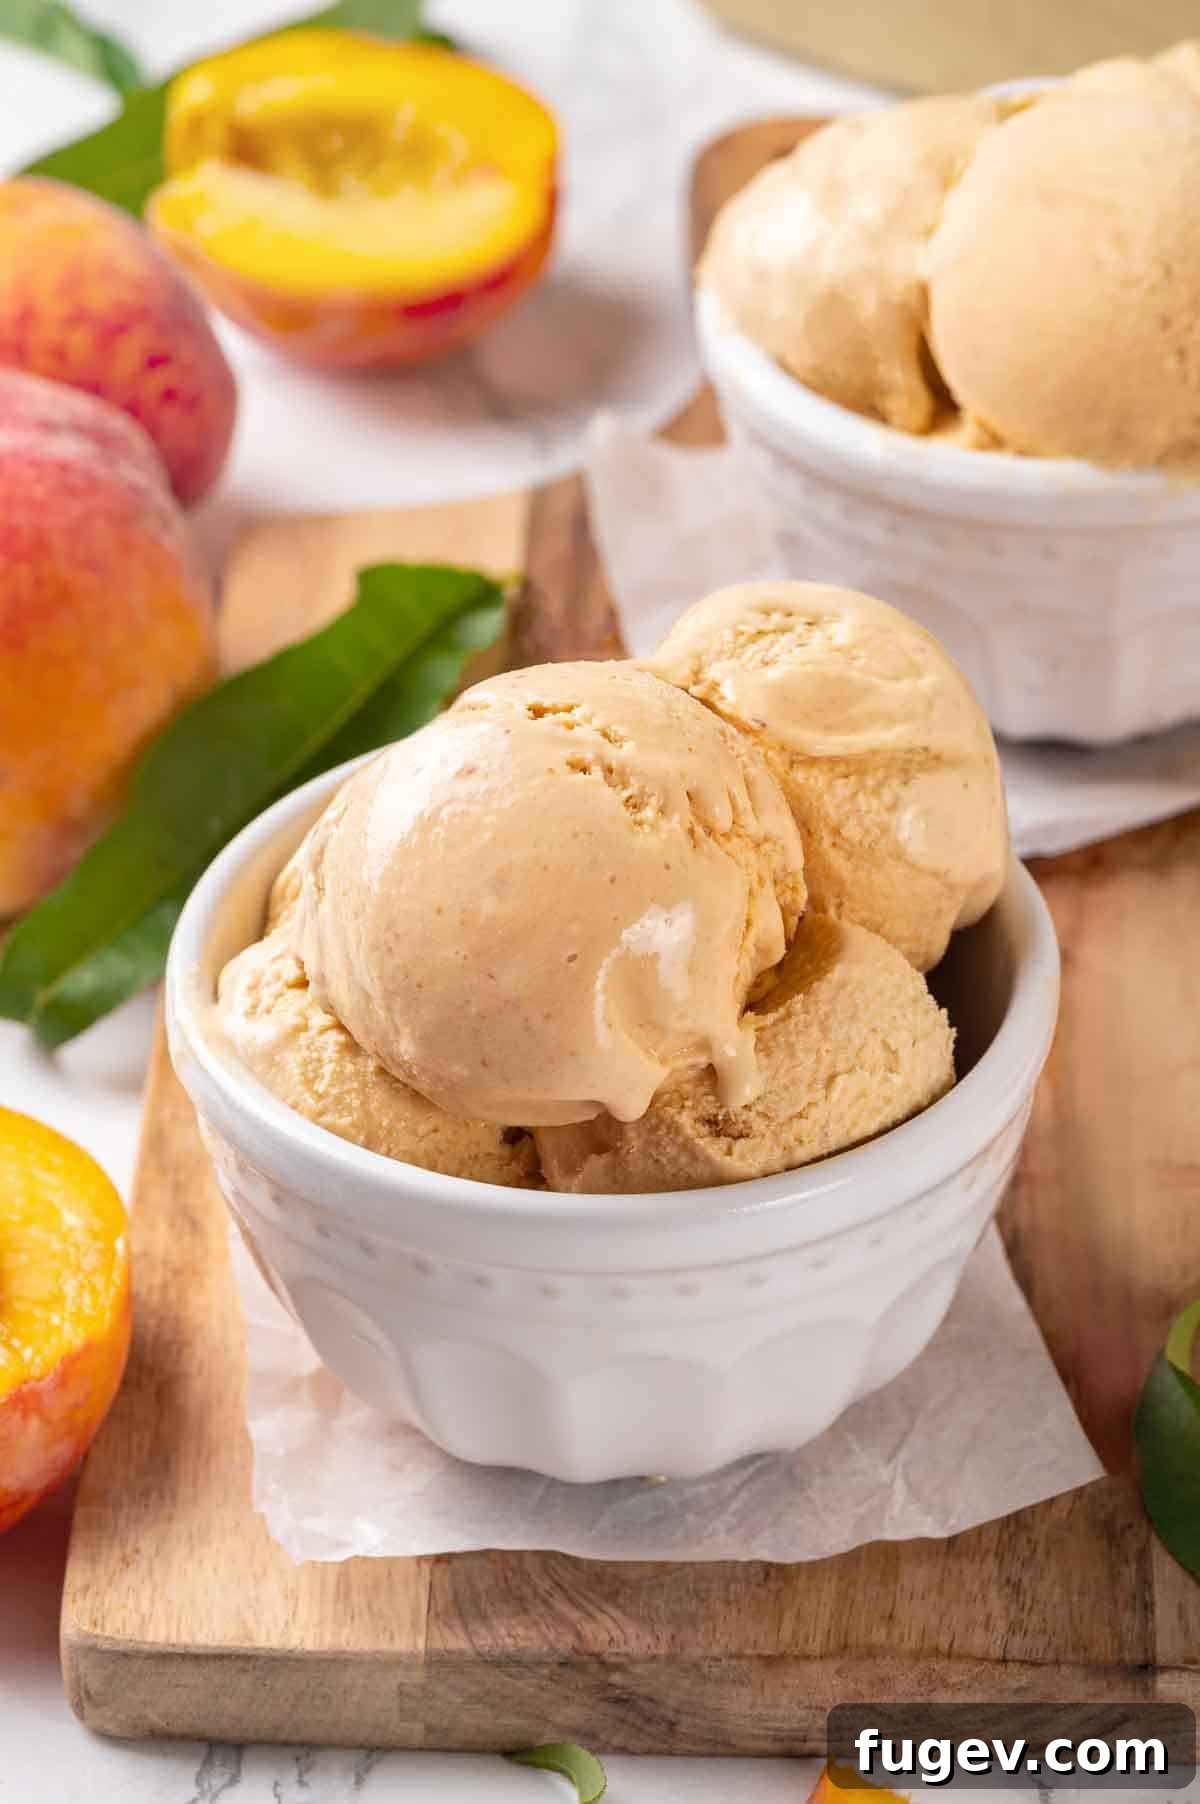
Mastering the Art: Expert Tips for Perfect Peach Ice Cream
Creating truly exceptional homemade peach ice cream involves a few key techniques. These professional insights will help you achieve the creamiest texture and most vibrant flavor:
-
Choose the Best Peaches
Fresh, ripe peaches are paramount for the best ice cream. While you *can* use frozen peaches, and they work well if you have a trusted brand or froze them yourself at peak ripeness, nothing truly compares to the taste of biting into a ripe, in-season peach. Look for peaches that have a fragrant aroma and a slight give when gently squeezed. Their natural sweetness and intense flavor will be the foundation of your incredible ice cream.
-
Thoroughly Chill the Ice Cream Base
Refrigerating the ice cream base overnight is not just a suggestion; it’s a critical step. This extended chilling period ensures the base is thoroughly cold, which is vital for achieving a thick, smooth ice cream free from ice crystals. When a warm base hits a cold ice cream maker, the sudden temperature difference can cause small ice crystals to form, leading to a less creamy texture. A well-chilled base minimizes this, allowing the churning process to incorporate air and create that desired velvety consistency.
-
Preserve the Delicate Peach Flavor
Cook the peaches just enough to meld flavors, but avoid overcooking. Unlike some other custard bases, for this peach ice cream, we don’t return the custard to the heat to cook it to a specific temperature after tempering. This gentle approach helps to preserve the bright, fresh, and delicate flavor of the peaches, ensuring it shines through in the final product, while still ensuring the eggs are cooked sufficiently for safety and texture.
Essential Ingredients & Smart Substitutions for Creamy Peach Ice Cream
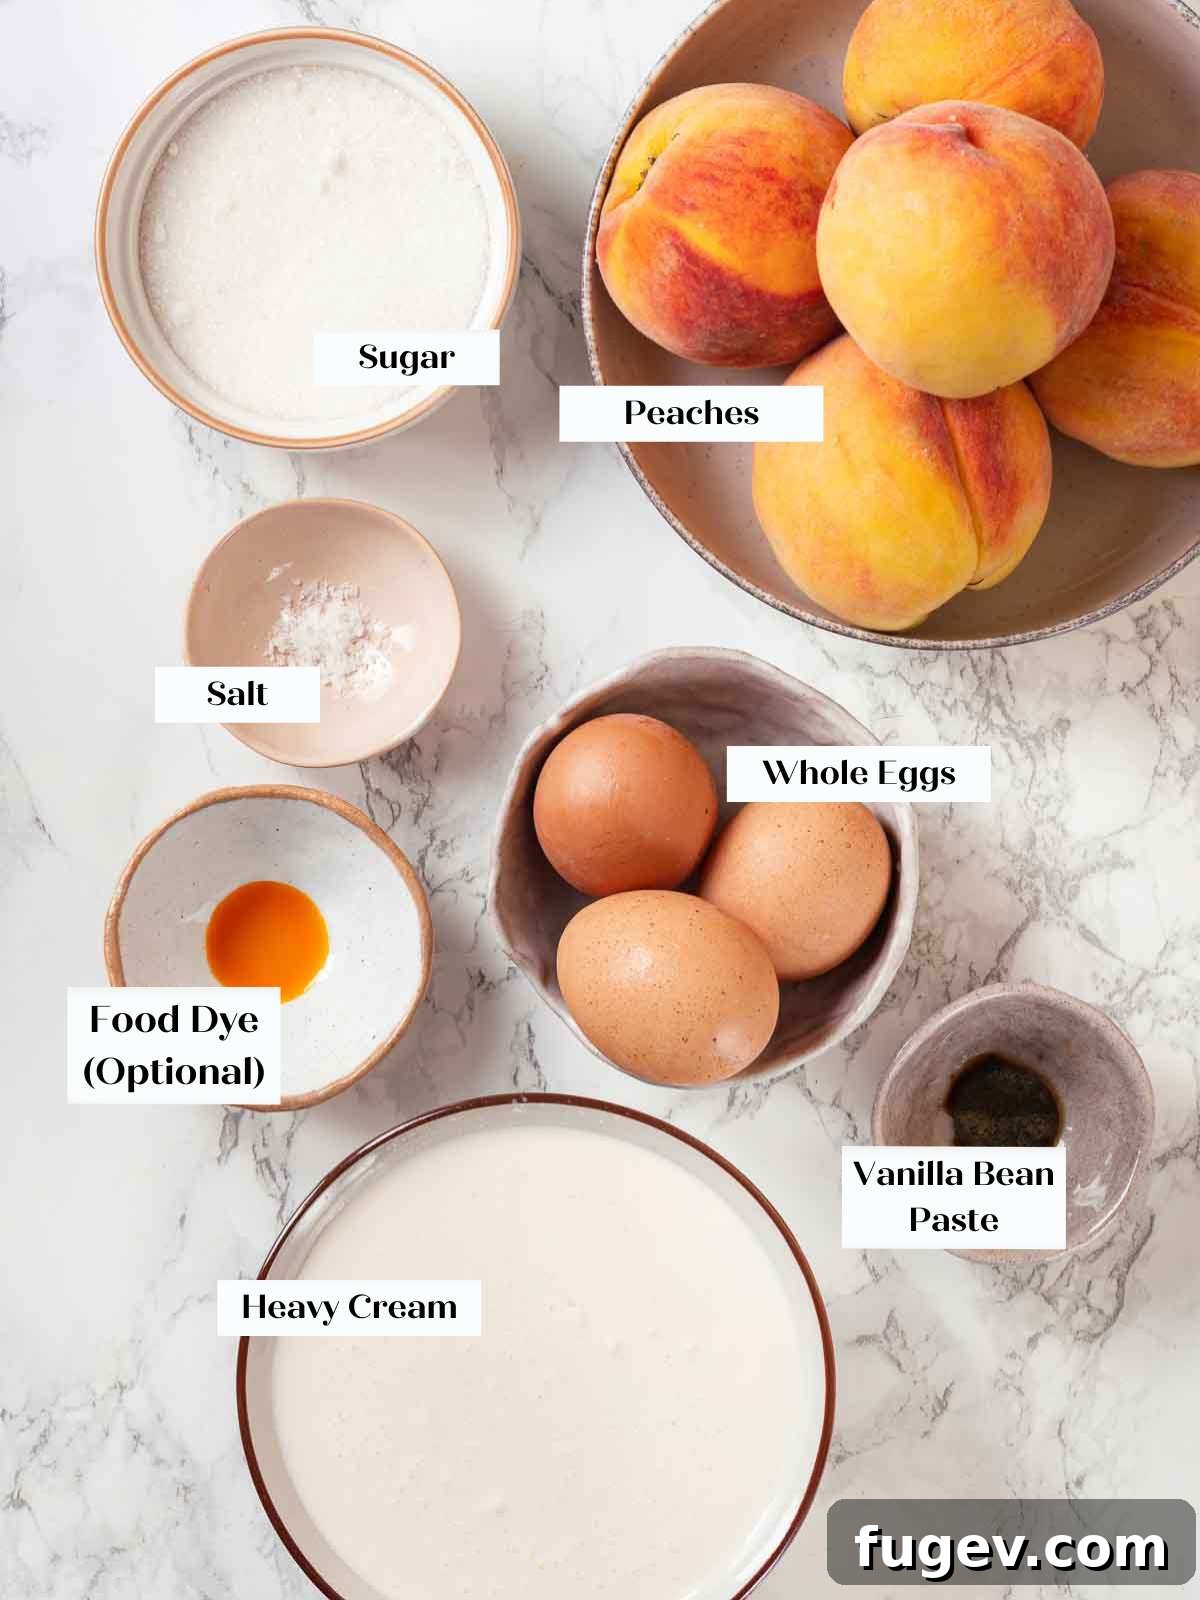
Each ingredient plays a vital role in the creation of this exquisite dessert. Understanding their purpose will help you achieve the best results and make informed substitutions if needed.
-
Whole Eggs
Many ice cream recipes, including my chocolate ice cream, traditionally call for egg yolks, which would also work beautifully here to add richness. However, using whole eggs offers convenience without compromising much on texture or flavor. If you’re keen on separating eggs and happen to be in the mood for baking a pavlova cake, some luscious Italian meringue buttercream, or a light and airy angel food cake with the leftover whites, then go ahead and crack those eggs!
-
Granulated Sugar
Beyond sweetness, sugar is a critical component for the texture of ice cream. It lowers the freezing point, preventing the ice cream from becoming a solid block of ice and contributing to its scoopable, creamy consistency.
-
Peaches
As mentioned, use fresh, ripe peaches that truly smell like peaches! This might sound obvious, but the aroma is the most reliable indicator of their rich, inherent flavor. Peaches that have ripened on the tree, like genuine in-season Georgia peaches or succulent New Jersey peaches, will produce the most intensely flavored ice cream. They also make the best peach cobbler, so don’t hesitate to buy extra!
-
Heavy Cream
This is where the magic of creaminess truly happens! Using a higher proportion of heavy whipping cream adds a significant amount of fat, which is essential for balancing the natural water content of ripe peaches. This high-fat content is key to preventing ice crystals and ensuring a luxuriously smooth, rich texture.
-
Whole Milk
The fat content in whole milk further contributes to that perfect creamy texture, ensuring your ice cream is never icy. Substituting lower-fat or alternative milks will significantly alter the final texture, often resulting in a grittier or icier product.
-
Salt
Just a pinch of salt enhances all the other flavors, particularly the sweetness of the peaches and sugar, making them pop.
-
Vanilla Bean Paste
While optional, the combination of vanilla bean and fresh peach is truly sensational. Vanilla bean paste offers concentrated flavor and those beautiful specks that indicate premium quality. You can also use good quality vanilla extract for a similar flavor profile, or even scrape seeds from a fresh vanilla bean for the ultimate indulgence.
-
Orange Food Coloring
This is entirely optional! Without a touch of orange food coloring, the natural peach color will be much lighter and less vibrant. If you prefer a more intensely “peachy” hue, a few drops can make a big difference, but it will not affect the taste.
For precise measurements and detailed instructions, please refer to the complete recipe card below.
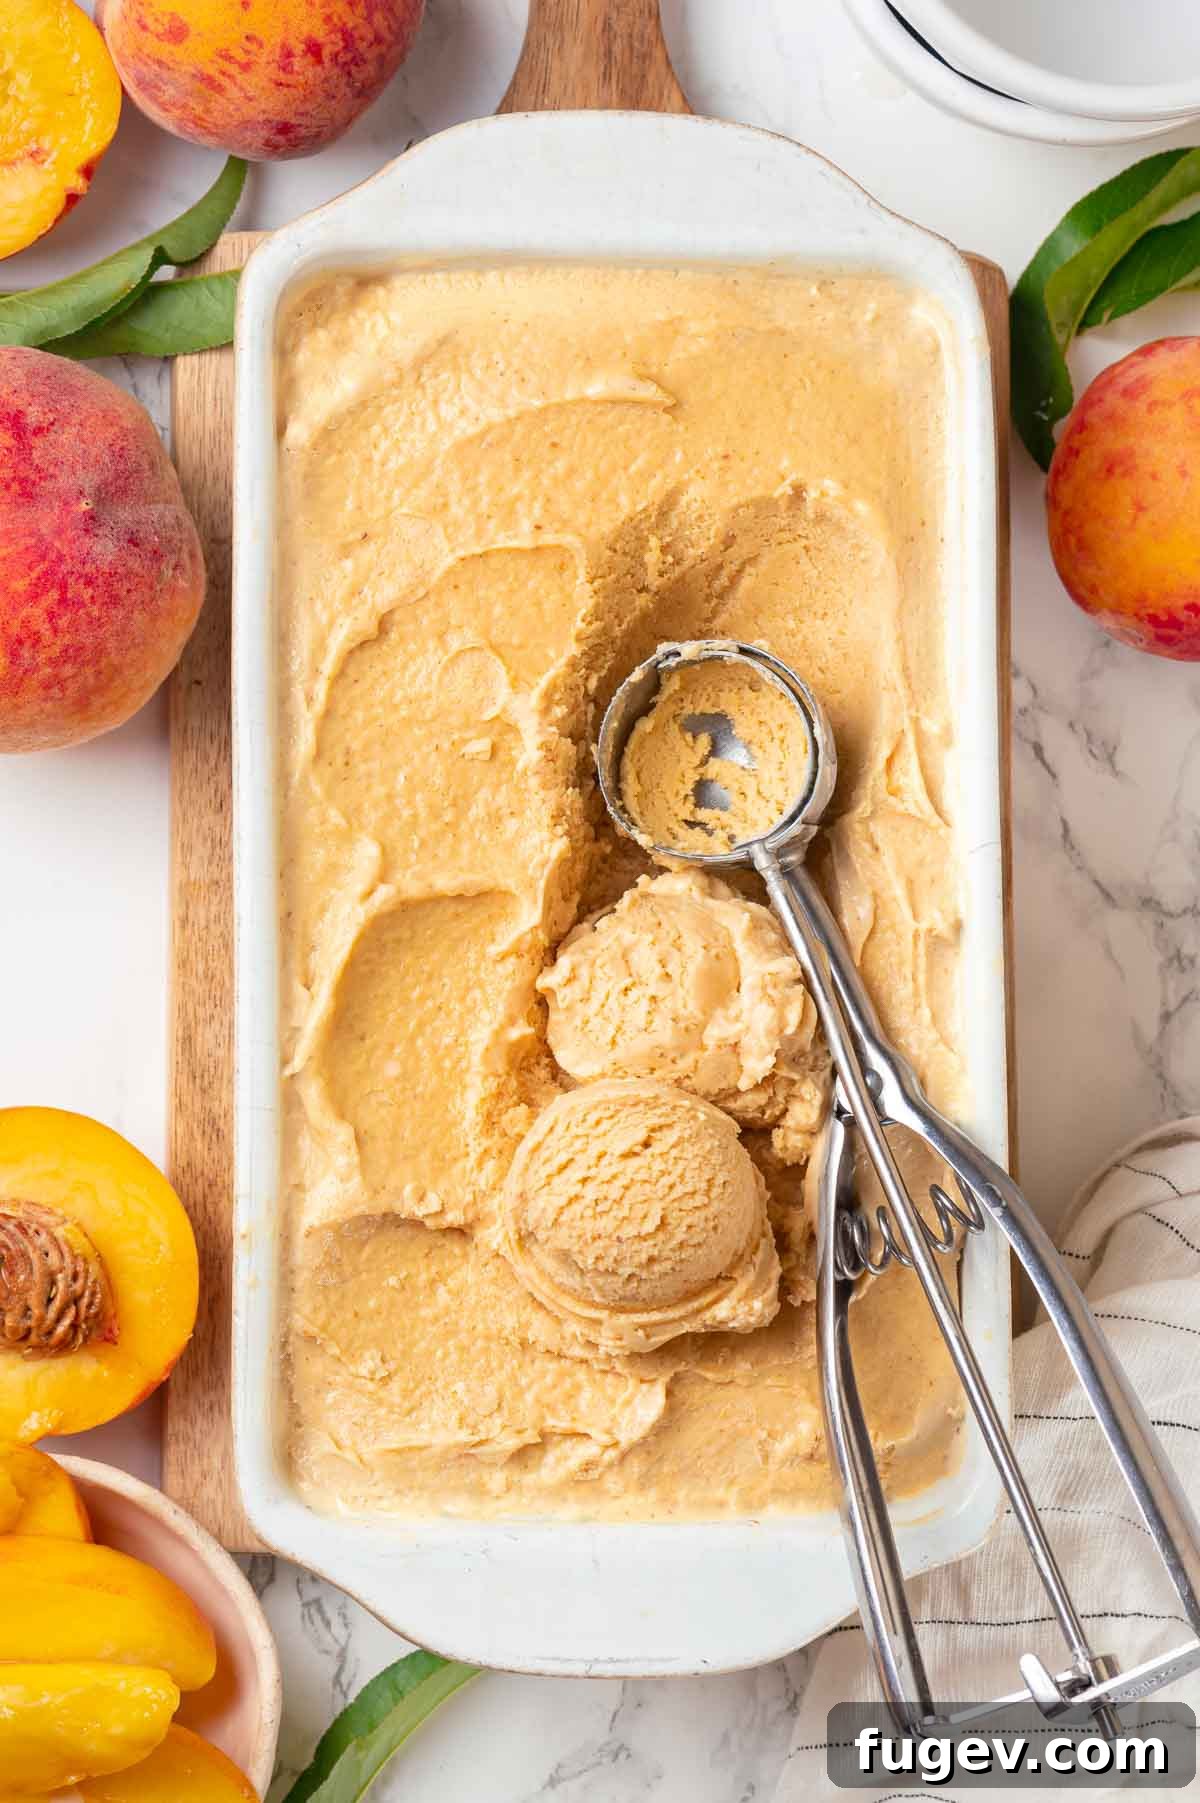
Exciting Variations to Elevate Your Peach Ice Cream
Once you’ve mastered the classic version, feel free to experiment with these delicious variations to customize your fresh peach ice cream:
-
For an Incredibly Bright, Fresh Peach Flavor, Consider Skipping Tempering (Original Method)
The updated recipe includes cooking the eggs for a more traditional custard base. However, if you’re seeking the brightest, most intensely fresh peach flavor, you can revert to the original method where the cold cream and milk are simply added to the raw egg mixture and then churned directly in an ice cream maker. In this method, the eggs are not cooked, but the resulting ice cream truly tastes like biting into a pristine, fresh peach. Use farm-fresh, high-quality eggs if opting for this method.
-
Substitute with Nectarines, or Use a Blend of Both
This might be a bit controversial for peach purists, but I actually often prefer nectarines to peaches for their smooth skin and slightly tangier profile! You can substitute nectarines for peaches in this recipe at a 1:1 ratio with fantastic results. Or, try a mix of both for a wonderfully complex fruit flavor.
-
Infuse with Additional Flavorings for Depth
Before churning, consider adding a tablespoon of lemon juice to brighten the flavor, or a splash of whiskey or even mezcal for a sophisticated, adult twist. You can also infuse the heavy cream prior to making the base by simmering it gently with aromatics like split vanilla beans, a cinnamon stick, a few slices of fresh ginger, or strips of orange peel. Just strain the cream before combining it with the egg mixture.
-
Get Creative with Mix-Ins
Don’t be shy about adding your favorite mix-ins, just as you would with a classic vanilla ice cream! Crushed gingersnaps add a delightful spicy crunch, or swirl in a generous ribbon of homemade salted caramel sauce, similar to how I did in my caramel chocolate ice cream. Crushed chocolate cookies also offer a fantastic textural and flavor contrast.
Step-by-Step: Crafting Your Luxurious Fresh Peach Ice Cream
Follow these detailed instructions to create homemade peach ice cream from scratch. Full measurements are available in the recipe card below.
Preparation is Key
Step 1: The night before you plan to make ice cream, ensure your ice cream maker’s freezer bowl is thoroughly frozen. Additionally, place your freezer-safe containers (for storing the churned ice cream) in the freezer. This crucial step helps prevent ice crystal formation, as even a room-temperature container can cause the ice cream to melt slightly around the edges, leading to an icy, rather than creamy, final product.
Pro Tip: Pre-freezing your storage containers significantly reduces ice crystal formation. When warm ice cream hits a cold container, it freezes faster and more uniformly, resulting in a smoother, creamier texture. Don’t skip this!
Mixing and Tempering the Base
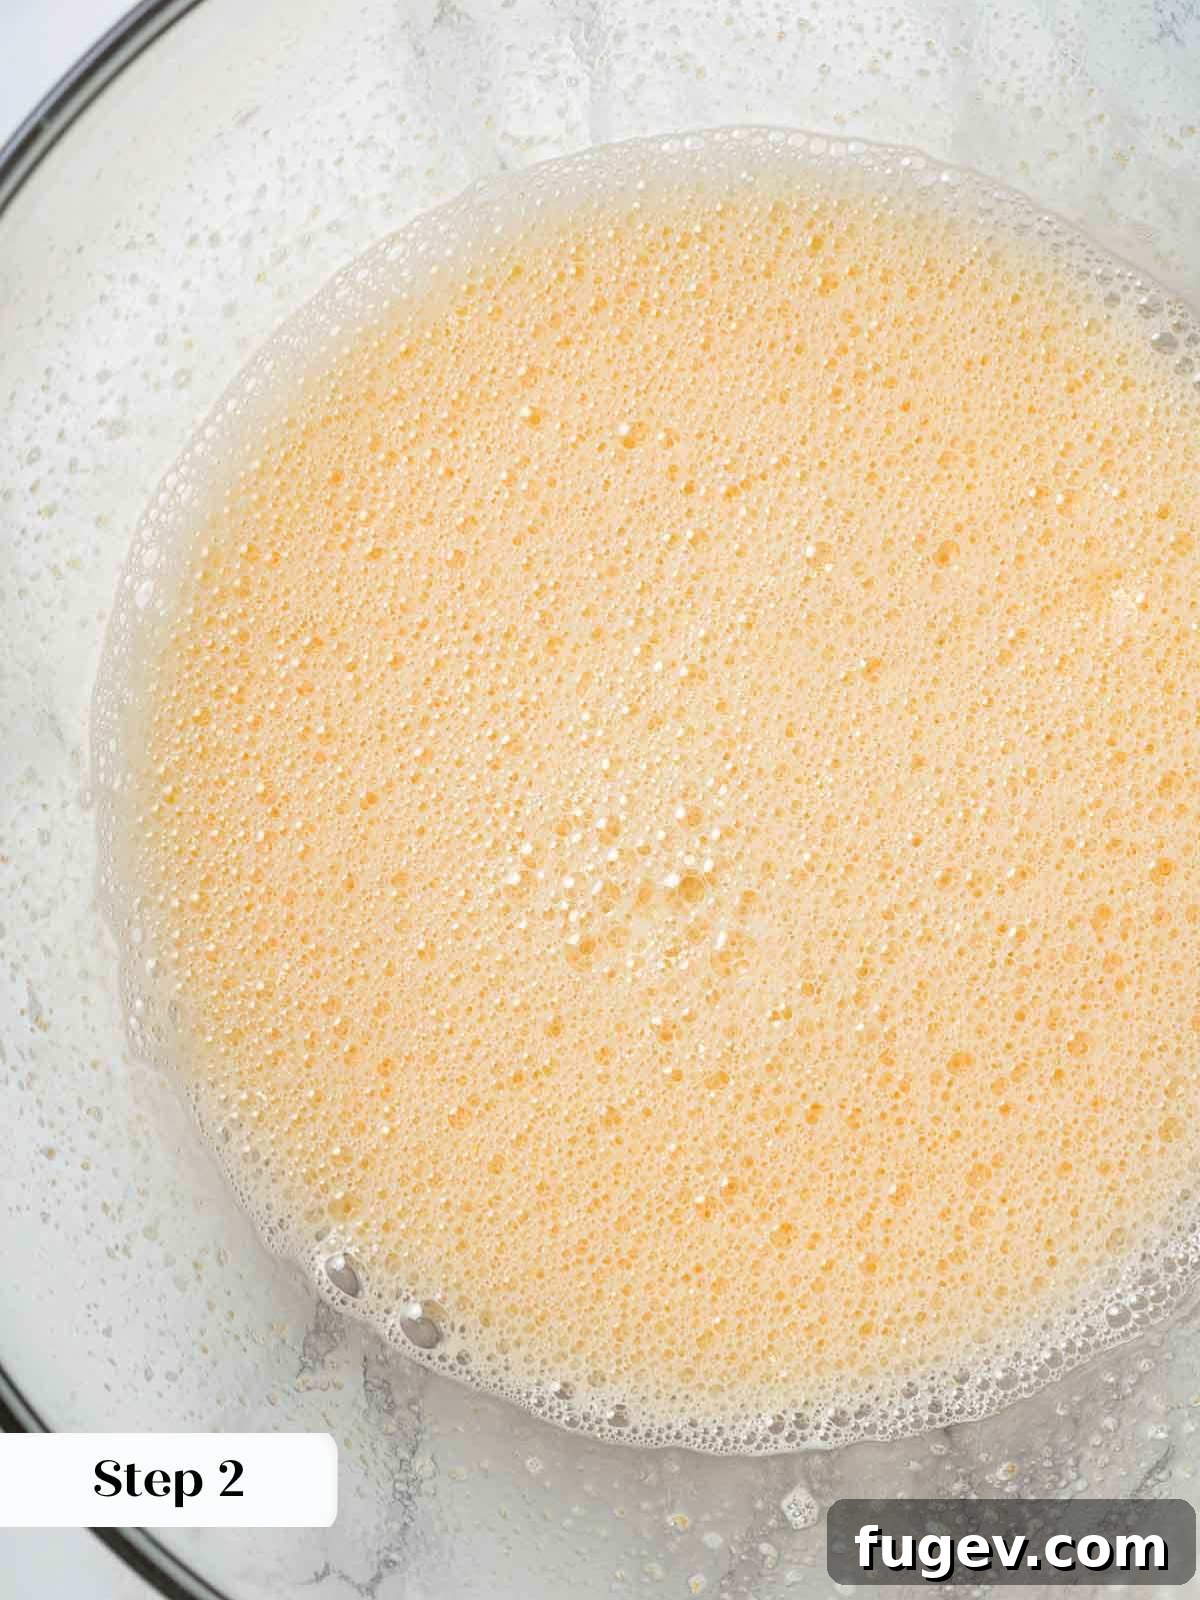
Step 2: In a large, heat-proof bowl, whisk the whole eggs until they are completely smooth and uniform. Gradually add the granulated sugar, continuing to whisk vigorously until the mixture is thoroughly combined and smooth. The sugar should be mostly dissolved.
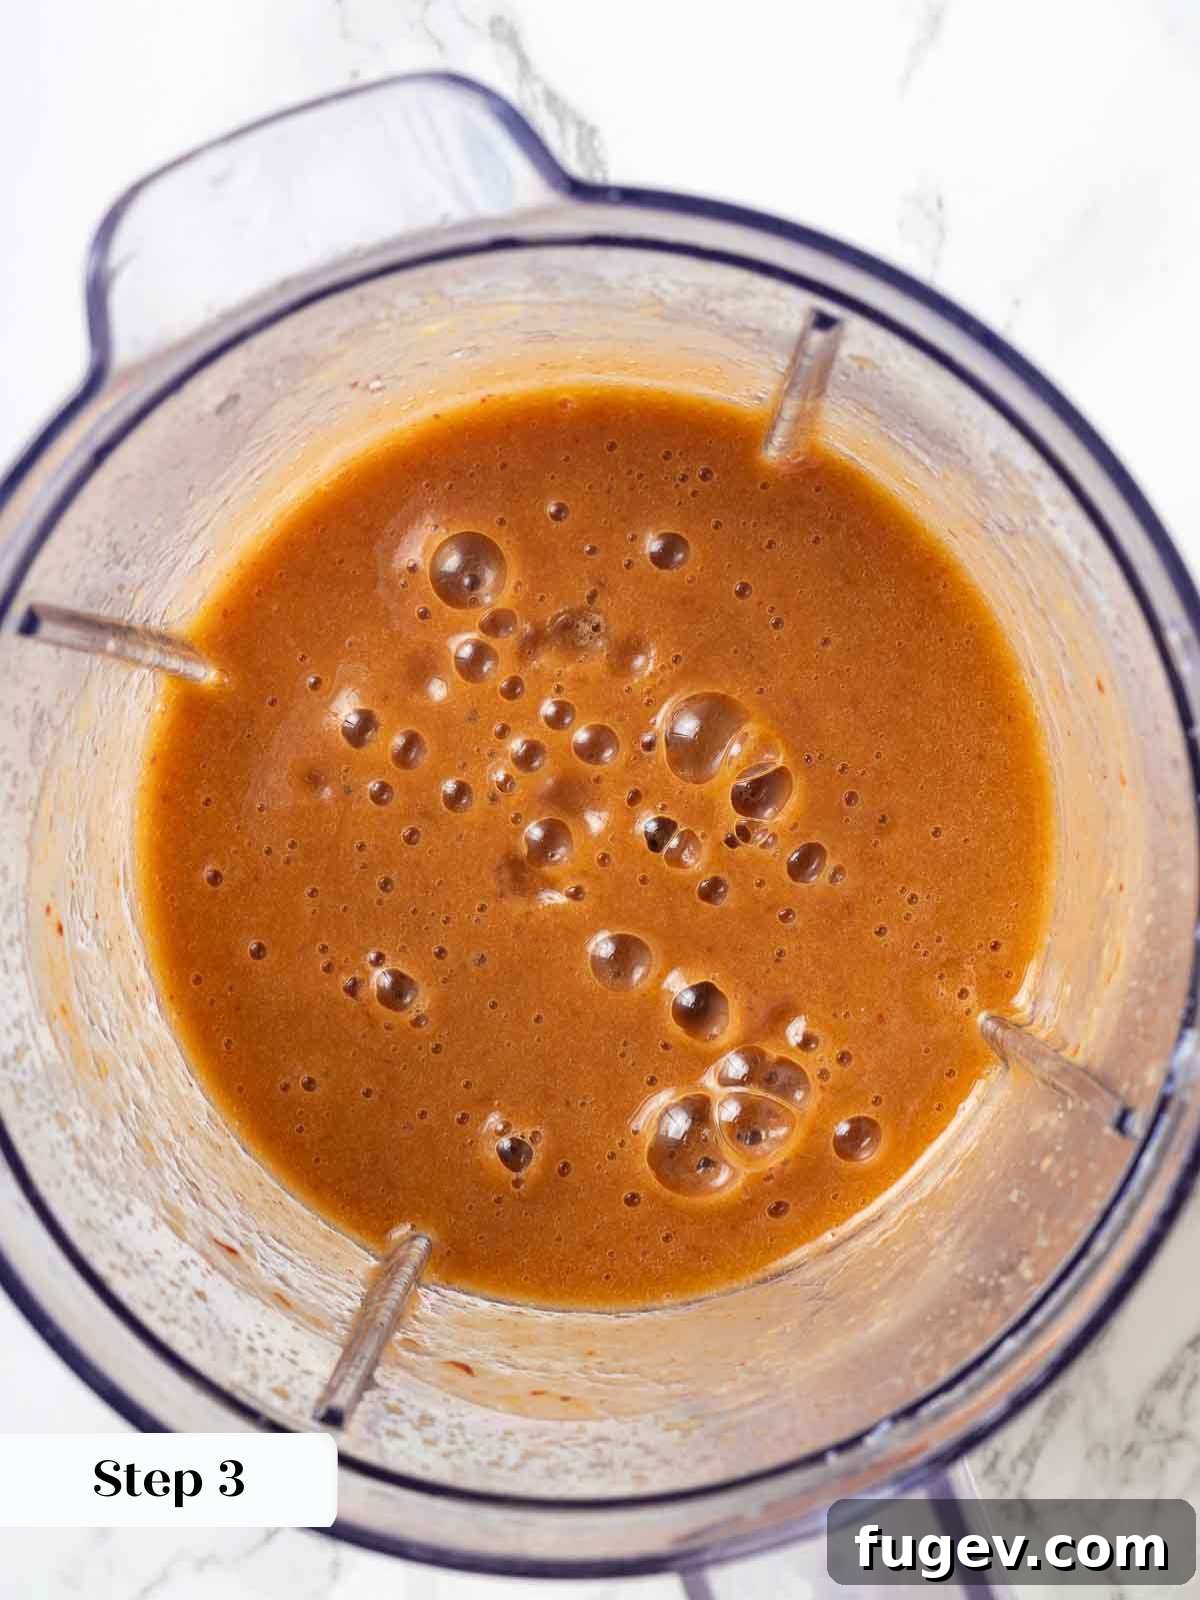
Step 3: Prepare your peaches by cutting them in half and carefully removing the stone. Dice the peaches into small chunks. Transfer the chunks to a food processor or blender and pulse until you have a smooth puree. Measure out approximately 2 ¼ to 2 ½ cups of this vibrant peach puree and stir it into your egg and sugar mixture until well incorporated.
Peach Puree Tip: There’s no need to peel the peaches before pureeing! You can either leave the mixture unstrained for a slight textural element and extra flavor from the peels, or the peels will be easily strained out later after cooking the base.
Step 4: In a medium saucepan, combine the heavy cream, whole milk, and salt. Place the saucepan over medium heat and bring the mixture just to a boil, stirring occasionally to prevent scorching. As soon as it begins to boil, remove it immediately from the heat.
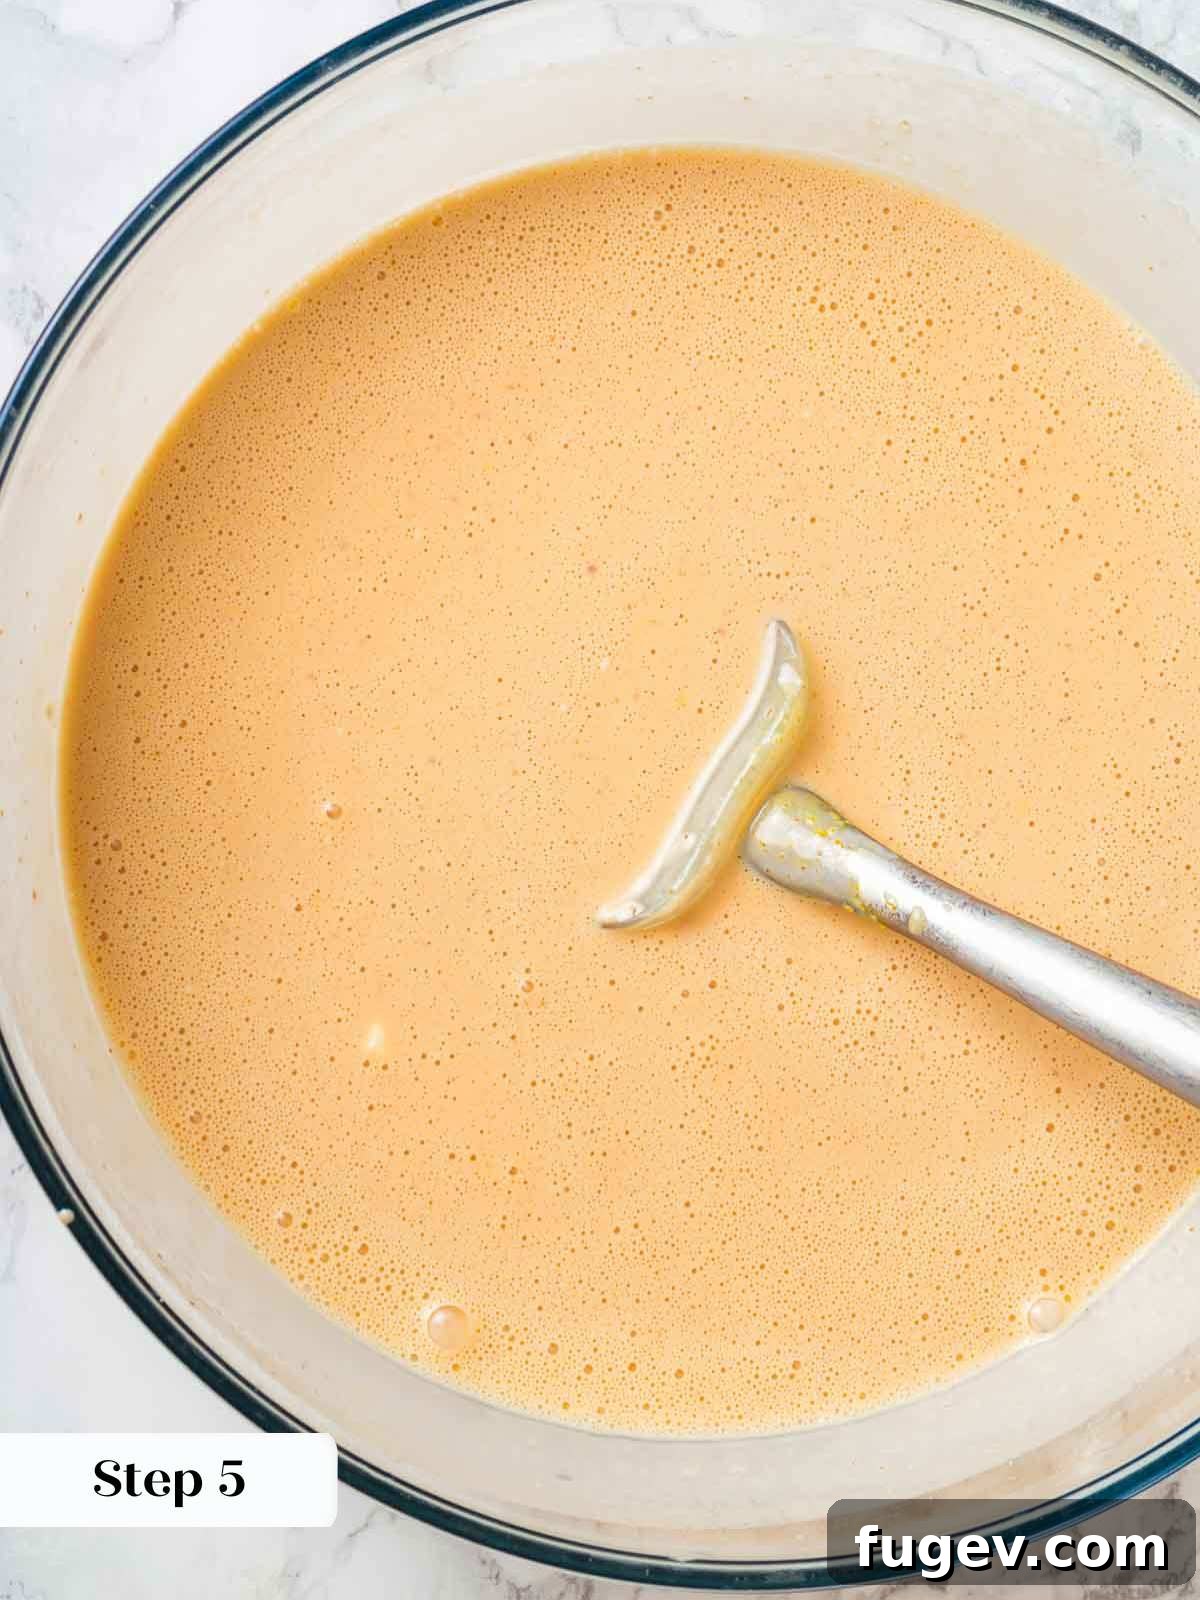
Step 5: This is the tempering step, crucial for cooking the eggs gently without scrambling them. While continuously whisking the egg and peach mixture in the large bowl, slowly pour the hot cream mixture into it. Pour in a thin, steady stream, whisking constantly until all the hot cream has been fully incorporated into the egg base. This gradually raises the temperature of the eggs.
Chilling, Churning, and Freezing for Perfection
Step 6: Strain the entire ice cream base through a fine-mesh sieve into a clean large bowl. This step removes any small bits of peach peel or cooked egg, ensuring an ultra-smooth texture. Stir in the vanilla bean paste and, if you desire, the optional orange food coloring until fully blended. Cover the bowl with plastic wrap, pressing the wrap directly onto the surface of the custard to prevent a skin from forming. Refrigerate the base until it is thoroughly cold, ideally for at least 2 hours, but preferably overnight.
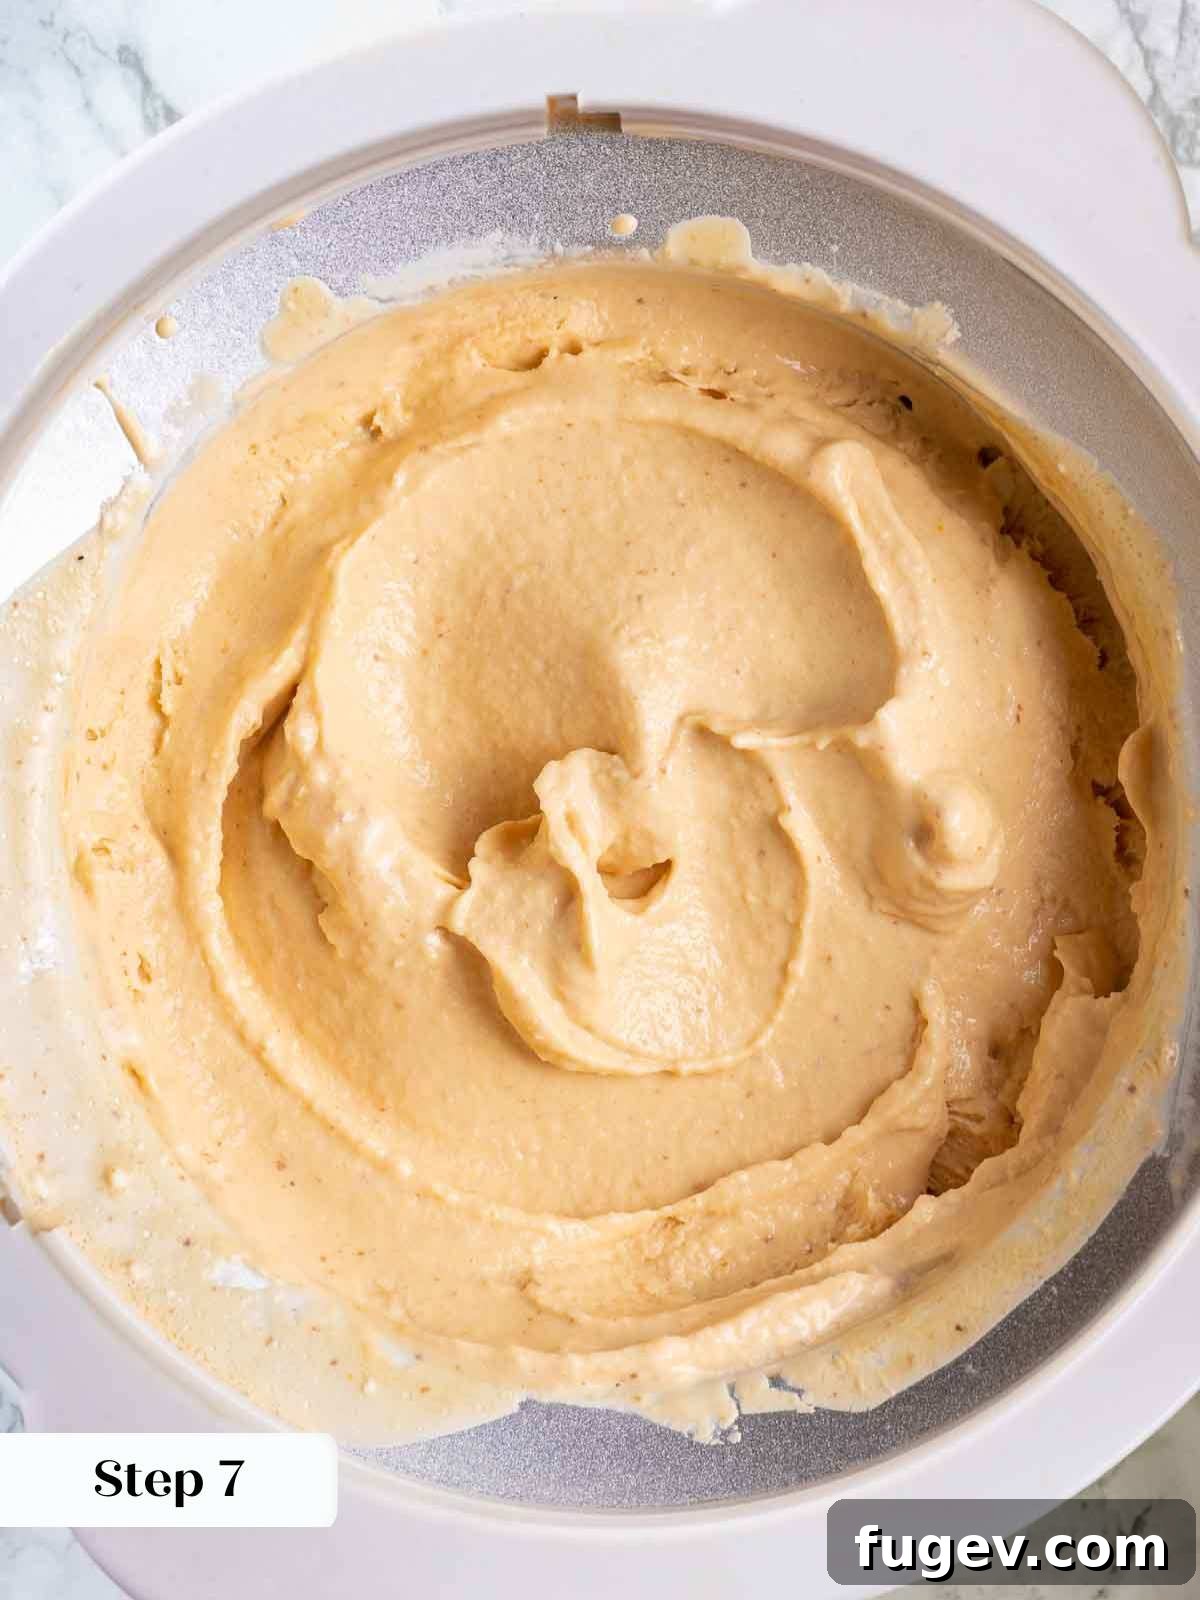
Step 7: Once the base is perfectly chilled, churn it in your ice cream maker according to the manufacturer’s specific instructions. The churning process typically takes between 20 to 30 minutes, or until the ice cream has significantly thickened and holds its shape on a spoon, resembling soft-serve ice cream.
Avoid Over-Churning: Be mindful not to over-churn your ice cream. If churned for too long, two undesirable things can occur: 1) The cream can over-agitate and essentially turn into butter, leaving an unappetizing fatty coating in your mouth. 2) The ice cream maker’s freezing element might lose its chill, causing the ice cream to begin warming up, which will inevitably lead to an icy texture.
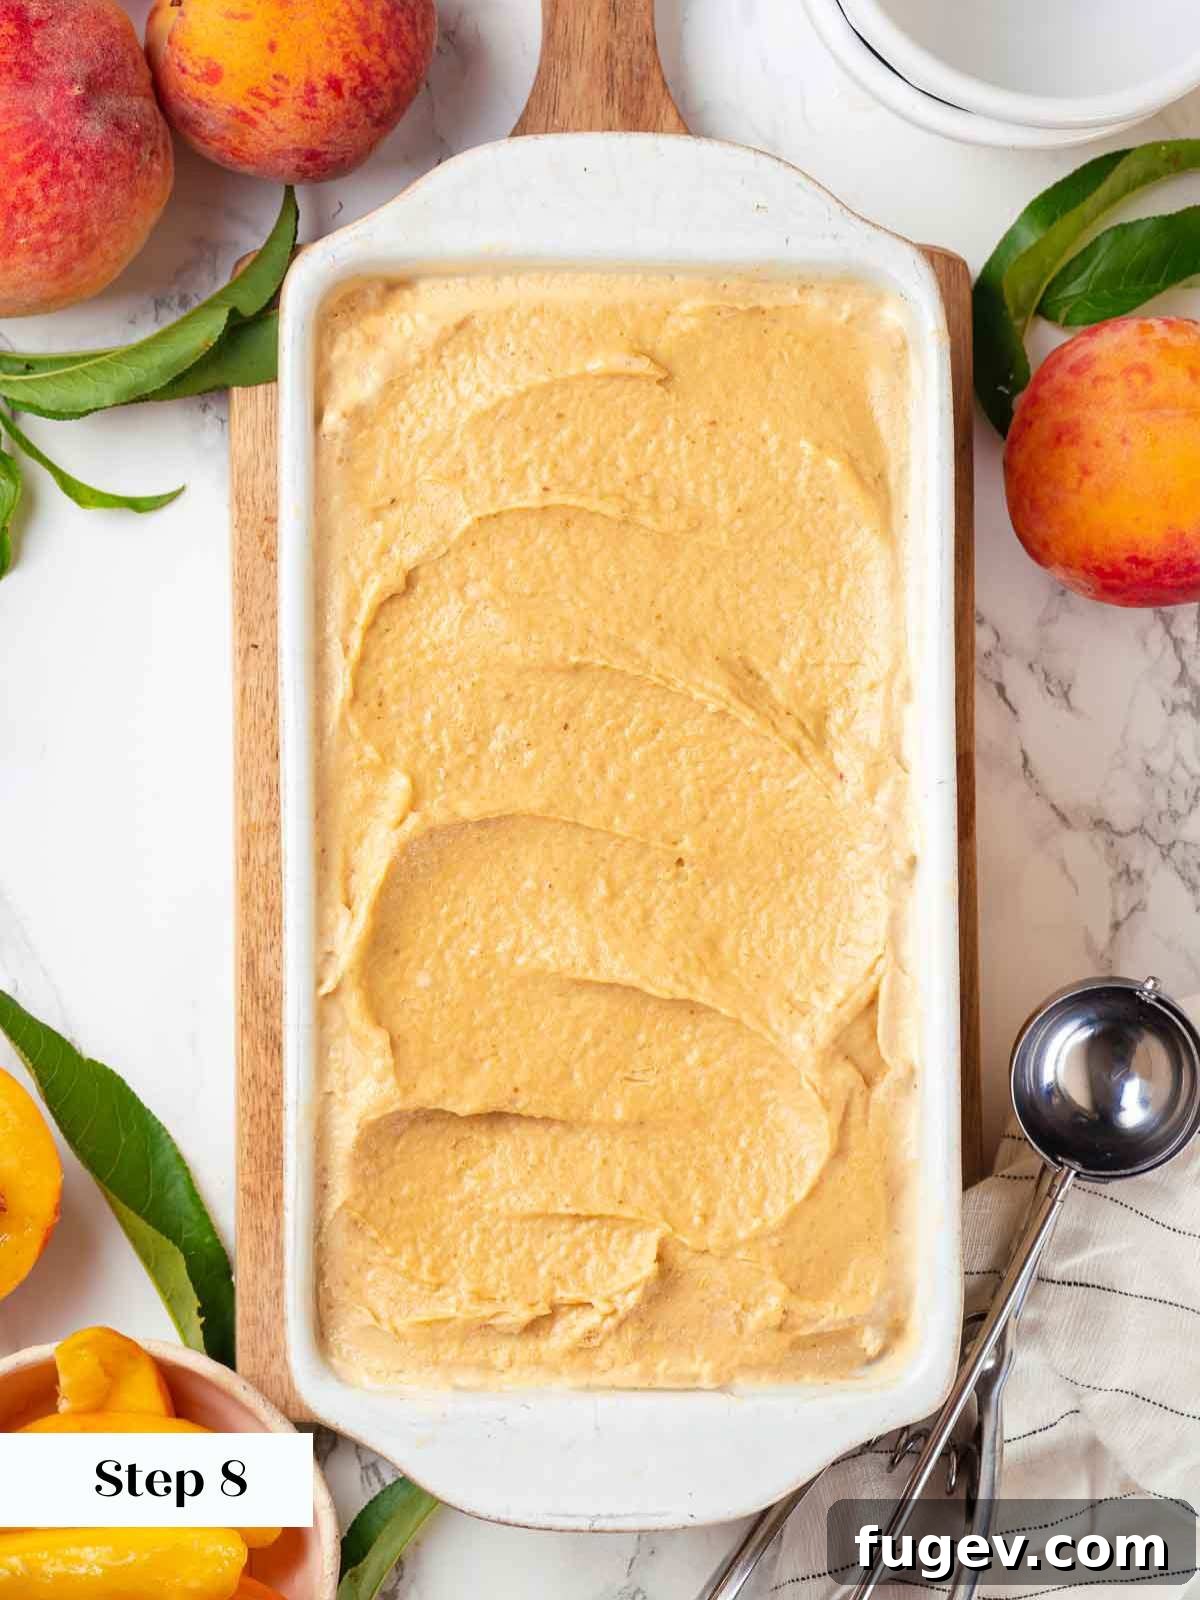
Step 8: Immediately after churning, transfer the soft ice cream into your pre-frozen container(s). Cover the surface of the ice cream directly with plastic wrap to prevent freezer burn and limit ice crystal formation. Place the container(s) in the freezer for at least 2 hours, or until the ice cream is completely solid and firm enough to scoop perfectly.
Storage Secret: Covering the surface of the ice cream directly with plastic wrap creates a barrier against air, significantly limiting ice crystal formation and preserving that creamy texture.
Chef Lindsey’s Recipe Tip: A Nod to the Original
This fantastic recipe originated from Kristi at Inspiration Kitchen (which is no longer active online). I updated the recipe in 2024 to include cooking the eggs, which creates a more stable and traditional custard base. However, it’s worth noting that you can still follow Kristi’s original method: simply add the cold cream and milk to the raw egg mixture and then churn it in an ice cream maker without cooking the eggs first. While the eggs are not tempered in this approach, the resulting ice cream delivers an incredibly vivid, fresh peach flavor, truly reminiscent of biting directly into a ripe peach!
Frequently Asked Questions About Peach Ice Cream
How do I properly store homemade peach ice cream?
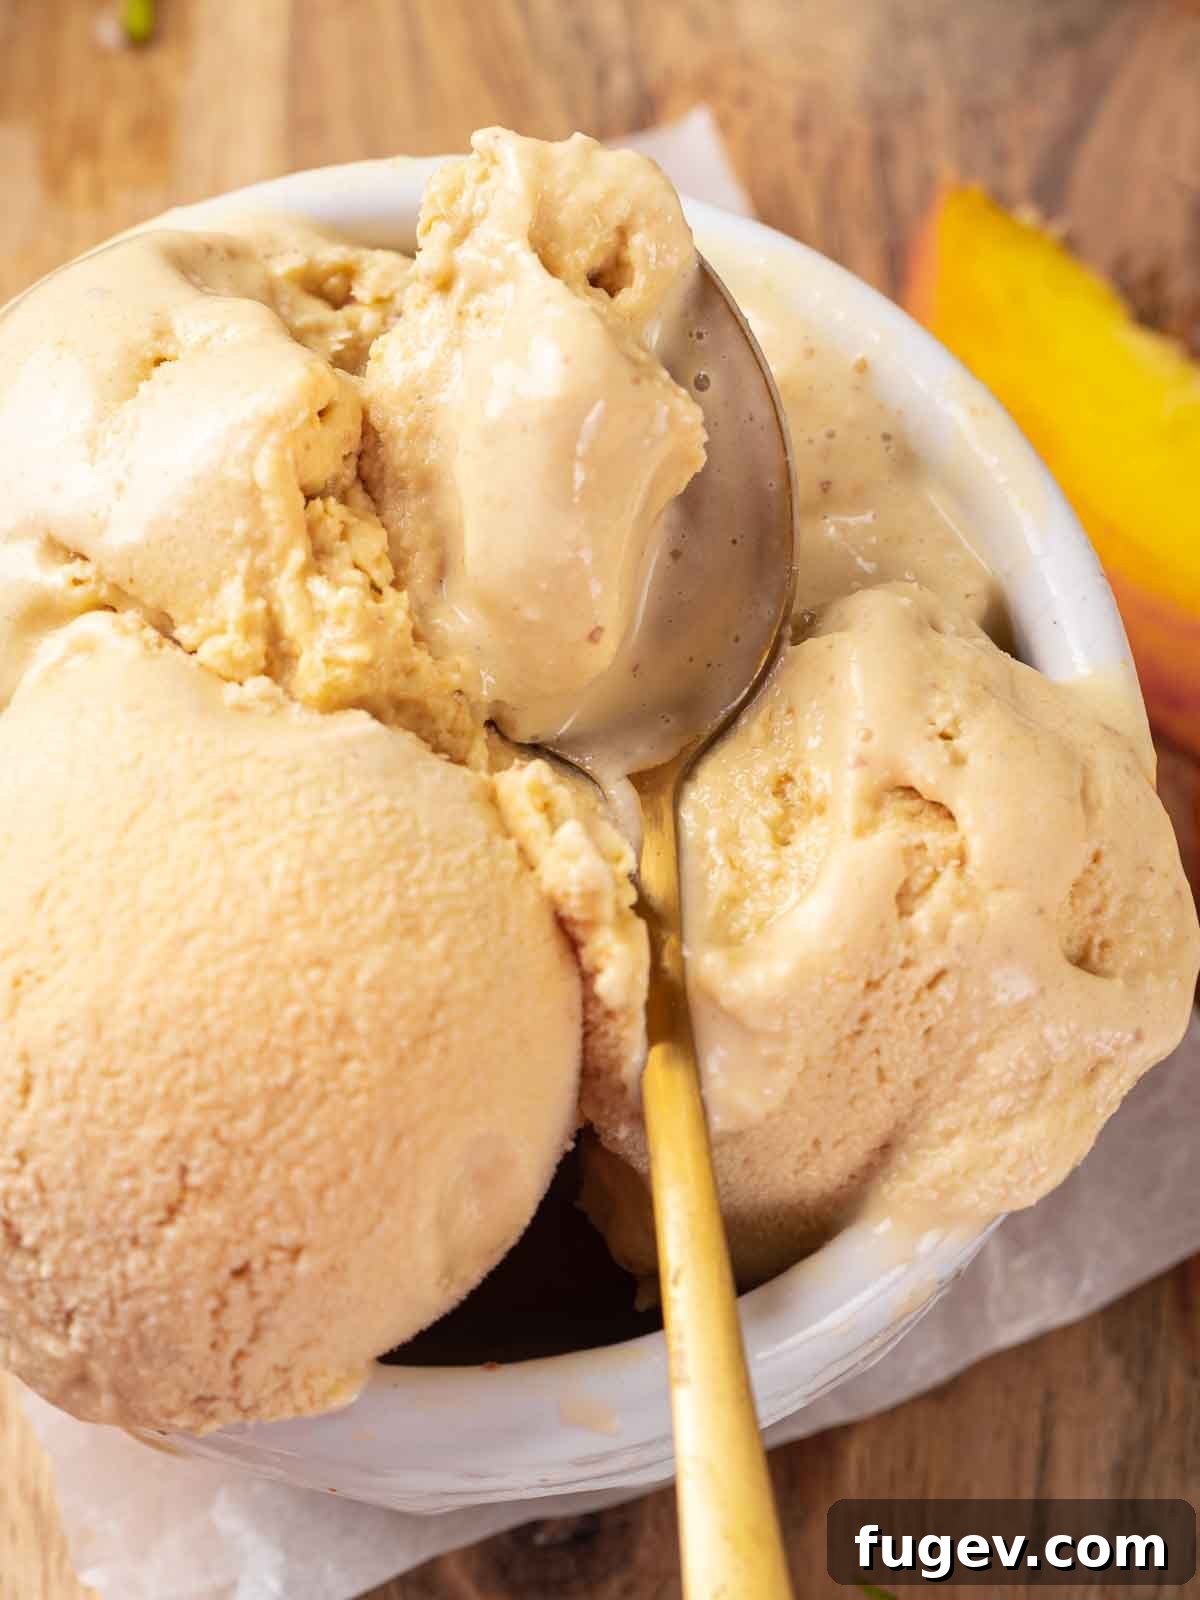
You can store the prepared, uncooked ice cream base in a clean, airtight container in the refrigerator for up to 5 days before you churn it. Once churned, store the finished ice cream, well-wrapped (with plastic wrap pressed directly to the surface, then a lid), in the freezer for up to one month. Beyond that, homemade ice cream can start to get icy due to the natural freeze-thaw cycles that occur in most home freezers.
What are the best ways to serve peach ice cream?
There’s absolutely nothing wrong with a generously filled bowl or an overflowing ice cream cone of this delightful peach ice cream. But if you’re looking for something a little extra special, here are a few ideas:
- Ice Cream Sandwiches: Create gourmet ice cream sandwiches using soft and chewy sugar cookies.
- Peach Sundae: Build a decadent sundae with a warm brown sugar streusel topping and a dollop of homemade peach preserves.
- Pair with Muffins: If you’re already making streusel and have extra peaches, be sure to try these incredible peach streusel muffins alongside a scoop!
Can I substitute half-and-half for the cream and milk?
Substituting half-and-half for *all* the heavy cream and whole milk in this recipe is generally not recommended, as it will significantly impact the texture. Half-and-half has a lower fat content, which is crucial for creamy ice cream. However, you can substitute half-and-half for *just the whole milk* without a noticeable change in texture. If you decide to substitute half-and-half for both the cream and milk, be aware that the resulting ice cream will be less creamy and likely a bit icier due to the reduced fat content.
If you’ve tried and loved this recipe, please consider leaving a 🌟 star rating and sharing your experience in the comments below. Your feedback truly brightens my day!
Peach Ice Cream
by Chef Lindsey
This peach ice cream recipe is made with fresh, juicy peaches and is easier than you think! Adding vanilla bean paste and using ripe peaches make this the best peach ice cream you’ll ever try!
Ingredients
- 3 large eggs
- 1 ½ cups granulated sugar
- 5 ripe peaches, pitted and chopped
- 2 ½ cups heavy cream
- ½ cup whole milk
- ¼ teaspoon salt
- 1 teaspoon vanilla bean paste (optional, but highly recommended)
- Orange food coloring (optional, for vibrant color)
Instructions
- The night before, place your ice cream maker’s freezer bowl and your storage containers in the freezer to chill completely.
- In a large bowl, whisk eggs until smooth, then vigorously whisk in the granulated sugar until thoroughly mixed.
- Puree the chopped peaches in a food processor or blender until smooth (approximately 2 ¼ – 2 ½ cups puree) and stir it into the egg mixture.
- In a medium saucepan over medium heat, bring the heavy cream, whole milk, and salt just to a boil. Immediately remove from heat.
- While continuously whisking the egg mixture, slowly pour the hot cream mixture into it until fully incorporated.
- Strain the entire base through a fine-mesh sieve into a clean large bowl. Stir in the vanilla bean paste and optional food coloring. Cover the surface directly with plastic wrap and refrigerate until thoroughly cold, at least 2 hours or preferably overnight.
- Churn the chilled ice cream base according to your ice cream maker manufacturer’s instructions until it thickens to a soft-serve consistency, usually 20-30 minutes.
- Transfer the churned ice cream into your pre-frozen container(s). Cover the surface directly with plastic wrap and freeze for at least 2 hours or until solid.
Notes
Yield: Approximately 1 quart
Presentation: The orange food coloring is optional, but without it, the natural peach color will be lighter. It’s purely a visual choice.
Recipe Source: This recipe was adapted from Kristi’s original at Inspiration Kitchen. I updated it to include cooking the eggs, though the original no-cook method for the base also yields a wonderfully fresh peach flavor.
Storage: The uncooked base can be stored in the refrigerator for up to 5 days. Churned ice cream stores well in the freezer for up to one month; beyond that, it may become icy.
Nutrition Information (per serving, estimated for 10 servings)
Calories: 377 kcal | Carbohydrates: 40g | Protein: 4g | Fat: 23g | Saturated Fat: 14g | Polyunsaturated Fat: 1g | Monounsaturated Fat: 6g | Trans Fat: 0.01g | Cholesterol: 118mg | Sodium: 108mg | Potassium: 185mg | Fiber: 1g | Sugar: 39g | Vitamin A: 1210IU | Vitamin C: 3mg | Calcium: 65mg | Iron: 1mg
Before You Go: Explore More Deliciousness!
I hope you thoroughly enjoyed creating and indulging in this fresh, vibrant summer recipe. There’s nothing quite like the taste of homemade ice cream, especially when it features seasonal fruits like peaches. If you’re eager to continue your frozen dessert journey, be sure to check out our other enticing ice cream recipes. Alternatively, if you’re simply in the mood for more delightful seasonal treats, dive into our collection of summer dessert recipes, or explore our curated list of 20 Easy Summer Dessert Recipes for quick and impressive options. Happy baking and churning!