
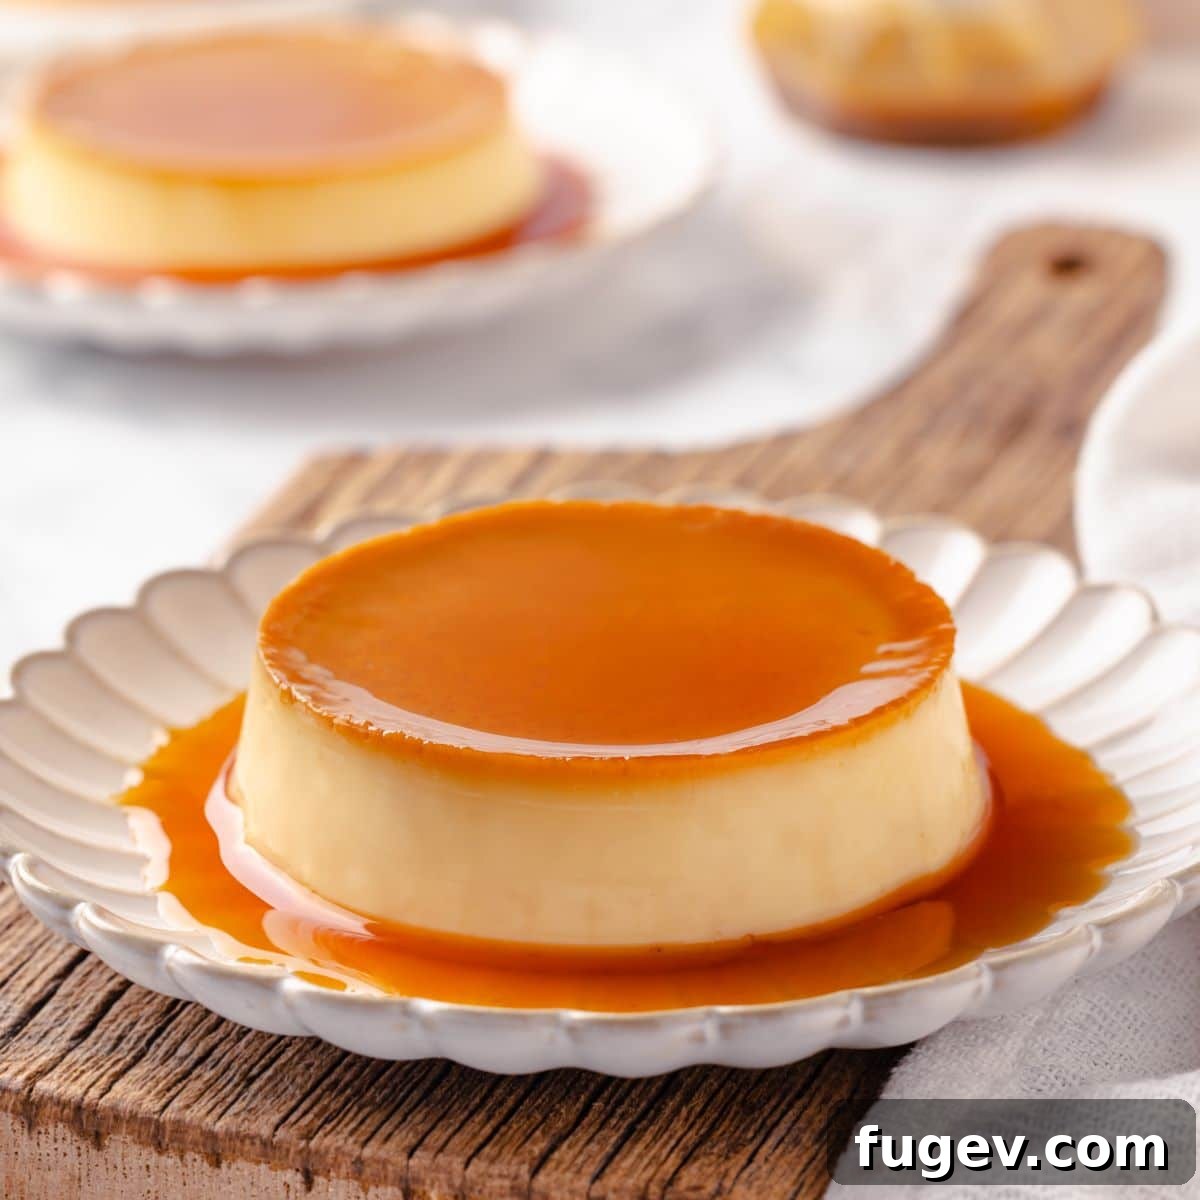
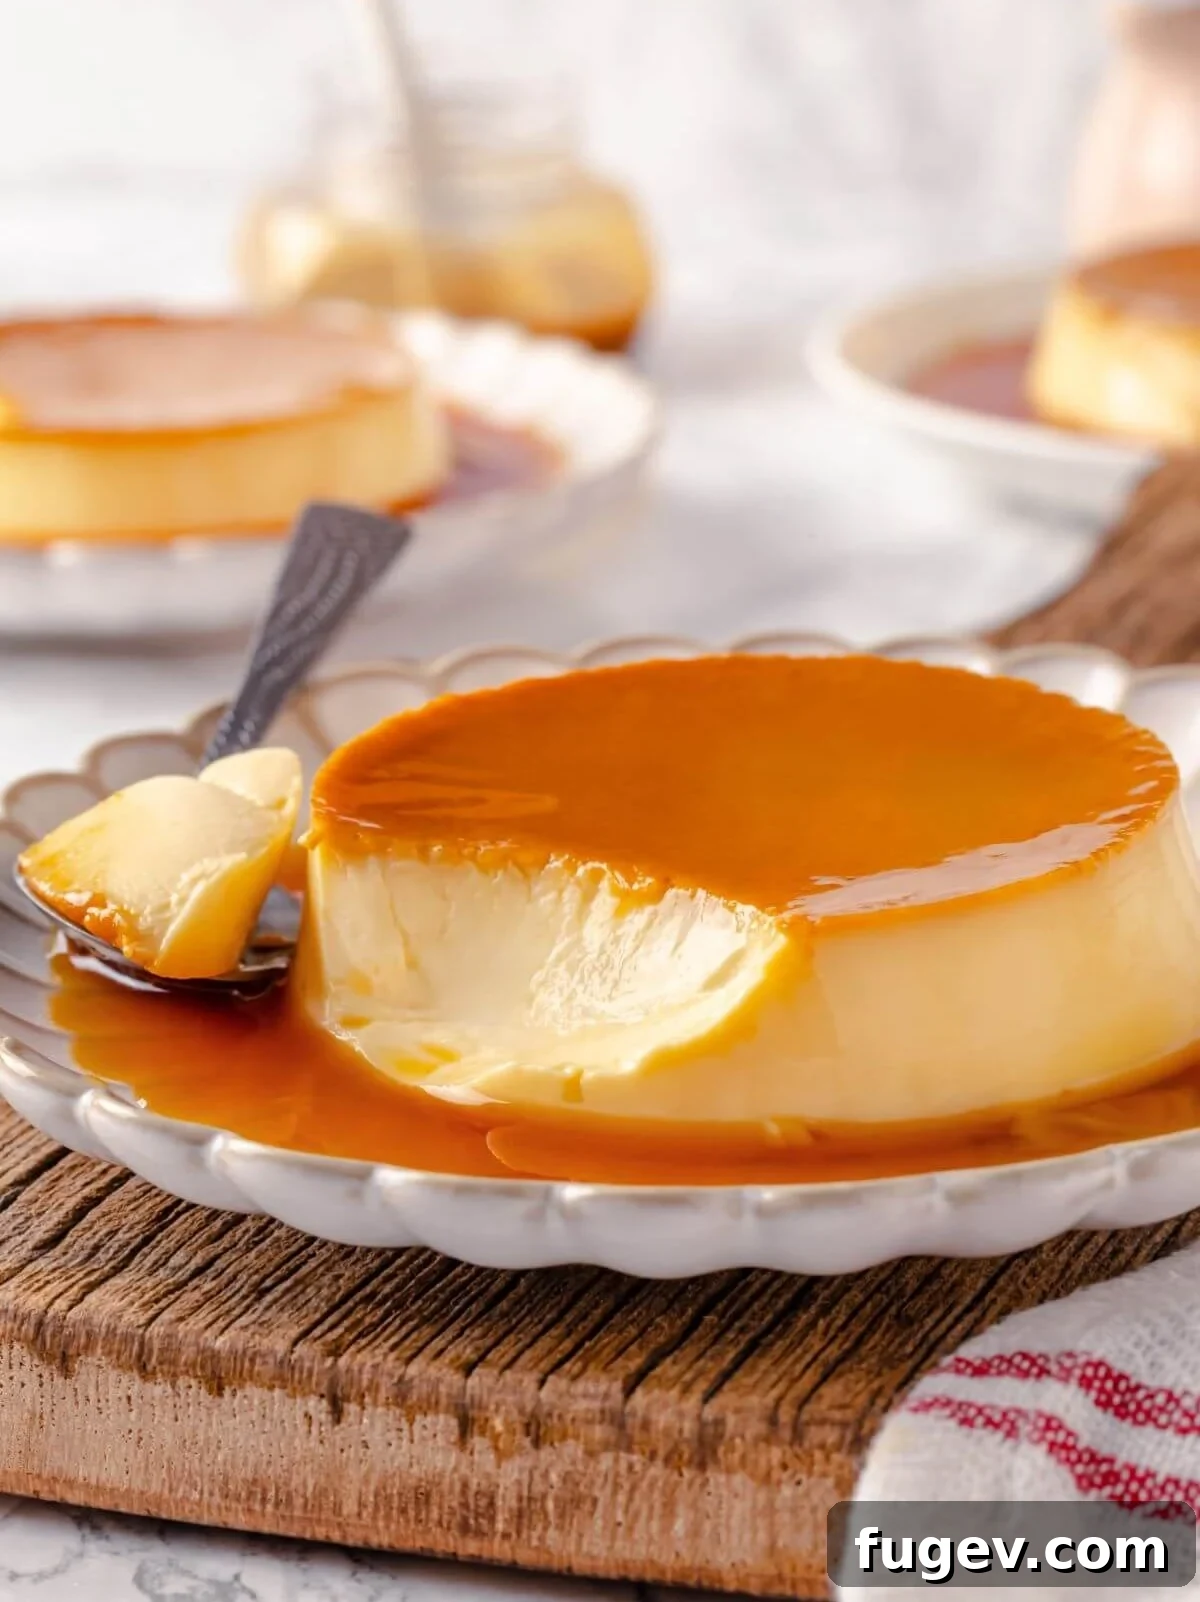
Indulge in the timeless elegance of French Crème Caramel, a dessert that effortlessly combines simplicity with sophistication. This classic sweet treat features a rich, silky vanilla custard crowned with a gleaming layer of amber caramel, creating a truly melt-in-your-mouth experience. Crafted from common pantry ingredients, Crème Caramel is not only impressive but also surprisingly easy to prepare, making it a perfect choice for any occasion, from casual weeknight dinners to elegant dinner parties.
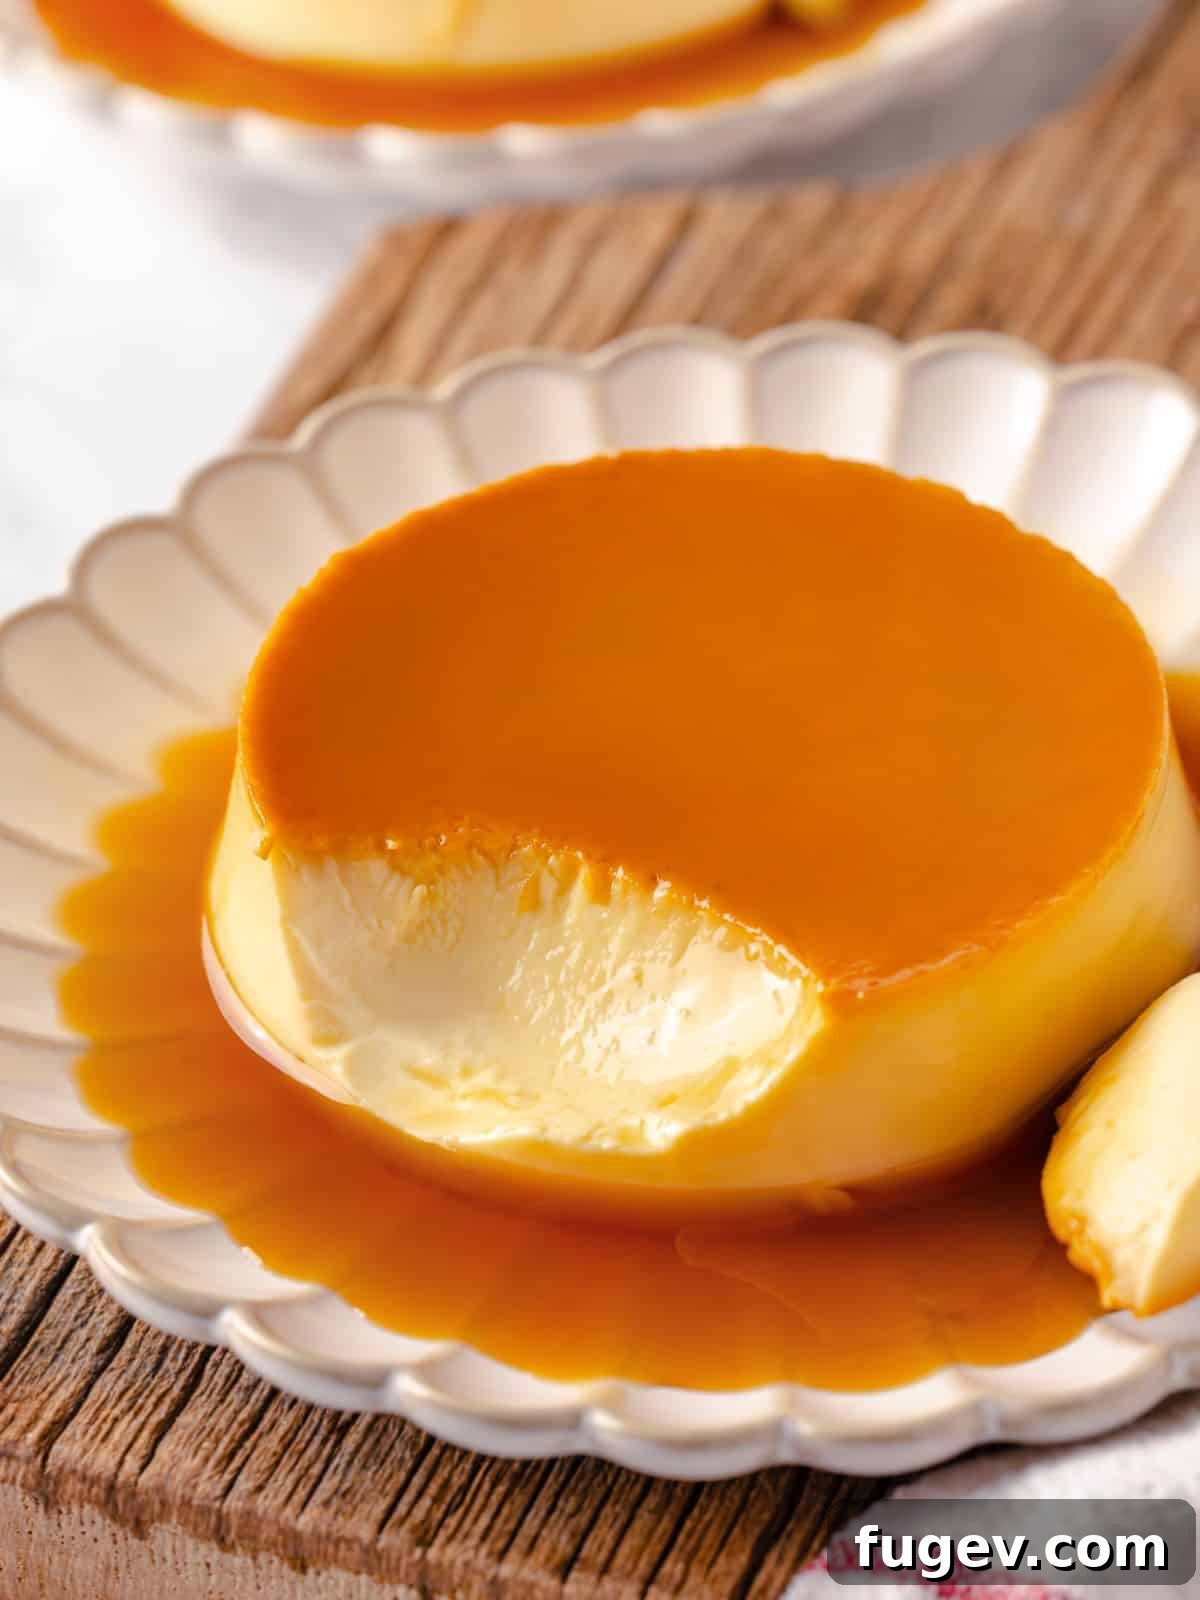
Crème Caramel is one of those delightful desserts often perceived as challenging to make, yet it’s remarkably straightforward. Many home bakers shy away, intimidated by the idea of making caramel or perfecting a custard. However, I’m here to assure you that creating these exquisite French custards at home is both achievable and incredibly rewarding. The process begins with crafting a beautiful amber caramel base, which is then delicately topped with a luxurious, creamy vanilla custard. After a gentle bake in a water bath, the custards chill in the refrigerator, allowing the flavors to meld and the caramel to liquefy into a glistening sauce. When it’s time to serve, a simple inversion reveals a stunningly smooth crème crowned with a golden, flowing caramel. This elegant presentation makes Crème Caramel an ideal dessert for any gathering, a romantic date night, or simply a luxurious treat on an ordinary weeknight.
Custards, in their many forms, hold a special place in my heart as a favorite dessert category. Their versatility is unmatched, offering endless possibilities for flavor customization. Generally, custards can be divided into three main types: baked, stirred, and frozen. If you’re particularly fond of caramel, consider exploring other delicious options like my Caramel Pastry Cream, the indulgent Caramel Pudding (a delightful stirred custard), or for a unique frozen treat, my Bourbon Cherry Caramel Ice Cream. Each offers a distinct caramel experience.
Why This Crème Caramel Recipe Will Become Your Favorite
- Effortless Make-Ahead Dessert: One of the greatest advantages of Crème Caramel is its inherent need for refrigeration. This isn’t just a suggestion; it’s crucial for the dessert to set perfectly and for the caramel to achieve its signature liquid consistency. This characteristic makes it an unparalleled make-ahead dessert. Planning a dinner party or a special event? Prepare your Crème Caramels a day or two in advance, freeing up valuable time on the day of your event and ensuring a stress-free dessert presentation.
- Unparalleled Silky and Rich Texture: The secret to our Crème Caramel’s luxurious texture lies in its carefully balanced crème base. By combining whole milk, heavy cream, whole eggs, and extra egg yolks, we create a custard that is exceptionally rich, smooth, and melts beautifully on the tongue. The addition of both whole eggs and yolks ensures a custard that is firm enough to hold its shape when inverted, yet incredibly tender and creamy, with a deeply satisfying, well-rounded flavor that is anything but “eggy.”
- Simple, Accessible Pantry Ingredients: Despite its elegant appearance, this Crème Caramel requires only seven fundamental ingredients, all of which are likely staples in your kitchen. You won’t need to hunt for exotic items; just basic sugar, water, milk, cream, eggs, salt, and vanilla are enough to create this gourmet delight. This accessibility means you can whip up this impressive dessert whenever the craving strikes, without a special trip to the grocery store.
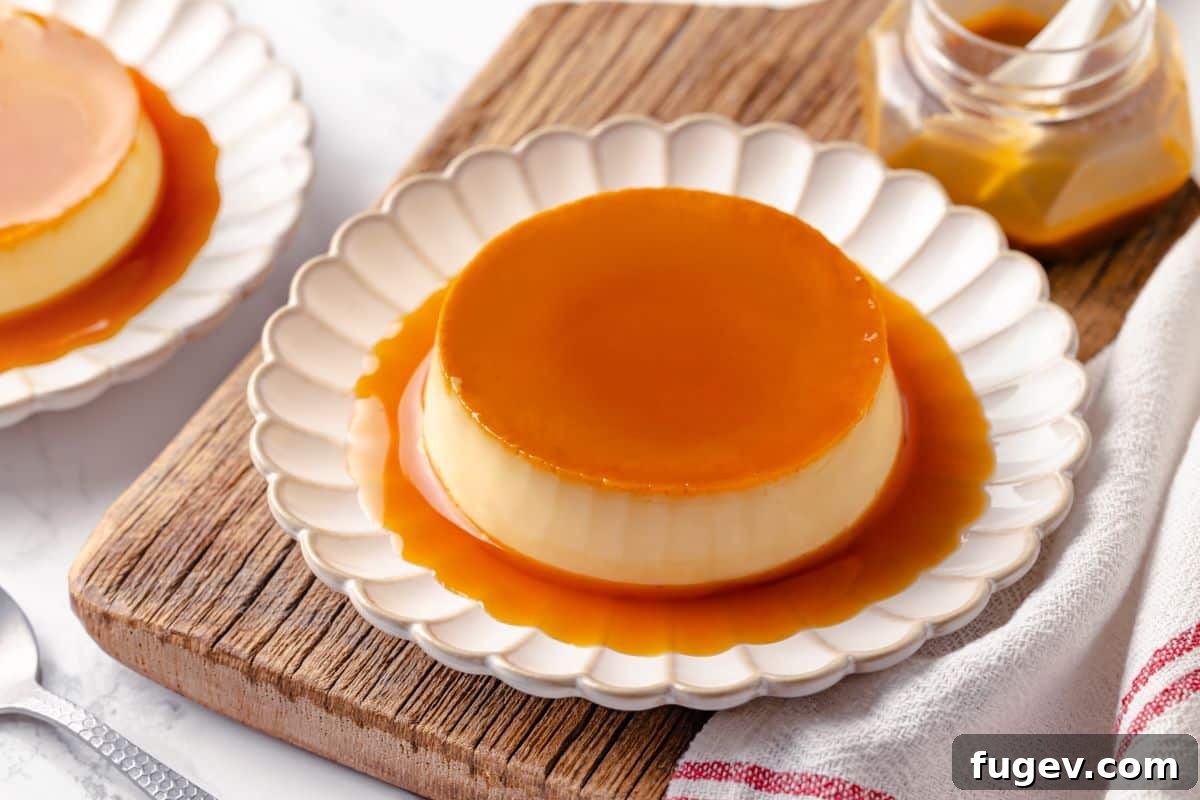
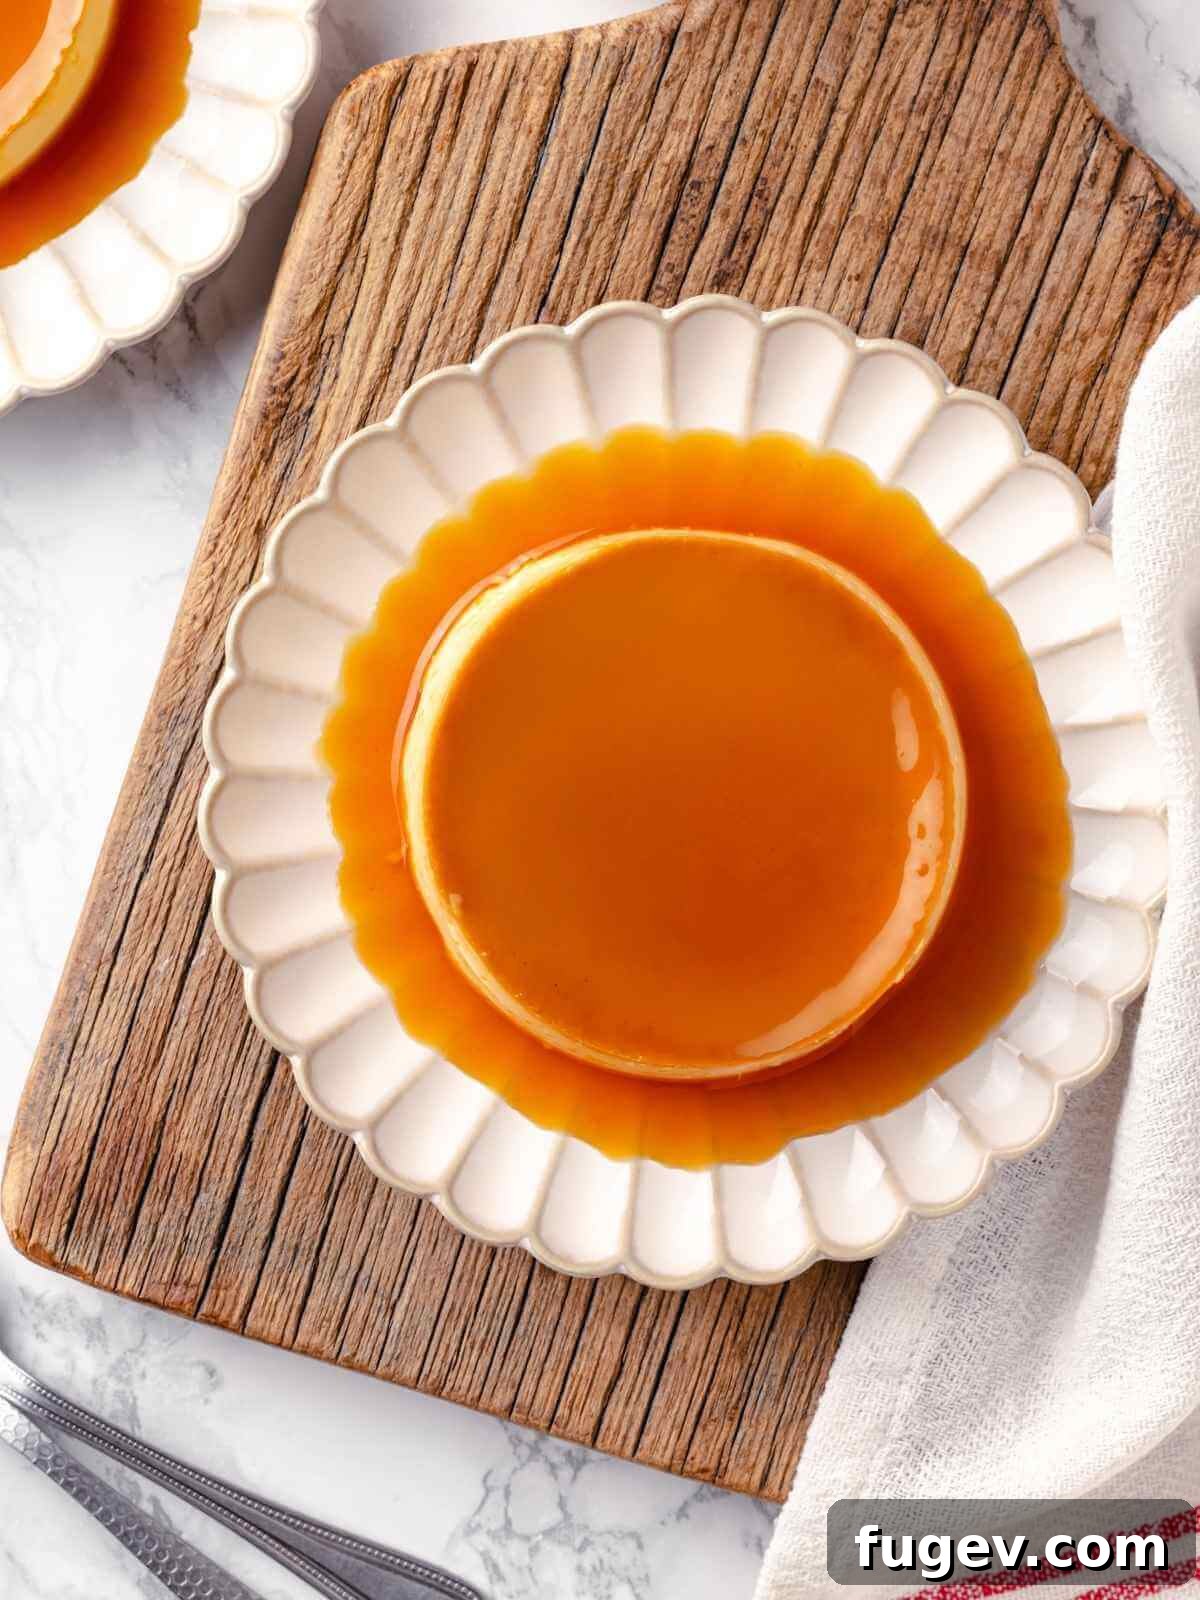
- A Show-Stopping Presentation: The moment you invert a perfectly chilled Crème Caramel onto a plate is pure magic. The glossy amber caramel cascades down the sides, pooling elegantly around the smooth, pale vanilla custard. It’s a visual feast that always elicits gasps of delight, making it an ideal grand finale for any meal and a testament to your culinary skill.
Table of Contents
- Why You Will Love This Crème Caramel
- Essential Ingredients for Crème Caramel
- Crème Caramel VS Crème Brûlée: Understanding the Differences
- Exciting Variations to Elevate Your Crème Caramel
- Professional Tips for Crème Caramel Perfection
- How to Make Homemade Crème Caramel: Step-by-Step Guide
- Chef Lindsey’s Expert Tip
- Recipe FAQs
- More Delightful Caramel Recipes
- Classic Crème Caramel Recipe
- Explore More Custard Creations
Essential Ingredients for Crème Caramel
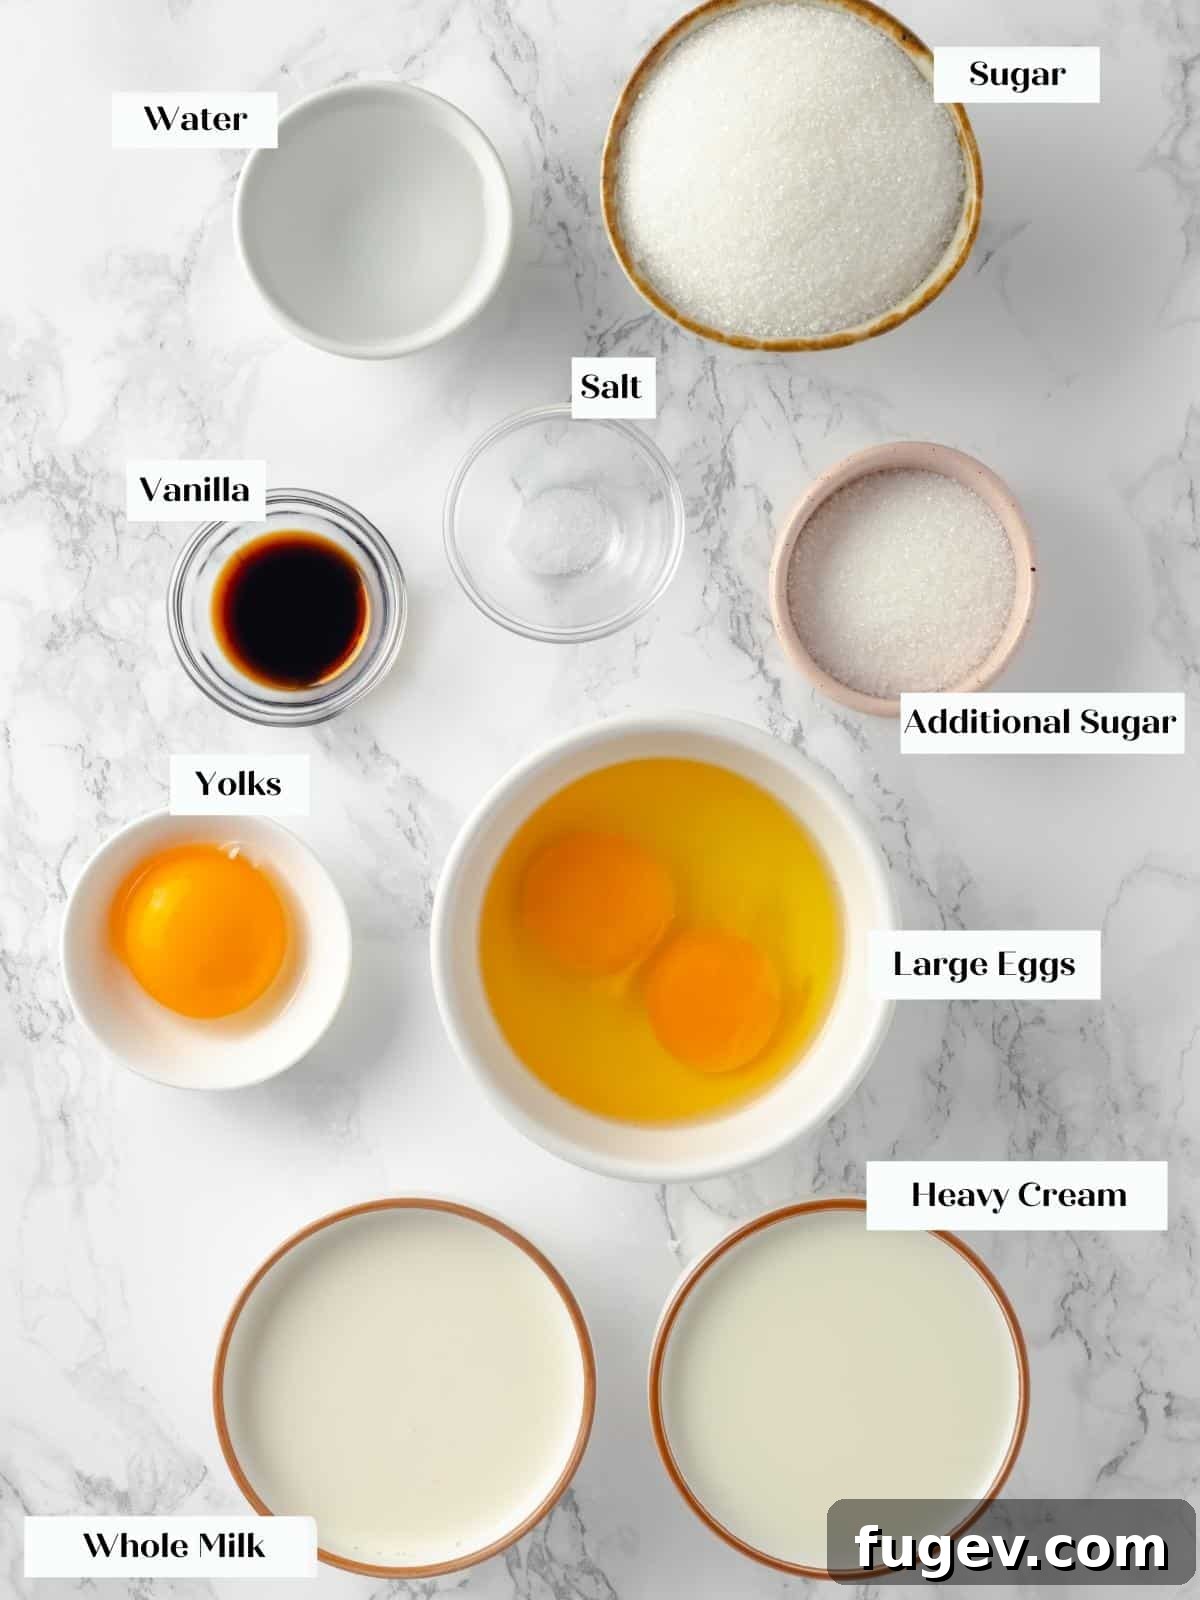
Creating an exceptional Crème Caramel requires only a handful of common ingredients, but understanding their role is key to achieving that perfect silky texture and rich flavor.
- Granulated Sugar: This is the star for both sweetness in the custard and, most importantly, for creating the signature amber caramel. In the custard base, sugar also plays a vital role in protecting the eggs from curdling when introduced to heat, ensuring a smooth finish.
- Water: Adding water to your sugar for caramel is an optional step that can make the caramelization process more forgiving. For a “wet caramel,” water helps dissolve the sugar crystals, making them less prone to crystallizing and allowing for more controlled cooking. If you’re comfortable with caramel-making, a “dry caramel” (sugar only) offers a quicker path to the desired color.
- Whole Milk: I prefer to use 2% milk in this custard. It strikes a perfect balance, contributing a delicate milky flavor and sufficient fat content without making the custard overly heavy. You can certainly use nonfat milk for a lighter version or whole milk for an even richer custard, keeping in mind that higher fat content directly translates to a more luxurious texture.
- Heavy Cream: This ingredient is crucial for adding unparalleled richness and a naturally sweet undertone to the crème caramel. The high fat content in heavy cream is instrumental in achieving that velvety smooth, thick, and utterly decadent custard texture that sets this dessert apart.
- Kosher Salt: A small pinch of kosher salt is a flavor enhancer that balances the sweetness of the caramel and custard. It brings out the complex vanilla notes and prevents the dessert from tasting one-dimensional.
- Whole Eggs & Egg Yolks: Eggs are the primary thickeners in baked custards. The whole eggs provide structure and moisture, while the additional egg yolks contribute extra fat, resulting in a thicker, richer, and creamier texture without increasing the “eggy” flavor that too many whole eggs might impart. Whisking them with sugar first helps temper them, protecting them from the heat and ensuring a smooth custard.
- Vanilla Bean Paste or Extract: For the most robust and authentic vanilla flavor, vanilla bean paste is highly recommended, as it delivers a more intense and well-rounded profile. However, high-quality vanilla extract will still yield a wonderfully delicious crème caramel. If you have access to fresh vanilla beans, scrape the seeds and infuse them directly into the milk and cream mixture as it heats for an exquisite aromatic experience.
Refer to the detailed recipe card below for precise measurements and quantities.
Crème Caramel VS Crème Brûlée: Understanding the Differences
While both Crème Caramel and Crème Brûlée are beloved French custards, their distinguishing features lie in their caramel application and overall texture. In Crème Caramel, the caramel is formed first at the bottom of the ramekin *before* baking. This pre-made caramel then liquefies during the chilling process, creating a luscious sauce that flows over the custard when inverted for serving. Its texture is typically firmer than a Crème Brûlée, designed to be unmolded and stand on its own.
Conversely, Crème Brûlée features a crisp, caramelized sugar crust that is created *after* the custard is baked and chilled. Granulated sugar is sprinkled on top of the finished custard and then torched until golden and crackly. Crème Brûlée custards are generally softer and more delicate, intended to be served directly from their individual dishes, allowing diners to break through the brittle sugar shell to reach the creamy interior. Both offer unique textural contrasts and are equally delightful in their own right, but serve different sensory experiences.
Exciting Variations to Elevate Your Crème Caramel
Once you’ve mastered the classic Crème Caramel, a world of flavor possibilities opens up. The beauty of this dessert lies in its adaptability, allowing you to infuse both the caramel and the custard base with a variety of exciting flavors.
- Infuse the Caramel with Spices: Elevate your caramel by infusing it with aromatic spices. This technique works particularly well with a wet caramel sauce. Once your sugar and water mixture begins to boil, add whole spices like star anise, cinnamon sticks, cardamom pods, or even a few peppercorns. Allow them to simmer gently with the caramel, imparting their essence. When the caramel reaches its desired amber hue, strain it through a fine-mesh sieve before pouring it into your ramekins to ensure a smooth, spice-free sauce.
- Flavor the Crème Base: The custard itself is a blank canvas for creativity. Consider incorporating rich flavors such as earthy matcha powder for a vibrant green and subtly bitter custard, creamy mascarpone cheese for added richness and tang, melted high-quality chocolate for a decadent chocolate caramel, or a swirl of tangy lemon curd for a bright, refreshing contrast to the sweet caramel. Ensure any solid additions are fully incorporated and the base remains smooth.
- Infuse the Crème Base with Aromatics: Infusing the milk and cream is another fantastic way to add depth of flavor. Bring the dairy to a gentle boil with your chosen aromatic ingredients. Popular options include fragrant Earl Grey tea leaves (steeped like tea), whole cinnamon sticks, toasted nuts (such as almonds or pecans, for a subtle nutty flavor), fresh ginger slices, or even ripe banana slices. After heating, cover the saucepan with plastic wrap and let it steep off the heat until the desired flavor intensity is achieved. Strain the infused dairy before proceeding with the recipe.
- Experiment with Different Sizes: Crème Caramels can be made in various sizes, from charming mini versions perfect for individual servings to larger, more dramatic custards designed for sharing. Just be mindful that altering the size will necessitate adjustments to the baking time. Smaller ramekins will cook faster, while a larger mold will require a longer baking period to ensure the custard is perfectly set throughout. Always monitor for that subtle jiggle in the center, indicating doneness.
Professional Tips for Crème Caramel Perfection
Achieving a flawless Crème Caramel, with its pristine custard and liquid caramel, is within reach with these expert tips:
- Preserve Vanilla Flavor: Vanilla’s delicate aromatics are easily diminished by high heat. For the most vibrant vanilla flavor in your crème caramel, always incorporate the vanilla bean paste or extract *after* the tempering process, once the hot milk mixture has been gradually whisked into the eggs. Adding it earlier, especially during the boiling of the milk and cream, can cause the vanilla compounds to evaporate, resulting in a less pronounced flavor.
- Give Caramel Your Undivided Attention: Caramel is notoriously fickle and demands your full focus. Whether you opt for a dry or wet method, the transition from perfectly golden to burnt can happen in mere seconds. It’s crucial to stay by the stove, constantly observing its color. If the caramel crystallizes (turns grainy) or burns (becomes bitter and acrid), don’t hesitate to start over. Even experienced chefs have to restart caramel; it’s a normal part of the process. A beautifully made caramel is worth the effort!
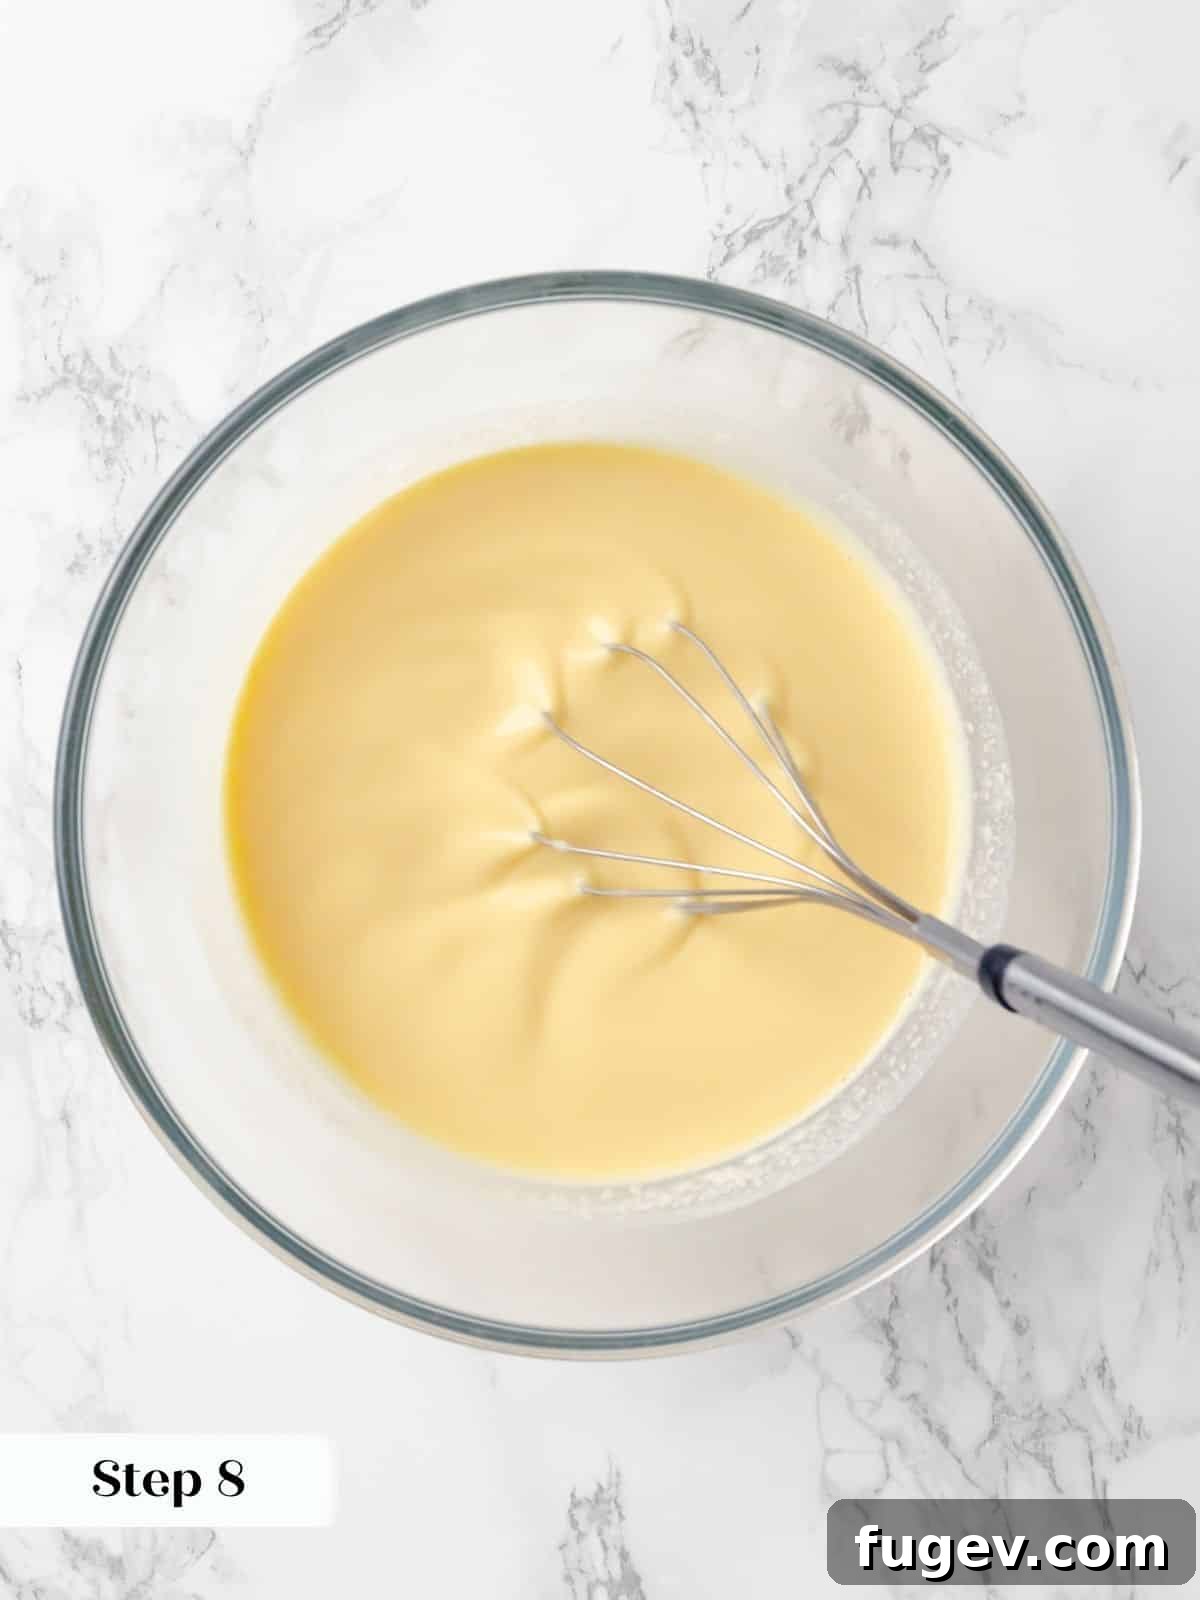
- Master the Art of Tempering and Avoid Air Bubbles: When combining the hot cream mixture with the whisked eggs, the technique of tempering is vital. Pour the hot liquid slowly into the eggs while continuously whisking to gradually raise the egg’s temperature, preventing them from scrambling. Crucially, be gentle with your whisking. Over-whisking incorporates excessive air bubbles into the crème base, which will remain in the custard during baking, resulting in a textural flaw rather than the desired silky smoothness. A “piano whisk,” smaller and more delicate than a balloon whisk, is ideal for this task as it minimizes air incorporation.
- The Importance of the Water Bath (Bain-Marie): Baking Crème Caramel in a water bath is non-negotiable for a perfectly smooth, evenly cooked custard. The water bath provides gentle, even heat, preventing the edges of the custard from overcooking and curdling before the center is set. It also creates a moist environment, which helps prevent the custard from cracking on the surface. Ensure the water is hot (but not boiling) when added to the baking dish, coming about halfway up the sides of the ramekins.
- Chill Thoroughly for Optimal Results: Patience is a virtue when it comes to Crème Caramel. The extensive chilling period (at least overnight, ideally longer) is essential for two reasons: it allows the custard to fully set and firm up, and it gives the caramel sufficient time to completely liquefy, transforming from a hardened sugar disc into a luxurious, pourable sauce. Rushing this step will result in a firmer caramel that won’t flow elegantly when unmolded.
How to Make Homemade Crème Caramel: Step-by-Step Guide
Follow these detailed instructions to create the perfectly silky and irresistible Crème Caramel every single time. For precise ingredient measurements, please refer to the recipe card provided below.
Step 1: Prepare Your Oven and Ramekins
Preheat your oven to 325°F (160°C). Lightly spray your individual ramekins with nonstick cooking spray to aid in easy release. Arrange the prepared ramekins on a sturdy, flat baking sheet. This ensures they remain level and stable throughout the caramelization and baking process.
Step 2: Craft the Caramel Base
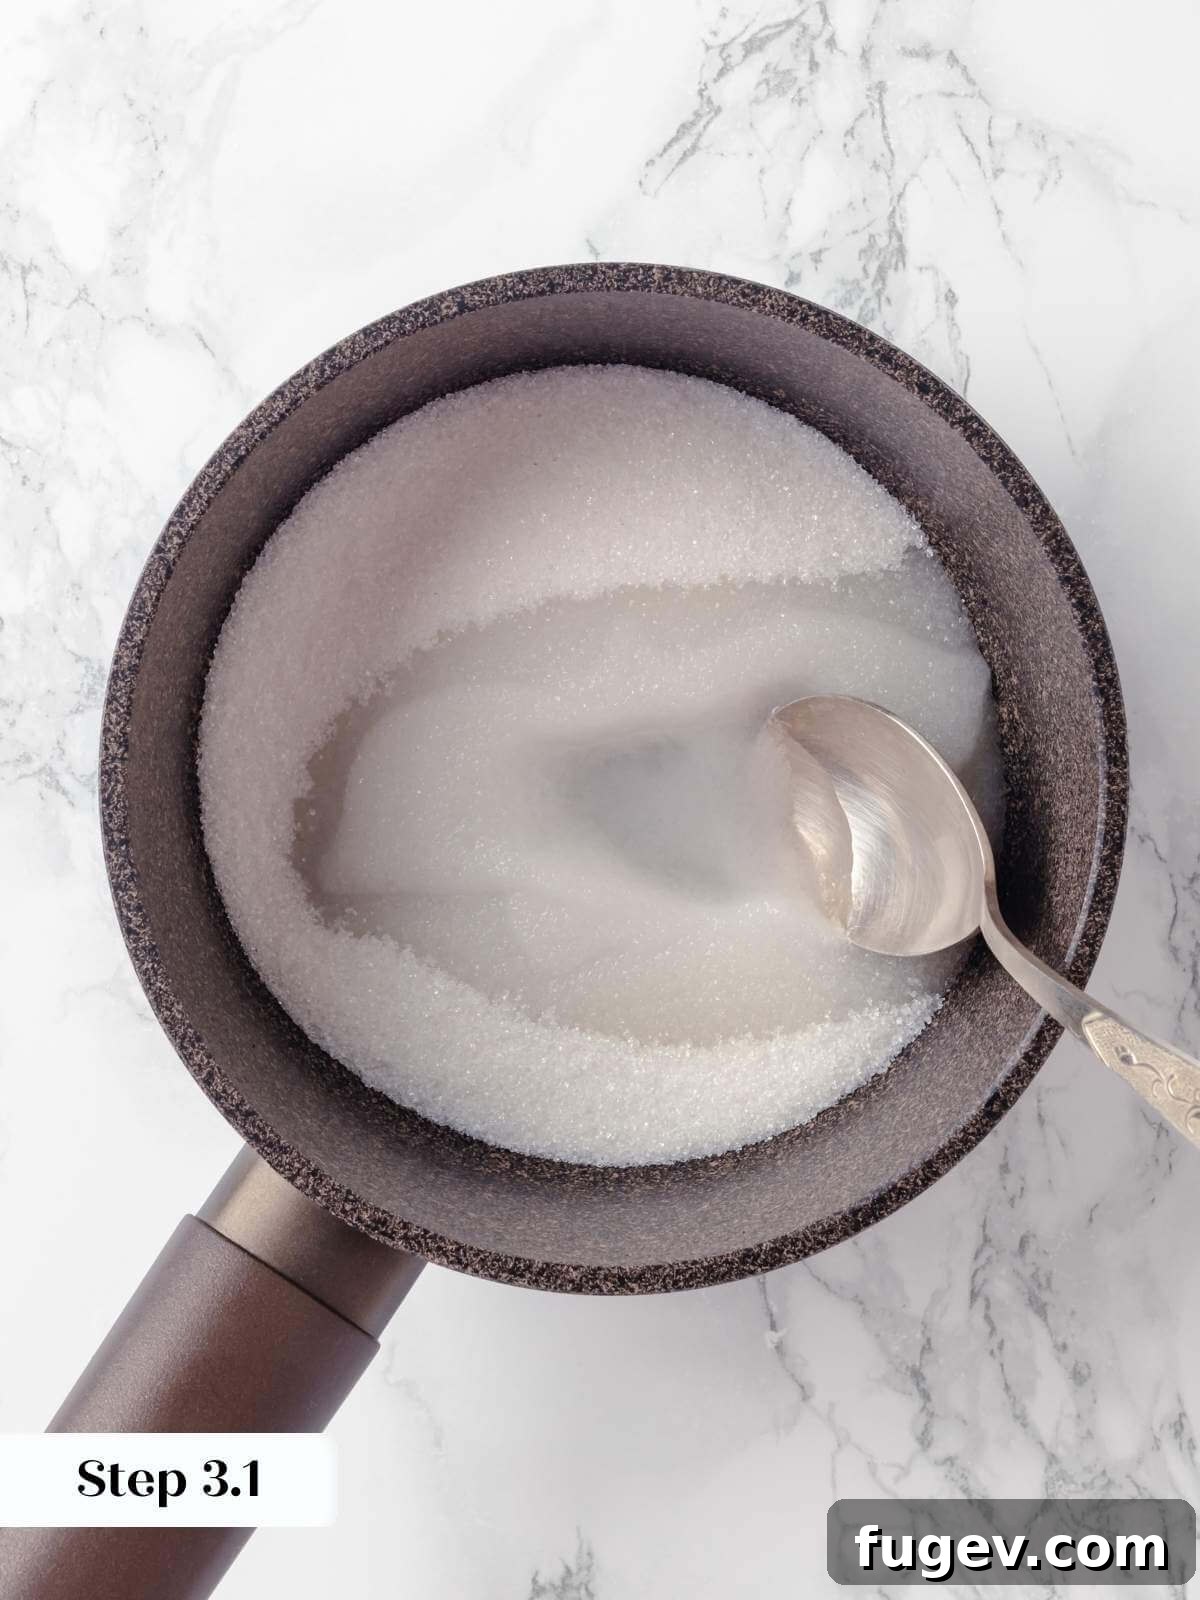
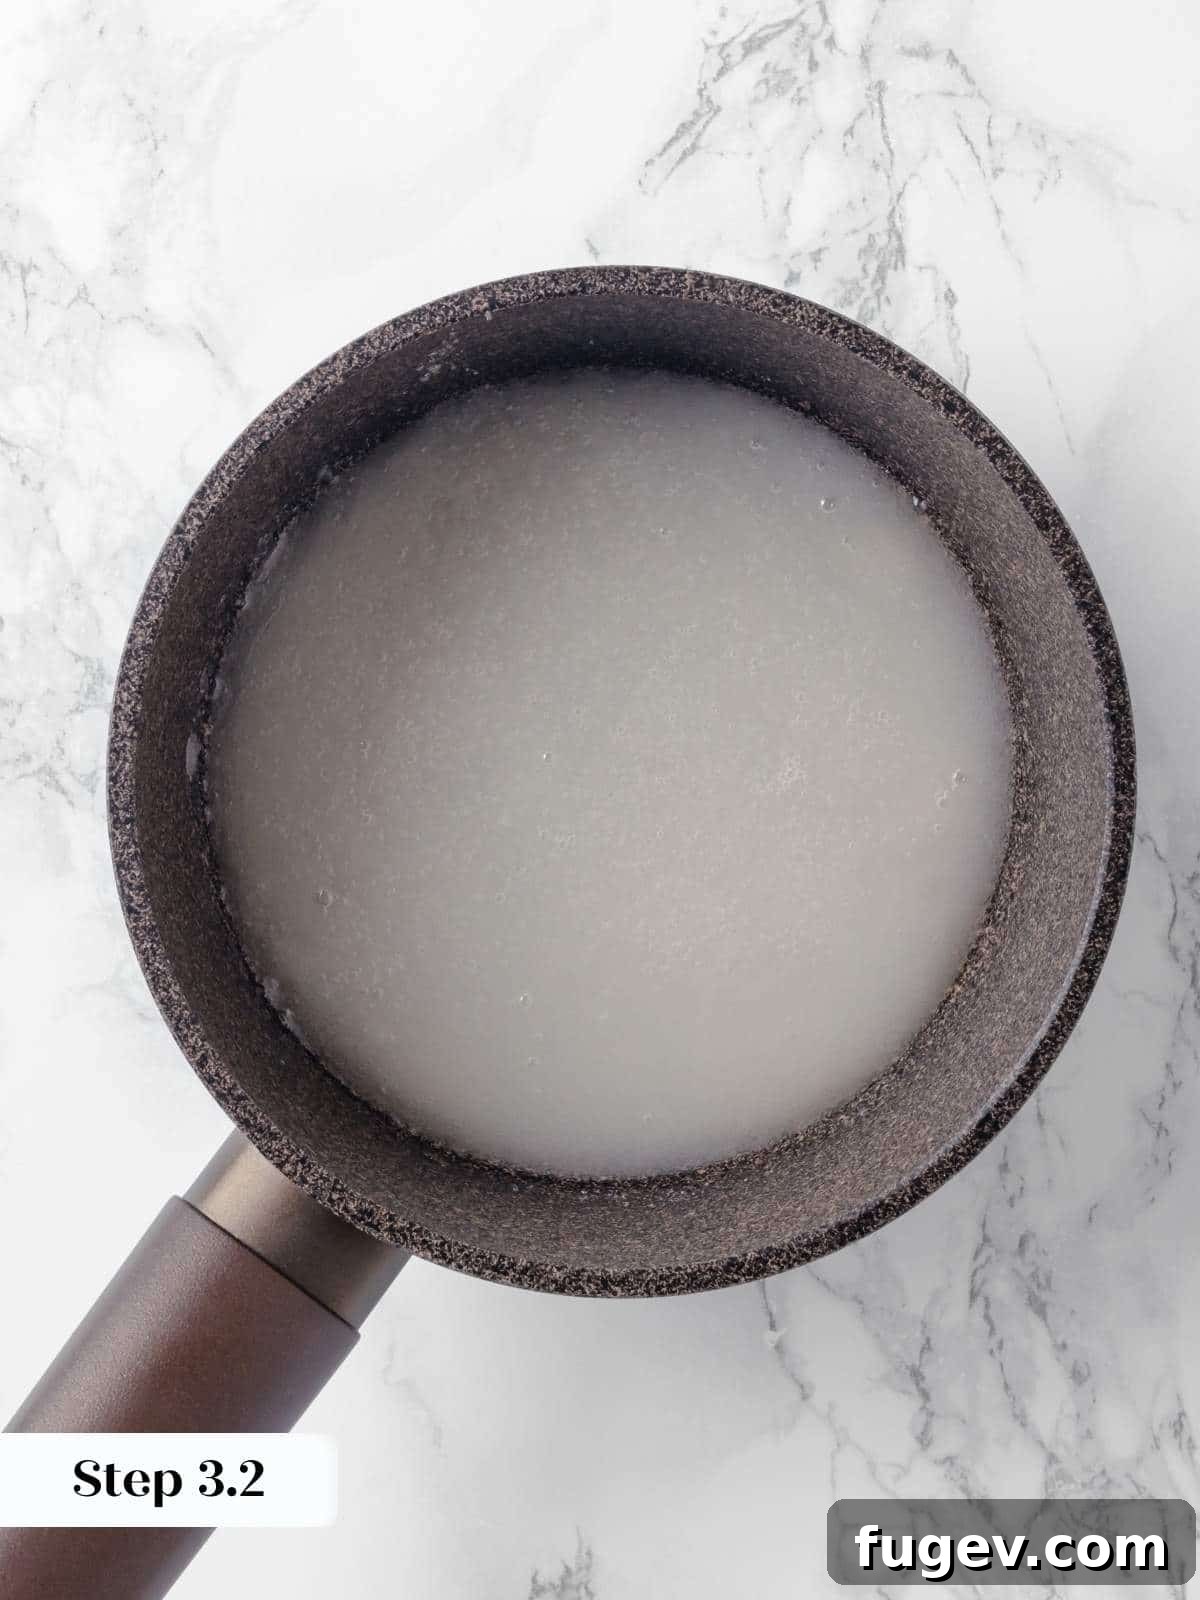
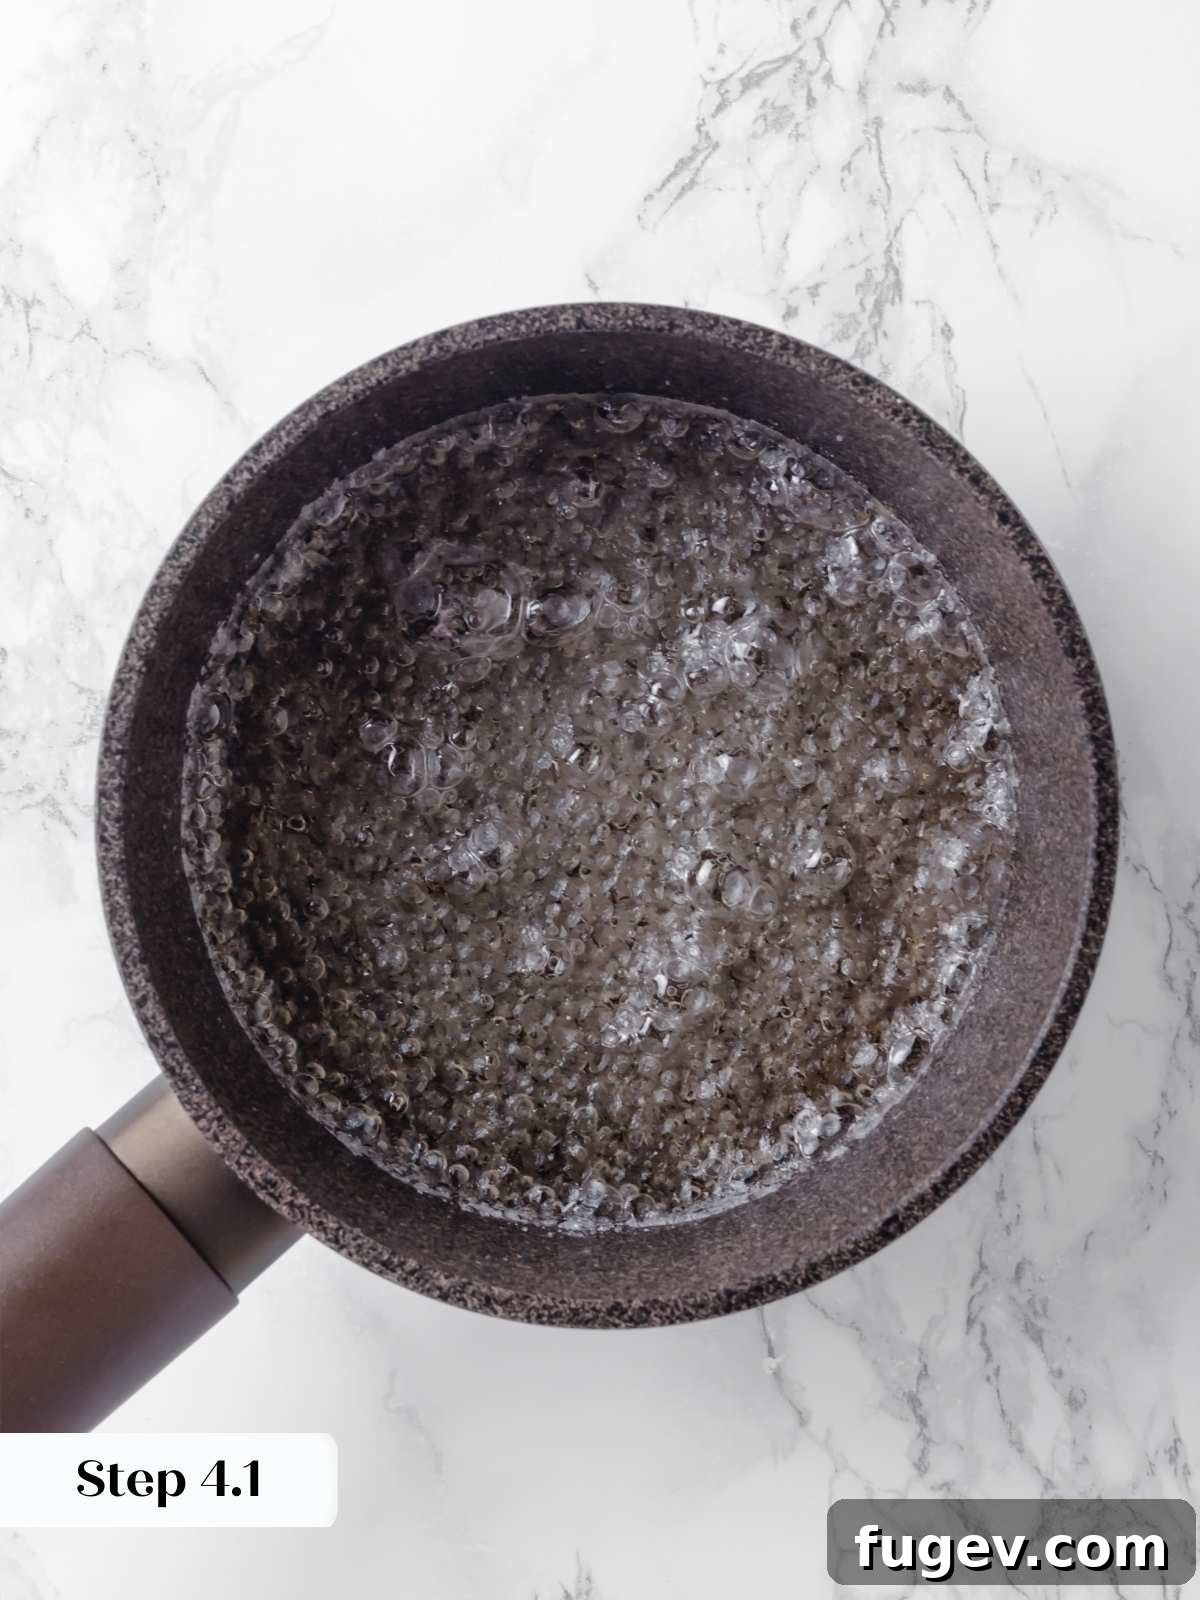
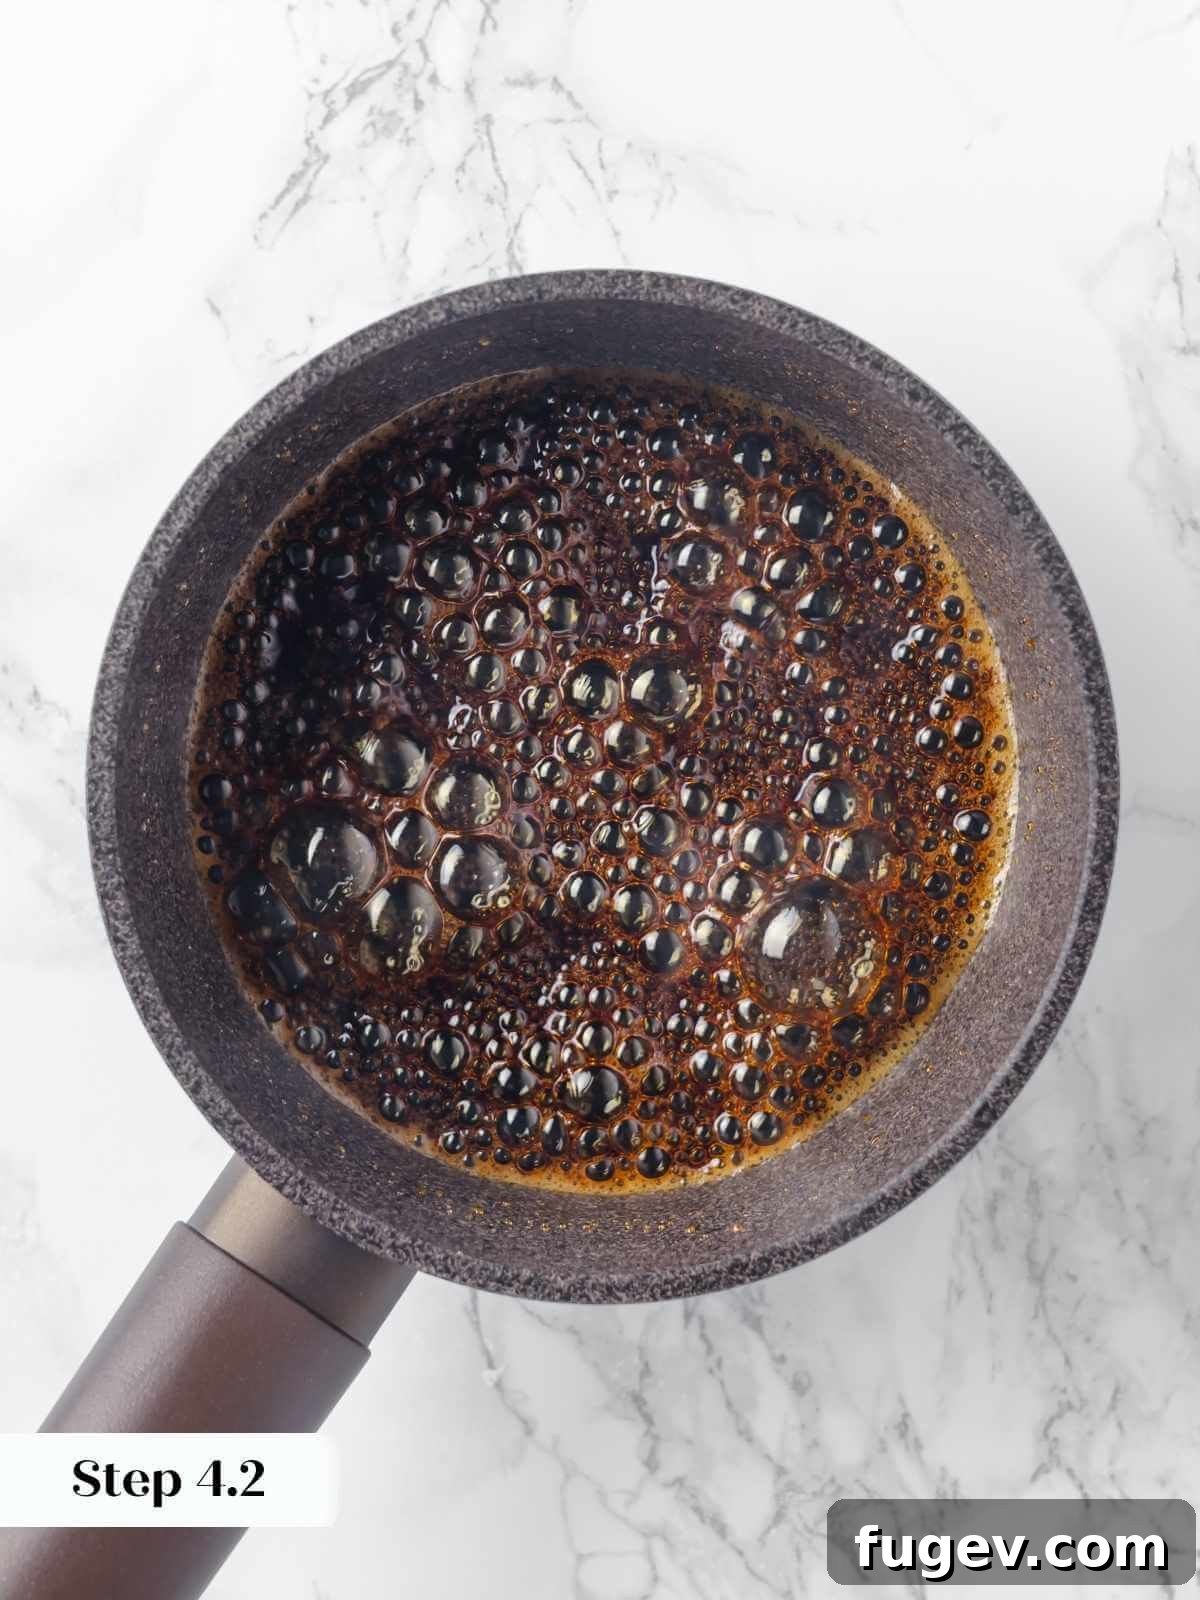
In a heavy-bottomed saucepan, begin making your caramel. For a dry caramel, simply melt the granulated sugar over medium heat, swirling occasionally until it transforms into a beautiful medium amber color. If you prefer a wet caramel (recommended for larger batches or if you’re new to caramel making), add the optional 3 tablespoons of water to the sugar. Stir gently to combine the water and sugar initially, then refrain from stirring as it caramelizes over medium heat. Allow it to cook undisturbed until it reaches a rich amber hue.
Step 3: Distribute the Caramel
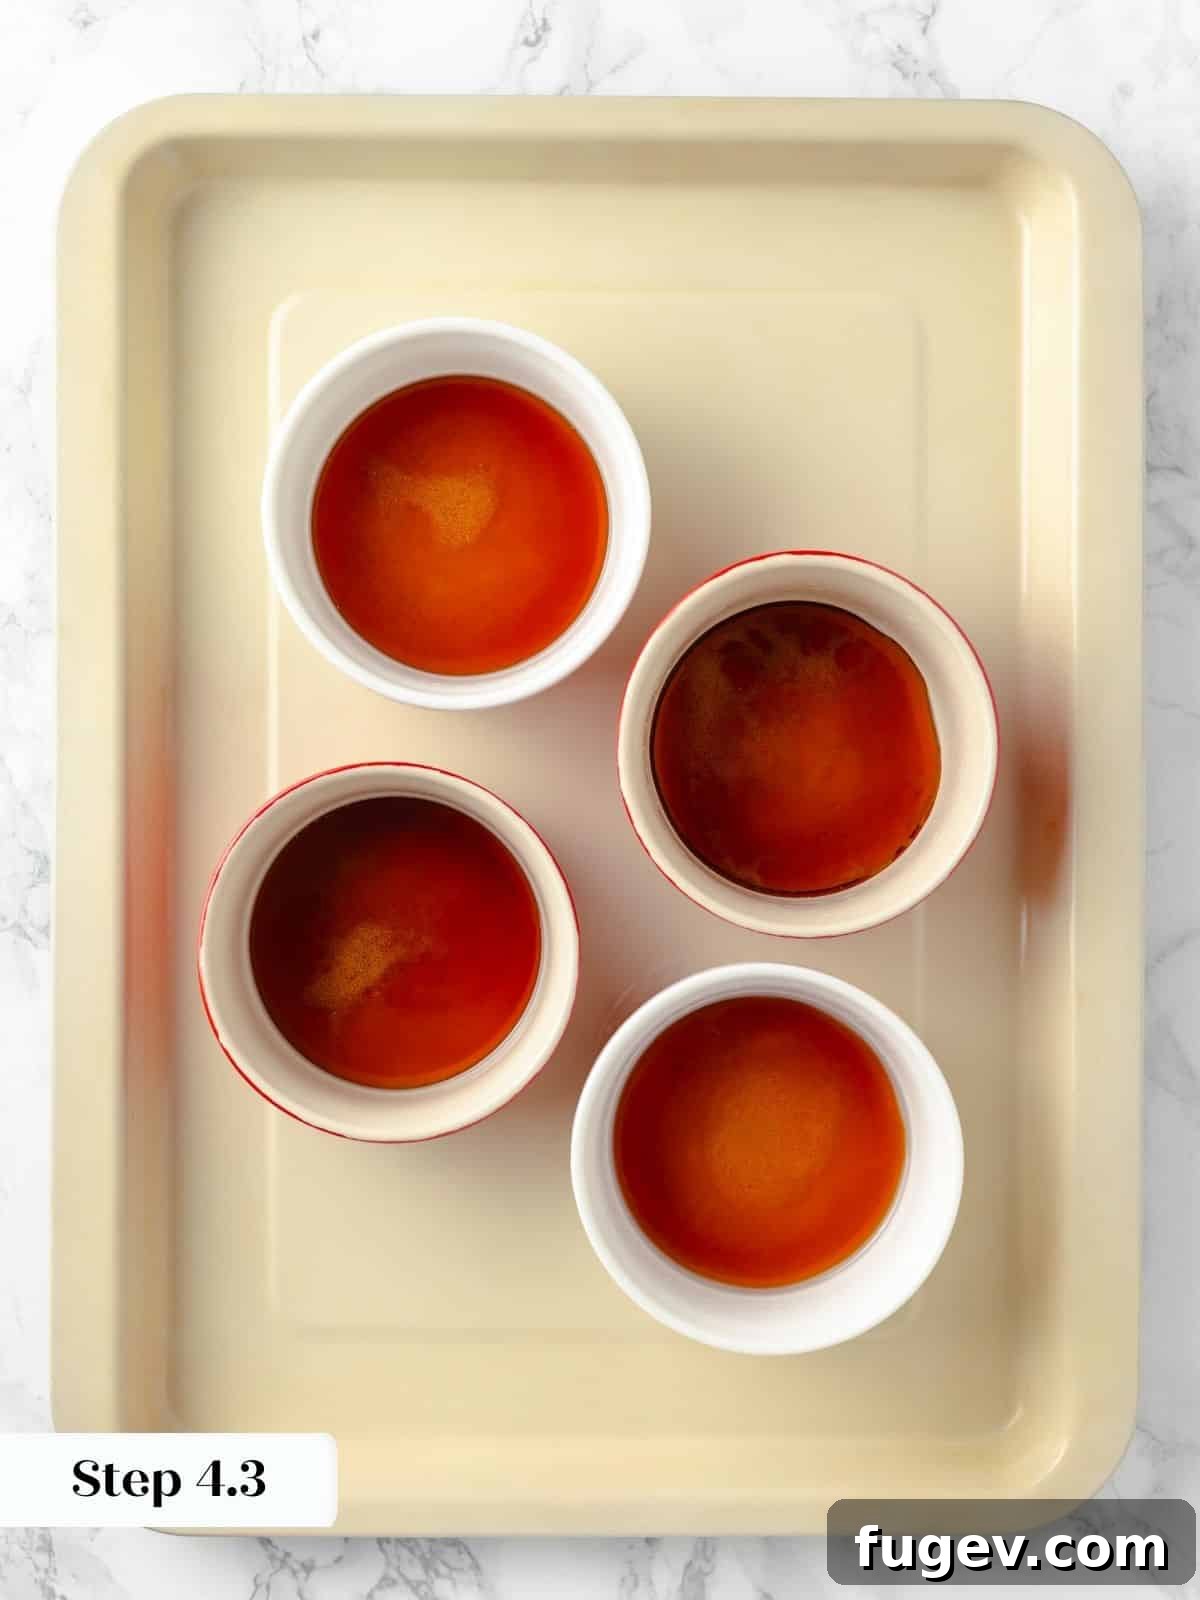
As the caramel continues to cook, gently swirl the pan to promote even color development. Once it reaches a gorgeous medium amber (be careful not to let it get too dark, or it will taste bitter), immediately and carefully divide the hot caramel among the prepared ramekins. Swirl each ramekin gently to coat the bottom. If the caramel cools and hardens too much to pour or spread evenly, you can gently reheat the saucepan over low heat for a few seconds to regain its fluidity before continuing.
From my experience, a dry caramel tends to yield the best results on gas stovetops due to their direct heat, while a wet caramel is often more manageable on induction surfaces, offering more controlled heating. If you’re preparing a larger batch of Crème Caramel, I highly recommend using the wet caramel method for increased stability. Should you encounter any undissolved sugar crystals after your caramel reaches the perfect medium amber, simply pour the hot caramel through a fine metal sieve directly into the ramekins. This simple trick will ensure a perfectly smooth caramel layer without anyone being the wiser!
Step 4: Chill the Caramel
Carefully transfer the baking sheet with the caramel-lined ramekins to the refrigerator. Allow the caramel to set completely. This process will take significantly less time than preparing the custard, ensuring your caramel is firm and ready.
It’s crucial to ensure the caramel is completely cool and set before pouring in the custard. Placing warm custard directly onto warm caramel can cause a premature skin to form at the interface, potentially affecting the final texture and the beautiful separation upon unmolding.
Step 5: Prepare the Custard Base
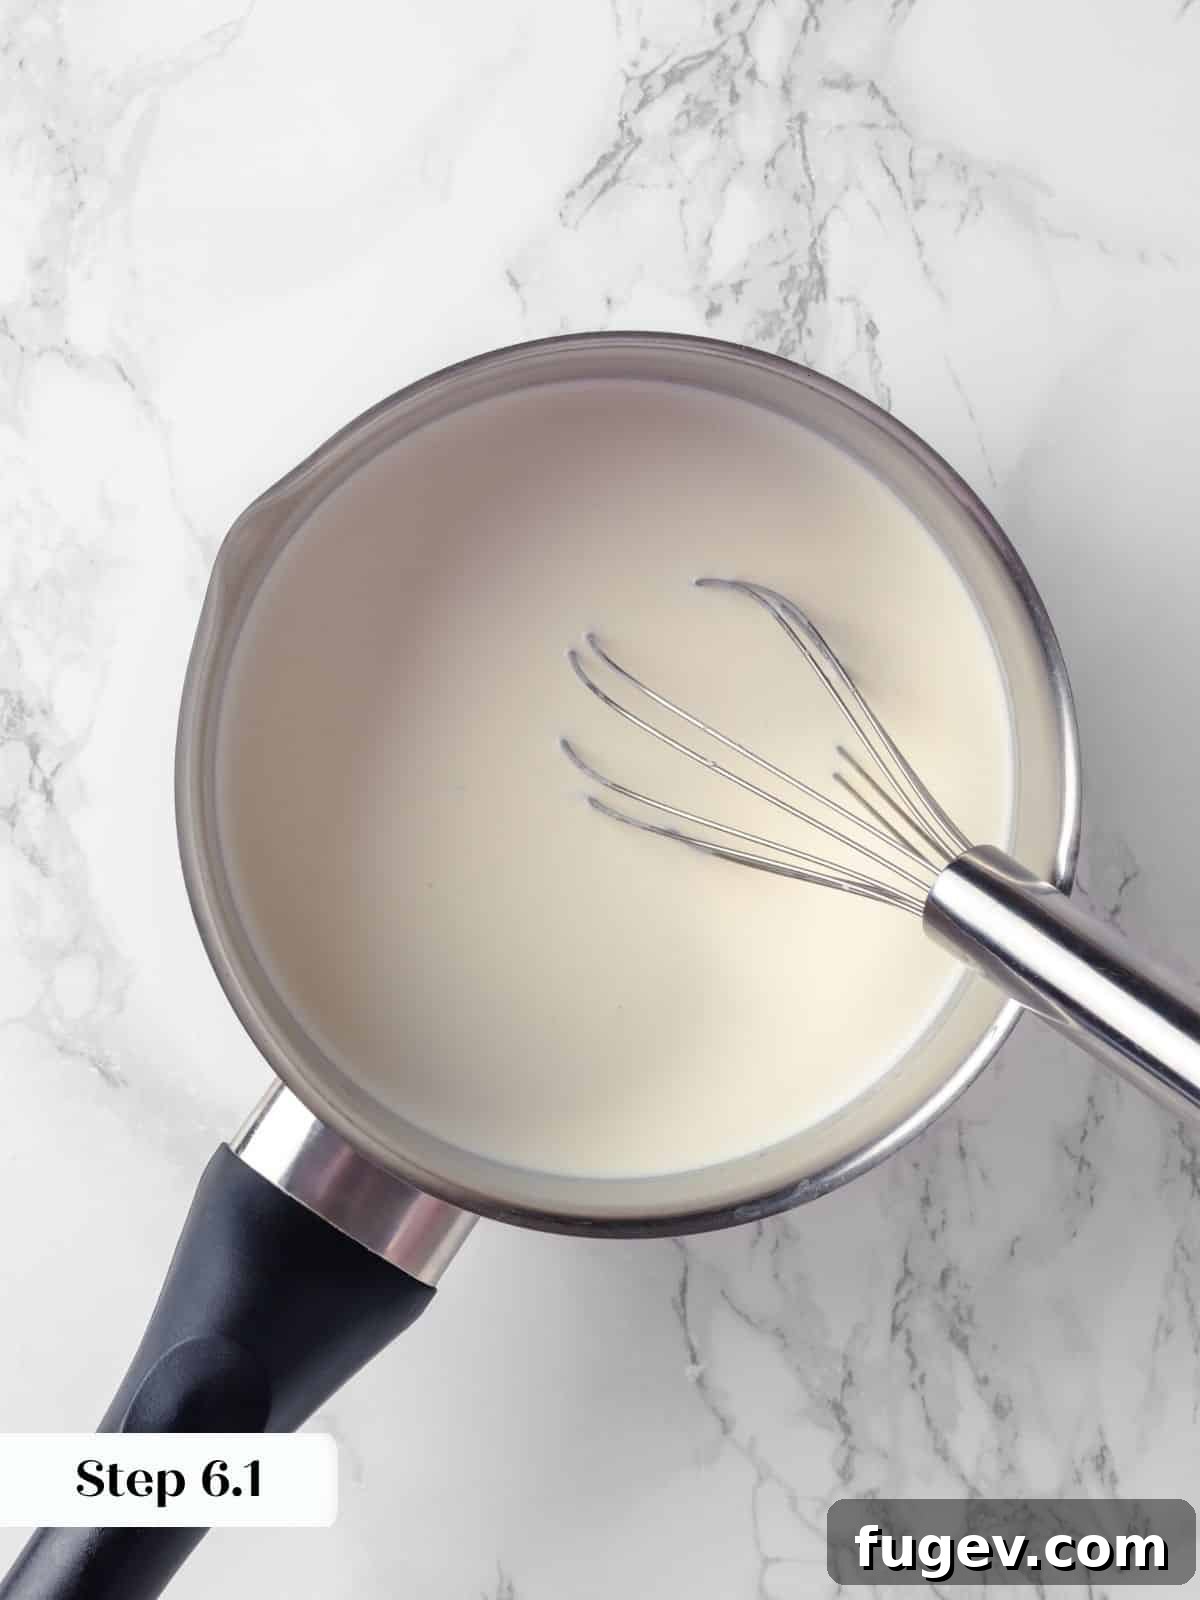
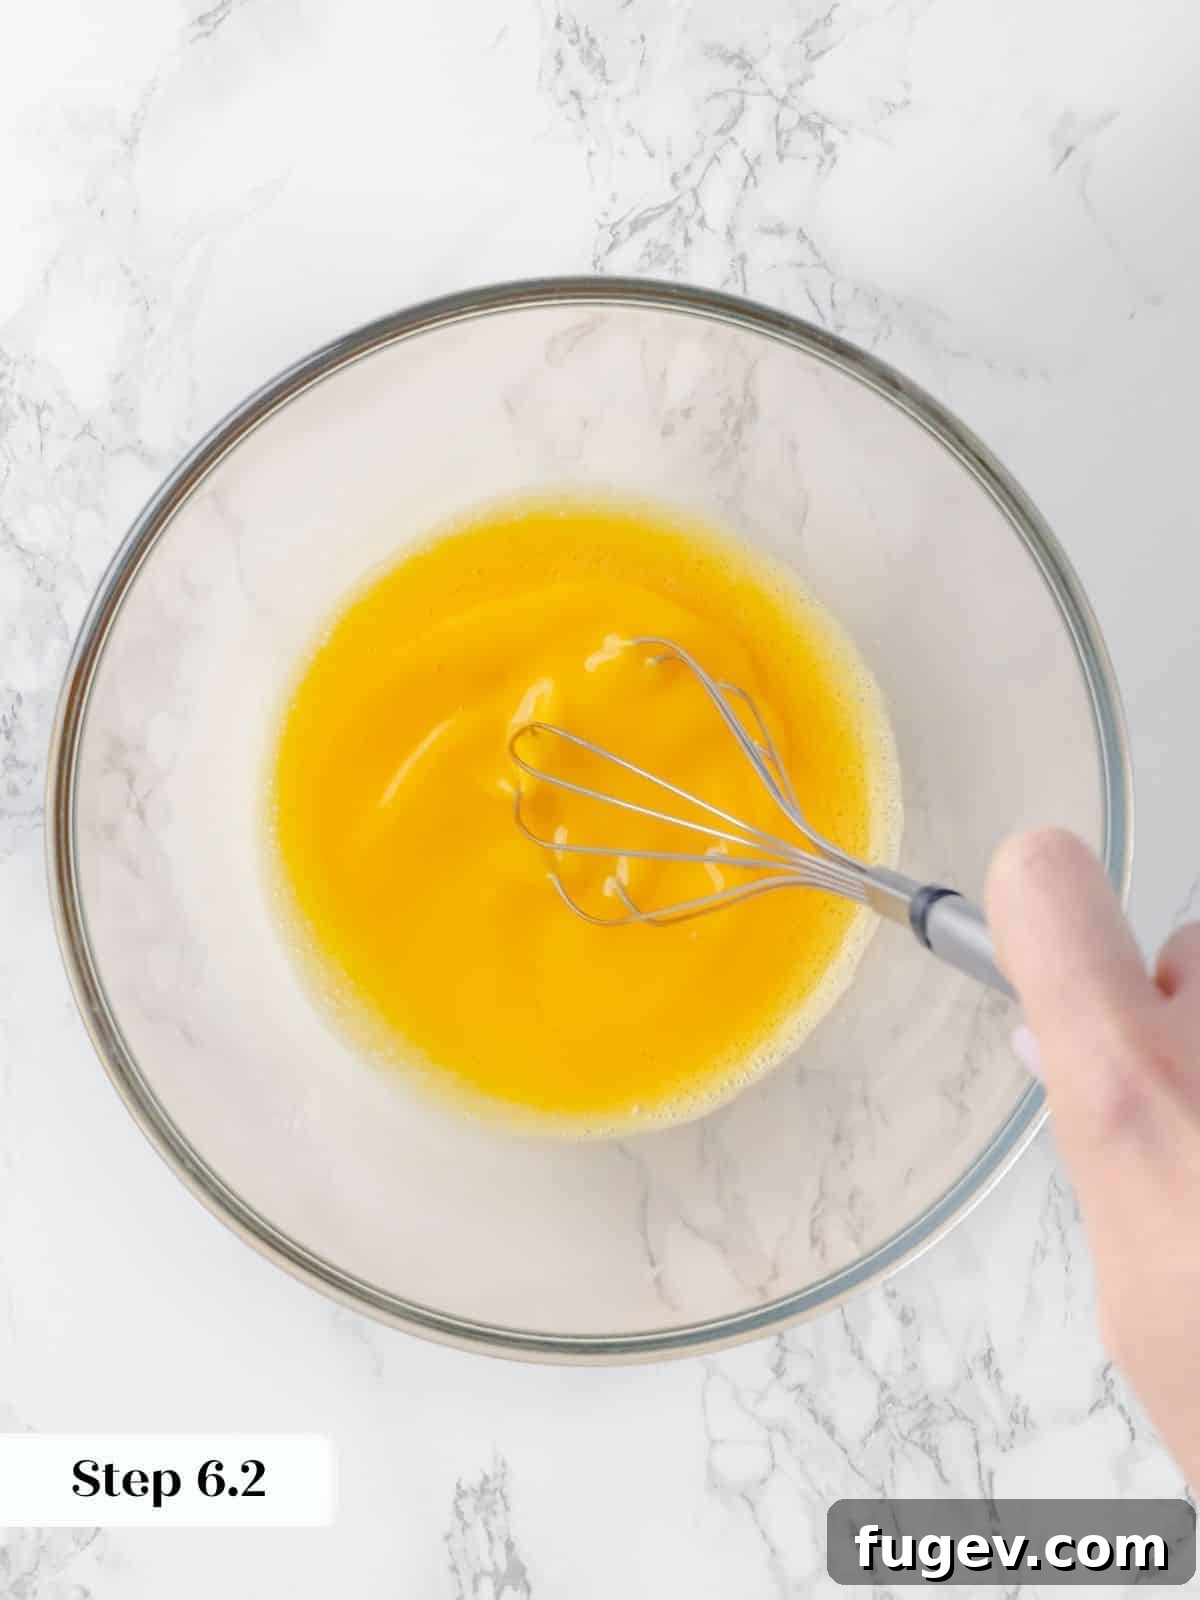
In a small saucepan, combine the whole milk, heavy cream, kosher salt, and the smaller portion of granulated sugar (for the custard). Heat this mixture over medium heat, stirring occasionally, until it just comes to a boil. While the milk mixture is heating, whisk together the whole eggs and egg yolks in a separate bowl until they are light in color and have slightly increased in volume, indicating they are well combined and aerated.
Step 6: Temper the Eggs and Add Vanilla
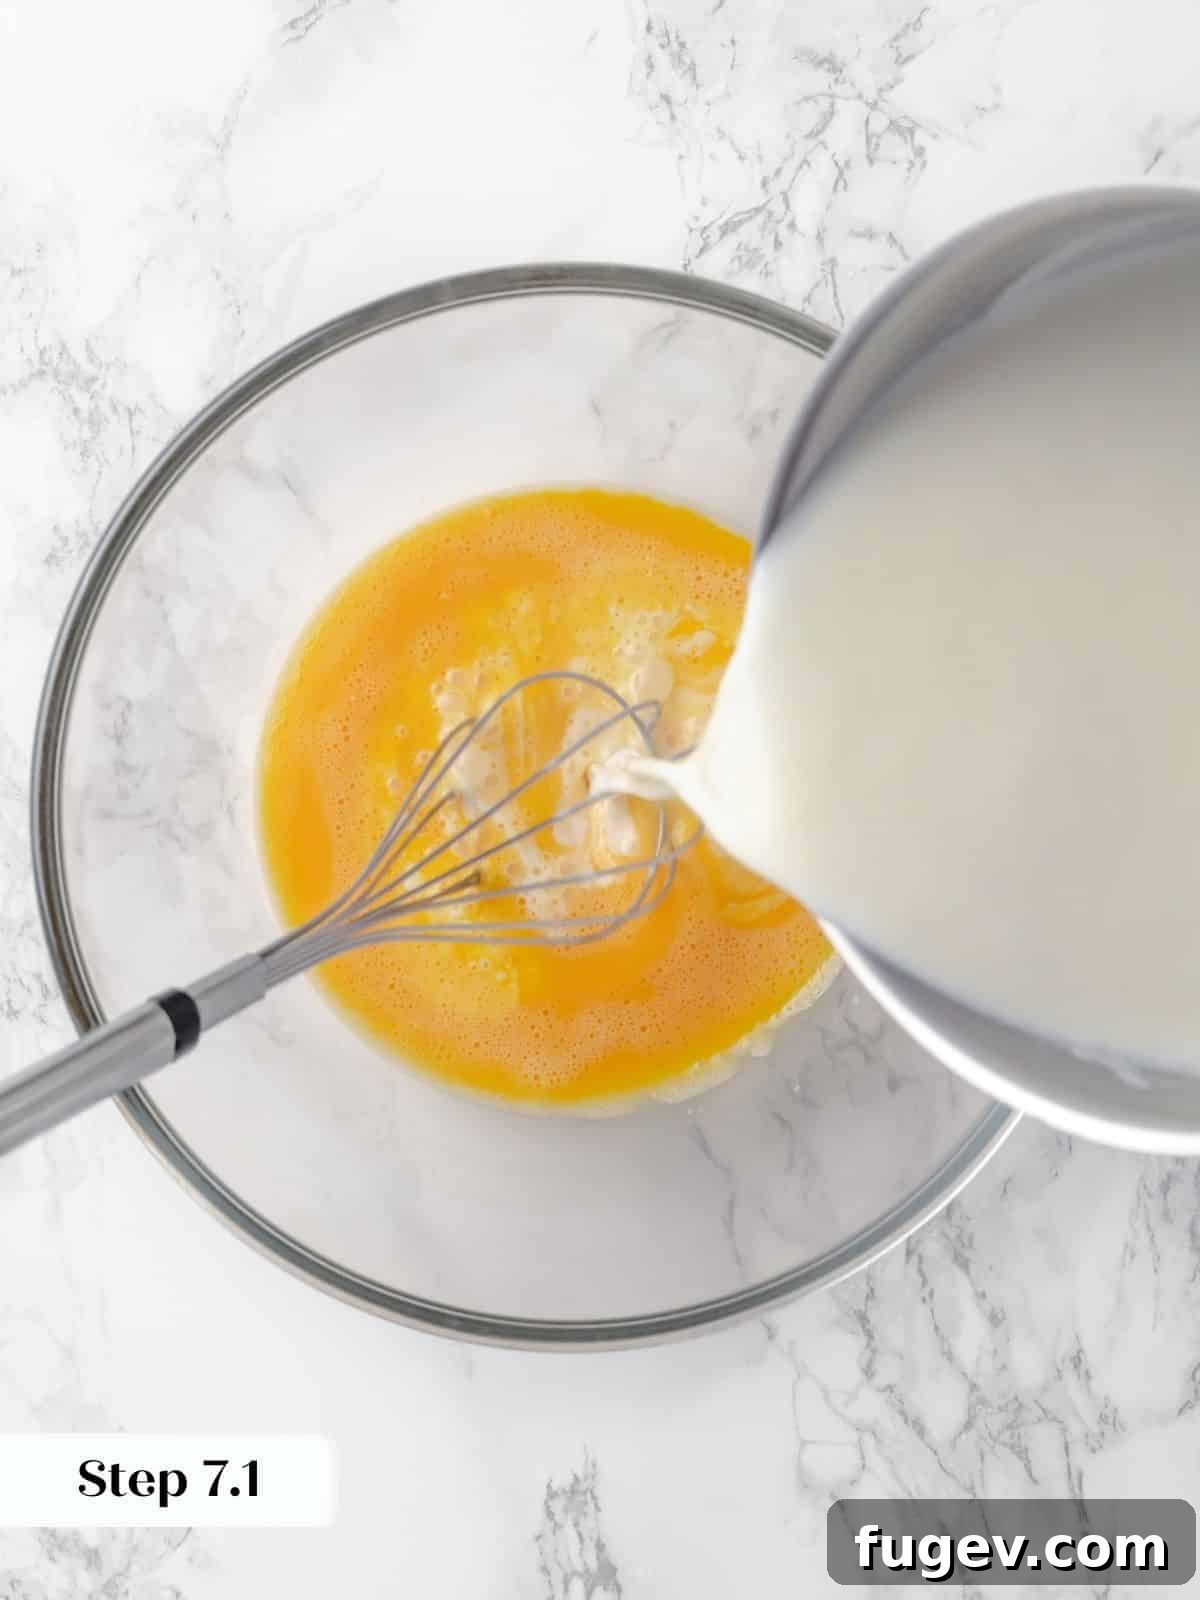
Once the milk mixture reaches a boil, slowly and gradually pour it into the whisked eggs and yolks, whisking constantly to temper the eggs. This crucial step prevents the eggs from scrambling by slowly raising their temperature. Continue whisking until the mixture is smooth. Now, add the vanilla bean paste or vanilla extract and whisk gently to fully combine. Strain the entire custard mixture through a fine-mesh sieve to remove any potential bits of cooked egg or air bubbles, ensuring an impeccably smooth custard. Carefully divide the strained custard among the caramel-lined ramekins.
For added stability and to prevent spills, I find it helpful to place the bowl of whisked eggs on a damp towel. This secures the bowl while you continuously whisk with one hand and slowly pour in the hot milk mixture with the other, making the tempering process much easier and safer.
After pouring the custard into the ramekins, you might notice small air bubbles on the surface. These won’t pop on their own during baking and can lead to an undesirable texture on the custard’s top. Gently remove them by running the edge of a piece of plastic wrap across the surface, carefully skimming them off with a spoon, or, if you have one, briefly and carefully pass a kitchen torch (on very low heat and from a distance) over the surface until they disappear.
Step 7: Prepare for Water Bath Baking
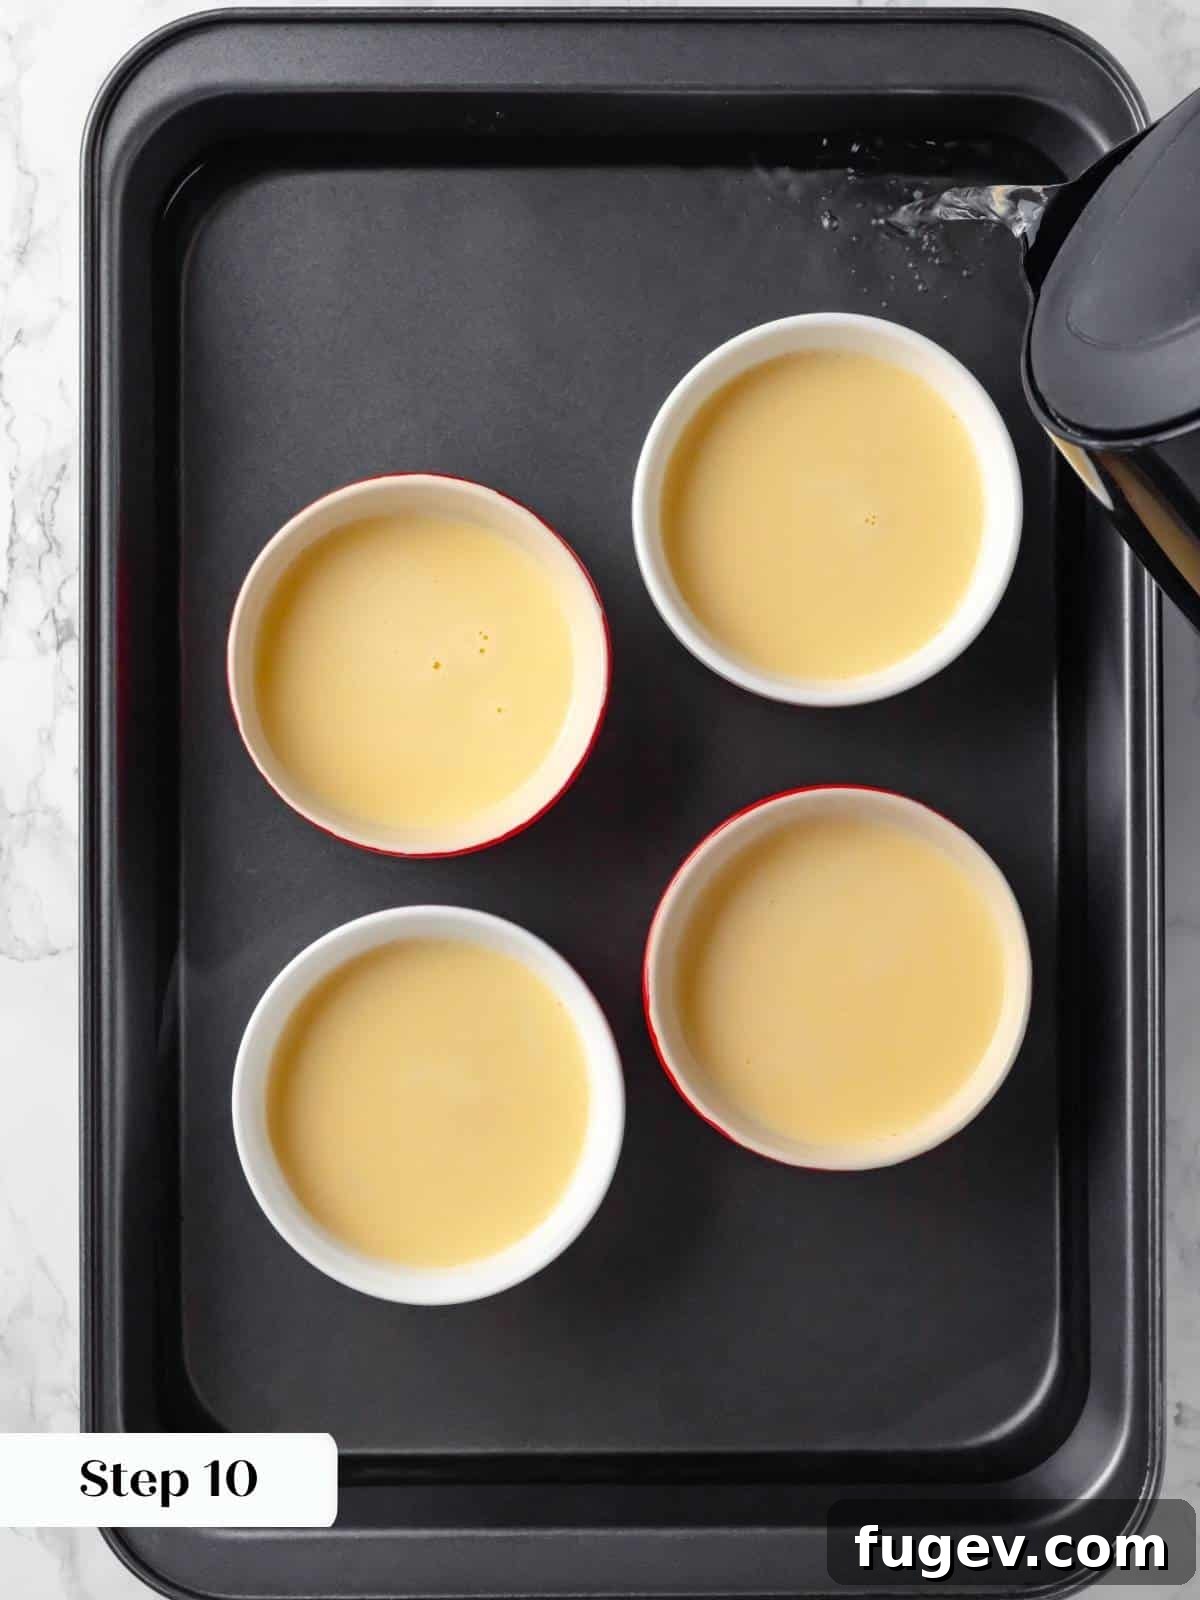
Carefully place the filled ramekins into a larger, deep baking dish or roasting pan. Cover the top of this larger dish loosely with aluminum foil, then gently pull back one corner of the foil just enough to create a small opening. This will allow you to see the water bath and add water without needing to completely remove the foil later.
Step 8: Bake in a Water Bath
Carefully transfer the roasting pan with the ramekins to the middle rack of your preheated oven. Once positioned, very carefully pour hot water into the larger dish, ensuring the water level comes about halfway up the sides of the ramekins. Exercise extreme caution to avoid splashing any water into the custard itself. Gently replace the foil over the corner you had pulled back and close the oven door. Bake for approximately 30-45 minutes, or until the custards are completely set but still slightly jiggly in the very center when lightly shaken. There should be no visible liquid movement.
Step 9: Cool and Chill Thoroughly
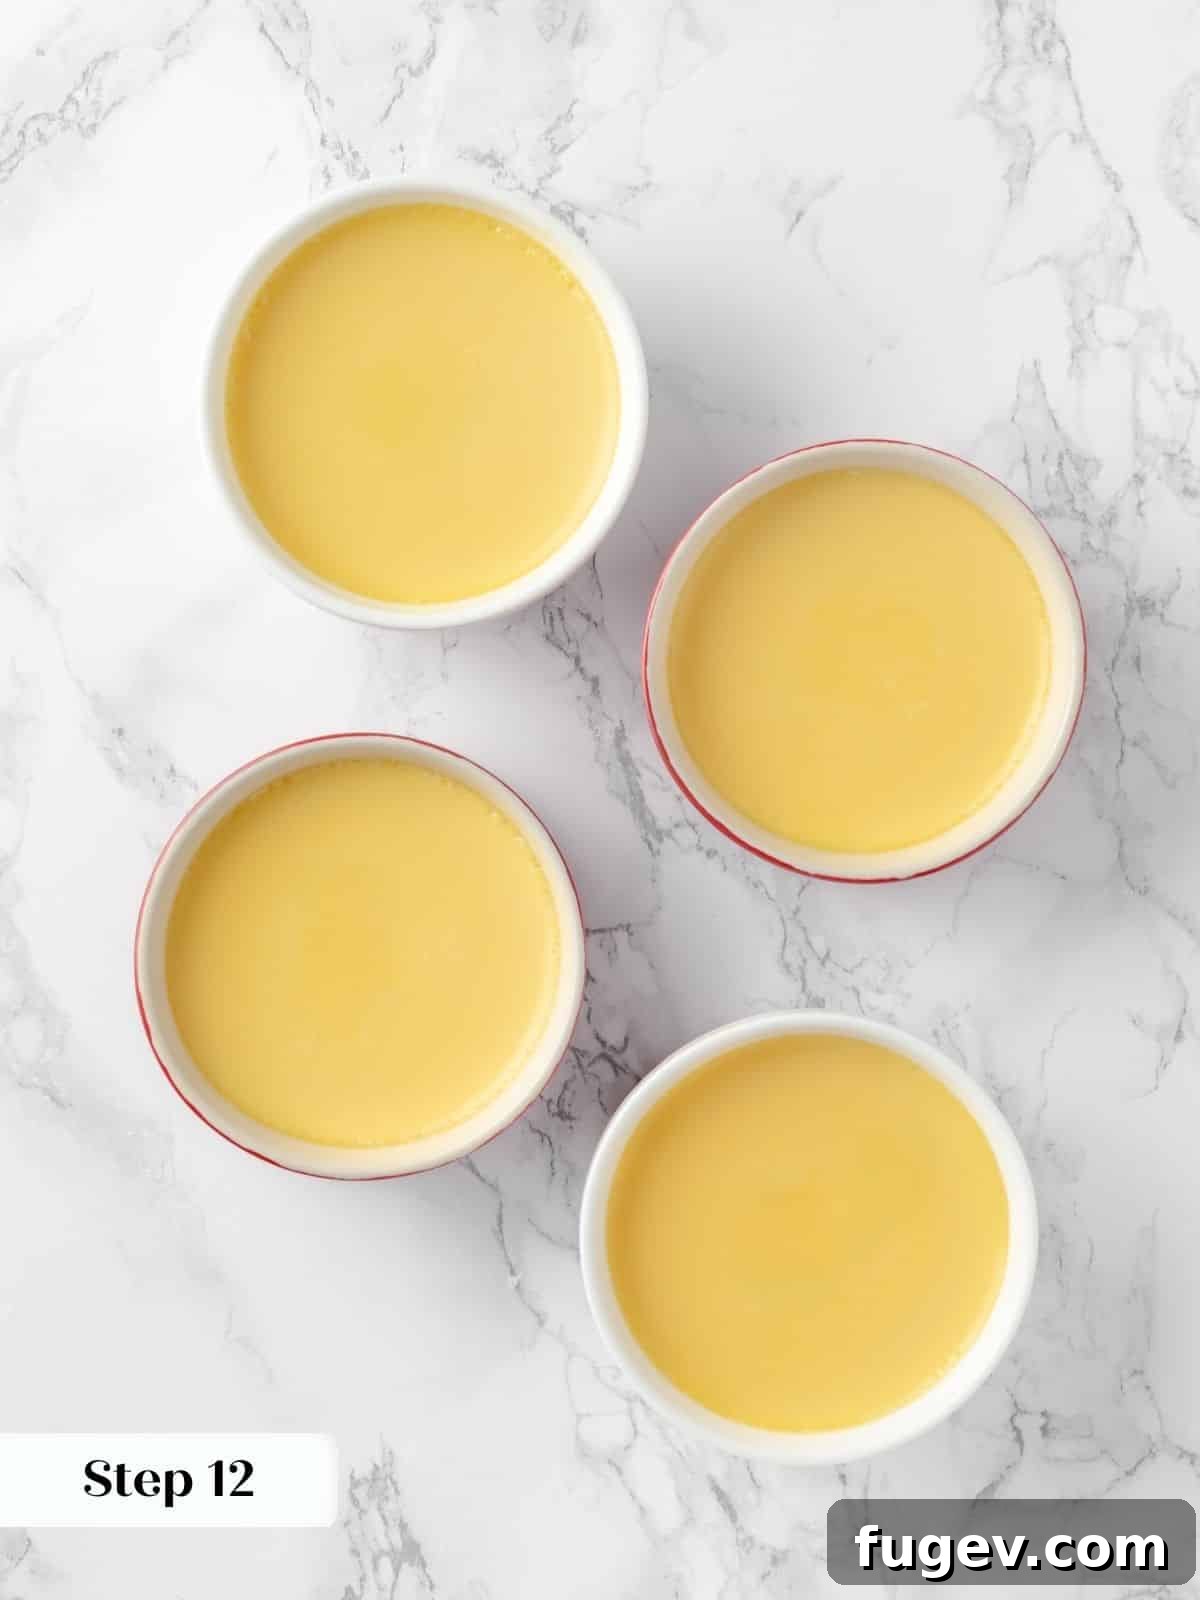
Once baked, carefully remove the ramekins from the hot water bath using a combination of kitchen tongs, a spatula, and a towel for protection. Place them on a baking sheet or wire rack and allow them to cool completely to room temperature. This gradual cooling is important for the custard’s texture. Once cooled, cover each ramekin tightly with plastic wrap and transfer them to the refrigerator. They require a minimum of overnight chilling, but for the absolute best results and a perfectly liquid caramel sauce, aim for 2-3 days of refrigeration. They can be stored for up to 8 days.
Chef Lindsey’s Expert Tip: The Magic of Refrigeration
The extensive refrigeration period is not merely for chilling; it is the critical factor that allows the hardened caramel to soften and fully liquefy, creating that desirable amber sauce. In combination with the cold, set custard, the caramel slowly dissolves and becomes syrupy. From years of perfecting various custards on restaurant menus, I’ve found that 3 days of refrigeration is the true sweet spot for optimal caramel consistency and flavor integration. If unmolded too soon, the custard may be set, but the caramel will likely remain too firm to flow properly. Conversely, after approximately 8 days, you might notice the custard beginning to break down slightly into the caramel, resulting in small, undesirable bits of custard floating in the sauce. Patience in chilling truly pays off!
Recipe FAQs
Once baked and completely cooled, Crème Caramels should be stored tightly wrapped in plastic wrap in the refrigerator. They will maintain their quality and texture for up to 8 days. Beyond this period, the acidity and moisture from the caramel can begin to slowly break down the custard, leading to a less ideal texture where small pieces of custard might separate and float in the caramel sauce.
Unfortunately, Crème Caramel is not suitable for freezing. The delicate structure of the custard, which relies on eggs for its set, will break down during the thawing process. This can lead to a watery, separated, and unappetizing texture. It’s best enjoyed fresh from the refrigerator within its recommended storage period.
Preventing caramel crystallization is key to a beautiful dessert. First, always start with an impeccably clean, heavy-bottomed pot. Even microscopic debris or grease can act as a nucleation point for crystals. Give your pot a quick wipe-down before you begin. Second, if you’re making a wet caramel (with water), resist the urge to stir once the sugar and water begin to boil. Agitation can initiate crystallization, and once it starts, it can spread rapidly. If your caramel does crystallize despite your best efforts, it’s best to take a deep breath and start over, as crystallized caramel will not liquefy smoothly in the fridge.
Scaling this recipe up is generally straightforward, provided you have enough ramekins and a large enough roasting pan to accommodate them in a water bath. The cooking times might need slight adjustments for larger quantities, but the ratios of ingredients remain the same. Using the wet caramel method is often more forgiving when making bigger batches.
Crème Caramel is undeniably a star dessert on its own, requiring no accompaniments. However, if you wish to enhance the experience, it pairs wonderfully with a variety of simple additions. Consider serving it alongside a vibrant easy blueberry sauce, a fresh and fruity easy strawberry jam, a decadent chocolate fudge sauce, or even simply roasted stone fruits like peaches or plums for a seasonal touch. A dollop of lightly sweetened whipped cream or a few fresh berries also make for a lovely, refreshing contrast.
More Delightful Caramel Recipes
Custard Recipes
Caramel Pastry Cream
Date Night
Caramel Pudding
Date Night
Salted Caramel Sauce
Date Night
Caramel Apple Tart
If you tried this recipe and loved it, please leave a 🌟 star rating and let me know how it goes in the comments below. I love hearing from you; your comments make my day!
⭐
⭐
⭐
⭐
Classic Crème Caramel
Chef Lindsey
15 minutes
30 minutes
12 hours
12 hours
45 minutes
4
3 oz Crème Caramels
Comment
Print Recipe
Ingredients
For the Caramel:
-
¾ cup granulated sugar -
3 tablespoons water optional
For the Custard:
-
¾ cup whole milk -
⅔ cup heavy cream -
⅛ teaspoon kosher salt -
2 tablespoons granulated sugar -
2 large eggs -
1 egg yolks -
1 teaspoon vanilla bean paste or vanilla extract
Instructions
-
Preheat the oven to 325°F (160°C).
-
Spray ramekins with nonstick cooking spray and place on a flat baking sheet. This will keep them level while the caramel sets.
-
In a heavy-bottomed saucepan, make a dry caramel by melting the sugar (without water) over medium heat until it becomes a medium amber. You can also add the optional 3 tablespoons of water to the sugar, stir to incorporate, and then do not stir as you allow it to caramelize over medium heat.
-
Swirl as it caramelizes to encourage even cooking. Take it to medium amber and divide between the ramekins. If it gets too cold to pour and spread, reheat and continue.
-
Place the baking sheet with the ramekins in the refrigerator until set. This will take less time than it takes to make the custard!
-
Heat milk, cream, salt, and sugar in a small saucepan. While the milk mixture is heating, whisk together the eggs and egg yolks until they have lightened and increased in volume.
-
Once the milk mixture comes to a boil, slowly pour into whisked eggs and yolks.
-
Add the vanilla bean paste or vanilla extract and whisk to combine. Pour through a fine mesh sieve and divide amongst ramekins, then set them in a large deep baking dish or roasting pan.
-
Cover the top of the entire larger dish with foil, then pull back a corner so you can see.
-
Transfer to the middle rack in the preheated oven. Carefully pour hot water into the dish just to come halfway up the sides of the ramekins. Be careful not to splash water from the water bath into the custards. Replace the foil over the corner and close the oven.
-
Bake in a preheated oven for approximately 30-45 minutes, or until completely set but not cracked. When lightly shaken, you will not see any liquid movement in the centers of the custard.
-
Carefully remove the ramekins using a combination of kitchen tongs, a spatula, and a towel. Place them on a baking sheet and cool completely at room temperature.
-
Cover and refrigerate at least overnight and up to 8 days.
Notes
Presentation – Serve the crème caramel at least 2 days after baking; 3 days is best for optimal liquid caramel.
Variations – Once you have the main custard down, you can make variations inspired by other custard-style pies! Think Key Lime Crème Caramel, Tiramisu Crème Caramel, Pumpkin Pie Crème Caramel, Banana Crème Caramel, and so on.
Technique – If a crème caramel is particularly tough to get out of the ramekin, dip the bottom of the ramekin into hot water for a few seconds to help release the custard.
Storage – Store cooked and cooled crème caramel well-wrapped in the refrigerator for up to 8 days.
Nutrition
Serving:
1
ramekin
|
Calories:
381
kcal
|
Carbohydrates:
48
g
|
Protein:
6
g
|
Fat:
19
g
|
Saturated Fat:
11
g
|
Polyunsaturated Fat:
1
g
|
Monounsaturated Fat:
5
g
|
Trans Fat:
0.01
g
|
Cholesterol:
181
mg
|
Sodium:
135
mg
|
Potassium:
142
mg
|
Sugar:
48
g
|
Vitamin A:
841
IU
|
Vitamin C:
0.2
mg
|
Calcium:
101
mg
|
Iron:
1
mg
Dessert
French
381
Like this? Leave a comment below!
Explore More Custard Creations
I sincerely hope you enjoyed mastering this professional chef-tested Crème Caramel recipe. Its elegant simplicity and rich flavors are sure to impress! If you’re keen to further explore the delightful world of custards, be sure to check out some of our other chef-developed recipes. Indulge in the perfectly caramelized top of our Vanilla Bean Crème Brûlée, savor the subtly tangy notes of the Old-Fashioned Buttermilk Pie, or treat yourself to the utterly decadent Chocolate Chip Cheesecake. Each recipe offers a unique take on classic custard, promising delicious results for every baking enthusiast.