
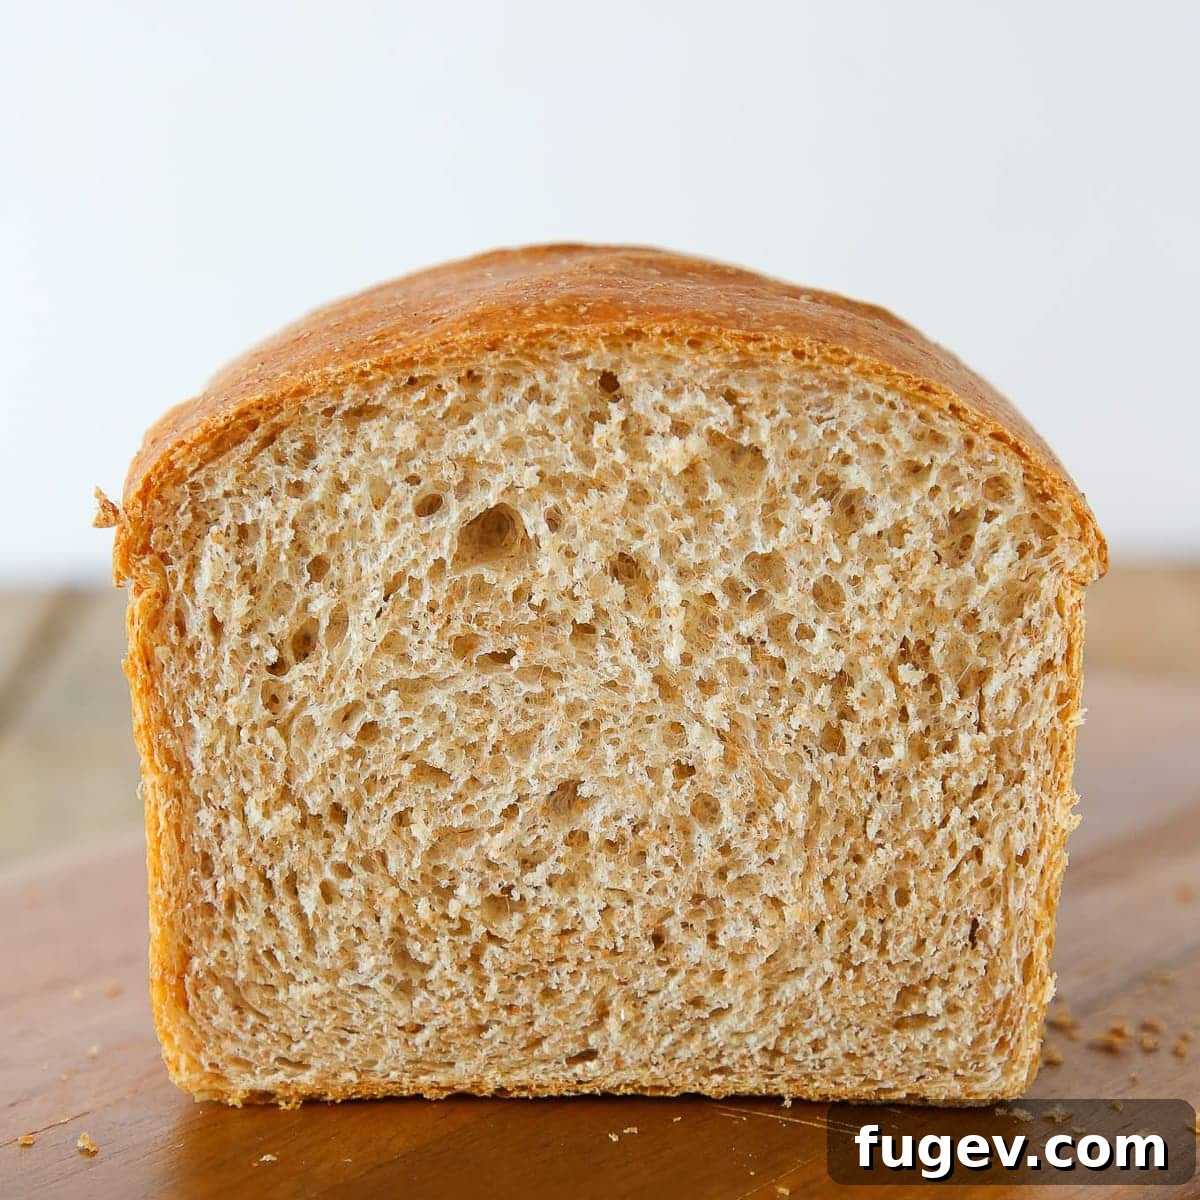
Unlock the secrets to baking a truly exceptional **whole wheat sandwich bread recipe** right in your own kitchen. Imagine sinking your teeth into a slice of bread that’s not just soft and wonderfully chewy, but also bursting with a depth of flavor that store-bought loaves can only dream of. Our meticulously crafted recipe provides straightforward, step-by-step instructions, ensuring that even novice bakers can achieve a perfectly risen, golden-crusted loaf that slices beautifully every time.
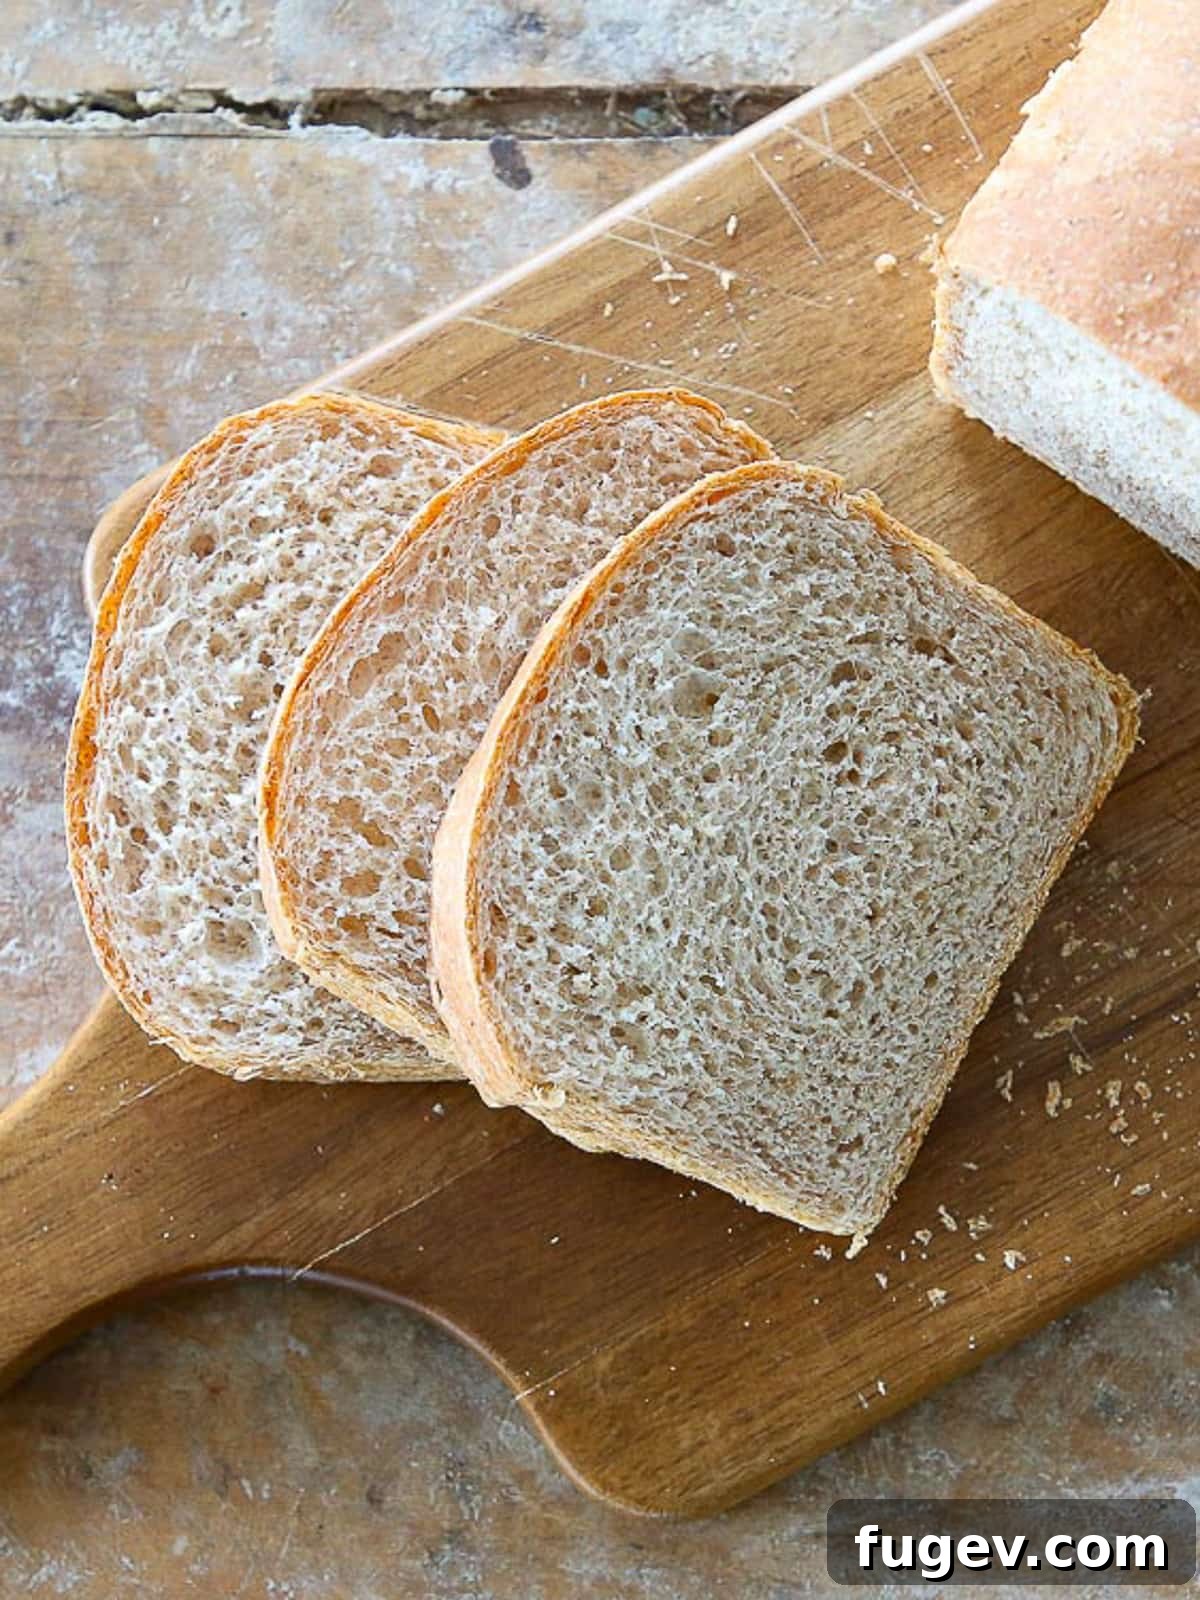
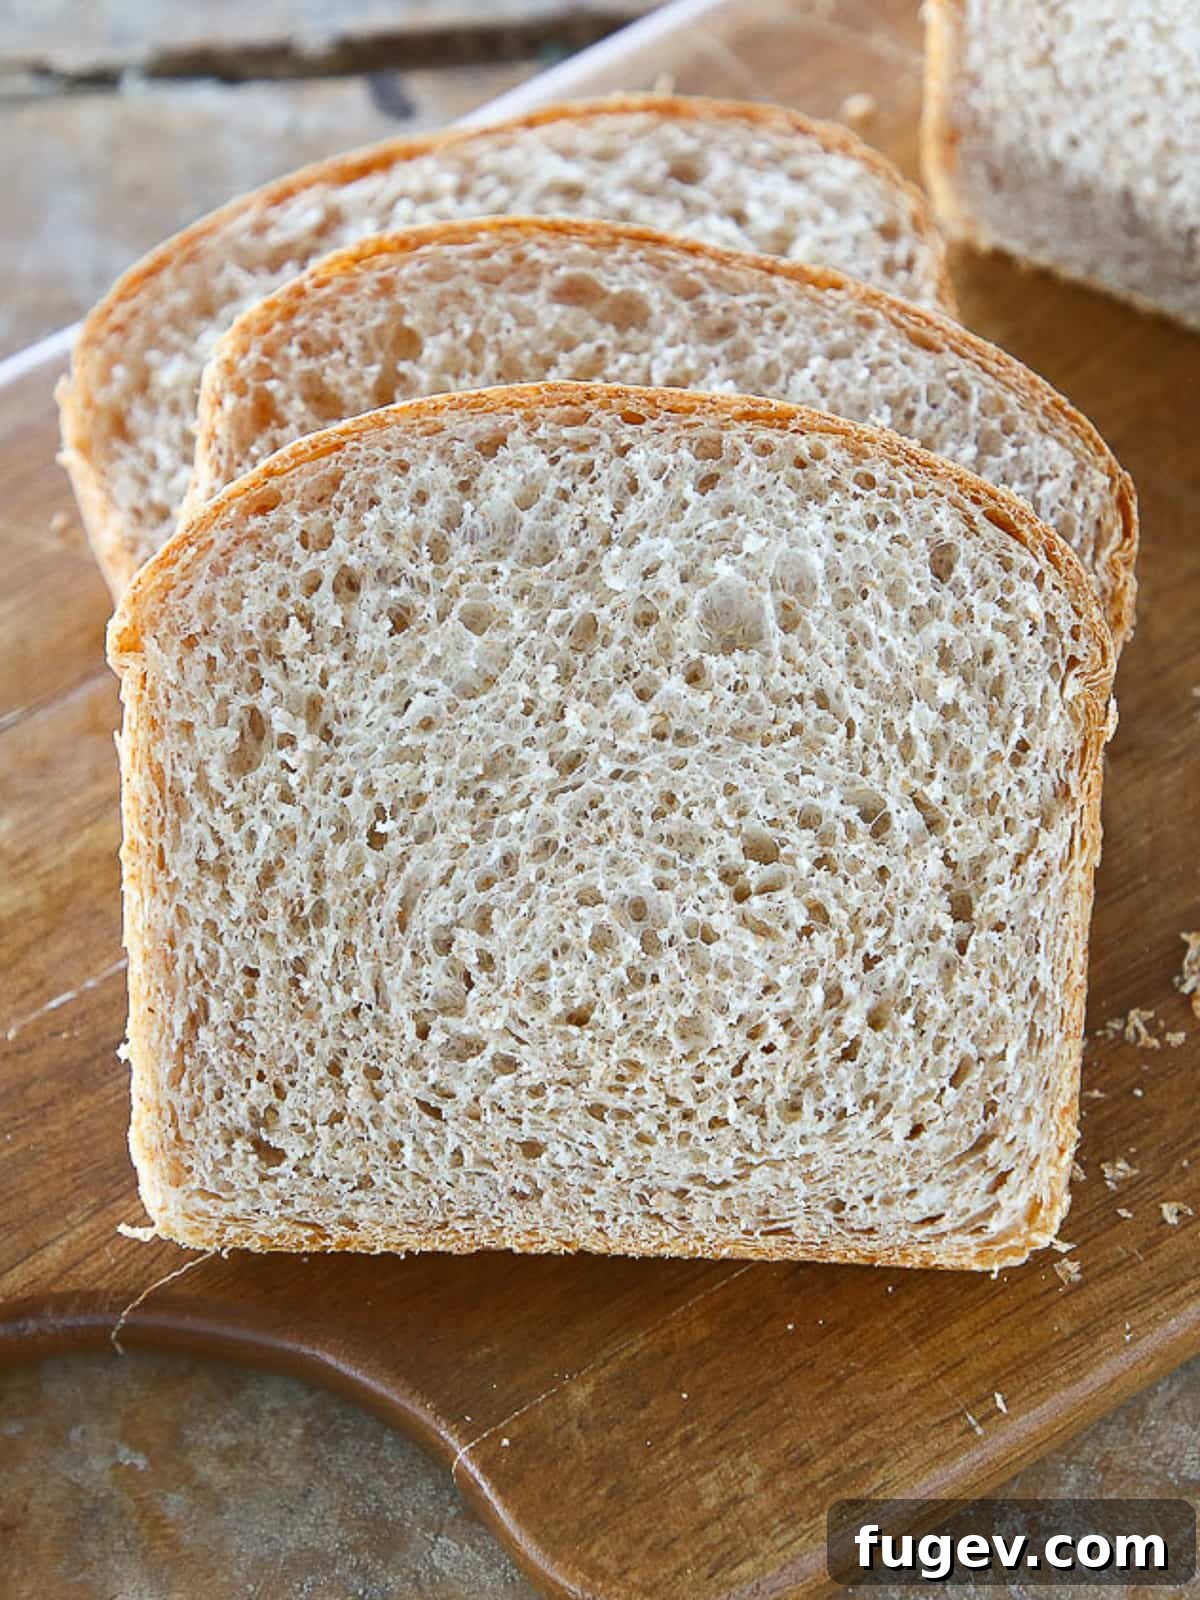
This recipe for **50% whole wheat sandwich bread** strikes the ideal balance, delivering a delightfully chewy crust complemented by an incredibly soft, pillowy interior. It’s the perfect entry point into homemade baking, offering the best of both worlds – the robust flavor and nutritional benefits of whole wheat flour, paired with the light, airy texture of white bread. If your culinary journey calls for a 100% whole wheat experience, we’ve got you covered with our 100% whole wheat bread recipe.
Don’t be deceived by the name; this isn’t just a bread for sandwiches! Its remarkable versatility opens up a world of culinary possibilities. Transform stale bread into a rich, savory bread pudding, or use it as the foundation for a hearty apple sausage stuffing. Elevate your breakfast with a quick batch of cinnamon raisin French toast, or create the iconic and supremely satisfying best tuna melt recipe. This bread is truly a staple that enhances countless dishes.
Why You’ll Fall in Love with This Homemade Whole Wheat Bread
Baking bread at home is a rewarding experience, and this particular whole wheat sandwich bread recipe stands out for several compelling reasons:
- Unforgettable Balanced Flavor: Unlike many whole wheat breads that can be overly dense or earthy, our recipe masterfully blends the nutty notes of whole wheat with subtle richness. The inclusion of powdered milk, a touch of heavy cream, and unsalted butter creates a beautifully balanced flavor profile, softening the intensity of the whole wheat and resulting in a bread that’s both comforting and sophisticated.
- Exquisitely Soft, Tender, and Fluffy Texture: The secret to this bread’s exceptional texture lies in its unique flour blend. By combining fine whole wheat flour with all-purpose flour, we facilitate the development of a strong yet pliable gluten network. This robust structure efficiently traps the carbon dioxide produced by the yeast, allowing the dough to rise impressively, yielding a taller, lighter, and incomparably tender loaf that maintains its softness for days.
- Effortless and Delicious Baking for Everyone: This isn’t just another delicious bread; it’s an incredibly easy and approachable recipe, making it perfect for aspiring bakers and seasoned pros alike. We provide clear, concise, and detailed step-by-step instructions, complete with valuable tips, to guide you through every stage of the baking process. Our aim is to empower you to bake a perfect loaf with confidence, and perhaps, inspire you to embrace the wonderful tradition of baking your own bread at home indefinitely!
- Healthier Choice, Uncompromised Taste: By making your own whole wheat bread, you gain complete control over the ingredients, avoiding unwanted preservatives, artificial flavors, and excessive sugars often found in commercial loaves. Whole wheat flour provides essential fiber, vitamins, and minerals, making this homemade version a genuinely nutritious addition to your diet, without sacrificing an ounce of flavor or texture.
Table of Contents
- Why You’ll Fall in Love with This Homemade Whole Wheat Bread
- Key Ingredients & Thoughtful Substitutions
- Creative Variations to Explore
- Expert Baking Tips for Success
- How to Bake Your Perfect Whole Wheat Sandwich Bread
- Chef Lindsey’s Recipe Insight
- Frequently Asked Questions
- More Delightful Sandwich Recipes
- The Full Whole Wheat Sandwich Bread Recipe
- Before You Go: Further Exploration
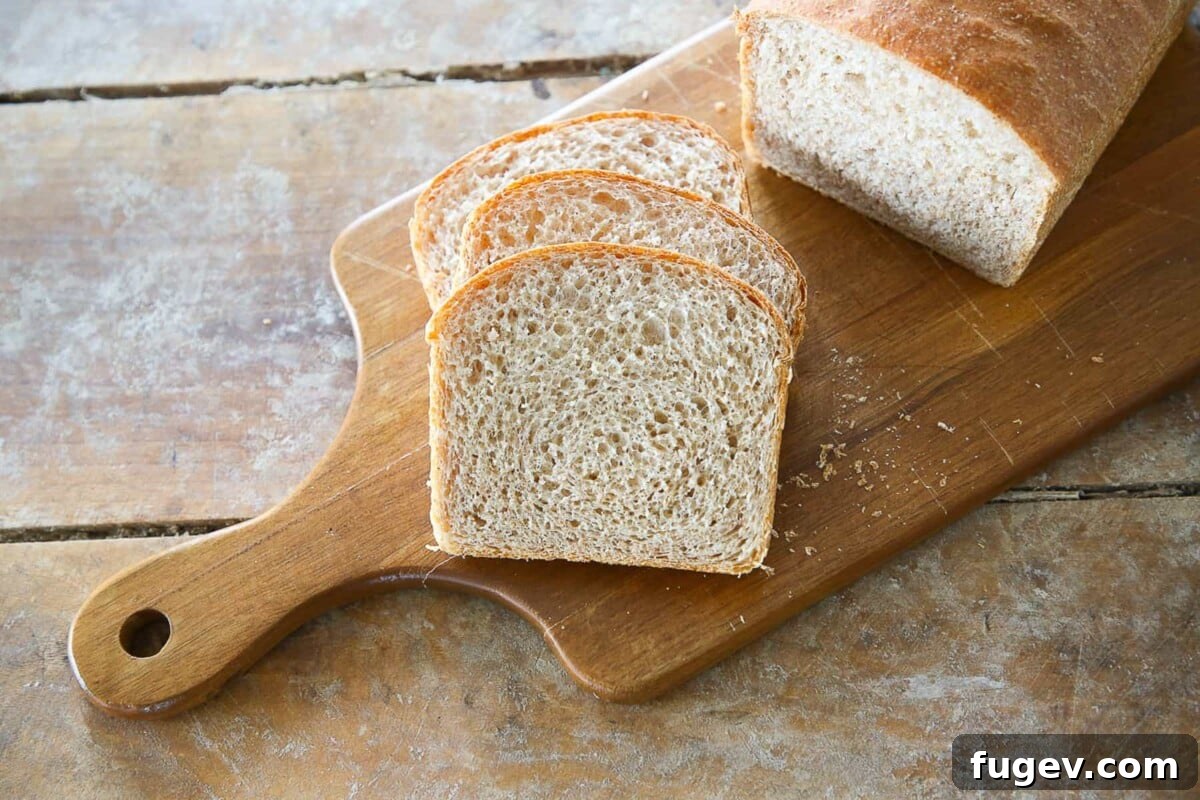
Key Ingredients & Thoughtful Substitutions for Your Loaf
Every ingredient in this recipe plays a crucial role in achieving the perfect texture and flavor. Understanding their functions will help you master this bread and confidently make substitutions if needed.
- All-Purpose Flour: This flour contributes significantly to the bread’s soft and tender crumb. All-purpose flour contains a higher gluten content compared to whole wheat flour, which is essential for creating the strong, elastic network needed for a good rise and an airy texture. You can substitute bread flour 1:1 for the all-purpose flour to achieve an even chewier texture, as bread flour has a higher protein content. However, we strongly advise against using 100% whole wheat flour for this specific recipe, as whole wheat flours absorb moisture differently and require distinct adjustments. For a purely whole wheat loaf, please refer to our dedicated 100% whole wheat bread recipe.
- Fine Whole Wheat Flour: The star of our recipe, fine whole wheat flour imparts its characteristic nutty flavor and provides essential nutrients and fiber. For the best results, we highly recommend using high-quality brands like King Arthur or Bob’s Red Mill Whole Wheat Flour. The specific flavor and texture of whole wheat flour can vary subtly between brands, largely due to their unique grinding processes. Stone-ground varieties, in particular, often preserve more of the grain’s natural goodness and deliver superior taste.
- Water: Lukewarm water is vital for activating the yeast and hydrating the flours. Ensure the water is around 100°F (38°C) – warm to the touch but not hot – to provide an optimal environment for the yeast to thrive without being killed.
- Kosher Salt: More than just a seasoning, kosher salt is critical for enhancing flavor, controlling yeast activity, and strengthening the gluten structure. It prevents the bread from tasting bland and helps create a more resilient dough.
- Dry Active Yeast: Our leavening agent, dry active yeast, requires a preliminary step of hydration in warm water to become active. This process ensures the yeast is alive and ready to ferment, producing the gases that make your bread rise. If you’re using fresh yeast, you’ll need double the weight, and for instant yeast, use half the weight. Unlike active dry, both fresh and instant yeast can typically be added directly to the dry ingredients without prior proofing, though checking freshness is always a good idea.
- Powdered Milk: A fantastic addition for both flavor and function, powdered milk contributes to a richer taste and boosts the bread’s nutritional value. Its high protein content supports gluten formation, resulting in a better rise and a softer, more tender crumb. It also helps extend the bread’s shelf life by retaining moisture. If you don’t have powdered milk, you can omit it, but consider substituting an equivalent weight of the recipe’s water with liquid milk for a similar richness.
- Unsalted Butter: Butter adds incredible richness, flavor, and tenderness to the bread. By using unsalted butter, you maintain precise control over the overall salt content of your dough. This recipe allows you to mix the softened butter in from the start, as its quantity won’t significantly impede initial gluten development, unlike recipes like brioche bread where butter is incorporated later. For a dairy-free alternative, you can substitute coconut oil or a neutral-flavored vegetable oil at a 1:1 ratio by weight.
- Heavy Cream: A small amount of heavy cream enhances the bread’s texture with additional fat and moisture, contributing to a more luxurious crumb and deeper flavor. While it adds a lovely touch, it can be omitted if necessary without completely compromising the bread’s quality.
For comprehensive details on quantities and measurements, please refer to the full recipe card below.
Creative Variations to Explore with Your Whole Wheat Loaf
Once you’ve mastered the basic recipe, feel free to experiment with these delicious variations to customize your homemade whole wheat bread:
- Infuse Sweetness: For a touch of sweetness and added depth of flavor, incorporate honey, light brown sugar, or maple syrup into your dough. These natural sweeteners not only taste wonderful but also contribute to a softer crumb and a beautiful golden crust. Remember that honey and maple syrup add extra moisture, so you might need to slightly reduce the water or heavy cream in the recipe to maintain the ideal dough consistency. For another sweet option, fold in plump raisins after the gluten has developed, creating a delightful raisin bread-like experience.
- Embrace Seeds and Grains: Elevate your bread with a rustic, wholesome touch by adding a mixture of seeds and oats. For a visually appealing crust, brush the loaf with a beaten egg white before its final proof, then generously roll it in your chosen seed blend (such as sesame, poppy, flax, or sunflower seeds, and rolled oats). You can also incorporate up to 1 ½ cups of mixed seeds and oats directly into the dough after the initial gluten development, ensuring an even distribution throughout the loaf for a delightful texture in every bite.
- Bake Different Shapes and Sizes: This versatile dough isn’t limited to standard loaves. If you own mini loaf pans, create adorable individual mini loaves perfect for gifting or smaller portions. Alternatively, divide the dough and shape it into dinner rolls. You can bake them on a baking sheet, similar to our sourdough rolls, or arrange them snugly in a baking dish for an easy dinner rolls recipe. For a unique presentation, proof and bake them in a standard muffin pan, much like our popular honey whole wheat buttermilk rolls.
Expert Baking Tips for a Flawless Whole Wheat Loaf
Achieving bakery-quality bread at home is within reach with these professional insights:
- Select the Superior Whole Wheat Flour: The quality of your whole wheat flour profoundly impacts your bread’s taste and texture. Opt for a fine-ground whole wheat flour, ideally stone-ground. Smaller, artisanal companies like Bob’s Red Mill often meticulously control the temperature during the grinding process. This careful approach is crucial as it preserves the delicate natural flavors, potent antioxidants, and essential vitamins that can be diminished or destroyed by the higher temperatures generated during conventional grinding methods. Investing in quality flour makes a noticeable difference.
- Always Check Your Whole Wheat Flour for Freshness: Whole grain flours, by their very nature, contain all parts of the wheat kernel, including the germ, which is rich in oils. While these components contribute to their incredible nutritional value, they also make whole wheat flours more susceptible to spoilage compared to refined white flour. Even if there’s no visible mold, whole wheat flour can go stale or rancid, imparting an “off” or bitter flavor to your bread. To significantly extend its shelf life and maintain optimal freshness, always store your whole wheat flour in an airtight container in the refrigerator or freezer.
- Embrace the Precision of a Kitchen Scale: For consistent and truly professional baking results, a digital kitchen scale is an indispensable tool, especially when making bread. Measuring ingredients by weight rather than volume (cups) ensures you’re using the precise ratios of flour and water, which is critical for dough hydration and gluten development. Flour density can vary significantly depending on how it’s scooped, making cup measurements unreliable. As you integrate a scale into your baking routine, you’ll discover that it’s not only more accurate but also often faster and cleaner than traditional volumetric measuring.
How to Bake Your Perfect Whole Wheat Sandwich Bread: A Step-by-Step Guide
Follow these detailed instructions to achieve a consistently perfect loaf of whole wheat sandwich bread, every single time. For precise measurements, please refer to the recipe card below.
- Step 1: Activate the Yeast. In the bowl of your stand mixer, pour the warm water (approximately 100°F or comfortably warm to the touch). Evenly sprinkle the dry active yeast over the water. Allow this mixture to sit undisturbed for about 10 minutes. During this time, the yeast will rehydrate and begin to activate, forming a foamy, bubbly layer on the surface, indicating it’s alive and ready to work.
- Step 2: Combine Remaining Ingredients. Add all the remaining ingredients—both flours, salt, powdered milk, softened butter, and heavy cream—to the stand mixer bowl with the activated yeast mixture. Attach the paddle attachment to your stand mixer. Mix on a low speed until all the ingredients are thoroughly incorporated and the flour is fully hydrated. The paddle attachment is often more efficient than the dough hook for initially mixing and incorporating ingredients, especially with home stand mixers, as it ensures a homogeneous mixture without overworking the gluten prematurely.
- Step 3: Knead the Dough. Once the ingredients are combined and the flour is hydrated, switch to the dough hook attachment. Increase the mixer speed to medium and continue mixing until a smooth, elastic dough forms. This process typically takes about 8-10 minutes in a stand mixer. You can determine if the dough is sufficiently kneaded using the “windowpane test.” If kneading by hand, turn the dough out onto a lightly floured surface and knead vigorously for approximately 10 to 12 minutes. The dough should feel smooth, pliable, and spring back gently when poked.
- **WINDOWPANE TEST:** To perform this test, pinch off a small, golf-ball-sized piece of dough. Gently stretch and pull the dough apart with your fingers, rotating it as you go. Imagine you’re trying to create a thin, transparent square. If you can stretch the dough thin enough to see light pass through it without it tearing instantly, then the gluten is well-developed, and your dough is ready for proofing. If it tears easily, continue kneading for a few more minutes and test again.
- Step 4: Bulk Proof. Lightly oil a large bowl. Transfer the kneaded dough into the oiled bowl, turning it once to coat all sides. Cover the bowl tightly with plastic wrap to prevent the dough from drying out. Place the covered bowl in a warm spot, such as a draft-free kitchen corner, near a warm appliance, or in your oven set to a proofing function (if available). Allow the dough to undergo its bulk proof until it has visibly doubled in size. This process typically takes about 1 hour, but the exact time will depend on the ambient temperature of your environment. A warm, humid spot will speed up proofing, while a cooler area will slow it down.
- Step 5: Divide the Dough. Gently turn the proofed dough out onto a lightly floured work surface. Carefully divide the dough in half. This recipe is designed to yield two perfect loaves, with each portion weighing approximately 500 grams. For precise measurements, placing your oiled bowl directly on your kitchen scale and zeroing it before adding dough can make this step incredibly easy and mess-free.
- Step 6: Preshape and Bench Rest. Take one half of the dough and gently preshape it into a round. Do this by folding all the edges of the dough into the center, then flip the dough over. Using both hands, gently pull the dough towards you across the counter surface, creating surface tension that tightens it into a smooth, cohesive ball. Repeat this process with the second piece of dough. Cover both preshaped rounds loosely with plastic wrap or a clean kitchen towel and allow them to rest on the counter for 15 minutes. This “bench rest” allows the gluten to relax, making the dough much easier to handle and shape in the next step.
- Step 7: Prepare Your Loaf Pans. While your dough is resting, prepare your loaf pans. We recommend using standard 9-inch metal loaf pans, as metal conducts heat efficiently and promotes even baking and browning. Lightly spray the inside of each pan with cooking spray, ensuring every surface is coated to prevent sticking. No need for parchment paper; a good spray is all you need!
- Step 8: Final Shape for Loaf Pans. Now it’s time for the final shaping! Take one of the preshaped dough rounds and flip it over onto your lightly floured surface. Gently stretch and pull the top and bottom edges to form a small rectangle. Place the rectangle on the counter with a long edge facing you. Fold the top edge down about two-thirds of the way towards the center, pressing firmly to seal it into the dough. Rotate the dough so the unfolded edge is now away from you. Fold that edge down towards you to meet the bottom edge, pressing firmly to seal the seam. Next, perform two “thumb folds.” Starting from one end, use your right hand to take the top edge and fold it over your thumb about halfway down the length of the dough, pressing firmly to seal as you go. Repeat this motion along the entire length of the dough. You’ll observe the dough gradually becoming tighter and longer.
- **TIP FOR PAN LENGTH:** Keep the length of your loaf pan in mind during this step. You want your shaped dough to be roughly the same length as your pan, allowing it to fit snugly without being compressed or leaving too much space. You can place the empty pan on the counter above your dough for a visual reference as you shape.
- Step 9: Refine the Shape. Repeat the “thumb fold” process one more time, ensuring the bottom seam is well-sealed. At this point, you should have a neatly formed log shape that is even in width along its entire length. The dough should be tight enough to hold its shape without slouching onto the counter. If your dough still feels too loose or soft, repeat the thumb fold once more to build additional tension. A well-shaped log will ensure an even rise and a symmetrical loaf.
- Step 10: Final Proof and Preheat Oven. Carefully transfer each shaped log into its prepared, sprayed loaf pan, placing it seam-side down. Cover the pans loosely with plastic wrap to maintain humidity and prevent drying. Place the covered pans back in your warm spot for the final proof. Allow the dough to proof until it has risen and just begins to crest over the top edge of the pan, indicating it’s nearly doubled again. This typically takes approximately 2 to 2.5 hours, but again, ambient temperature will influence the exact timing. When the dough reaches this stage, preheat your oven to 350°F (175°C).
- **PROOFING OVEN TIP:** If you are utilizing a proofing setting on your oven, your final proof might occur more rapidly. Monitor the dough closely, checking its progress every 30 minutes. Once the bread has reached the desired height, remove it from the oven before initiating the preheating cycle.
- Step 11: Baking to Perfection. As soon as your oven is fully preheated, carefully place the loaf pans inside. Bake for 35-40 minutes. The bread is perfectly done when its internal temperature, measured with an instant-read thermometer inserted into the center of the loaf, reads 185°F (85°C), and the outside crust has developed a beautiful, rich golden-brown color.
- Step 12: Cool and Enjoy. Once baked, remove the bread from the oven and allow it to cool in the pans for just 5 minutes. This brief resting period helps the crust set without making the bottom soggy. After 5 minutes, carefully invert the pans and remove the loaves to a wire rack. It is crucial to allow the bread to cool completely on the rack before attempting to slice it. Slicing warm bread can compress the tender crumb, making it gummy. Patience is key here! Once fully cooled, slice your homemade whole wheat sandwich bread and savor its incredible flavor and texture.
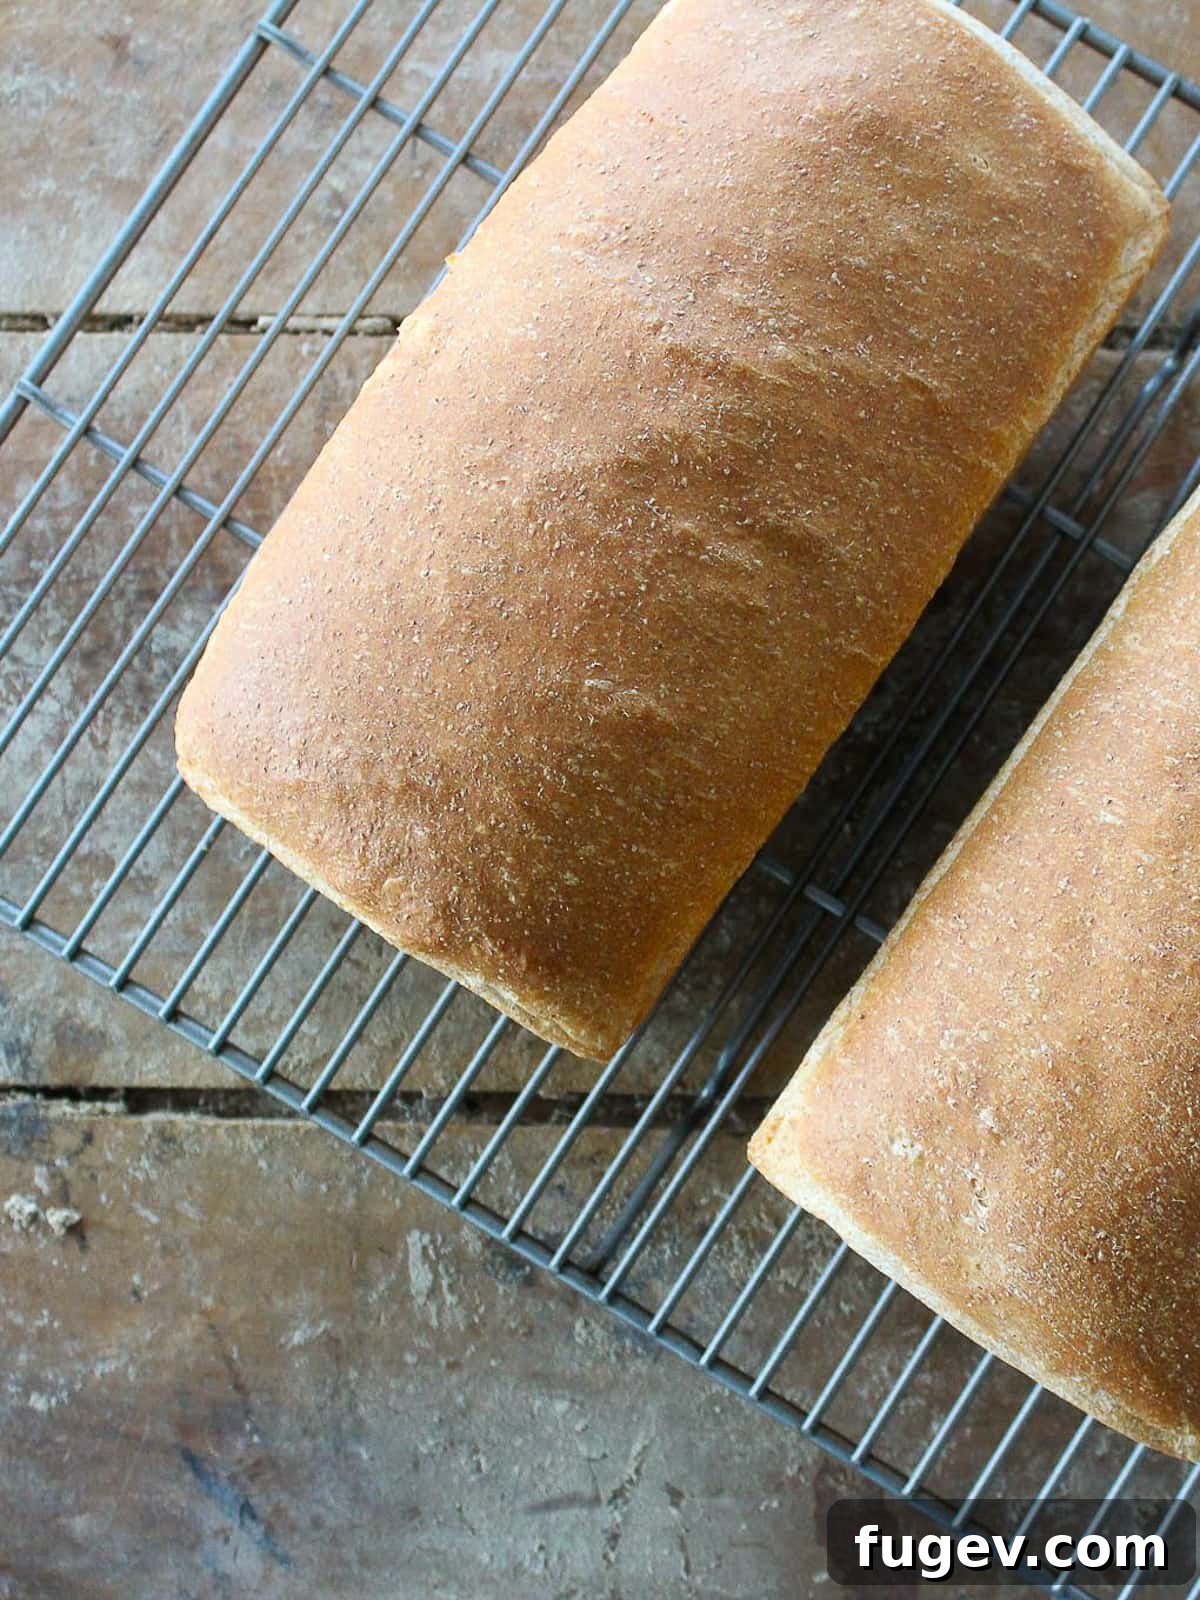
Chef Lindsey’s Recipe Insight: The Art of Gluten Development
Achieving the right level of gluten development is a fine art in bread baking. With this particular whole wheat dough, our goal is to develop enough gluten to create a strong structure for a good rise and soft crumb, while simultaneously preserving as many of the valuable nutrients and unique properties of the whole wheat flour as possible. Excessive or prolonged mixing can generate too much heat, which can degrade sensitive vitamins, antioxidants, and delicate flavor compounds found in whole grains. Therefore, mix only until the dough passes the windowpane test, ensuring an optimal balance of structure and nutritional integrity.
Frequently Asked Questions About Whole Wheat Sandwich Bread
To maximize freshness, ensure your loaves are completely cooled to room temperature before storing. Once cooled, wrap them tightly in plastic wrap, place them in an airtight container, or seal them in a zip-top bag. At room temperature, the bread will stay fresh for up to 3 days. For longer storage, refrigerate for up to a week. For extended freshness, especially if you won’t consume it quickly, wrap the uncut loaves well and freeze them for up to 2 months. Freezing whole, uncut loaves helps retain moisture and flavor best.
Absolutely! Making bread at home gives you unparalleled control over the ingredients. You can avoid the artificial preservatives, additives, high-fructose corn syrup, and unhealthy fats often present in commercially produced breads. Furthermore, using whole wheat flour means this bread is packed with the natural fiber, essential vitamins (like B vitamins), and minerals (such as iron and magnesium) found in the entire grain, making it a significantly more nutritious and wholesome choice for your family’s table.
Metal loaf pans are unequivocally the best choice for baking bread. Their excellent heat conductivity ensures even distribution of heat throughout the baking process, which is critical for consistent rising and achieving that desirable uniform golden-brown crust on all sides of your loaf. Avoid glass pans, as they can sometimes lead to uneven baking and can crack from thermal shock.
This versatile whole wheat bread is a fantastic base for an array of delightful meals and snacks! It’s perfect for creating a classic deviled egg salad sandwich or a hearty, melted roast beef melt. Beyond sandwiches, try it toasted and slathered with homemade mixed berry jam for a simple yet satisfying breakfast. It also makes an excellent accompaniment to a gourmet cheese plate, especially when served alongside savory caramelized onions or a robust dip.
More Delightful Sandwich Recipes & Bread Pairings
Dinner Roll Recipes
Fluffy Brioche Bun Recipe
Sandwich Recipes
Grandma Ruth Jean’s Best Tuna Melt Recipe
Dinner Roll Recipes
Savory Pumpkin Herb Dinner Rolls
Sandwich Recipes
Hearty Turkey Sloppy Joes
If you tried this amazing **Whole Wheat Sandwich Bread recipe** and absolutely loved it, please take a moment to leave a 🌟 **star rating** and share your experience in the **comments** below. Your feedback truly brightens my day and helps other bakers!
5 from 3 ratings
Homemade Whole Wheat Sandwich Bread
Chef Lindsey
Search no further for the perfect whole wheat sandwich bread. This recipe delivers a soft, thick loaf that slices effortlessly, making it ideal for all your favorite sandwiches and toast. Healthier, tastier, and surprisingly easy to make at home.
Comment
Print Recipe
Ingredients
- 2 ¼ cups all-purpose flour
- 2 ⅓ cups fine whole wheat flour
- 1 ¾ cups water (about 100°F or warm to the touch)
- 2 ¼ teaspoons kosher salt
- 1 ½ teaspoons dry active yeast
- 3 tablespoons powdered milk
- 2 tablespoons unsalted butter (softened)
- 1 tablespoon heavy cream
Instructions
- In the bowl of a stand mixer, add the warm water and sprinkle the yeast on top. Allow to sit until bubbly, approximately 10 minutes.
- Add all the remaining ingredients to the bowl and mix to incorporate with the PADDLE attachment. The paddle attachment is generally more efficient for initial mixing than the hook in most home stand mixers.
- Once the ingredients are mixed and the flour has been hydrated, switch to the dough hook attachment and mix on medium speed until a smooth, elastic dough forms. Use the windowpane test to confirm if the dough is sufficiently kneaded. If kneading by hand on a lightly floured surface, expect this to take about 10 to 12 minutes; the dough should feel smooth and bounce back when gently poked.
- Place the dough in a lightly oiled large bowl, cover with plastic wrap, and then transfer to a warm spot or your oven on a proof setting. Allow to bulk proof until it has doubled in size, which usually takes about an hour, depending on the warmth of your environment.
- Divide the dough: Turn the proofed dough out onto a lightly floured surface and divide it in half. This recipe is designed to produce two loaves, with each weighing approximately 500g. For easy weighing, use your oiled bowl on a kitchen scale.
- Preshaping and Bench Rest: Preshape each piece of dough into a round by folding all the edges into the center, then flip it over. Tighten it into a smooth ball by pulling it towards you with both hands. Repeat for the second piece of dough. Cover both rounds with plastic wrap and let them rest for 15 minutes to allow the gluten to relax.
- While your dough rests, prepare your loaf pans. Use a standard 9-inch metal loaf pan and generously spray it with cooking spray.
- Final Shape: To shape into a log (or a “bâtard” for a more technical term), take one of the rounds and flip it over. Gently pull the top and bottom edges to form a small rectangle. Place it on the counter, then fold the top edge down about two-thirds of the way and press it firmly into the dough. Rotate the dough so the unfolded edge is now away from you, and fold that edge down towards you to meet the bottom edge, pressing to seal. Now, perform two “thumb folds”: Take the top edge with your right hand and fold it over your thumb about halfway down, pressing to seal as you go. Repeat this along the entire length of the dough. You’ll notice the dough becoming tighter and longer. Keep the desired length of your pan in mind; you can place the empty pan on the counter above your dough for reference.
- Repeat the thumb fold one more time, sealing the bottom edge thoroughly. You should now have a uniformly shaped log, roughly the length of your pan, and tight enough to hold its form without flattening on the counter. If the dough still feels too loose, perform the thumb fold one additional time.
- Final Proof: Place each shaped log into the sprayed pan, seam-side down. Cover with plastic wrap and return to your warm spot. Allow the dough to proof until it just begins to crest over the top of the pan, which typically takes about 2-2.5 hours. Once it reaches this stage, preheat your oven to 350°F (175°C). If using an oven proofing setting, this final proof may be faster, so check every 30 minutes. Remove the bread from the oven when ready, then start preheating.
- Baking: As soon as the oven is preheated, bake the loaves for 35-40 minutes, or until the internal temperature reaches 185°F (85°C) and the crust is a beautiful golden brown.
- Cooling: Allow the bread to cool for 5 minutes in the pans, then carefully remove them to a wire rack to cool completely. Allowing them to cool in the pans for too long will create steam, making the sides and bottom of the crust soggy. Once fully cooled, slice and enjoy your delicious homemade bread!
Video Guide
Chef’s Notes & Tips
Yield: This recipe makes 2 generous loaves of whole wheat sandwich bread.
Presentation & Slicing: For the cleanest, most uniform slices, always allow your bread to cool completely to room temperature before cutting into it. This crucial step allows the bread’s internal structure (the crumb) to fully set, making it firm enough to hold up against a serrated knife without tearing or compressing. Slicing warm bread often results in a gummy texture.
Flavor Enhancement: Do not rush the bulk proofing process. Adequate proofing is vital not only for a light and airy texture but also for developing the complex flavors of the bread. Underproofed bread will not only be dense and compact but can also result in an unpleasant, overly yeasty or alcoholic flavor. Be patient and let the dough take its time!
Baking Technique: We’ve designed this recipe for two loaves because we find that most home stand mixers handle a larger quantity of dough more efficiently, allowing for better gluten development. While you can halve this recipe to make a single loaf, be aware that it might be more challenging to achieve optimal gluten development in a smaller batch with certain stand mixers. If making a single loaf by hand, ensure thorough kneading.
Storage Best Practices: To ensure your whole wheat loaves remain as fresh as possible, cool them completely before wrapping tightly in plastic wrap, placing them in an airtight container, or sealing them in a zip-top bag. Store at room temperature for up to 3 days. For longer storage, they can be refrigerated for up to a week. For maximum longevity and freshness, especially if baking ahead, store the uncut loaves well-wrapped in the freezer for up to 2 months.
Nutrition Information (per slice)
Before You Go: Continue Your Baking Journey
We hope you thoroughly enjoyed baking and tasting this exceptional light whole wheat sandwich bread! It’s truly a labor of love that rewards you with fresh, wholesome goodness. We encourage you to explore all our yeasted bread recipes for more delicious baking adventures. Or, if you’re specifically craving more sandwich-friendly loaves, dive into other sandwich bread recipes to expand your repertoire. Happy baking!