
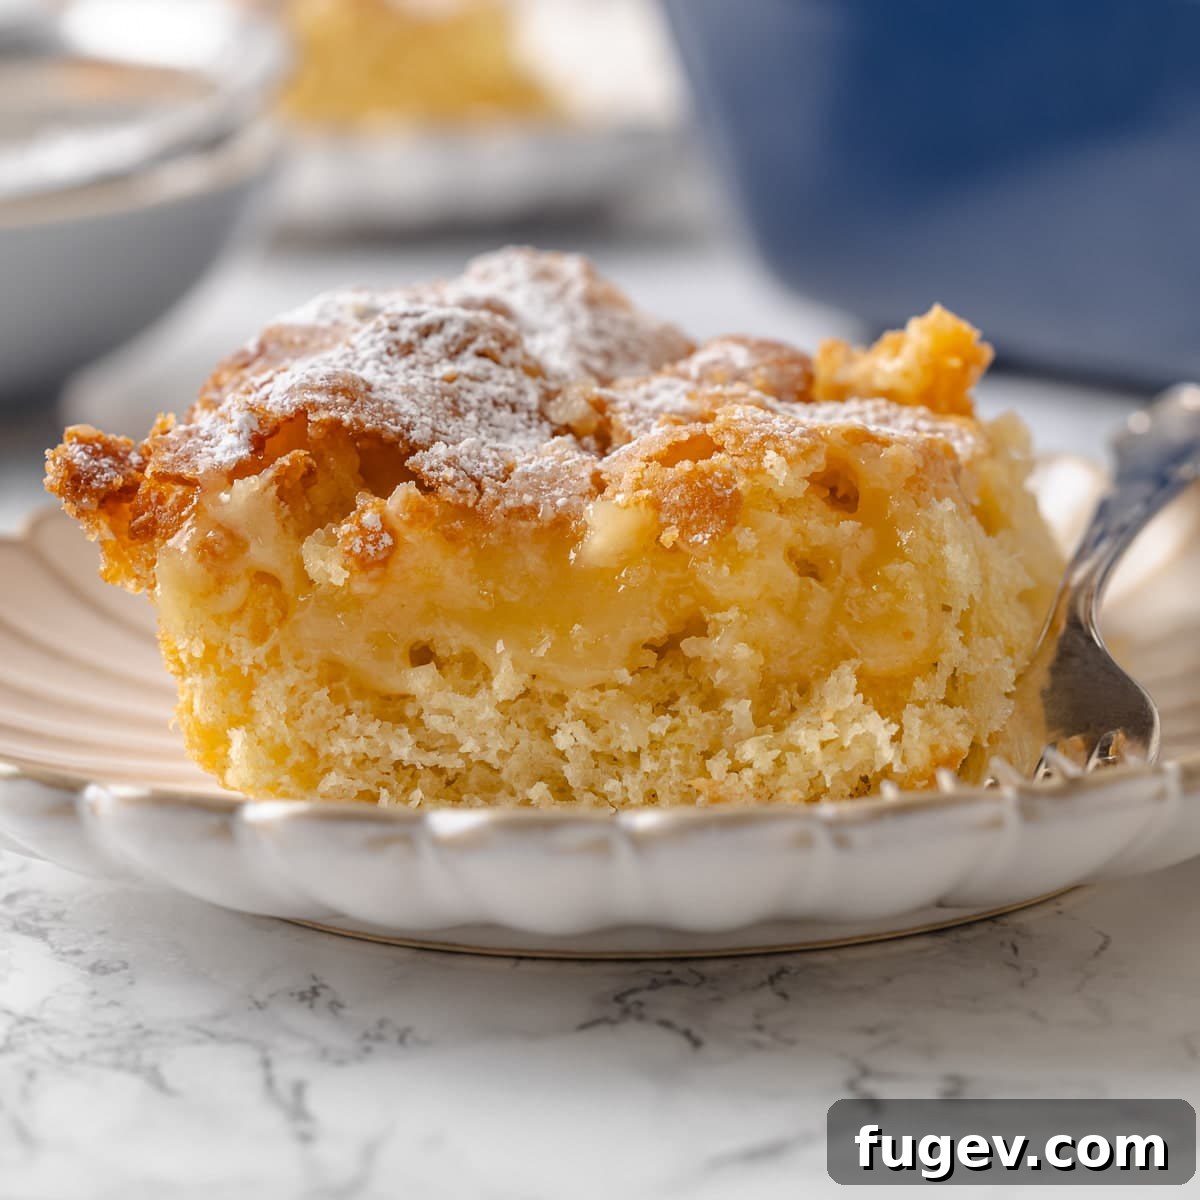
Authentic St. Louis Gooey Butter Cake: A Classic Yeasted Recipe
Get ready to indulge in the iconic, irresistible gooey layer of an authentic gooey butter cake! This treasured St. Louis classic features a tender, yeasted cake base crowned with a rich, vanilla-infused gooey topping. Unlike its more common cake-mix counterparts, this recipe delivers the true, traditional experience that locals cherish. Prepare to dig into a dessert (or breakfast!) that’s wonderfully balanced in sweetness and texture, a perfect embodiment of comfort and decadence.
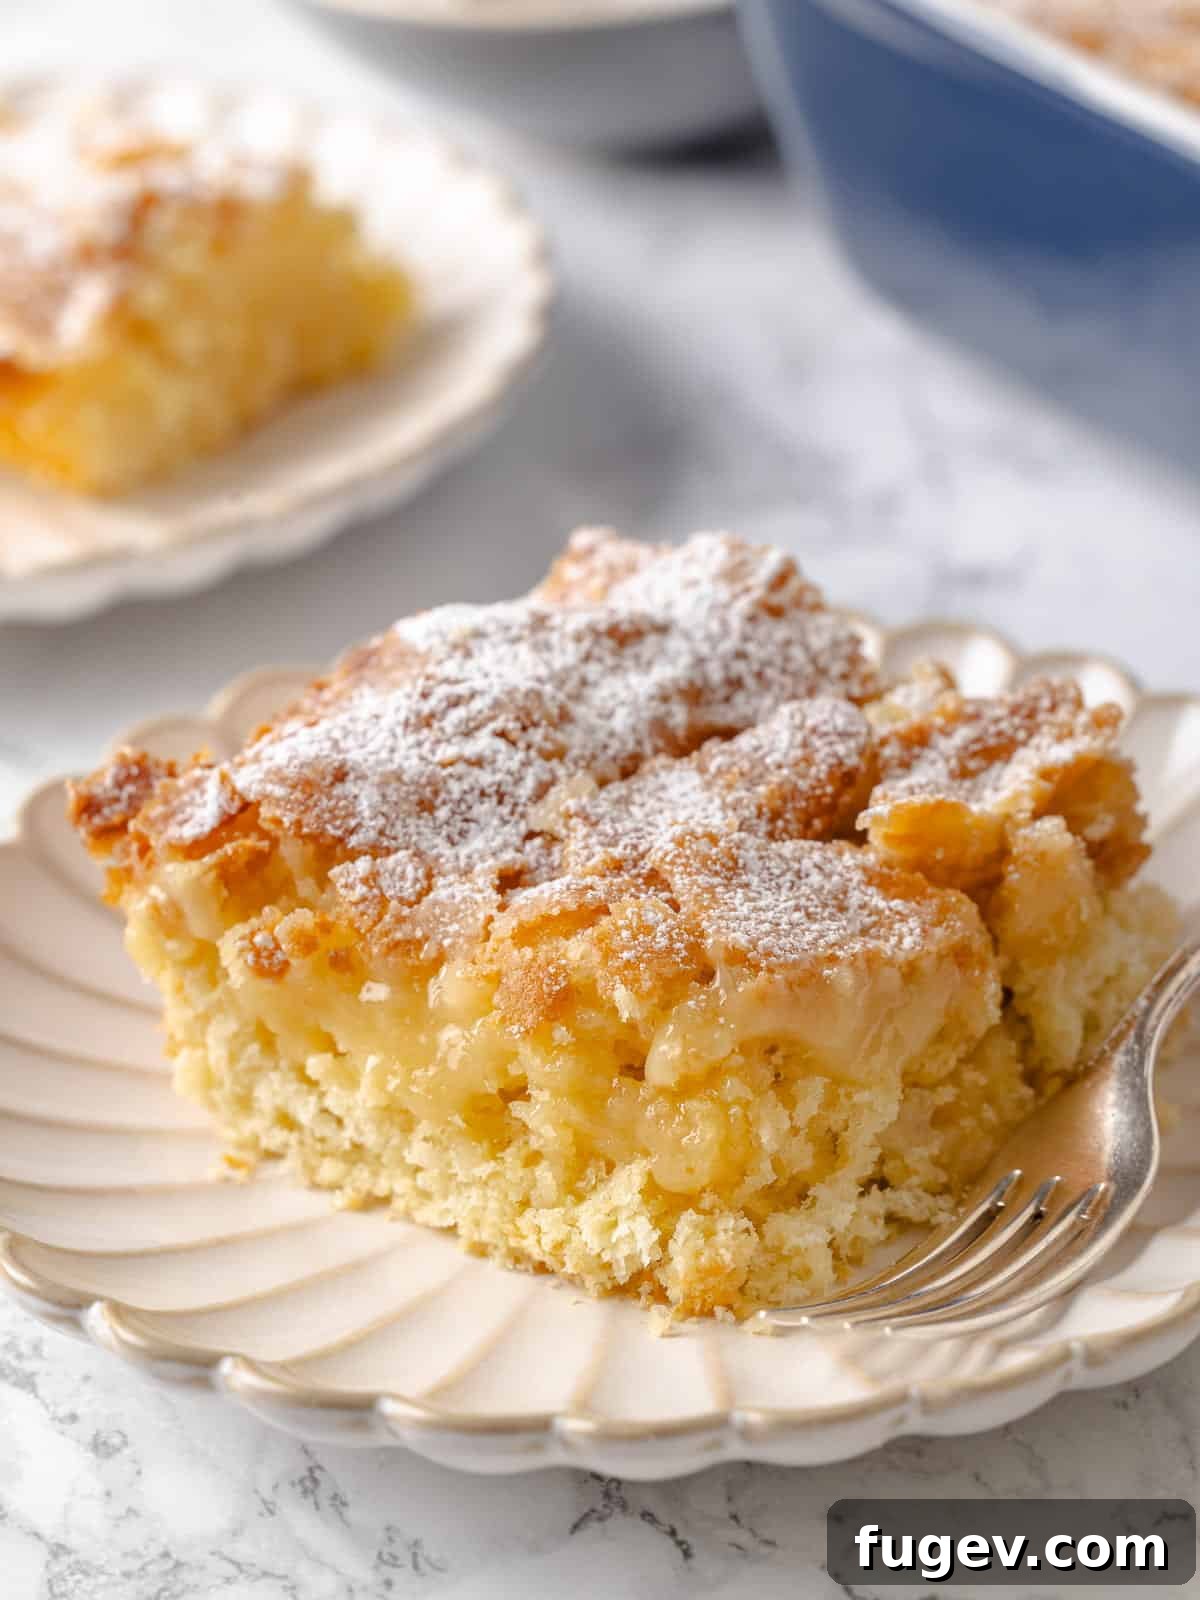
The True St. Louis Gooey Butter Cake: Beyond the Box Mix
As a native of St. Louis, I pride myself on being a connoisseur of the finest gooey butter cakes. While many home cooks are familiar with variations that utilize yellow cake mix and cream cheese – a delightful, albeit different, confection – locating a recipe for the *true* St. Louis classic with its yeasted cake bottom and traditional gooey topping can be a challenge. Even more rare are recipes like this one, where both the tender yeasted cake base and the signature gooey topping are mixed effortlessly in a stand mixer with a paddle attachment, much like a cake batter or a soft cookie dough. This method ensures an authentic texture and flavor that shortcuts simply can’t replicate.
Imagine a delightful alternative to your favorite sweet breakfast pastries, such as a hearty pumpkin coffee cake, a classic cinnamon flop, or even sugared jelly donuts. Gooey butter cake offers a similarly comforting experience with its unique layers: a soft, airy, and slightly chewy cake base, generously crowned with a thick, rich, and intensely sweet gooey topping. This harmonious combination delivers a perfect balance of sweetness and contrasting textures, making every bite an unforgettable treat. And for those who might typically reach for a boxed yellow cake, I assure you, my moist yellow cake recipe offers a homemade experience that is far superior!
Why You Will Love This Authentic Recipe
This traditional gooey butter cake recipe isn’t just a dessert; it’s an experience. Here’s why it will quickly become a favorite in your kitchen:
- Surprisingly Easy to Master: While it’s made from scratch, don’t let the “yeasted” part intimidate you. The base and topping come together much like a cookie dough or thick cake batter, making the process straightforward with a stand mixer or electric mixer. It’s certainly more involved than a pumpkin dump cake, but the reward is infinitely greater.
- Light, Airy Texture with Perfect Sweetness: The inclusion of yeast is key to achieving a delightfully light and airy texture for the cake base, setting it apart from denser, cream cheese-based versions. By crafting both the cake and topping from scratch, you have complete control over the sweetness level. This ensures a cake that is wonderfully sweet without being cloying, a common pitfall with cake-mix variations.
- A Versatile Culinary Delight: Whether you’re seeking an exceptional breakfast cake to start your day, a unique coffee cake to share with friends, or a memorable dessert to cap off a meal, this gooey butter cake fits every occasion. Its rich flavor and captivating texture make it suitable for any time of day.
Table of Contents
- Why You Will Love This Authentic Recipe
- Understanding Gooey Butter Cake
- The Fascinating History of Gooey Butter Cake
- Essential Ingredients for Your Gooey Butter Cake
- Expert Tips for Baking the Perfect St. Louis Gooey Butter Cake
- Step-by-Step Guide: Crafting Your St. Louis Gooey Butter Cake
- Chef Lindsey’s Make-Ahead Tip
- Frequently Asked Questions
- More Gooey Delights to Explore
- The Full Recipe: St. Louis Gooey Butter Cake [Yeasted]
- Before You Go
Understanding Gooey Butter Cake: A Tale of Two Classics
When people talk about “gooey butter cake,” they might be referring to one of two distinct, yet equally delicious, variations. It’s crucial to understand the difference, especially when seeking the authentic St. Louis experience.
- The Modern, Cream Cheese & Cake Mix Version: This widely popular variant often uses a simple boxed yellow cake mix for the base, topped with a rich, sweet mixture predominantly featuring cream cheese. It tends to be sweeter, denser, and flatter, offering a quick and easy dessert. Some even reserve the term “ooey gooey butter cake” specifically for this style, emphasizing its intense sweetness and often simpler, more spread-like texture.
- The Traditional, Yeasted & Butter-Rich Version: This is the authentic St. Louis classic, and the focus of this recipe. It features a genuine yeasted cake base, providing a light, slightly chewy foundation akin to a delicate coffee cake. The topping, free from cream cheese, is a luscious blend of butter, sugar, and corn syrup, creating that signature “gooey” texture without being overly dense or cloying. This version typically rises higher and offers a more complex flavor profile, marrying the subtle tang of yeast with rich vanilla and butter.
Both are delightful in their own right, but for a true taste of St. Louis heritage, the yeasted, cream cheese-free gooey butter cake is the gold standard.
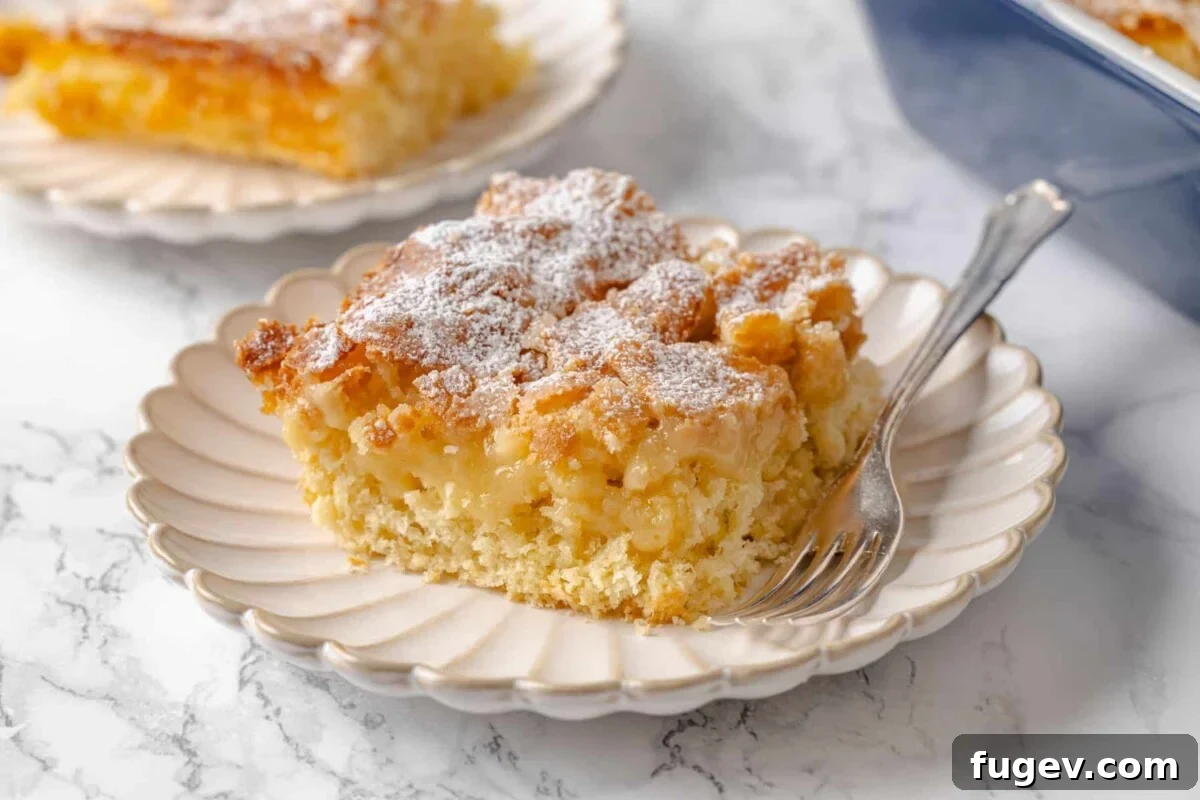
The Fascinating History of Gooey Butter Cake
The story behind the St. Louis gooey butter cake is as rich and charming as the dessert itself, steeped in local folklore and culinary happenstance. The most widely accepted origin tale dates back to the 1930s, amidst the Great Depression.
The Accidental Masterpiece
Legend has it that a newly hired German American baker at a small St. Louis bakery, owned by John Hoffman, made a fortunate mistake. Tasked with preparing a standard coffee cake, the baker inadvertently mixed up the two toppings: he applied the thicker, butter-rich “gooey butter smear” meant for a different pastry onto the coffee cake base, instead of the lighter, traditional butter smear. Realizing the error, Hoffman decided to bake the cake anyway, rather than waste the ingredients. To his surprise, and the delight of his customers, this “mistake” became an instant local sensation. The unusual texture and delightful richness captured the hearts (and palates) of St. Louisans, and thus, the gooey butter cake was born.
Evolution and Home Adaptation
While the original recipe relied on a yeasted base, the variation using commercial yellow cake mix and cream cheese emerged later. This adaptation was developed to simplify the process, making it more accessible and easier for home cooks to recreate this beloved treat without the need for yeast expertise. Both versions continue to thrive, but for purists and those seeking the historical flavor profile, the yeasted, butter-centric cake remains the definitive St. Louis gooey butter cake.
Essential Ingredients for Your Gooey Butter Cake
Crafting the perfect gooey butter cake requires a handful of key ingredients, each playing a vital role in achieving that signature taste and texture. Using quality ingredients ensures the best possible outcome.
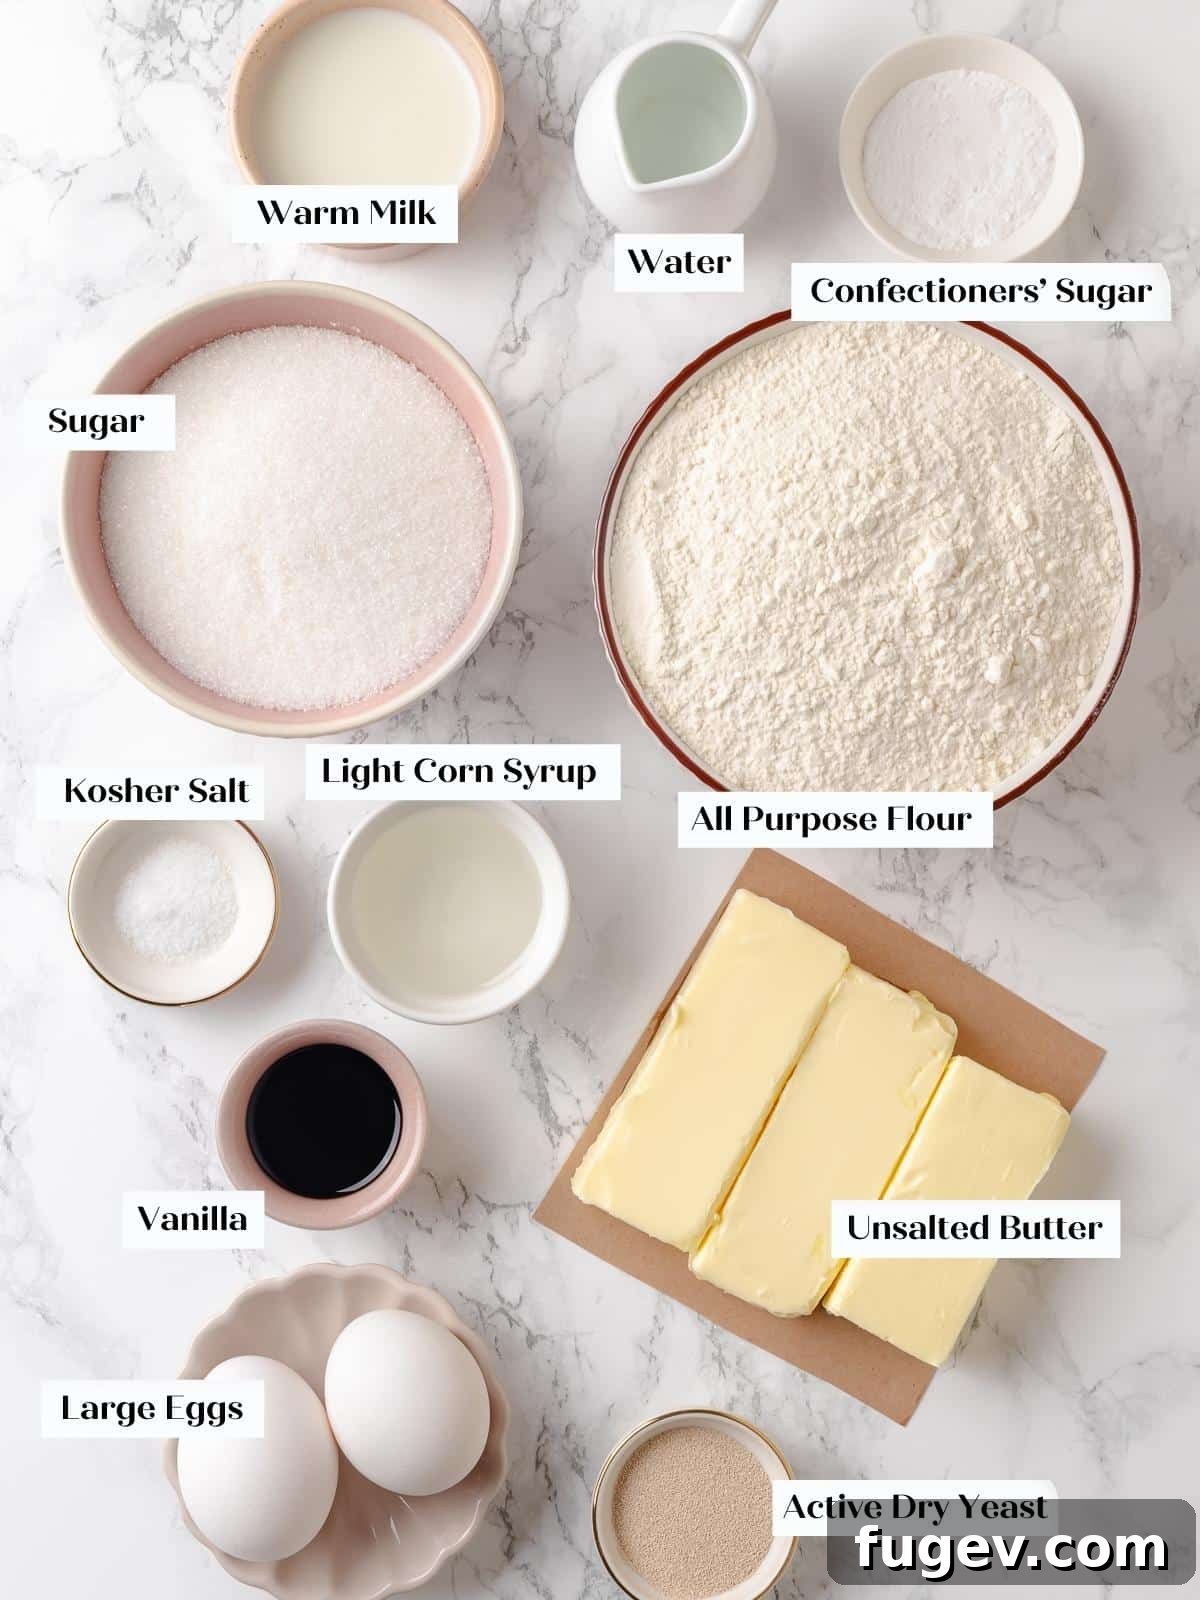
- Milk: I always opt for whole milk in the cake base. Its higher fat content contributes significantly to both moisture and richness, resulting in a more tender and flavorful crumb.
- Active Dry Yeast: This is the secret to the traditional cake’s light, airy, and slightly chewy texture. If you’re looking to speed up the process, instant yeast can be used, which typically cuts proofing time in half.
- Light Corn Syrup: A crucial ingredient for the topping, light corn syrup serves multiple purposes. It helps to maintain the topping’s characteristic gooey texture, even after baking, preventing it from becoming dry or crumbly. Furthermore, it plays a key role in inhibiting sugar crystallization, ensuring a smooth and consistent gooey layer.
- Vanilla Extract: The topping is generously flavored with vanilla, making the choice of extract paramount. I highly recommend using a high-quality pure vanilla extract for the most authentic and robust flavor profile. Avoid imitation vanilla, as it can impart an artificial taste.
- Confectioners’ Sugar (Powdered Sugar): The final flourish! Gooey butter cake, regardless of its variation, is traditionally served with a delicate dusting of confectioners’ sugar. This not only enhances its visual appeal but also provides a subtle, balanced sweetness. In the yeasted version, this light dusting prevents the cake from becoming overly sweet, contrasting nicely with the rich topping.
- Unsalted Butter: As the name implies, butter is central to this cake! Using unsalted butter allows you to control the overall saltiness of the recipe. Ensure it’s at room temperature for both the cake base and the topping, as this is critical for proper creaming and emulsification, leading to a smooth batter and a perfectly cohesive gooey layer.
- Granulated Sugar: Used in both the cake base and generously in the topping, granulated sugar provides the primary sweetness and contributes to the topping’s desirable texture as it caramelizes slightly during baking.
- Eggs: Large eggs bind the ingredients together, adding moisture, richness, and structure to both layers of the cake.
- All-Purpose Flour: The structural backbone of both the cake base and the topping. Ensure it’s measured accurately, preferably by weight, to avoid a dense or dry result.
- Kosher Salt: A small amount of salt enhances all the other flavors, balancing the sweetness and adding depth.
Expert Tips for Baking the Perfect St. Louis Gooey Butter Cake
Achieving gooey butter cake perfection is within reach with these expert insights:
- Embrace the Batter-Like Consistency of the Cake Base: Don’t be alarmed if the yeasted cake layer feels more like a thick batter than a traditional bread dough, like kugelhopf. It’s designed to be mixed with the paddle attachment, similar to a soft Sally Lunn bread. Mix for just 2-3 minutes until smooth; overmixing can develop too much gluten, making the cake tough.
- Proofing: Err on the Side of Under-Proofing: Unlike many yeasted bread recipes where a full double-in-size is key, with gooey butter cake, it’s better to slightly under-proof than over-proof. An over-proofed bottom layer can become unpleasantly thick and dry out in the oven before the gooey topping has a chance to cook properly. Aim for “almost doubled” rather than fully doubled.
- Bake Like a Cheesecake – Jiggly is Good: One of the most common baking anxieties is wondering if the cake is truly done, especially with a “gooey” topping. Resist the urge to overbake! The topping is meant to be gooey. You’re looking for a cake that is puffed and golden brown around the edges, but still has a slight, cohesive jiggle in the center, much like a perfectly baked cheesecake. The caramelized, sugary edges, however, will be firm and absolutely divine – truly worth savoring!
- Pan Material Impacts Bake Time: Be aware that the type of baking dish you use will affect the baking duration. Metal and glass pans conduct heat more efficiently and will bake faster than ceramic baking dishes. Always keep a close eye on your cake, especially towards the end of the recommended bake time, to prevent overbaking.
- Make the Topping in Advance: To streamline your baking day, you can prepare the gooey topping batter up to a week ahead of time. Store it in an airtight container in the refrigerator. Just remember to take it out several hours before you plan to use it, allowing it to soften completely. This ensures it’s pliable and easy to spread evenly over the risen cake base.
Step-by-Step Guide: Crafting Your St. Louis Gooey Butter Cake
Creating this iconic St. Louis treat is a rewarding process. Follow these detailed steps to achieve a perfectly gooey and delicious result. For precise measurements, please refer to the full recipe card below.
To Make the Yeasted Cake Base:
The foundation of our gooey butter cake is a soft, yeasted base, contributing a unique flavor and texture that truly sets this recipe apart.
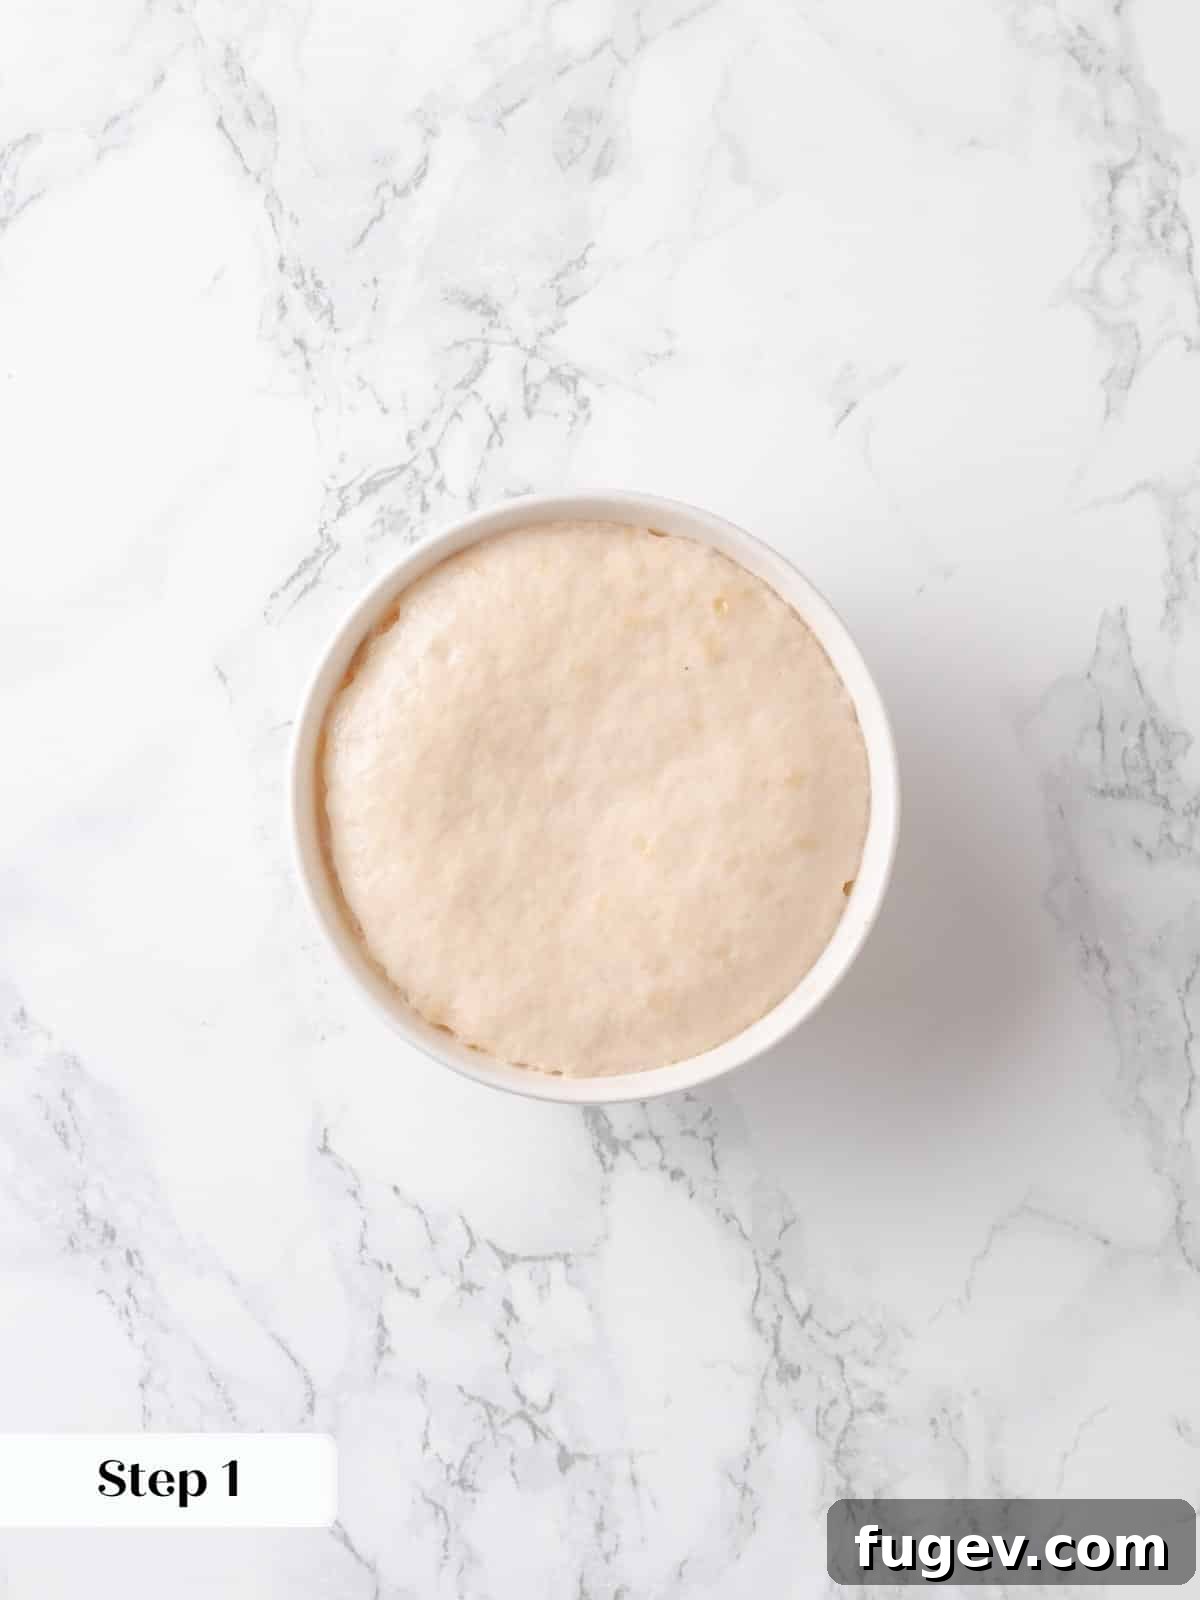
Step 1: Bloom the Yeast. In a small bowl, combine the warm milk and water, then gently sprinkle the active dry yeast over the liquid. You can add a pinch of the granulated sugar at this stage to “feed” the yeast. Allow this mixture to sit undisturbed for 5-10 minutes. It should become visibly foamy and bubbly, indicating the yeast is active and ready (photo 1). While the yeast blooms, prepare your 9×13 inch baking dish by thoroughly buttering or spraying it with non-stick cooking spray. I often use about 1 tablespoon of softened butter to grease the pan for an extra rich crust.
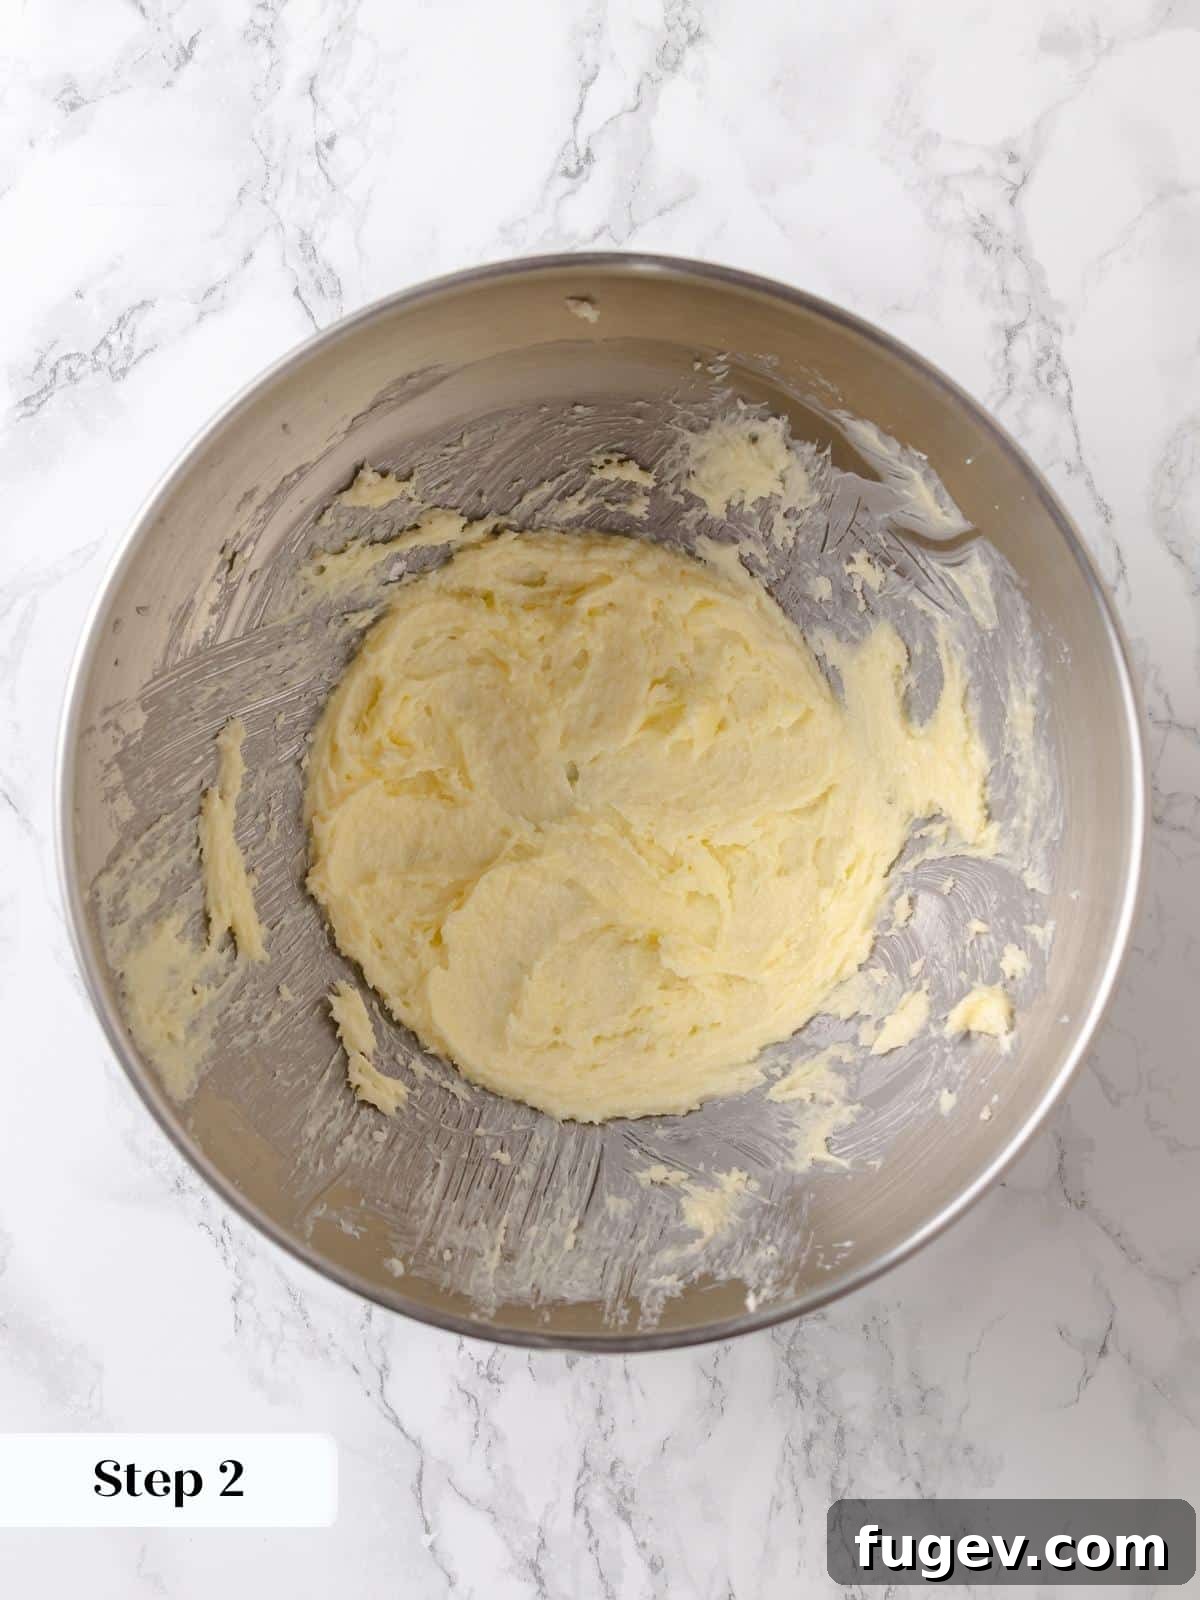
Step 2: Cream Butter and Sugar. In the bowl of a stand mixer fitted with the paddle attachment, cream together the softened butter, granulated sugar, and salt. Beat on medium speed until the mixture appears lighter in color and somewhat aerated (photo 2). It won’t become “light and fluffy” in the way traditional cake batter does due to the lower sugar content in this base, but it should be well combined.
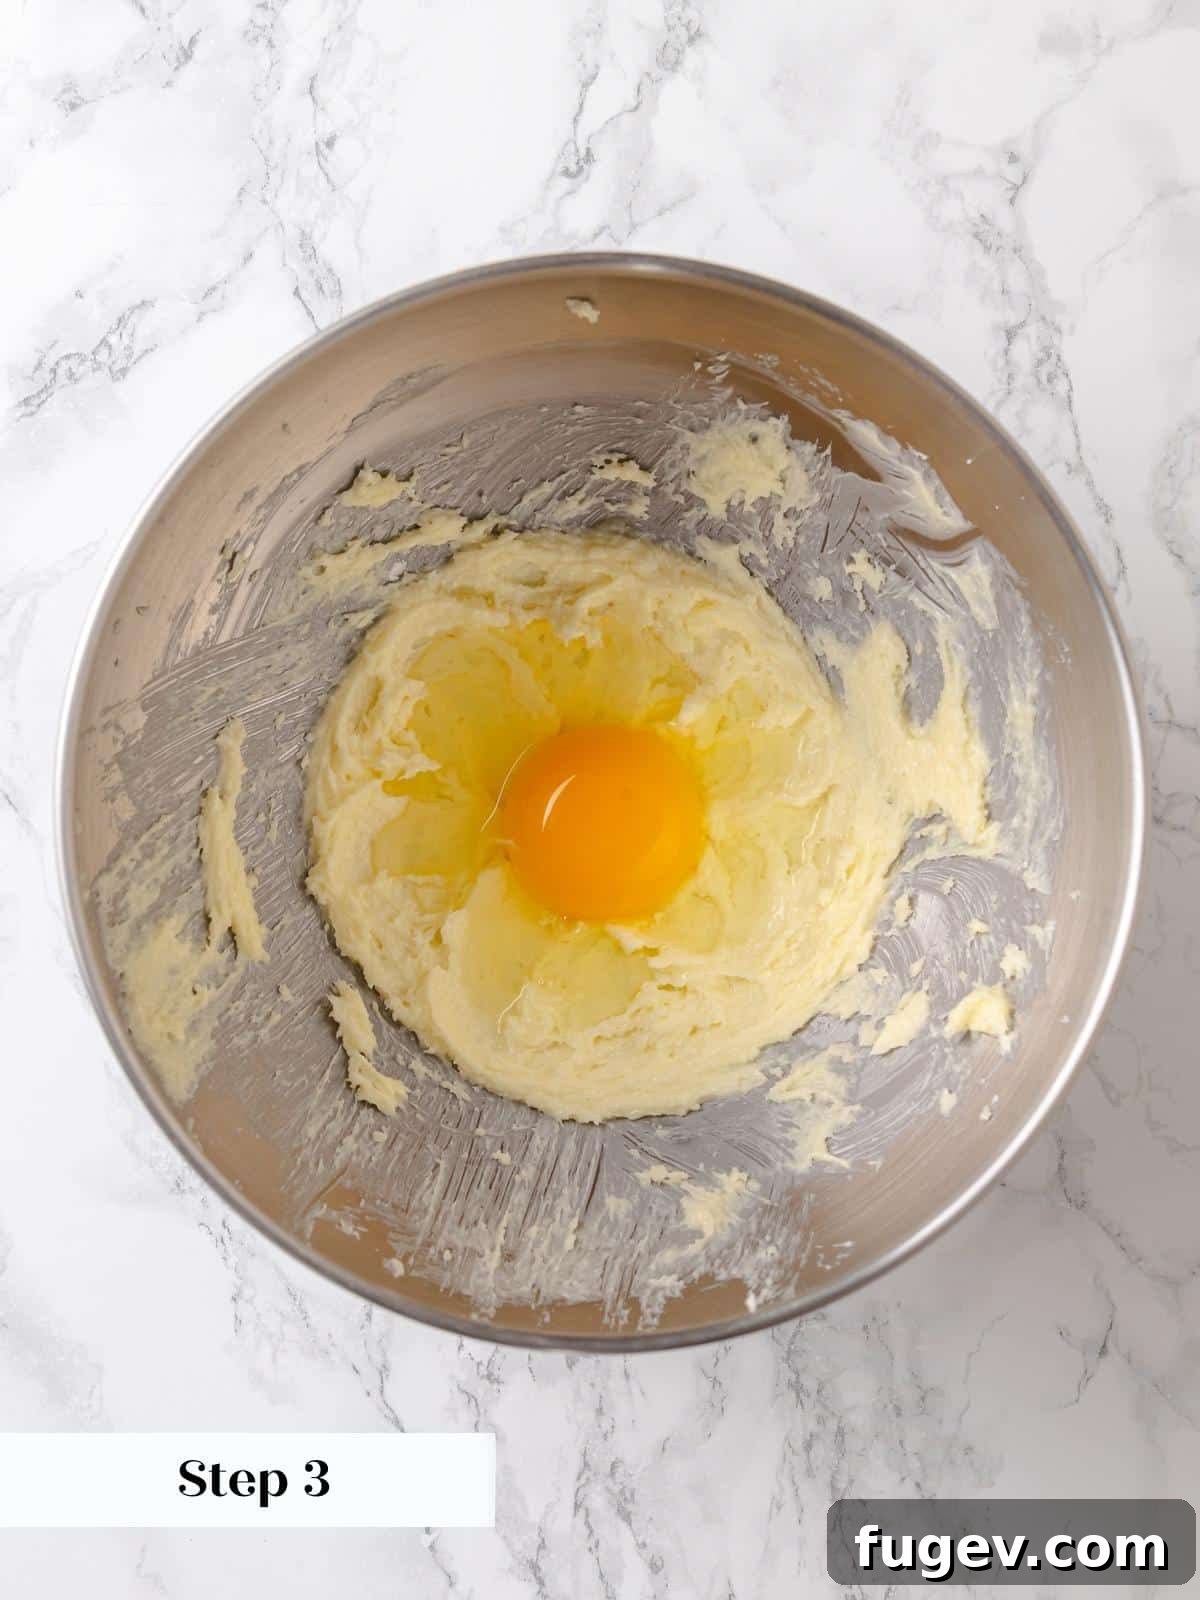
Step 3: Add the Egg. Crack in the large egg and continue beating until it is fully incorporated into the butter and sugar mixture (photo 3). Using truly room temperature butter will make this step much smoother. If your butter is a bit cooler, you might notice small lumps, but don’t fret – these will mostly dissolve as you add the flour. Just keep mixing!
Pro Tip: My “room temperature” butter was on the cooler side, resulting in a soft but still somewhat cold consistency. This is excellent for chewy sugar cookies but less ideal for immediate emulsification here. Don’t stress if you see tiny butter lumps as you add the flour; the final result will still be wonderful.
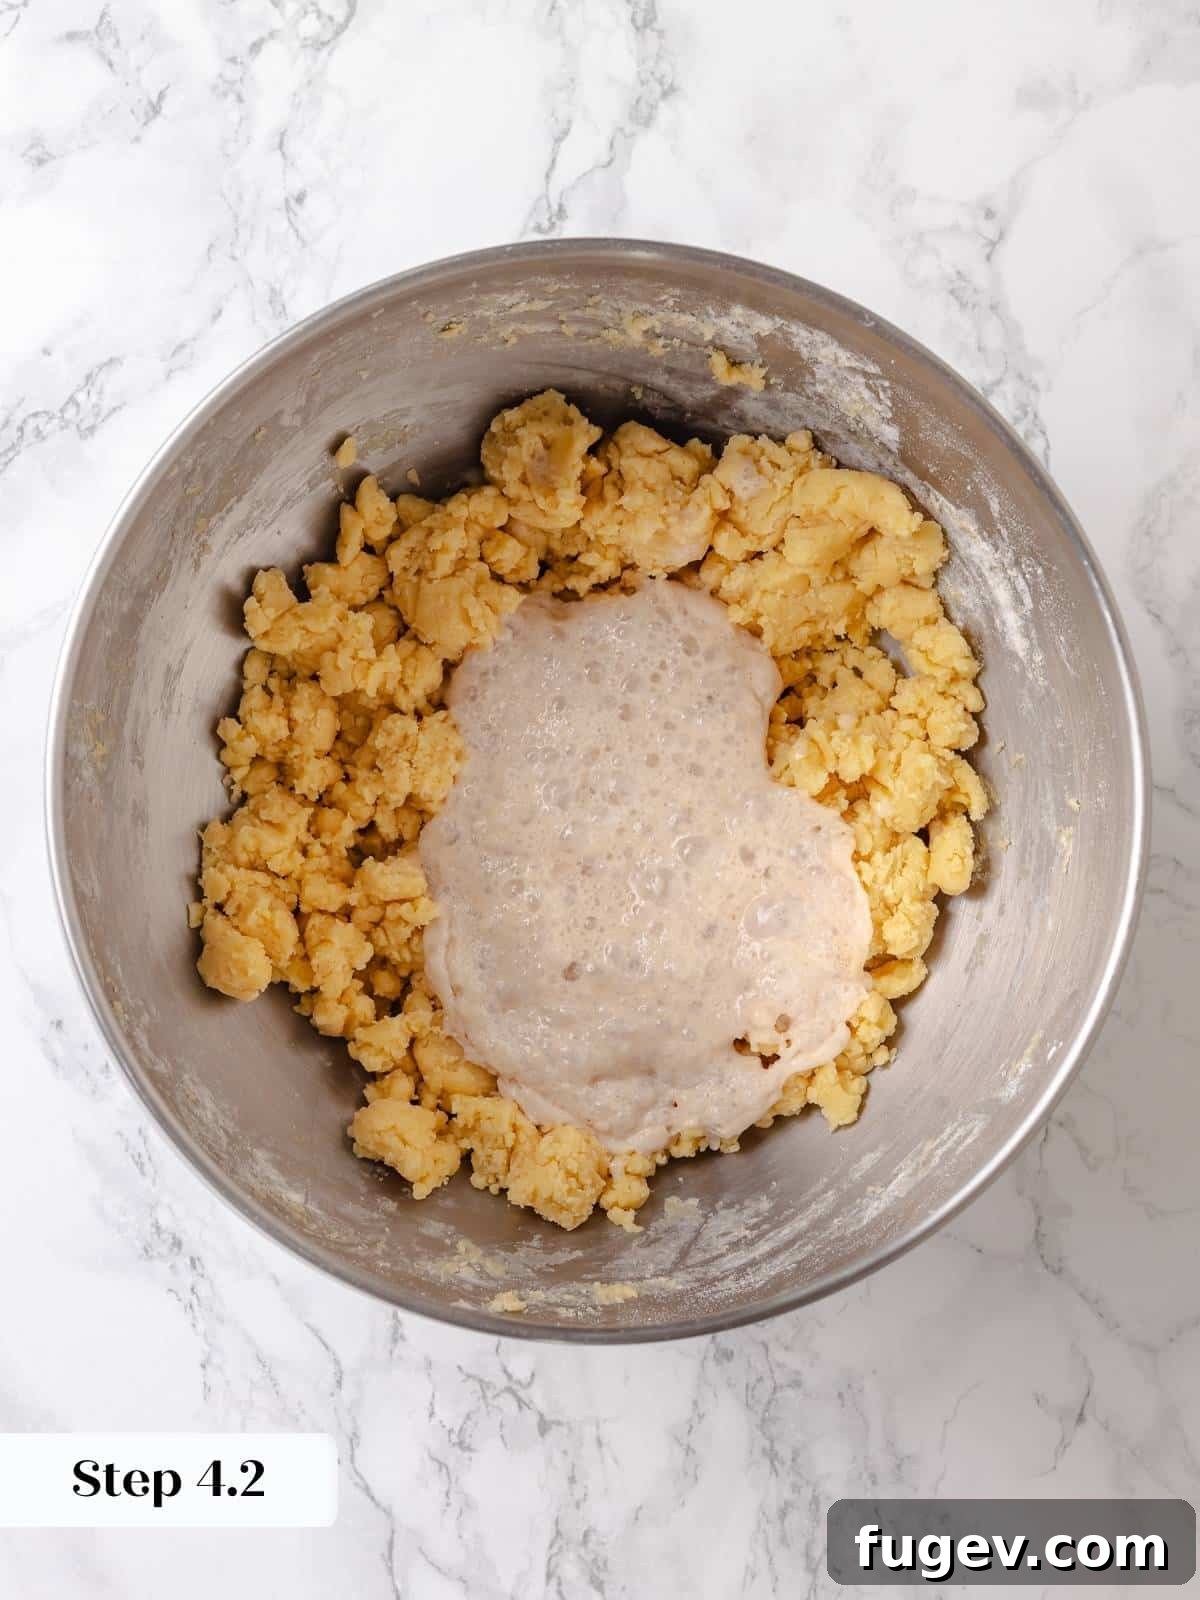
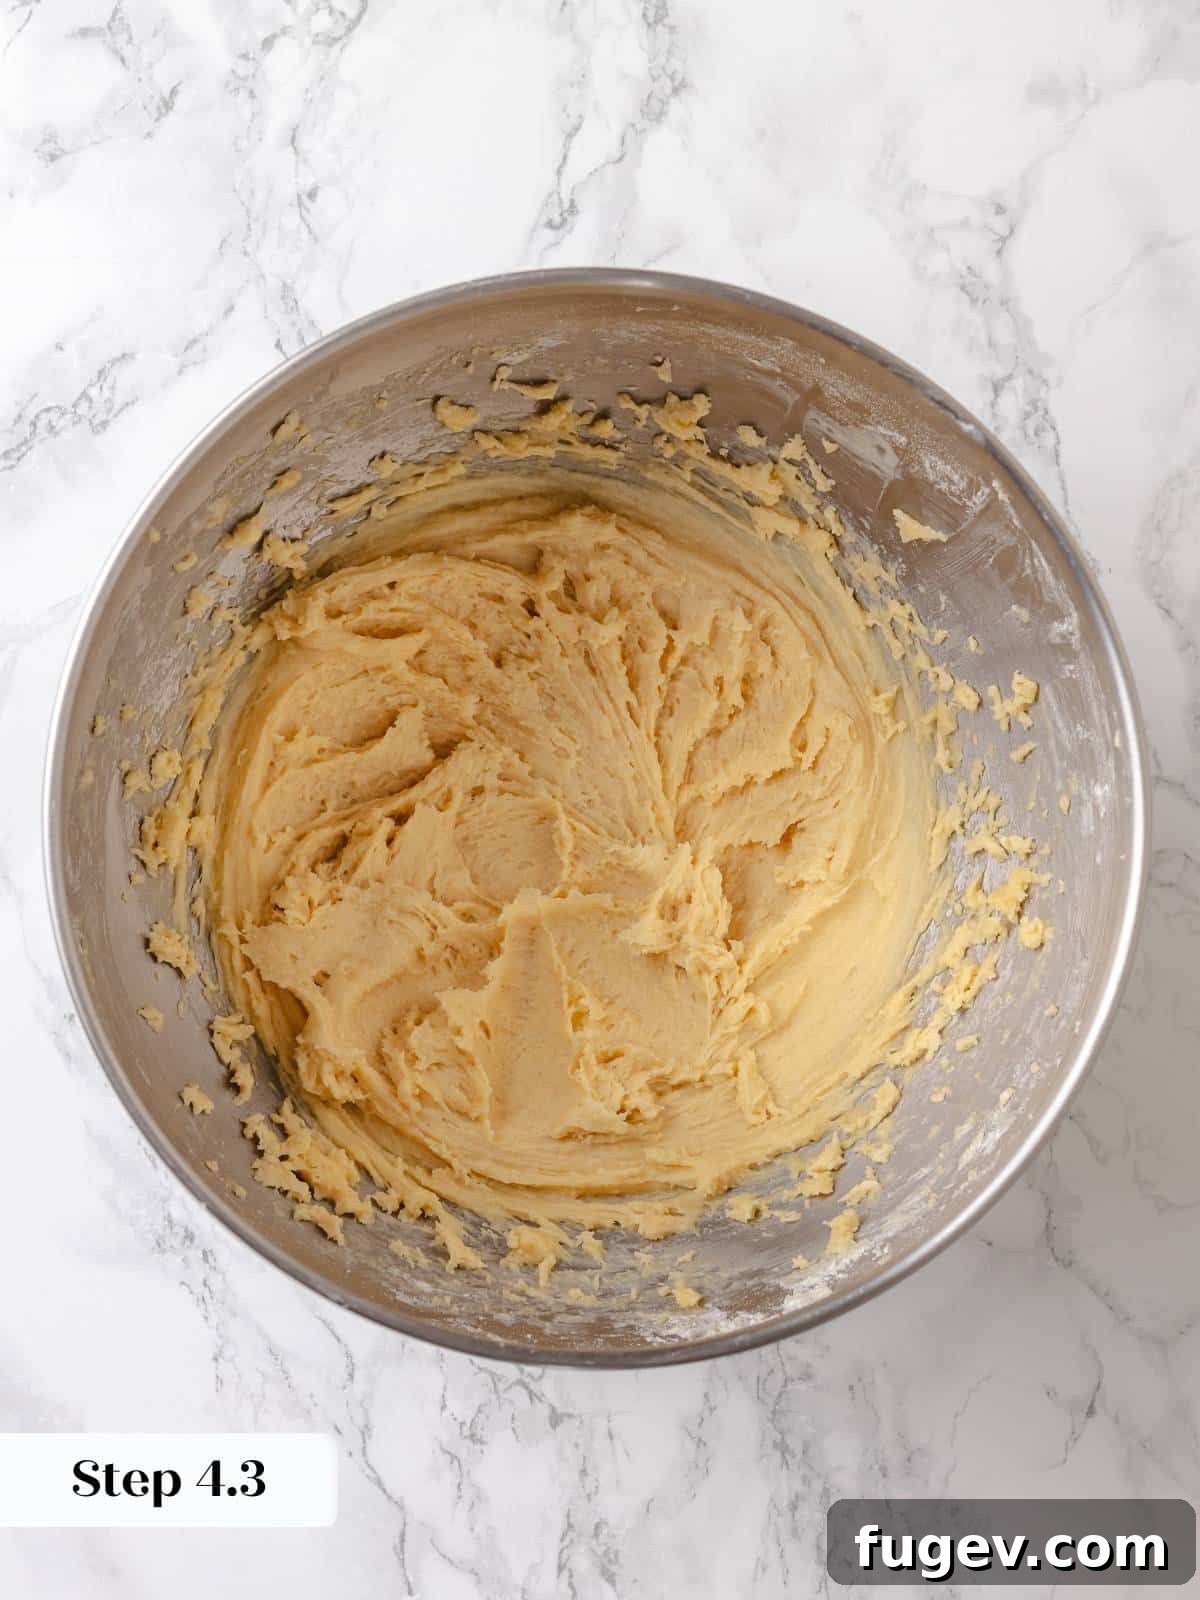
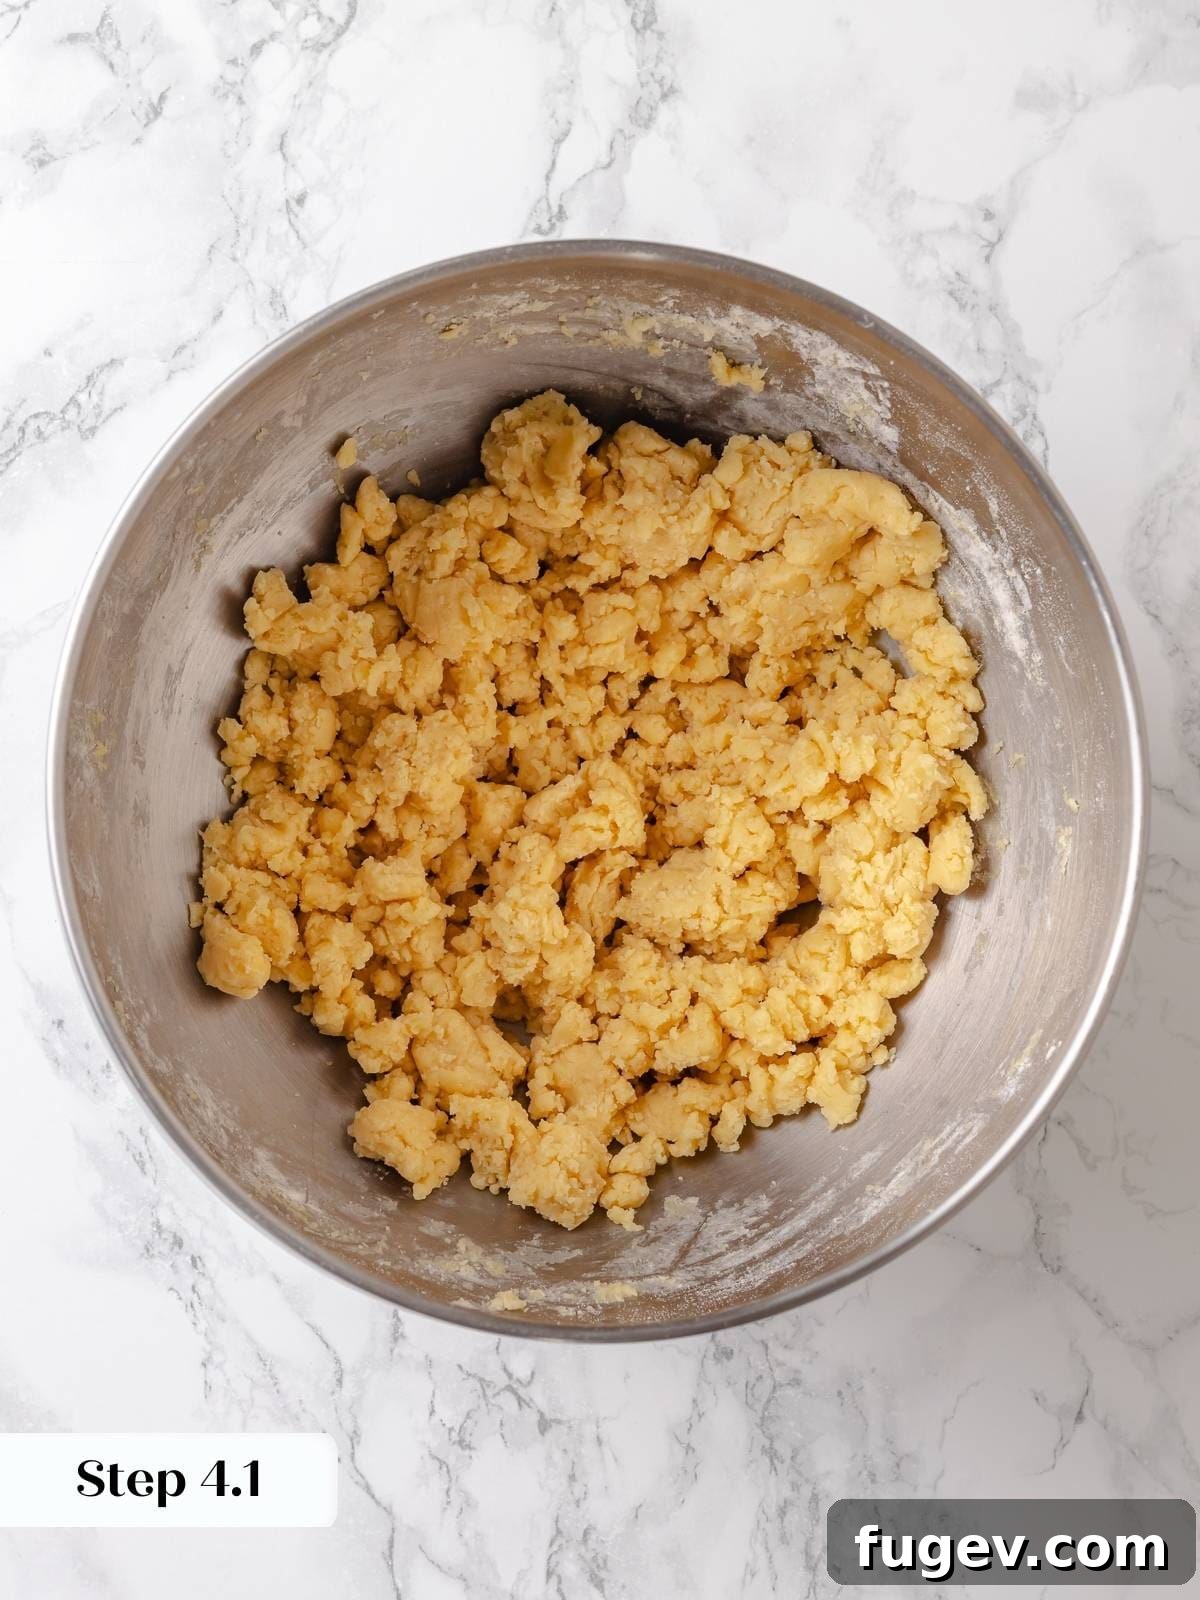
Step 4: Combine Dry and Wet Ingredients. With the mixer running on low speed, gradually add the all-purpose flour to the butter-sugar-egg mixture (photo 4). Once partially combined, pour in the bloomed yeast mixture (photo 5). Increase the mixer speed to medium-high and beat for 2-3 minutes. The dough will become smooth and you’ll see strands pulling away from the sides of the bowl before reincorporating, indicating proper development (photo 6). It won’t form a stiff dough like bread, but rather a thick, sticky batter.
Don’t Stress: This isn’t meant to be a traditional kneaded dough. The “pulling away” is a sign that the gluten is developing just enough to give the cake its structure.
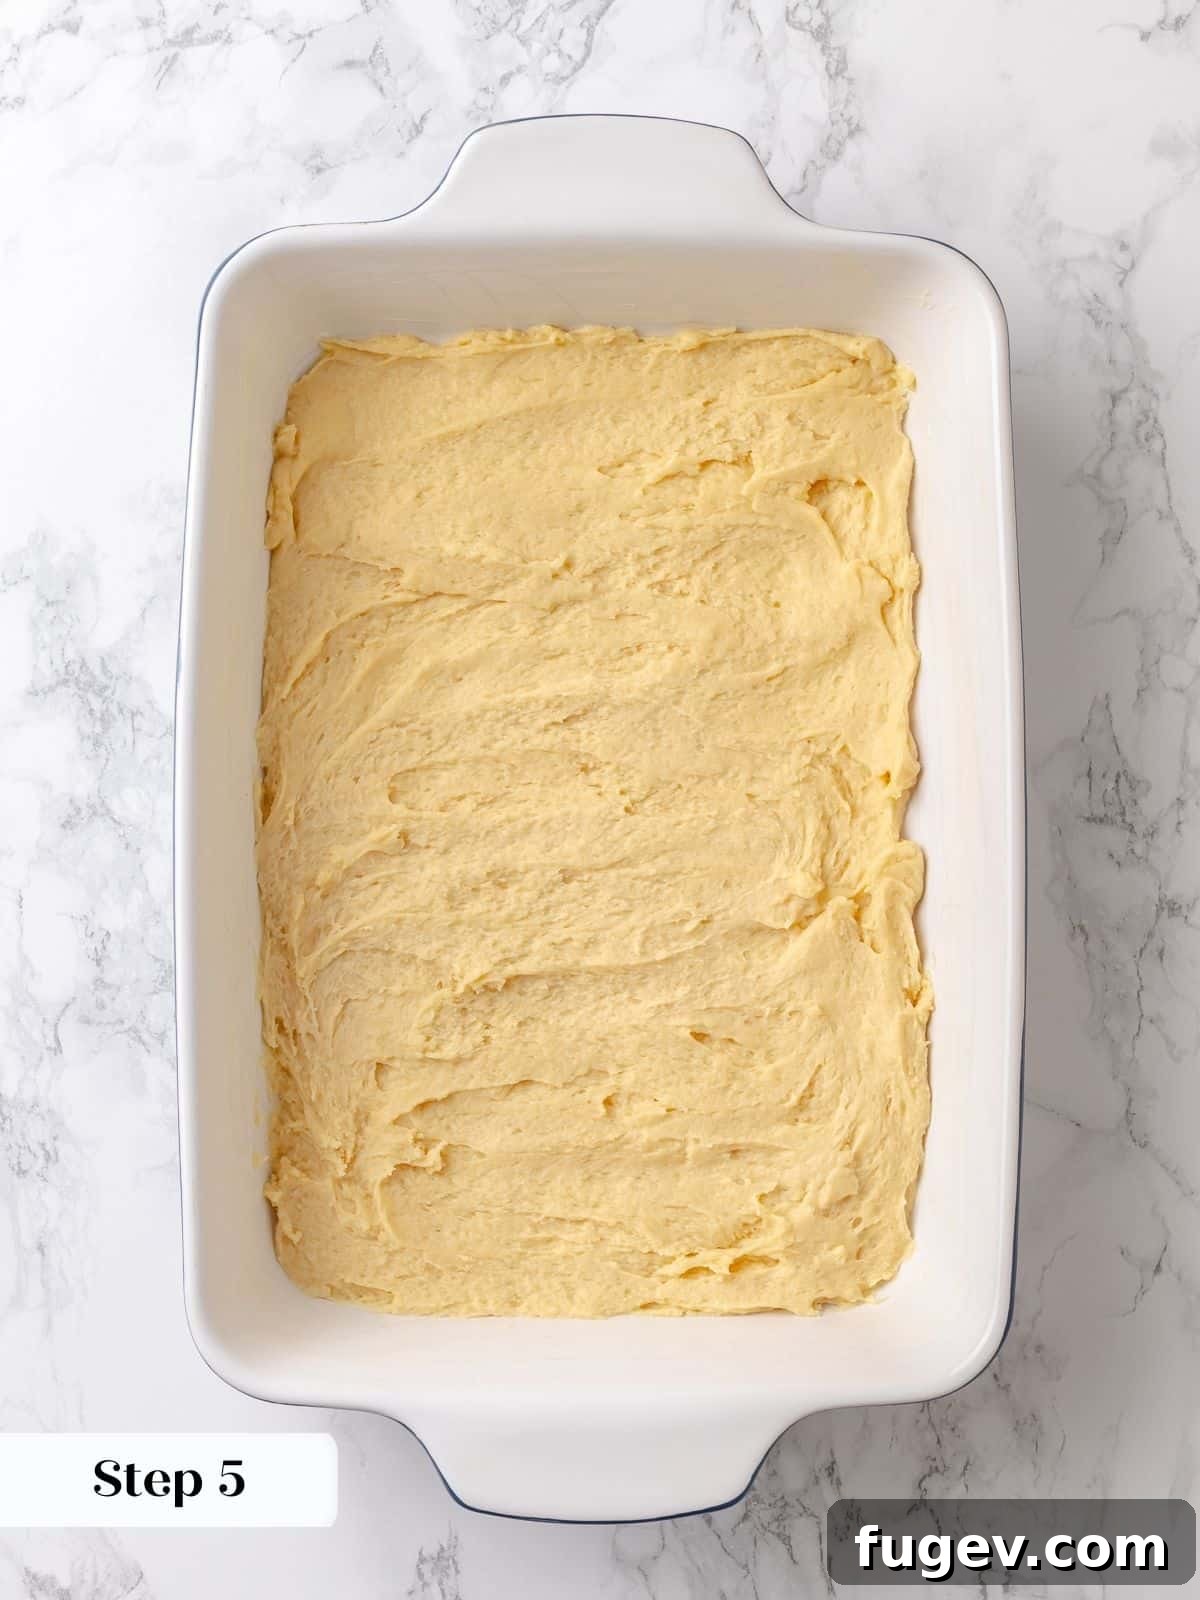
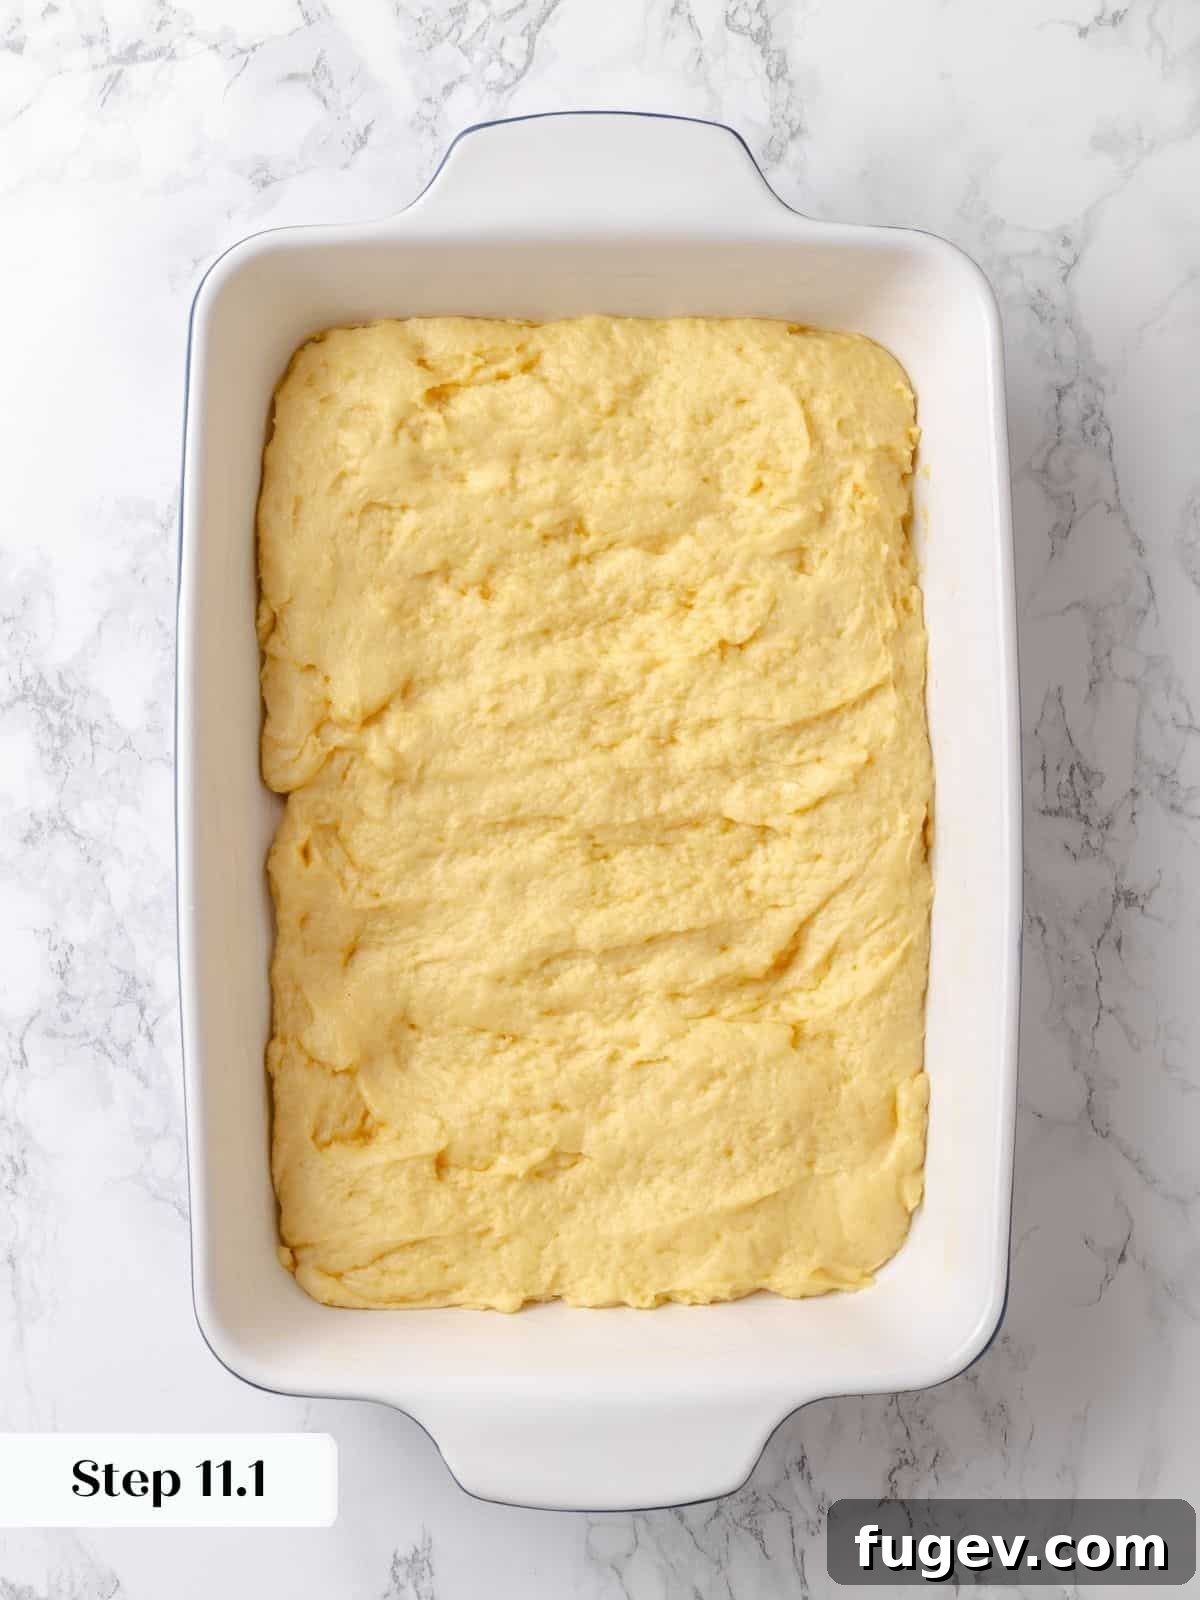
Step 5: Spread the Dough. Transfer the soft, sticky dough into your prepared 9×13 inch baking dish. Using a small offset spatula or the back of a spoon (which you might want to spray lightly with cooking spray to prevent sticking), gently spread the dough evenly across the bottom of the pan. Make sure to push it into all the edges and corners to create a uniform base (photo 7).
Step 6: First Proof. Cover the baking dish loosely with plastic wrap or a clean kitchen towel. Place it in a warm, draft-free spot to proof until the dough has almost doubled in size. This can be tricky to gauge precisely, but typically takes about 1 ½ – 2 hours for active dry yeast, or approximately 1 hour if you’re using instant yeast. During the last 20 minutes of proofing, preheat your oven to 375°F (190°C).
Prepare the Irresistible Topping:
This rich, vanilla-scented topping is what gives gooey butter cake its signature texture and flavor.
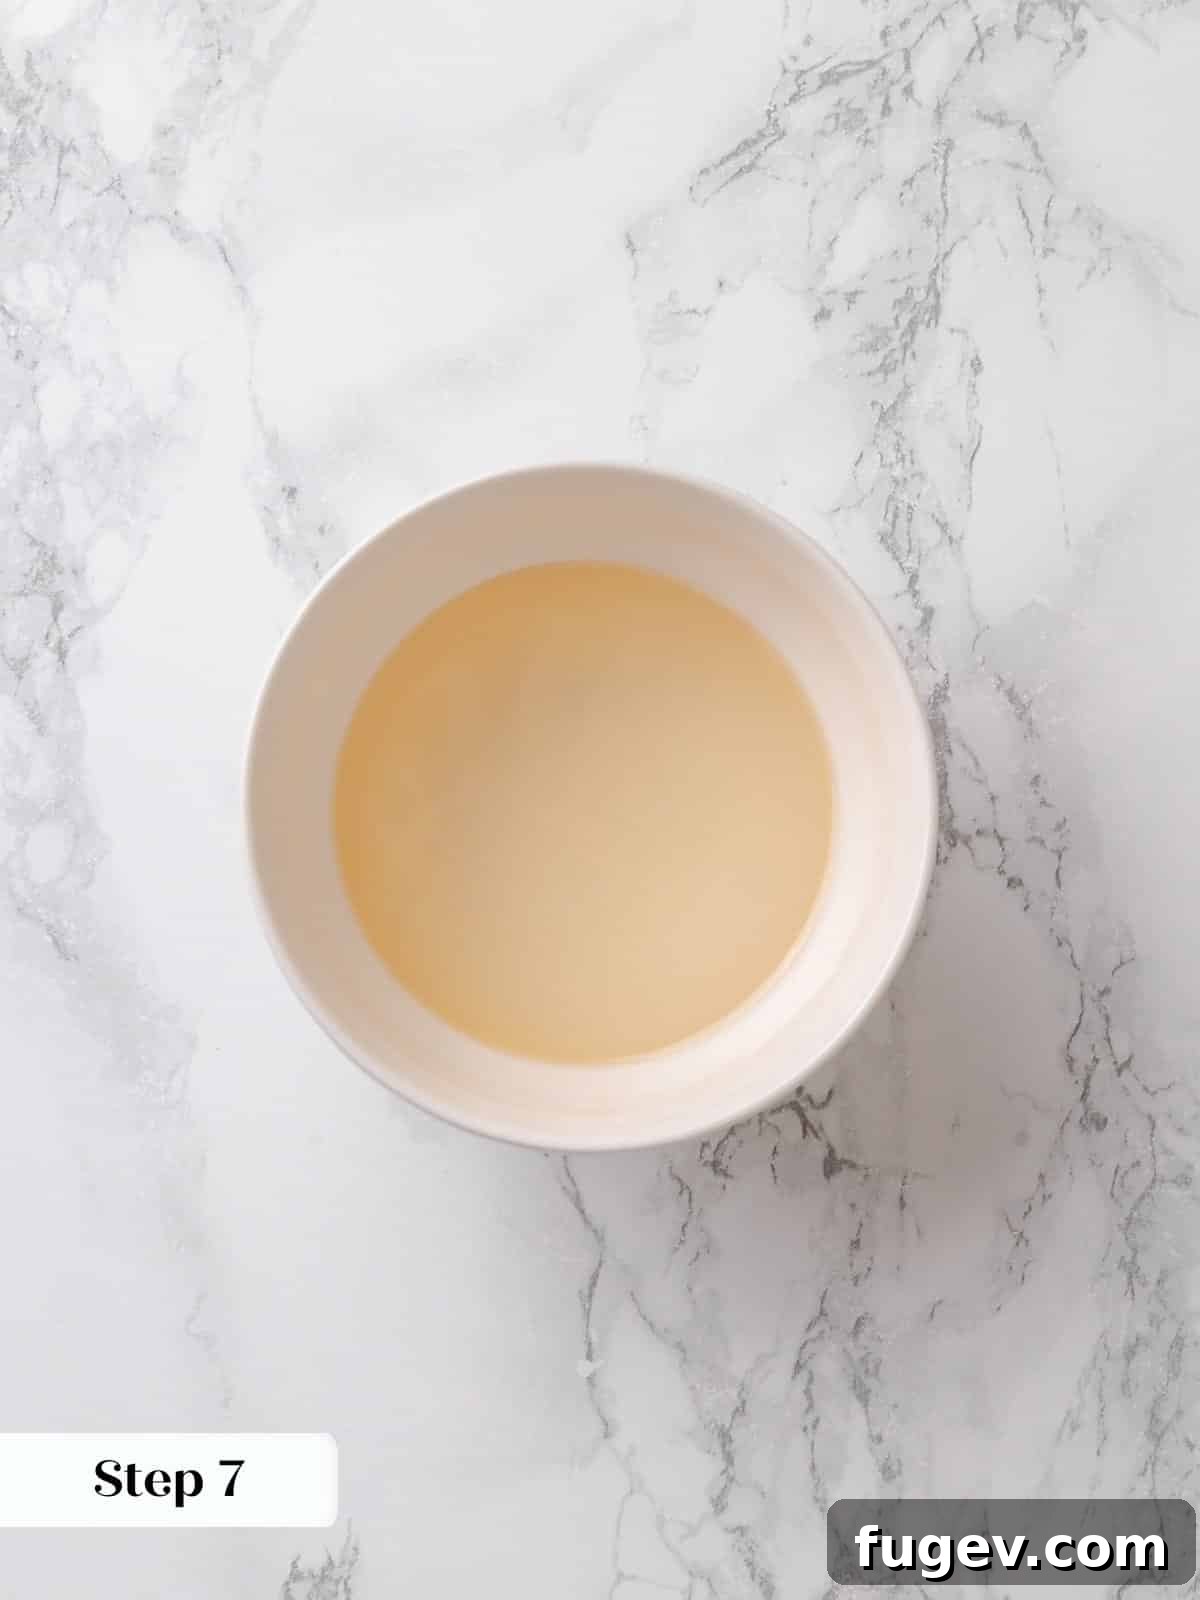
Step 7: Whisk Syrup Mixture. In a small bowl, whisk together the light corn syrup, water, and vanilla extract until well combined (photo 8). Set this mixture aside for later.
Tip: Using warm water can help the corn syrup integrate more smoothly into the mixture.
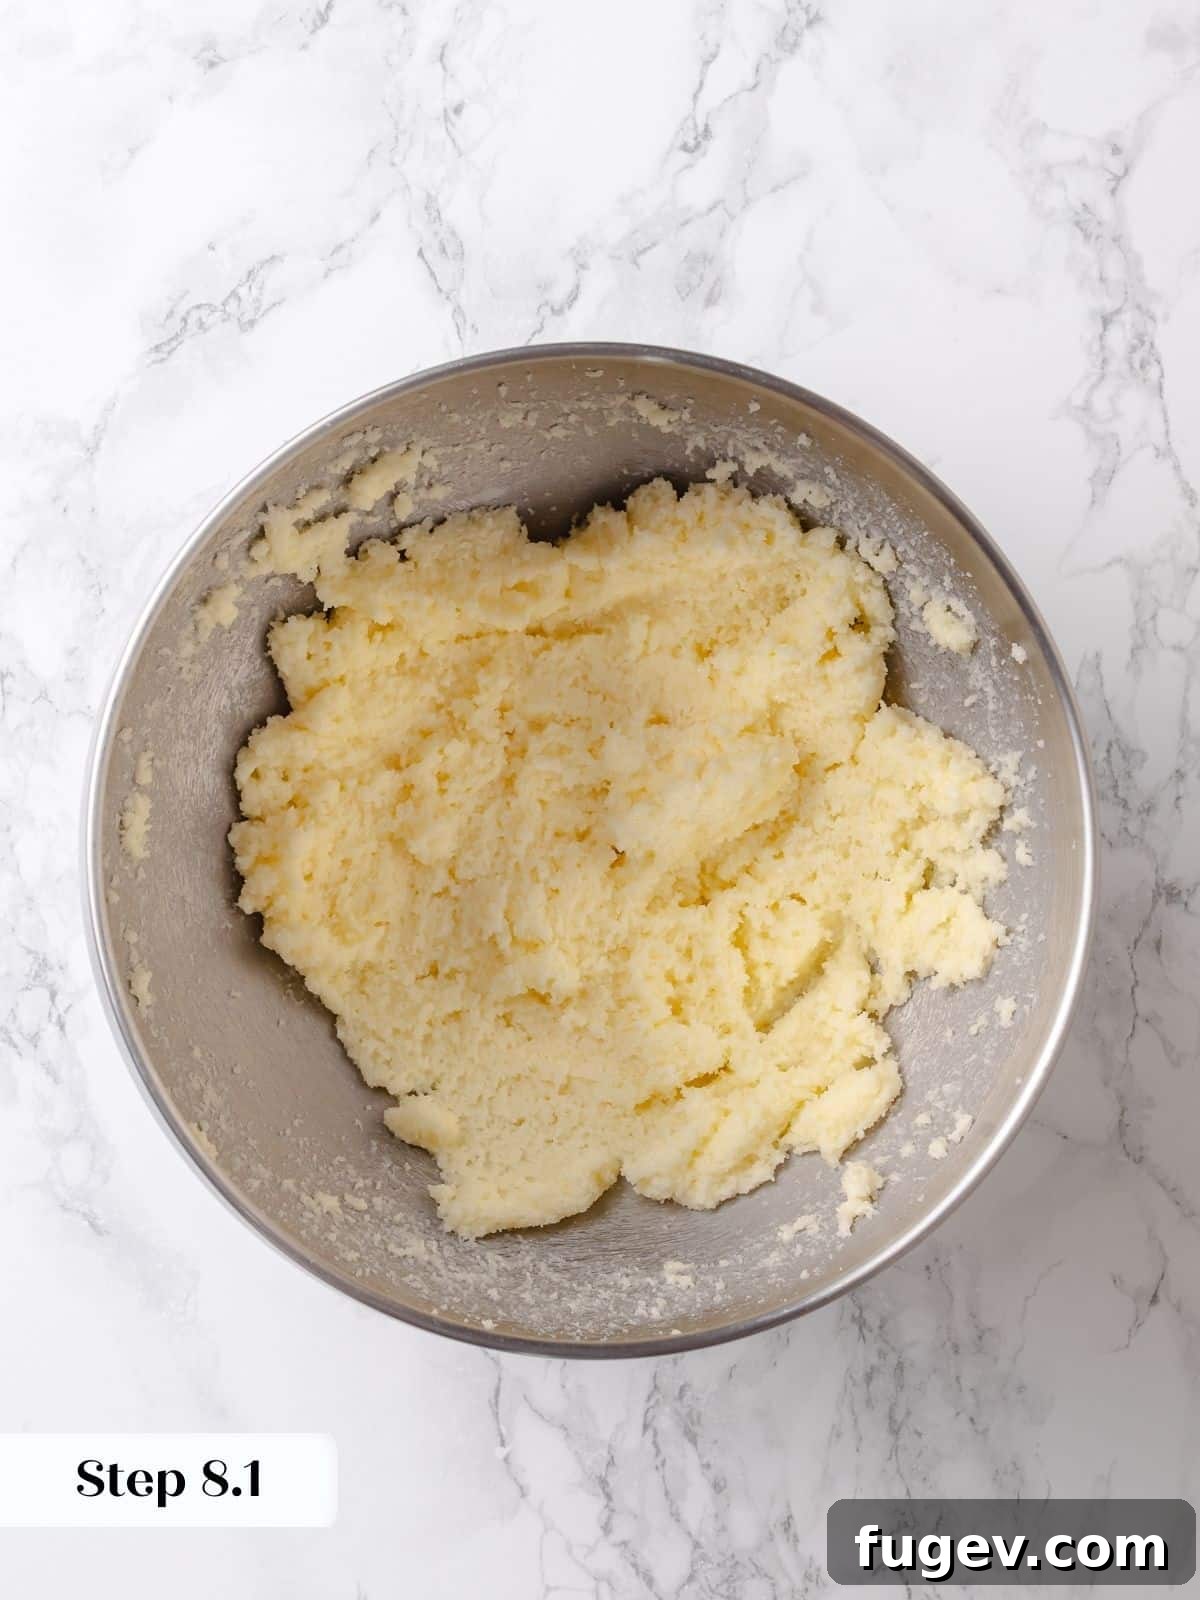
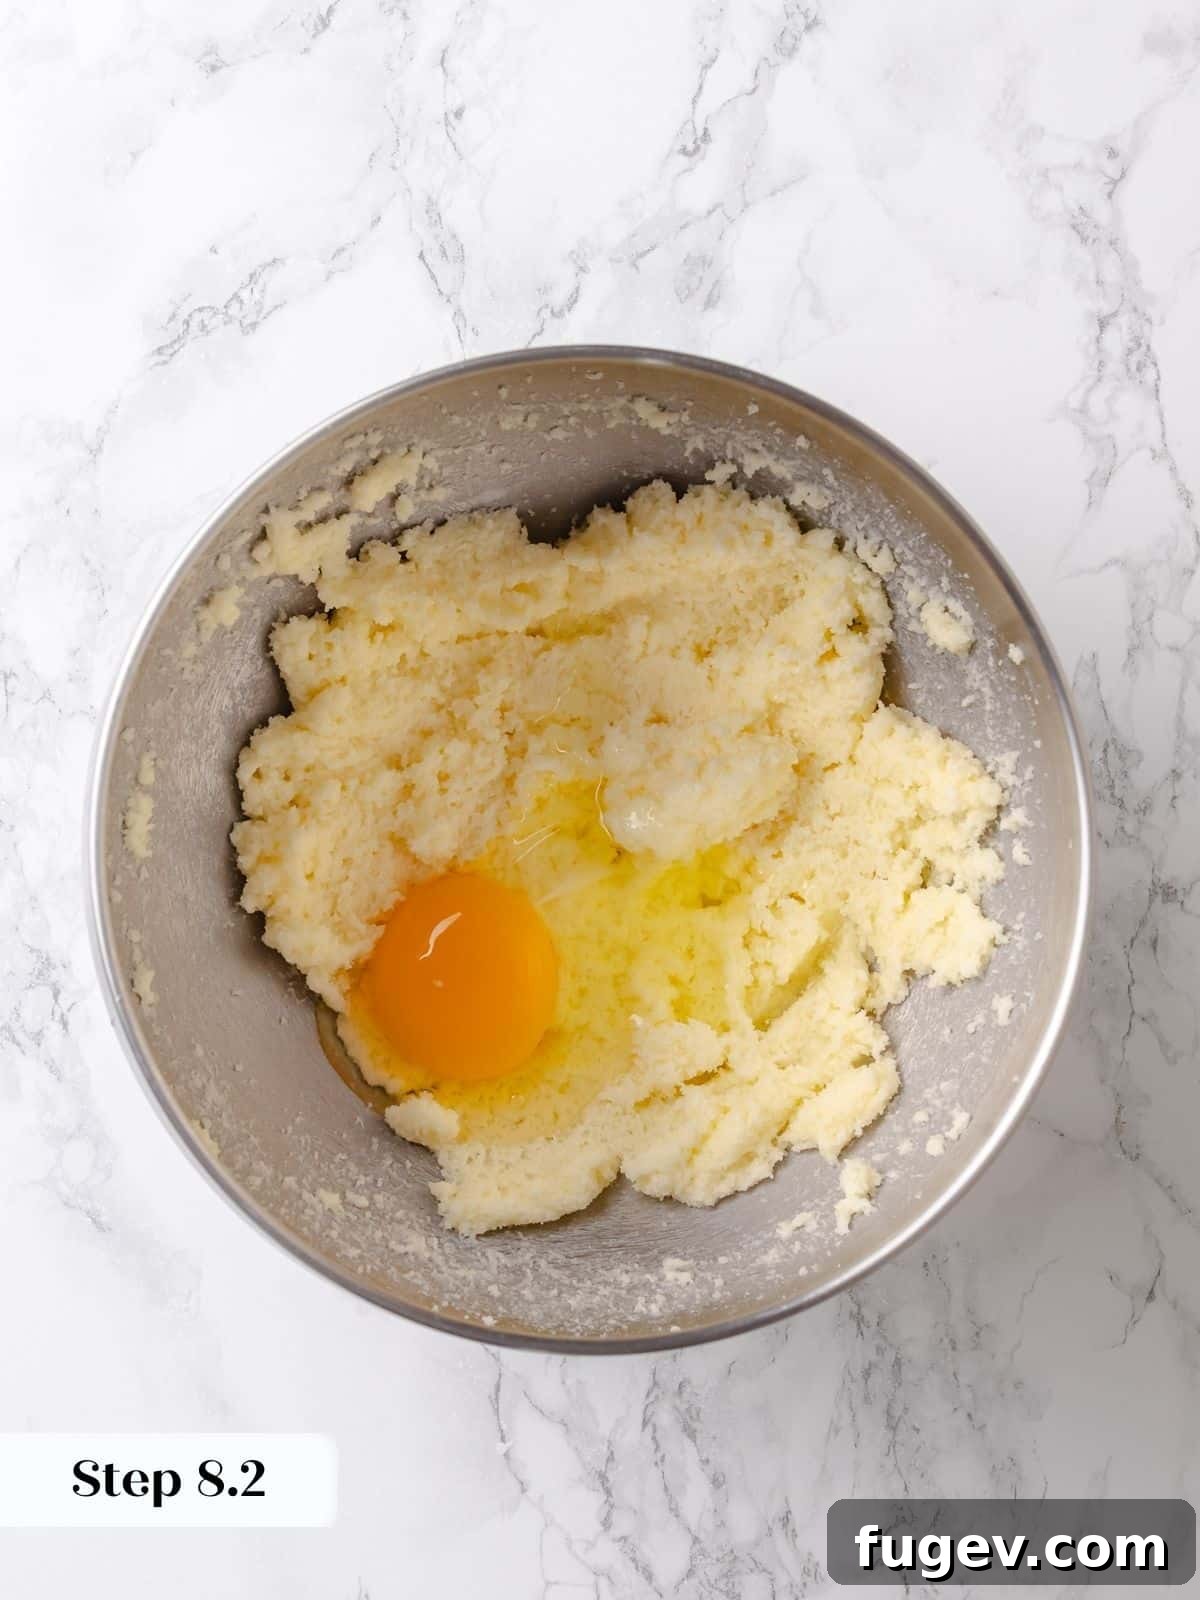
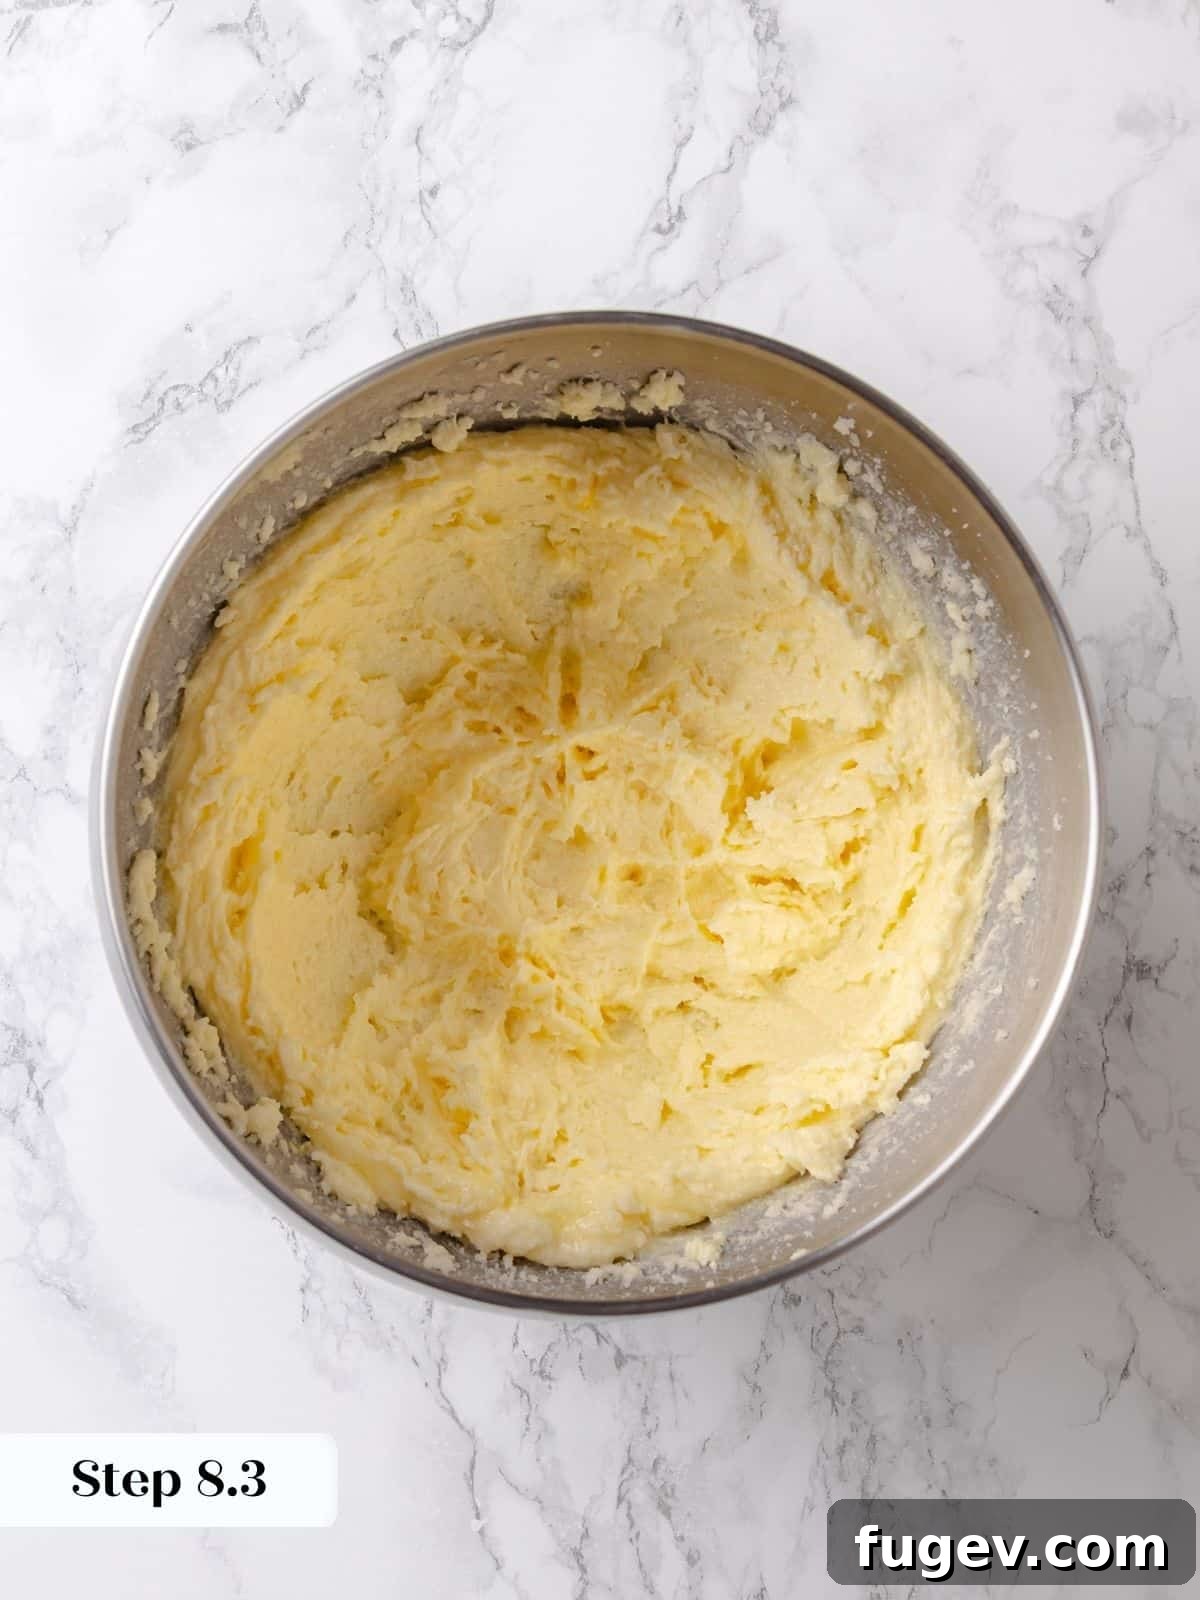
Step 8: Cream Butter and Sugar. In the bowl of your stand mixer (using the same paddle attachment, no need to wash!), or in a large bowl with an electric hand mixer, cream together the softened butter and granulated sugar until a thick, paste-like consistency forms (photo 9). This may take a few minutes as the sugar incorporates into the butter.
Step 9: Incorporate the Egg. Add the large egg (photo 10) and continue beating until the mixture becomes lighter in color and fluffy, indicating the egg is fully integrated (photo 11). Scrape down the sides of the bowl as needed to ensure everything is well combined.
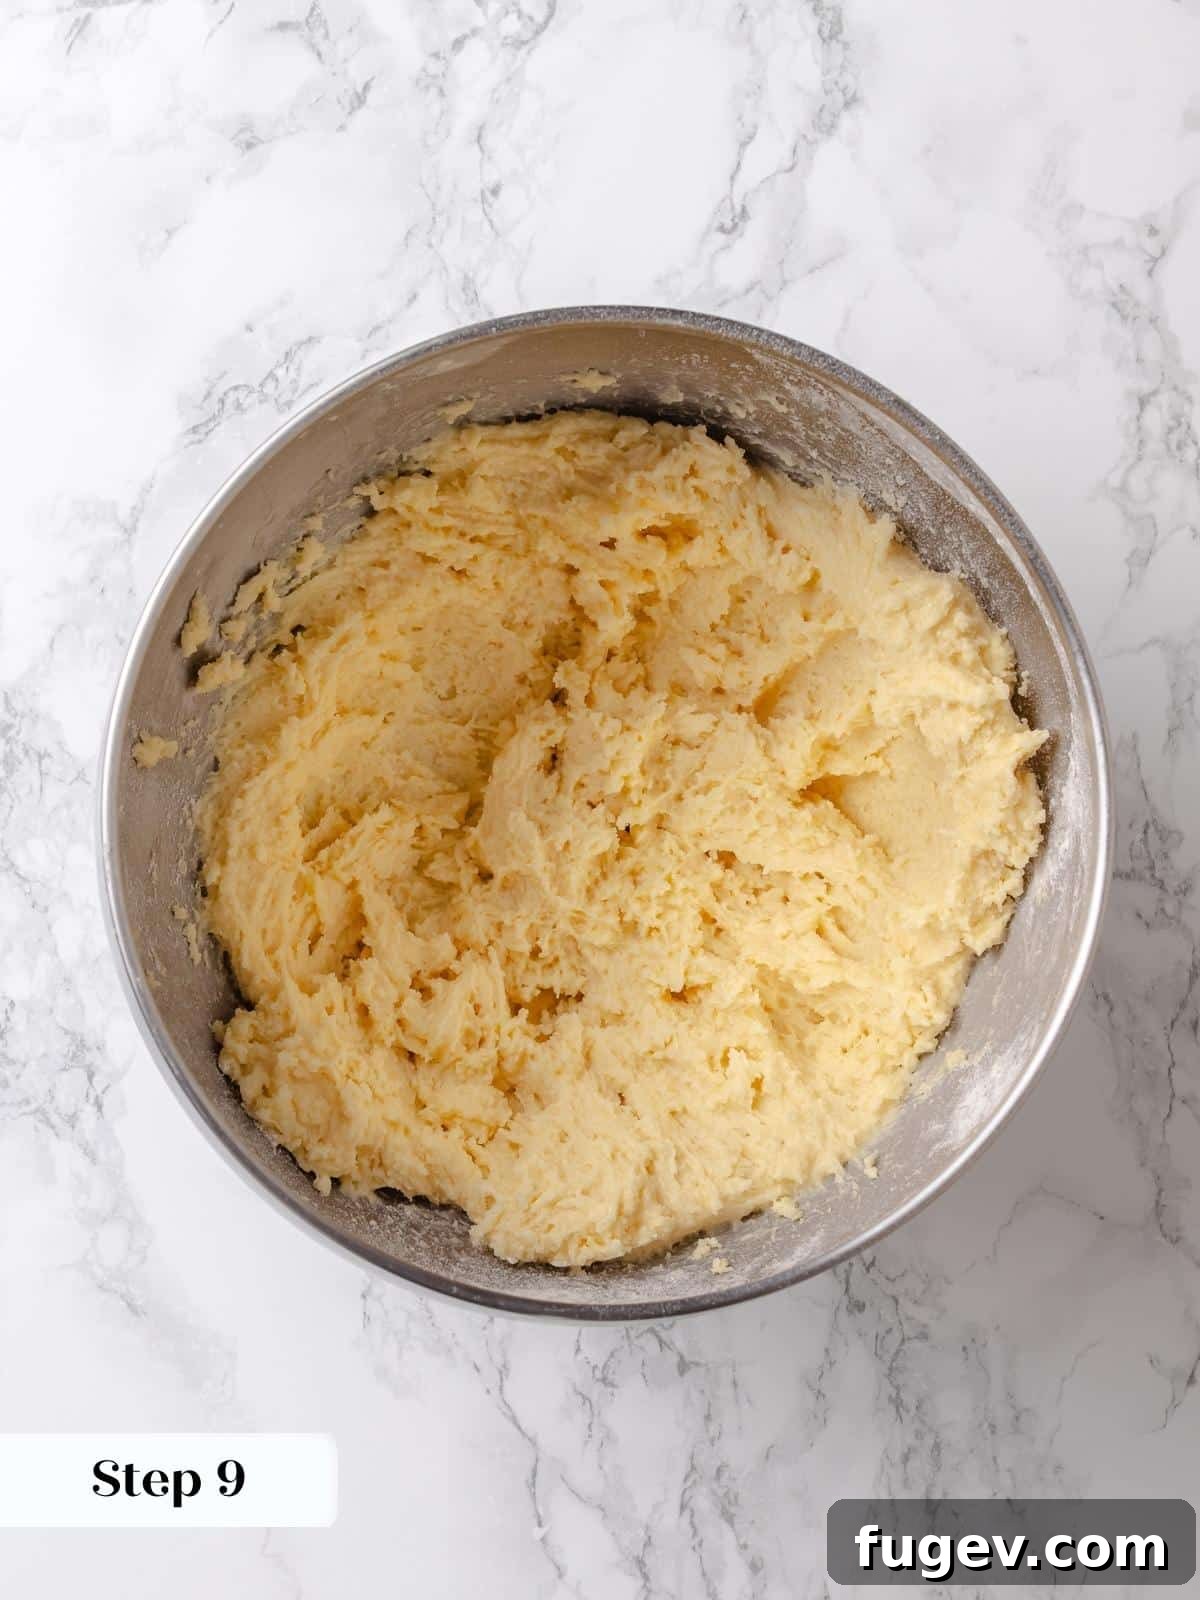
Step 10: Add Flour and Salt. Reduce the mixer speed to low and gradually add the all-purpose flour and kosher salt. Mix only until just combined. The resulting mixture will be quite thick and rich, closely resembling a classic sugar cookie dough in both appearance and, dare I say, taste! (photo 12).
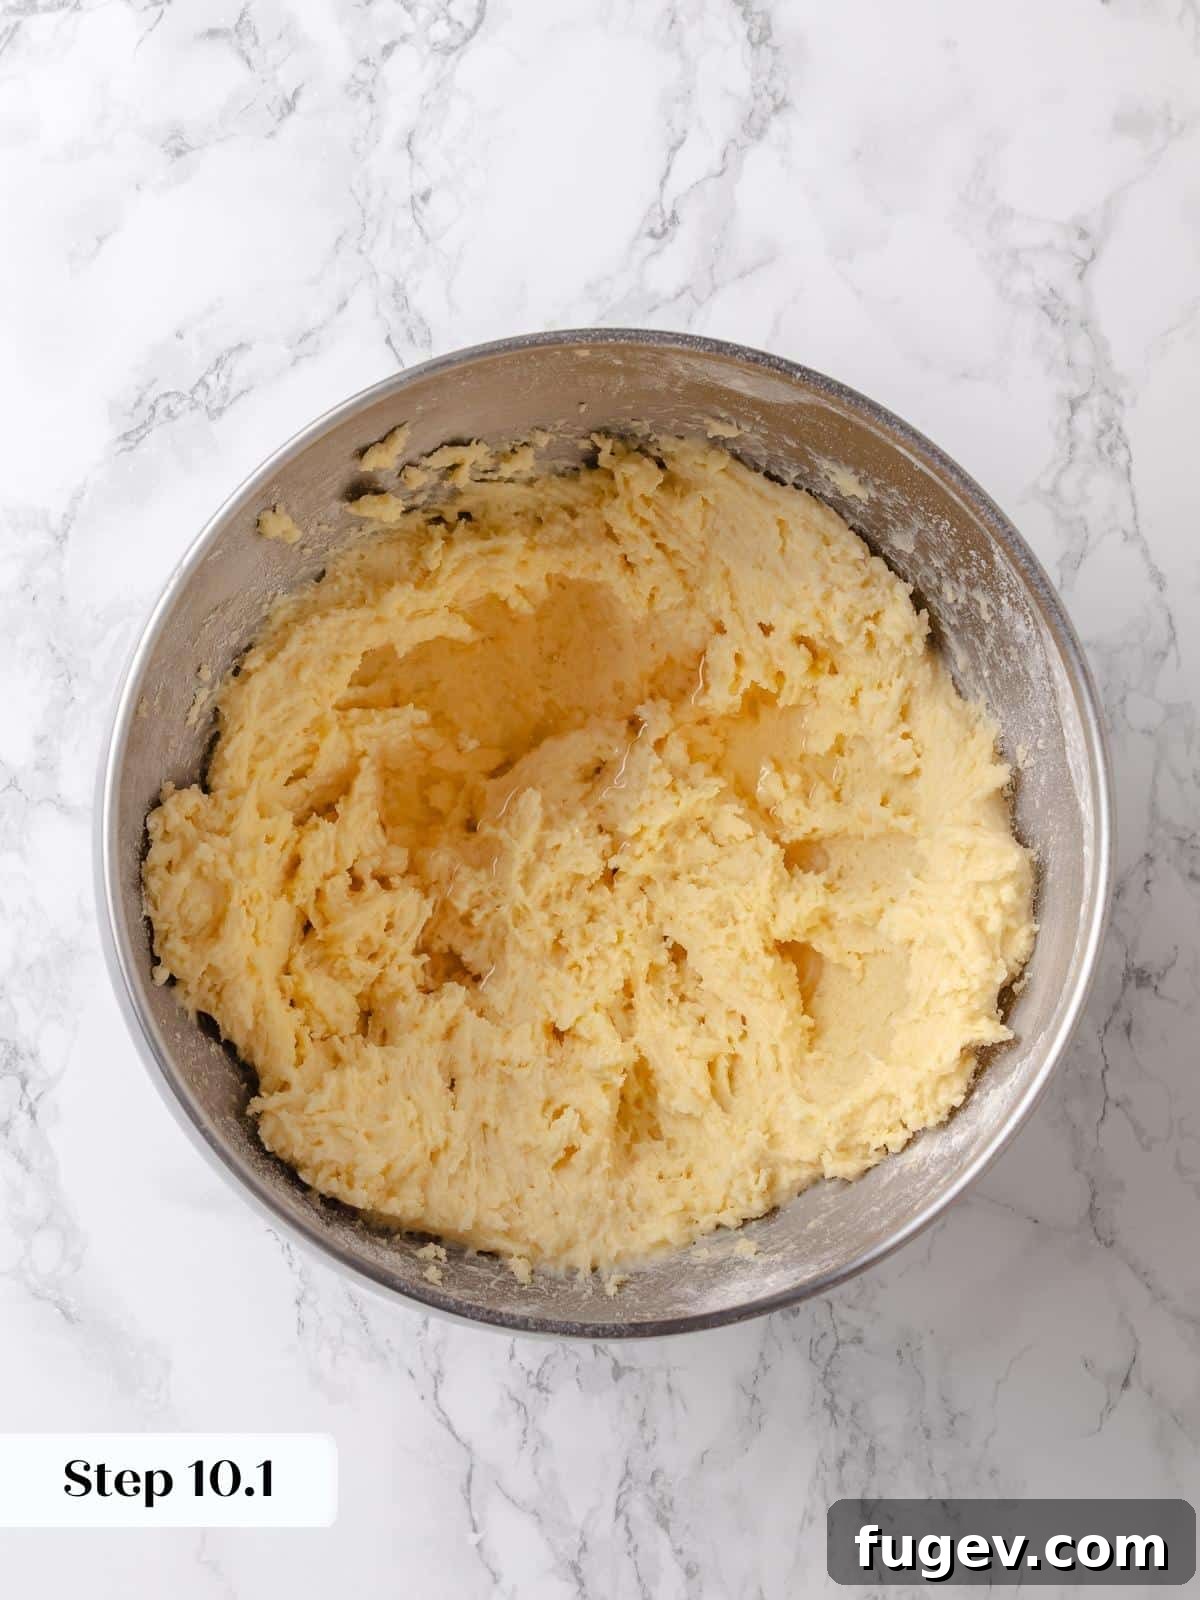
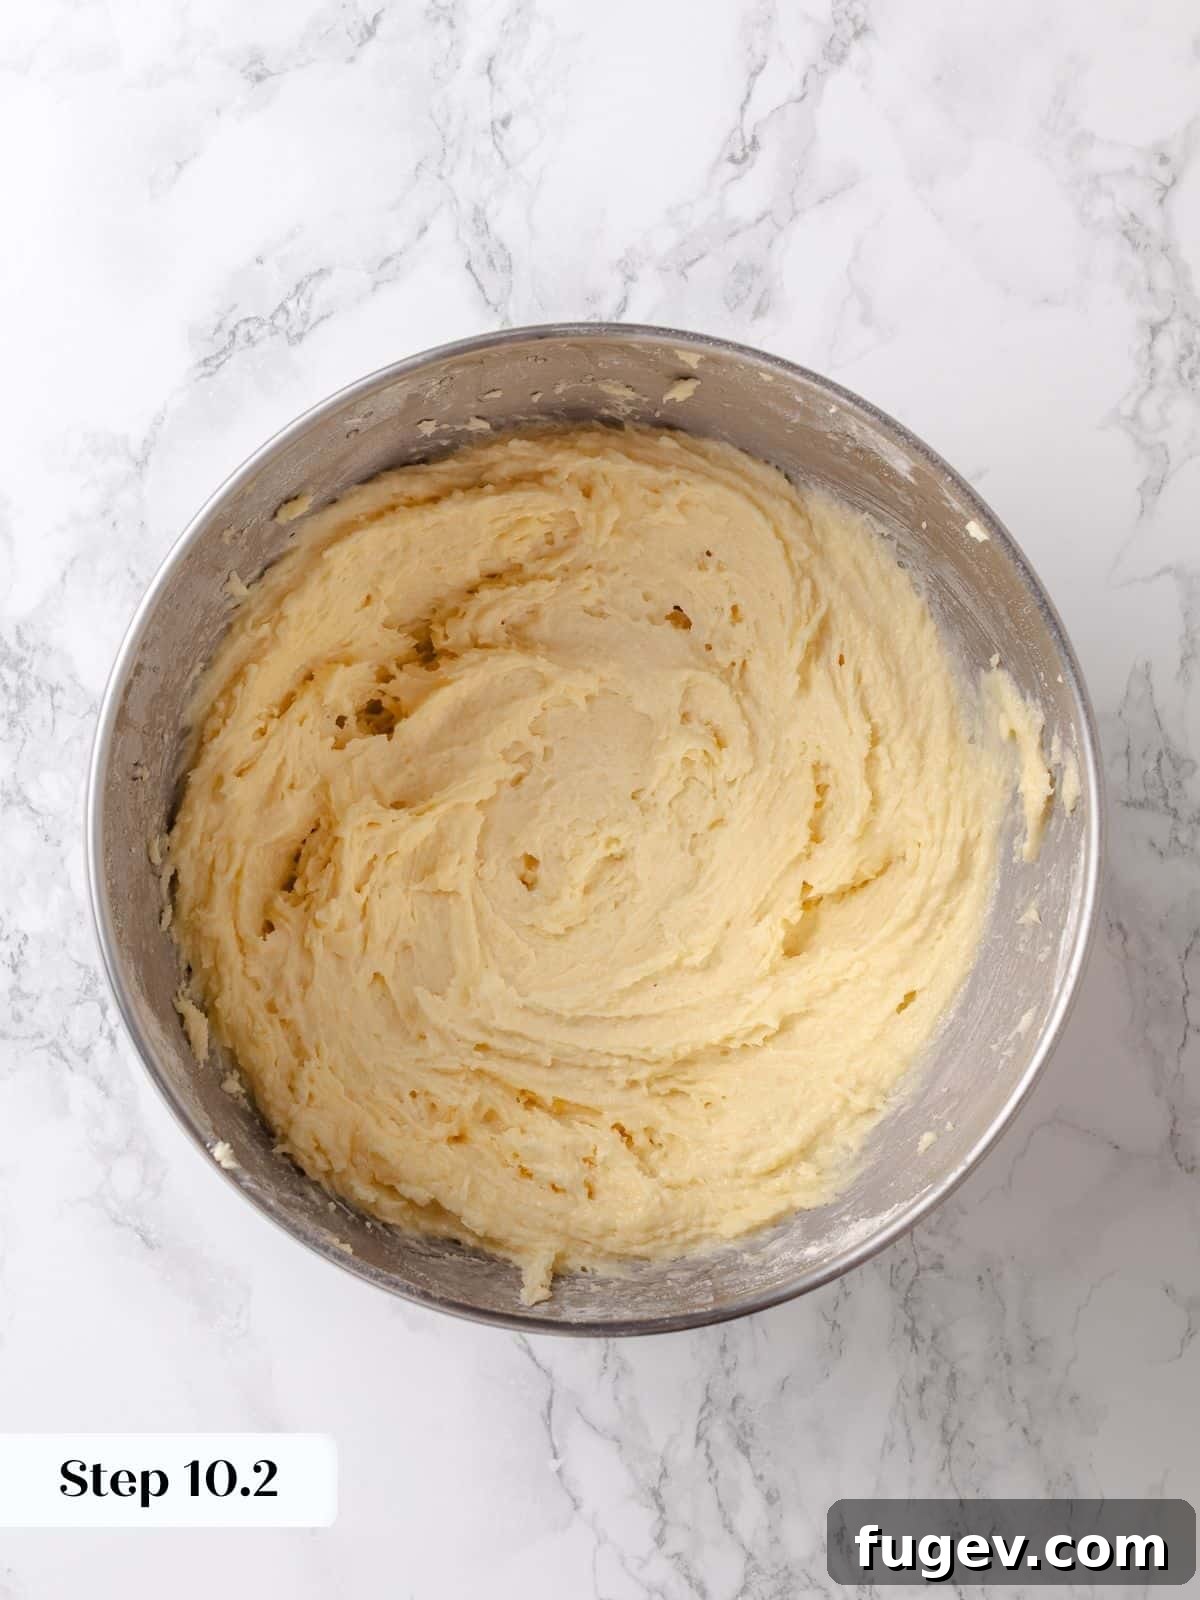
Step 11: Add Syrup Mixture. Once the flour and salt are fully incorporated, pour in the corn syrup mixture that you prepared earlier (photo 13). Increase the mixer speed to medium-high and beat until the entire topping batter is smooth, cohesive, and appears light and fluffy (photo 14). This should only take a couple of minutes.
Assemble & Bake for Ultimate Gooeyness:
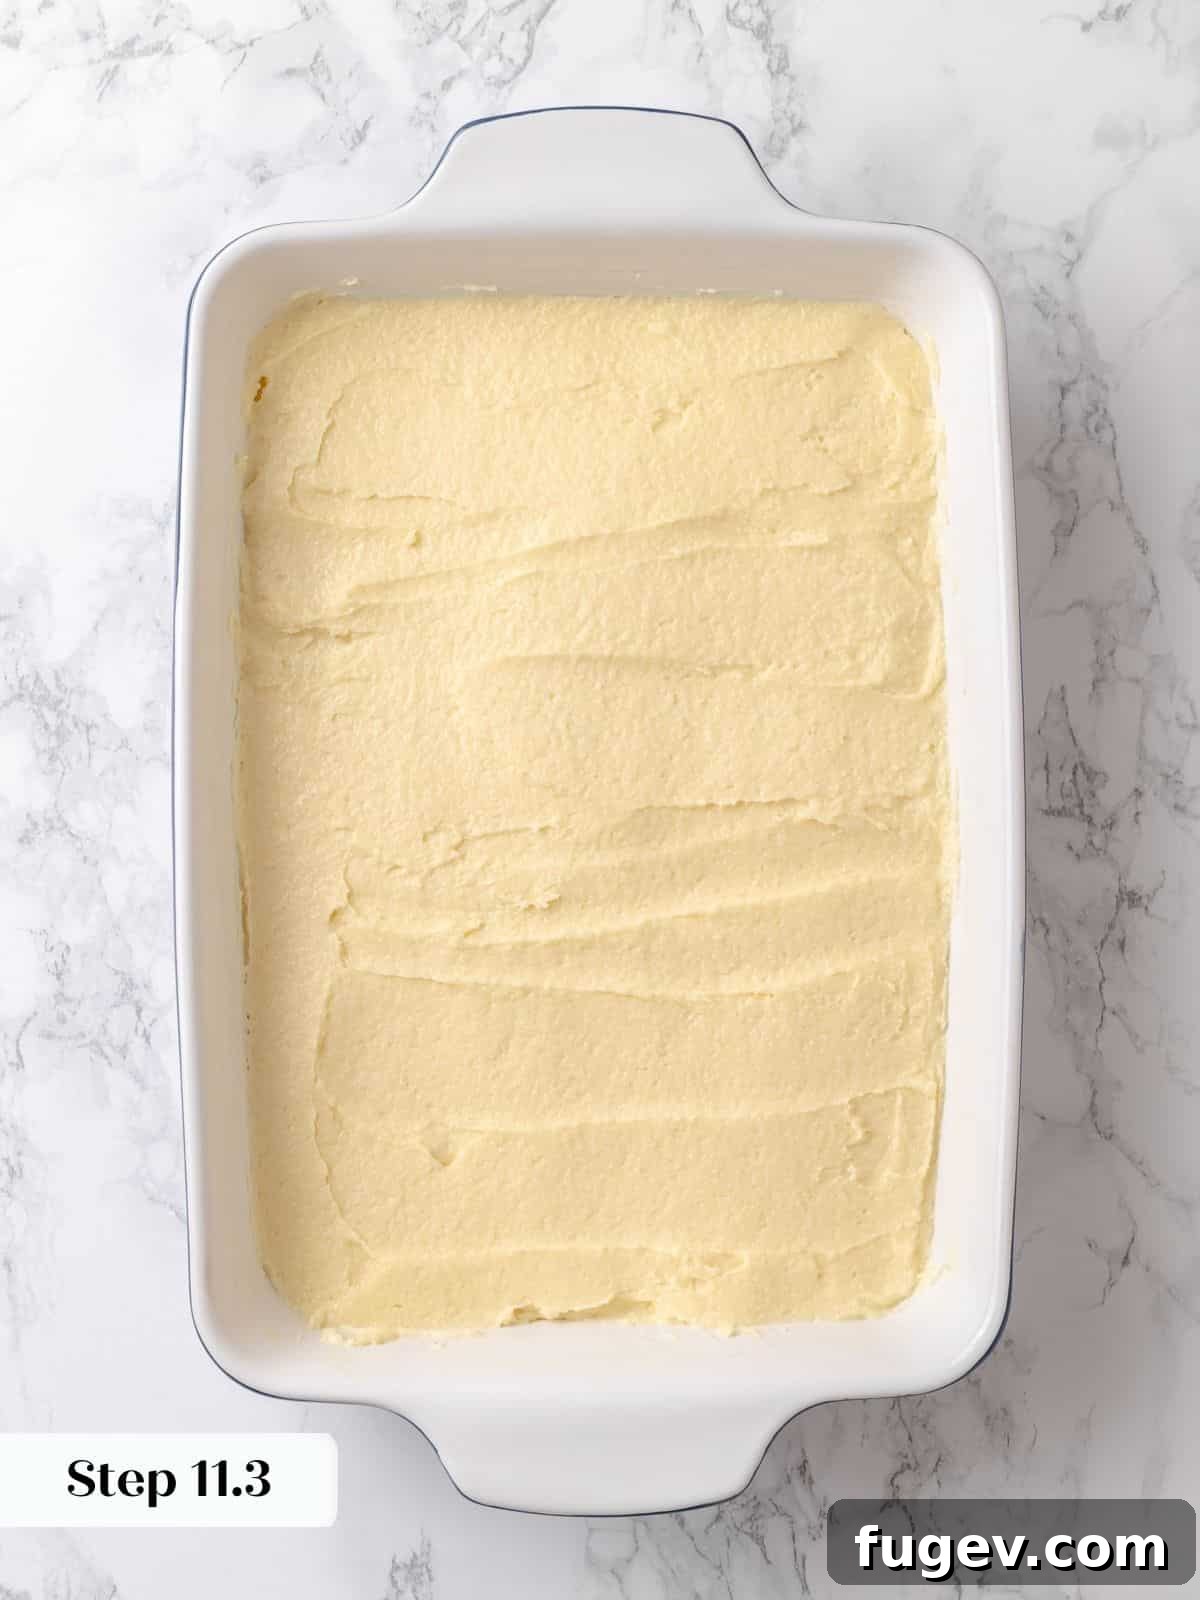
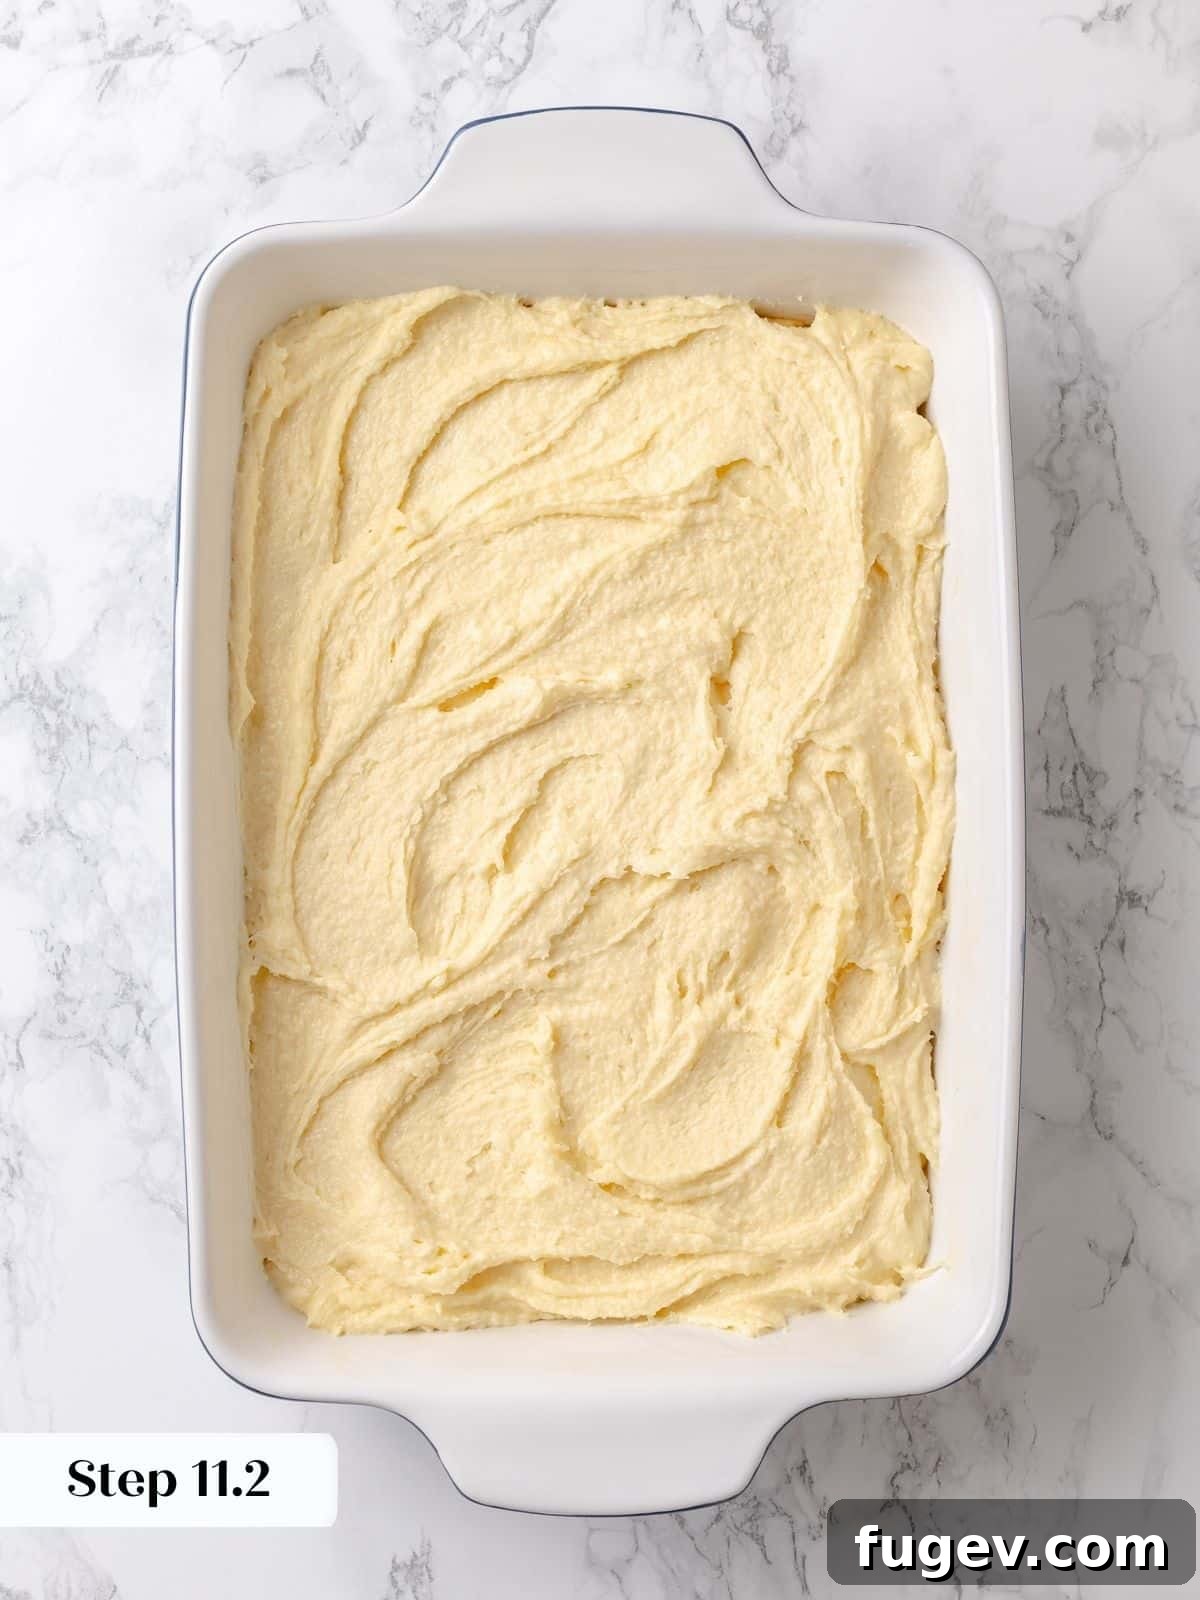
Step 12: Layer the Topping. Once your cake base has proofed, carefully dollop spoonfuls of the prepared sugar batter over the entire surface of the risen dough (photos 15 & 16). There will be enough batter to nearly cover the base before you even begin spreading. Use a small offset spatula or the back of a spoon to gently and evenly spread the thick sugar mixture across the top, ensuring it reaches all the edges and corners (photo 17).
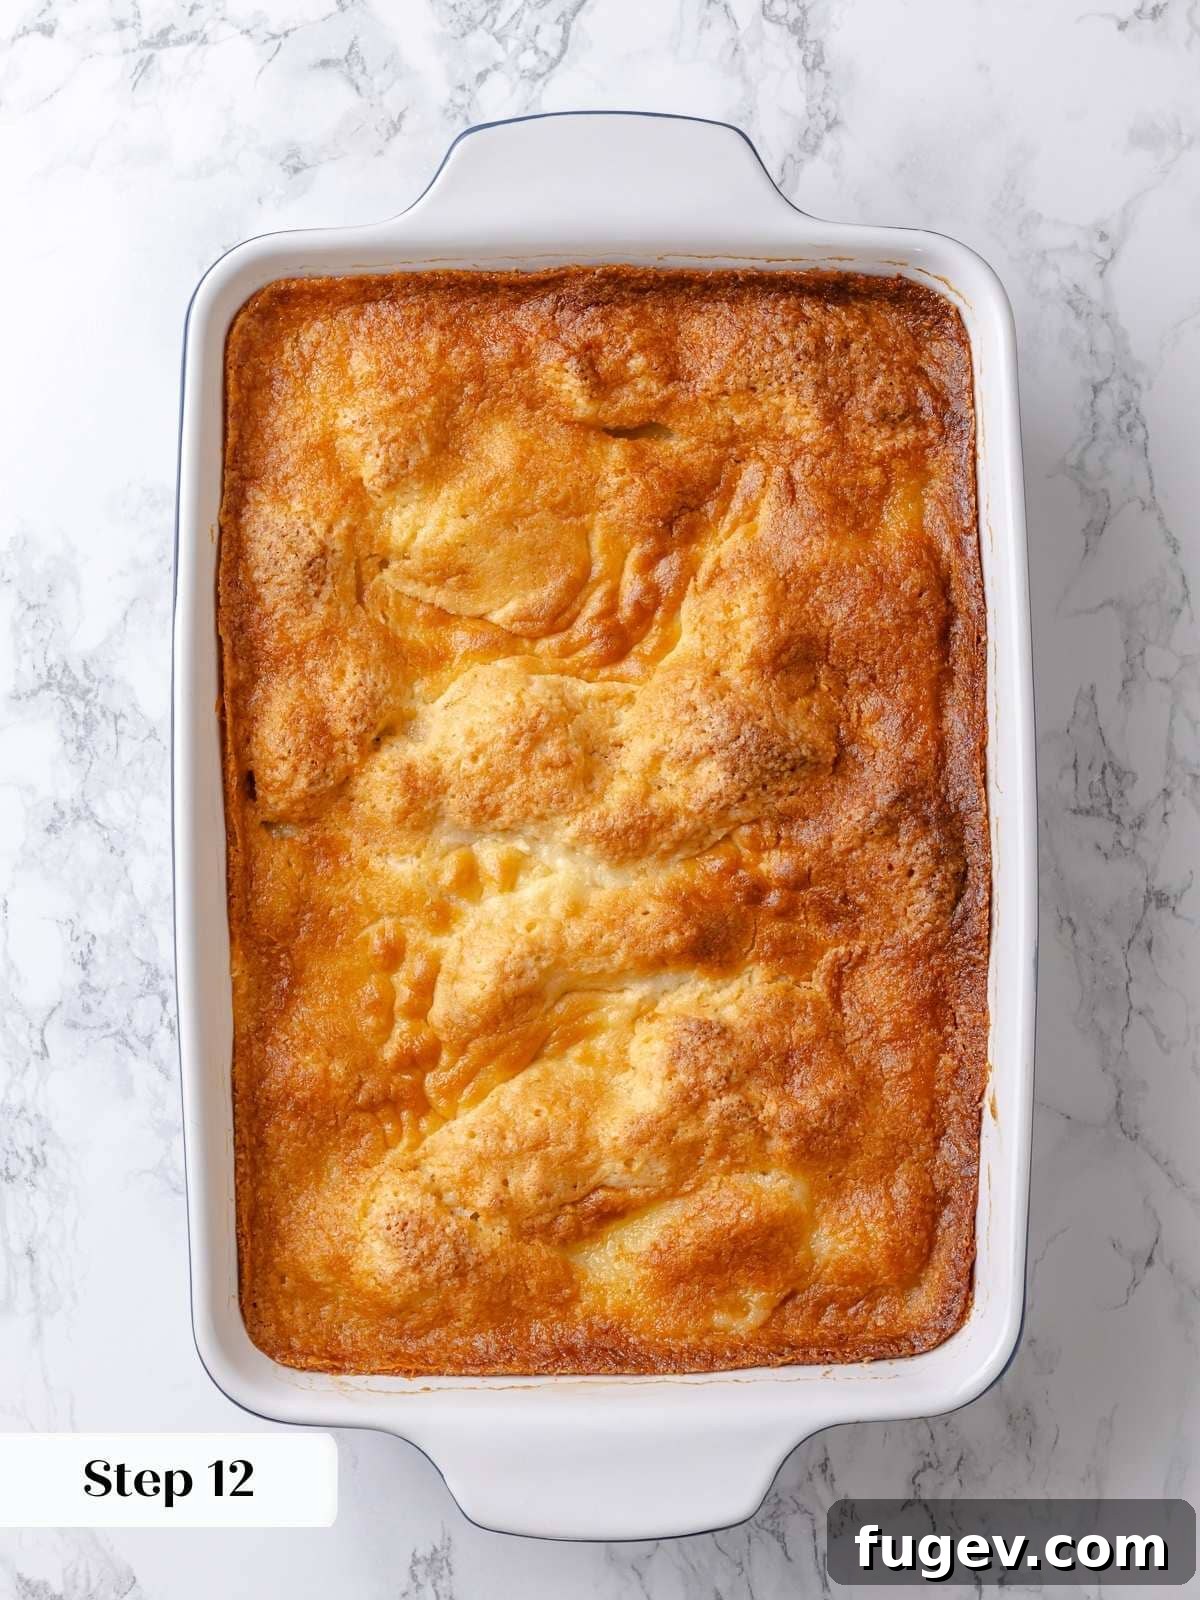
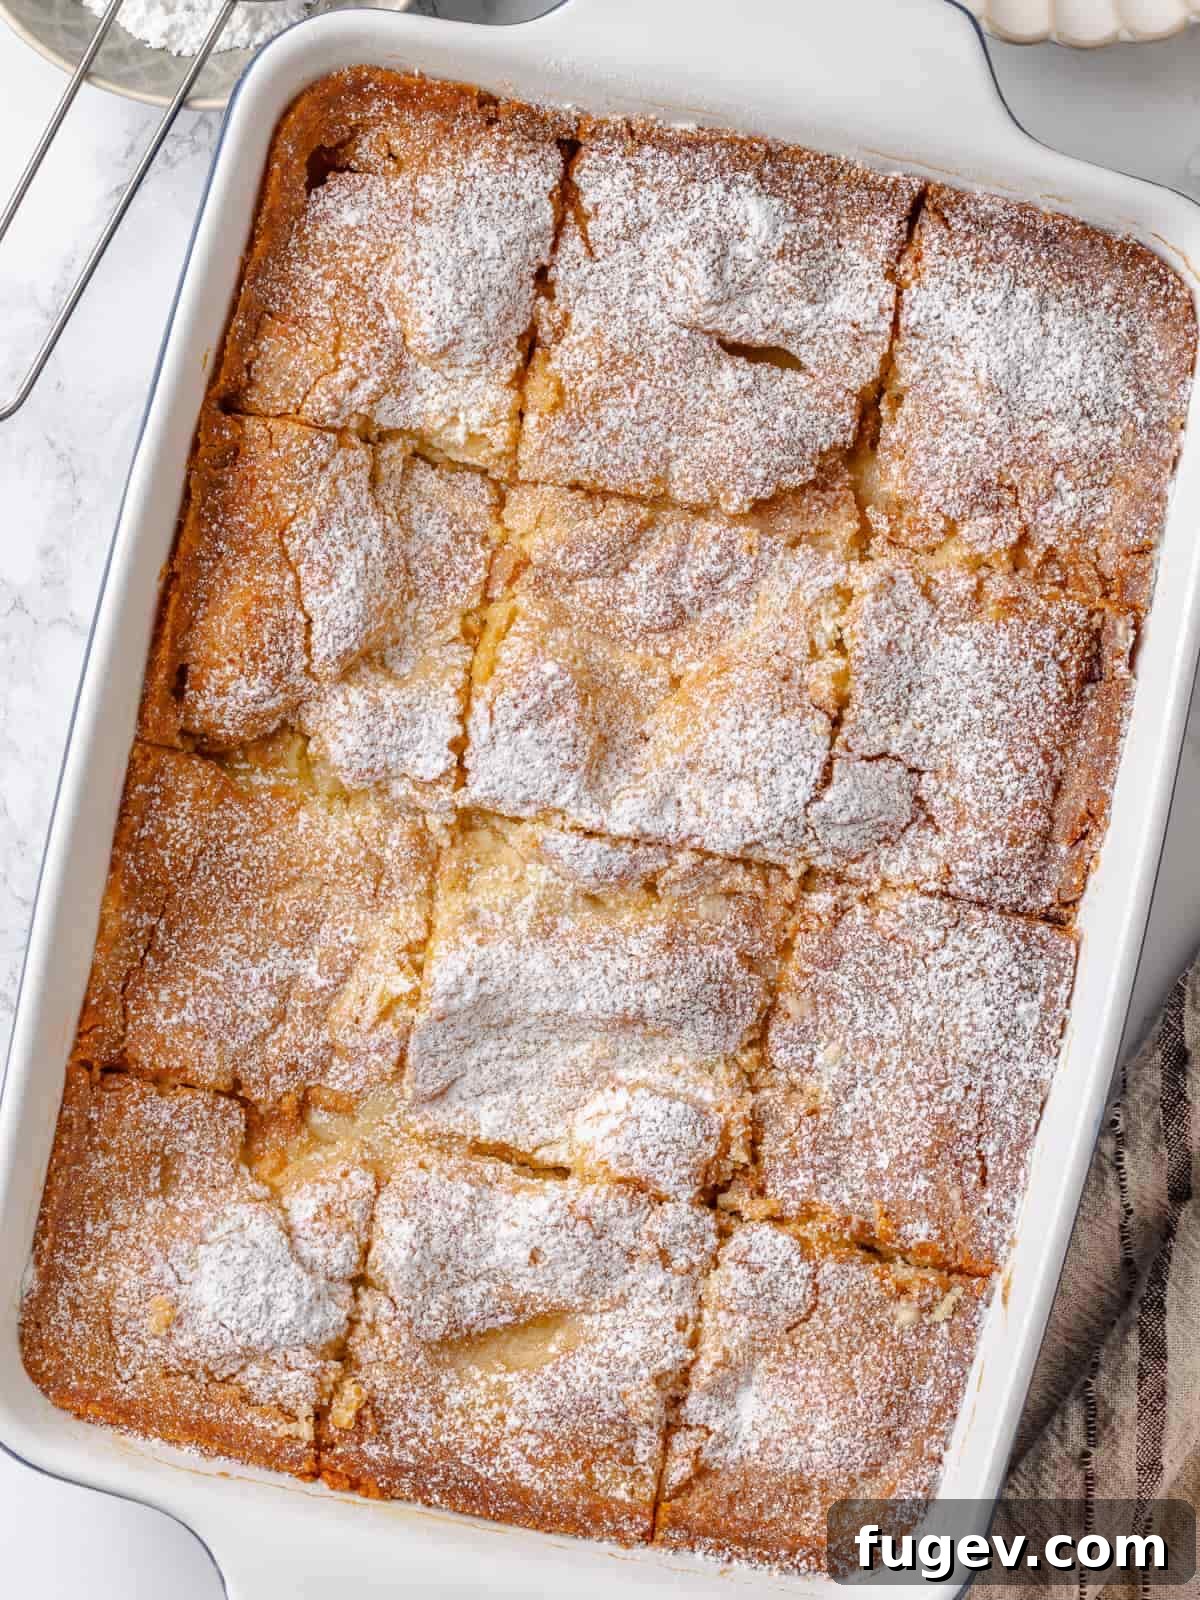
Step 13: Bake to Golden Perfection. Place the baking dish into your preheated 375°F (190°C) oven and bake for 30-35 minutes. After about 20 minutes, rotate the pan 180 degrees to ensure even baking. The cake is ready when it reaches a beautiful light golden brown color, slightly darker around the edges and in the bubbled center. It will have puffed up and set, but should still have a slight, cohesive jiggle in the very middle, similar to a cheesecake (photo 18). This jiggle is key to its “gooey” nature!
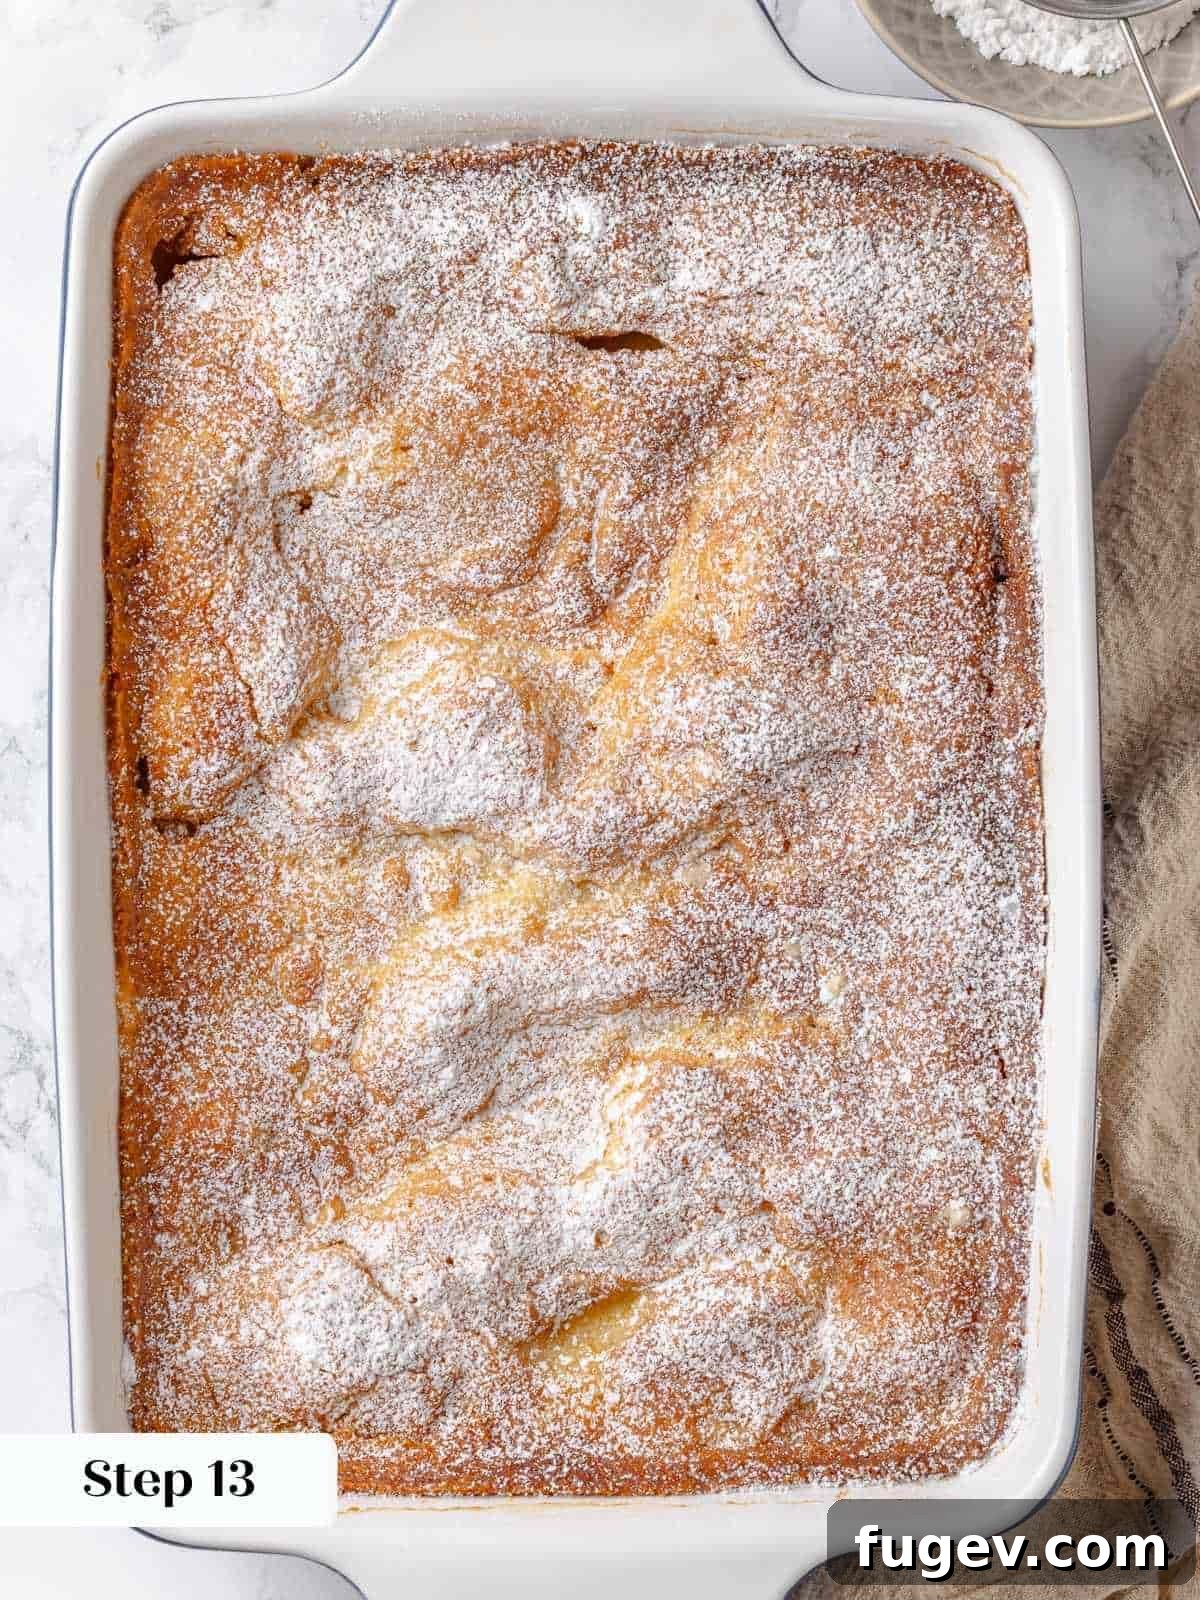
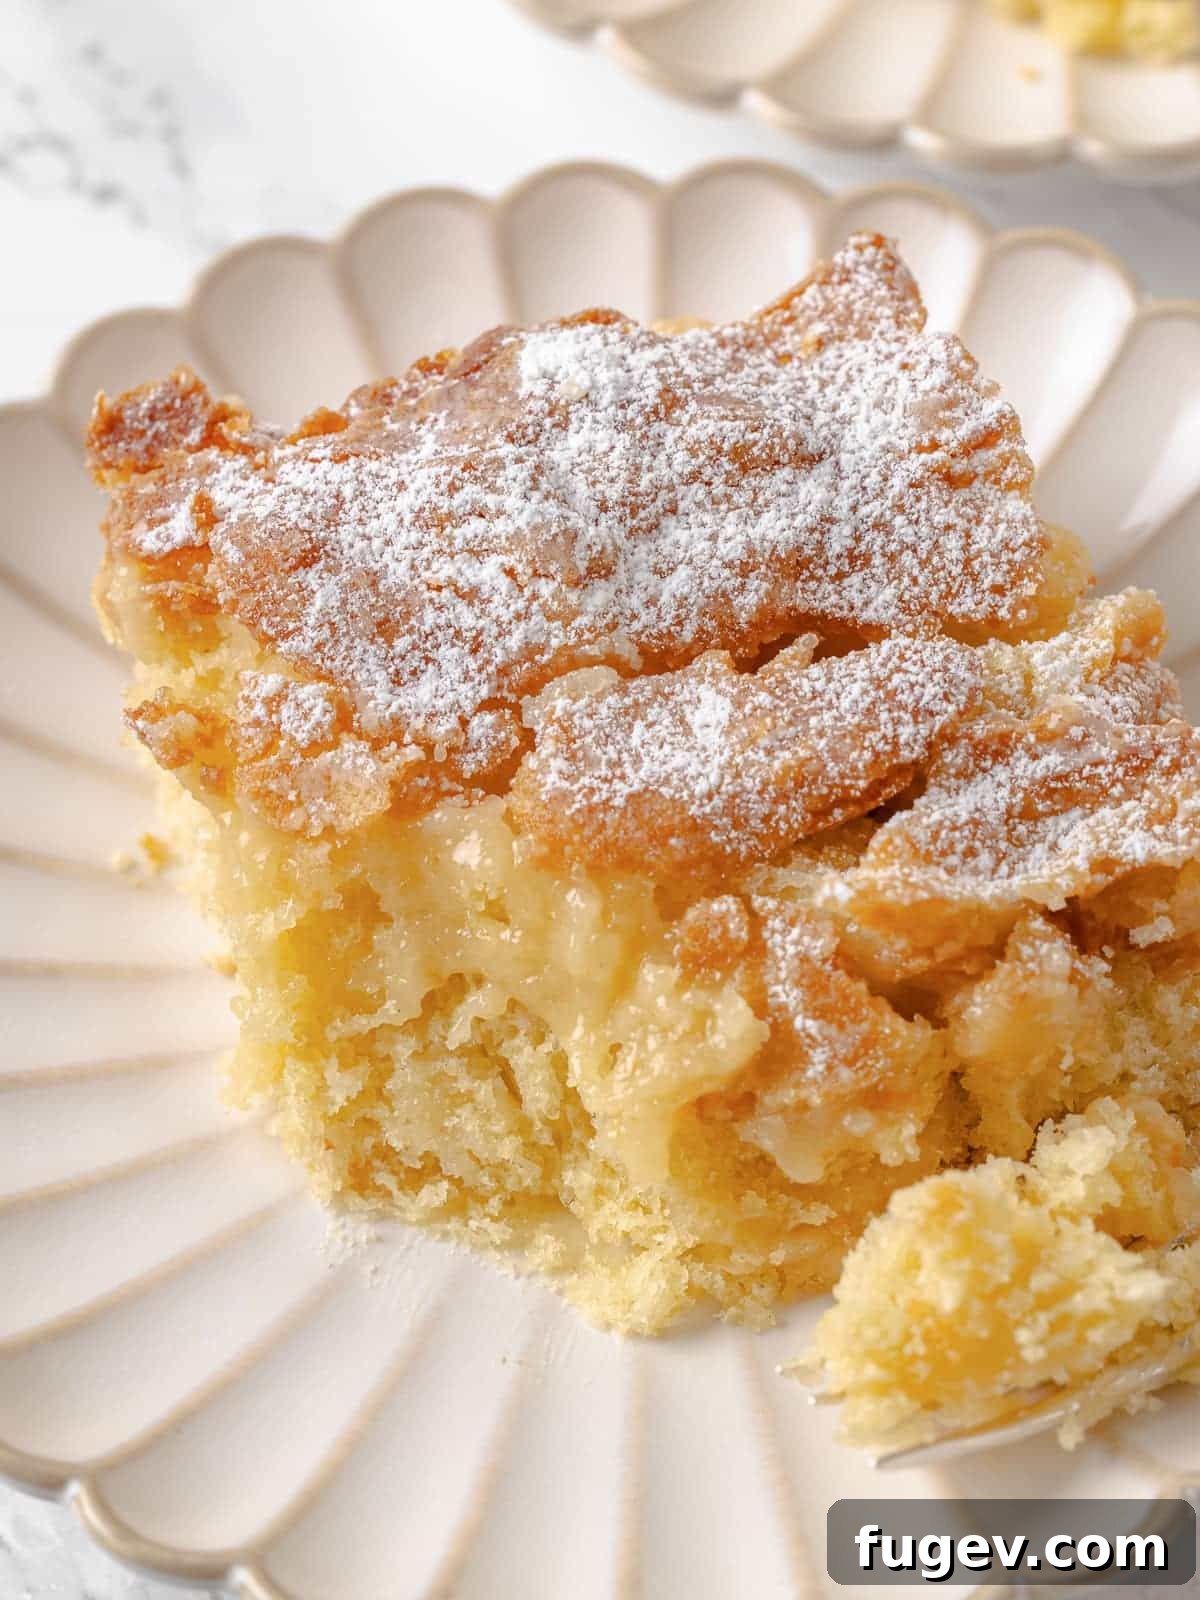
Step 14: Cool and Finish. Remove the cake from the oven and allow it to cool almost completely in the pan on a wire rack. Cooling is crucial for the gooey center to fully set. Once cooled, generously dust the entire top surface of the cake with confectioners’ sugar using a fine-mesh sieve (photos 19 & 20). This adds the traditional finish and a final touch of sweetness. Slice into squares and enjoy!
Chef Lindsey’s Make-Ahead Tip
For simplified preparation on busy days, you can make the gooey topping batter up to a week in advance! Store it tightly covered in the refrigerator. When you’re ready to bake, remember to take it out several hours beforehand, allowing it to return to room temperature and soften. This makes it much easier to spread smoothly over the risen cake base.
Frequently Asked Questions About Gooey Butter Cake
How should I store gooey butter cake?
To maintain its freshness and delightful gooey texture, store your gooey butter cake at room temperature. Ensure it is covered tightly with plastic wrap, a lid, or placed in an airtight container. It will remain delicious for up to 3 days. While it won’t spoil after this period, it will begin to dry out considerably. Much like glazed chocolate donuts, gooey butter cake is truly at its best on the day it’s made, especially when still slightly warm.
Can I make gooey butter cake ahead of time?
While you have complete freedom in your kitchen, I generally don’t recommend baking the entire cake too far in advance for optimal freshness. However, you can significantly simplify your preparation by making the gooey topping batter up to a week ahead of time. Store it in an airtight container in the refrigerator. Just remember to remove it from the fridge several hours before you intend to use it, allowing it to soften to room temperature for easy spreading. This allows you to enjoy freshly baked cake with minimal day-of effort!
What’s the best way to reheat gooey butter cake?
Gooey butter cake is wonderfully comforting when gently warmed. You can reheat individual slices wrapped in foil in a preheated oven until warm throughout. Alternatively, for a quicker option, place a slice in an airtight container and microwave it for 15-30 seconds. The microwave method tends to keep the cake more moist due to its speed compared to oven reheating.
How do you serve gooey butter cake?
Traditionally, gooey butter cake is served slightly warm or at room temperature, always adorned with a generous dusting of powdered sugar. Like its cousin, Danish coffee cake, it shines brightest when freshly baked. It’s most commonly enjoyed as a decadent breakfast or coffee cake. However, its rich flavor makes it an excellent dessert! Elevate it by serving warm with a scoop of creamy vanilla bean ice cream or a delicate crème anglaise. For an extra fruity touch, pair it with my easy blueberry sauce, or experiment with luscious strawberry sauce or tangy lemon curd made with fresh lemon juice and zest. The possibilities are endless for this versatile delight!
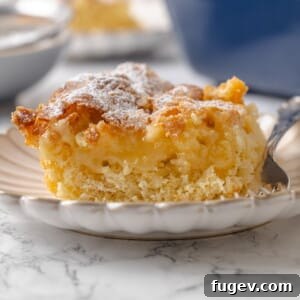
More Gooey Delights to Explore
If you’ve fallen in love with the luscious texture of this gooey butter cake, you’re in for a treat! Discover more recipes that celebrate that delightfully sticky, melt-in-your-mouth quality:
Brownies & Bars Recipes
Ooey, Gooey S’mores Bars
Cookie Recipes
Thick Chocolate Chip Cookies
Breakfast Pastry Recipes
Pecan Sticky Buns Recipe
Cookie Recipes
Pizookie (Skillet Cookie)
If you tried this recipe and loved it, please leave a 🌟 star rating and let me know how it goes in the comments below. I love hearing from you; your comments make my day!
The Full Recipe: St. Louis Gooey Butter Cake [Yeasted]
by Chef Lindsey
An authentic gooey butter cake recipe featuring a traditional yeasted cake bottom and a luscious vanilla gooey topping. Both the cake base and the topping are easily mixed in a stand mixer with the paddle attachment, resulting in a perfectly balanced and incredibly satisfying dessert or breakfast treat.
Prep: 30 mins
Cook: 30 mins
Proof: 1 hr 30 mins
Total: 2 hrs 30 mins
Servings: 12 slices
Comment
Print Recipe
Ingredients
For the cake:
- 3 tablespoons milk (warm)
- 2 tablespoons water
- 1 ¾ teaspoons active dry yeast
- 6 tablespoons unsalted butter (room temperature)
- 3 tablespoons granulated sugar
- 1 teaspoon kosher salt
- 1 large egg
- 1 ¾ cup all-purpose flour
For the topping:
- 3 ½ tablespoons light corn syrup
- 2 tablespoons water
- 2 ½ teaspoons vanilla extract
- 12 tablespoons unsalted butter (room temperature)
- 1 ½ cups granulated sugar
- ½ teaspoon kosher salt
- 1 large egg
- 1 cup all-purpose flour (plus 3 tablespoons)
- confectioners’ sugar (for dusting)
Instructions
To make the cake:
- In a small bowl, dissolve yeast in warm water and milk. You can add a pinch of sugar. Allow it to bloom for 5-10 minutes until foamy.
- In the bowl of a stand mixer fitted with the paddle attachment, cream softened butter, granulated sugar, and salt until lightened.
- Add the large egg and beat until fully incorporated. (If butter is a bit cool, small lumps of butter are fine and will mostly disappear later.)
- Slowly add the all-purpose flour with the mixer running on low, then add the yeast mixture. Increase speed to medium-high and beat for 2-3 minutes until the dough is smooth and pulls away from the bowl (it will be a thick batter, not a stiff dough).
- Press or spread the dough evenly into a greased 9×13 inch baking pan, ensuring it covers the edges and corners.
- Cover the pan and proof in a warm place until the dough has almost doubled in size (1 ½ – 2 hours with active dry yeast, about 1 hour with instant yeast).
- During the last 20 minutes of proofing, preheat your oven to 375°F (190°C).
Prepare the topping:
- In a small bowl, whisk corn syrup, water, and vanilla extract. Set aside.
- In the stand mixer bowl (with paddle attachment), cream 12 tablespoons of softened butter and 1 ½ cups granulated sugar until a thick paste forms.
- Add the large egg and continue to beat until the mixture is lighter in color and fully incorporated.
- Reduce the mixer to low speed and slowly add the all-purpose flour and ½ teaspoon kosher salt. Mix until just combined (it will resemble sugar cookie dough).
- Once the dry ingredients are incorporated, add the corn syrup mixture. Increase the speed to medium-high and beat until the topping batter is smooth and well-combined.
- Dollop spoonfuls of the sugar batter over the surface of the risen cake dough in the pan. Use a small offset spatula or the back of a spoon to gently spread the topping evenly over the entire surface, covering it completely.
- Bake in the preheated oven for 30-35 minutes, or until the top is light golden brown and still slightly jiggly in the center. Rotate the pan after 20 minutes for even baking.
- Cool the cake almost completely in the pan on a wire rack. Once cooled, generously dust the top with confectioners’ sugar before slicing and serving.
Notes
Yield: 1, 9×13 inch dish; serves 9-12 slices.
Presentation: Always dust the top of the baked cake generously with confectioners’ sugar for a beautiful, traditional finish.
Variations: Feel free to add a hint of lemon zest or an extra splash of vanilla extract to the cake batter for a personalized touch. For individual servings, bake the cake in 12 well-buttered muffin tins, adjusting the baking time accordingly.
Storage: Store gooey butter cake covered tightly with plastic wrap or in an airtight container at room temperature for up to 3 days. It is best enjoyed fresh and still slightly warm from the oven, but it remains delicious for a few days.
Nutrition
Serving: 1 square | Calories: 397kcal | Carbohydrates: 55g | Protein: 4g | Fat: 18g | Saturated Fat: 11g | Polyunsaturated Fat: 1g | Monounsaturated Fat: 5g | Trans Fat: 1g | Cholesterol: 73mg | Sodium: 310mg | Potassium: 58mg | Fiber: 1g | Sugar: 33g | Vitamin A: 570IU | Vitamin C: 0.002mg | Calcium: 20mg | Iron: 1mg
Course: Breakfast, Dessert
Cuisine: American
Calories: 397
Like this? Leave a comment below!
Before You Go: Explore More Delicious Breakfast & Dessert Recipes
I genuinely hope you enjoyed this authentic yeasted gooey butter cake recipe, a true taste of my hometown! This classic St. Louis delicacy is more than just a cake; it’s a piece of culinary history and comfort. Whether you savored it for breakfast, as a coffee cake, or as a decadent dessert, its unique gooey texture and rich flavor are sure to leave a lasting impression.
If this recipe sparked your interest in baking more comforting treats, I invite you to explore our other delicious breakfast recipes. You’ll find a wide array of options perfect for starting your day right or impressing guests at your next brunch. Happy baking, and enjoy every delightful bite!