
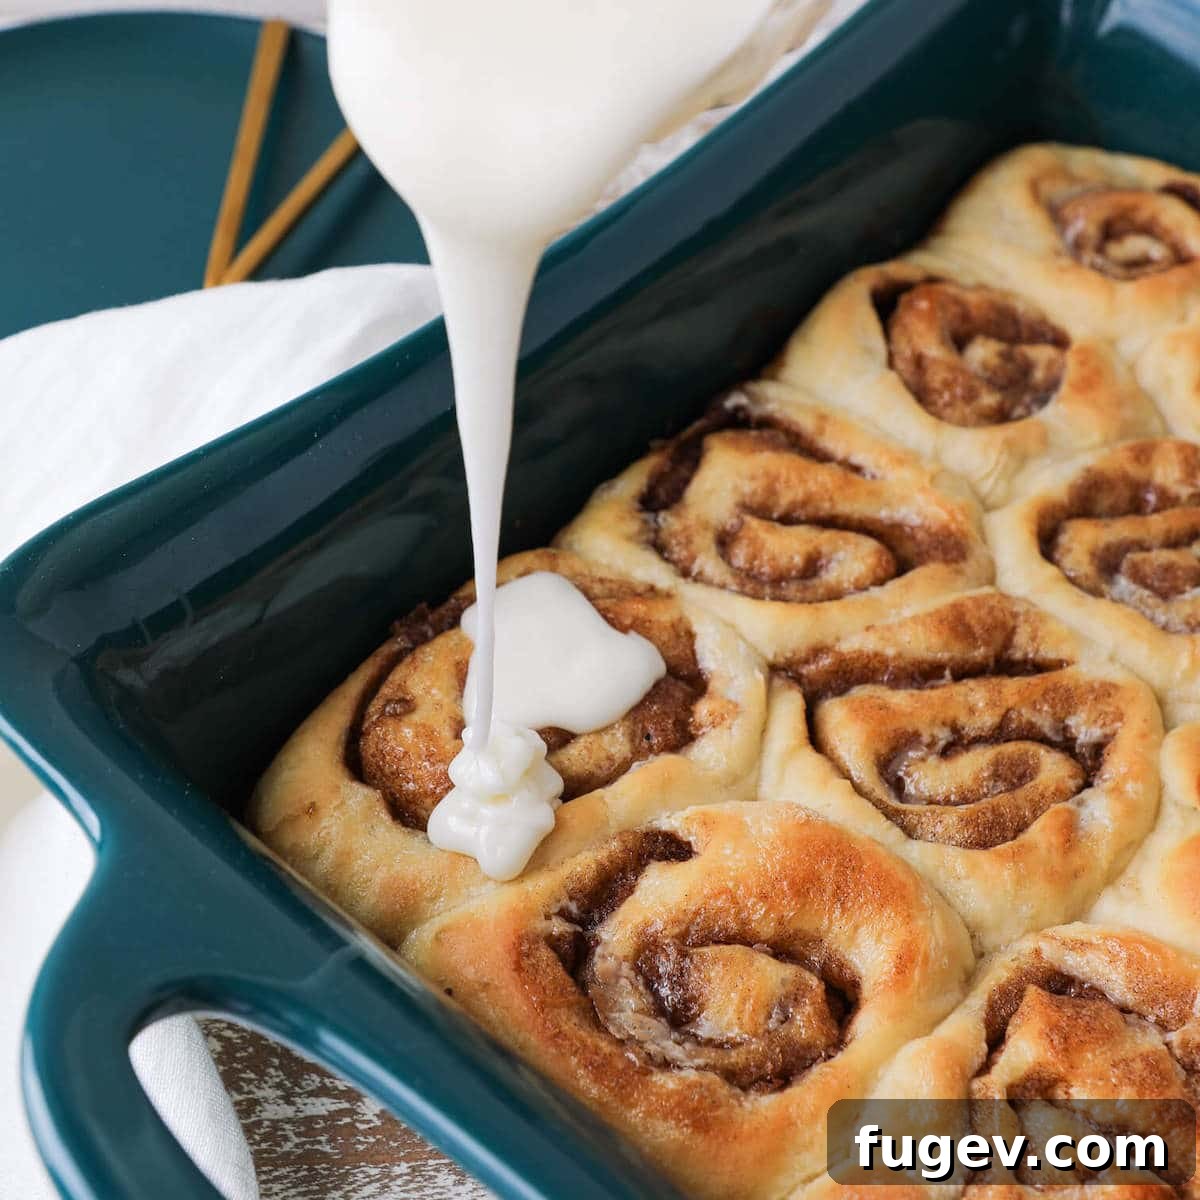
Indulge in the Ultimate Homemade Cinnamon Rolls with Cream Cheese Icing
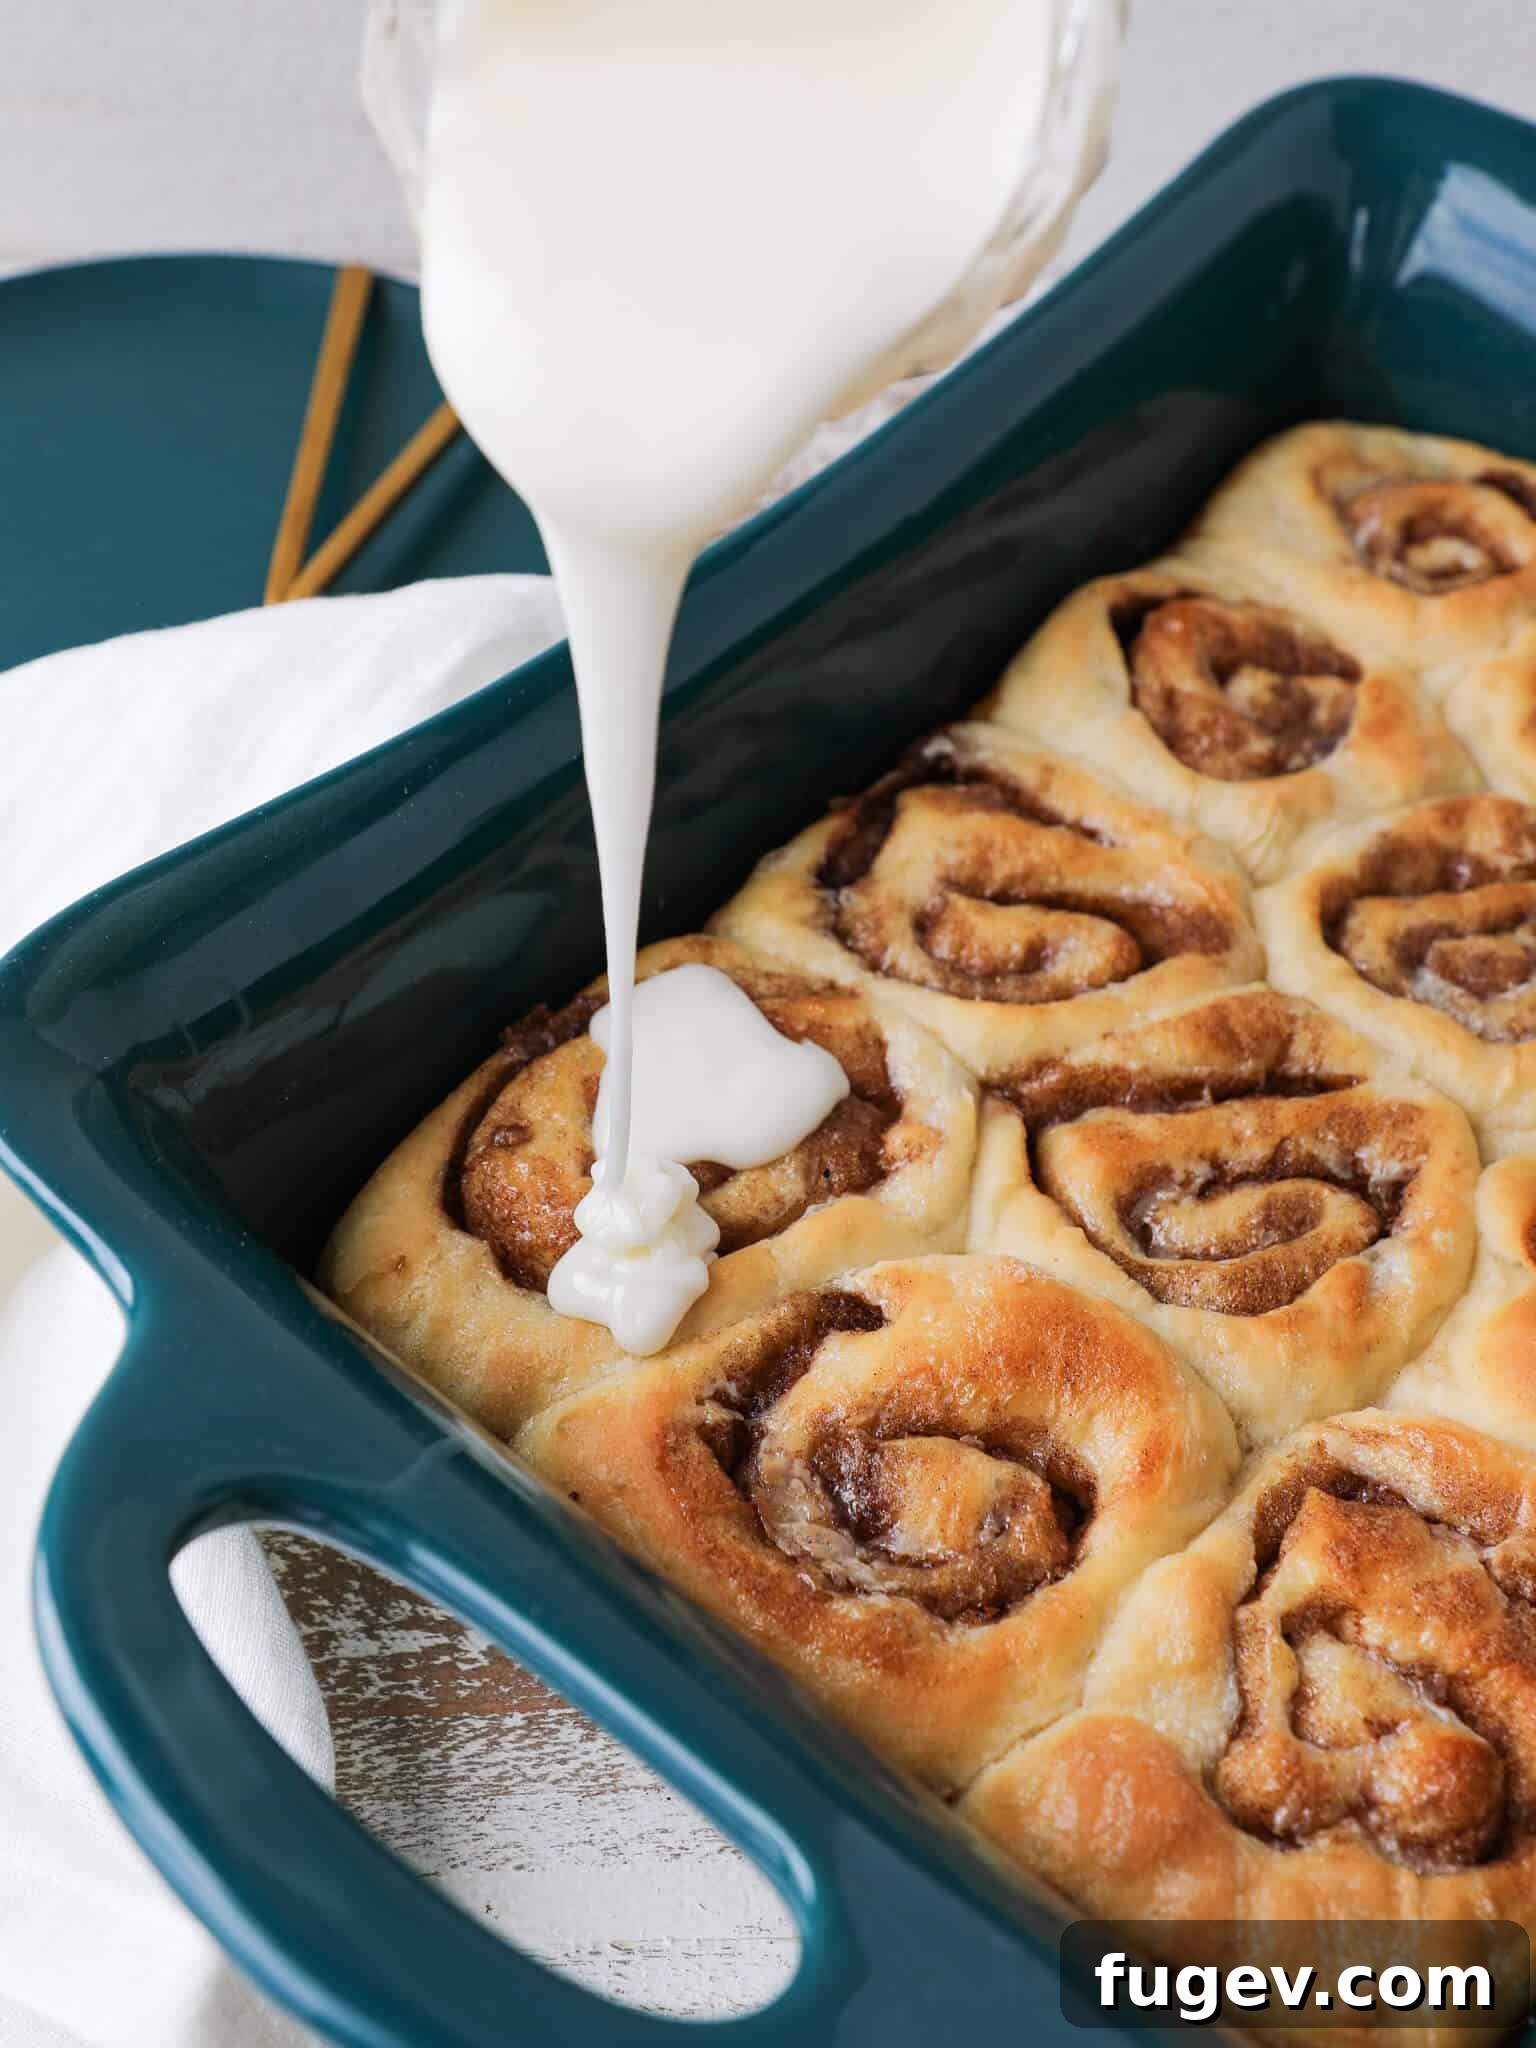
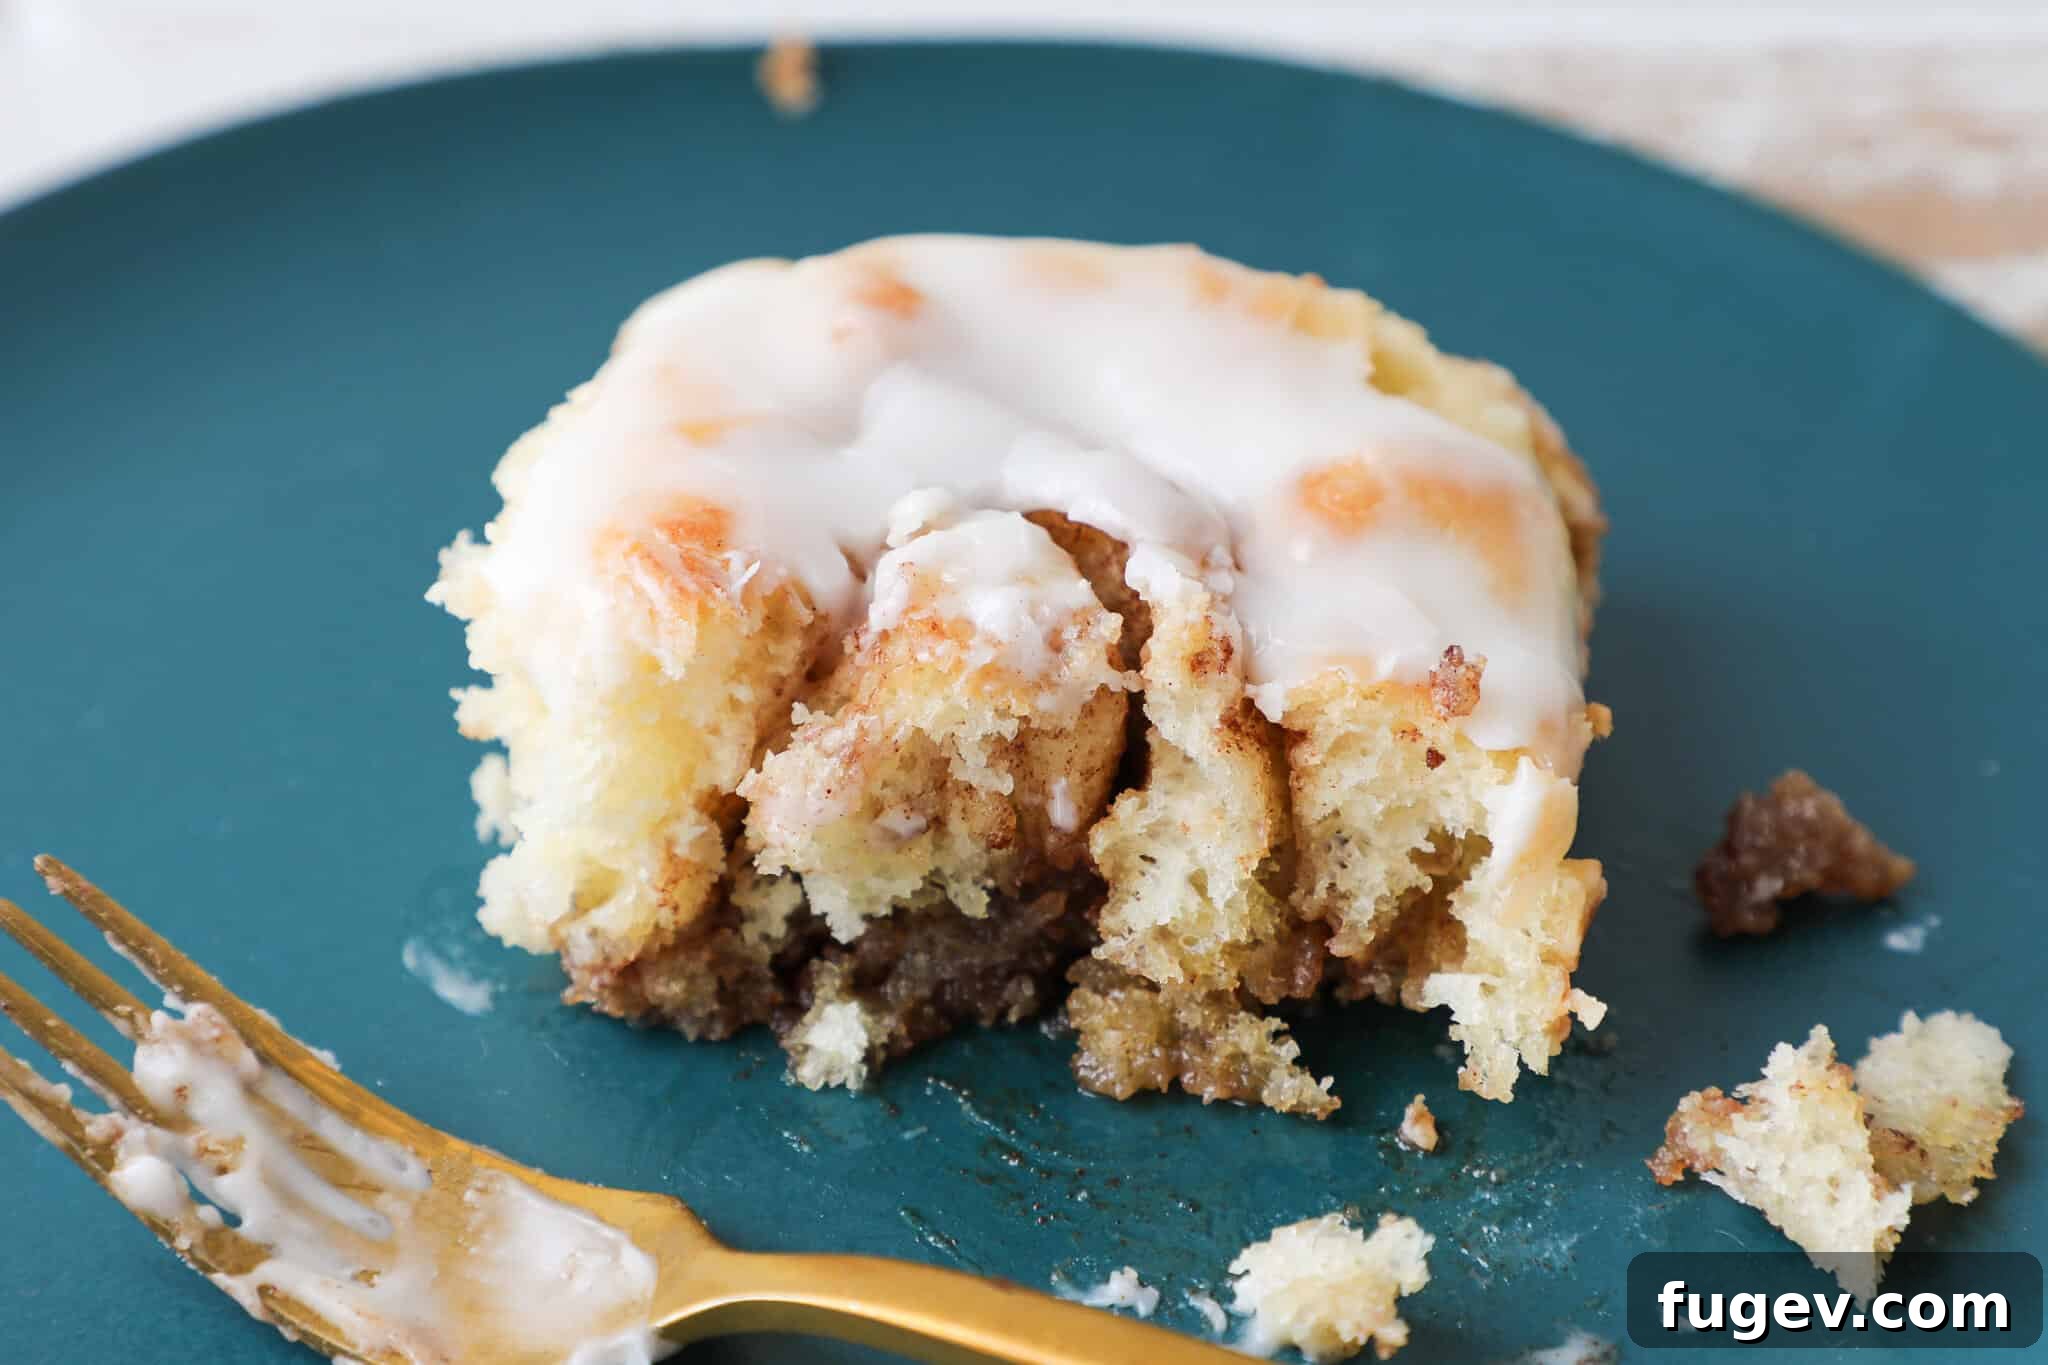
This cinnamon roll recipe with cream cheese icing isn’t just good; it’s truly exceptional. Imagine a perfectly tender, rich yeasted dough encasing a generous swirl of gooey, sweet brown sugar and fragrant cinnamon. Each bite offers that desirable, soft center experience, delivering a burst of flavor that will make these your new favorite homemade treat.
A Quick Look At The Recipe
This is a brief summary of the recipe. Jump to the recipe section below to get the full details.
Jump to Recipe
Prep Time
20 minutes
Cook Time
15 minutes
Proof Time
50 minutes
Total Time
1 hour 25 minutes
Servings
12 rolls
Difficulty
Intermediate, yet designed to be approachable with straightforward steps and a forgiving dough.
Calories *
374 kcal per serving
Technique
Craft a soft dough, allow it to proof, generously roll with cinnamon sugar, expertly slice, proof again, and bake to golden perfection.
Flavor Profile
Rich, soft cinnamon rolls featuring a luscious brown-sugar swirl, perfectly complemented by a creamy, tangy cream cheese icing.
* Based on nutrition panel
Summarize & Save this content on
I have made these so many times that I can’t count. This really is the best cinnamon roll recipe ever – so fast and easy! My tip is that a pan of these rolls makes an incredible hostess gift. I often cook 5 or 6 rolls in a 7″ pan and give those as gifts. My family, neighbors and friends all got these for Christmas this year. Yum! ⭐⭐⭐⭐⭐
Josephine Havlak
Why You’ll Fall in Love with These Homemade Cinnamon Rolls
There’s a special magic to homemade cinnamon rolls, and this recipe captures it perfectly. Here’s why these rolls are destined to become a cherished favorite in your kitchen:
- Unrivaled Flavor, From Dough to Icing: From the moment you take your first bite, you’ll notice the incredible depth of flavor. The yeasted dough itself is a masterpiece of softness, tenderness, and rich buttery notes. This isn’t just a vehicle for the filling; it’s an integral part of the experience. The interior and exterior of each roll are enveloped in a moist, brown sugar-cinnamon embrace, ensuring every morsel is bursting with warmth and sweetness. No unnecessary steps or gimmicks – just pure, authentic flavor that shines through.
- Soft, Moist, and Perfectly Swirled: One of the biggest challenges with cinnamon rolls is keeping them moist and ensuring the filling stays put. Our recipe solves this by incorporating a generous amount of butter, sugar, and egg into the dough, resulting in an exceptionally tender and hydrated texture. This soft, resilient dough then perfectly cradles the buttery cinnamon sugar filling, preventing it from oozing out during baking. The result? Every single bite is as decadent and gooey as the very center of the roll, a consistent delight from edge to center.
- The Perfect Complement: Tangy Cream Cheese Icing: What’s a cinnamon roll without its crown? Our creamy cream cheese icing is the ultimate finishing touch, tying all the flavors together in perfect harmony. It adds a crucial layer of moisture, locking in the rolls’ delicate texture, and introduces a welcome balance of sweetness and a delicate tang. This isn’t just any icing; it’s specifically crafted to enhance the rich cinnamon-sugar swirl, elevating these best cinnamon rolls to an unforgettable culinary experience.
- Ideal for Special Occasions and Cozy Mornings: These delightful, gooey cinnamon rolls are truly versatile. They’re perfect for making any morning feel extraordinary, whether it’s a festive birthday breakfast, a magical Christmas morning tradition, or simply a leisurely Sunday with family. For those quieter weekday mornings, while these are a special treat, you might also enjoy making lighter options like these fluffy whole wheat pancakes or this comforting cinnamon raisin French toast.
Table of Contents
- Why You’ll Fall in Love with These Homemade Cinnamon Rolls
- Essential Ingredients & Smart Substitutions
- Creative Variations for Your Homemade Cinnamon Rolls
- Professional Baking Tips for Perfect Cinnamon Rolls
- Step-by-Step Guide: How to Make the Best Cinnamon Rolls with Cream Cheese Icing
- Chef Lindsey’s Recipe Tip
- Common Questions About Cinnamon Rolls (FAQs)
- More Delightful Cinnamon Pastry Recipes
- Cinnamon Rolls Recipe Card
- Before You Go
Crafting the perfect cinnamon roll has been a personal quest for me. After tirelessly working to perfect my sourdough cinnamon rolls earlier this year, I realized there was still a need for an equally delicious, yet simpler, option for everyday bakers. Over the years, I’ve experimented with countless versions, always searching for that ideal balance of flavor, texture, and ease. Today, I’m thrilled to confidently share what I believe is truly the best cinnamon roll recipe. It features a beautifully soft, incredibly flavorful yeasted dough, the perfect generous ratio of cinnamon brown sugar filling, and a dreamy, tangy cream cheese icing that brings it all together.
If you’re looking for a quick cinnamon fix but don’t quite have the time for yeasted rolls, don’t despair! You could always whip up a batch of my delightful cinnamon chip scones with cream cheese glaze to tide you over. For an even easier breakfast cake that still delivers on classic cinnamon flavor, the tried and true cinnamon flop is an excellent choice. And for those with an air fryer, check out these ingenious air fryer cinnamon rolls. But for those who are ready to elevate their baking game and embrace the ultimate experience, I see you! And for an extra special seasonal twist, my apple cinnamon rolls are designed to take your taste buds to the next level of deliciousness.
Essential Ingredients & Smart Substitutions for Your Best Cinnamon Rolls
Crafting the perfect cinnamon roll begins with understanding the role of each ingredient. Here’s a detailed look at what you’ll need and how to make smart substitutions without compromising quality:
- Whole Milk: I specifically choose whole milk for all my yeasted breads, and particularly for these homemade cinnamon rolls, because of its higher fat content and lower water content. This combination contributes significantly to a richer flavor profile and helps keep the rolls incredibly tender and moist. While whole milk is preferred, you can successfully substitute any plant-based or dairy milk alternative you have on hand, though the final texture might vary slightly.
- Active Dry Yeast: Active dry yeast, while requiring an initial hydration step, offers reliable and controllable activation. Giving the yeast ample time to bloom and allowing the dough to properly proof is absolutely essential for developing the gluten structure and achieving the desired soft, airy texture in the final product. If you don’t have active dry yeast, you can substitute it with double the weight of fresh yeast for a similar result, or use half the weight in instant yeast (which can often be mixed directly with the dry ingredients without blooming).
- Whole Egg: The egg in this recipe plays a crucial role in enriching the dough. It adds moisture, flavor, and contributes to the dough’s beautiful golden hue during baking. It also helps bind the ingredients together, resulting in a more stable and tender crumb.
- Unsalted Butter: Butter is fundamental to the flavor and texture of both the dough and the filling. Using unsalted butter allows you to control the overall saltiness of the recipe. For the dough, softened butter ensures it incorporates smoothly, creating a tender crumb. For the filling, very soft (almost melted) butter blends seamlessly with the sugars and cinnamon to create that irresistible, gooey swirl.
- All-Purpose Flour: My go-to flour for most bread recipes is all-purpose flour because it strikes the perfect balance. It contains just enough protein to develop a strong gluten network, which is vital for the dough’s structure and elasticity, yet remains tender and soft enough for a delicate cinnamon roll. While bread flour can be used for a chewier roll, I generally don’t recommend pastry or cake flour as their lower protein content would result in insufficient gluten development, leading to a less structured and potentially crumbly roll.
- Kosher Salt: Salt is more than just a seasoning; it’s a flavor enhancer that balances the sweetness and brings out the nuances of the cinnamon. In yeasted doughs, it also plays a role in regulating yeast activity, ensuring a slower, more controlled rise for better flavor development.
- Granulated Sugar (for Dough): In the dough, granulated sugar serves multiple purposes. It adds a touch of sweetness, aids in the caramelization process during baking for a beautiful crust, and provides readily available food for the active yeast, contributing to a robust rise.
- Dark Brown Sugar (for Filling): For the filling, dark brown sugar is my preference due to its deeper molasses notes and moisture content, which creates a richer, more complex flavor and a wonderfully gooey texture. However, light brown sugar can be used as a simple substitute, achieving an equally delightful, albeit slightly milder, effect.
- Ground Cinnamon: This is the star of the show! High-quality ground cinnamon is essential for the classic, aromatic flavor that defines these rolls. Don’t skimp on this ingredient; its warmth is what makes cinnamon rolls so comforting.
- Cream Cheese (for Icing): For the most luxurious and tangy cream cheese icing, I always recommend using original Philadelphia Cream Cheese. Its consistent quality and rich, creamy texture are unmatched for frostings and buttercreams. While full-fat cream cheese delivers the best flavor and consistency, reduced-fat cream cheese can be substituted if desired, though the icing might be slightly less decadent.
- Powdered Sugar (Confectioner’s Sugar): Powdered sugar is critical for achieving a smooth, lump-free cream cheese icing. Its fine texture dissolves easily, ensuring a silky finish.
- Vanilla Extract: A splash of good quality vanilla extract enhances all the sweet flavors in the cream cheese icing, adding a layer of aromatic warmth that complements the cinnamon beautifully.
Refer to the recipe card below for precise measurements and quantities.
Creative Variations for Your Homemade Cinnamon Rolls
While classic cinnamon rolls are perfect as they are, don’t be afraid to get creative! These variations can transform your baking experience and impress your guests:
- Fruit & Nuts Infusion: Elevate your cinnamon rolls by adding extra textures and flavors. Beyond the cinnamon sugar filling, consider spreading a layer of your favorite fruit compote. My easy apple compote or a vibrant cherry pie filling would make a fantastic addition, adding a delightful tartness and fruitiness. For a satisfying crunch, sprinkle your favorite toasted nuts, such as pecans or walnuts, inside the roll before slicing.
- Decadent Caramel Cinnamon Rolls: Bridge the gap between classic cinnamon rolls and my famous pecan sticky buns by transforming them into gooey caramel cinnamon buns! This variation is a bit messier to eat, but utterly worth it. Start by generously spreading some of my luscious salted caramel sauce on the bottom of your greased baking dish before placing the rolls. For an extra layer of caramel bliss, swirl a little extra caramel sauce directly into your cream cheese frosting before spreading.
- Individual Cinnamon Muffins: For a charming, individual serving option, simply place each sliced cinnamon roll into a greased muffin tin. This allows for easier portion control and creates perfectly shaped, standalone rolls that are great for grab-and-go breakfasts or gifting.
- Pull-Apart Cinnamon Roll Bread: This is a fun and impressive twist! After the first proof, roll out your dough as directed for regular rolls. Spread the filling evenly, then slice the dough in half lengthwise and fold one half over the other, like a sandwich. Gently roll this double-layered dough again, to about twice its original size. Cut the dough into small squares (about 1.5 to 2 inches) and layer them vertically in a greased loaf pan, creating a beautiful “pull-apart” effect. Proof and bake until a knife or cake tester inserted into the center comes out clean. Once cooled and frosted, it’s a delightful centerpiece for brunch. You could even take inspiration from Dorothy at Crazy for Crust and make an apple cinnamon roll bake!
Professional Baking Tips for Perfect Cinnamon Rolls Every Time
Achieving bakery-quality cinnamon rolls at home is entirely possible with a few professional insights. These tips will help you create flawless, delicious rolls:
- Embrace Your Ruler for Uniformity: If you’re aiming for perfectly even, professional-looking cinnamon rolls, a ruler is your best friend in the kitchen. I keep a clear, flexible ruler specifically for baking tasks. When rolling out your dough, strive to maintain sharp, consistent corners to ensure a rectangular shape. While it can be trickier than it sounds, having this goal helps! And when it comes to dividing the dough log, using your ruler will guarantee each roll is the same size, leading to consistent baking and a beautiful presentation.
- Roll Your Cinnamon Rolls Tightly and Purposefully: The key to rolls that hold their shape and keep their luscious filling contained is in the tightness of your roll. You want to roll the dough with purpose and firmness, ensuring there are no air gaps between layers. However, be careful not to roll so tightly that you tear the delicate dough. A firm, even roll will create those beautiful, distinct spirals and prevent the filling from escaping during baking.
- Master the Slice with a Sharp Knife: The way you slice your rolls significantly impacts their final appearance and how well they retain their filling. I strongly prefer using a very sharp, thin-bladed knife for cutting cinnamon rolls. If your knife is sharp enough, you won’t need to apply much downward pressure, which helps prevent the filling from being squeezed out and keeps the rolls’ shape intact. A sharp serrated knife can also work wonders, providing a clean cut. For those who swear by the dental floss method, just be sure to use *unflavored* dental floss – we definitely don’t want any minty surprises in our warm, sweet rolls!
- Mind the Temperature of Your Ingredients: Yeast is a living organism, and its activity is highly dependent on temperature. Ensure your milk is warmed to the precise 100-110°F (38-43°C) range to activate the yeast without killing it. Similarly, softened butter is crucial for both the dough and the filling; it should be pliable but not melted, allowing for smooth incorporation and spread.
- Don’t Overmix the Dough: While gluten development is important for structure, overmixing yeast dough can lead to tough, dense rolls. Mix just until the dough comes together and passes the “windowpane test” (you can stretch a small piece thin enough to see light through it without tearing). The dough for these rolls is designed to be a bit sticky, so resist the urge to add too much extra flour during mixing or kneading, as this will also result in a drier, tougher roll.
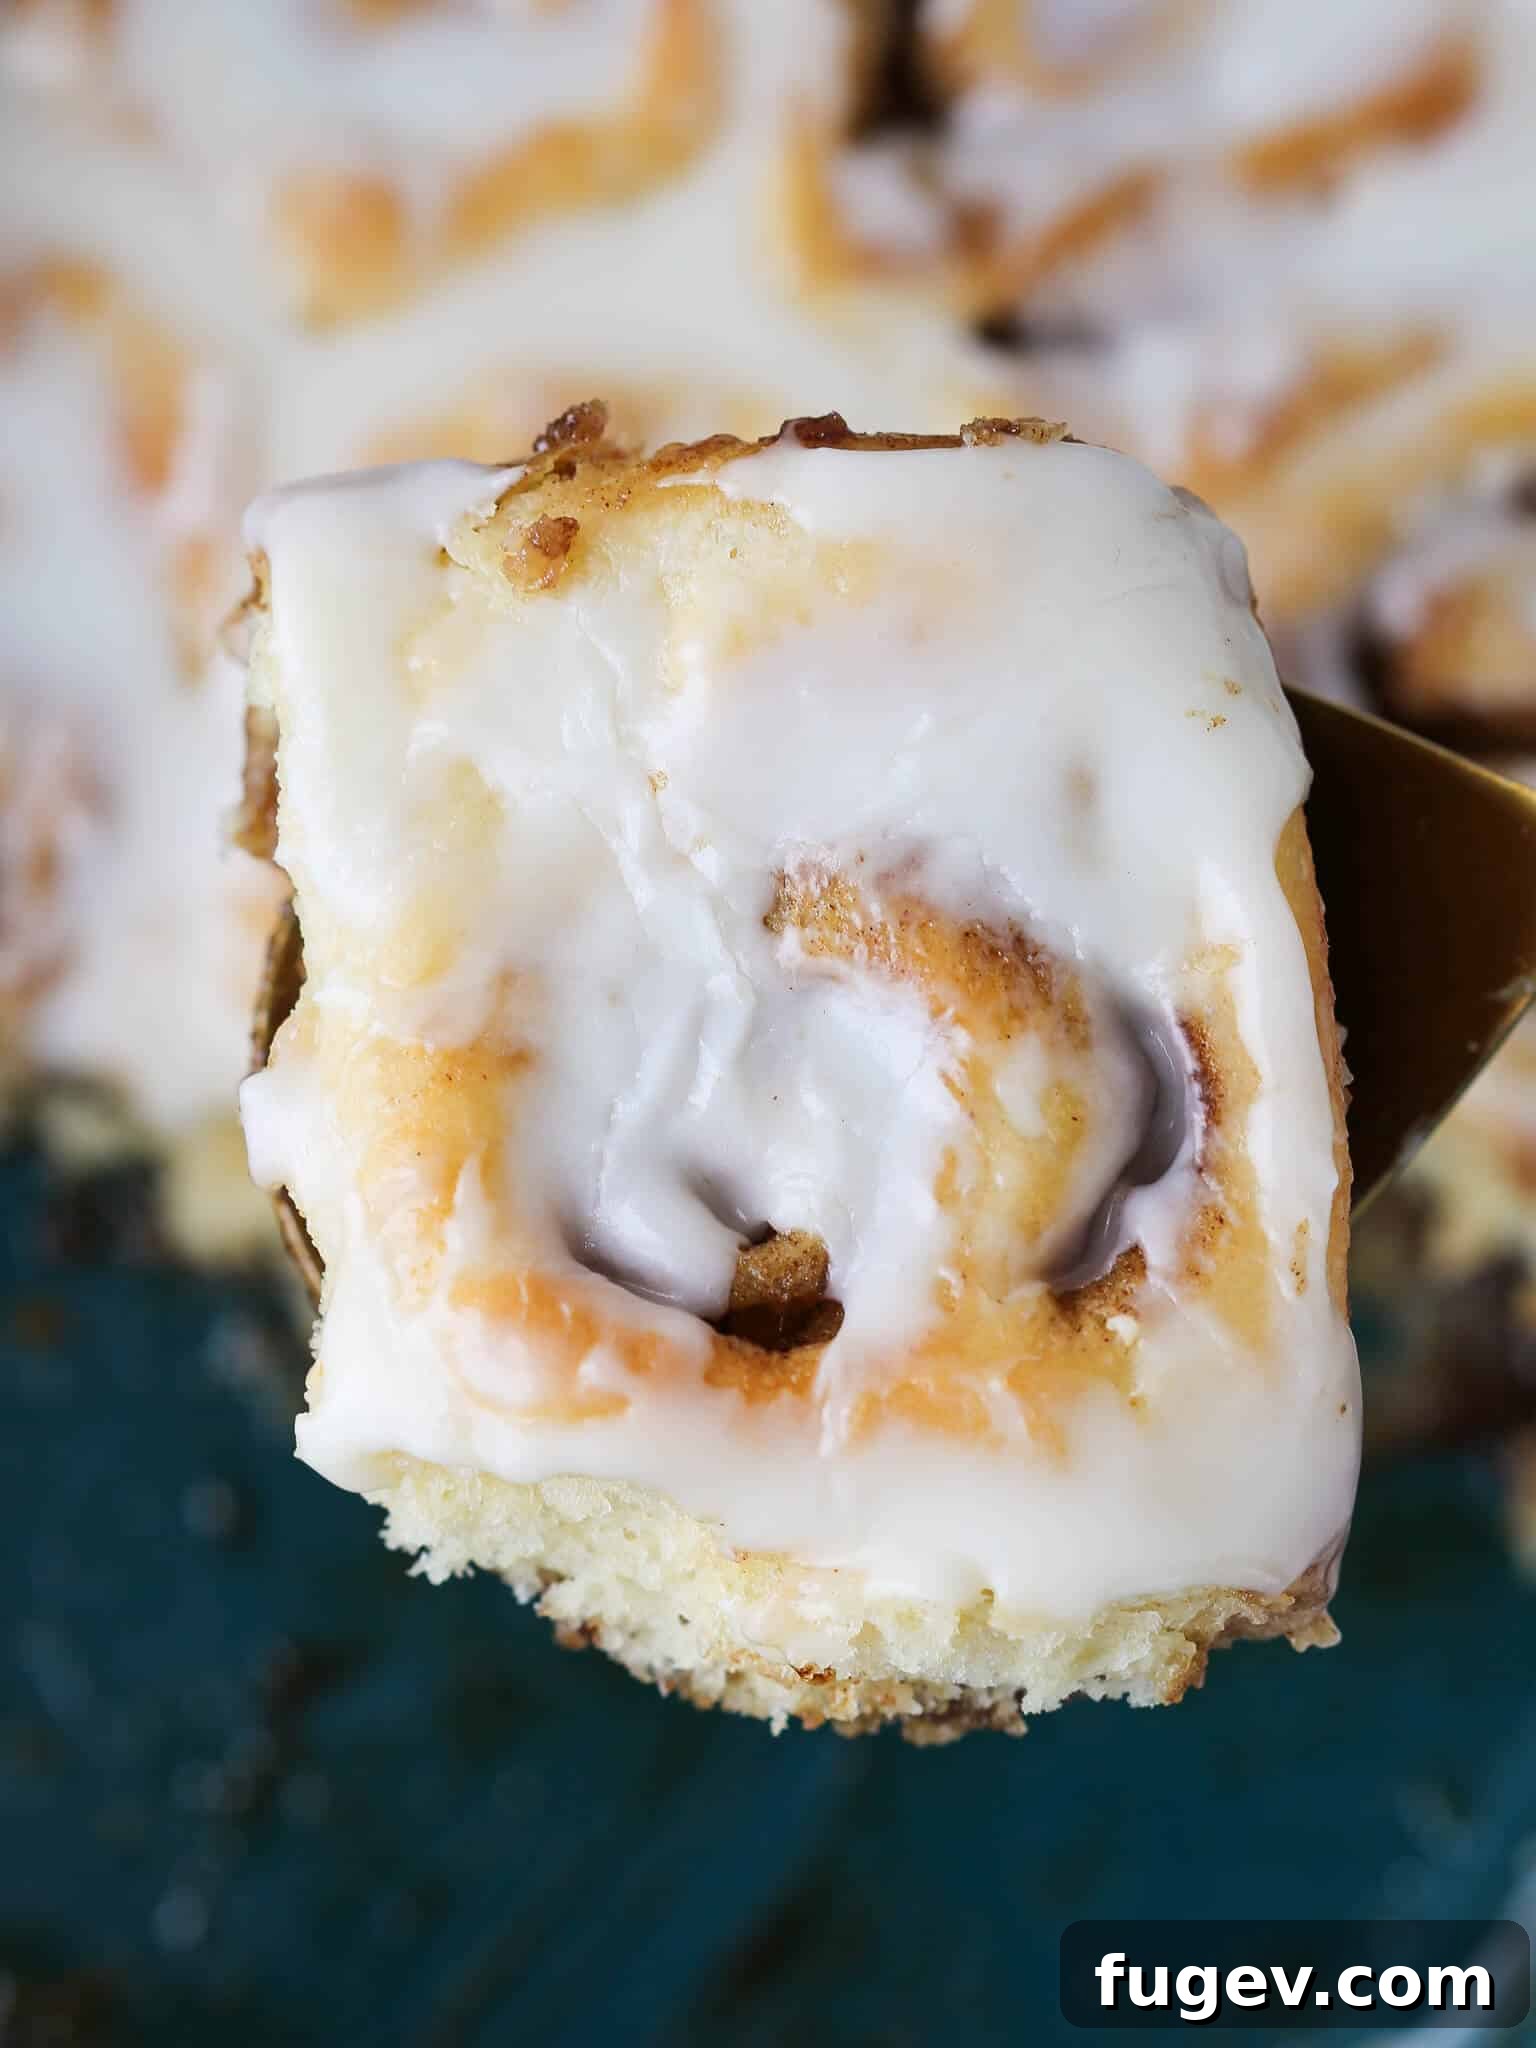
Step-by-Step Guide: How to Make the Best Cinnamon Roll Recipe with Cream Cheese Icing
Follow these detailed instructions to craft truly exceptional homemade cinnamon rolls that will delight everyone. For precise measurements, please refer to the comprehensive recipe card at the bottom of this page.
Make the Dough:
Step 1: Gently Heat the Milk. Warm your whole milk to a temperature between 100-110°F (38-43°C). This specific temperature range is crucial; if the milk is too hot, it can unfortunately kill the active dry yeast, preventing your dough from rising properly. Use a thermometer for accuracy.
Step 2: Activate the Yeast. In the spacious bowl of a stand mixer, pour the warmed milk. Then, evenly sprinkle the active dry yeast over the surface of the milk. Give it a gentle whisk to ensure there are no clumps. Allow this mixture to bloom undisturbed for about 10 minutes. During this time, you should observe the yeast becoming foamy and bubbly, indicating it is active and ready to work its magic. If no bubbles appear, your yeast may be inactive, and you’ll need to use a fresh batch.
Step 3: Combine Remaining Dough Ingredients. To the bowl with the activated yeast mixture, add the softened unsalted butter, whole egg, all-purpose flour, kosher salt, and granulated sugar. Ensure your butter is truly softened for even incorporation.
Step 4: Develop the Gluten. Fit your stand mixer with the paddle attachment. Mix on low speed until all the ingredients are thoroughly incorporated and no dry lumps of flour remain. The mixture will be shaggy at first, then come together. Once combined, switch to the dough hook attachment. Increase the mixer speed to medium and continue mixing for 3-4 minutes. You’ll notice the dough starting to pull away cleanly from the sides of the bowl. At this point, you should be able to perform a “windowpane test” – stretch a small piece of dough very thinly without it tearing, allowing light to pass through. This indicates good gluten development. Remember, this dough is designed to be on the stickier side, so don’t be tempted to add excessive extra flour.
The dough will indeed be quite sticky, but this is intentional and contributes to the final tender texture. Resist the urge to add too much flour, as it can make your rolls tough.
Folds and Proofing:
Step 5: Prepare for Proofing. Lightly spray a large clean mixing bowl with cooking spray to prevent sticking. Carefully turn the sticky dough out into this prepared bowl.
Step 6: Perform the First Fold. To strengthen the dough structure and enhance its texture, give the dough one series of folds. Start by gently pulling one side of the dough up and folding it halfway towards the center. Rotate the bowl a quarter turn and repeat this folding process with each side, continuing until you’ve formed a small, neat dough packet. Flip the dough over so the seam side is down, leaving the top surface smooth. Cover the bowl tightly with plastic wrap to prevent the dough from drying out. Place it in a warm spot for its bulk proof, allowing it to rise for 30-45 minutes, or until it has visibly doubled in size.
Many modern ovens include a proofing setting, often around 85°F (29°C), which is ideal for a consistent rise. The dough is ready when it has doubled in volume and springs back slowly when gently poked.
For a slower, more controlled rise, or if you prefer to prepare ahead, you can also proof the dough in the refrigerator overnight. This process, known as “retarding” the dough, not only slows down the proofing but also makes the cold dough much easier to handle and shape.
Make the Filling:
Step 7: Prepare the Cinnamon Sugar Filling. While your dough is undergoing its first proof, take this opportunity to prepare the irresistible filling. In a medium-sized bowl, combine the very soft unsalted butter (it should be almost melted for easy spreading), dark brown sugar, and ground cinnamon. Mix these ingredients thoroughly until they form a smooth, uniform paste. Set this aromatic filling aside until your dough is ready for assembly.
Assemble the Cinnamon Rolls:
Step 8: Prepare Your Work Surface and Dough. Once your dough has successfully doubled in size, generously flour your clean countertop. Gently turn the sticky dough out onto the prepared surface. A bowl scraper or a flexible rubber spatula can be incredibly helpful here, as the dough will still be quite soft and sticky. Sprinkle an additional generous amount of flour on top of the dough and lightly flour your rolling pin to prevent sticking.
Step 9: Roll Out the Dough and Spread Filling. Using your floured rolling pin, carefully roll the dough into a rectangular shape, aiming for approximately 12 inches long by 10 inches high. Once you have achieved a neat rectangle with relatively straight edges, use an offset spatula to evenly spread the prepared cinnamon sugar filling over the entire surface of the dough, leaving a small, clean border (about half an inch) along the top and bottom long edges. This border will help seal the roll.
Sometimes, the filling can be a bit stiff, requiring a gentle touch. Don’t hesitate to use your fingers to carefully spread and ensure the filling covers the dough evenly, especially near the edges. Keeping a slight border along the top and bottom long edges will facilitate a cleaner, tighter roll.
Step 10: Roll the Dough Tightly. Starting from the bottom long edge (the 12-inch side) closest to you, begin to tightly roll the dough away from your body. Maintain even pressure as you roll to create a uniform log with distinct spirals. Once you reach the top edge, gently pinch and seal the seam along the entire length of the log to prevent it from unraveling during baking. This tight roll is crucial for perfect cinnamon roll spirals.
Step 11: Slice the Rolls. Using a very sharp knife, a sturdy bench scraper, or even unflavored dental floss (for perfectly clean cuts), slice the dough log into approximately 1-inch thick pieces. This will yield about 12 perfectly sized cinnamon rolls. If you prefer larger, more substantial rolls, you can cut the log into 8 equal pieces instead.
Step 12: Arrange for Final Proof. Lightly spray a 9” x 11” baking dish (or a similar-sized pan) with cooking spray. Carefully arrange the sliced cinnamon rolls in the prepared dish, leaving about 2 inches of space between each roll. I typically offset them, placing two in one row, then one centered in the next, and so on. This strategic placement provides ample space for the rolls to expand and grow during their final proofing and baking without becoming overly crowded and sticking together too much. You want them cozy, but not squished!
Final Proof:
Step 13: Allow for a Second Rise. Cover the baking dish tightly with plastic wrap. Return the dish to your warm spot (or proofing oven) for an additional 20-40 minutes for the final proof. This second rise allows the rolls to become light and airy. For my rolls, I often proof for about 20 minutes, then move the dish out of the warm spot while I preheat my oven to 350°F (175°C) convection. Keep in mind that smaller rolls will typically proof and bake faster than larger ones, so adjust your timing accordingly.
Bake the Rolls:
Step 14: Bake to Golden Perfection. Once the rolls have completed their final proof and look visibly puffy, remove the plastic wrap. Place the baking dish into your preheated 350°F (175°C) oven. Bake for approximately 15-20 minutes. My rolls usually achieve perfection around the 18-minute mark. You’ll know they’re ready when the edges are beautifully golden brown, the tops are lightly browned, and the centers no longer appear or feel doughy. For absolute certainty, insert a cake tester or a thin skewer into the center of a roll; it should come out completely clean.
Make the Icing & Frost:
Step 15: Cool Before Icing. While it’s tempting to frost them immediately, allow the baked cinnamon rolls to cool in the pan for about 10-15 minutes before applying the icing. This slight cooling period is important because it prevents the icing from melting completely and running off the rolls, allowing it to set beautifully on top.
Step 16: Prepare and Apply the Cream Cheese Icing. In a medium bowl, combine all the ingredients for the cream cheese icing: confectioner’s sugar, softened cream cheese, vanilla extract, and milk. I find that using a spatula is often easier than a whisk to thoroughly incorporate the cream cheese, ensuring a smooth, lump-free consistency. I prefer a slightly thicker icing so it creates a generous, decadent layer on top of the still-warm (but not hot) cinnamon rolls straight from the oven. Spreading this creamy, tangy icing over the warm, fragrant rolls is truly a little bit of heaven on earth!
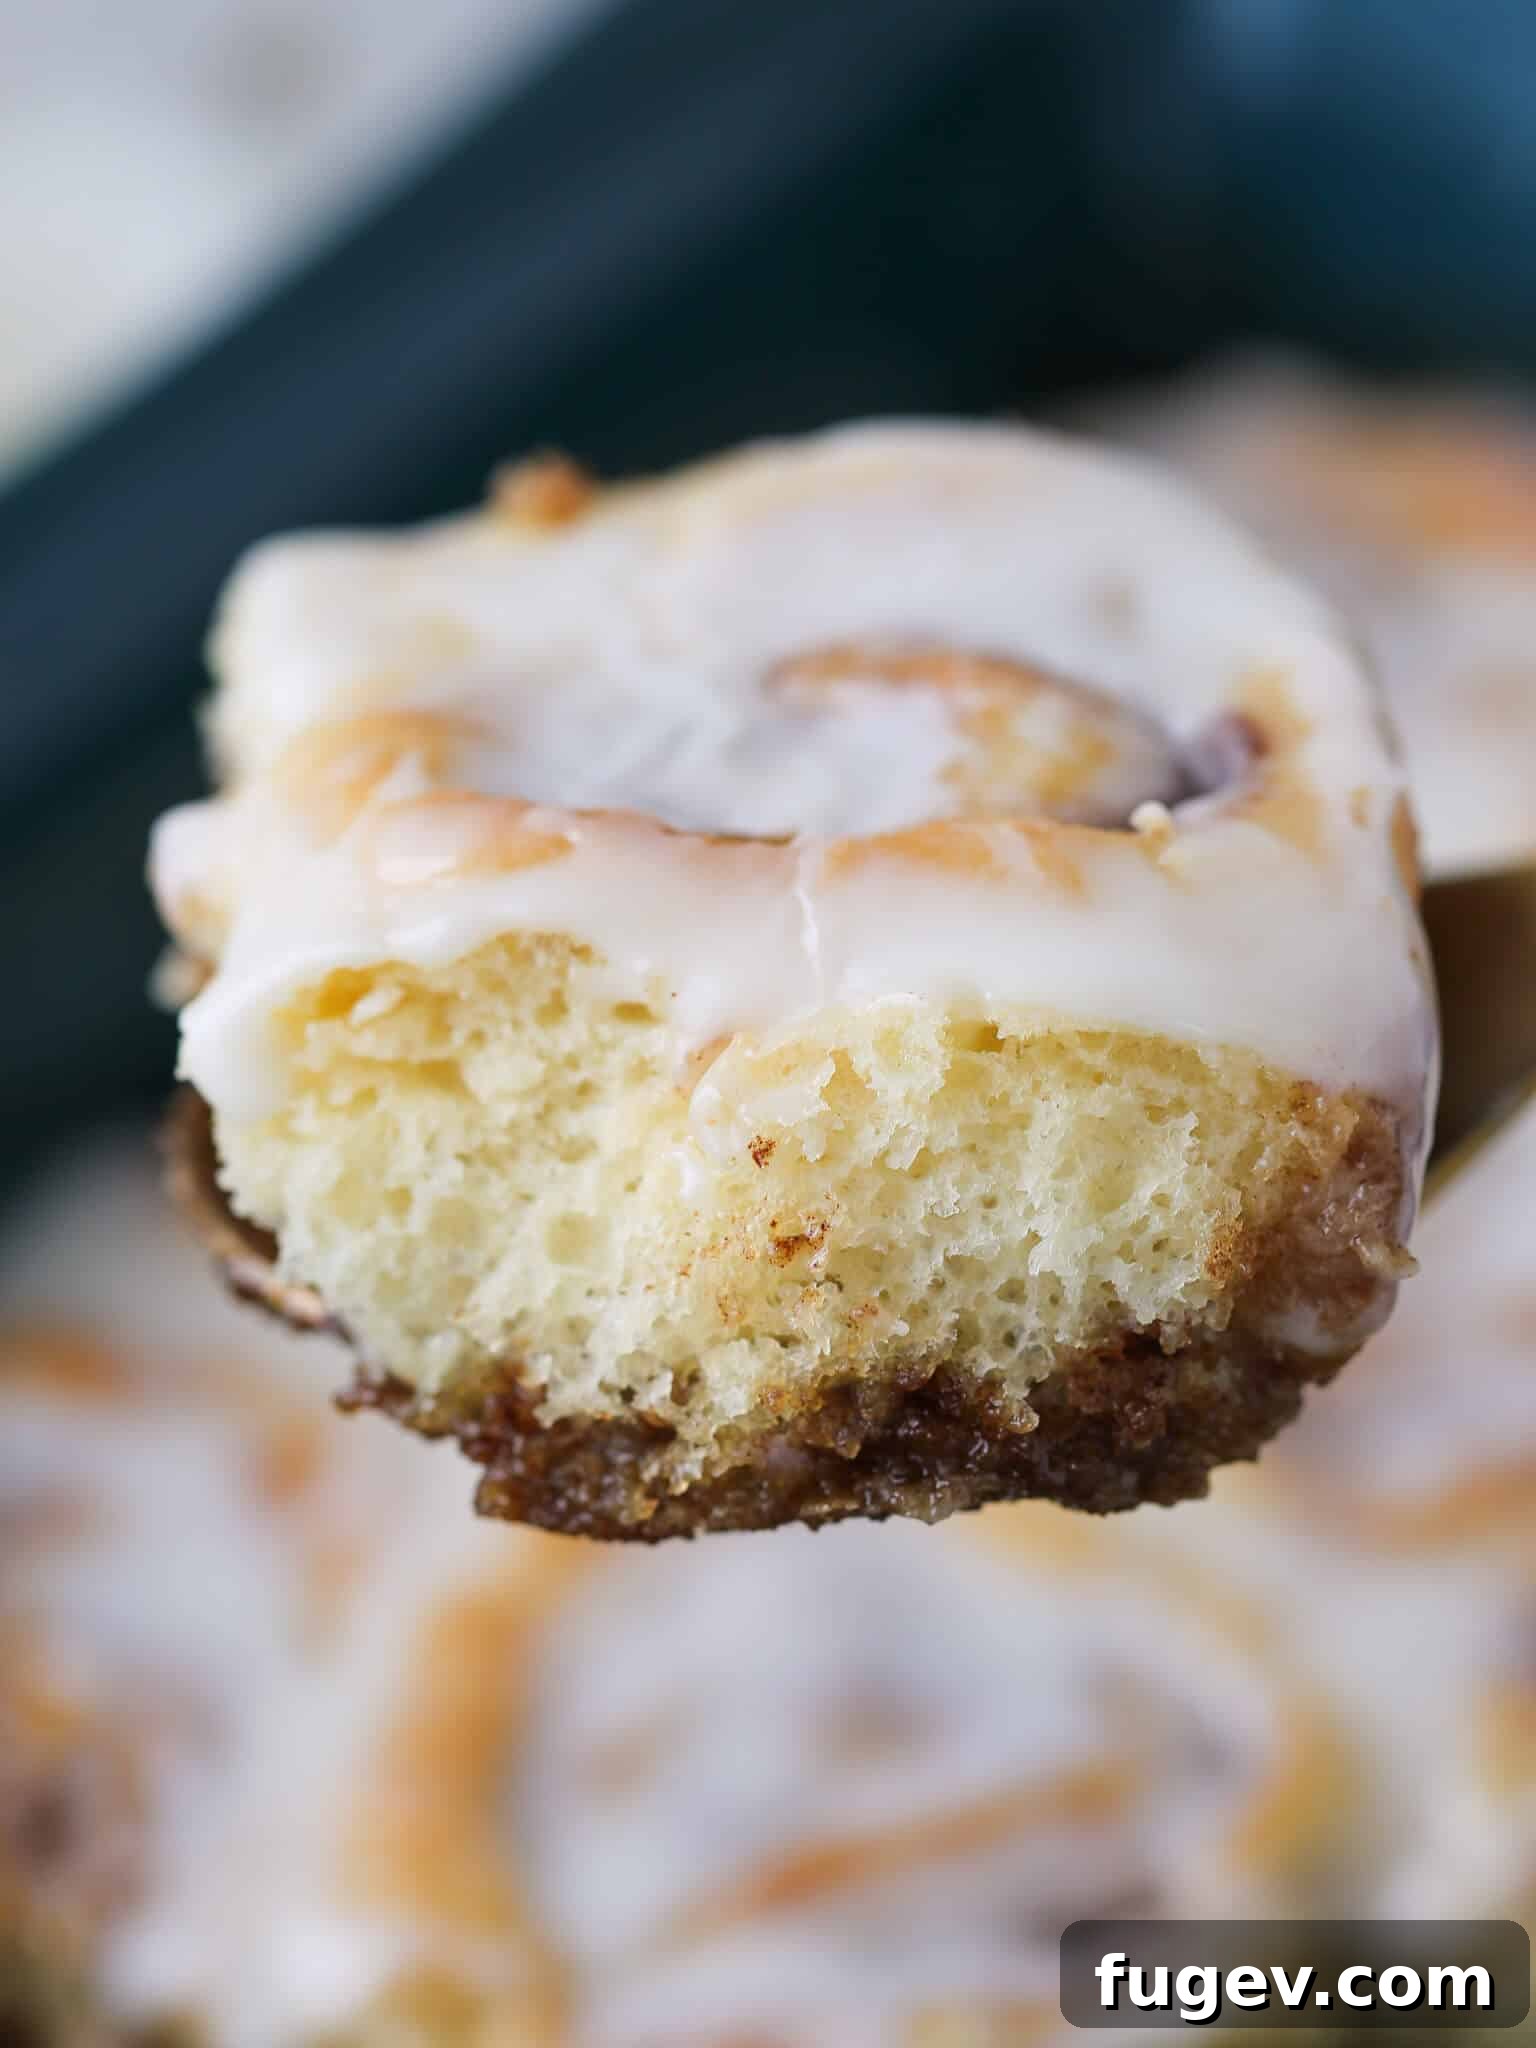
Chef Lindsey’s Recipe Tip
For even easier handling, especially if you’re new to working with yeasted dough, try chilling your dough. About halfway through the first proofing, you can refrigerate the dough until it has doubled in size. Proceed with the recipe as directed from there. The cold dough will be less sticky, making it significantly easier to roll out, spread the filling, and create a tight, even spiral. This method also allows for greater flexibility in your baking schedule!
Common Questions About Cinnamon Rolls (FAQs)
For optimal freshness, cinnamon rolls are best stored in an airtight container at room temperature for up to 3 days. While they can also be refrigerated, the cold air tends to dry them out slightly. If refrigerated, they will last up to a week. For the very best taste and texture, try to enjoy them on the same day they are baked.
This recipe is quite active, so preparing the dough too far in advance can affect the final texture due to over-proofing. However, you can slow down the proofing process significantly by refrigerating the dough at each stage. For instance, after the first fold, you can place the dough in the refrigerator overnight. You can also assemble the rolls and then refrigerate them overnight for a convenient morning bake. Just allow them to come closer to room temperature before their final proof and baking.
Absolutely! You can assemble the cinnamon rolls and freeze them to bake at a more convenient date. After slicing and arranging them in the baking dish, cover them tightly with plastic wrap and aluminum foil, then freeze for up to a week. When you’re ready to bake, you can either allow them to thaw and proof at room temperature, or, if they are already fully proofed before freezing, you can bake them straight from the freezer (they might just take a few extra minutes). Always ensure they are covered tightly to prevent freezer burn.
Certainly! If you prefer a richer, more substantial topping, you can absolutely use my best cream cheese buttercream frosting on these cinnamon rolls. The buttercream frosting has a much thicker consistency than the simple icing, so you’ll need to spread it more deliberately with an offset spatula. It adds an extra layer of decadence for a truly indulgent treat.
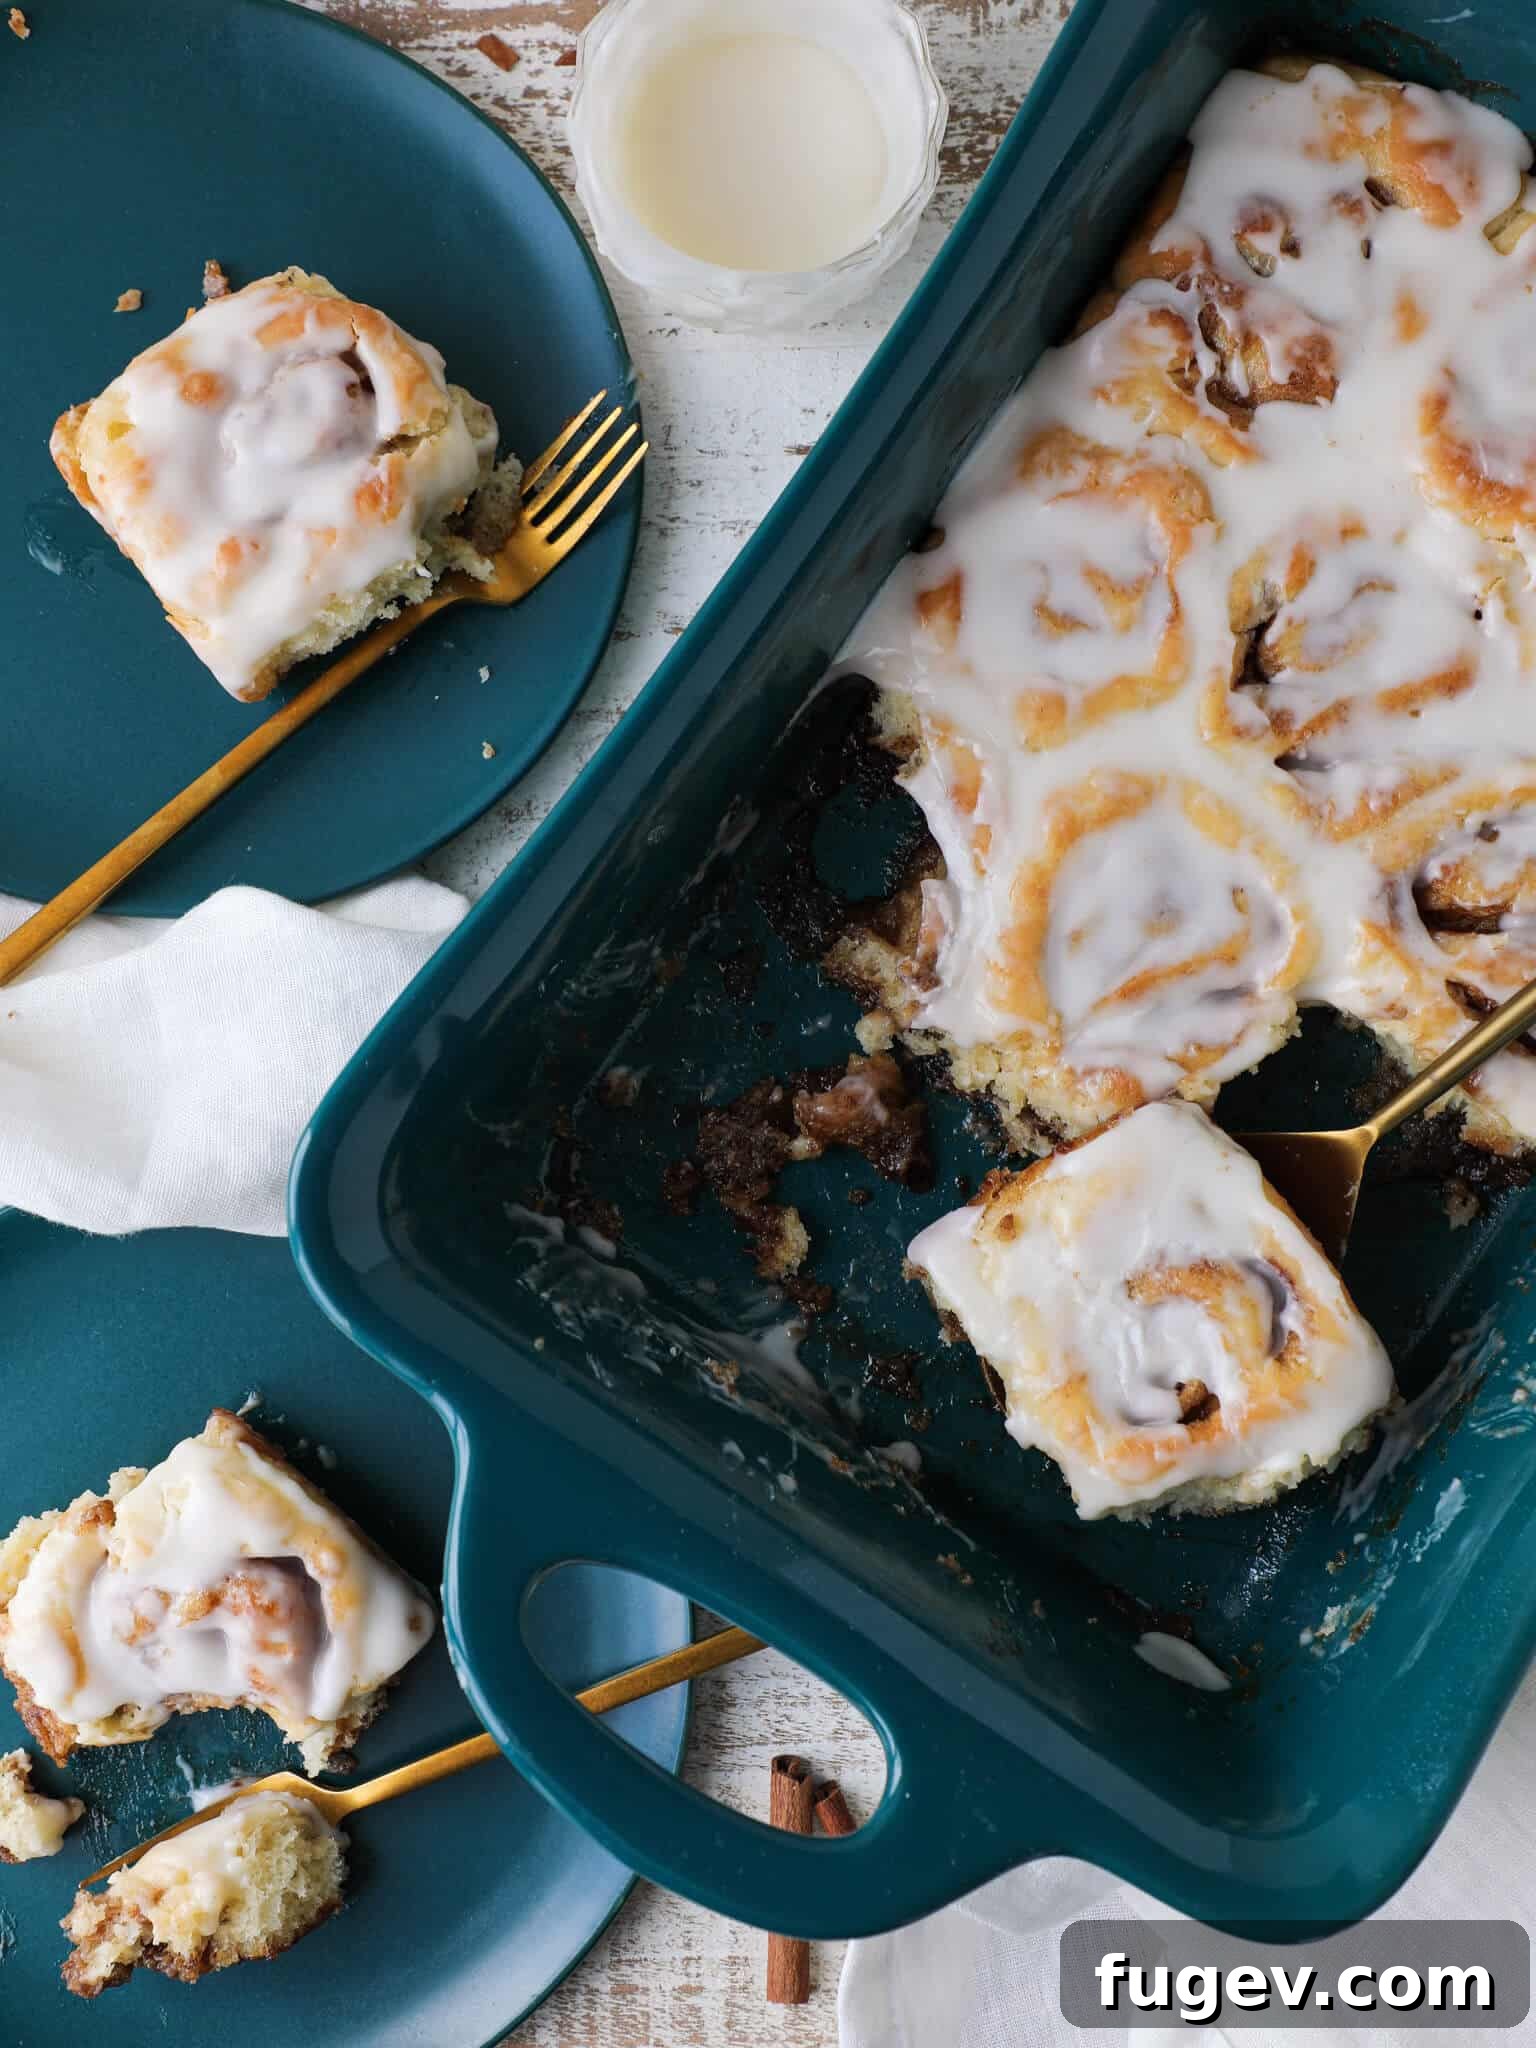
More Delightful Cinnamon Pastry Recipes
If you’ve loved these cinnamon rolls, explore more of my favorite cinnamon-infused treats!
Breakfast Pastry Recipes
Pecan Sticky Buns Recipe
Cookie Recipes
Cinnamon Sugar Cookies
Breakfast Pastry Recipes
Sourdough Cinnamon Rolls
Easy Scone Recipes
Cinnamon Scones
If you tried this recipe and loved it, please consider leaving a 🌟 star rating and sharing your experience in the comments below. I truly appreciate hearing from you!
Rated 5 out of 5 stars by 10 readers
The Best Homemade Cinnamon Rolls
Chef Lindsey
20
15
50
1
25
12
rolls
Comment
Print Recipe
Ingredients
For the Dough:
-
¾
cup
whole milk
(a little warmer than body temperature, ideally 105°F) -
2 ¼
teaspoon
active dry yeast
(1 packet, NOT instant yeast) -
1
egg -
¼
cup
unsalted butter
(softened) -
2 ½
cups
all-purpose flour -
½
teaspoon
kosher salt -
2
tablespoons
granulated sugar
For the Cinnamon Sugar Filling:
-
7
tablespoons
unsalted butter
(very soft, almost melted, to spread easily) -
1
cup
dark brown sugar -
1
tablespoon
ground cinnamon
For the Cream Cheese Icing:
-
2
cups
confectioner’s sugar -
2
oz
cream cheese
(softened, can be briefly microwaved) -
½
teaspoon
vanilla extract -
2
tablespoons
milk
(or more, as needed, to reach desired consistency)
Instructions
Make the Dough:
-
Gently heat the milk to 100-110 degrees F (38-43°C). Be careful not to overheat, as temperatures above this range can kill the yeast and prevent your dough from rising.
-
In the bowl of a stand mixer, pour the warm milk, then sprinkle the active dry yeast evenly over its surface. Whisk gently to break up any clumps. Let it bloom undisturbed for 10 minutes, or until the mixture becomes visibly foamy and bubbly, indicating the yeast is active.
-
Add the softened butter, whole egg, all-purpose flour, kosher salt, and granulated sugar to the bowl with the bloomed yeast and milk.
-
Fit your mixer with the paddle attachment and mix on low speed until all ingredients are incorporated and no dry lumps remain. Then, switch to the dough hook attachment. Mix on medium speed for 3-4 minutes until the dough pulls away from the sides of the bowl and you can stretch a small piece into a thin “windowpane” without it tearing. The dough will remain slightly sticky.
Folds and Proofing:
-
Lightly spray a large mixing bowl with cooking spray. Gently turn the dough out into this prepared bowl.
-
Perform one series of folds: starting from one side, gently pull the dough up and fold it halfway towards the center. Rotate the bowl a quarter turn and repeat this process with each side until you’ve formed a small, neat dough packet. Flip it seam-side down to create a smooth top surface. Cover the bowl tightly with plastic wrap and place in a warm spot for its bulk proof (first rise) for 30-45 minutes, or until the dough has doubled in size.
Make the Filling:
-
While the dough is proofing, prepare the cinnamon sugar filling. In a medium bowl, combine the very soft unsalted butter, dark brown sugar, and ground cinnamon. Mix thoroughly until a smooth paste forms. Set aside.
Assemble the Cinnamon Rolls:
-
Once the dough has doubled in size, generously flour your clean countertop. Turn the sticky dough out onto the counter, using a bowl scraper or rubber spatula as needed. Sprinkle a generous amount of flour on top of the dough and lightly flour your rolling pin.
-
Roll the dough out into a rectangle approximately 12 inches long by 10 inches high. Once you have your rectangle, use an offset spatula to evenly spread the cinnamon sugar filling over the entire surface, leaving a small, clean border along the top and bottom edges.
-
Starting from the bottom long edge (the 12-inch side) closest to you, begin to tightly roll the dough away from you into a neat log. Pinch and seal the top edge firmly to secure the roll.
-
Using a very sharp knife (or a bench scraper or unflavored dental floss), slice the log into approximately 1-inch thick pieces. This will yield 12 rolls. For larger rolls, you can cut the log into 8 equal pieces.
-
Lightly spray a 9” x 11” baking dish with cooking spray. Arrange the sliced cinnamon rolls in the dish, spacing them about 2 inches apart. I typically offset them (e.g., a row of 2, then one in the center, then another row of 2) to give them adequate space to expand without overcrowding during proofing and baking.
Final Proof:
-
Cover the baking dish tightly with plastic wrap and return it to your warm spot for an additional 20-40 minutes for the final proof (second rise). I find 20 minutes is often sufficient, after which I move the dish aside and preheat my oven to 350°F (175°C) convection. Remember that smaller rolls will proof and bake faster than larger ones.
Bake the Rolls:
-
Remove the plastic wrap from the baking dish. Bake the cinnamon rolls in the preheated oven at 350°F (175°C) for approximately 15-20 minutes. In my oven, they are usually perfect at 18 minutes. The rolls should be beautifully golden brown around the edges and lightly browned on top, with centers that no longer appear or feel doughy. You can confirm doneness by inserting a cake tester or thin skewer into the center; it should come out clean.
Make the Icing & Frost:
-
Allow the baked cinnamon rolls to cool in the pan for about 10-15 minutes before applying the icing. This prevents the icing from melting completely and running off.
-
While the rolls are cooling, mix all the ingredients for the cream cheese icing together in a bowl: confectioner’s sugar, softened cream cheese, vanilla extract, and milk. I find a spatula works best for thoroughly incorporating the cream cheese and achieving a smooth, creamy texture. I prefer a slightly thicker consistency so it spreads beautifully over the still-warm rolls – truly a little bit of heaven!
Notes
Presentation Perfection – For the most appealing presentation, allow your freshly baked rolls to cool in the pan for at least 10-15 minutes before you begin to spread the cream cheese icing. This crucial cooling period ensures the icing remains atop the rolls in a luscious layer, rather than melting and disappearing between them. For an even more robust topping, a thicker icing consistency will adhere better and create a more substantial finish.
Mastering the Technique – A key step to success is ensuring your yeast is alive and active. After sprinkling the active dry yeast into the warm milk (100-110°F), allow it to bloom for 10 minutes. Within this timeframe, you should see a clear layer of bubbles or foam forming on the surface, indicating the yeast is healthy and ready. If there are no bubbles, your yeast is likely inactive, and you’ll need to replace it with a fresh batch. Don’t skip this test; it saves you the disappointment of waiting for dough that won’t rise!
Flavor Variations – Enhance your cream cheese frosting by adding a touch of maple syrup, a hint of molasses for depth, or some golden honey for extra sweetness and aroma. These additions can transform the icing into an even more unique complement to the cinnamon rolls.
Storage Tips – To maintain their soft texture, store baked cinnamon rolls tightly wrapped in plastic wrap or in an airtight container at room temperature for up to 3 days. While refrigeration is possible for up to a week, it can tend to dry them out. They are undeniably at their absolute best when enjoyed on the very day they are baked.
Nutrition
Carbohydrates: 59g |
Protein: 5g |
Fat: 14g |
Saturated Fat: 8g |
Polyunsaturated Fat: 1g |
Monounsaturated Fat: 4g |
Trans Fat: 0.4g |
Cholesterol: 49mg |
Sodium: 216mg |
Potassium: 114mg |
Fiber: 2g |
Sugar: 37g |
Vitamin A: 448IU |
Vitamin C: 0.03mg |
Calcium: 56mg |
Iron: 2mg
Breakfast
American
374
Enjoyed this recipe? Share your thoughts below!
Before You Go
I sincerely hope you savored the experience of making and enjoying these classic homemade cinnamon rolls. They truly are a delightful indulgence, perfect for any time you crave a touch of warmth and sweetness. Be sure to explore our other fantastic easy breakfast & brunch recipes, including irresistible jelly donuts or our light and fluffy whole wheat pancakes. Happy baking, and happy eating!