
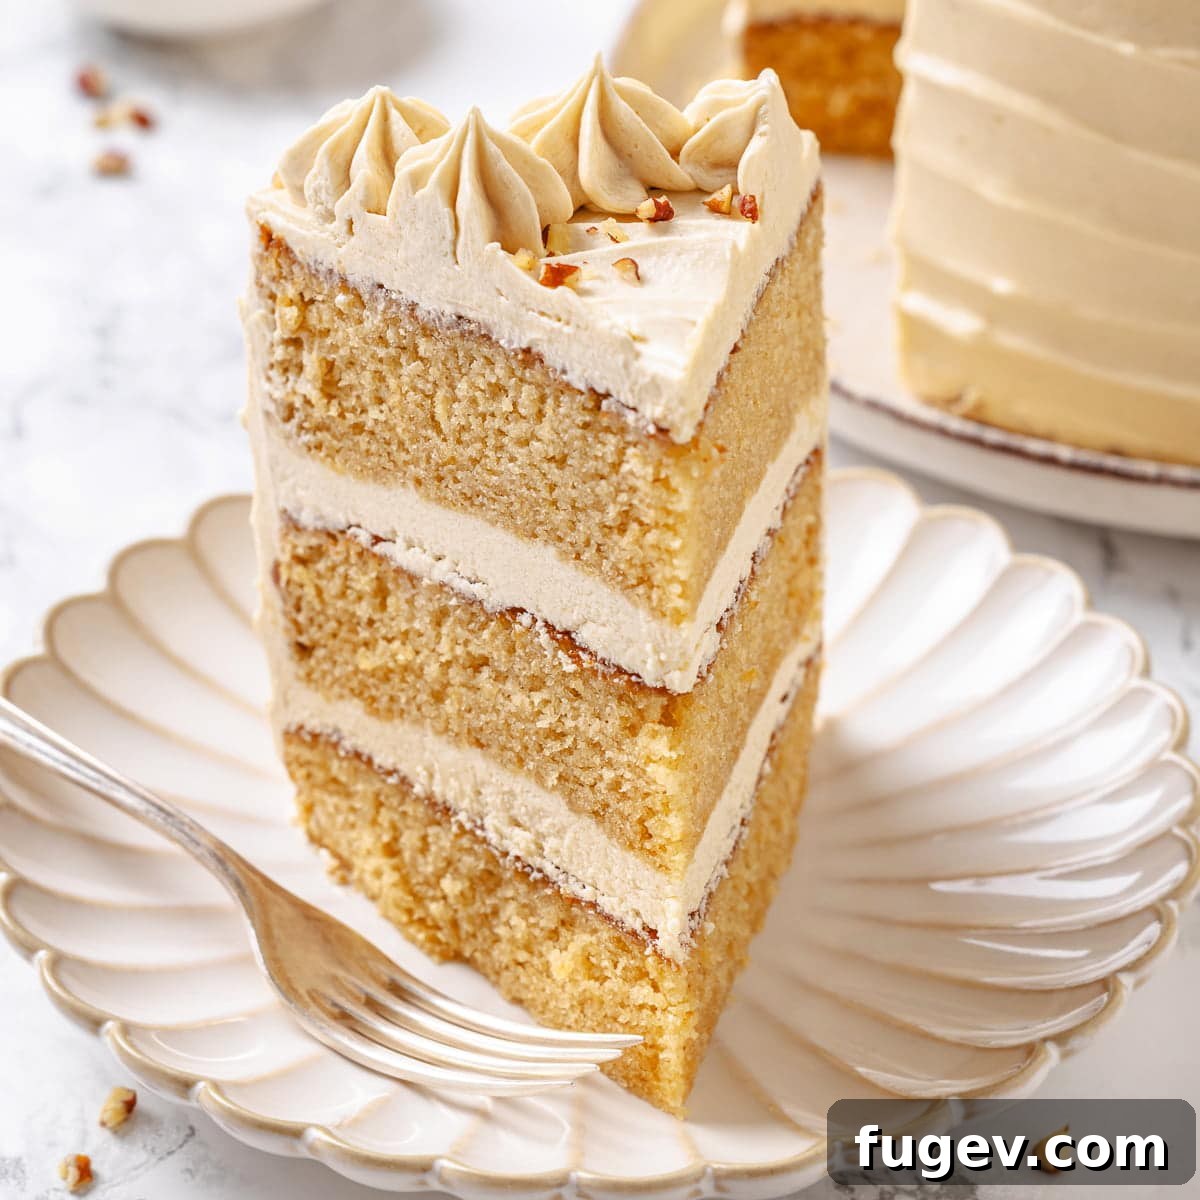
The Ultimate Homemade Maple Cake with Silky Maple Frosting
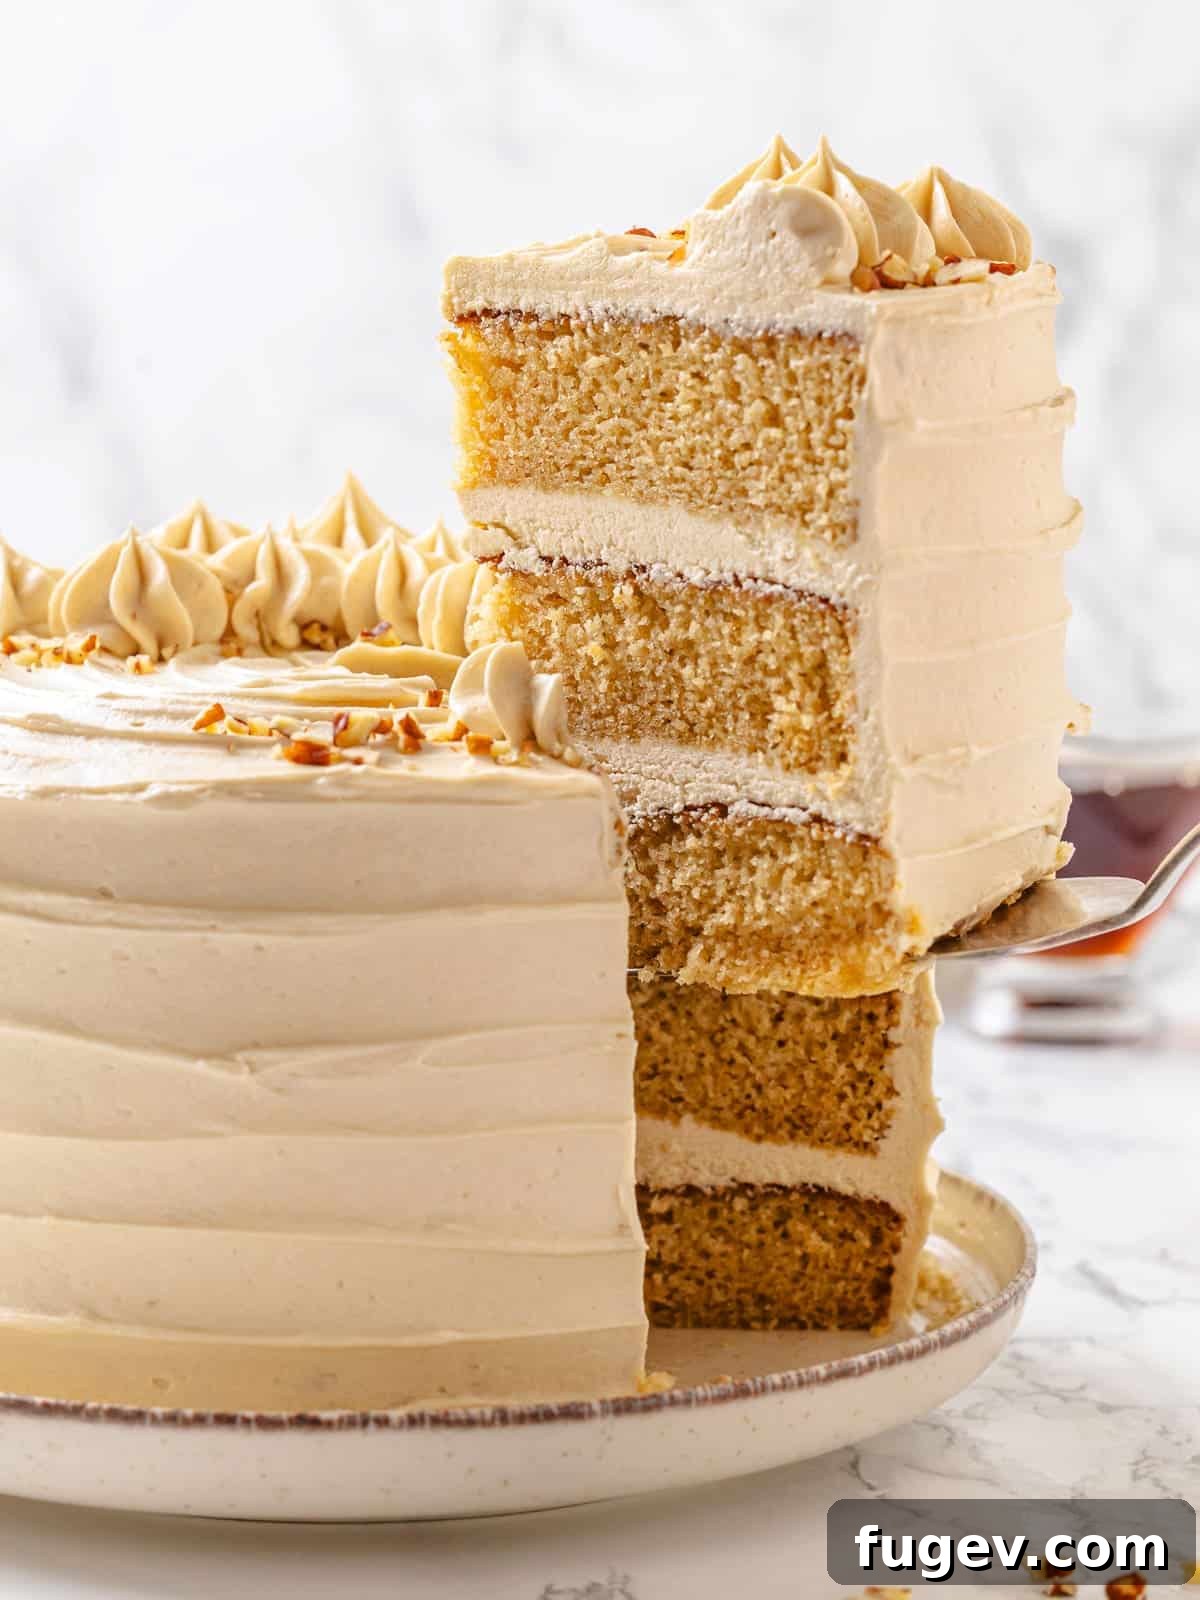
Indulge in the irresistible charm of a truly exceptional Maple Cake. This recipe delivers a soft, tender, and incredibly moist cake, effortlessly prepared in a single bowl for a wonderfully easy baking experience. Each delectable slice is generously paired with a luxurious, silky cooked maple frosting, meticulously crafted to balance its sweetness and highlight the rich, authentic flavor of pure maple syrup. It’s the perfect dessert to celebrate autumn or bring a touch of cozy warmth to any occasion.
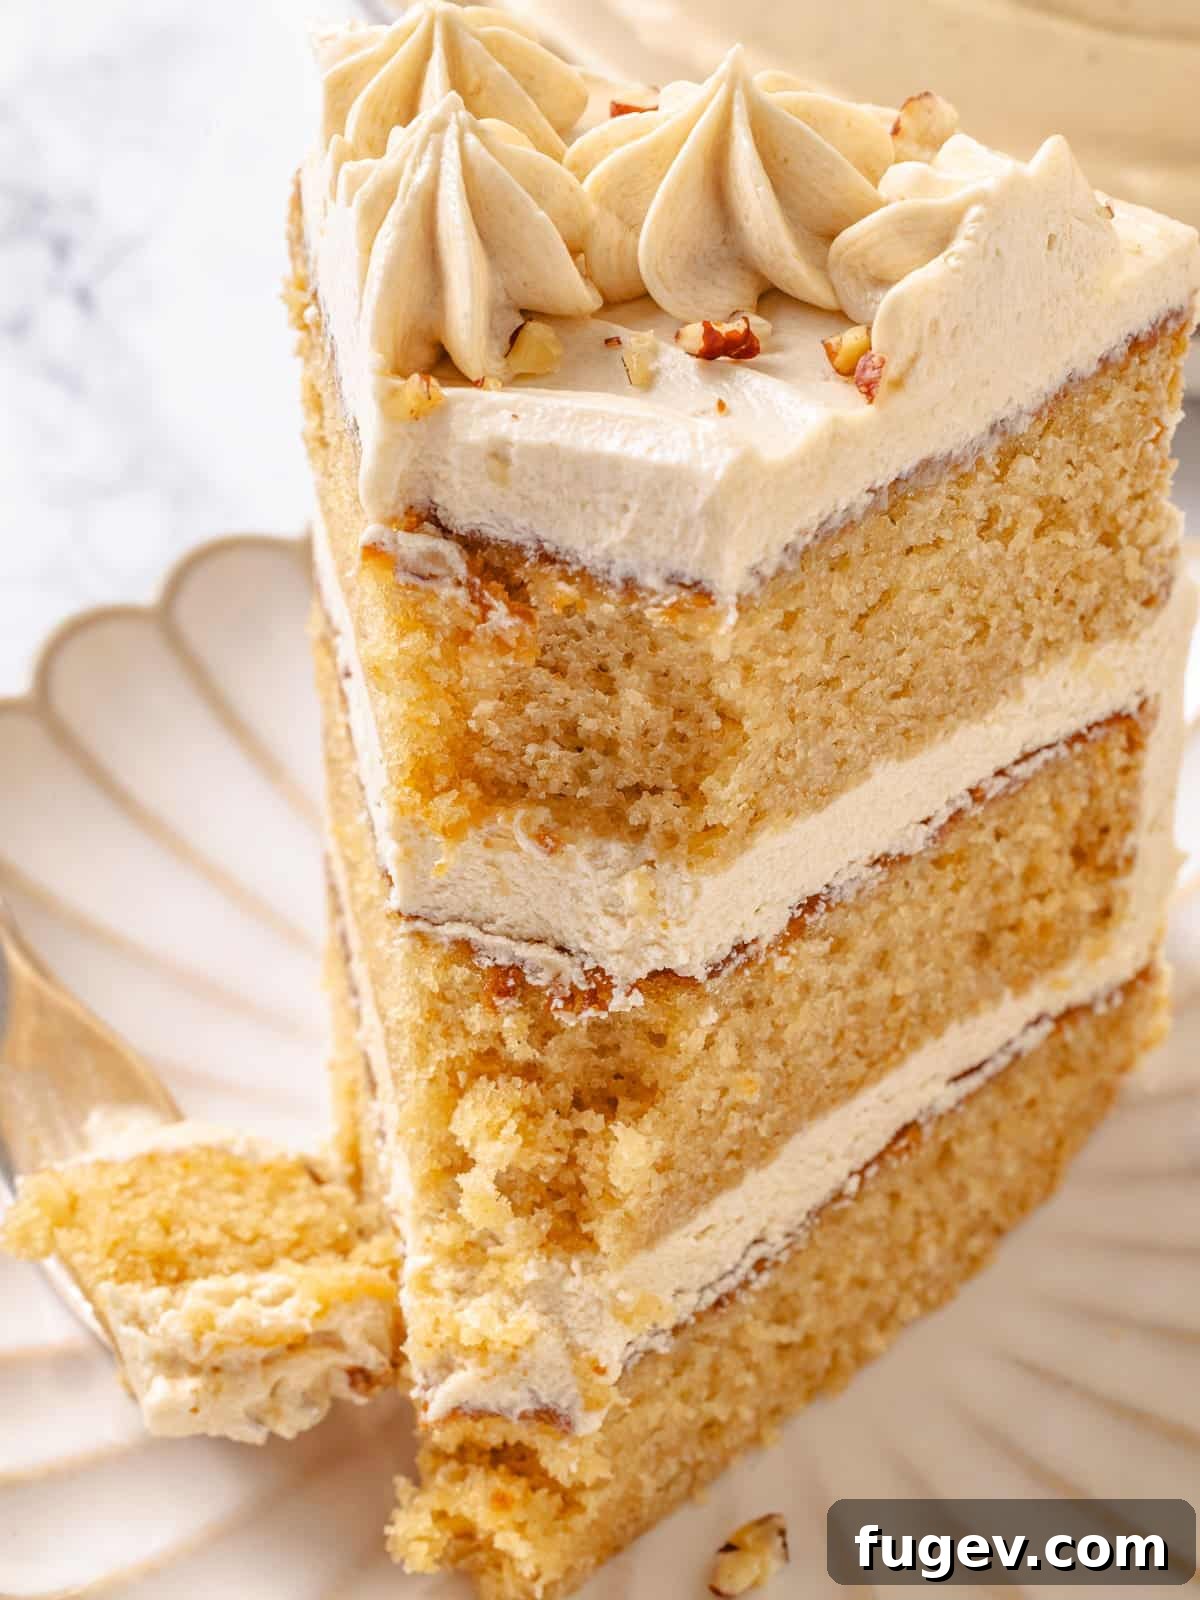
Crafting the perfect maple cake has been a journey of careful experimentation and dedication. Our mission was to achieve an unparalleled balance of authentic maple flavor and an exquisitely tender, moist texture that melts in your mouth. Initially, many attempts involved a butter-based cake, even adapting beloved recipes like our perfect vanilla cupcakes. However, these early tests often resulted in a less tender and noticeably drier cake, failing to capture the ideal consistency we envisioned.
The breakthrough came with a pivot to an oil-based cake, inspired by the success of recipes like our easy moist chocolate cake. This crucial change transformed the recipe, yielding the super soft, moist, and tender cake you’ll experience today. The oil not only contributes to the cake’s incredible moisture but also allows the delicate maple notes to truly shine without being overshadowed by butterfat.
For the ultimate experience, we strongly encourage you to invest in pure Grade A maple syrup. While it might seem like a splurge, the depth of flavor it imparts is absolutely invaluable and makes all the difference in this recipe. Beyond this stunning cake, your premium maple syrup can be used to create other delightful treats such as our elegant maple bundt cake or the festive pumpkin trifle. Any remaining syrup can be savored over a stack of warm whole wheat pancakes for a truly decadent breakfast.
Why You Will Adore This Maple Cake
- Authentic Maple Flavor, Perfectly Balanced: This cake boasts a genuine, pure maple syrup flavor that is rich and satisfying, without being overly sweet. Through extensive testing, we’ve fine-tuned the amount of maple syrup in both the cake and the frosting, ensuring a harmonious and perfectly balanced taste that will delight your palate.
- Effortless & Exceptionally Moist: Mixed by hand, this recipe is surprisingly easy to prepare, making it accessible even for novice bakers. The synergistic combination of maple syrup and neutral oil guarantees a cake that remains incredibly moist and tender for days, resisting dryness far longer than traditional butter cakes.
- Light, Fluffy & Stable Maple Frosting: Our signature maple frosting is whipped to a dreamy, ethereal texture that’s light and airy. The secret lies in cooking the flour base, a technique that imparts remarkable stability, similar to a classic Italian meringue buttercream. This means a frosting that holds its shape beautifully and provides a delightful contrast to the cake’s crumb.
Table of Contents
- Why You Will Adore This Maple Cake
- Key Ingredients & Smart Substitutions
- Exciting Variations to Explore
- Professional Baking Tips for Success
- Step-by-Step Guide: How to Make Maple Cake
- Chef Lindsey’s Recipe Tip
- Recipe FAQs
- More Cozy Cake Recipes to Love
- Printable Maple Cake Recipe Card
- Before You Go
Key Ingredients & Smart Substitutions for Maple Cake
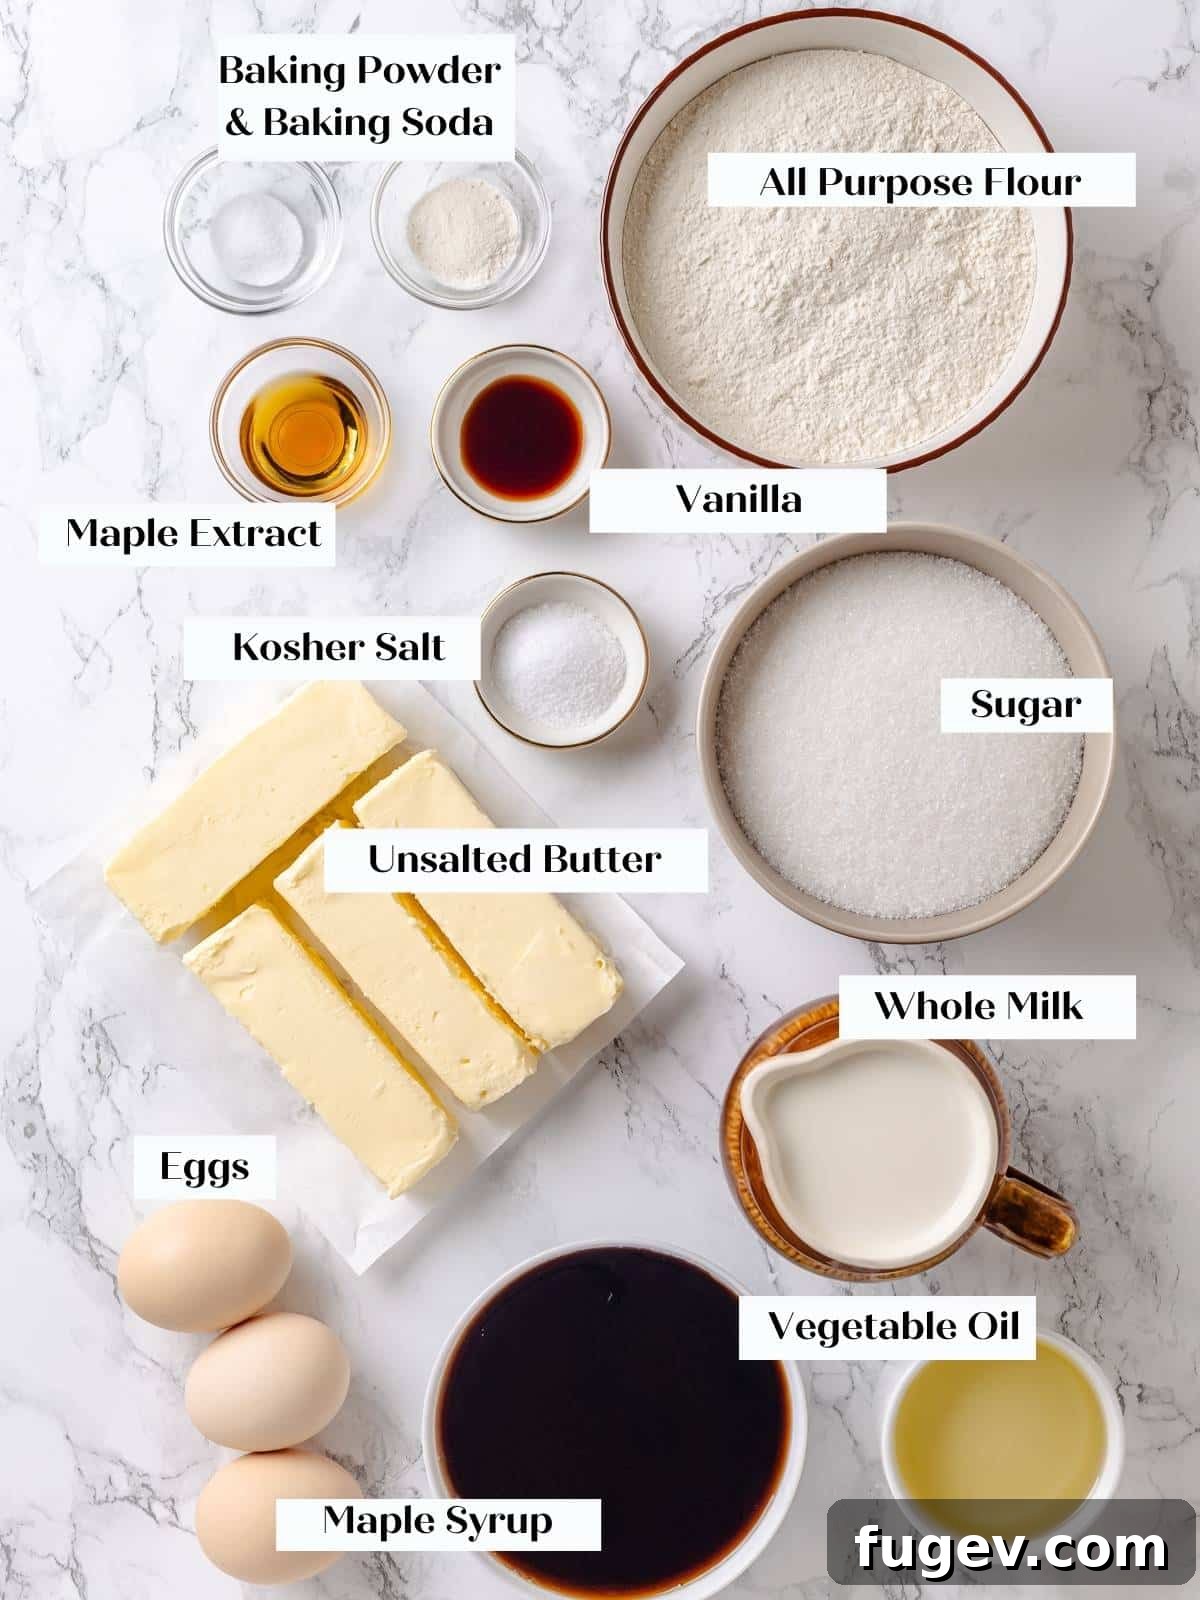
- All-Purpose Flour: The foundation of our cake’s structure. For a gluten-free alternative, King Arthur’s Measure-for-Measure Flour works wonderfully in the cake batter. However, using gluten-free flour in the frosting can sometimes result in a grainy texture. If you’re committed to a completely gluten-free cake, we suggest opting for a Swiss meringue buttercream for the frosting, which naturally avoids the flour base.
- Eggs: Essential for emulsifying the oil and maple syrup into the batter. The whole eggs create a stable emulsion, ensuring a cake that’s moist and tender, never greasy. They also add richness and contribute to the cake’s overall structure.
- Maple Extract: While optional, a hint of maple extract significantly enhances the robust maple flavor in the cake without adding extra sweetness or moisture. It’s a wonderful secret weapon for intensifying that pure maple essence.
- Granulated Sugar: Provides sweetness and tenderness. For a deeper, more nuanced flavor profile with subtle caramel notes, consider substituting light or dark brown sugar. For an even more profound maple experience, maple sugar can be used, further amplifying the cake’s signature taste.
- Vegetable Oil: The hero ingredient for an exceptionally moist and tender crumb. It’s crucial to select a neutral-flavored oil, such as vegetable, canola, or grapeseed oil, as its presence is noticeable in the final product. Save that fragrant olive oil for recipes like our pumpkin olive oil cake, where its distinct flavor is celebrated.
- Maple Syrup: The star! We highly recommend using pure Vermont maple syrup. Look for what is now labeled as “Grade A: dark amber color and robust flavor” (formerly known as “Grade B”). This grade has the deepest, most concentrated maple taste and a thicker consistency, making it ideal for baking. “Grade A: Very Dark and Strong Flavor” can also be used if you can find it, though it’s often more expensive and less readily available.
- Whole Milk: Contributes essential fat and flavor, enhancing the cake’s richness and moisture. Its lower water content compared to skim milk helps keep baked goods tender and prevents them from drying out. Feel free to use your favorite dairy-free milk substitute if preferred.
Refer to the comprehensive recipe card below for precise measurements and a complete list of ingredients.
Exciting Variations to Explore
This versatile maple cake recipe serves as a fantastic canvas for your culinary creativity. Here are some delightful ways to customize it:
- Introduce Crunchy Nuts: Elevate the texture and flavor by folding in a cup of toasted pecans, walnuts, or hazelnuts into the cake batter. For an extra special touch, garnish the exterior of the frosted cake with candied nuts, adding both visual appeal and a delightful crunch.
- Transform into Cupcakes: Easily adapt this recipe to make 24 delightful maple cupcakes. Simply divide the batter among lined cupcake tins and bake for approximately 15-20 minutes, or until a tester comes out clean. Once cooled, pipe the silky maple frosting generously on top for individual treats.
- Experiment with Different Buttercreams: While our maple ermine frosting is divine, feel free to switch it up! This cake pairs beautifully with a rich caramel Swiss meringue buttercream, a tangy cream cheese buttercream frosting, or even a classic American buttercream flavored with maple liqueur or maple extract for an extra maple kick.
- Add a Luscious Filling: Turn this cake into an extraordinary dessert by adding a delicious filling between the layers. Create a sturdy dam with maple frosting around the edge of each layer, then fill the center with homemade salted maple caramel sauce, a bright easy apple compote, or a tart and sweet cranberry chutney for a burst of contrasting flavor.
Professional Baking Tips for Success
- Ensure Proper Cooking of the Frosting Flour Base: The stability and texture of your ermine frosting directly depend on adequately cooking the flour base. You’ll know it’s ready when the mixture is thick enough to “plop” off your spoon or spatula in coherent clumps, rather than streaming off. A line drawn through it with your spatula should hold its shape. This ensures your frosting will be robust and pipeable.
- Optimize Your Baking Timeline: To streamline your baking process, we recommend preparing the cake batter first. While the cake bakes, move on to making the cooked flour base for your frosting. This timing allows both the cake layers and the frosting base ample time to cool completely to room temperature before assembly, which is crucial for a smooth frosting process. If you need to speed up the cooling of the frosting base, place it in the refrigerator, stirring every 20 minutes until it reaches body temperature.
- Master Your Desired Frosting Finish: Consider the aesthetic you want for your cake. If you’re aiming for a sleek, polished finish, much like our elegant chocolate raspberry cake, apply a crumb coat and then refrigerate the cake until the frosting is firm. This foundational chilling makes it easier to stack layers and achieve a perfectly smooth exterior without the frosting shifting or tearing. For a more rustic, charmingly swirled look, similar to the inviting texture of our chocolate mayonnaise cake, simply apply your desired amount of frosting and create beautiful swirls using the back of a spoon or an offset spatula.
- Accurate Ingredient Measurement: Baking is a science! Always measure your dry ingredients like flour using the “spoon and level” method (spoon flour into the measuring cup, then level off with a straight edge) to avoid compacting the flour, which can lead to a dry cake. For wet ingredients, ensure you’re at eye level with your measuring cup.
- Room Temperature Ingredients: For both the cake and frosting, ensure eggs, milk, and butter (for frosting) are at room temperature. This helps them emulsify properly, creating a smoother batter and a more uniform, fluffy frosting. Cold ingredients can cause the batter to seize or the frosting to curdle.
Step-by-Step Guide: How to Make Maple Cake
Follow these detailed instructions to create a truly perfect maple cake from scratch. More specific details and exact measurements can be found in the comprehensive recipe card below.
Prepare the Cake Layers:
Step 1: Preheat the oven and prepare pans. Preheat your oven to 325°F (160°C) if using convection (with the fan) or 350°F (175°C) for a conventional oven (without the fan). Lightly spray and line 2 (or 3, for taller layers) 8 or 9-inch round cake pans with parchment paper circles at the bottom. This prevents sticking and ensures easy release.
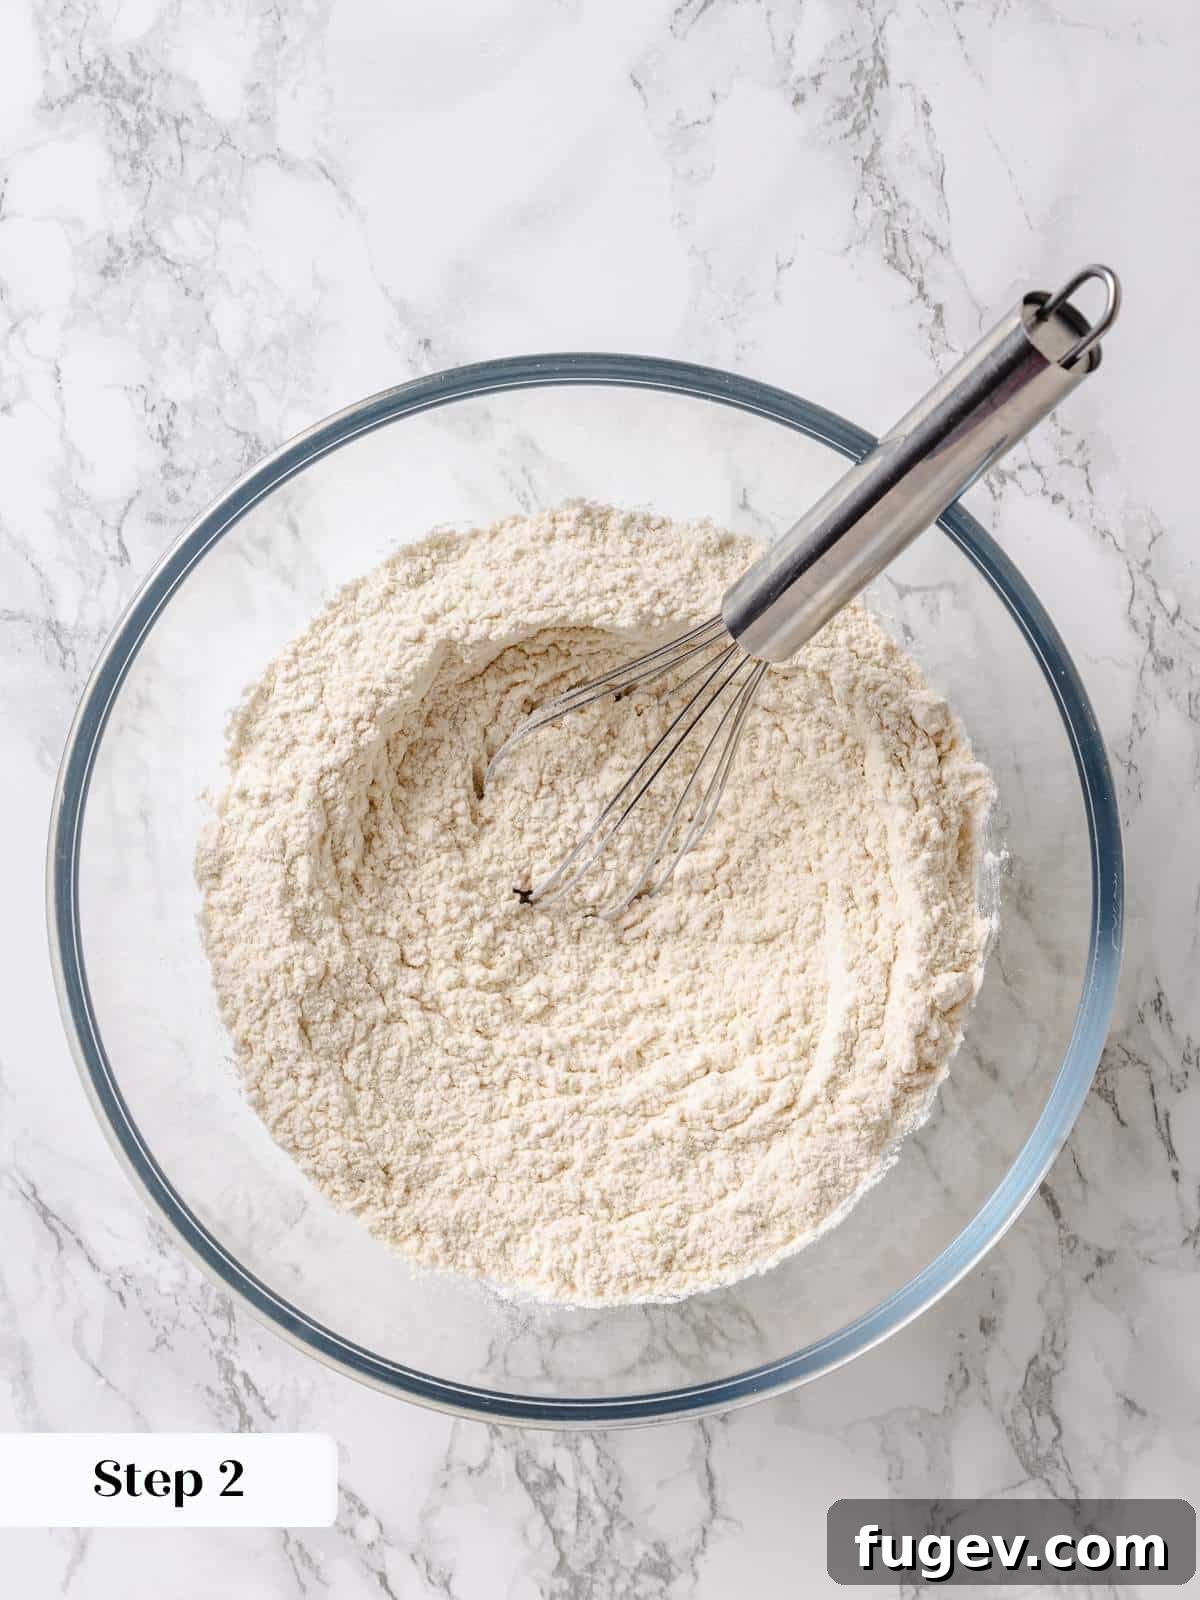
Step 2: Combine dry ingredients. In a medium-sized mixing bowl, thoroughly whisk together the all-purpose flour, kosher salt, baking powder, and baking soda. Ensure these ingredients are well combined to distribute the leavening agents evenly. Set this bowl aside for later use (photo 1).
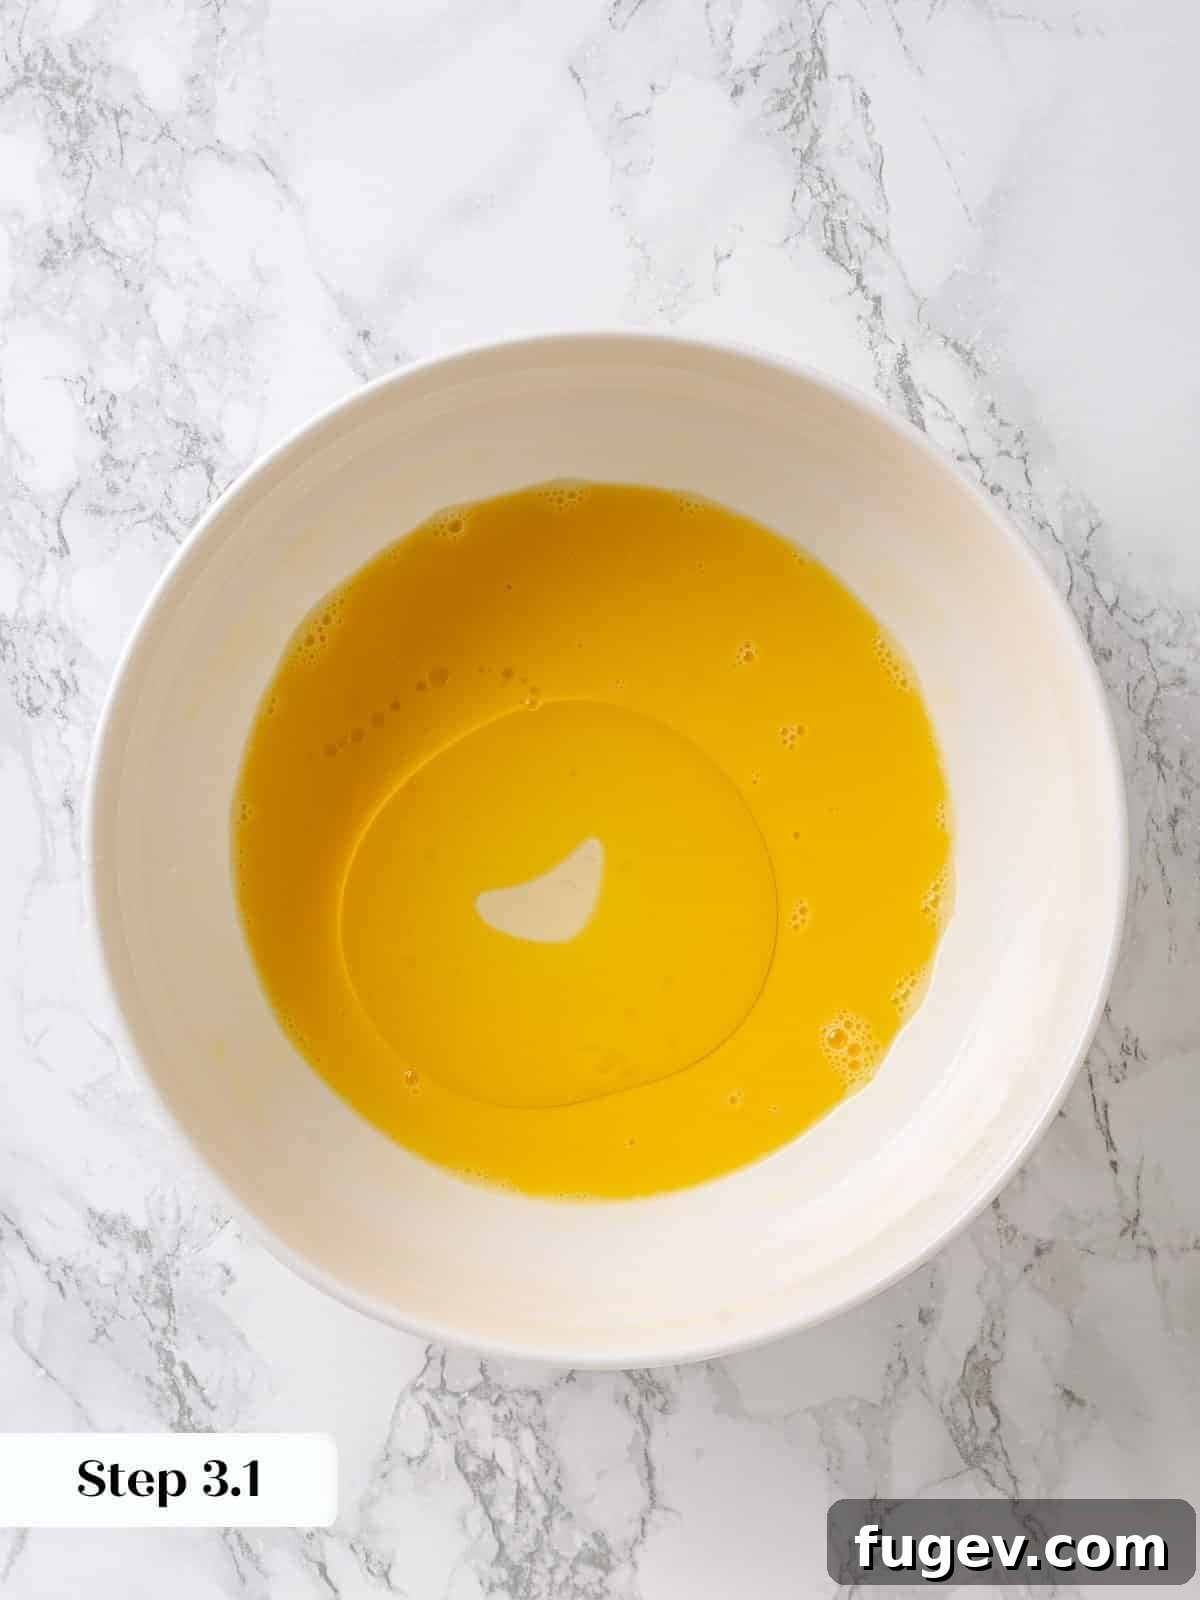
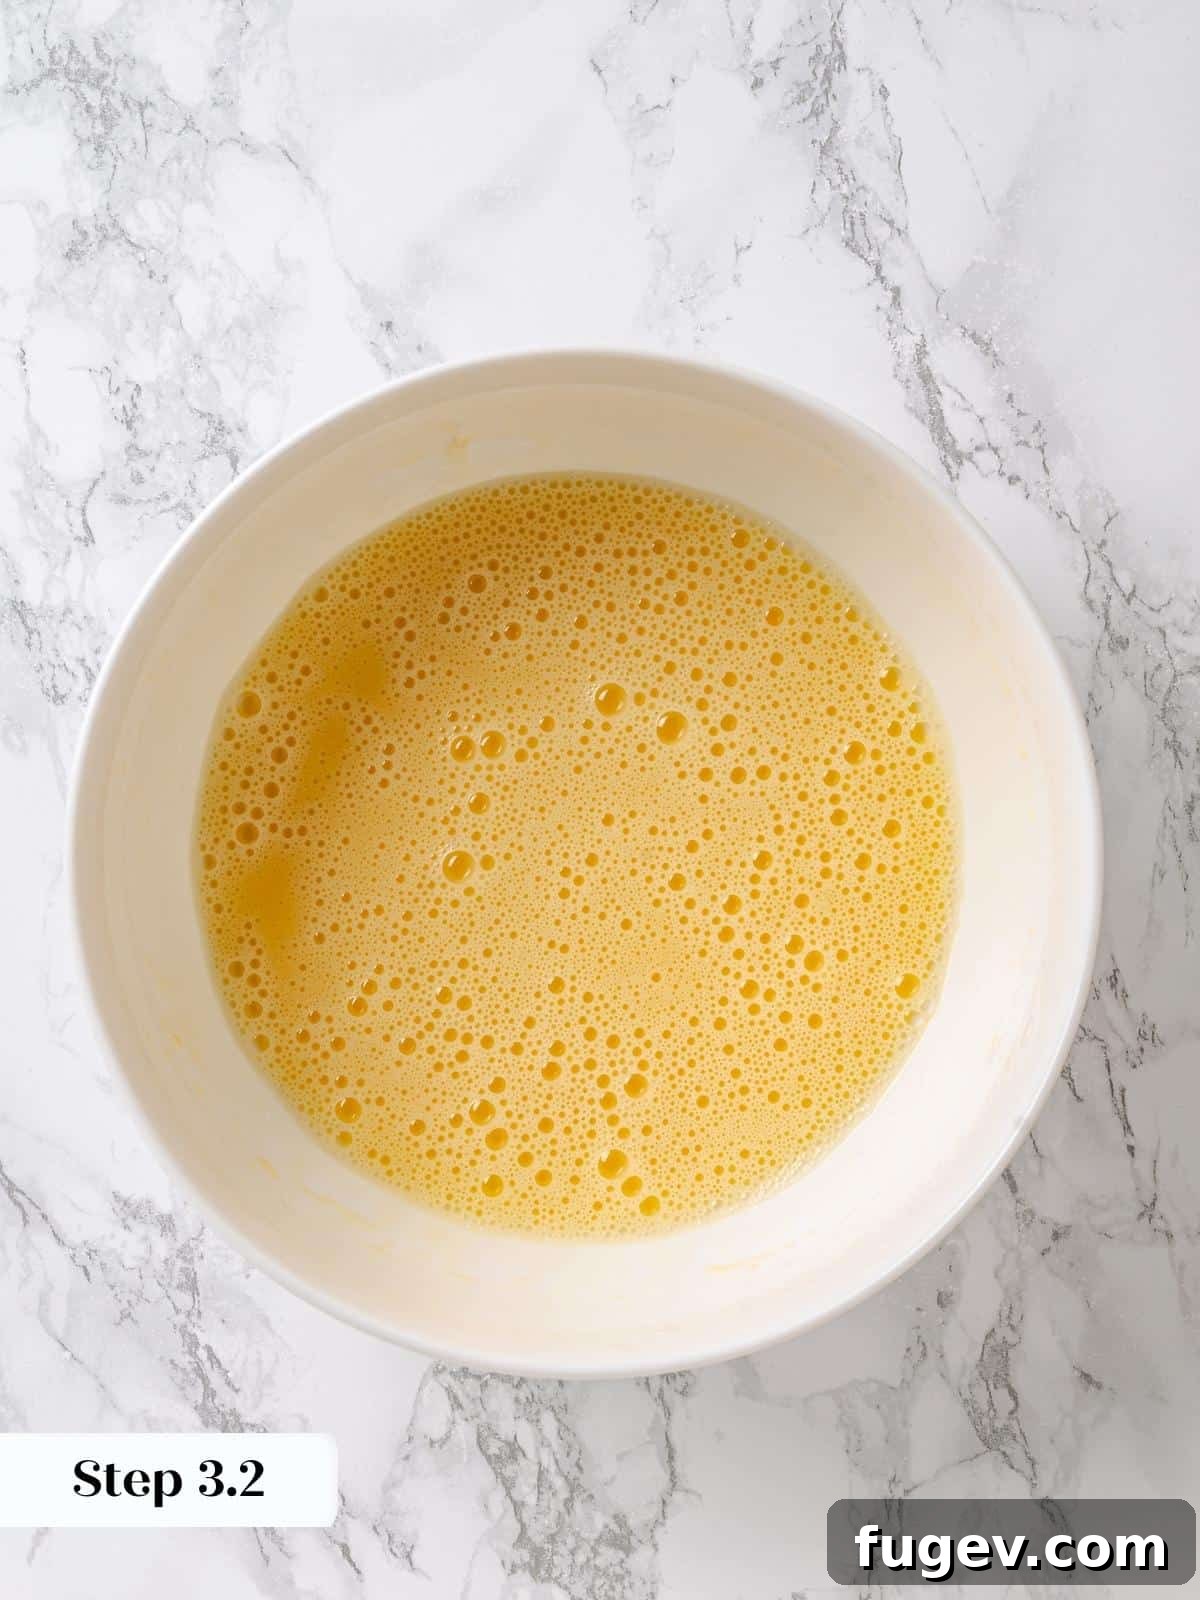
Step 3: Create the wet emulsion. In a separate large mixing bowl, vigorously whisk the eggs until they are smooth and uniformly colored. Gradually, slowly pour the neutral vegetable oil into the whisked eggs while continuing to whisk constantly. This slow addition and continuous whisking are key to creating a stable emulsion, ensuring a perfectly moist, non-greasy cake (photos 2 & 3).
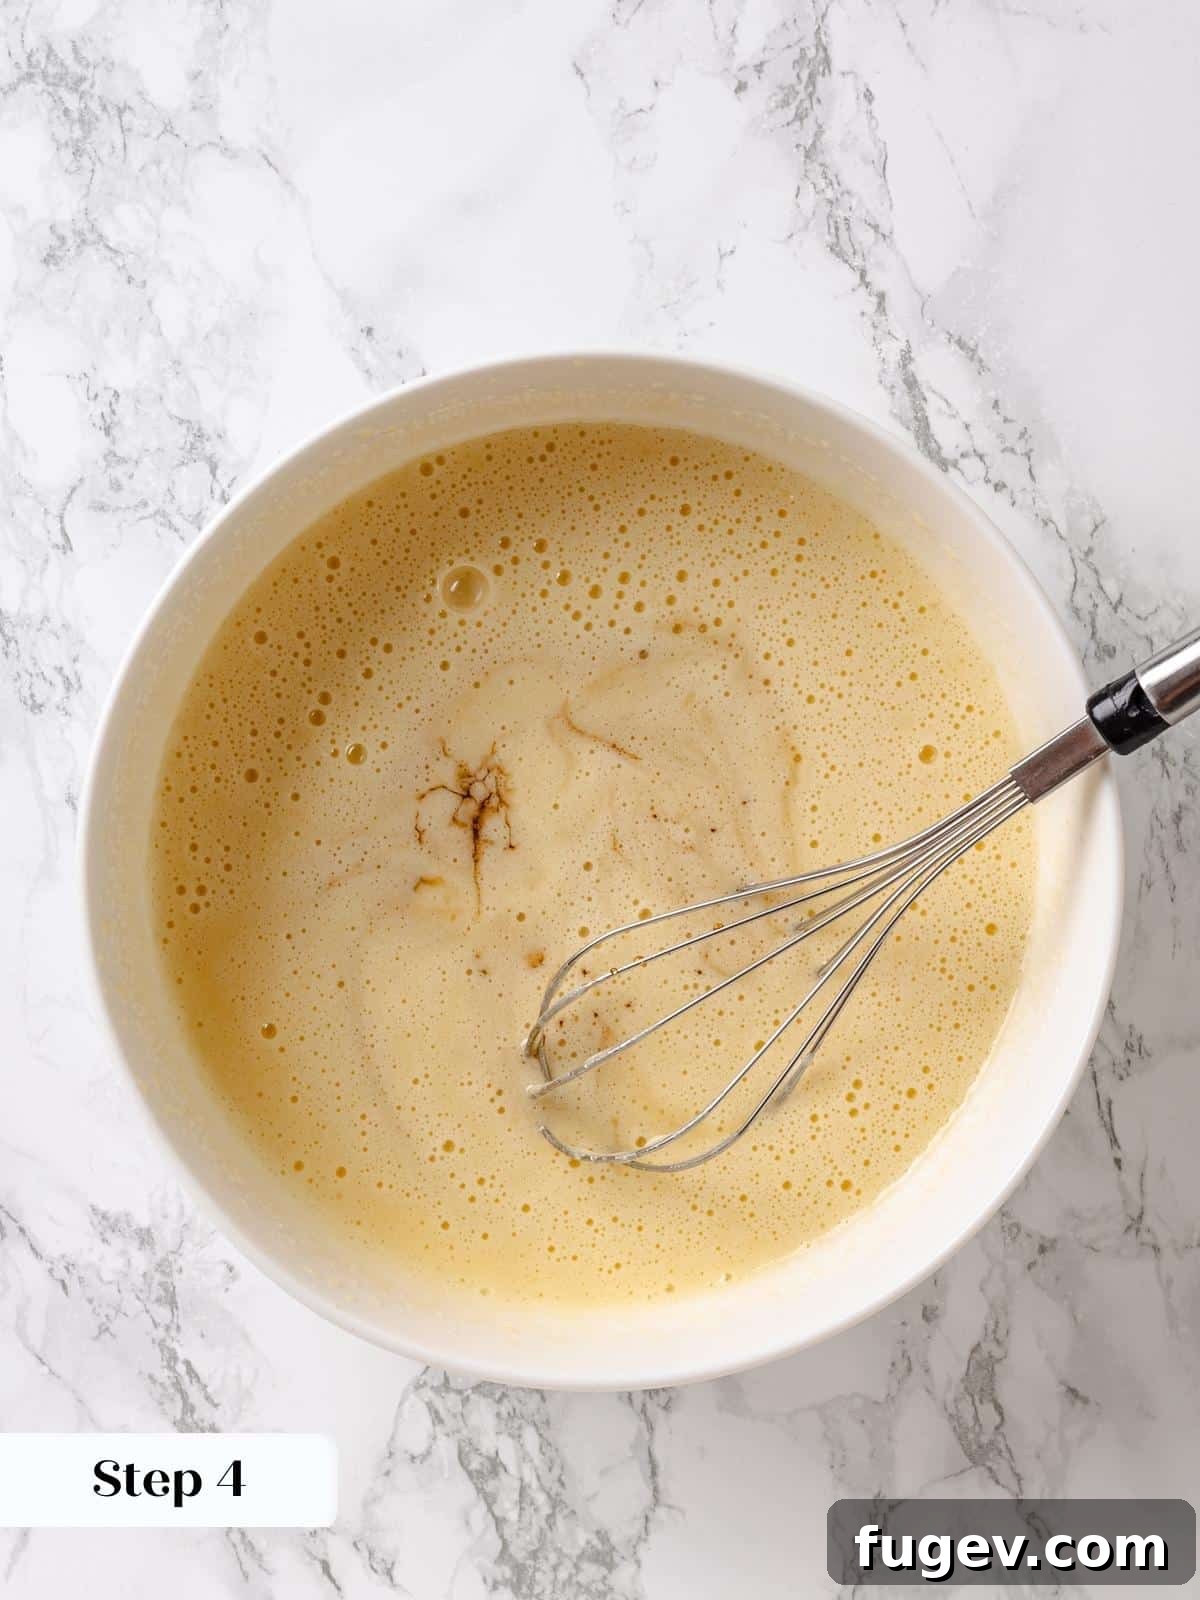
Step 4: Incorporate sweeteners and flavor. Add the granulated sugar to the large bowl with the egg and oil emulsion. If using, also add the maple extract at this stage. Whisk thoroughly until the sugar is fully dissolved and incorporated into the mixture, and everything is smooth. Next, pour in the pure maple syrup and whisk until it’s seamlessly blended into the wet ingredients (photo 4).
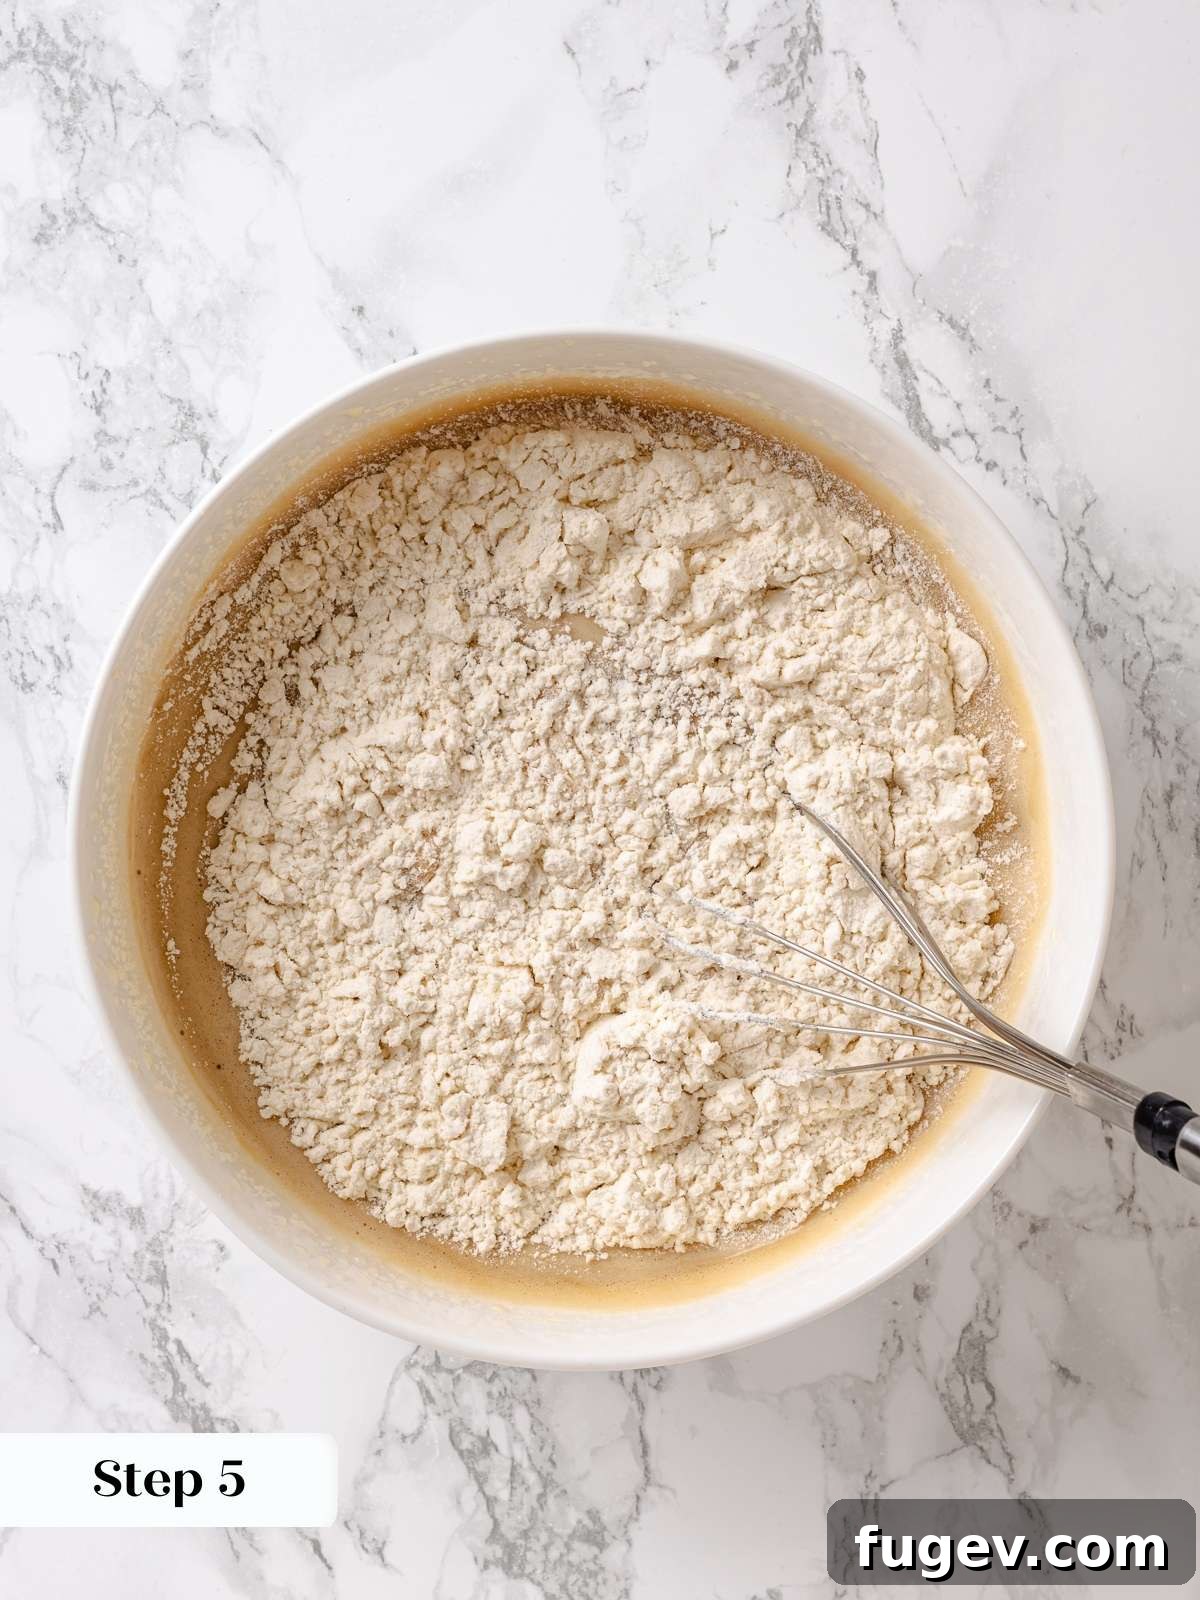
Step 5: Gradually add dry and wet. Alternately add the dry flour mixture and the whole milk to the wet ingredients in three separate additions. Begin by adding about one-third of the dry ingredients, whisk until just combined with no visible lumps, then add one-third of the milk and whisk until smooth. Repeat this process two more times with the remaining dry ingredients and milk, ensuring each addition is fully incorporated before adding the next. This method prevents overmixing and ensures a tender cake (photo 5).
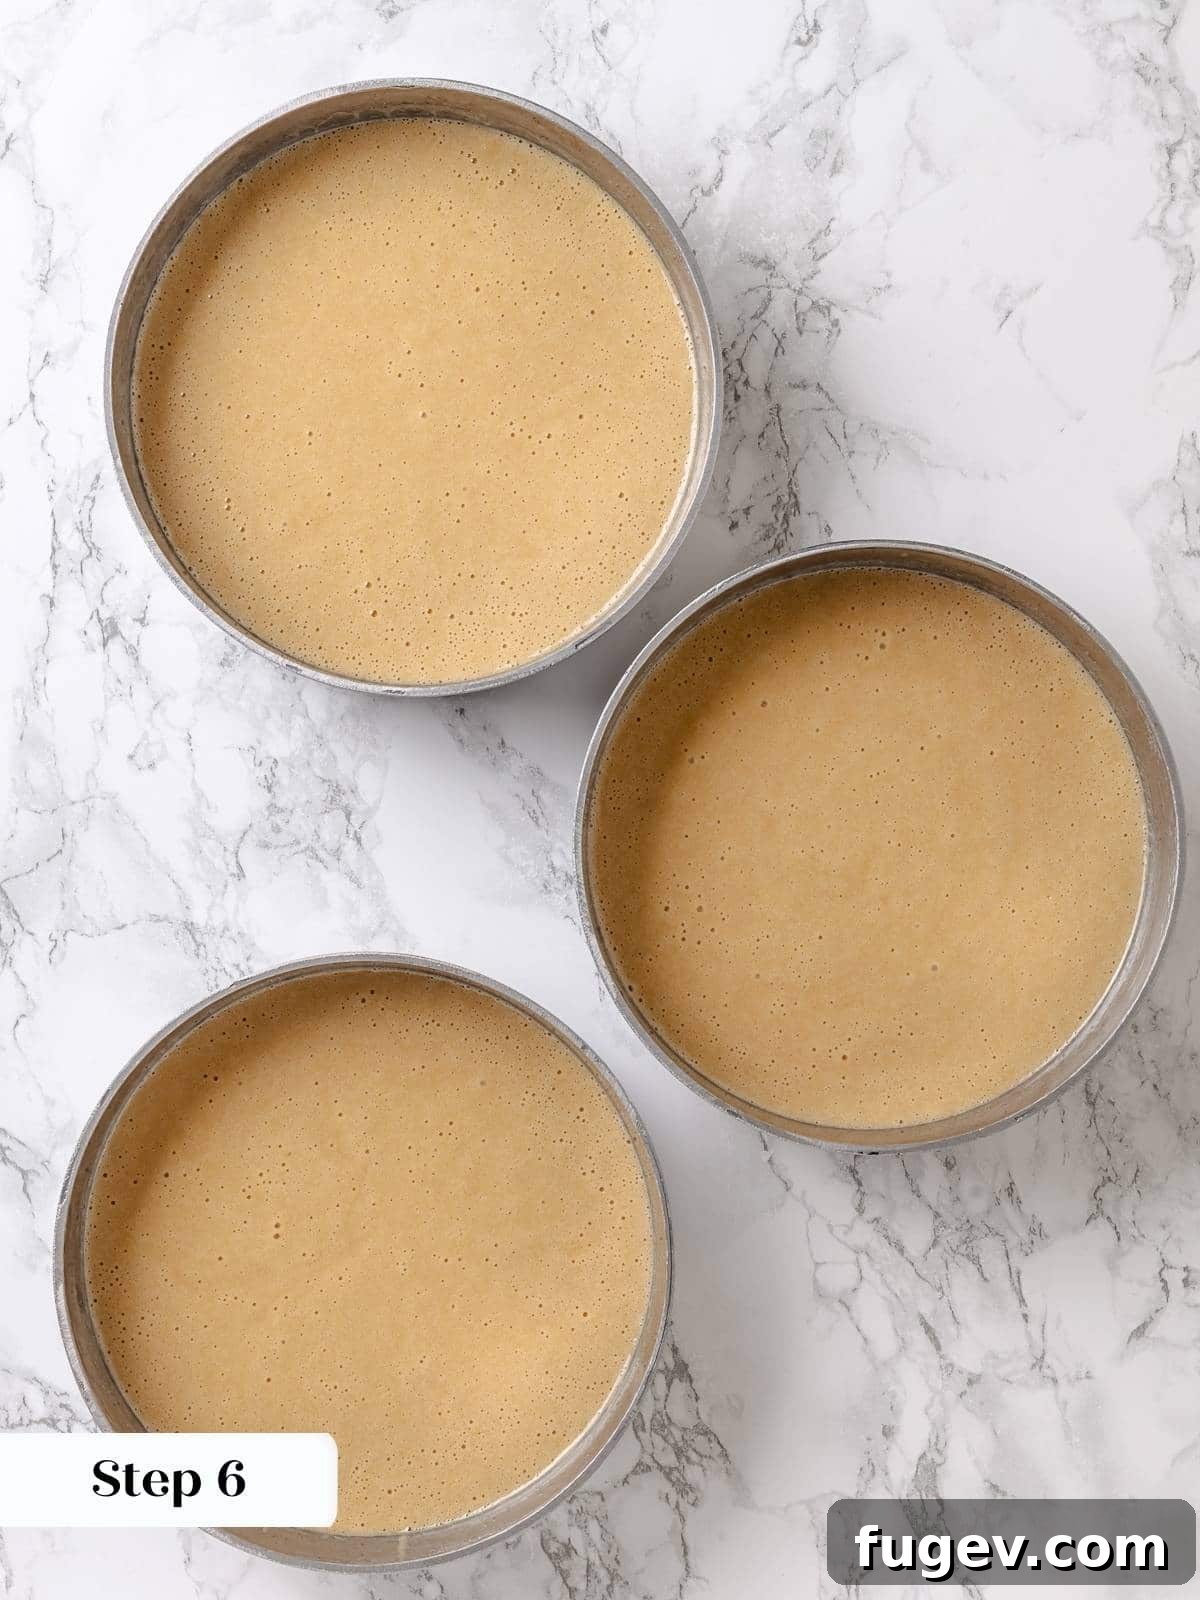
Step 6: Fill and bake. Evenly divide the prepared maple cake batter between your greased and parchment-lined cake pans. Use a kitchen scale for precision if you want perfectly even layers (photo 6).
For a two-layer cake, I typically aim for approximately 850 grams of batter per 9-inch pan. These layers baked beautifully for 37 minutes at 325°F (160°C) in a convection oven.
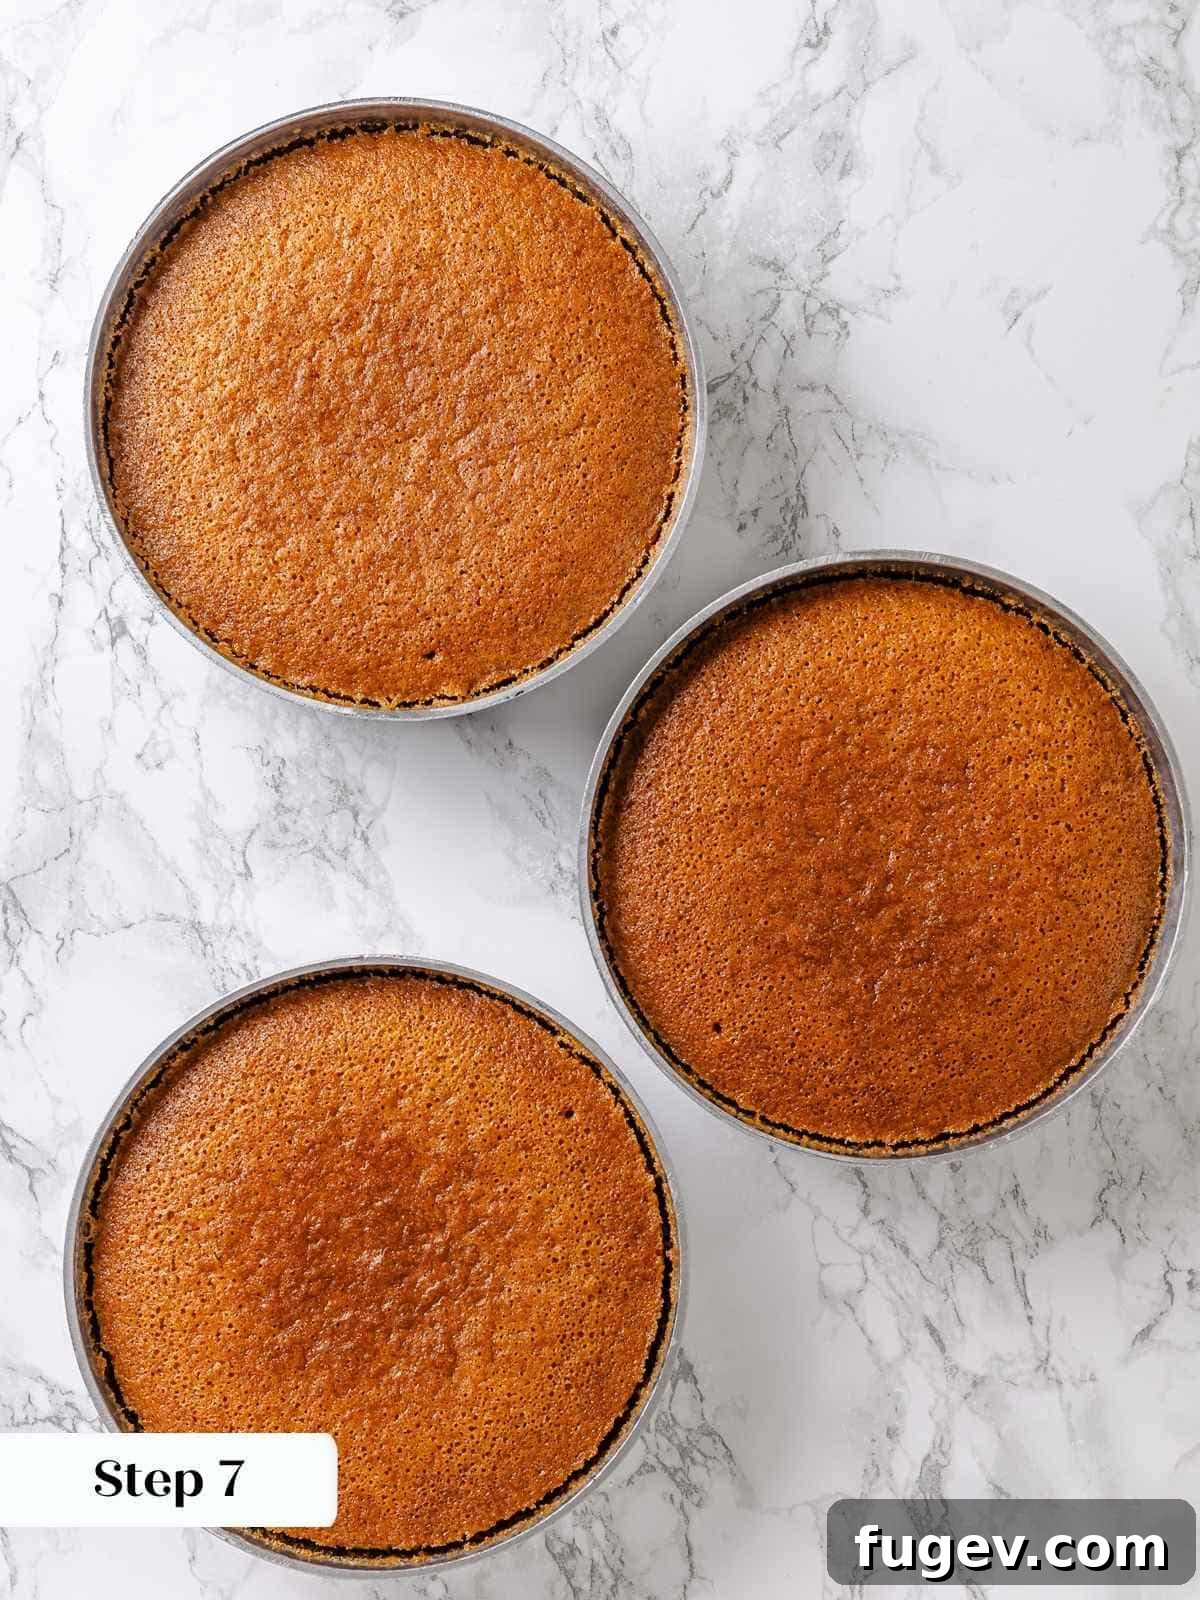
Step 7: Check for doneness. Bake until a cake tester (like a toothpick or thin skewer) inserted into the center of the cake comes out clean, or with only a few moist crumbs clinging to it. The cake tops will appear a lovely golden brown, with slightly darker edges, indicating they are perfectly baked (photo 7).
Step 8: Cool the cake layers. Allow the baked cake layers to cool in their pans for about 10 minutes. This resting period helps them firm up slightly, making them less fragile. After 10 minutes, gently run a thin paring knife or a small offset spatula around the edges of each pan to loosen the cakes. Invert them onto a wire rack, carefully peel off the parchment paper, and allow them to cool completely to room temperature before attempting to frost them. Cooling thoroughly is critical to prevent your frosting from melting.
Prepare Maple Ermine Frosting:
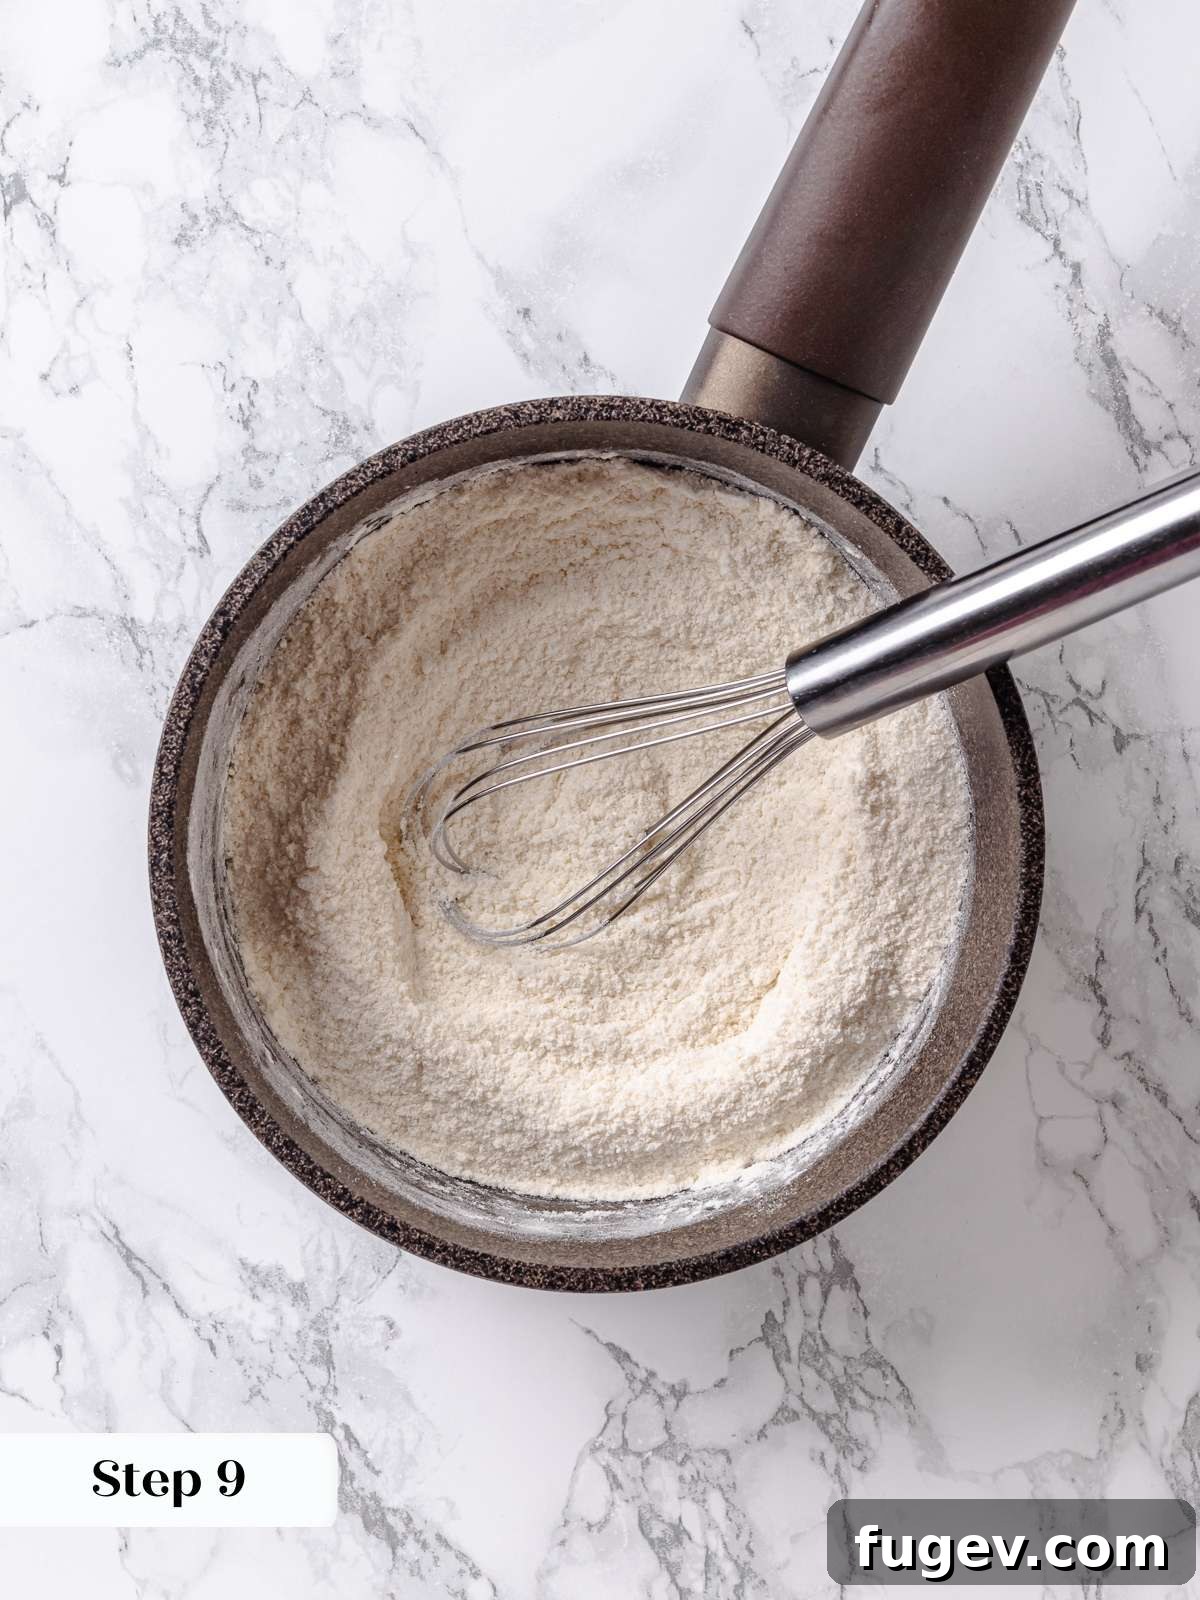
Step 9: Combine dry base ingredients. In a large, heavy-bottomed saucepan, combine the all-purpose flour, granulated sugar, and kosher salt. Whisk these dry ingredients together thoroughly to ensure they are well mixed and lump-free (photo 8).
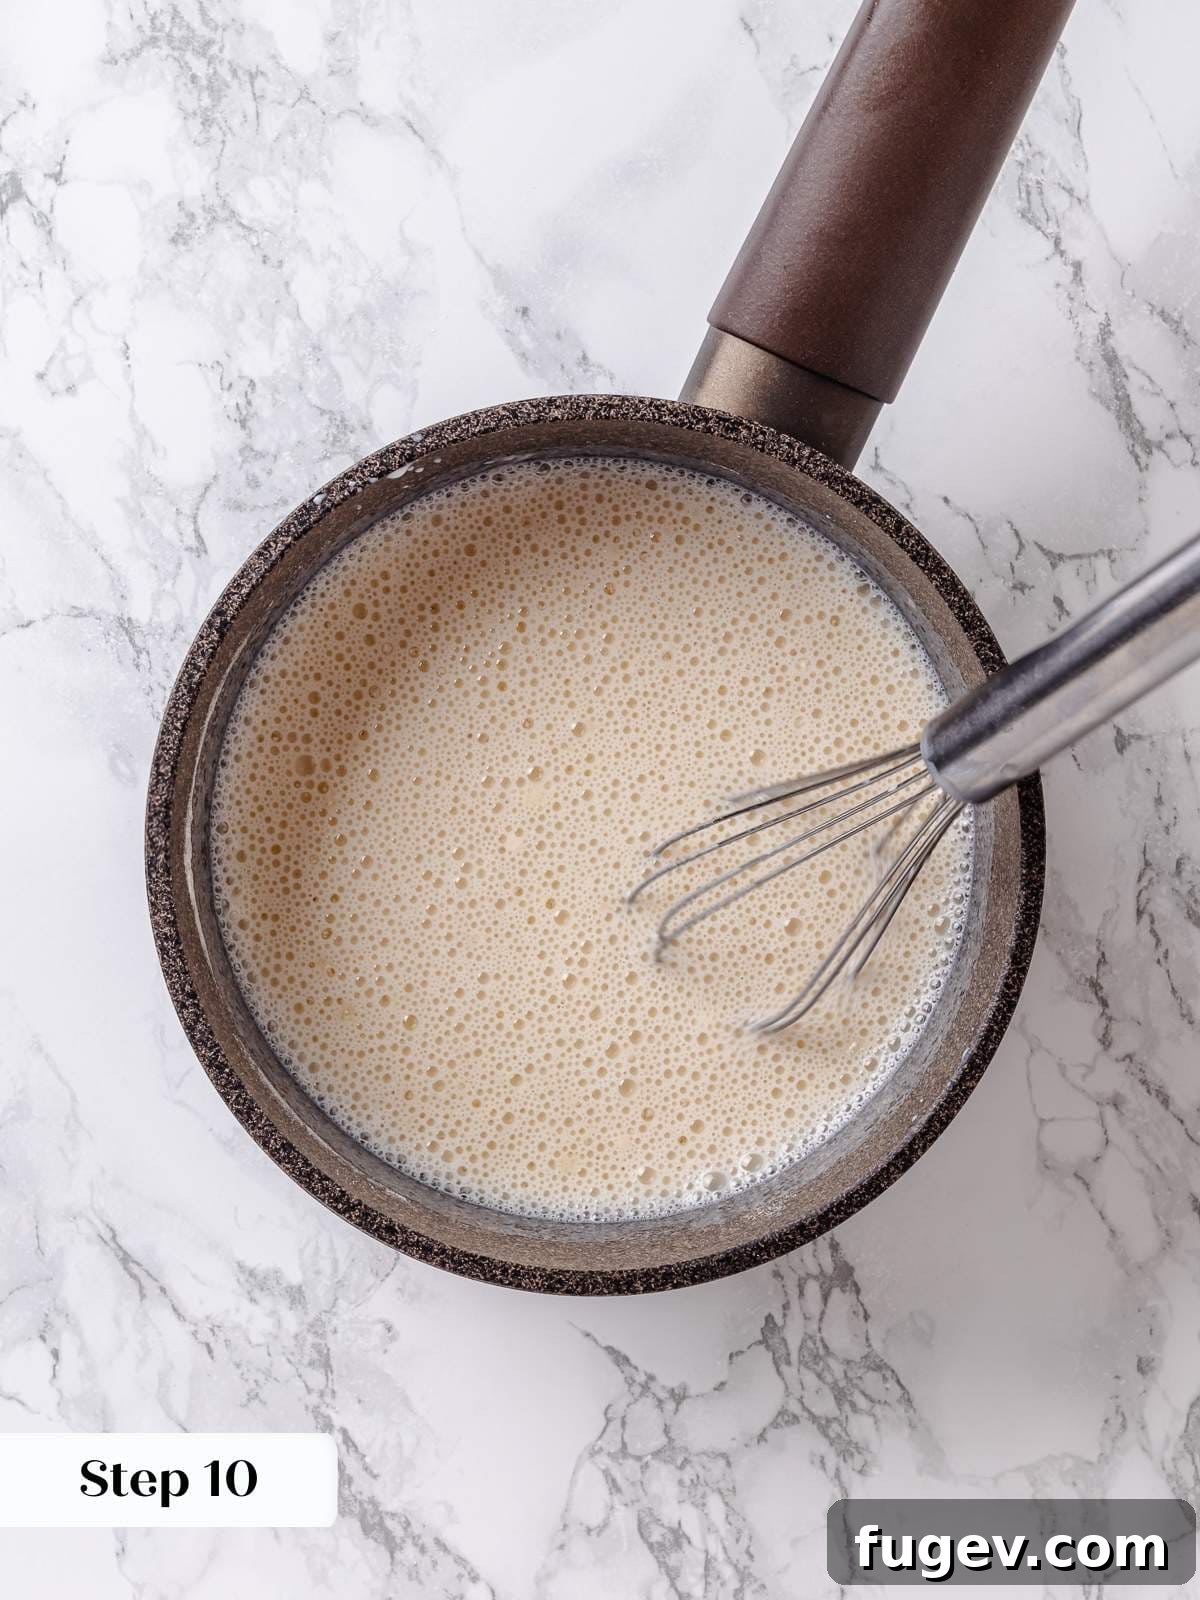
Step 10: Slowly incorporate milk. With a whisk, slowly add the whole milk to the dry mixture in the saucepan, a small amount at a time. Whisk continuously and ensure each addition is fully incorporated before adding more. This technique prevents lumps and creates a smooth base, much like preparing a perfect homemade vanilla pudding (photo 9).
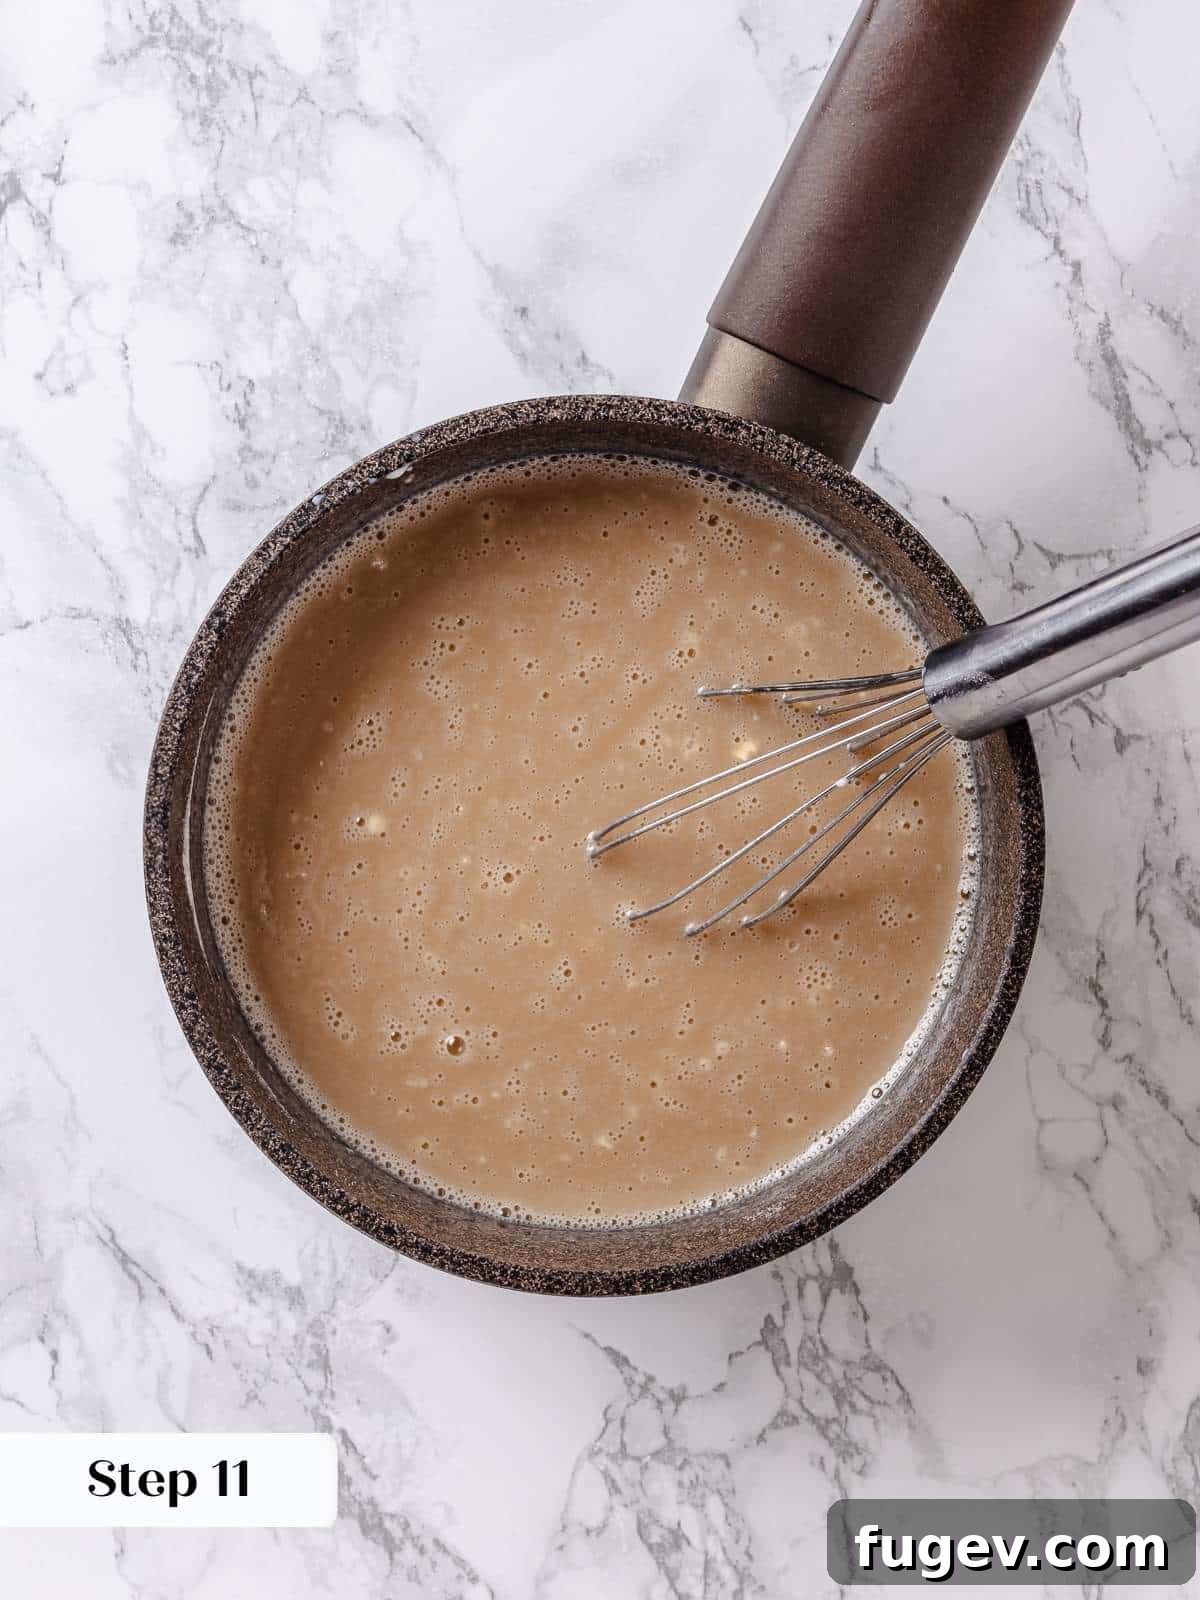
Step 11: Add maple syrup and cook. Stir in the pure maple syrup. Switch from a whisk to a heat-resistant silicone spatula. Cook the mixture constantly over medium heat, stirring vigilantly to prevent scorching. Use a zig-zag pattern across the bottom of the pot, then sweep around the edges to ensure no part burns. This is a similar technique used for delicate sauces like crème anglaise or easy lemon curd (photo 10).
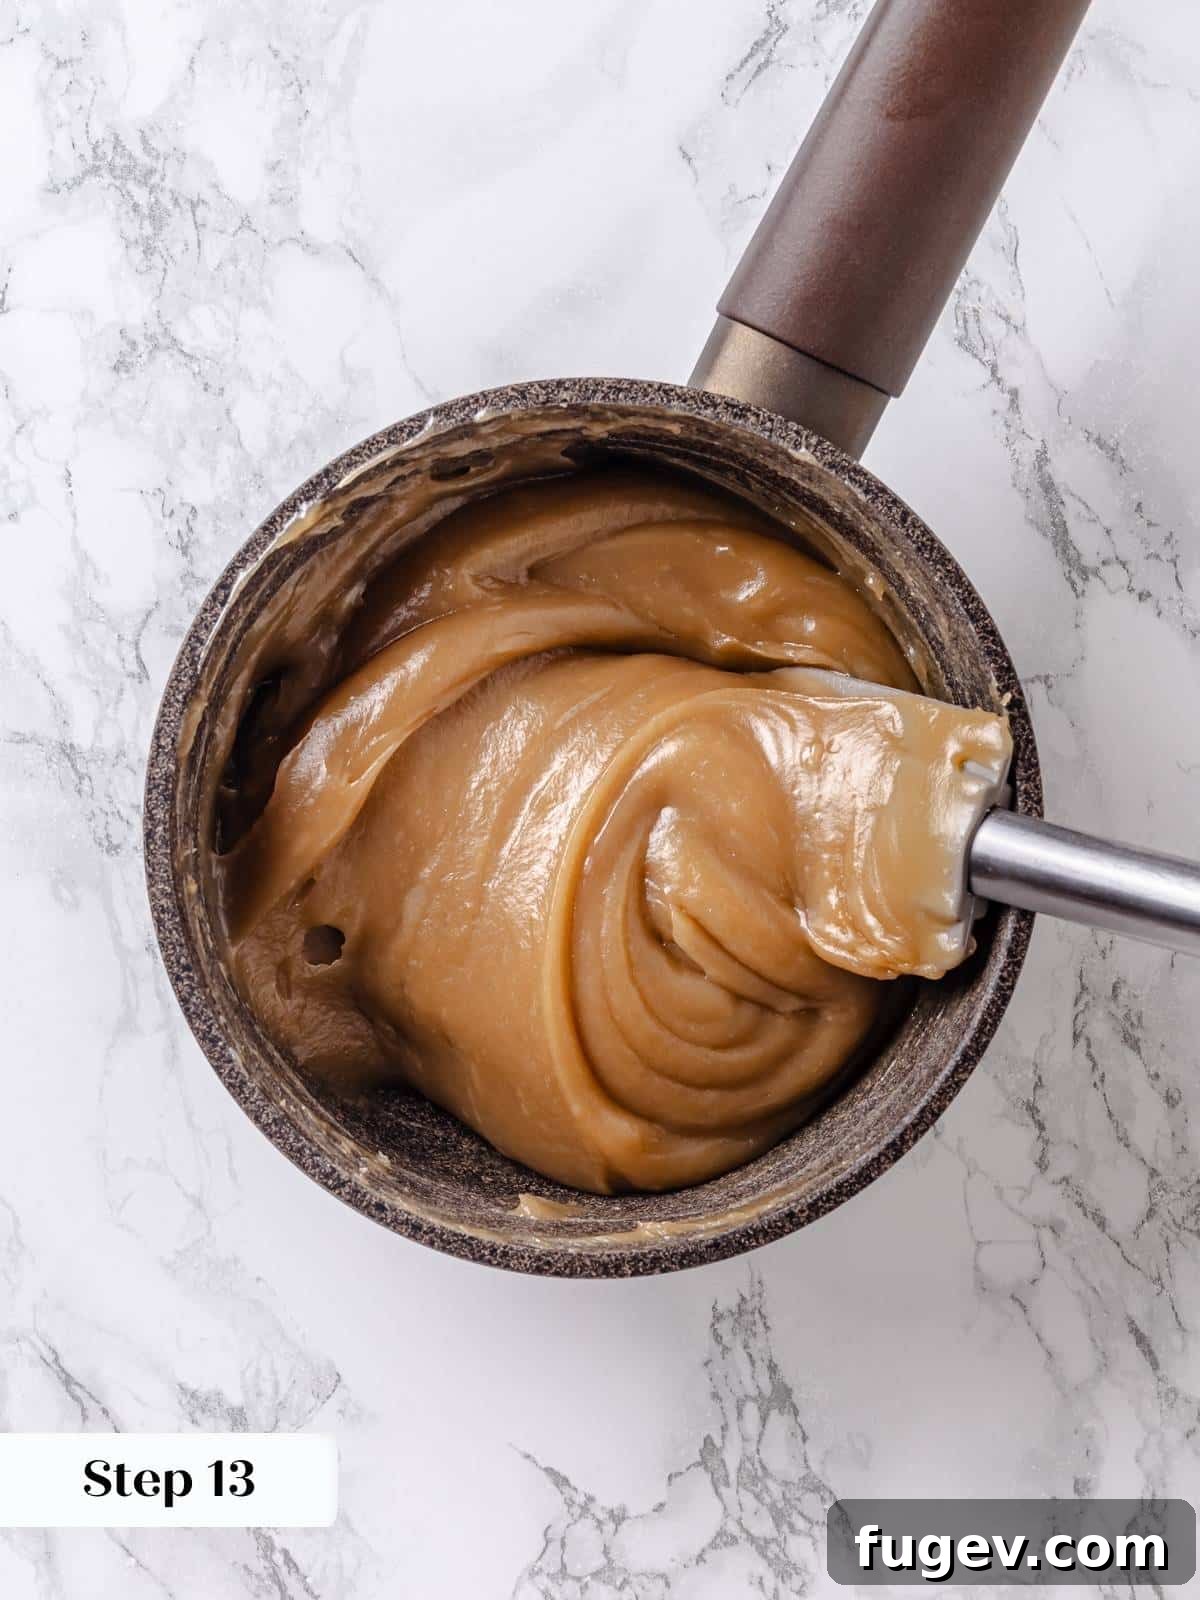
Step 12: Thicken to desired consistency. Continue stirring and cooking the flour mixture until it has thickened considerably. It should reach a consistency where it drops off a spoon in thick clumps, rather than pouring off in a thin stream. This thickness is paramount, as it directly impacts the final stability and pipeability of your frosting. A thicker base will yield a frosting capable of holding intricate designs, even in warm and humid conditions. This step typically takes around 20-25 minutes of continuous stirring.
Step 13: Cool the frosting base. Remove the thickened mixture from the heat and immediately scrape it into a clean, large bowl using your silicone spatula. Cover the surface of the mixture directly with plastic wrap to prevent a skin from forming. Allow it to cool completely to room temperature, ensuring it’s no longer warm to the touch. To expedite cooling, you can place the bowl in the refrigerator, stirring every 20 minutes, until it reaches approximately body temperature (photo 11).
Step 14: Whip the butter. In the bowl of a stand mixer fitted with the whisk attachment, beat the softened, room-temperature unsalted butter on medium-high speed. Continue beating until the butter becomes incredibly light, fluffy, and almost white in color. This process incorporates air and creates a smooth base for your frosting.
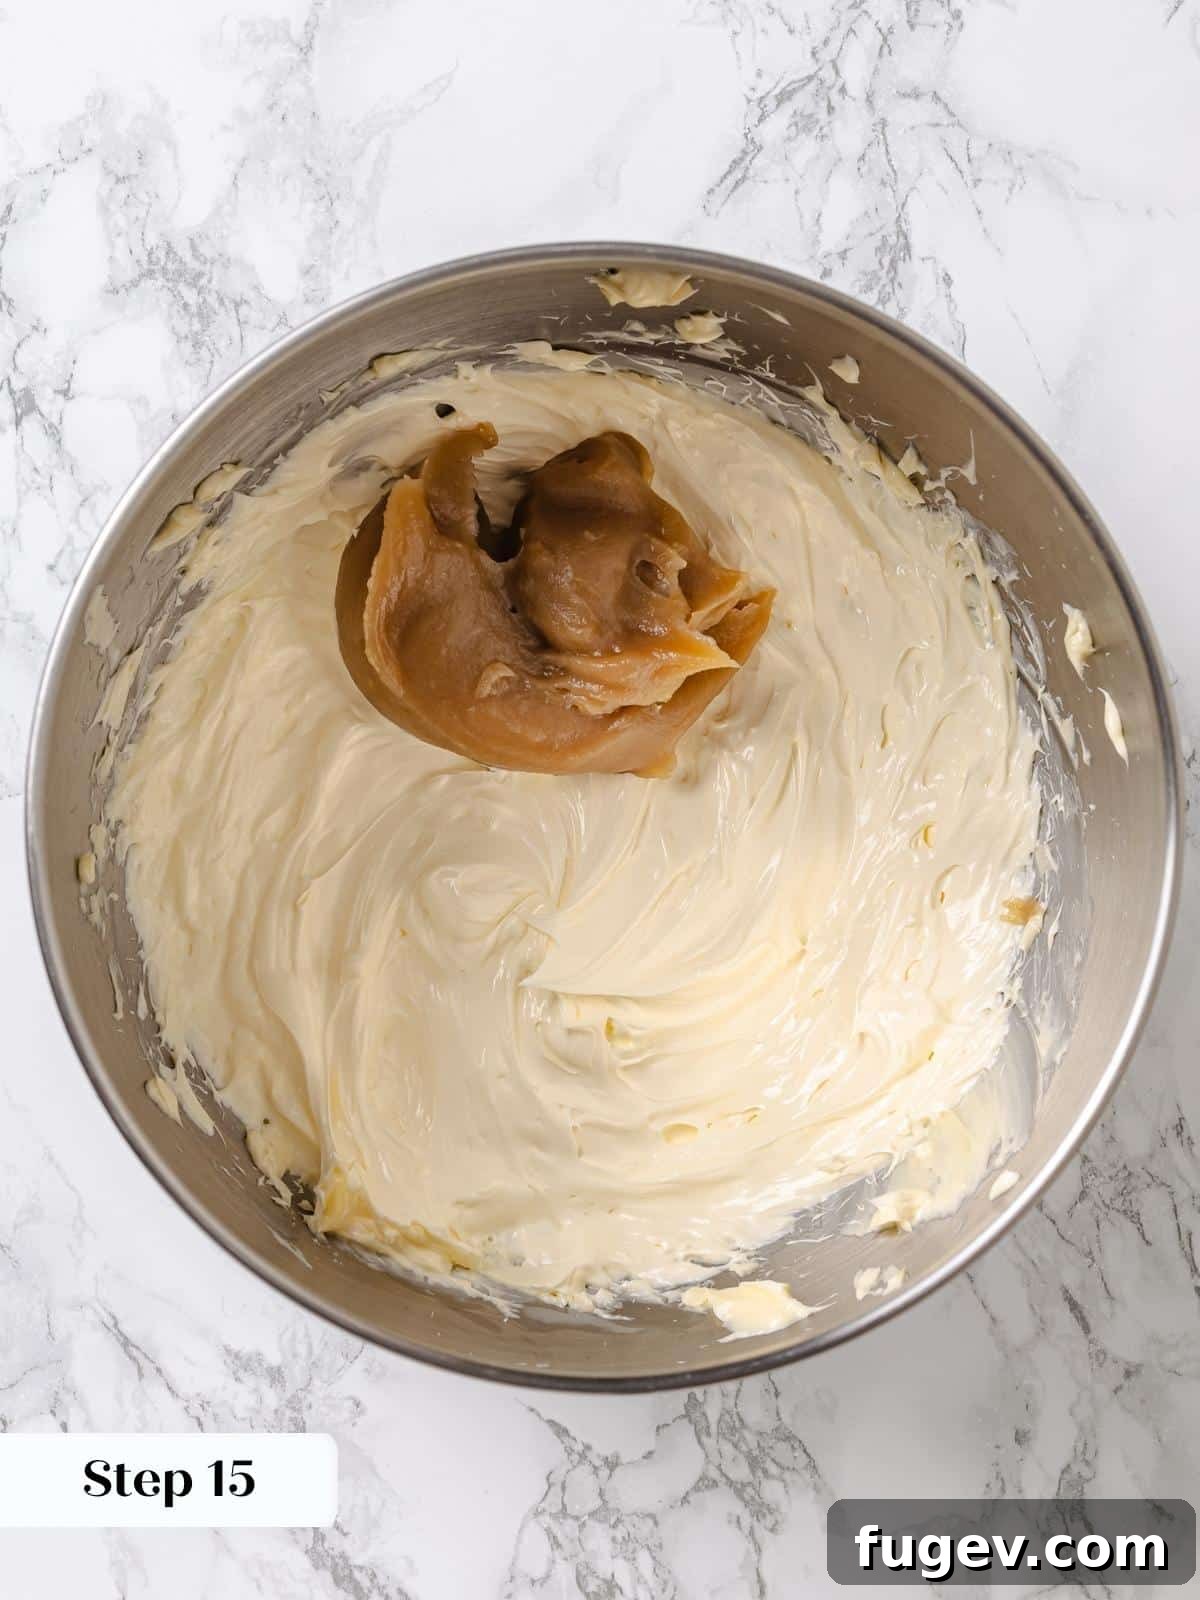
Step 15: Gradually add the cooled base. With the mixer running on medium speed, add the cooled maple flour mixture one spoonful at a time. Allow each spoonful to be thoroughly beaten and incorporated into the butter before adding the next. This gradual addition is essential for a smooth, stable emulsion. Periodically stop the mixer to scrape down the sides of the bowl with a spatula, ensuring everything is evenly mixed (photo 12).
Step 16: Scrape and ensure homogeneity. After adding all the maple flour mixture, stop the mixer. Use your spatula to thoroughly scrape down the sides and bottom of the bowl, ensuring no unmixed butter or flour base remains. This step guarantees a uniformly smooth frosting.
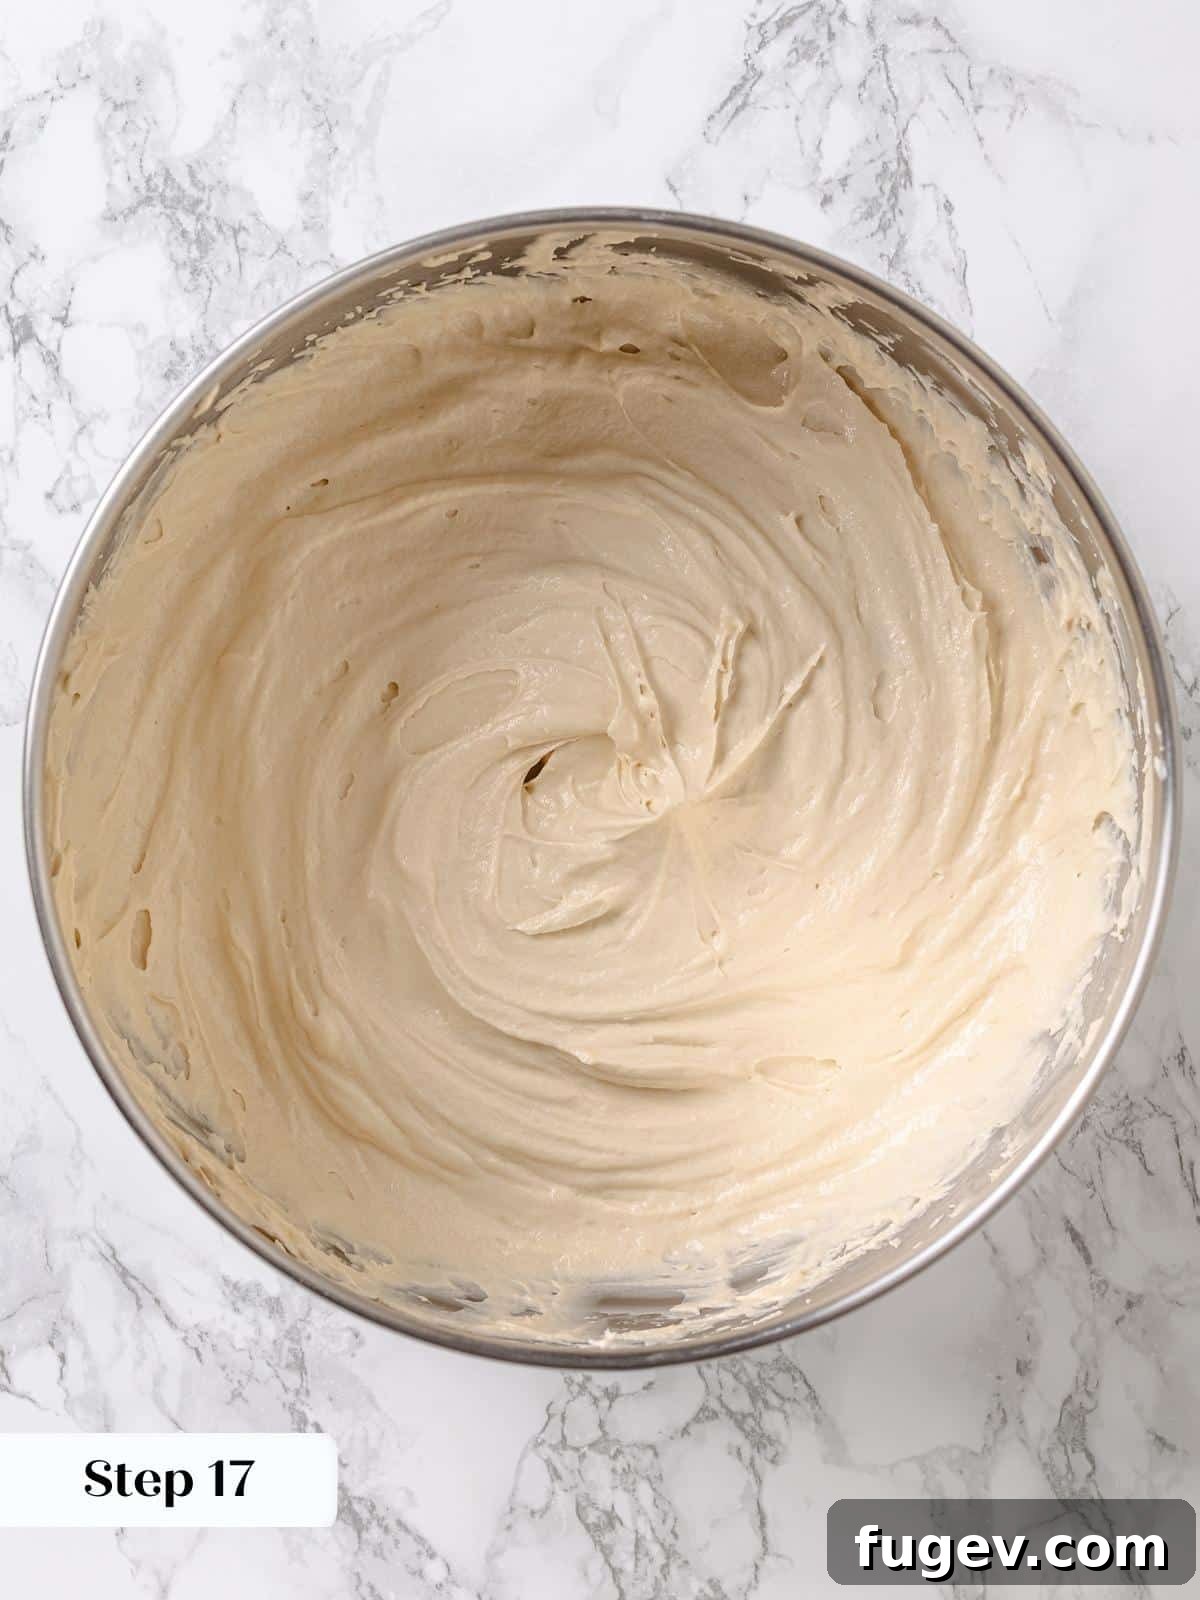
Step 17: Achieve stiff peaks. Add the vanilla extract to the frosting. Increase the mixer speed to high and continue to beat the frosting vigorously until it becomes incredibly light, fluffy, and holds stiff, defined peaks. The texture should be airy and stable, ready for decorating (photo 13).
Assembly:
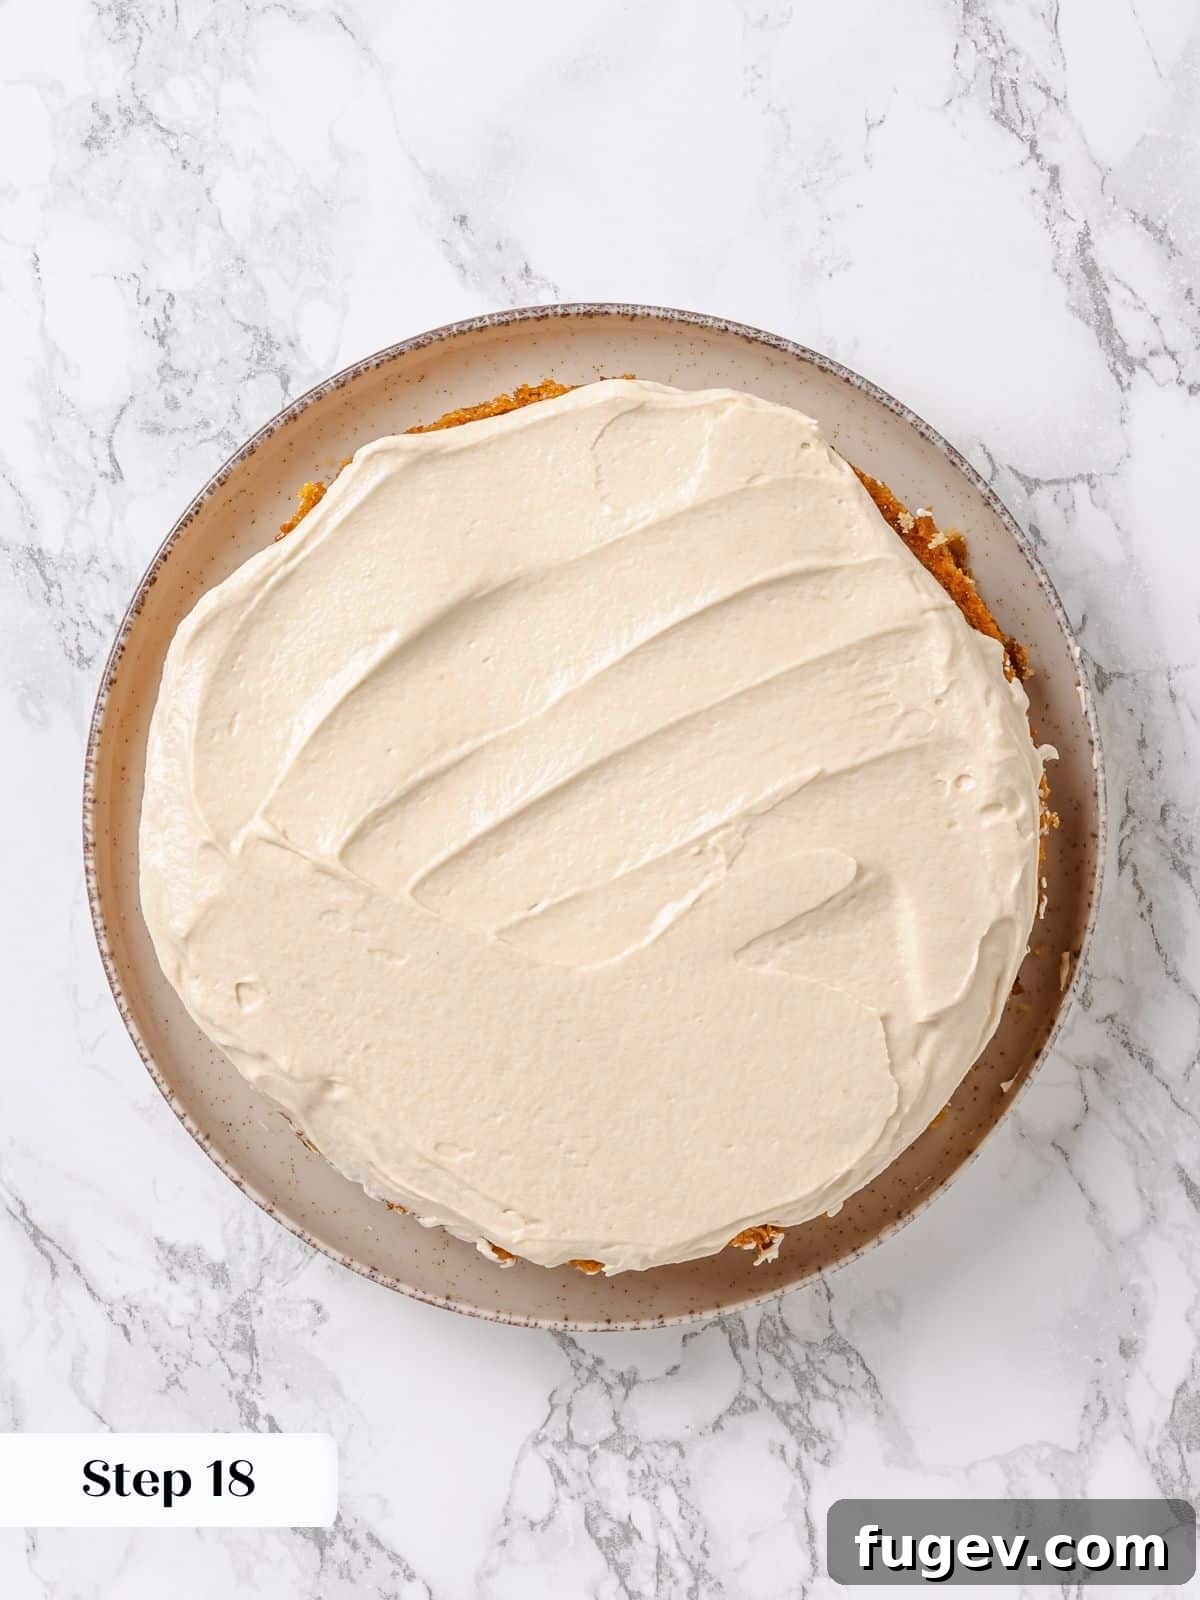
Step 18: First layer and crumb coat. Once your cake layers are completely cooled, place one layer onto your preferred cake stand, cake plate, or serving platter. Spread about one-third of the prepared maple frosting evenly over the top of this layer, allowing a small amount to spill over the edges. Use the spilled frosting to lightly coat the sides of the cake – this thin layer is your “crumb coat,” essential for trapping any loose crumbs and creating a clean base for your final frosting layer (photo 14).
For optimal results, we highly recommend refrigerating the crumb-coated cake for 30 minutes to an hour. This allows the buttercream to firm up slightly, making it much easier to handle for subsequent layers and a smoother final finish. If you’re pressed for time, you can proceed without chilling, though extra care may be needed to prevent squishing the softer frosting.
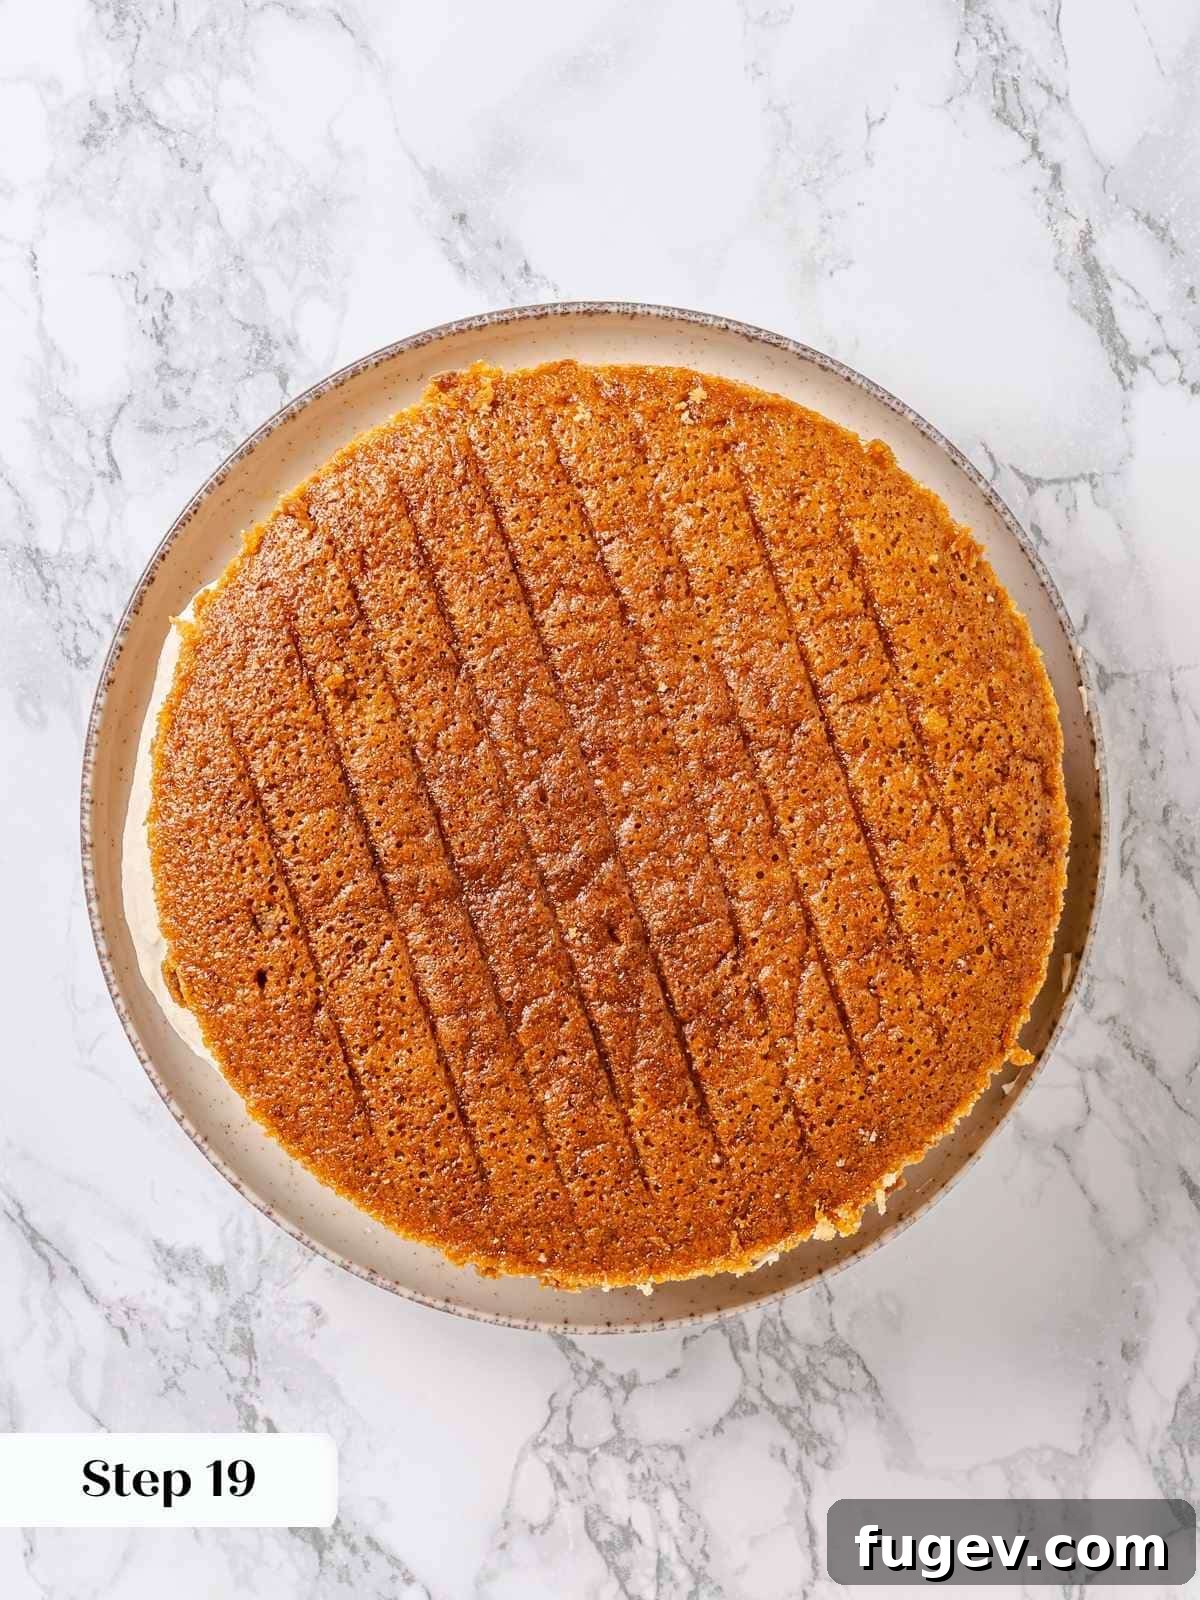
Step 19: Add second layer and frost. Carefully place the second cake layer directly on top of the frosted first layer (photo 15). Repeat the frosting process with another one-third of the maple frosting, covering the top and creating another light crumb coat on the sides of this second layer.
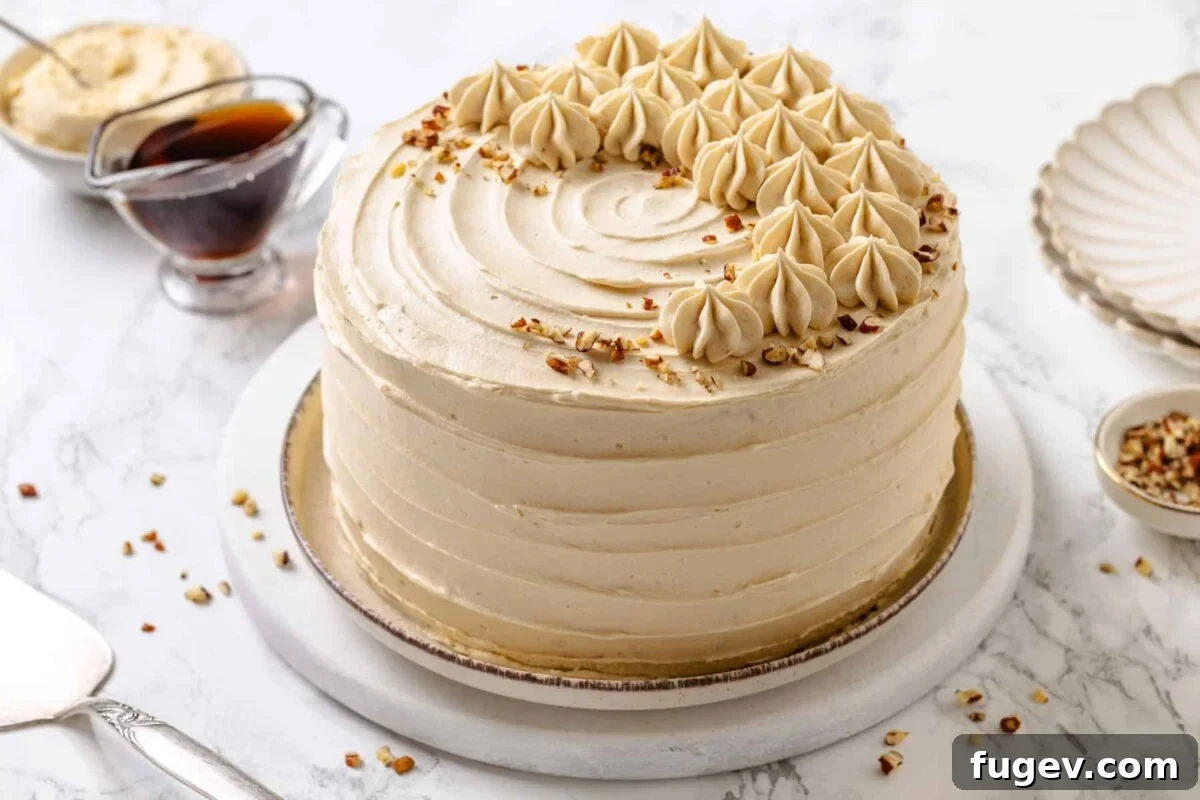
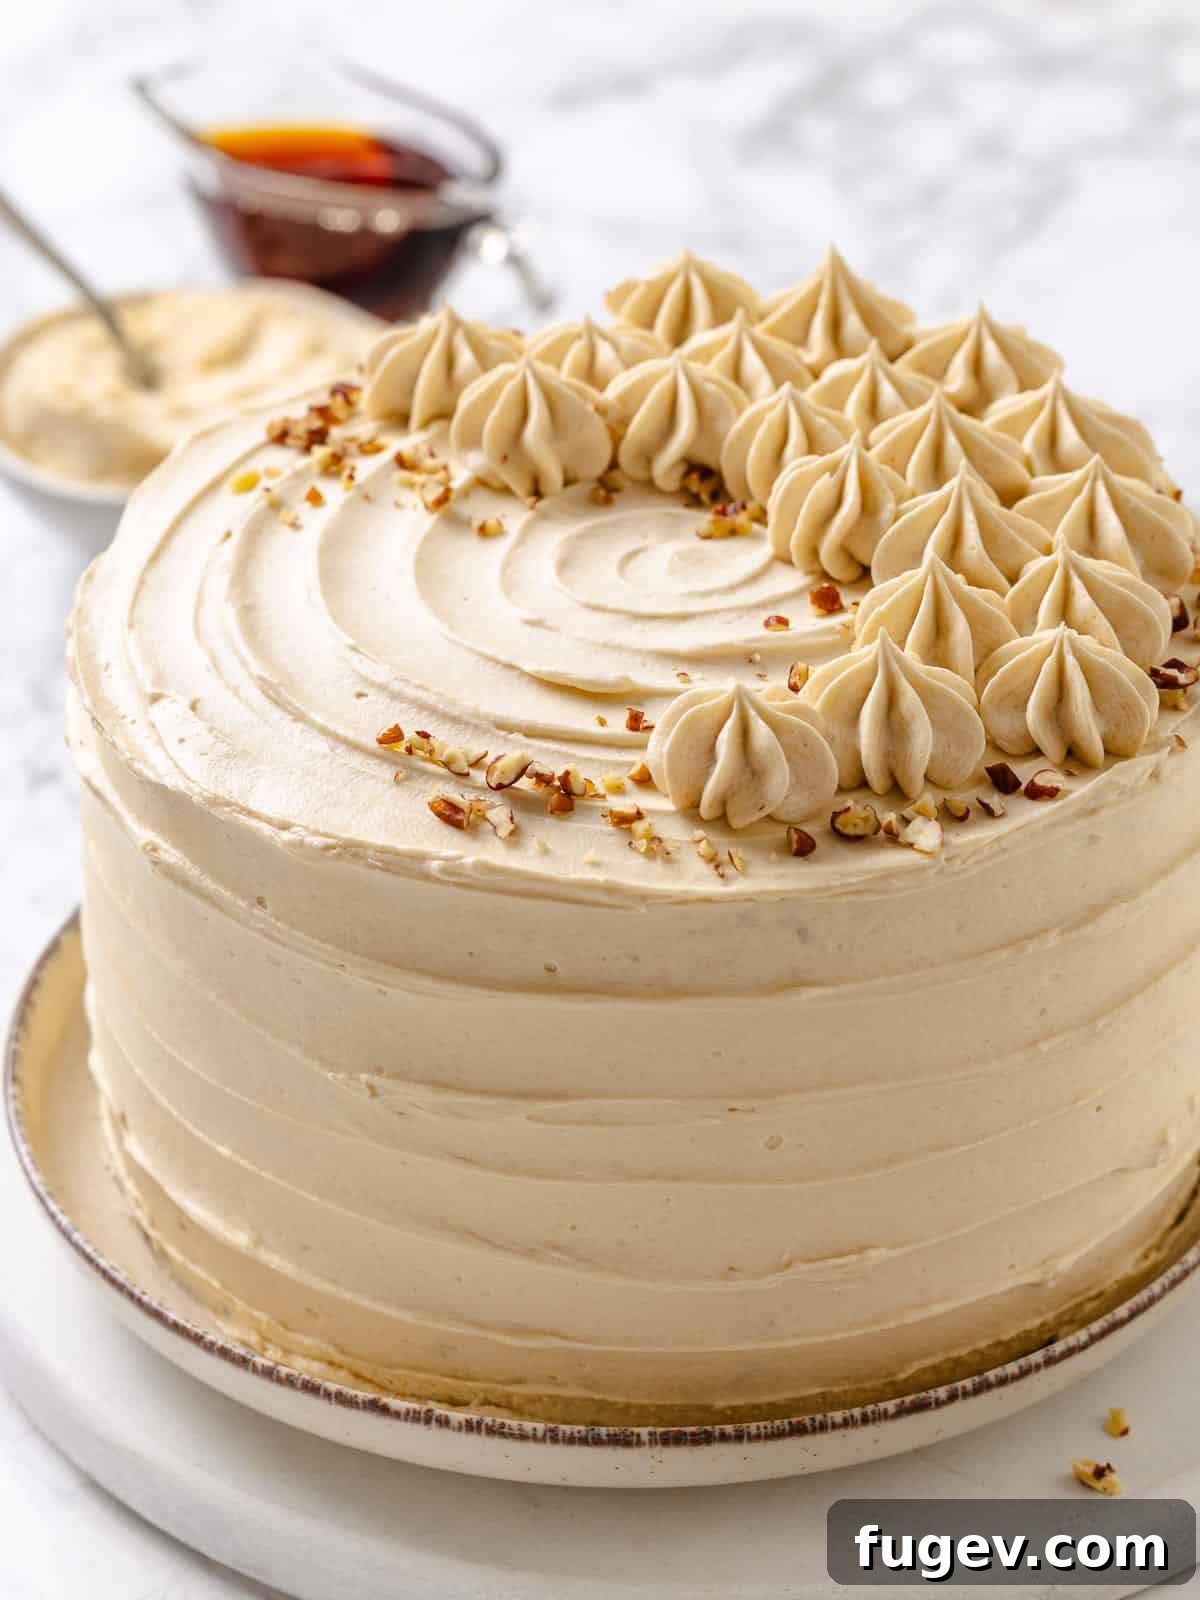
Step 20: Fill gaps and finish. If desired, you can fill any noticeable gaps between the cake layers using an offset spatula or by piping frosting into the crevices with a small piping bag. While this step can create a more polished appearance, it’s often not strictly necessary for this forgiving cake. Once the gaps are filled (or if you choose to skip this step), apply the remaining frosting to cover the entire cake, smoothing it out for a refined look or creating elegant swirls for a rustic charm. After the final frosting, you’ll have a beautifully finished cake (photo 16).
Step 21: Store and serve. This magnificent maple cake will retain its exceptional moisture and flavor for up to 4 days at room temperature. For extended freshness, especially after the first day, we recommend wrapping it loosely and storing it in the refrigerator. Always bring the cake back to room temperature before serving to ensure the best texture and flavor experience.
Chef Lindsey’s Expert Tip
We’ve carefully reduced the maple syrup in the frosting to achieve the perfect flavor balance without excessive sweetness. If you wish to further reduce the sweetness while maintaining that delightful maple essence, consider preparing our classic ermine frosting recipe and substituting some of the vanilla extract with high-quality maple extract. This allows you to control sweetness precisely while still infusing rich maple notes.
Recipe FAQs for Maple Cake
Unfrosted maple cake layers can be well-wrapped in plastic film and stored at room temperature for up to 2 days, in the refrigerator for up to 5 days, or frozen for up to 2 months. Unused maple frosting, kept in an airtight container, will last in the fridge for up to 2 weeks. Once assembled and frosted, the entire maple cake can be kept at room temperature for up to four days. For longer preservation, or in warm climates, store the frosted cake in the refrigerator, bringing it to room temperature for the best serving experience.
For the most profound and authentic maple flavor, it is essential to use pure maple syrup, specifically Grade A: dark amber, rich taste. This grade was formerly known as Grade B. This particular classification signifies that the syrup has been cooked down more extensively before bottling, resulting in a more concentrated flavor profile and less moisture. Avoid using pancake syrup or artificial maple-flavored syrups, as they will not provide the same depth or natural sweetness.
Several factors can contribute to a runny maple ermine frosting. The most common reason is not cooking the flour base sufficiently long enough to thicken properly. The base needs to be quite thick, dropping off your spoon in clumps, for the frosting to achieve its desired stable consistency. Additionally, using butter that is too warm (not room temperature, but rather soft or melted) will prevent the frosting from developing enough structure to hold its shape when whipped or piped. Ensure both the butter and the cooked flour base are at the correct room temperature for optimal results.
Absolutely! Both unfrosted cake layers and a fully frosted cake can be frozen. For unfrosted layers, wrap them tightly in plastic wrap, then a layer of aluminum foil, and freeze for up to 2 months. Thaw at room temperature before frosting. For a frosted cake, freeze it uncovered until the frosting is firm (about 1-2 hours), then wrap tightly in plastic wrap and foil. Thaw overnight in the refrigerator, then bring to room temperature before serving.
Maple cake is best served at room temperature. This allows the cake layers to be wonderfully soft and moist, and the ermine frosting to be creamy and silky. If refrigerated, let the cake sit out on the counter for at least 1-2 hours before slicing and serving. It pairs beautifully with a cup of coffee, tea, or even a glass of milk.
More Cozy Cake Recipes to Love
If you’ve fallen in love with the comforting flavors of this maple cake, explore more delightful recipes perfect for any cozy occasion or seasonal gathering.
Cake Recipes
Maple Pound Cake with Maple Glaze
Cake Recipes
Applesauce Cake
Cake Recipes
Pumpkin Bundt Cake
Cake Recipes
Sour Cream Pound Cake
If you tried this recipe and loved it, please leave a 🌟 star rating and let me know how it goes in the comments below. I love hearing from you; your comments make my day!
Maple Cake
Comment
Print Recipe
Ingredients
US Customary
1x Servings
For the cake:
- 3 ½ cups all-purpose flour
- 1 ½ teaspoons kosher salt
- 2 teaspoons baking powder
- ½ teaspoon baking soda
- 3 large eggs
- ½ teaspoon maple extract optional
- ¾ cup vegetable oil or another neutral oil
- 1 ½ cups granulated sugar
- 1 cup maple syrup grade A, dark amber
- 1 cup milk
For the maple ermine frosting:
- 10 tablespoons all-purpose flour
- 1 cup whole milk
- ¾ cup maple syrup grade A, dark amber
- ⅔ cup granulated sugar
- 2 teaspoons vanilla extract
- 1 teaspoon kosher salt
- 2 cups unsalted butter room temperature
Instructions
Prepare the Cake:
-
Preheat the oven to 325°F convection (with the fan) or 350°F conventional (without the fan)—spray and line 2 (or 3) 8 or 9-inch cake pans with parchment paper.
-
Into a medium bowl, combine the all-purpose flour, salt, baking powder, and baking soda. Set aside.
-
In a separate large bowl, whisk the eggs until smooth and homogenous. Slowly pour the oil into the eggs while whisking to create an emulsion.
-
Add the sugar to the bowl and the maple extract (optional) and whisk until smooth and incorporated. Whisk in the maple syrup.
-
Alternately add the flour and milk in 3 additions. I add about 1/3 of each at the same time, then whisk until no lumps remain. Repeat with the remaining dry ingredients and milk.
-
Divide the batter between the cake pans and bake in the preheated oven.
-
Bake until a cake tester comes out clean or with just a few clinging crumbs. The tops will be a nice golden brown but darker around the edges.
-
Let cool for 10 minutes in the pans, then loosen the sides by running a paring knife or small offset spatula around the edges. Flip out onto a wire rack, remove parchment paper, and then cool completely before frosting.
Prepare Maple Frosting:
-
In a large saucepan, combine the flour, sugar, and salt. Stir to combine.
-
Slowly whisk in the milk, adding just a little at a time, making sure it is completely incorporated before adding more. This will keep it lump-free, just like when making homemade vanilla pudding.
-
Stir in maple syrup. Switch from the whisk to a silicone spatula and stir constantly over medium heat.
-
Continue cooking until the flour mixture has thickened and will drop off a spoon in clumps rather than pour off in a stream.
-
Remove from the heat and scrape into a large bowl with the spatula. Cover the top with plastic wrap that is touching the surface, and allow to cool at room temperature until it is no longer warm to the touch. You can speed this up by cooling it in 20-minute intervals in the refrigerator, stirring and repeating until it is body temperature.
-
In the bowl of a stand mixer fitted with the whisk attachment, beat the butter on medium-high speed until fluffy and almost white in color.
-
With the mixer running, add a spoonful of the maple mixture and allow it to beat in thoroughly before adding the next. Scraping down the sides of the bowl as you go.
-
Stop the mixer to scrape in the last of the flour mixture and scrape down the sides and bottom of the bowl.
-
Add the vanilla extract and continue to mix on high until it holds stiff peaks.
Assembly:
-
Once the cakes are cooled, place one layer on your favorite cake stand, cake plate, or platter. Add about 1/3 of the frosting to the top of the cake and spread it out, allowing some to fall over the edges. Coat the edges with the frosting that spilled over – this is your crumb coat!
-
Place the second layer on top of the frosting and repeat with another 1/3 of the frosting. Covering the top and crumb coating the sides.
-
Fill in any gaps between the cake layers using an offset spatula or by filling a small piping bag with frosting and piping it in. This feels unnecessary for this cake, but I’m just giving you all the possibilities!
-
Store and serve. The cake will stay moist for 4 days. I do prefer to wrap and refrigerate after 1 day, but it is best served at room temperature.
Notes
Flavor Tips – The optional maple extract is a fantastic way to boost concentrated maple flavor without altering the sweetness or liquid content of the cake, which can be tricky when working with maple syrup. Consider this a secret ingredient for an extra “maple punch.”
Variations – For an even more intense maple profile, try replacing the granulated sugar in the cake batter with maple sugar. This substitution adds another layer of authentic maple richness.
Technique for Frosting – Remember, the thickness of your cooked flour base directly dictates the final consistency of your ermine frosting. A properly thickened base will ensure a stable, pipeable frosting that maintains beautiful lines and details, even in challenging warm and humid conditions.
Storage – Once frosted and assembled, the cake remains wonderfully fresh at room temperature for up to four days. For longer storage, or in warmer environments, it is best to refrigerate the cake. Always allow it to come to room temperature before serving for the optimal taste and texture.
Nutrition
Carbohydrates: 51g |
Protein: 4g |
Fat: 24g |
Saturated Fat: 11g |
Polyunsaturated Fat: 5g |
Monounsaturated Fat: 6g |
Trans Fat: 1g |
Cholesterol: 64mg |
Sodium: 321mg |
Potassium: 119mg |
Fiber: 1g |
Sugar: 33g |
Vitamin A: 535IU |
Calcium: 81mg |
Iron: 1mg
Like this? Leave a comment below!
Before You Go
We sincerely hope you savored the experience of creating and enjoying this sweet, autumnal layered cake. Its rich maple flavor and tender crumb are truly a delight. If you’re eager to explore more comforting and delicious seasonal treats, be sure to check out our other fantastic fall dessert recipes. You might particularly enjoy our inviting pumpkin spice layer cake, the deeply flavorful caramel molasses pound cake, or the wonderfully rich maple pecan pie bars with their shortbread crust. Happy baking!