
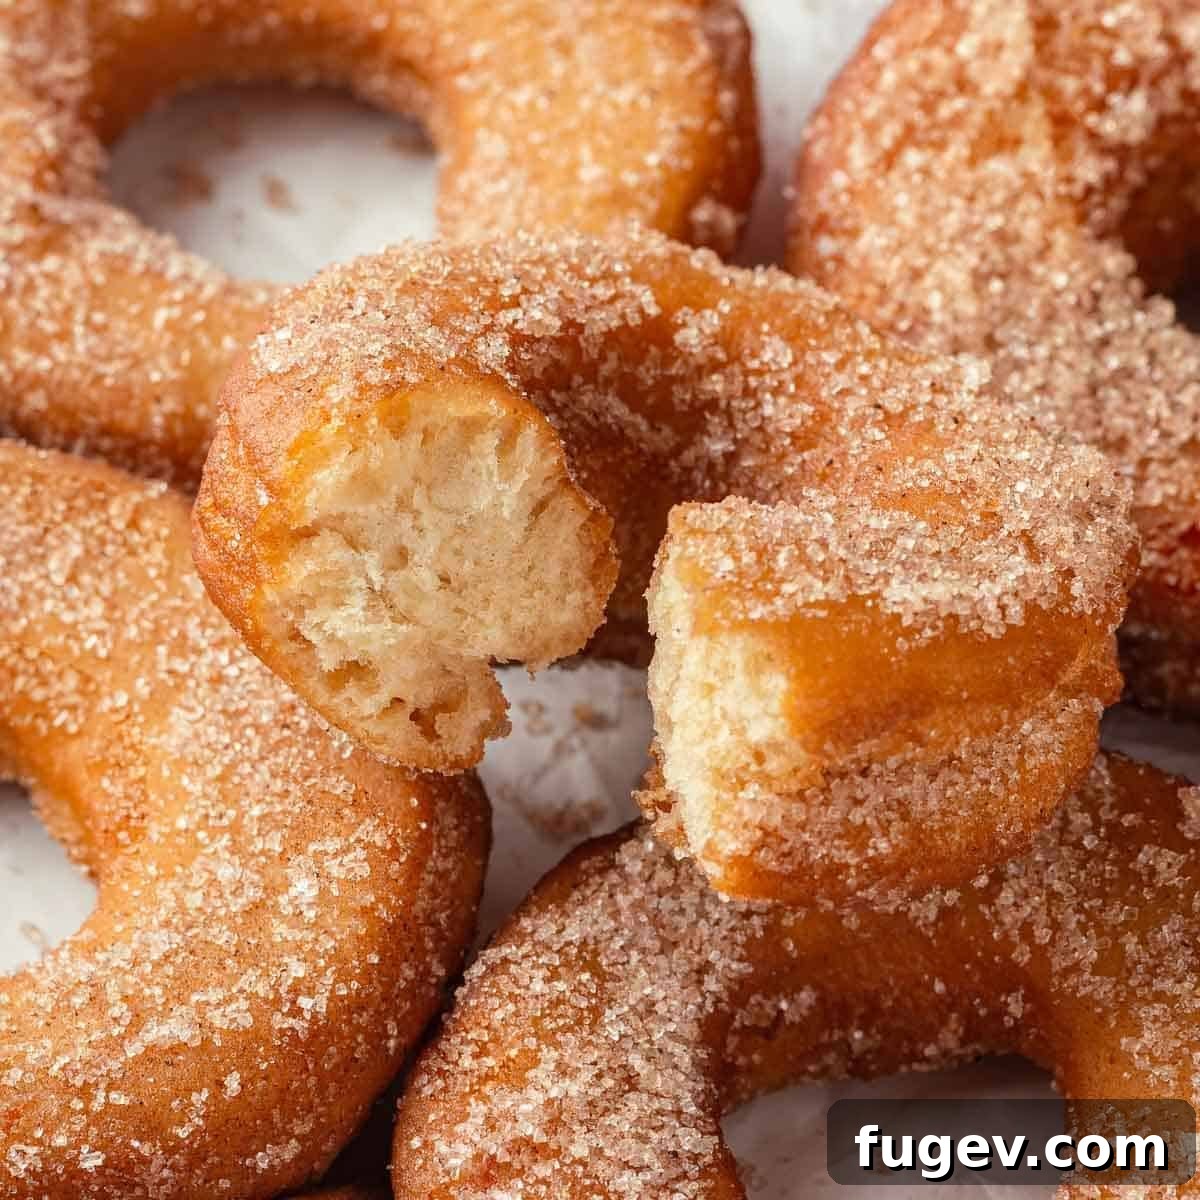
Ultimate Apple Cider Donuts: Your Perfect Fall Treat
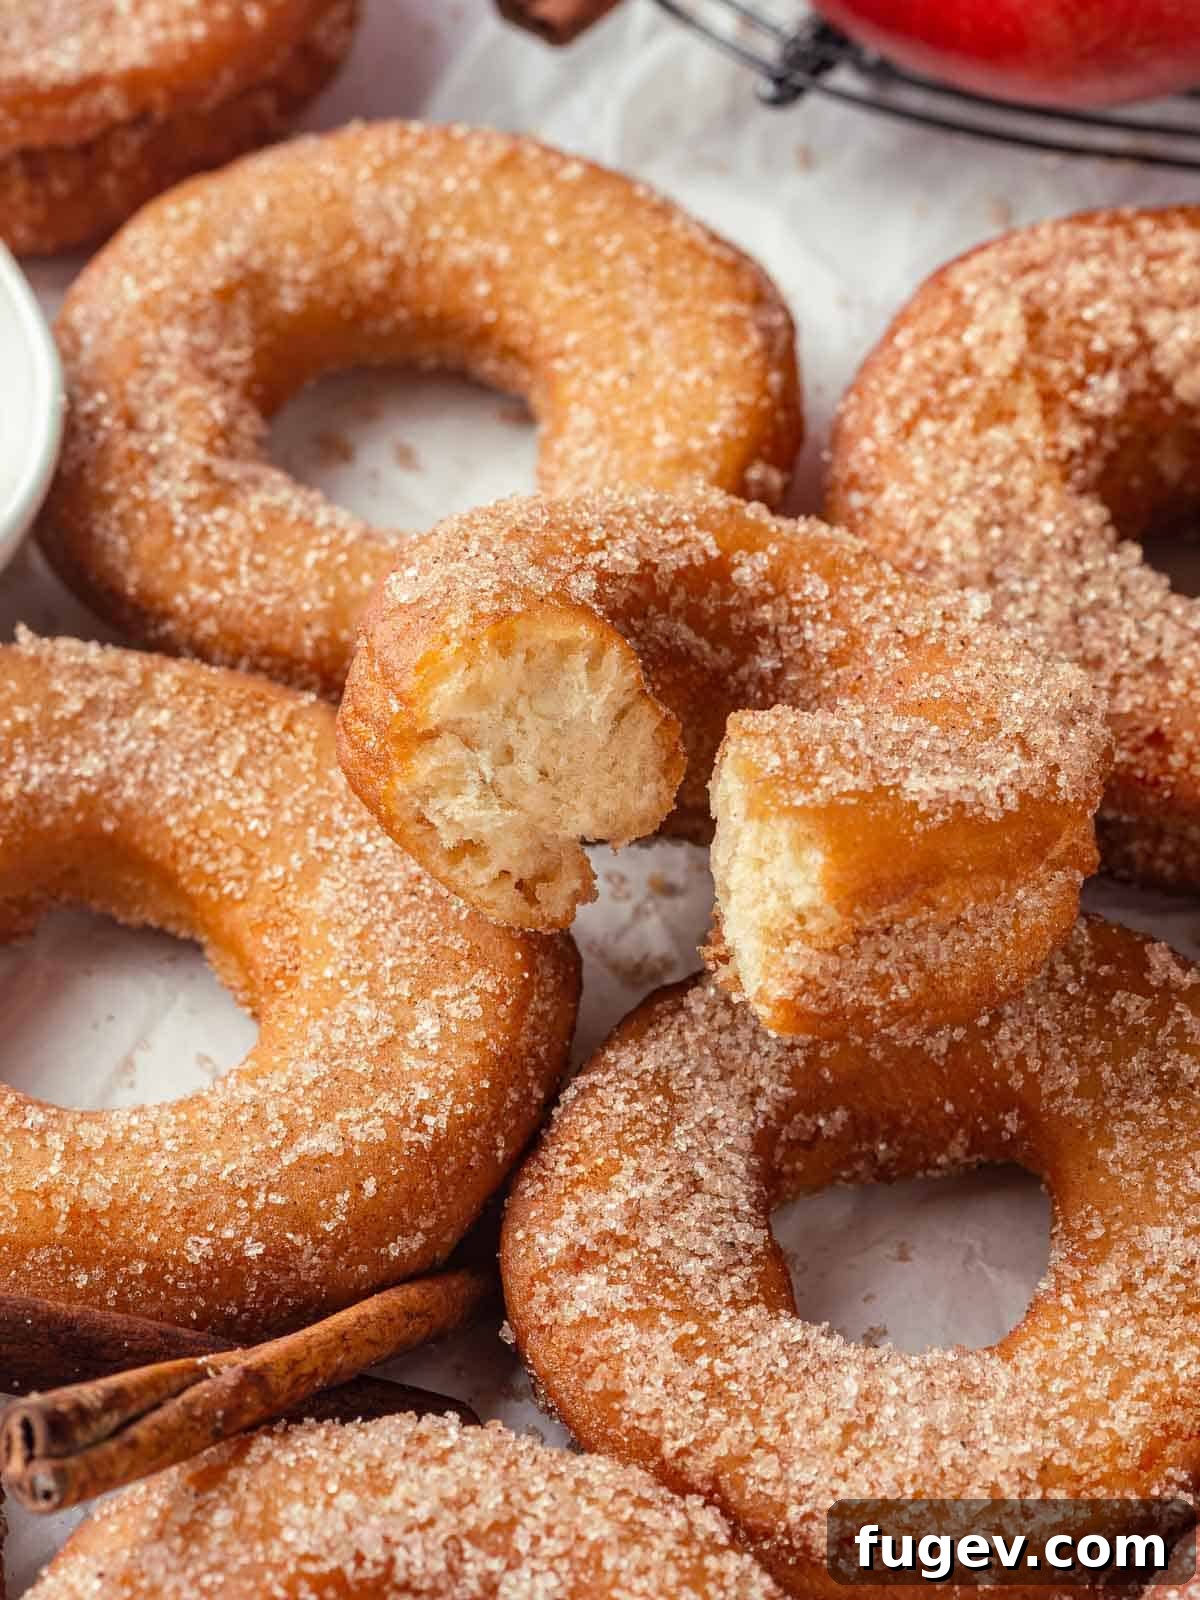
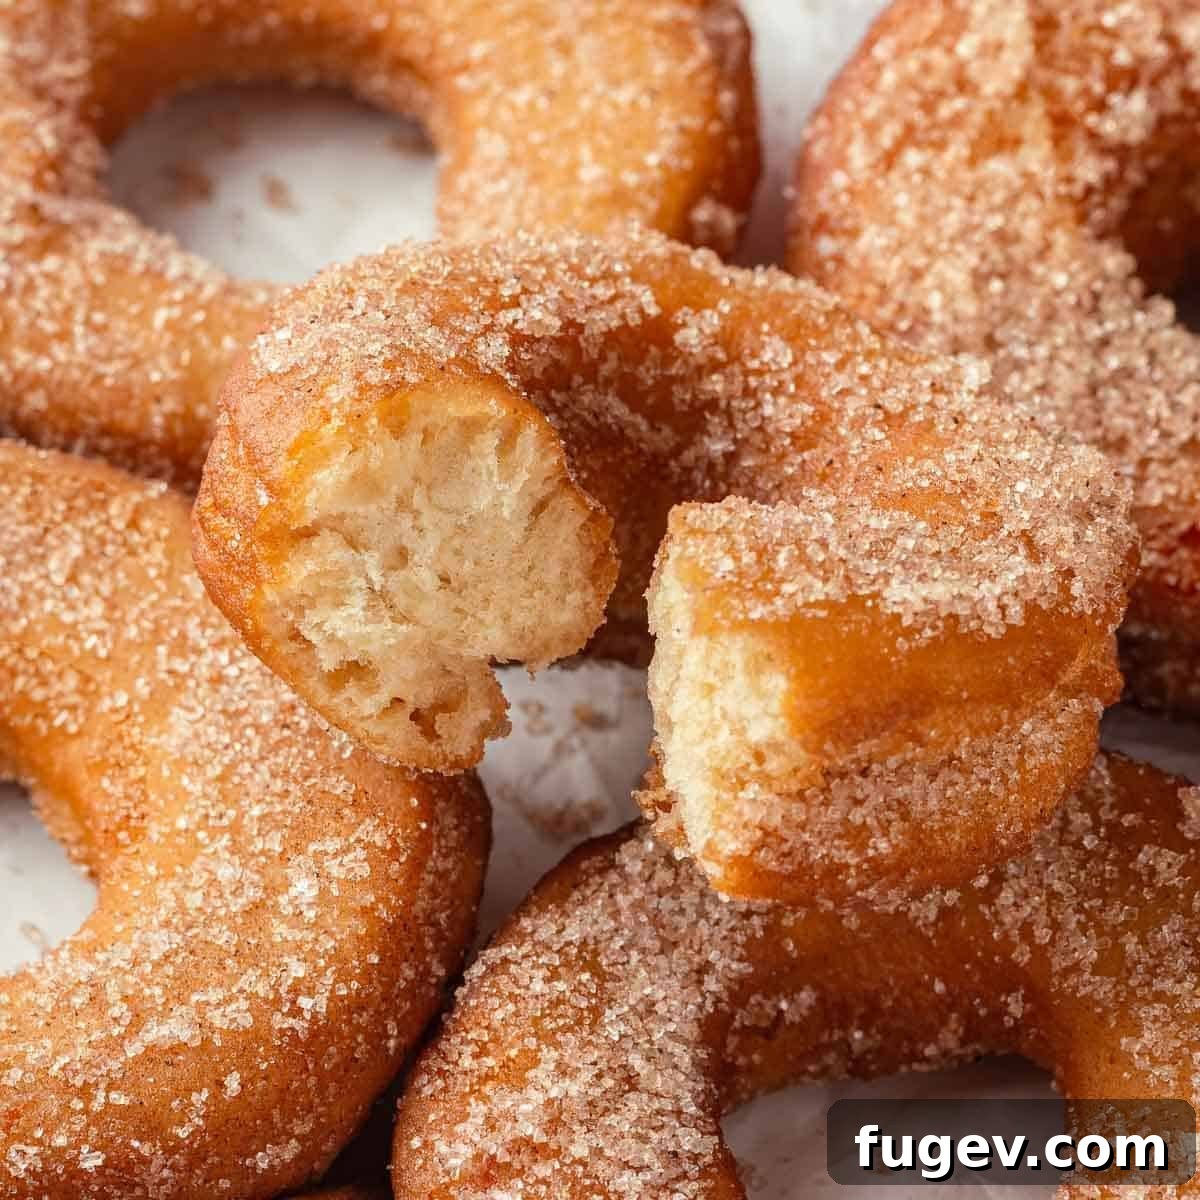
Nothing evokes the cozy spirit of fall quite like homemade Apple Cider Donuts! This cherished recipe features a concentrated apple cider reduction and warm cinnamon, creating a truly rich and authentic apple flavor that sets these donuts apart. Our easy-to-follow method yields perfectly fried cake donuts with an incredibly soft, tender interior, beautifully contrasted by a delightfully crispy cinnamon sugar coating. Get ready to experience the true essence of autumn in every bite!
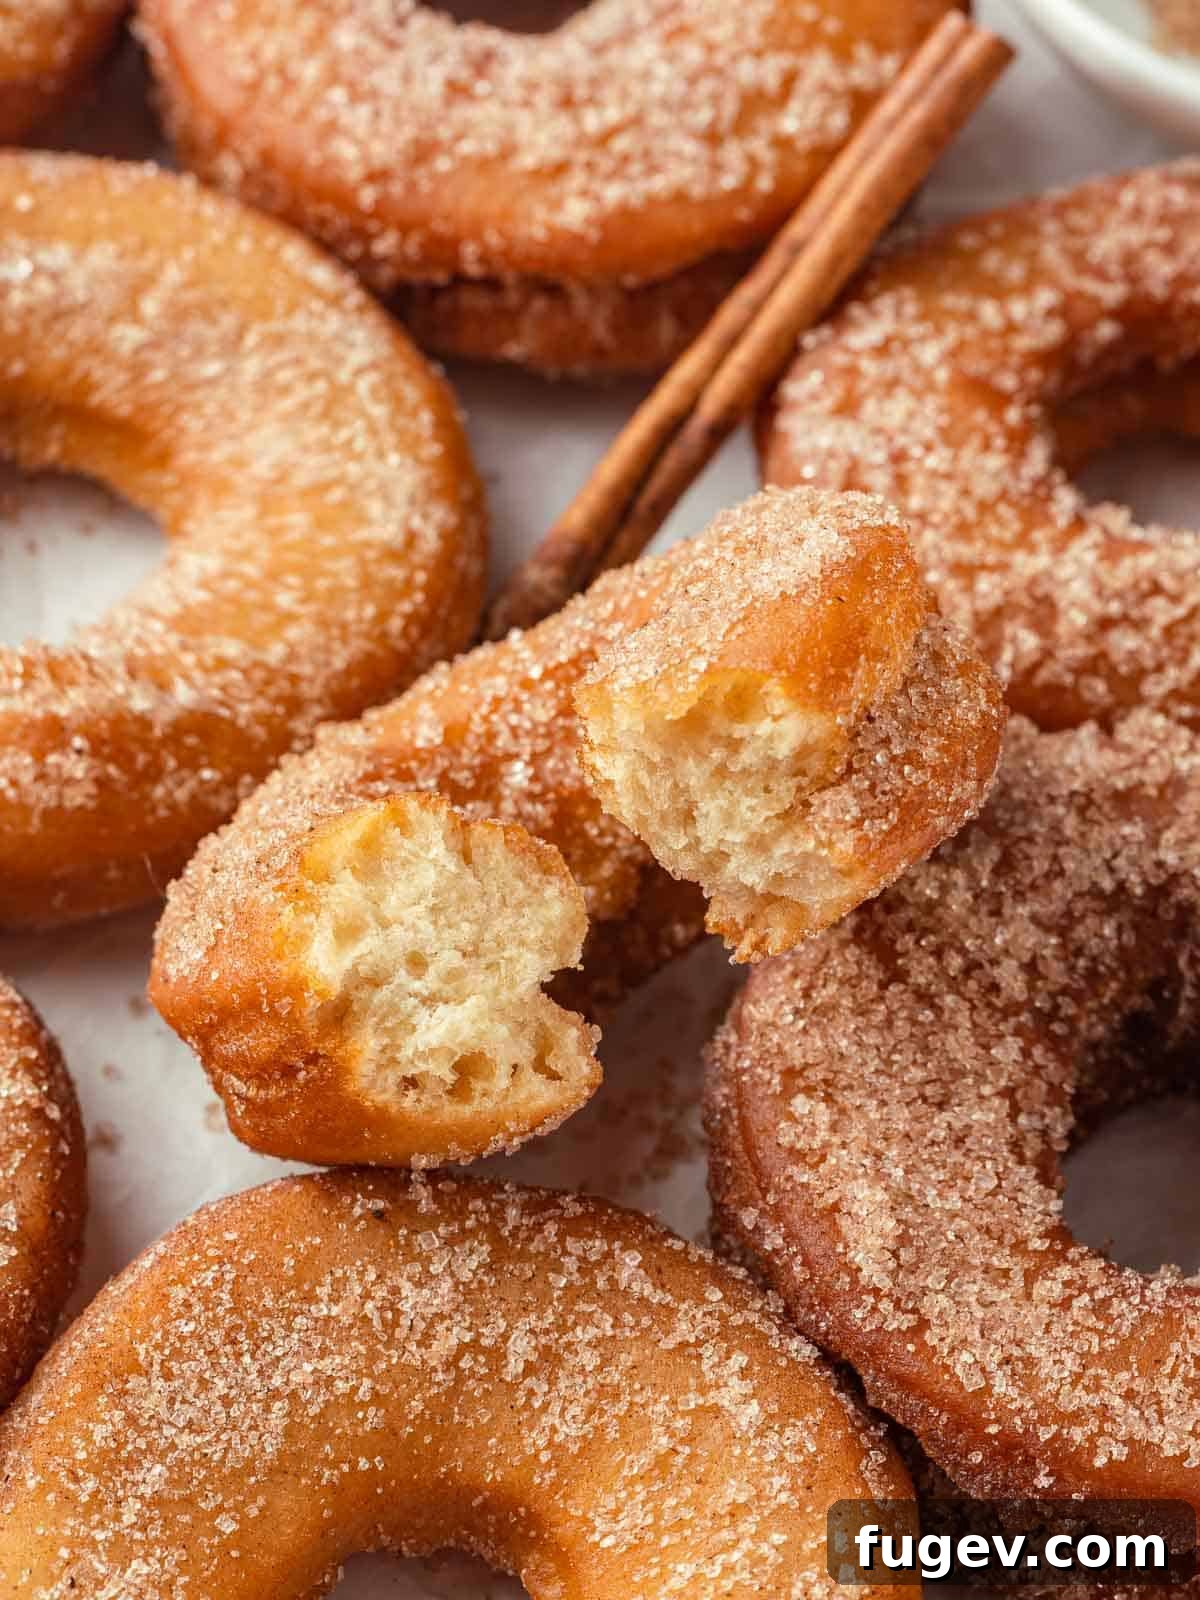
For many, the aroma of a paper bag filled with warm, sugary apple cider donuts is synonymous with autumn, especially after a refreshing day of apple picking. However, as a professional pastry chef, I’ve often found store-bought versions lacking in genuine apple cider flavor. This culinary gap inspired me years ago to perfect a recipe that truly delivers that spiced apple essence. These aren’t just any donuts; they are light, airy cake donuts with an irresistible crispy exterior, generously coated in a classic cinnamon sugar blend. Prepare for a truly authentic fall indulgence!
Once you master the art of crafting and frying these delectable homemade apple cider donuts, the possibilities don’t end there! Explore more seasonal delights with my pumpkin spice cake donuts for another autumnal treat. Or, venture into yeasted varieties with my fluffy jelly donuts, which you can fill with luxurious caramel pudding for an extra touch of decadence. If you’re seeking simple yet scrumptious donuts that rival your favorite coffee shop, be sure to try my old-fashioned sour cream cake donuts or classic glazed chocolate cake donuts.
Table of Contents
- Why These Are the Best Apple Cider Doughnuts
- Professional Tips for Making Homemade Apple Cider Donuts
- Key Ingredients for Apple Cider Donuts
- Delicious Variations for Your Donuts
- How to Make This Apple Cider Donut Recipe
- Chef Lindsey’s Recipe Tip: Calibrating Your Thermometer
- Frequently Asked Questions About Apple Cider Donuts
- Apple Cider Donuts Recipe Card
- Before You Go: More Fall Recipes
Why These Are the Best Apple Cider Doughnuts
This recipe stands out as the ultimate choice for apple cider donuts, offering an unmatched combination of flavor and texture. Here’s why you’ll love them:
- Light, Tender, and Crispy: Unlike dense or greasy donuts, these fried cake donuts boast a remarkably light and airy crumb on the inside. The meticulous frying process ensures a thin, crisp, and crunchy exterior that provides a delightful textural contrast with every bite. It’s a texture profile that’s truly unbeatable, making them a joy to eat.
- Authentic and Concentrated Apple Cider Flavor: The secret to their rich taste lies in reducing fresh apple cider. This crucial step concentrates the natural apple flavor, evaporating excess water and transforming it into a thick, syrupy concentrate. The result is an apple cider donut that genuinely tastes like spiced apple cider, not just a hint of it. This method ensures a deep, natural fruitiness that artificial flavorings can’t replicate.
- Convenient Make-Ahead Dough: Planning ahead for a cozy fall morning or a festive gathering? This donut dough is incredibly versatile. You can prepare it up to three days in advance, storing it in the refrigerator at any stage. This flexibility allows you to spread out your baking process, making homemade donuts much more accessible and less stressful, ensuring fresh, warm donuts whenever the craving strikes.
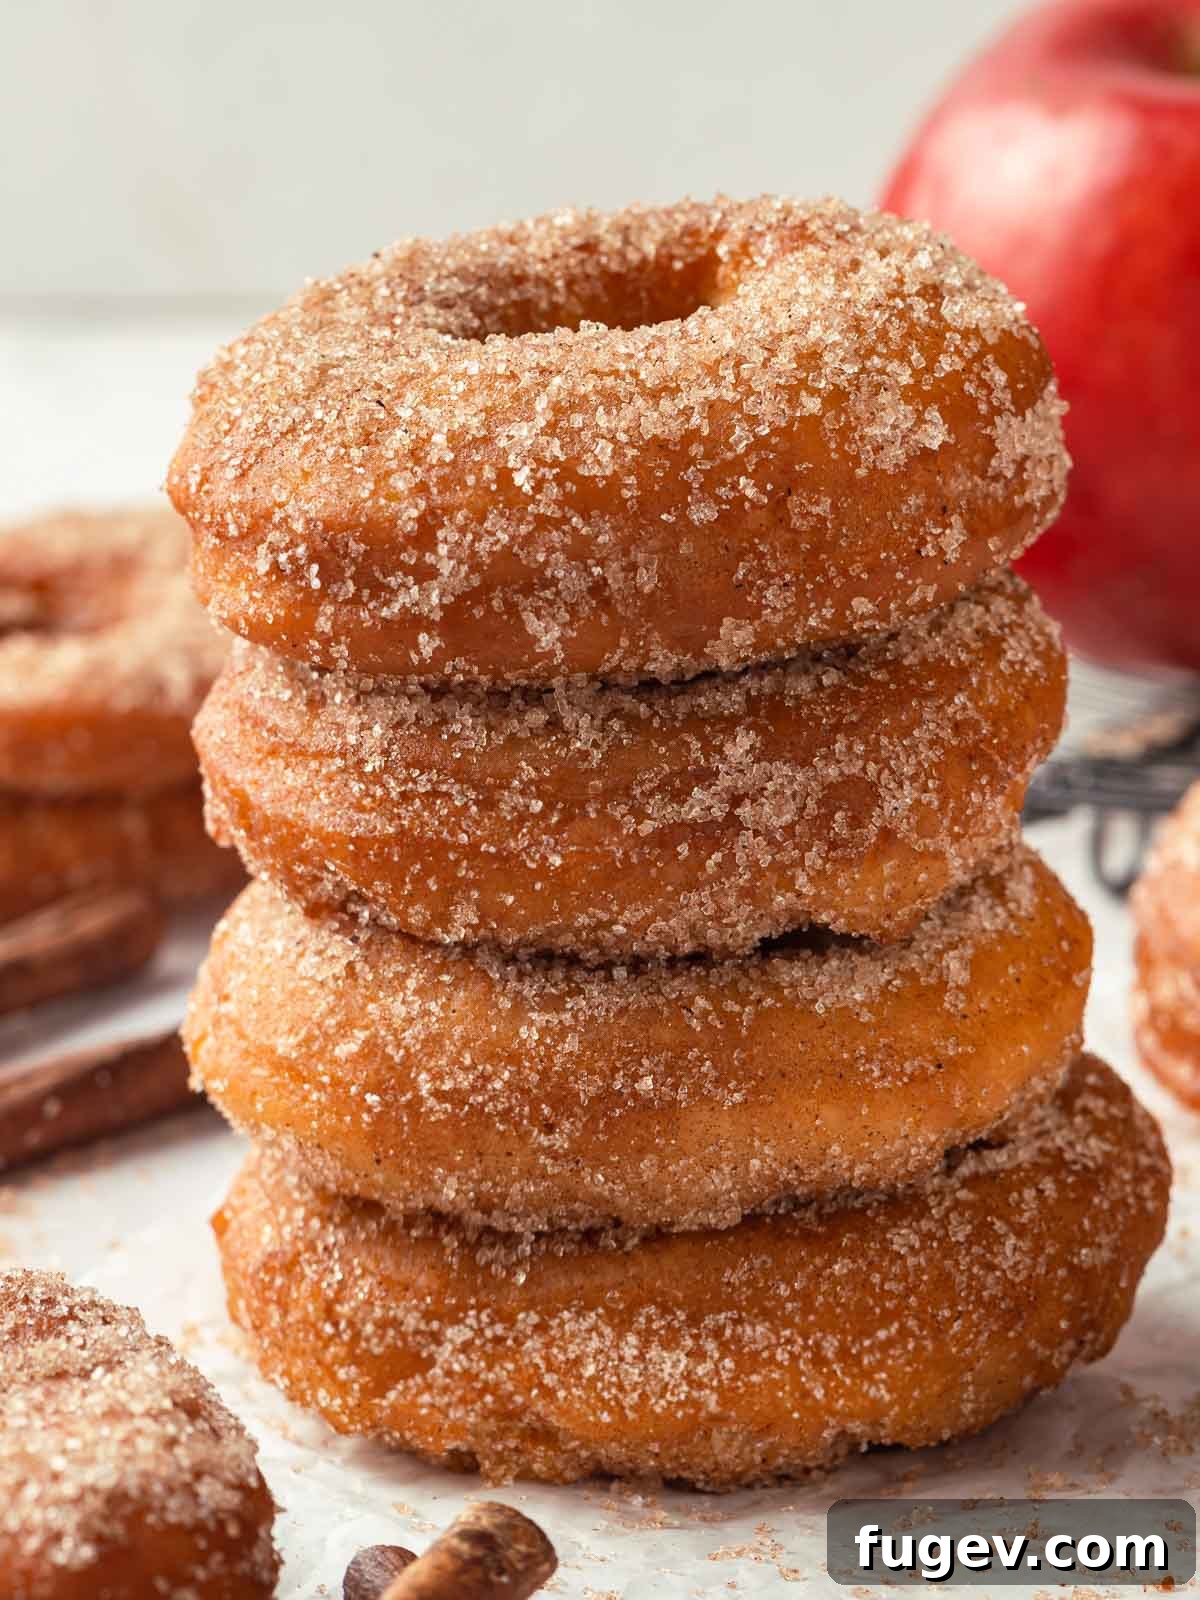
Professional Tips for Making Homemade Apple Cider Donuts
Achieving bakery-quality homemade apple cider donuts requires a few professional insights. Follow these essential tips to ensure your donuts are consistently perfect:
- Keep Your Dough Cold: This is perhaps the most critical tip for tender cake donuts. Overworking or warming the dough develops gluten, which can lead to a tough, chewy texture with undesirable “tunnels.” To maintain a light and airy crumb, work quickly, avoid overmixing, and always keep your dough thoroughly chilled. Cold dough is easier to handle, holds its shape better, and fries beautifully.
- Use Neutral Oil at the Correct Temperature: The type and temperature of your frying oil significantly impact the final texture and taste of your donuts. Opt for a neutral-flavored oil with a high smoke point, such as canola, peanut, or sunflower oil. Maintaining the oil temperature between 325°-330°F (163°-165°C) is crucial. If the oil is too cool, your donuts will absorb excess oil, becoming greasy. If it’s too hot, the exterior will burn before the interior cooks through. A reliable deep-fry thermometer is indispensable here.
- Always Cut the Hole in the Center: While a solid donut might seem simpler, the central hole in a cake donut is absolutely essential for even cooking. Without it, the donut’s center will remain undercooked or raw, while the outside risks burning. The hole allows hot oil to circulate, ensuring uniform cooking and that signature donut shape.
- Use Quality Apple Cider: The flavor of your donuts directly correlates with the quality of your ingredients, especially the star ingredient: apple cider. Seek out fresh, unfiltered apple cider, ideally from a local farmers’ market or an apple orchard. These ciders typically have a more robust, concentrated, and authentic apple flavor, which, when reduced, will infuse your donuts with an unparalleled depth of taste. Avoid using apple cider vinegar, which is an entirely different product.
Key Ingredients for Apple Cider Donuts
Crafting these perfect apple cider donuts begins with a selection of quality ingredients. Each component plays a vital role in achieving their signature flavor and texture:
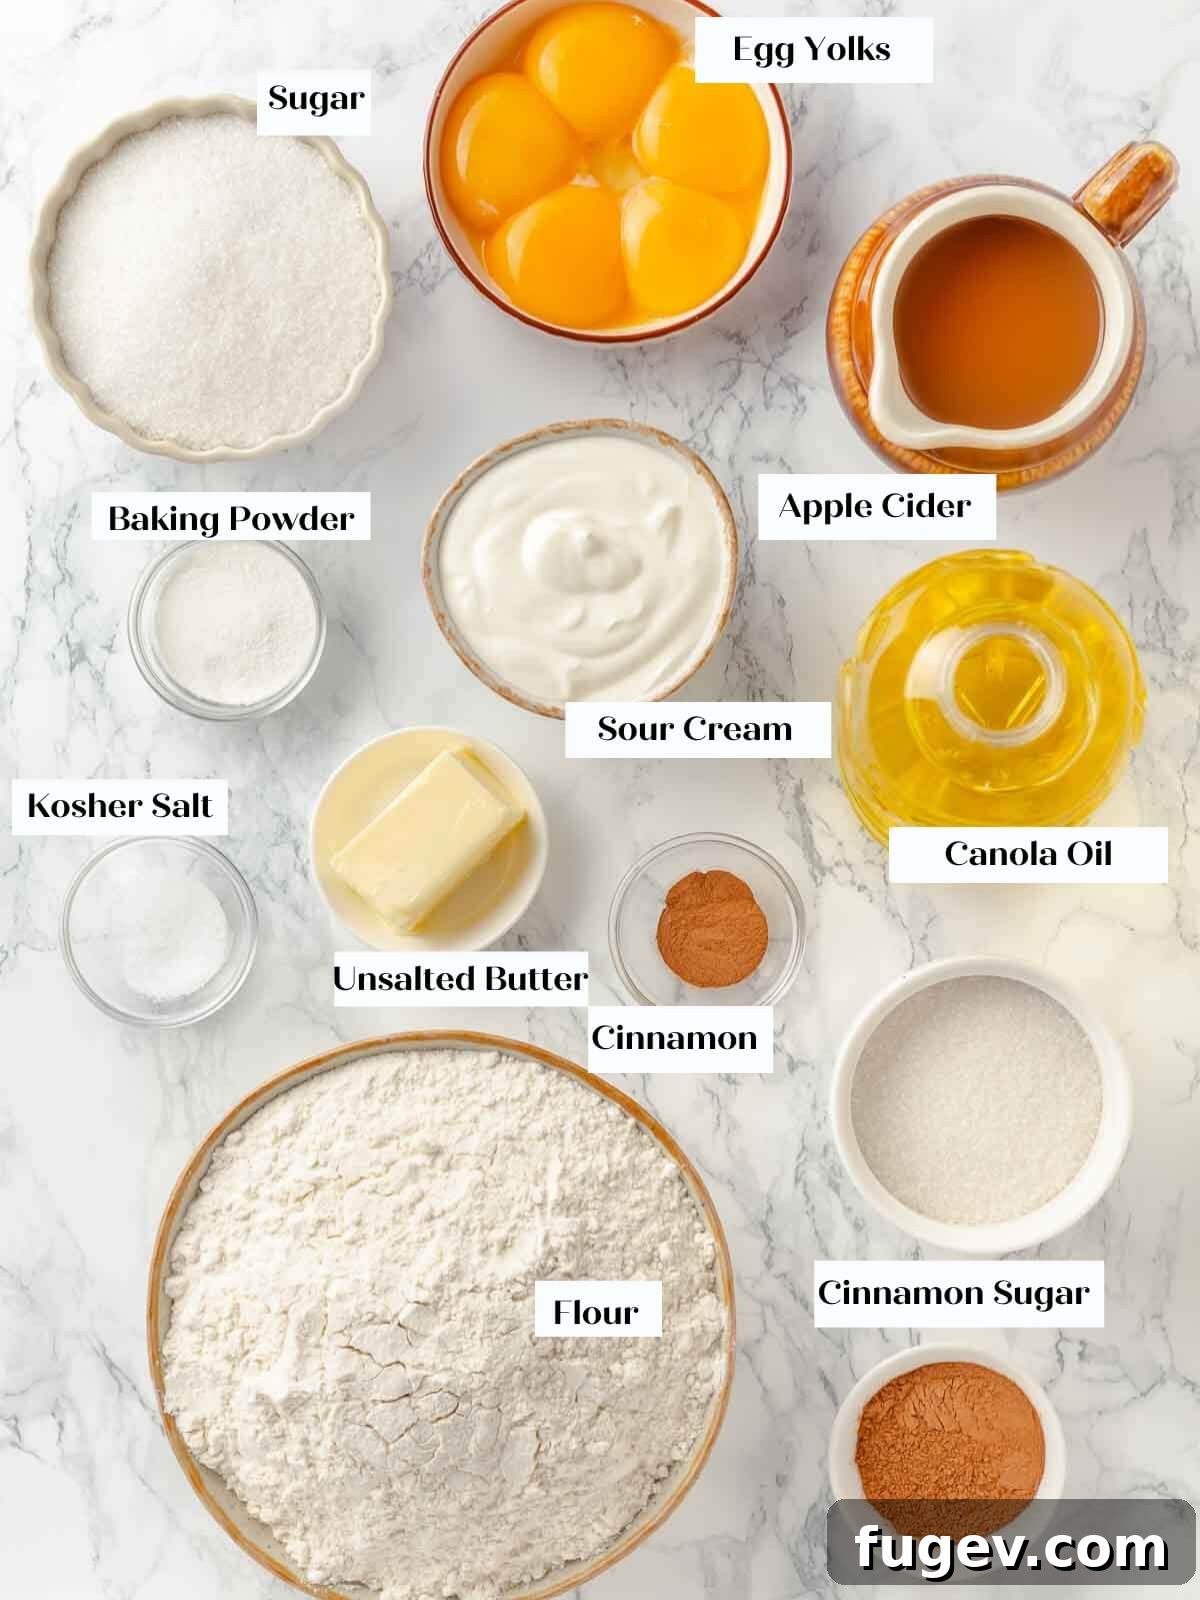
- Granulated Sugar: Beyond providing sweetness, sugar plays a crucial role in leavening when creamed with butter and egg yolks. It also contributes to the beautiful golden-brown color and the soft, tender, light texture of the donuts. While brown sugar can be used, I find it tends to mute the delicate apple flavor, making granulated sugar the preferred choice for a pure taste.
- Unsalted Butter (Room Temperature): Butter adds richness, flavor, and tenderness to the donut dough. Using unsalted butter allows you to control the overall salt content of the recipe. Ensure it’s at room temperature for proper creaming with sugar, which is essential for incorporating air into the mixture.
- Egg Yolks: The egg yolks are powerhouses in this recipe, contributing fat, moisture, and additional leavening. The fat from the yolks enriches the dough, helps to shorten gluten strands for a cakey and tender crumb, and aids in emulsification, creating a smoother batter.
- Sour Cream: I opt for full-fat sour cream for its superior richness and tang, though low-fat sour cream can also be used. Sour cream adds moisture and acidity, which activates the baking powder, enhancing the leavening and resulting in a wonderfully tender and moist donut.
- Apple Cider: The star of the show! Reducing the apple cider is non-negotiable. This process concentrates its natural flavors intensely and evaporates excess water. This concentrated cider allows us to infuse maximum apple flavor into the dough without making it too wet or compromising the texture. Remember to use apple cider, not apple cider vinegar.
- All-Purpose Flour: For most of my donut recipes, all-purpose flour is my go-to. It strikes the perfect balance, providing enough gluten to develop a strong yet flexible network for structure, while still ensuring the donuts remain tender and soft, never tough.
- Baking Powder: We use double-acting baking powder as our primary leavening agent. It reacts twice: first when mixed with an acid (like sour cream) and then again when exposed to heat during frying. This dual action provides a consistent lift, essential for fluffy donuts, especially if the dough is prepared in advance. Baking soda alone would react once and lose much of its potency before frying.
- Kosher Salt: A small but mighty ingredient, kosher salt is crucial for balancing the sweetness and enhancing all the other flavors in the donut, bringing out the best in the apple and cinnamon.
- Ground Cinnamon: This classic fall spice pairs perfectly with apple cider. We use it both in the dough for an underlying warmth and generously in the outer coating for a pronounced aromatic finish.
- Canola Oil (for frying): I primarily use canola oil for frying due to its neutral flavor and high smoke point, which are ideal for deep-frying without imparting unwanted tastes. Other neutral-flavored oils with high smoke points, such as peanut oil, sunflower oil, or vegetable shortening (like Crisco), are also excellent alternatives.
For precise quantities and measurements, please refer to the comprehensive recipe card below.
Delicious Variations for Your Apple Cider Donuts
While these apple cider donuts are perfect as is, they also serve as an excellent canvas for creative variations. Experiment with these ideas to customize your fall treat:
- Explore Different Spices: Cinnamon is classic, but why stop there? Elevate your donuts by swapping it for a fragrant apple pie spice mix, which typically includes nutmeg, allspice, and cloves, or a cozy pumpkin spice blend. For a more exotic twist, consider adding a pinch of ground cardamom, ginger, or even fresh grated nutmeg to the dough and/or the sugar coating. For an extra layer of gourmet flavor, infuse your granulated sugar with a spent vanilla bean for a subtle hit of vanilla that complements the apple beautifully.
- Add a Luscious Glaze: Instead of the traditional cinnamon sugar coating, transform your donuts with a rich glaze. A homemade salted caramel sauce makes for an indulgent topping, or opt for a simple yet elegant classic donut glaze enriched with a splash of vanilla extract or a hint of spiced apple cider. For best results, allow your freshly fried donuts to drain excess oil on a wire rack for a moment, then, just like with my Krispy Kreme copycat recipe, dip them into the warm glaze while they are still slightly warm. This ensures the glaze adheres perfectly and sets into a beautiful, glossy finish.
- Experiment with Sizes and Shapes: This recipe is incredibly adaptable to different sizes. You can create charming mini donuts, perfect for sampling or serving at a party, or simply fry all the donut holes for delightful, bite-sized snacks. I advise against making them significantly larger than the standard size, as larger donuts require longer frying times. This can lead to increased oil absorption, resulting in a greasier and less pleasant texture. Stick to smaller or standard sizes for optimal frying results.
How to Make This Apple Cider Donut Recipe
Follow these detailed instructions to create consistently perfect, flavorful apple cider donuts every time. You’ll find further details and precise measurements in the recipe card provided below.
Make the Donut Dough:
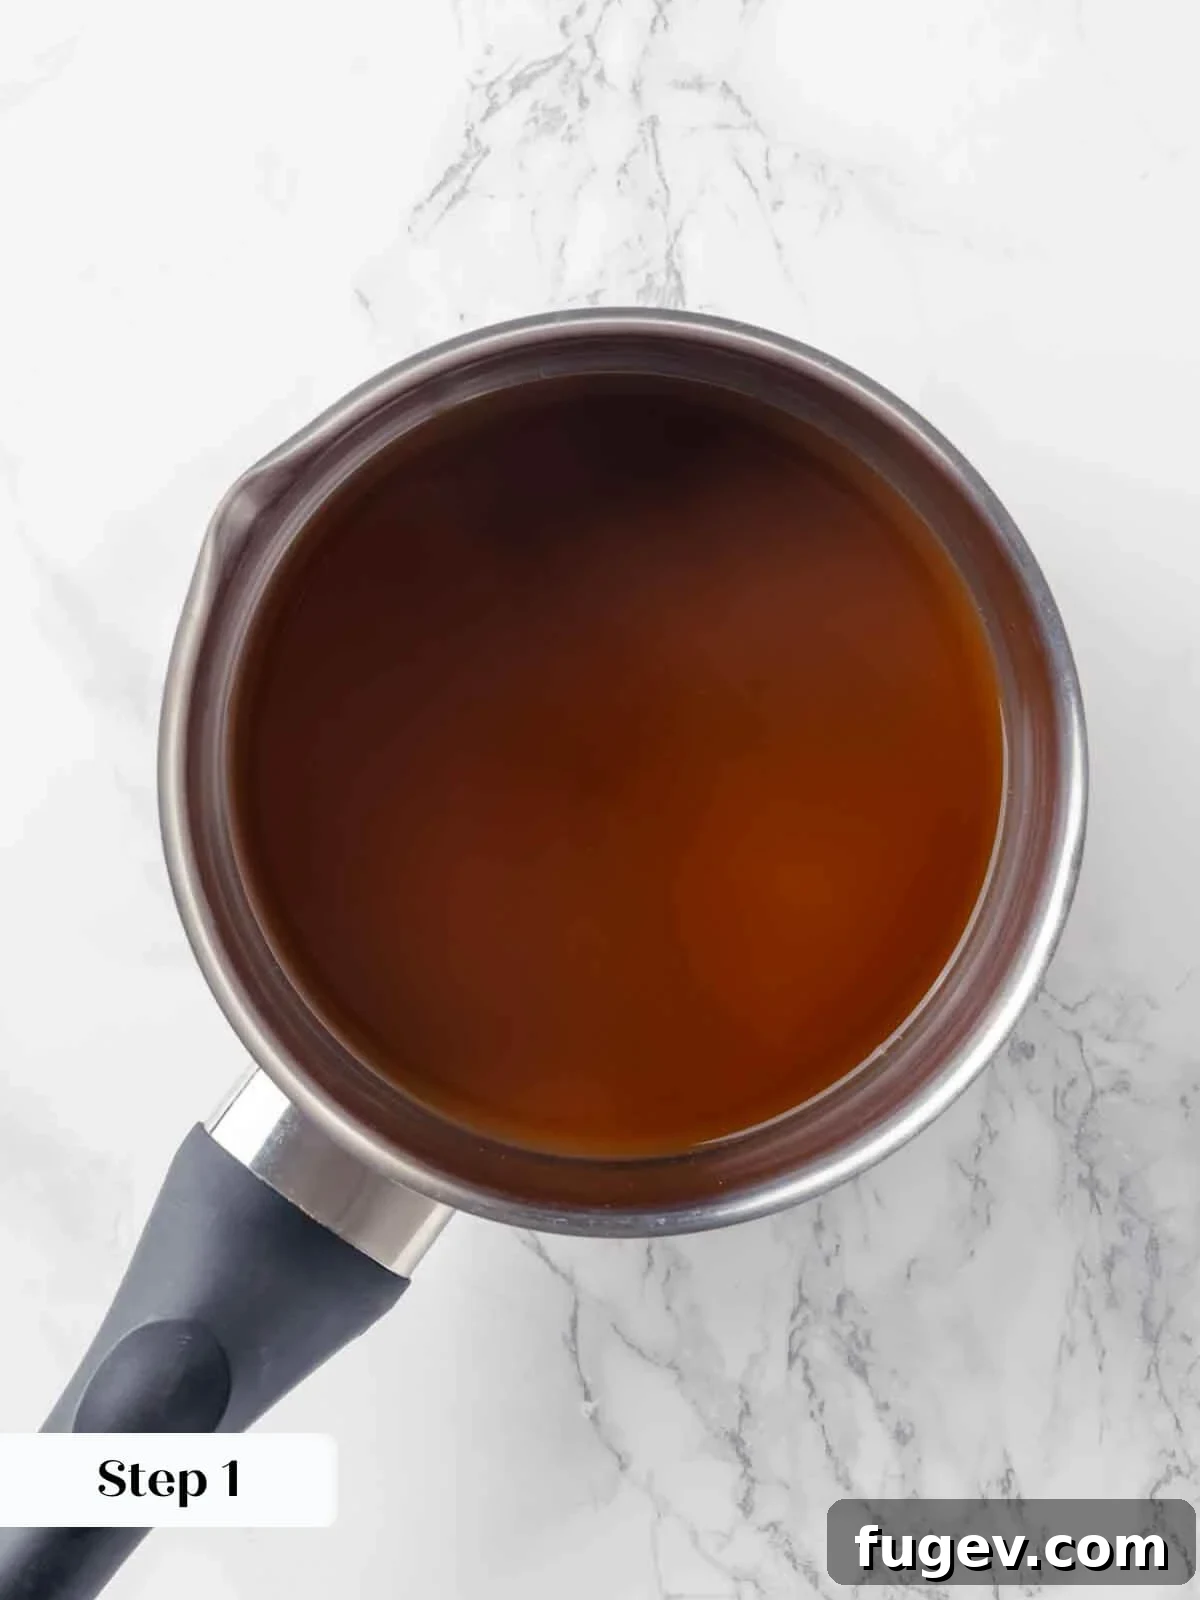
Step 1: Reduce the Apple Cider. In a small saucepan, bring the apple cider to a gentle simmer. Continue to cook, stirring occasionally, until the liquid has reduced by half, yielding approximately 166g or a scant ⅔ cup of concentrated cider. This step intensifies the apple flavor significantly. Once reduced, remove from heat and allow it to cool completely at room temperature. For convenience, you can prepare this step ahead of time and store the cooled reduction in the refrigerator for up to three days.
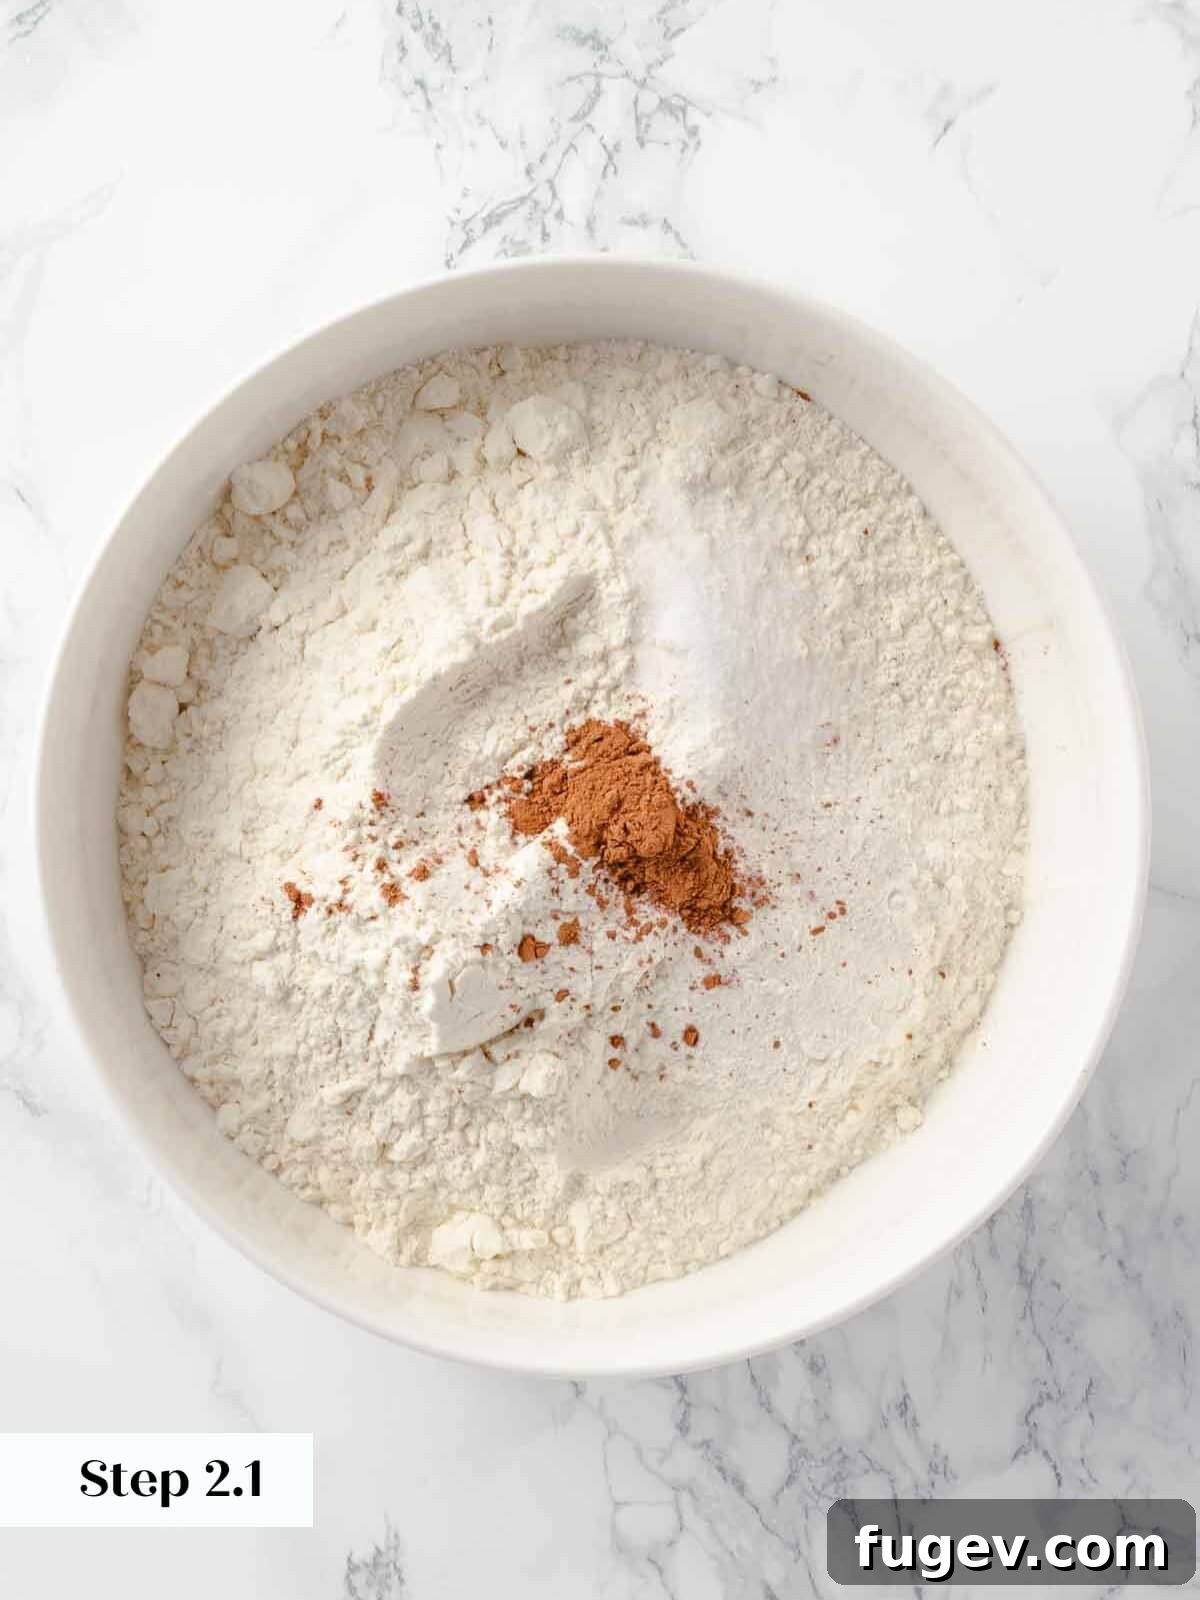
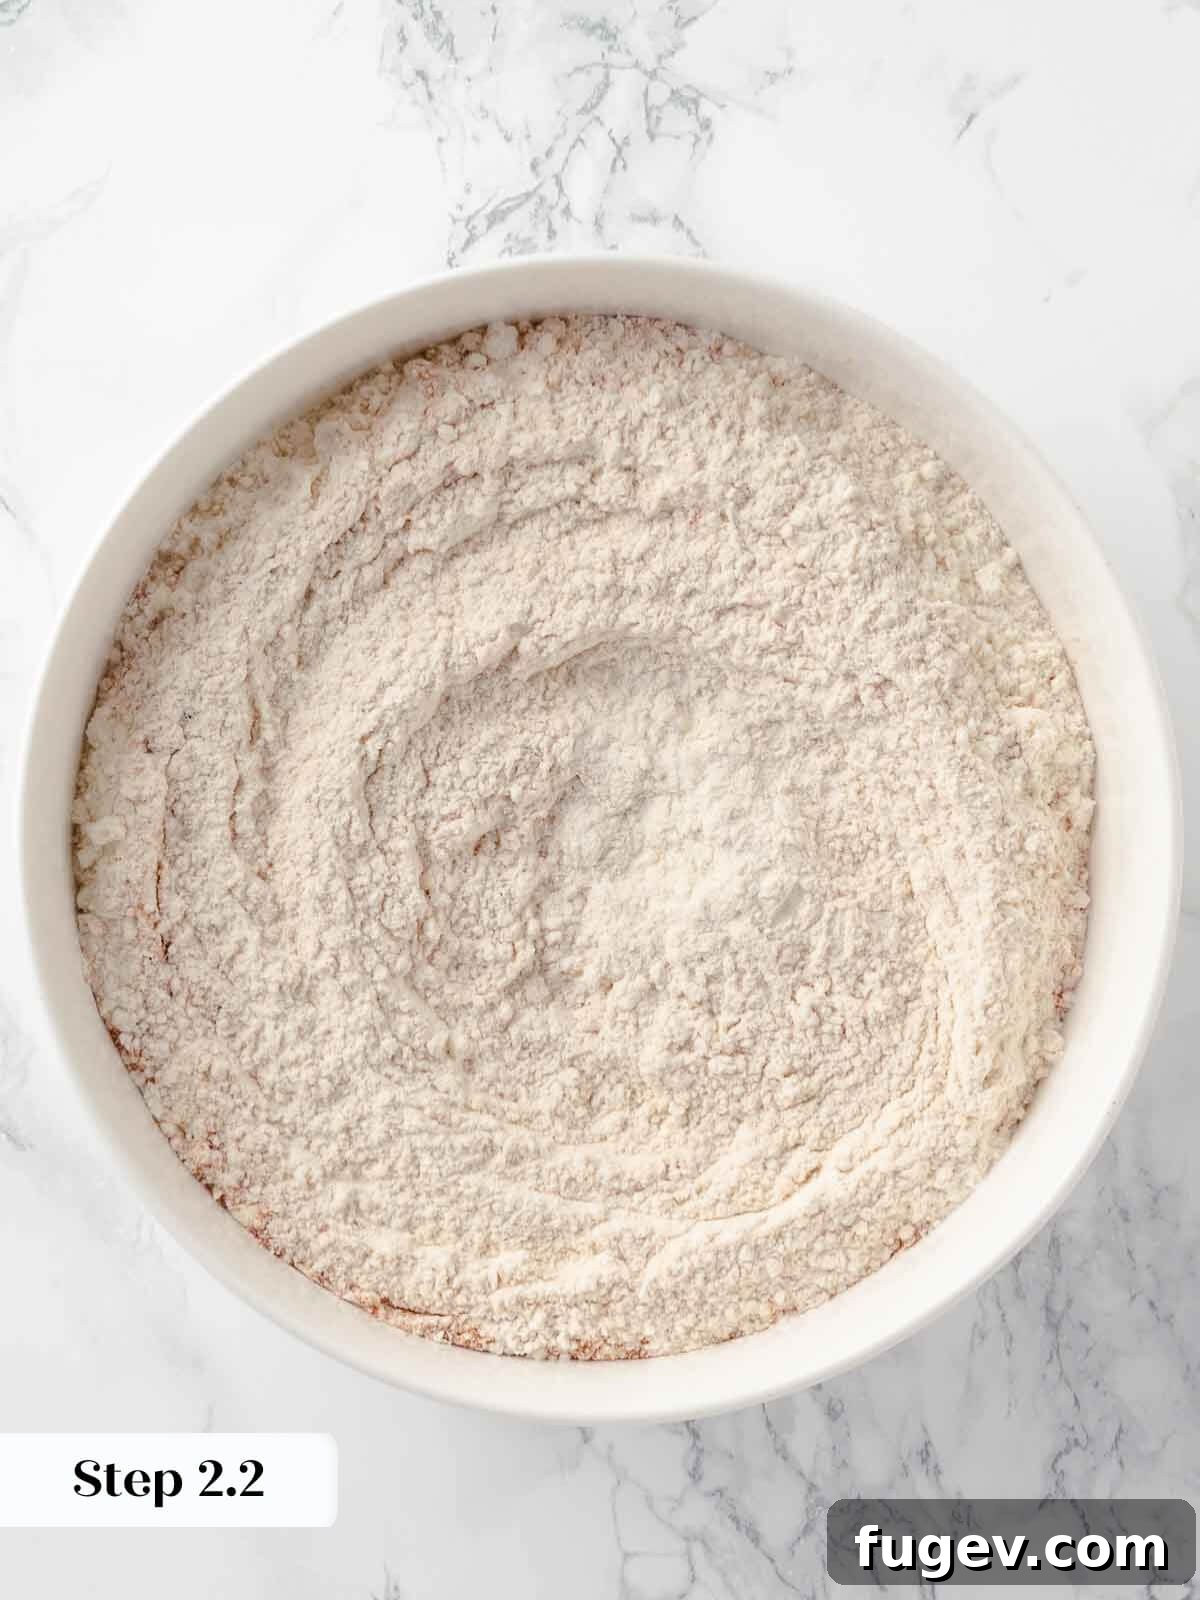
Step 2: Prepare Dry and Wet Mixtures. In a large bowl, whisk together the all-purpose flour, baking powder, kosher salt, and 1 teaspoon of ground cinnamon until thoroughly combined. Set this dry mixture aside. In a separate medium-sized bowl, whisk together the sour cream and the cooled apple cider reduction until smooth. This forms your wet ingredient mixture.
Step 3: Prepare Your Chilling Surface. Line a standard baking sheet with plastic wrap, ensuring the plastic hangs over the edges slightly. Generously dust the surface of the plastic wrap with all-purpose flour. This will prevent the dough from sticking when it’s transferred for chilling.
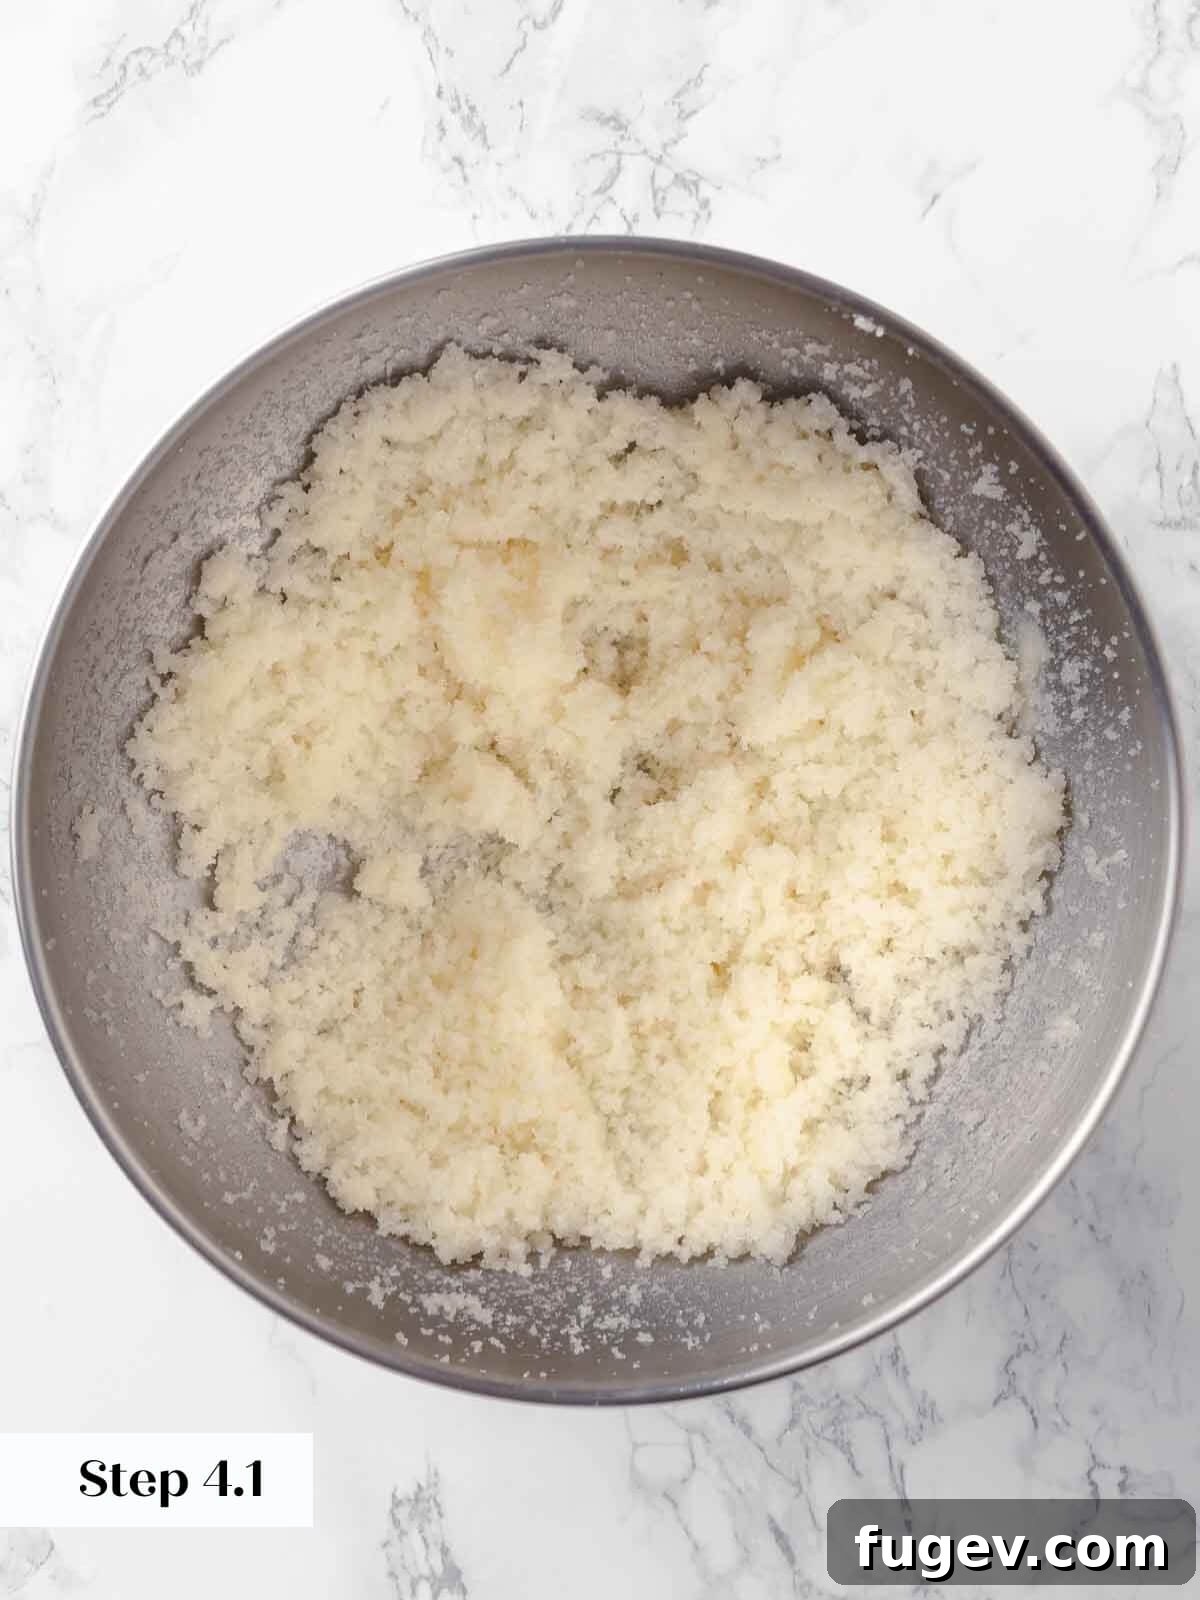
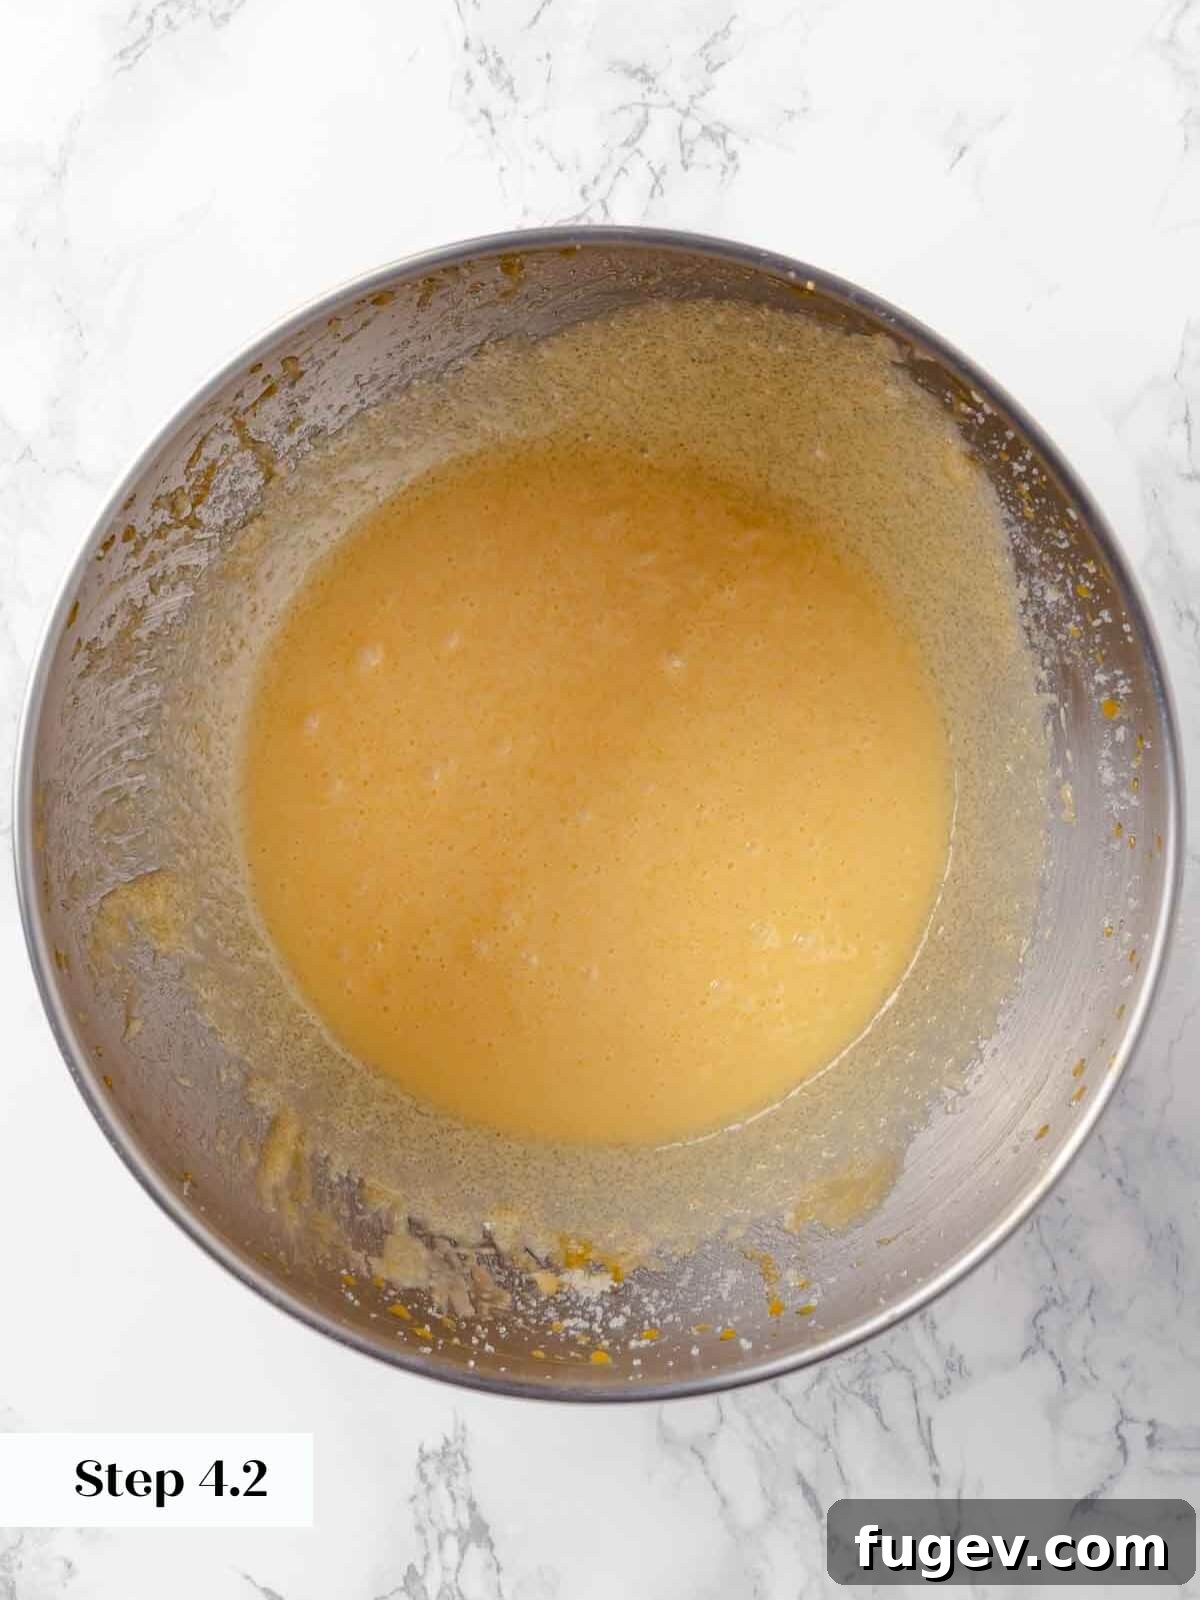
Step 4: Cream Butter, Sugar, and Yolks. In the bowl of a stand mixer fitted with the paddle attachment (or using a hand mixer in a large bowl), beat the room temperature butter and granulated sugar together on medium speed until a light, sandy, and crumbly mixture forms. This typically takes about 1-2 minutes. Gradually add the egg yolks, one at a time, beating on high speed after each addition. Continue to beat for about 2 minutes total until the mixture becomes pale yellow, fluffy, and significantly increased in volume.
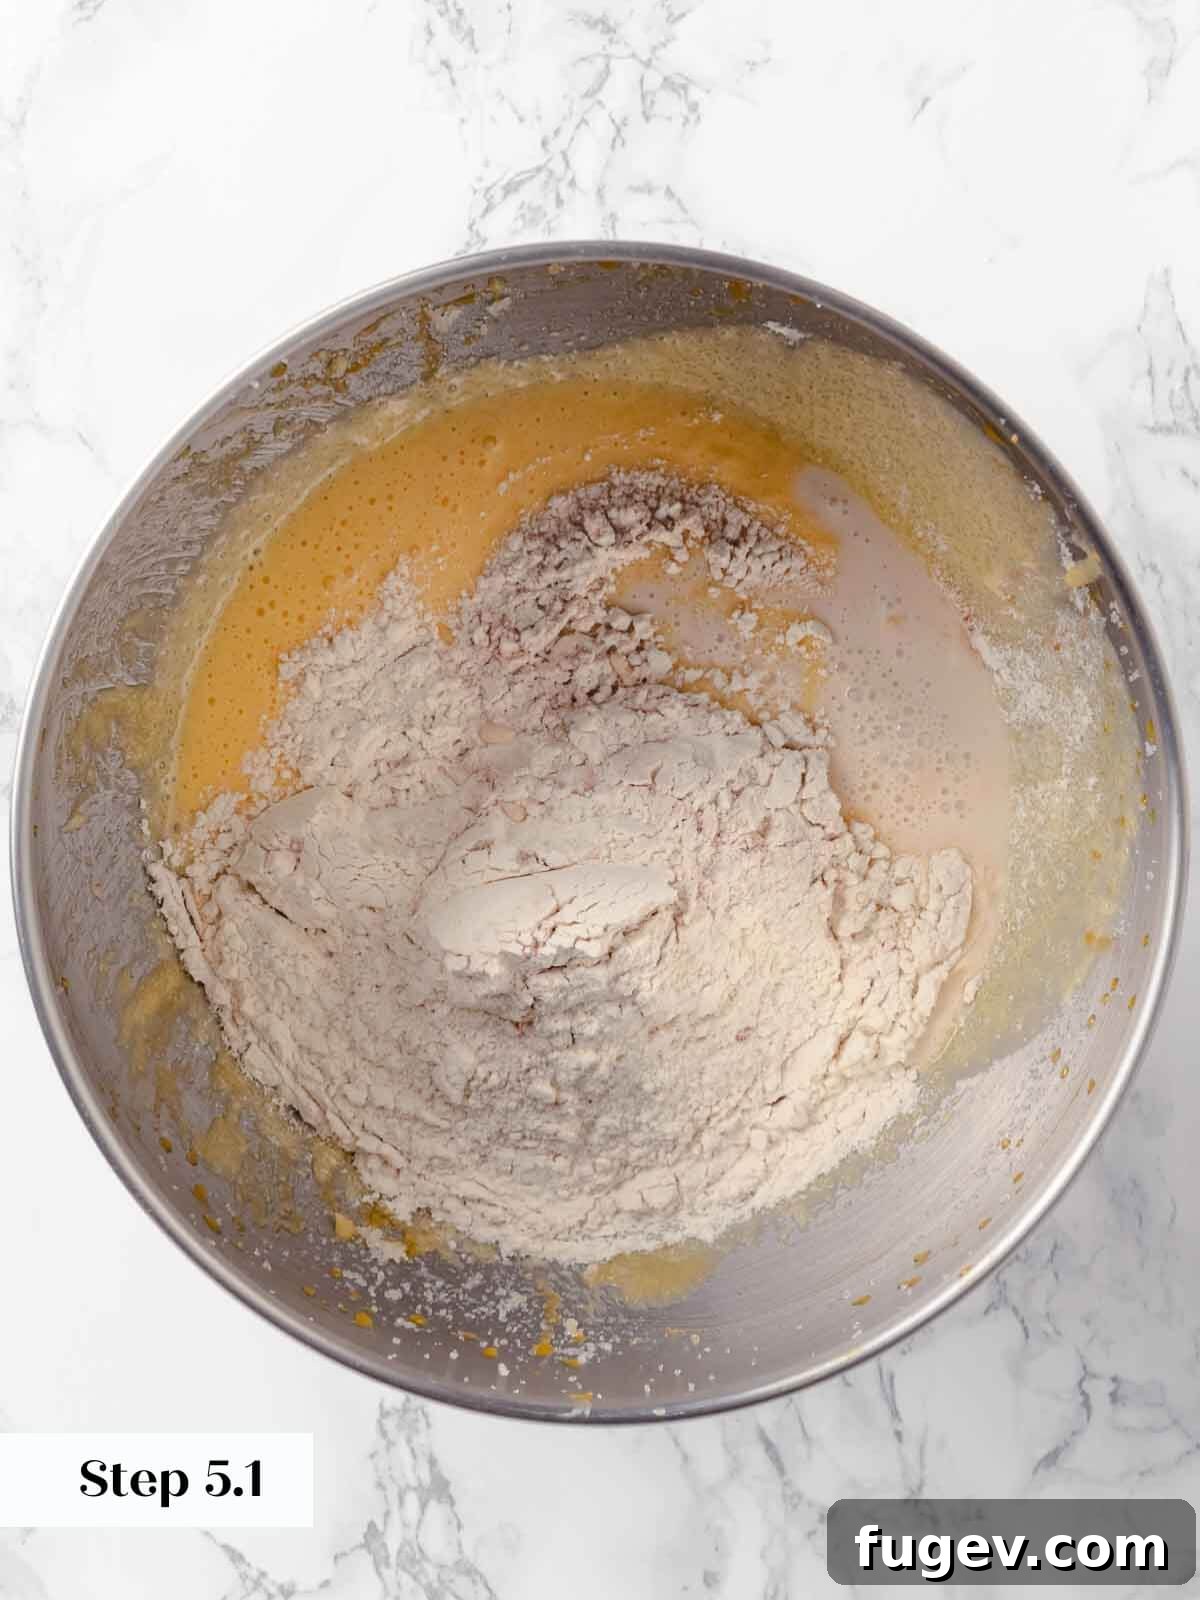
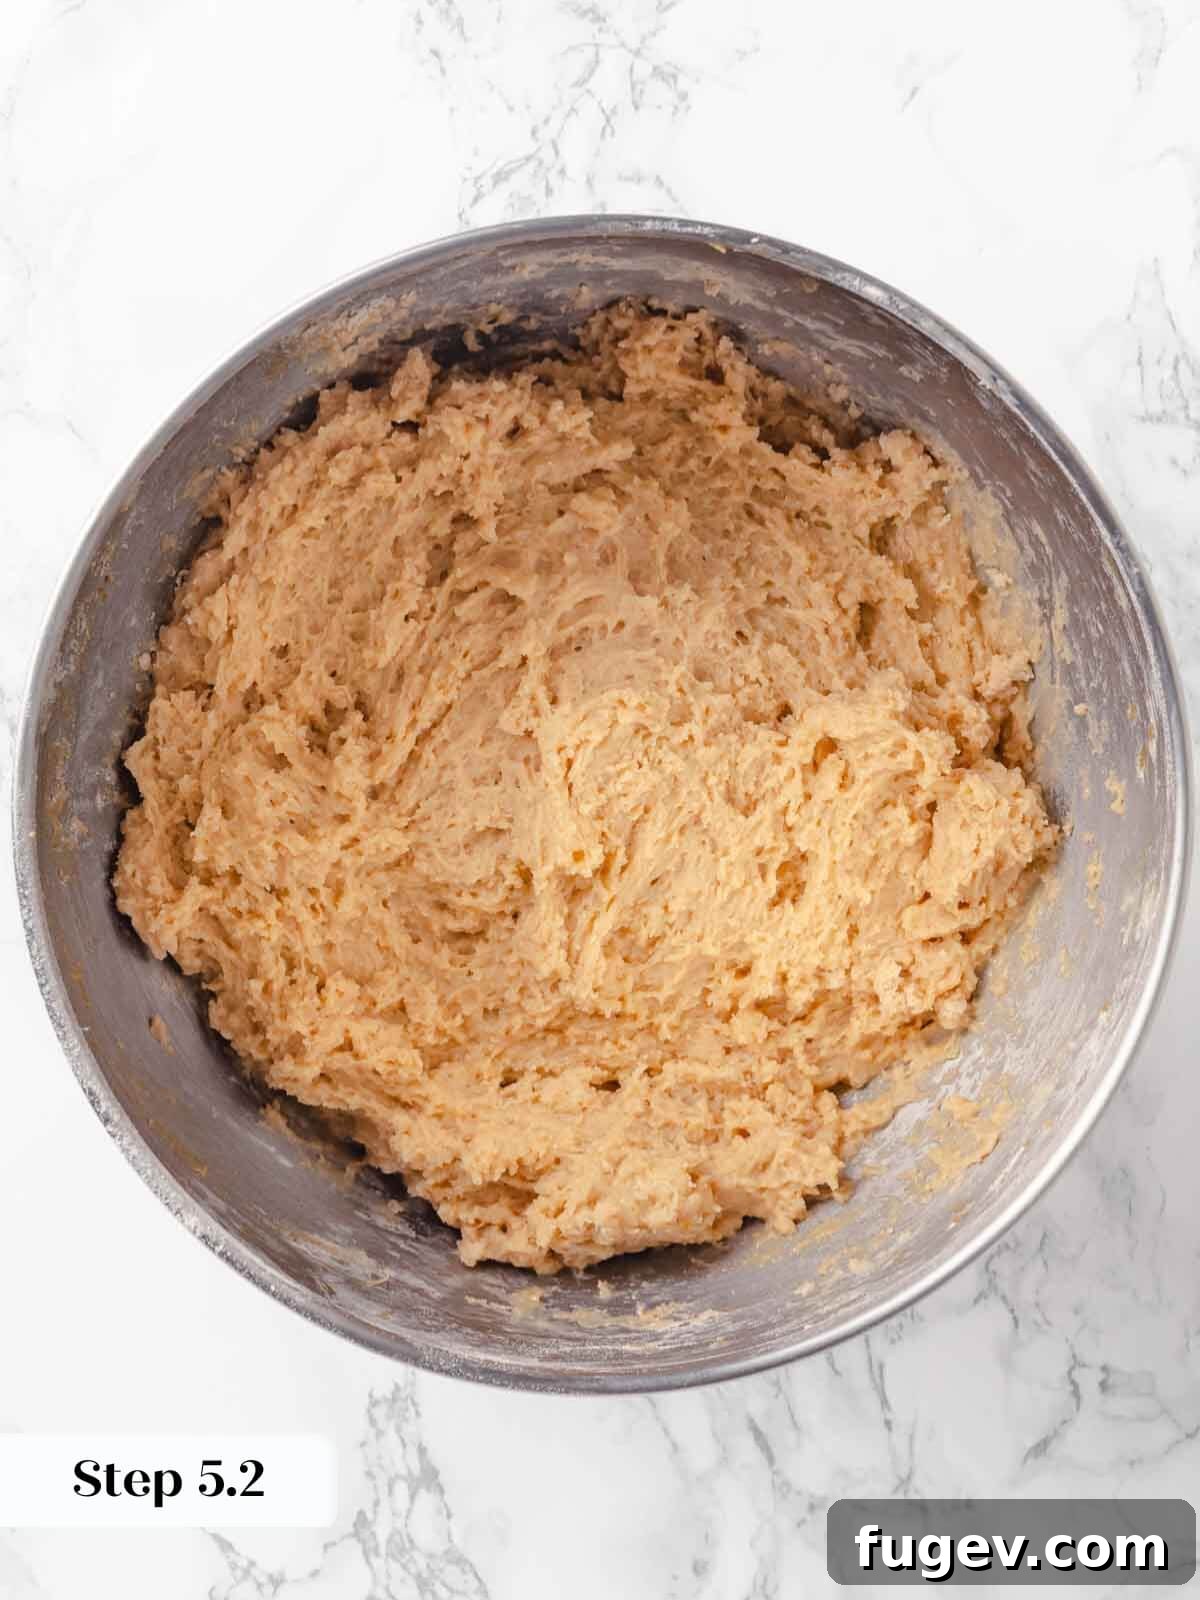
Step 5: Combine Wet and Dry Ingredients. With the stand mixer running on its lowest speed, alternately add the flour mixture and the sour cream-apple cider mixture to the bowl in several additions, beginning and ending with the dry ingredients. Mix only until the dry ingredients are just fully incorporated. Be careful not to overmix!
Chef’s Note: It’s crucial to perform this step as quickly as possible and avoid overmixing. Excessive mixing will overdevelop the gluten in the flour, leading to a tough donut with an undesirable chewy texture and internal tunnels. Stop mixing as soon as no streaks of flour are visible.
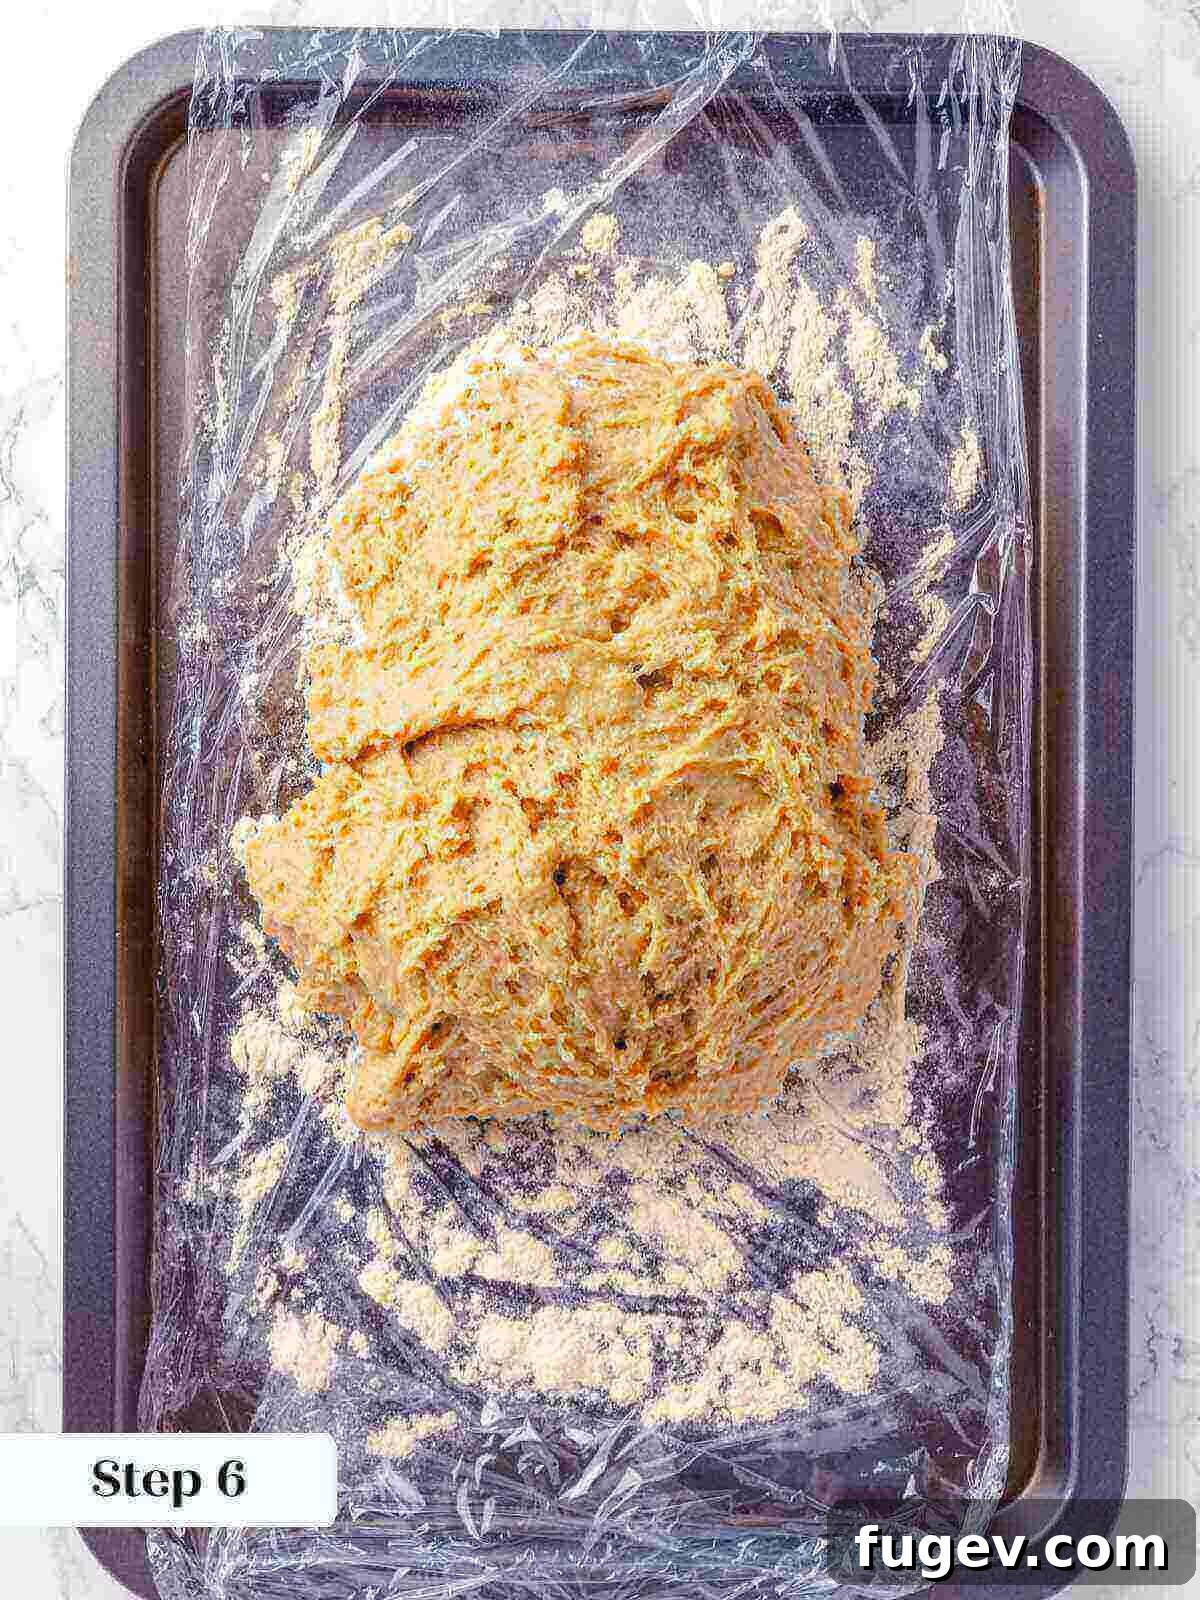
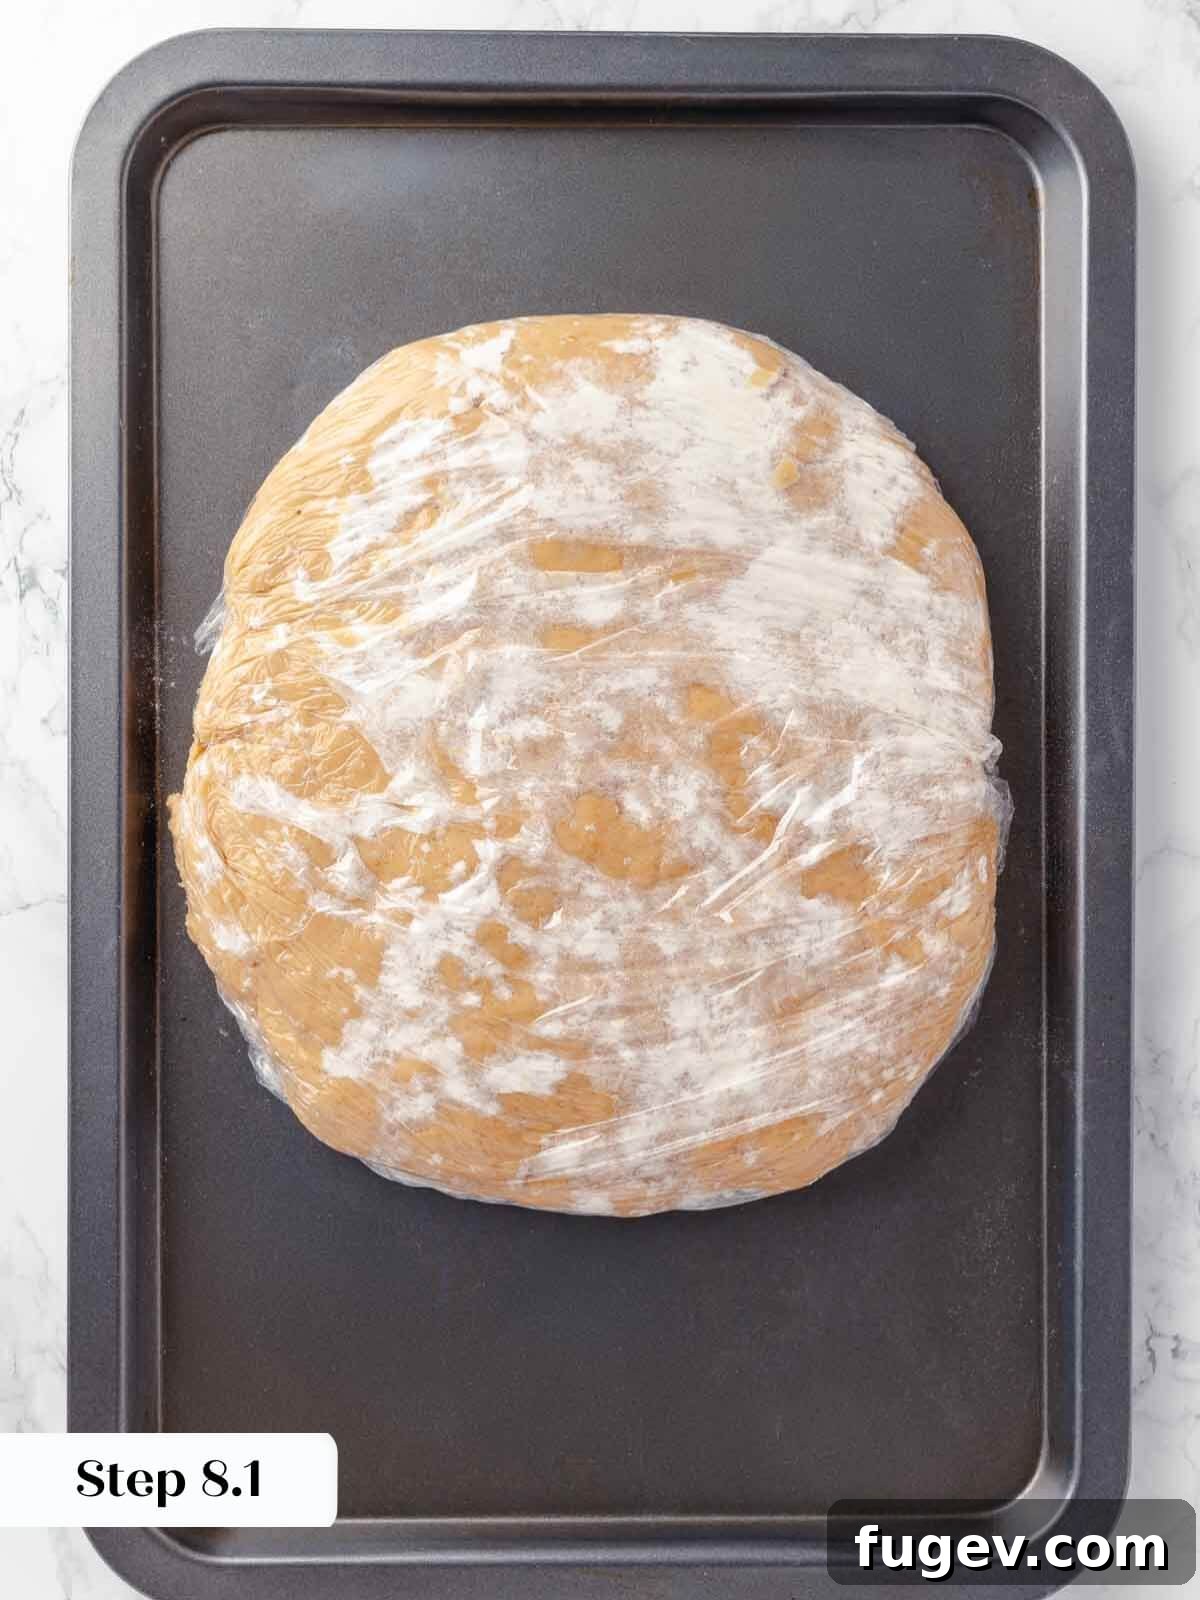
Step 6: Chill the Dough. Gently transfer the sticky dough onto the generously floured plastic wrap prepared in Step 3. Dust more flour over the top surface of the dough, then fold the edges of the plastic wrap over to fully cover it. To facilitate faster chilling, I recommend gently pressing the dough out into a flattened disk or rectangle, about 1.5 to 2 inches thick. Place the covered dough in the refrigerator and chill for a minimum of 60 minutes.
Make-Ahead Tip: This versatile apple cider donut dough can be prepared up to 3 days in advance! Simply keep it well-wrapped and stored in the refrigerator until you are ready to roll, cut, and fry your donuts.
Cut the Donuts:
Step 7: Prepare a Lined Baking Sheet. Line another baking sheet pan with parchment paper and lightly spray the paper with a nonstick cooking spray. This will prevent the cut donuts from sticking. Set aside.
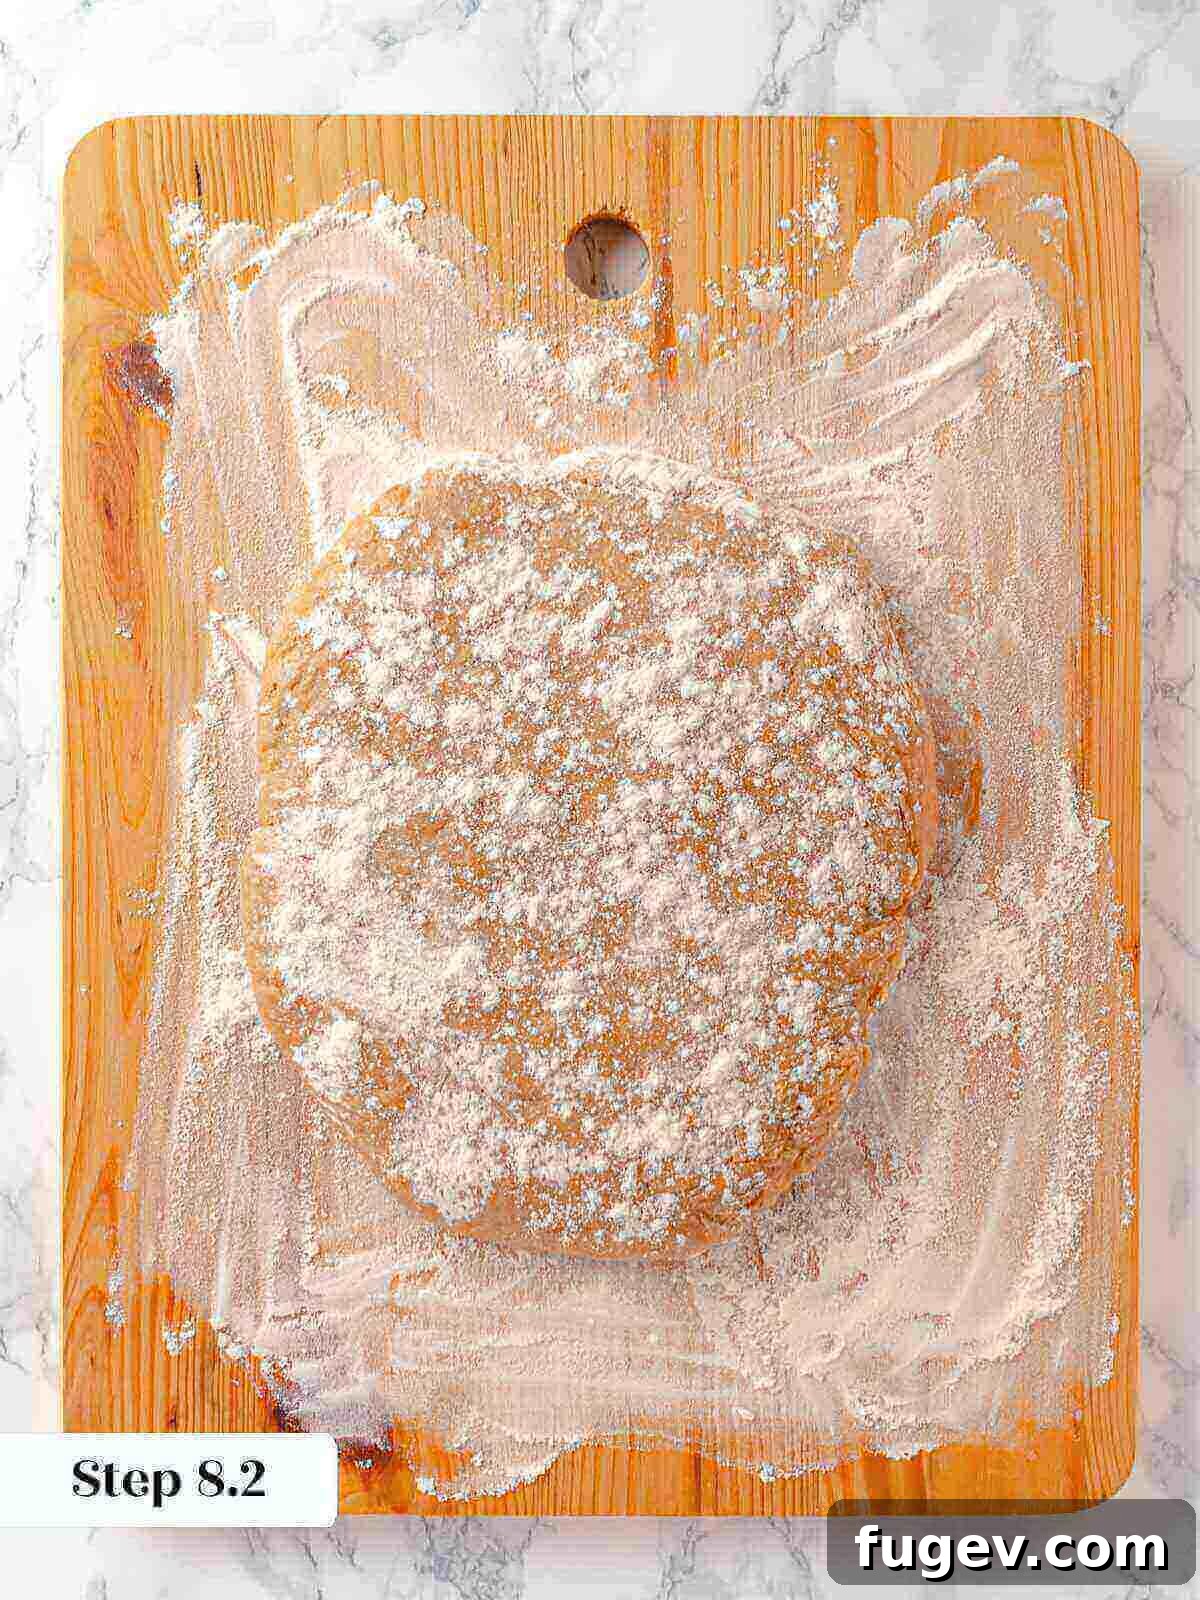
Step 8: Flour Your Work Surface. Generously dust a clean work surface with all-purpose flour. While the chilled dough is still on its plastic wrap, dust the top of the dough liberally with flour as well. Carefully invert the dough onto your floured work surface, so the original floured side is now down. Lightly dust the top with a bit more flour.
Bench Flour is Your Friend: It might seem like a lot of flour, but this dough is designed to be slightly sticky due to its high moisture content, which contributes to its tender texture. The generous use of bench flour is crucial for managing the dough and preventing it from sticking to your rolling pin and cutters. Don’t be shy with it!
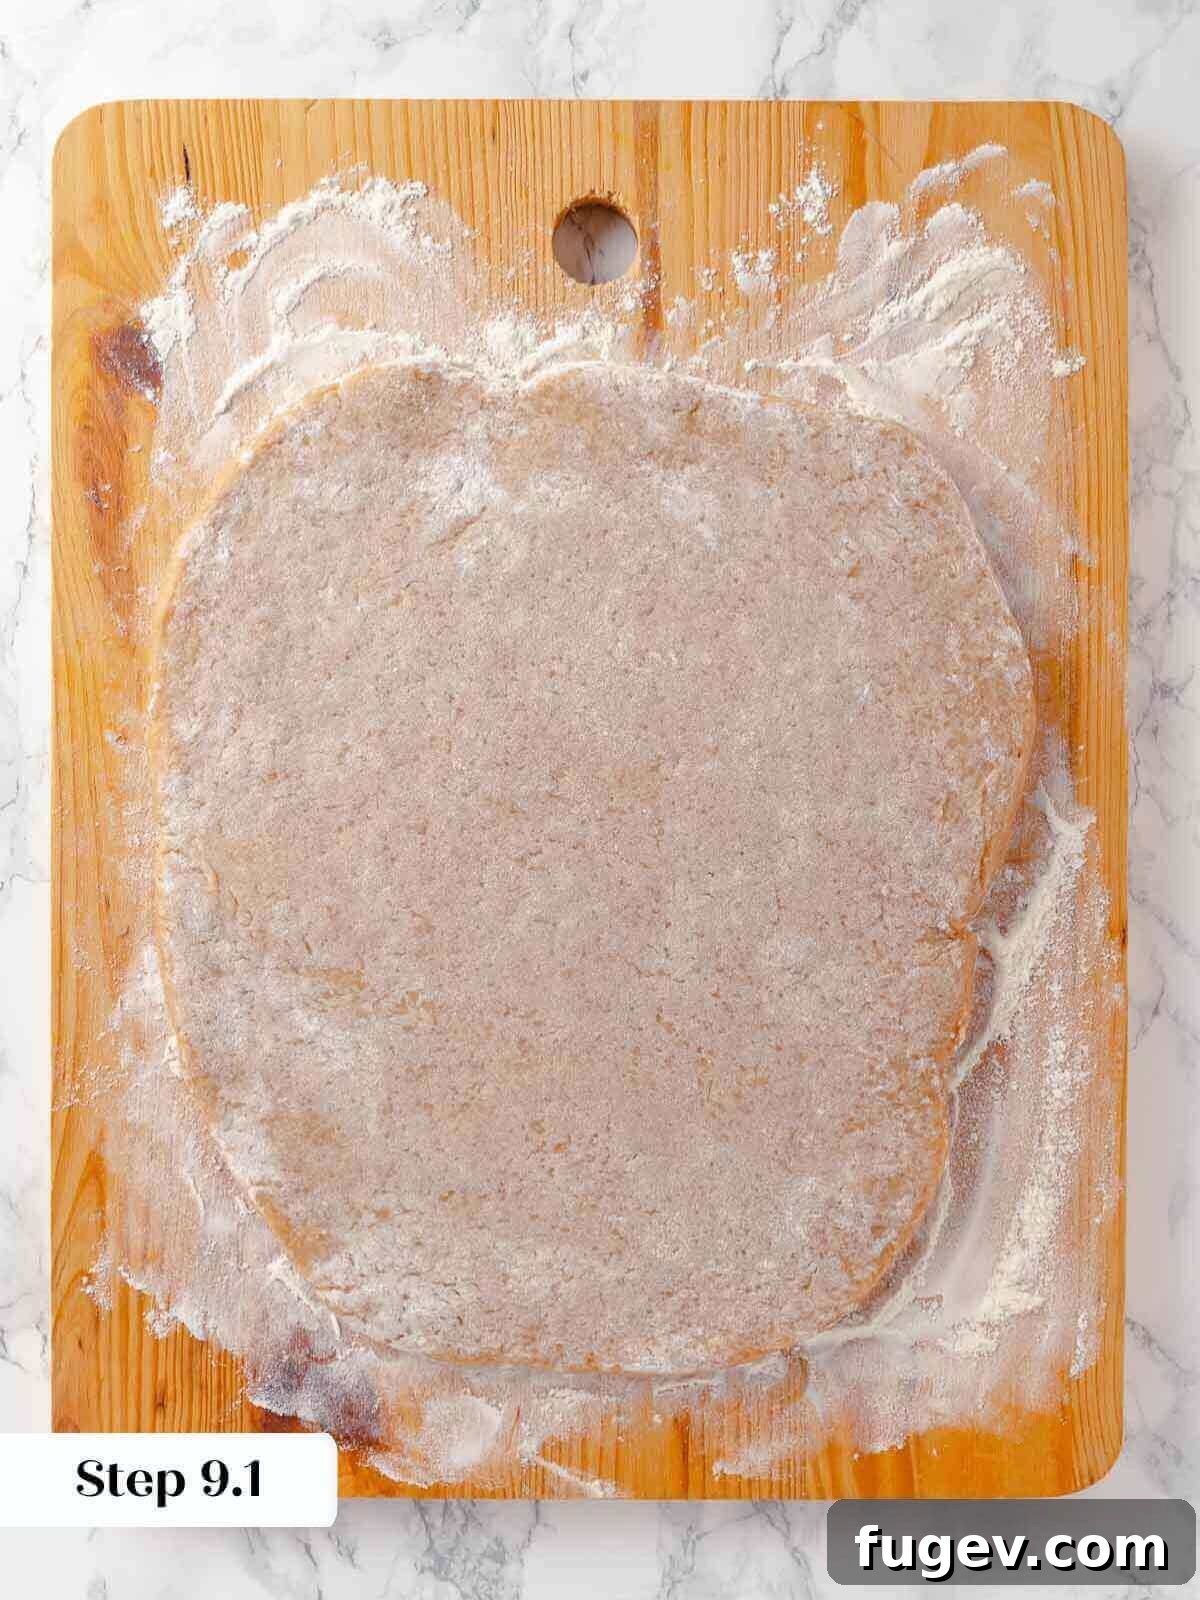
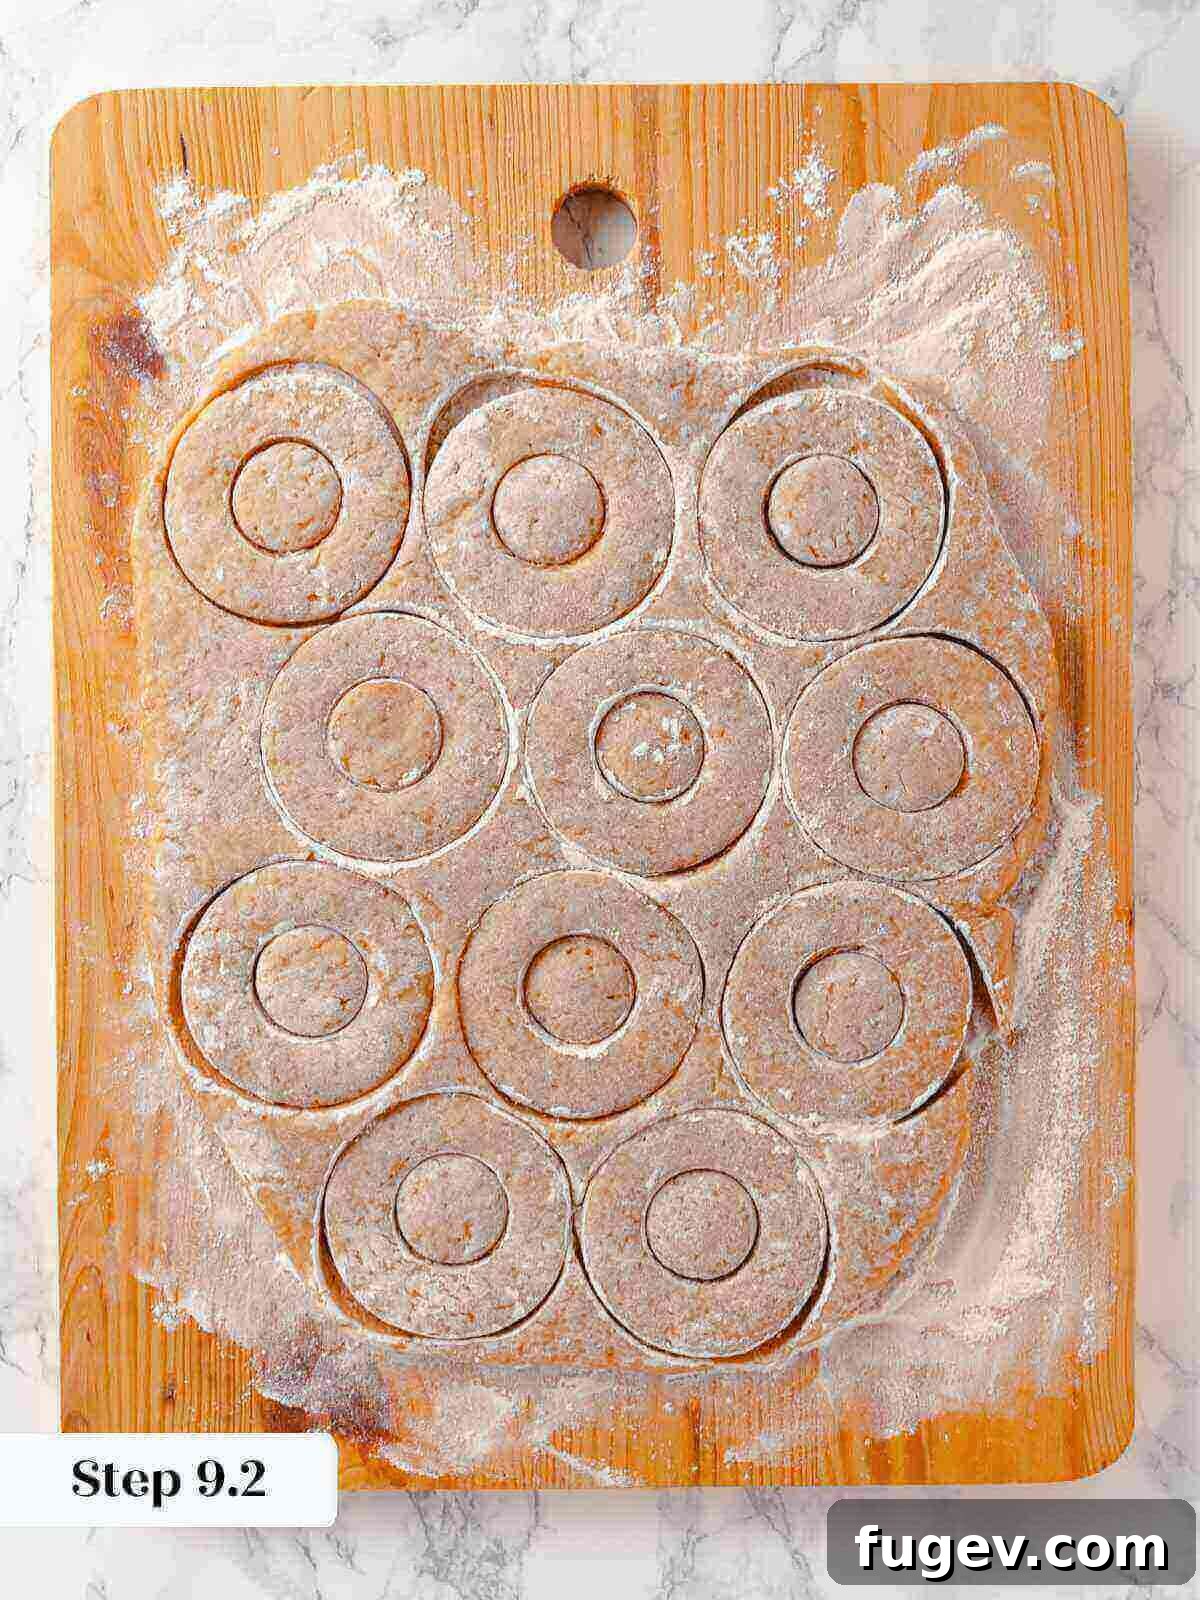
Step 9: Roll and Cut the Donuts. Working quickly to keep the dough cool, use a rolling pin to roll the dough out to a uniform thickness of ½ inch (approximately 1.25 cm). Lightly brush off any excess flour from the top surface of the dough with a pastry brush. Use a 3-inch (7.5 cm) donut cutter and a 1¼-inch (3 cm) ring cutter (or round cookie cutters/a glass) to cut out the donuts and their centers. Lightly tap your cookie cutter in flour before cutting each donut to prevent sticking. Carefully transfer the cut donuts and donut holes to the prepared sheet pan.
Don’t Waste Scraps! After cutting out all your full-sized donuts, gather the dough scraps. Gently press them together (avoid overworking) and reroll once. You can then cut additional donut holes from these scraps. These are perfect for a chef’s snack while the main donuts are frying!
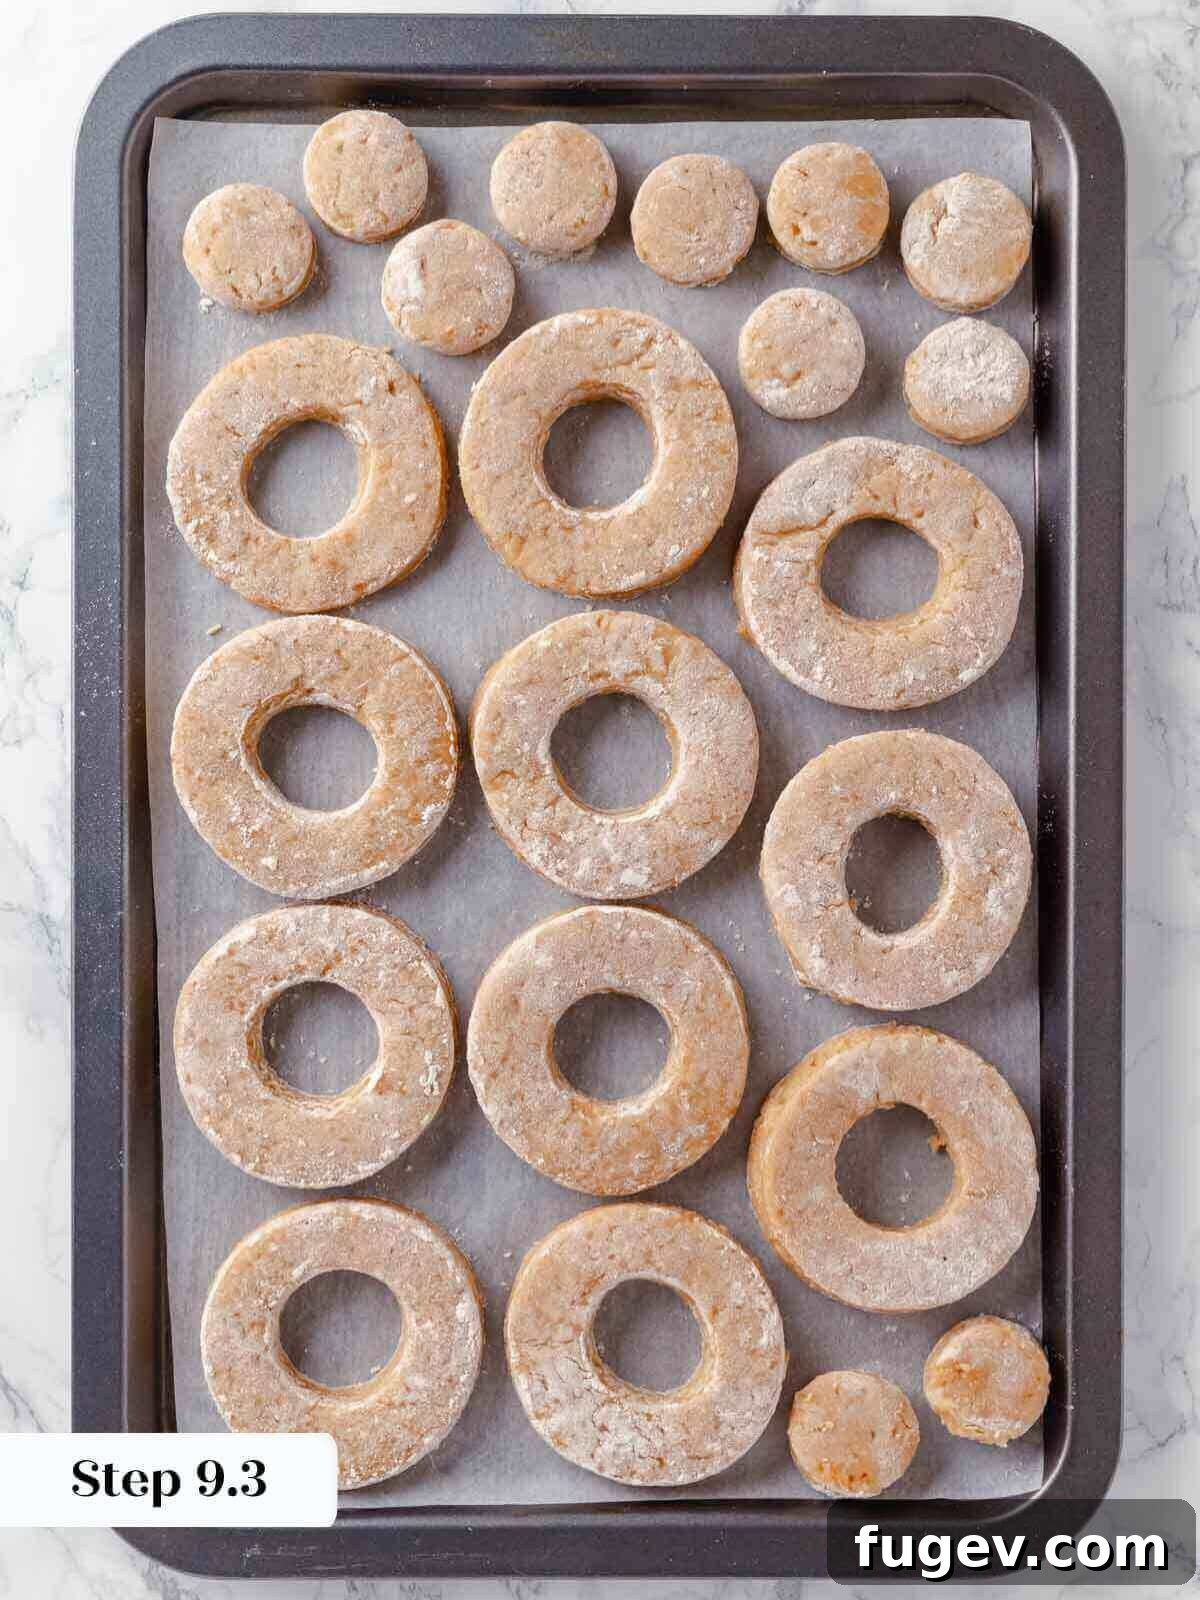
Step 10: Final Chill. Cover the baking sheet with the cut donuts loosely with plastic wrap, ensuring the plastic does not touch the surface of the donuts. Chill the donuts in the refrigerator for at least 2 hours. This final chill is crucial for setting their shape and preventing them from becoming greasy during frying. For maximum flavor development and ease, I often let mine chill overnight.
Storage Tip: At this stage, the cut donut dough can be stored in the refrigerator for up to three days or frozen for up to one month. If freezing, arrange them on a baking sheet until solid, then transfer to an airtight freezer bag. Always thaw frozen donut dough in the refrigerator before frying for best results; do not fry from frozen.
Frying the Apple Cider Donuts:
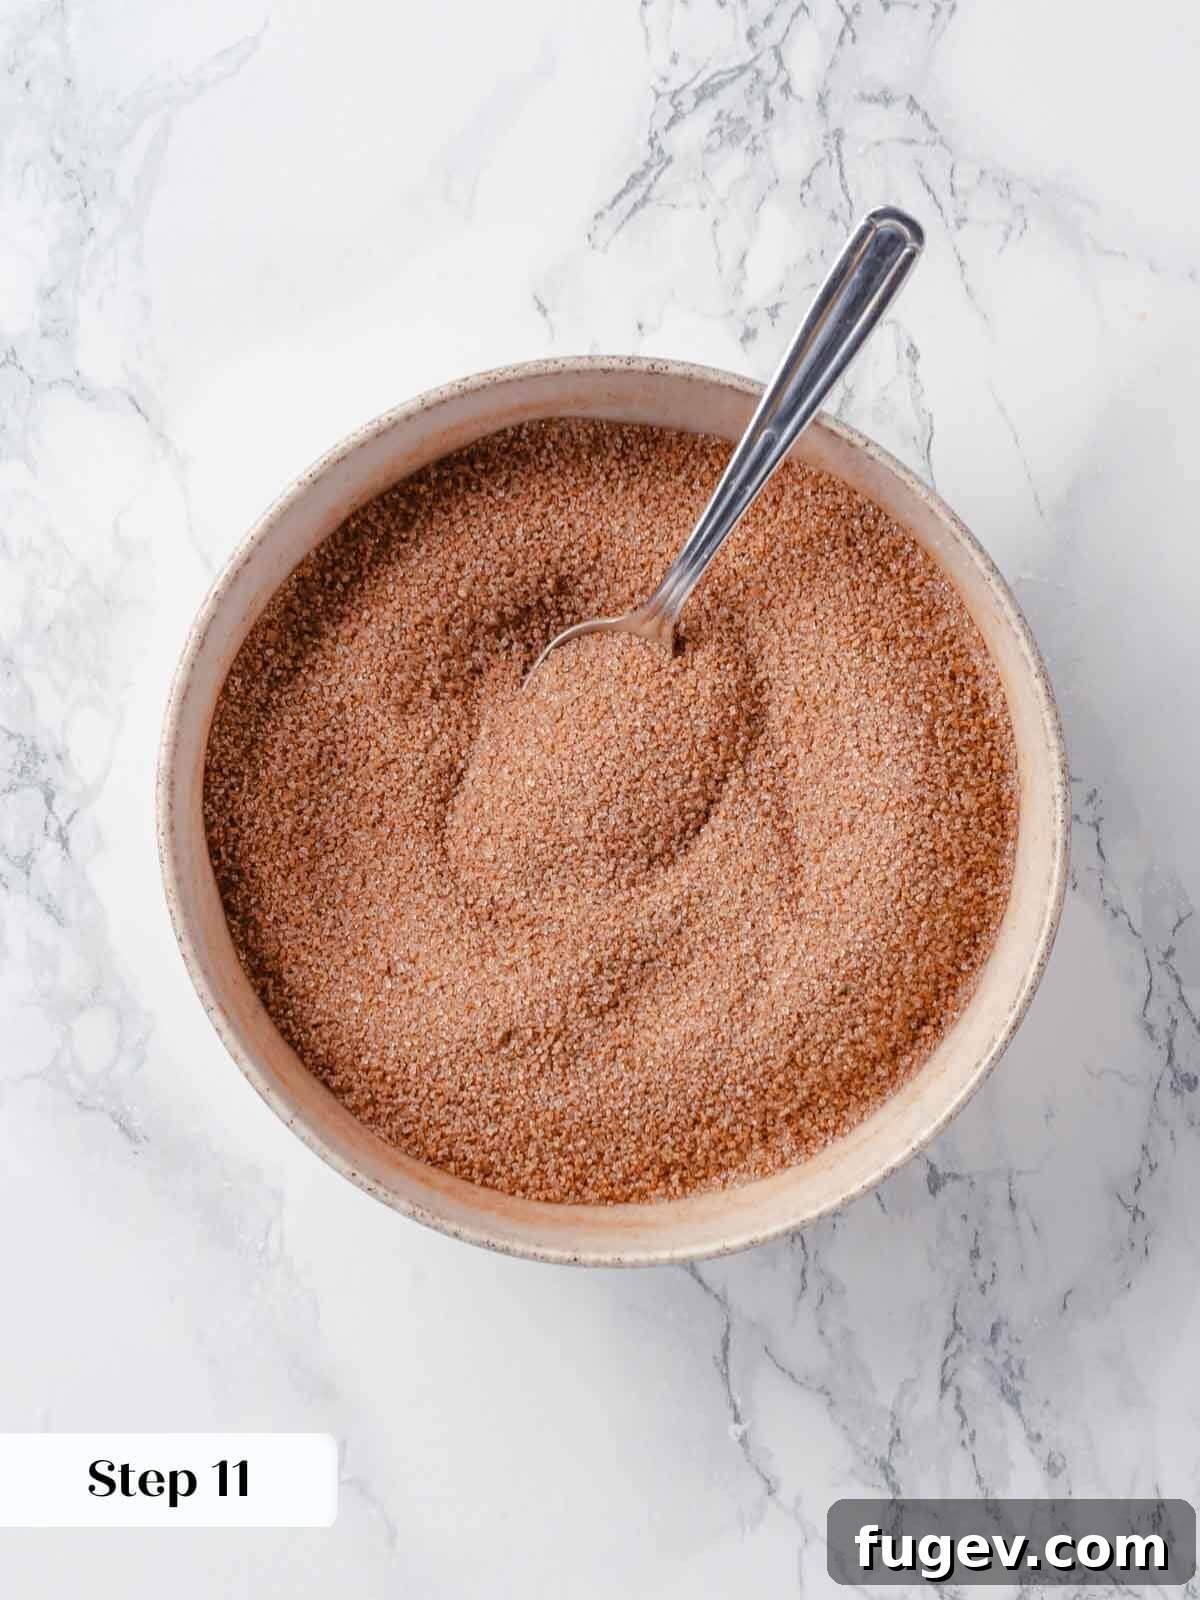
Step 11: Set Up Your Frying Station. Before you begin frying, ensure your workstation is fully prepared. Place a wire cooling rack over a rimmed baking sheet (to catch excess oil) or several layers of paper towels. Have a slotted spoon or spider nearby for safely removing donuts from the hot oil. In a separate shallow dish, whisk together the granulated sugar and ground cinnamon for your irresistible cinnamon sugar coating.
Step 12: Heat the Frying Oil. Pour your chosen neutral oil into a deep fryer or a heavy-bottomed Dutch oven, ensuring the oil depth is at least 2 inches (5 cm). Attach a reliable clip-on fry or candy thermometer to the side of the pot, making sure the tip is submerged but not touching the bottom. Heat the oil to 325°F (163°C). As you fry, continuously monitor and adjust the heat to keep the oil temperature consistently between 325°F and 330°F (163°-165°C).
Temperature Management: I recommend heating the oil slightly higher, to about 330°F (165°C), before adding your first batch of chilled donuts. The cold dough will naturally cause the oil temperature to drop, so starting a little warmer helps to maintain the ideal frying temperature throughout the process.
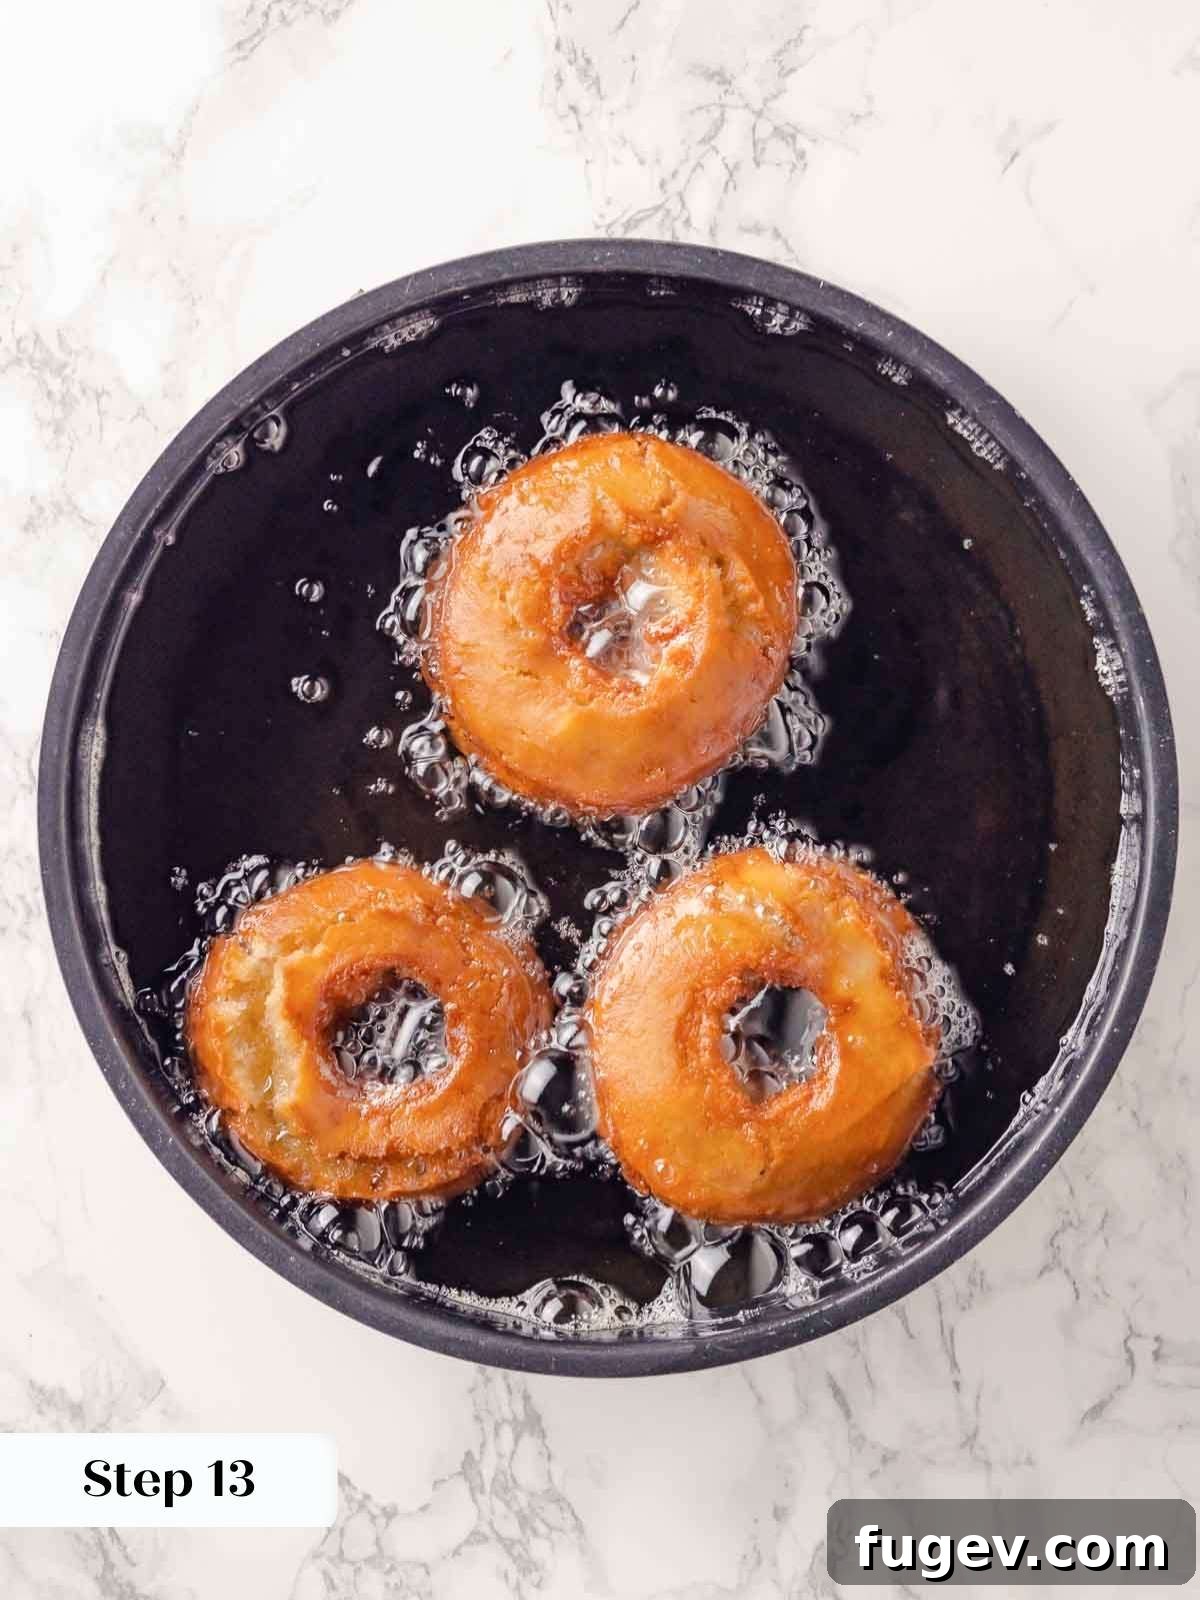
Step 13: Fry the Donuts. Carefully and gently place no more than three donuts into the hot oil at a time to avoid overcrowding the pot and significantly lowering the oil temperature. Keep the remaining uncooked donuts in the refrigerator until ready to fry. Once the donuts float to the surface (which happens quickly), cook them for approximately 30 seconds, then use your slotted spoon to gently flip them over. Continue to fry until the underside develops a beautiful golden-brown color, which typically takes about 80 seconds. Flip them one more time and fry for an additional 80 seconds, or until both sides are evenly golden brown and the donuts are puffed.
Checking for Doneness: For absolute certainty that your donuts are cooked through, you can test them with a cake tester or a wooden skewer. Insert it into the thickest part of a donut; it should come out clean, just like when baking a cake.
Step 14: Drain Excess Oil. Once fried to perfection, use your slotted spoon or spider to carefully transfer the golden-brown donuts from the oil directly to the prepared wire rack set over a sheet pan or paper towels. Allow them to drain for just a moment to shed any excess oil.
Donut Hole Frying Time: Donut holes fry much faster! Cook them for 30 seconds, then flip, cook for another 60 seconds, flip again, and cook for a final 40-60 seconds until they are puffed and golden brown all over. While you can cook them for the same duration as full donuts, they might become slightly dry.
Step 15: Coat with Cinnamon Sugar. This step is all about timing! Once the donut is just barely cool enough to handle comfortably (still quite warm, but not scorching), immediately dip it into the prepared cinnamon sugar mixture. Turn to coat all sides thoroughly, then place it back on the wire rack. Dipping a hot donut ensures that the sugar adheres beautifully and melts slightly onto the surface. If the donuts cool completely and dry out, the coating will simply fall off. Serve these delightful treats warm for the best experience!
Chef Lindsey’s Recipe Tip: Calibrating Your Thermometer
Before you embark on frying your delicious donuts, it is absolutely essential to test the accuracy of your candy or deep-fry thermometer. Thermometers, especially those subjected to bumps or drops, can lose their calibration, leading to incorrect temperature readings. An inaccurate thermometer can ruin your frying experience, resulting in greasy or undercooked donuts.
There are two simple and effective methods to calibrate your thermometer:
- Boiling Water Method: Bring a pot of water to a rolling boil. Place the thermometer in the boiling water and let it sit for about 10 seconds, ensuring the tip is submerged but not touching the bottom of the pot. At sea level, boiling water should register at 212°F (100°C).
- Ice Bath Method: Fill a glass or small pot with crushed ice and add enough cold water to just cover the ice. Stir gently and let it sit for a minute or two to allow the temperature to stabilize. Insert your thermometer into the ice bath, again ensuring the tip is submerged without touching the bottom or sides, and let it sit for 10 seconds. An accurate thermometer should read 32°F (0°C).
If your thermometer reads differently in either test, make a mental note of the discrepancy and adjust your target frying temperature accordingly. This small step will save you from potential frustration and guarantee perfectly cooked donuts!
Frequently Asked Questions About Apple Cider Donuts
For the absolute best flavor and texture, fried donuts, especially these apple cider donuts, are best enjoyed on the day they are made. If you happen to have leftovers, they should be stored at room temperature, ideally uncovered. Storing fried donuts in an airtight container can trap moisture and oil, causing them to become soggy and develop an oily taste. If you must store them for longer than a day, place them in a container with a corner slightly ajar. While they will gradually start to dry out over time, they will still remain delicious for a day or two. I do not recommend storing fried donuts in the refrigerator or freezer, as these environments tend to degrade their texture significantly.
While fried donuts can technically be frozen for up to a month, I strongly advise against freezing them once they’ve been fried. The freezing and thawing process can severely impact their delicate texture, making them somewhat tough and less enjoyable. Instead, it is much better to freeze the cut, uncooked donut dough. Be aware that over time, the baking powder in the dough may lose some of its potency, which could result in less puff during frying. When ready to fry, thaw the frozen dough overnight in the refrigerator. Once thawed, proceed with the frying steps as usual. It is not recommended to fry cake donuts directly from their frozen state.
I would not recommend baking these specific apple cider donuts. This recipe is meticulously developed for frying, which creates their characteristic light, airy interior and crispy exterior. If baked, these donuts would likely be considerably drier, denser, and lack the desired tender, cakey texture that deep-frying achieves. While the apple cider flavor in the dough is delicious, the overall texture of a baked version would not be as desirable as a fried one.
Yes, reducing the apple cider is an absolutely crucial step for this recipe and is non-negotiable if you want to achieve the correct flavor intensity and dough consistency. Reducing the cider concentrates its natural apple flavor, making it far more powerful and pronounced in the final donut. Furthermore, this process evaporates excess water from the cider, leaving you with a delicious, syrupy concentrate. If the cider is not reduced, its high water content would make the donut dough too wet, sticky, and difficult to work with, compromising both the texture and the richness of the apple flavor.
If you tried this Apple Cider Donuts recipe and loved it, please consider leaving a 🌟 star rating and share your experience in the comments below. Your feedback truly brightens my day!
Apple Cider Donuts
Chef Lindsey
30
20
2
2
50
12
donuts
Comment
Print Recipe
Ingredients
For the Donuts:
-
1 ¼
cups
granulated sugar
-
2 ½
tablespoons
unsalted butter
room temperature -
5
large egg yolks
-
¾
cup
sour cream
-
1 ⅓
cups
apple cider
-
4 ¾
cups
all-purpose flour
-
1
tablespoon
baking powder
-
1
tablespoon
kosher salt
-
1
teaspoon
ground cinnamon
-
96
fl oz
Oil for frying
I used canola
Cinnamon Sugar Mixture:
-
1
cup
granulated sugar
-
4
teaspoons
ground cinnamon
Instructions
Make the Donut Dough:
-
In a small saucepan reduce the apple cider in half to 166g or a scant ⅔ cup. Allow it to cool at room temperature, or make it ahead and store it in the refrigerator.
-
In a large bowl, whisk together the all-purpose flour, baking powder, kosher salt, and 1 teaspoon cinnamon and set aside. In a separate bowl, whisk together the sour cream and apple cider reduction.
-
Line a baking sheet with plastic wrap and then dust the surface of the plastic wrap generously with flour.
-
In the bowl of a stand mixer fitted with the paddle attachment or with a hand mixer in a large bowl, beat butter and sugar until a sandy mixture forms. Slowly add the yolks and beat on high speed until pale yellow and fluffy, about 2 minutes.
-
With the stand mixer on low, alternately add the flour mixture and the wet ingredients (sour cream mixture) to the bowl in several additions. Stop the mixer when the dry ingredients are fully incorporated.
-
Transfer the dough to the flour-dusted plastic wrap, dust more flour over the top of the dough, and fold the edges of the plastic over the top to cover. I press the dough out into a flattened circle about 2 inches thick to help it chill faster. Refrigerate for 60 minutes.
Cut the donuts:
-
Line a baking sheet pan with parchment paper, spray the paper with nonstick spray, and set aside.
-
Generously dust a work surface with flour. While the dough is still on the plastic wrap, dust the top of the dough with flour. Turn the dough out onto your floured surface, floured side down. Lightly dust the top with more flour.
-
Working quickly to keep the dough cool, roll out the dough to ½ inch thick and brush any excess flour from the top of the dough. Use a 3-inch and 1 ¼ – inch ring cutters, round cookie cutters or a glass to cut the donuts and holes. Lightly tap the cookie cutter in flour before cutting each donut. Place the donuts and donut holes on the prepared sheet pan.
-
Cover the sheet pan with plastic wrap, but do not let the plastic touch the top of the donuts. Chill in the refrigerator for 2 hours. At this step, I let mine chill overnight.
Frying the apple cider donuts:
-
Before frying, set up your frying station! Place a wire rack on a rimmed baking sheet or over paper towels. Use a slotted spoon or spider to remove the donuts from the oil, and whisk together the sugar and cinnamon for the cinnamon sugar coating.
-
Pour oil into a fryer or a Dutch oven, making sure the oil is at least 2 inches deep. Heat the oil to 325° F. Adjust the heat to keep the temperature between 325° and 330°F while frying.
-
Gently place three donuts in the fryer, keeping the remaining donuts in the fridge. Once they rise to the surface, cook for 30 seconds and flip them with a slotted spoon. Fry until the bottom develops a nice golden brown color, about 80 seconds. Flip it again and then fry for another 80 seconds or until the color is a nice, even golden brown.
-
Transfer to a wire rack set over a sheet pan or paper towels.
-
Once the donut is barely cool enough to handle, dip the donut in the cinnamon sugar and place it back on the wire rack. Dipping a hot donut will ensure that the sugar sticks! If they are cool and dry, then the coating will just fall off.
Notes
Presentation – Place the donuts in the sugar mixture while they are still hot. This will allow the cinnamon sugar mixture to stick to the donuts.
Variations—You could add a glaze to the donuts instead of the cinnamon sugar mixture, such as a cinnamon or caramel glaze.
Storage – Fried donuts are best the day they are made. They should be stored at room temperature uncovered. When stored in an airtight container, they start to taste a bit like oil. If storing for longer than a day, place it in a container with a corner cracked open. They will slowly start drying out, but they will still be delicious. I don’t recommend placing fried donuts in the refrigerator or freezer.
Nutrition
Calories:
413
kcal
|
Carbohydrates:
80
g
|
Protein:
7
g
|
Fat:
8
g
|
Saturated Fat:
4
g
|
Polyunsaturated Fat:
1
g
|
Monounsaturated Fat:
2
g
|
Trans Fat:
0.1
g
|
Cholesterol:
96
mg
|
Sodium:
698
mg
|
Potassium:
111
mg
|
Fiber:
2
g
|
Sugar:
41
g
|
Vitamin A:
273
IU
|
Vitamin C:
0.4
mg
|
Calcium:
102
mg
|
Iron:
3
mg
Breakfast, Dessert, Snack
American
413
Before You Go: Explore More Fall Flavors
I sincerely hope you enjoyed creating and savoring this professional chef-developed recipe for the ultimate Apple Cider Donuts. There’s nothing quite like the taste of fall, and these donuts are a perfect representation of the season’s bounty. For more delightful fried treats, be sure to explore all our donut recipes, where you’ll find a variety of styles and flavors to satisfy any craving. If you’re eager to dive deeper into autumnal flavors, discover the 25 Best Pumpkin Recipes for Fall, or try these 10 Easy Pumpkin Recipes for quick and delicious options. You can also peruse our entire collection of pumpkin recipes for endless seasonal inspiration!