
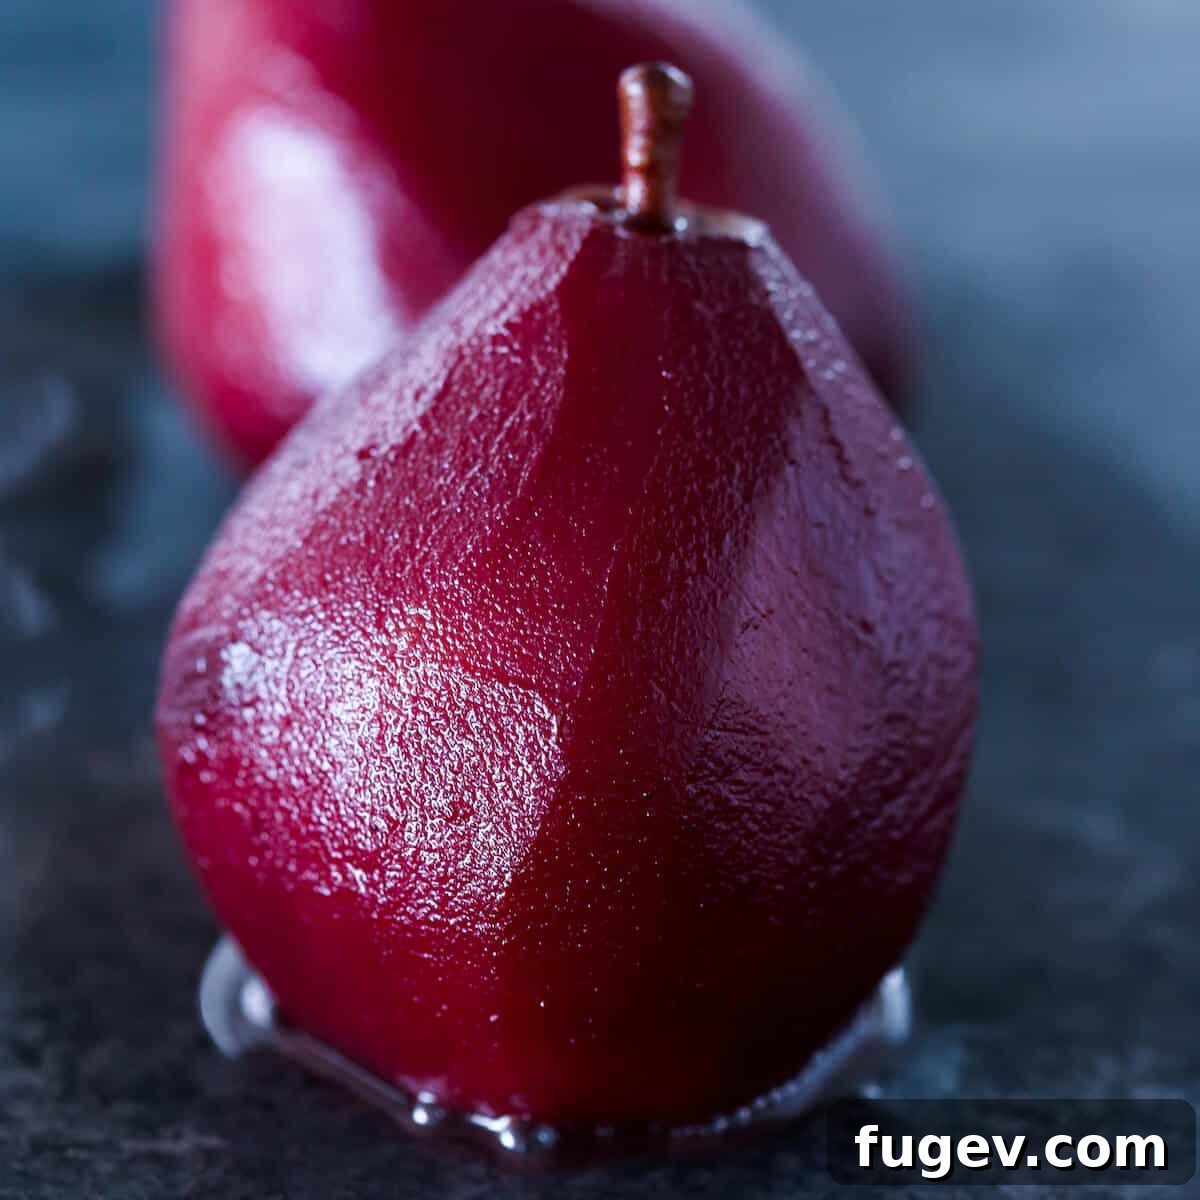
Elegant Red Wine Poached Pears: A Simple Yet Stunning Dessert
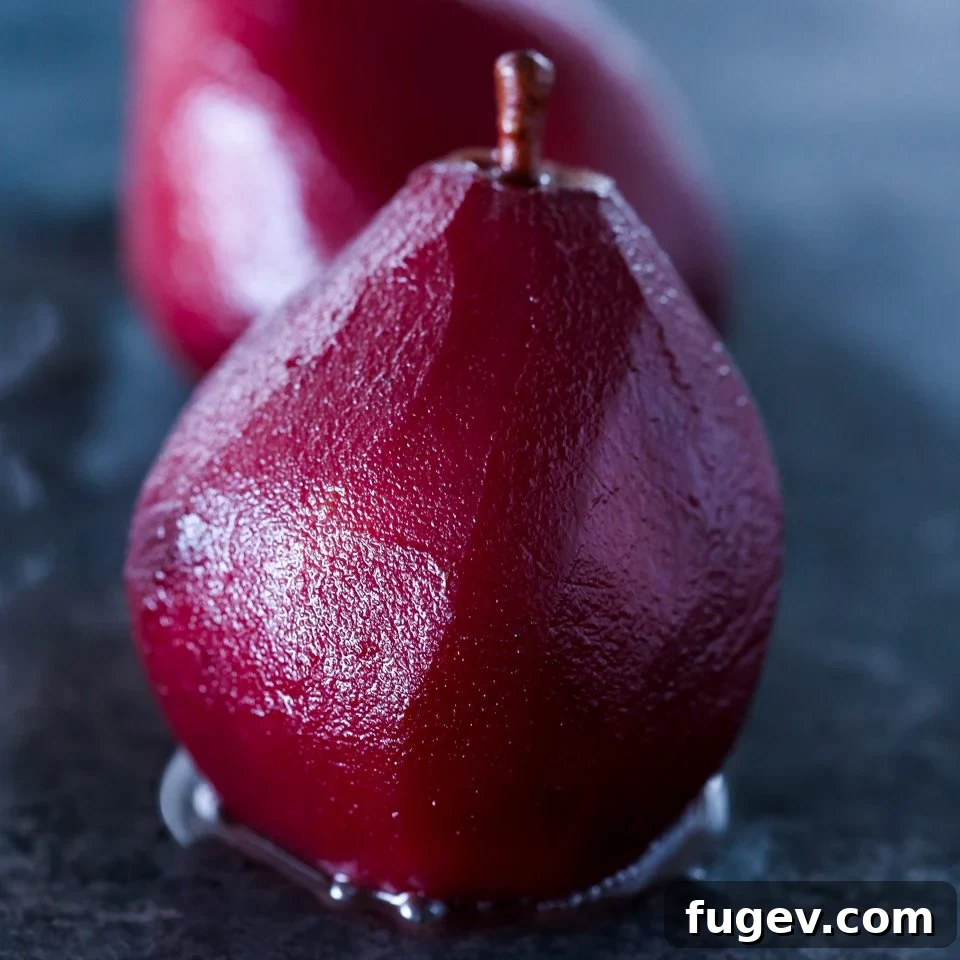
There’s something inherently magical about taking a simple, humble fruit and transforming it into a dessert that looks like it belongs on a Michelin-starred menu. These easy Red Wine Poached Pears are a prime example. With minimal effort, you can create a subtly sweet, elegantly tender, and brilliantly ruby-red delicacy that’s as delightful to behold as it is to taste. They embody the essence of sophistication without the fuss, making them a perfect choice for everything from intimate dinner parties to cozy weeknight indulgences.
As a pastry chef, I often get asked, “What’s your favorite dessert to make?” It’s a question that always makes me pause, not because I don’t have favorites, but because my culinary affections tend to shift with the seasons and my latest inspirations. The more accurate question, I’ve found, would be, “What dessert are you completely obsessed with right now?” And currently, without a shadow of a doubt, the answer is Red Wine Poached Pears.
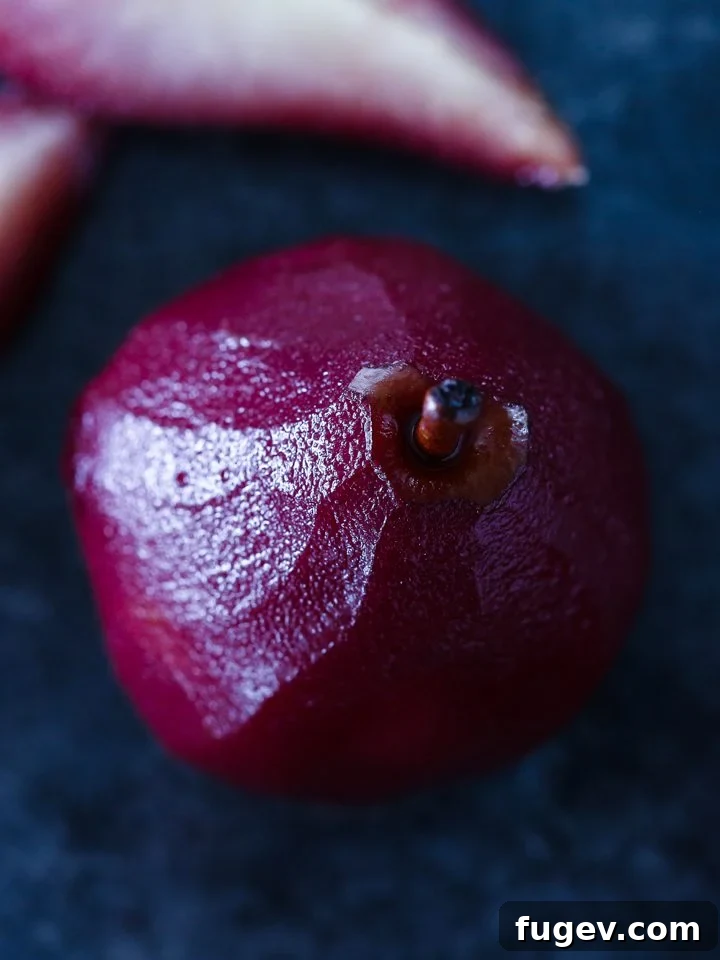
This year, my obsession with these wine-infused beauties has reached new heights. I’ve been developing various iterations for restaurant menus, including a stunning pomegranate version destined for winter dessert offerings – one paired with a creamy buttermilk panna cotta, and another with a light mascarpone honey cloud and my homemade honey granola. The beauty of poaching pears lies in its versatility. While red wine lends a dramatic color and robust flavor, you can easily adapt this technique using white wine for a lighter profile or even pear wine to intensify the fruit’s natural essence. Regardless of your liquid of choice, the outcome is always a show-stopping treat that impresses with its depth of flavor and visual appeal.
Unlocking the Versatility: Creative Ways to Enjoy Poached Pears
While Red Wine Poached Pears are undeniably exquisite on their own, perhaps with a dollop of fresh whipped cream or a drizzle of their reduced poaching liquid, their culinary potential extends far beyond a simple dessert plate. These tender, wine-infused fruits can elevate both sweet and savory dishes, adding a touch of gourmet sophistication to your meals. Their unique texture and flavor profile make them incredibly adaptable, encouraging culinary creativity in the kitchen.
Here are some delightful ways to incorporate poached pears into your repertoire:
- **Breakfast & Brunch Boost:** For a luxurious start to your day, slice poached pears thinly and arrange them over a bowl of creamy yogurt. A sprinkle of honey granola adds a satisfying crunch, making for a breakfast that feels indulgent yet healthy. The subtle sweetness and tender texture of the pears perfectly complement the tang of yogurt.
- **Elegant Salads:** Reimagine your classic pear and gorgonzola salad by substituting fresh pears with their poached counterparts. The wine-infused pears offer a deeper flavor and a beautiful color contrast against crisp greens and salty cheese. Drizzle with a light vinaigrette for an unforgettable appetizer or side dish.
- **Dessert Perfection, Simplified:** The most straightforward way to serve poached pears is often the most impactful. Present them simply with a generous swirl of freshly whipped cream and a reduction of the poaching liquid – transforming it into a rich, flavorful syrup. This elegant presentation is featured in my red wine poached pear dessert. Alternatively, thinly sliced poached pears make an incredible topping for comforting baked goods like buttermilk pie or a delightful pear upside down cake, adding moisture and a complex sweetness.
- **Show-Stopping Pavlovas:** For a truly impressive, gluten-free dessert, mound whole or fanned poached pears on top of a crisp pavlova shell. The vibrant red of the pears against the white meringue and cream creates a stunning visual, as demonstrated in this poached pear pavlova recipe. It’s a feast for both the eyes and the palate.
- **Artful Tarts and Pies:** Poached pears are an excellent addition to baked tarts, offering a moist and flavorful filling. Consider baking them into a rustic tart, such as my hazelnut pear tart, or using them as a flavorful substitute for other fruits, like cherries in a cherry almond tart. Don’t shy away from being creative with your slicing and arranging; the visual impact of a beautifully fanned pear tart is truly remarkable.
Beyond these suggestions, consider incorporating sliced poached pears into grilled cheese sandwiches with brie, pairing them with roasted meats like duck or pork, or even blending them into a sophisticated smoothie. Their versatility is limited only by your imagination, making them a fantastic ingredient to keep on hand once you master the poaching technique.
Mastering the Art of Red Wine Poached Pears: Essential Tips for Success
Achieving perfectly tender, beautifully colored, and exquisitely flavored Red Wine Poached Pears is a culinary triumph that’s surprisingly simple with a few key insights. From selecting the right fruit to optimal storage, these professional tips will guide you to success, ensuring your poached pears are nothing short of spectacular every time.
Choosing the Perfect Pear for Poaching
Not all pears are created equal, especially when it comes to poaching! The wrong variety can turn to mush or remain stubbornly firm. I highly recommend D’anjou, Bartlett, or Comice pears for this recipe. These varieties possess a subtle sweetness and a firm, crisp texture that holds up beautifully during the poaching process, ensuring they become tender without falling apart. Their natural flavors also pair wonderfully with the rich notes of red wine and the warmth of vanilla. Avoid overly soft or gritty pears, as they won’t yield the desired elegant texture.
Understanding the Ideal Ripeness
The ripeness of your pears is critical. If your pears are too ripe, they will quickly break down into a mushy texture when subjected to heat, losing their elegant shape. Ideally, you want pears that are ripe but still firm to the touch. They should be easy to peel without squishing under your fingers. Conversely, if your pears are rock-hard – so firm you could dent a wall by throwing them – they are not ripe enough. Unfortunately, even extended poaching won’t make them tender; they’ll remain unpleasantly crisp. Trust me, I’ve learned this the hard way during off-season recipe testing! There’s such a thing as being too early for the perfect pear.
Mastering the Cooling Process for Optimal Texture
Once your pears have reached that perfect fork-tender consistency, how you cool them makes a significant difference. It’s crucial that the pears are removed from the hot poaching liquid immediately after cooking. Transfer them to a baking sheet or a shallow dish and place them in the refrigerator. This rapid cooling halts the cooking process, preventing them from becoming overcooked and mushy due to residual heat. Allow the poaching liquid to cool separately as well.
Optimal Storage for Enhanced Flavor and Color
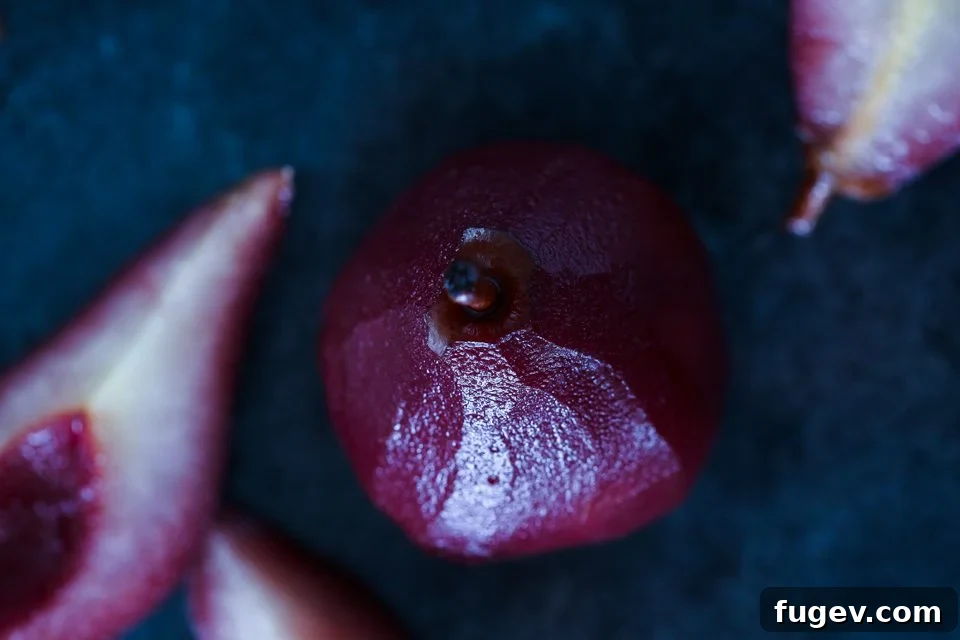
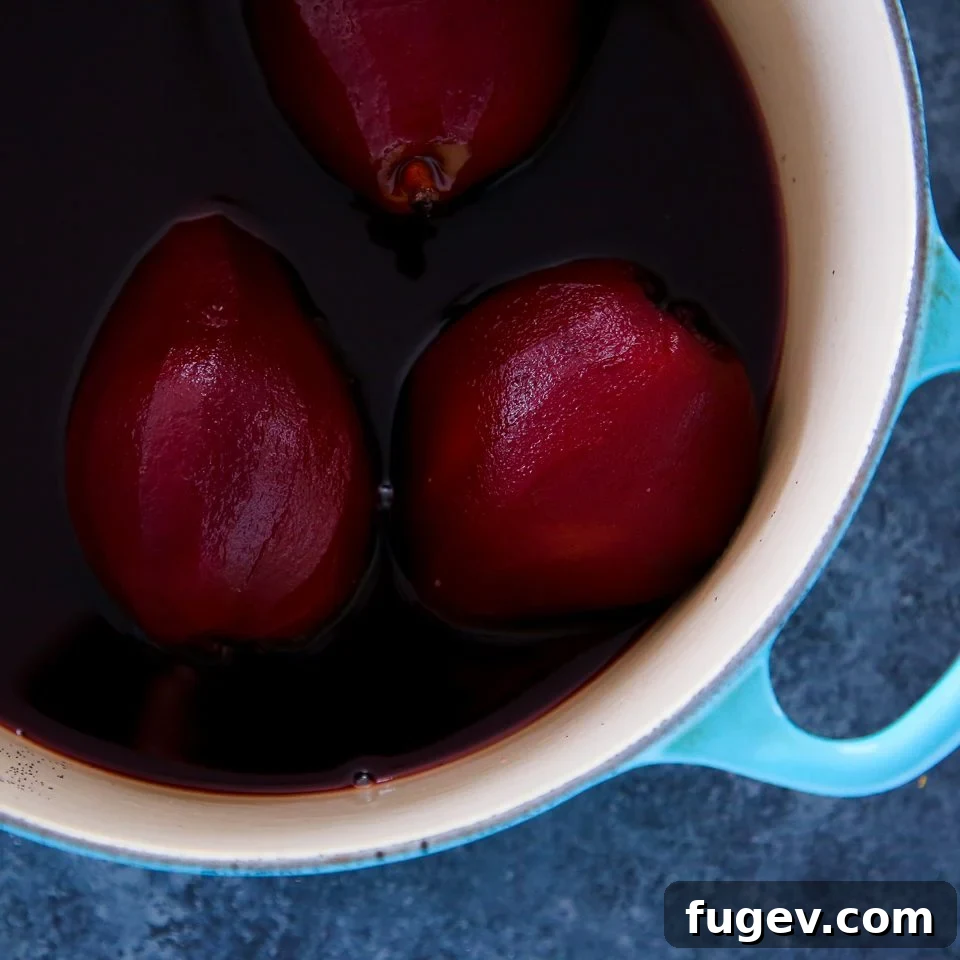
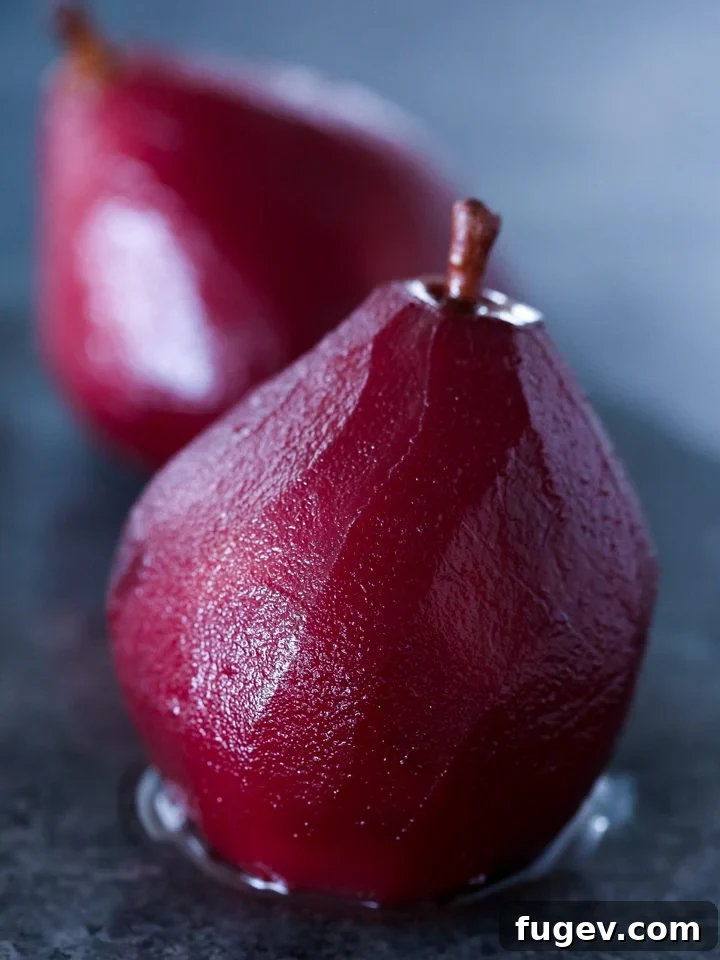
So, should you just have a tray of lonely poached pears chilling in your fridge? Absolutely not! Once both the pears and the poaching liquid have completely cooled, reunite them. Gently place the cooled pears back into their vibrant red wine bath. Storing them submerged in the liquid is key for several reasons: it preserves their freshness, allows the flavors to permeate even deeper into the fruit, and, perhaps most excitingly, ensures that brilliant red color continues to intensify, reaching all the way to the core of the pear. The longer they rest in the liquid (up to 2-4 days), the deeper and more uniform that stunning ruby hue will become – creating a truly sexy and impressive dessert.
Beyond the Pears: Utilizing Leftover Poaching Liquid
Don’t even think about discarding that leftover poaching liquid! The pastry chef in me exclaims, “Use it for ALL THE THINGS!” My absolute favorite application is to reduce it down into a luscious, flavorful syrup. Simmer the liquid over medium heat until it thickens and coats the back of a spoon. This concentrated syrup is incredibly versatile: drizzle it over ice cream, pancakes, or other desserts, mix it into cocktails for a sophisticated twist, or use it as a glaze for savory dishes. It’s a little professional secret that adds another layer of gourmet touch to your culinary creations.
Red Wine Poached Pears
Chef Lindsey
10
2
2
10
10 people
Comment
Print Recipe
Ingredients
- 1-10 pears that are ripe but still firm, I prefer D’anjou, bartlett, or comice
- 1 Bottle Red Wine of choice pinot noir, malbec, chianti, whatever you have
- 175 g Sugar
- 3 cups Water
- ½ Vanilla bean spent or freshly split and scraped
- 30 g Lemon Juice
Instructions
-
Combine wine, sugar, water, vanilla bean and lemon juice in a pot that is deep enough to hold all the pears but doesn’t have too wide of a base. You want the liquid to cover the pears.
-
Bring to a boil, stirring occasionally. You can do this ahead of time, cool and reheat the liquid to a simmer if desired.
-
Peel and core pears using a melon baller or rounded teaspoon.
-
Place pears in warmed poaching liquid and simmer, uncovered, until tender, approximately 1-2 hours. The time will depend on the ripeness of your pears.
-
To test for doneness, slide a paring knife or a cake tester into the stem end of the pear. It should glide easily through and pull out with no resistance.
-
Remove pears from poaching liquid and cool liquid and pears separately.
-
Once cool, store pears in poaching liquid. They are delightful and ready to serve immediately, but it will take 2-4 days for the red to reach the core of the pear. The longer they sit, the redder they get!
Video
Notes
Nutrition
Calories: 233kcal
|
Carbohydrates: 47g
|
Protein: 1g
|
Fat: 1g
|
Saturated Fat: 1g
|
Polyunsaturated Fat: 1g
|
Monounsaturated Fat: 1g
|
Sodium: 9mg
|
Potassium: 305mg
|
Fiber: 6g
|
Sugar: 35g
|
Vitamin A: 46IU
|
Vitamin C: 9mg
|
Calcium: 25mg
|
Iron: 1mg
Like this? Leave a comment below!
Red Wine Poached Pears are more than just a dessert; they are an experience. They represent the beauty of transforming simple ingredients into something extraordinary, a testament to the fact that elegance in the kitchen doesn’t always require complexity. By following these straightforward tips and embracing the versatility of this classic technique, you’ll be able to create a stunning dish that’s sure to impress. So go ahead, gather your ingredients, and prepare to fall in love with these subtly sweet, brilliantly red culinary gems. Don’t forget to share your creations and experiences in the comments below!