
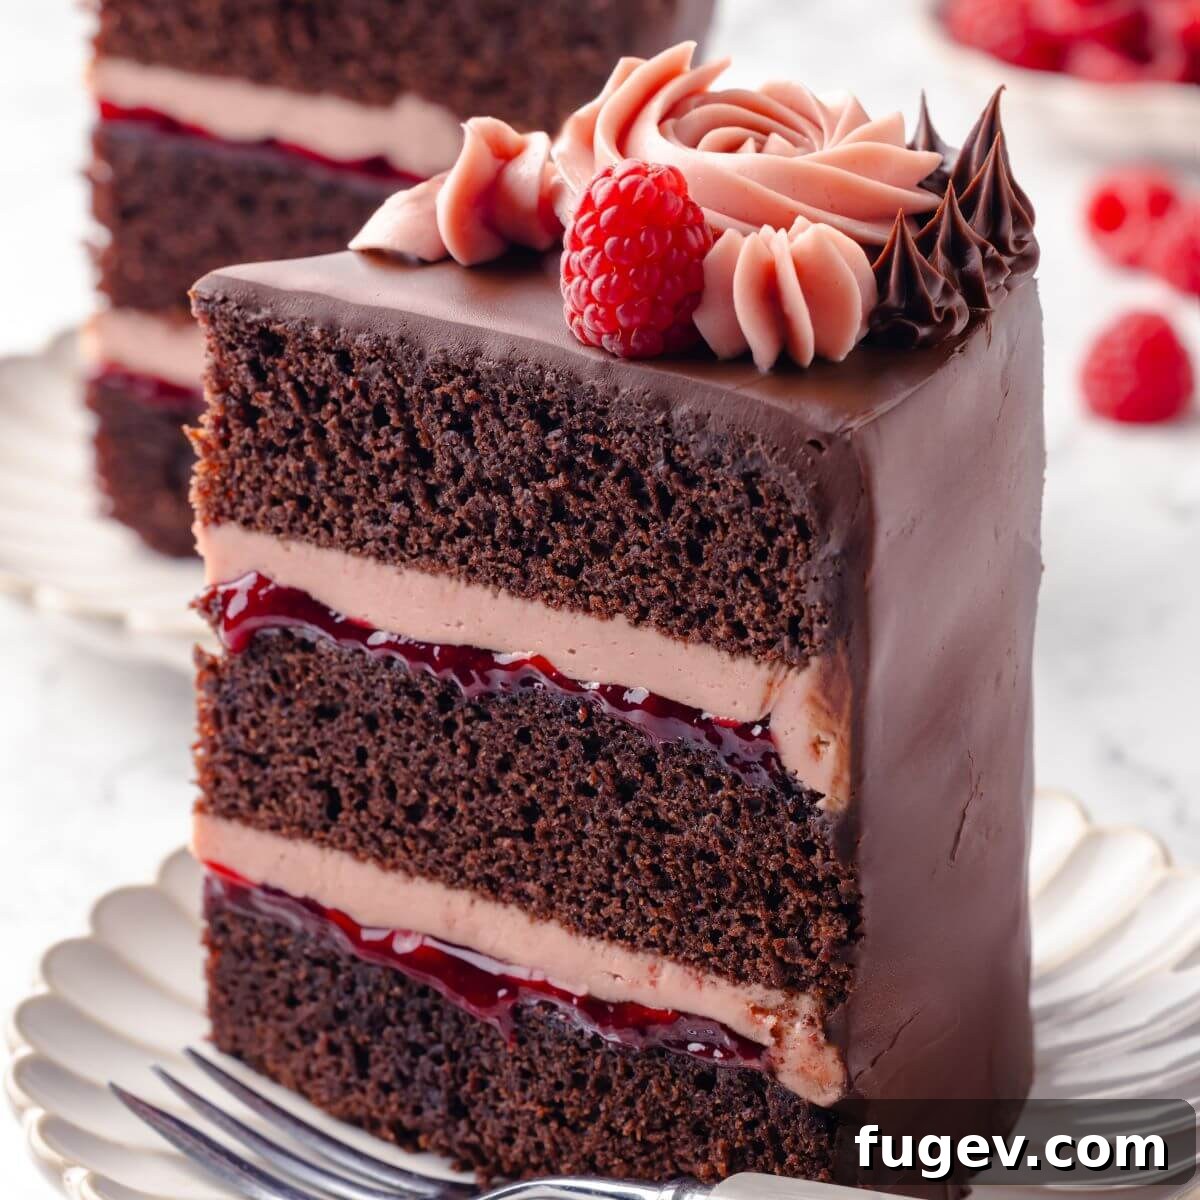
Decadent Chocolate Raspberry Cake: Layers of Pure Bliss
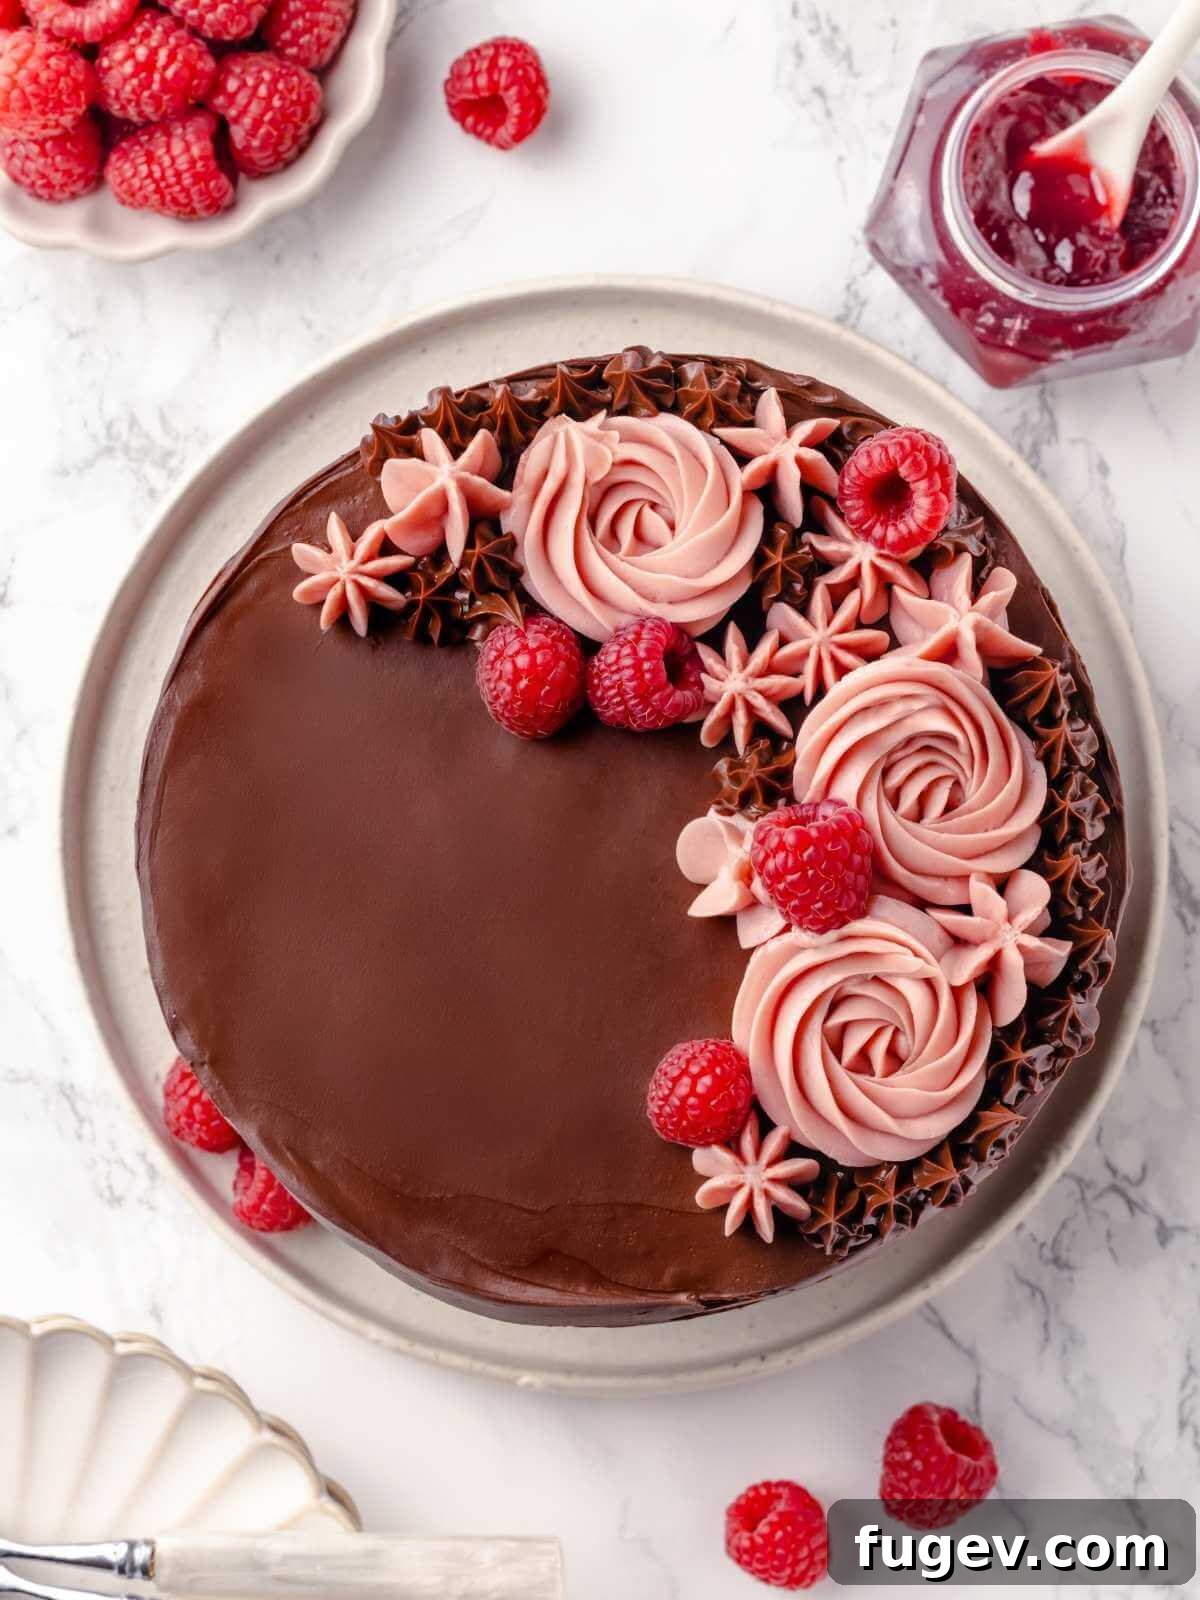
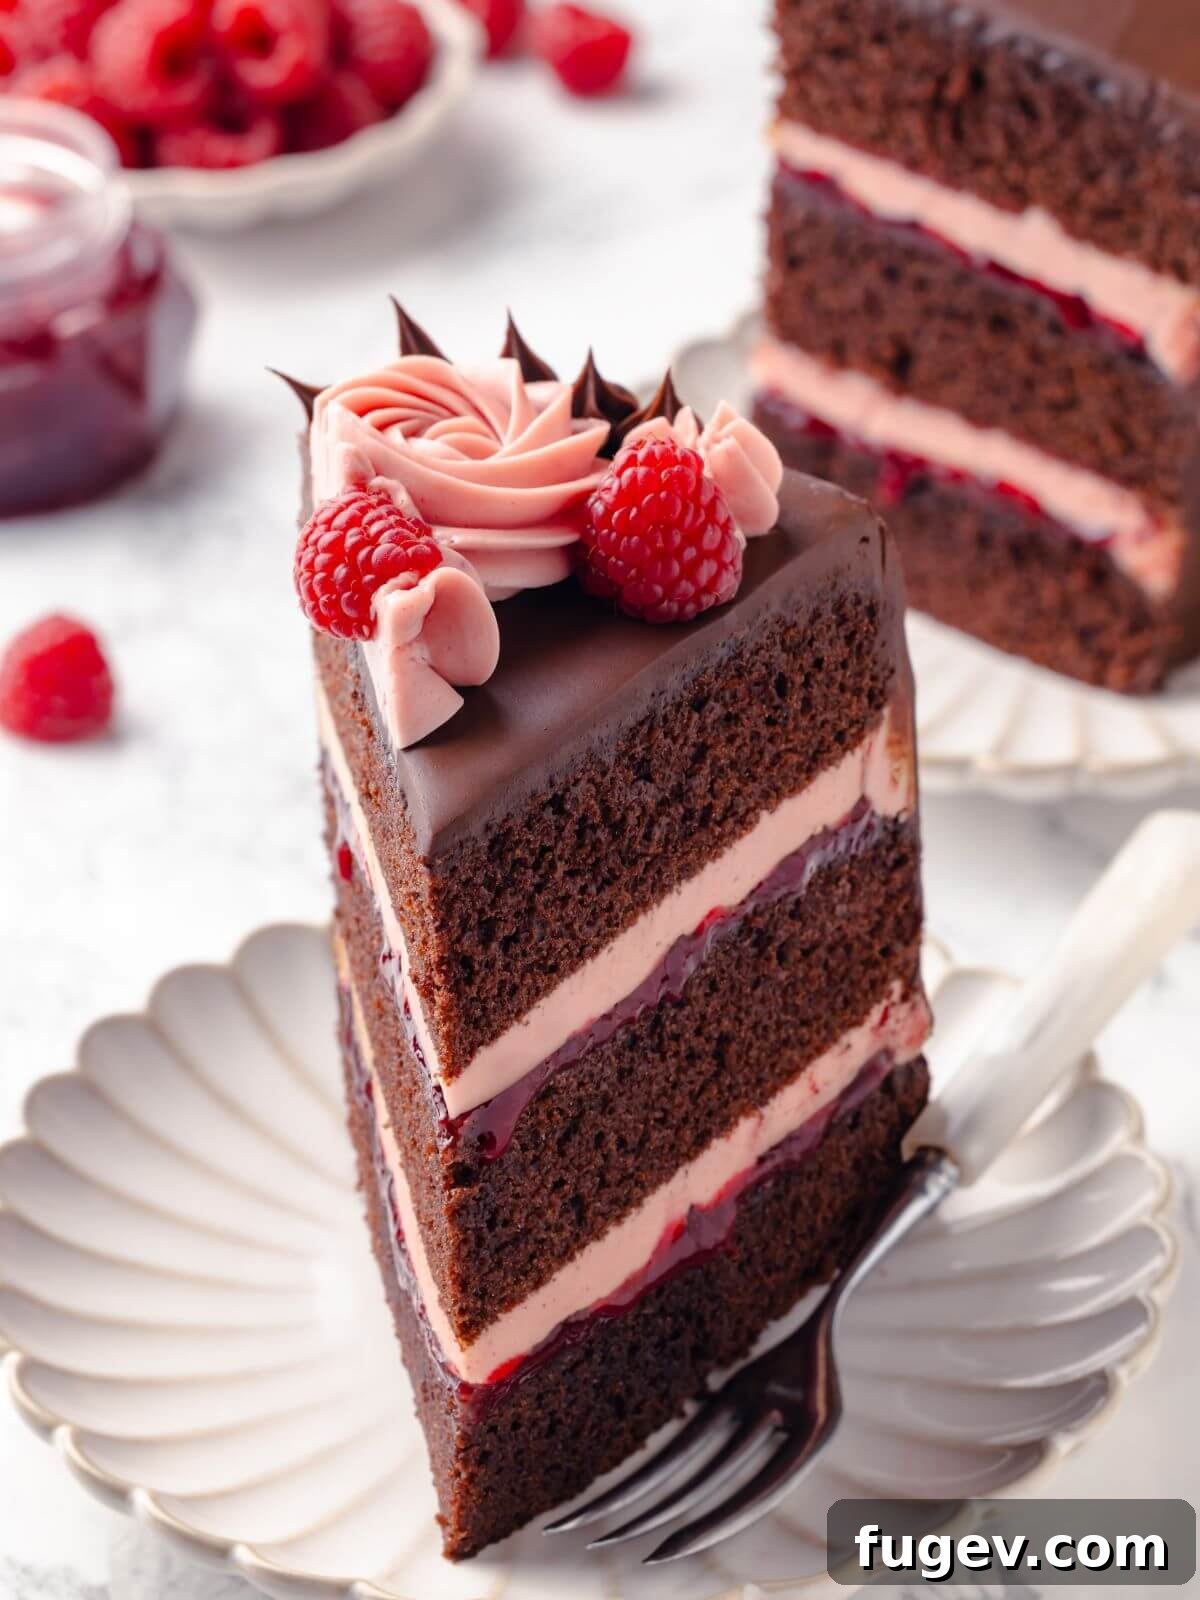
Prepare to be enchanted by this extraordinary chocolate raspberry cake recipe. It’s a masterpiece featuring layers of incredibly soft and tender chocolate cake, a vibrant raspberry buttercream crafted from fresh, juicy raspberries, and a luxurious, rich chocolate fudge frosting. Remarkably, the chocolate cake base comes together effortlessly in just one bowl with a whisk, making it almost as simple as a box mix – yet infinitely more delicious and rewarding.
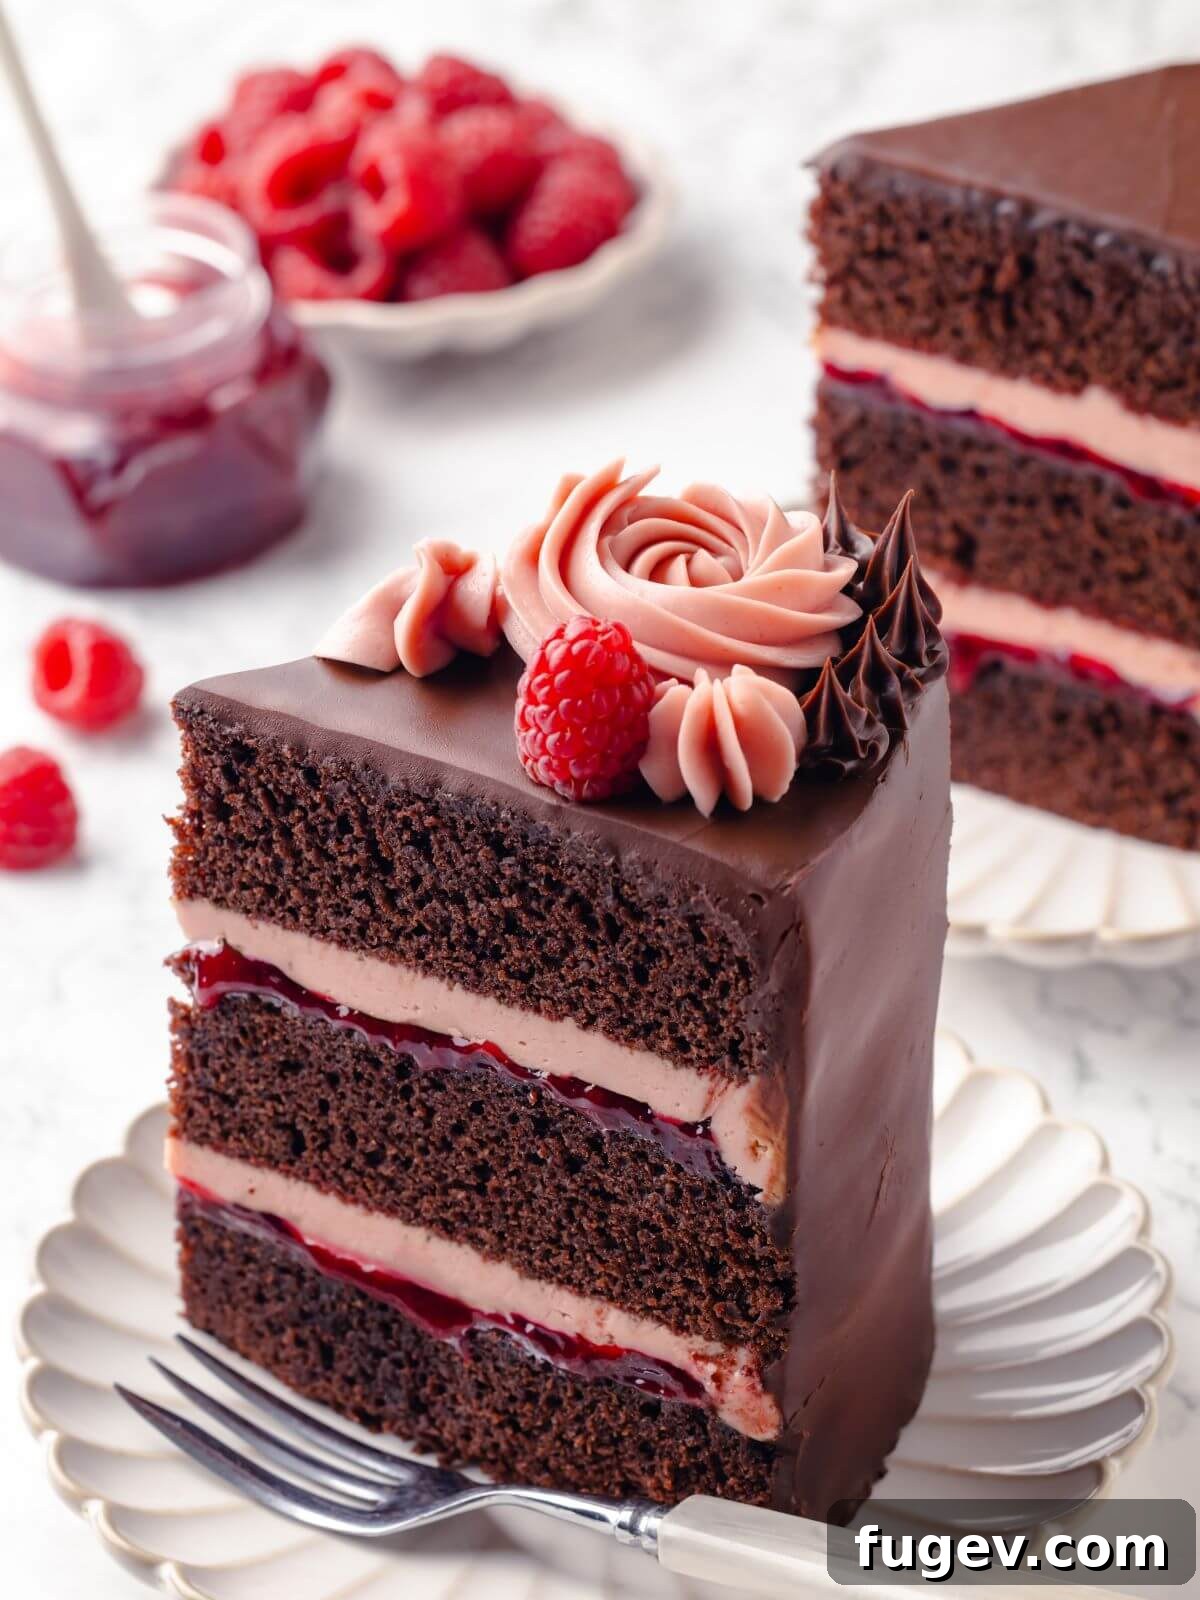
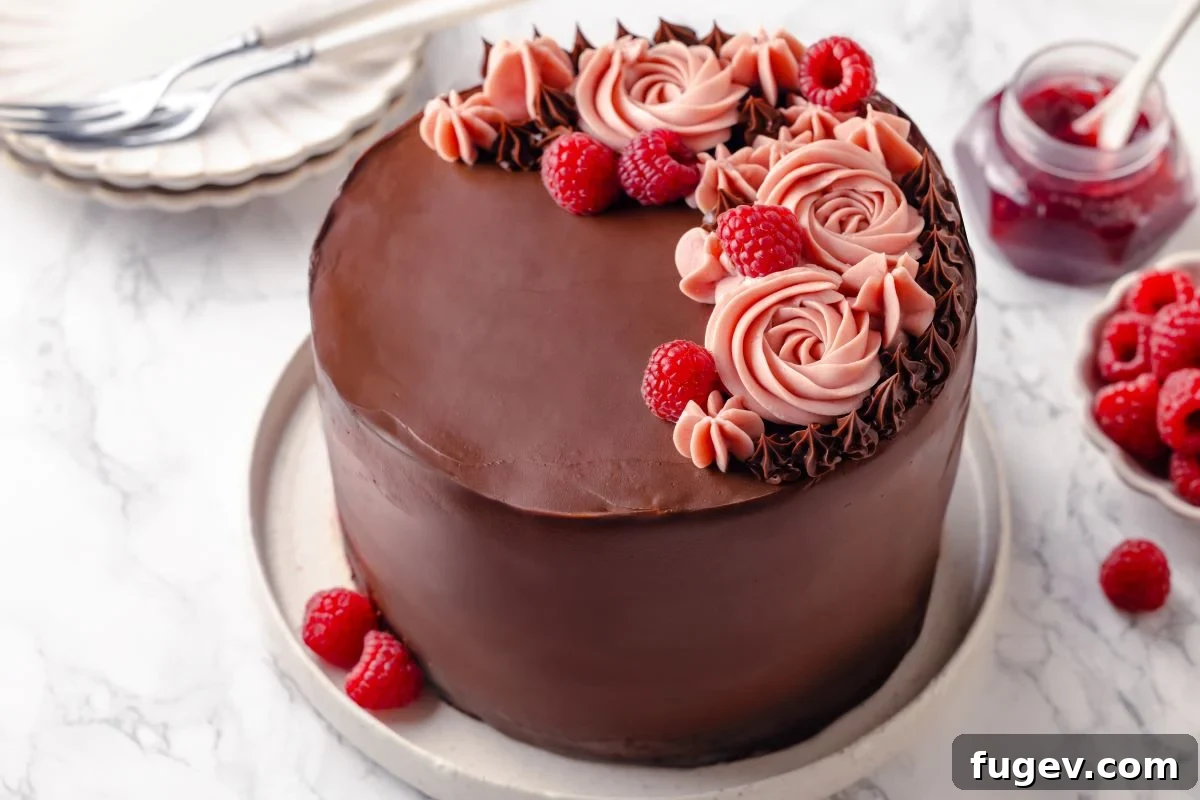
This three-layered masterpiece is a symphony of flavors, meticulously balanced to create an unforgettable dessert experience. Each component of this chocolate raspberry cake plays a crucial role: a deeply moist chocolate cake foundation, a bright and quick-to-make raspberry jam that adds a burst of fruitiness, smooth and creamy raspberry buttercream, and a final flourish of intensely rich chocolate fudge frosting. Together, these elements combine to form an indulgent, show-stopping dessert that is as beautiful to behold as it is delightful to taste. It’s the perfect centerpiece for any special occasion or a luxurious treat for a weekend gathering.
Once you dive into the world of layered cakes, you’ll find it hard to go back! If you’re looking to expand your baking repertoire with more impressive yet achievable layered cake recipes, we have plenty to inspire you. For birthdays, holidays, or simply a delicious end to a family dinner, explore our collection. Start with classics like the best red velvet cake, an easy moist chocolate cake, or a nostalgic classic yellow cake. If you’re ready to channel your inner pastry chef and create truly stunning cakes, be sure to check out our rich devil’s food cake recipe and watch our comprehensive video on how to assemble a four-layered cake for expert tips and techniques.
Table of Contents
- Why You Will Love This Raspberry Chocolate Cake
- Professional Tips for Making Perfect Chocolate Raspberry Cake
- Essential Ingredients & Smart Substitutions
- Creative Variations to Customize Your Cake
- Step-by-Step Guide: How to Make Chocolate Raspberry Cake
- Chef Lindsey’s Expert Baking Tip
- Frequently Asked Questions About Chocolate Raspberry Cake
- Chocolate Raspberry Cake Recipe Card
- Before You Go: More Delicious Cake Recipes
Why You Will Love This Raspberry Chocolate Cake
This chocolate raspberry cake isn’t just another dessert; it’s an experience waiting to happen. Here’s why this particular recipe will quickly become a cherished favorite in your kitchen:
- A Masterpiece of Balanced Flavors: Each bite offers a harmonious blend of rich, moist chocolate cake, complemented by a bright, tangy raspberry filling, enveloped in a silky raspberry buttercream, and finished with a decadent fudgy chocolate frosting. No single flavor overpowers the others; instead, they intertwine to create a perfectly balanced and utterly delicious layered cake. It’s a true celebration of chocolate and raspberry working in unison.
- Effortlessly Moist and Rich Chocolate Cake: Despite its luxurious taste and texture, our chocolate cake recipe is surprisingly easy to make. Prepared in a single bowl, it yields a rich, fudge-like cake that’s incredibly moist and tender. This simplicity means minimal cleanup without compromising on the depth of flavor or quality, making it accessible even for novice bakers.
- Unique and Delicious Dual Frosting Experience: What sets this cake apart is its innovative use of two distinct frostings. We layer the cake with a delicate raspberry buttercream, which perfectly highlights the fruit notes, then crown it with a lavish chocolate fudge frosting. This combination creates not only a stunning visual contrast with beautiful layers and colors when sliced but also an incredible depth of flavor that will leave everyone in awe. It’s a truly delicious and unique cake that promises to impress.
Professional Tips for Making Perfect Chocolate Raspberry Cake
Achieving a bakery-quality chocolate raspberry cake at home is easier than you think with these professional insights:
- Prepare Components in Advance for Stress-Free Assembly: Layered cakes can seem daunting, but breaking the process down makes it manageable. If you’re planning this cake for a special birthday or celebration, consider preparing each component a few days ahead of time. The chocolate cake layers can be baked and wrapped tightly a couple of days in advance. Similarly, both the raspberry jam and the buttercream can be made and stored. This strategic planning will transform the assembly day into a relaxed and enjoyable experience, making the final stages feel like a breeze.
- Utilize Baking Sheets for Even and Faster Cake Layers: For more even baking and consistently perfect layers, consider baking your chocolate cake batter in baking sheets rather than traditional round cake pans. This method allows the cake to bake faster and ensures a uniform thickness across the entire sheet. Once baked and cooled, you can use a cake ring to effortlessly cut out perfectly round chocolate cake layers. The leftover cake scraps are a delightful bonus, perfect for snacking or transforming into delicious cake pops.
- Adjust Raspberry Jam Sweetness Based on Berry Ripeness: Raspberries can vary significantly in sweetness depending on the season and variety. Always taste your fresh or frozen berries before making the quick jam. This allows you to fine-tune the amount of sugar and lemon juice needed to achieve your desired balance of sweet and tart. A little more lemon can brighten very sweet berries, while a touch more sugar can balance tarter ones, ensuring your raspberry filling perfectly complements the rich chocolate.
Essential Ingredients & Smart Substitutions
Crafting this exquisite chocolate raspberry cake requires a selection of high-quality ingredients, each playing a vital role in the cake’s texture and flavor. Here’s a detailed look at what you’ll need and potential substitutions:
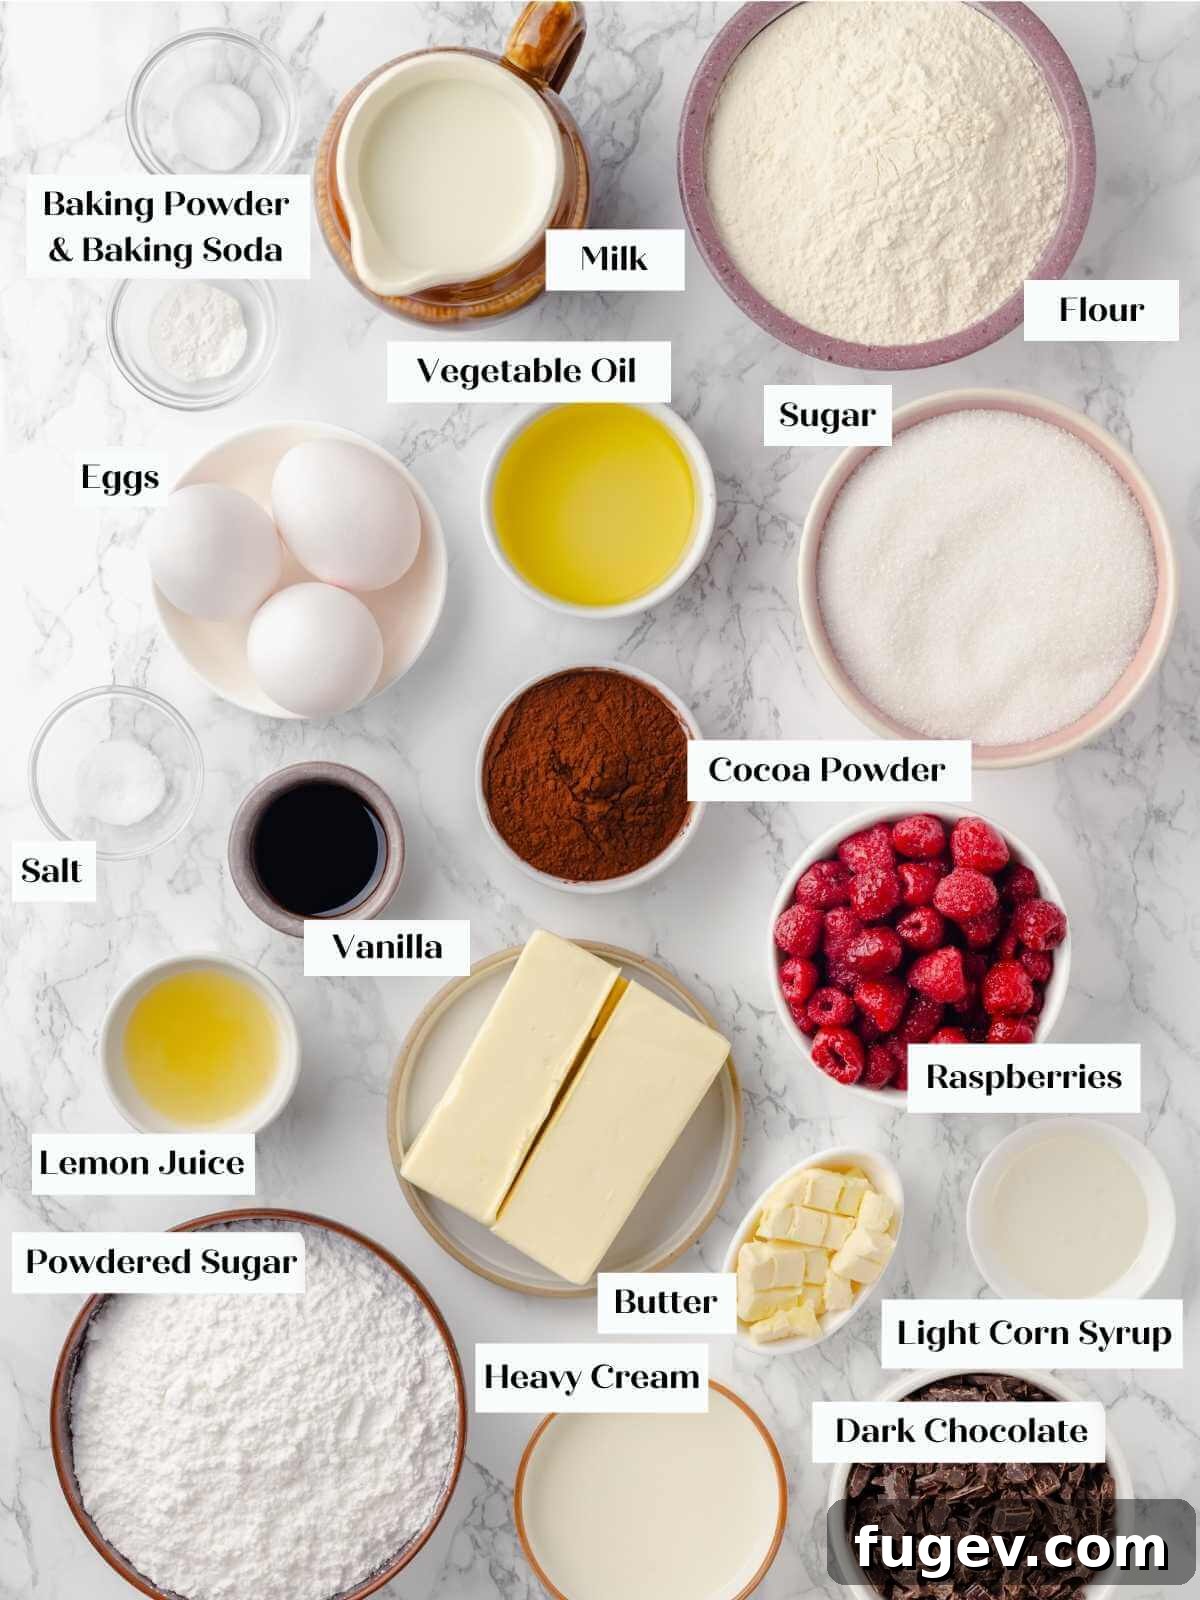
For the Moist Chocolate Cake Layers
- Dutch-Processed Cocoa Powder: This is key for a deep, rich chocolate flavor and a darker color. Dutch-processed cocoa has been treated with an alkaline solution, neutralizing its acidity. This means it won’t react with baking soda or baking powder in the same way natural cocoa would, resulting in a distinct flavor profile. High-quality Dutch-processed cocoa is highly recommended for the best results.
- All-Purpose Flour: Providing the perfect amount of gluten, all-purpose flour helps create a tender and soft cake crumb. To avoid a tough cake or undesirable “tunnels,” be mindful not to overmix the batter. Good quality all-purpose flour is ideal, but cake flour can be substituted for an even lighter texture.
- Kosher Salt: Essential for balancing and enhancing all the sweet flavors in the cake.
- Baking Soda & Baking Powder: The combination of baking powder and baking soda is crucial for a reliable and even rise, ensuring a light and airy chocolate cake.
- Large Eggs: Whole large eggs are vital for emulsifying the oil into the batter, which is the secret to achieving an exceptionally moist, non-greasy cake. Fresh large eggs work best.
- Vanilla Extract: A splash of pure vanilla extract elevates the overall flavor of the chocolate, adding warmth and depth.
- Vegetable Oil: Unlike butter, neutral-flavored oil contributes significantly to the cake’s exceptional moisture without adding density. It’s emulsified with sugar and eggs to create a velvety batter. It’s important to use a neutral oil (like vegetable, canola, or grapeseed) as strong-flavored oils like olive oil could impact the taste.
- Granulated Sugar: Beyond sweetness, granulated sugar plays several roles, including aiding in leavening, retaining moisture, contributing to the cake’s delicate texture, and providing structural stability.
- Whole Milk: We opt for whole milk for its higher fat content and richer flavor. The extra fat helps keep the chocolate cake tender and wonderfully moist, making it superior to lower-fat milk alternatives.
For the Bright Raspberry Jam and Creamy Buttercream
- Fresh or Frozen Raspberries: You can use either fresh or frozen raspberries for this recipe. If baking during winter months, frozen raspberries often offer a more concentrated flavor and less water content, resulting in a richer jam. These are also a staple in our white chocolate raspberry cookies!
- Fresh Lemon Juice: A squeeze of fresh lemon juice is transformative, brightening the jam and giving it a more complex, well-rounded flavor that beautifully cuts through the sweetness. Freshly squeezed is always best.
- Granulated Sugar: This helps the raspberry cake filling thicken to the right consistency and provides the necessary sweetness to balance the tartness of the berries.
- Unsalted Butter: For the most stable and flavorful buttercream, use a high-quality, room-temperature unsalted butter. Salted butter will result in a salty buttercream, which is generally undesirable for this cake.
- Confectioner’s Sugar (Powdered Sugar): Confectioner’s sugar is finely ground, allowing it to dissolve easily into the butter without heating, creating a smooth, silky American-style buttercream.
- Vanilla Extract: Enhances the creamy notes of the buttercream and complements the raspberry flavor.
- Kosher Salt: A pinch of salt in the buttercream helps to highlight the flavors and prevents it from tasting overly sweet.
For the Decadent Chocolate Fudge Frosting
- Heavy Cream: Use a full-fat (40%) heavy whipping cream for this frosting. Its higher fat content creates a richer, smoother consistency and makes the ganache less likely to break or separate.
- Light Corn Syrup: Light corn syrup acts as a thickening agent, much like sugar, but without adding excessive sweetness. It contributes to the frosting’s thick, glossy, and smooth texture. Honey can be used as a substitute if preferred.
- Dark Chocolate: For the best chocolate fudge frosting, select a dark chocolate with at least 54% up to 65% cocoa solids. This range offers a perfect balance against the sweetness of the frosting, giving a sophisticated “dark chocolate cake” impression. Chopping bar chocolate finely is preferable to using chocolate chips, as bar chocolate melts and incorporates more smoothly for a truly emulsified ganache.
- Vanilla Extract: Deepens the chocolate flavor and adds a touch of aromatic sweetness.
- Kosher Salt: A small amount of salt intensifies the chocolate notes and balances the richness.
- Dutch-Processed Cocoa Powder: Adding Dutch-processed cocoa powder here not only boosts the intense chocolate flavor and dark color but also helps to prevent the frosting from being overly sweet. While regular cocoa powder can be used, expect a slightly sweeter and lighter-colored frosting.
- Unsalted Butter: Softened and cubed butter is incorporated at the end to add luxurious richness and a silky smooth finish to the fudge frosting.
Please refer to the recipe card below for precise measurements and quantities for each of these ingredients.
Creative Variations to Customize Your Chocolate Raspberry Cake
While this chocolate raspberry cake recipe is perfect as is, it also serves as a fantastic canvas for your culinary creativity. Here are some delightful variations to make it uniquely yours:
- Experiment with Different Berry Jams: The quick jam layer can easily be adapted with other fruits. Substitute raspberries with fresh or frozen blueberries, strawberries, or blackberries to create a whole new flavor profile. Remember to taste the fruit first and adjust the amount of sugar and lemon juice to suit the natural sweetness and tartness of your chosen berries.
- Infuse the Buttercream with a Boozy Twist: For an adult-friendly version, add a tablespoon of your favorite liqueur to the raspberry buttercream. Raspberry liqueur will enhance the berry flavor, while brandy or bourbon can introduce a warm, sophisticated note. Alternatively, switch up the buttercream entirely! Consider our best chocolate buttercream for double chocolate decadence or a tangy cream cheese buttercream frosting for a different dimension of flavor.
- Pair with a Different Cake Base: If you adore the raspberry and chocolate combination but want to explore a different cake base, this recipe is incredibly versatile. The jam, raspberry buttercream, and chocolate fudge frosting would be equally divine with our moist vanilla cake, a surprisingly light lemon olive oil cake, or even another robust devil’s food cake for an extra deep chocolate experience. For an ultimate chocolate lover’s dream, consider adding a layer of our luscious chocolate ganache between the cake layers to further intensify the chocolate flavor!
Step-by-Step Guide: How to Make Chocolate Raspberry Cake
Follow these detailed instructions to create a perfectly layered chocolate raspberry cake that will impress every time. More specific measurements and details are available in the comprehensive recipe card below.
Prepare the Moist Chocolate Cake:
Step 1: Begin by preheating your oven. Set it to 325°F if using convection (with the fan) or 350°F if using a conventional oven (without the fan). Prepare three 8 or 9-inch cake pans by lightly spraying them with baking spray and lining the bottoms with parchment paper for easy release.
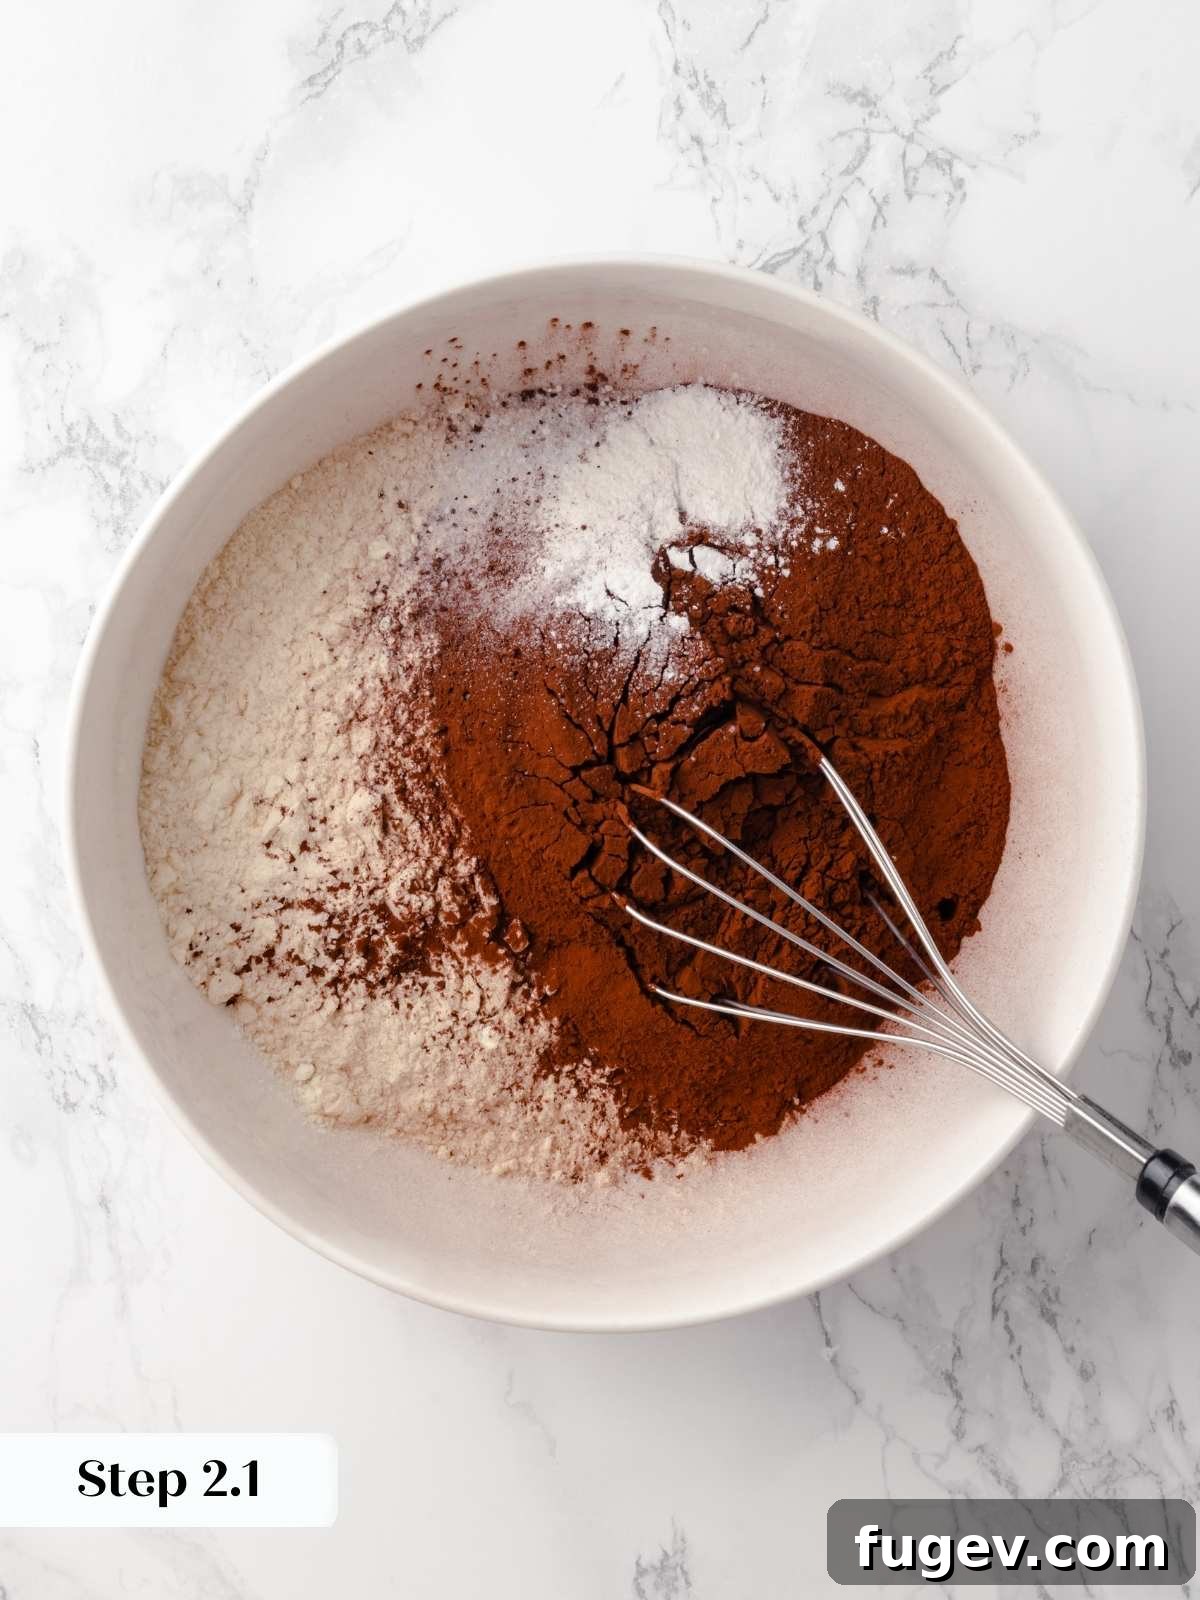
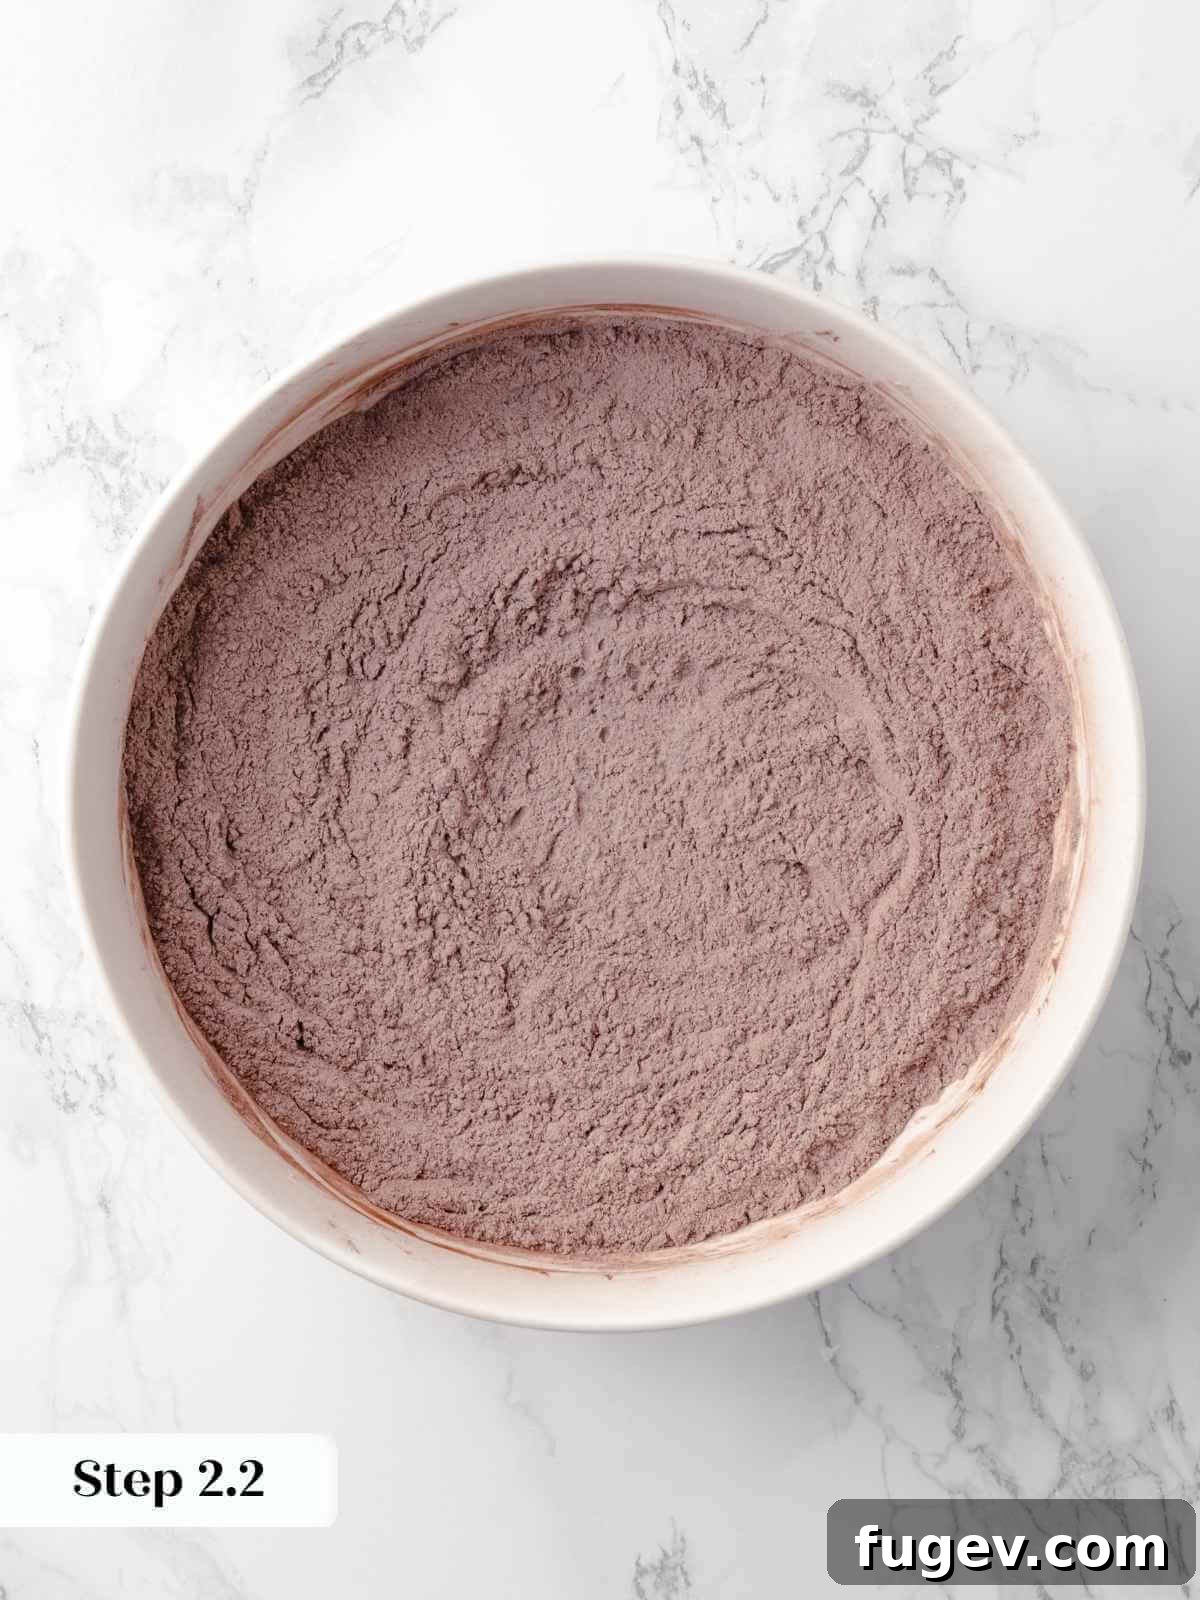
Step 2: In a large mixing bowl, sift together the cocoa powder, all-purpose flour, kosher salt, baking powder, and baking soda. Sifting ensures there are no lumps and that the leavening agents are evenly distributed. Once combined, set this dry mixture aside.
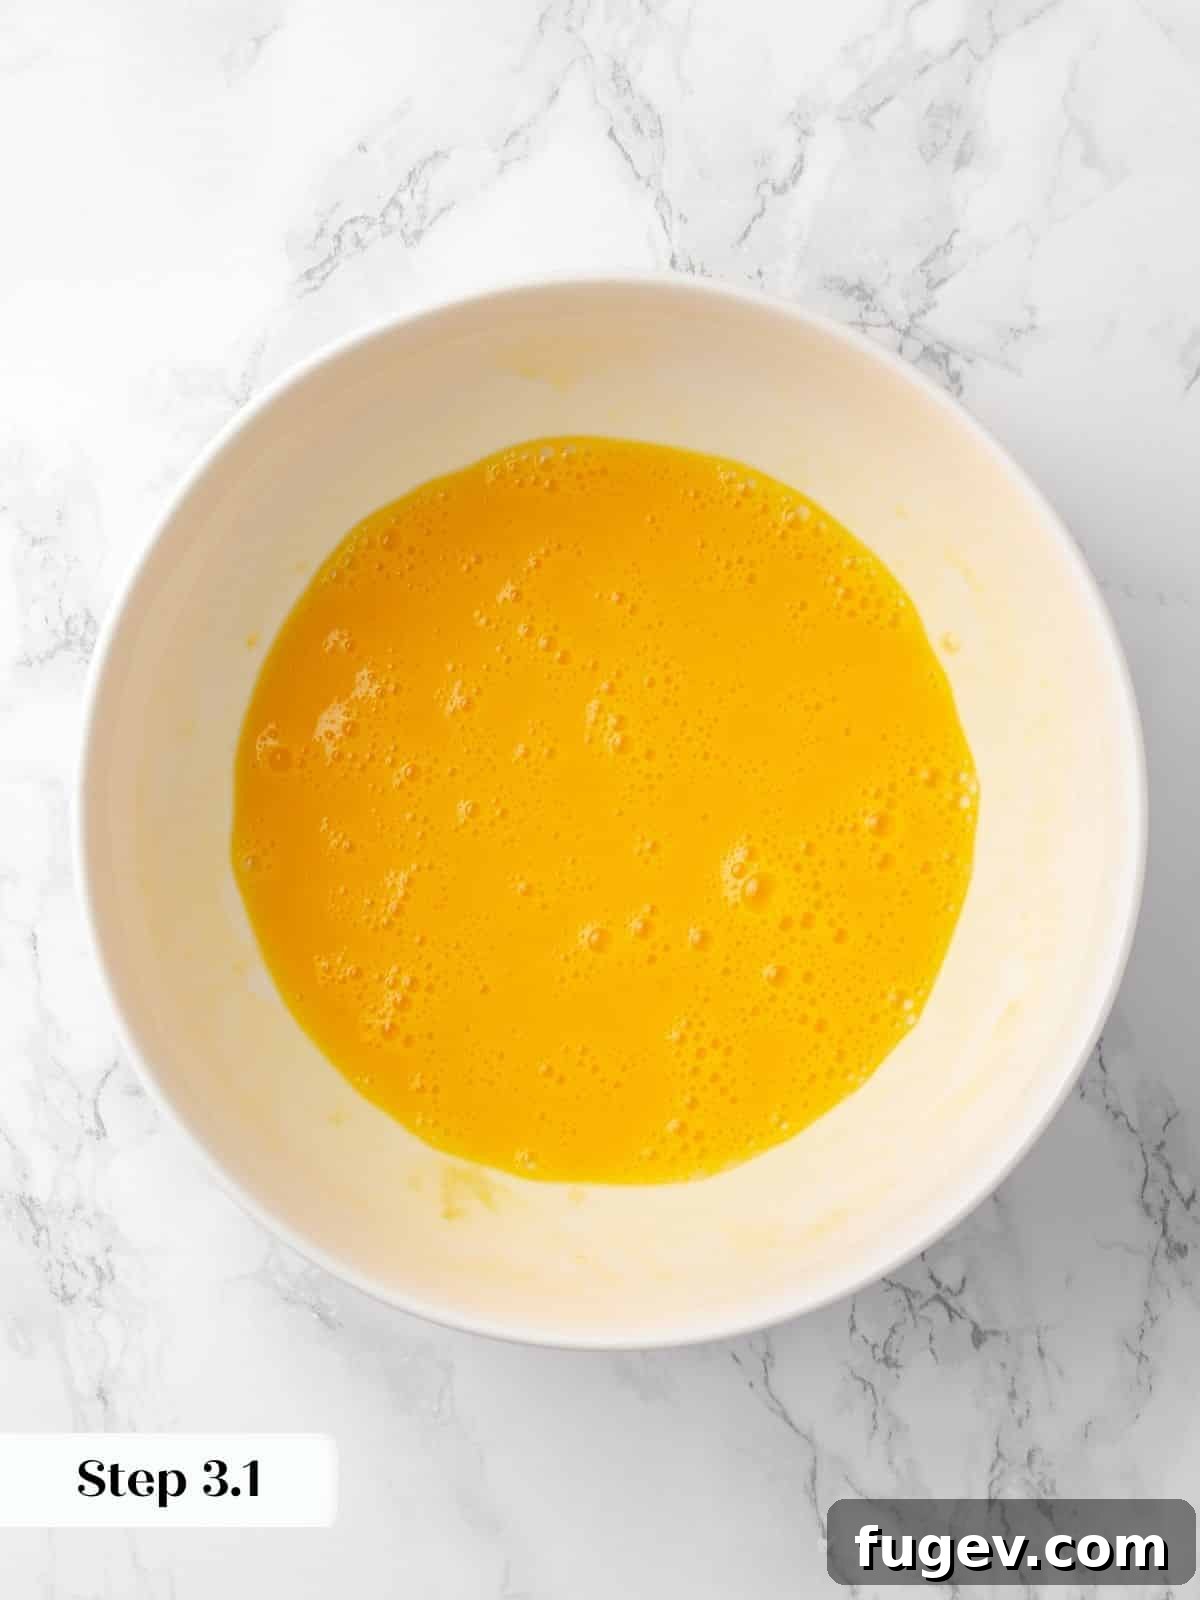
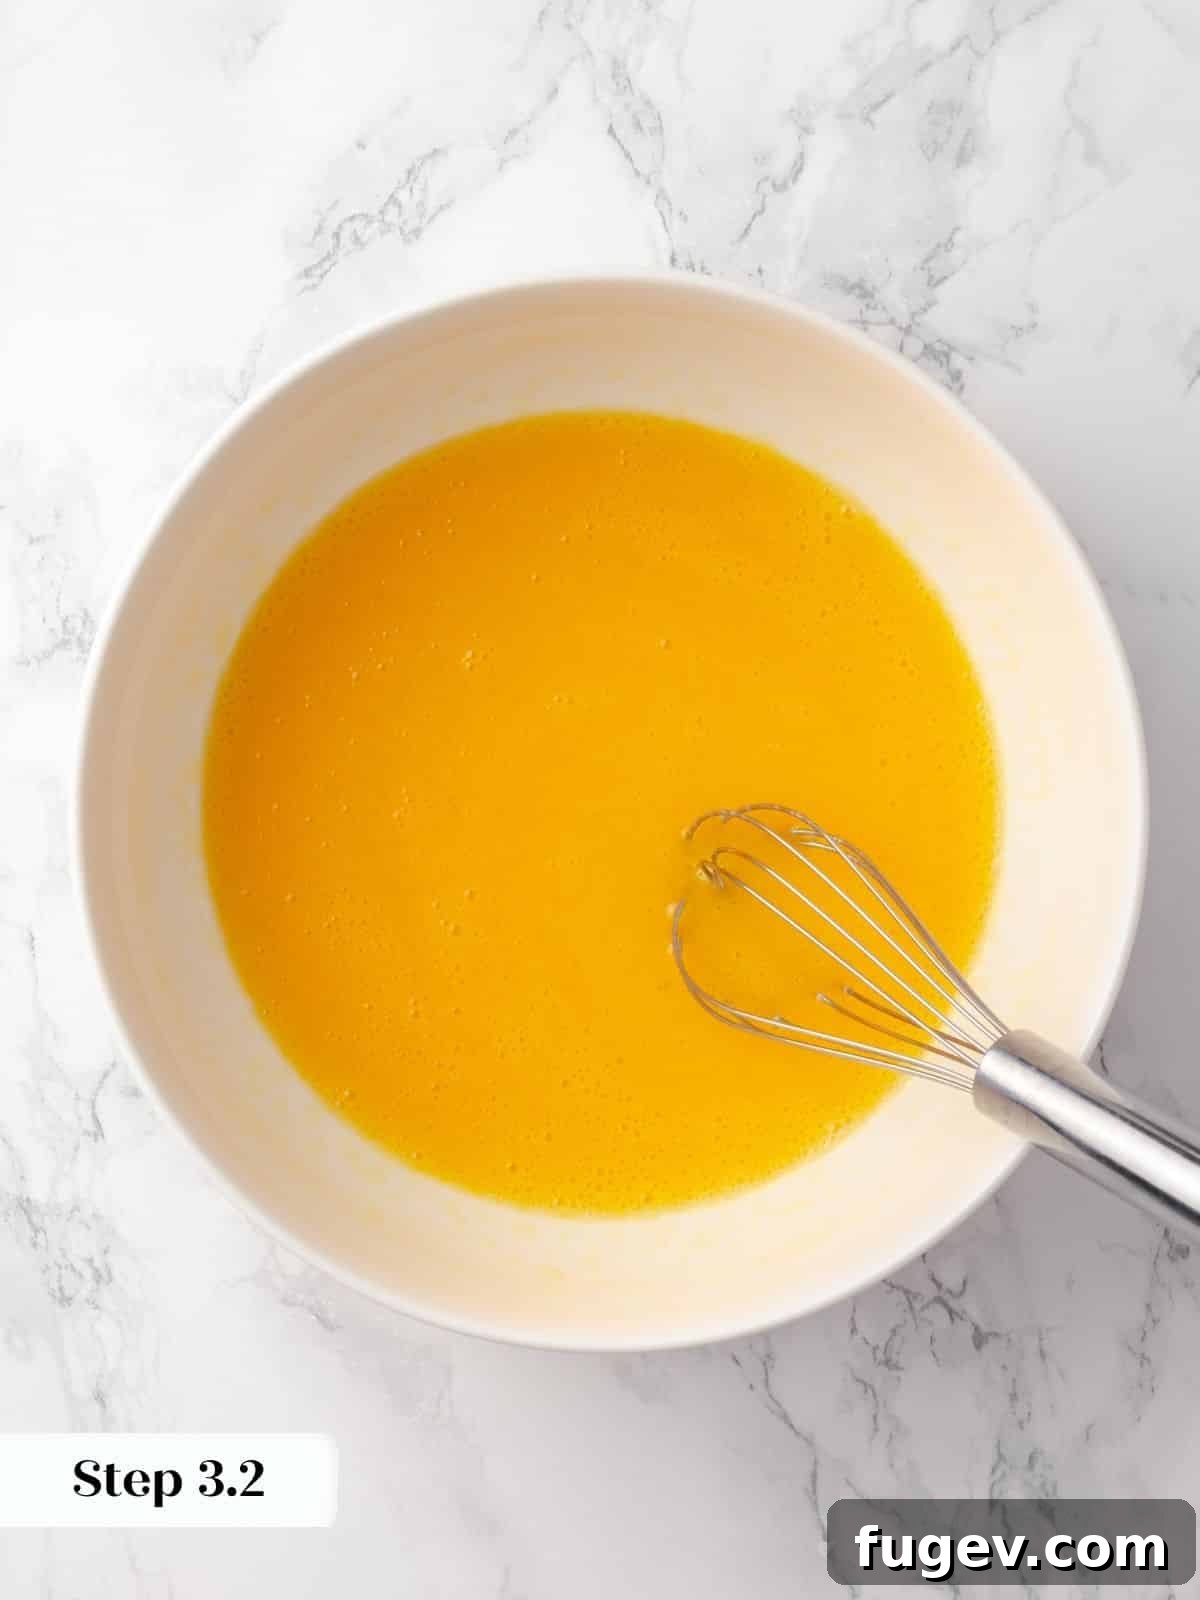
Step 3: In a separate large bowl, whisk the large eggs with the vanilla extract until the mixture is smooth and homogenous. Gradually and slowly pour the vegetable oil into the egg mixture while continuously whisking. This creates a beautiful emulsion, which is key to a moist and tender cake texture.
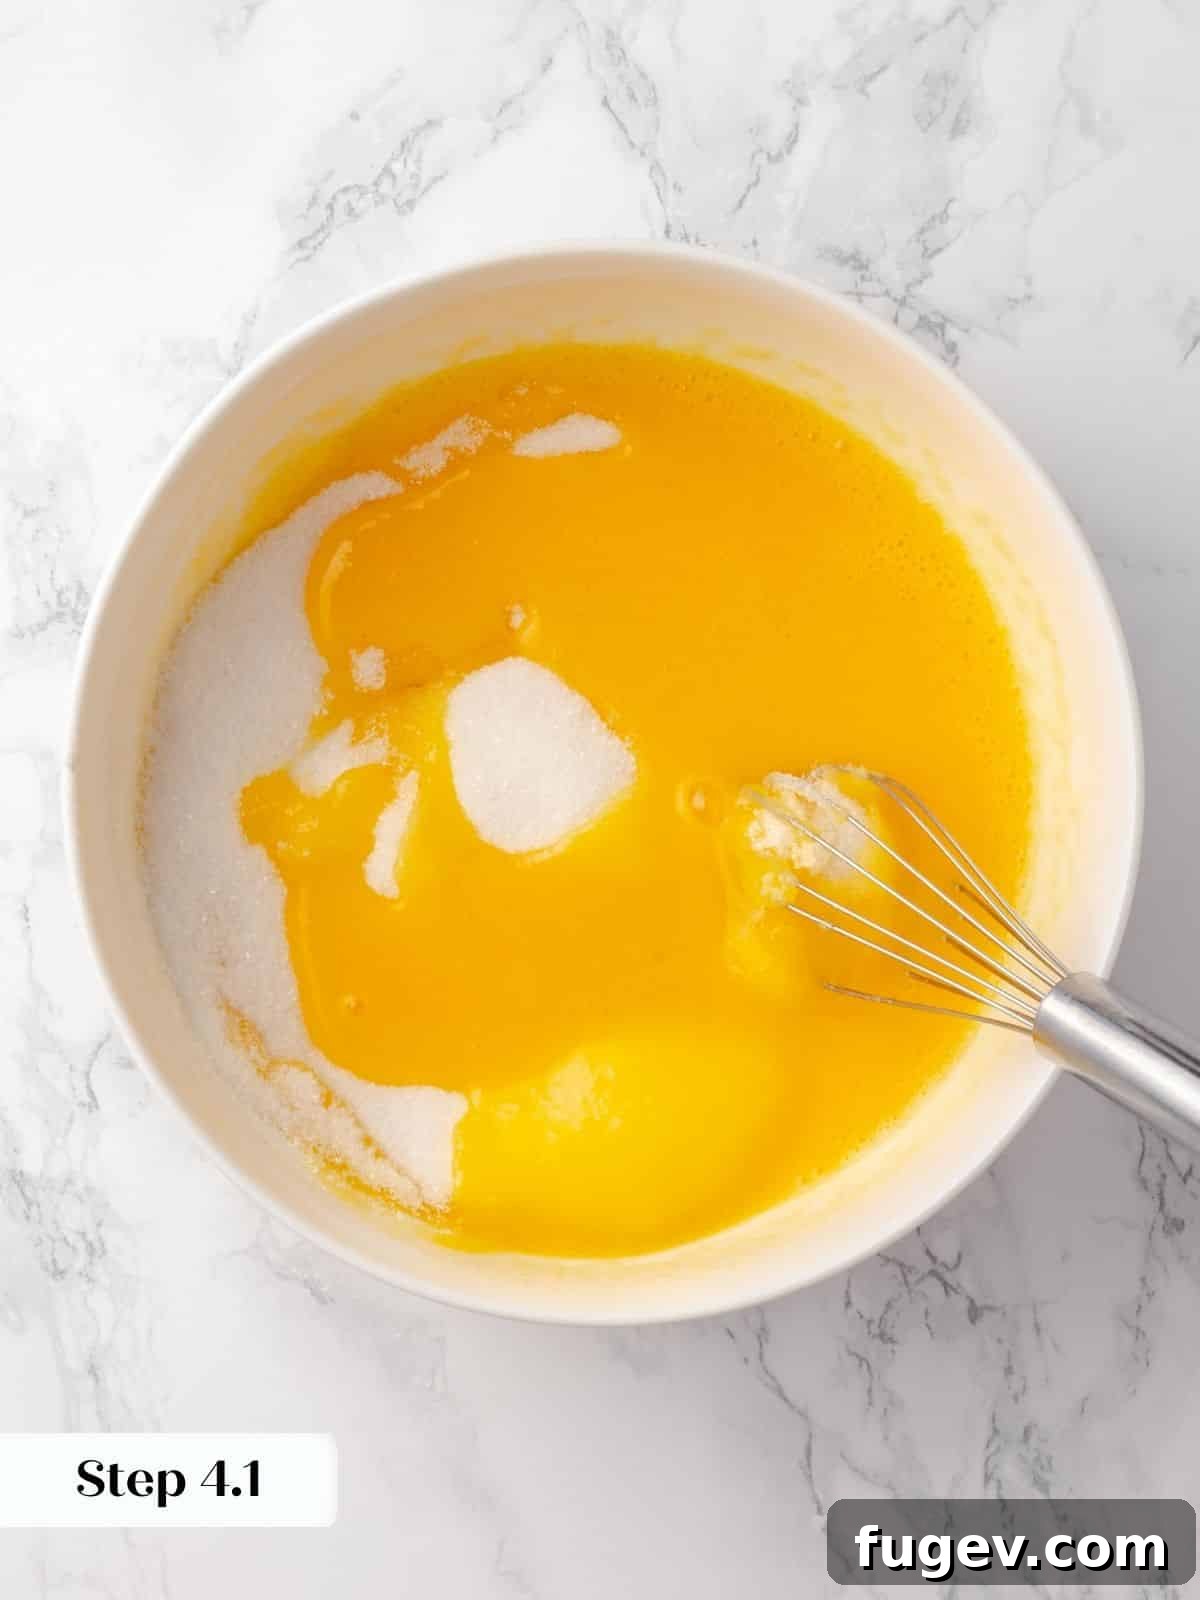
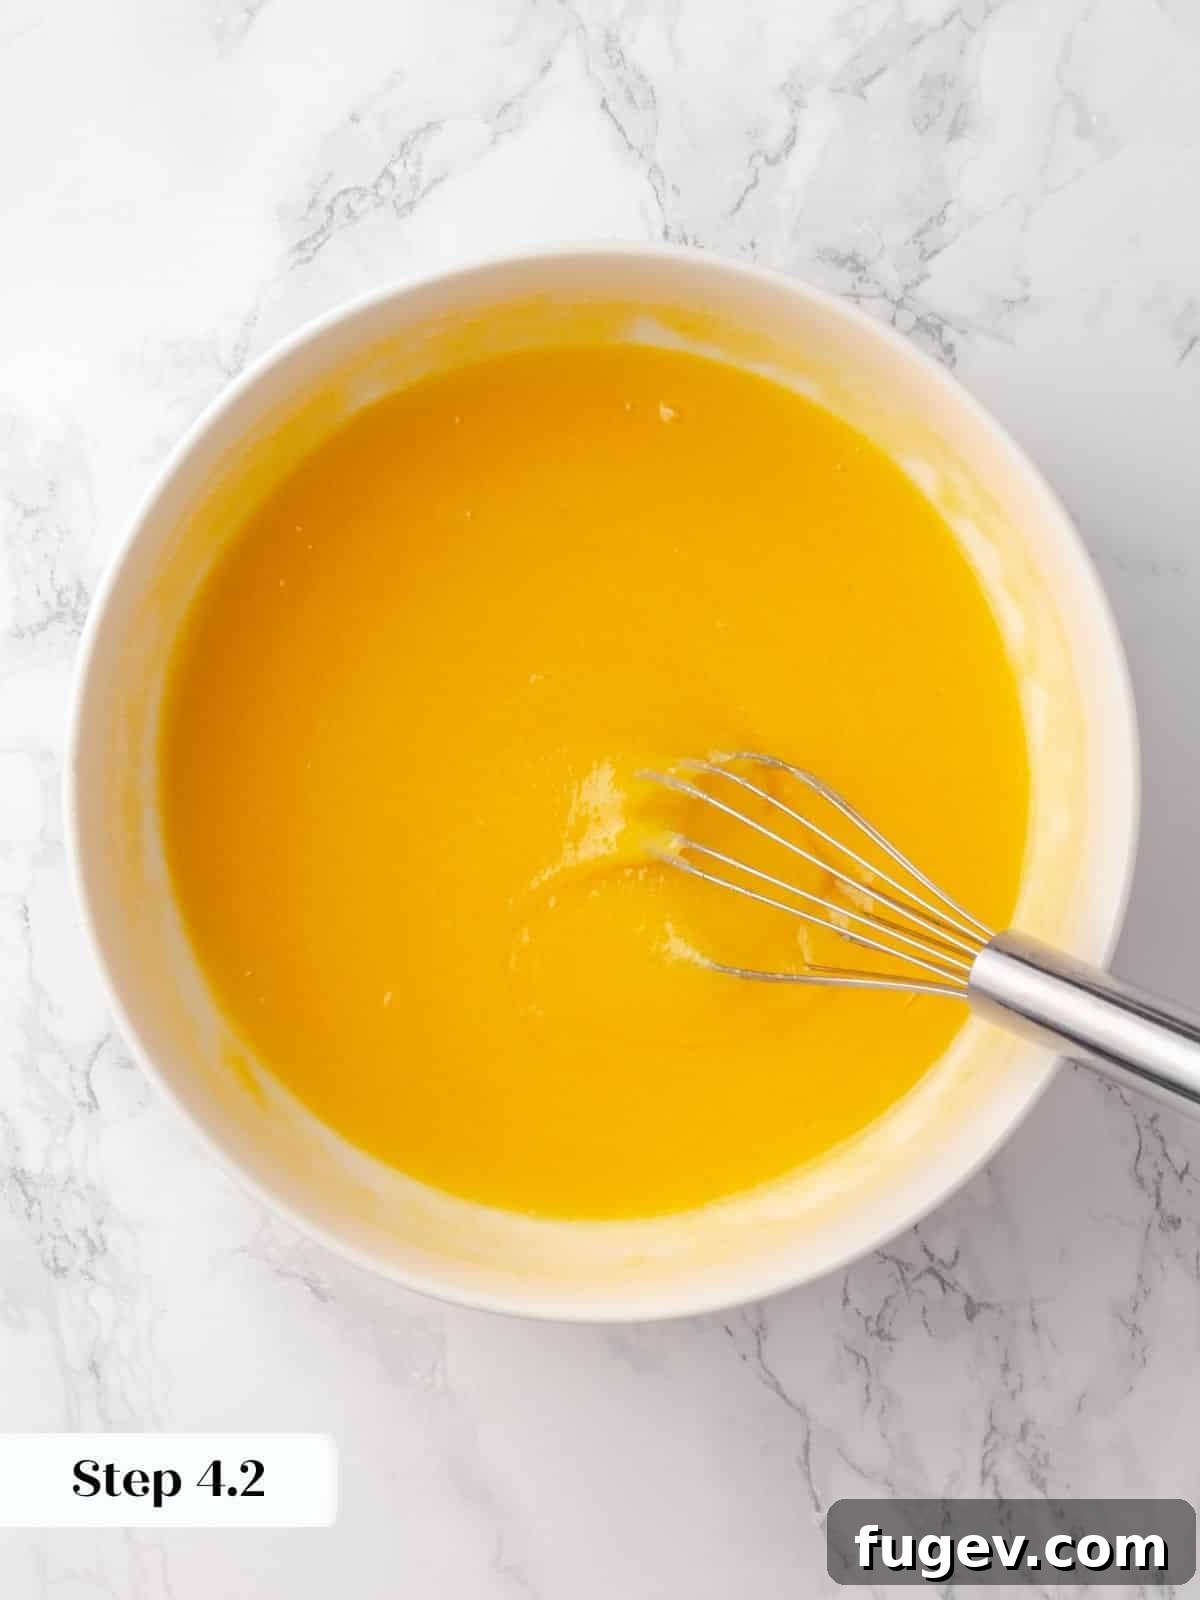
Step 4: In the same bowl with the emulsified eggs and oil, add the granulated sugar. Whisk thoroughly until the sugar is fully incorporated and the mixture is smooth and slightly thickened.
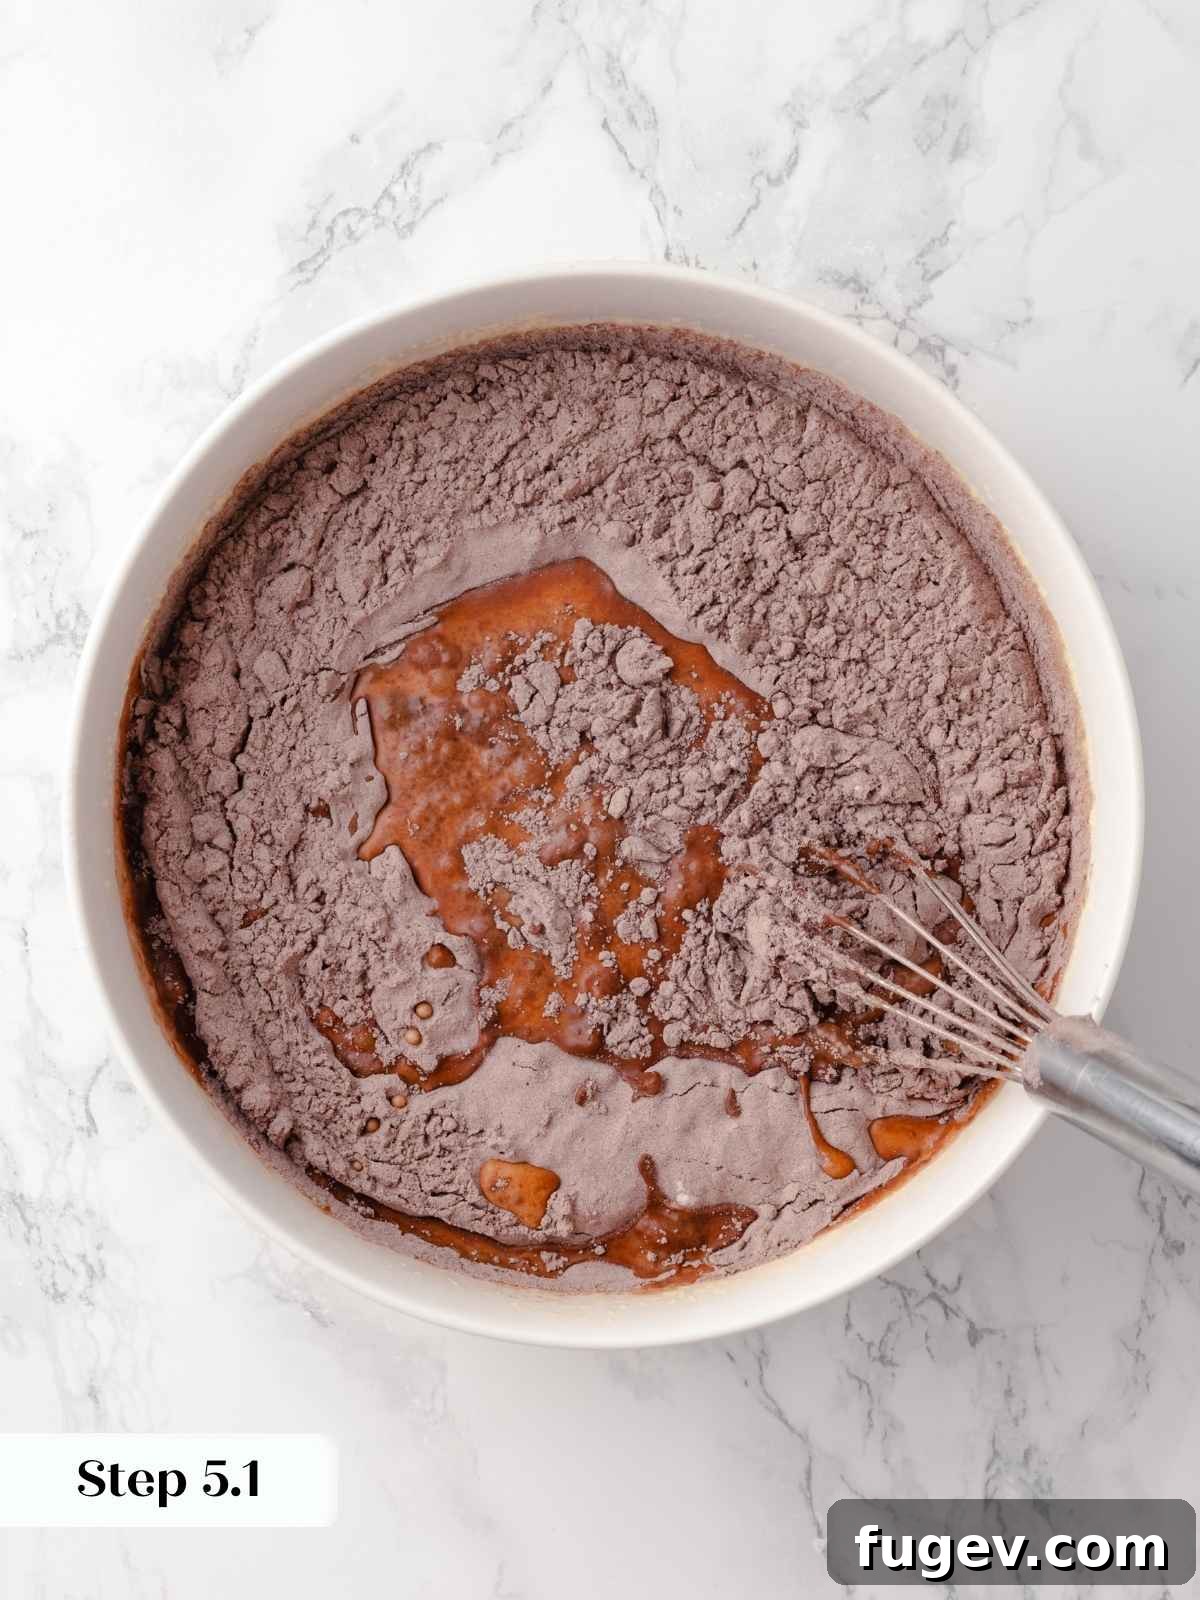
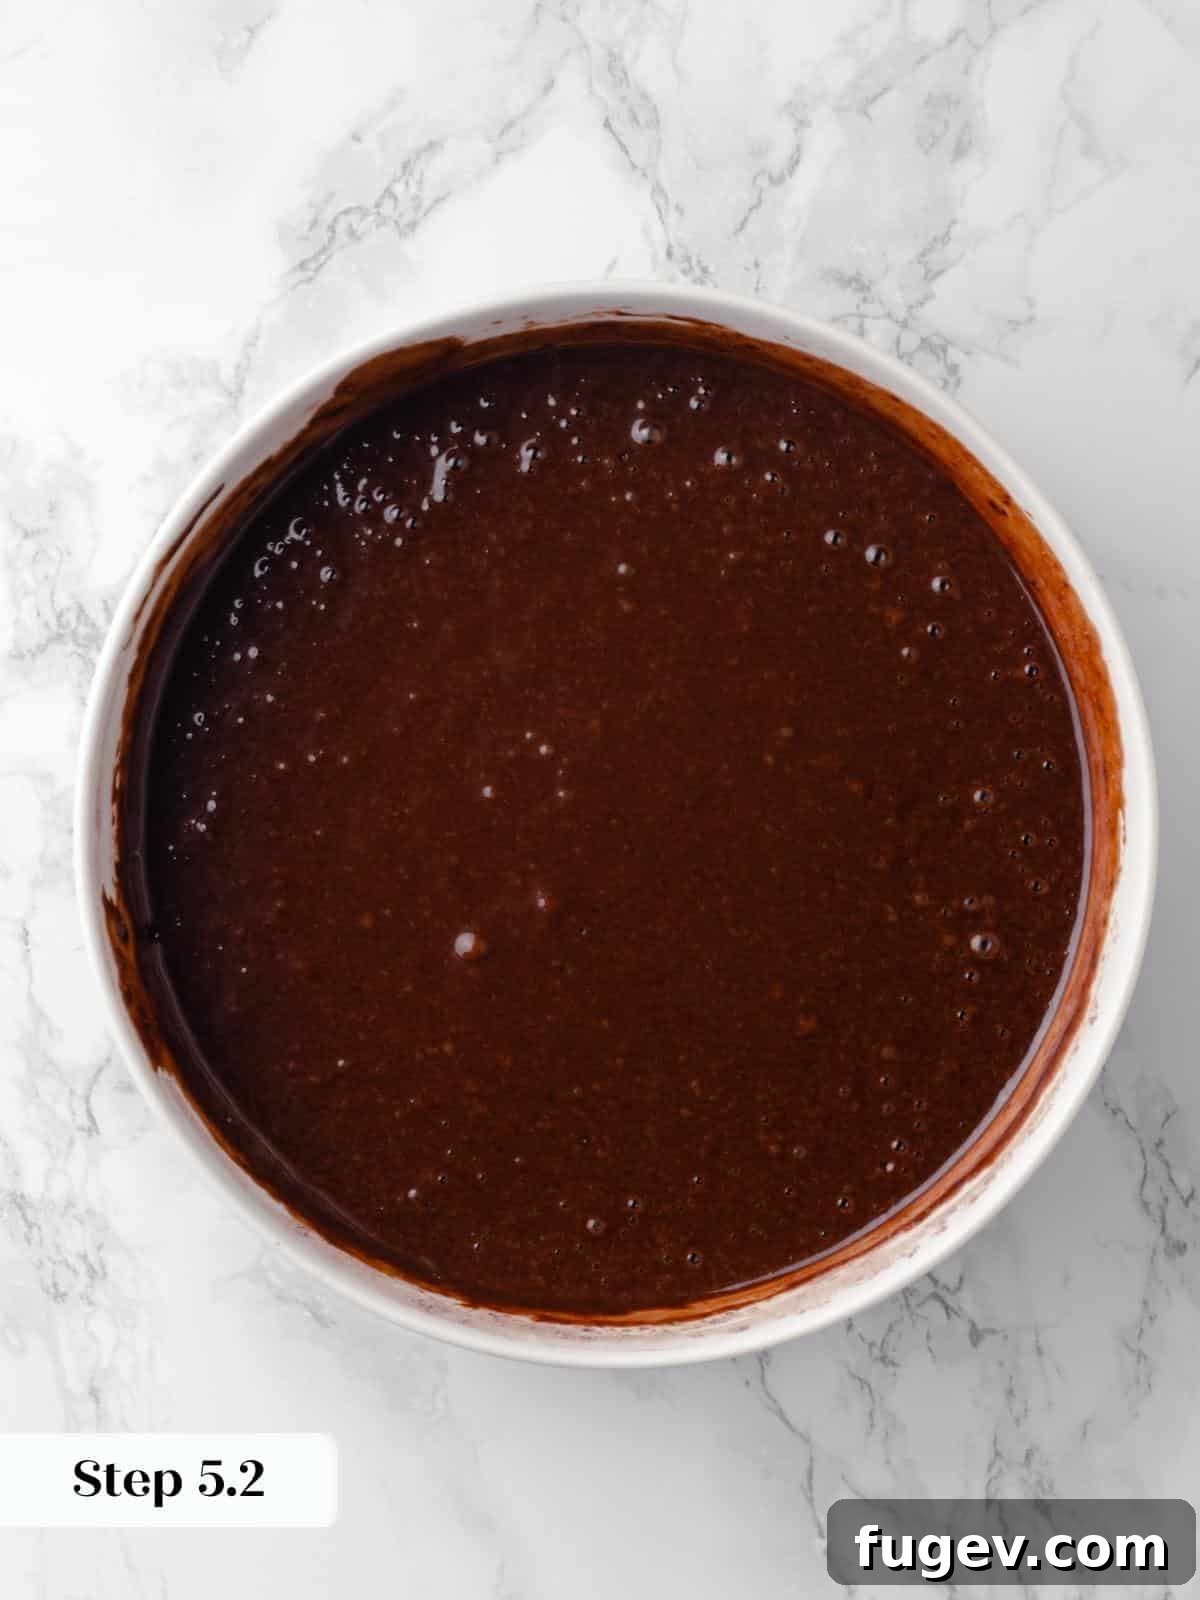
Step 5: Now, it’s time to combine the wet and dry ingredients. Alternately add the sifted dry ingredients and the whole milk to the wet mixture in three additions. I recommend adding about one-third of the dry ingredients and one-third of the milk at a time, whisking gently until no lumps remain after each addition. Repeat this process with the remaining flour mixture and milk until a smooth batter forms. Be careful not to overmix at this stage.
Chef’s Tip for Tender Cake: Adding the flour and milk in three stages is a crucial technique. This method helps to prevent the gluten from over-developing, which can lead to a tough cake with undesirable “tunnels.” By incorporating slowly, you ensure a perfectly tender crumb.
Step 6: Divide the prepared chocolate cake batter evenly among your three lined cake pans. Place them into the preheated oven and bake until a cake tester or toothpick inserted into the center comes out clean or with just a few moist crumbs clinging to it. Since you are baking three thinner layers, they will bake faster; start checking for doneness around 20 minutes. With a convection oven, they will typically bake for 25-28 minutes.
Baking Quantities: For two standard layers, each will be approximately 920g and might bake for about 32 minutes. For three layers, each layer will be lighter, roughly 615g, and thus bake faster.
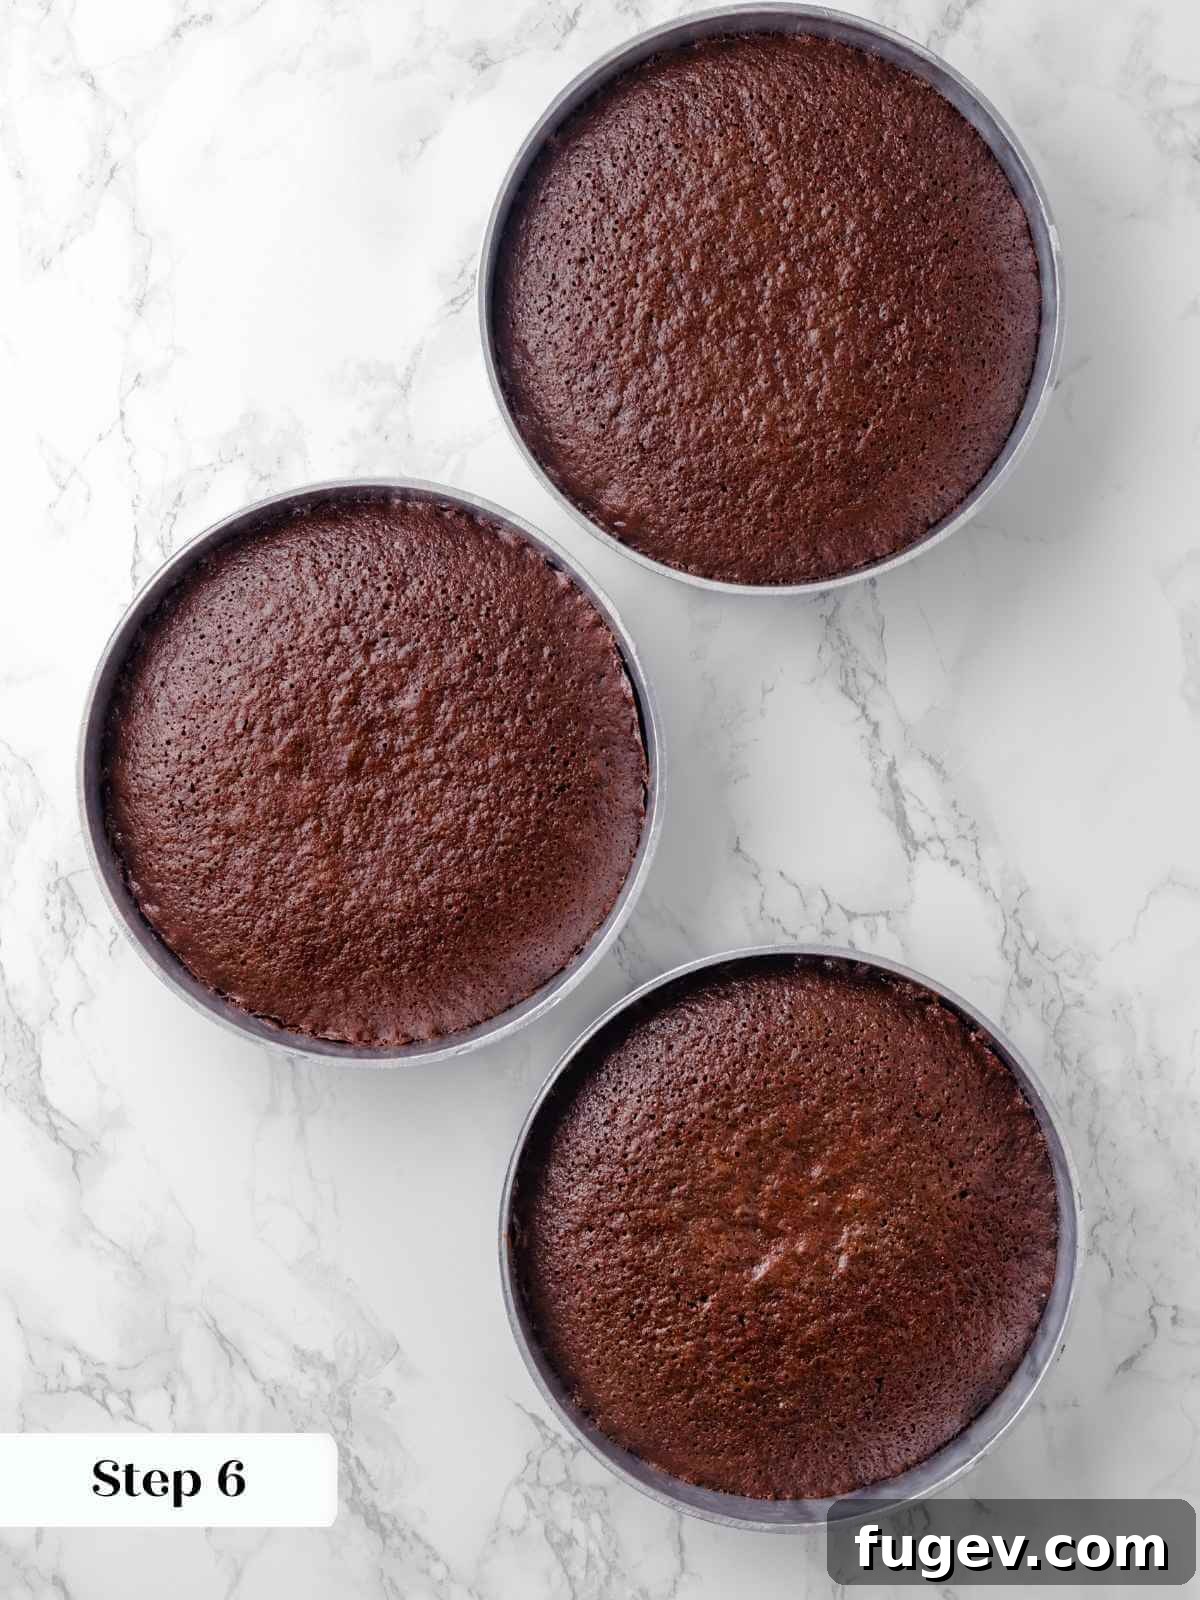
Step 7: Once baked, allow the cake layers to cool in their pans on a wire rack for about 10 minutes. Then, carefully run a thin paring knife around the edges of each pan and invert the cakes onto the wire rack. You can let them cool upside down or use a second wire rack to flip them back over, ensuring a flat top. This step prevents the cakes from sticking and helps maintain their shape.
Step 8: It is absolutely essential to cool the cake layers completely to room temperature before attempting to frost them. Warm cakes will cause your frosting to melt and slide, leading to a messy and unstable cake.
Prepare the Bright Raspberry Jam:
Step 9: In a small saucepan, combine the fresh or frozen raspberries, fresh lemon juice, and granulated sugar. Give it a gentle stir to mix the ingredients.
Sweetness Adjustment: Remember to taste your raspberries! If they are naturally very sweet, you might need less sugar than the recipe suggests. Adjust to your preference.
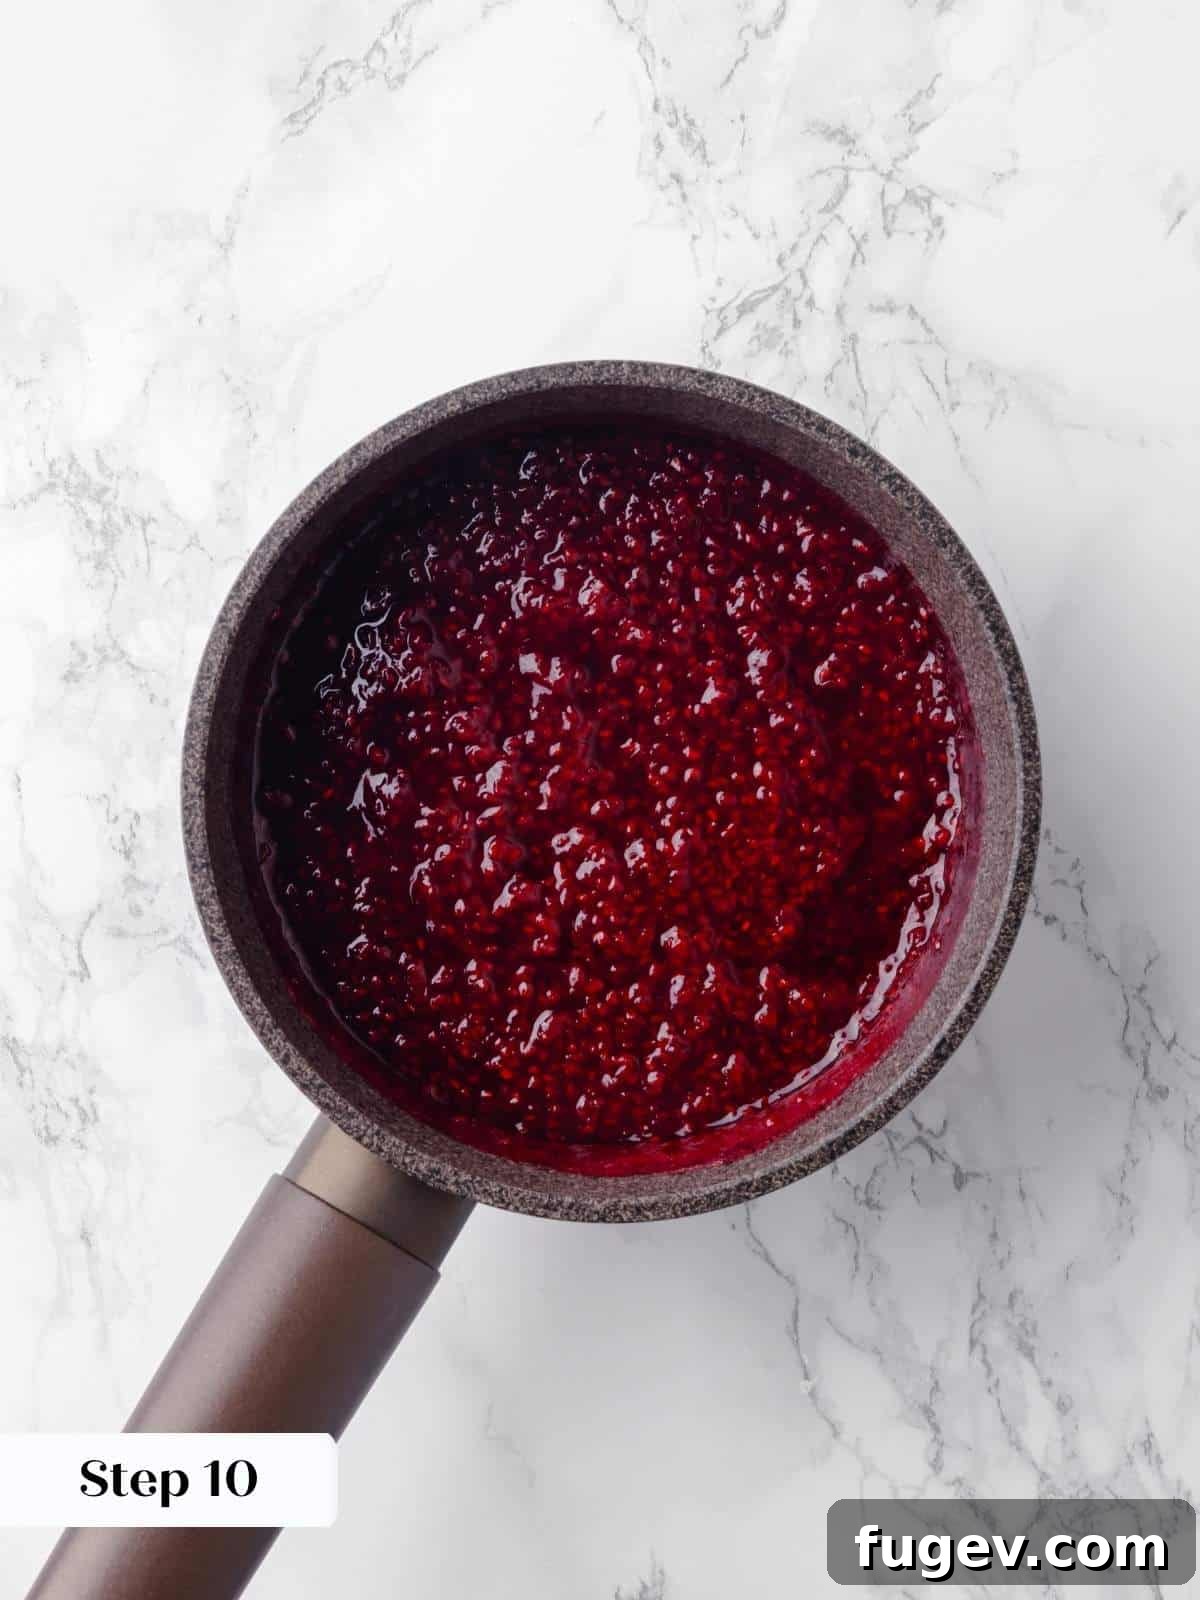
Step 10: Place the saucepan over low heat. Cook gently, stirring and occasionally smashing the raspberries, until they soften and release their juices. Once juices are flowing, increase the heat to medium or medium-low and continue to simmer. Stir frequently as the juices evaporate and the mixture thickens into a jam that holds a line when you drag a spoon across the back of it. As it thickens, reduce the heat back to low to prevent the jam from sticking to the bottom and burning.
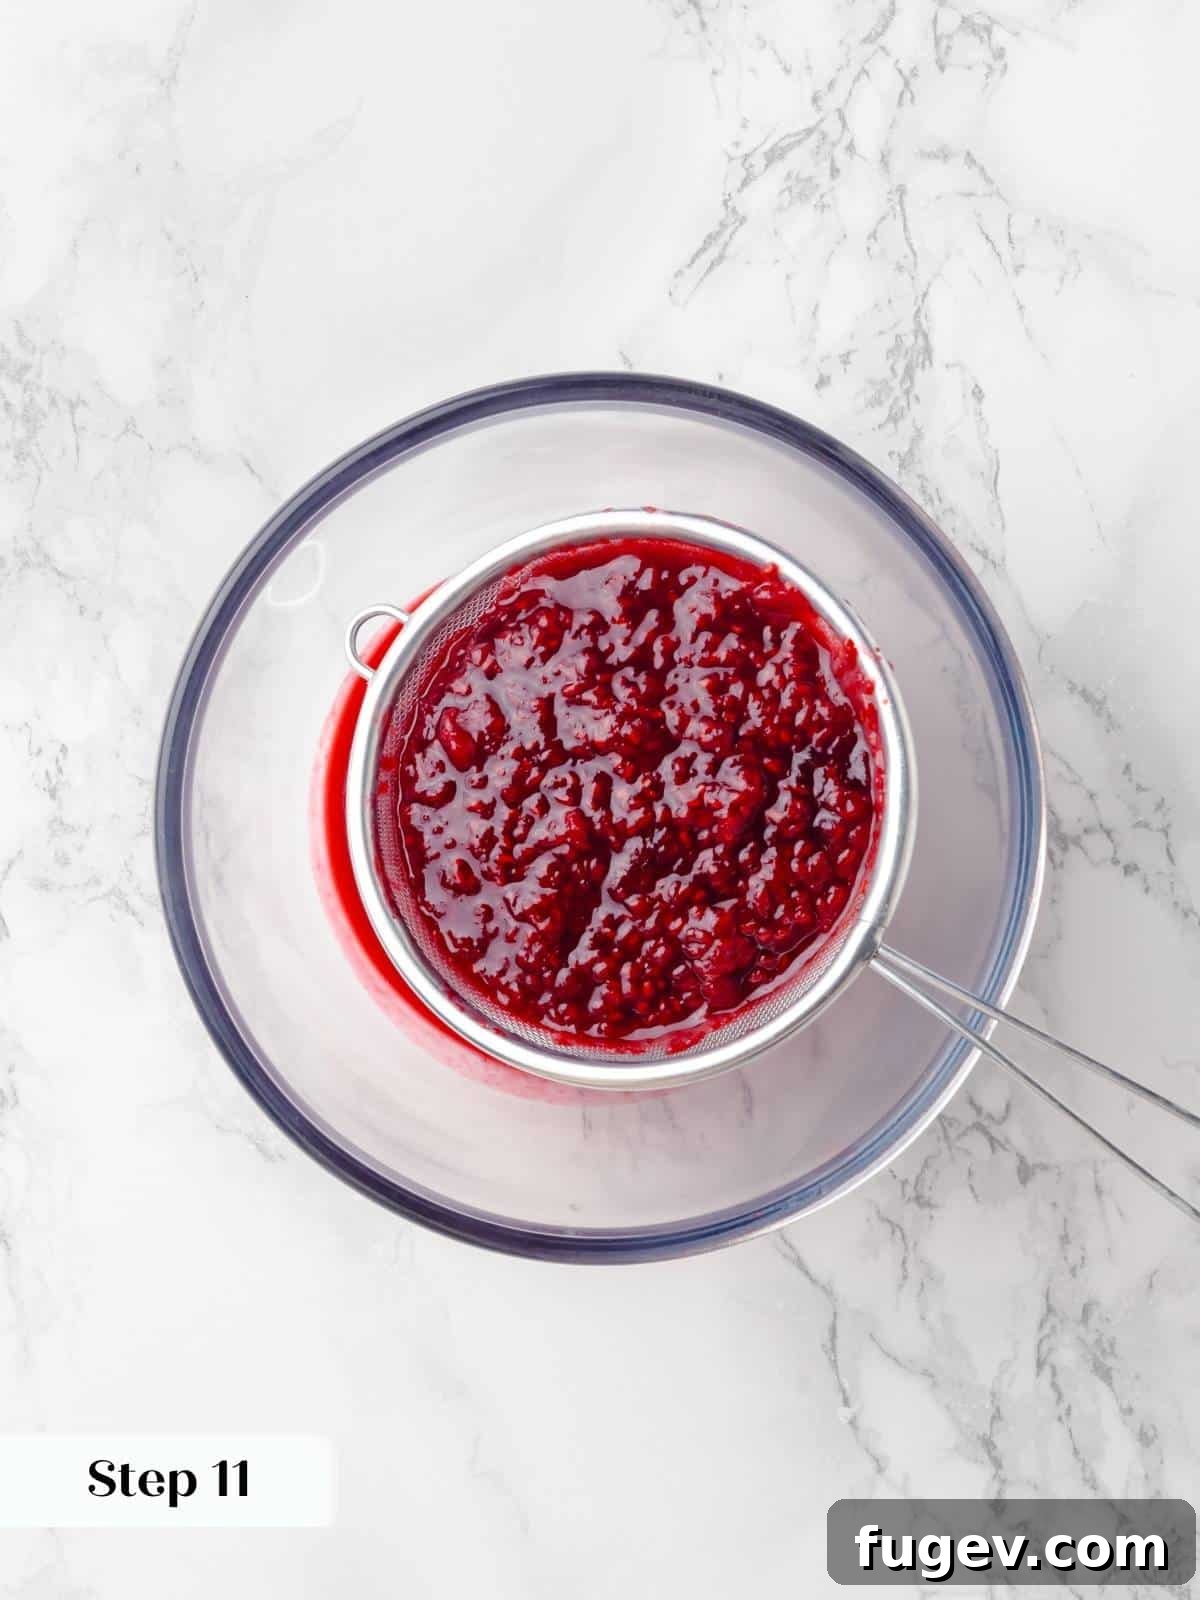
Step 11: For a perfectly smooth and seedless raspberry jam, strain the cooked mixture through a fine-mesh metal sieve into a bowl, preferably one that has been chilled in the freezer. Removing the seeds is crucial, as the unwelcome crunch of raspberry seeds in your silky buttercream can be quite offensive to the palate.
Step 12: After straining, use a silicone spatula to press the jam vigorously through the sieve. Then, run the spatula along the underside of the sieve to release any thick, delicious jam that has accumulated there. This ensures you extract every last bit of pure raspberry goodness.
Maximizing Jam Extraction: I often repeat the pressing and scraping process two or three times to ensure I remove every tiny bit of raspberry jam from the seeds, maximizing flavor and yield.
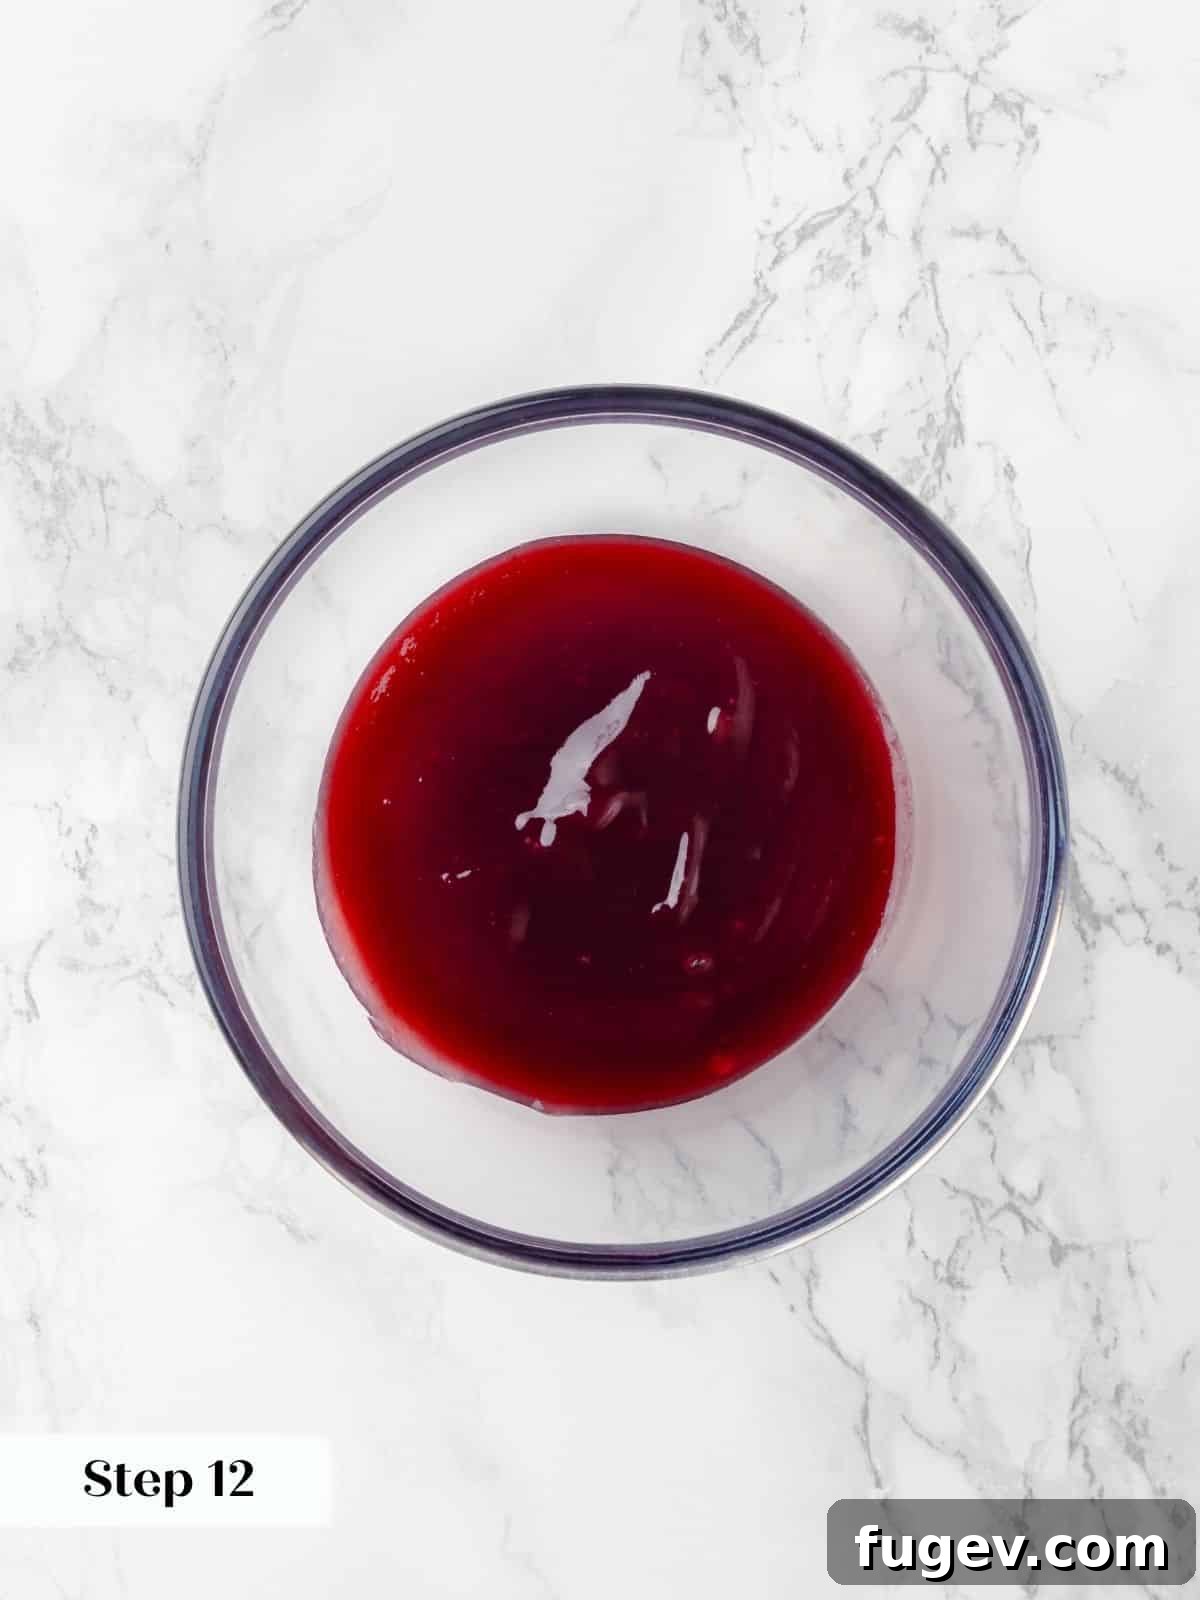
Step 13: Pour the strained raspberry jam into a cold or frozen glass or Pyrex bowl and immediately refrigerate until it is thoroughly chilled. Adding cold jam to your buttercream is essential; it helps maintain the frosting’s thick, stable, and spreadable consistency, preventing it from becoming too runny.
Prepare the Rich Chocolate Fudge Frosting (Ganache):
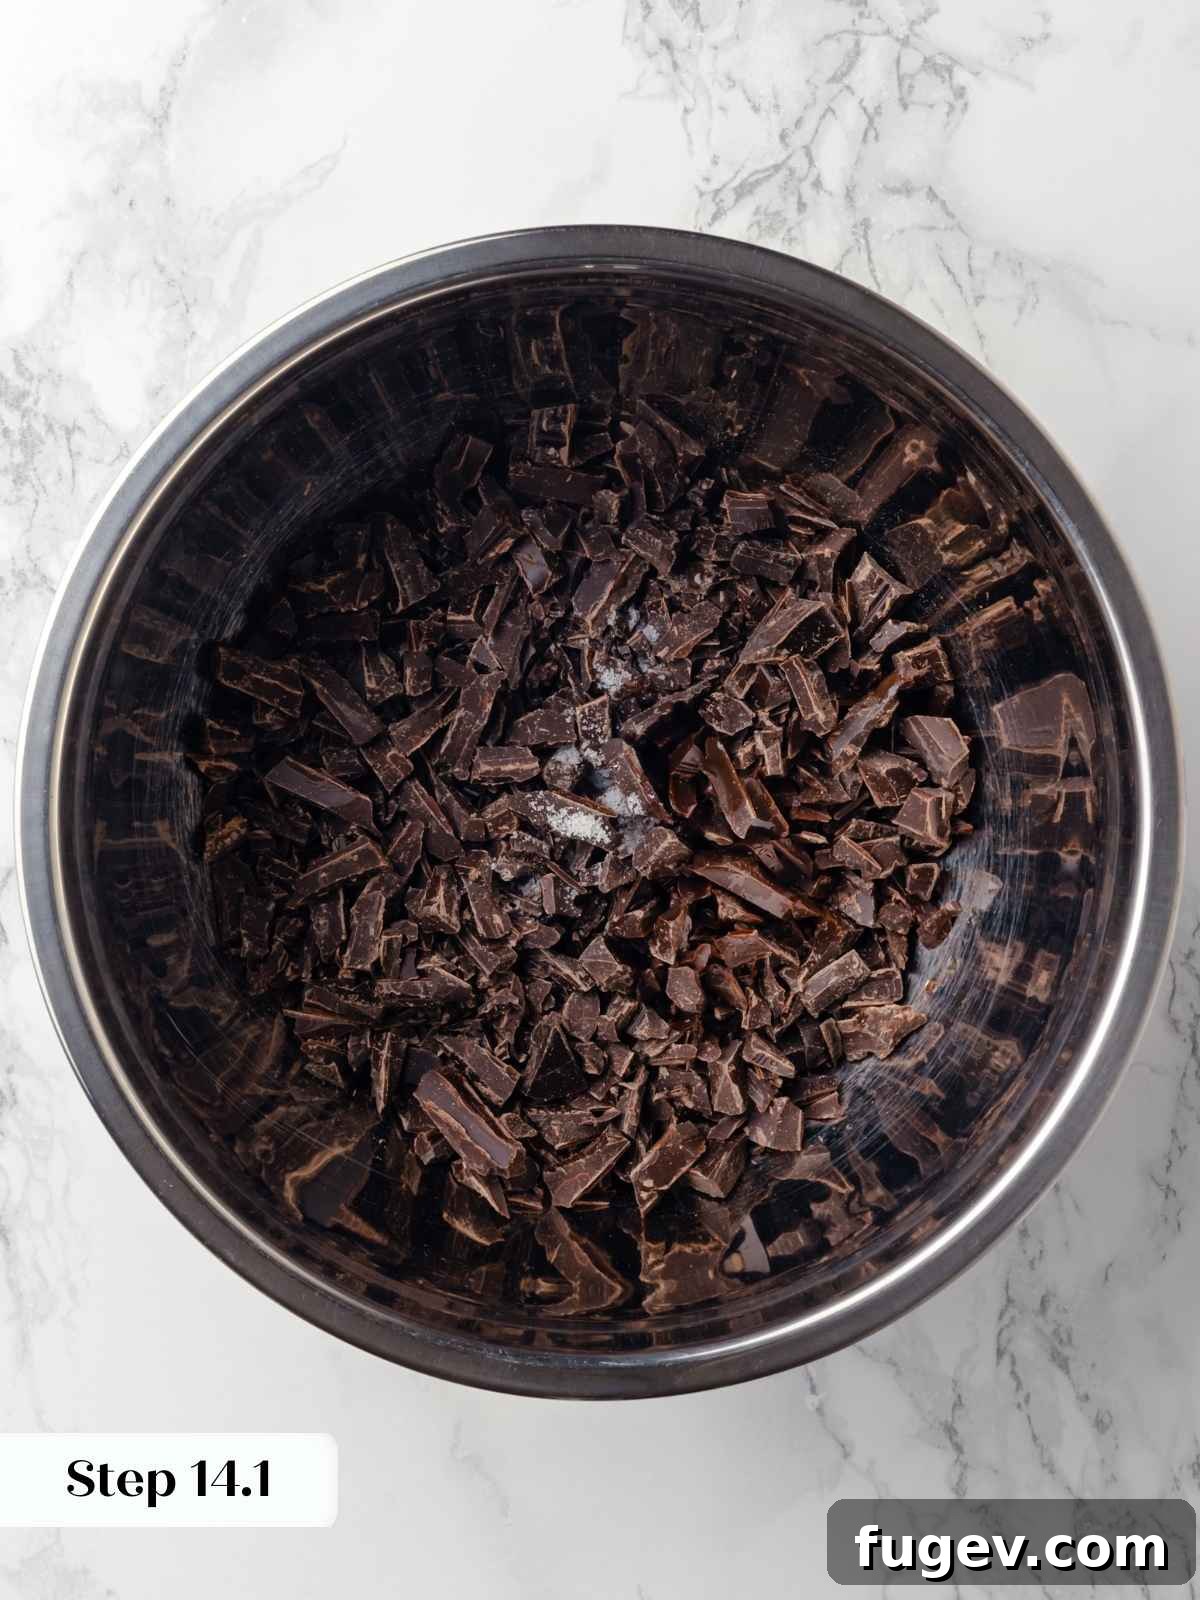
Step 14: In a large, heat-proof bowl, combine the finely chopped dark chocolate, vanilla extract, light corn syrup (or honey), and kosher salt. Ensure the chocolate is chopped into small, uniform pieces for even melting.
Chopping Chocolate is Key: Even if you typically use chocolate chips, I strongly recommend chopping bar chocolate for this recipe. With the specific amount of heavy cream, chocolate pieces might not melt uniformly, potentially leading to a grainy or un-emulsified ganache. Finely chopped chocolate ensures a perfectly smooth and silky frosting.
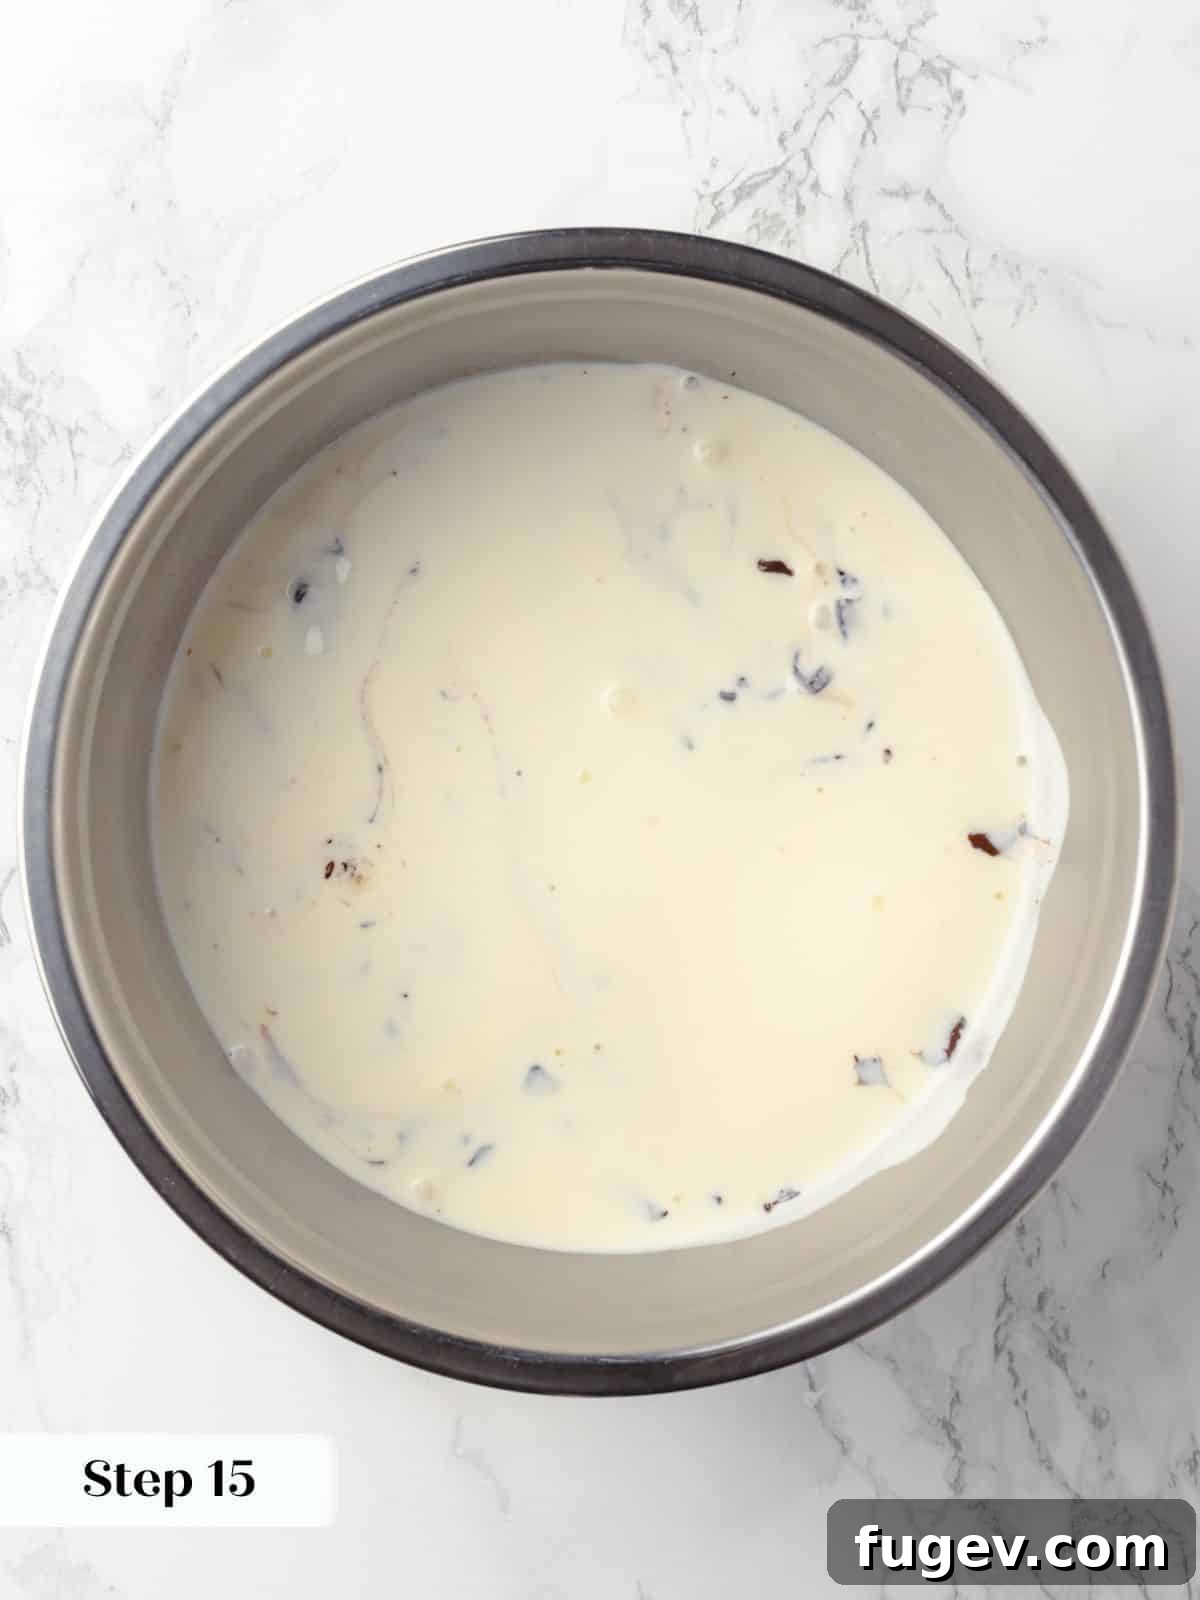
Step 15: In a small saucepan, bring the heavy whipping cream just to a gentle boil. As soon as it boils, remove it from the heat and immediately pour the hot cream over the chocolate mixture in the heat-proof bowl. Gently shake the bowl to ensure the hot cream fully covers the chocolate pieces. Let it sit undisturbed for 2 minutes; this allows the chocolate to soften properly.
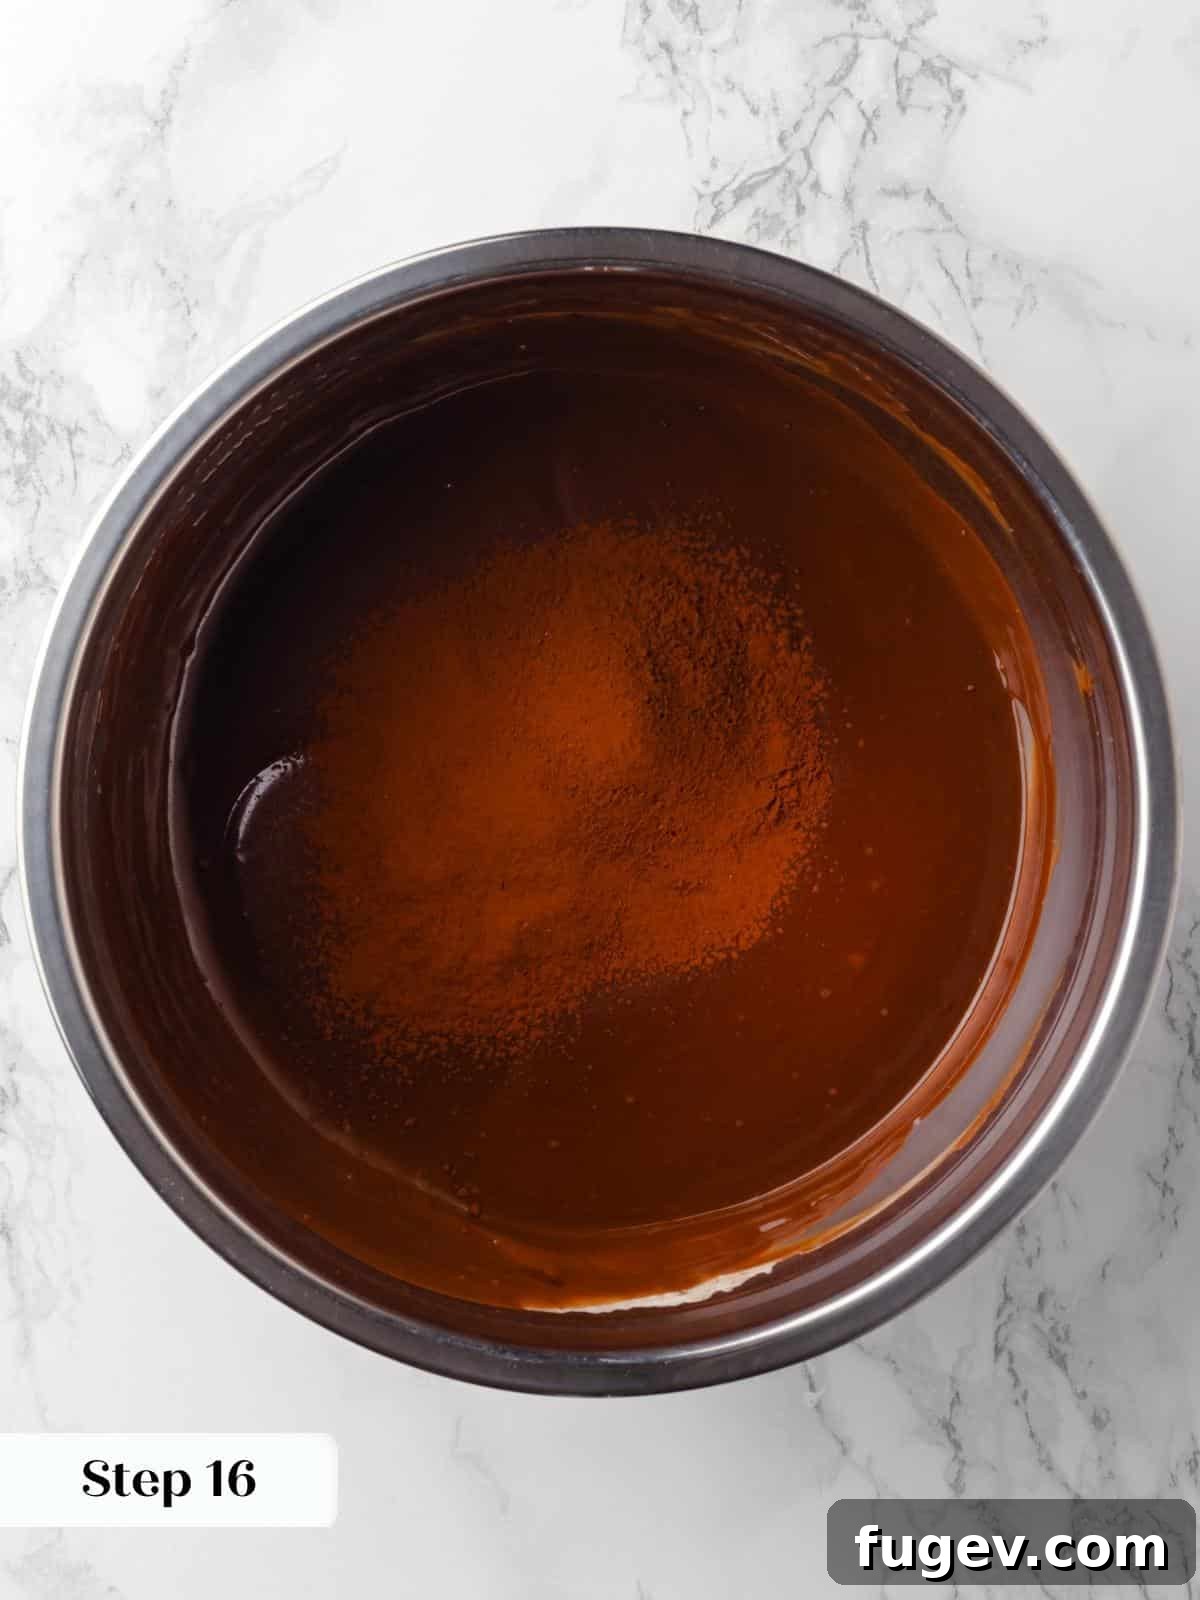
Step 16: After 2 minutes, begin to slowly whisk the mixture, starting from the center of the bowl and gradually working your way outwards. Continue whisking until the chocolate and cream are fully emulsified, creating a smooth and glossy ganache. Next, sift in the Dutch-processed cocoa powder and whisk again until it is completely incorporated and lump-free. (You could add the cocoa powder before the cream, but it tends to clump and create persistent lumps that are difficult to smooth out.)
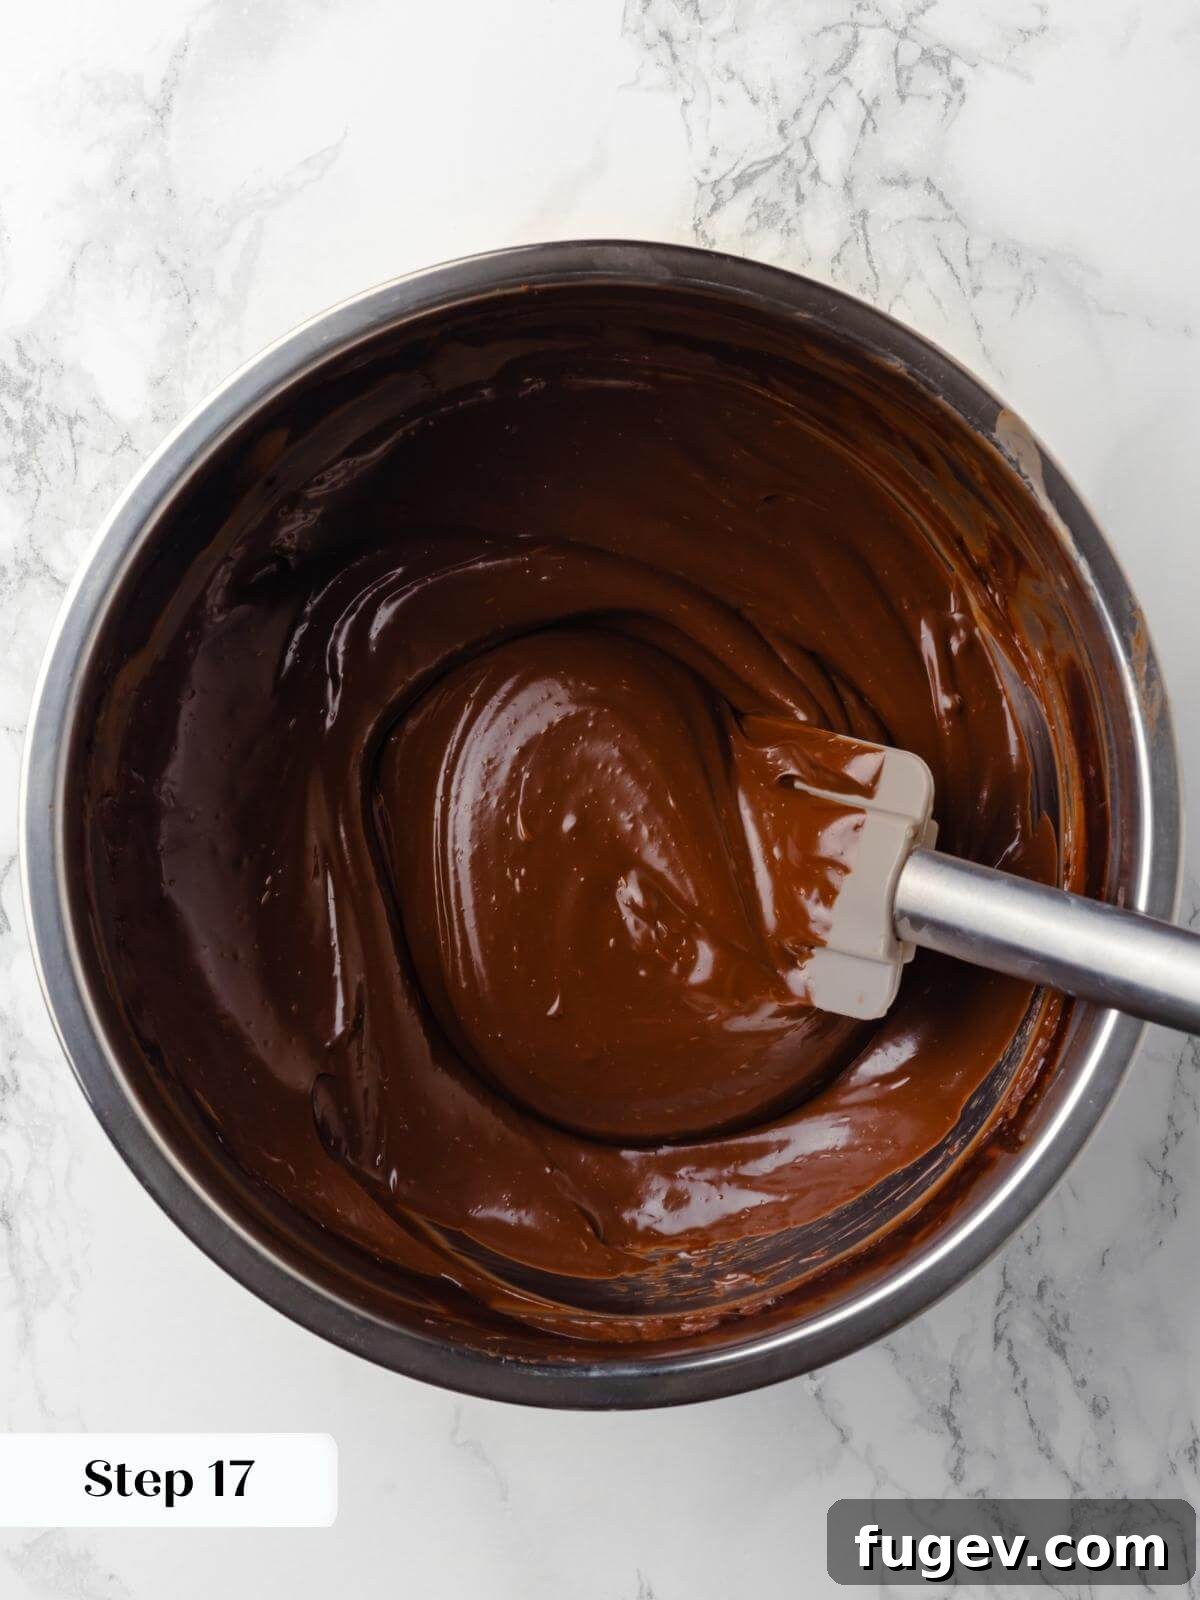
Step 17: While the ganache is still warm, add the softened and cubed unsalted butter. Switch to a silicone spatula and gently stir the mixture in one direction. Continue stirring until all the butter has completely melted and seamlessly incorporated into the ganache, making it extra smooth and glossy.
Step 18: To prevent a skin from forming, place a piece of plastic wrap directly onto the surface of the chocolate fudge frosting. Allow it to cool completely to room temperature. If you’re in a hurry, you can speed up the cooling process by placing the bowl in the refrigerator, stirring it gently every 10 minutes to maintain consistency and prevent it from setting too hard.
Cooling Considerations: It’s especially important to refrigerate if your kitchen is warm. In a room temperature environment of about 70°F, this frosting typically takes a little under 2 hours to cool and thicken to the ideal spreading consistency. This waiting period is usually ample time for your cake layers to cool and for you to prepare the other components of the cake.
Prepare the Light & Creamy Raspberry Buttercream:
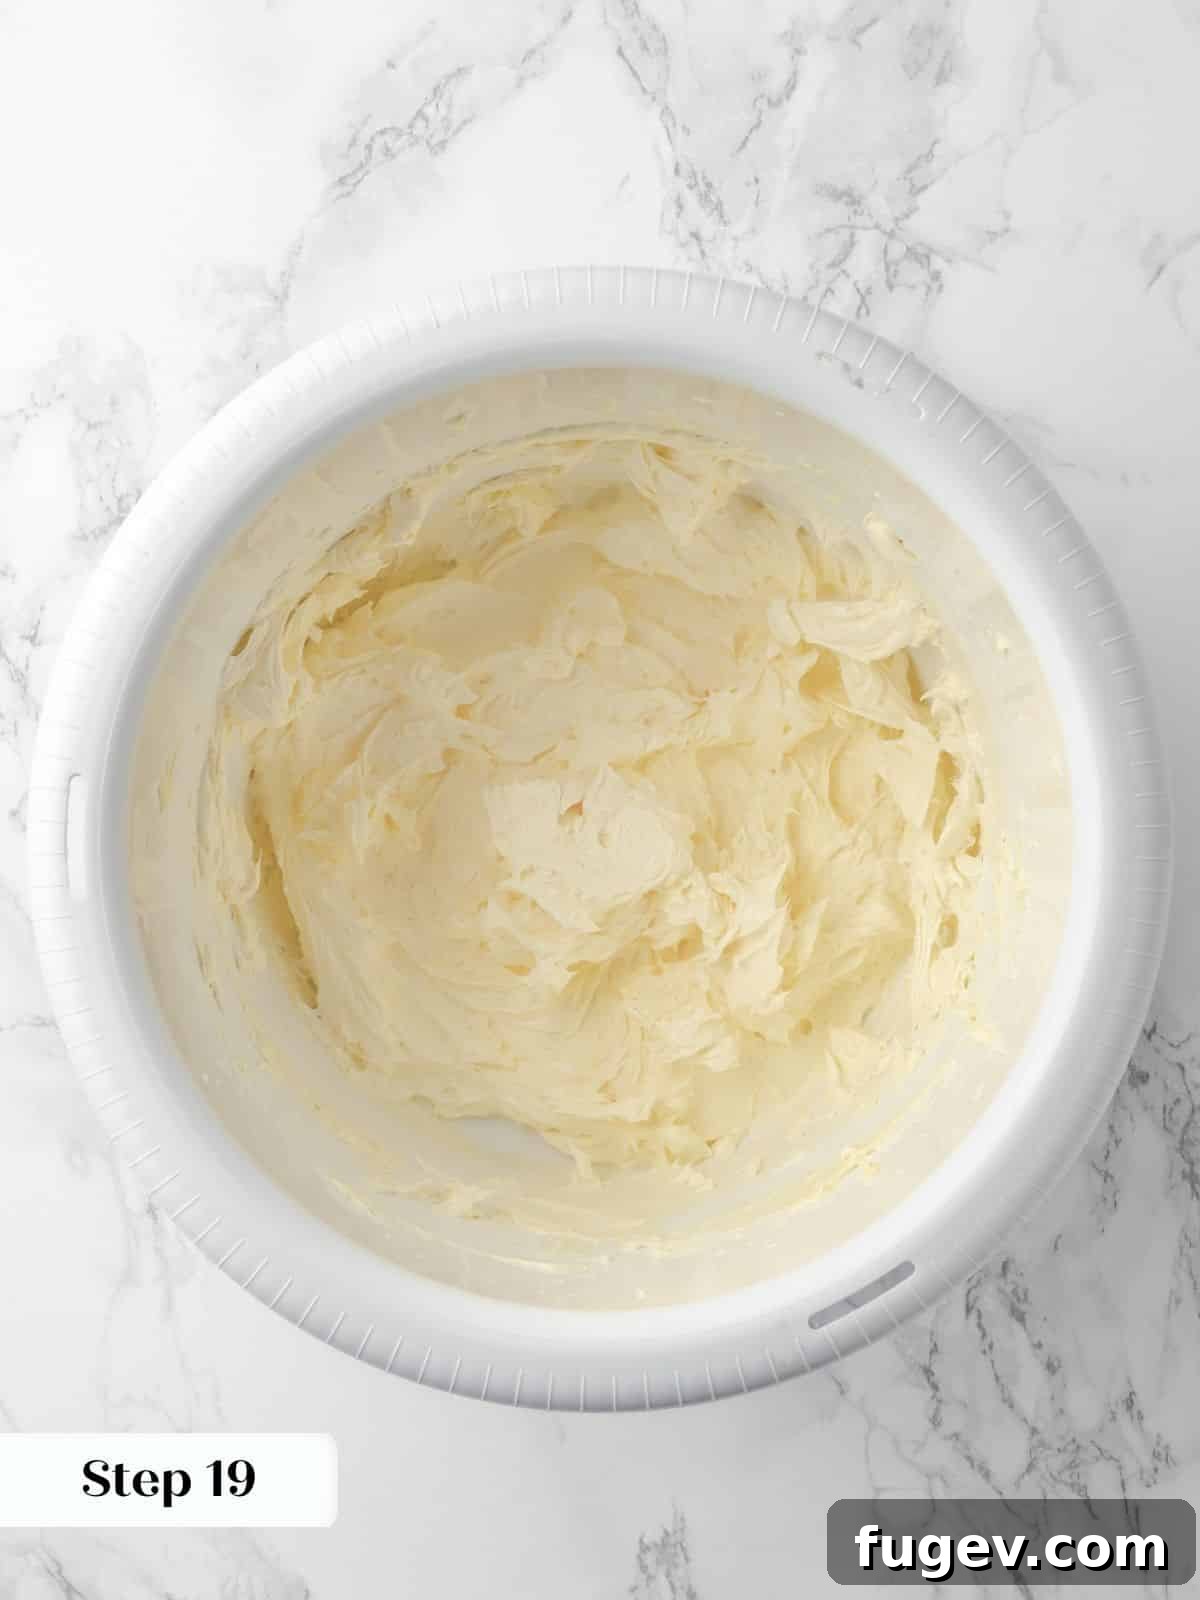
Step 19: In the bowl of a stand mixer fitted with the paddle attachment, beat the room-temperature unsalted butter on medium-high speed until it becomes noticeably lightened in color and exceptionally soft and fluffy, typically for 3-5 minutes. This creaming process incorporates air, making the buttercream light.
Step 20: With the mixer on low speed, slowly add the confectioner’s sugar (powdered sugar) in several increments to avoid a cloud of sugar dust. Once incorporated, add the vanilla extract and kosher salt, then increase the speed and beat until well combined and smooth.
Smooth Buttercream Secret: If your powdered sugar tends to be clumpy, I highly recommend sifting it before adding it to the butter. Any large clumps can be difficult to fully break down during the creaming process, leading to a less smooth buttercream.
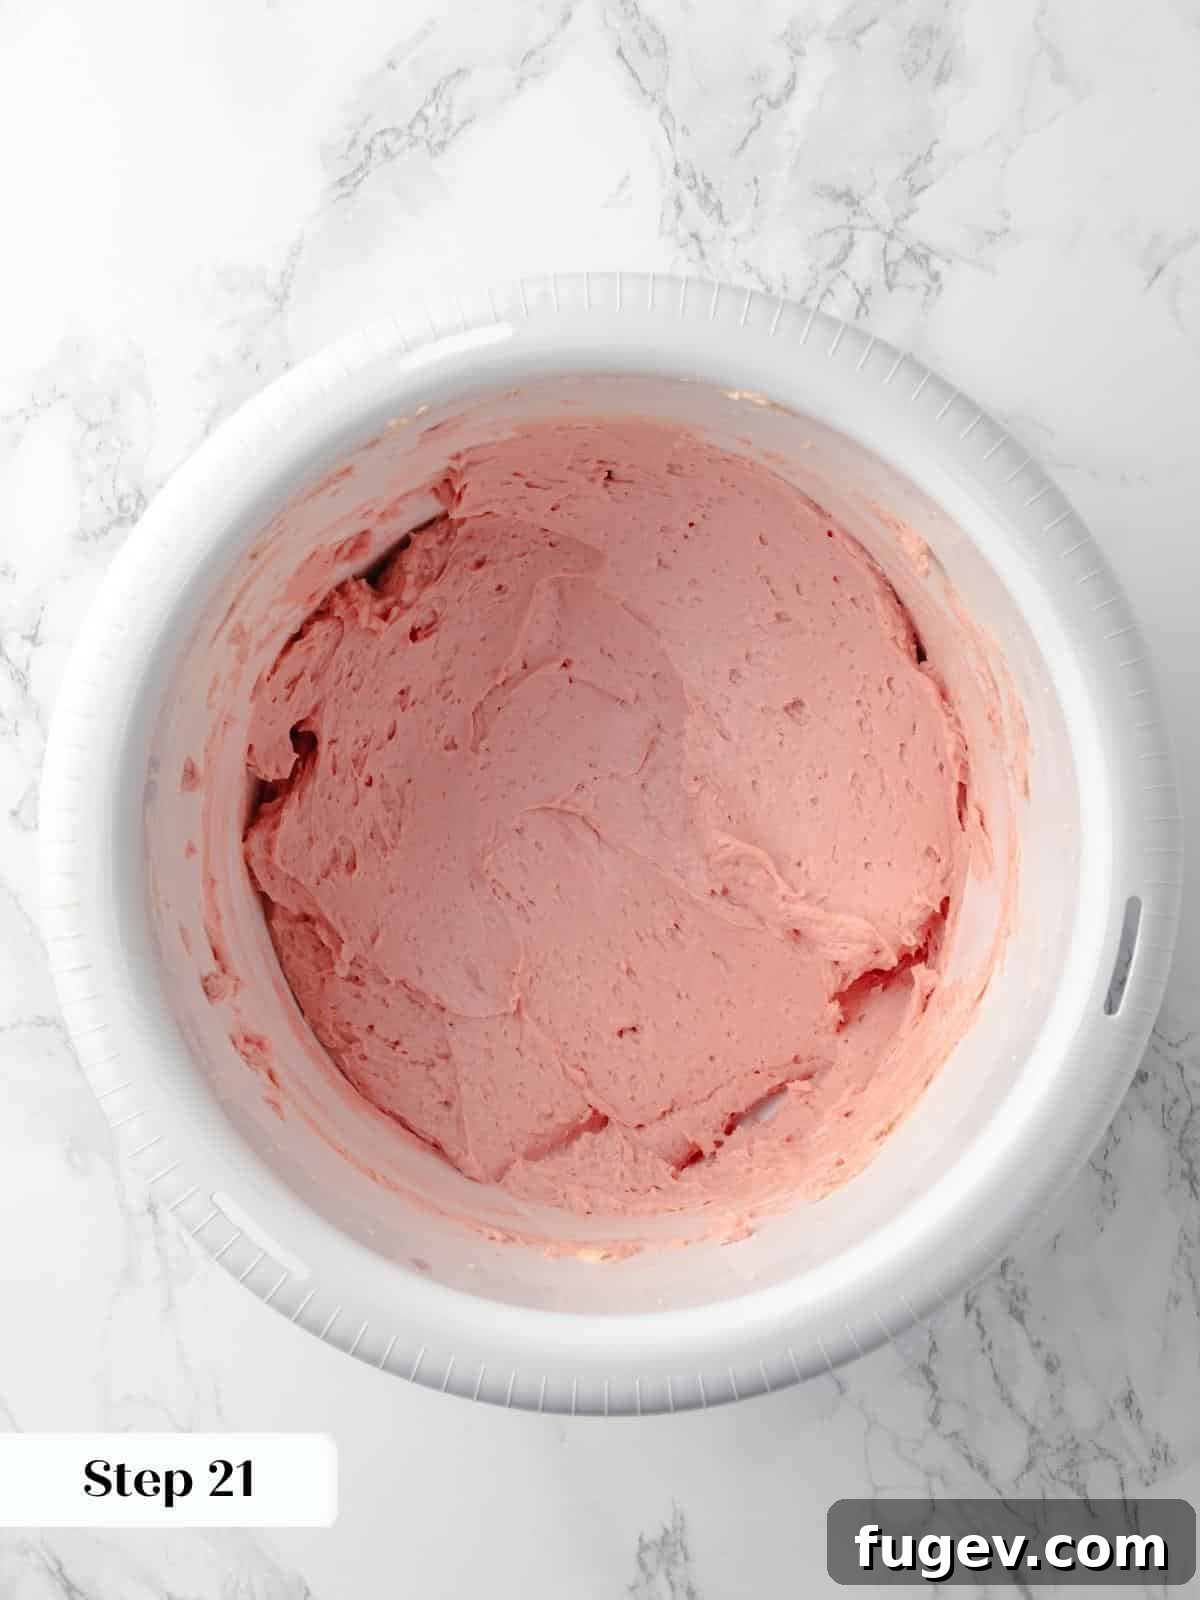
Step 21: Once your buttercream has come together and is smooth, it’s time to add the star flavor: the chilled raspberry puree. Incorporate the puree gradually, about 2 tablespoons at a time, until you’ve added up to 1/3 cup (which is half of the jam you prepared earlier). Mix well after each addition. You can adjust the consistency and flavor by adding a touch more lemon juice for tartness or a tiny bit of heavy cream if the buttercream is too stiff.
Flavor Balance: I personally love to add a little extra lemon juice to the buttercream to provide a bright contrast to the sweetness of the sugar and the richness of the chocolate. Depending on how accurately you measured your powdered sugar, you might find you need a small amount of additional liquid, whether it’s lemon juice or cream, to achieve your desired consistency.
Step 22: Transfer about 1 cup of the raspberry buttercream into a piping bag. You can fit it with a round tip, or simply snip off the end of the bag. This portion will be used to create a “dam” that holds the raspberry jam filling between the cake layers, preventing it from oozing out.
Time to Assemble Your Show-Stopping Cake:
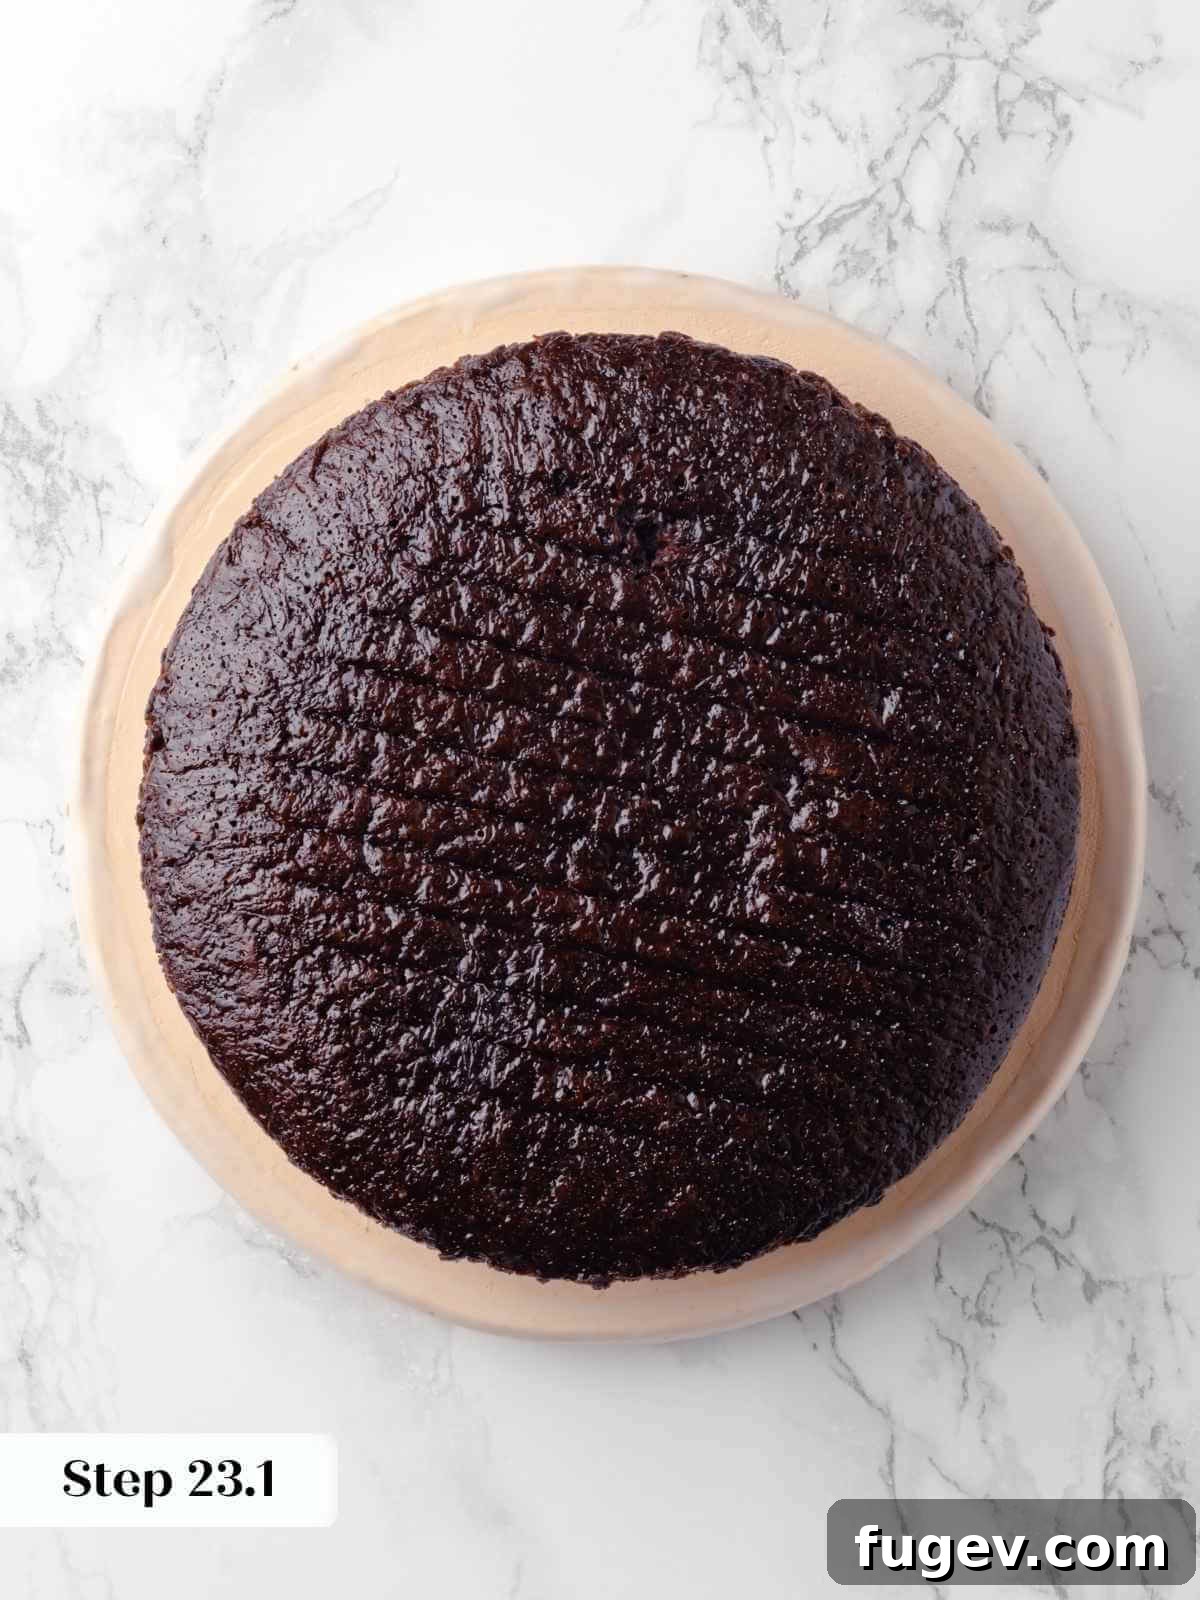
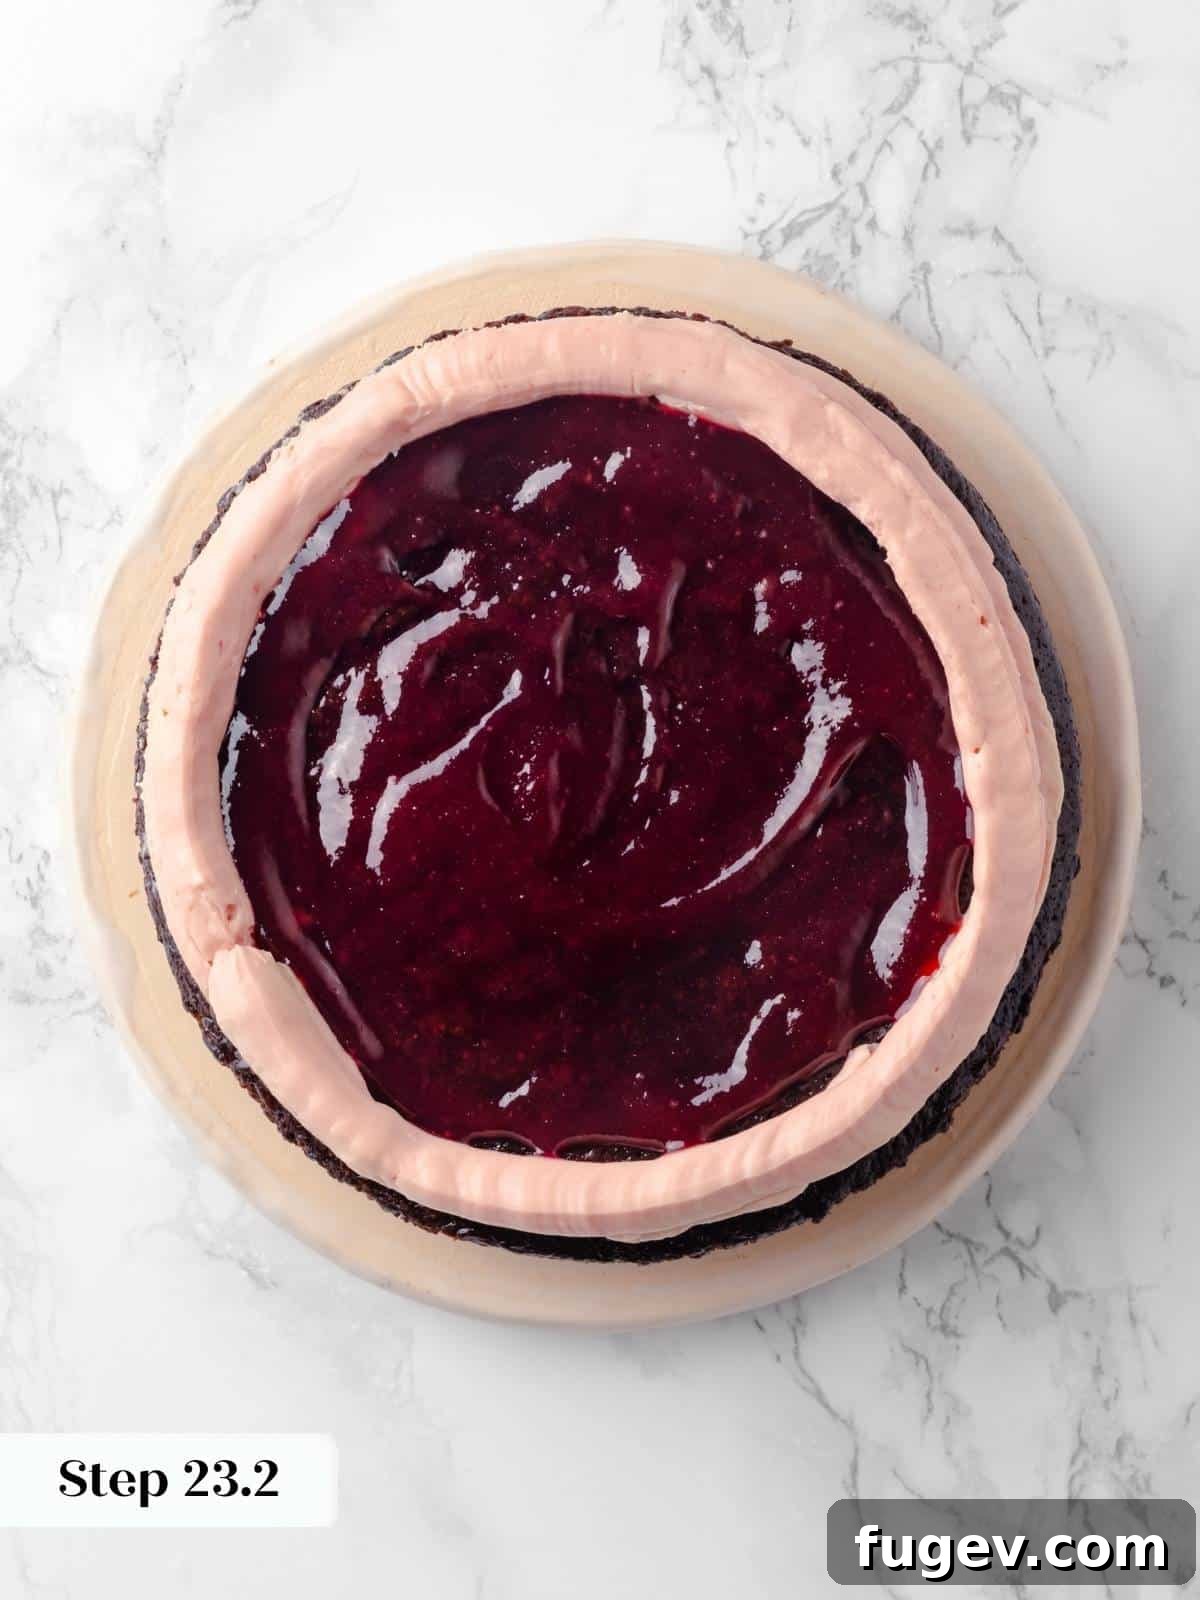
Step 23: Carefully place your first cooled chocolate cake layer onto your favorite serving plate or cake stand. Using the piping bag, pipe a sturdy ring of raspberry buttercream around the entire outer edge of this cake layer. This creates a border that will contain your jam.
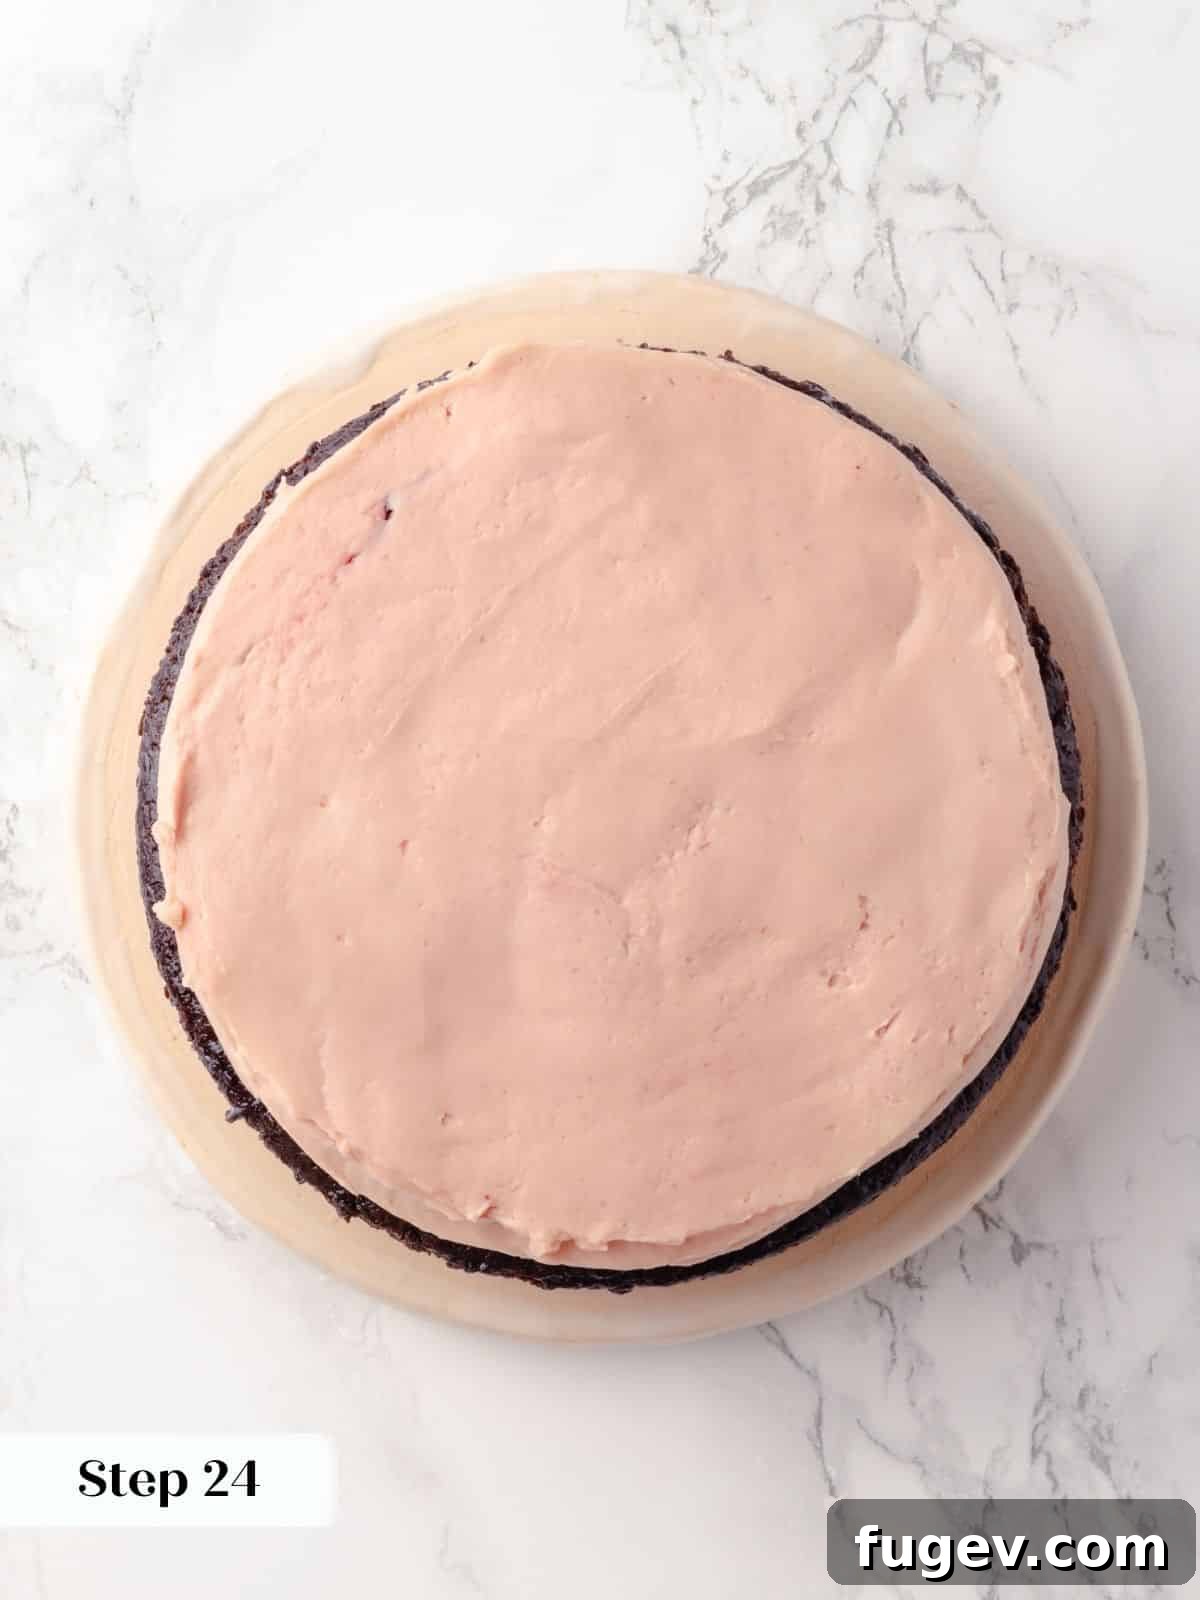
Step 24: Scoop about half of the remaining quick raspberry jam into the center of the buttercream dam. Using the back of a spoon or a small offset spatula, gently spread the jam evenly within the dam. Then, carefully spread a layer of raspberry buttercream on top of the jam, smoothing it out to create a level surface for the next cake layer. While you can use the piping bag for buttercream, many find a spatula easier for spreading over the jam.
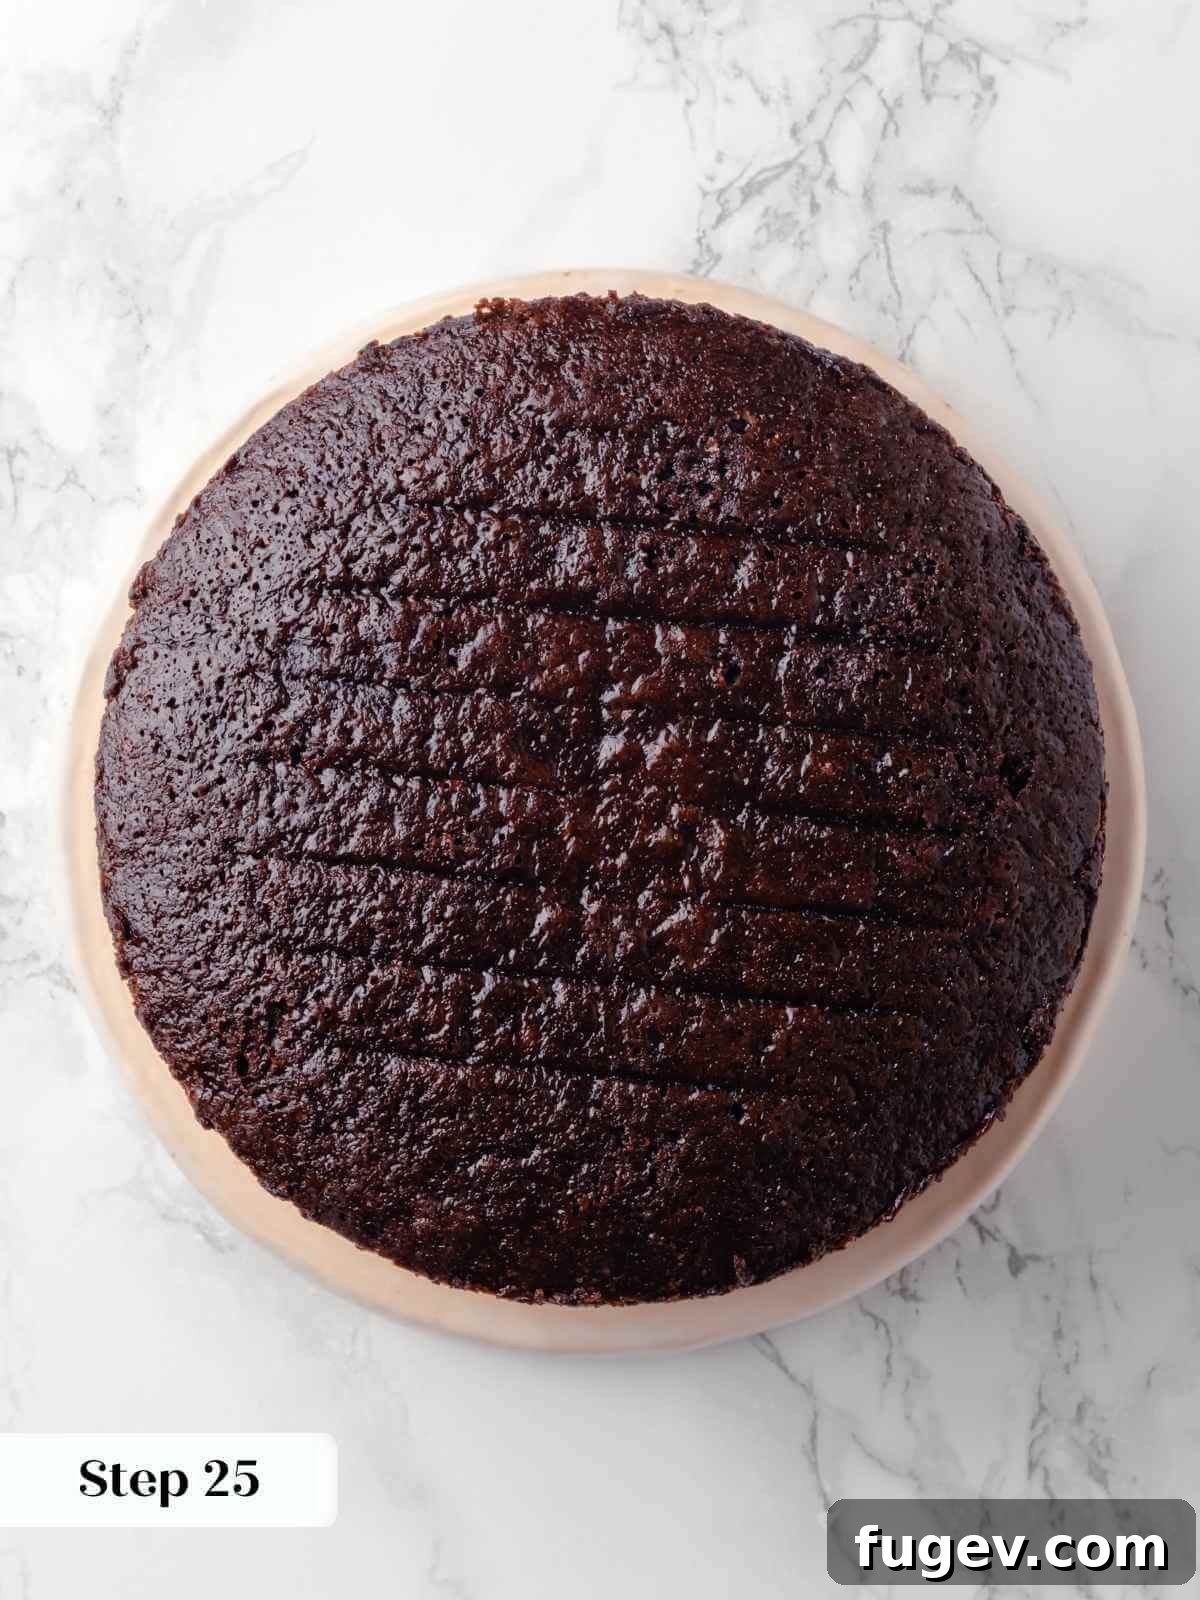
Step 25: Ensure the surface of the raspberry buttercream is smooth and level before gently placing the second chocolate cake layer directly on top. For added stability, especially if your kitchen is warm or if you’re new to layered cakes, I highly recommend chilling the partially assembled cake in the refrigerator for about 20-30 minutes before proceeding to the next layer. This helps the buttercream set firmly.
Step 26: Repeat the process of piping a buttercream dam, spreading the remaining raspberry jam, and topping with more raspberry buttercream on the second cake layer. Once completed, carefully place the third and final chocolate cake layer on top. Now, chill the entire cake in the refrigerator for at least 30 minutes. If you skipped chilling between the first and second layers, extend this chilling time to a full hour to ensure all layers are stable and firm.
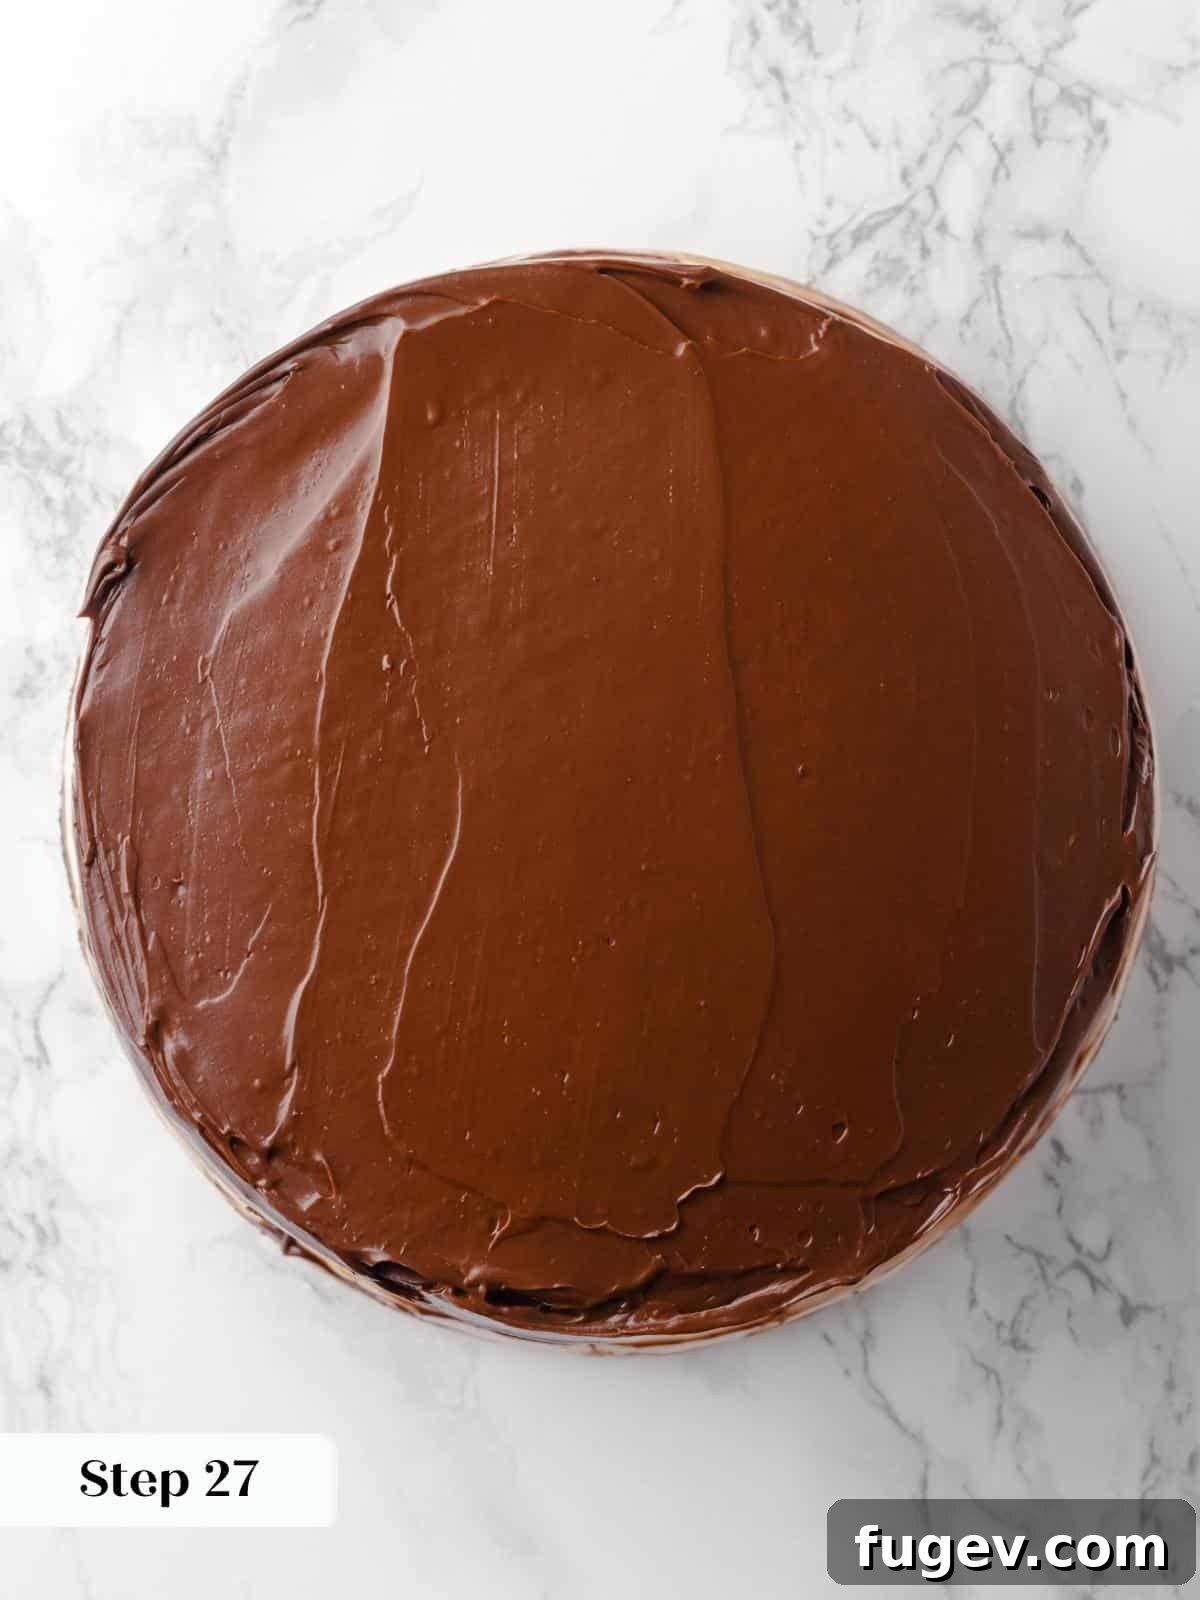
Step 27: Once the cake is thoroughly chilled and stable, generously spread the cooled chocolate fudge frosting over the top and sides of the entire cake. Use a bench scraper, a large offset spatula, or a combination of both to smooth out the frosting to your desired finish. The key is to achieve a sleek, even surface, but don’t stress too much – even a rustic look is beautiful!
Chef Lindsey’s Expert Baking Tip
I understand that creating a layered cake can seem like a monumental task, but I urge you to trust your abilities and extend yourself a little grace. The secret to success lies in breaking it down: make each component one at a time, or even spread the preparation over several days. The only exception is the chocolate fudge frosting, which is best made on the day you plan to assemble the cake to ensure it’s at the perfect consistency. Remember, you absolutely got this! 💪
Frequently Asked Questions About Chocolate Raspberry Cake
Proper storage is key to enjoying your cake for days. Unfrosted chocolate cake layers should be well-wrapped in plastic wrap or an airtight container and can be stored at room temperature for up to three days, in the refrigerator for a week, or frozen for up to two months. Any unused frosting (both raspberry buttercream and chocolate fudge) should be kept in airtight containers in the refrigerator for up to two weeks. Once the cake is fully frosted and assembled, it is best stored at room temperature for up to three days to keep the cake moist and the frosting soft. If you live in a very warm or humid climate, refrigerating the frosted cake is advisable, but bring it to room temperature before serving.
Absolutely, freezing a frosted chocolate raspberry cake is a great way to preserve it for future celebrations or simply to enjoy a slice whenever a craving strikes! To freeze, first flash-freeze the entire cake (or individual slices) on a baking sheet until the frosting is firm. Once solid, wrap the cake tightly in several layers of plastic wrap, followed by a layer of aluminum foil, ensuring it’s completely airtight. This prevents freezer burn. You can freeze the cake whole or pre-slice it before wrapping for convenient individual portions.
While you technically can use store-bought raspberry jam, I highly recommend making the quick raspberry jam as specified in this recipe. Our homemade version is incredibly easy to prepare and makes a significant difference in the cake’s overall flavor profile, offering a brighter, fresher, and less overly sweet taste compared to most commercial jams. The nuanced flavor of the homemade jam truly elevates both the filling and the raspberry buttercream, contributing to the exceptional balance of this layered cake.
For the most beautiful, clean slices, always allow your chocolate raspberry cake to come to room temperature for about an hour before cutting. This ensures the cake layers are tender and the frosting is soft and pliable. Before each cut, dip your sharp knife into hot water and wipe it clean with a towel. This simple trick helps the knife glide through the cake and frosting without tearing, giving you perfect, pristine slices every time. This cake is truly a showstopper on its own, but serving it with a scoop of creamy vanilla bean ice cream or a dollop of light homemade whipped cream would certainly not be amiss!
If you tried this delicious chocolate raspberry cake recipe and absolutely loved it, please take a moment to leave a 🌟 star rating and share your thoughts in the comments section below. I genuinely love hearing from you; your feedback and comments truly make my day!
Chocolate Raspberry Cake
Chef Lindsey
1 hr 30 mins
25 mins
1 hr
2 hrs 55 mins
12 slices
Ingredients
(Measurements are in US Customary)
For the Chocolate Cake:
- ¾ cup Dutch processed cocoa powder
- 2 ¾ cups all-purpose flour
- 1 ½ teaspoons kosher salt
- 1 teaspoon baking powder
- ½ teaspoon baking soda
- 3 large eggs
- 1 tablespoon vanilla extract
- 1 cup vegetable oil or another neutral oil
- 2 ½ cups granulated sugar
- 1¾ cups milk
For the Quick Raspberry Jam:
- 12 ounces raspberries fresh or frozen
- ¼ cup lemon juice
- ¼ cup granulated sugar
For the Raspberry Buttercream:
- 1 cup unsalted butter
- 4 cups powdered sugar
- ½ teaspoon vanilla extract
- 1 pinch kosher salt
- ⅓ cup quick raspberry jam from above, chilled
For the Chocolate Fudge Frosting:
- ½ cup heavy whipping cream
- 1 ½ tablespoons light corn syrup or honey
- 5 ounces dark chocolate 50%-70% cocoa solids, finely chopped
- ¼ teaspoon vanilla extract
- ⅛ teaspoon kosher salt
- 2 tablespoons Dutch processed cocoa powder
- 2 tablespoons unsalted butter softened and cubed
Instructions
Prepare the cake:
- Preheat the oven to 325°F convection (with the fan) or 350°F conventional (without the fan). Spray and line 3, 8, or 9-inch cake pans with parchment paper.
- Into a large bowl, sift together cocoa powder, all-purpose flour, salt, baking powder and baking soda. Set Aside.
- Whisk the eggs with the vanilla extract until smooth and homogenous in a separate large bowl. Slowly pour the oil into the eggs while whisking to create an emulsion.
- Add the sugar to the bowl and whisk until smooth and incorporated.
- Alternately add the dry ingredients and milk in 3 additions. Add about 1/3 of each at the same time, then whisk until no lumps remain. Repeat with the remaining flour mixture and milk.
- Divide the cake batter between the cake pans and bake in a preheated oven. Bake until a cake tester or toothpick comes out clean or with just a few clinging crumbs. Three layers will bake faster, so begin checking around 20 minutes. They will bake for 25-28 minutes with convection.
- Cool for 10 minutes on a wire rack, then run a paring knife around the edge and flip out onto the rack. You can cool them upside down or use a second wire rack to flip them back over.
- Cool completely before frosting.
Prepare the raspberry jam:
- In a small saucepan, add raspberries, lemon juice, and granulated sugar.
- Heat over low heat until the raspberries soften and release their juices, stirring and smashing occasionally. Increase heat to medium or medium-low and simmer until the juices evaporate and you are left with a jam that will hold a line on the back of a spoon. Reduce the heat back to low as the jam thickens to keep it from sticking to the bottom and burning.
- Strain through a metal sieve to remove seeds into a frozen bowl. No one wants the crunch of raspberry seeds in their buttercream.
- Press through the sieve, then run the silicone spatula over the bottom to release the thick part of the jam. This jam will actually keep more jam from pressing through.
- Pour the mixture into a cold or frozen glass or Pyrex bowl and refrigerate until cold. Adding cold jam to the buttercream will keep the frosting nice and thick.
Prepare the chocolate fudge frosting:
- In a large heat-proof bowl, add chopped chocolate, vanilla extract, corn syrup, and salt.
- In a small saucepan, bring whipping cream just to a boil. Pour over the chocolate, shake to distribute, and cover the chocolate. Allow to sit for 2 minutes.
- Slowly whisk, starting from the center and working your way out to create an emulsion. Sift in the cocoa powder and whisk to incorporate.
- Add butter to the still-hot ganache. Switch to a silicone spatula and gently stir in one direction until all the butter has melted and incorporated into the ganache.
- Place a piece of plastic wrap directly on the surface and allow it to cool to room temperature. You can speed it up by putting it in the fridge and stirring every 10 minutes.
Prepare the raspberry buttercream:
- Beat the butter in the bowl of a stand mixer fitted with the paddle attachment until lightened and soft.
- Slowly add the powdered sugar, followed by the vanilla and salt.
- Once the buttercream has come together, add the raspberry puree 2 tablespoons at a time, up to 1/3 cup, which is half what you made above. You can add additional lemon juice or heavy cream as desired.
- Place about 1 cup in a piping bag fitted with a round tip (or just cut the piping bag) for creating a dam between the layers.
Time to assemble the cake:
- Place the first cake layer on your favorite serving plate or cake stand. Pipe a ring of the raspberry buttercream around the outer edge of the cake layer.
- Scoop about half the remaining raspberry jam into the center and spread out with the back of a spoon. Spread raspberry buttercream on top of the jam to level out the layer.
- Smooth out the surface of the raspberry buttercream and add the second layer on top. Chill for about 20-30 minutes before adding the next layer for best stability.
- Repeat the jam and raspberry buttercream with the second layer, placing the third and final layer on top. Chill the cake for 30 minutes (or an hour if you did not chill between layers).
- Spread the chocolate fudge frosting over the top of the cake and its sides, smoothing out with a bench scraper or a large offset spatula, or a combination of both, until you achieve a smooth surface.
Notes
Presentation—Layered cakes are best served at room temperature. Allow the cake to sit out for about an hour before slicing and serving. Using a hot knife when slicing will give you the most beautiful, clean slice of cake.
Flavor Tips—Depending on the season, frozen raspberries might give the best flavor for the jam and buttercream. Fresh raspberries in the winter tend to have a more watery flavor.
Technique—Allow your first layer to set in the fridge before adding the third cake layer on top. Allowing the buttercream to be fully set before adding more weight will keep the cake and the layers inside more even.
Storage—Store unfrosted chocolate cake well-wrapped at room temperature or in the freezer. Unfrosted cake can be kept at room temperature for three days, in the fridge for a week, or frozen for up to two months! Store unused frosting in airtight containers in the refrigerator for up to two weeks. Once frosted, the cake can be kept at room temperature for up to three days.
Nutrition
Before You Go: Explore More Delicious Cake Recipes
I sincerely hope you enjoyed creating and savoring this professional chef-tested chocolate raspberry layered cake recipe. It’s a true labor of love that promises to delight with every forkful. As you continue your baking journey, I invite you to explore our other delicious, chef-developed cake recipes, each offering unique flavors and baking insights. Discover exciting and innovative cakes such as the delightful best fig cake, the charming hummingbird cake, and the surprisingly moist chocolate mayonnaise cake! Happy baking!